bobandlucy
-
Posts
512 -
Joined
-
Last visited
Content Type
Profiles
Forums
Gallery
Events
Everything posted by bobandlucy
-
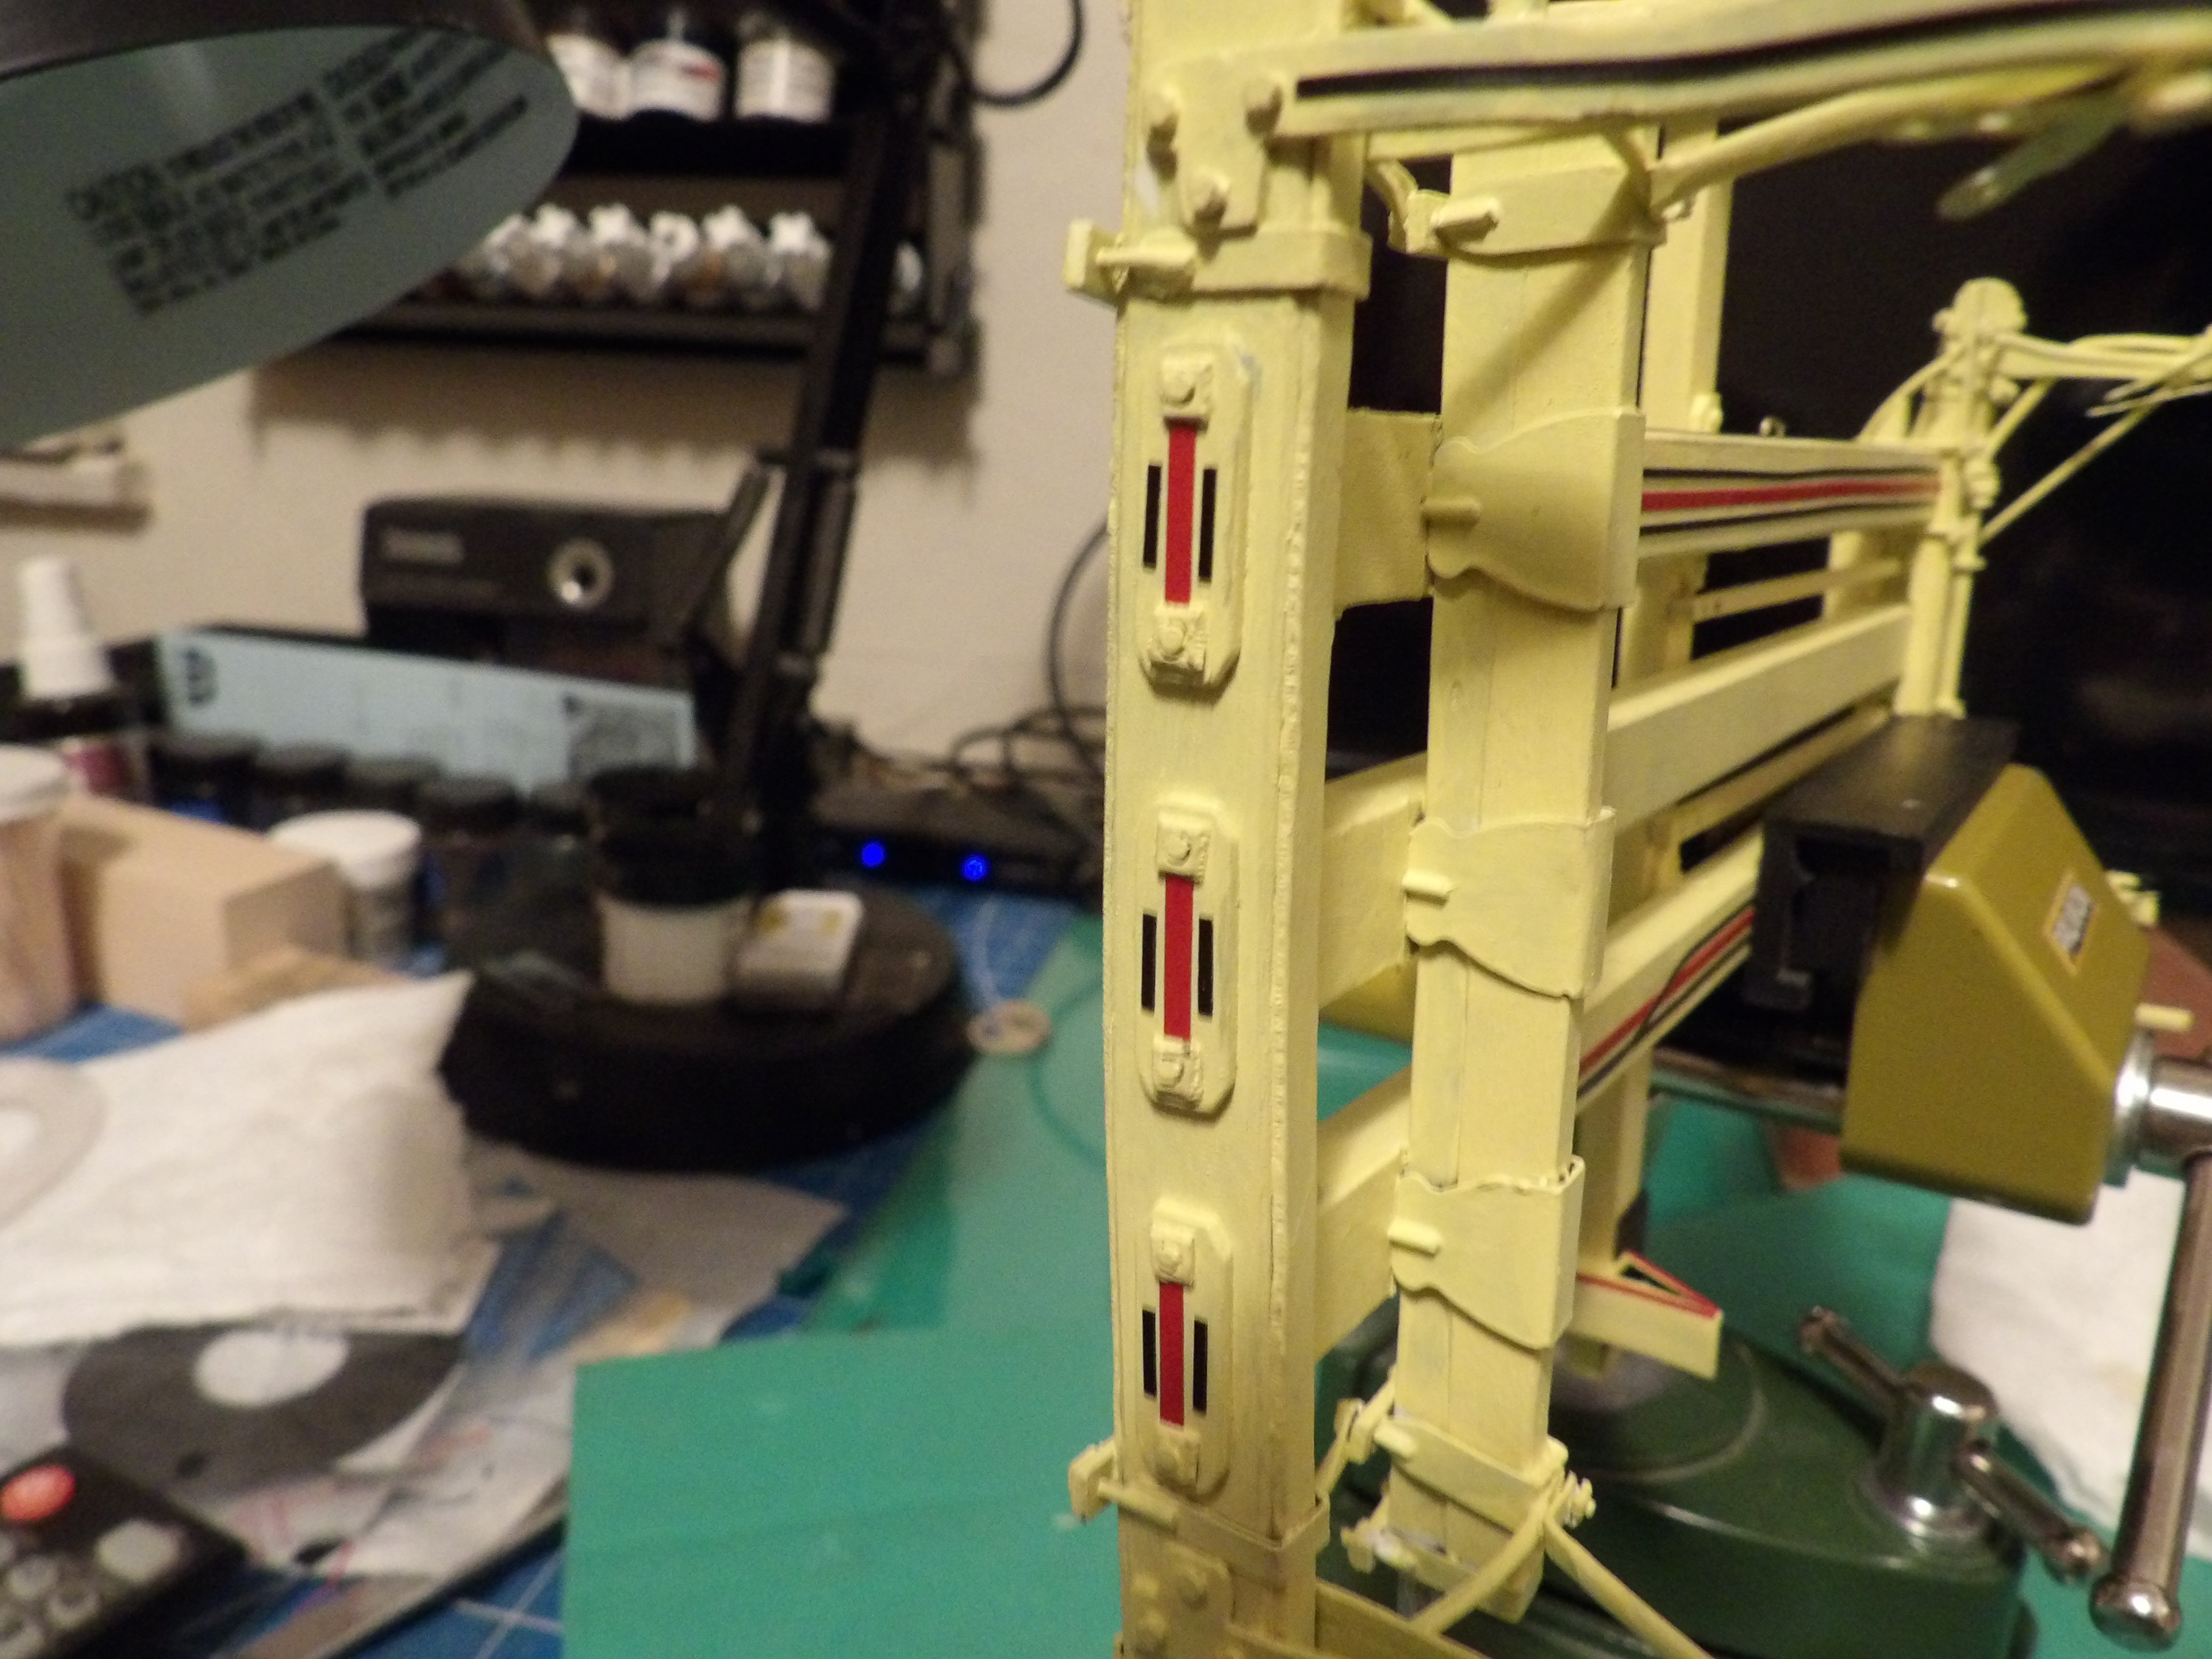
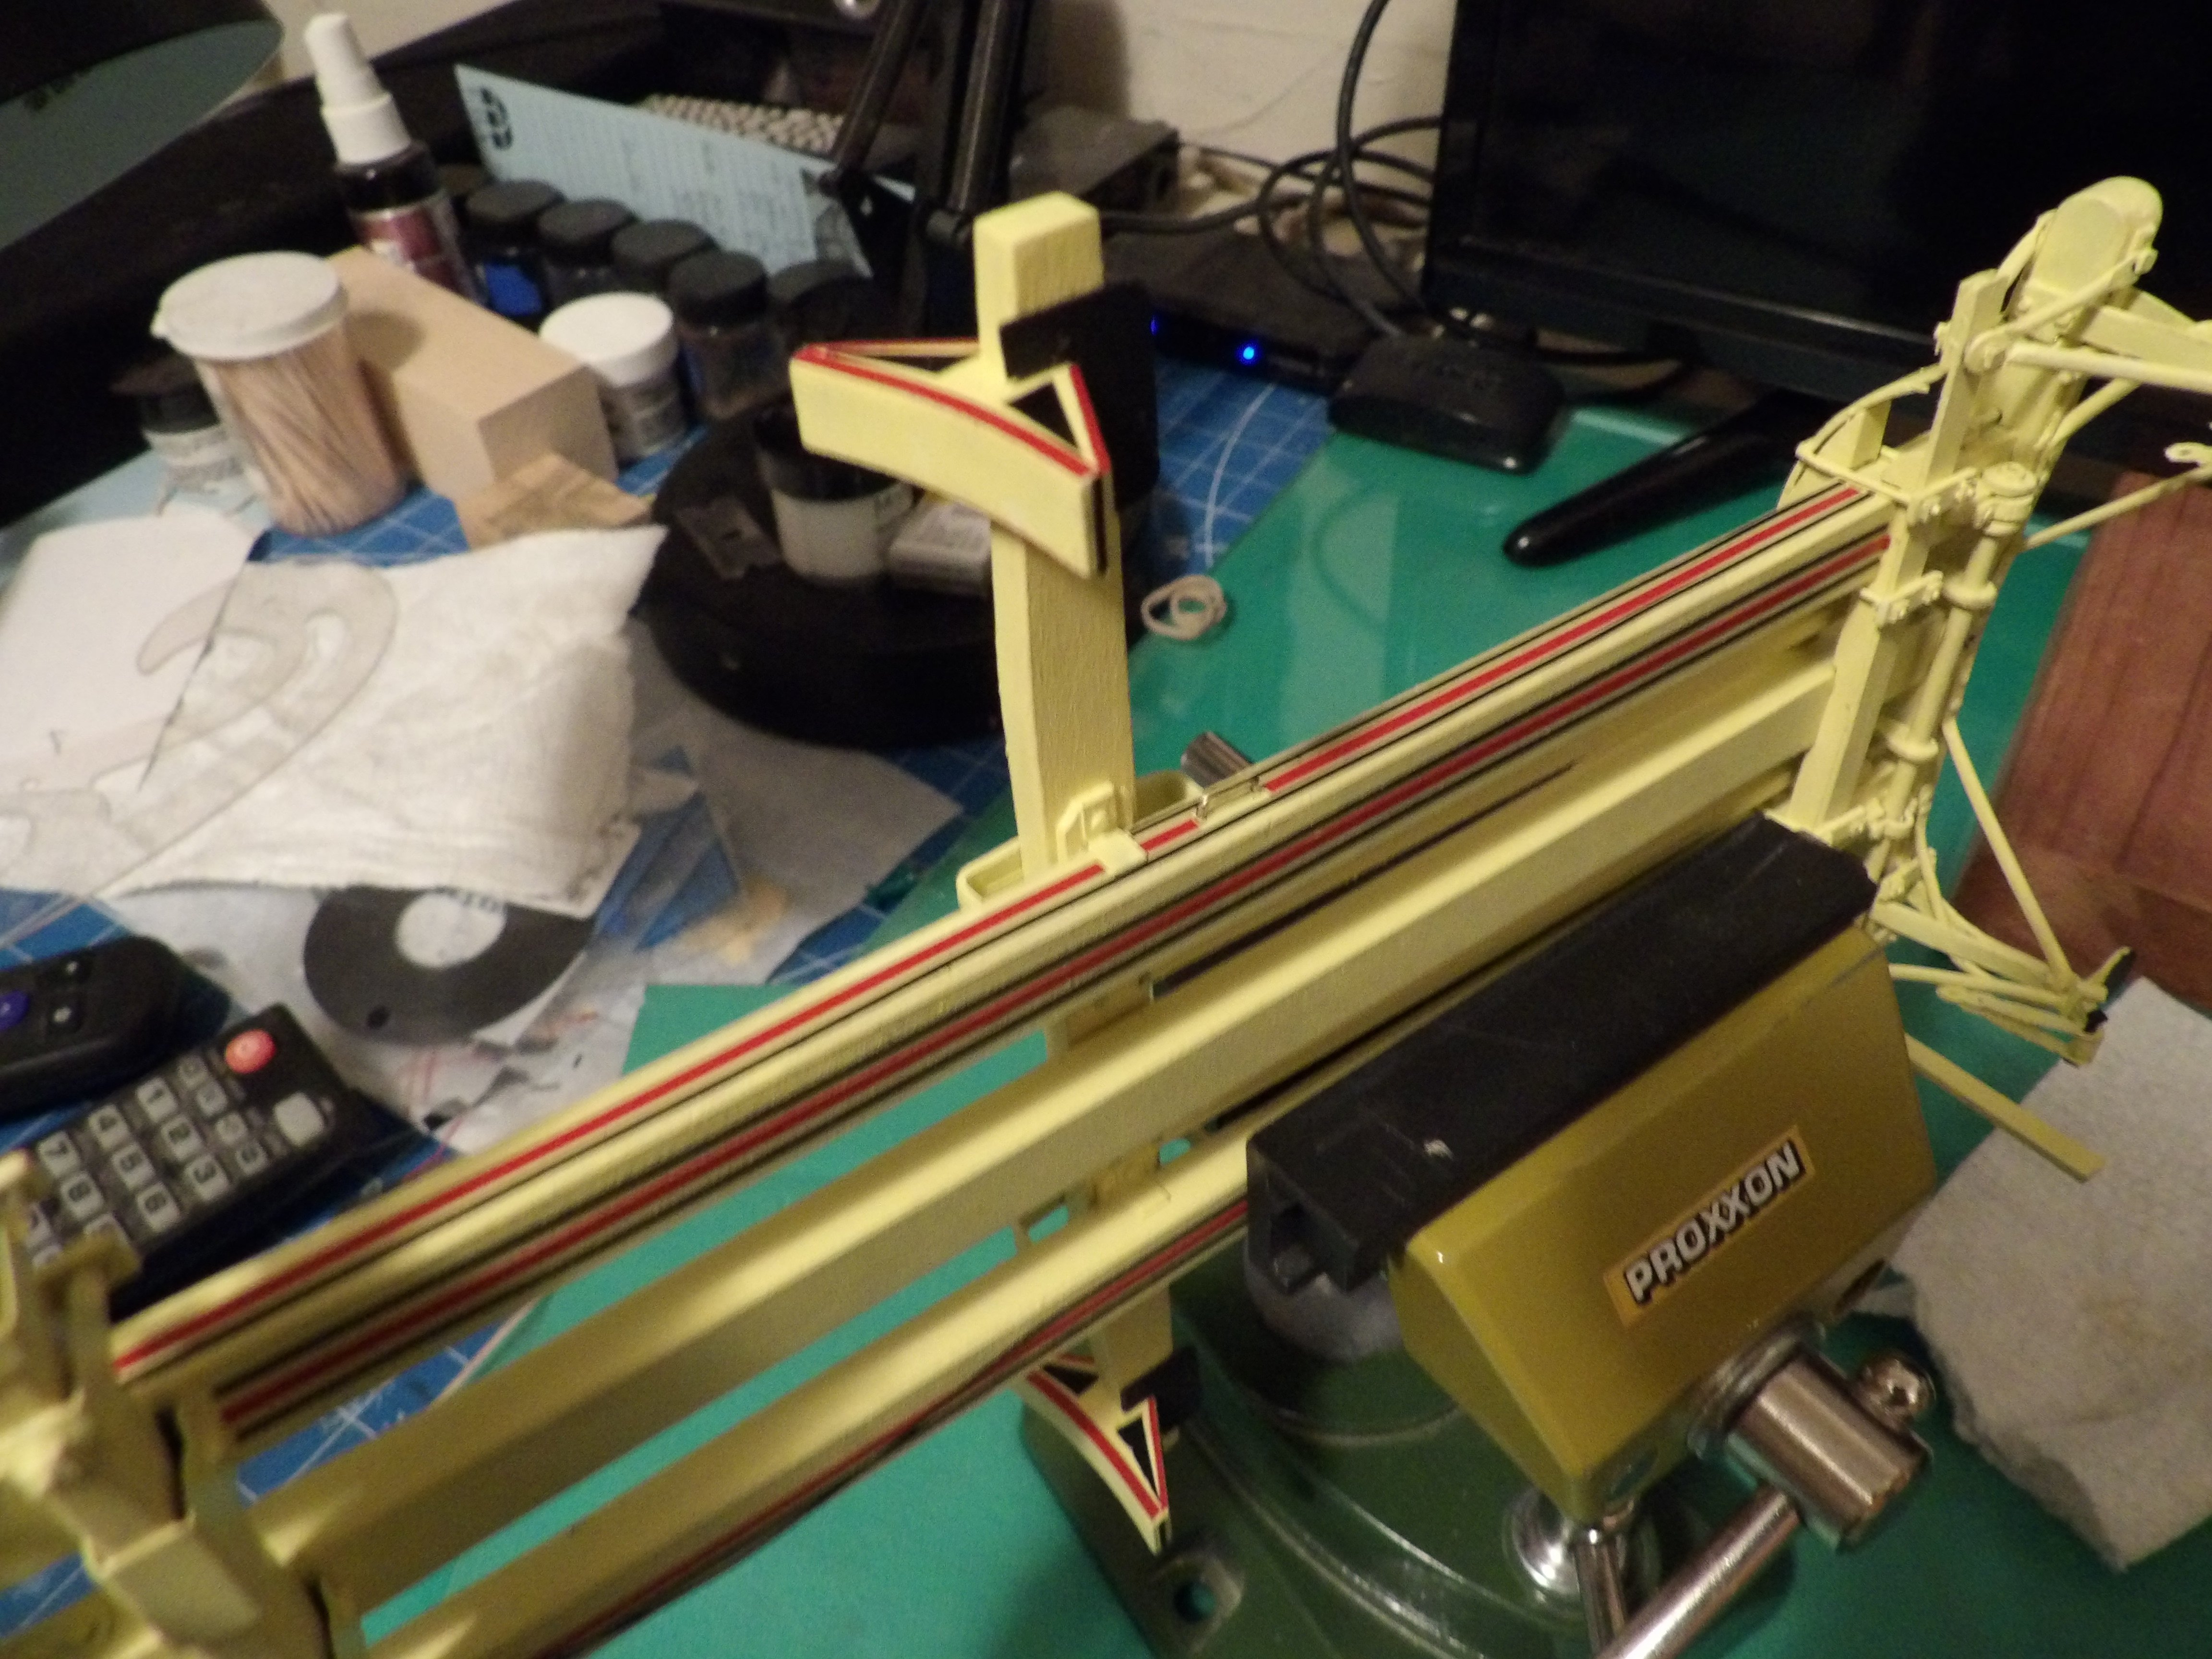
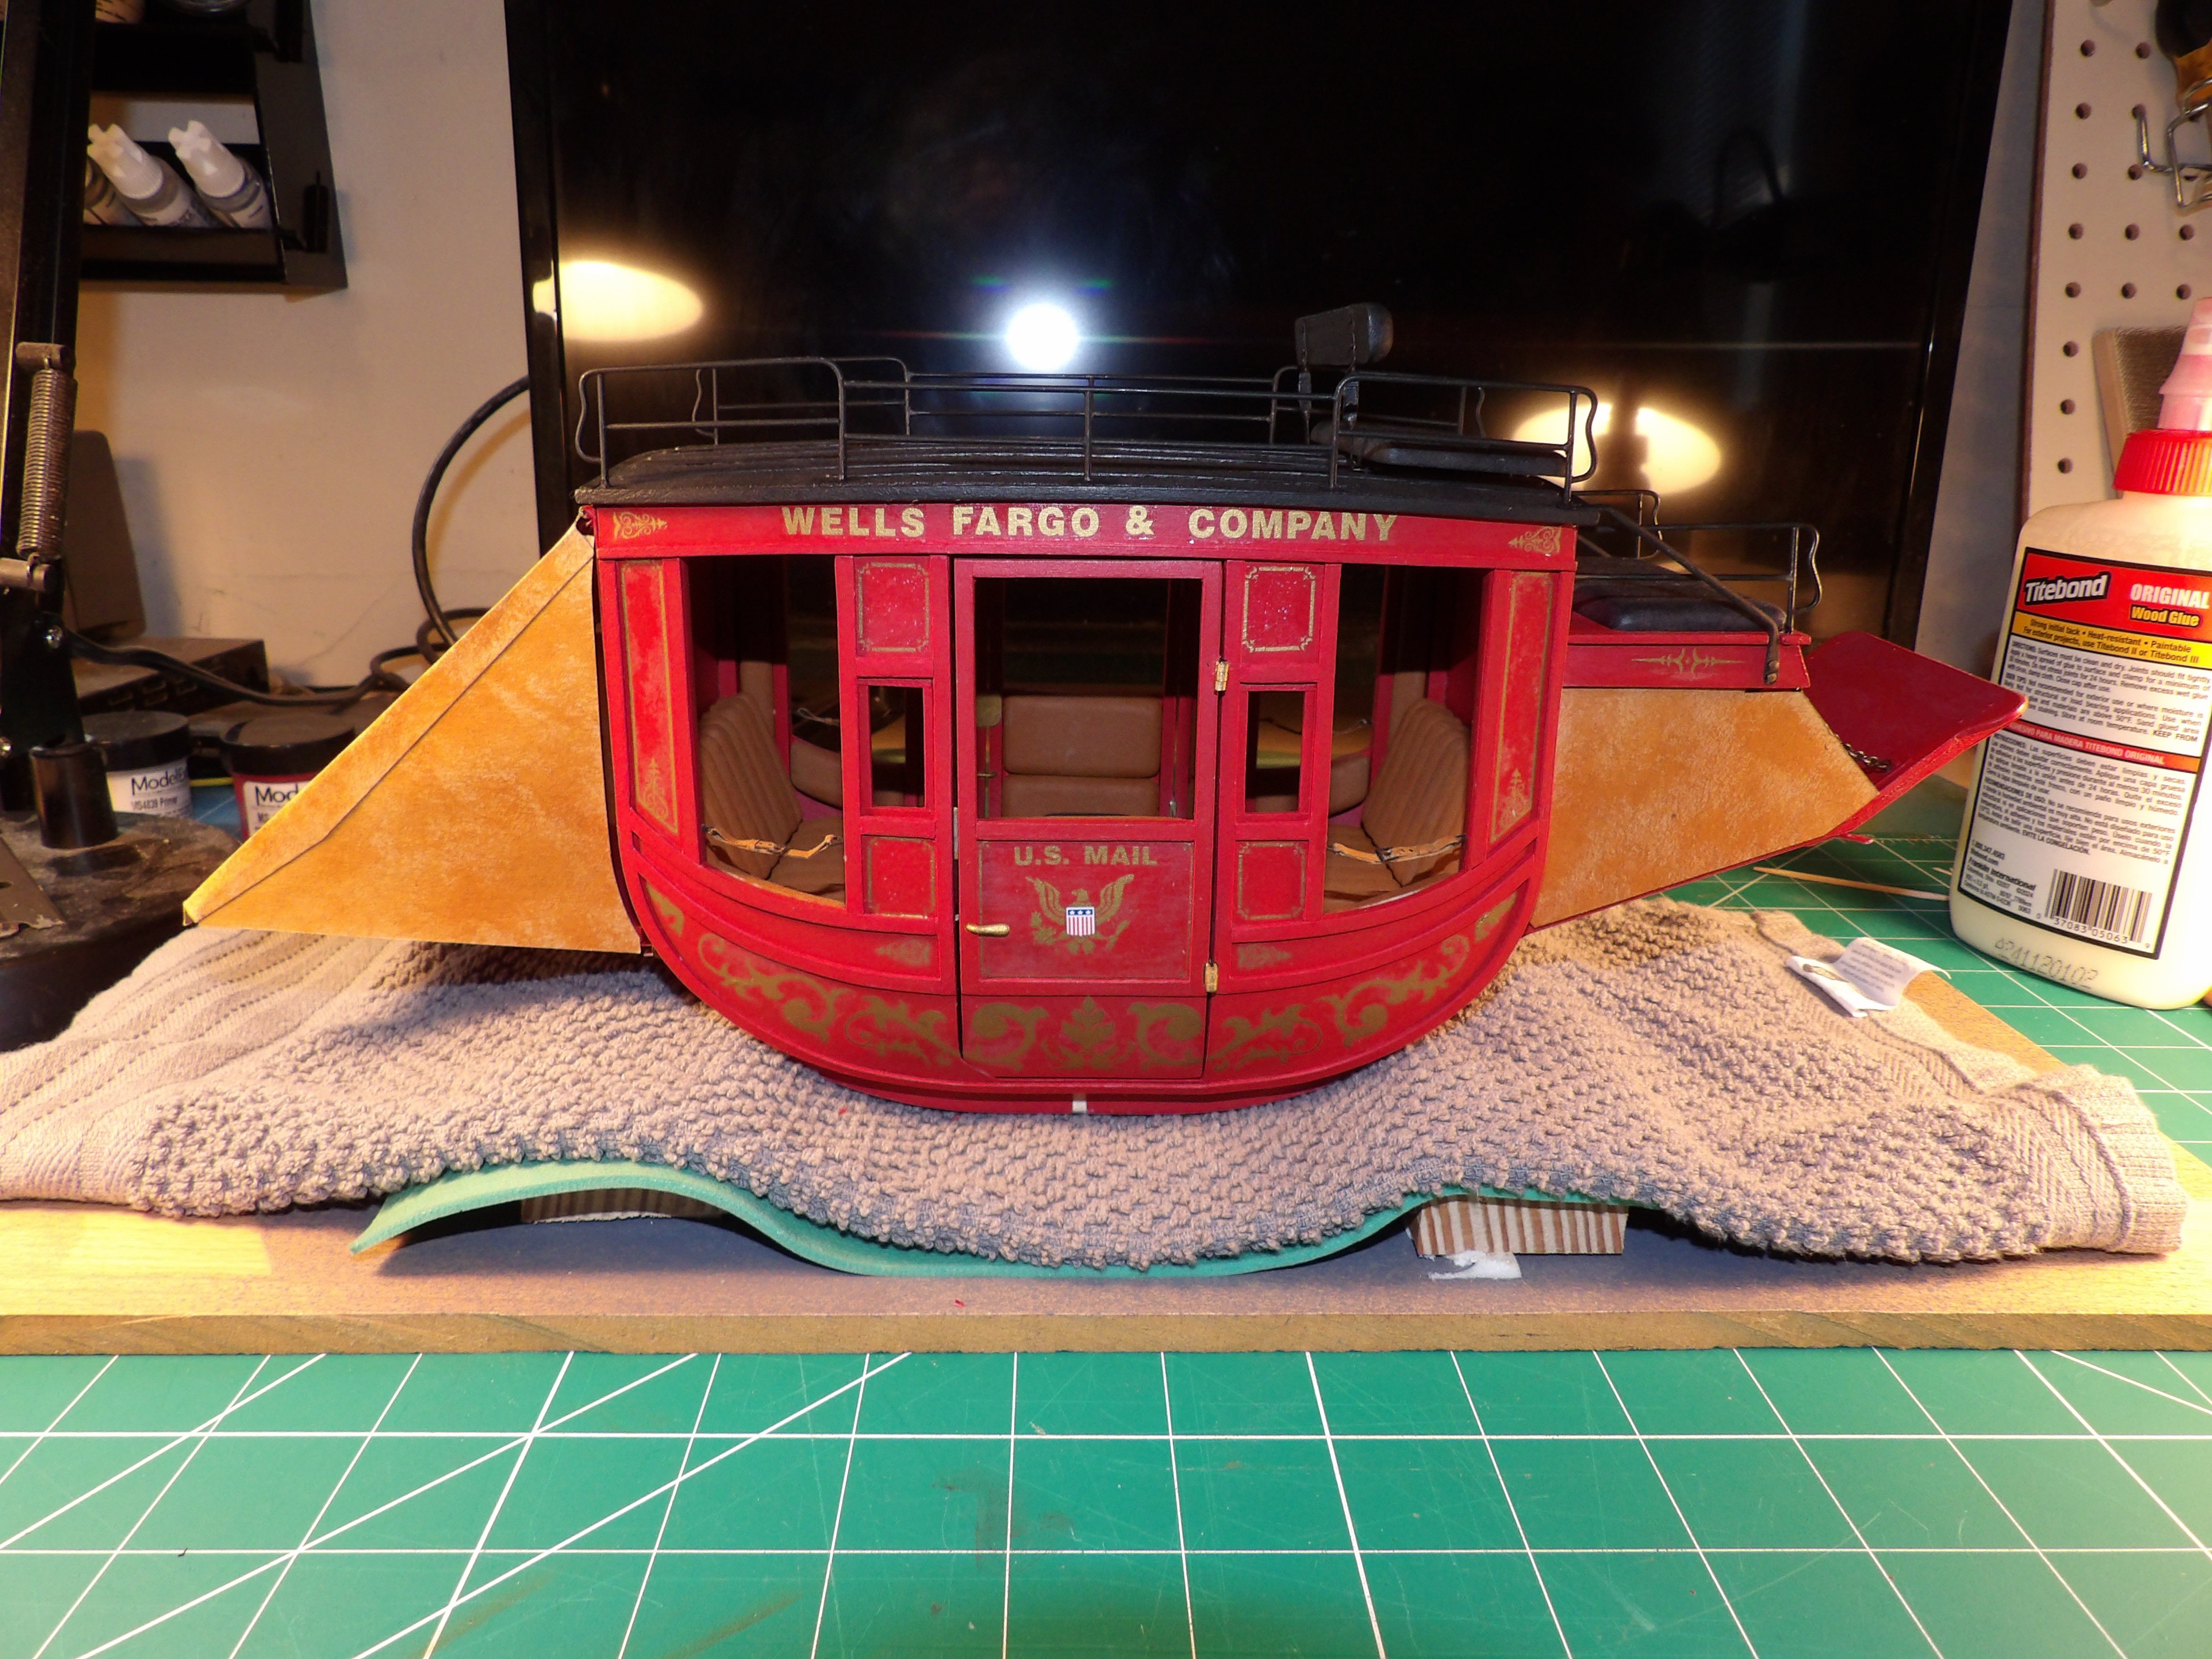
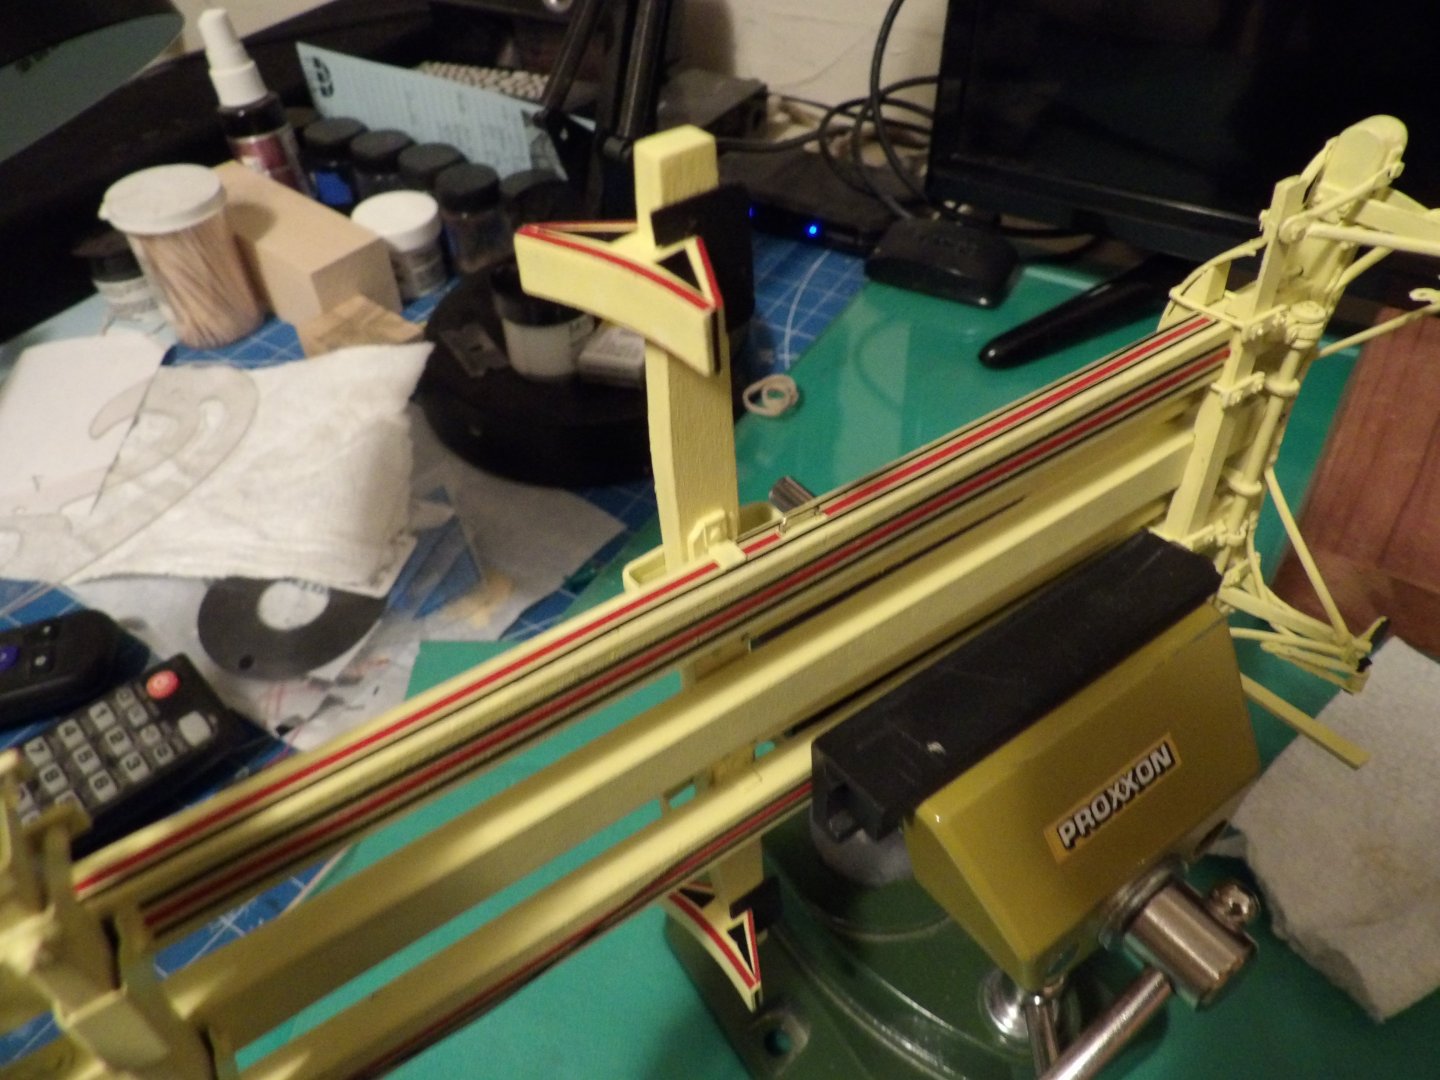
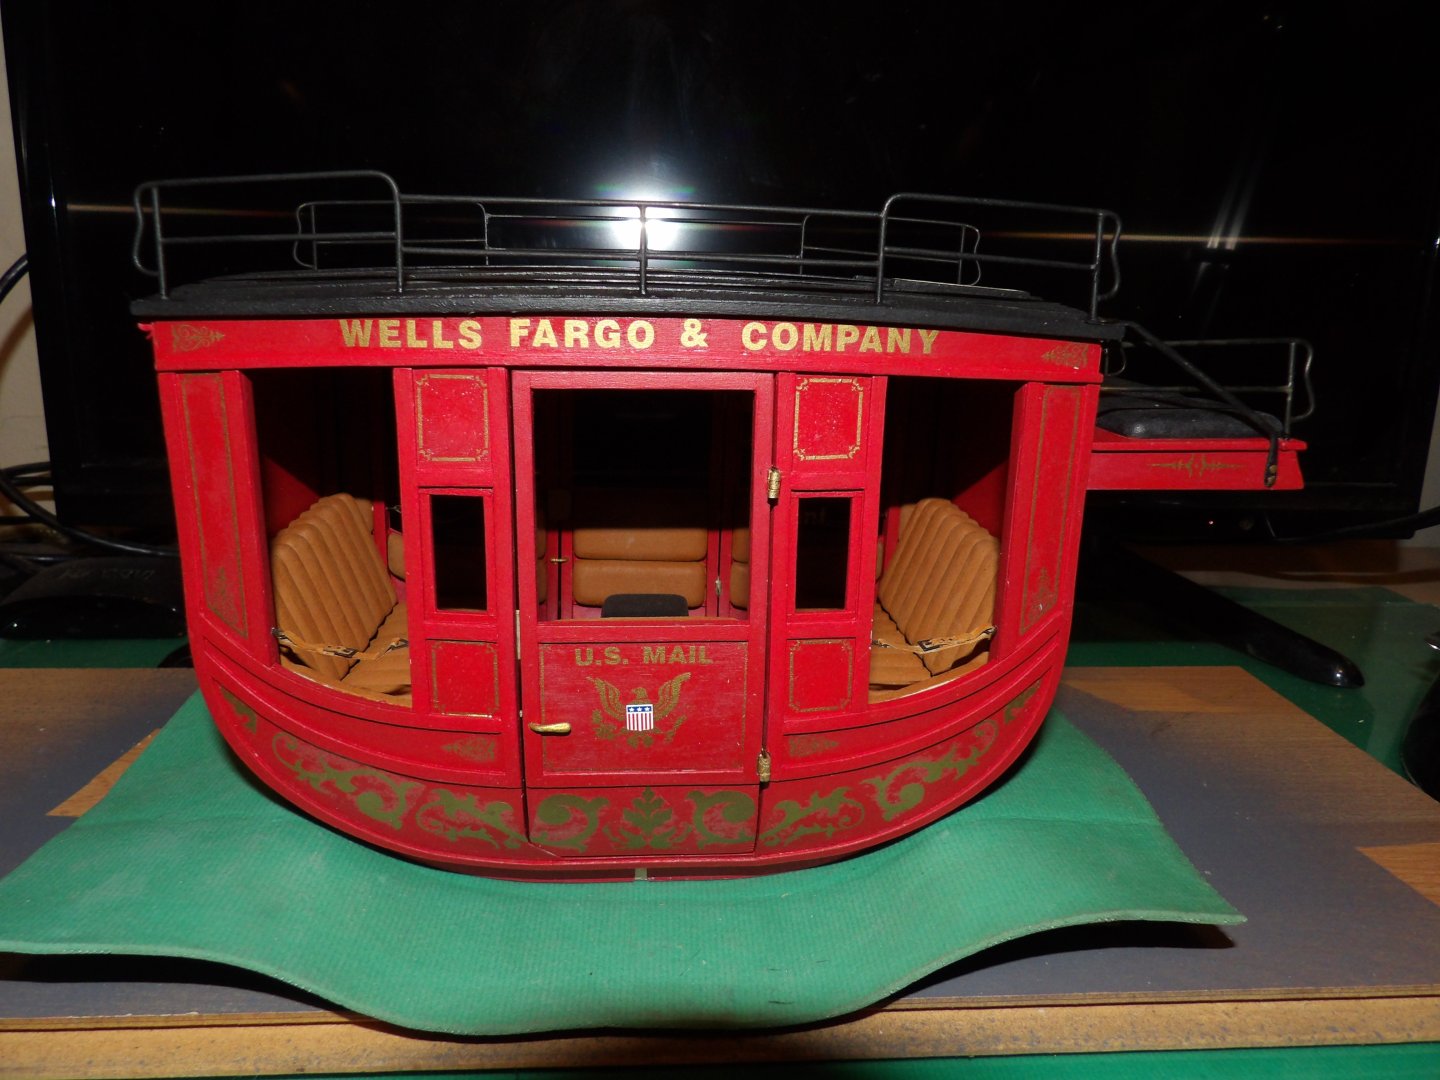
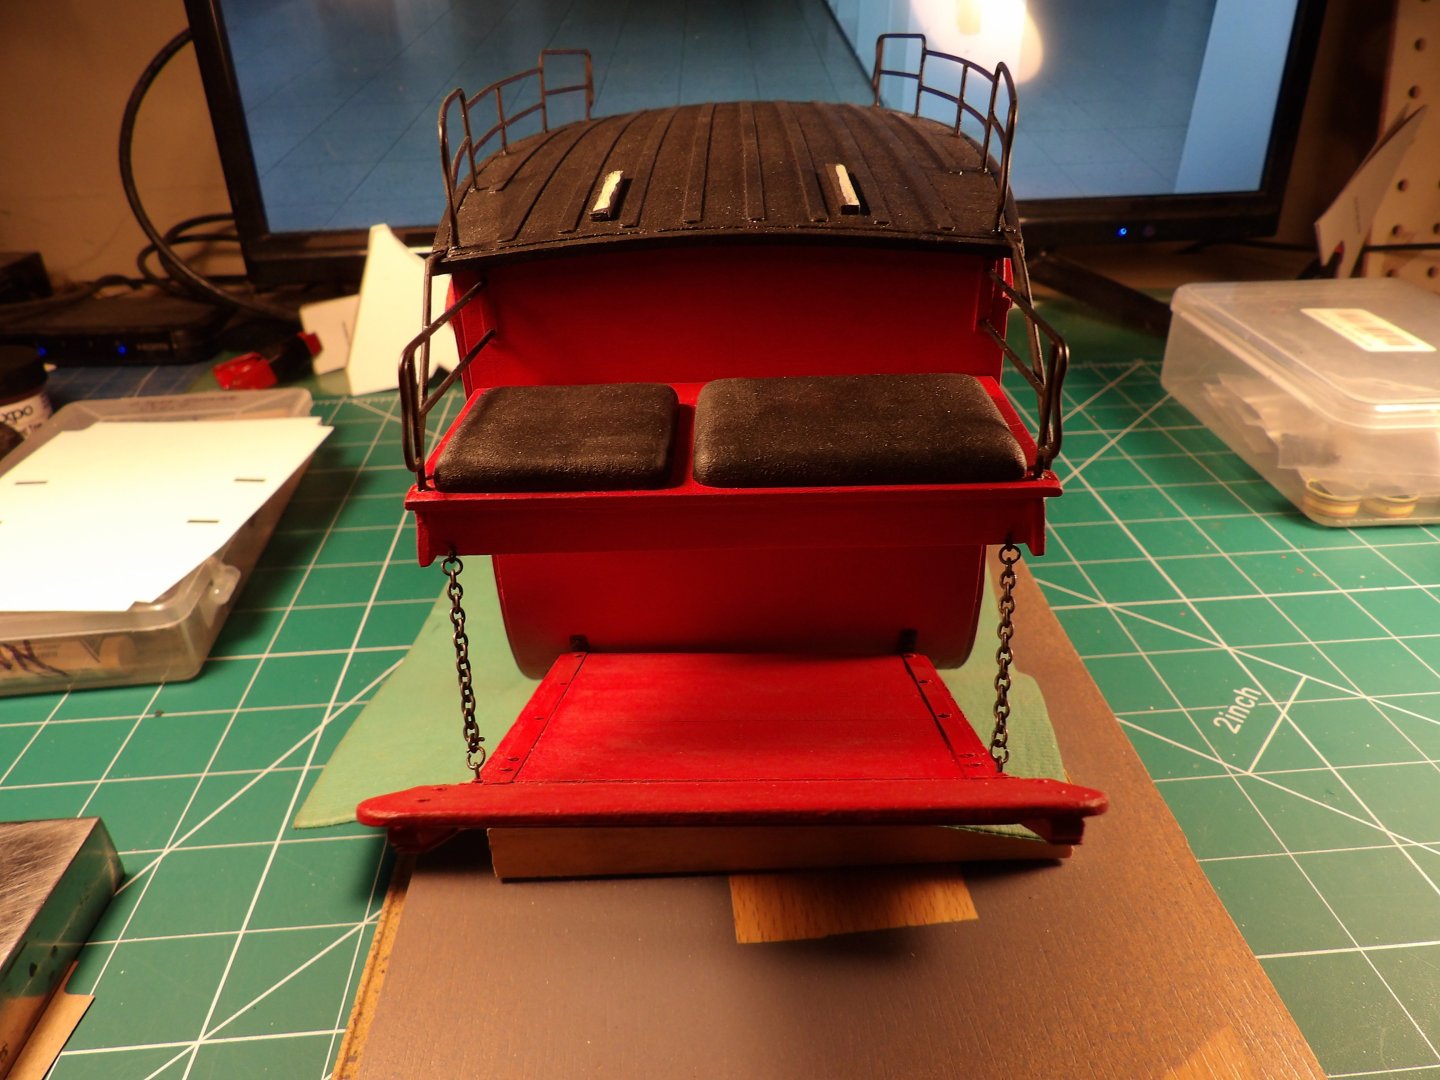
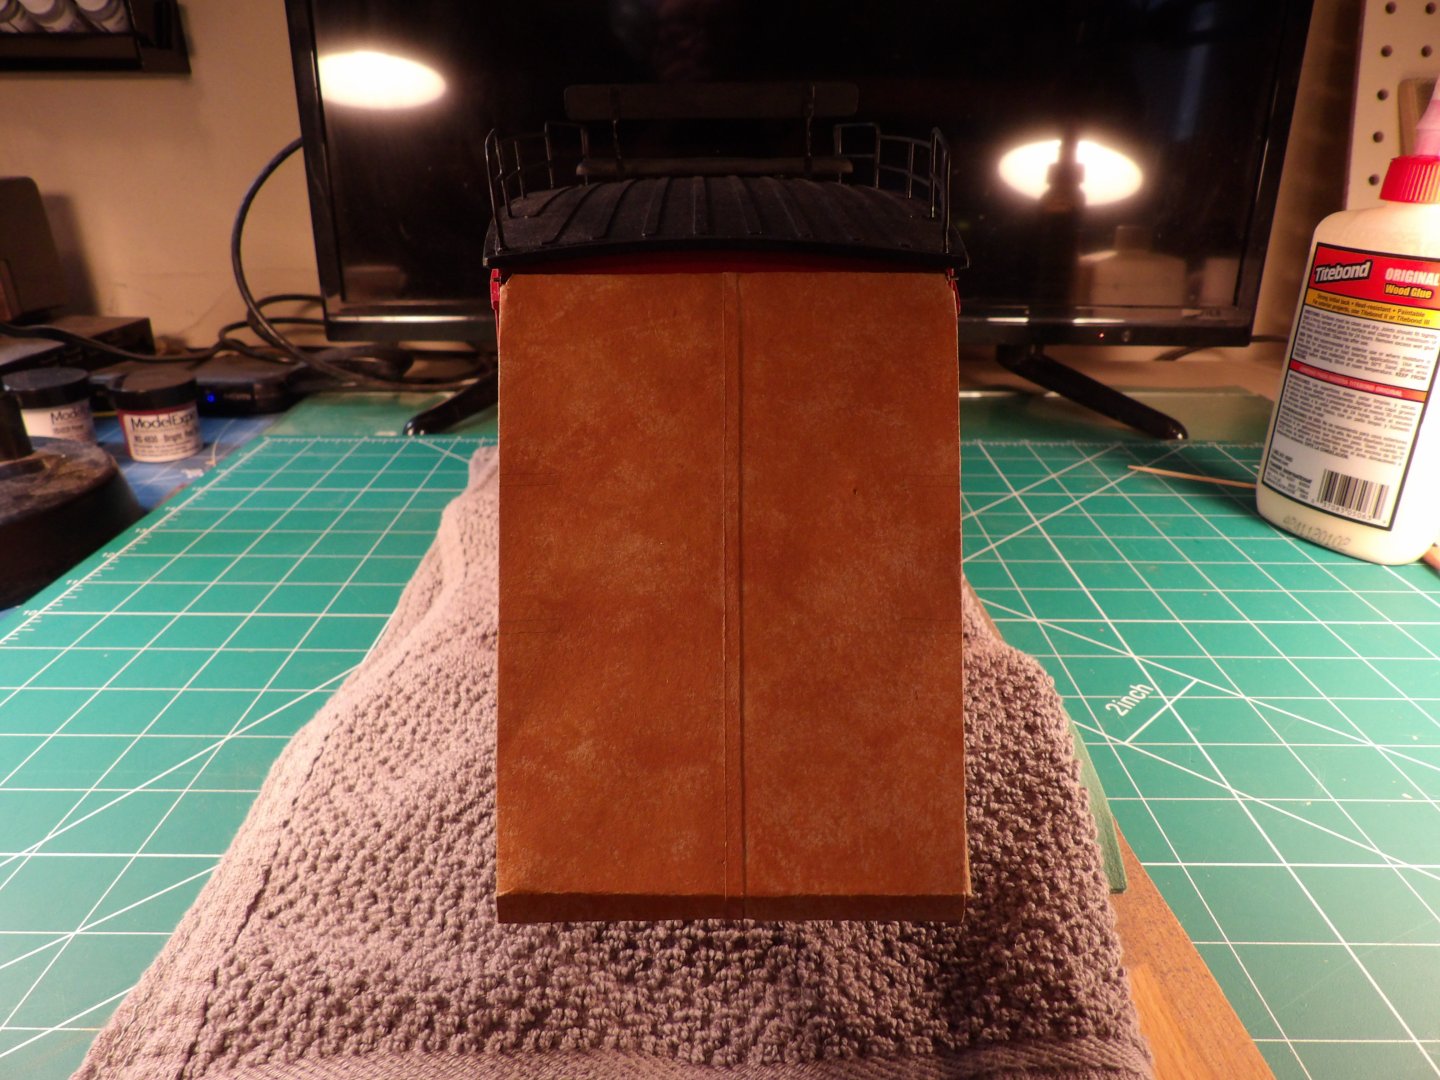
 Took a detour and worked on other things for a while. I've been back to work on the Stagecoach for a while, but have neglected this build log. I finished the undercarriage subassemblies, finish painted and decorated in a manner similar to to the prototype. This is a good place to note that the kit designer spray painted most of his model, but for some perverse reason I chose to hand paint mine. This was a bad choice, haha. The striping is graphic tape, and if you look close I had trouble making it stick in some places. A shot of Dulcote seems to have fixed nicely. Got the topside baggage rails on. These are very delicate and there were a couple of breaks, but it came out OK. Also added the driver's seat and rails. Added the front boot, and then the "leathers." Added the rear boot and leathers. Straps still need to be added: Added the topside seat:


-
Hello, Tankerman
I did buy the 4-horse harness kit. Question: was your kit supplied with black rubber gasket material for the traces, straps, etc? The same material was supplied for the stagecoach itself, but I can tell from the written instructions (for the coach) that it was not what was intended by the kit designer. Brutal stuff to work with, and not cut through. Any advice? Instructions speak of cleaning up char from this stuff, are they kidding?
Thanks very much, Bob
I'll be updating the log at some point. . .
-
Awesome! Seeing your work sent me to the Sierra West site where I settled on the O scale Sawmill Project. This one-man manufacturer, Brett Gallant, gives superb customer service at a level not experienced by myself, ever. This is quite a different kind of modeling than I have done before and I look forward to the many hours it will take to construct. I'll look to your build for relevant tips and techniques. I will probably post a log on the S.W. site so as to benefit from the experience to be found there, but may show periodic progress here at MSW, as Chuck and admins. don't seem to mind posts of non-ship builds. Thanks for the inspiration, Grant. If I can do half as well, I'll be happy. Bob
-
I am building my second, the Concord Stage Coach, it has not been what I'd call an easy build. . . intermediate level maybe. Have fun!
-
May I say that I never saw the appeal of this kind of figure modeling until now. Thanks bob
-
John, I enjoy your work very much.
I have been wondering, do people in Maine remember E.B. White, Maine resident, New Yorker staff writer for decades, master essayist and author of fiction, and lifelong sailor? His son, I believe, was a boat designer and builder in Maine, and may very well still be engaged in that occupation.
bob
-
You are quite the builder! Love the shop, and glimpses of your yard. bob
-
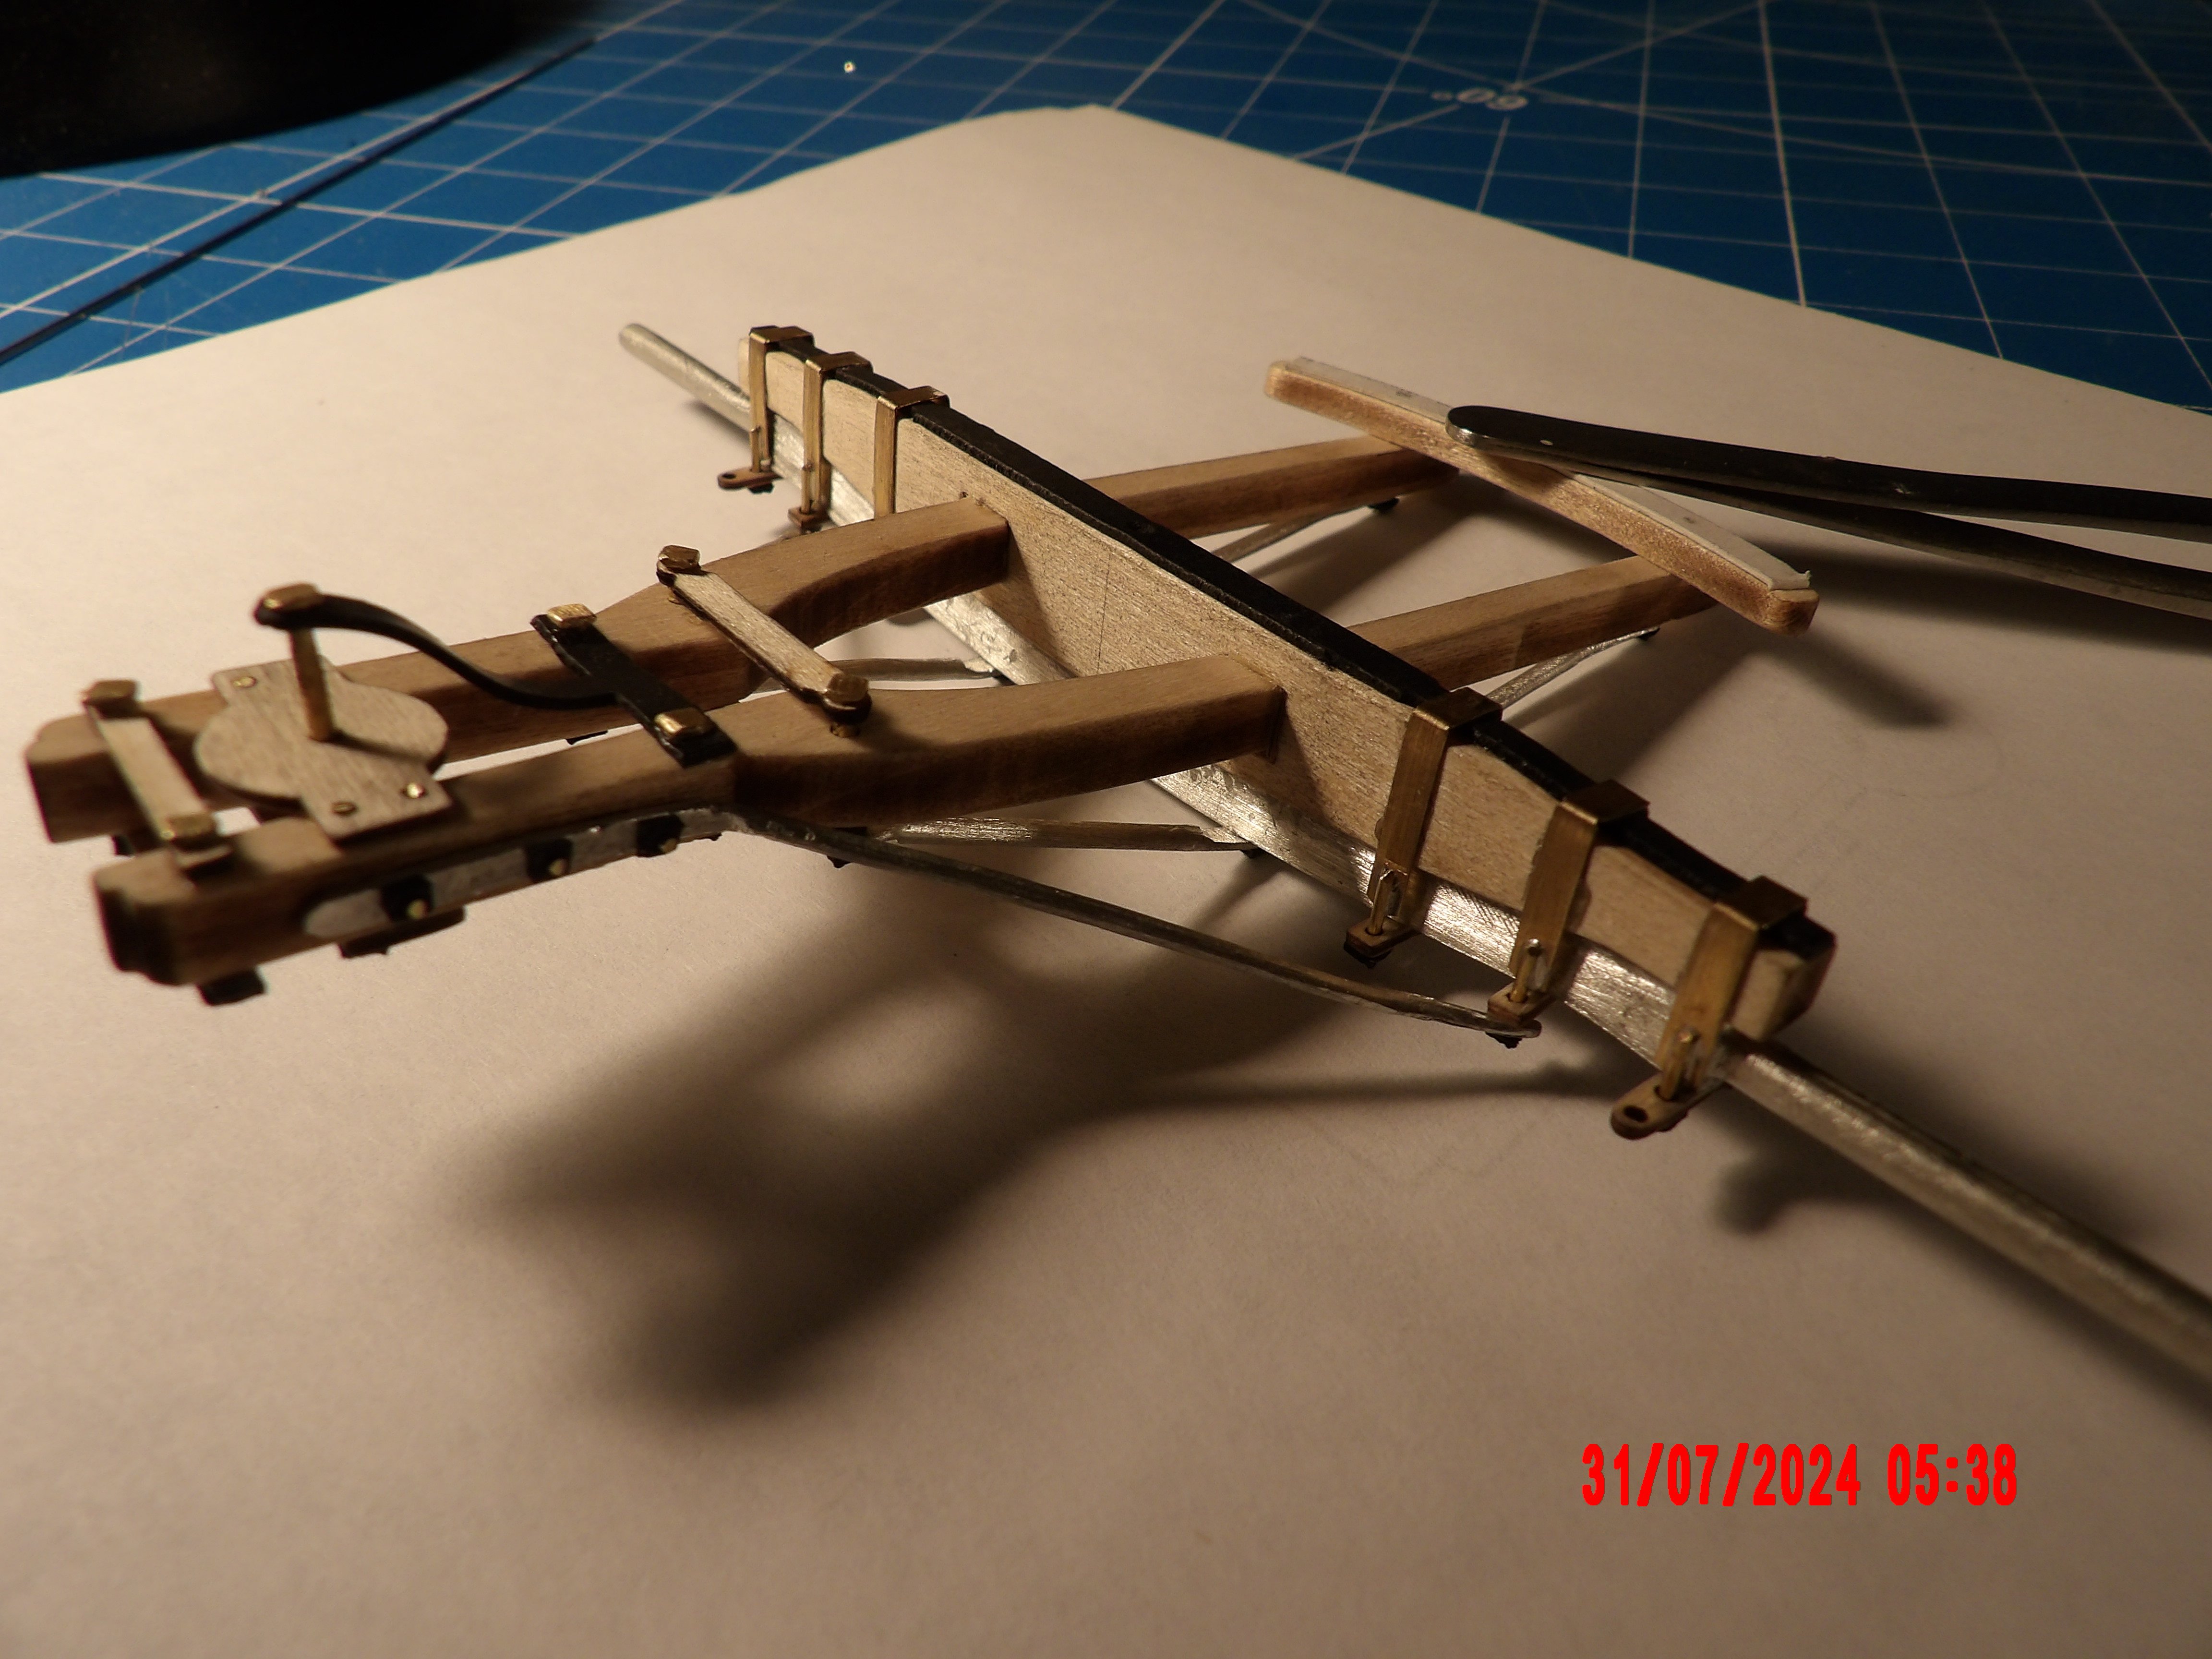
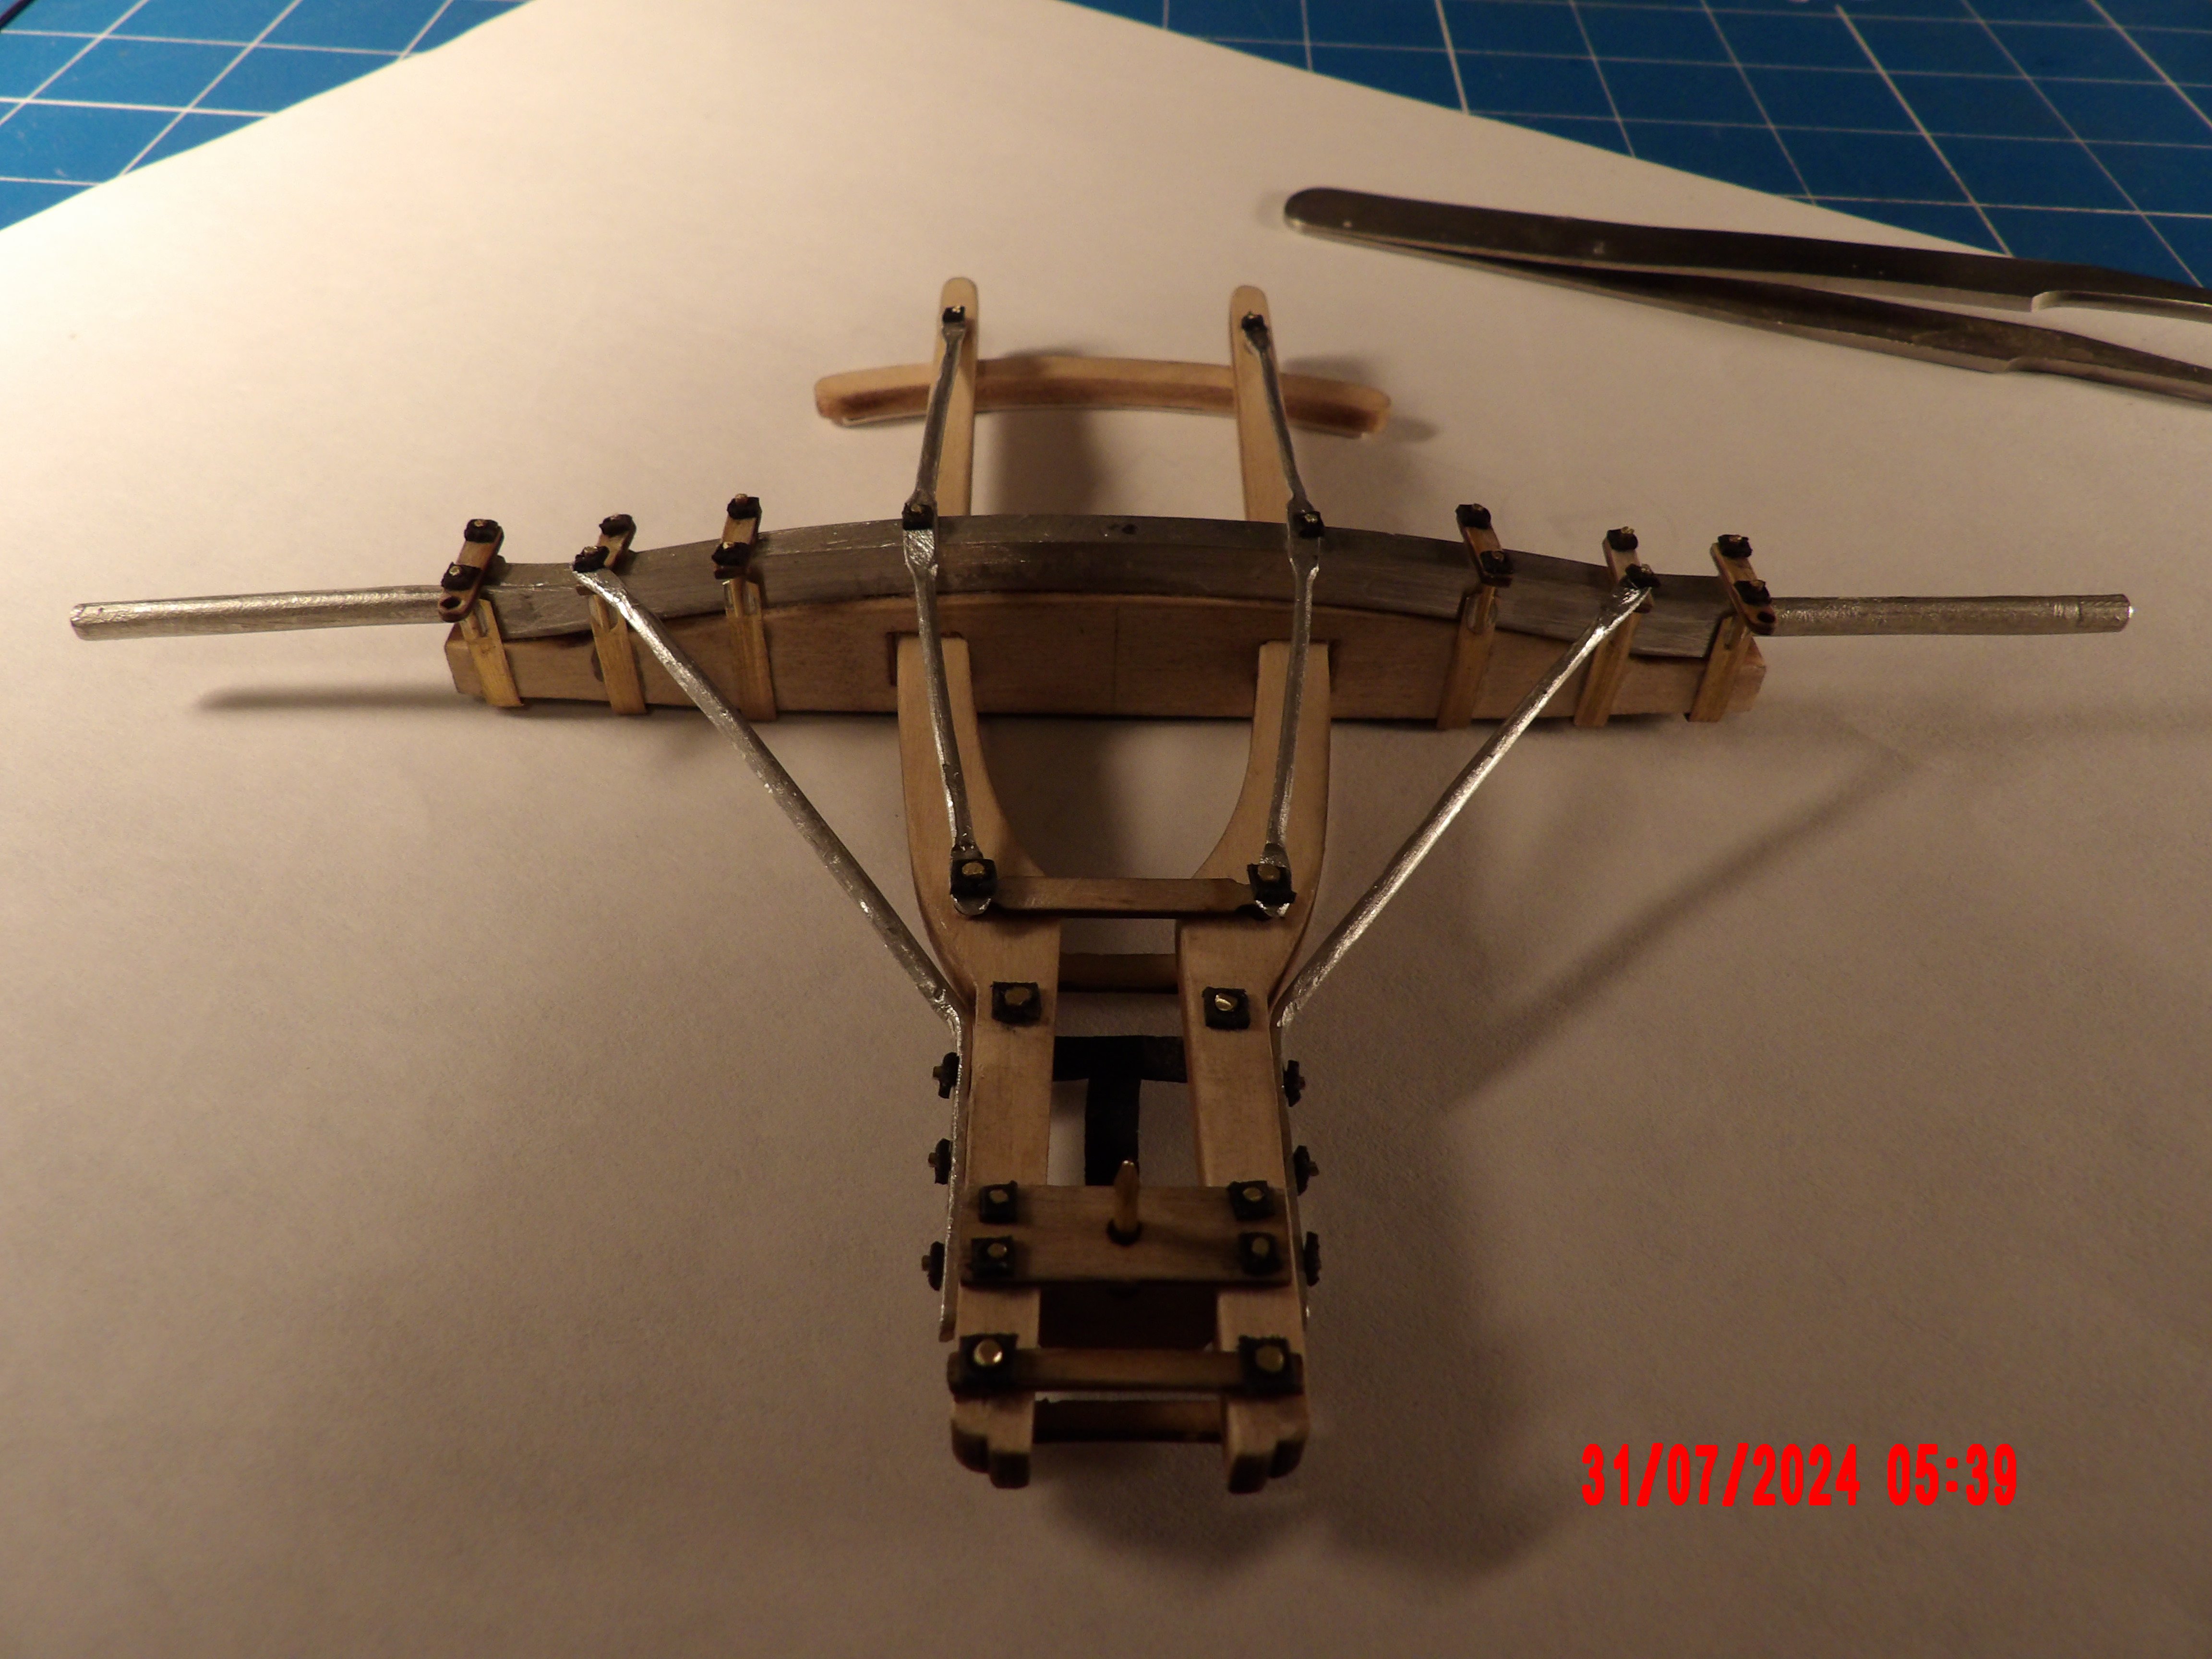
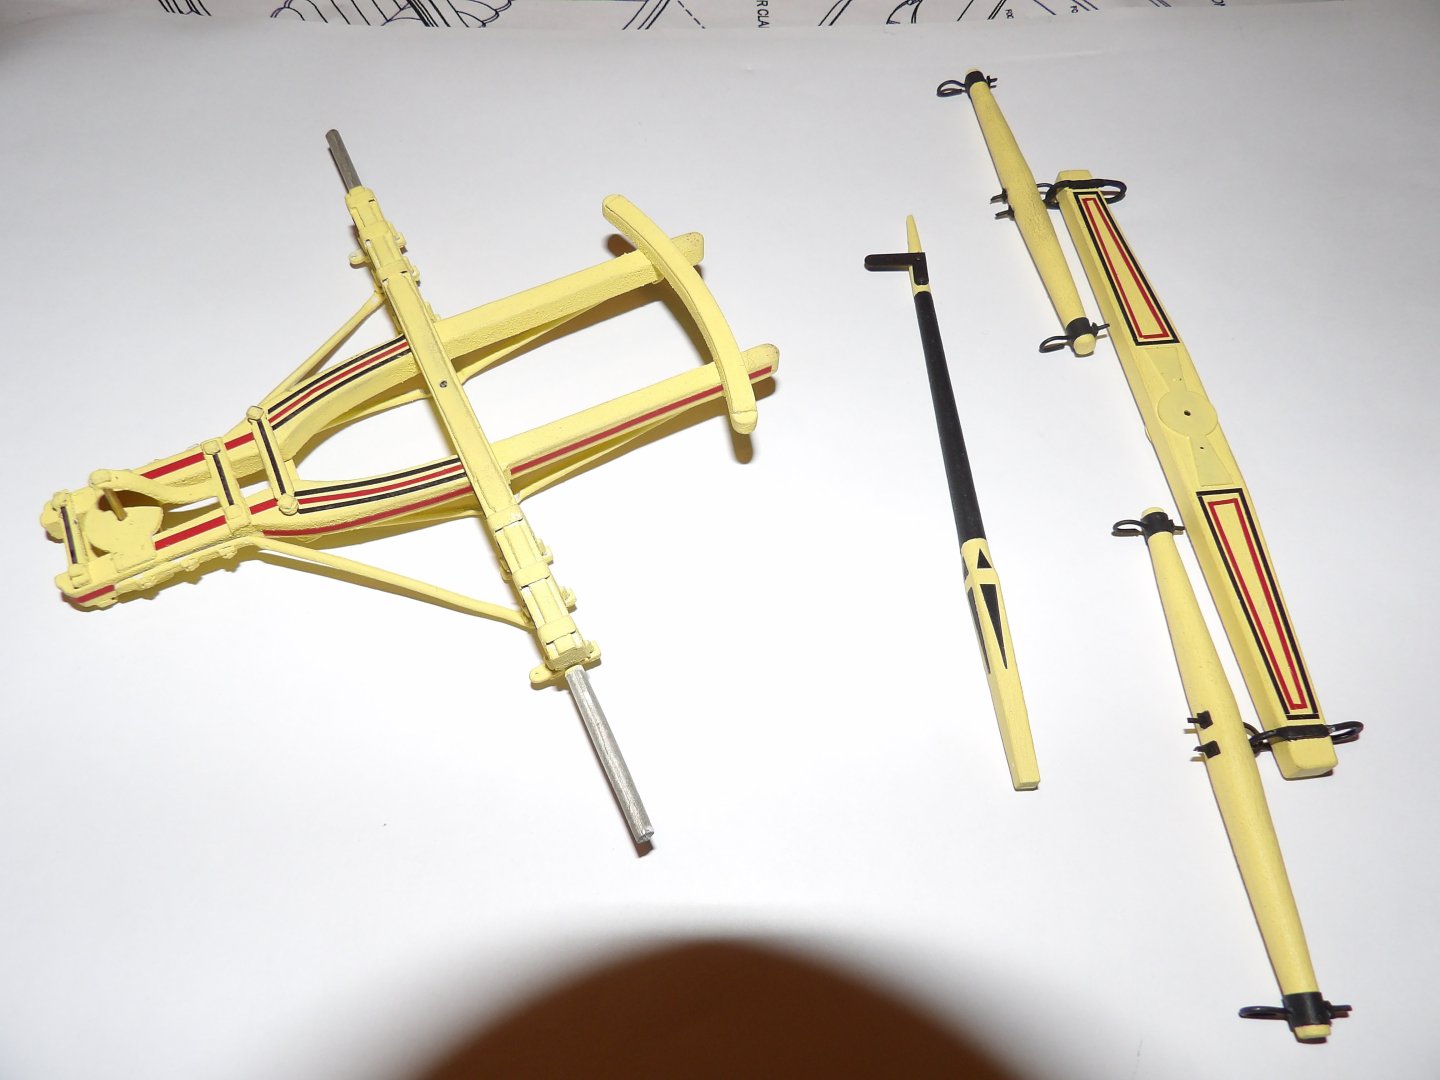
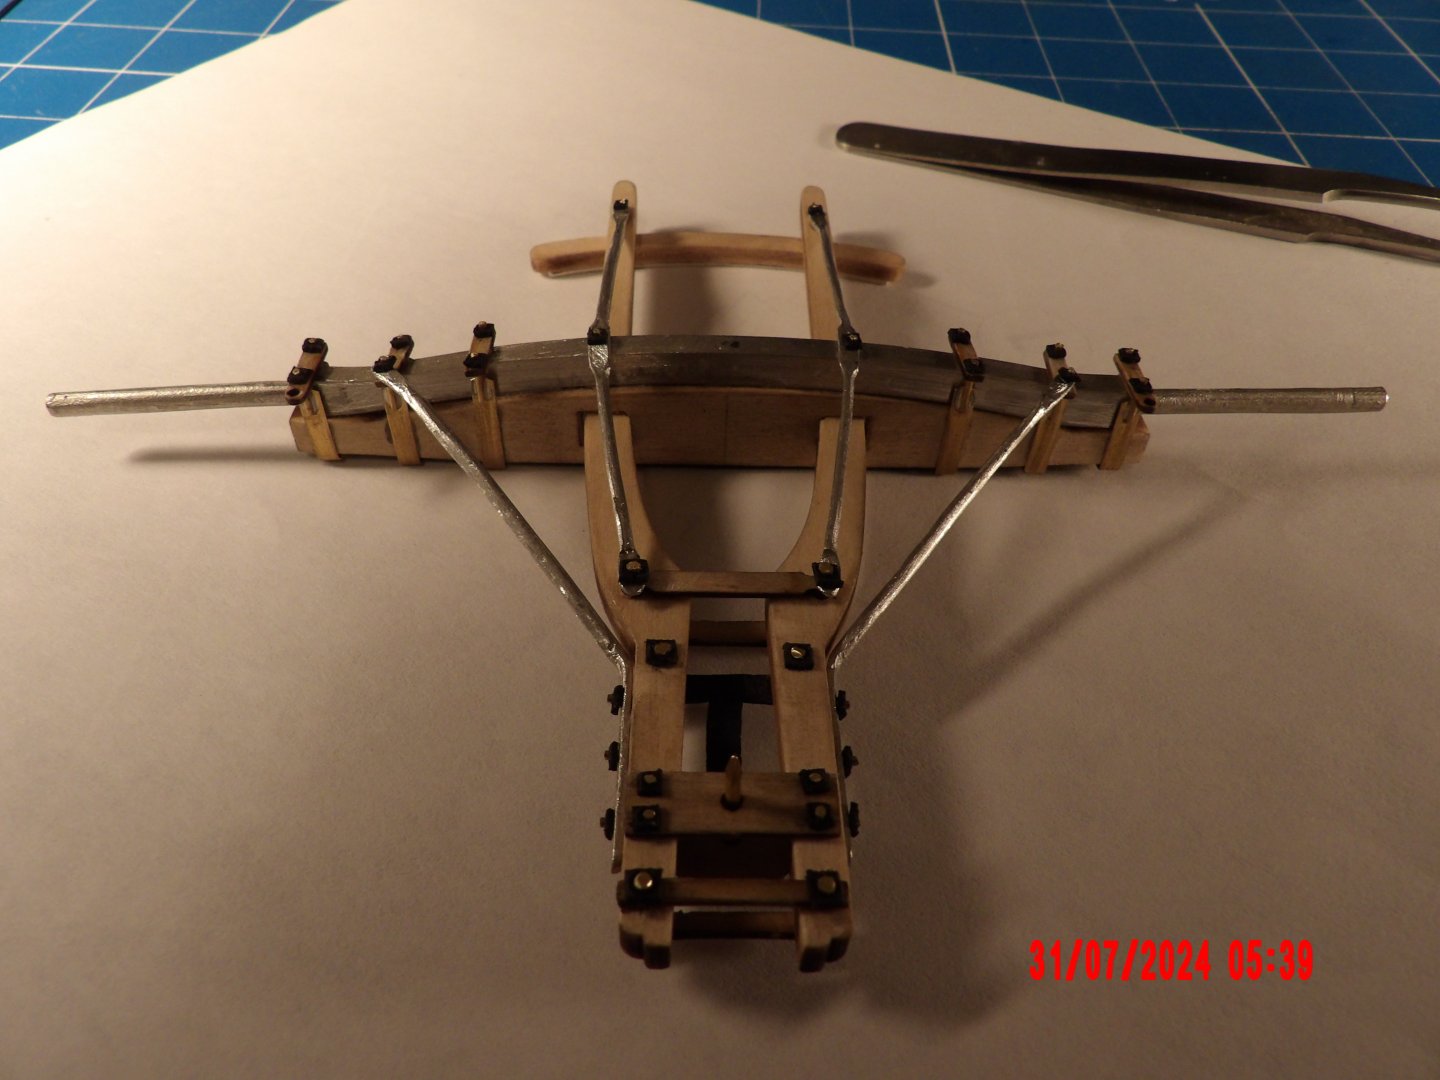
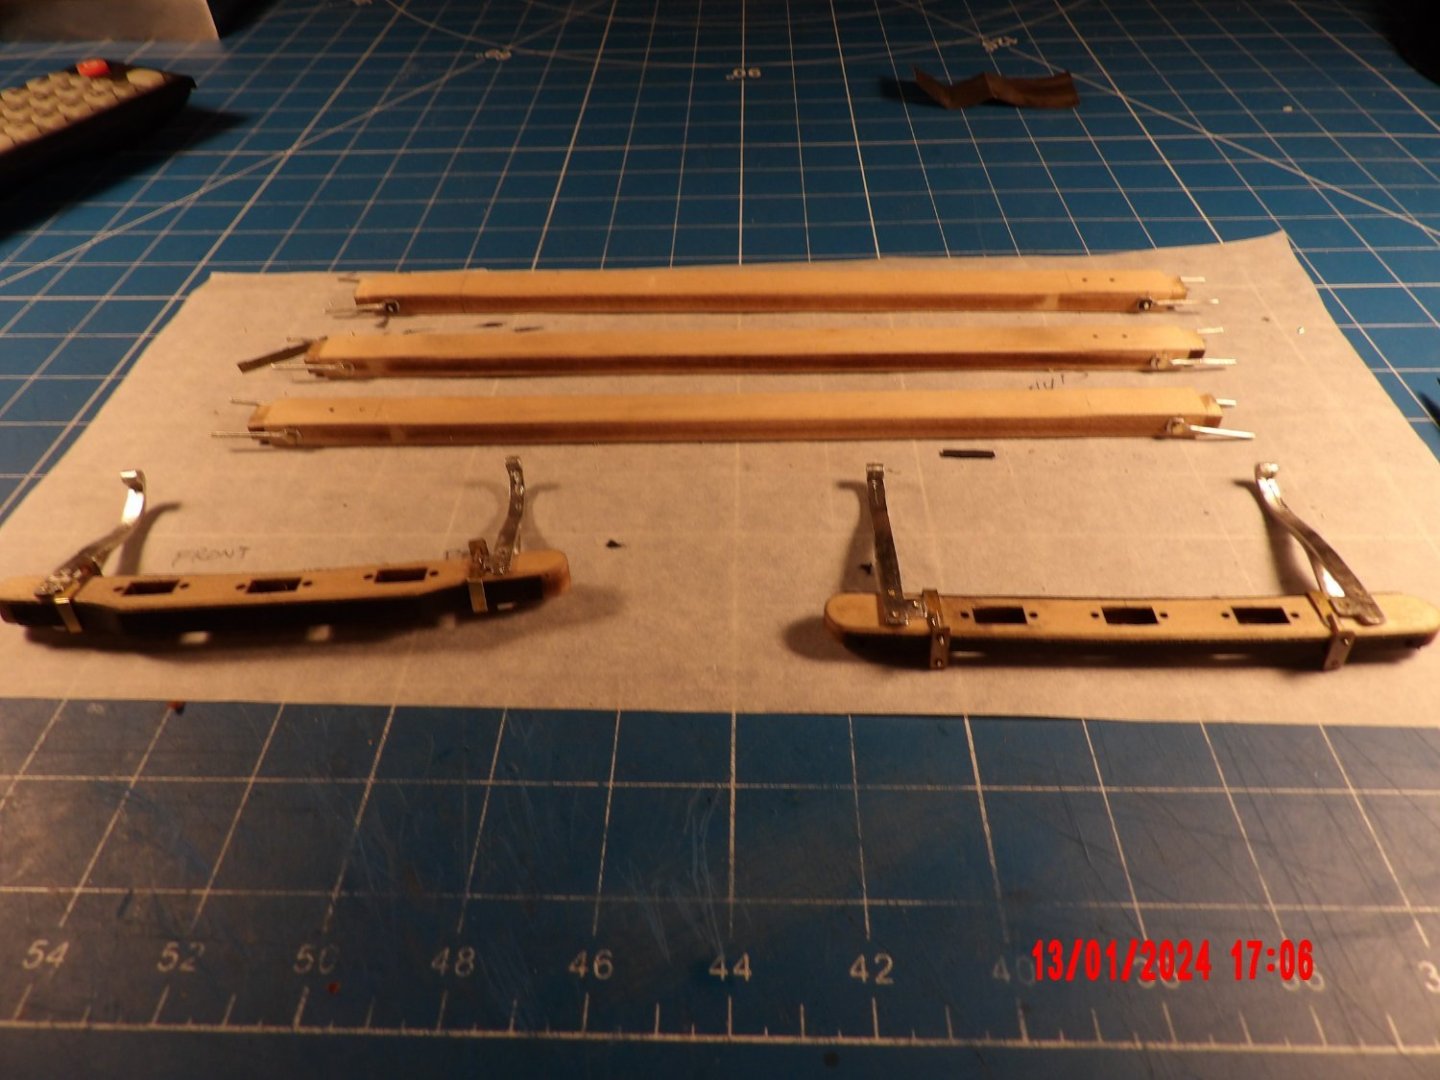
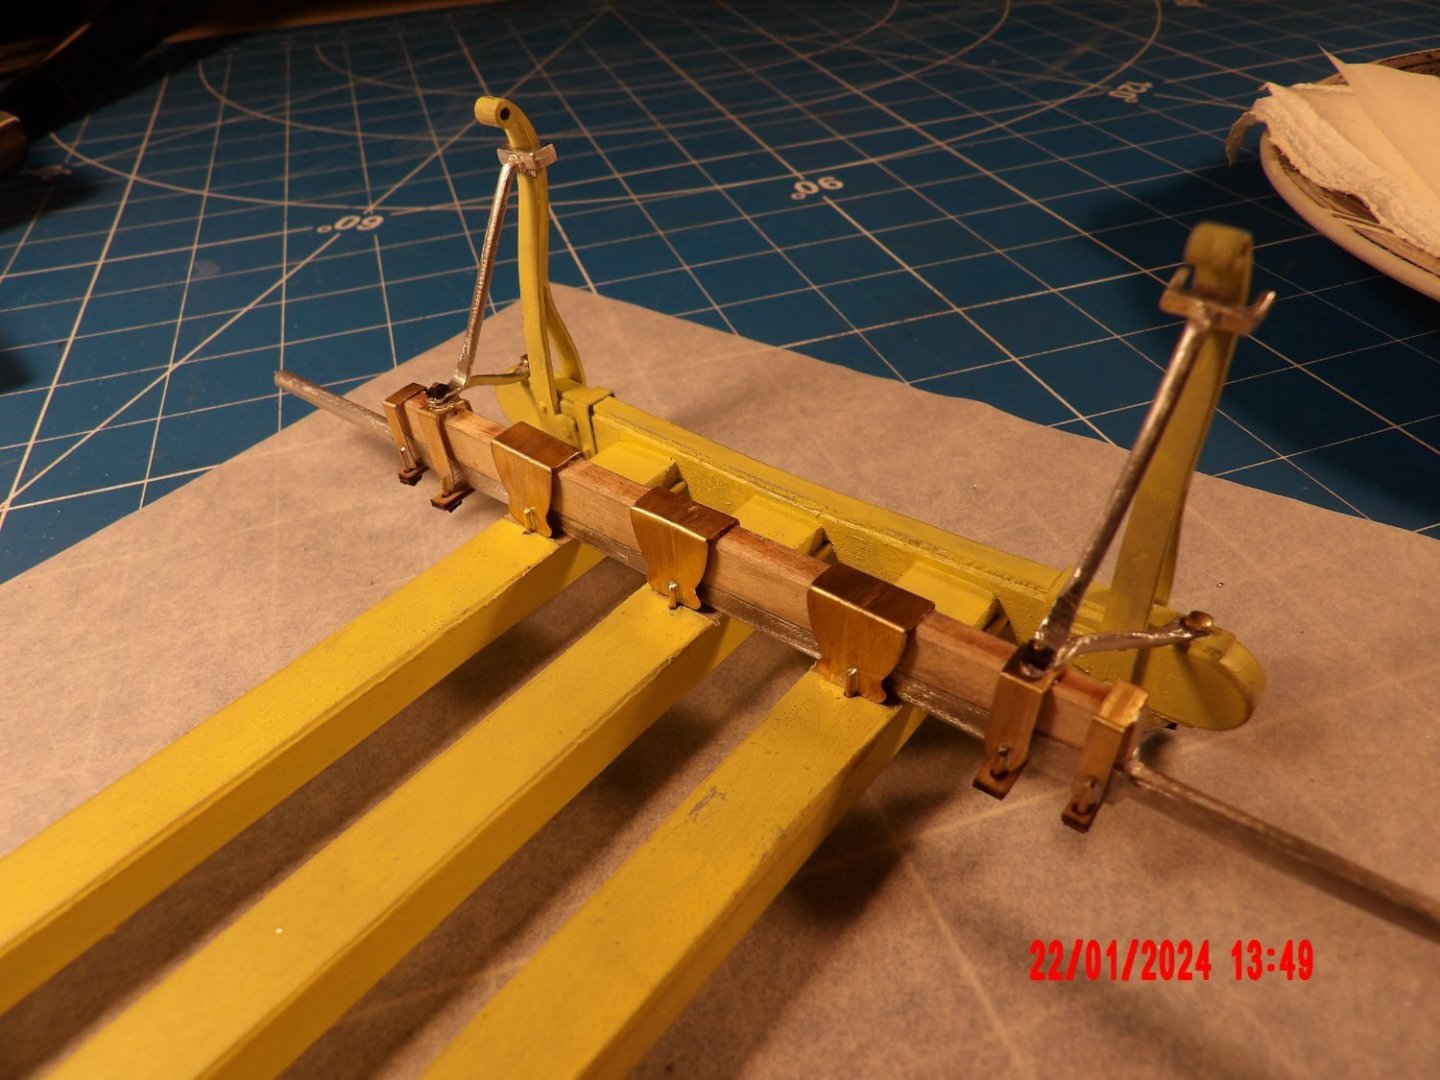
Finished the "running gear," ready for painting. Tricky to assemble. The holes for the "hounds" (the two curved members penetrating the axle assembly) were considerably oversized, and it took me quite a while to figure out how to shim without throwing off other critical dimensional relationships. But I did it! I don't expect nicely made metal castings, so I wasn't disappointed with those supplied with this kit! Spent a good deal of time cleaning them up and then correcting the shapes. But I am a very patient modeler. . . The square-headed bolts are made from "escutcheon" nails. I squeezed them into a rough square shape in a vise, them filed the top flat and cleaned up the squeeze from the underside of the head. There are quite a few of these bolts on the model, so I'm getting better at forming them as the building progresses.

- 18 replies
-
- 10
-

-
Very Nice! Interesting to see the differences between the version I built and yours. . . bob
- 87 replies
-
- 4
-
-

-
- King of the Mississippi
- Artesania Latina
- (and 2 more)
-
Thanks, @Tankerman. I now do recall seeing this kit. It does look rather fanciful. I love steam power.
-
The horses/harnesses do look very nice. I'm not sure if I'll do them, but I will consider. . . @Tankerman I don't recognize your model as a Model Trailways offering. It looks fantastic! Could you please explain it's function and origin? Is it something you scratch-built? bob
-
Thanks very much. b
-
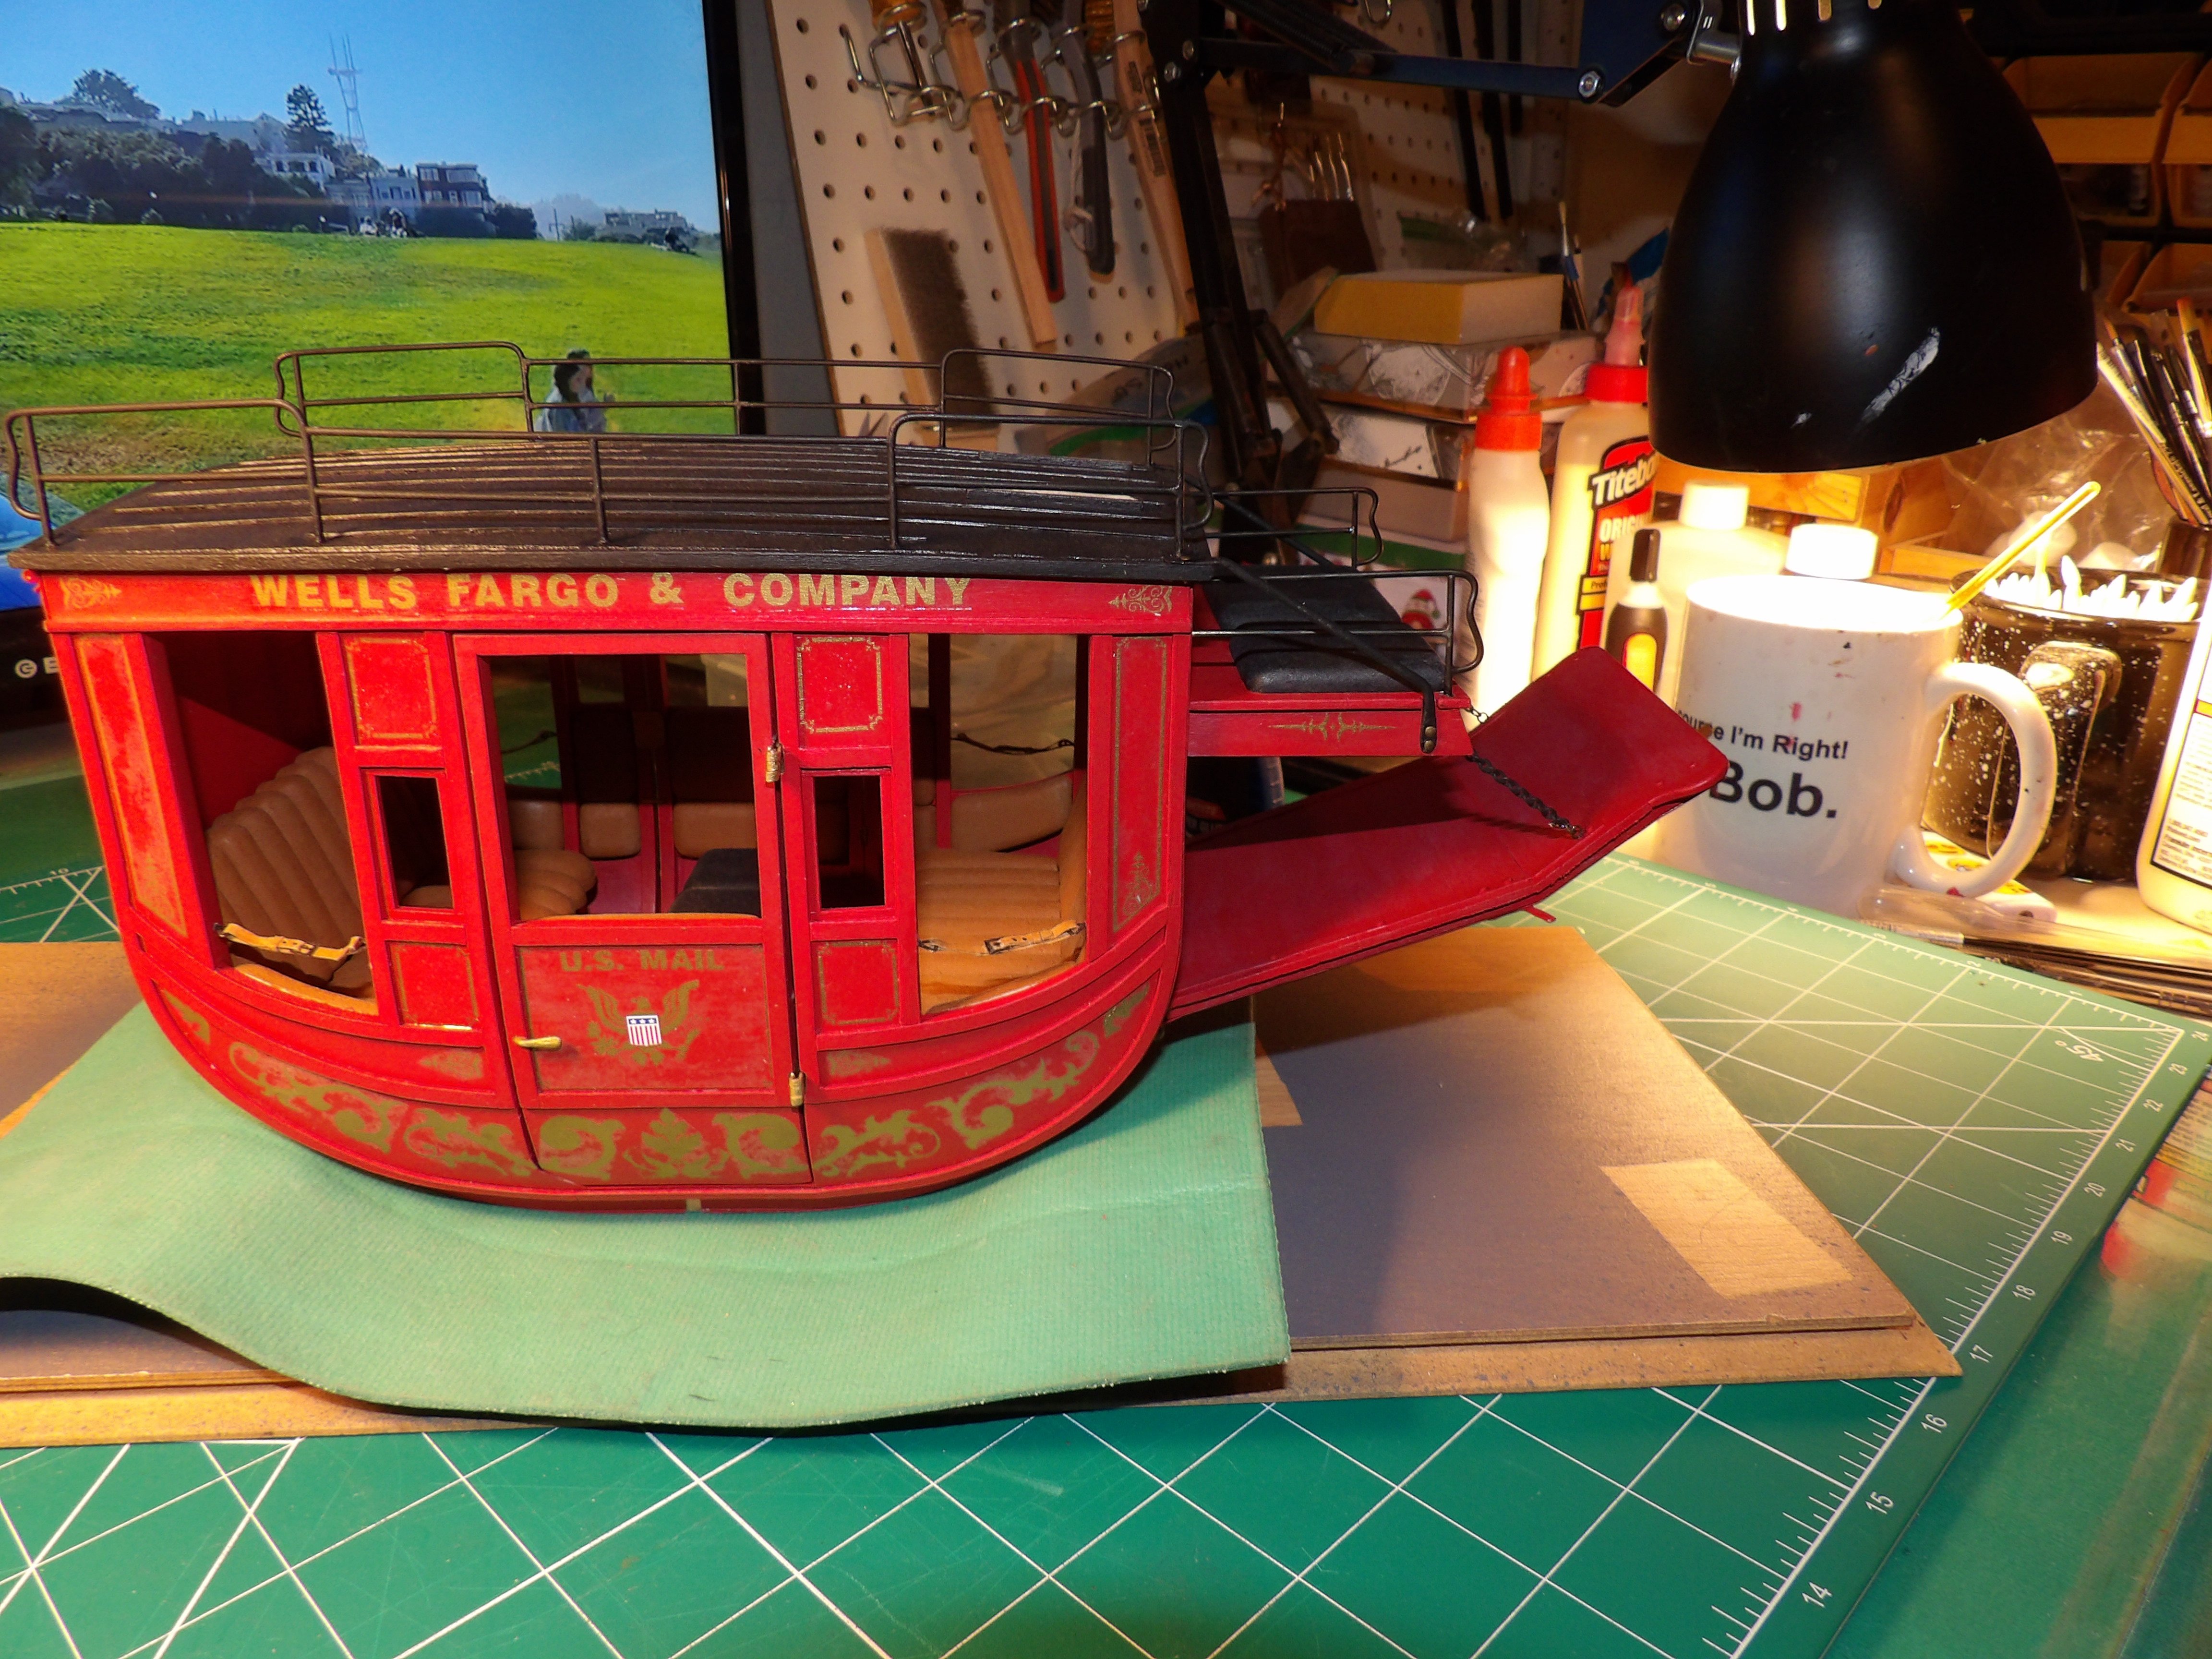
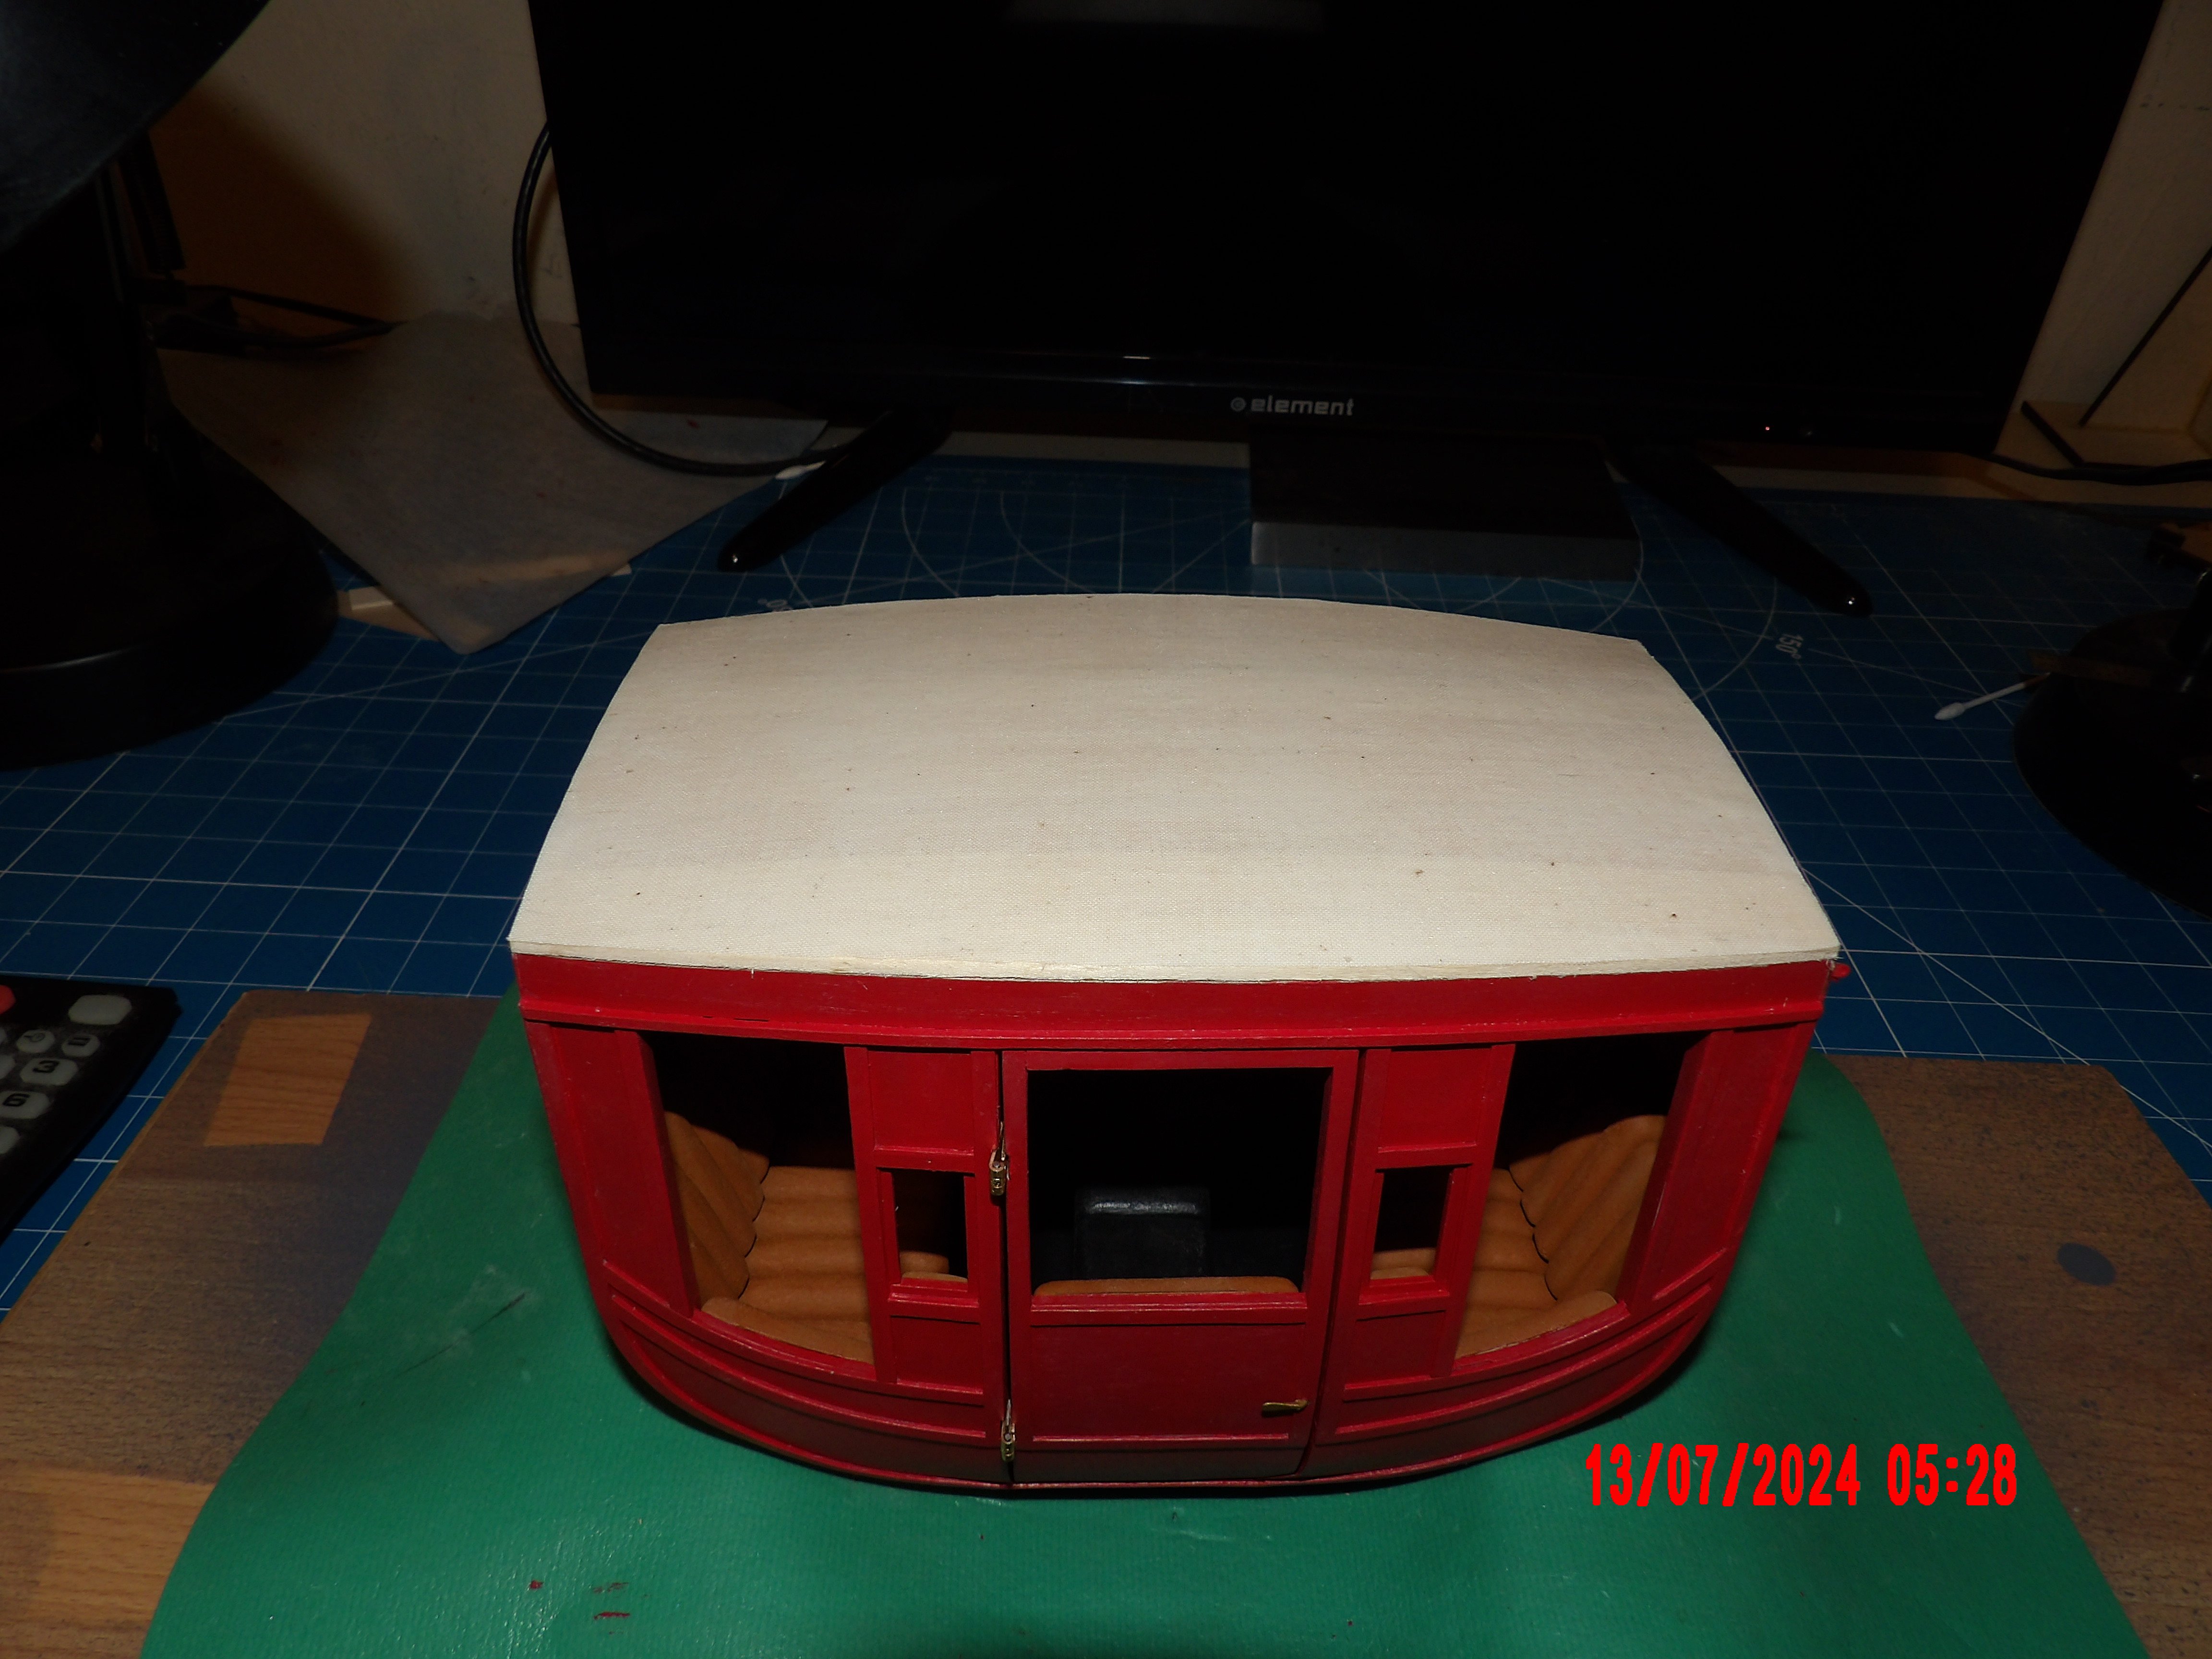
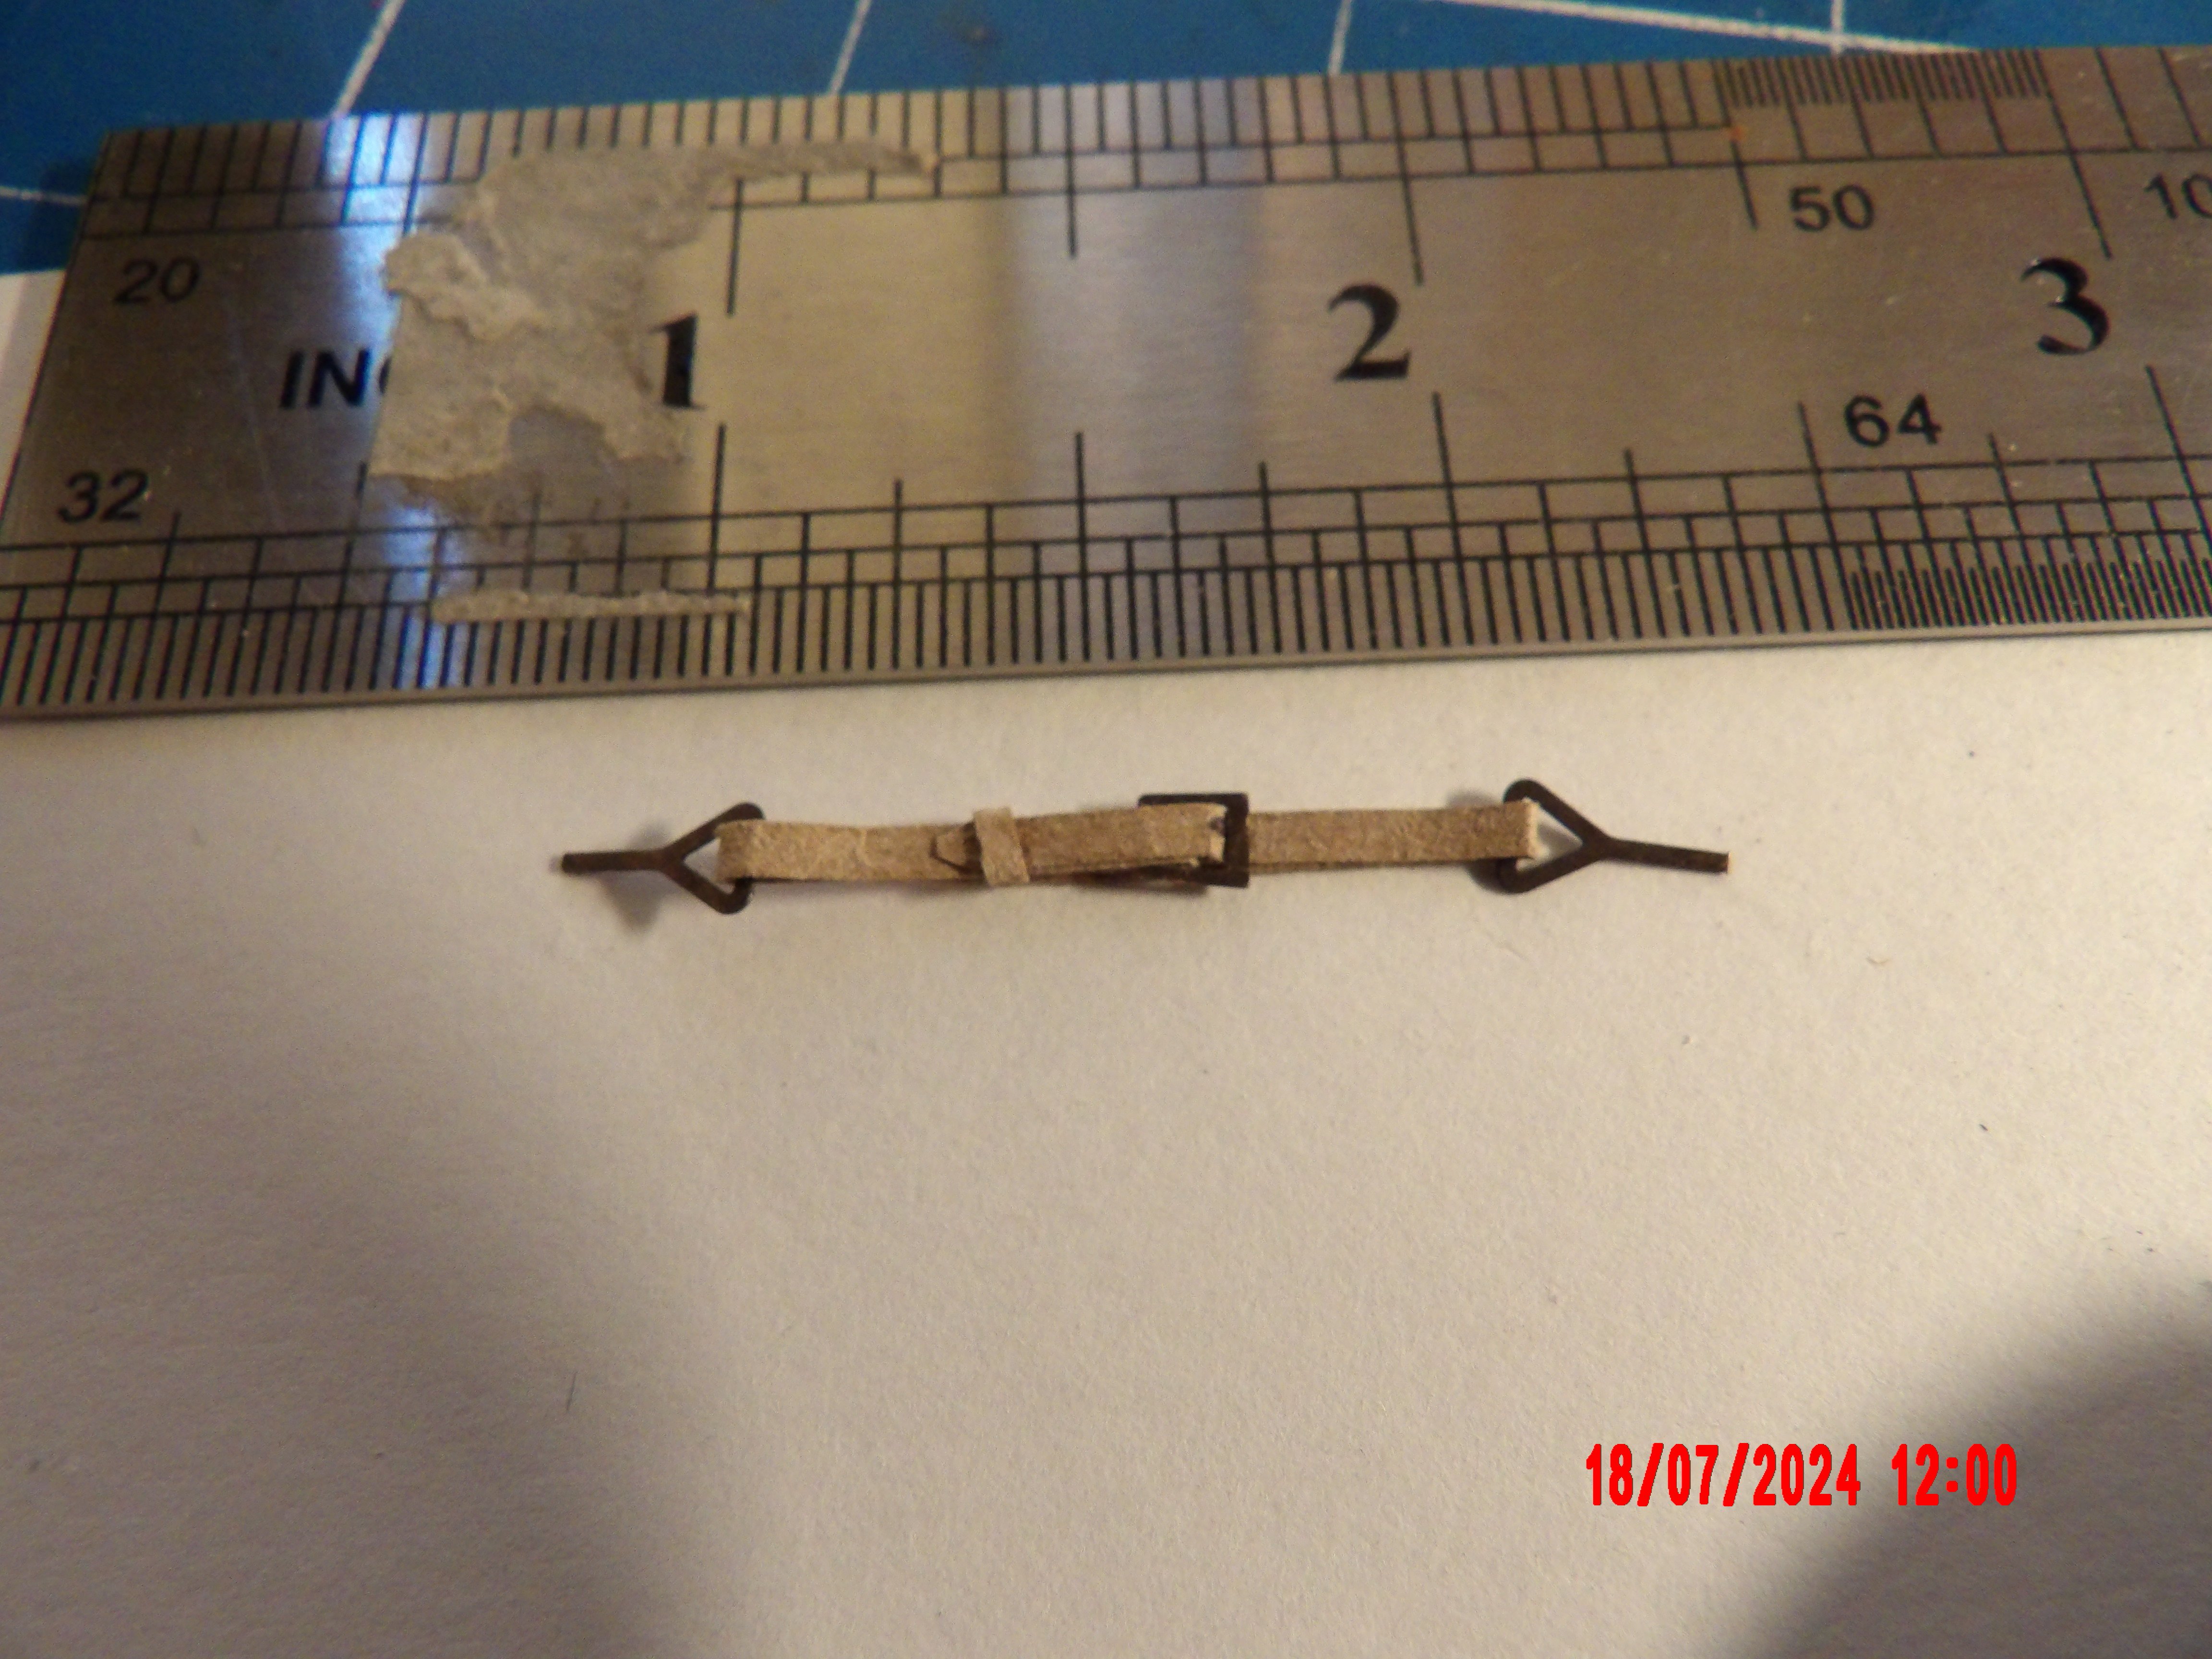
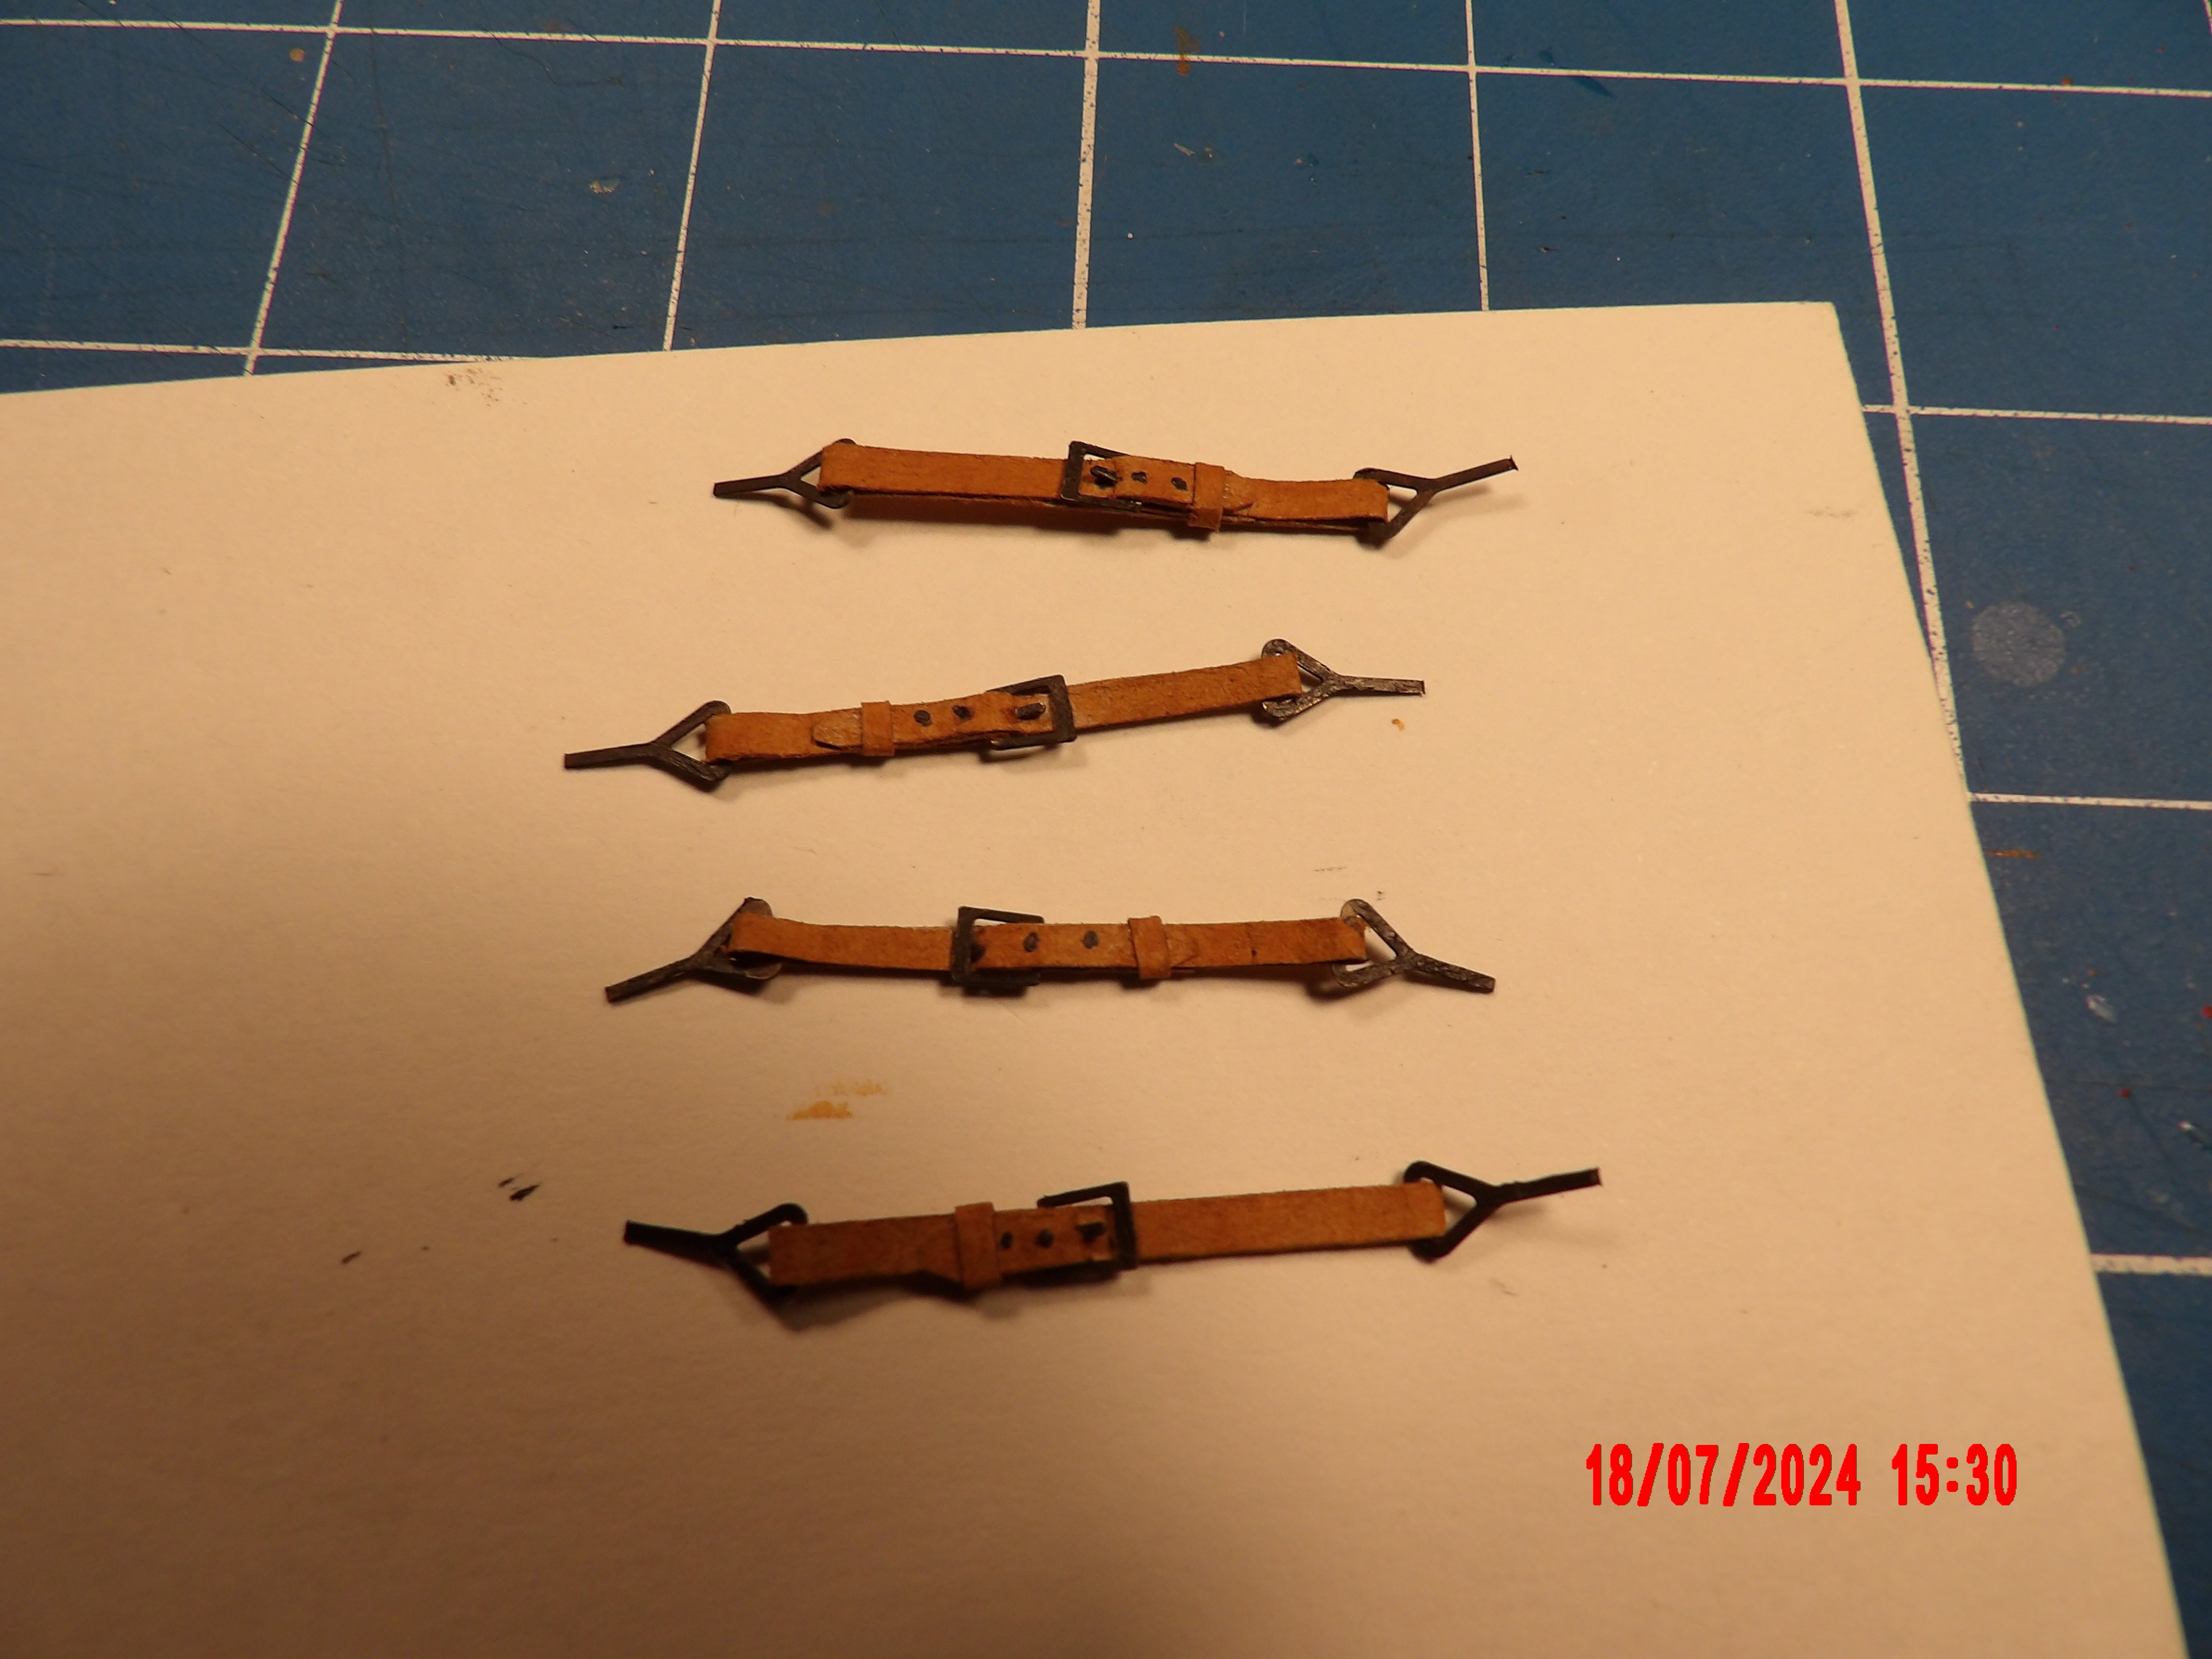
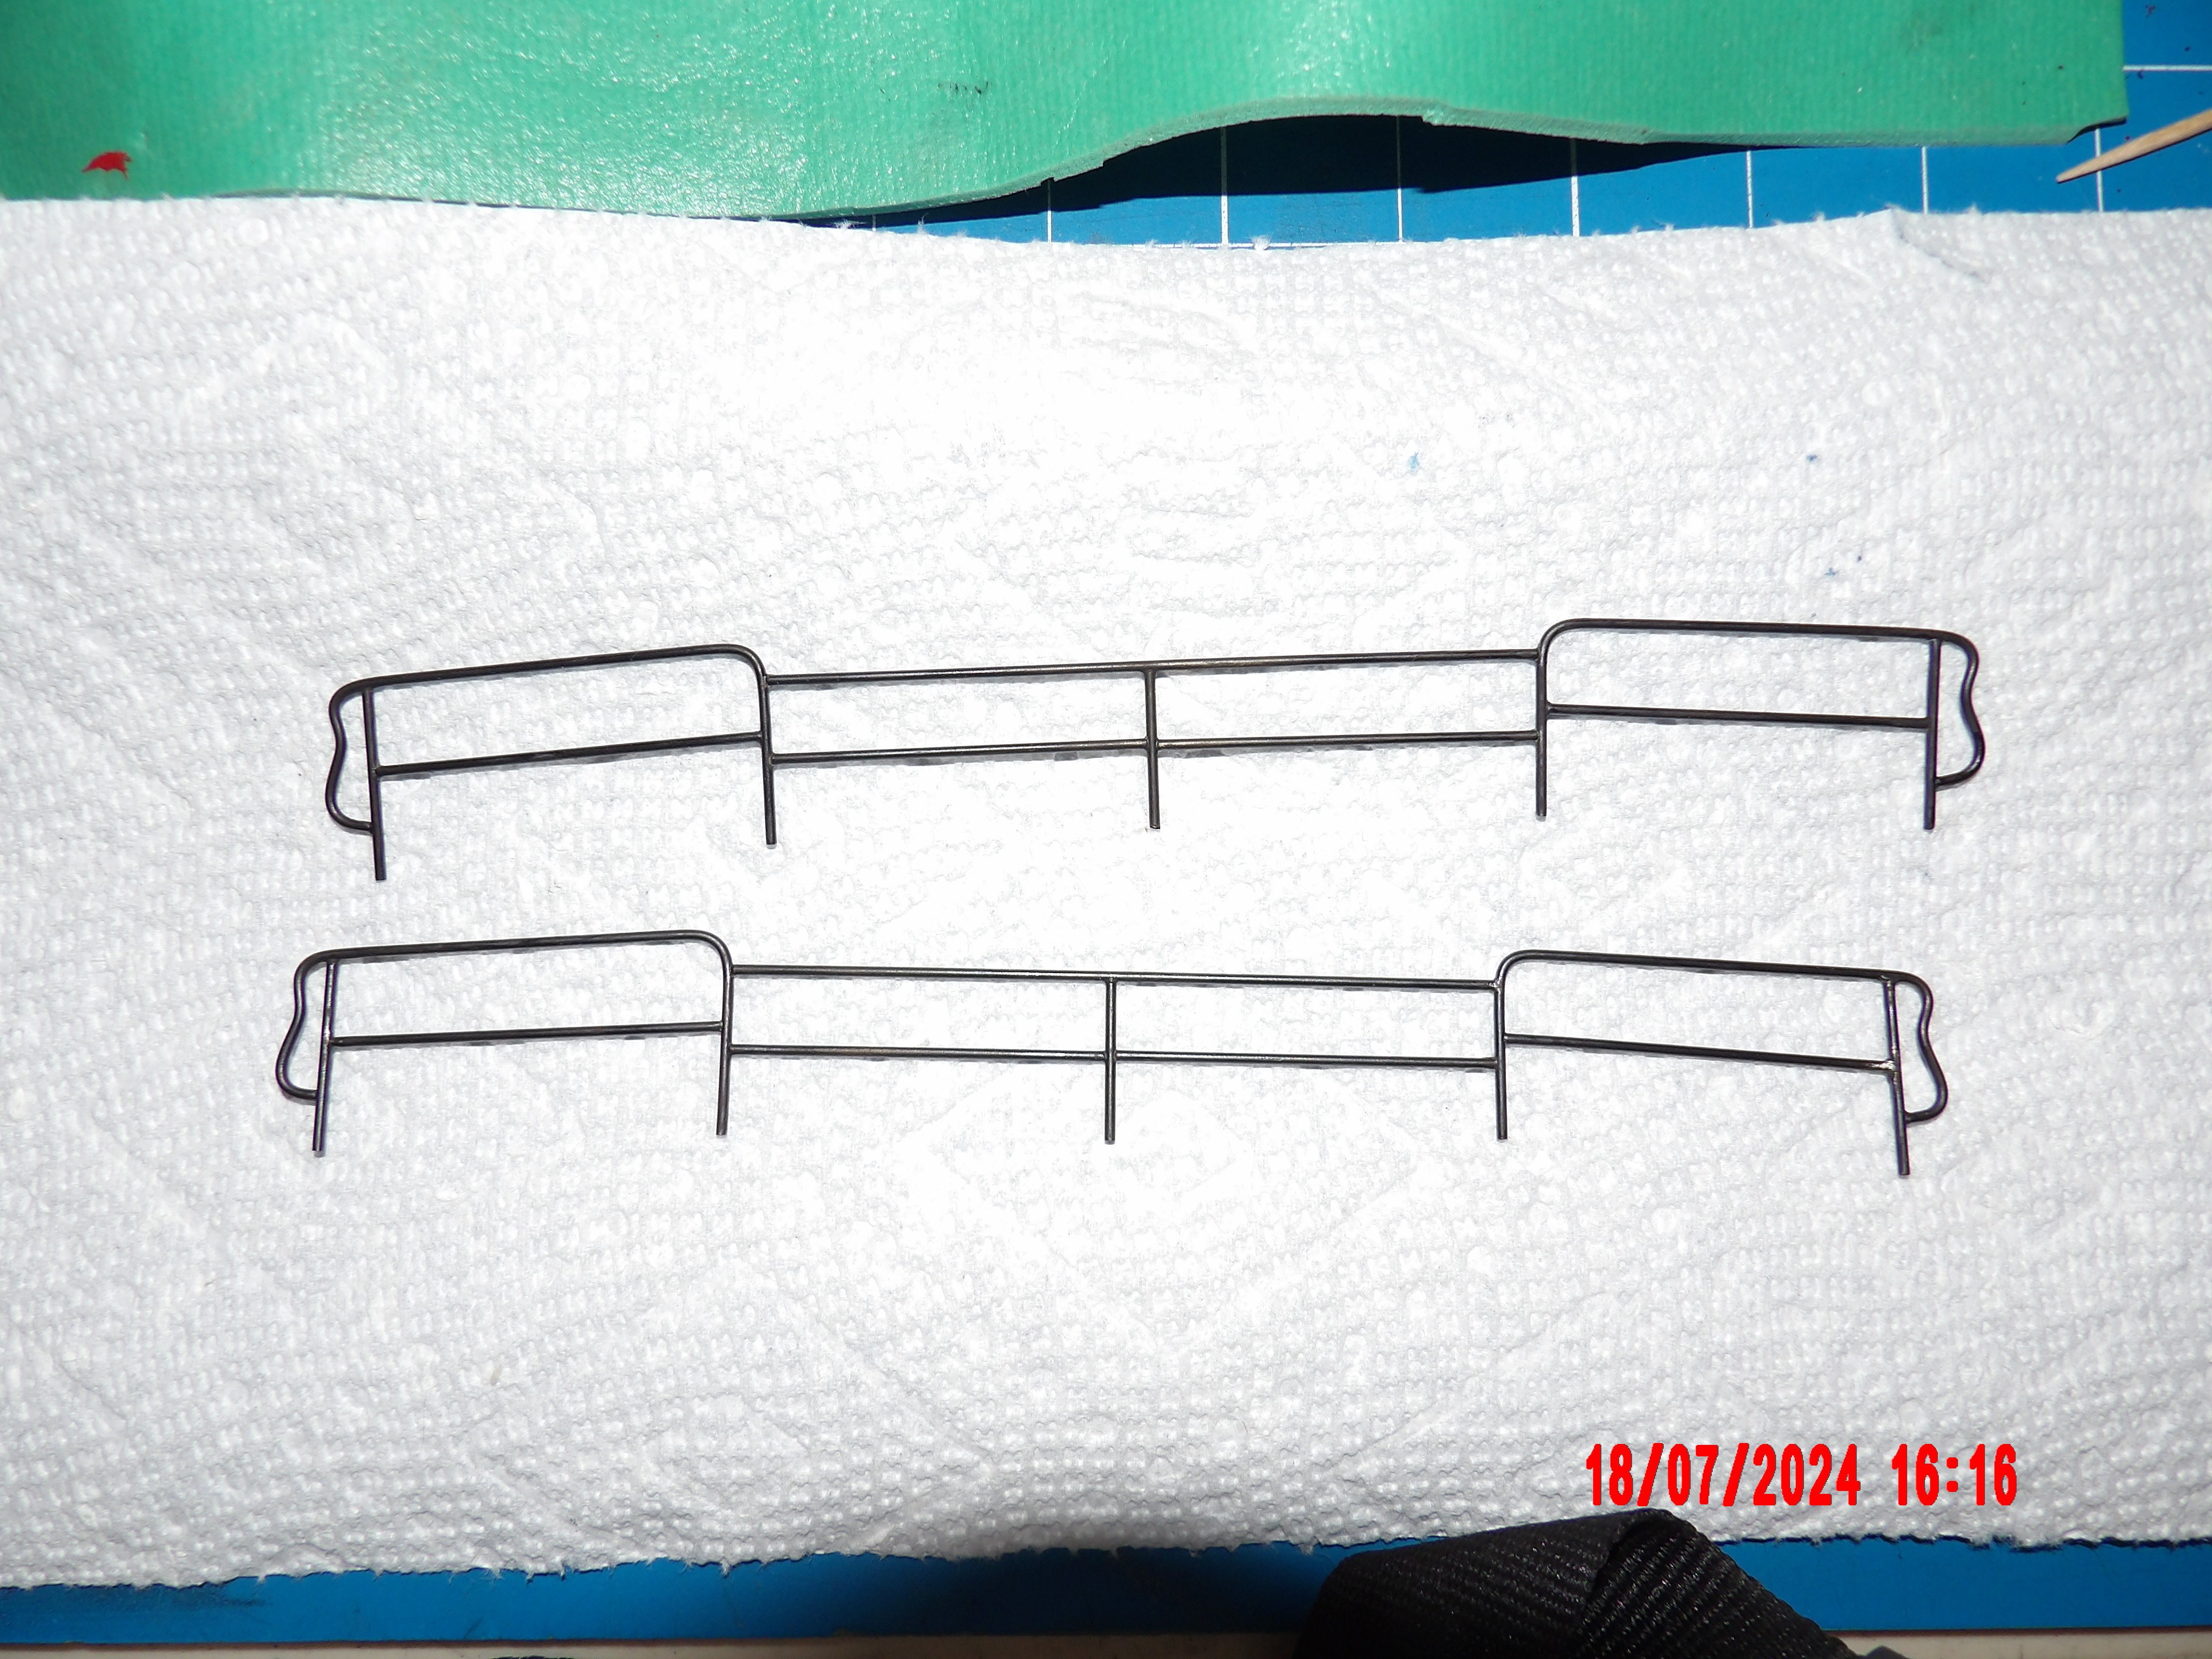
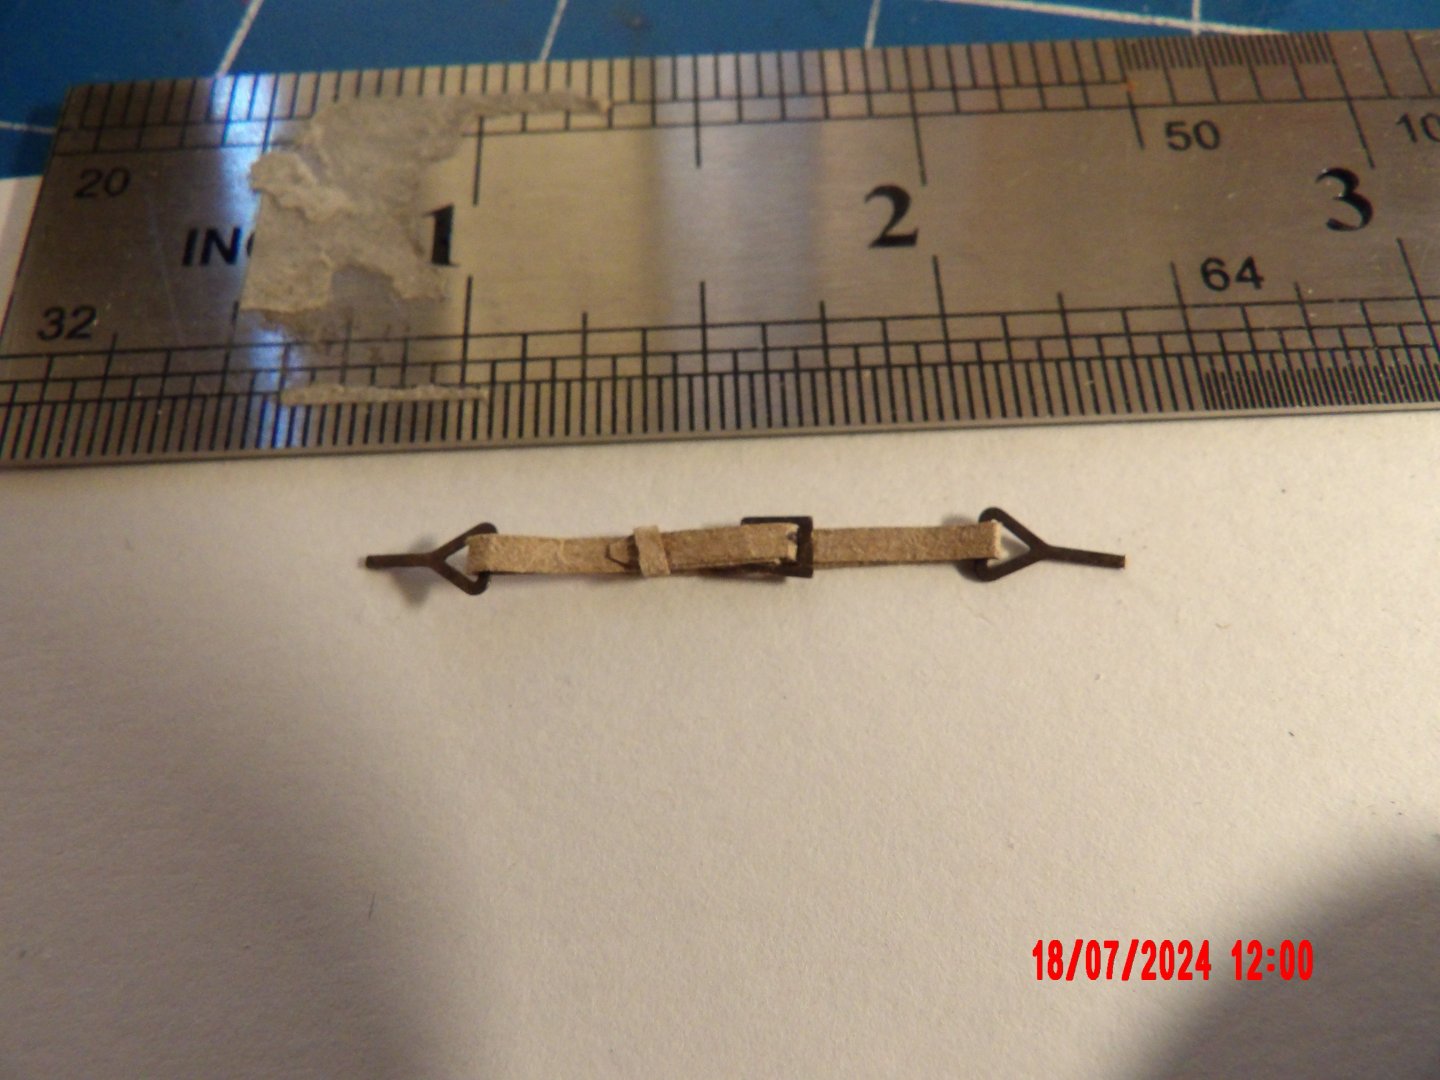
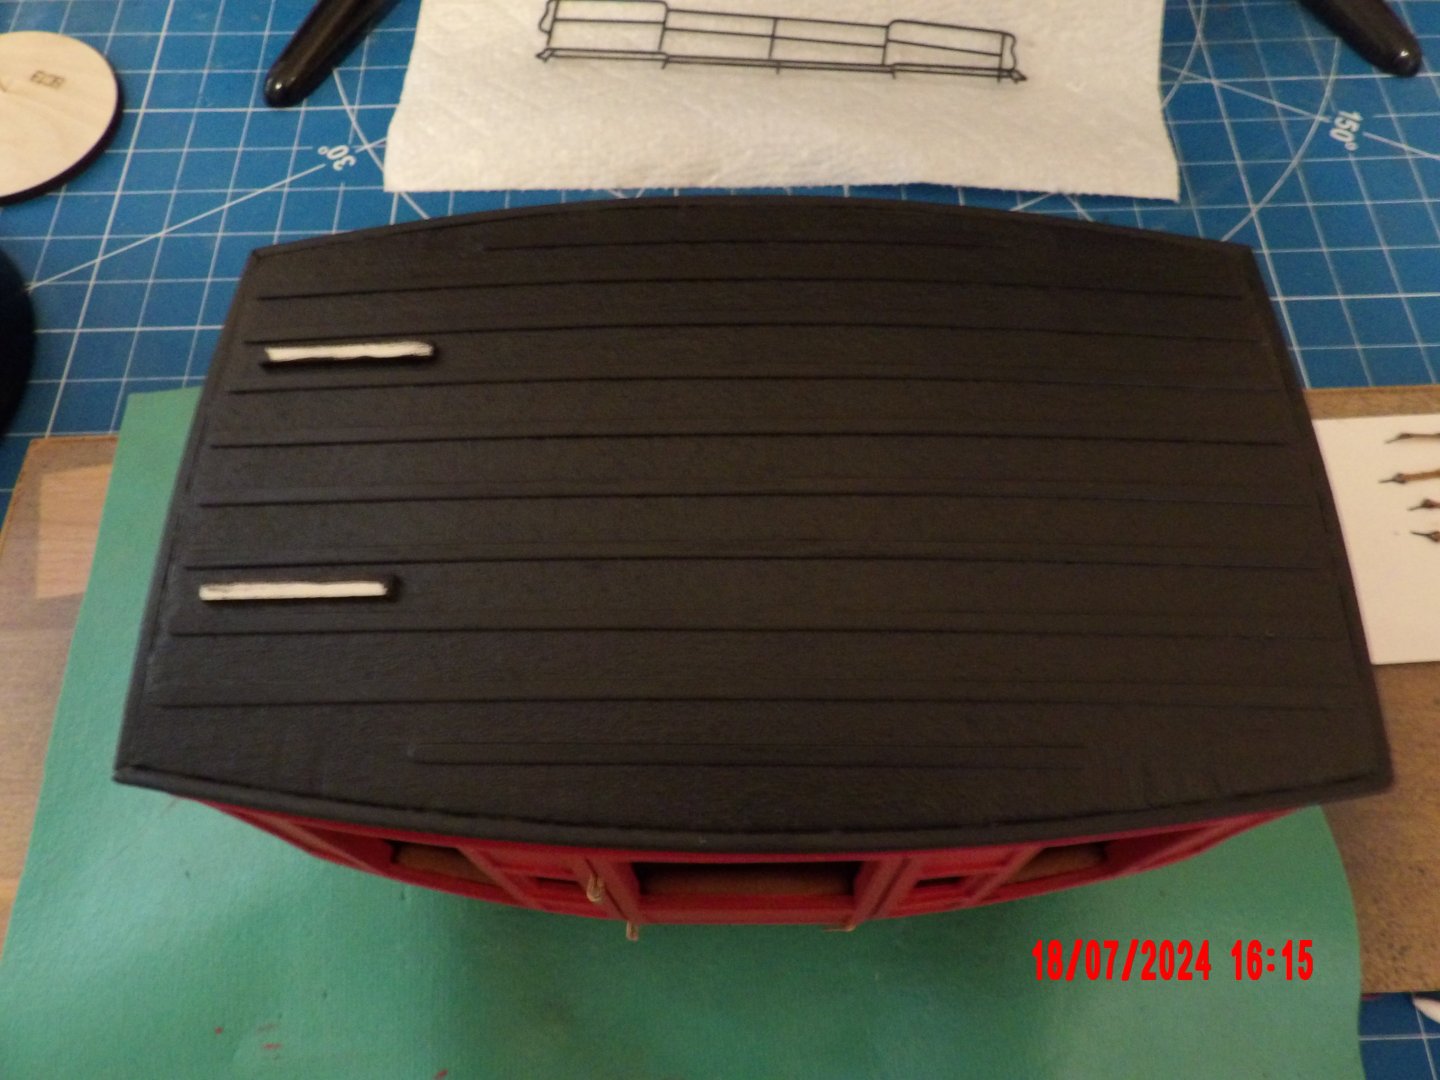
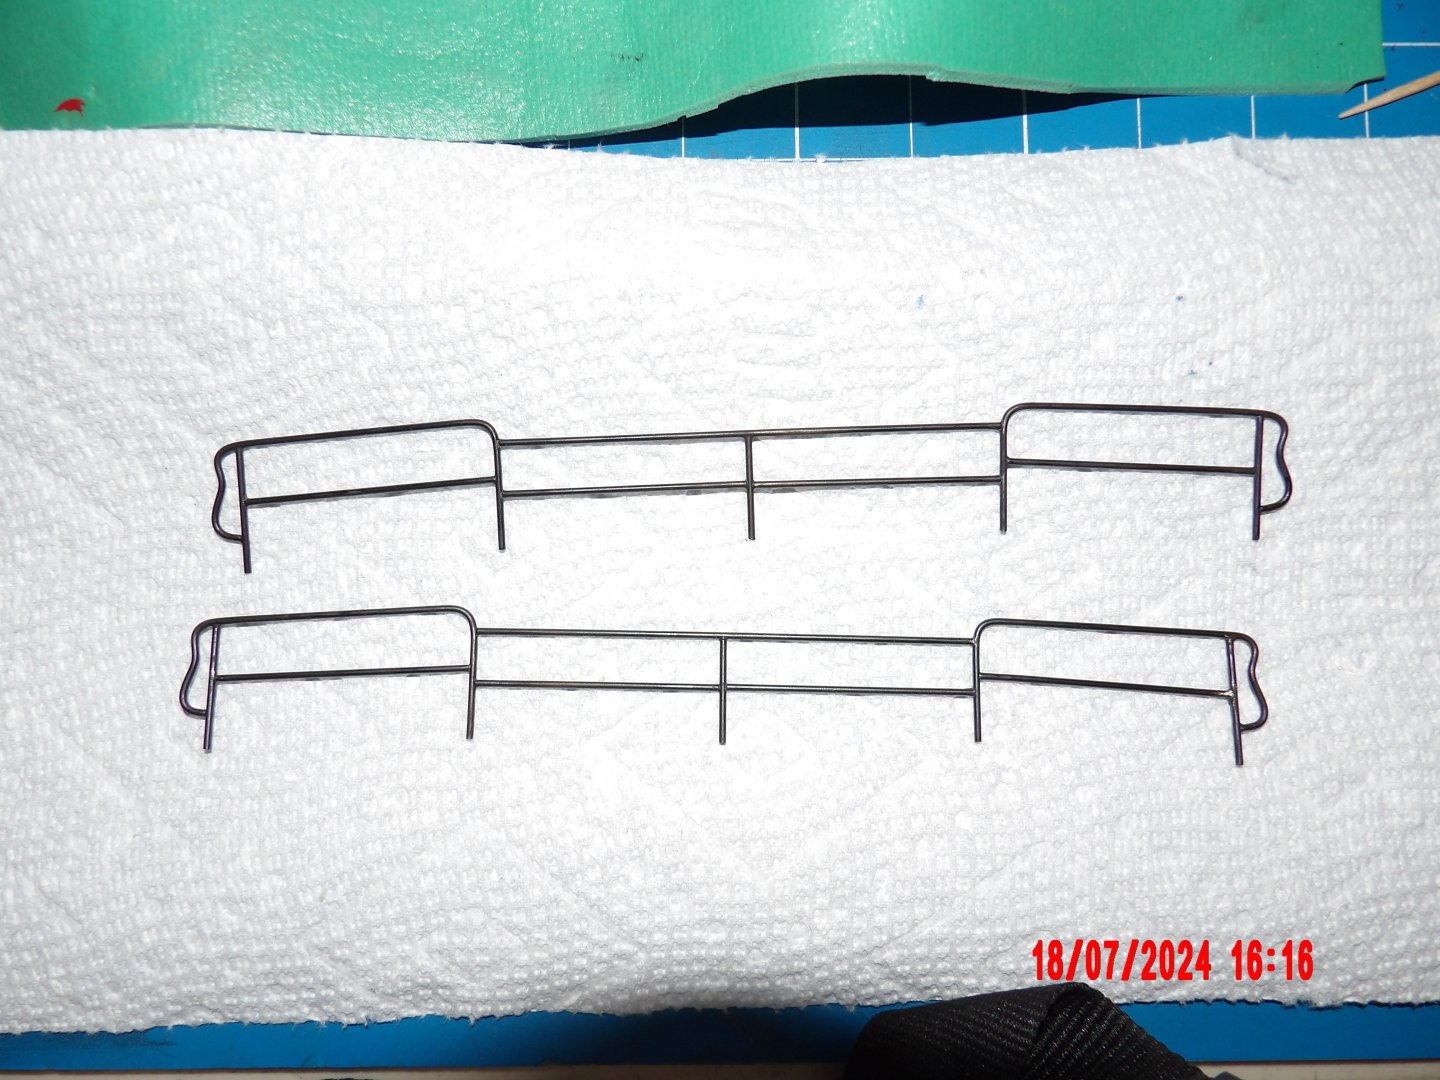
Planked the roof, and covered with provided cloth to simulate canvas. I used Mod Podge (new to me, mentioned in the manual) as the adhesive. Feels really solid now. Added rub rails to the roof and painted flat black: Made the passenger sway straps. I've been putting this off because initially I did not understand the instructions, but after re-reading a few hundred times it finally sunk into what remains of my grey matter. These four straps were my days work, and they are yet to be installed. The strap material is thin fibrous gasket material and is used to simulate leather. After assembly I gave them a wash of thinned paint, same as used for the "leather" seats inside the cabin. I had soldered the baggage rails earlier, and this represents a big step forward for me. I chemically blackened them yesterday and am very pleased with the results:


- 18 replies
-
- 12
-
-

-
You're doing beautiful work these days, Gregg. Bob
- 184 replies
-
- 1
-
-
- Bluenose
- Model Shipways
- (and 1 more)
-
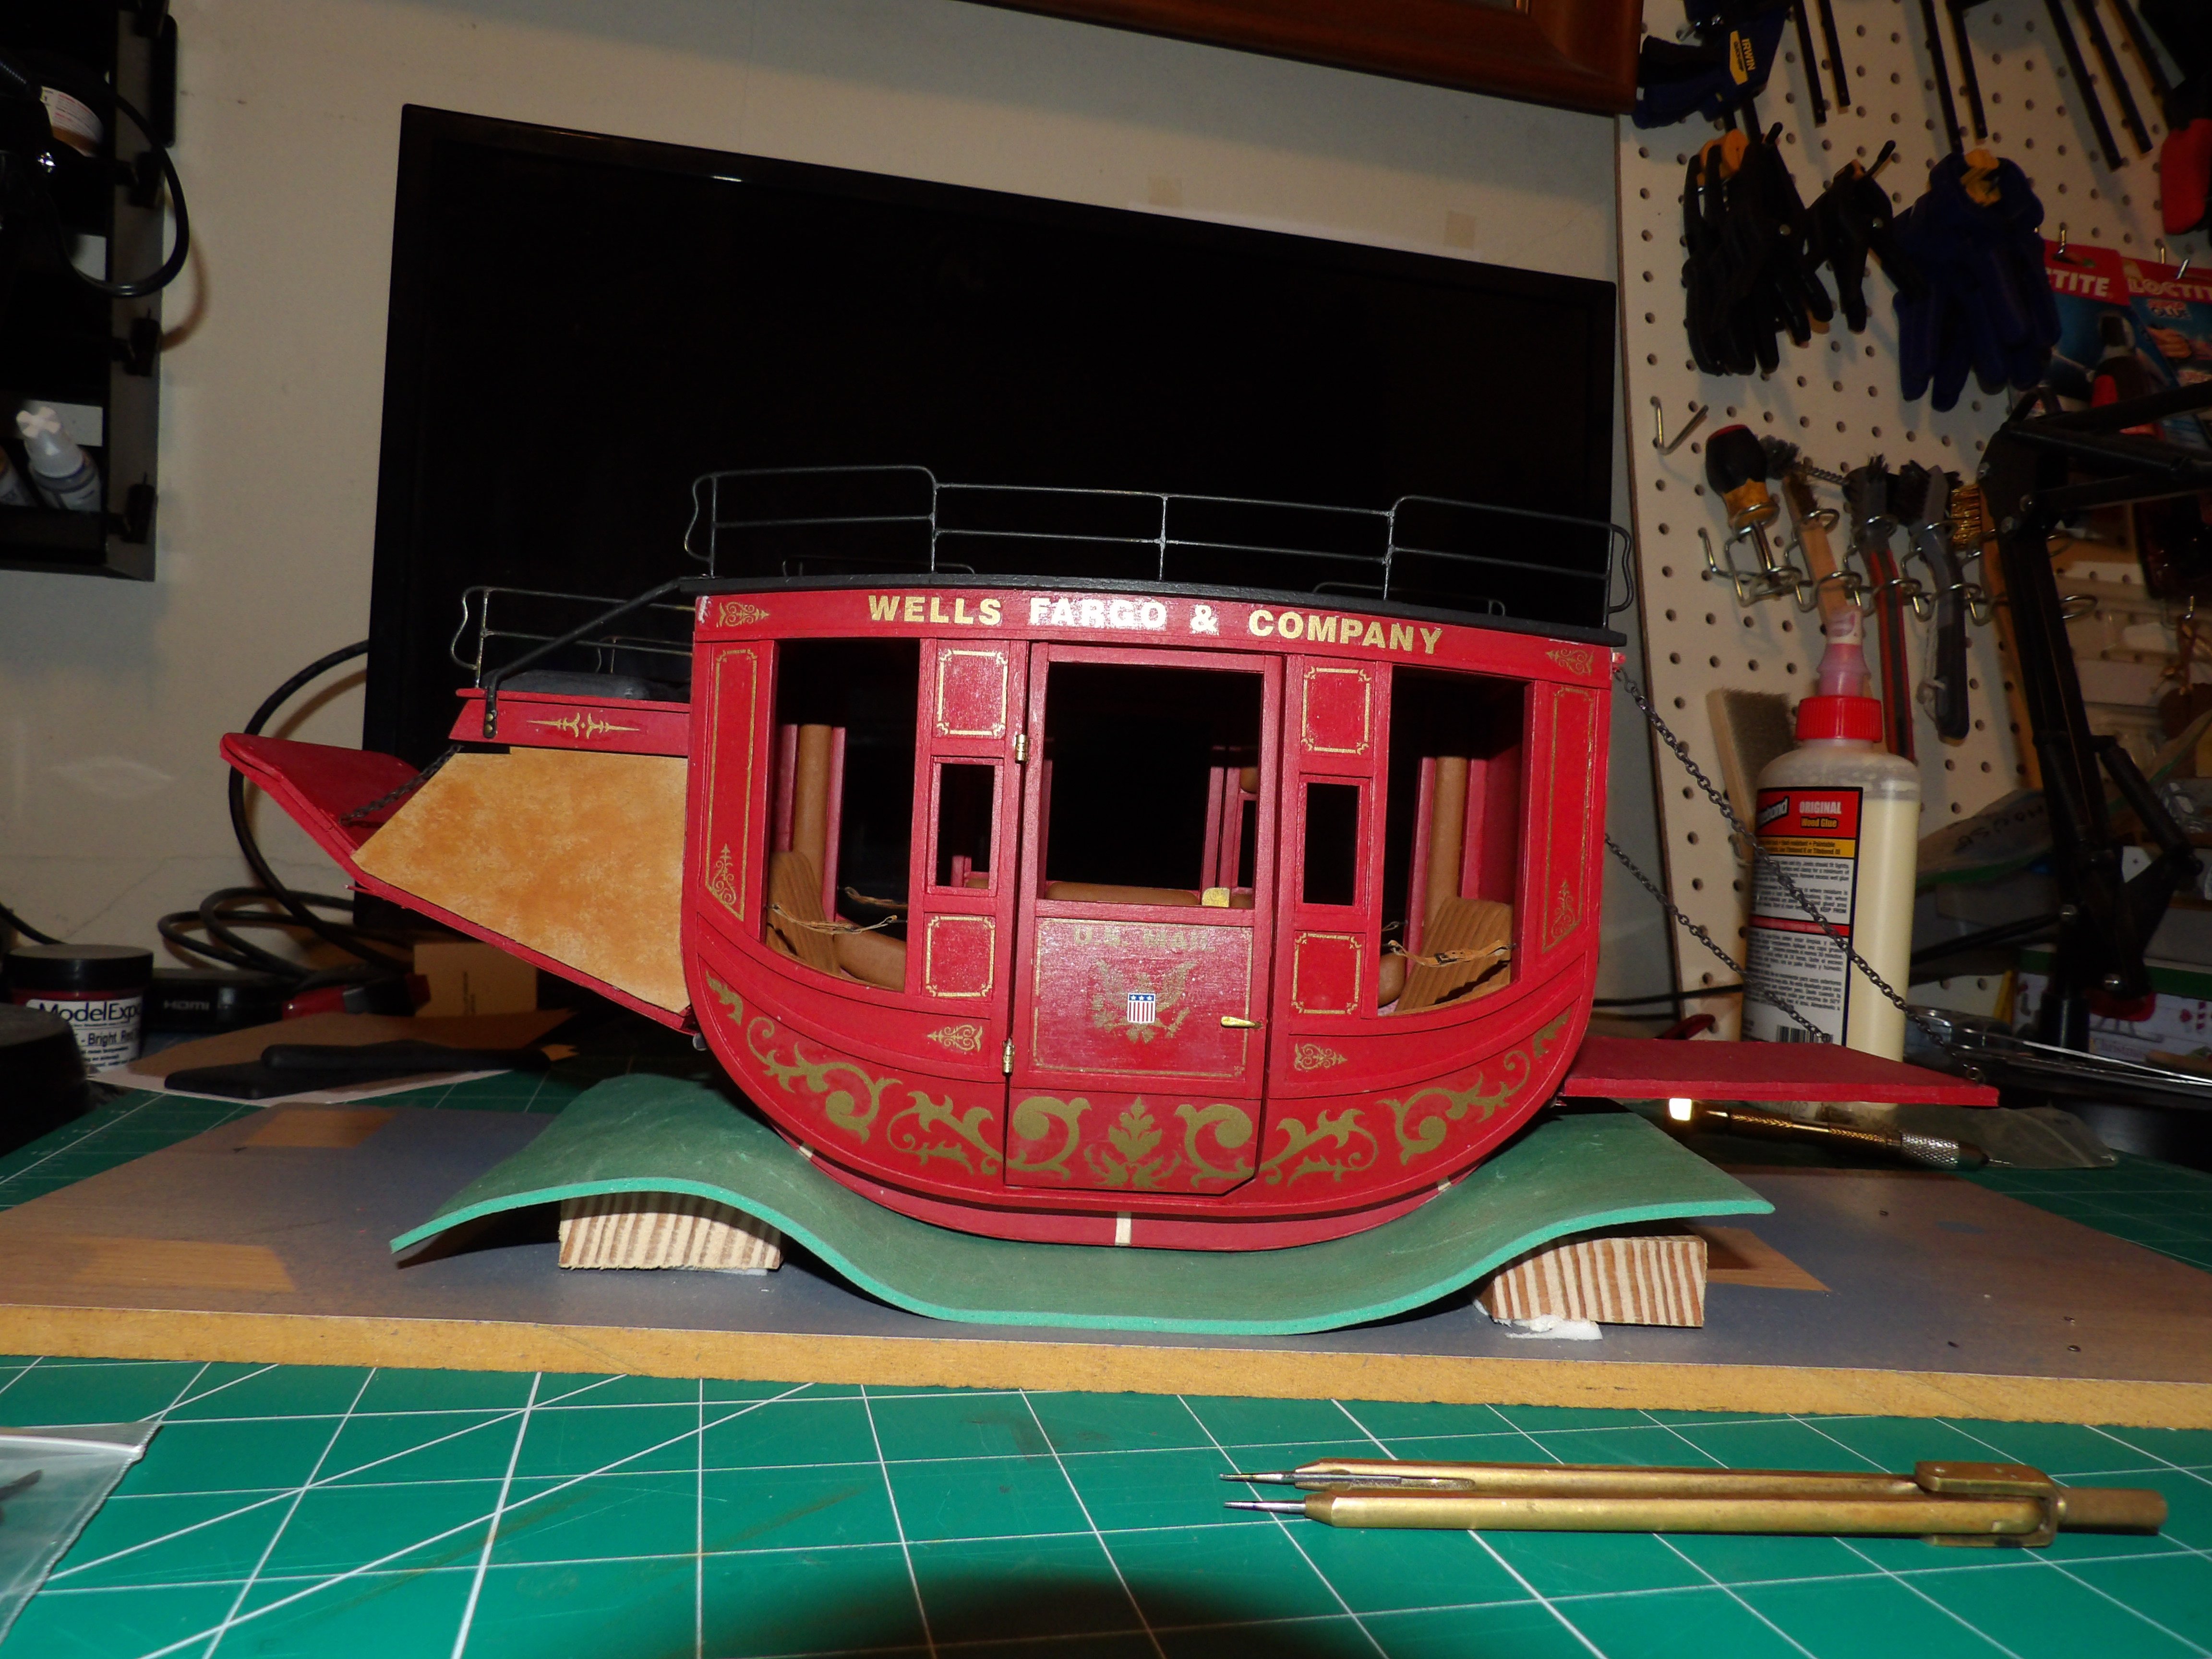
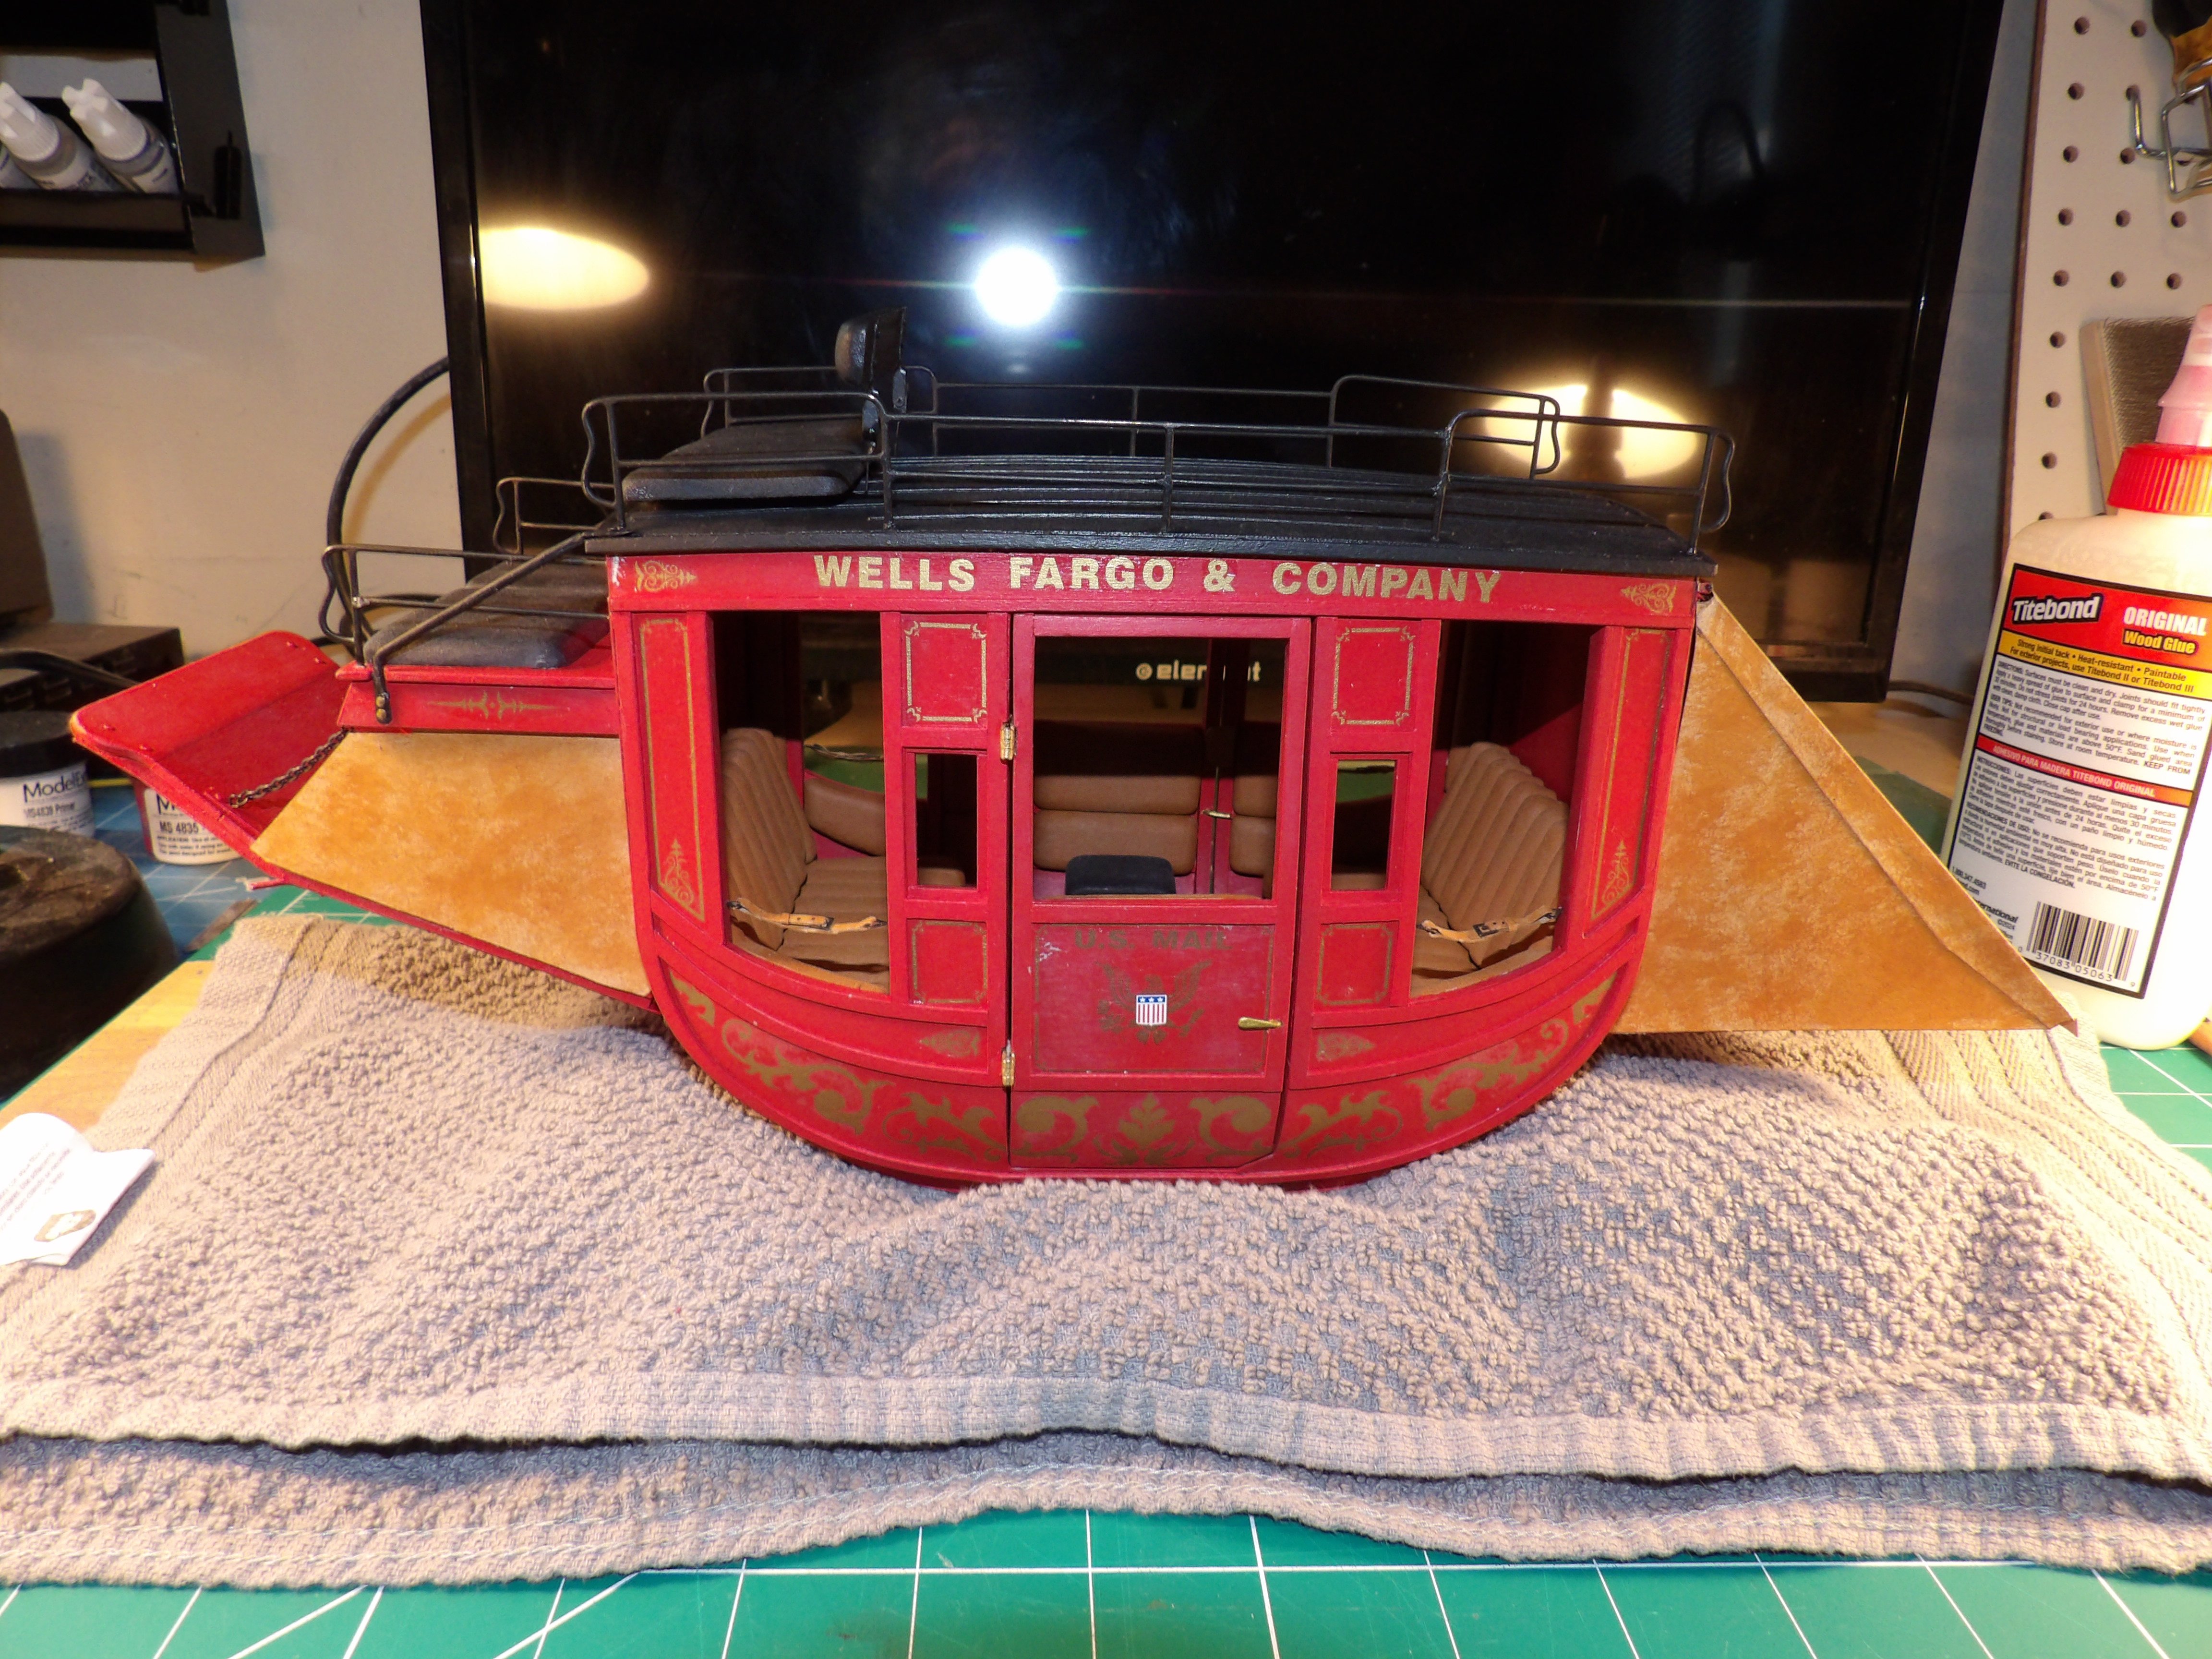
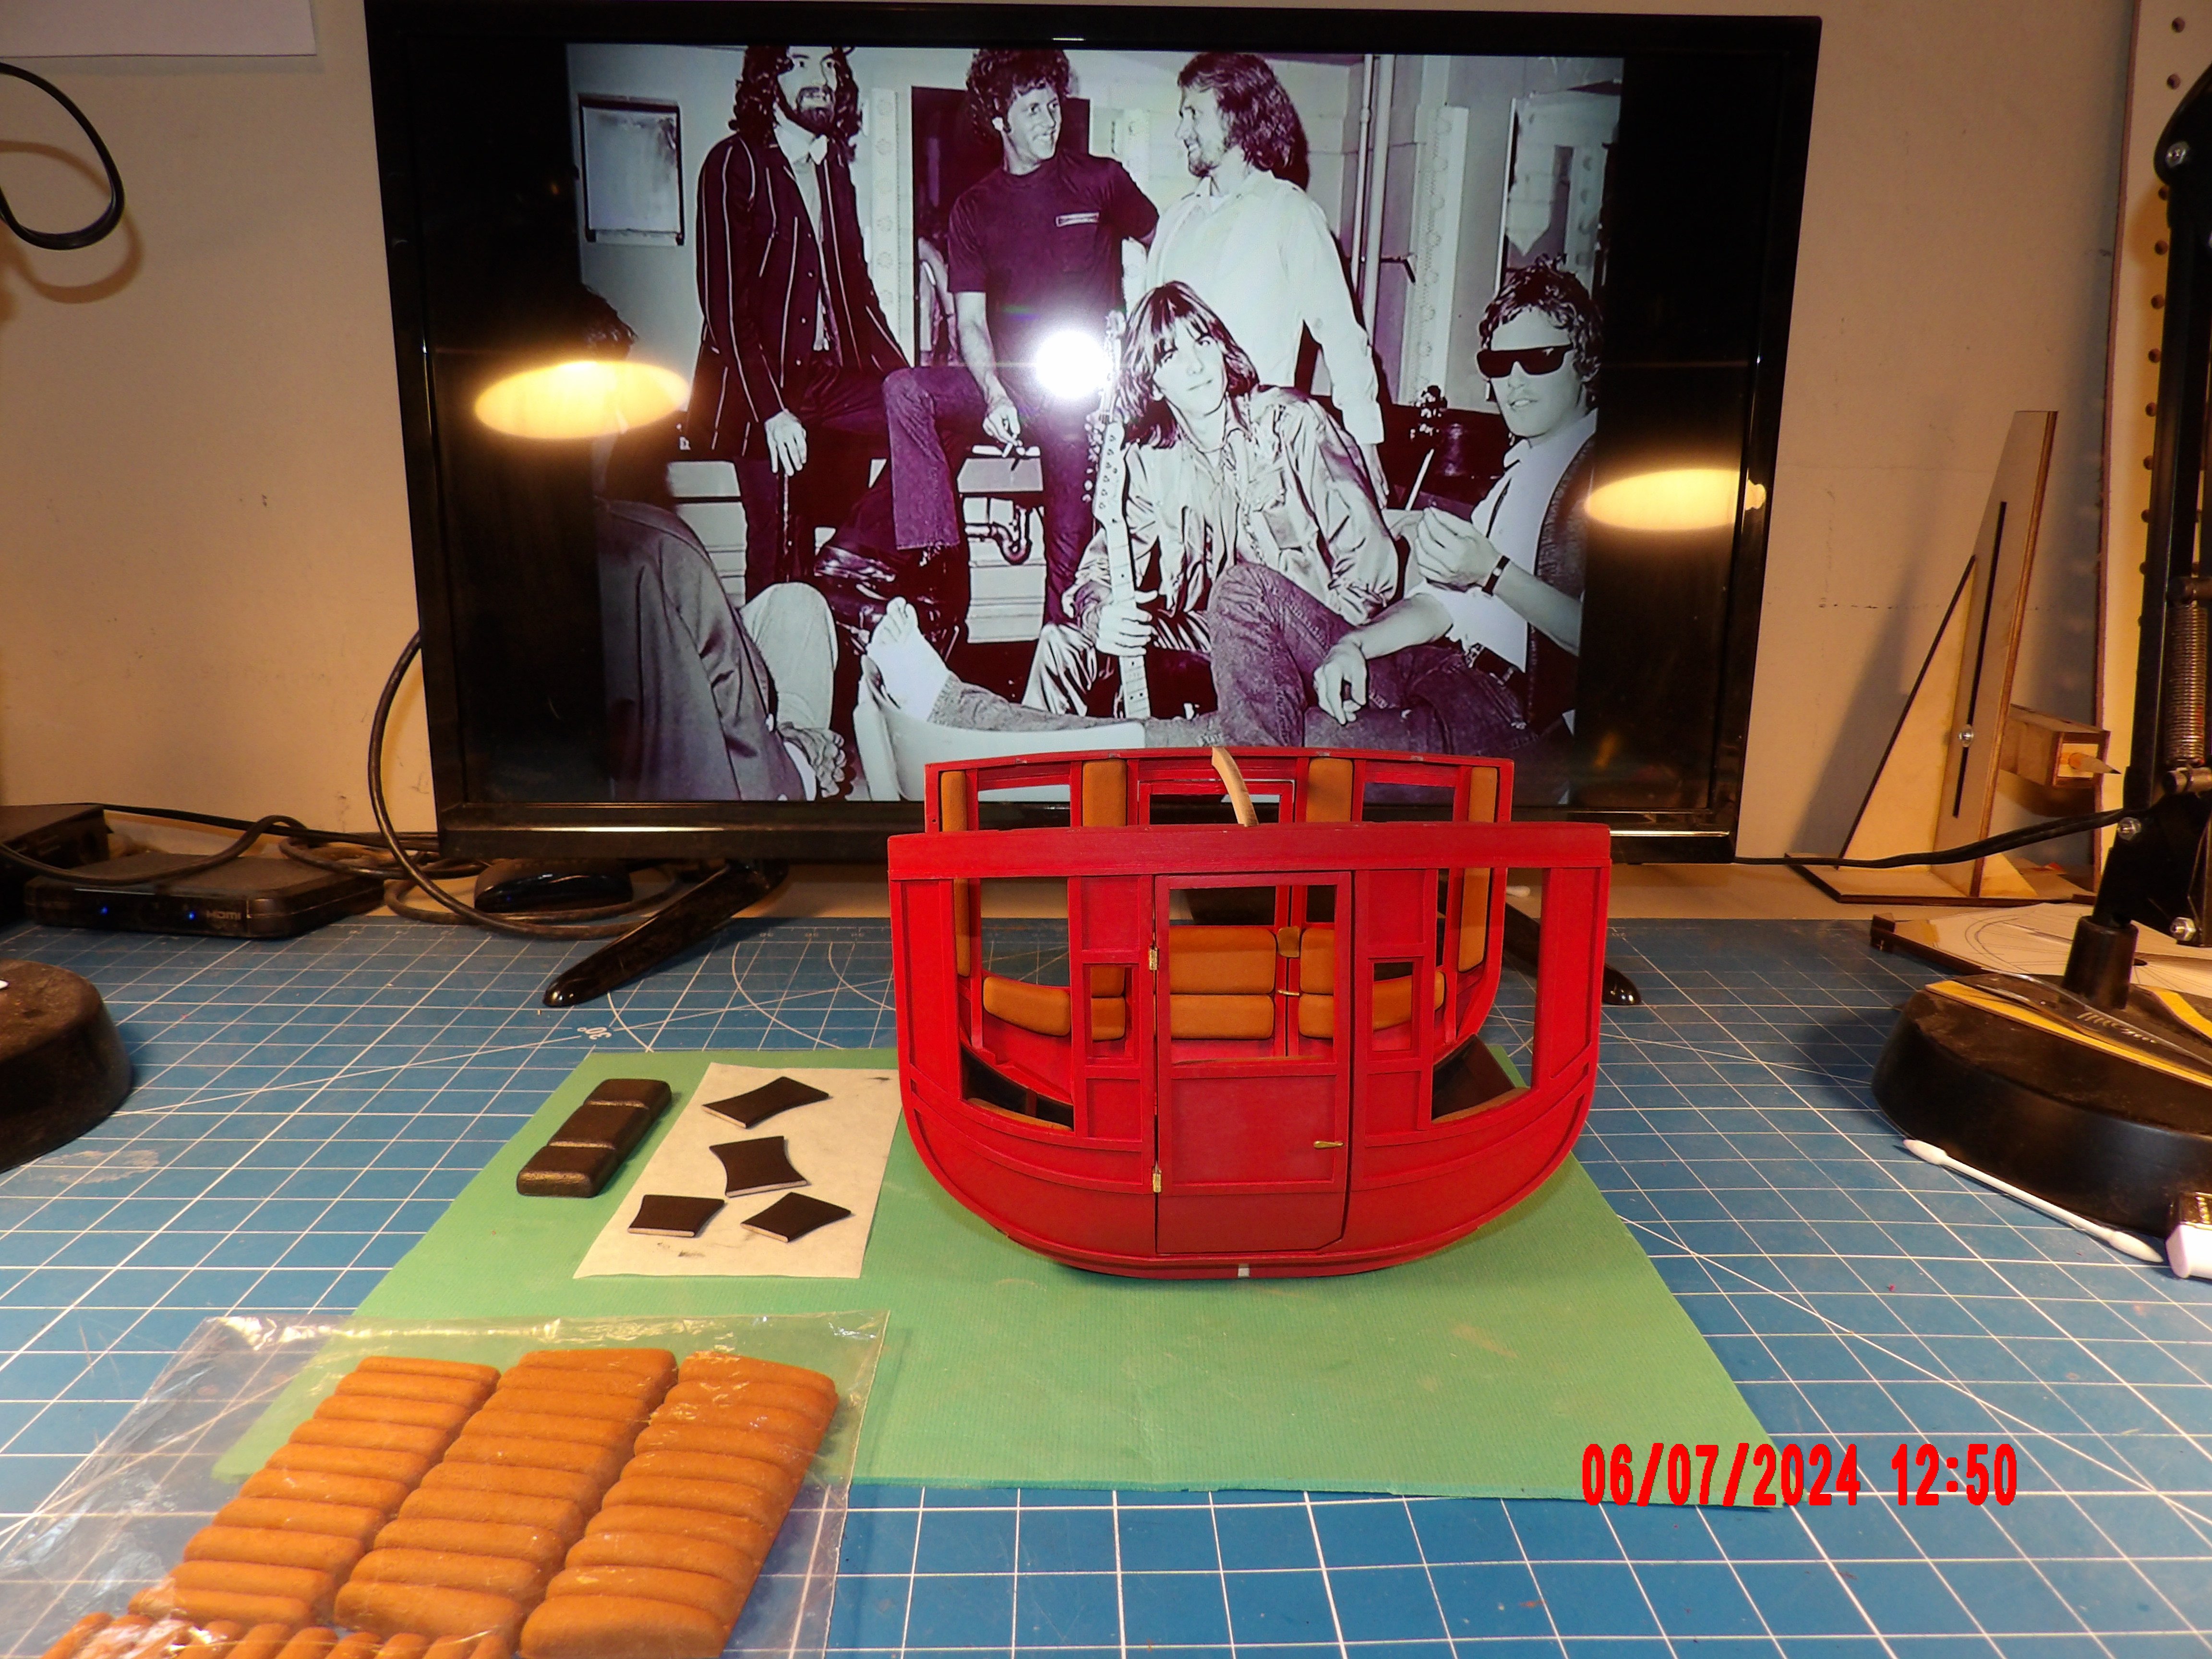
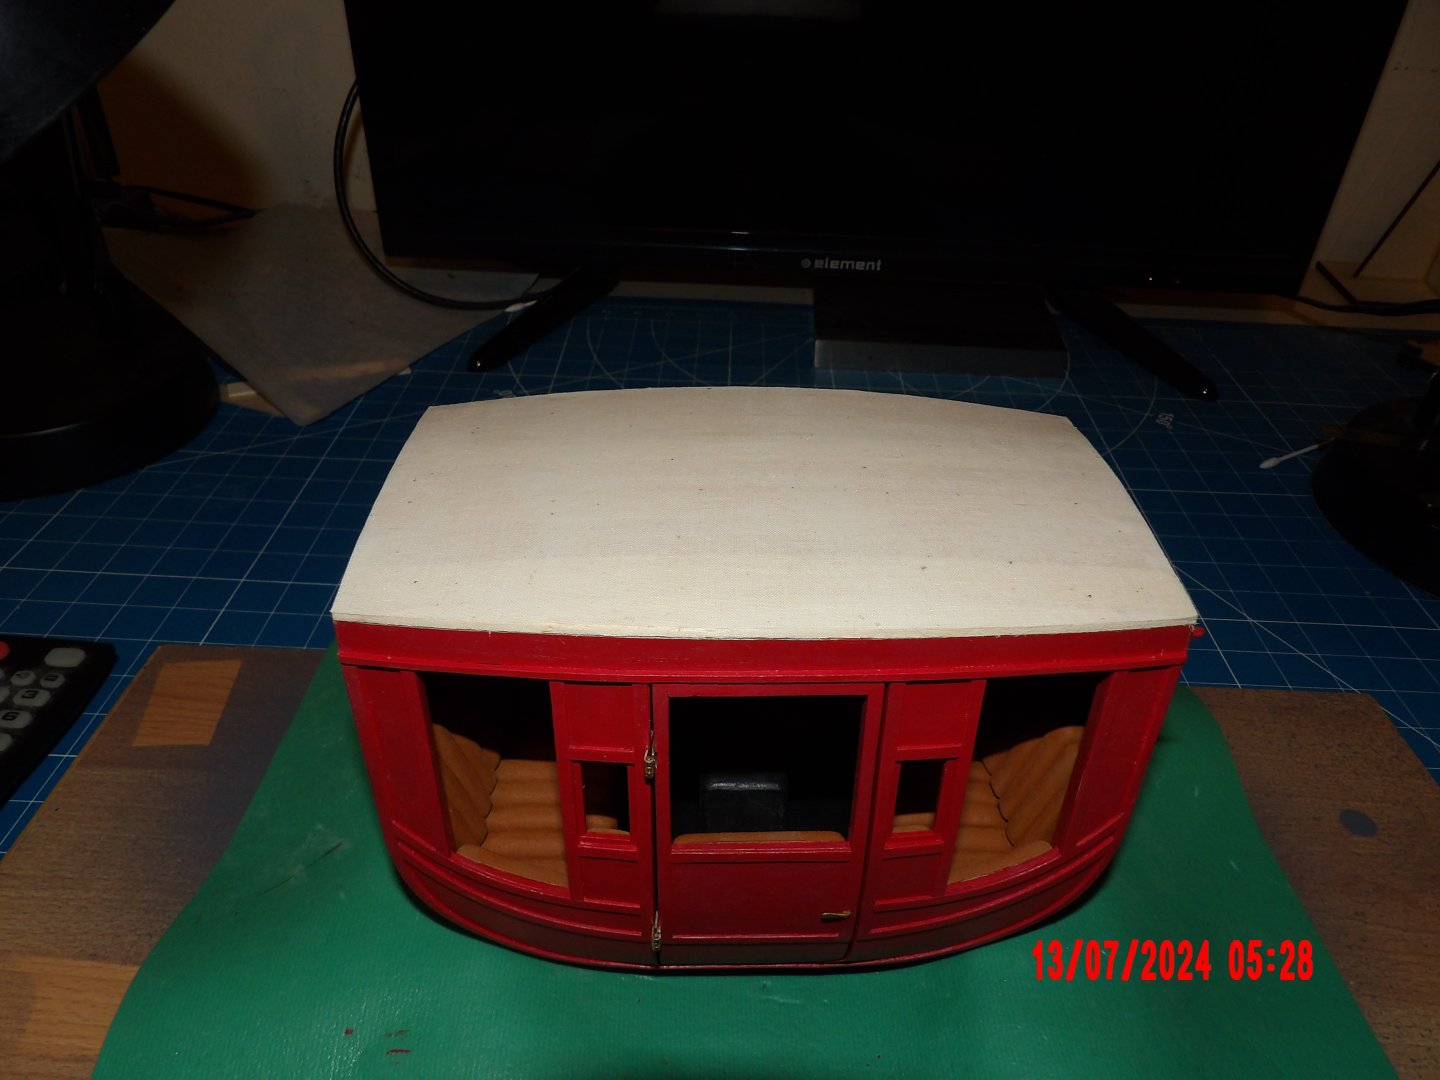
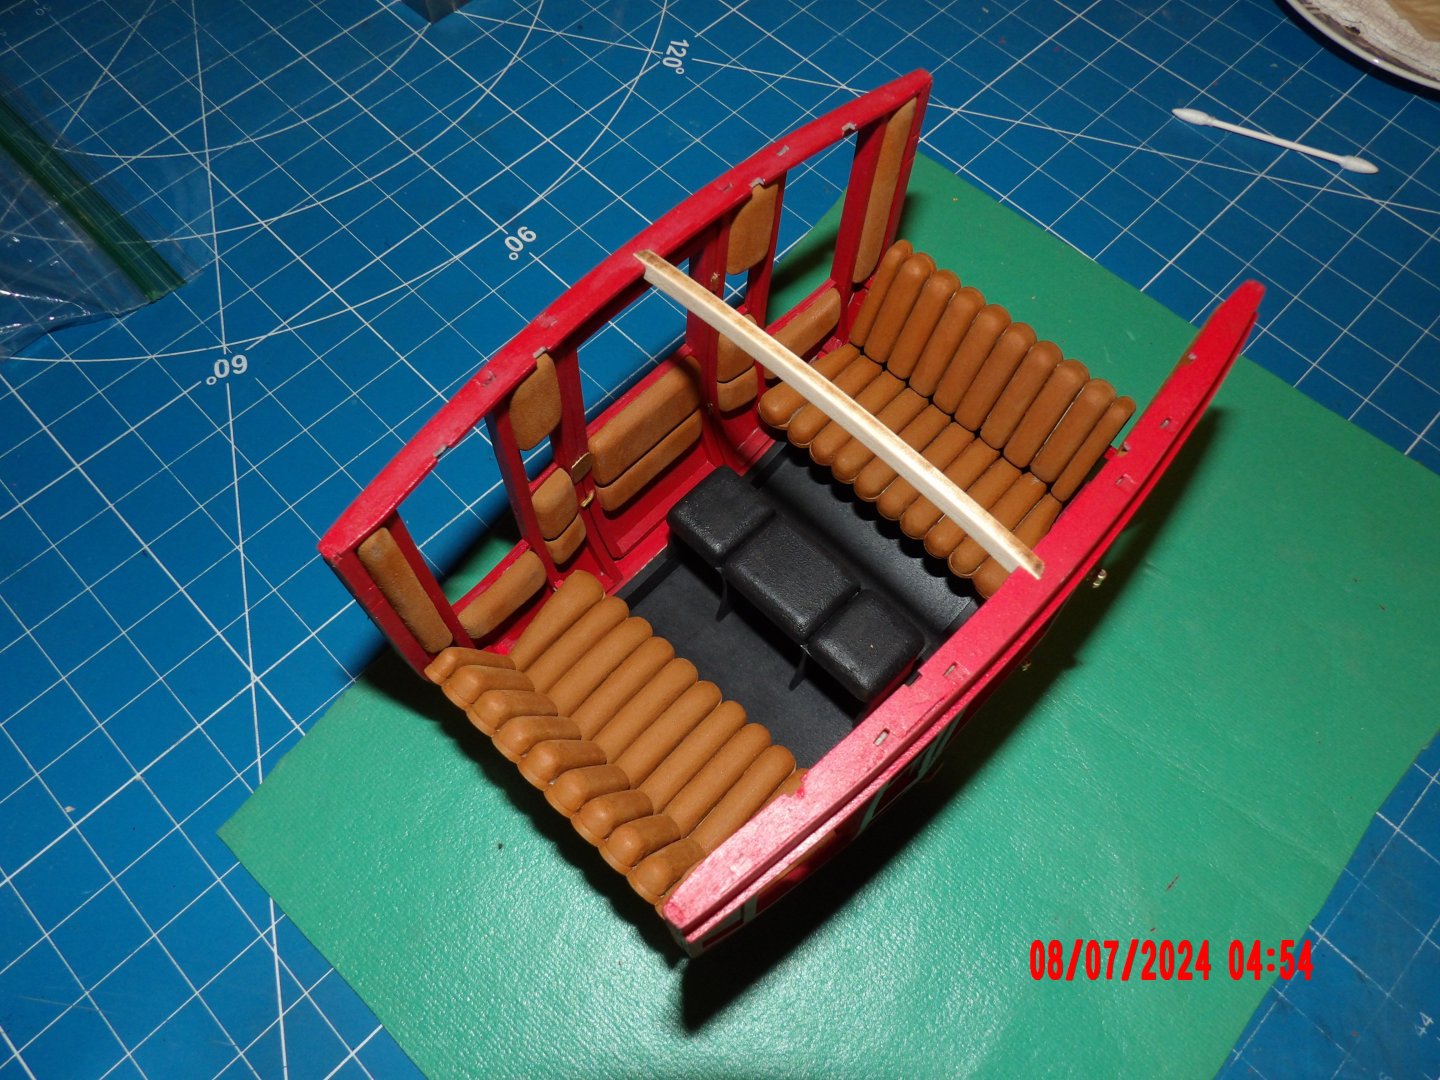
Got the seats installed. I think it looks pretty good, except the bare wood of the seat and backrest bases can be seen between some of the cushions where spacing had to be adjusted. If I were to do over, I'd paint stripes before gluing on the cushions. I don't think this will be real noticeable after the cabin is completed, and the view inside will be only from the sides.
- 18 replies
-
- 11
-
-
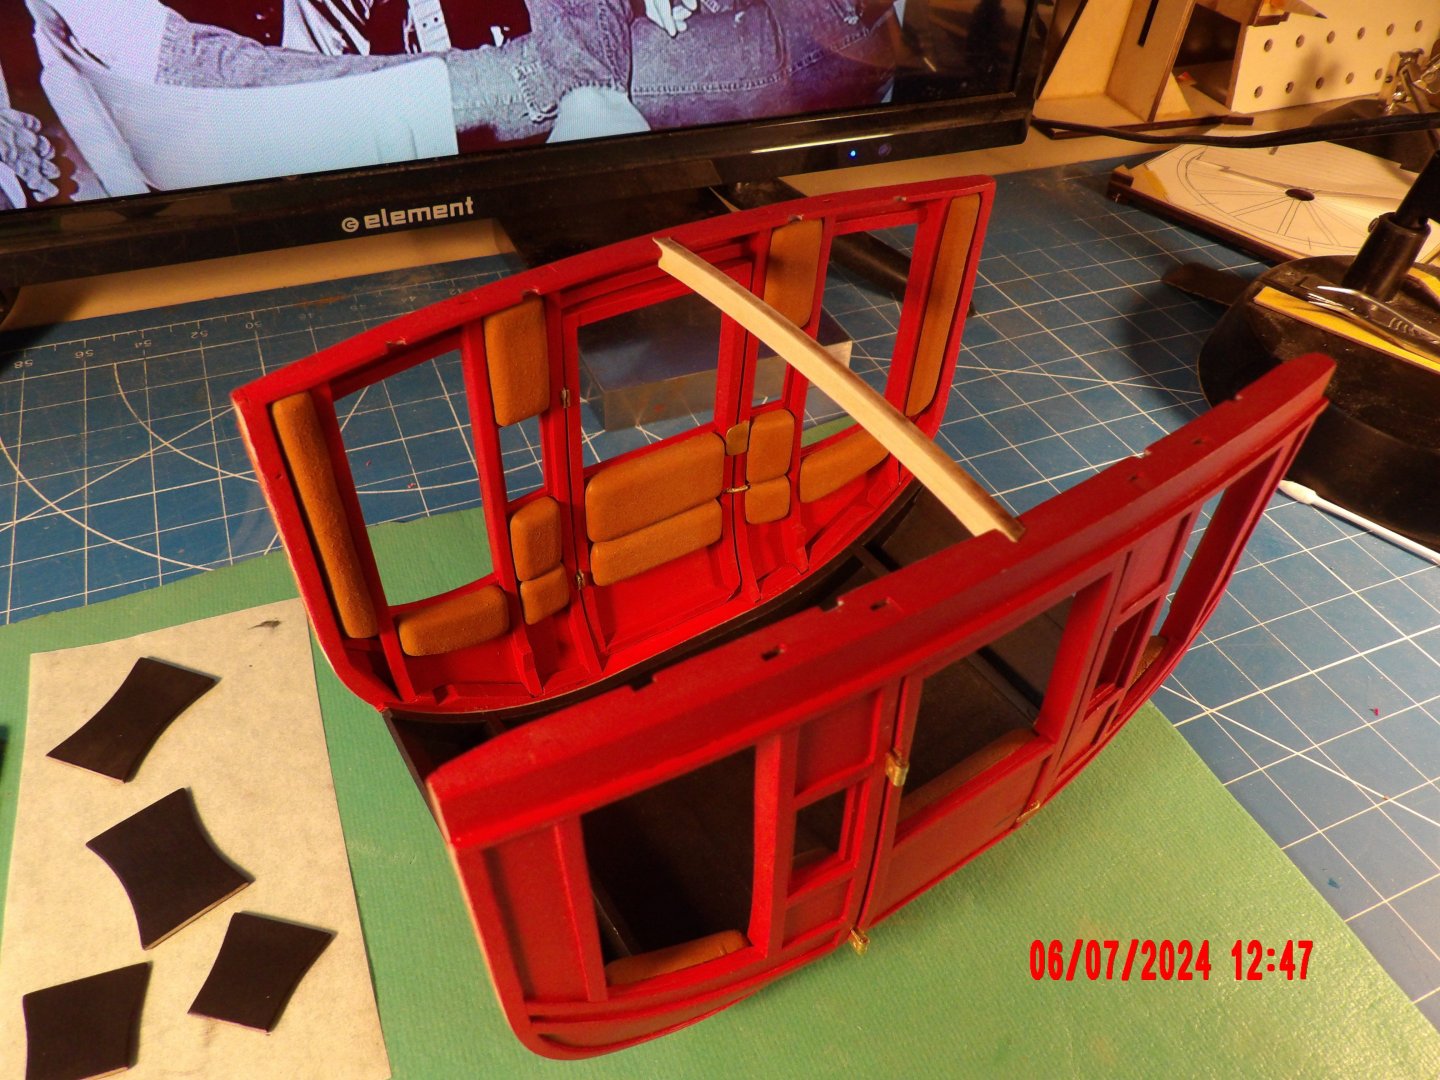
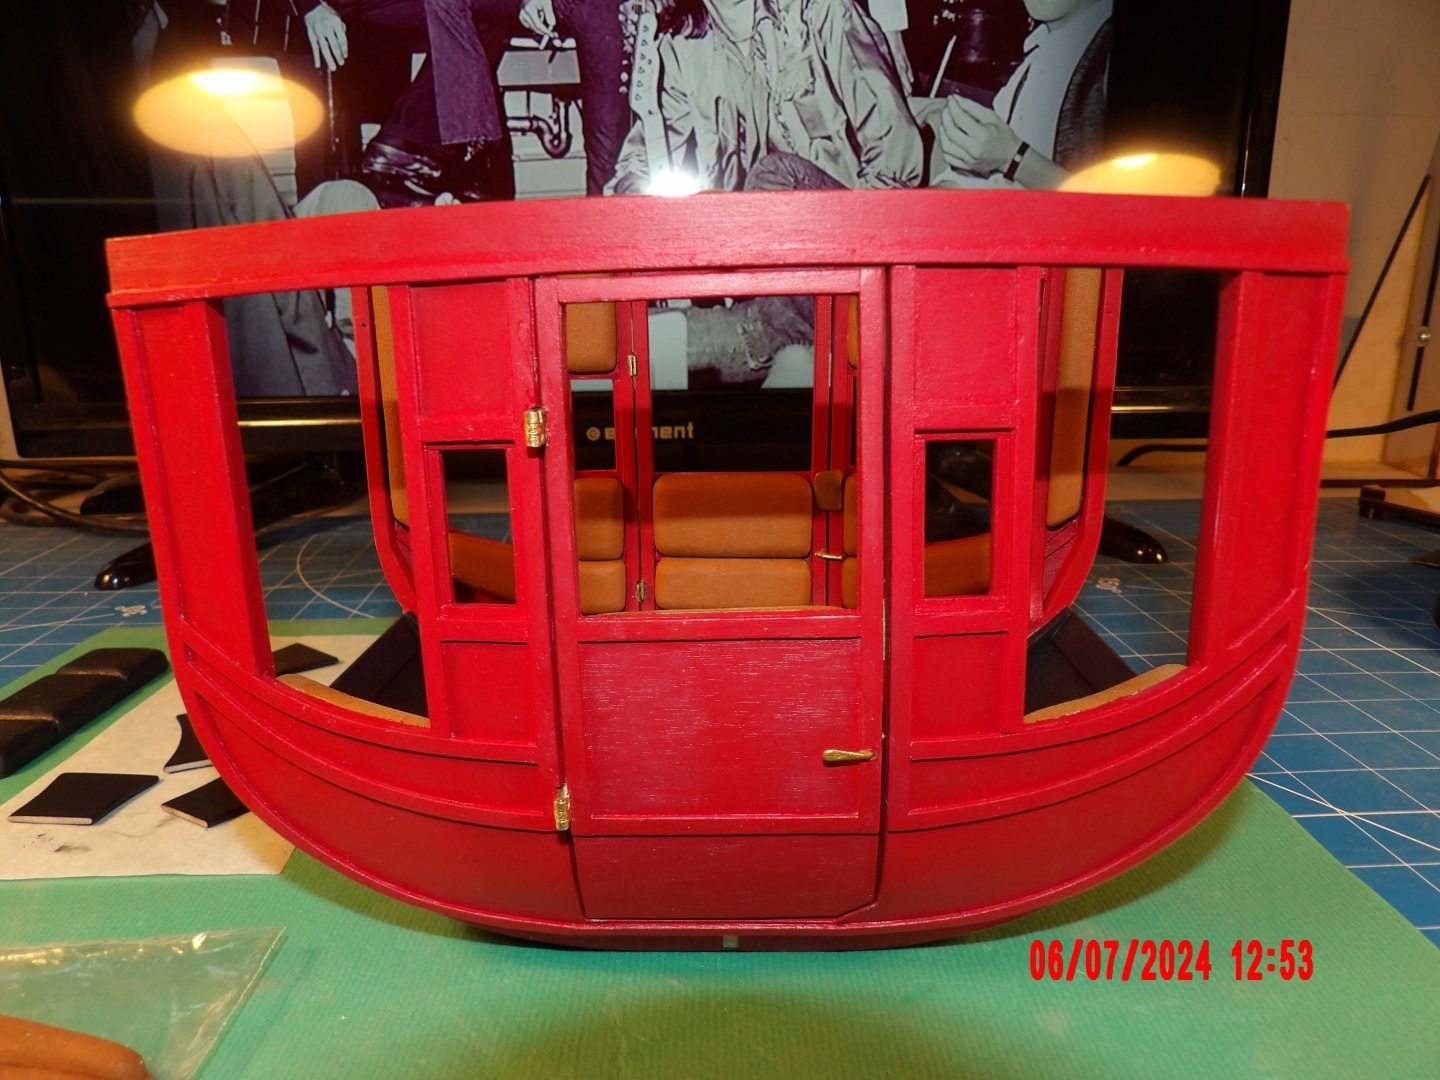
I've not been good about updating this log. Jumping around a lot, as I do- but shaping all of the seat and side cushions took quite a while. . . Today I joined the sides to the bottom, which took a certain amount of swearing, but I'm happy enough with the results: Was hoping to make the doors operable, but after many tries, was happy enough just to get them in as fixed in place. The compound curves make this very tricky indeed. Work will continue on the undercarriage, which is very complex considering this time period, but for now I am enjoying the coach body more. . .

-
I have joined the girls on the deck. Can someone pour me a whiskey? Rocks, please. Bob
-
Thank you very much, John!
-
Awesome, you've come far, skills-wise, Gregg! Bob
- 184 replies
-
- 2
-
-
-
- Bluenose
- Model Shipways
- (and 1 more)
-
Hi, Wayne. Love your project! I love live steam, I have a G scale steam loco and I lost a couple of years watching it go. . . Appreciate the picture of the actual boat also, I did not know that it actually existed, nor that it's still here.
- 31 replies
-
- 3
-
-
- African Queen
- Billing Boats
- (and 2 more)
-
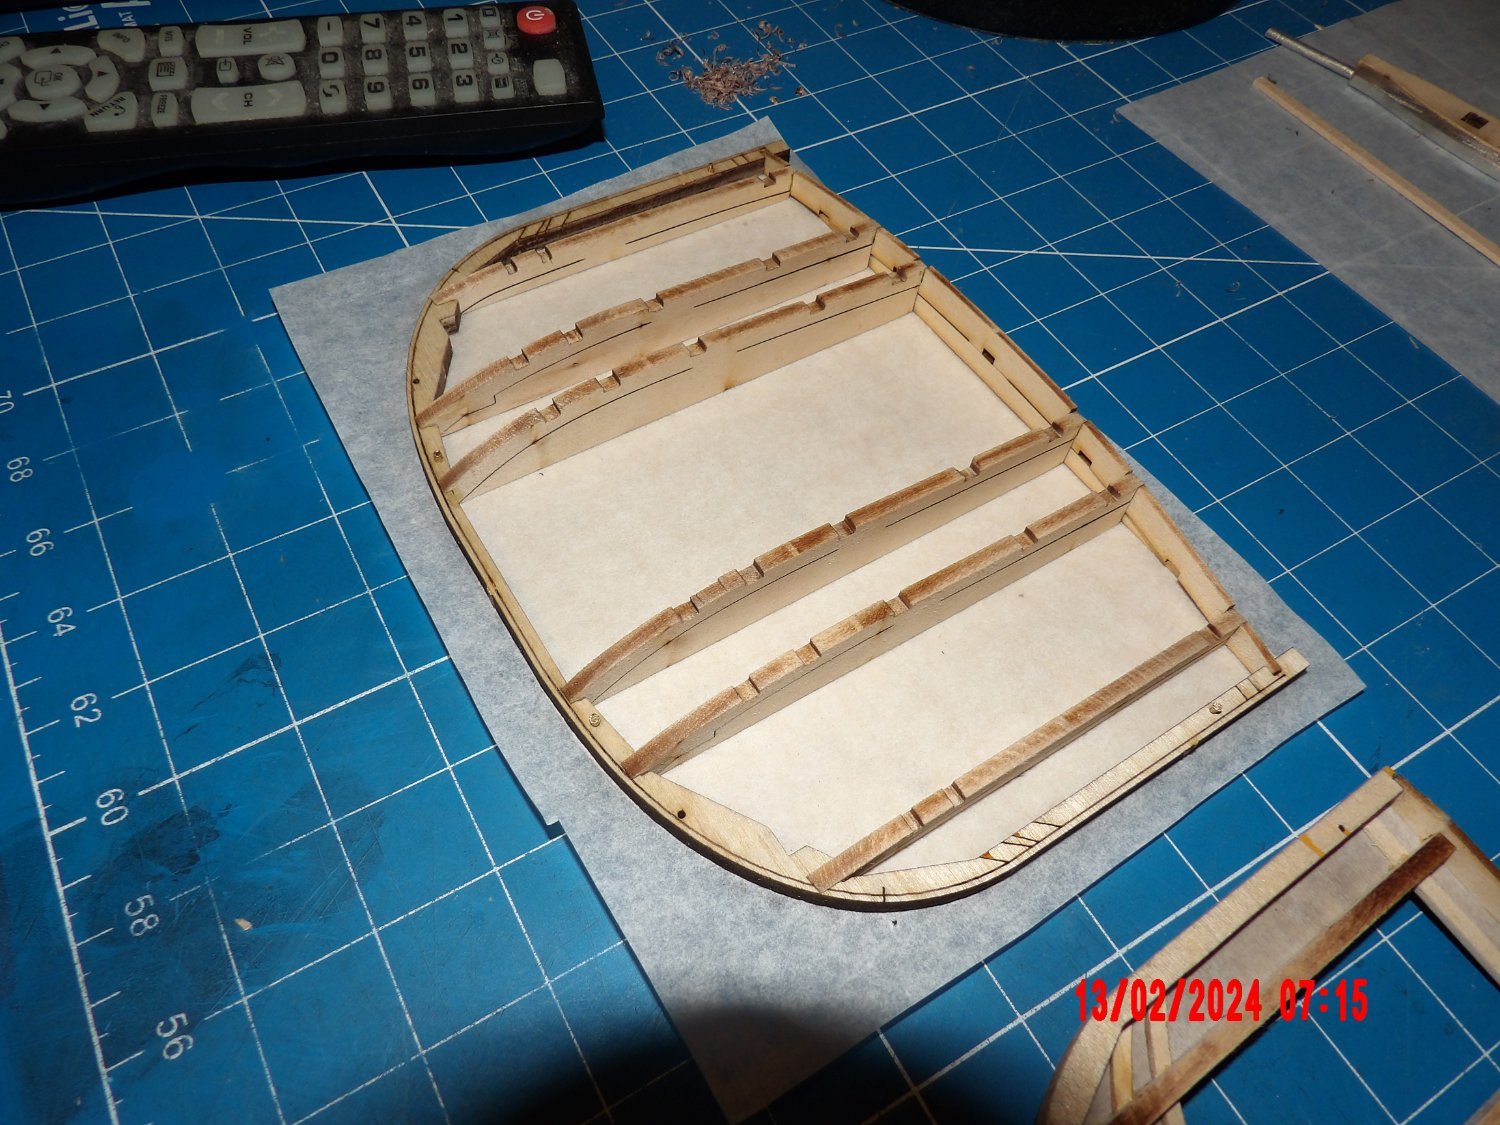
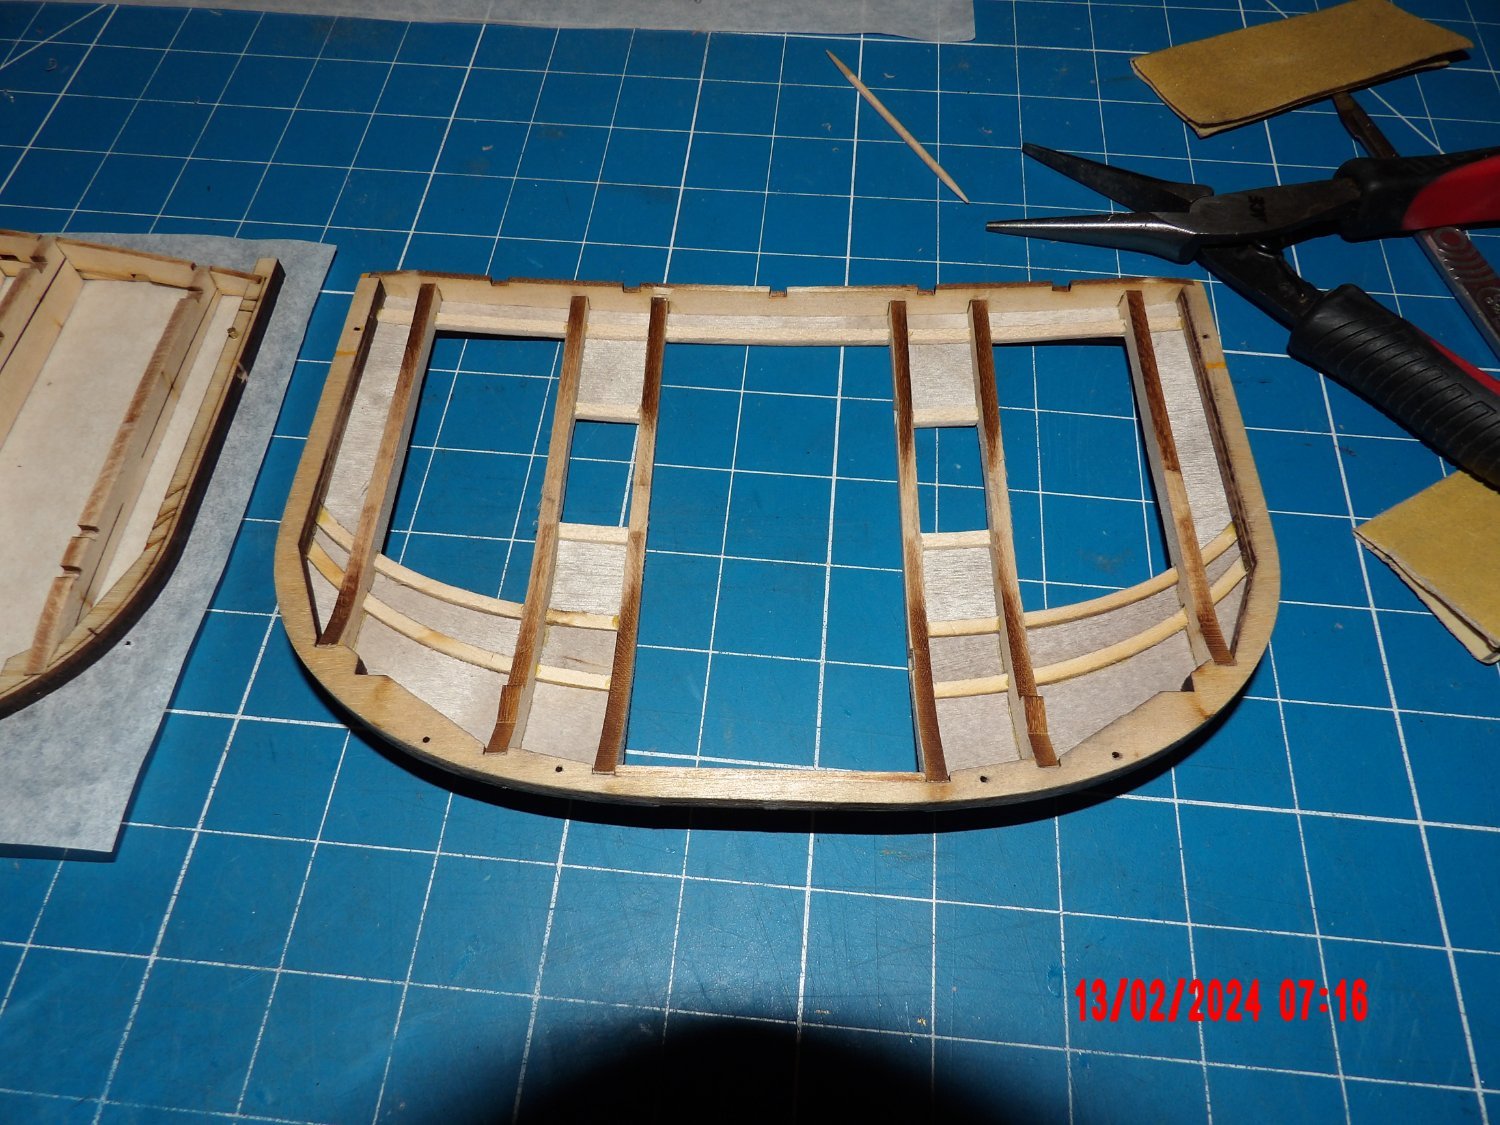
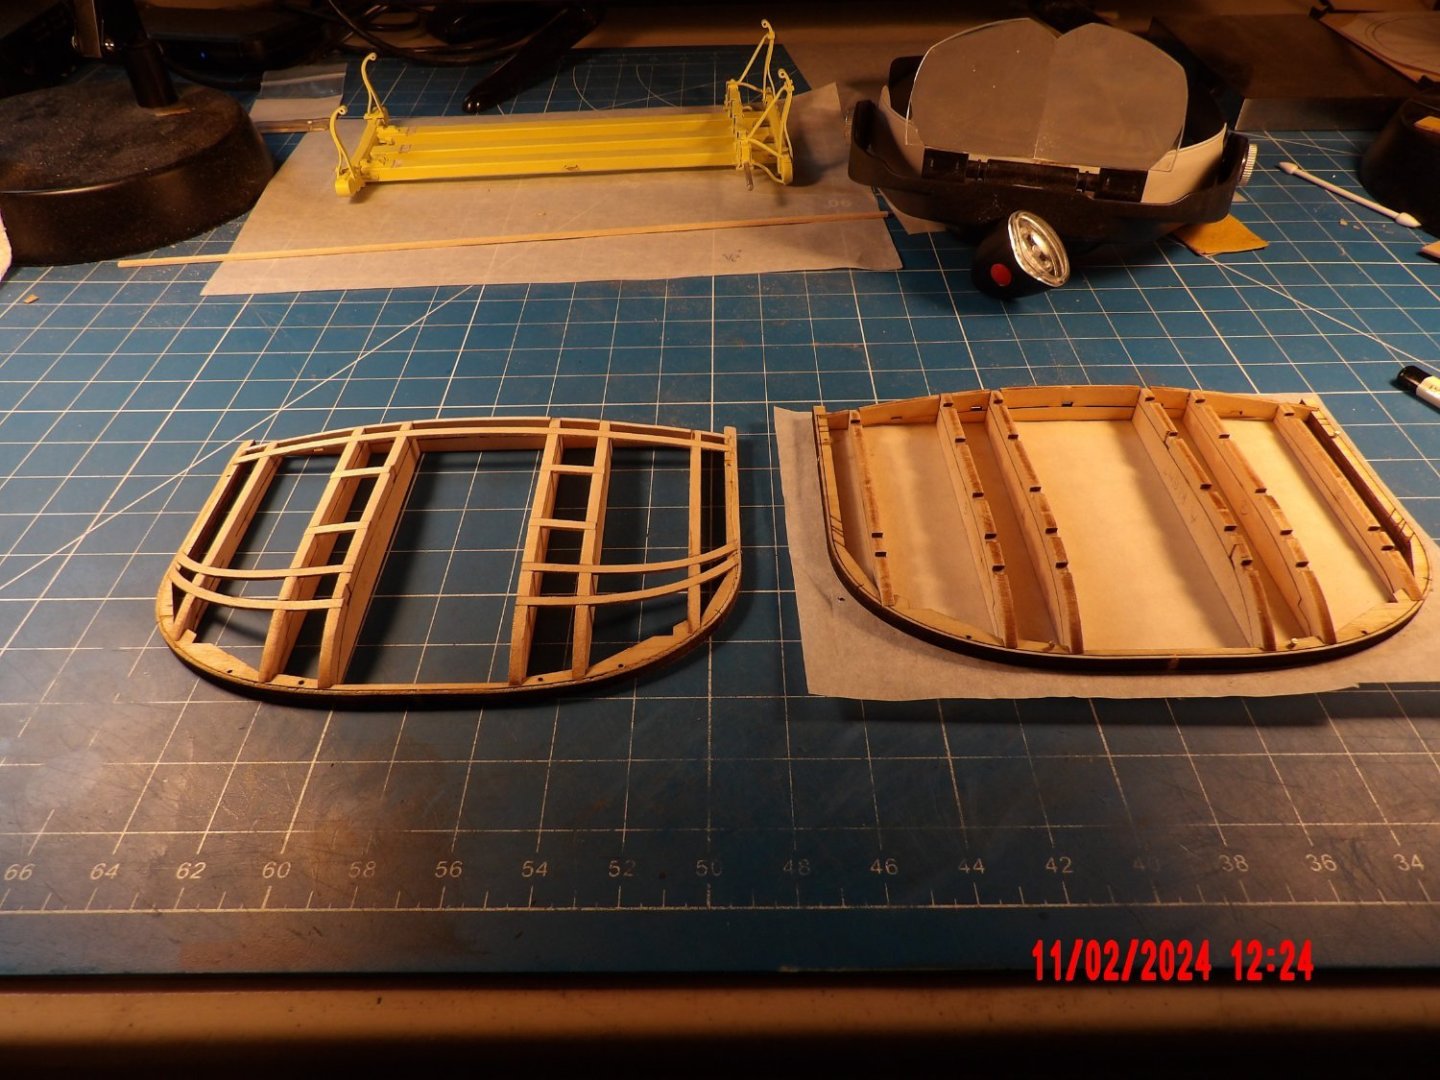
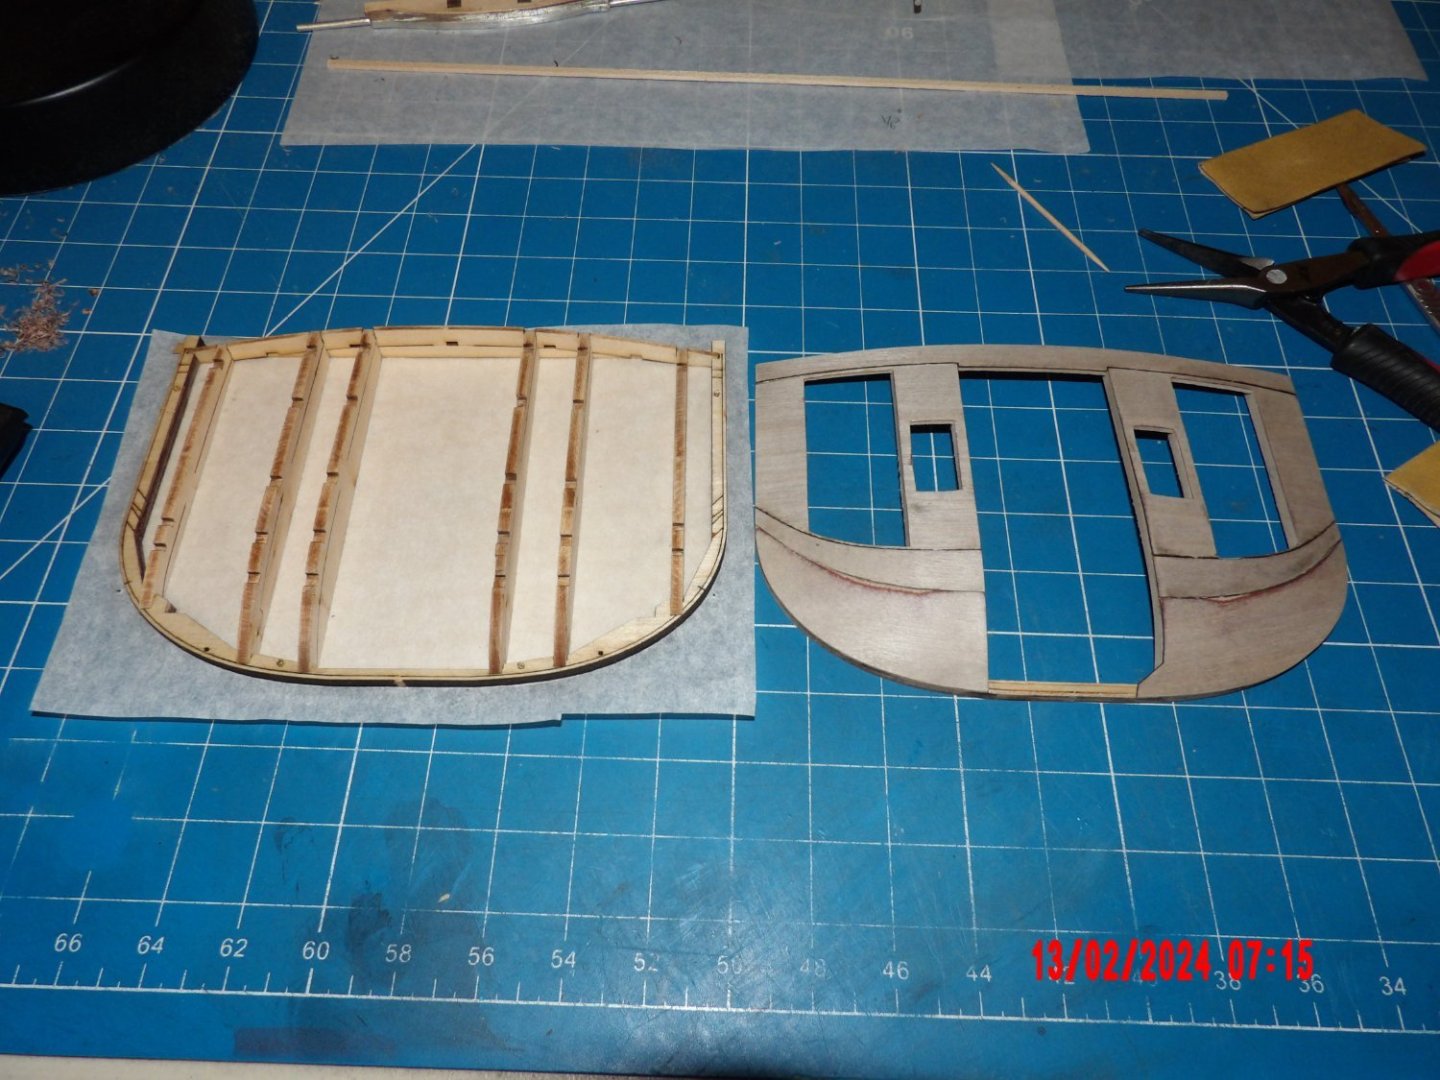
Leaving the undercarriage/running gear aside for awhile, I started constructing the coach body. The process is very similar to ship building; vertical pieces are added to outer framework, faired, then horizontal pieces added and faired: The vertical framing members are held at the proper height off the work surface by sacrificial extensions, which are later removed. Very clever. Designer Bob Crane, who also designed the Doctor's Buggy completed earlier, has done good work on both models. Exterior paneling added to one side, will need minor filling/sanding: Extensions removed at interior: Very enjoyable project thus far.


-
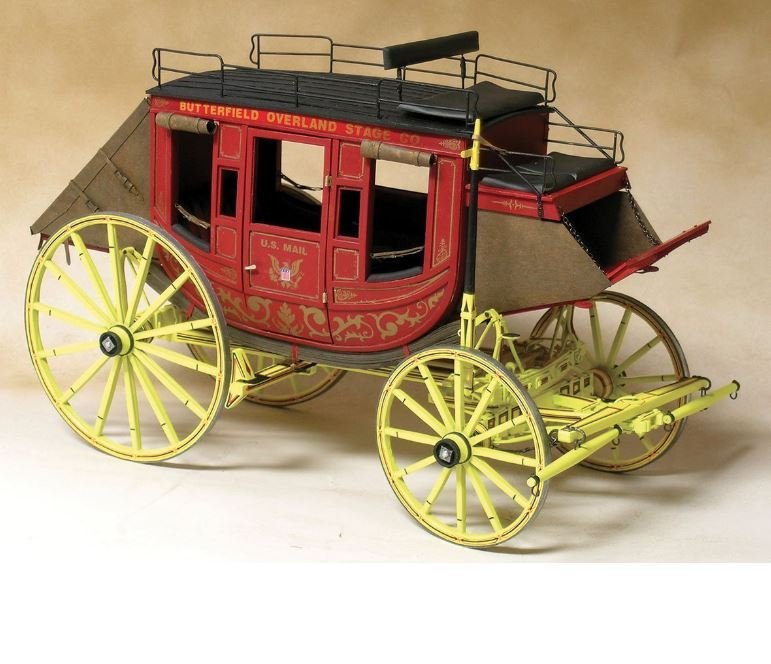
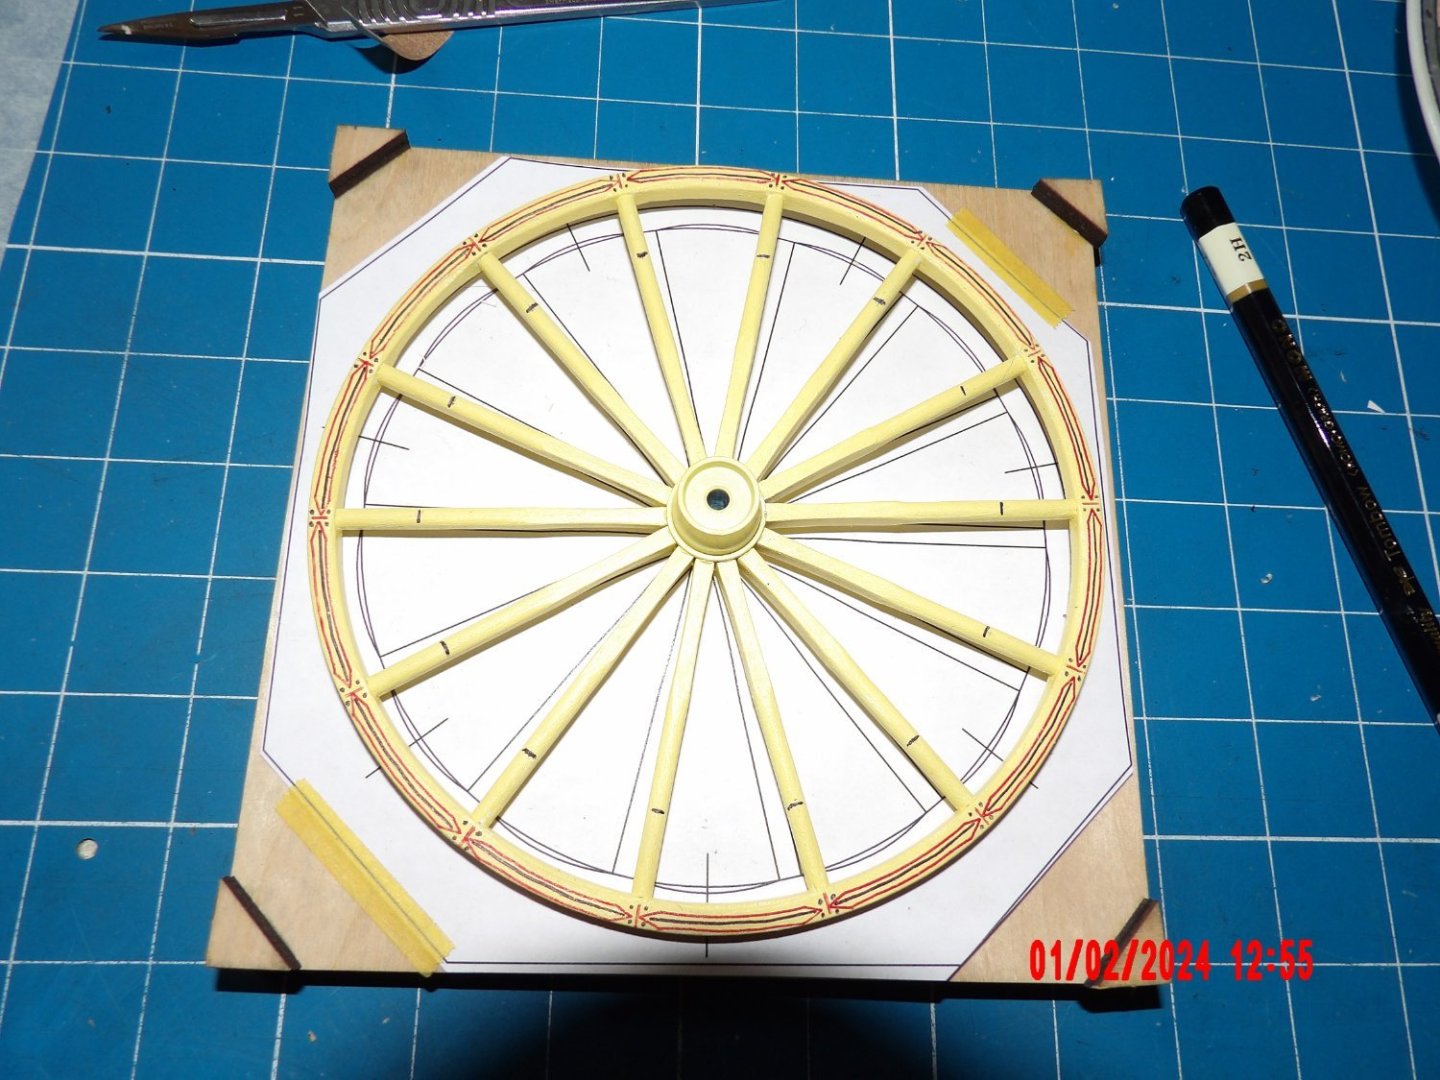
I enjoyed building the Doctor's Buggy so much that I ordered the Concord Stagecoach and am well into it at this time. Picture of finished model from the manual: I see opportunity for lots of scratch-made doodads! Starting the undercarriage: Pins are soldered to the U-straps to simulate bolts: Made a mistake in reducing the width and length of the wooden part of this axle assembly because the drawings showed them as matching. . . This resulted in a poor fit of the U-straps as well as not providing enough stand-off for the wheels; I'll need to add material somehow: Waiting on a couple of missing parts to continue with the undercarriage. So I assembled the wheels. The wheels have a carved scalloped design between the spokes. Not easy to make these uniform in plywood! I finished painted one wheel. The red and black decoration is done with Sharpie pens, which quickly stopped flowing when used on painted wood. The decorations also came out somewhat wobbly. If I can do better on the other wheels, I may re-do this one. The decorations are supposed to be on both sides of the wheel, but I may decide not to do them inboard. . .


- 18 replies
-
- 13
-
-
The Hubs are aluminum, furnished with the kit. I made the wheels using kit-supplied materials.
-
Thank you!