-
Posts
1,840 -
Joined
-
Last visited
Content Type
Profiles
Forums
Gallery
Events
Posts posted by Glen McGuire
-
-
-
-
Texas longhorns on a Mississippi riverboat! They look awesome!! Just get them a few hay bales and they'll be happy.
- robert952, GrandpaPhil, Keith Black and 3 others
-
 5
5
-
 1
1
-
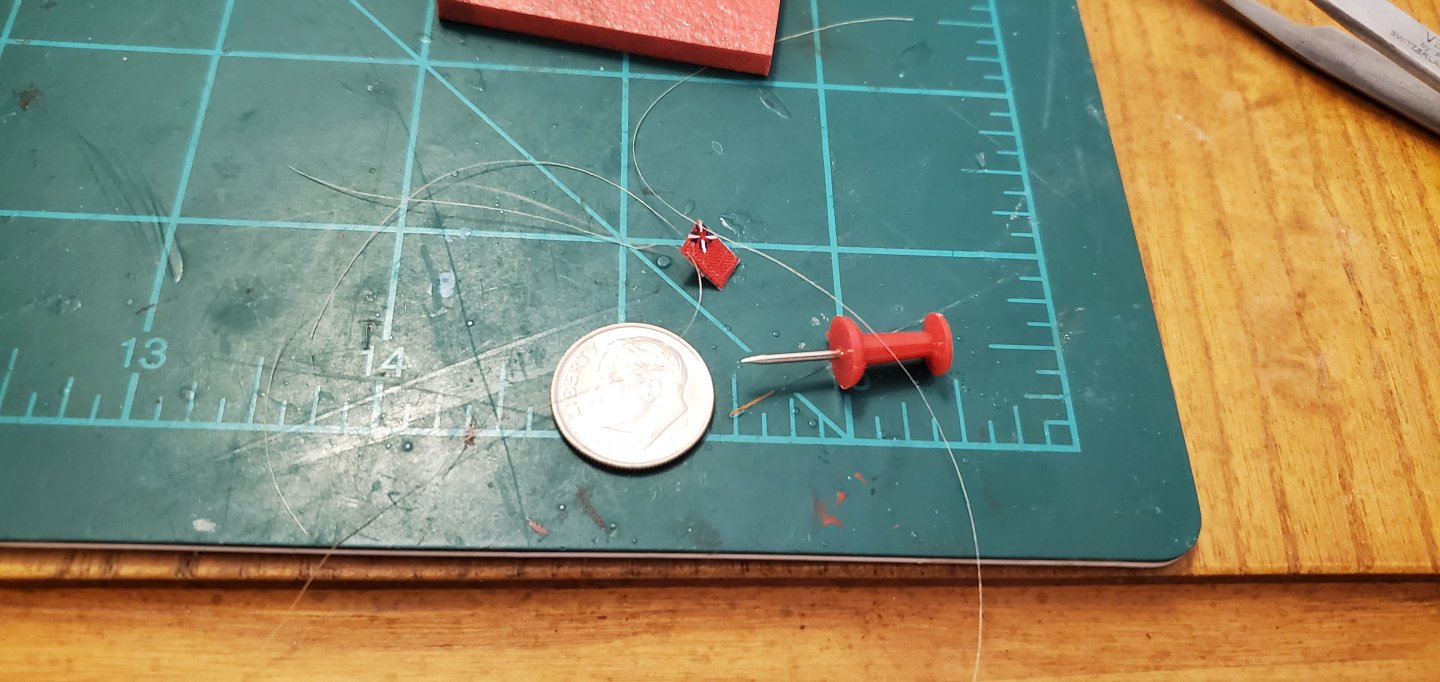
I took a detour and decided to try making a small flag to fly from the stern as shown in the painting of the original Banshee. The Banshee II painting has the flag pole, but no flag for whatever reason. The Banshee II, like most blockade runners, was made in England and flew the Red Ensign flag of the Royal Navy.
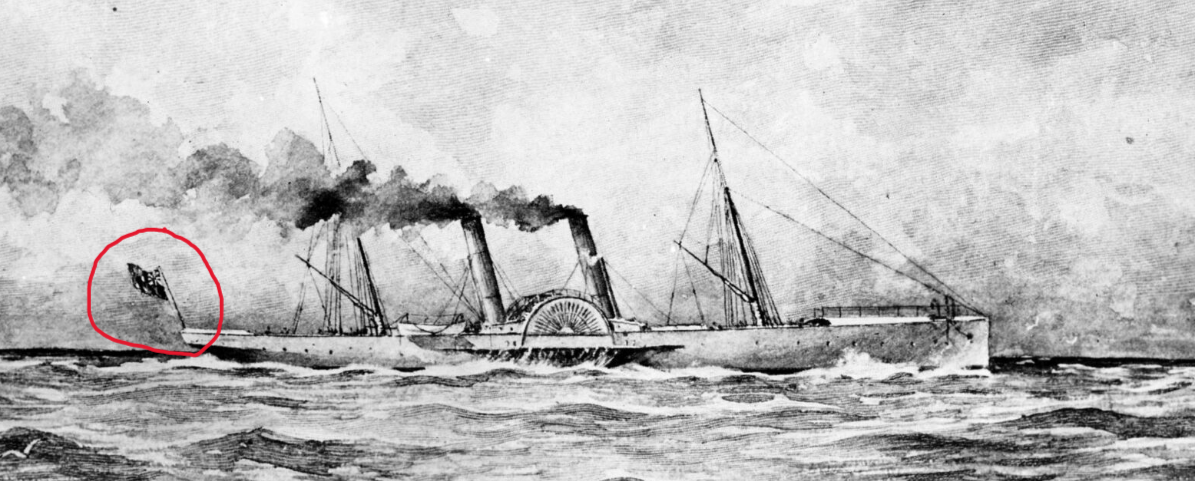
For my attempt at duplicating the Red Ensign, I cut a 7mm x 5mm rectangle from red shirt cloth. Taking my finest tip paint brush, I drew some white lines and blotched on a bit of navy blue to make something that sort of resembled the familiar Union Jack in the corner. Then I added some fly-tying thread for attachment to the flag pole.
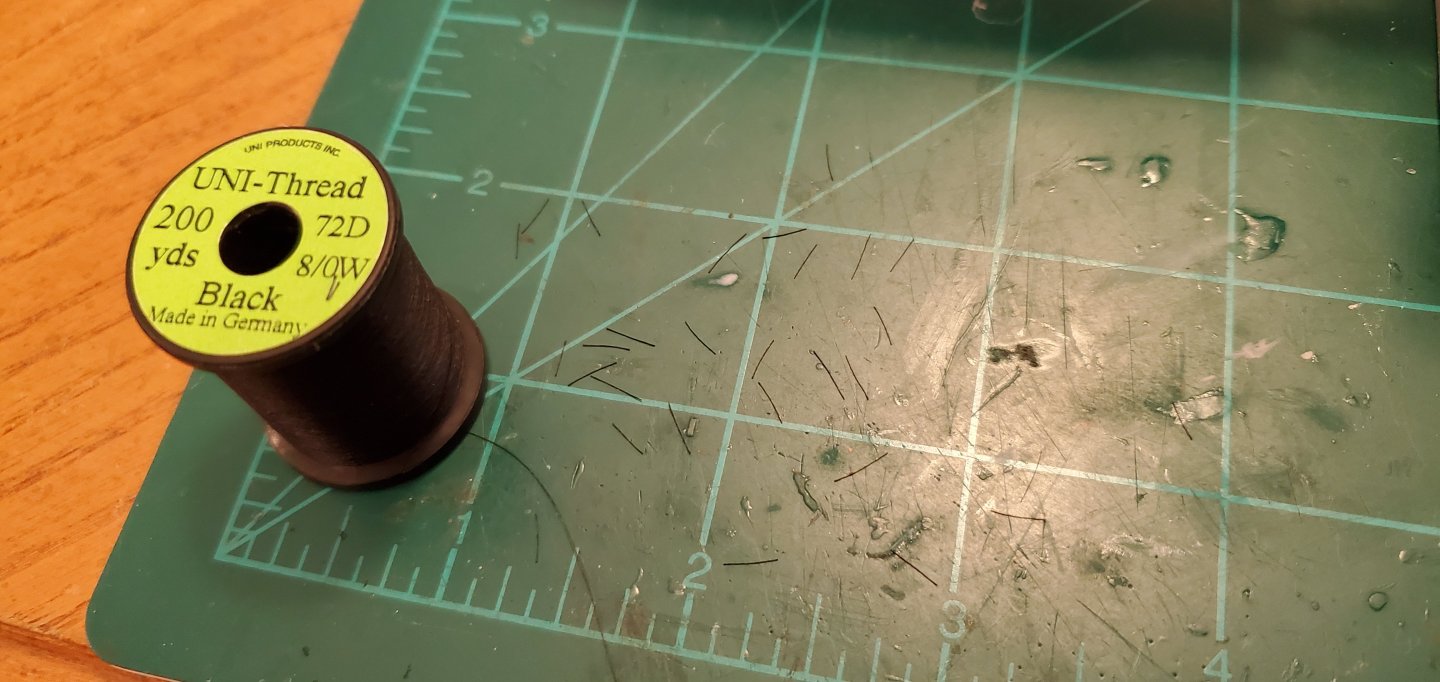
Now, on to the running rigging. One of my goals with SIBs is to get better with each build and figure out how to add more detail to the ship. I’ve always wanted to incorporate blocks into the running rigging on my ships, but haven't been able to figure out a good way to do it. Small beads were the first thing that came to mind. Unfortunately, the smallest beads I’ve been able to find are 2.1mm in diameter. While tiny, they look way out of scale on my ships. So I’ve just been ignoring the blocks.
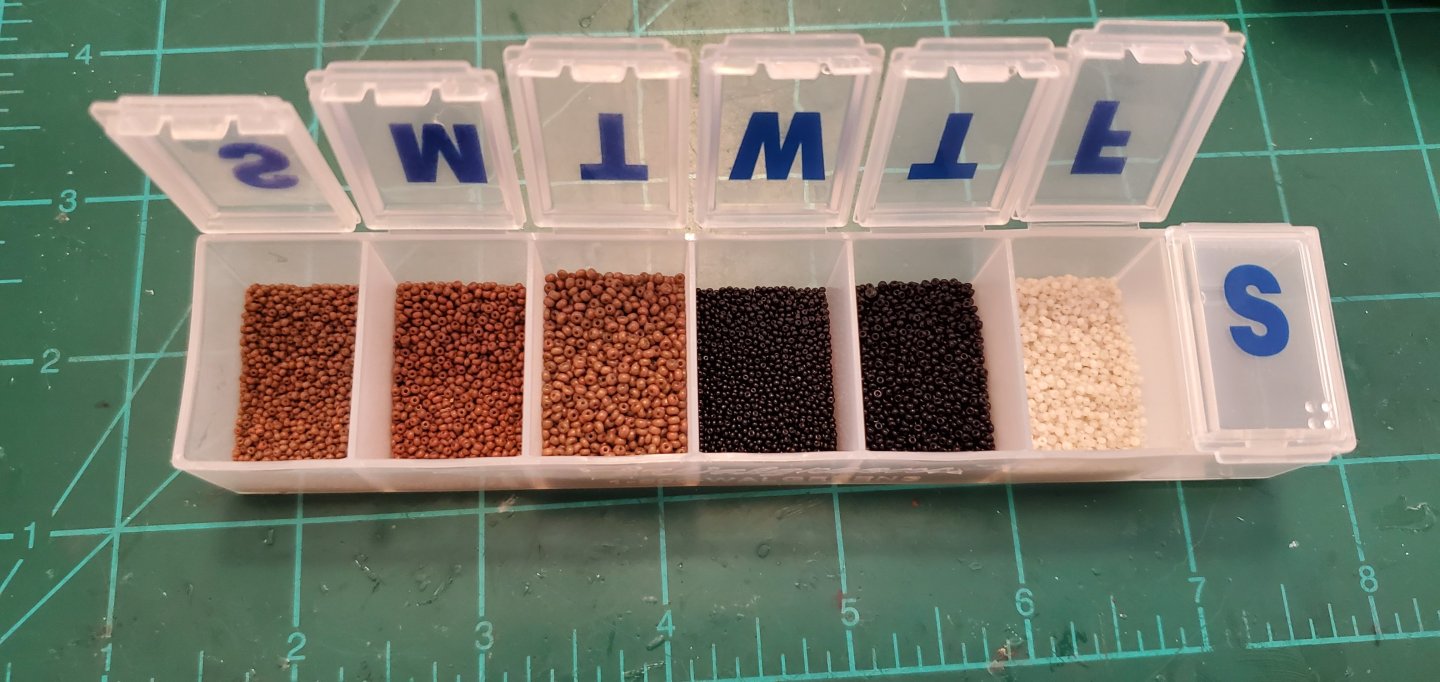
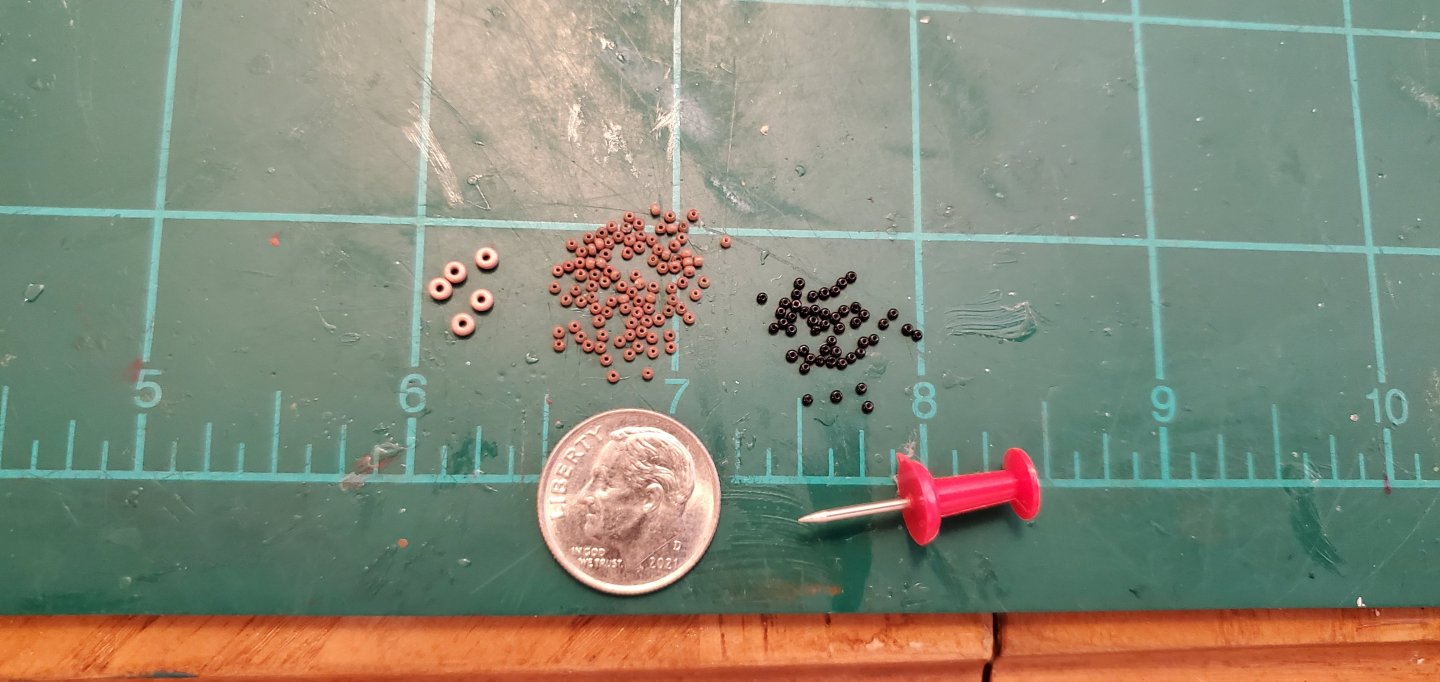
That all changed earlier this year when I was in Boston for the annual model show put on by the USS Constitution Model Shipwright Guild. I met a guy there named Alex Bellinger who has been doing SIBs for 30+ years and is a true master of the craft. I noticed one of his SIBs had blocks so I asked him what he used. He had found these super tiny Venetian glass beads years ago and had bought a ton of them (he said he can't find them anymore). He was generous enough to send me what he promised was several lifetimes’ supply. The smallest of the Venetian beads are 1mm in diameter. The 2nd pic below shows the smallest venetian beads next to a few of the 2.1mm beads available at Michaels and Hobby Lobby.I got them from Mr. Bellinger too late to try on my Ghost Ship Jenny, so I get to try them out on the Banshee II. Having minimal sails and being an aft rigged ship with no yards, the Banshee II does not have a lot of places where I would want to put blocks. So I think it's the perfect ship to make a trial run with these tiny beads. At 1/700, the 1mm blocks are still out of scale, but not so much that they look horribly out of place.
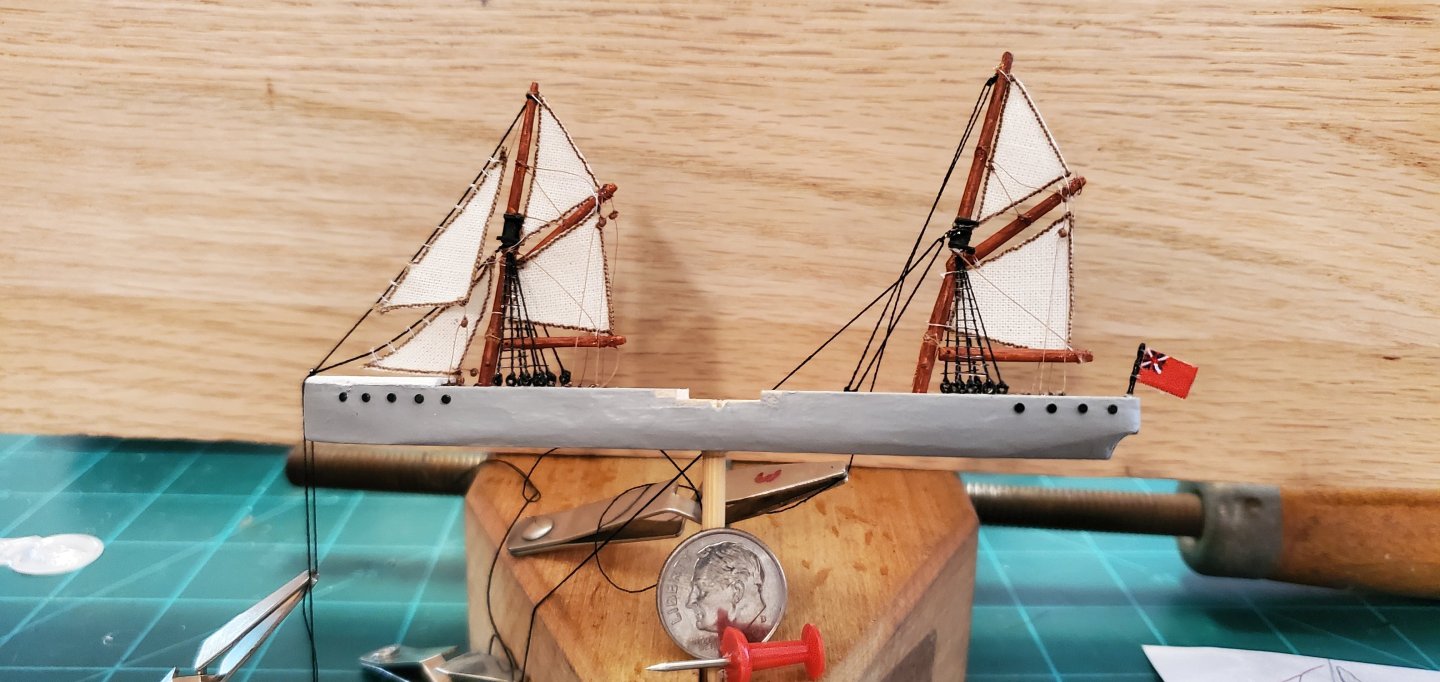
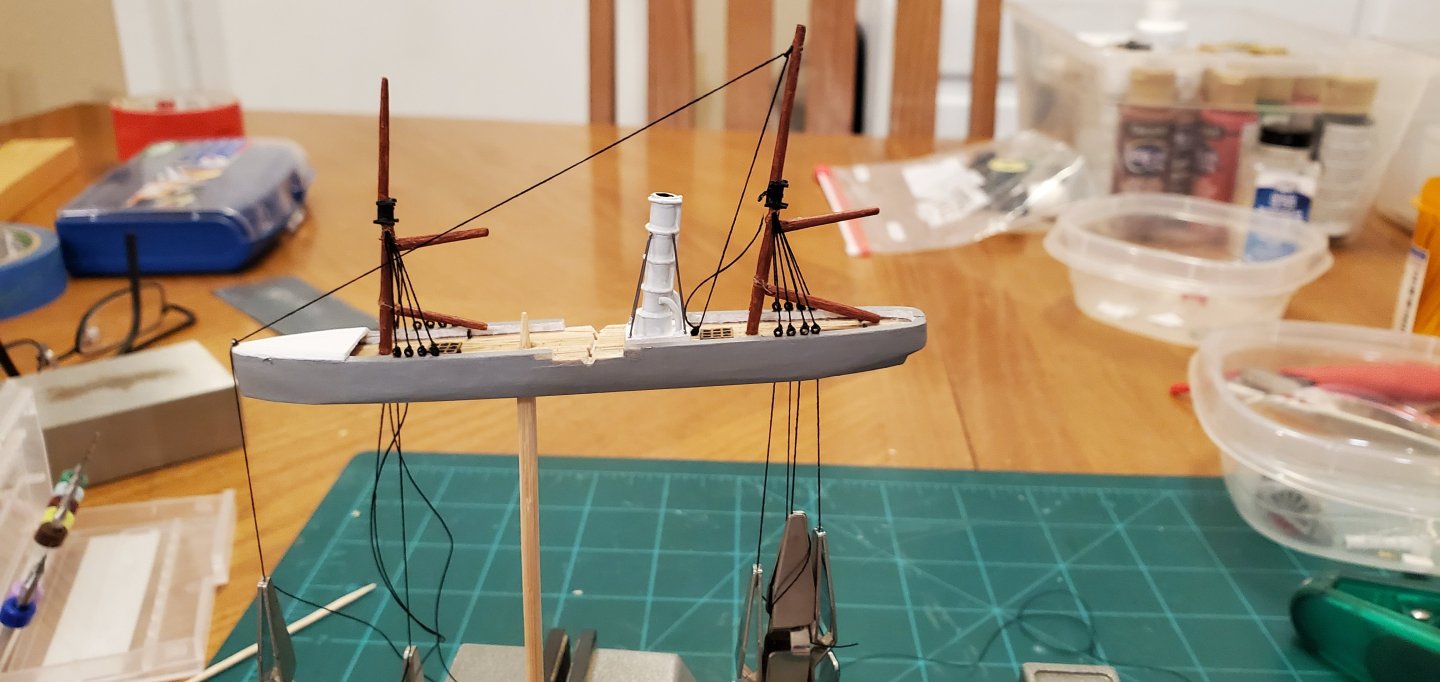
I got so focused on trying to work with these tiny things that I didn't take any in-progress pics. So here's the Banshee II with her running rigging in place, sporting a few blocks on the halyards and sheets. Also, the Red Ensign has been raised and flies from the stern.
I think the davits and ship's boats are the only things left to add.
- BANYAN, Keith Black, JacquesCousteau and 8 others
-
 7
7
-
 4
4
-
-
44 minutes ago, BANYAN said:
Hi Glen, she's coming along beautifully mate. I am heading off on a three week holiday in a couple of days so will probably not get to see her completion as I will be on the road with only the occasional chance to catch-up.
Thanks, Pat! I am always grateful for your support, comments, and suggestions. Best wishes for a fantastic 3-week holiday!
- mtaylor, BANYAN, Keith Black and 3 others
-
 6
6
-
10 hours ago, Ian_Grant said:
But with sails raised, they wouldn't have the engine(s) active because of the fire danger! Right, Glen? 😉🤙
THANK YOU, Ian!! You just made my life a little easier!
5 hours ago, Javelin said:Continue like this and you'll create a whole horde of SIB builders over here!
That would be so awesome!!!
- Ian_Grant, Canute, FriedClams and 2 others
-
 5
5
-
@PvG Aussie - Thank you for the kind words. We'll see soon whether you are right or if I'm really just the master of disaster!
@KeithAug - Thanks, Keith. As for the aluminum foil, @Landlubber Mike gets all the credit for that tip!
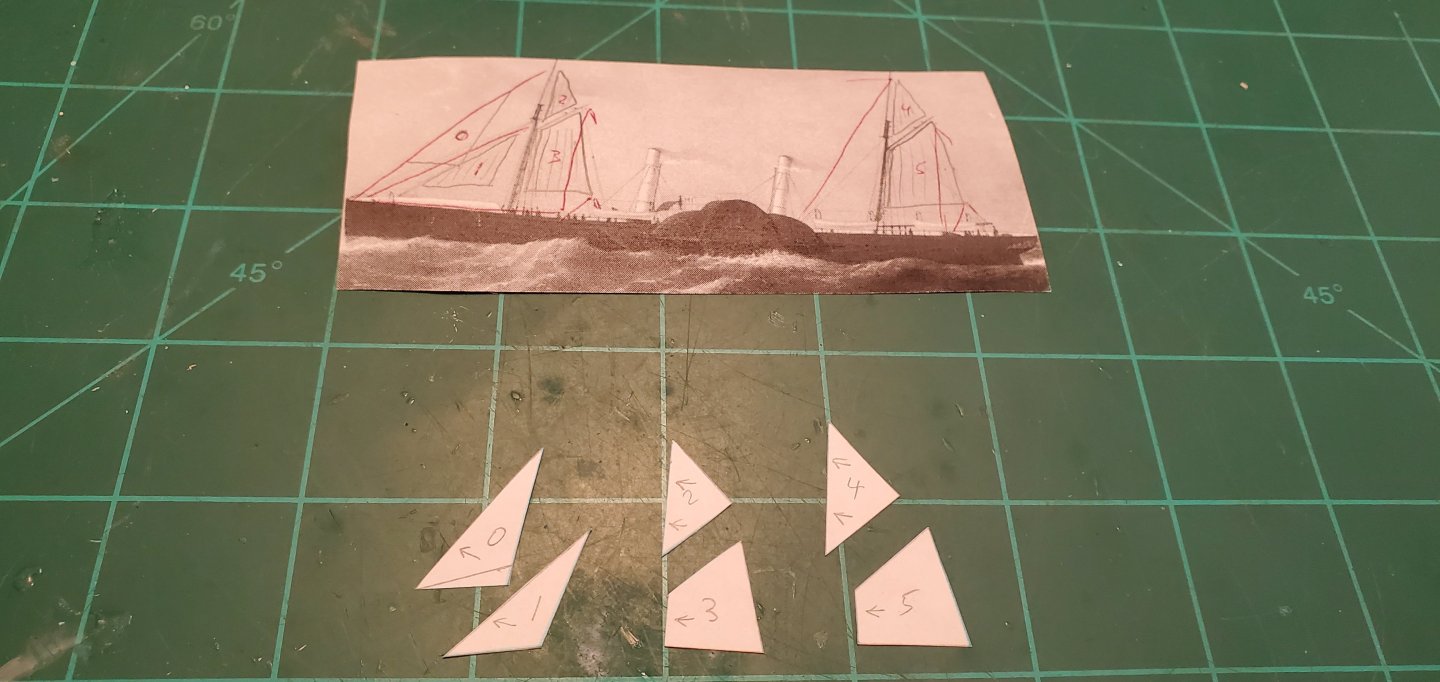
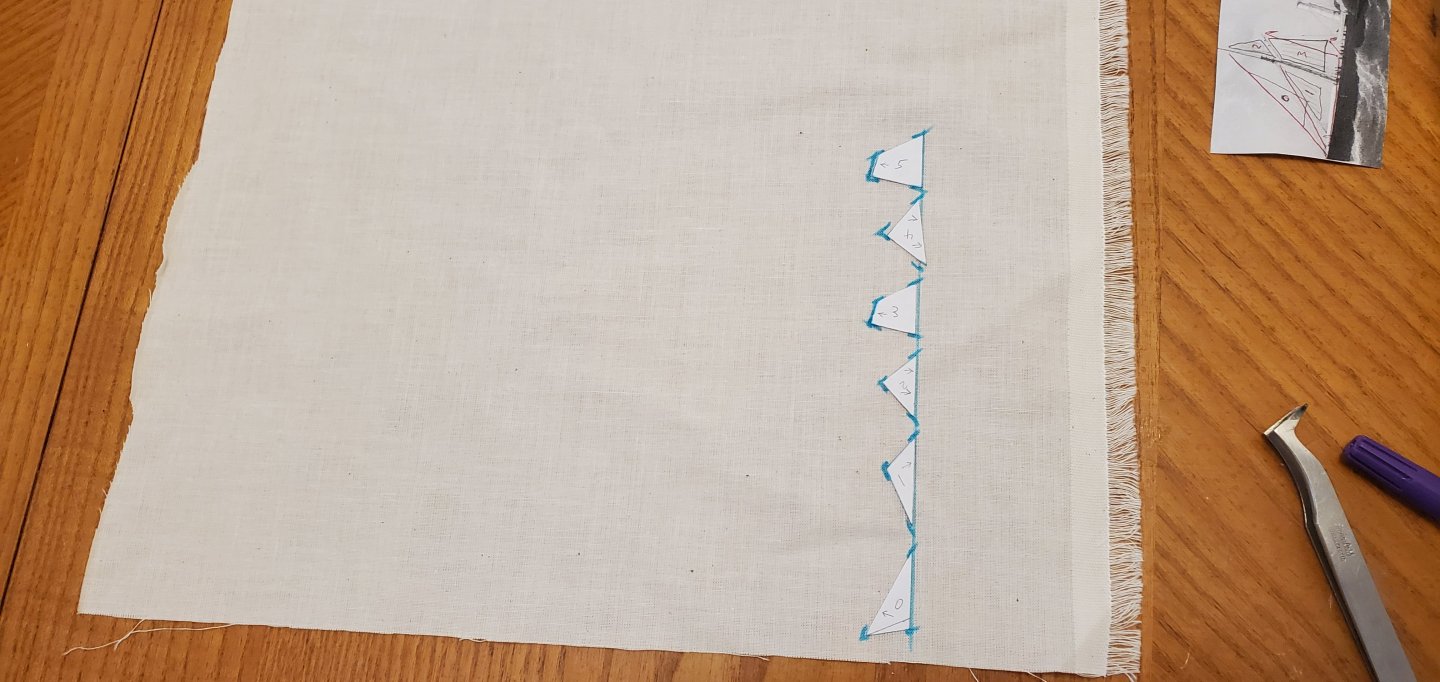
On to the next step, which is the sails. I don't have any pics of the Banshee II with sails deployed. So with a little more artistic license, I'm going to go with a sail configuration based on pics of other sidewheel steamers that had theirs deployed. My sail plan consists of 6 sails: A jib and a stay sail hanging from the fore mast. A main sail and top sail hanging from the fore mast and the mizzen mast. The first thing I did was cut out little paper templates of each sail.
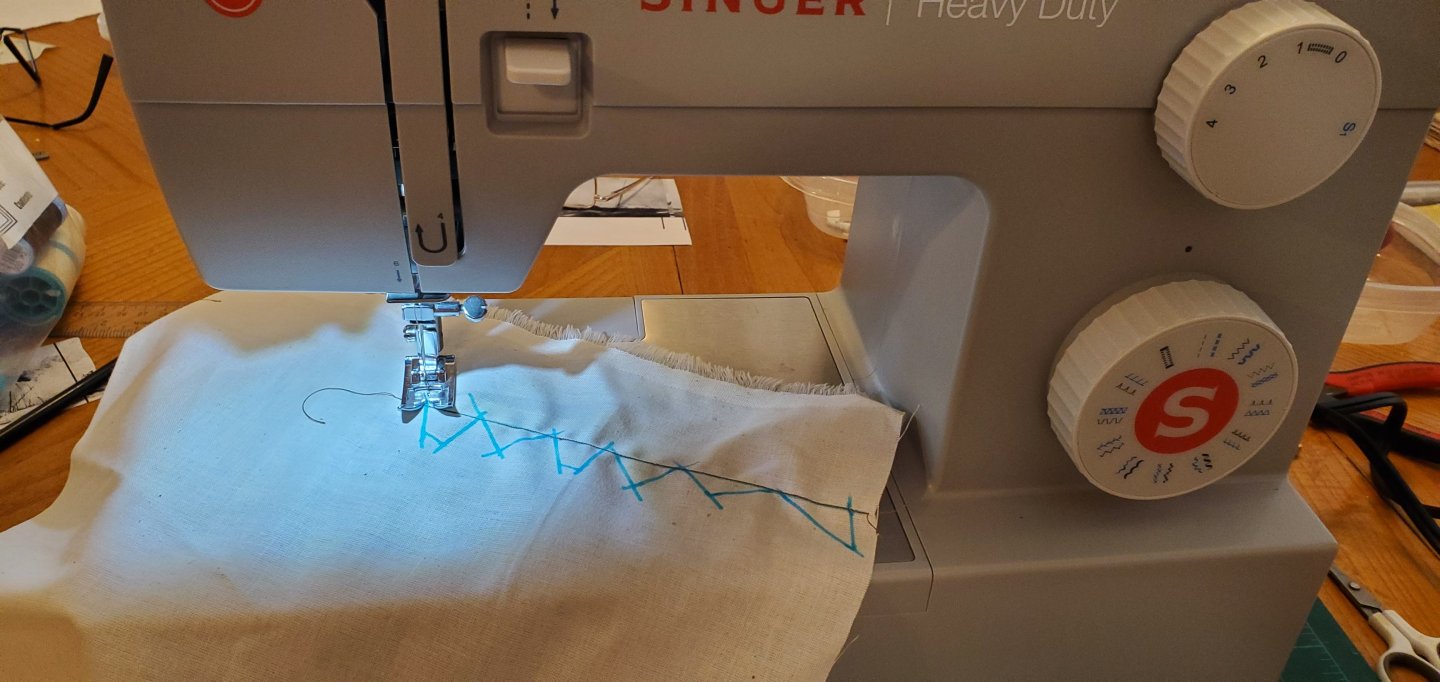
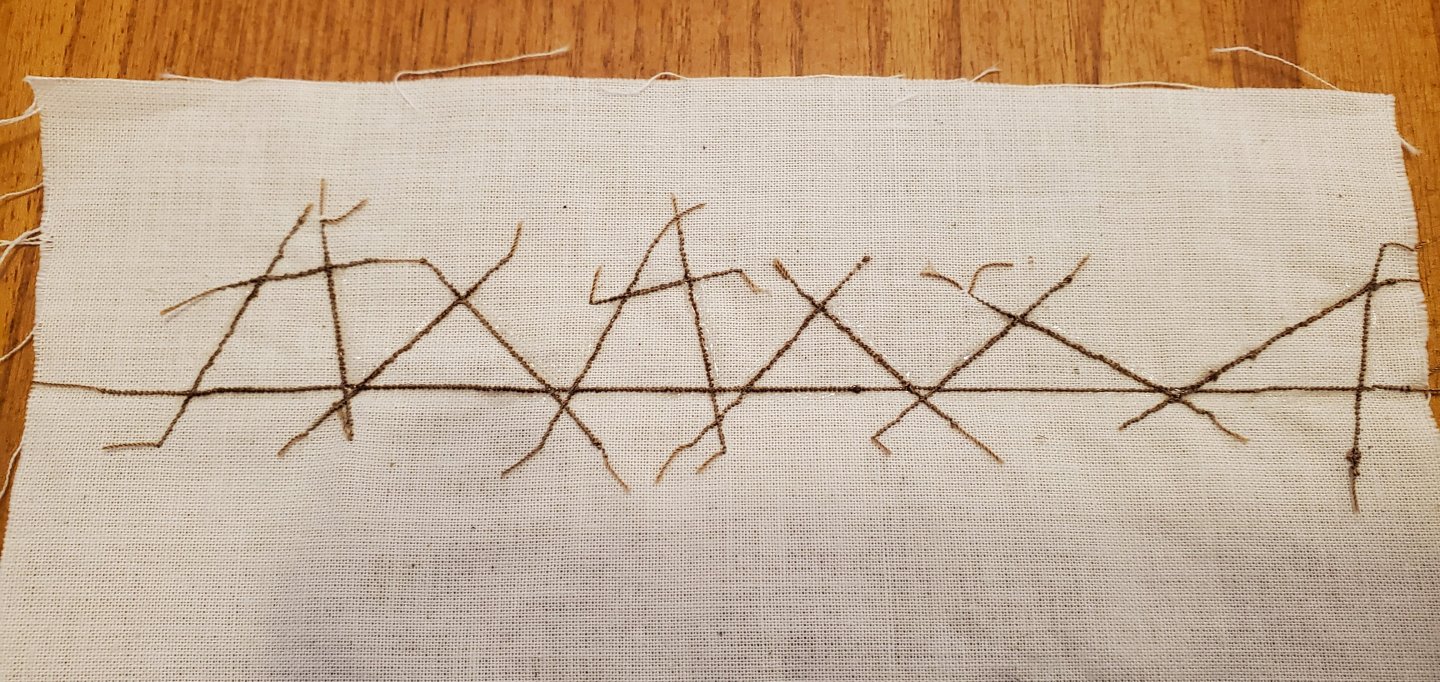
The sails are made from off-white shirt cloth. Using some fabric ink (washes out easily when done), I drew out the sails on the cloth. Next, using kindergarten-level sewing skills, I sewed on the bolt ropes.
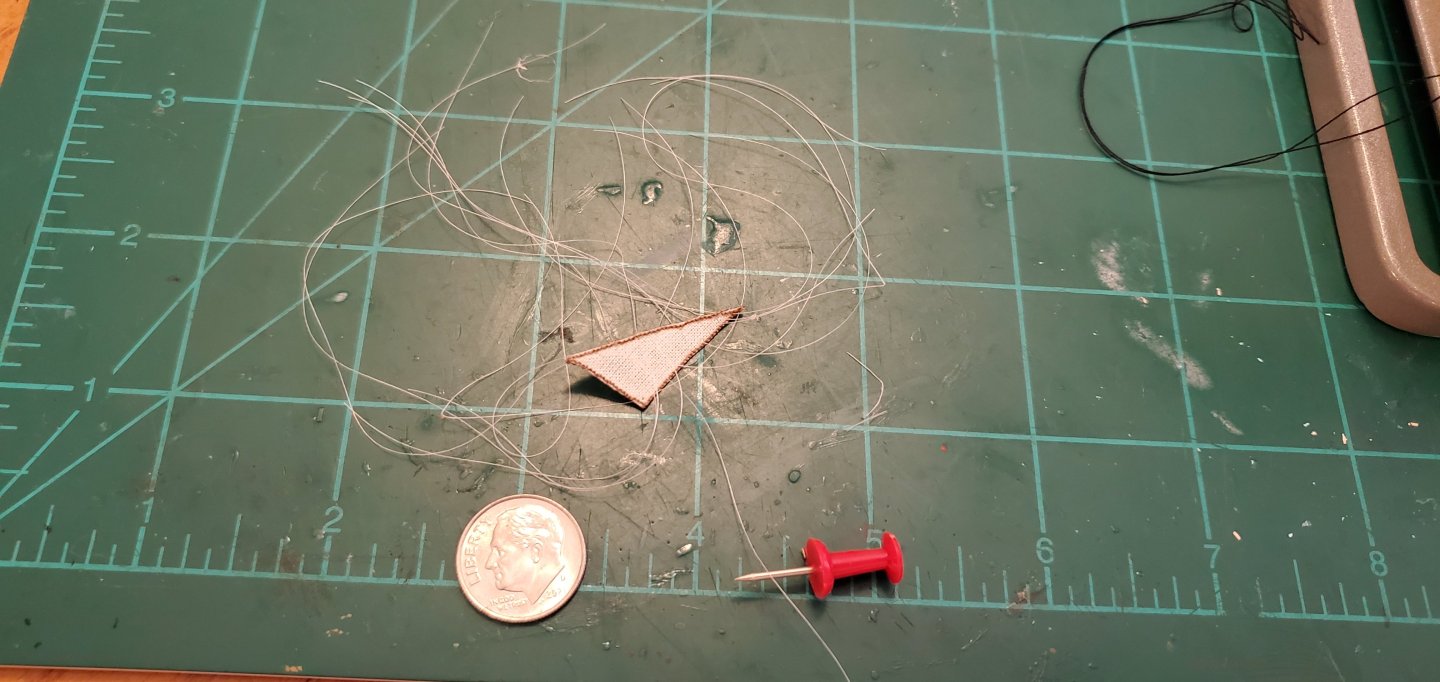
After the sewing was complete, I brushed fabric glue onto the outer edges of the bolt ropes. The fabric glue let me cut the sails out right along the edge of the bolt ropes without worrying about threads unraveling or fraying.
The next step was threading the sails with fly-tying thread at the points where they will attach to the masts/gaffs/booms or the stays.
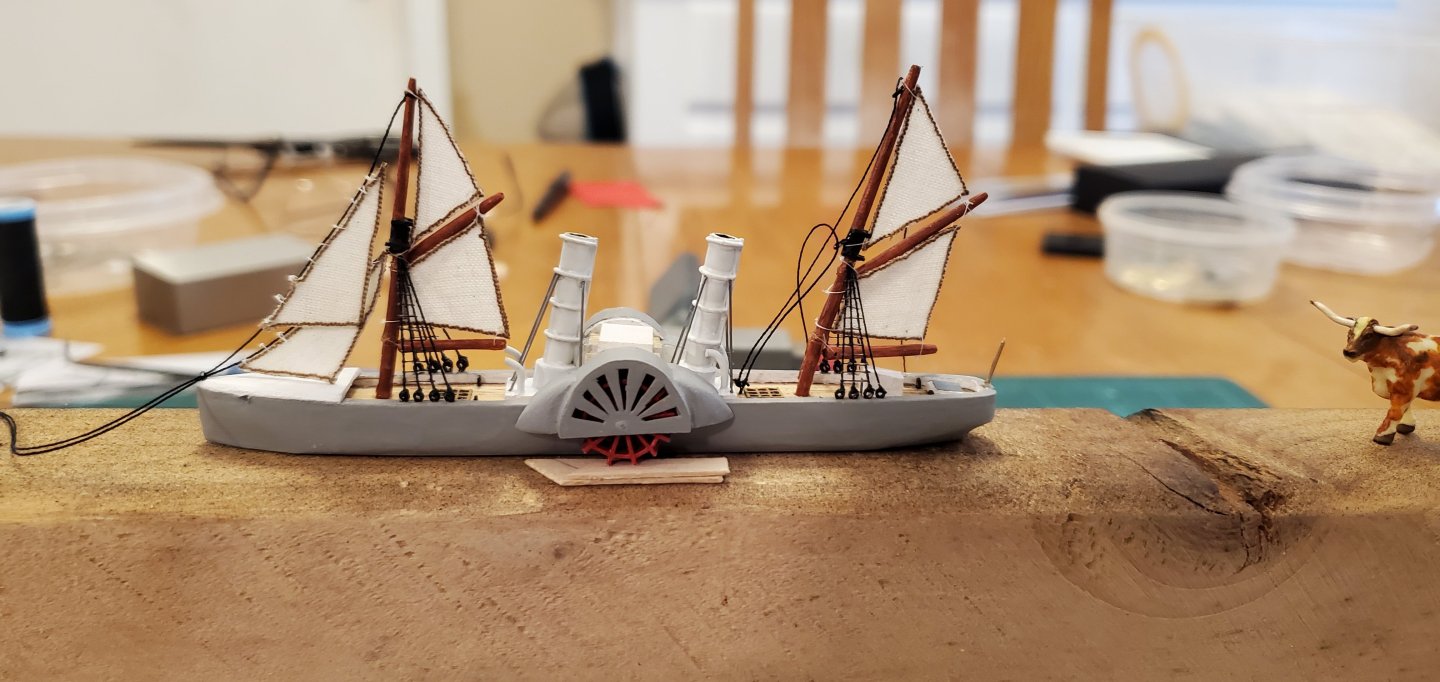
And here she is with all sails raised. And then a pic of the other pieces of this puzzle in place for a photo-op.
Nearing the home stretch now. Next up is figuring out how to manage the running rigging.
-
6 hours ago, Knocklouder said:
So cheesestake is ok but cheese Burger is a taboo, are you fixen to tell Dimpels, she will use another B word on you, Burdizzo lol.
Shhhhhh! I won't tell her if you won't!

- mtaylor, GrandpaPhil, Keith Black and 4 others
-
 3
3
-
 4
4
-
Nice recovery on reworking the backwards deck! I think even Gnomer would say it looks good as gnew!
- Keith Black, SiriusVoyager, mtaylor and 1 other
-
 4
4
-
2 hours ago, Canute said:
Since you visited near where I once lived, did you get your cheese steak sandwich at Pat's or Gino's?
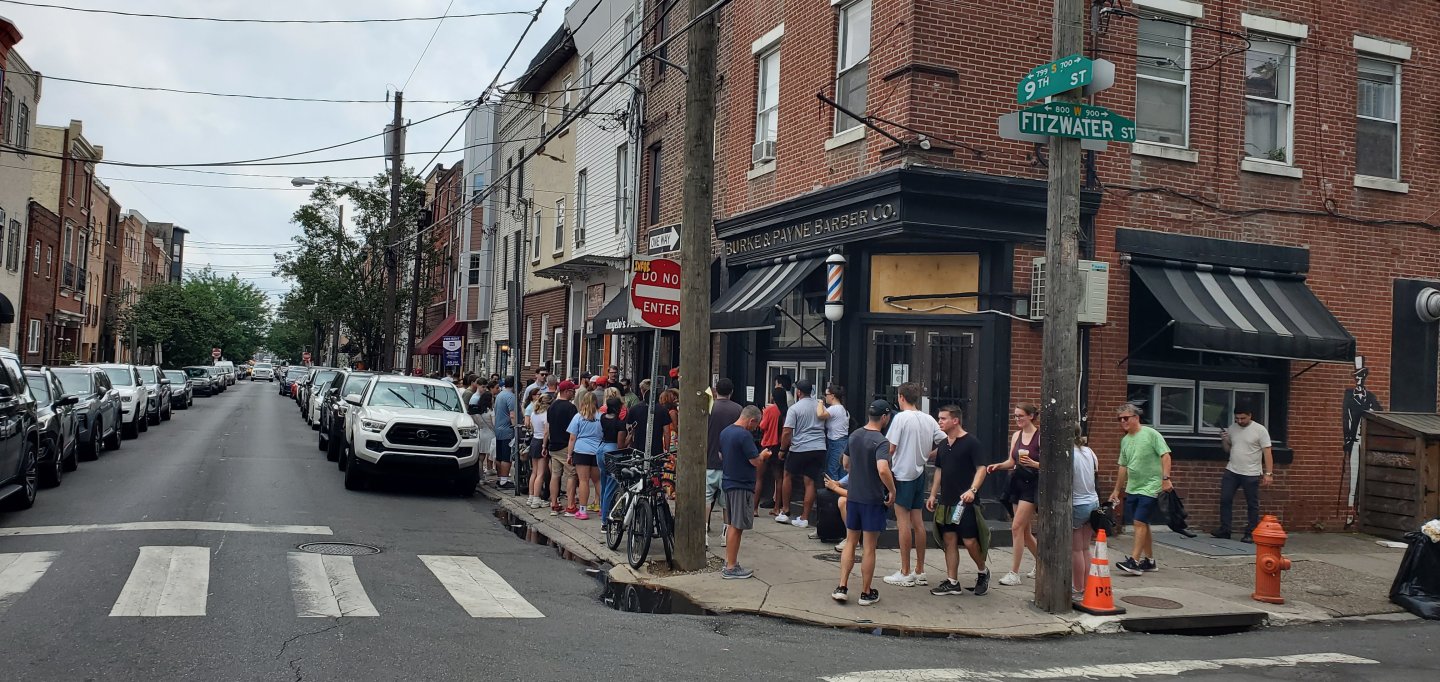
Hey Ken! Everyone I talked to up there had a different recommendation for where to get the best cheesesteak sandwich. I found it interesting that all the places had a single name (Pat's, Gino's, Max's, Angelo's, Jim's, Rossi's, etc). What a dilemma!! My friend who was the bride at the wedding insisted on Angelo's, so that's where I went. It was in an old downtown neighborhood. No indoor seating. You order at a counter then go stand on the sidewalk for an hour and wait for your food. And it was worth every minute of the wait!! When I drove up and saw the crowd, I figured it had to be good. Not only was there a large crowd, they all looked like locals, not tourists. The pic below was about 2:00 on a Sunday afternoon. The remainder of the trip I spent in Ocean City, NJ which was a really picturesque beach town.
-
Finally back at work after a week in Philadelphia and the south Jersey shore. Had my very first Philly cheesesteak. Wow! It was soooo good.
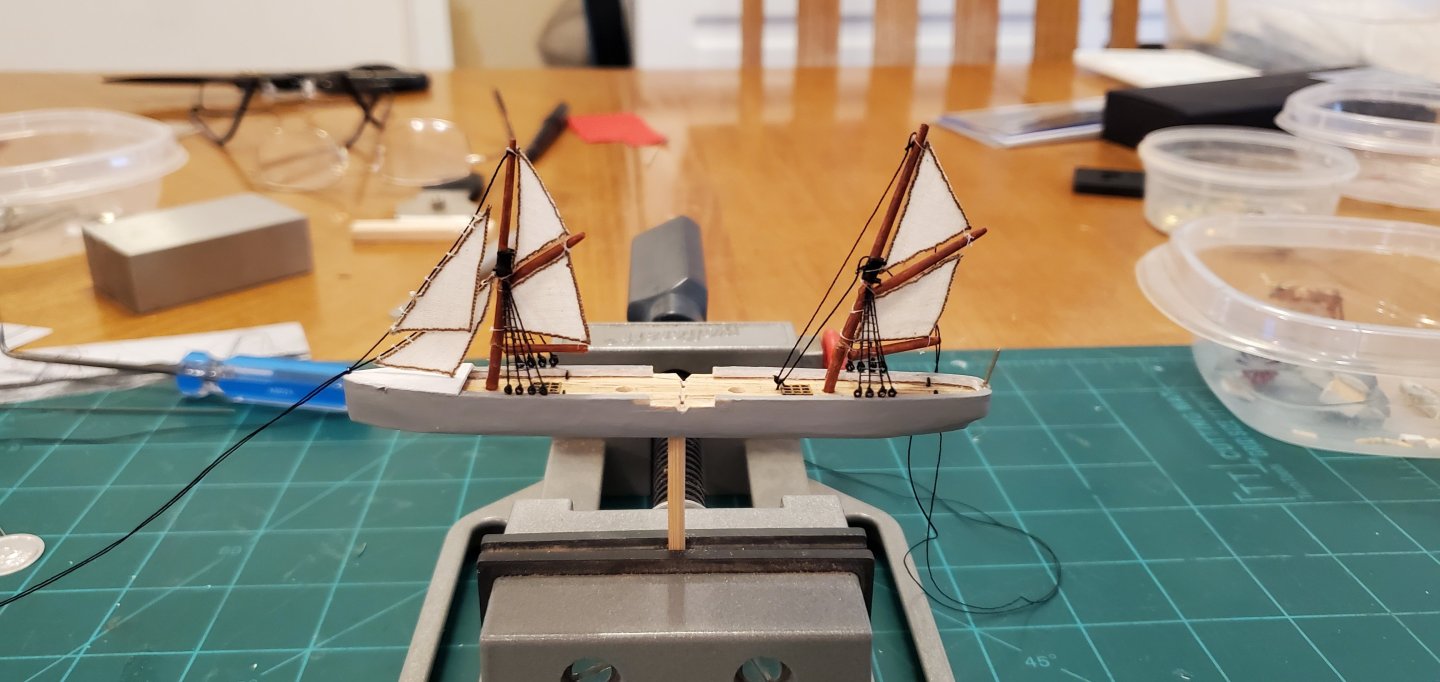
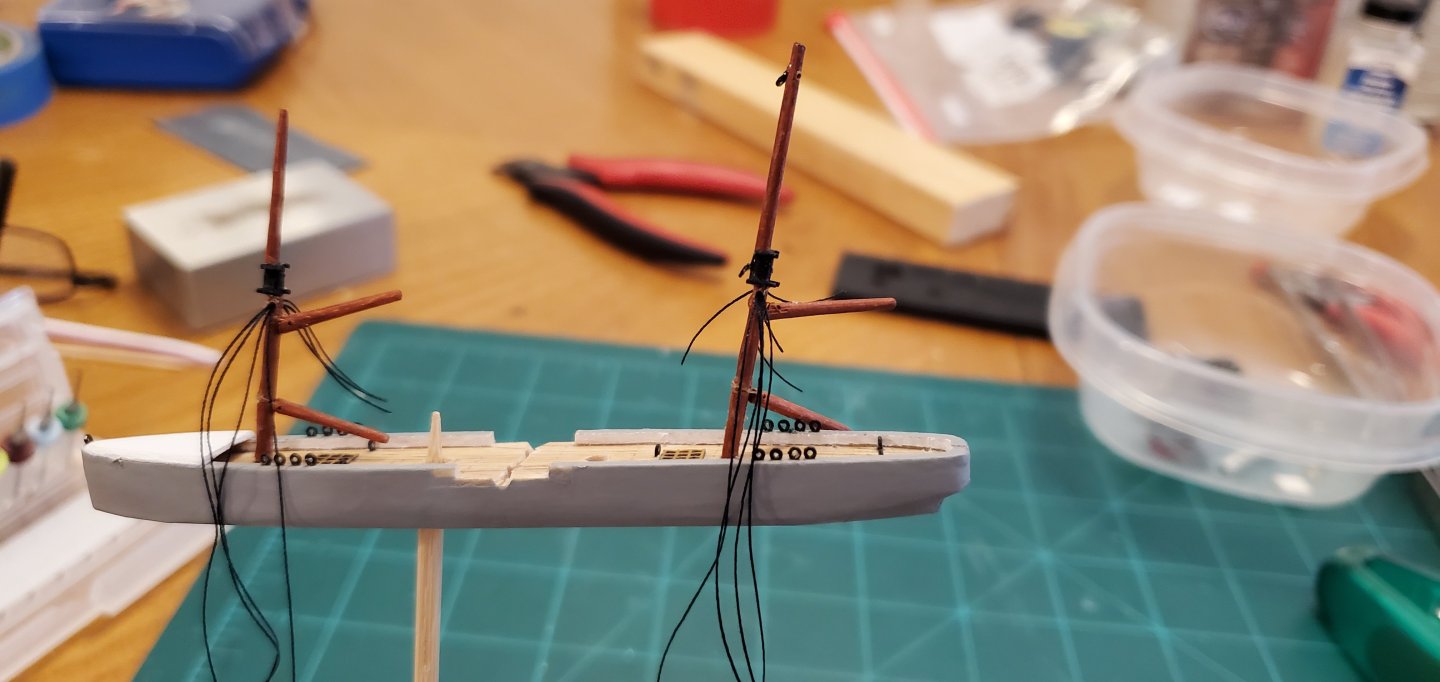
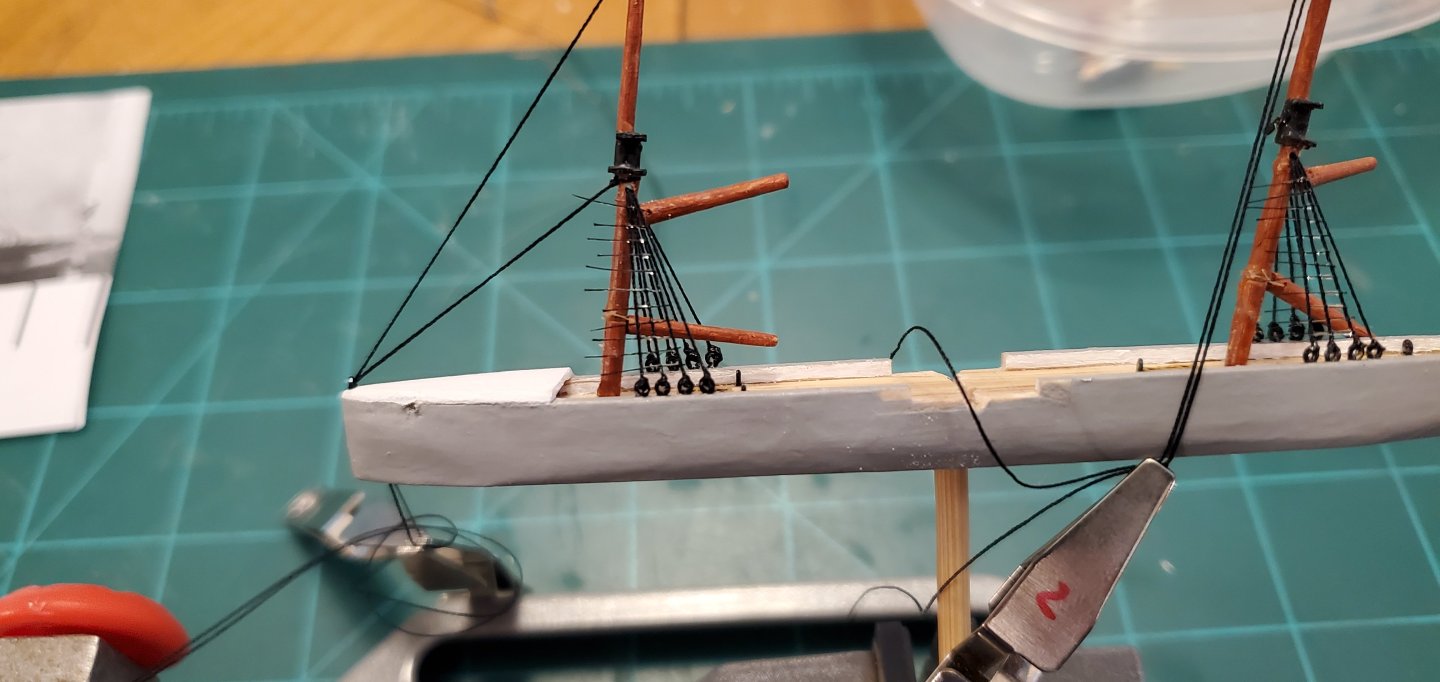
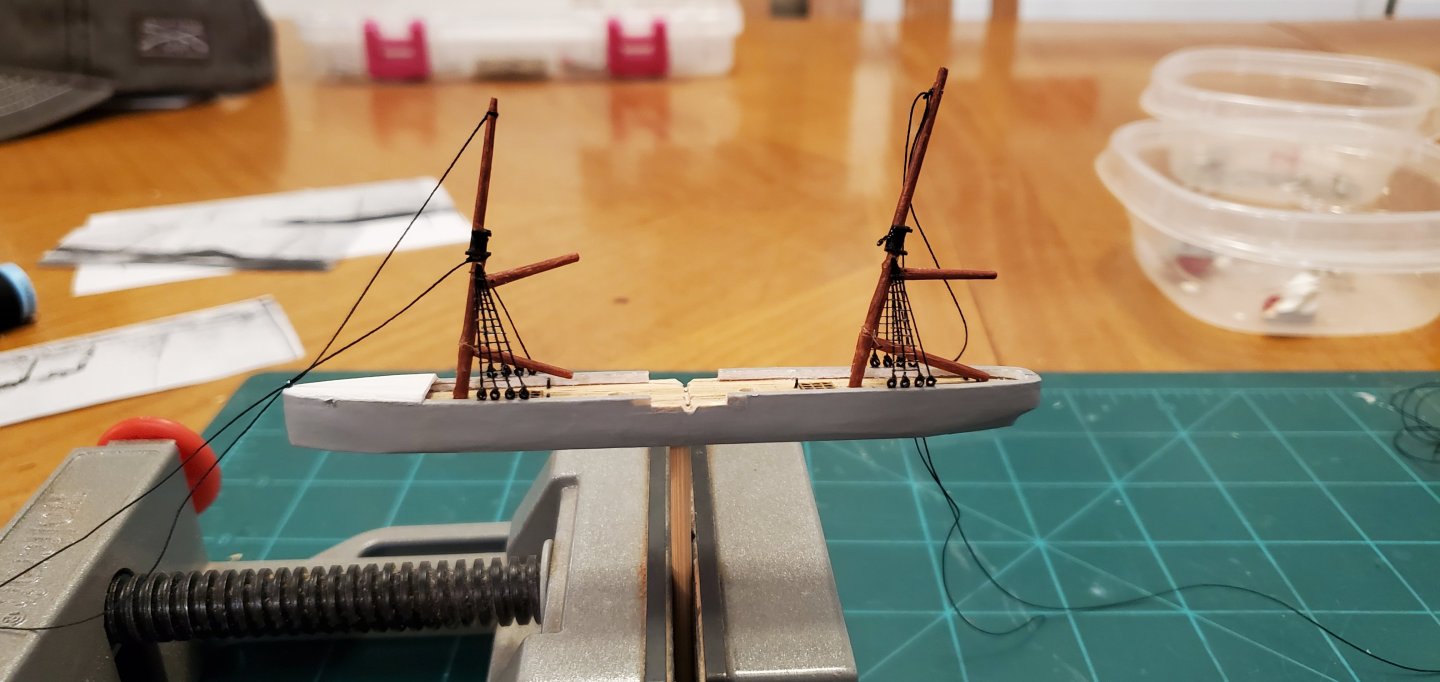
The shrouds and ratlines were patiently awaiting my return. Before I left, I had inserted tiny eye pins into the bulwarks and drilled small holes in the masts just below the mast and top mast junctions. The shrouds are tied off to the eye pins, run thru the holes, and tied off to the eye pins on the opposite side. I use a temporary stay to keep tension on the mast, holding it at the desired rake.
For the ratlines, I take black fly tying thread and snip off a few dozen little pieces that are about 1/4" in length. Then I grab 'em with tweezers, drag them thru some Aleene's fabric glue, and lay them across the shrouds. Rinse and repeat...
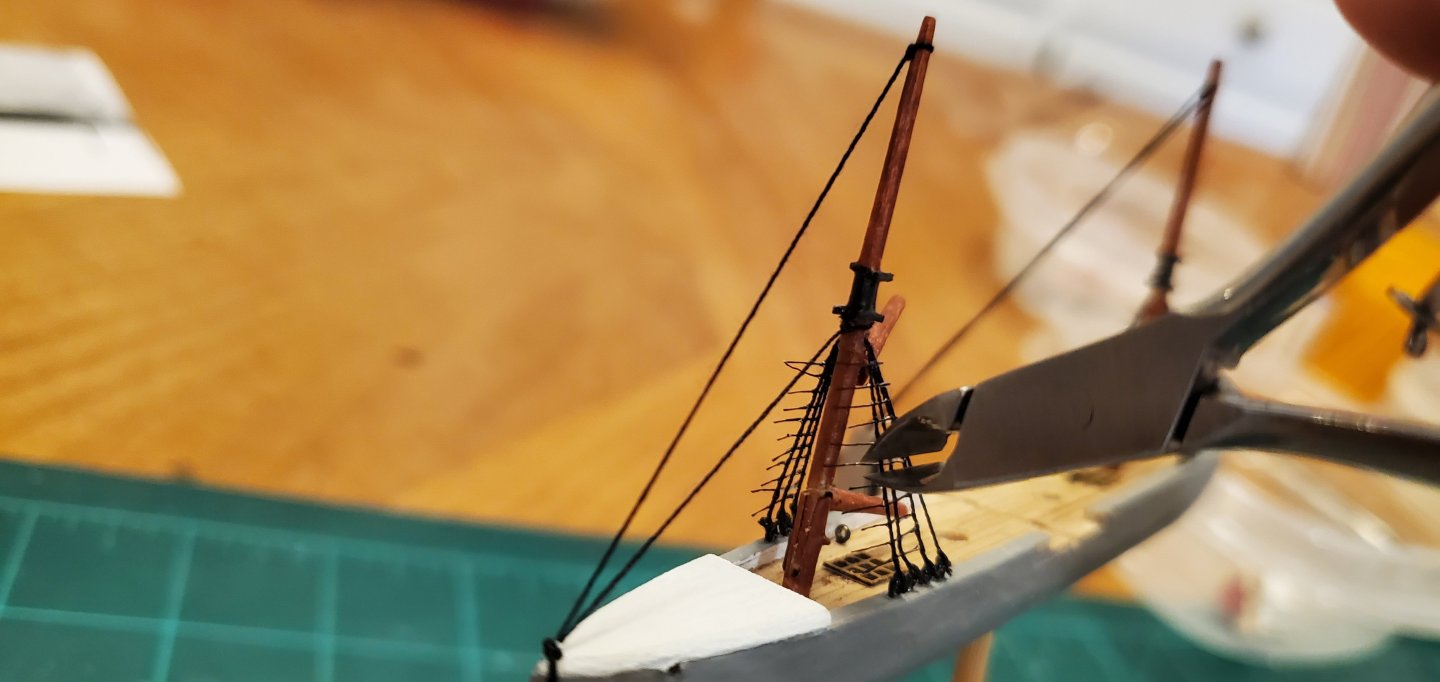
After the fabric glue dries, I brush all the connections with a thin coat of diluted white glue. Then I very carefully snip the ends with cuticle trimmers, trying not to accidently cut one of the shrouds which would cause immediate loud cursing and throwing of tools across the room (in theory of course since that's never happened before...AHEM...Cough...Cough).
As an aside to @Keith Black, I know you just got a pair of 6x glasses for your Tennessee ratline work. That's what I use for this exercise as well.
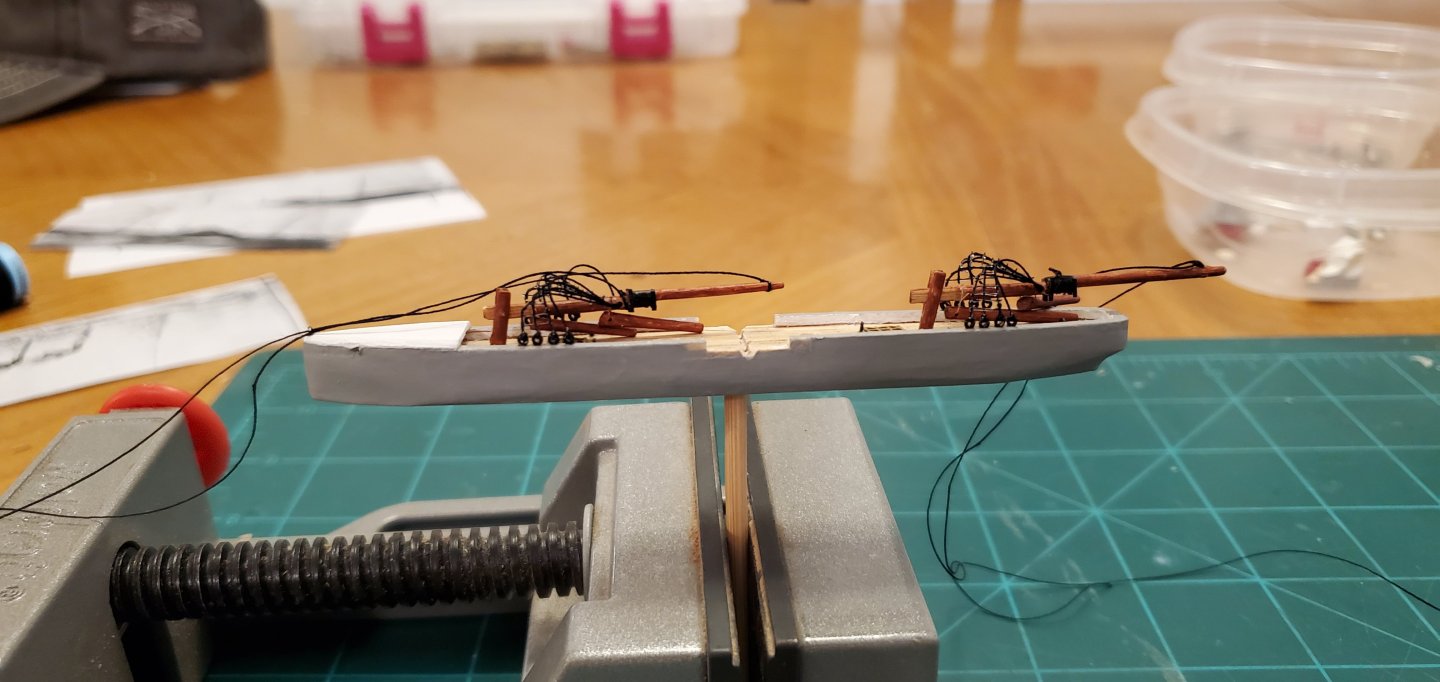
Here's what she looks like with the shrouds and ratlines complete. And also a pic of the collapsed masts and the shrouds flexing backwards as @rwiederrich mentioned above. This is where the fabric glue works so well as it maintains it's bond while being folded, spindled, and mutilated.
- Canute, Paul Le Wol, John Fox III and 16 others
-
 13
13
-
 6
6
-
Hey Roel - I think it turned out fantastic and I really like what you did with the borders. The added sand mixture blended in perfectly. Well done all the way around.
This was such a unique and interesting project to follow. Congratulations on a fine addition to you collection of interesting builds.
-
What a great job on fixing that "dip" in the planking!

- mtaylor, FriedClams, Keith Black and 1 other
-
 4
4
-
Amazing work, Ian. Can't wait to see the next video of it on the water!
- mtaylor, Ian_Grant and Keith Black
-
 2
2
-
 1
1
-
17 minutes ago, rwiederrich said:
I’m assuming the shrouds will be string so they can flex back when you collapse the masts?
You are correct. I will string the shrouds tight with the masts in their full upright position. Then collapse the masts to the stern for insertion into the bottle. If I've done a good job, the shrouds will be nice and tight and the masts straight all the way thru the hinge to the deck when I raise the masts inside the bottle.
- Canute, FriedClams, GrandpaPhil and 2 others
-
 5
5
-
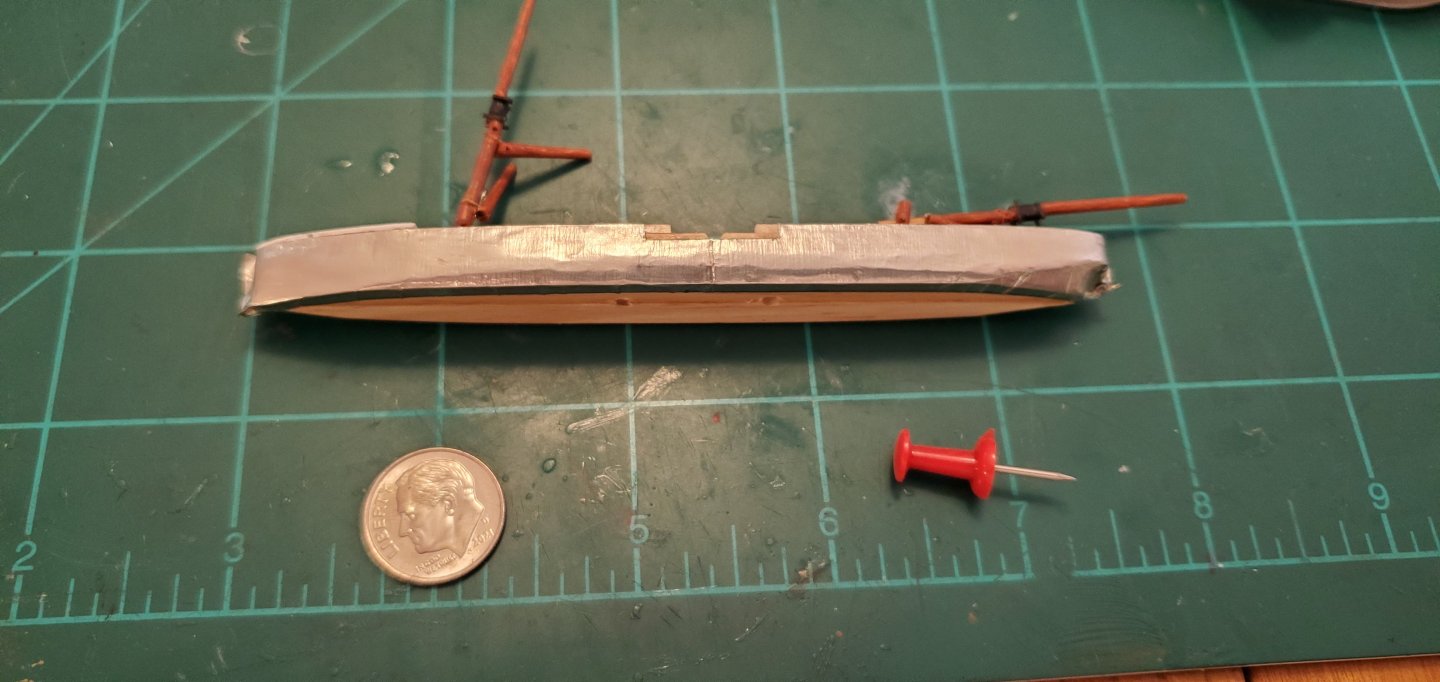
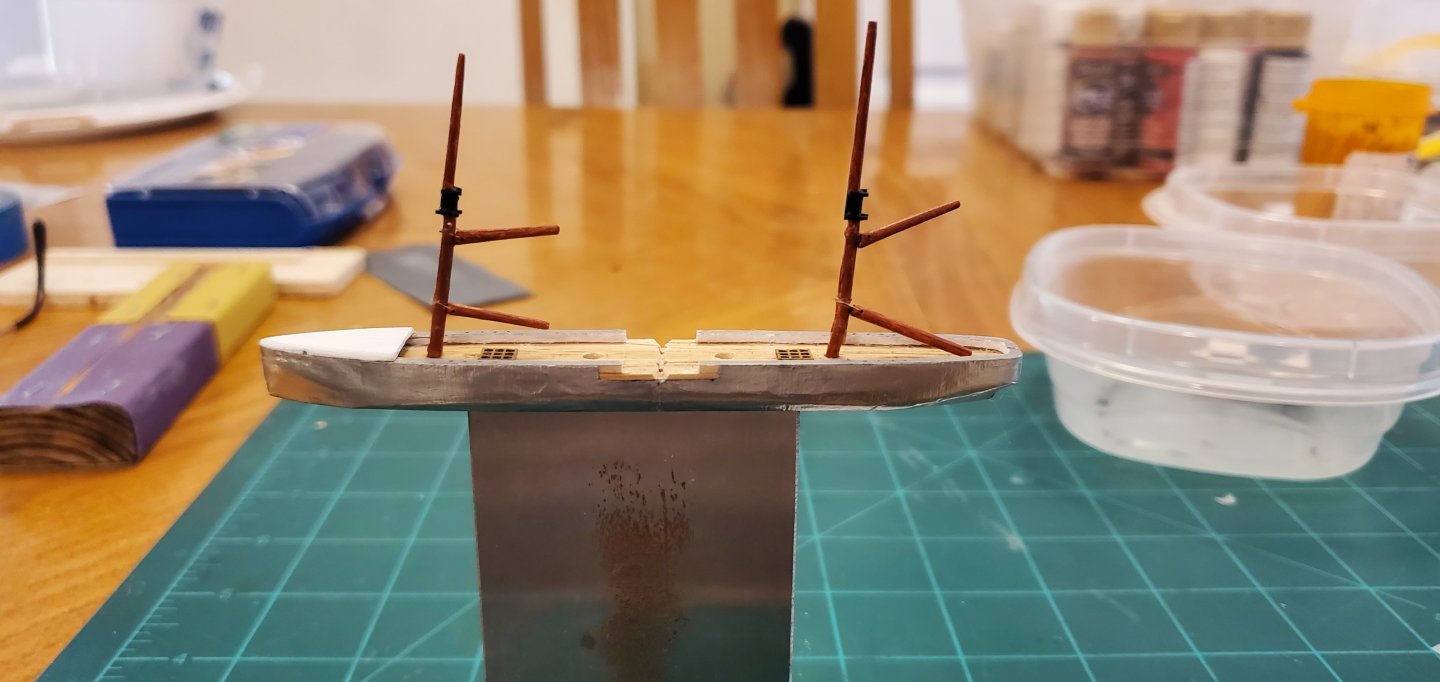
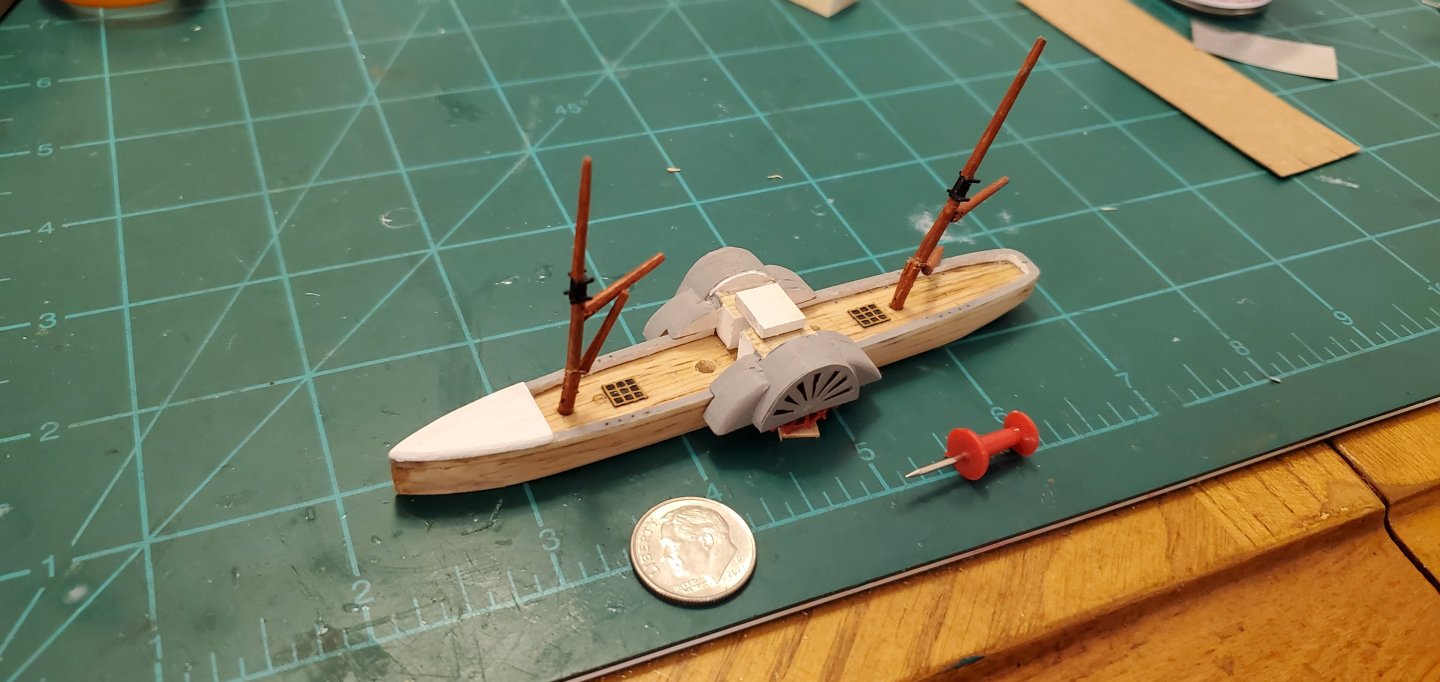
I’m heading to Philly tomorrow for a wedding so I’m trying to jam in a lot of work before I go. But as Gary (aka @FriedClams) alluded to, it’s 2 always steps forward and one back! The focus the last couple of days was adding a layer of “steel” to my hull for authenticity since the Banshee II was reportedly the first steel hulled vessel to cross the Atlantic.
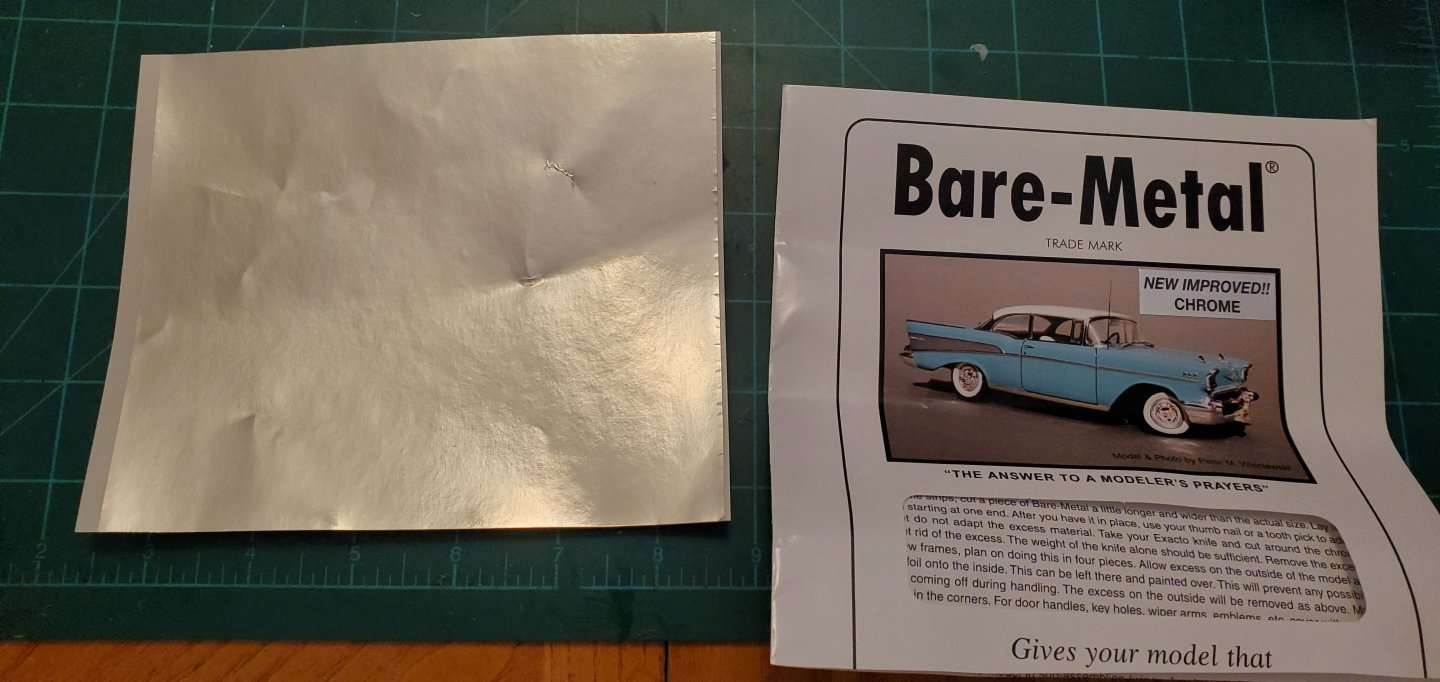
I really got a lot of help from @Landlubber Mike in this area. First, I ordered some sheets of the Bare-metal aluminum foil he suggested (typically used to add chrome effects to car and plane models). He also gave me some great advice on metal primers and painting. Here’s what the package of Bare-metal foil looks like ($12 on Amazon). "The answer to a modeler's prayers"!
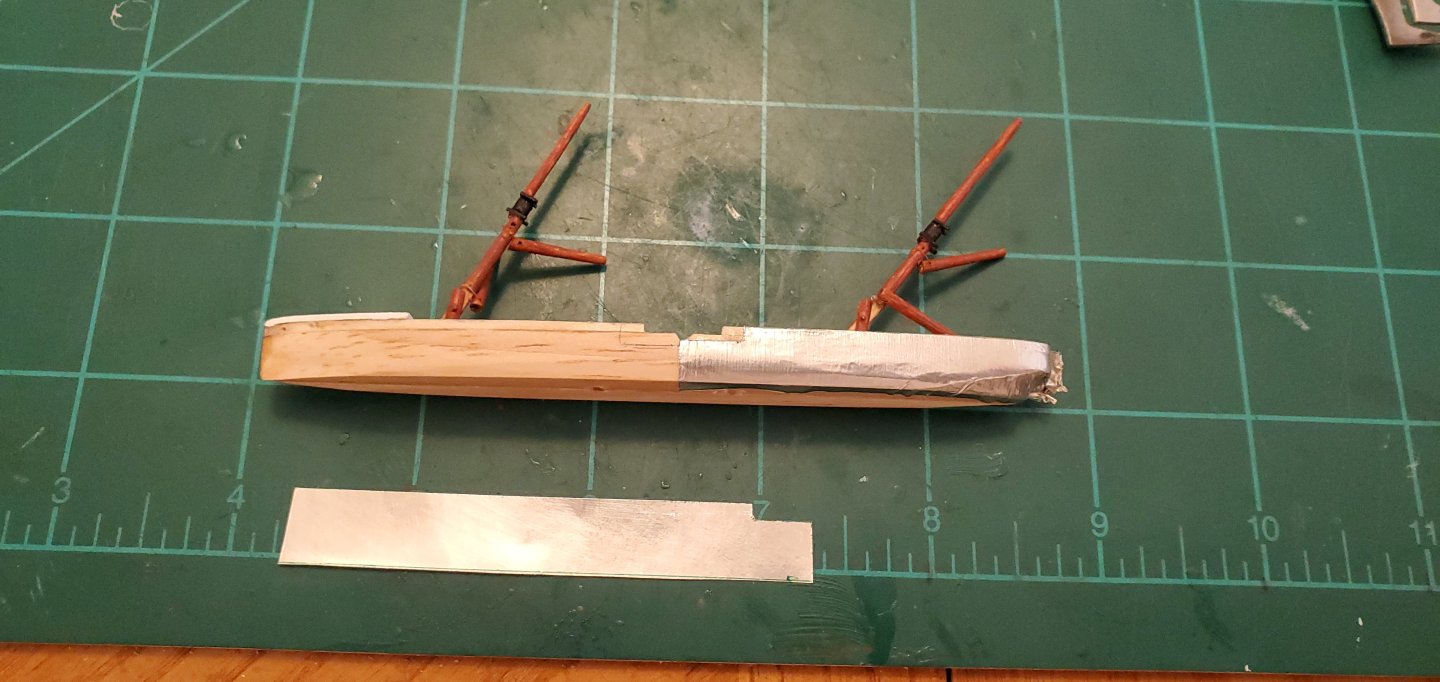
The foil is incredibly thin and a bit difficult to get the peel started. I wadded up a bunch of the edges before finally getting the knack. Fortunately, there was plenty of material to spare. Once I got the peel going, it was pretty easy to work with. Despite it’s razor thinness, it had enough rigidity to hold its shape fairly well while putting it in place. The only thing that did not work well for me was the adhesive backing on the foil. It did not stick to wood very well (probably because it’s made for plastic). So I spread a thin layer of low viscosity CA glue on my hull surface and applied the foil. It created a solid bond. As you can see below, the foil is so thin that every slight variation in the wood grain shows through. But I figured I could smooth that out during the painting process.
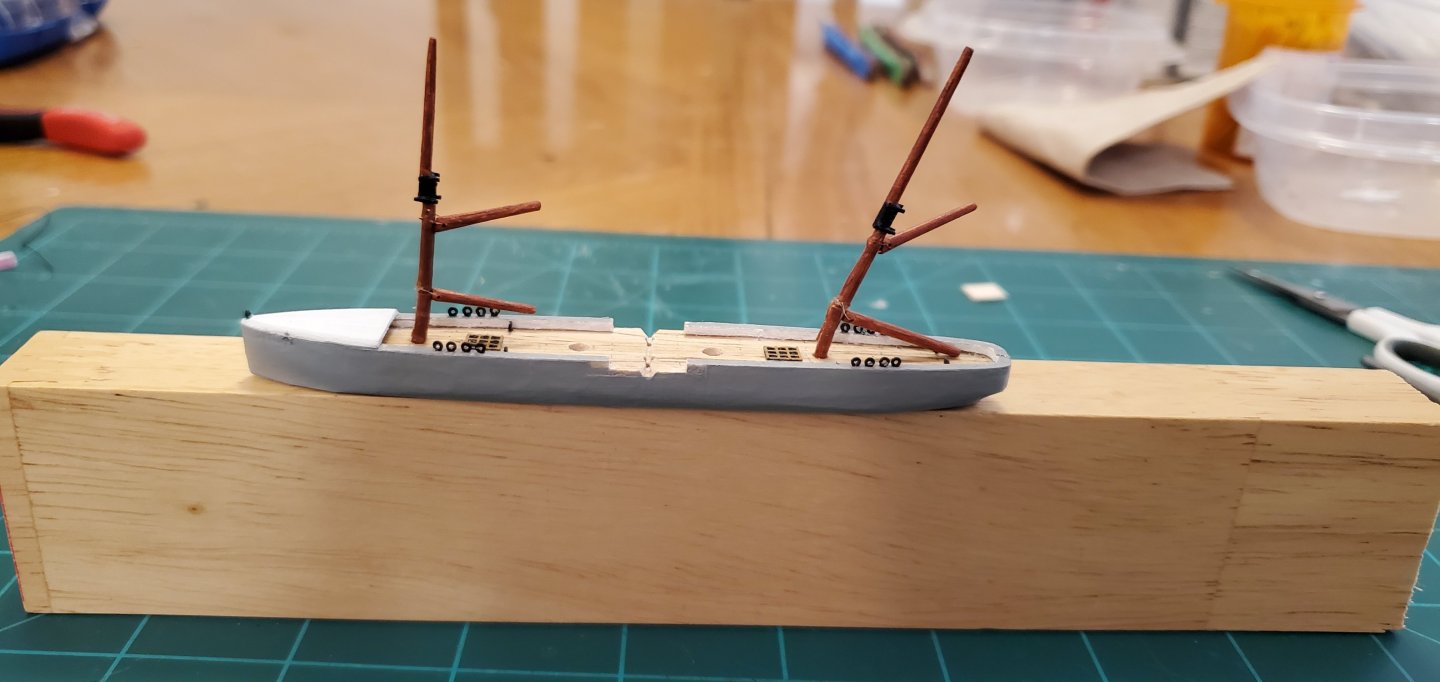
As for painting the foil, Mike recommended using a metal primer first. I use Tamiya paints, so I got some Tamiya Metal Primer. On my test pieces, I used 3 coats of primer then 2 coats of paint. It provided a solid adhesion for the paint to the foil. Here’s my “steel” hull painted gray. I know the picture of the Banshee II that I’ve been using as a reference shows a blue hull. But most everything I’ve read about the blockade runners says they were painted gray for better camouflage. So I decided to follow that line of reasoning. Huge thank you to Mike for his guidance and help making my “steel” hull a reality.
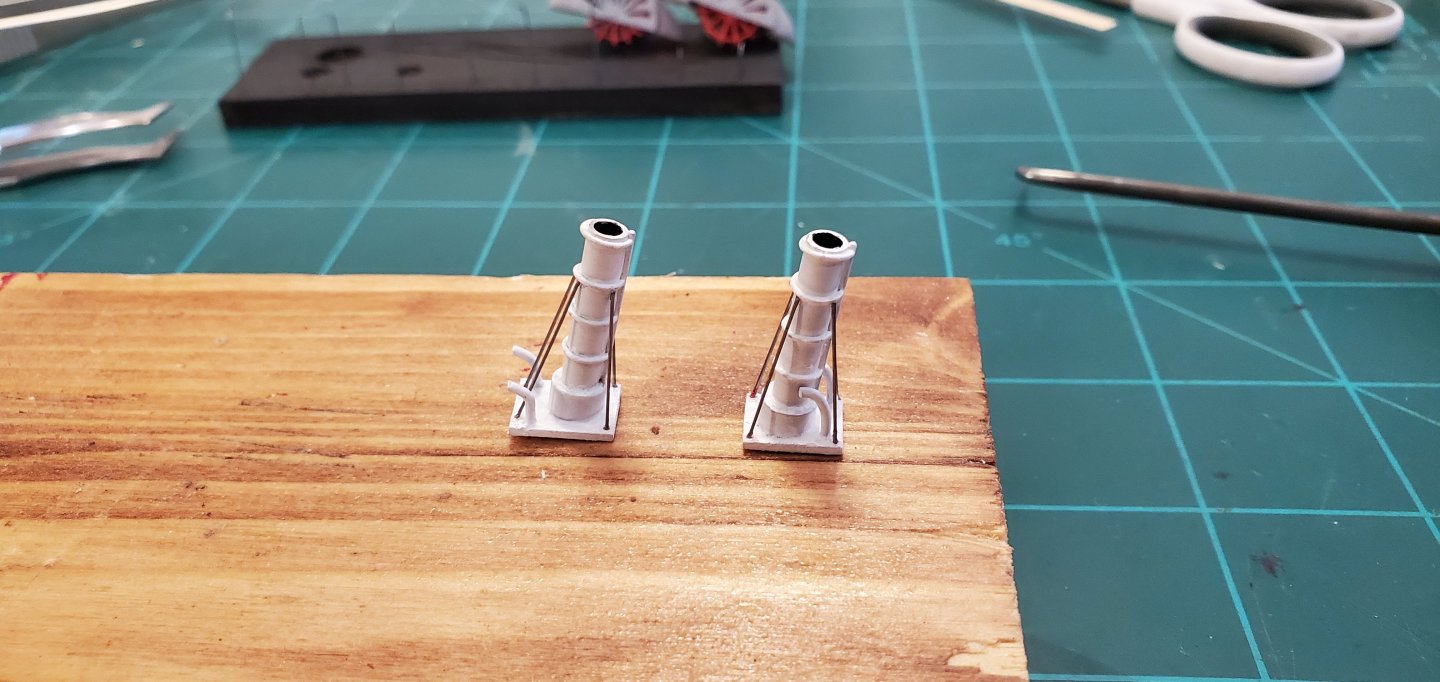
While waiting for various coats of primer and paint to dry, I circled back on a couple of things. First, I revisited the funnel assemblies because I wanted to add the guy wires that are prominent in the painting. However, since they are being inserted after the ship is in the bottle, I don’t have a reasonable way to run the wires from the funnels and attach them to the bulwarks. So my alternate solution was to use 1/64” (.33mm) music wire and run it from near the top of the funnel to the funnel assembly base. This allows each funnel assembly to still be inserted and installed as a single unit. I think the look came out ok.
The next thing I wanted to address was the comment from Rob (aka @rwiederrich) that my wheel cowlings needed to be tapered back to the hull. So I took care of that with some delicate sanding and filing. Here’s what the ship looks like so far with everything in place (dry-fitted) except the ship’s boats.
Huge thank you to Rob for his comment on the cowling as I think the ship’s profile looks much better than before. However, Mini-Dimples the ship inspector remains unimpressed until she sees everything in the bottle.
Up next is @Knocklouder's favorite chore – rigging and ratlines!
- Keith Black, BANYAN, Landlubber Mike and 13 others
-
 10
10
-
 6
6
-
1 hour ago, FriedClams said:
Sometimes it seems we modelers spend more time mitigating problems than moving forward. But that's part of the fun, right?
Sooooo true!! And I hope you do try a SIB one of these days. With the remarkable work I've seen on your models and shadowboxes, I have no doubt it would be a masterpiece.
- FriedClams, mtaylor, GrandpaPhil and 6 others
-
 8
8
-
 1
1
-
The detailed comparison pictures are confirmation of a magnificent build coupled with true historical accuracy. Well done, Rob.
-
26 minutes ago, rwiederrich said:
Good job…..but those added cowlings taper back to the hull . Not squared off like you have then. Look closely at the model you posted.
Good eye, Rob. More (delicate) modifications on the way...
- Canute, Keith Black and mtaylor
-
 3
3
-
4 hours ago, Keith Black said:
I've said before that the Kraken was my favorite till you built the Lost Jenny but now I think I'll be changing my favorite yet again. That's some great stuff right there, Glen.
Thanks, Keith. I hope you think the same thing when this beast is finished! It is proving to be a much more challenging build that I originally thought it would be. So much so, in fact, that I have placed my friend that wanted me to do a paddlewheel boat on SIB probation. She is not allowed to suggest any new project ideas for the remainder of the year! 🤐🤐🤐
- Canute, Keith Black, PvG Aussie and 3 others
-
 6
6
-
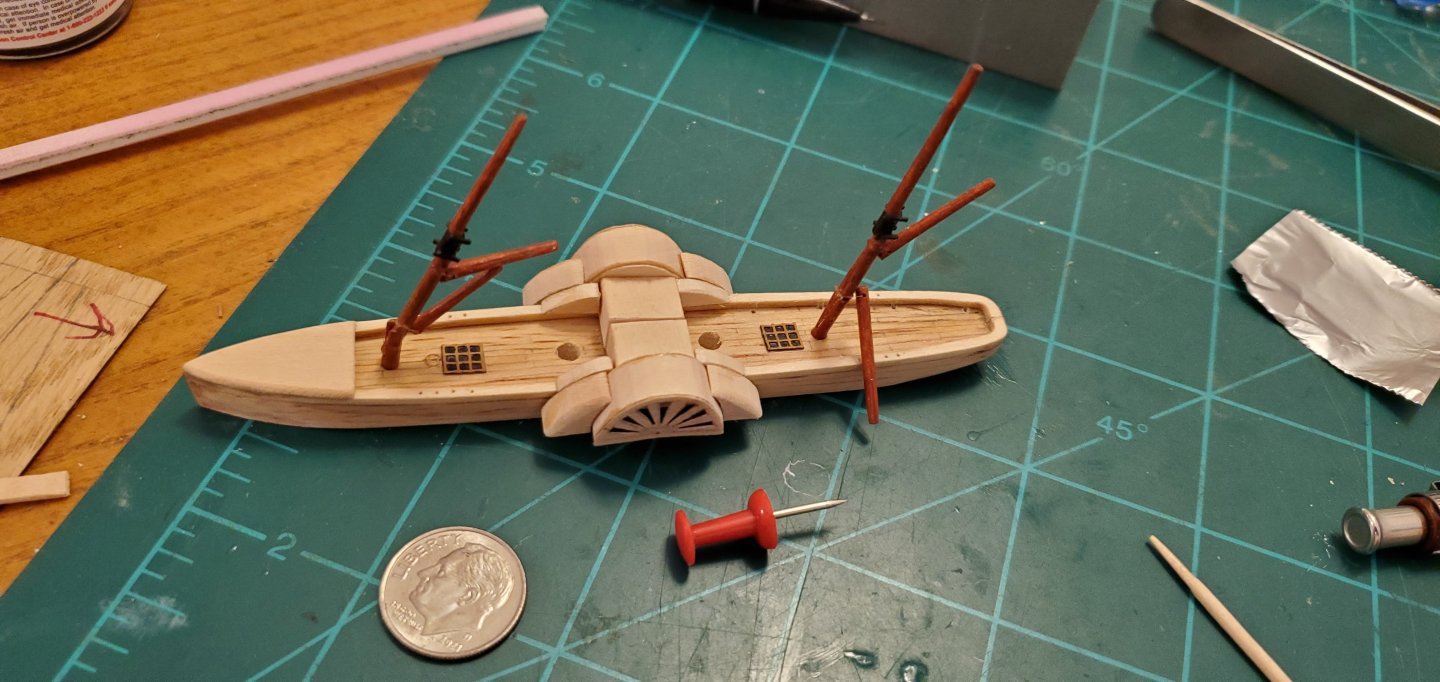
You would think that a ship in bottle builder would have great attention to detail. Yet I continue to struggle with that. Or maybe it's attention span. I don't know, but here's another example. I was looking at that painting of the Banshee II again (after noticing the puffs of smoke steaming from the funnel pipes) and I found something else I had not paid attention to before. I think I was so focused on the wheels and their covers, that I failed to notice the fairings that spread fore and aft of the wheel covers.
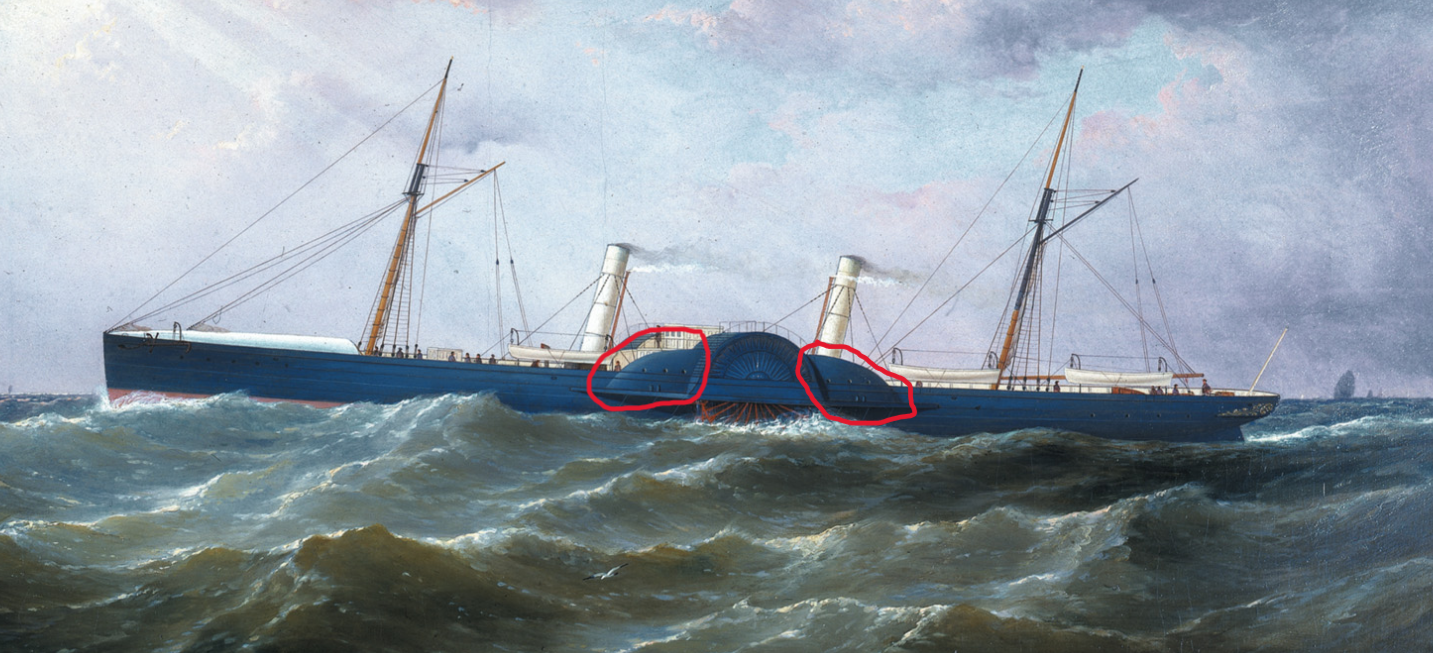
So I made some fairings and added them to the wheel subassembly. No big deal, right?
Wrong. I felt really good about how it looked for maybe 2 minutes. Then I realized I had a big problem. The problem being that with the fairings added to the subassembly, it was now twice as wide as the bottle opening. Obviously it wasn't gonna fit. But I couldn't leave the fairings off because they are a prominent (and I believe elegant) part of the ship's profile. UGH!
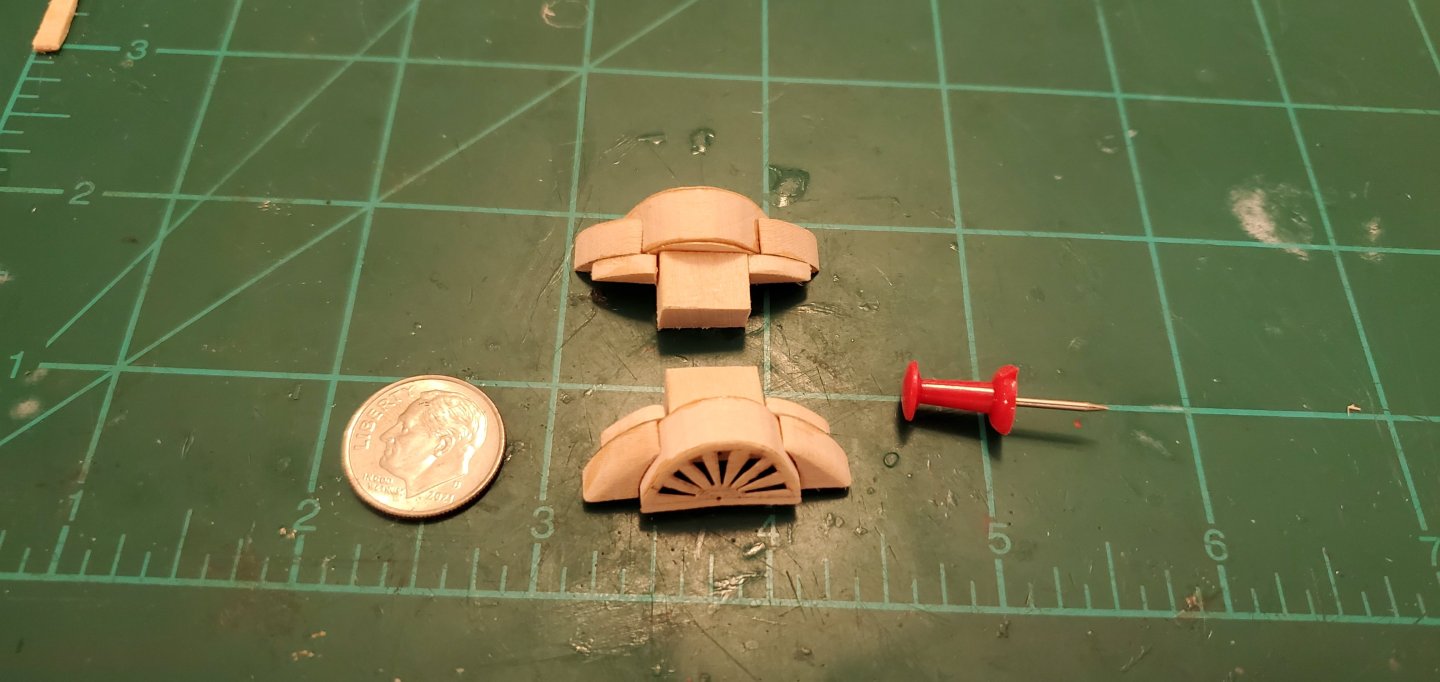
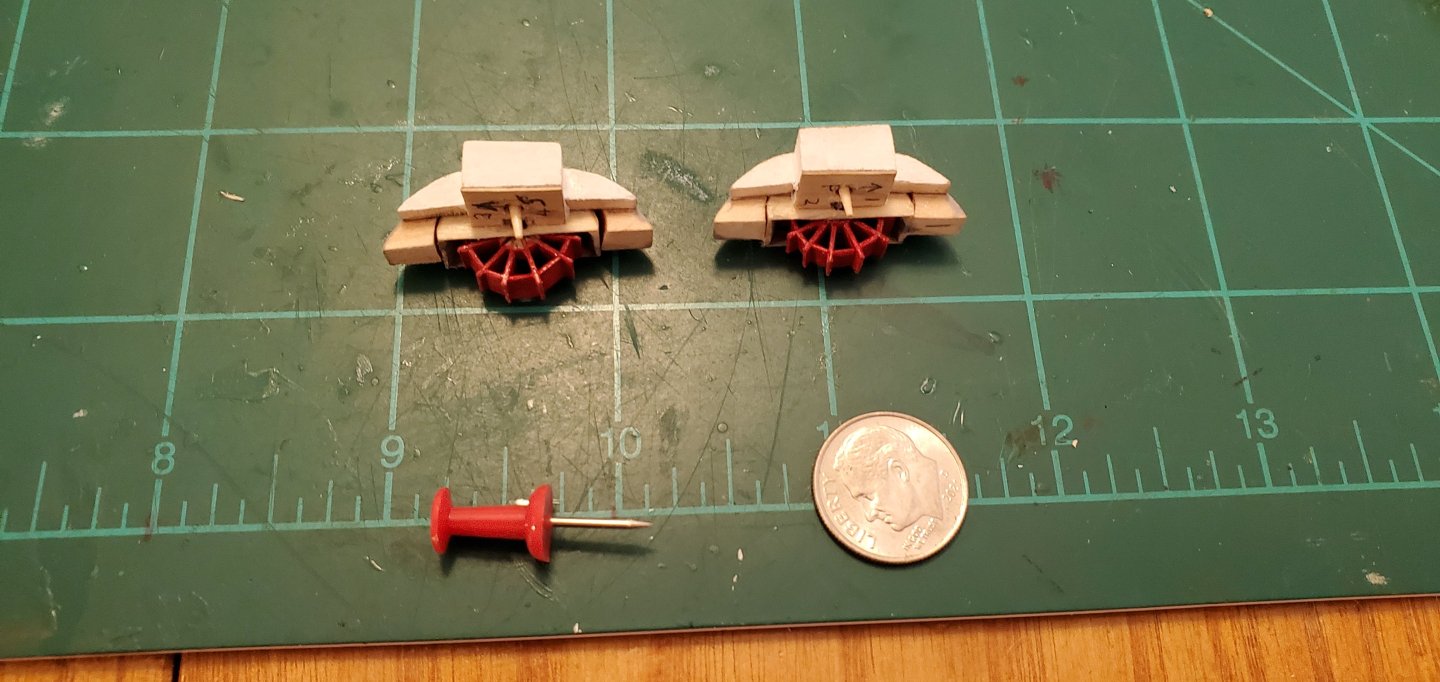
Back to the drawing board. UGH again. So here's the solution I came up with. Turn the subassembly into two pieces that would each fit separately thru the bottle's opening.
I took a saw and cut it the wheelhouse right down the middle to make 2 equal pieces. Each piece will then be inserted into the bottle individually and dropped in place onto the hull. To facilitate dropping each piece into place, I drilled 2 positioning holes into the ship's deck and added a short tapered dowel to each wheel structure (2nd picture below).
Here's what it looks like with the 2 pieces dry fit onto the hull.
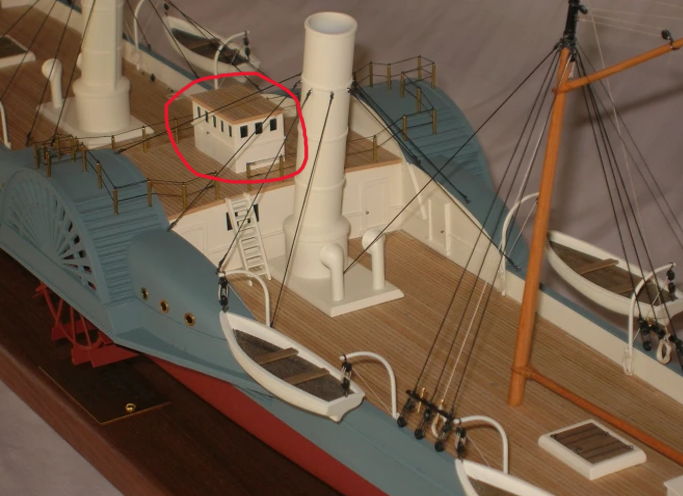
The gap between the 2 wheelhouses was bugging me, so I widened it to hopefully make it look like a walkway. I also made a structure on top that can be added after assembly which connects the wheelhouses, but I haven't decided if I like that better or not. I did find a model of this ship that does have a similar structure on top of the wheelhouse (maybe a pilot house?). See first pic below. So it might work.
-
1 hour ago, Canute said:
I got some of those ants in a load of mulch for the house. Nasty buggers, those fire ants.
I didn't realize they had made their way to North Carolina. Yes, nasty buggers!
1 hour ago, rwiederrich said:So tricky erecting everything inside the thin bottle neck. I will watch with anticipation as you assemble her in that narrow bottle.
Thank, Rob. This will be my trickiest one yet since I am doing a lot of assembly inside the bottle instead of the typical insert the ship and raise the masts. My anticipation and anxiety is rising!
- FriedClams, Keith Black and mtaylor
-
 3
3
-
17 hours ago, FriedClams said:
But, I’m not sold on the idea of being able to fit 3 wee ants in a single boat - 2 maybe.
The only ants we have around here are @#$%!! fire ants. If they get on board, I'm dousing the boat with gasoline and lighting a match.
- Canute, Knocklouder, Keith Black and 4 others
-
 6
6
-
 1
1


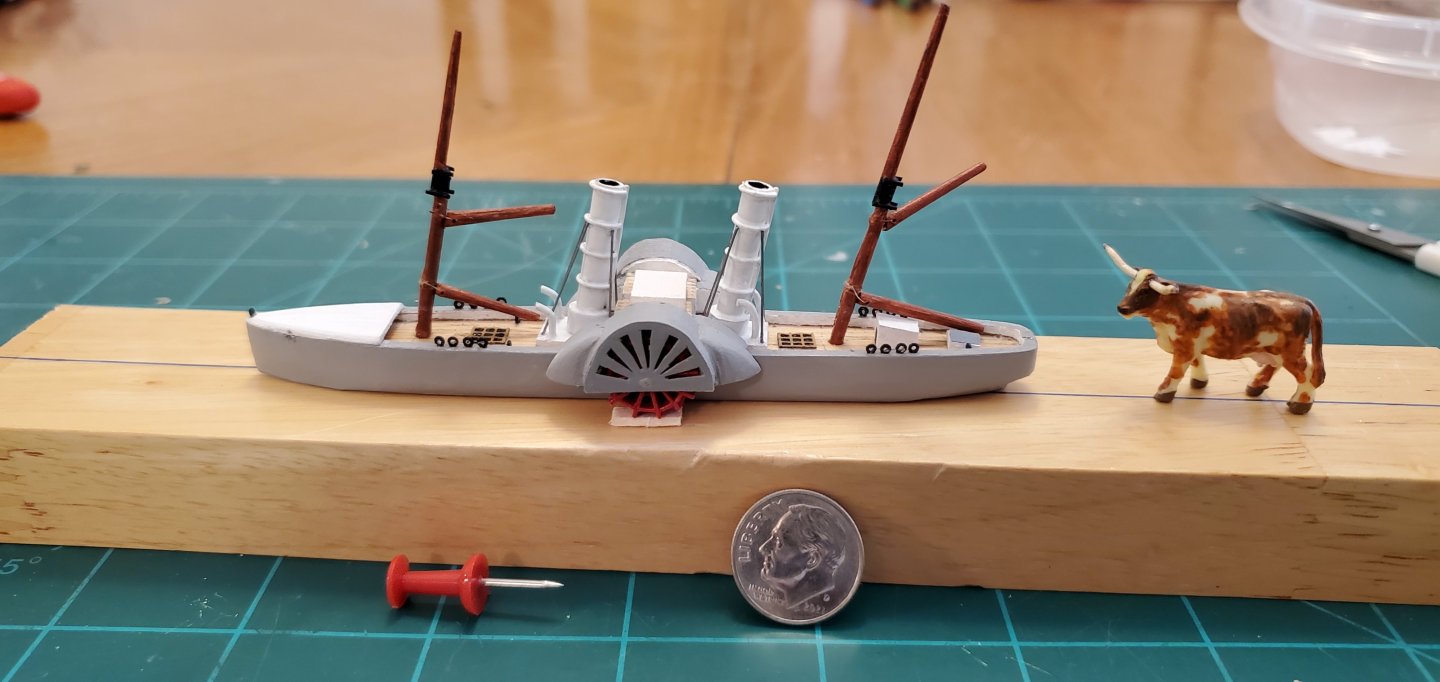
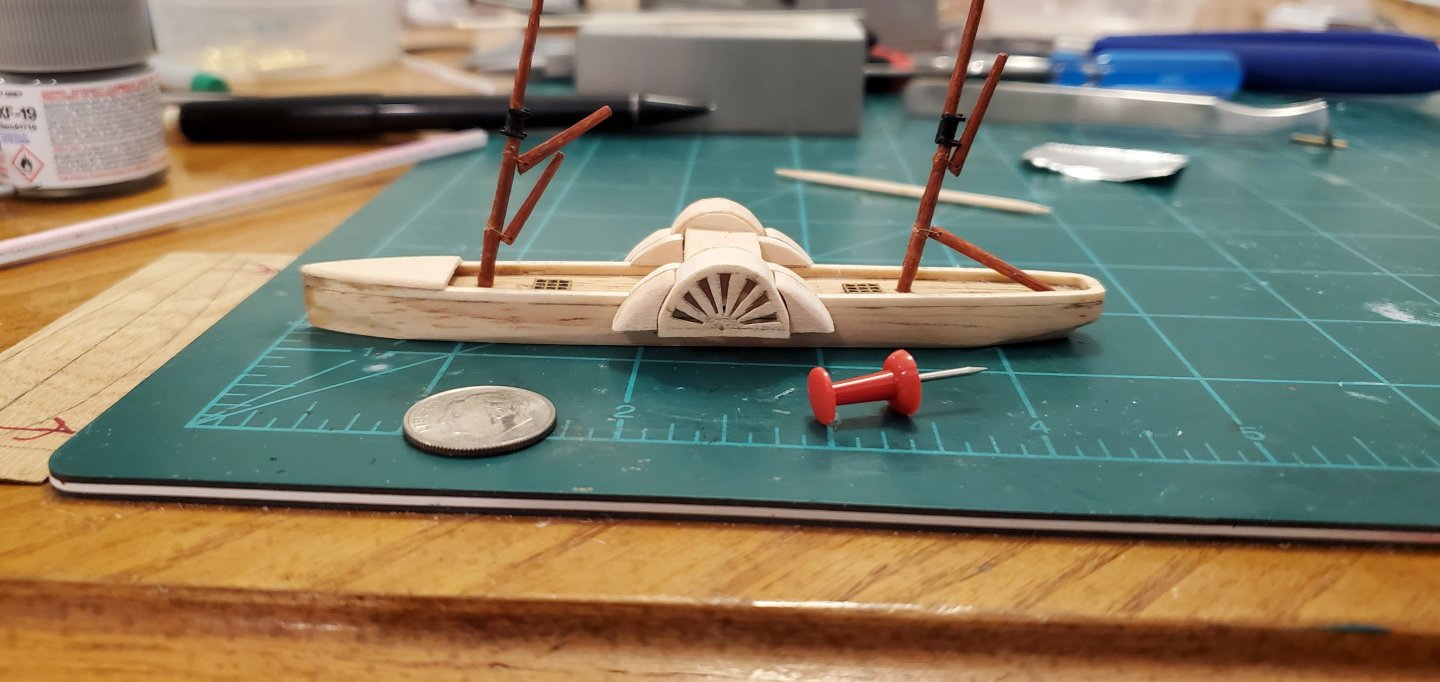
Banshee II by Glen McGuire - FINISHED - 1/700 - BOTTLE
in - Build logs for subjects built 1851 - 1900
Posted · Edited by Glen McGuire
Interesting discussion about beads. Now if I could only find all the ones I sent flying in various directions while trying to hold them with tweezers. Ugh!!
On to the ship's boats and davits. Here's my "davit board" where I staged them for painting and tying on the threads that will attach to the ship's boats.
I pre-drilled tiny holes in the bow and stern of each of the ship's boats so I could insert the thread connecting them to the davits. Here's what it looks like with all the little boats and davits in place. Again, the boats rest on the bulwark instead of hanging from the side because that's the only way the assembly fits inside the neck of the bottle.
Here's the whole ship with all the pieces in place. By far the most challenging ship I've tried to build. But I fear a bigger challenge awaits when I try and put it all together inside the bottle.
In fact, word got out about the potential disaster that awaits and an expectant crowd has already begun to gather.