


AJohnson
-
Posts
2,053 -
Joined
-
Last visited
Content Type
Profiles
Forums
Gallery
Events
Everything posted by AJohnson
-
 For fear of contributing to what last time got quiet passionate, in the Indefatigable build log, perhaps the option for both? This kit is a little harder to define because of the “fictional” overlay associated with Patrick O’Brian and the movie which had a scene showing chain pumps being used. I realise this will add cost, but if only one option can be incorporated then I would vote for chain pumps, as I’m only ever going to build the fictional Surprise and I am biased due to loving the film adaptation. Just my two pence worth. And this is even before we discuss the armament and main mast…. 🤣
 -
Those tops are really nice, loving all the scratch built improvements you are making, it really makes a difference, well done David.
-
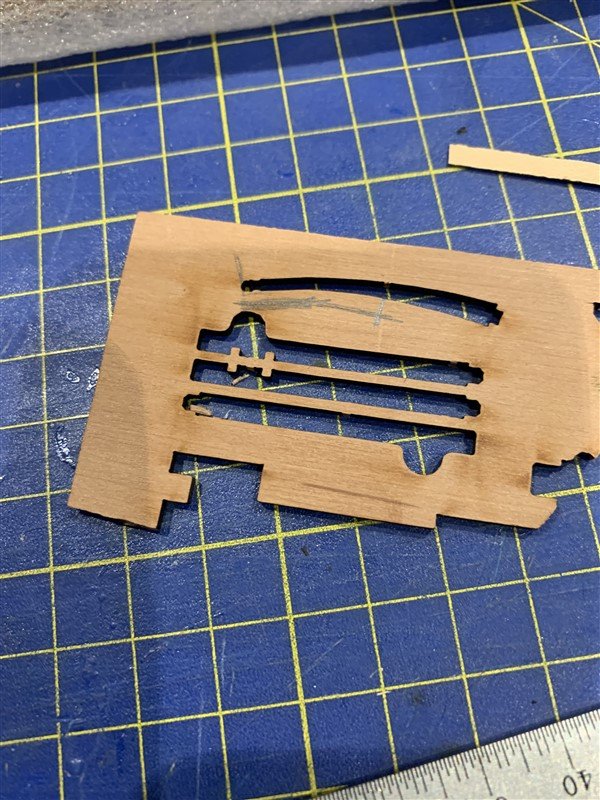
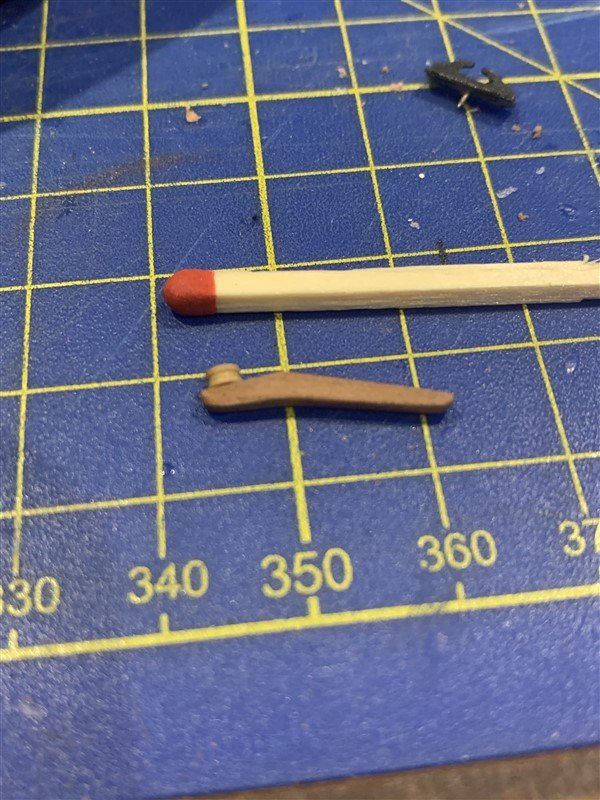
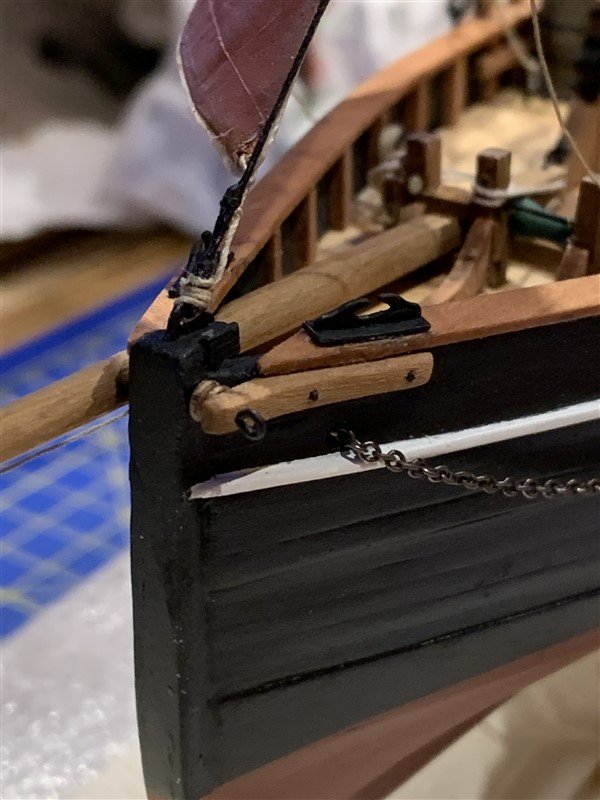
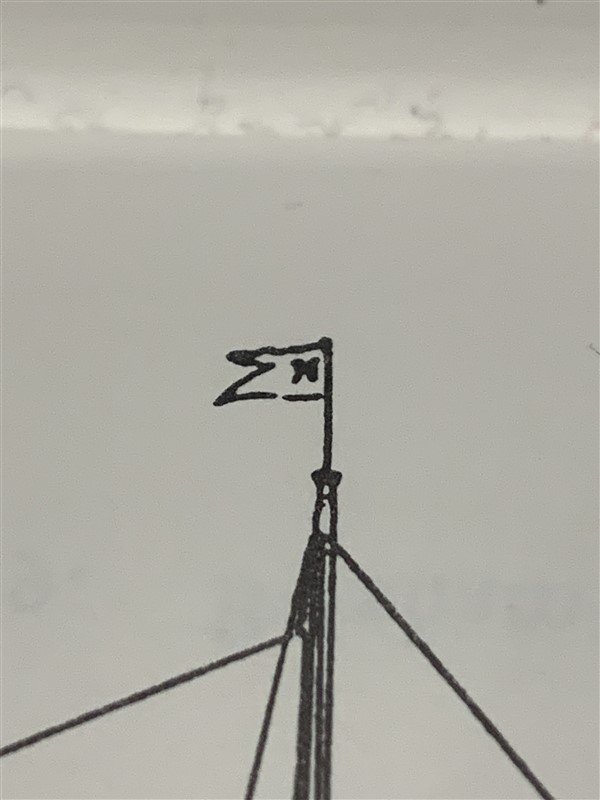
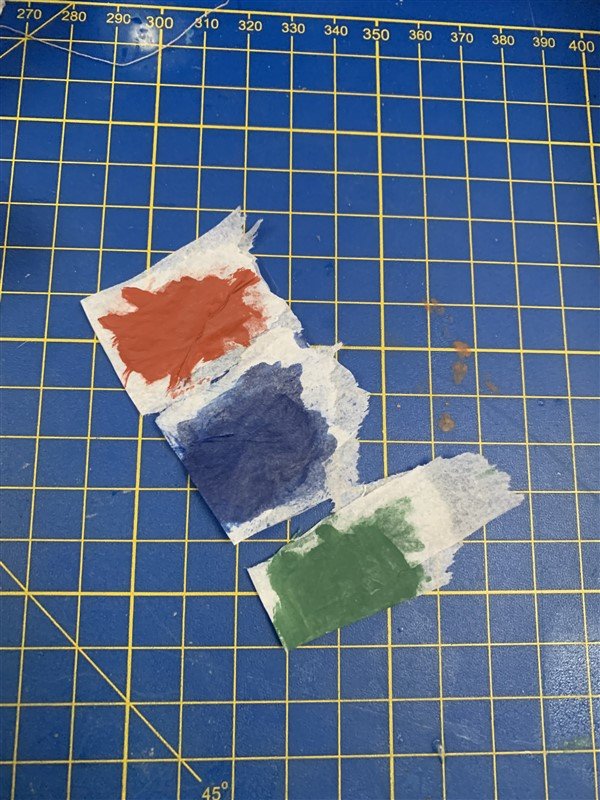
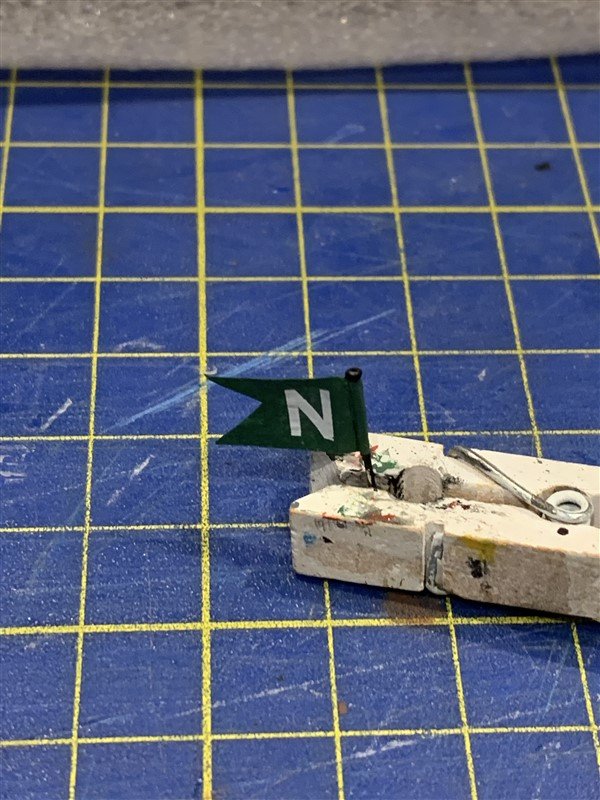
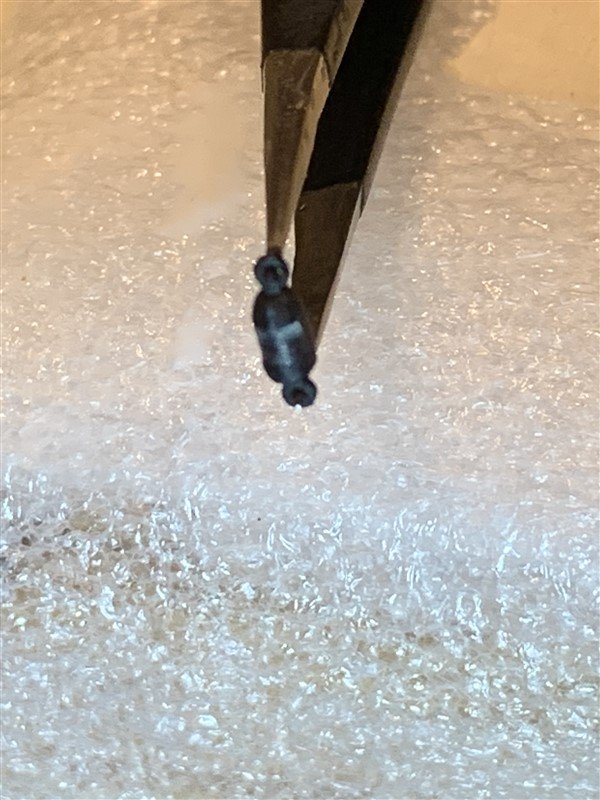
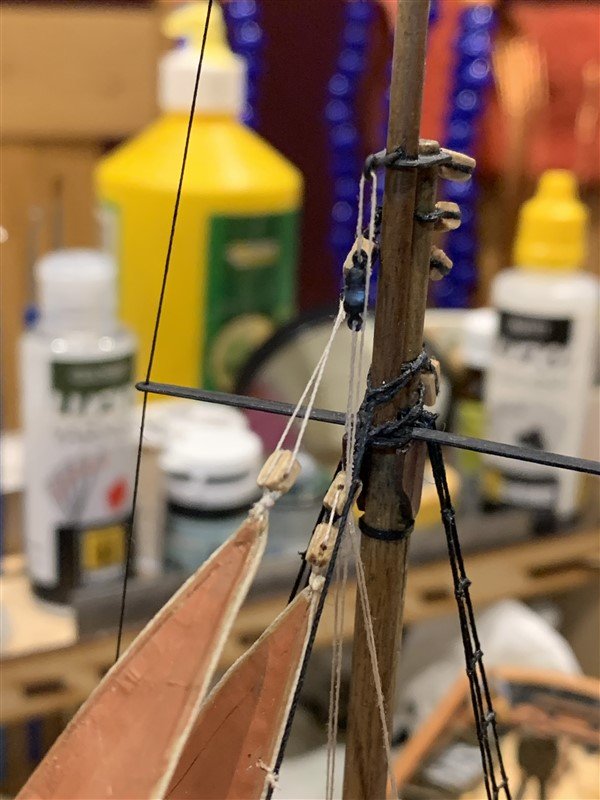
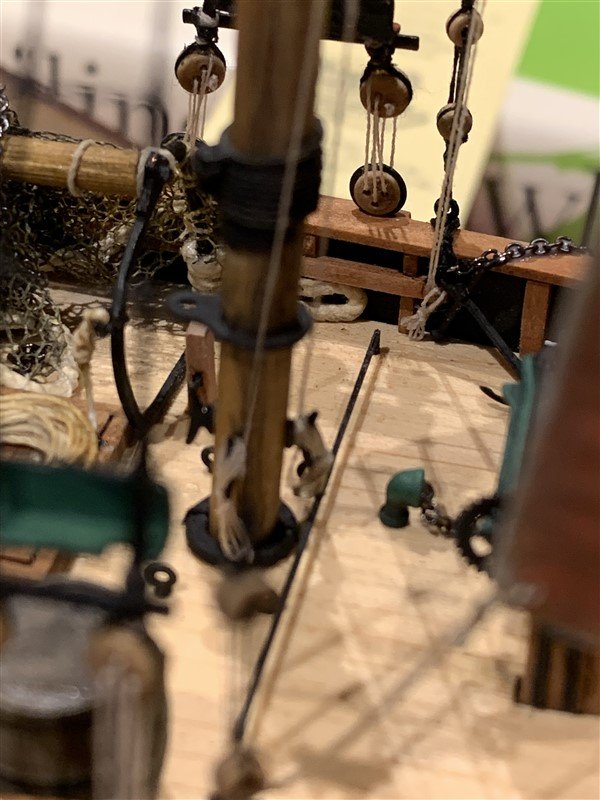
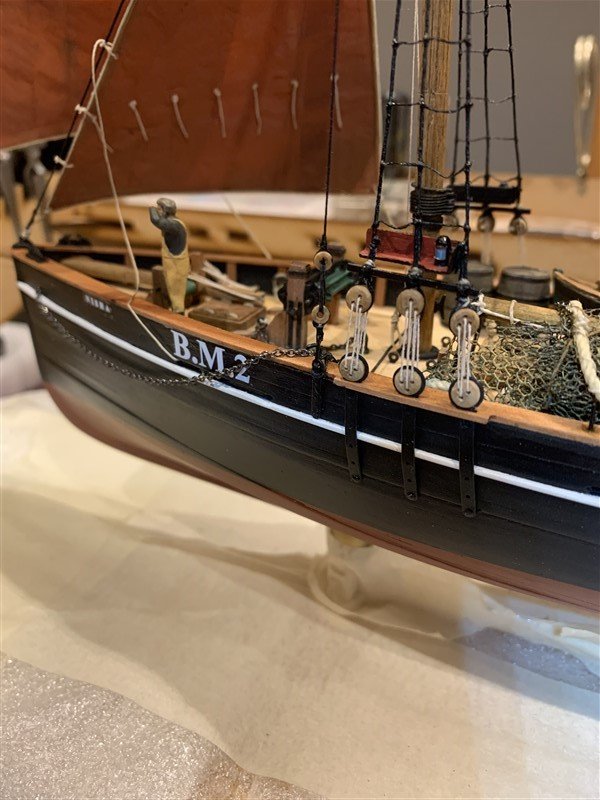
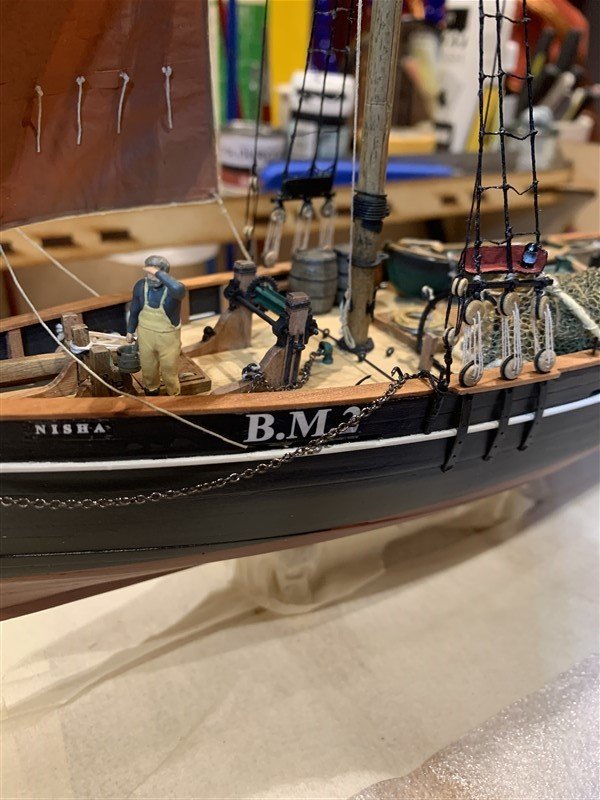
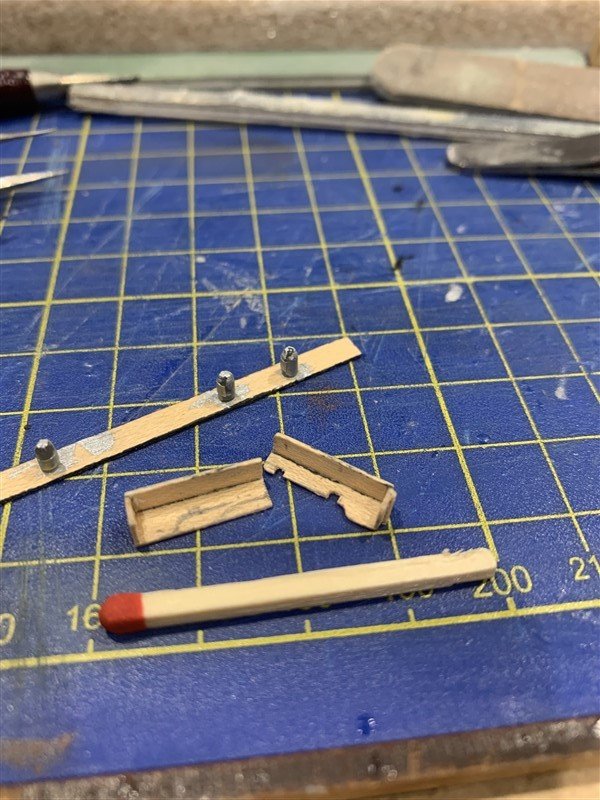
Hi All, a mixed bag of little bits and pieces today. I have been finishing these off prior to adding the main sail; thinking the kit will be too delicate for me to be messing about much more with it once the sails go on. Firstly I made the bow roller for the trawl gear from scraps from the box; this included a spare thimble for the actual roller itself (I think I am going to have a fair few spare blocks and P.E. when I finish this build - hope I haven't missed anything off! 🤣) I wish I had thought of adding it before I had fixed the capping rail as that was a delicate operation to cut it back. Next up a little flag for the top of the mast, as the plans in Edgar J March shows one with a little "N", so as to get the "Nisha" in pride of place in the lounge I asked the Admiral what colour flag she would prefer (out of a choice of three) and she chose Green as it would compliment the wallpaper. (job done 😁) This will go on last at a "topping out" ceremony - besides if I add it now I will only snap it off half a dozen times adding the sails... Finally, I added the mast navigation light and some rope coils, so I think everything forward of the mast is now done, on to the big sails next! 😨 Thanks all for your kinds comments, likes and following along.
- 206 replies
-
- 14
-

-

-
- Vanguard Models
- Brixham trawler
- (and 2 more)
-
That’s a lot of riveting Brian! How come they are painful, do you drop them on the carpet then tread on them? 😬
-
I’ve heard of it! I was planning to take the family when on holiday in south Florida a few years back, but change of plans when one of the “Windy” events you have there - made an unwelcome appearance 🌀 Thought better of venturing out. 🤣.
- 462 replies
-
- 10
-
-
Indeed, I don’t know much about this model, do you over paint the bricks and cabin floor checker or leave natural? Get in plenty of fine Tamiya tape if you do!
-
Rapid progress Glenn, I think I will feel the "whoosh" 💨 of another "Nisha" build lapping me again soon! 😆 Wish I had blackened and not painted my P.E. parts, don't know why I did really as I have blackened P.E. before.
- 48 replies
-
- 2
-

-
-
- Nisha
- Vanguard Models
- (and 3 more)
-
Great progress Alan, I know you won't be leaving it on but I like the look of the filler areas, that first picture almost looks like you have the remains of lime-work/plaster left on the walls - a very Mediterranean look to it! 😎
-
Hi Craig, thank you. I look forward to seeing your Erycina with masts! 😁 You are not alone though, I'm getting "nudges" to finish my "Bounty" that I have neglected since I started "Nisha".
- 206 replies
-
- 2
-
-
- Vanguard Models
- Brixham trawler
- (and 2 more)
-
That's a busy looking deck Sam, your flying along.
-
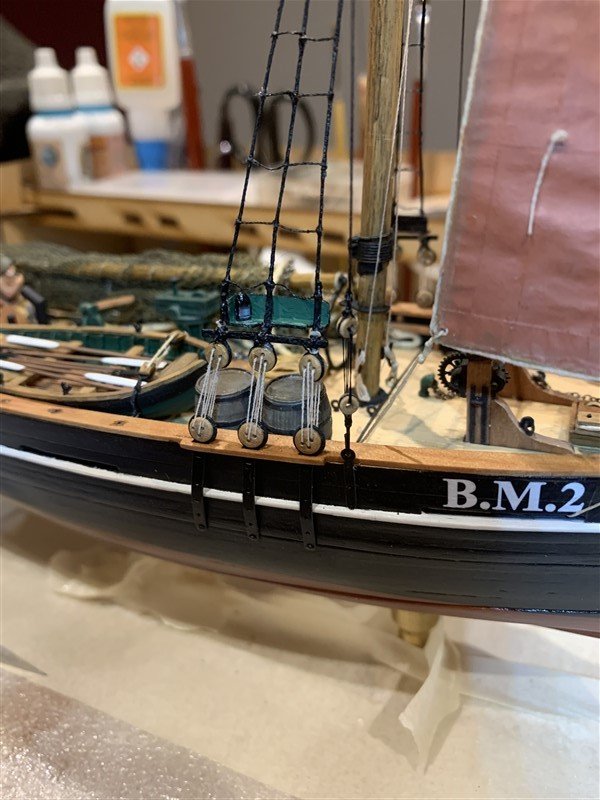
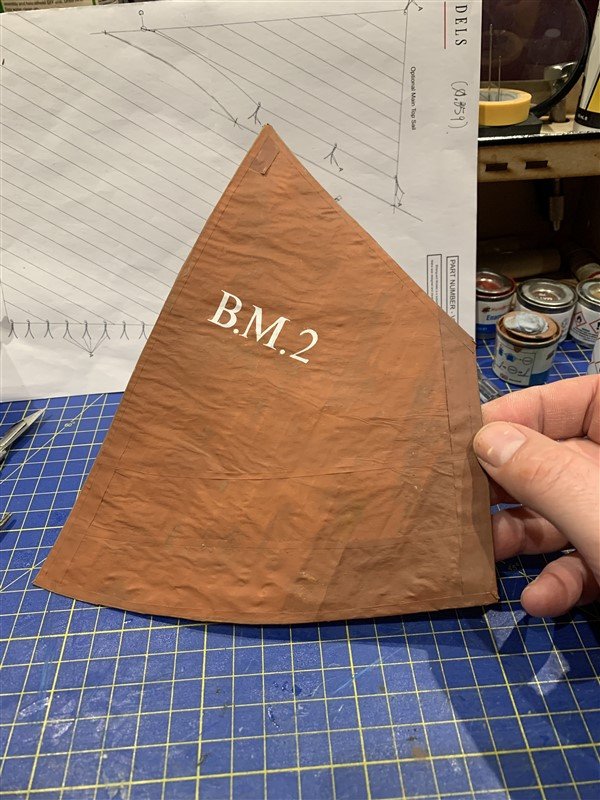
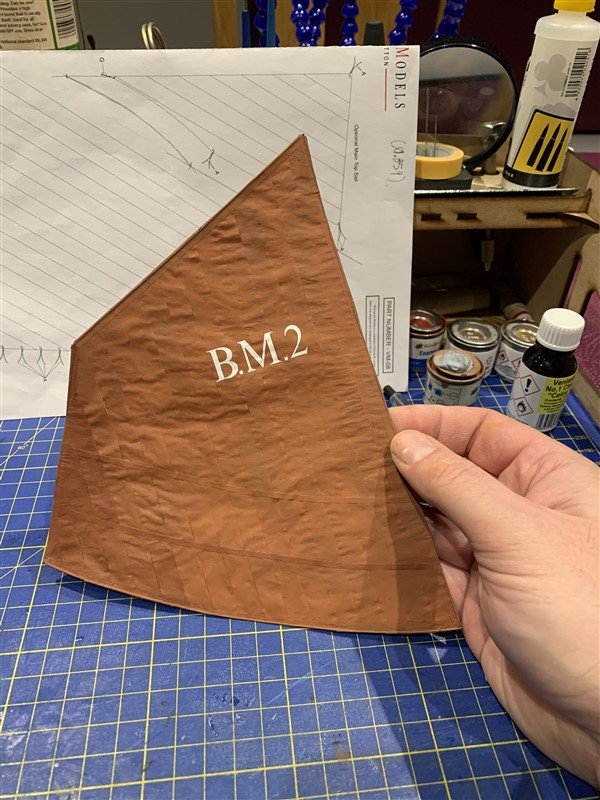
Hello all, some progress - a bit more Elf & Safety for the crew with the addition of Navigation lights from scraps and some clear plastic sprue. The lanterns (from old plastic model canopy sprues) were first masked for the lamp window and painted silver so as to reflect a little light internally before an overall coat of black. The idea for the fixing of the Navigation boards came from the build log of @Craigie65 for his lovely Erycina where @DB789 shared some picture of how they are fixed on "Vigilance". I've done what I can at this scale, but things a bit fiddly even with my magnifying glasses on! I've also called it a day with weathering the main sail, I'm really nervous of over doing it and making it look a mess, so leaving it as it is here. Thanks all for continuing to look in and the likes and comments.

- 206 replies
-
- 12
-
-
- Vanguard Models
- Brixham trawler
- (and 2 more)
-
Yep Typhoon and Tempest are some of my favourites, I’ve built Airfix’s 1/24 “bubble top” and have a 1/24 “Car-door” in stock. They do a reasonable job of the Sabre engine, but if could be super detailed.
-
And me! 😁
-
That compass and wheel look so good. Your build log is an inspiration, thank you for sharing.
-
Hey Brian to what depth is your “Secret Vessel” certified? would it beat a famous brand Swiss watch? If not you may as well go down with all your “Bling” on display! 🤣 Seriously, a very tidy viewing window, I’m tempted to say leaving natural.
- 68 replies
-
- 1
-

-
- Morel
- Master Korabel
- (and 1 more)
-
A very good and unusual looking build, well done! 😁
-
I really like the alternative planking colours, very neat!
- 57 replies
-
- 3
-
-
- marisstella
- batelina
- (and 1 more)
-
Welcome to MSW
-
What a great looking fleet Dan! Well done on another nice build.
- 46 replies
-
- 3
-
-
- vanguard models
- Erycina
- (and 3 more)
-
😆 With you, sometimes you need else (with me it can be other models entirely!) as Dave said we can all go through those times when our heart isn't in it. A change is good as a rest. Like the cannons Dave. 👍
-
You are making a very good job of those ships boats David, the look very detailed and your usual high standard of finish!
- 310 replies
-
- 3
-
-
- Diana
- Caldercraft
- (and 1 more)
-
Looking very realistic OC! 😁
-
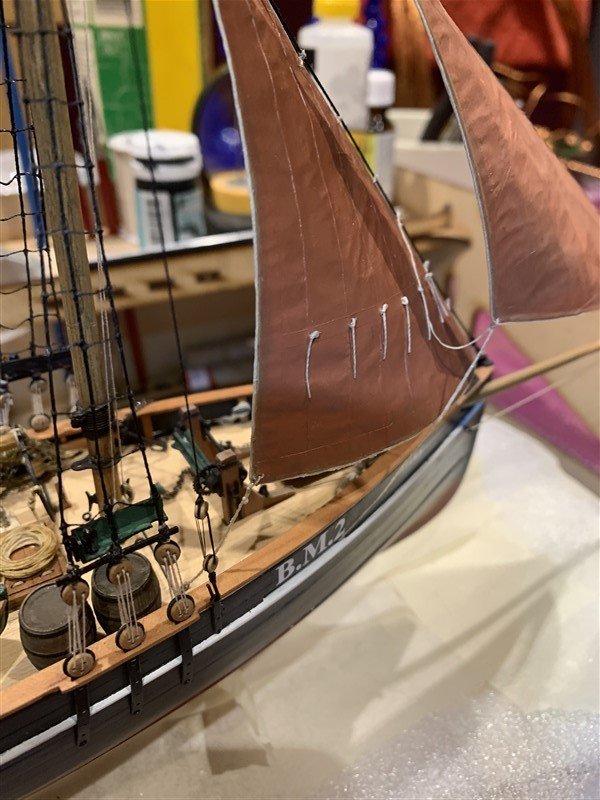
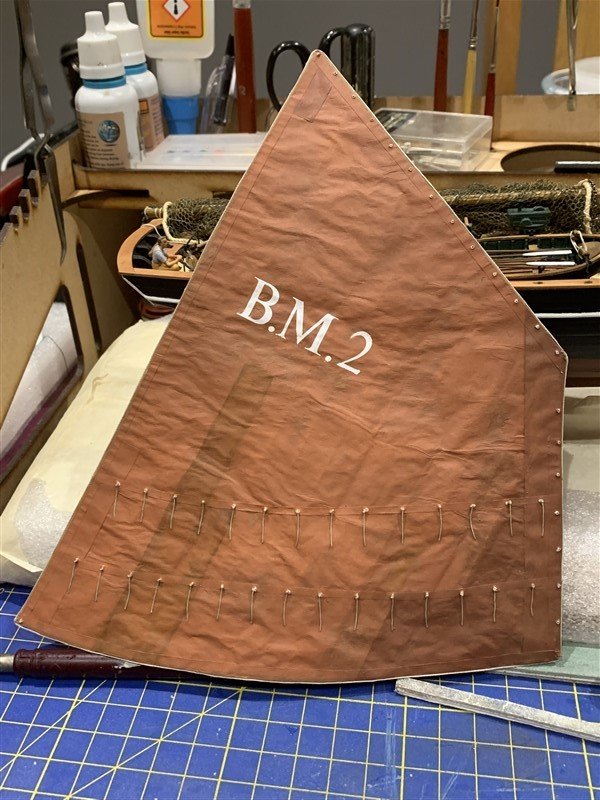
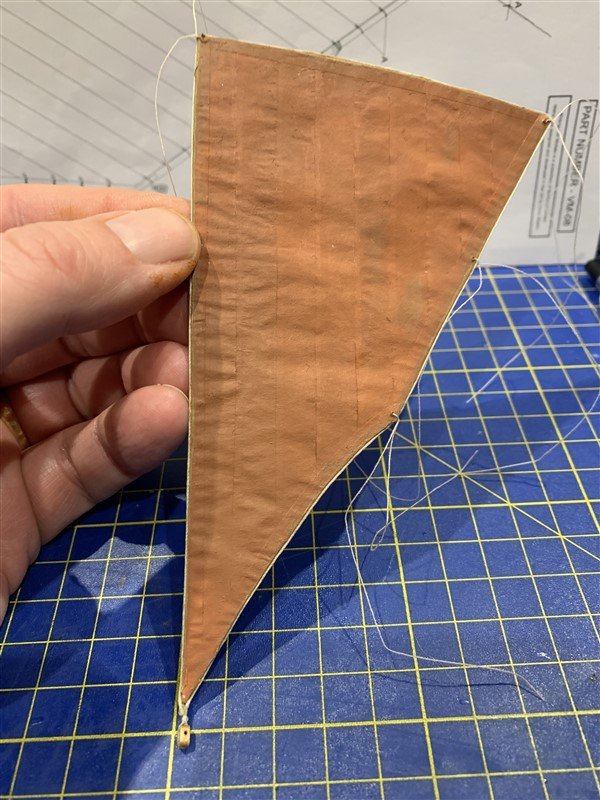
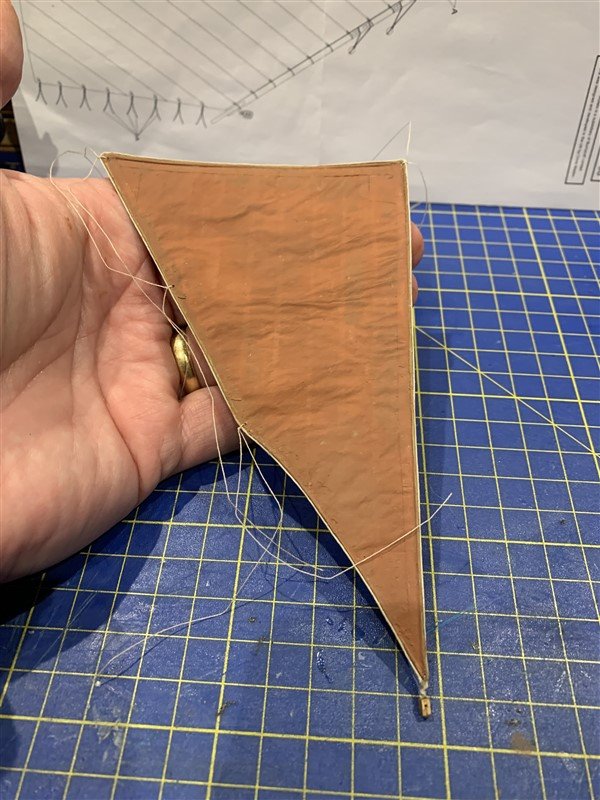
Thanks you all for your comments and likes, I've now finished the topsail and started the final work on the main sail. I have darkened one corner of the main sail to see how it looks before doing any more "patches" to simulate repairs. I don't want to over do it and make this look too scruffy. I'll think on that as I add the ropes to it this week.
- 206 replies
-
- 14
-
-
-
- Vanguard Models
- Brixham trawler
- (and 2 more)
-
Welcome to MSW Mic.
-
Hahaha! We have had Cavaliers for years, you are in for FUN! 🤣🤣👍👍 So just to check you got a spaniel cross - in the (many I hope) years you have her you will never fathom what is going on between those cute little ears (personally I think not a lot!) 🤪 🐶