AJohnson
-
Posts
2,054 -
Joined
-
Last visited
Content Type
Profiles
Forums
Gallery
Events
Everything posted by AJohnson
-
 On the plus side two of the armourers are wearing red lipstick 💄 so supplies can’t have been too bad! (for the important stuff) 😉
- 146 replies
-
- 10
-

-

-
Looking forward to seeing the results Andy! I might even dust off my Airfix “car-door” this year, maybe! 🤣
-
No, good spot, he does tend to do “catch-up” posts every so often, as he doesn’t browse MSW constantly like addicted souls like us. Hope he is okay. 👍
-
Yes I did spot when first looking into the box, there are a few parts not required for the S2.C/Ds This is a common theme with the more recent Airfix releases, they must have a whole production run/alternative version release dates mapped out. Shows some forward planning to get the most/economy out of the initial moulds. I have the new 1/24 Spitfire Mk.IXc in stock and that is definitely set up for future releases including retracting tail-wheel, clipped wings, broad-chord “shark-fin” rudder, whole new engines forward of the firewall. So take your pick - Mks. VIII/XXII/XXIV(high back) might be on the horizon. 😁
-
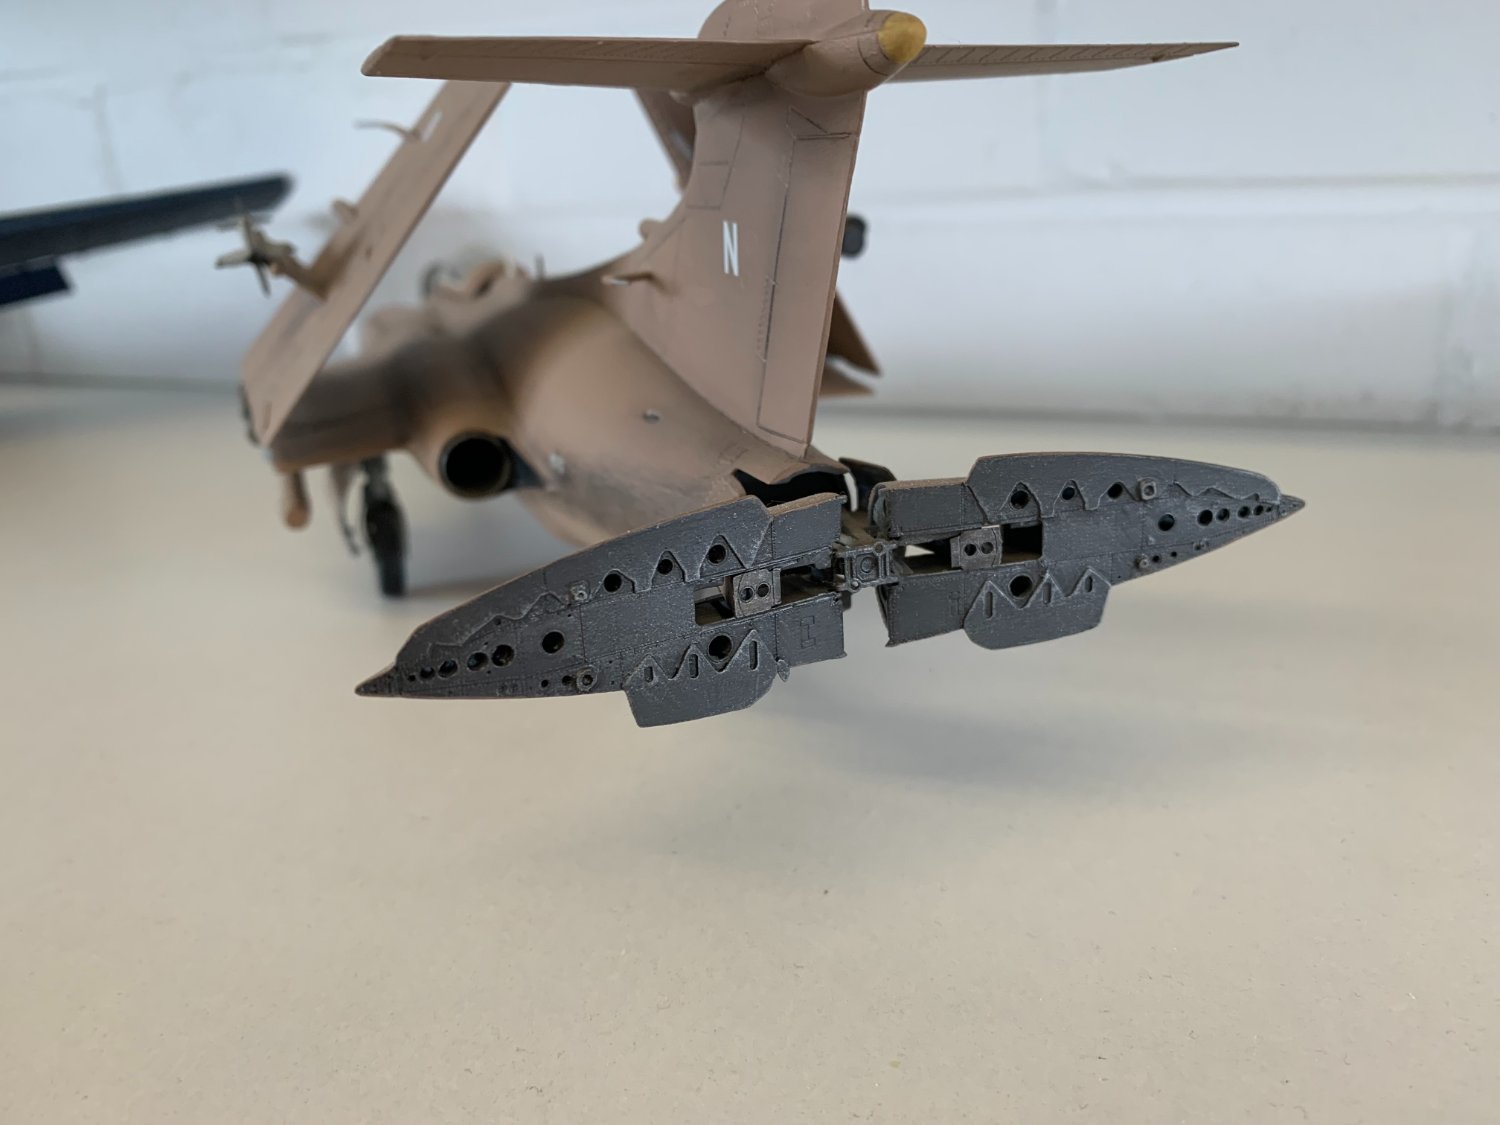
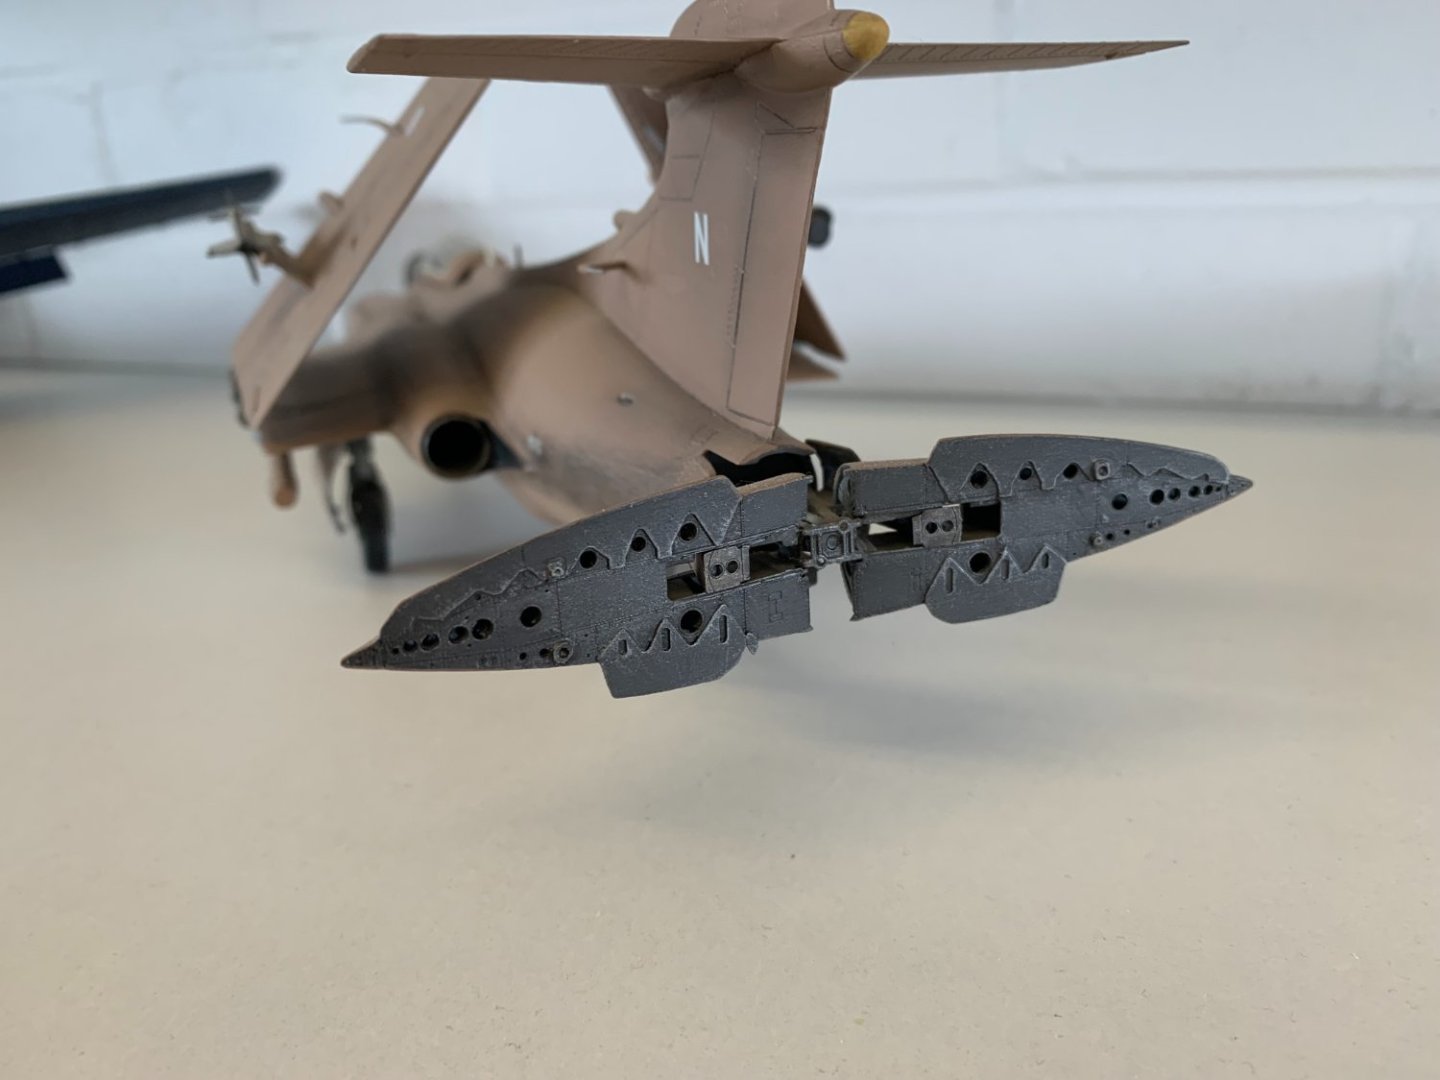
Hi, Yes I have the same issue and it doesn't seem right to me either. Thanks for the heads-up, I think that little rectangle needs filling - although in-flight Buccs do show wear of paintwork around the hinge areas there are no holes!

-
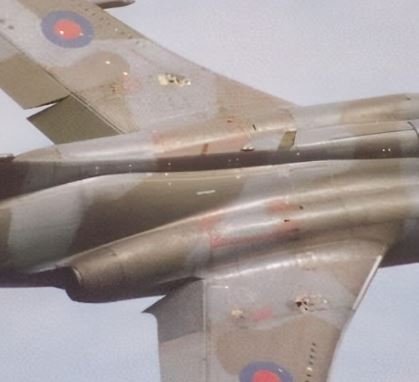
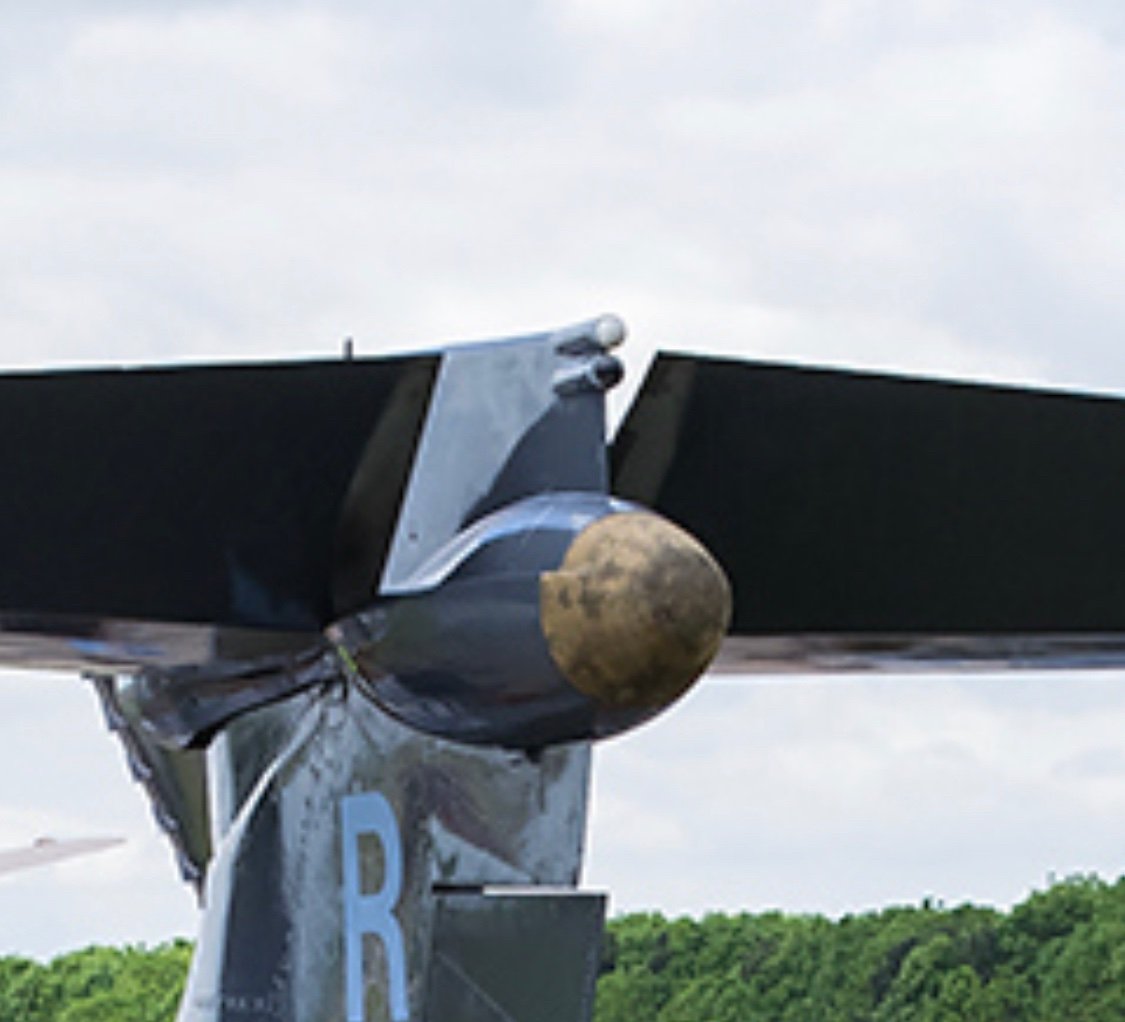
Both those pictures show the ledge the "flaps" rested on, Egilman got this covered. 👍 Btw. did you spot the "Dash-cam" on the top of the tail in the second picture, this must be one of the ground taxiable Buccaneers? Looking at the mould of the Airfix kit it looks like it might benefit from a bit of thinning above the front tilt limit of the tail plane, if I could be bothered, the photos seem to show it is thinner?
-
Yeah I think that is correct, I don’t understand the mechanism or why it was used but the whole elevator/tail plane tilted on top of the tail unit and also the traditional elevators moved up independently. Hopefully someone more knowledgeable will know why? Sure there would be a reason, maybe to do with the aircraft being design to go near supersonic at low altitude, a design feature to avoid “flutter” is it on the elevators?
-
Glad to see you back at your "Nisha", you won't get any comments from me on delays to building "Nisha"! 😆 From memory Chris does provide a plan for "Nisha" when it had no sails and alongside, but this involved having the gaff/boom down and bowsprit pulled inboard, so quite a radical 'look' (But it would make the model even smaller for displaying.) 😄
-
Neat looking row of hinges!
-
My 1990's gulf war one is open, so I will do mine closed this time.
-
Handley Page Heyford by RGL - FINISHED - Matchbox - 1/72
AJohnson replied to RGL's topic in Non-ship/categorised builds
Very nice job again Greg. 👏 -
The fit doesn’t look too bad generally Craig, but the intakes gaps reminiscent of the 1990’s mould. Great job in filling and cleaning up, good tip on sanding ’wet’.
-
You are zooming along Craig. I’m hoping to join in soon on this log, done a few bits on the cockpit, mostly scraping off the moulded detail to add my Eduard P.E. set and started on the ejection seats (I’m using the kit ones and a P.E. Set for belts etc.) Picture updates over the weekend I hope.
-
Agreed, on the home stretch and looking good!
-
Made to Measure by acrylicdisplaycases.co.uk, 3mm case on black ash base with black velvet inner. Nice but not cheap, delivered it is almost as expensive as the basic Nisha Kit was when I bought it!
- 206 replies
-
- 1
-
-
- Vanguard Models
- Brixham trawler
- (and 2 more)
-
The “Nisha” is now in it’s new home, decided that having gone to the trouble of adding sails it needed protection from dust.

- 206 replies
-
- 11
-
-

-
- Vanguard Models
- Brixham trawler
- (and 2 more)
-
Looking good! 👍
-
The walnut parts can be very brittle along the grain. If you can, make some new ones from the sheet the kit parts came from. For drilling try putting tape on top and drill through that, it can help reduce the damage caused by drilling, also I'd use a hand held pin vice to drill rather than an electric drill as it might be too fast and causing the fragile Walnut grain to lift as you drill.
-
I've not seen the water slide instrument panels before, I got the traditional P.E. ones, it will be interesting to compare.
-
Congratulations on your prizes, looks a very well supported event which is nice to see.
-
Handley Page Heyford by RGL - FINISHED - Matchbox - 1/72
AJohnson replied to RGL's topic in Non-ship/categorised builds
That takes me back, the coloured sprues for those that couldn’t afford the paints! Yep, that one hit every branch when it fell out of the Tree Ugly Tree! But I’ll be following for old times sake! 👍 -
Especially in the “Non-ship” part of MSW, bit more of a chilled 😎 vibe around here. I think you are putting in a load of effort visualising your build Mike and I for one are enjoying seeing the development. 😁
-
Here's my take on a Malta Vb, (1/48 Airfix, new mould), with European theatre sky underside, not the Azure blue. Similar to those pictures Andy.
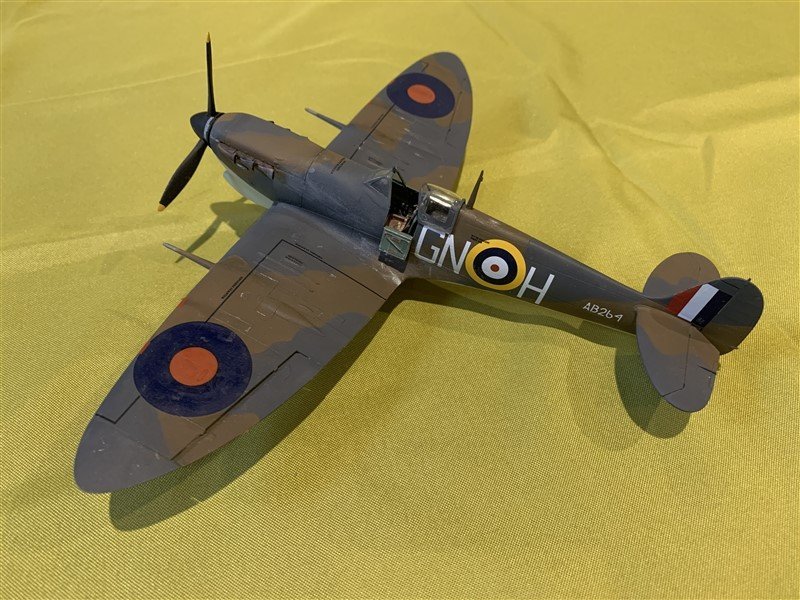
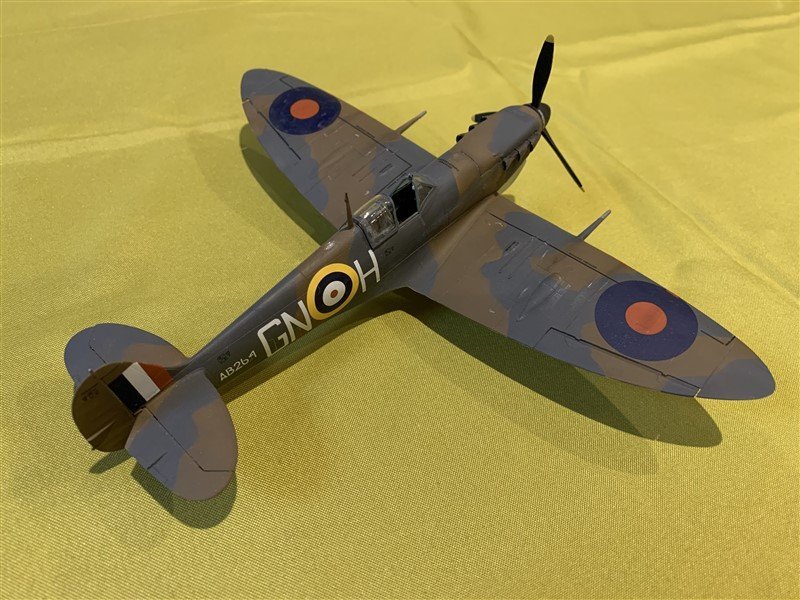
-
Great start Mike, looking forward to seeing the Finnish scheme for this, something different.
-
My vote is for the second green, just based on the pictures with the greys, but they look totally different when next to the brown! ?