
HOLIDAY DONATION DRIVE - SUPPORT MSW - DO YOUR PART TO KEEP THIS GREAT FORUM GOING! (Only 69 donations so far out of 49,000 members - Can we at least get 100? C'mon guys!)
×


AJohnson
-
Posts
2,034 -
Joined
-
Last visited
Content Type
Profiles
Forums
Gallery
Events
Everything posted by AJohnson
-
Welcome to MSW Jeff!
-
 I'm still not released from DIY duties by the Admiral 🙄, but I have acquired a few bits to pimp up my Buccaneer when I do get the Green light! P.E. Cockpit and seatbelts, Canopy masks and metal refuelling nozzle / pitot tube. Just need to check on paint stocks to make sure I have everything I need.
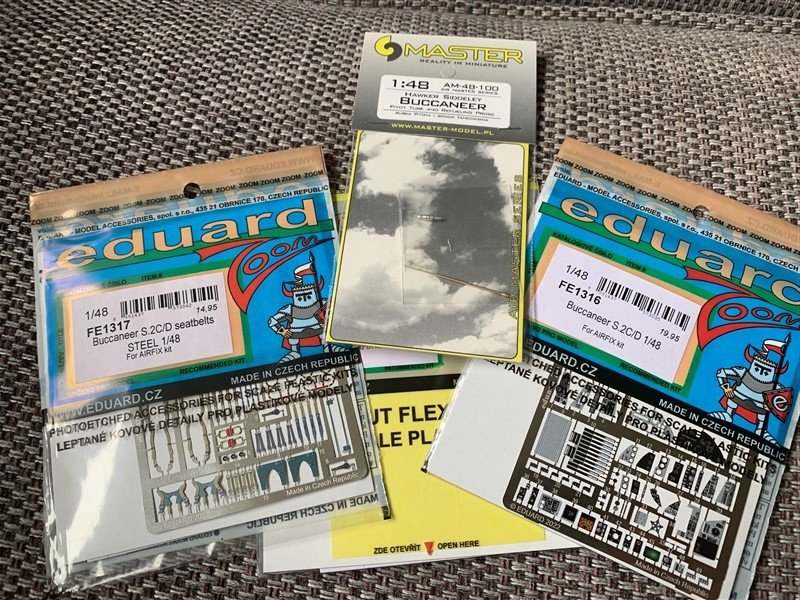
- 332 replies
-
- 14
-

-
Great to see progress on “Mars” again, looking forward to seeing more from you and the deck fittings.
-
Those chests are very nice addition and really well made. “Sailing Trawlers” by Edgar J. March is an excellent reference and a good read, I used it extensively for my “Nisha” build.
- 57 replies
-
- 1
-
-
- marisstella
- batelina
- (and 1 more)
-
Changed the title page, happy if it needs Admin “tweaks” to keep all correct and within forum norms.
-
We could always turn this thread into a mini “group build” if you would like and the admins don’t object 🤔
-
I’m away, but also on this weekend they are doing one of their nighttime photo shoots of a few of their exhibits. Usually they roll out the Halifax for these.
-
Hey I’m hoping we are going to be each other’s Wingmen on this adventure! 😁
-
Thank you very much for sharing those stories and pictures Terry 😁. Knowing MSW there are probably some ex. RN on here who will know which Naval Air Squadron those Buccaneers belonged to. Those cross decking exercises must have taken a lot of training to achieve 😲
-
Well Doncaster to Elvington would be a short hop for the Vulcan, but it would be the CAA that’s the problem, imagine the insurance and paperwork! On the plus side Yes Elvington has the runway at nearly two miles (3000m). I truly hope something can be done to save XH558, last I have heard is she is to be dismantled by this June at the latest if they can’t agree funding for staying at Doncaster.
-
Glad to have on board Mike and all of you. This “Non ship building” bit of MSW is like going to the local Pub and meeting all the “regulars” Really great place to visit, but with exception that the advice here is much better than the “know-it-all” 🥸 who normally props up the end of the bar in most pubs I know! Cheers guys! 🍻
- 332 replies
-
- 11
-
-
Hi All, I'm losing my memory, something has been bugging me today and it finally dawned that the Yorkshire Air Museum has three Buccaneers! (Greedy I know) 🤓 I wouldn't mind but I did photograph it in 2020! This is XV168 a S.2B and the last one to fly off an aircraft carrier. It's final flight was back to Brough (its place of origin as @shipman has mentioned already) in 1991 - and yes it got to Elvington after that by Road! 😆 Glad to report since I took this picture it is receiving a bit of TLC and should be looking as new soon (there is a Facebook Group the restoration group have if you are interested just search for Buccaneer XV168.) Next job, book into the memory clinic.... 🧠
- 332 replies
-
- 10
-
-
Those jig are a neat solution Jack, one to remember! 👍
-
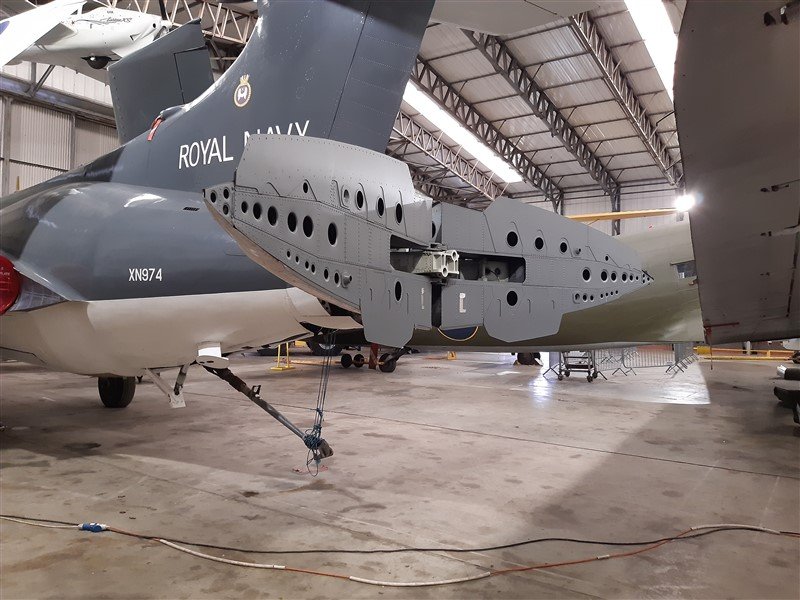
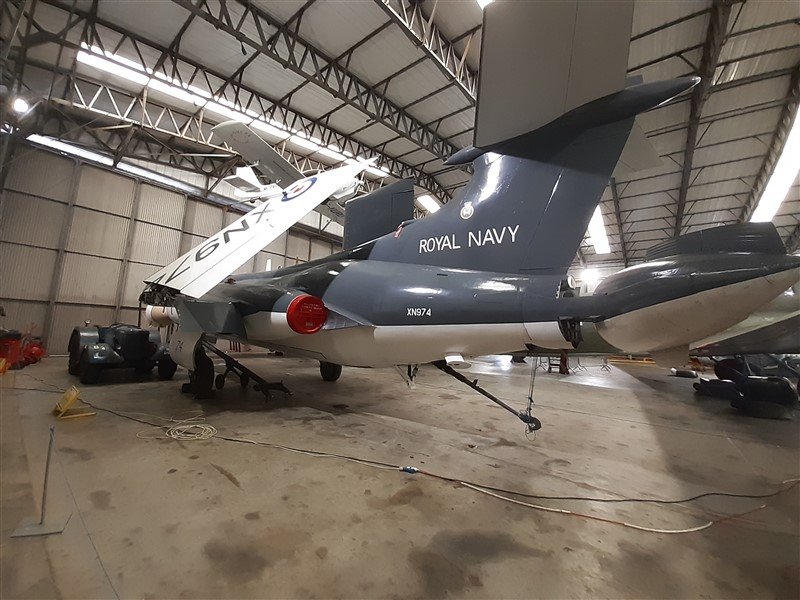
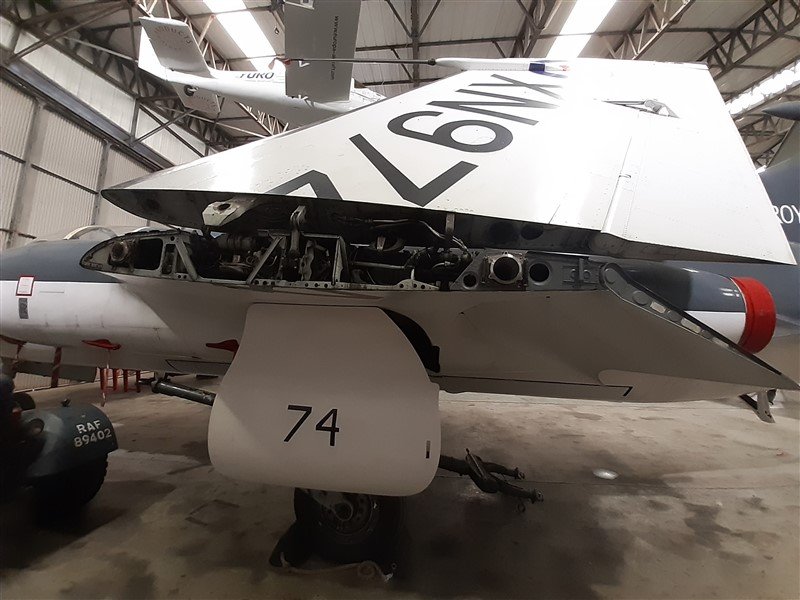
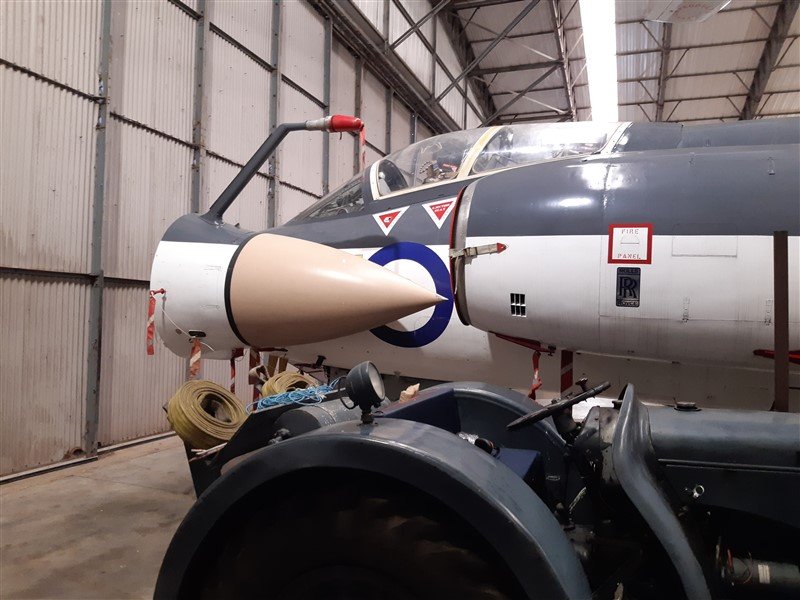
I didn’t sadly get to Bruntingthorpe for the fast Taxi runs before it was all shut down to make way for car storage and some of the bigger exhibits cut up for scrap! Thankfully the Buccaneers and Lightnings escaped to new homes I think. Elvington did its own version with XN974 and their Nimrod and Victor. Like Bruntingthorpe all sadly stopped now due to costs, insurance, revenue hits because of Covid lockdowns and complaints about “noise” from some well healed residents of the village nearby. 😟 (Who knew you buy a house near a working air museum and you hear aircraft!).
-
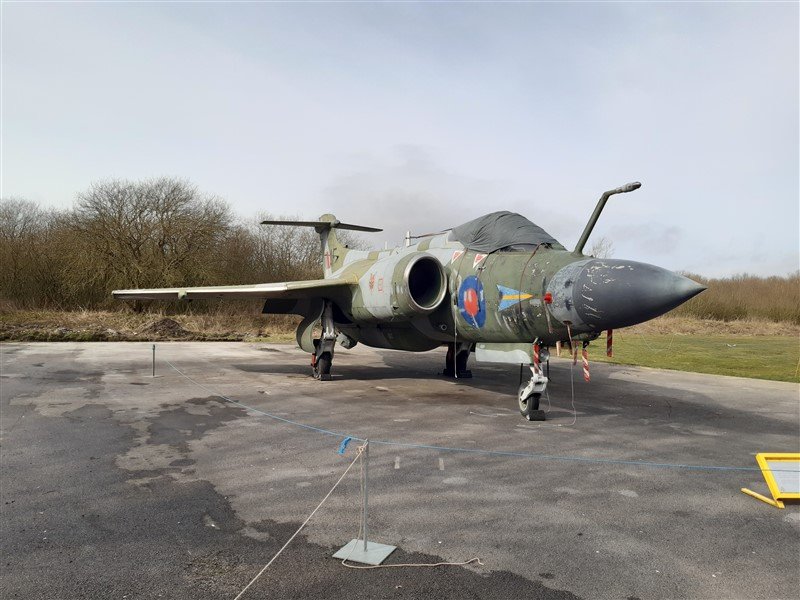
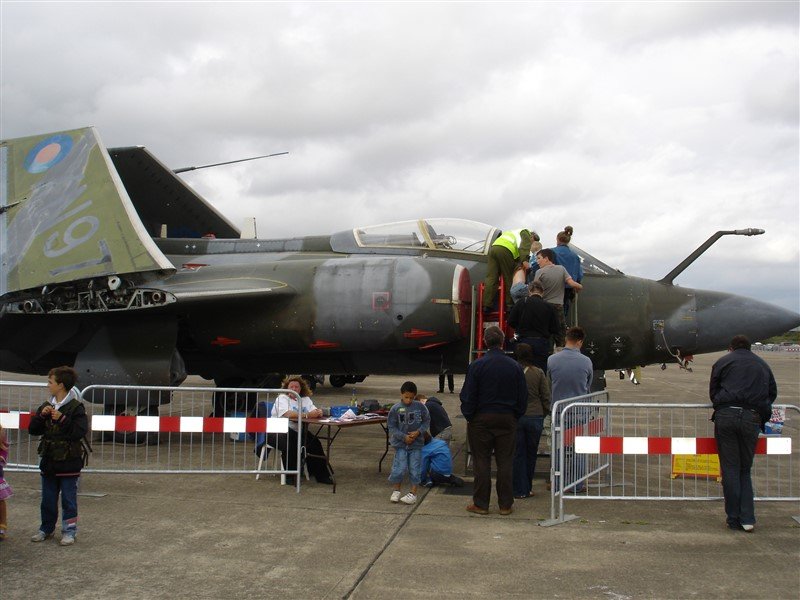
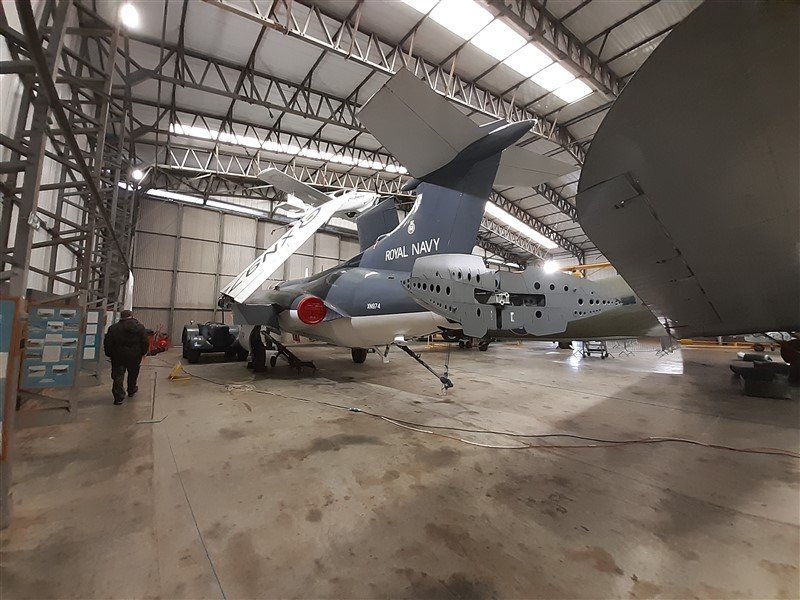
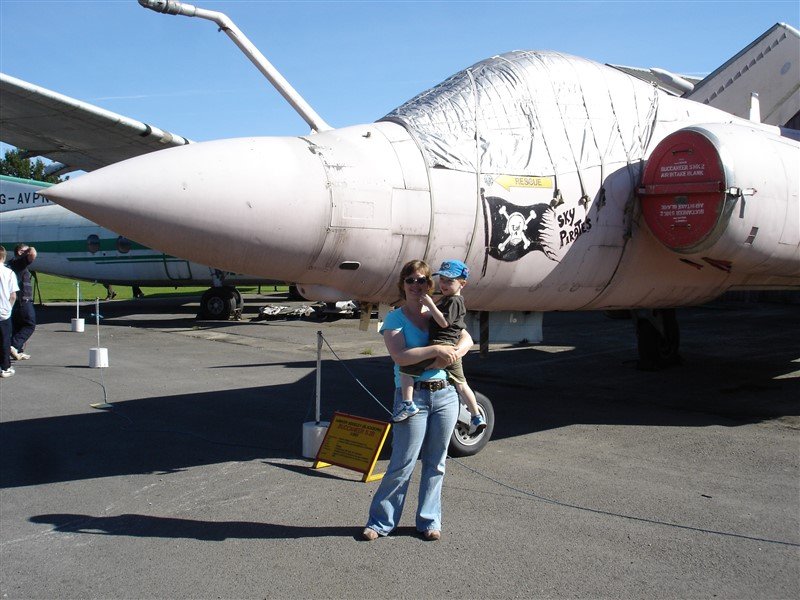
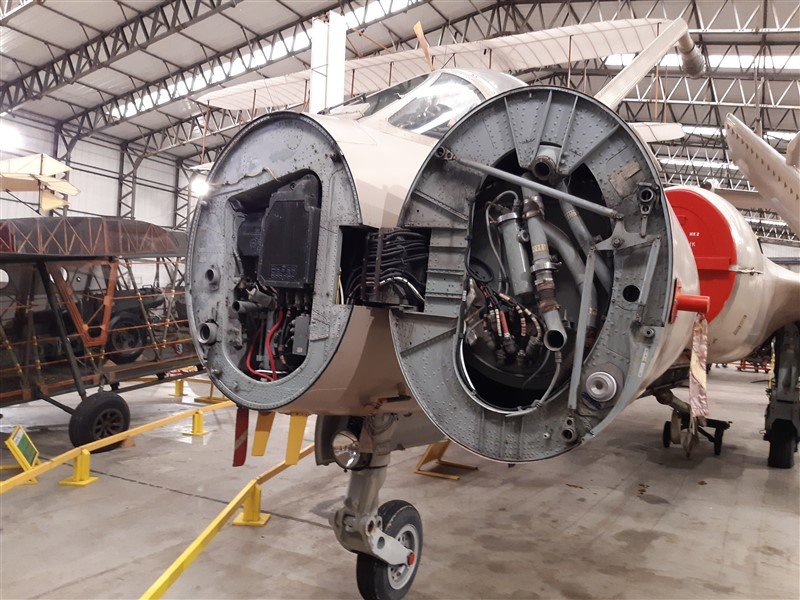
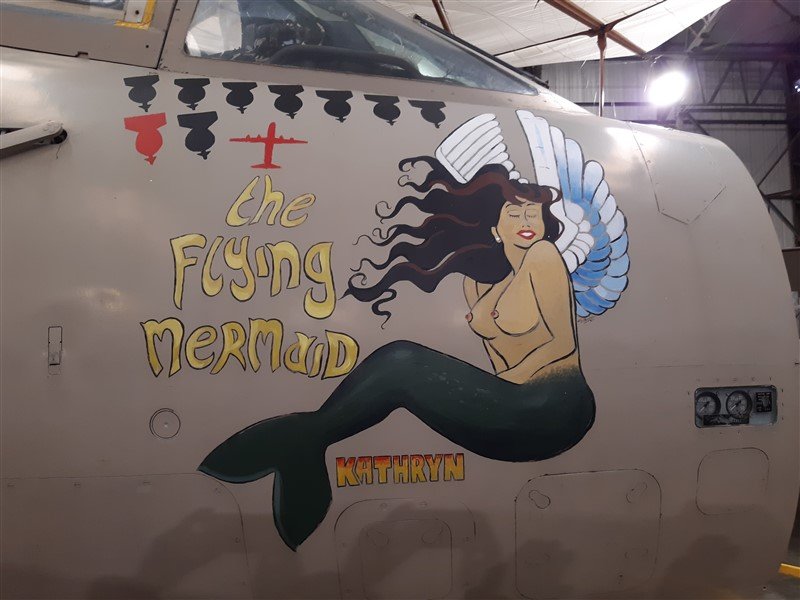
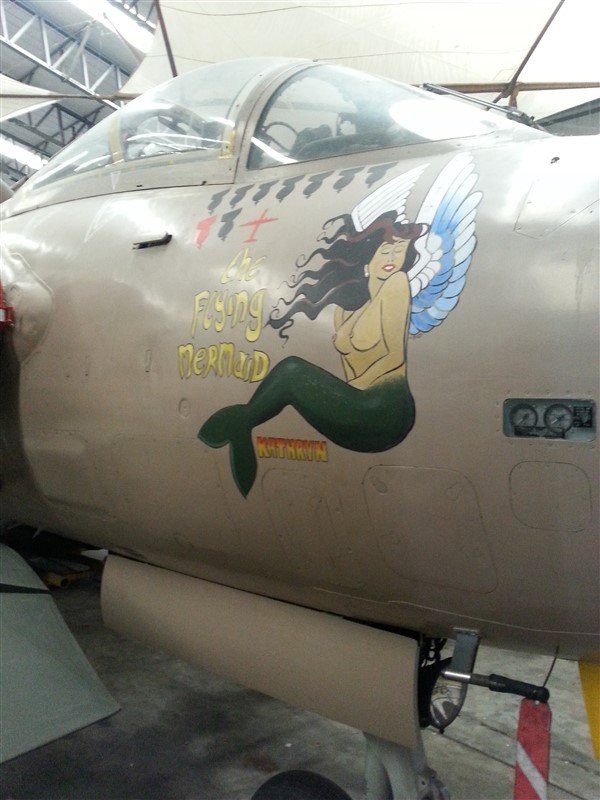
Got a few pictures to share of what I'm very proprietorially going to call "My" local Buccaneers!!! About 20 miles from where I live is the Yorkshire Air Museum on the site of former RAF Elvington - https://yorkshireairmuseum.org/ They have a couple of examples of the Buccaneer which I thought I might be of interest. The first example in XN974 the first production version of the S.2 that first flew in 1964 and served outs it's days as a trials and test airframe. The first two pictures of XN974 are of it in 2006 when it was still taxiable and people could have a sit in the cockpit. (My Son Michael has grown a bit since then and is now at his second year of University - I feel old!) 👴 The next bunch show XN974 in it's more recent swanky new Fleet Air Arm colours and she now lives indoors so hopefully will look this good for years to come. The other Bucc. they have is XX901 a Gulf war Veteran that flew 14 missions in 1991. The same scheme is used today and this is the example I modelled previously, not least as it was called "Kathryn - The Flying Mermaid" (my beloved Admiral's name!) on the nose art. The picture outside is the Admiral holding Michael, again many Moons ago. Hope you like the pictures, please chip in with any of your own reminisces or info on the mighty Bucc. Modelling will commence when I have pleased the Admiral sufficiently with my decorating efforts.... 🙄

- 332 replies
-
- 15
-
-
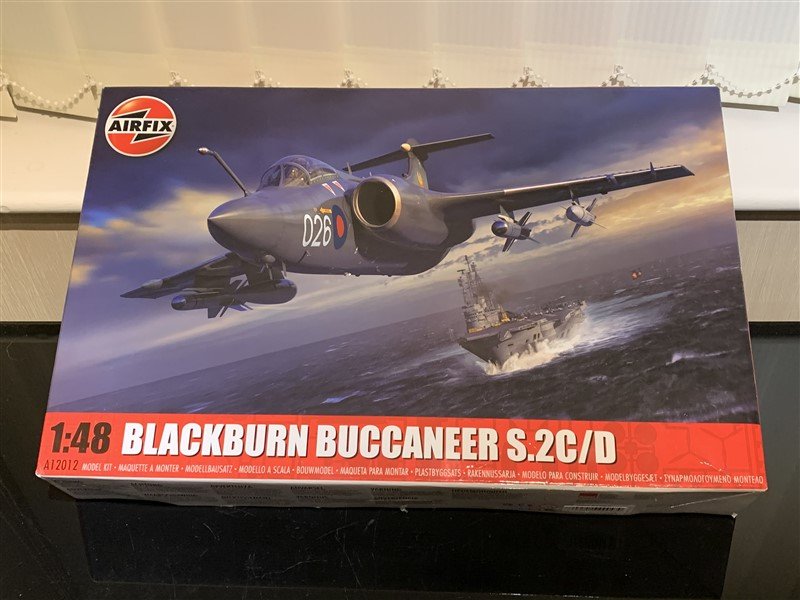
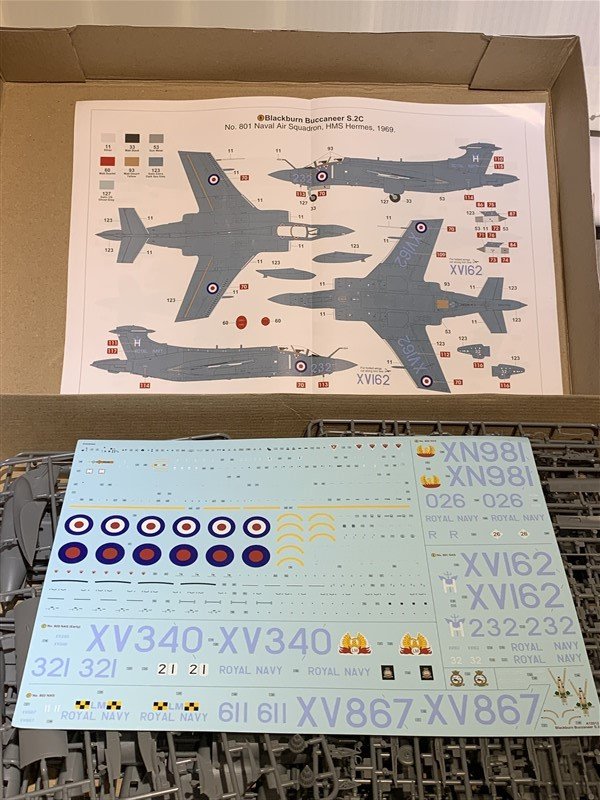
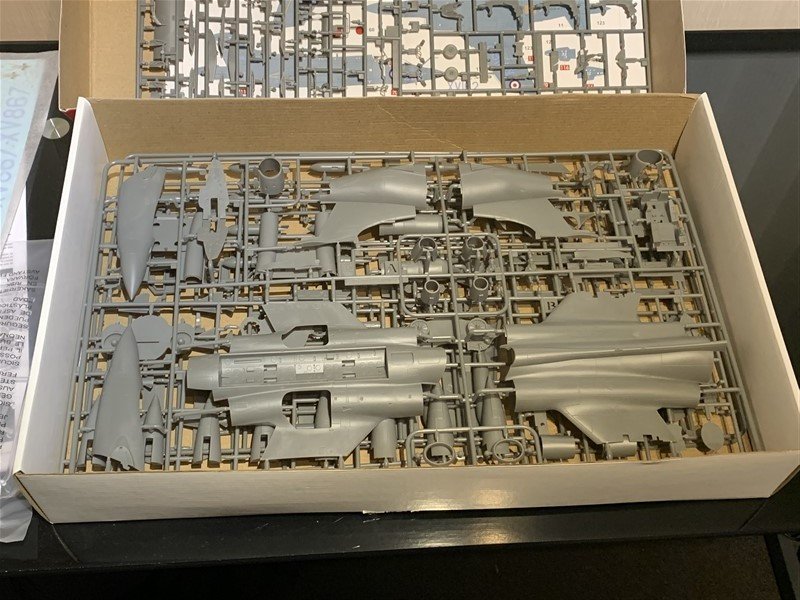
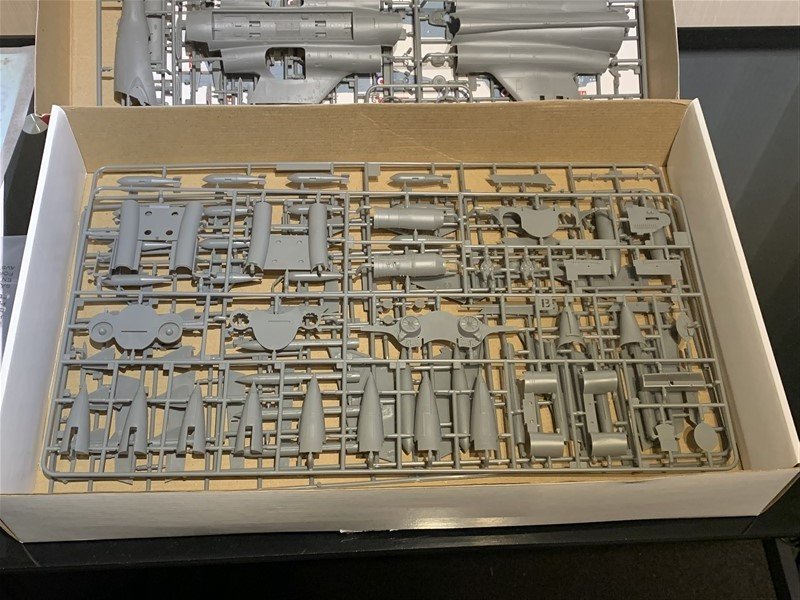
Hi Gang, Well as discussed at the tail end of my Sea Harrier log, I am very fortunate that a good friend on mine bought me an Airfix 1/48 Buccaneer for my birthday last week, so putting up a build log which I hope some of you will enjoy. @CDW also has this kit and hopefully we could have two build logs going at some stage. Though I need to say this one might be something of a slow burn as firstly the Admiral has got me decorating the hallway and lounge at the moment and also I am determined to finish my Caldercraft HMAV Bounty this year, so I am trying not to get distracted - going well huh?! 😆 As mentioned on my Sea Harrier log I'm largely going to build out of the box, with some upgrades to the ejection seat/cockpit at most. Also going to have the wings flat and air breaks closed as I have made the 1990's version of Airfix's previous 1/48 Bucc. where I had all that visible. As for which scheme I am drawn to, thinking the S.2C - XV162 as it appeared onboard HMS Hermes in 1969, serving with No.801 Naval Air Squadron. I have some more pictures to share next of the real thing.
- 332 replies
-
- 16
-
-
Sea Harrier FRS1 by AJohnson - FINISHED - Airfix - 1:72
AJohnson replied to AJohnson's topic in Non-ship/categorised builds
If you thinking of the RAF versions the S.2B, then there were a few differences, the S.2B had a bulged bomb bay and the wingtips were squared off, not flared out to the trailing edge. The S.2C/Ds converted for use by the RAF were either to S.2B standard I assume looked the same as the "new build" S.2Bs but I don't know for sure. Likewise S.2As for the RAF were they just, re-painted S2.C/Ds? Think might be best trying to find photographs of the actual aircraft if you want another scheme. Airfix are releasing an 1/48 S.2B later this year, so there is that option later.... Then there is the S.50 South African version? -
Great work Andy, hopefully you can post up some pictures of the “Aussie” in her home next month?
- 88 replies
-
- 5
-

-
-
- Australia II
- Finished
- (and 2 more)
-
Sea Harrier FRS1 by AJohnson - FINISHED - Airfix - 1:72
AJohnson replied to AJohnson's topic in Non-ship/categorised builds
That sounds a good idea! I think looking at the kit I will largely build out of the box, I might treat it to some PE seatbelts but thats about it. Also as I have a 1/48 Bucc already with wings folded and air brakes out I might have all that closed and wings down. I llike the look of the HMS Hermes one from 1969. -
Hi Brian your Secret Vessel looks right at home next to some good reading! 😁
-
Sea Harrier FRS1 by AJohnson - FINISHED - Airfix - 1:72
AJohnson replied to AJohnson's topic in Non-ship/categorised builds
Well I need to re-evaluate my previous answer today, a friend got me this for my birthday! 😁 It will be interesting to compare it to the previous release as this is the new mould. Build log anyone? 🤓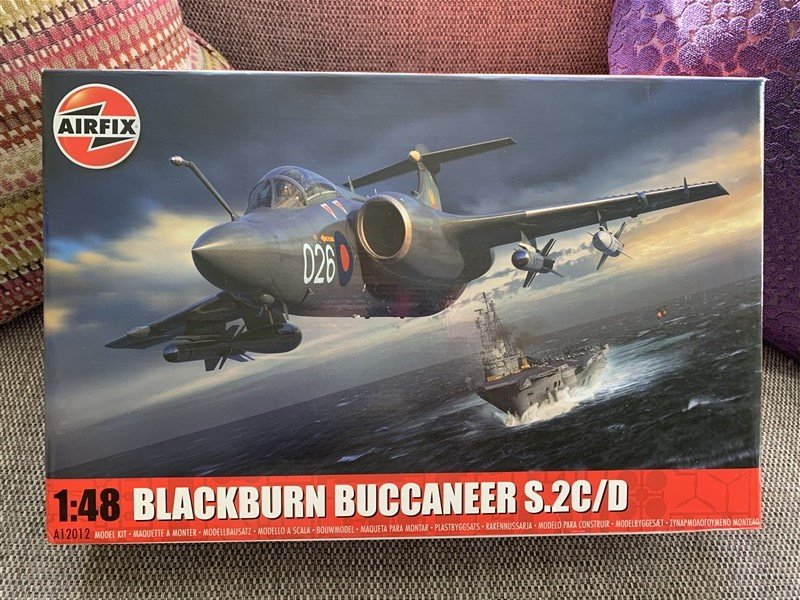
-
Tease! 😝 I'll have to wait and watch out for that log then Andy! 😁
-
Very nice Andy! What's your next 1/72 you have for when you get the "itch" again?
-
Welcome to MSW Jose
