


AJohnson
-
Posts
2,049 -
Joined
-
Last visited
Content Type
Profiles
Forums
Gallery
Events
Everything posted by AJohnson
-
 Quite the "Army" you are building up Alan! 👏
 -
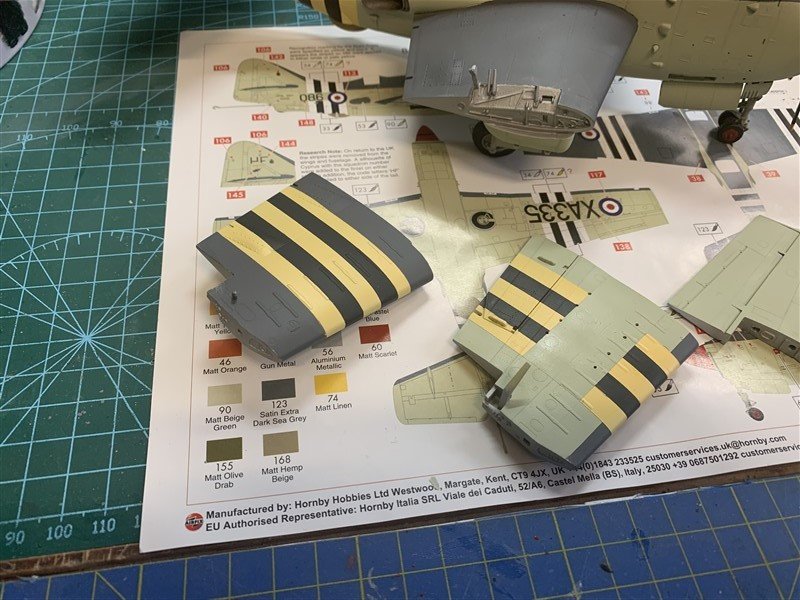
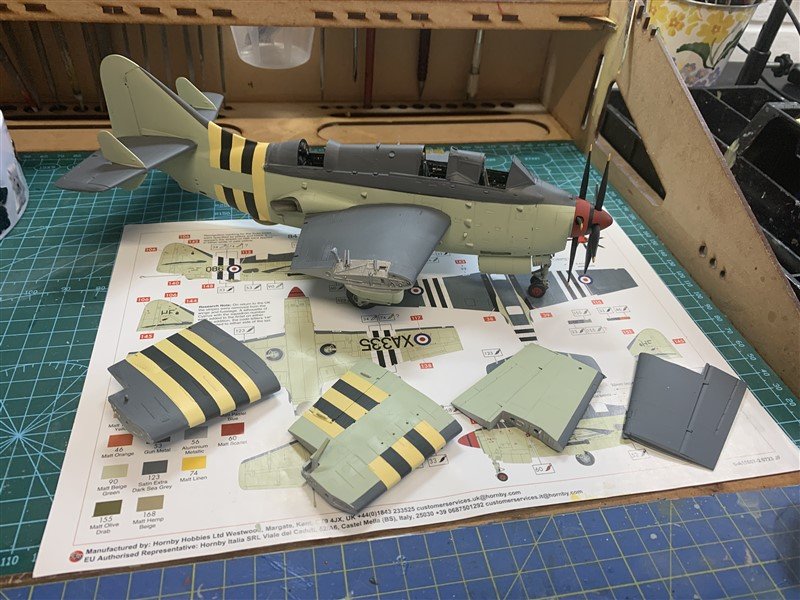
Thanks @Danstream & @Landlubber Mike for your kind comments and for the likes everyone. After another session with masking tape, I have applied the faded ID stripes, looks black and a cream yellow in the photos , but in daylight they are more charcoal and a pale yellow. The photo on post #5 you could say the stripes were white/black like "D-Day" ones; and Airfix's instructions say they "might" have been white, but comparing them to the white square on the leading edge of the wing (inner section with the number "86" on it) I have convinced myself they are faded yellow. Anyway committed now! 😁 Getting close to gloss varnish and decal time! - thanks for looking in.
- 34 replies
-
- 10
-

-
Wow, another one done so quick I almost missed it, brilliant as usual!
-
I had been hoping to see more of Jim's fine work, but found from another artist site he has passed on last year:- James Rae a.k.a. vegaskip - WetCanvas: Online Living for Artists Sad news, but we have this glorious catalogue of some of his work here on MSW to treasure.
-
Ah Dave, but does that involve making a model, or just having a coffee! 😆
-
Great progress Richard, the deck and fitting/fixtures look very neat!
-
Crazy good Chris, a work or art!
-
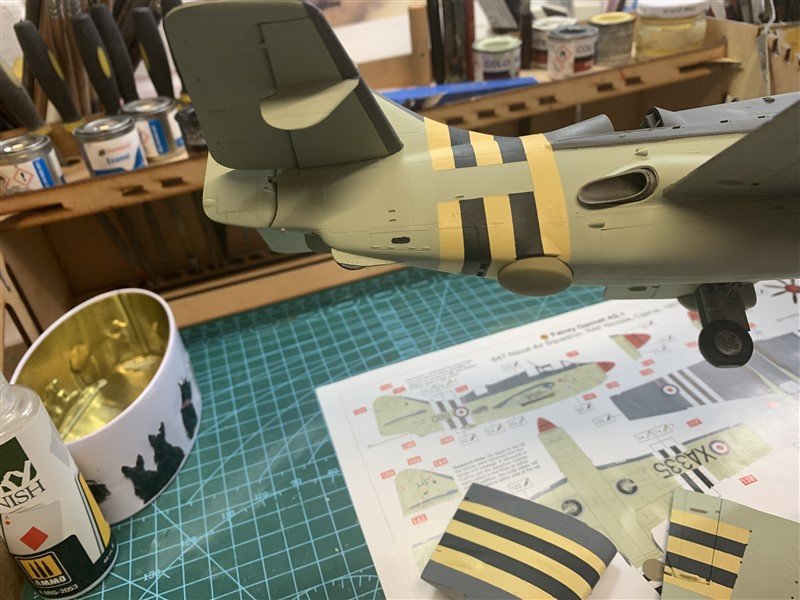
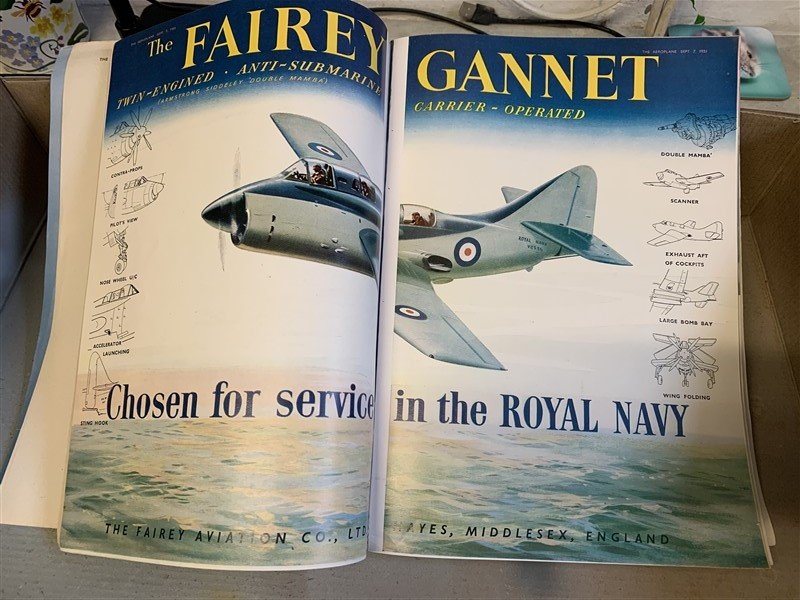
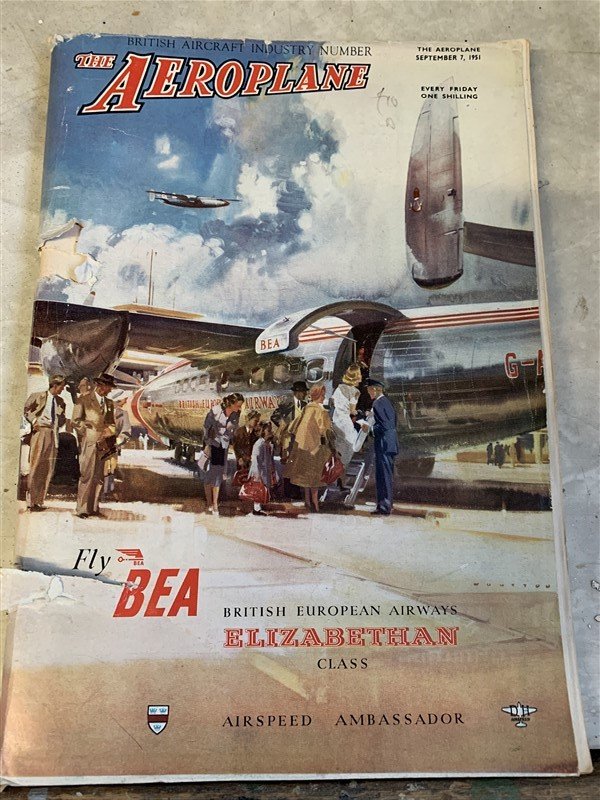
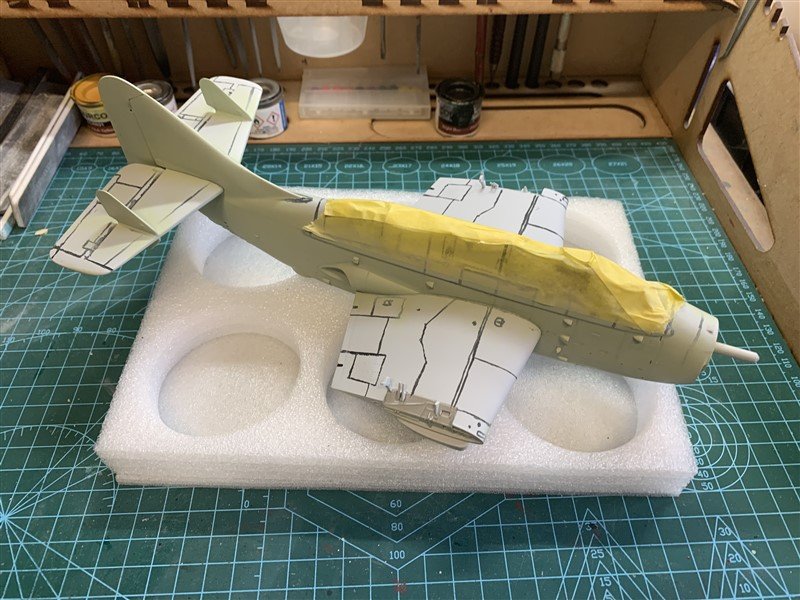
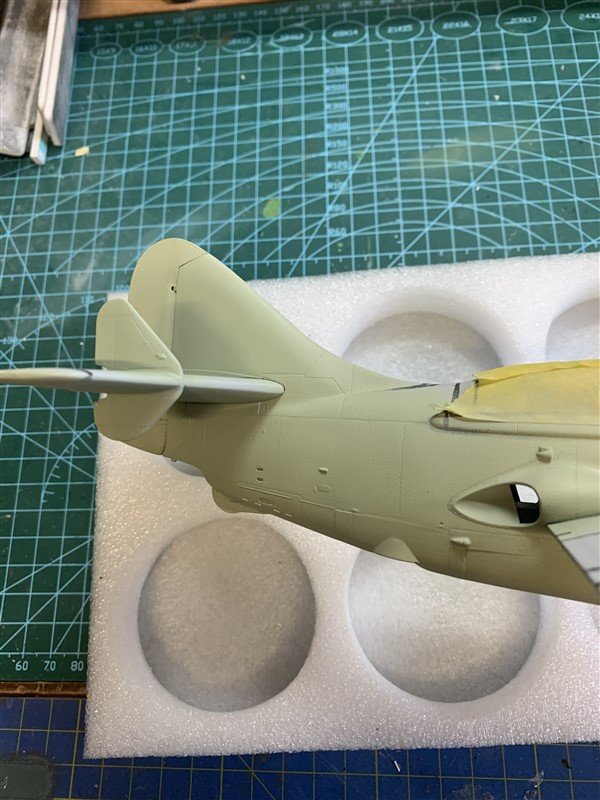
A little while since my last update, but I have not been idle managed to get this ugly beast masked (which took ages around some of the more complicated tail areas) and the Extra Dark Sea Grey applied. Overall happy with the result, need now to do the metal finish wing-fold areas and the faded "Operation Musketeer" stripes. One thing I did come across was a trade advert for the Fairey Gannet in the September 7th 1951 edition of "The Aeroplane" magazine I have copy of, a fascinating read from a bygone era! Thanks for looking in.
- 34 replies
-
- 12
-
-

-
Great work Alan, super painting and an unusual subject.
-
Superb job Dan!
-
That looks very neat Chris.
-
Welcome to MSW!
-
Wow, another "beast" you have taken on there Kevin! I will be fascinated to see her develop! 🍿
-
Looking very good Alan!
-
Congratulations Kevin, she came out VERY well!
-
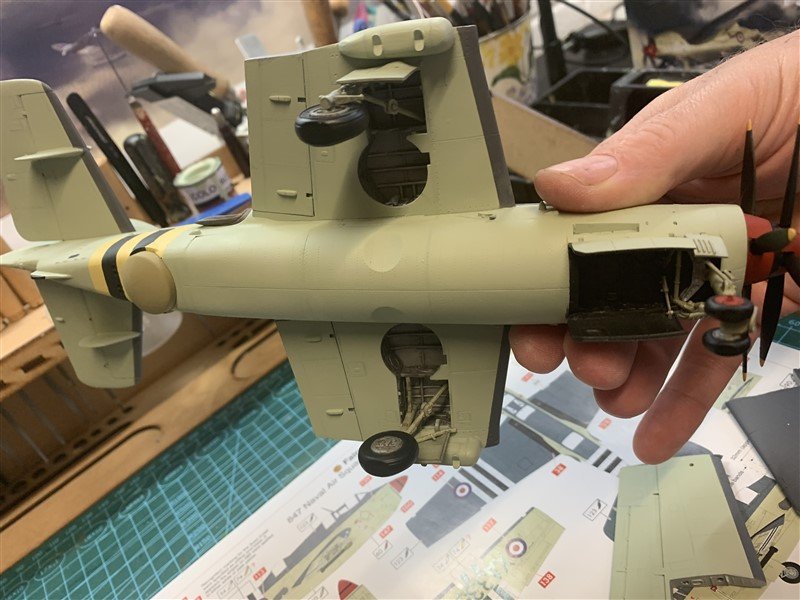
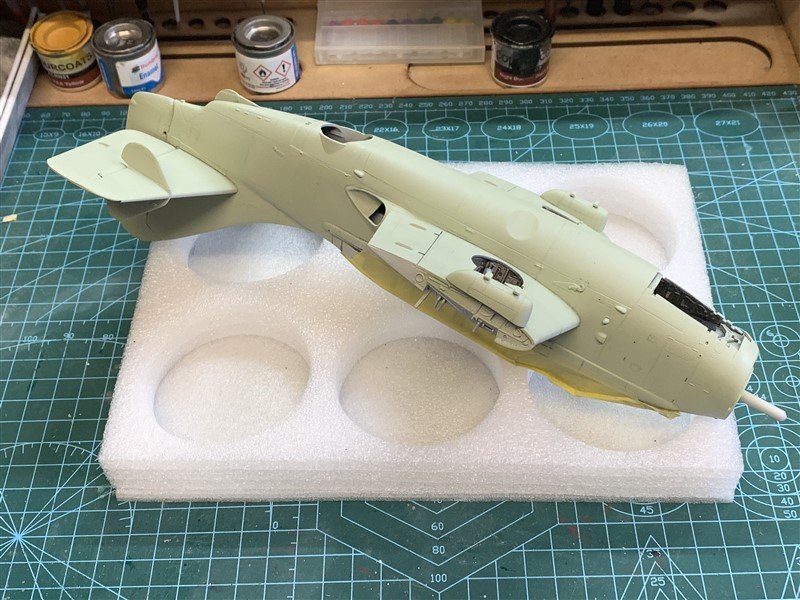
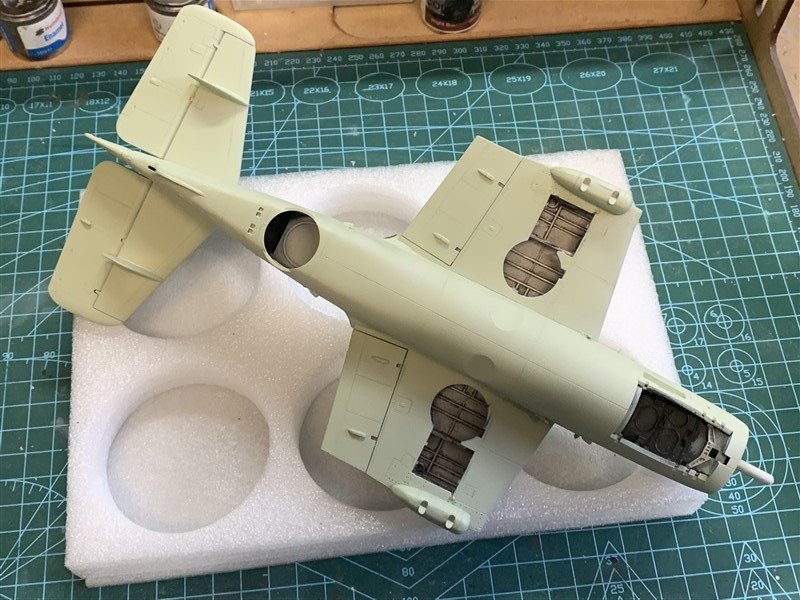
More progress over the weekend. Some panel line pre-shading and the "Sky" underside coat. That all needs to harden off before the next load of masking begins, but it will probably be the weekend again before I get to it, so no rush! Thanks for looking in and the "likes" and comments, much appreciated. 😁

- 34 replies
-
- 13
-
-
Thanks Dan, yes for 1/48 some of the surface detail might be a bit heavy and I shall have to be careful with washes later on, as all this detail might make the model look a bit too grubby. Kit manufacturers are damned either way, they leave off such detail (as would be more accurate at this scale) and people would moan about the lack of detail. I think overall Airfix have done a great job with this kit, looking forward to seeing how it looks with paint on. 😁
-
This takes me back, my first wooden boat build was a Caldercraft Sherbourne. 😁 Good start! 👍
-
Hey Brian, good to see an update, I'm all the better for seeing you back at your workbench! 😁
-
Very good Sir!
-
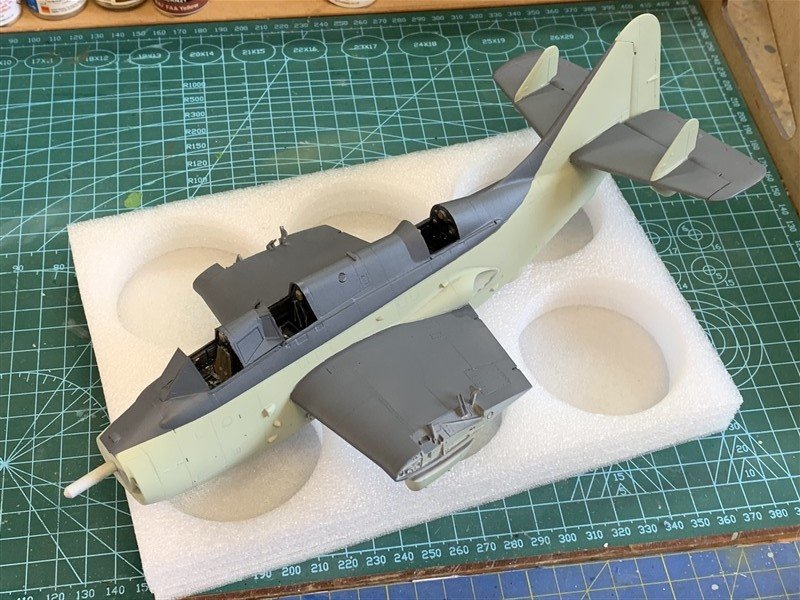
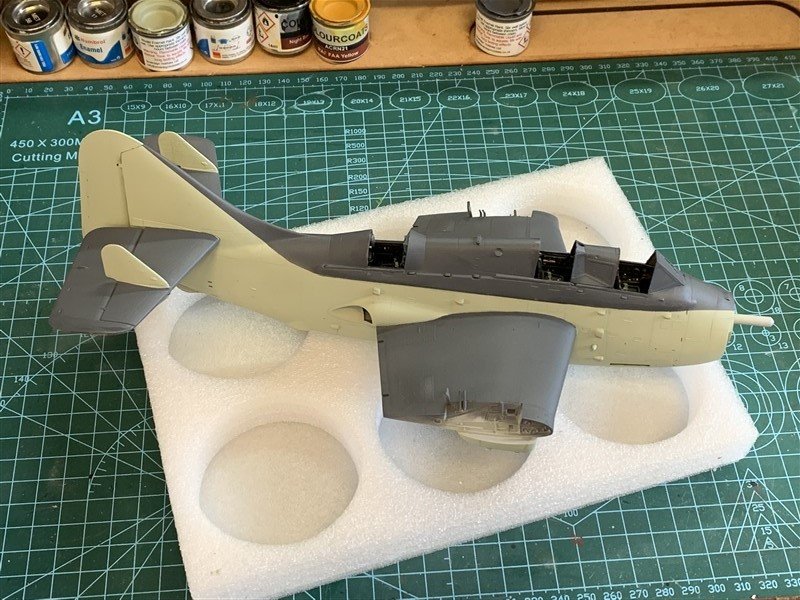
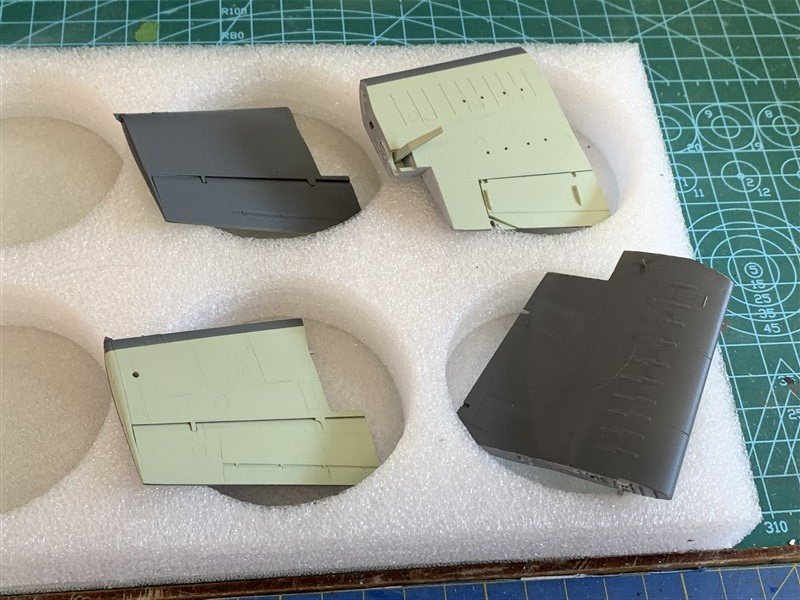
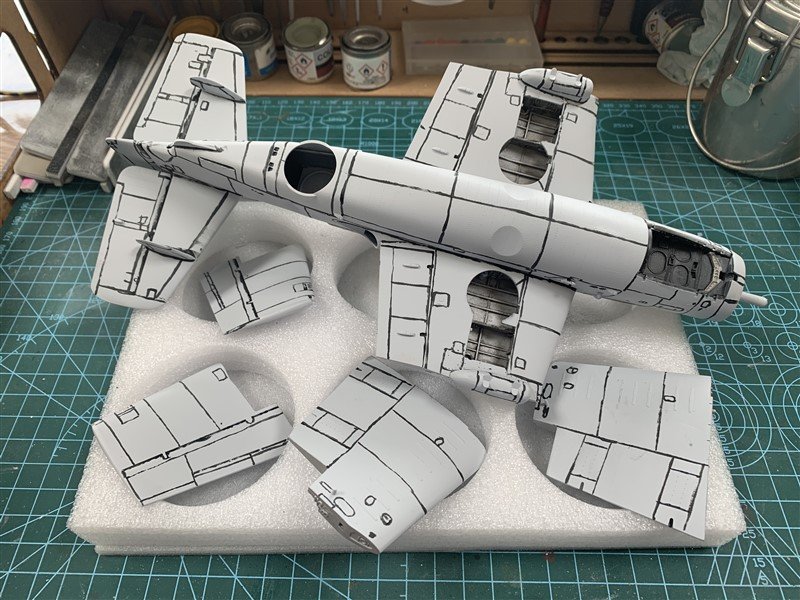
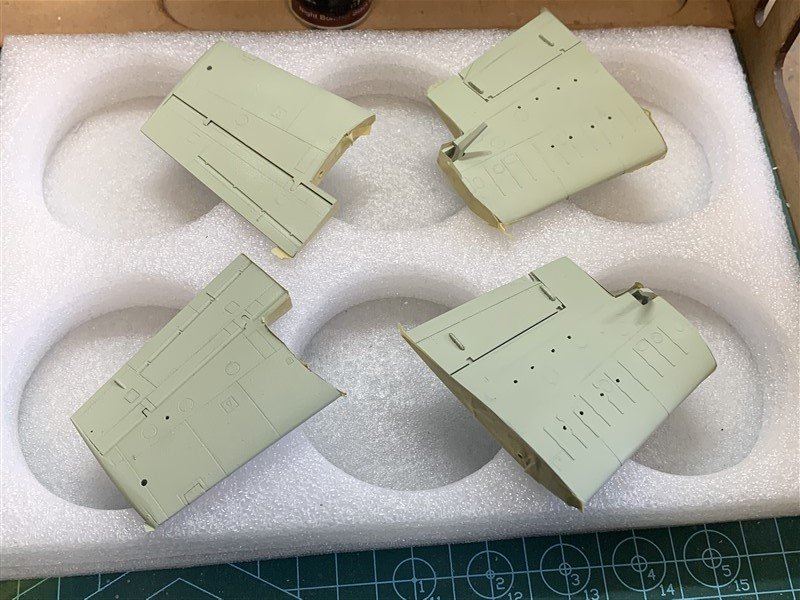
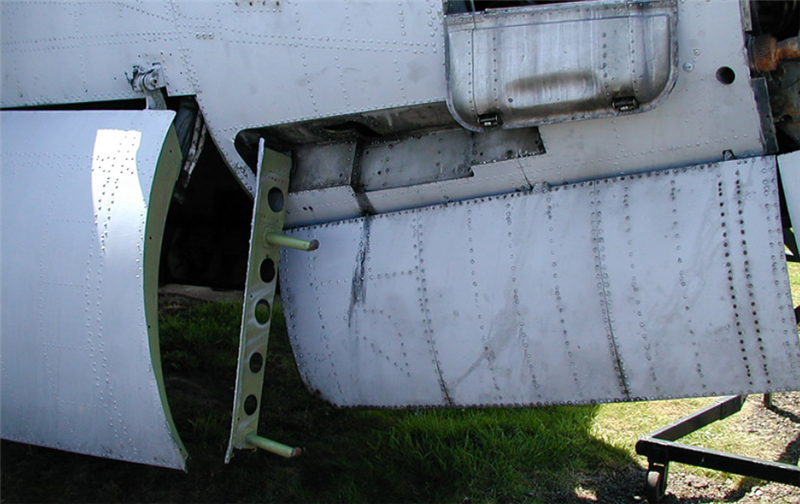
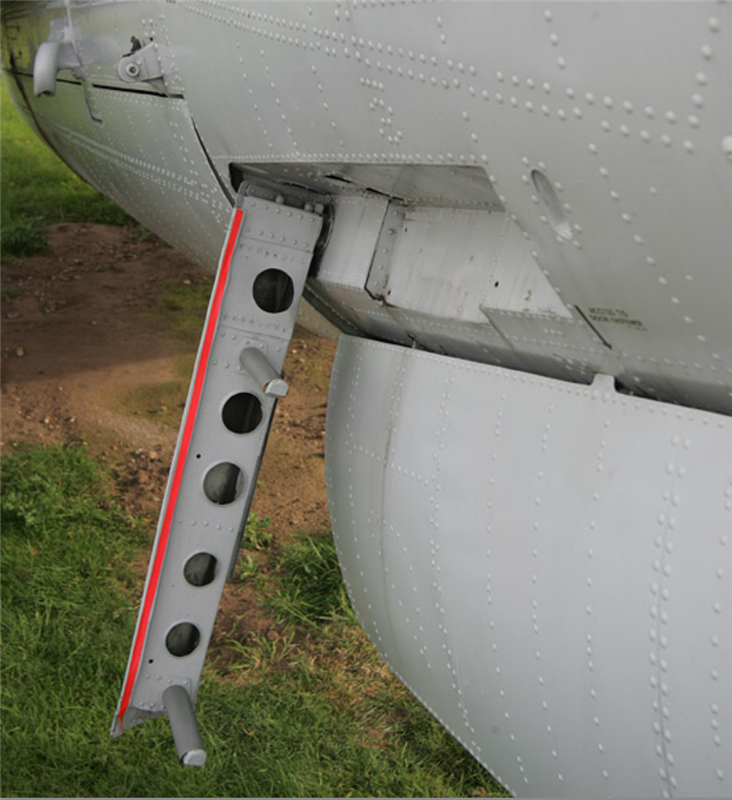
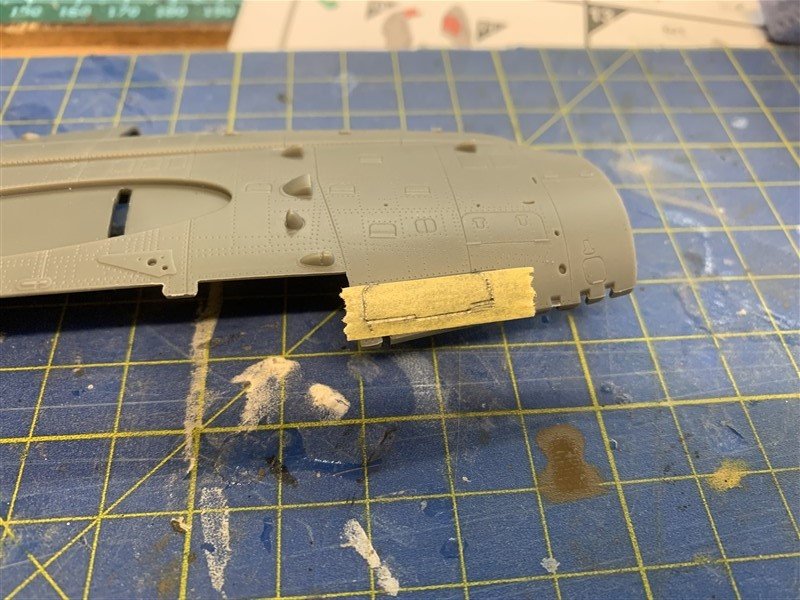
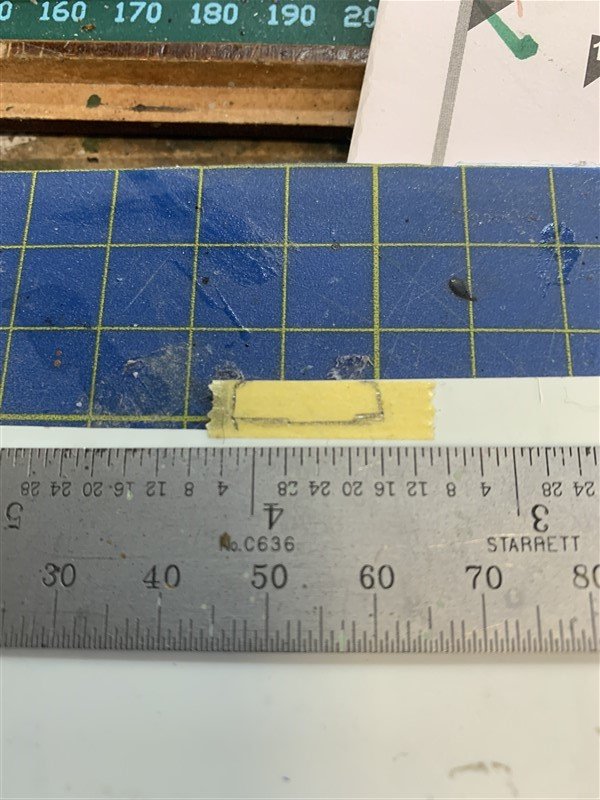
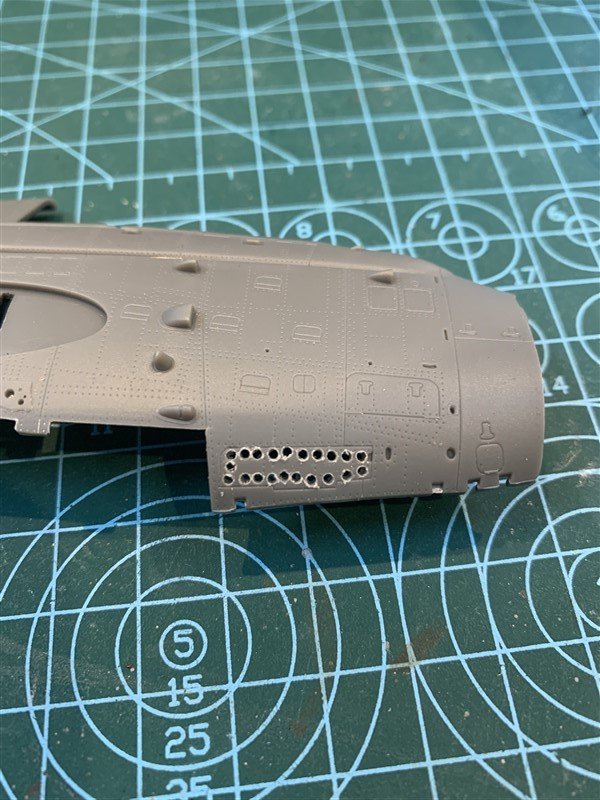
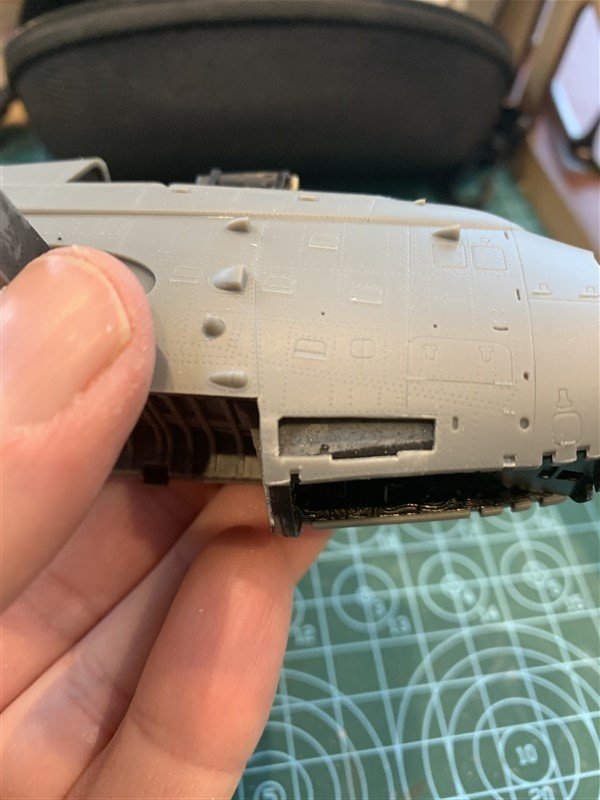
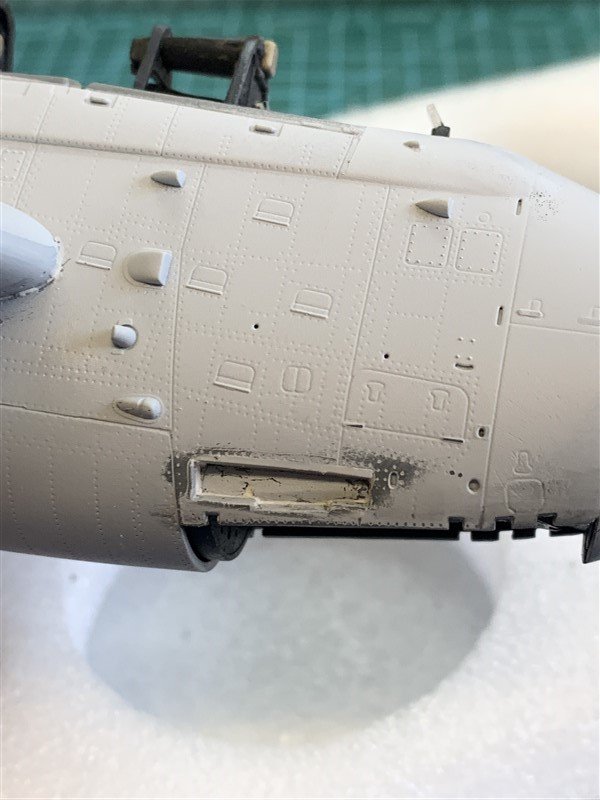
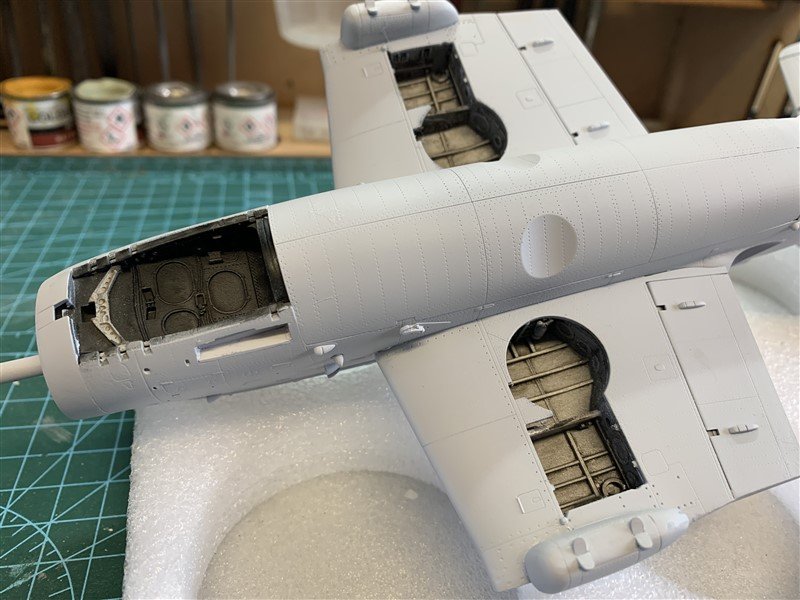
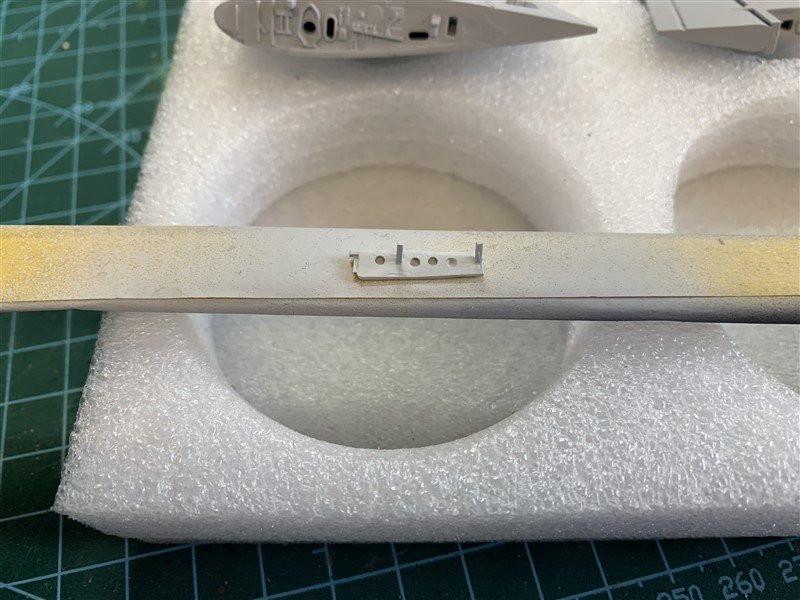
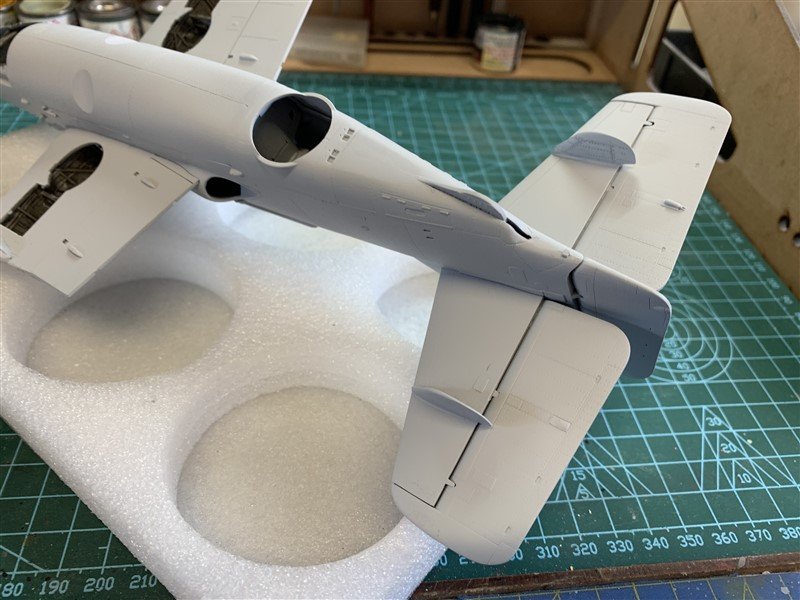
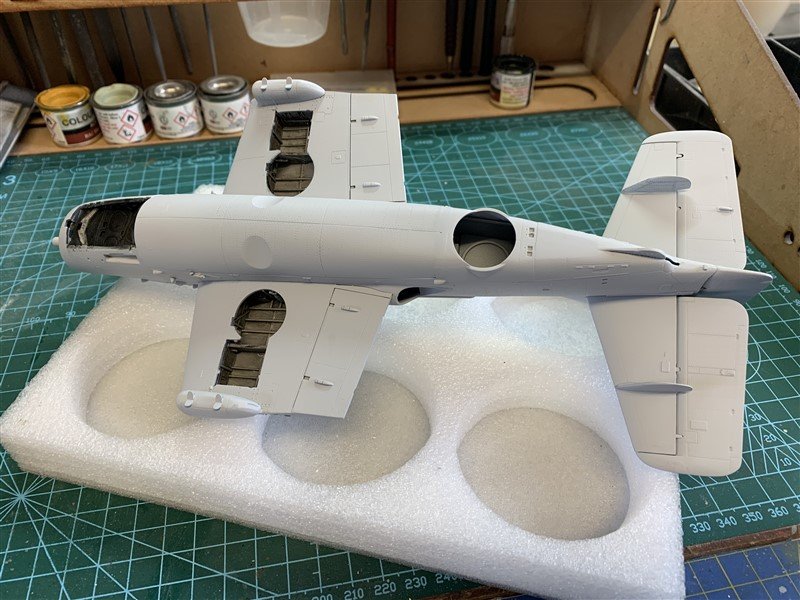
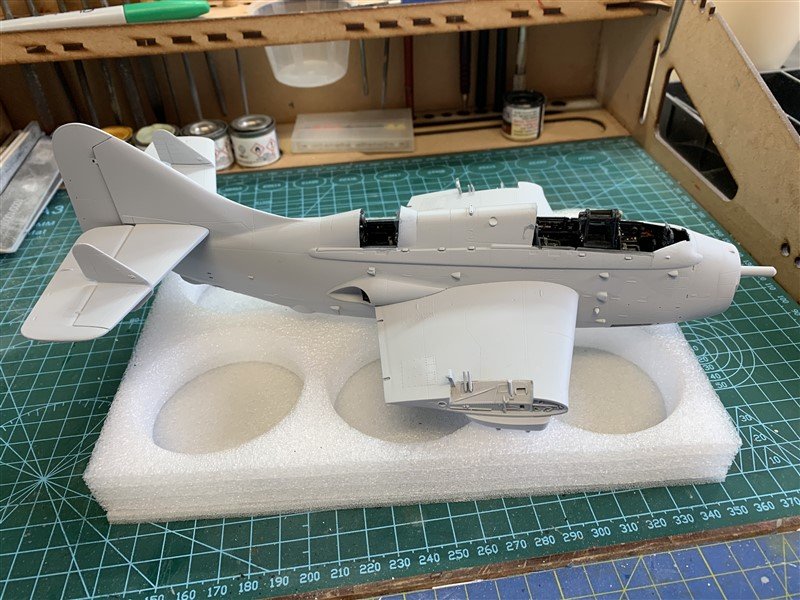
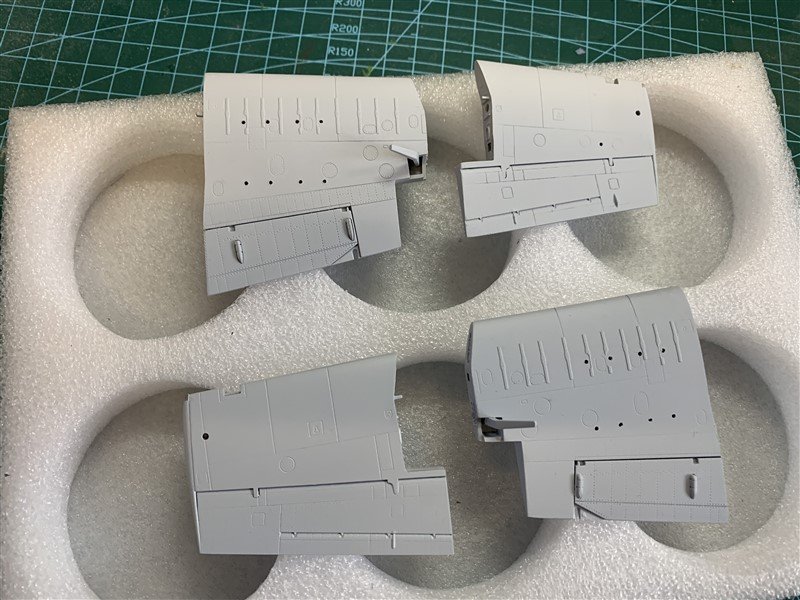
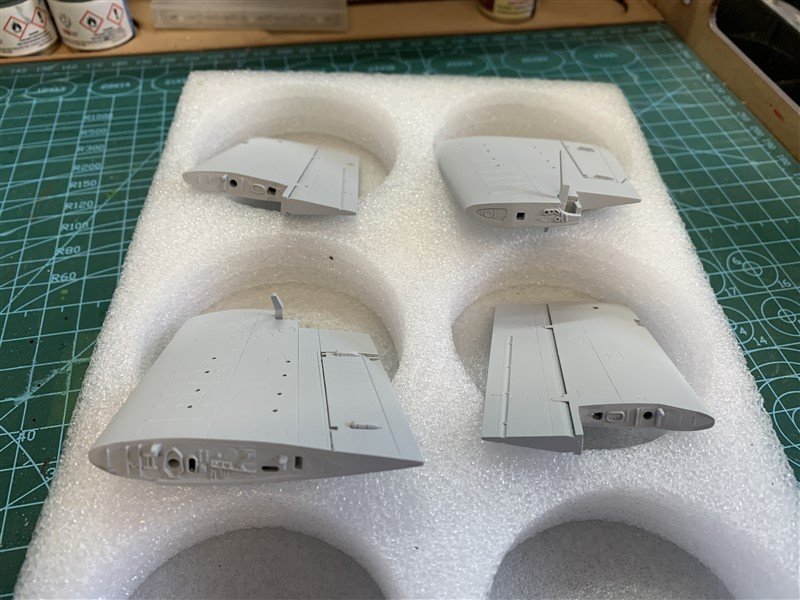
Been a while since the last update, life's been busy but I have had time to do some more on the Gannet and follow other's logs, just not update my own! So the there has been plenty going on and all of a sudden I'm getting close to applying paint. One modification I did try was to add the retractable crew ladder, this is an odd omission for such a detailed kit; climbing up the side of this monster with the many hand/foot holds and this little ladder must of been a challenge on a moving deck! Anyway my modification was pretty basic and I am sure some after market option will become available soon for this kit. A few pictures showing the process - of making a tape template, cutting the ladder shape out of some plastic card and adding a few little details. Lacking some of the details of the real thing, but as it is low down on the underside of the nose, think it will be okay. The fuselage has been glued together and the wing sections assembled, nothing too much to report there, so the pictures can do the talking. All had a few coats of primer for me to find the flaws and sort before painting begins. Thanks for looking in.


- 34 replies
-
- 12
-
-
A very nice looking Mossie Andy.


