


AJohnson
-
Posts
2,049 -
Joined
-
Last visited
Content Type
Profiles
Forums
Gallery
Events
Everything posted by AJohnson
-
 Looking very good Alan, that PE mast is more than a “bit” of an improvement!
- 42 replies
-
- 3
-

-
- Zulu
- Tribal class
- (and 2 more)
-
That copper plate work has come out very nicely David. 👏
-
Wonderful work again Chris, and such an attractive colour scheme!
-
Great painting Alan
-
Now that is what I call a Workshop! I hope you have many happy hours in there and look forward to seeing Victory and Triton updates soon! 😀
-
Welcome to MSW!
-
Centurion/Agamemnon, you absolutely have to do one, erm no, you have to do both of them! As to Russell Crow at 1/64 scale, with my eyesight passing for human will do! 🤣
-
At least hundreds, but not too many I don’t want Chris retiring before he has done Centurion! 😆
-
Very tidy Dave, looks great!
-
Thats a good reference you shared Alan, it is difficult looking at b&w photos to have guess at what the actual colours were.
- 42 replies
-
- 3
-
-
- Zulu
- Tribal class
- (and 2 more)
-
Another amazing miniature Alan, you need to do the old trick of showing a matchstick next to your builds to show their scale!
-
Welcome to MSW!
-
Superb workmanship the planking and completed painting is so neat!
-
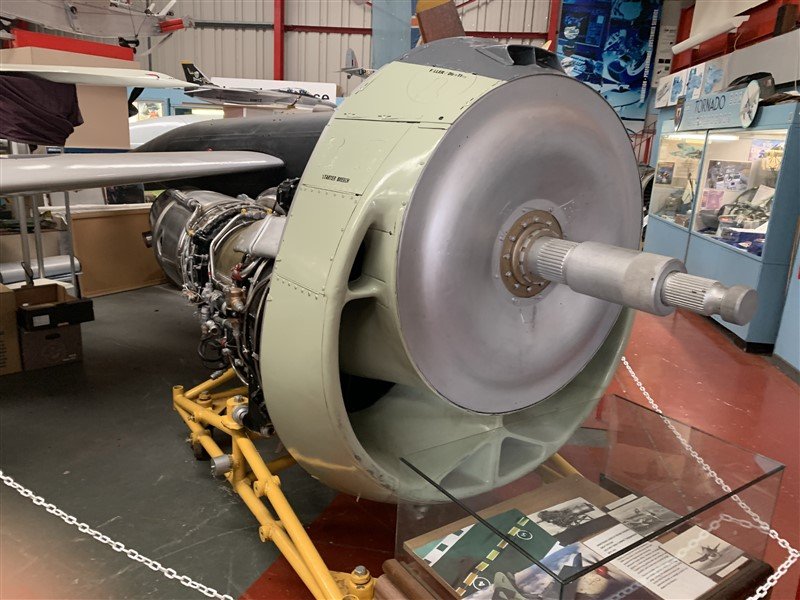
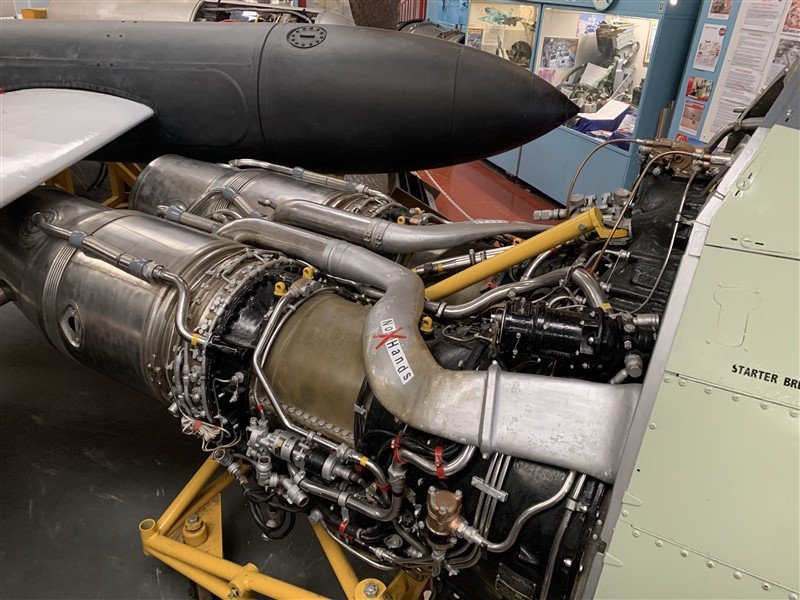
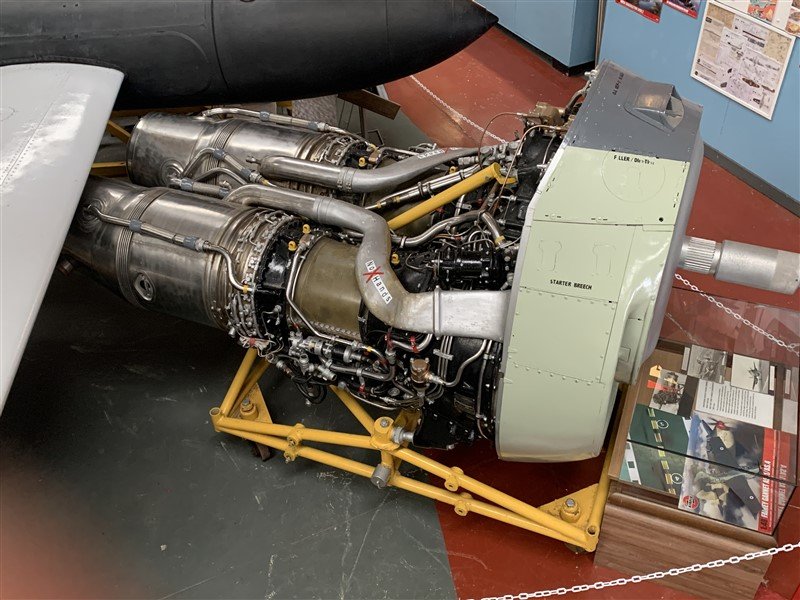
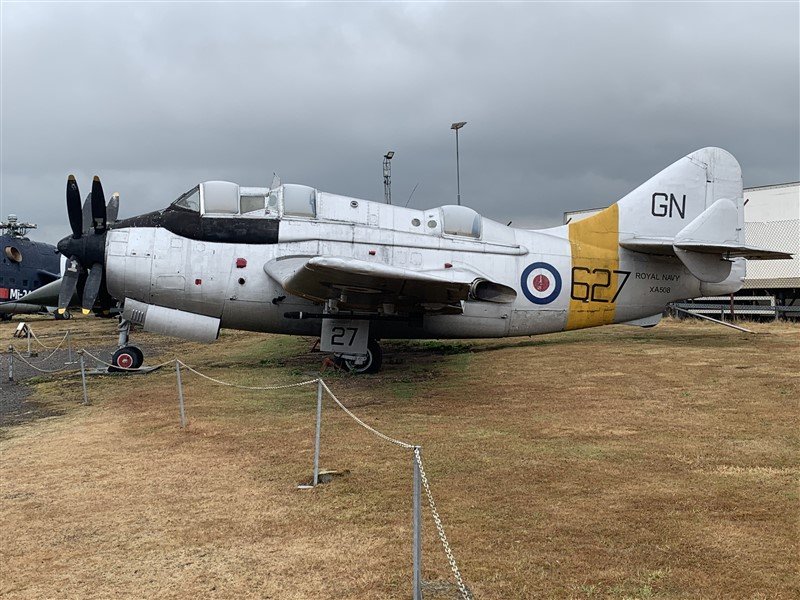
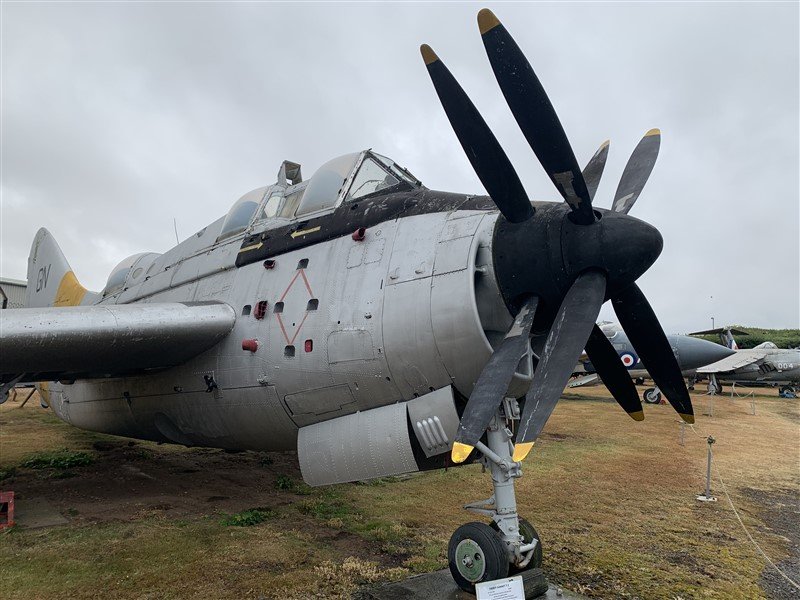
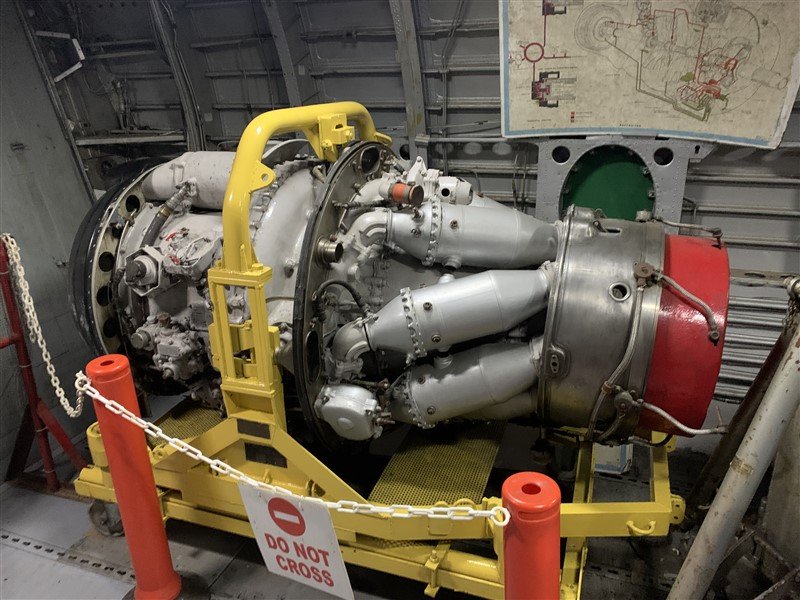
For those that might be interested, I saw another Gannet up close last week while on holiday. This example is at the Midlands Air Museum on the edge of Coventry Airport. Unfortunately suffering a little for being stored outside, but they also have a really nice example of the double Mamba engine inside one of the hangers. Link for the Midlands Air museum here:- https://midlandairmuseum.uk/ I also got to go inside the Vulcan cockpit and one or two others like the Meteor they have. 😁
-
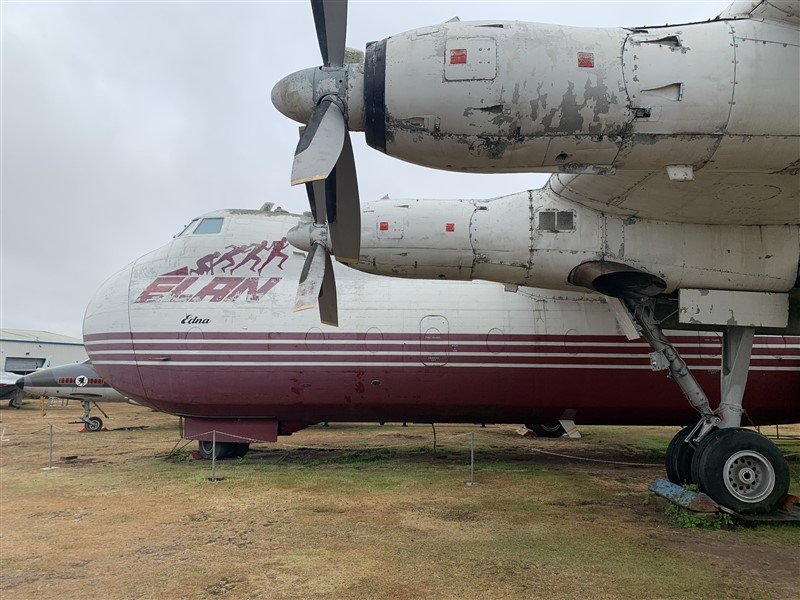
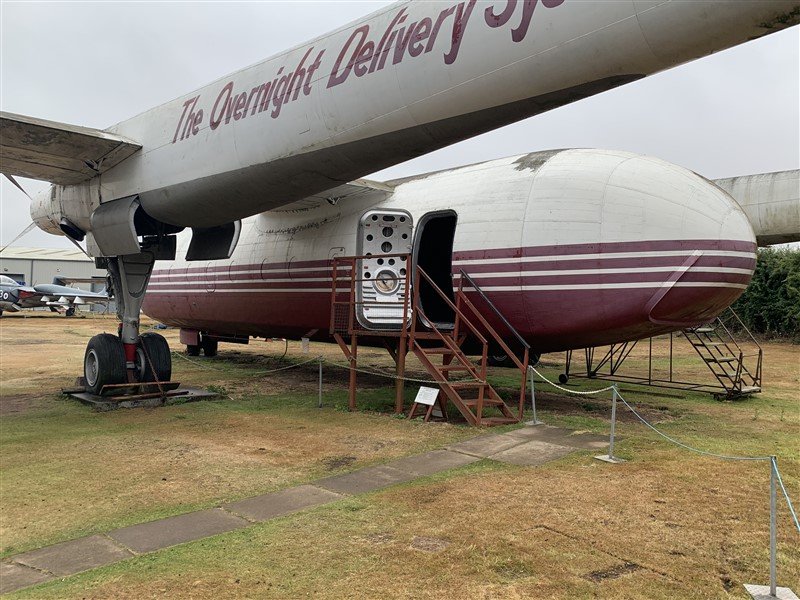
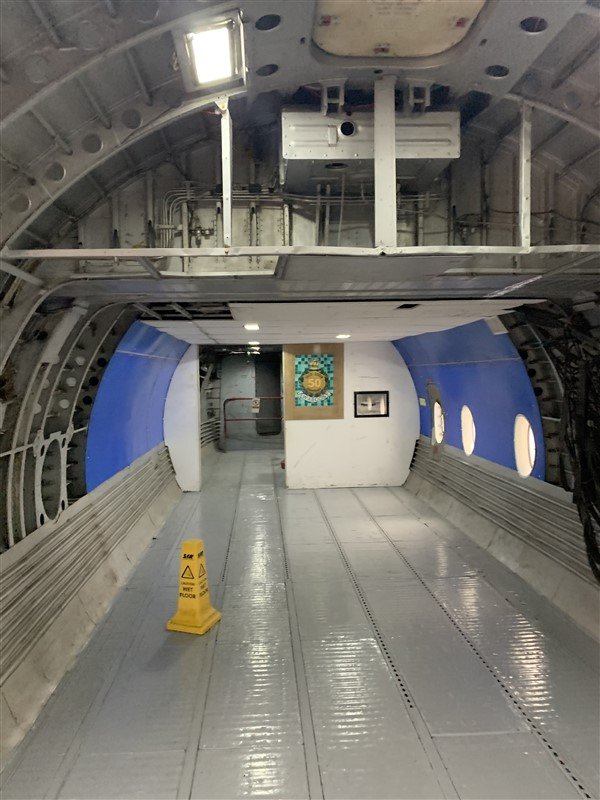
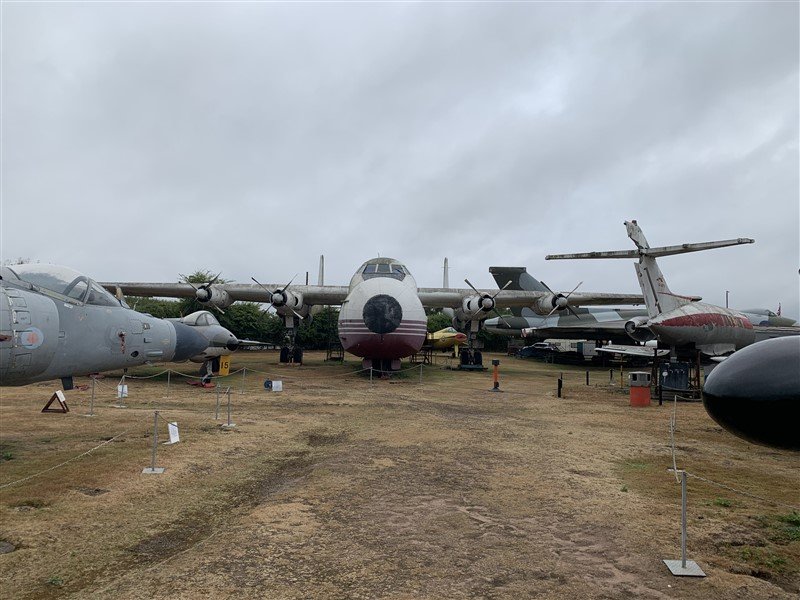
@king derelict Hi Alan, hope you don't mind me adding to this log from last year, but I got to see an Argosy last week, and go in it! 😁 This example is at the Midlands Air Museum on the edge of Coventry Airport. It is suffering a bit for being stored outside, but not much option for most museums for an aircraft of this size. Also hard to get far enough away from it to get a decent picture, so apologies, thought you and others might be interested. Link for the Midlands Air museum here:- https://midlandairmuseum.uk/ I also got to go inside the Vulcan cockpit and one or two others like the Meteor they have.
-
Really interesting to see the background research and colour pictures Alan. I have future project that has a similar scheme; Western approaches white/blue/green, but I am not sure which was the dominant colour (between the blue or green over the white) for my subject; HMS Knaresborough Castle.
-
Good luck dipping back into the "Black Arts" again Dave! 😉
-
Thanks Dave, I really was torn between the Origami version and spread wings, but shelf space won the day. Maybe one day; Airfix have released another version, but need space for that…
-
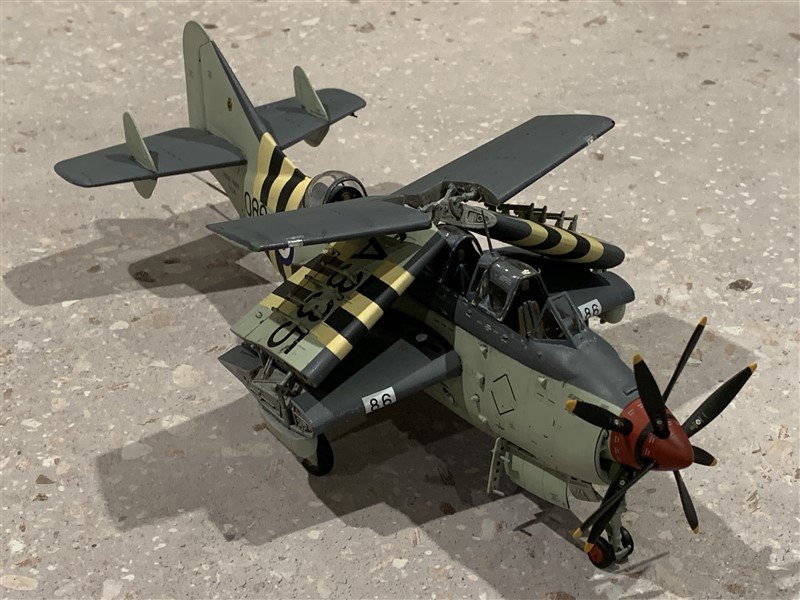
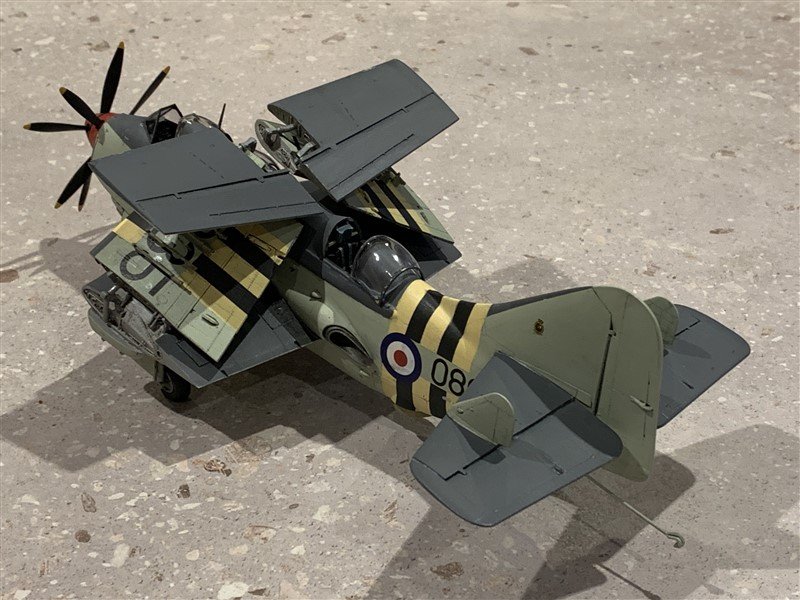
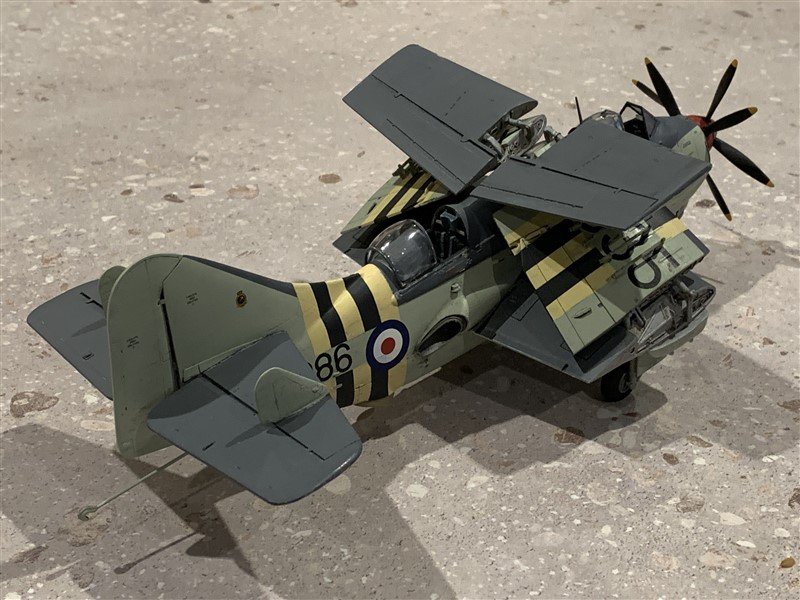
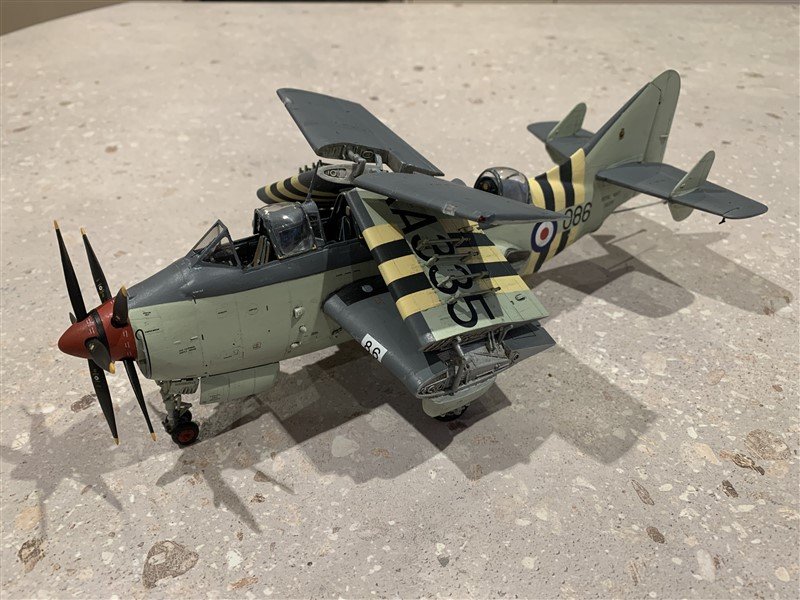
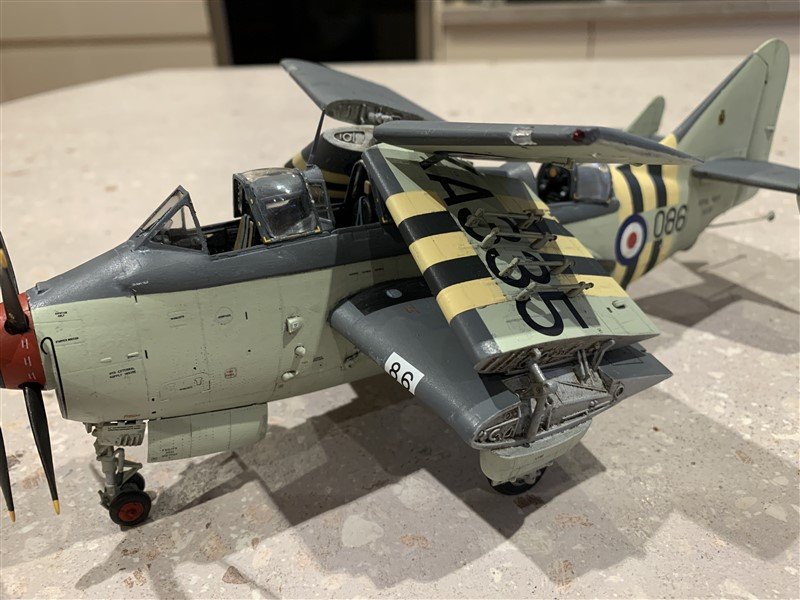
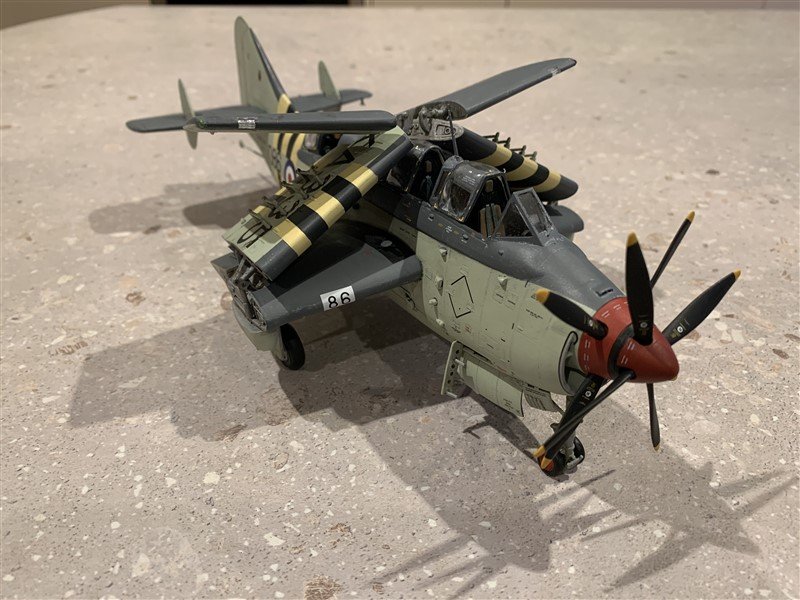
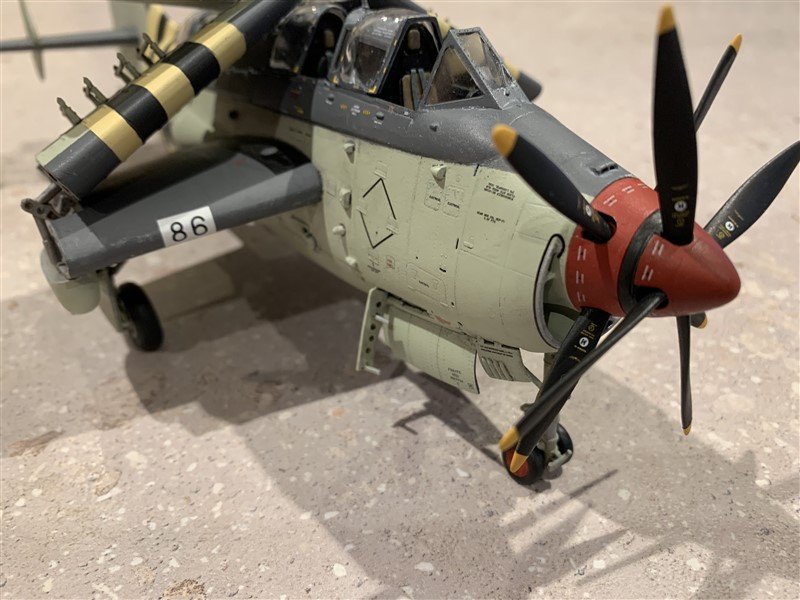
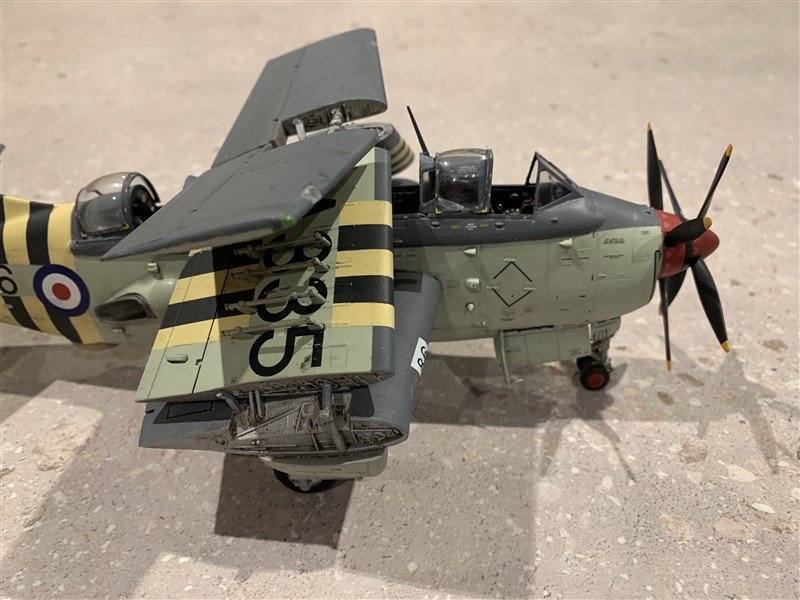
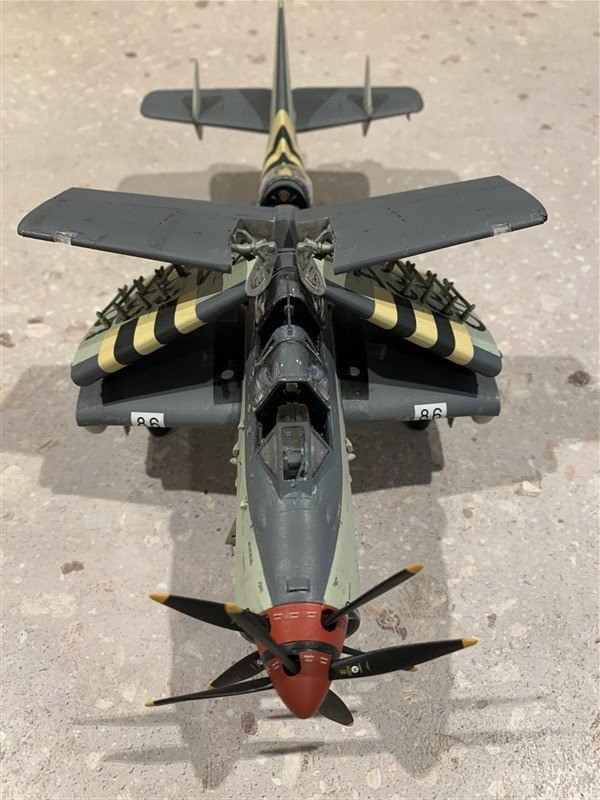
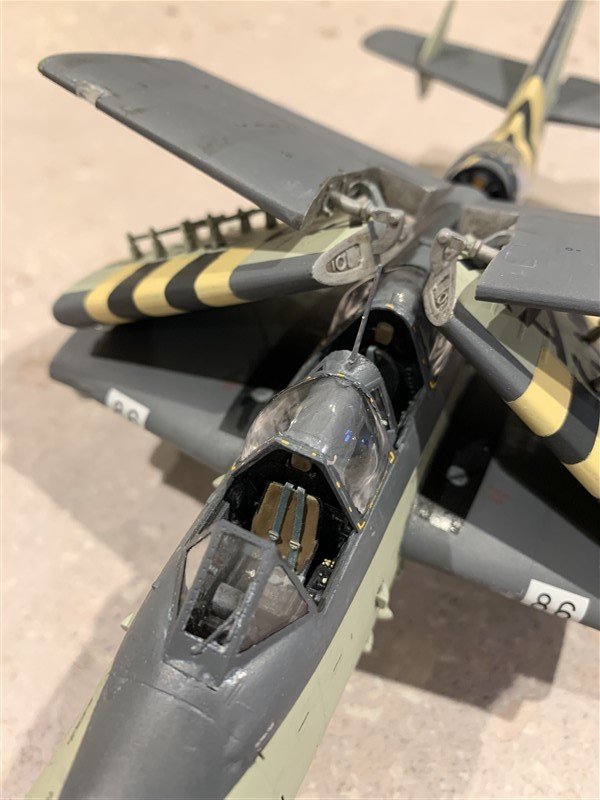
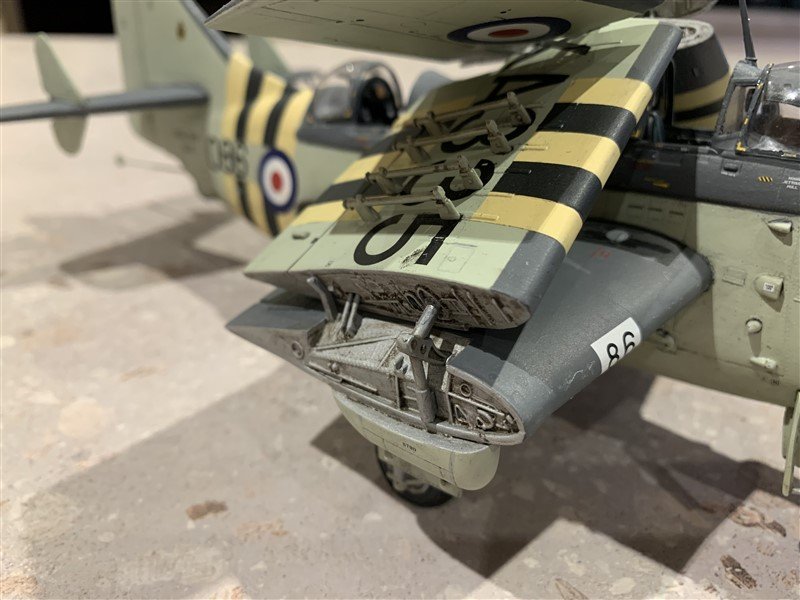
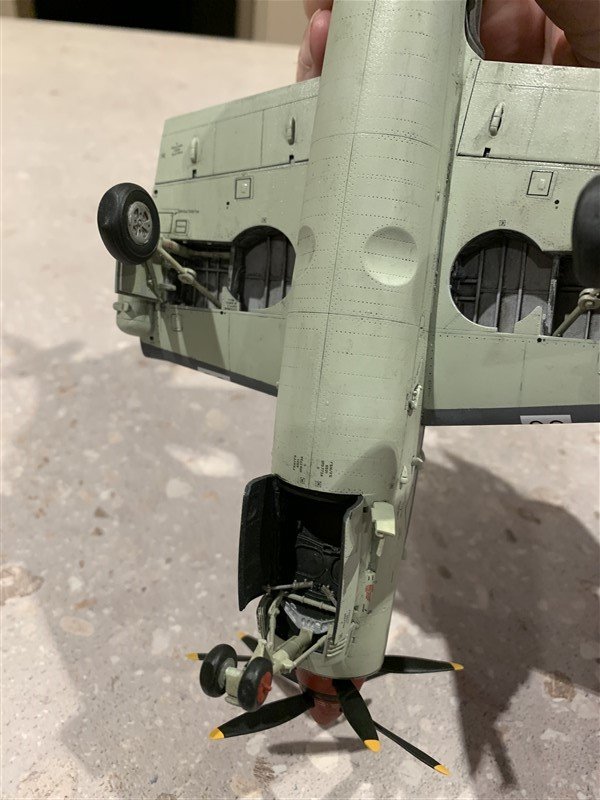
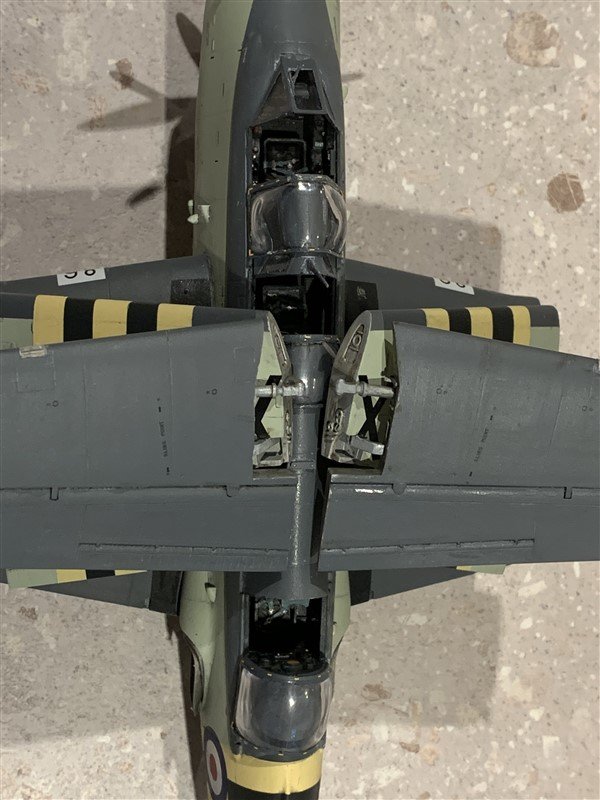
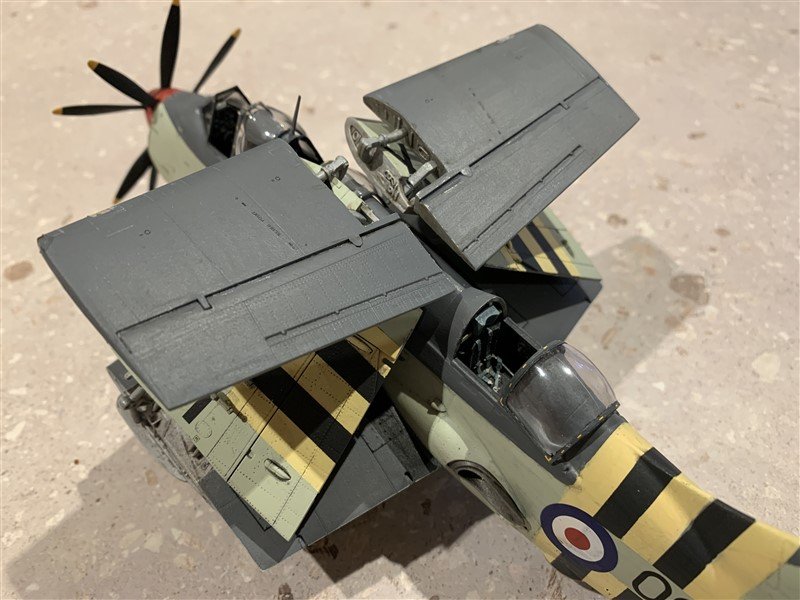
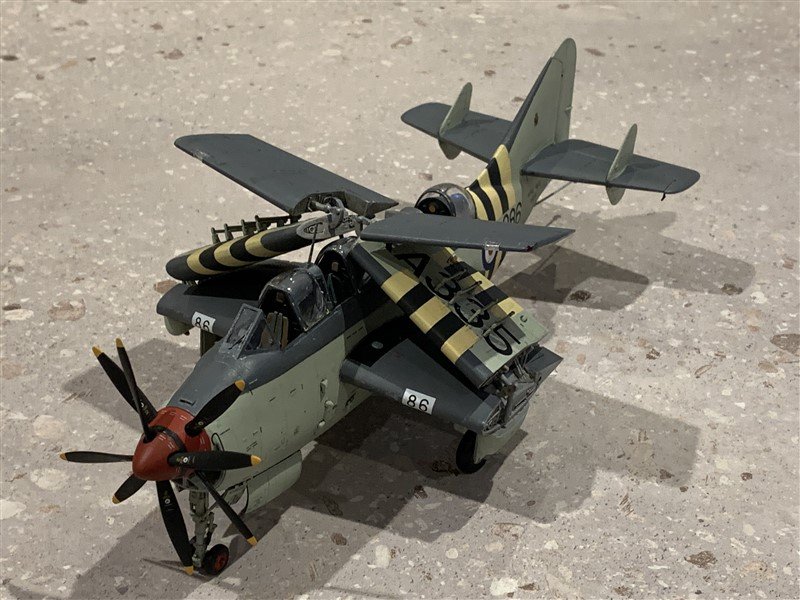
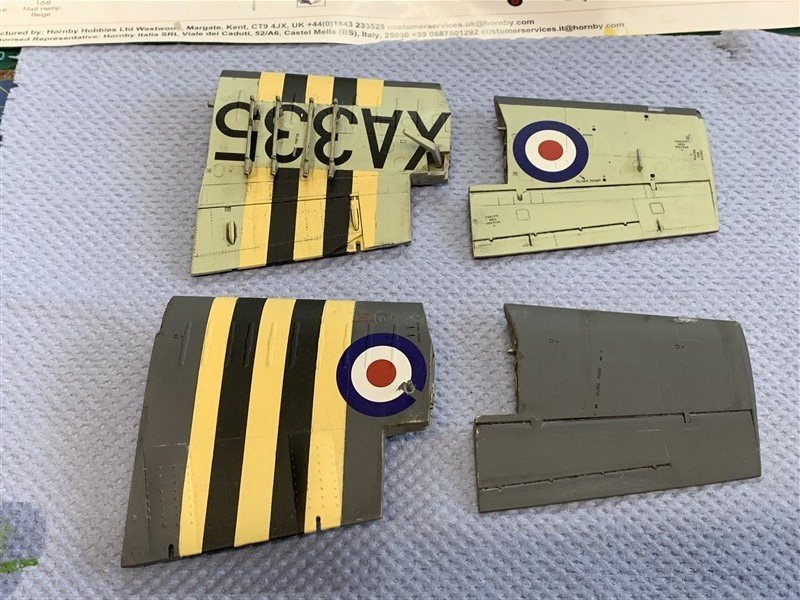
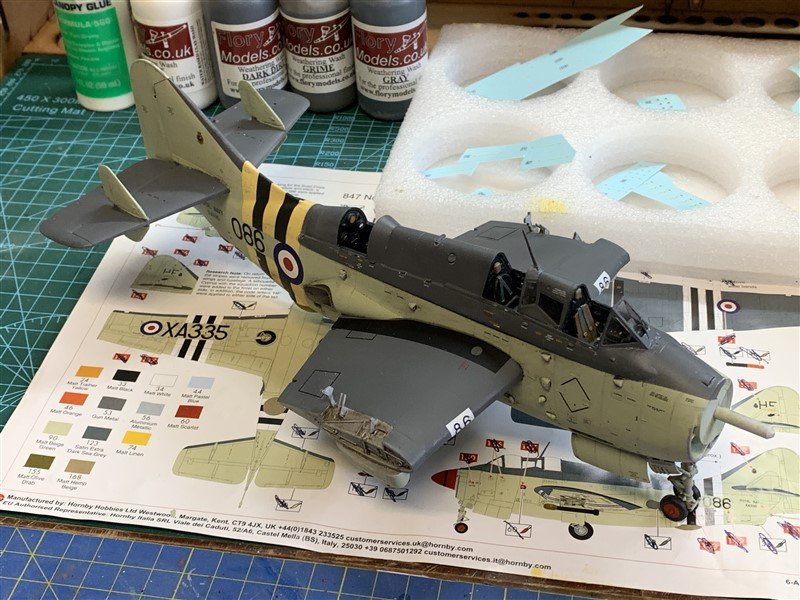
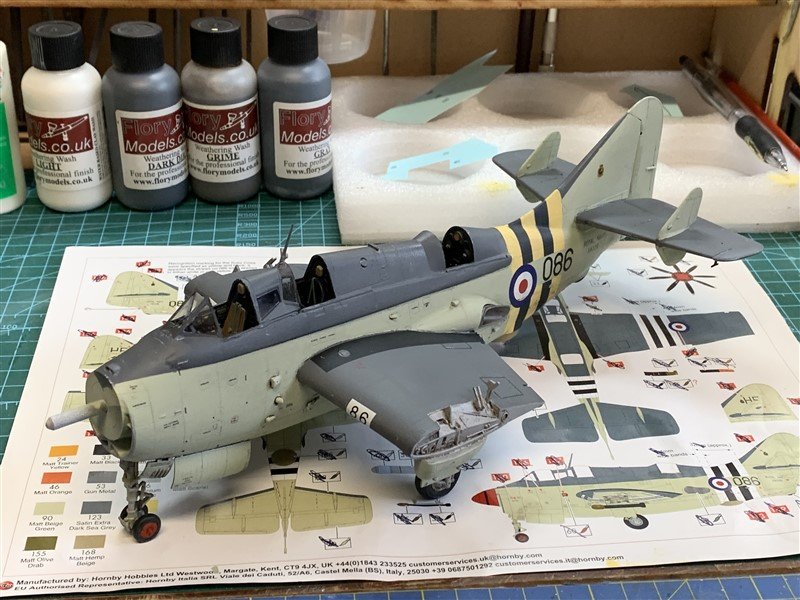
Don't resist, follow Rob's and my example, the uglier the better! 😆 Well here we are folks, the end! All done. I did tone down some of the washes as I did the final assembly, there is "worn" and there is "uncared" for! Just a few minor areas removed, then over sprayed in flat to even up the finish. Overall happy with the result, I know there are loads of after market options for this Ugly Betty, but happy enough with the few scratch ones I did; think the crew access steps are okay, but P.E. sets will really make this one "pop". Less happy with the folded wings, they are a pig to make look symmetrical, I pushed, bent and pulled into as much symmetry as plastic would allow, but still slightly off. But life is too short and my project list too long to mess around any more! 🤭 One tip for the future modellers of this kit, the two tubs provided for weight are barely enough, this thing sits on it's tricycle undercarriage "lightly", don't skimp, the instruction don't mention both tubs, just vague references to the amount of weight. Sneak extra weight in where you can! Final pictures below, btw, did anyone mention, damn, this is ugly! 😆 but it is a great build, I'd recommend if you are not offended by the looks.... 😁

- 34 replies
-
- 11
-
-

-
You have a nice combo of projects going on Richard enjoying following your Harpy and this Mig. I might yet try a card aircraft!
-
Agreed, very nice lines on your Harpy.
-
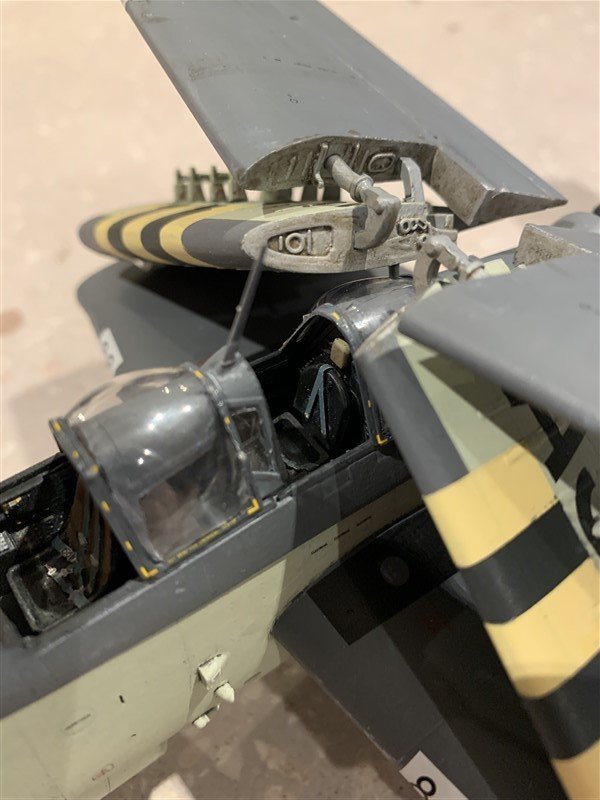
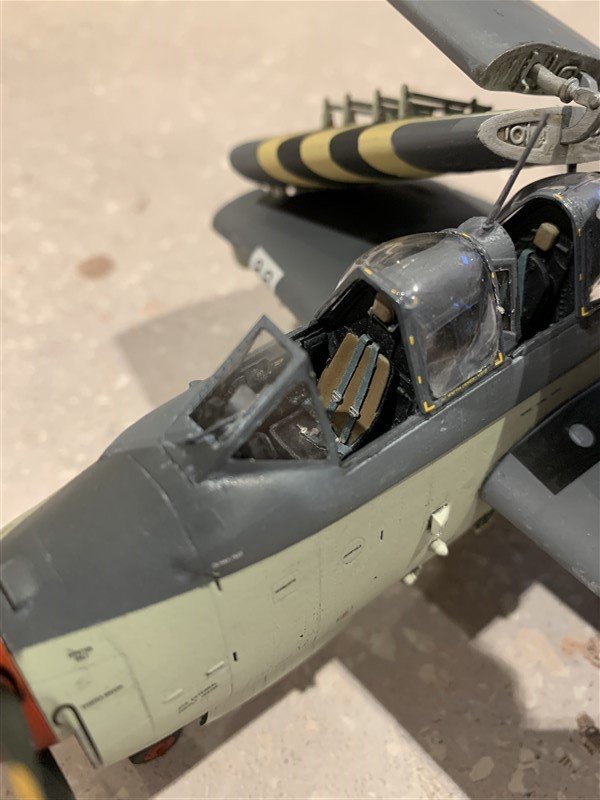
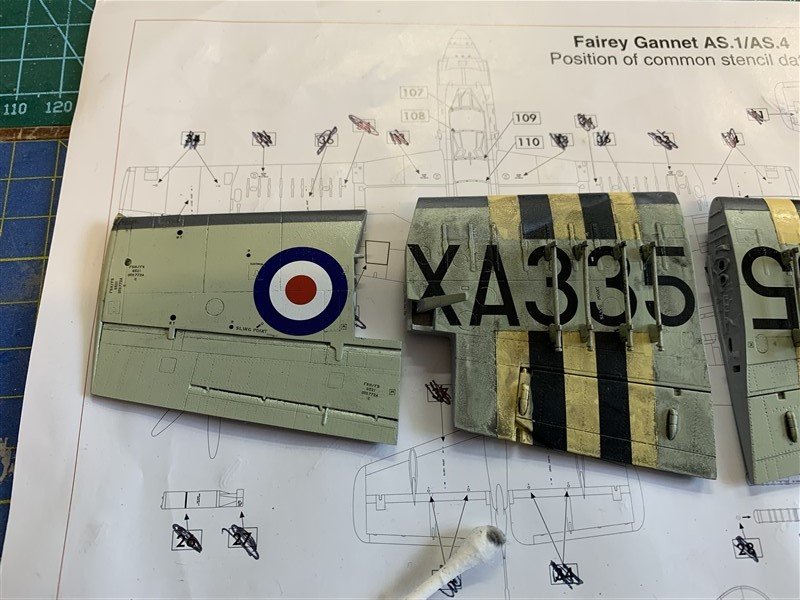
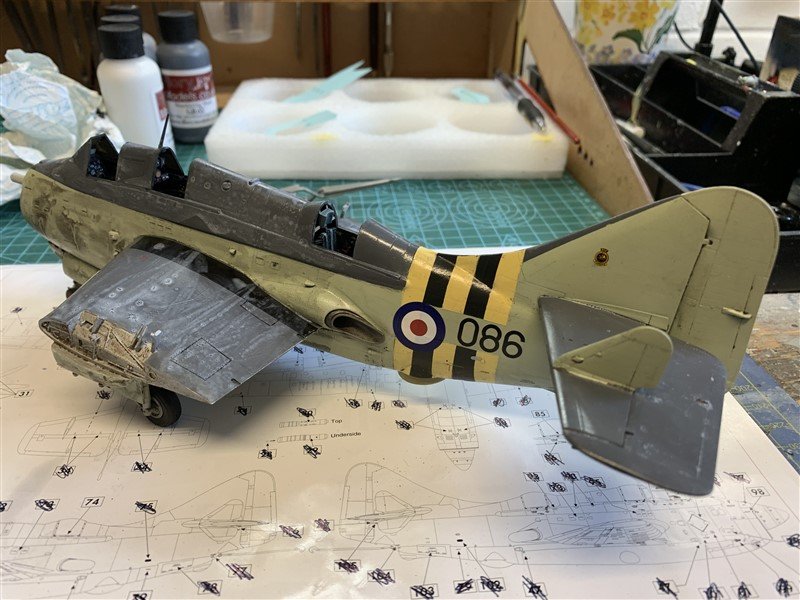
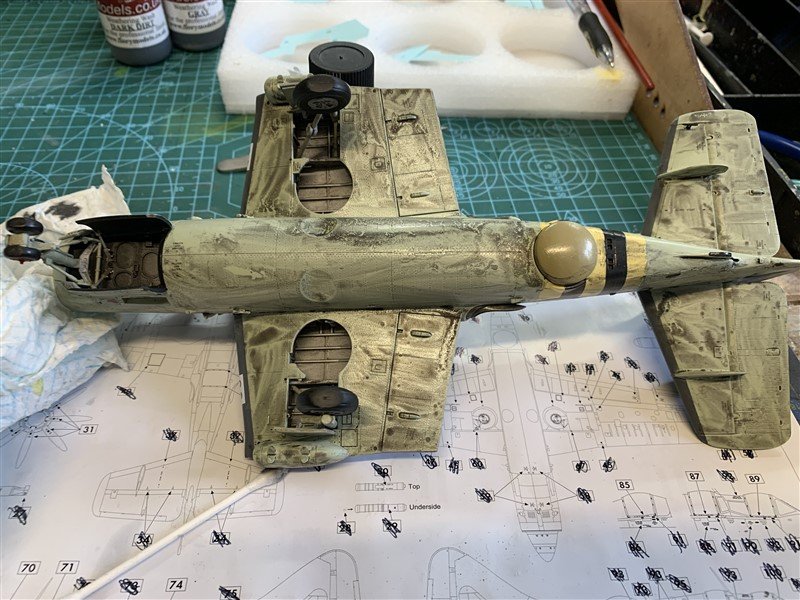
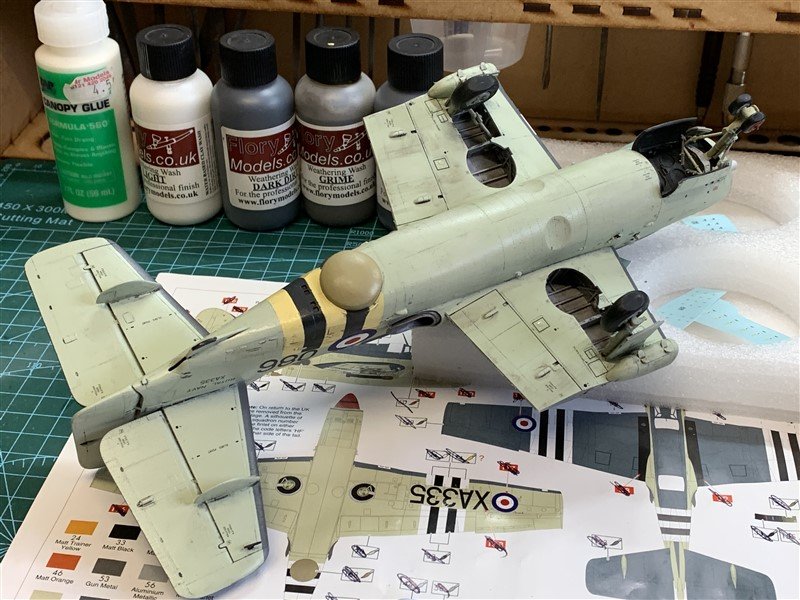
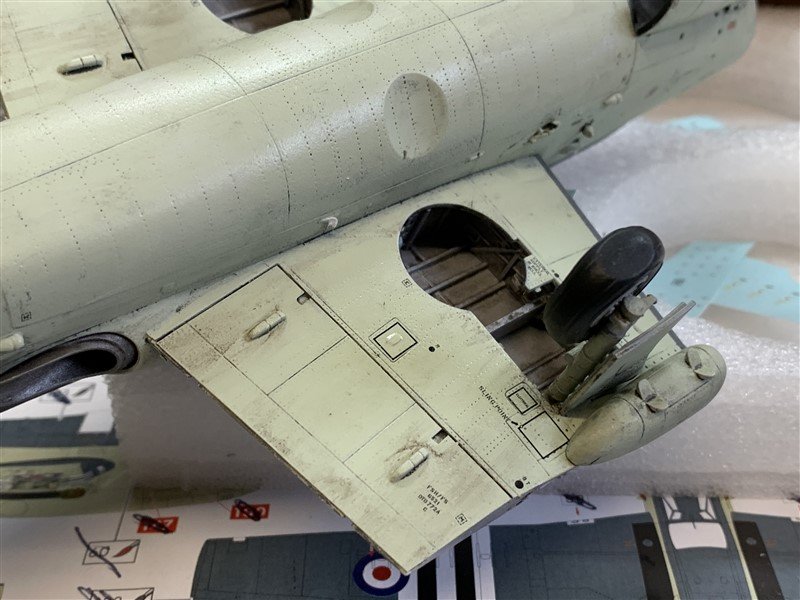
Added the majority of the decals, and there were loads of stencil ones! 😬 but got there slowly. Also added weathering washes using Flory Models washes. Small and delicate parts are becoming an issue now, leaving as many as possible off until I have got the folded wings on. Still to finish the canopies, props, tail hook and final fix of the undercarriage. Getting close! 😁 Thanks for looking in and the likes.
- 34 replies
-
- 11
-
-
-
Another wonderful build Alan.

