


AJohnson
-
Posts
2,059 -
Joined
-
Last visited
Content Type
Profiles
Forums
Gallery
Events
Everything posted by AJohnson
-
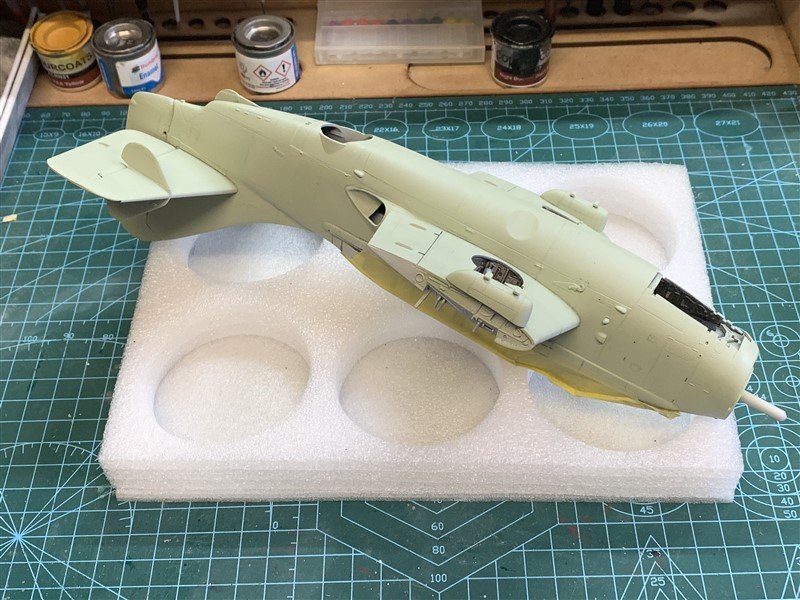
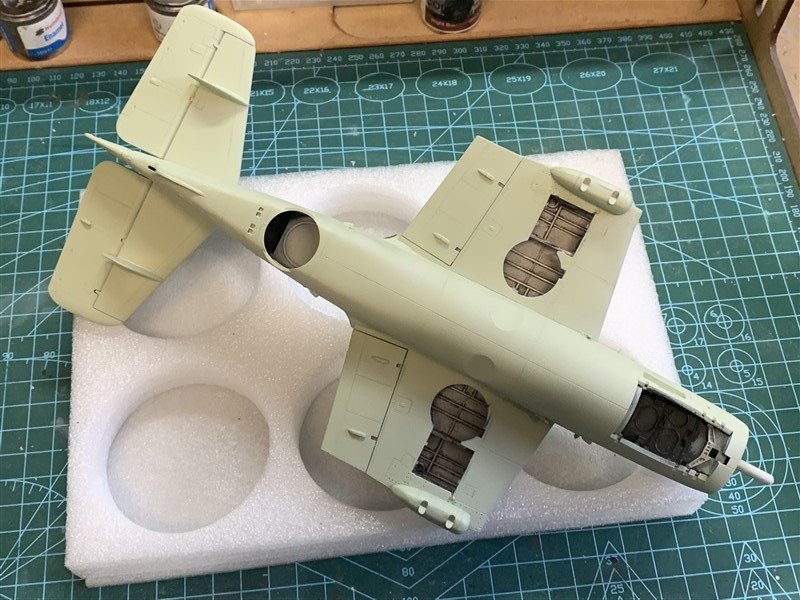
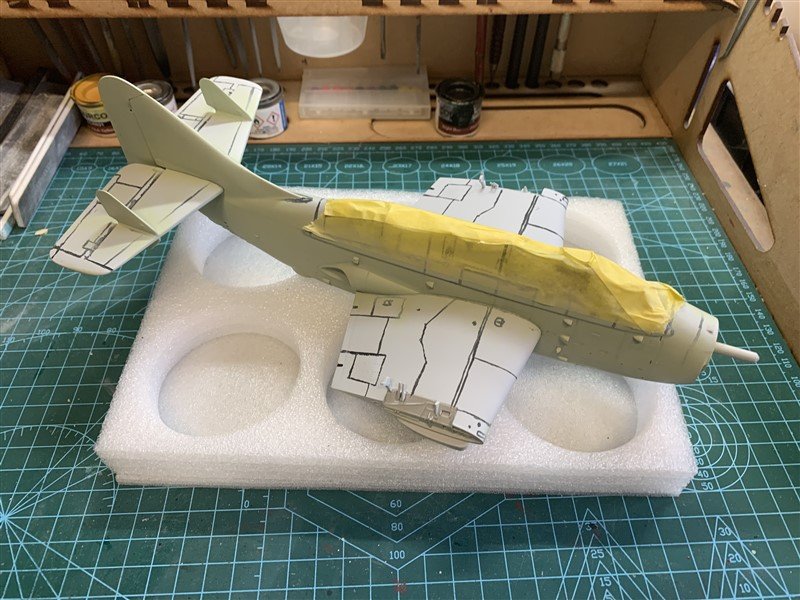
 More progress over the weekend. Some panel line pre-shading and the "Sky" underside coat. That all needs to harden off before the next load of masking begins, but it will probably be the weekend again before I get to it, so no rush! Thanks for looking in and the "likes" and comments, much appreciated. 😁
- 34 replies
-
- 13
-

-
Thanks Dan, yes for 1/48 some of the surface detail might be a bit heavy and I shall have to be careful with washes later on, as all this detail might make the model look a bit too grubby. Kit manufacturers are damned either way, they leave off such detail (as would be more accurate at this scale) and people would moan about the lack of detail. I think overall Airfix have done a great job with this kit, looking forward to seeing how it looks with paint on. 😁
-
This takes me back, my first wooden boat build was a Caldercraft Sherbourne. 😁 Good start! 👍
-
Hey Brian, good to see an update, I'm all the better for seeing you back at your workbench! 😁
-
Very good Sir!
-
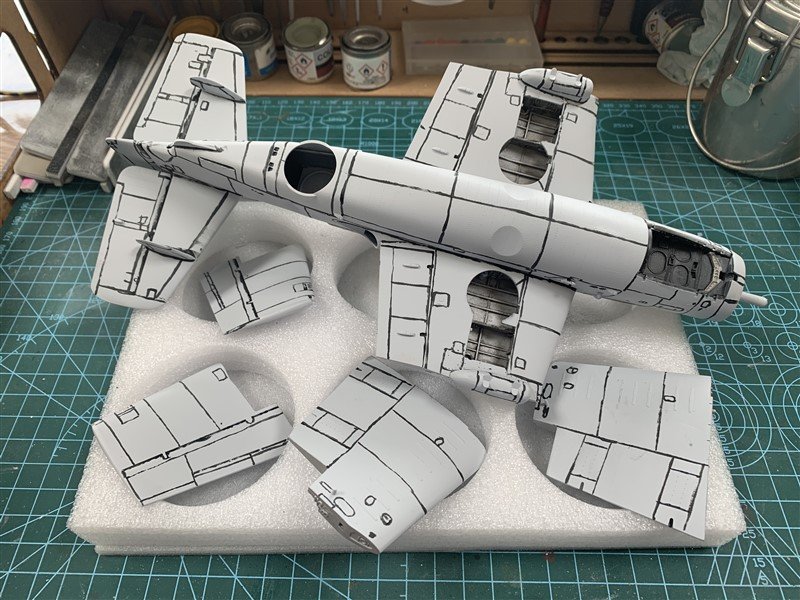
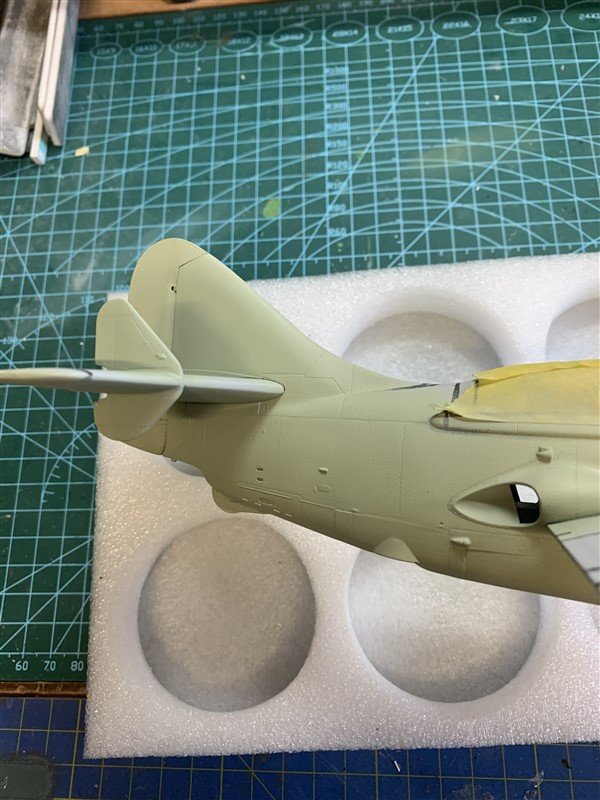
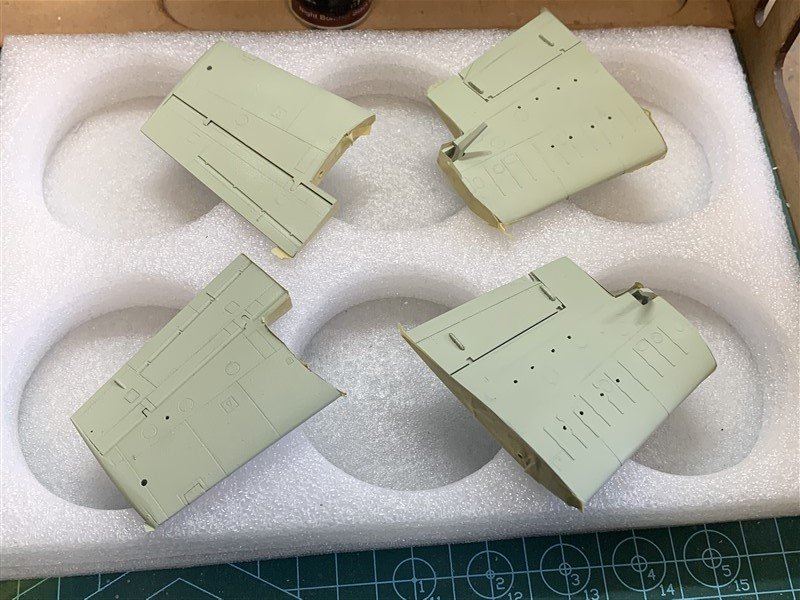
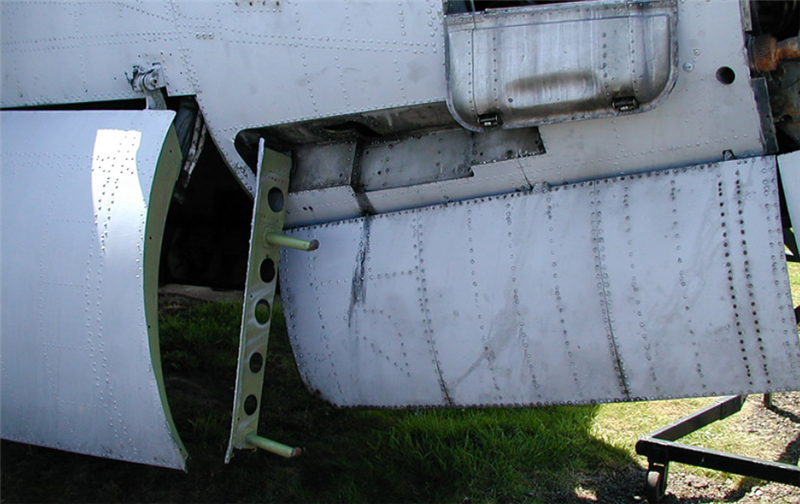
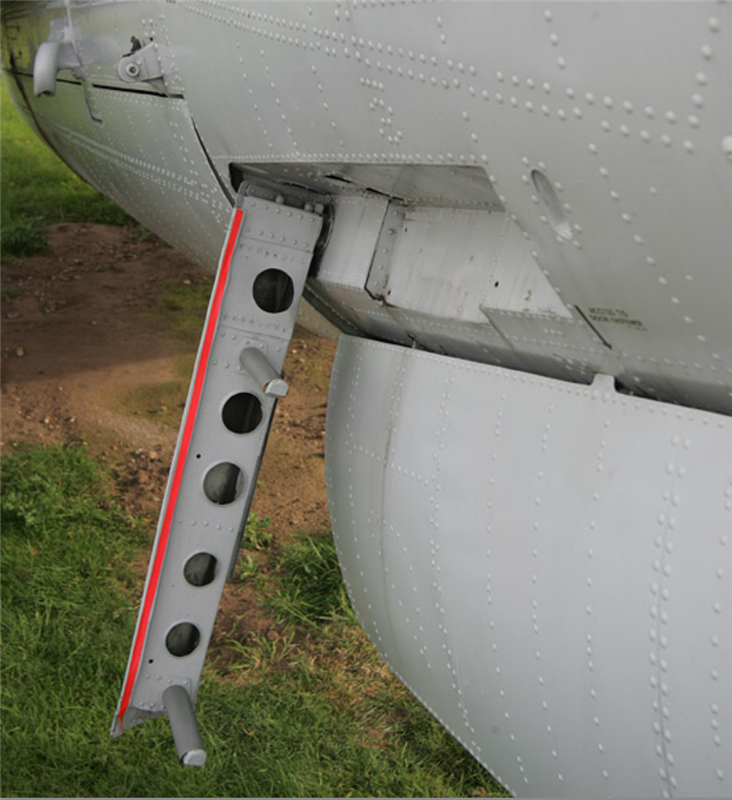
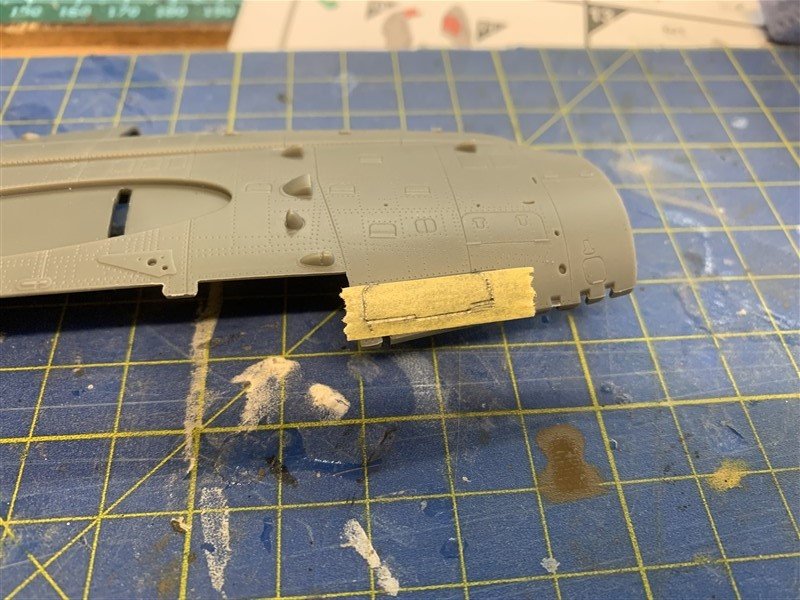
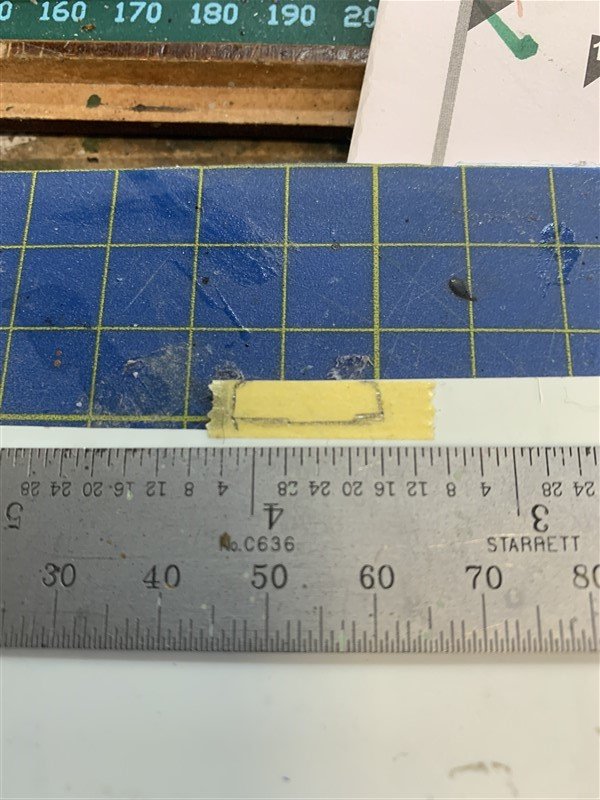
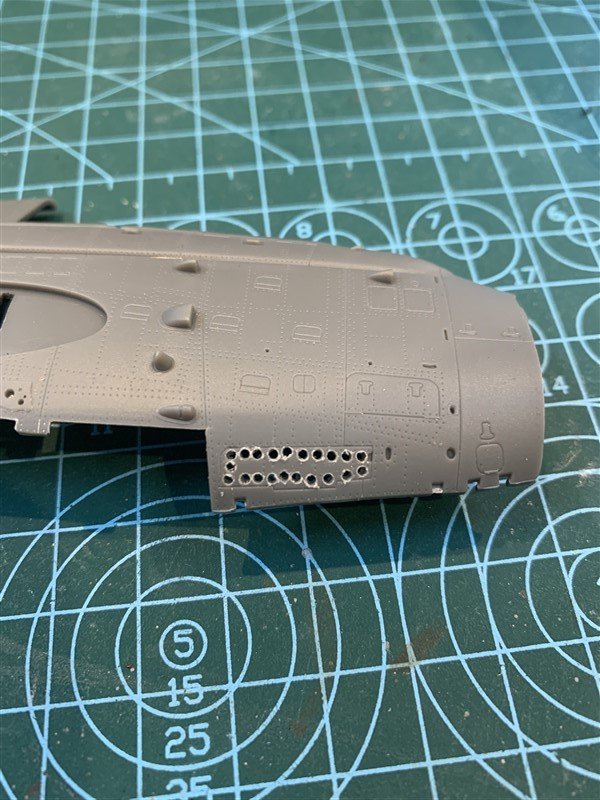
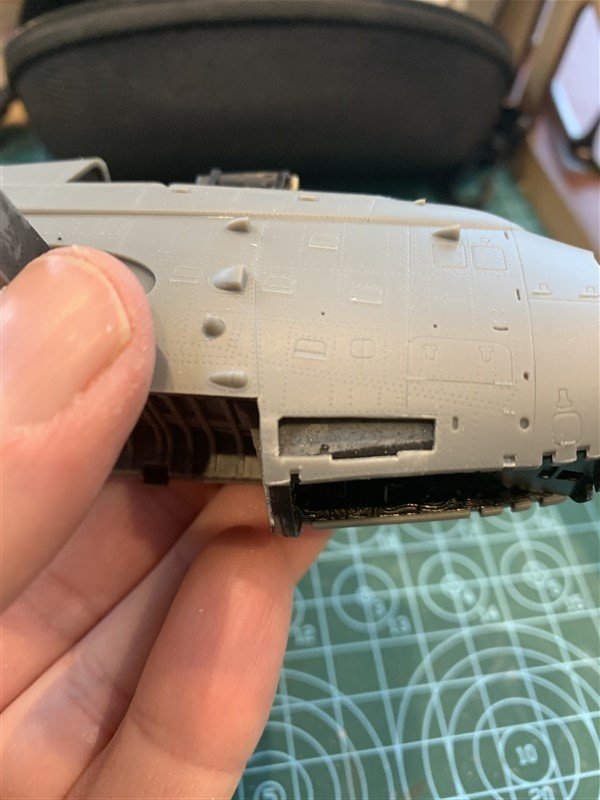
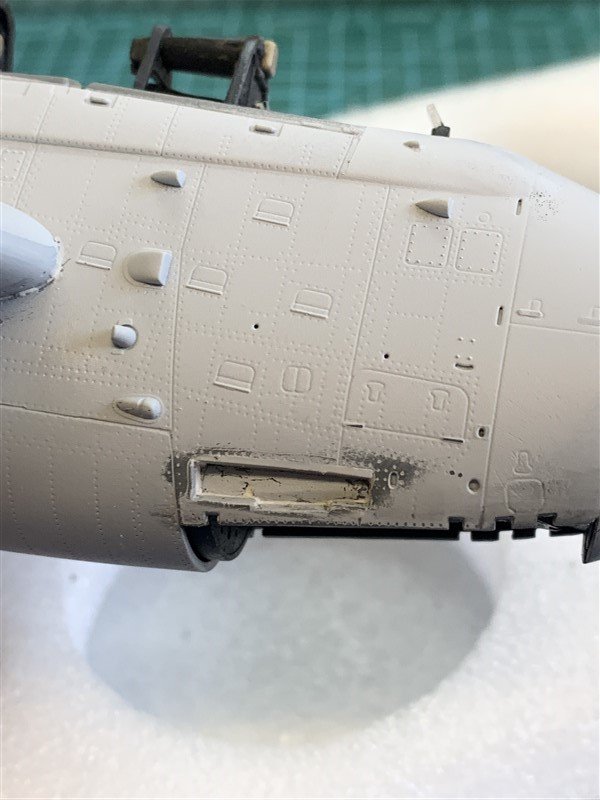
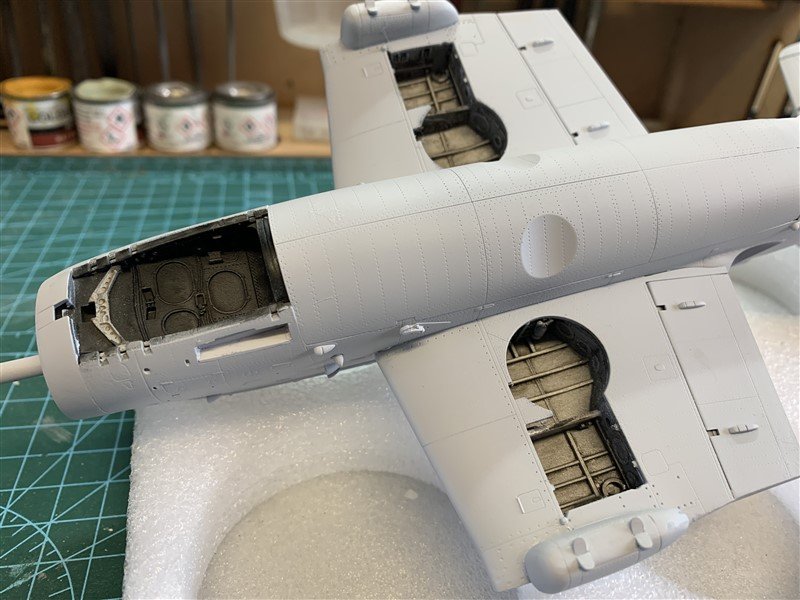
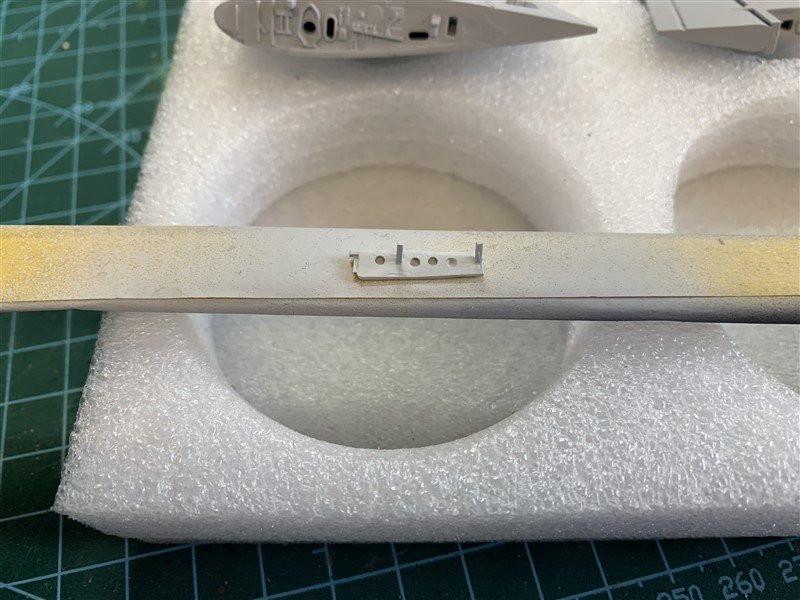
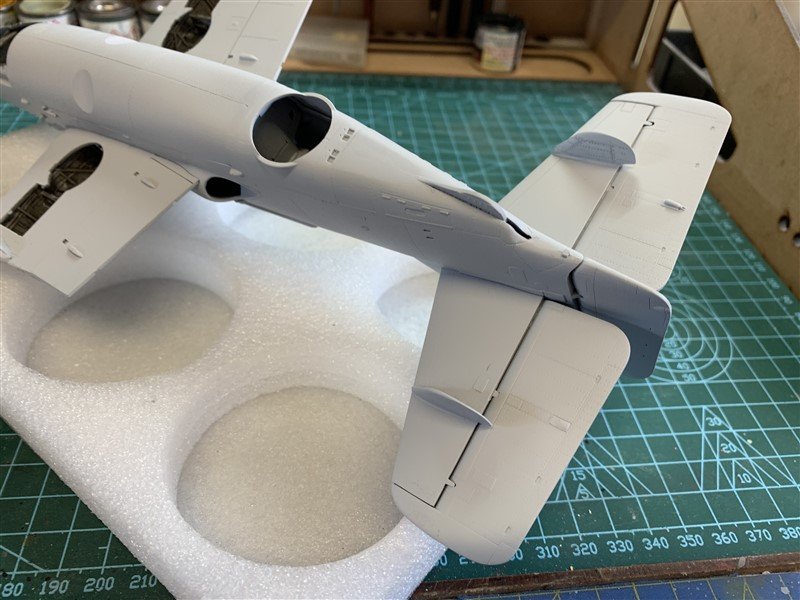
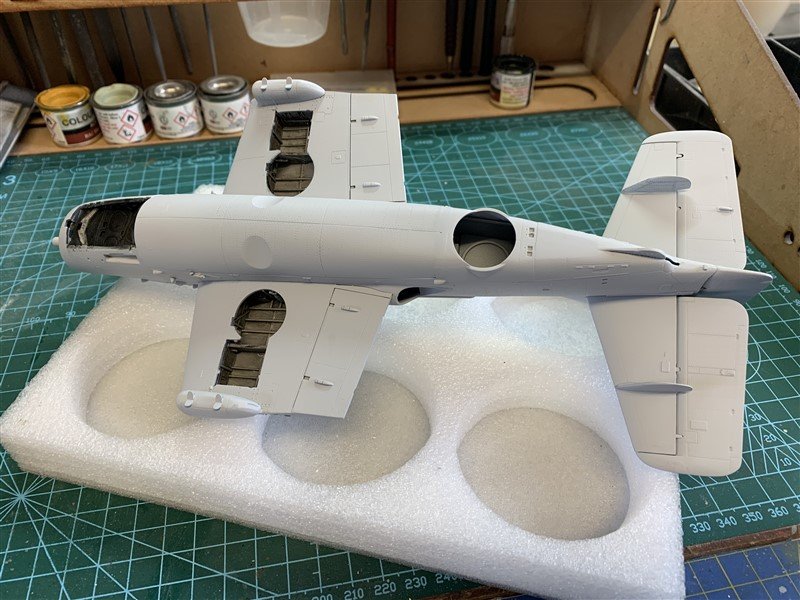
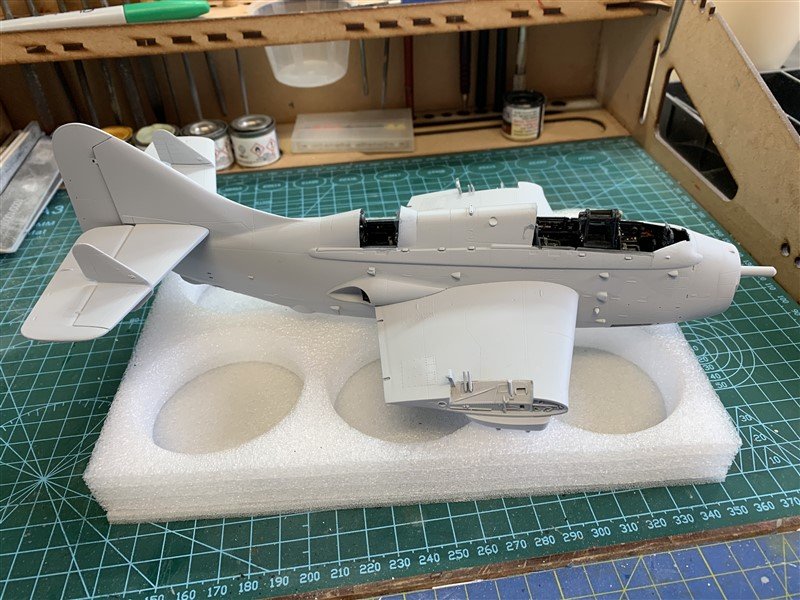
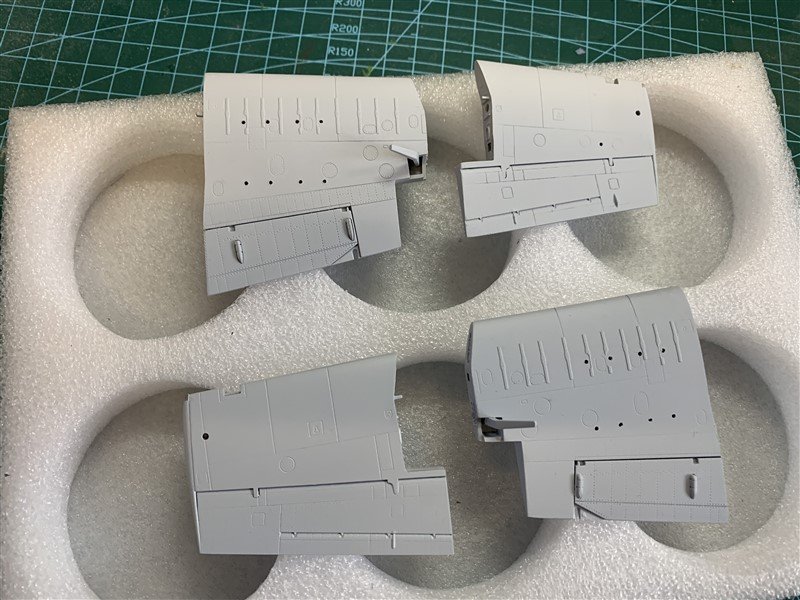
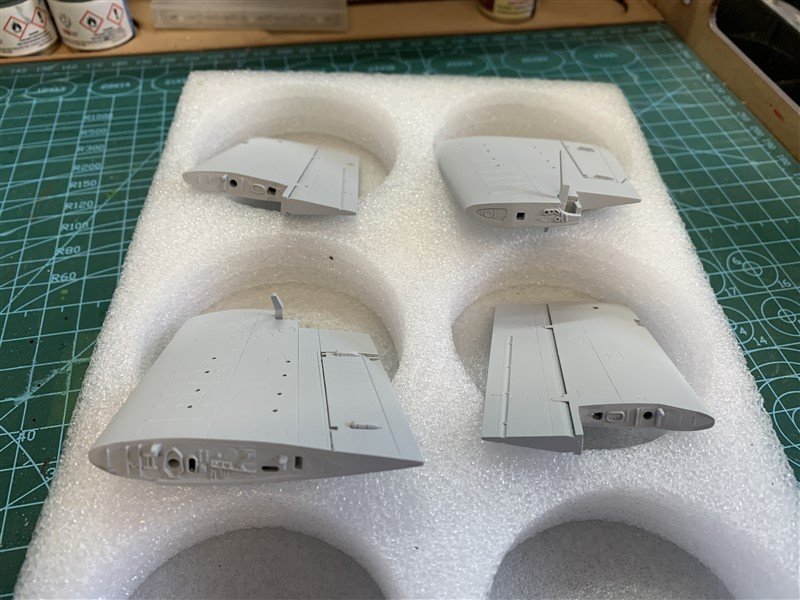
Been a while since the last update, life's been busy but I have had time to do some more on the Gannet and follow other's logs, just not update my own! So the there has been plenty going on and all of a sudden I'm getting close to applying paint. One modification I did try was to add the retractable crew ladder, this is an odd omission for such a detailed kit; climbing up the side of this monster with the many hand/foot holds and this little ladder must of been a challenge on a moving deck! Anyway my modification was pretty basic and I am sure some after market option will become available soon for this kit. A few pictures showing the process - of making a tape template, cutting the ladder shape out of some plastic card and adding a few little details. Lacking some of the details of the real thing, but as it is low down on the underside of the nose, think it will be okay. The fuselage has been glued together and the wing sections assembled, nothing too much to report there, so the pictures can do the talking. All had a few coats of primer for me to find the flaws and sort before painting begins. Thanks for looking in.


- 34 replies
-
- 12
-
-
A very nice looking Mossie Andy.
-
Good save on the copper Kevin, it will all blend in time. Your Indy is a fine looking ship!
- 443 replies
-
- 4
-
-
- Indefatigable
- Vanguard Models
- (and 1 more)
-
Hi David, I always enjoy your build logs, so also be tagging along.
-
Hello from Christchurch, New Zealand
AJohnson replied to Tillsbury's topic in New member Introductions
Welcome to MSW. -
Welcome to MSW!
-
Love the weathering on the chain Greg, looks very realistic!
- 81 replies
-
- 4
-

-
-
- Micromaster
- Eduard
- (and 4 more)
-
Amazing work again Chris, looks really neat.
-
Ah, “sleep” you say, plotting their next dastardly deed to snag one of your builds I think. Watch them like a Hawk; remember 1/72 tanks are the same size as a Mouse. 🐭
-
Yeah I think you have the culprit, looks a proper “Bond Villian”, but does that make you Ernst Blofeld?! 😆
-
That has come out very well Alan, I have some small ww2 ship models with loads of P.E. and I keep looking in the boxes and putting them away again! 😆 You might have inspired me to take the plunge with one! And as for that missing mast, isn’t that just so typical, we have all been there! 🤣
-
Congratulations on finishing. A great looking model.
- 129 replies
-
- 2
-
-
-
- vanguard models
- Sherbourne
- (and 1 more)
-
Hi Phil, I have just come across this log and glad I have as I have the same to build for my HMS Sparkler, your looks really good
-
Hi Dan, Good to see a log update, so please yes continue with them 😁, I know how you feel when you mention looking at the Masters at work on other logs; particularly the Demi-gods that inhabit the Scratch build part of MSW! . But for us lesser mortals I think ours logs are much more of a "support network" and can be a bit of fun as well. You DoK is looking very good, I'm slowly getting around to thinking I should re-start one of my ship builds one day...
- 36 replies
-
- 1
-
-
- Duchess of Kingston
- Vanguard Models
- (and 1 more)
-
It is so annoying when parts disappear! It happens nearly every build I do, I use little tubs with lids to store small and completed parts in, but still stuff goes missing! Indeed Murphy's law will prevail, you will find it one day when Iron Duke has been finished! 😆 Your Duke does look very good, so intricate!
-
What a beautiful model you have made Mike!
- 47 replies
-
- 3
-
-
-
- Annapolis Wherry
- Chesapeake Light Craft
- (and 1 more)
-
Hi Dave, Did this build stop? I'm not throwing stones because I live in a glass house with two paused builds in it! 😆 Hope you can do updates one day as your build was looking good! 👍
-
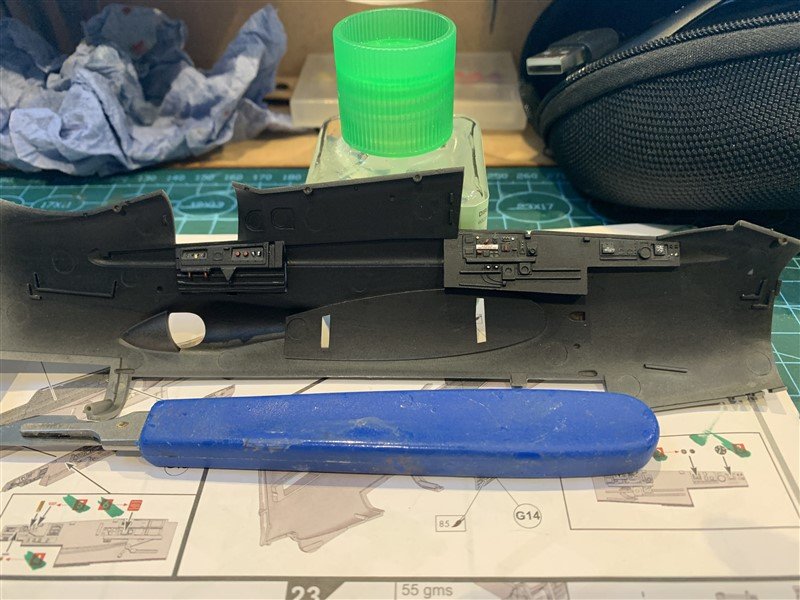
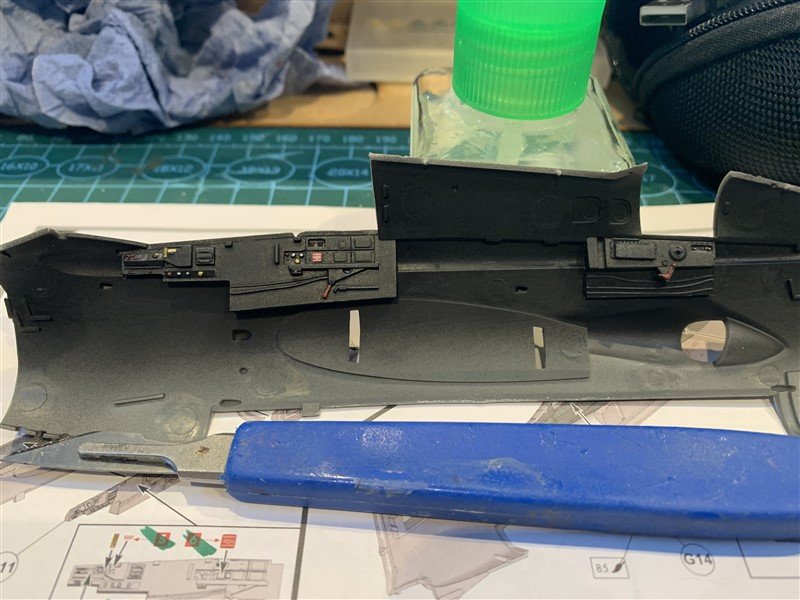
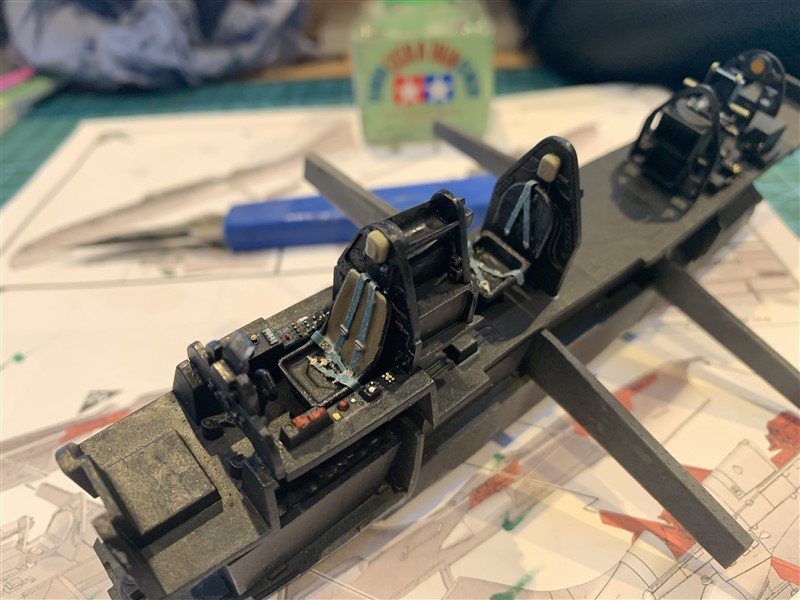
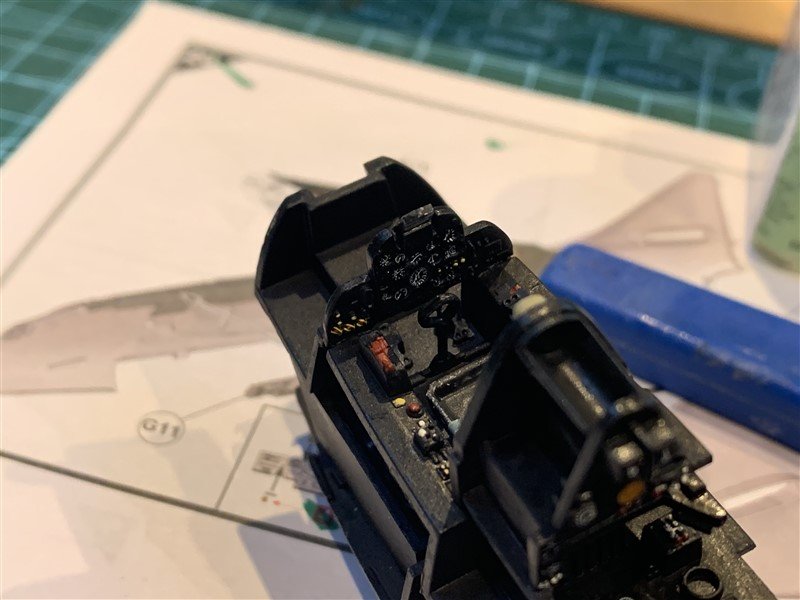
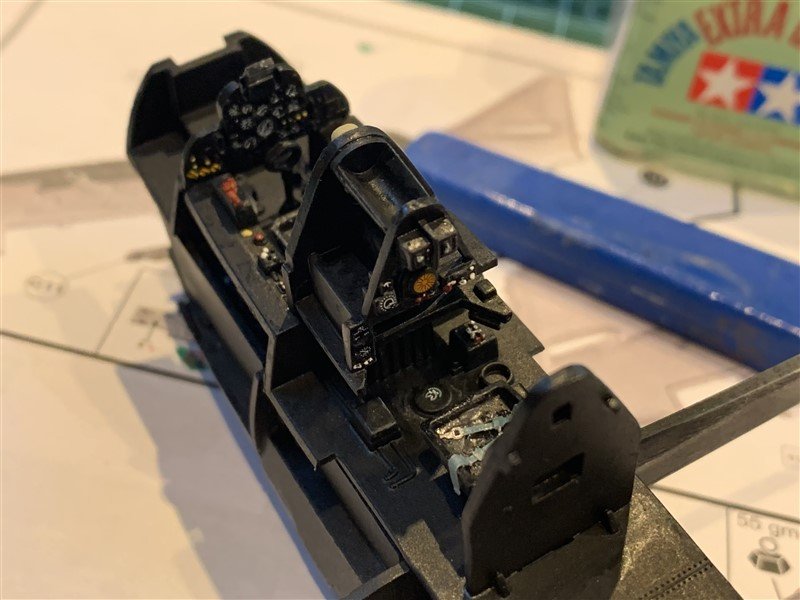
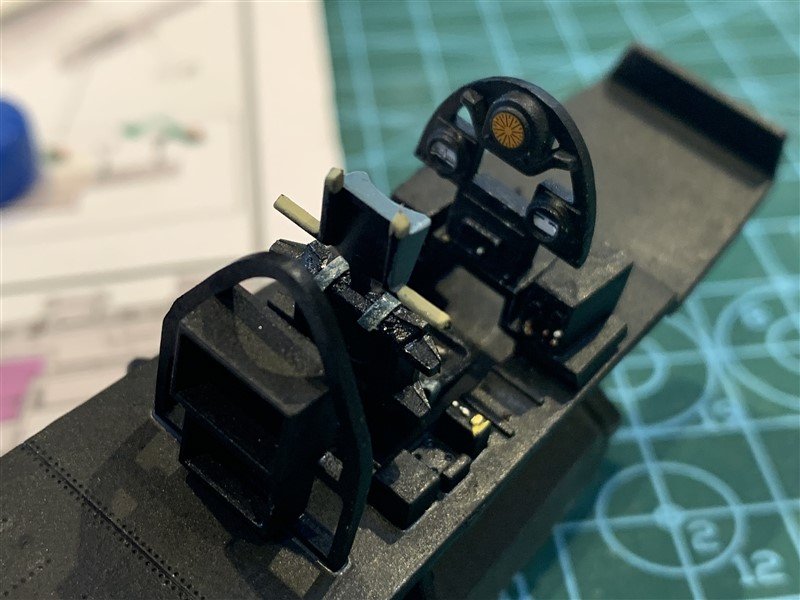
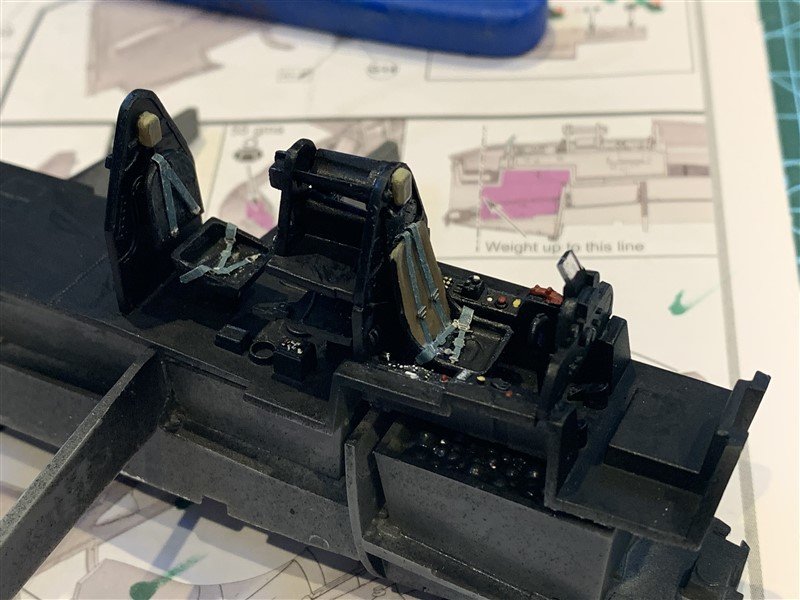
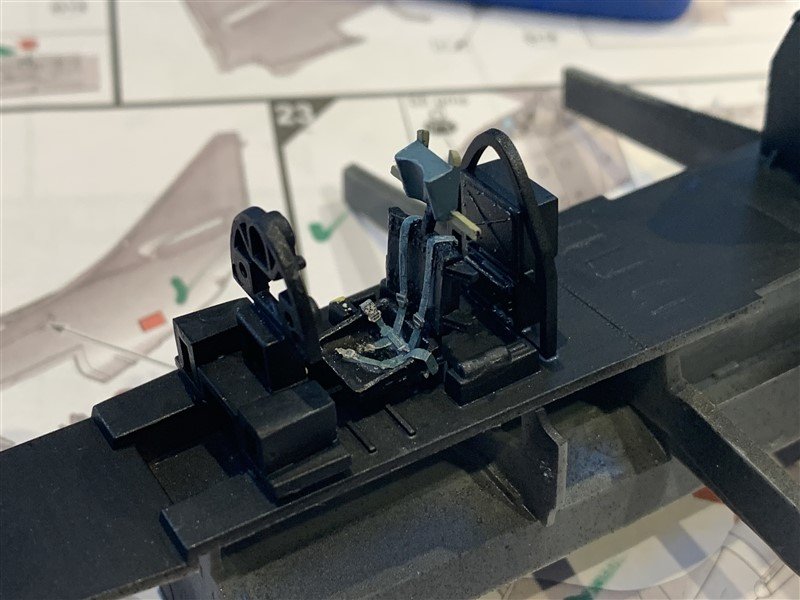
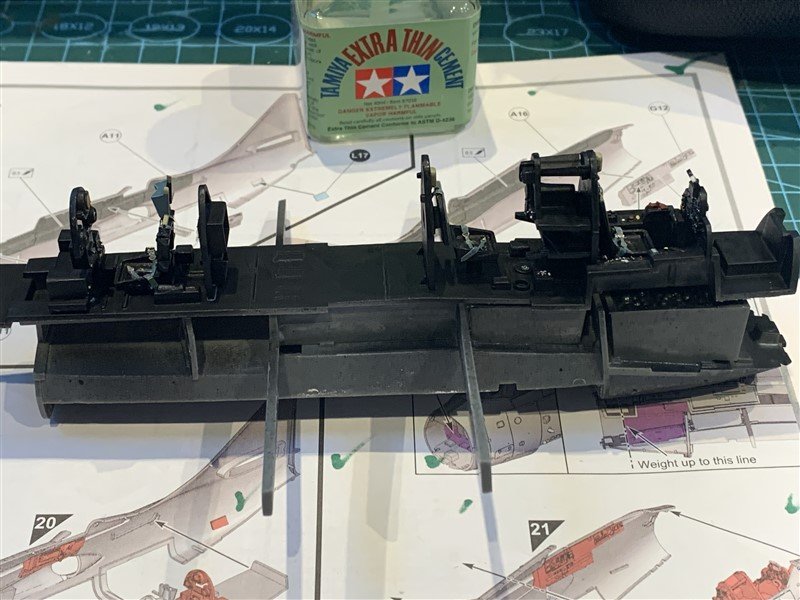
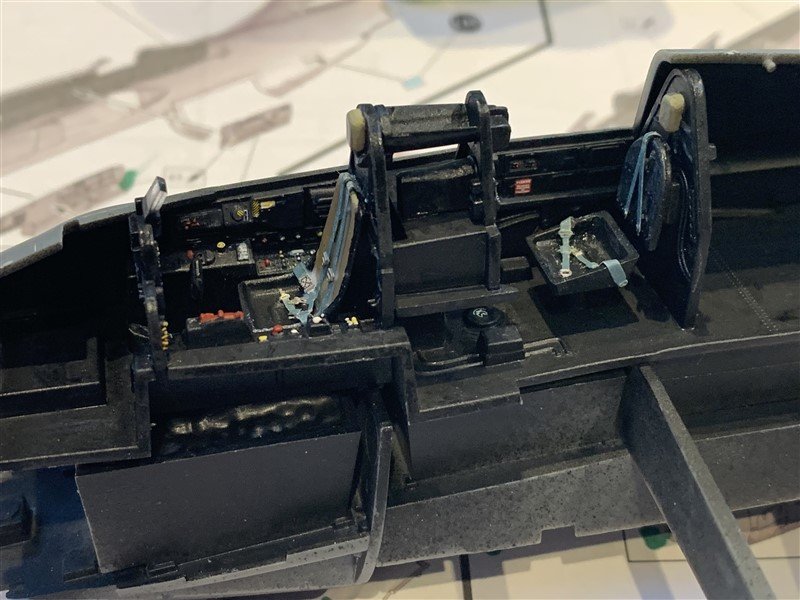
Update time. The interior is done, just need to glue the fuselage together and hide it all! 😆 I didn't spend too long on this with it being black, so used the kit decals for the instruments, picked a few instruments out in various white, yellow or red highlights and a gentle bit of weathering. I did find a set of P.E. seatbelts in the spares box, so pressed them into use, with a re-paint from canvas to blue. Thanks for looking in and the likes.
- 34 replies
-
- 10
-
-
Hi Mike it is going together very well so far, the Walrus you have a log of is also on my list of Airfix 1/48s, along with their Anson & Blenheim! Did you finish you Walrus?
