


AJohnson
-
Posts
2,049 -
Joined
-
Last visited
Content Type
Profiles
Forums
Gallery
Events
Everything posted by AJohnson
-
Welcome to MSW Willi. outstanding models!
-
 Your Erebus looks right at home, as though snug up against an Ice cliff! 🧊 Lovely work Keith.
 -
Your skills are amazing Mike! I also love the subject matters you choose, not the usual Yamato, or the other popular subjects, but the unsung or even “quirky” vessels. I have been inspired and pulled the trigger on a 1:700 AJM kit of HMS Vindictive, that was going for a very good price on Ebay.
- 24 replies
-
- 4
-

-

-
- Akitsushima
- Pit Road
- (and 1 more)
-
Fine models Greg, and something different!
-
If I read that right Chris, I sincerely hope you run out of card model stock! 😉
-
Really good work so far, your planking is very good and will be nice foundation for the second planking.
- 68 replies
-
- 2
-
-
- First build
- Cutter
- (and 2 more)
-
Welcome to MSW Russ.
-
Welcome to MSW James.
-
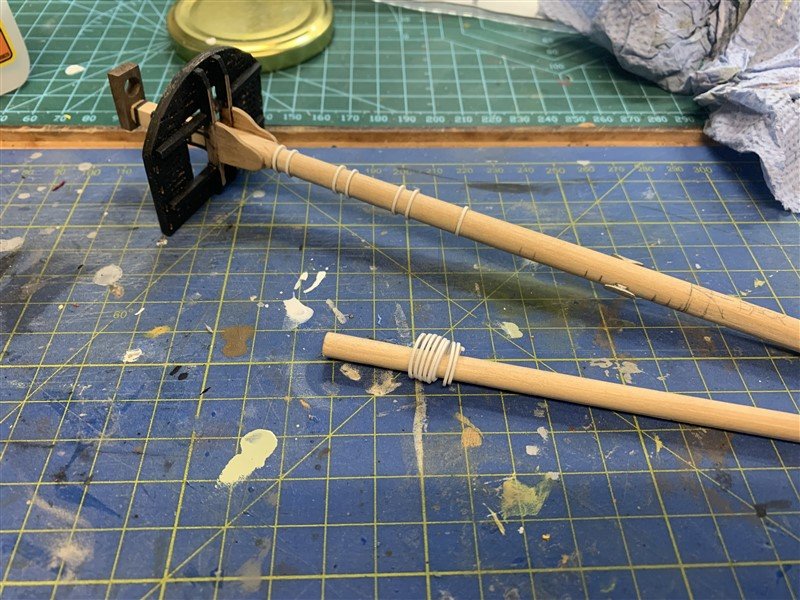
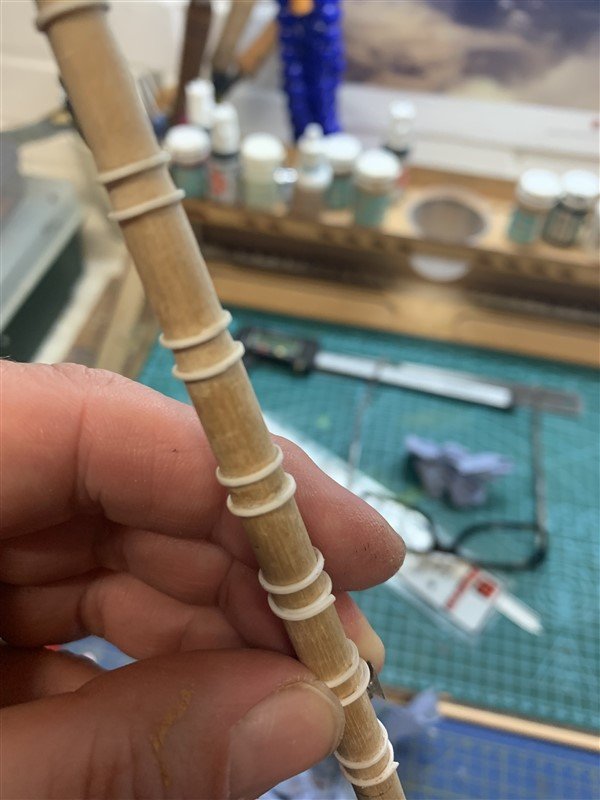
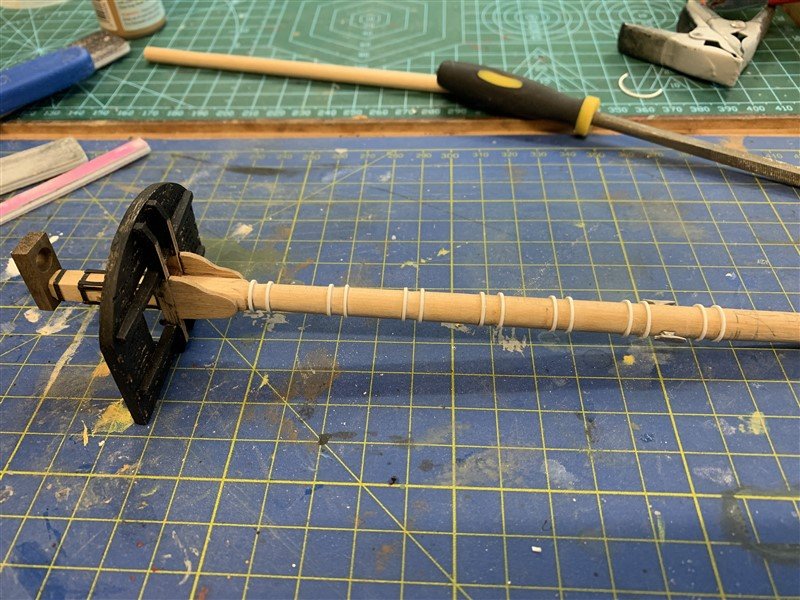
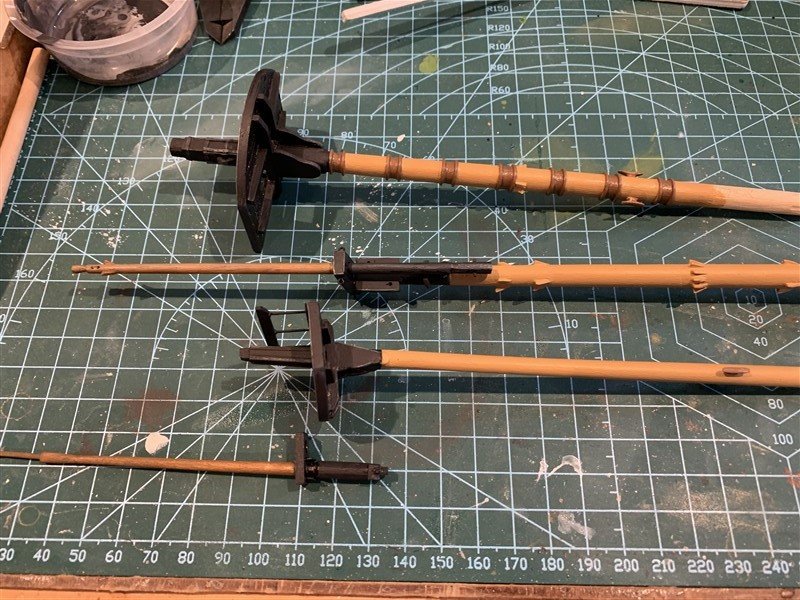
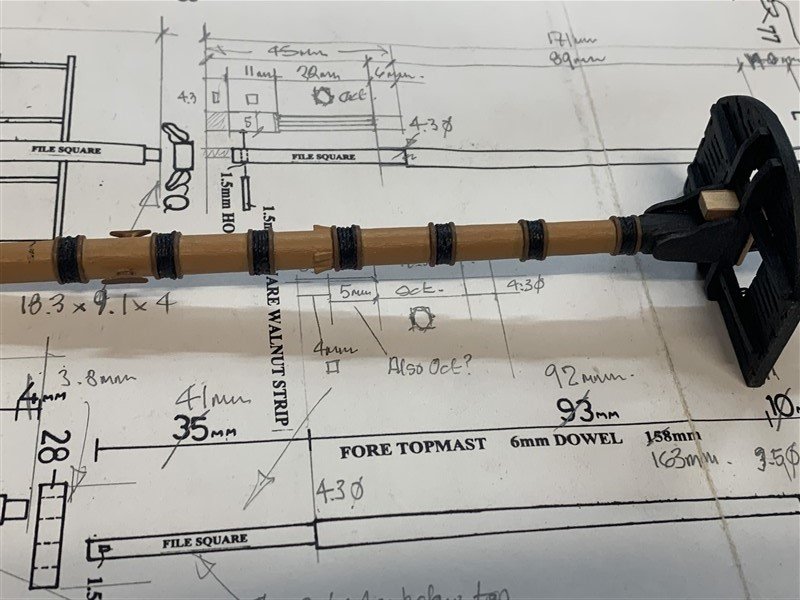
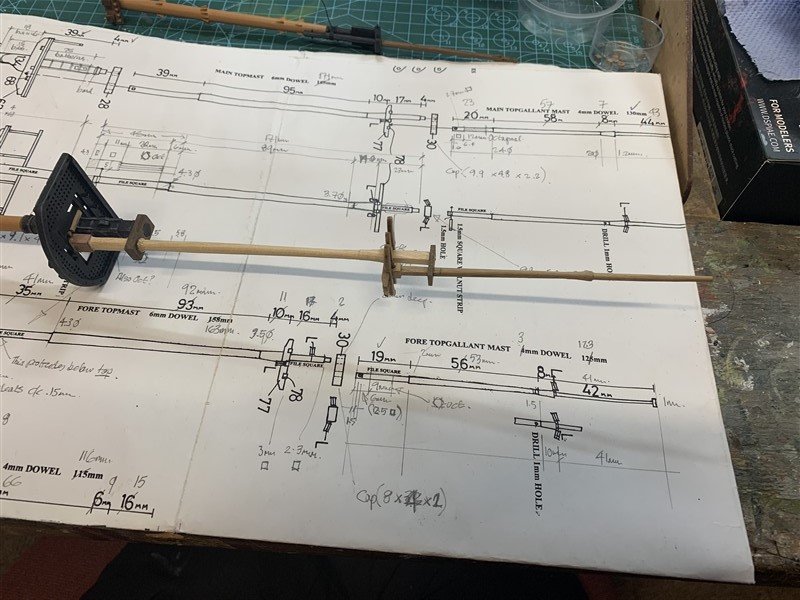
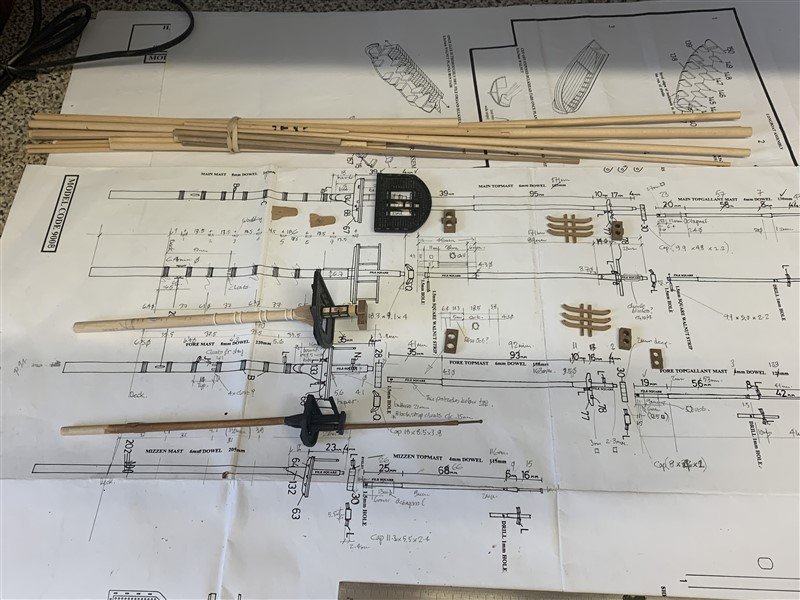
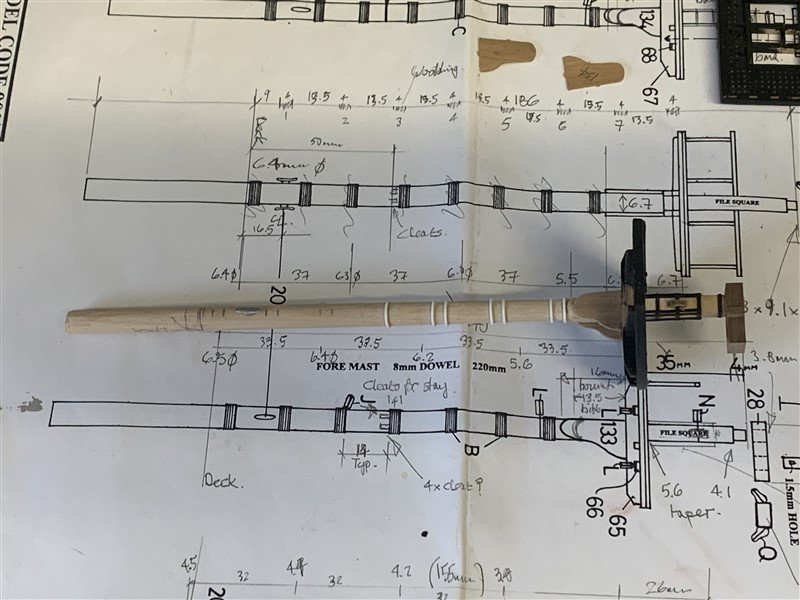
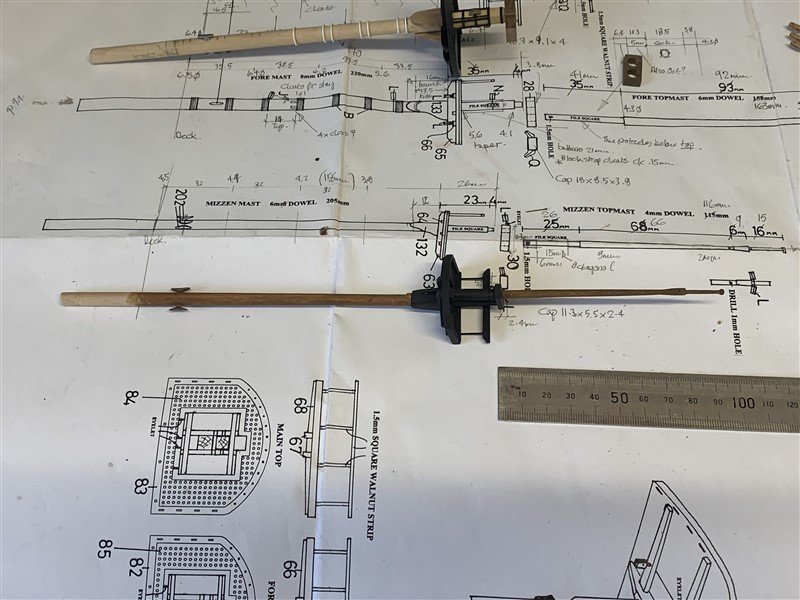
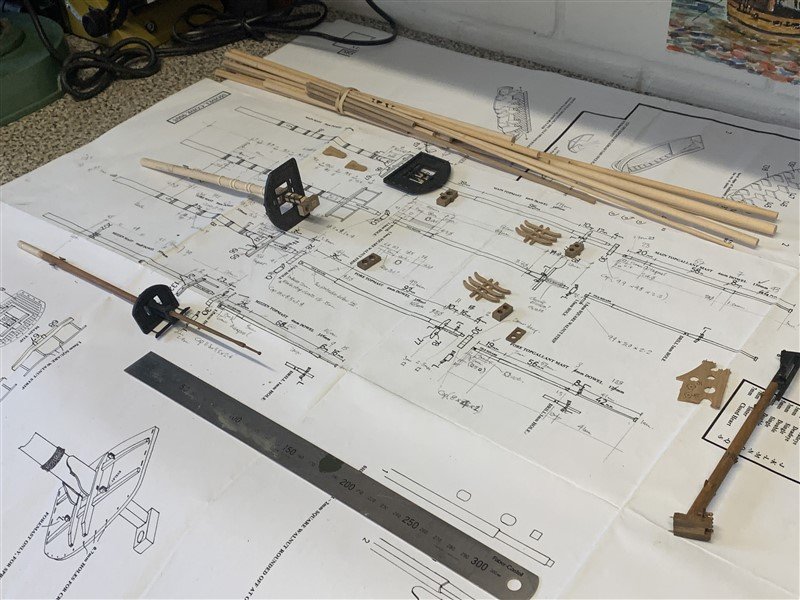
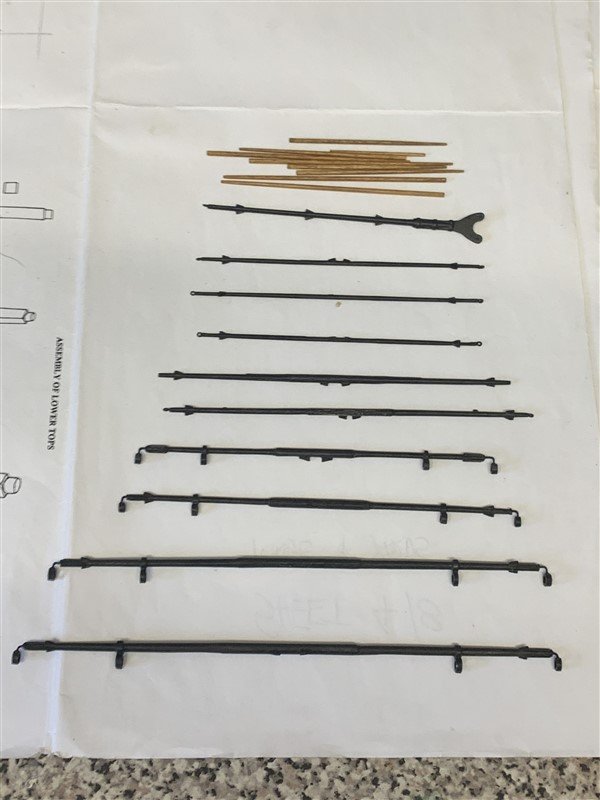
Evening all, I've been making steady progress with work on the masts, the Mizzen was largely done, so has just needed some blocks tying to it and a touch-up of the paintwork; the two sections are not permanently fixed so I can do the lower shrouds and stays easier. The bowsprit likewise is nearly done and has also had a refresh with paint and started the process of adding blocks etc. On the Foremast I had nearly done the lower mast, but I had not finished adding the mast hoops to go above and below the wooldings. These I made out of 0.7mm styrene rod, curled around a dowel and then heated to retain some of the curve. These just needed a sand to getting to a uniform depth after gluing, once done painting in brown and the addition of woolding rope to finish. The lower mast needs some blocks adding and the handrail on the platform. While doing that I have made a start on the fore topmast and fore topgallant mast. The last couple of pictures show the current state of affairs. Think I will keep moving from making sawdust and hopefully more mast sections and adding blocks to the finished parts to keep up momentum! Thanks for looking in. 👋
-
Fantastic Alan!
-
Great looking planking David!
-
My condolences Lyle for your loss. I hope you can find some enjoyment/distraction in taking up your lovely Bounty model again.
-
Wow, Greg, you touched a nerve there! 😆 Love a “Fugly” anything you build!
-
Hi Dan, I will be following along, I built the Caldercraft version years ago, but it is not the same quality as the Vanguard one, so it will be interested to see your develop.
-
Fantastic Alan, they all came out very well. The detail is amazing at 1/700!
- 24 replies
-
- 2
-
-
- Eskimo
- Tribal class
- (and 3 more)
-
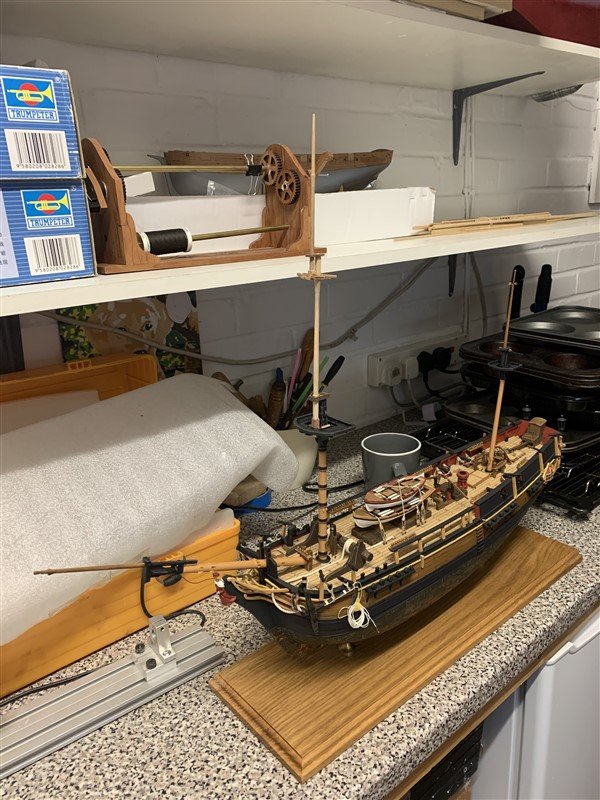
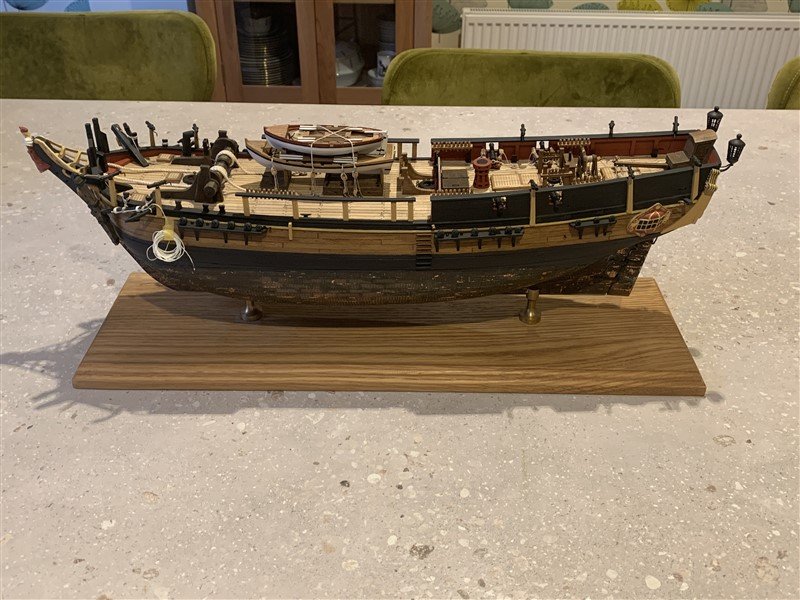
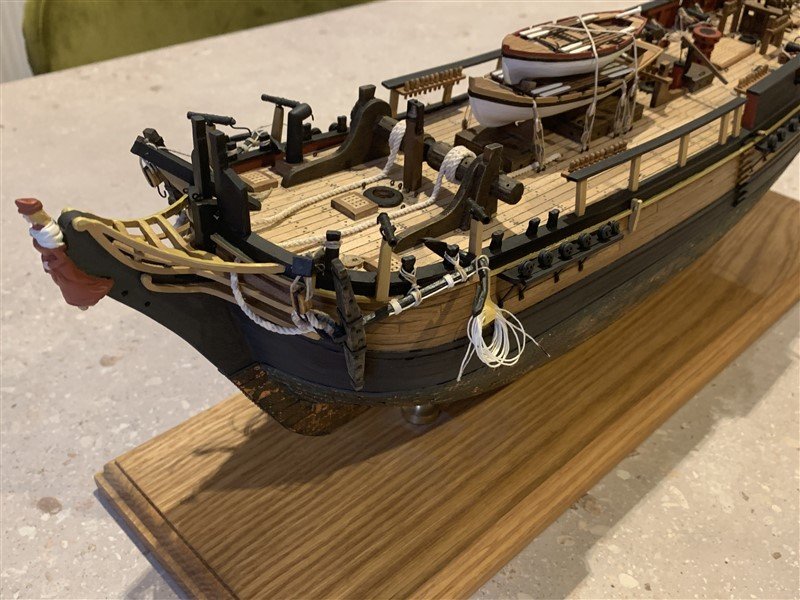
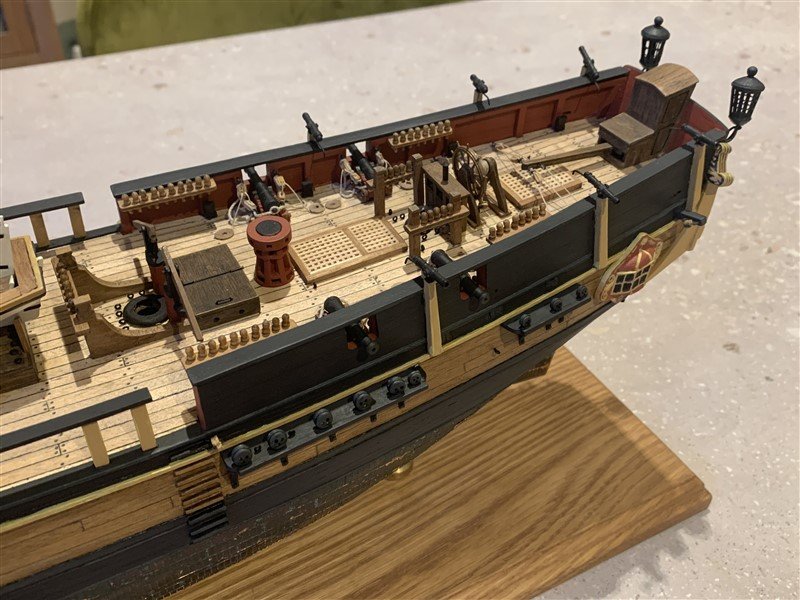
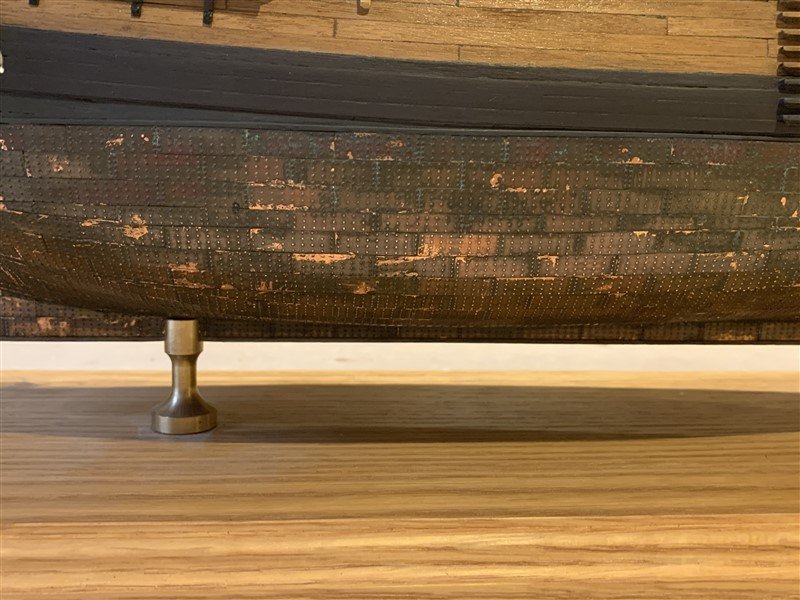
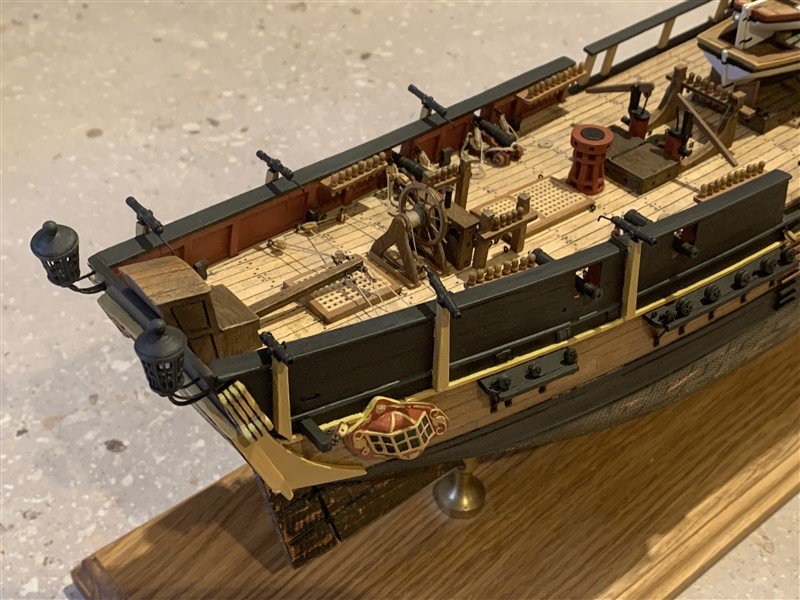
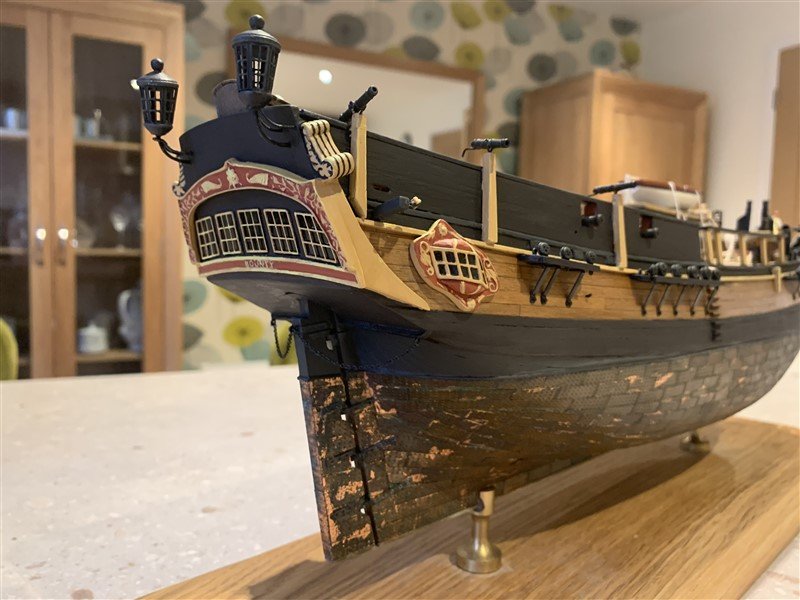
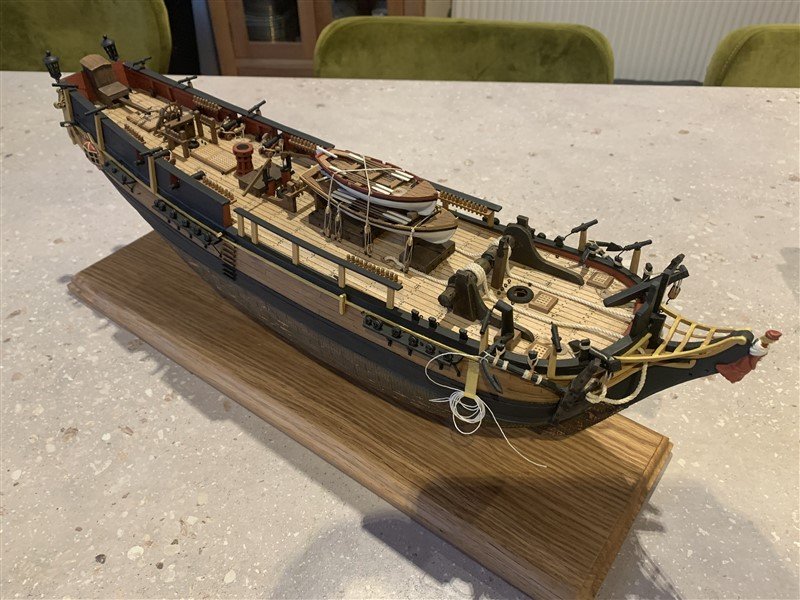
Blowing the cobwebs off this build log. My mast-less Bounty has been sulking up on the shelf of shame for many years on and off. 😞 When I last left it I had just about finished the hull and had started building the masts, but then my interest in it just left me for various reasons. Lately however, I have had to move it around in the garage to get at other stuff and got around to looking at it over the last few weeks. I think the reason I left it was that I was not happy with the paint job or colour scheme, like many I suspect, I followed the "Anatomy of the Ship" series book by John McKay, but having done that scheme and then read a bit more into the subject, I came to the disheartening conclusion my Bounty looked like a Georgian Dock-side tart! And that I think is where the rot set in and even though I did start the masts, my heart wasn't in it. It also didn't help that I discovered Vanguard model kits.... 😆 Funnily enough, that last point is oddly the catalyst for me to finally finish this damn thing off! Sometime in the not too distant future Chris is going to release his HMS Surprise, and then I know this kit will once more be dead to me for many more years and it runs the risk of the kids putting it in a skip, unfinished, when I kick the bucket! - so it's now or never! So my plan for this autumn/winter if to polish off the Bounty and get back to the Sparkler, before Surprise lands. - No mucking about this time, the race is on! 🤣 So whilst I have been rummaging around in the garage trying to find the plans, instructions (for what they are worth!) and the few remaining parts to finish this off, I have also been revisiting that paint job. Not easy given how cluttered the model is now, but on this I am a little more content and have the enthusiasm to pick up where I left off. Below is a selection of pictures of where I got to and her new paint job. Hope some of you tag along again on this final push!

-
Great job Richard!
-
Congratulations Richard on a fine build!
-
Wow Alan, it will be nice to have some pictures of your Tribals together at the end! 😁
- 24 replies
-
- 2
-
-
- Eskimo
- Tribal class
- (and 3 more)
-
There are also very good articles on the topic in the Mariners Mirror. I forget the sources, but Red Ochre was removed from the approved Admiralty list of paint pigments in 1807. So for the “real” Surprise red would be fine if you chose to model that. But for the “fictional” Surprise many of the stories are based around historical event in the 1808 - 1817 time frame. So like Chris I will be following the Lavery/Hunt book as my reference. Will be nice to see something different to red ochre! 😁
-
Also glad to see you back, wonderful work!
-
Congratulations Dan, what a lovely looking Ship in the sunshine! 😎
- 36 replies
-
- 3
-
-
- Duchess of Kingston
- Vanguard Models
- (and 1 more)
-
Gold Digger by Jack12477 - Masterbox 1:35 scale
AJohnson replied to Jack12477's topic in Completed non-ship models
Really nice Jack! Love the little details you added.
