
HOLIDAY DONATION DRIVE - SUPPORT MSW - DO YOUR PART TO KEEP THIS GREAT FORUM GOING! (Only 51 donations so far out of 49,000 members - C'mon guys!)
×


AJohnson
-
Posts
2,028 -
Joined
-
Last visited
Content Type
Profiles
Forums
Gallery
Events
Everything posted by AJohnson
-
 Congratulations Chris, another fine card build. You have inspired me,I might have to get a card model out of my stash next time I hit a hard bit on my current project.
 -
Santa must think you have been a good boy this year David! 🤶 Good progress on the shrouds. 👍
- 114 replies
-
- 1
-

-
- Vanguard Models
- Speedy
- (and 1 more)
-
Great job, interesting subject!
-
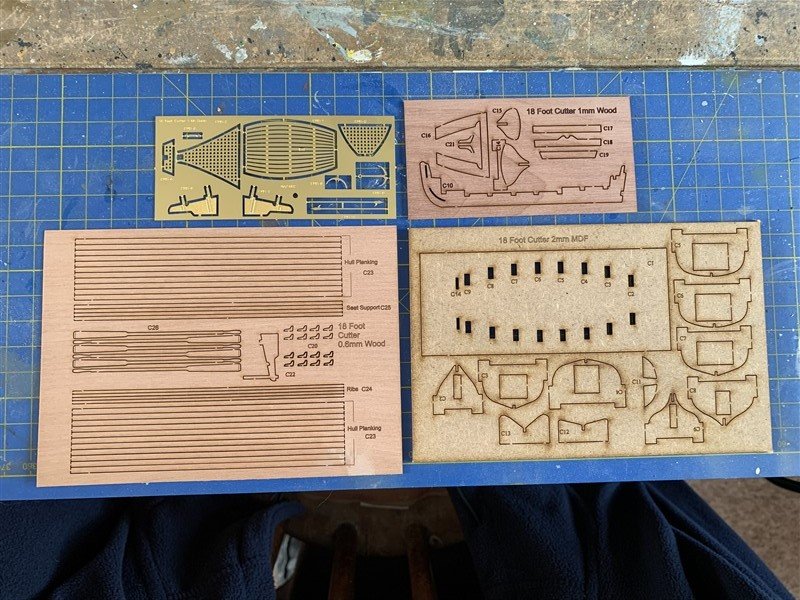
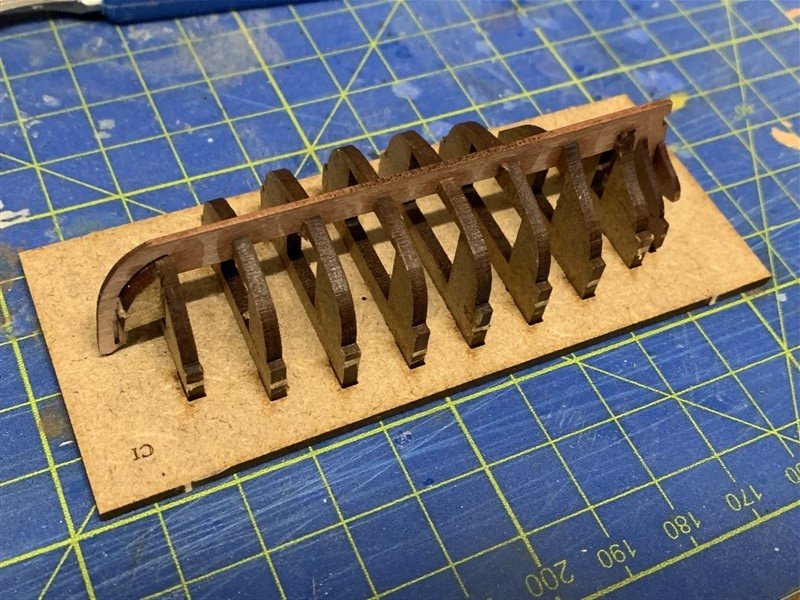
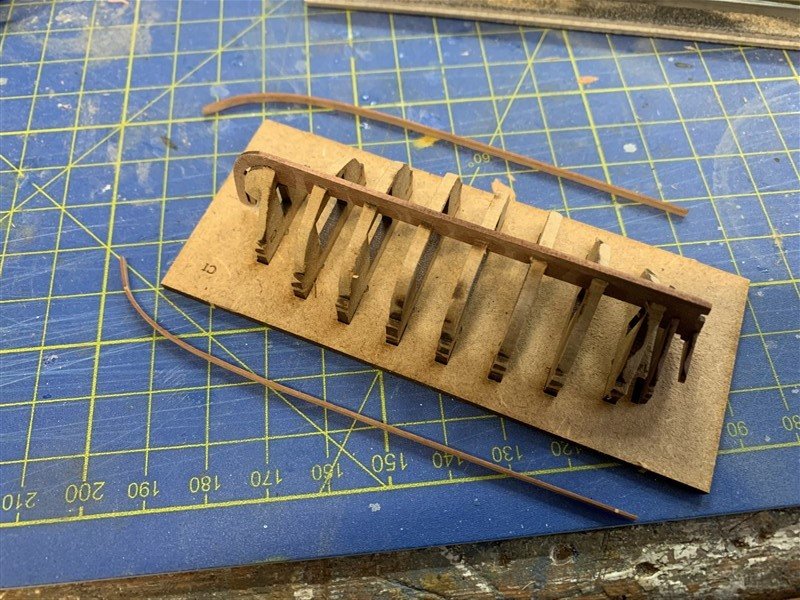
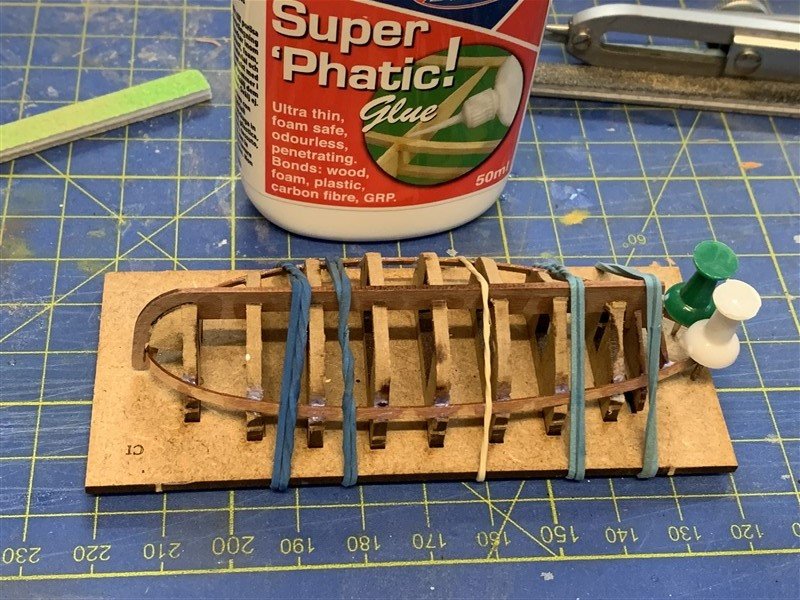
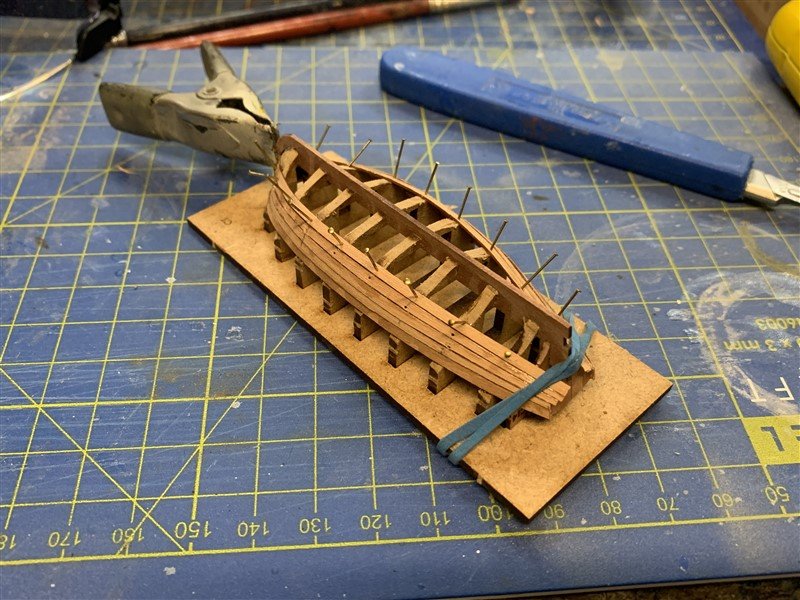
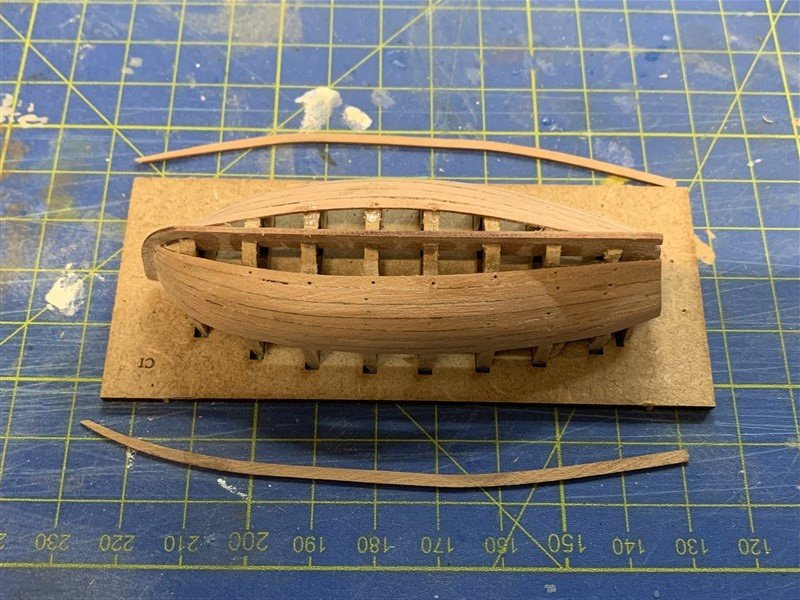
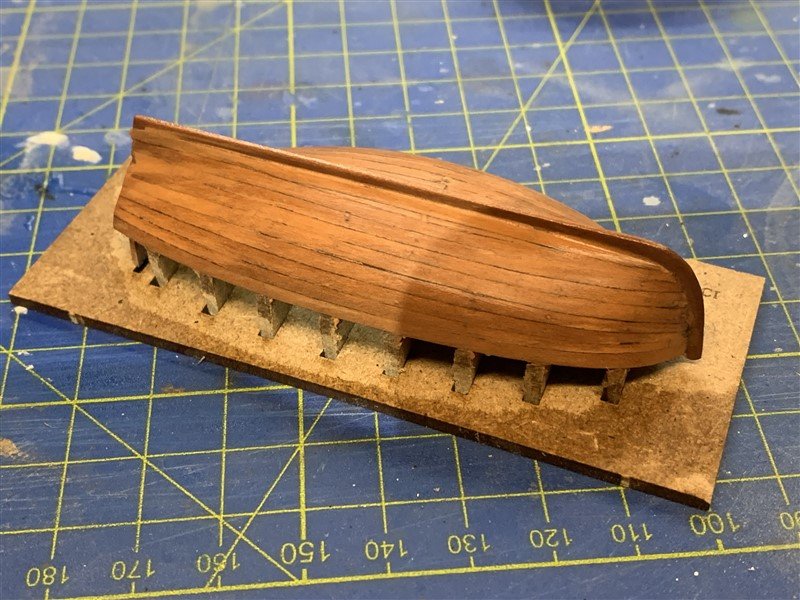
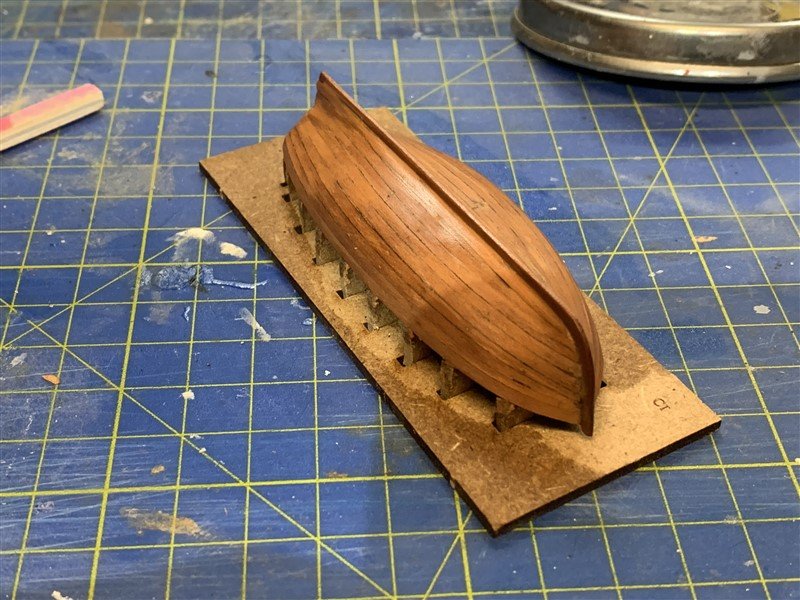
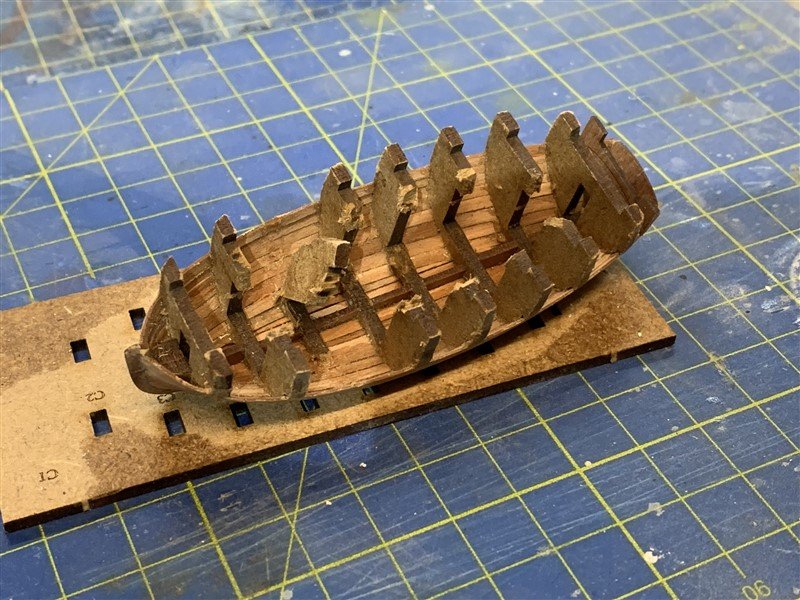
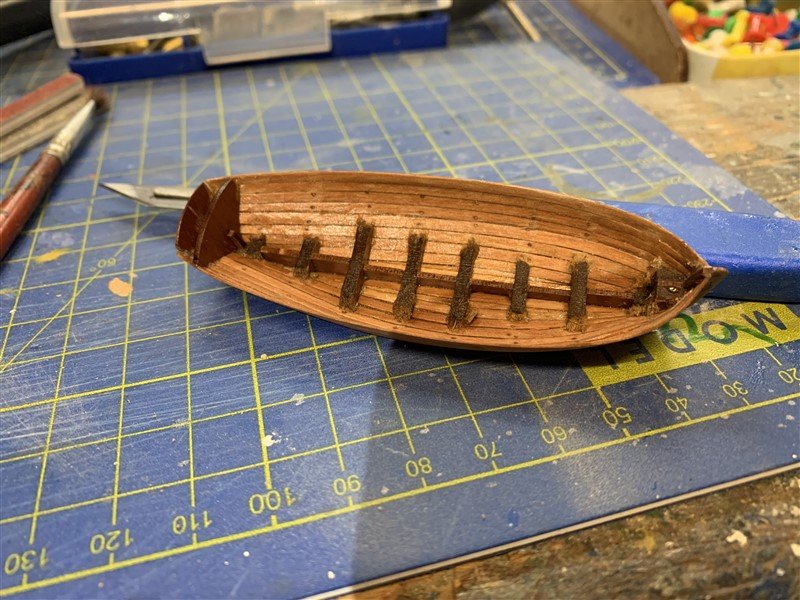
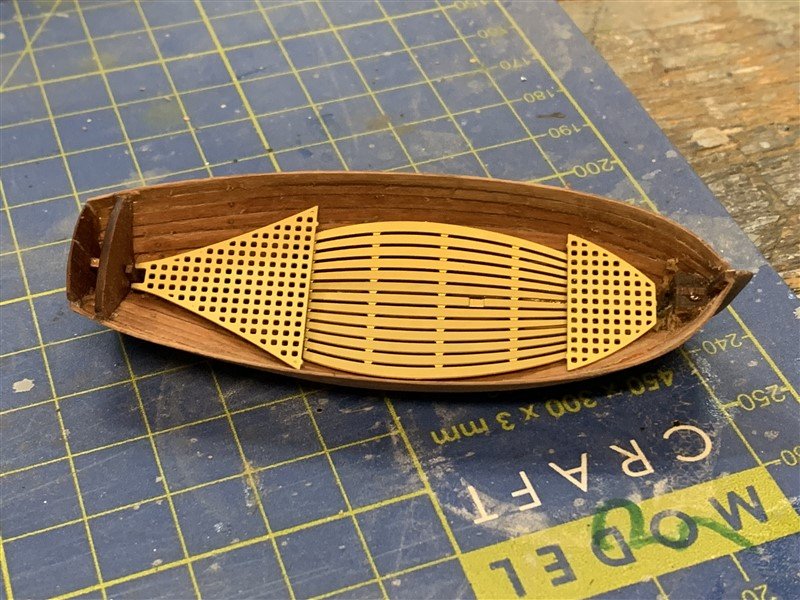
Well as Sparkler is undergoing an 'ugly' phase of the build; lots and sanding, filling, primer - repeat and there is nothing much to report until that stage is done, I thought I would show the progress so far on the little 18ft. Cutter I have bought from VM to go with it. This is one of Vanguard's wood mini kits and not the latest 3D printed incarnation. I just wanted to try one, but can see myself getting the printed versions in future. There are a few logs on MSW for these mini kits, so I won't repeat what has already been said elsewhere, other than to note they are just as great quality as the main kits. The only thing I have tried to do is hone my planking skills on this smaller scale, so I did shaping and edge bending as with the main kit. I used the Super Phatic glue mentioned before and pinned the planks in place as I went. One of the hairiest parts 😬 was removing the MDF bulkheads after sanding the outer hull. - All went well in the end, but what a relief not to break anything! 😁 The last picture shows a 'dry-fit' of the P.E. deck parts. More updates in due course as I need relief from sanding & filling, thanks for looking in. 👋

- 35 replies
-
- 17
-
-
- vanguard models
- Adder
- (and 2 more)
-
Good to see you back in the saddle Bob, making model ships is good for the soul!
- 207 replies
-
- 4
-
-
- vanguard models
- Duchess of Kingston
- (and 1 more)
-
“Pew Pew” ⚡ that should have the Rebel Alliance quaking in the boots! 😆 I was going to wish you good luck on the new investment, but somehow think you will be fine - churning out 100’s of Surprises in 2026!
-
Thank you Andy for your (not at all inane) ramblings and great photographs of the principles shown on a real boat! You deserve that drink! 🍹
- 174 replies
-
- 6
-
-
- Vigilance
- Sailing Trawler
- (and 1 more)
-
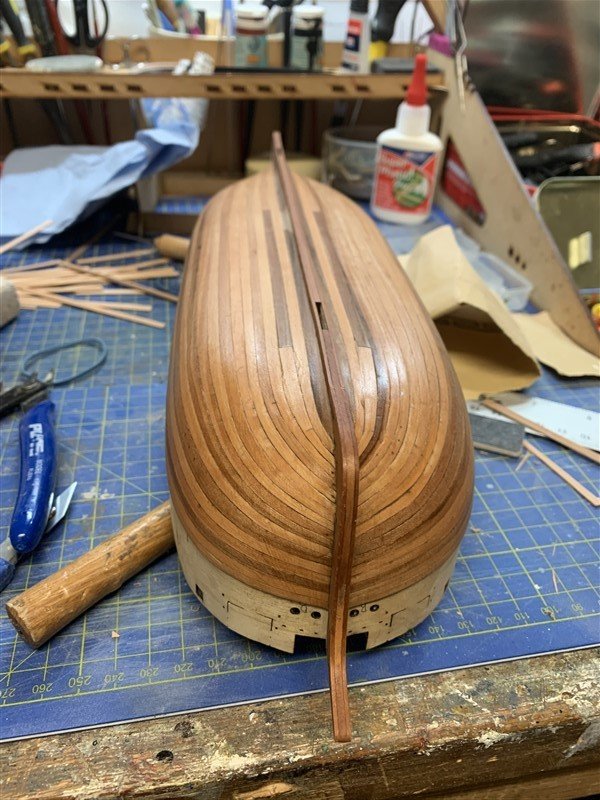
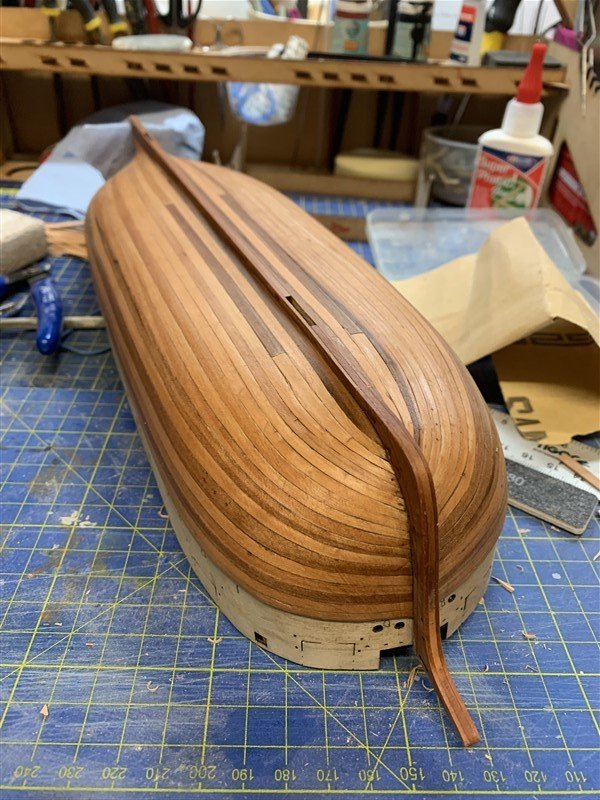
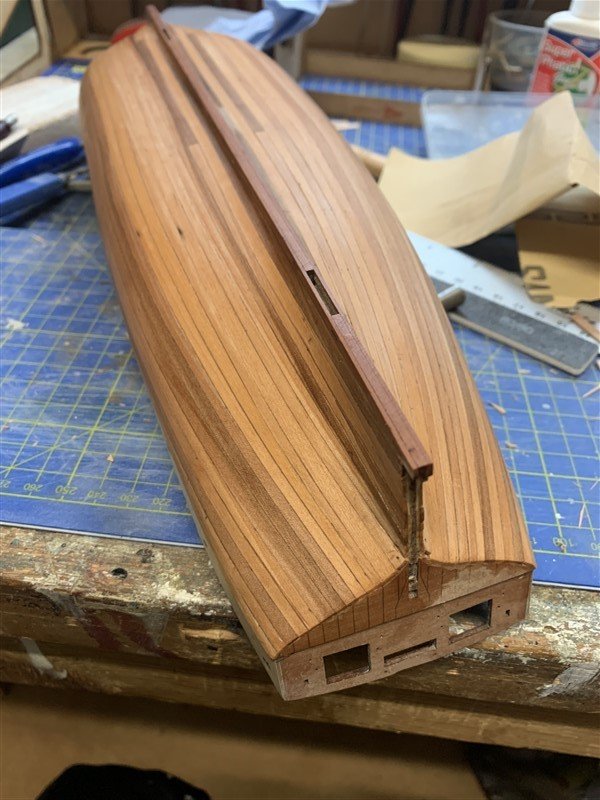
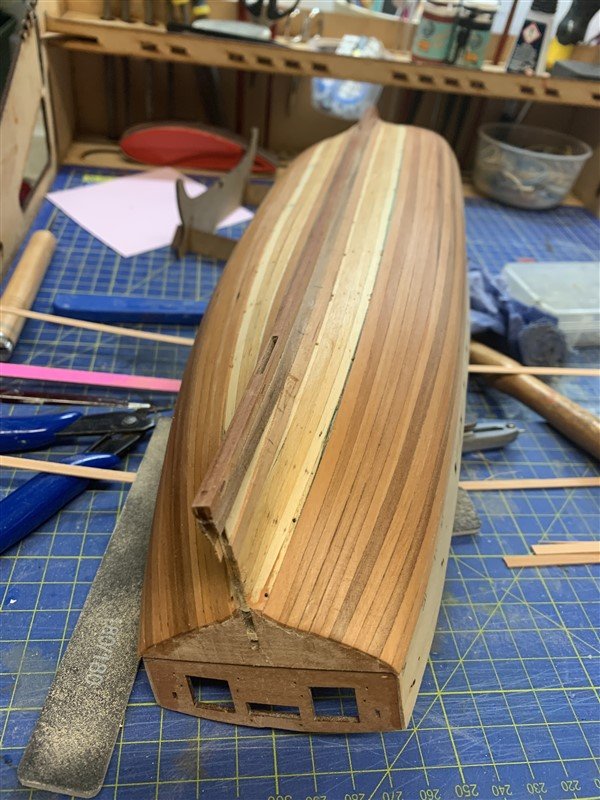
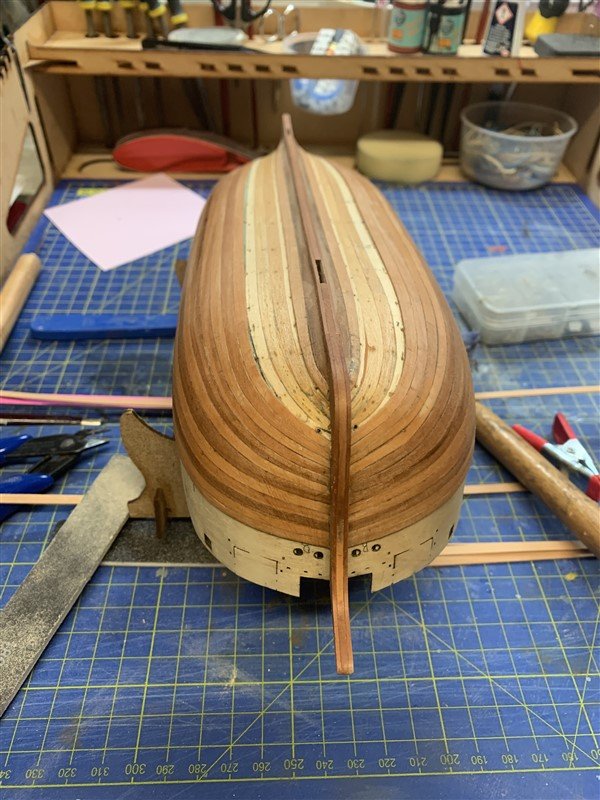
Evening all, second planking is complete. Well the laying of planks anyway - much sanding and filling to be done now. Overall happy with the results for a bluff bow, but equally glad it is being hidden under paint and copper! 😆 So those of you who like the look of plain wood need to avert your gaze from this log from now on.... 😎

- 35 replies
-
- 19
-
-
- vanguard models
- Adder
- (and 2 more)
-
Looks excellent Dan, glad you keep updating your log for us. 👍
- 36 replies
-
- 1
-
-
- Duchess of Kingston
- Vanguard Models
- (and 1 more)
-
Great scratch details and painting Dan, agreed does look rather “Spiffy” 😁
- 87 replies
-
- 2
-

-
-
- Lady Nelson
- Amati
- (and 1 more)
-
Hi Stergios did you finish your case for your wonderful Snake?
- 1,144 replies
-
- 1
-
-
- snake
- caldercraft
- (and 1 more)
-
That looks very good. The details of the deck below are something else.
- 76 replies
-
- 3
-
-
- Harpy
- Vanguard Models
- (and 1 more)
-
They look great Chris, as you know I'm wrangling one of your 18ft. wood Cutter models for Sparkler at the moment. It is a great challenge and will look fine when done, but my skills mean it won't match the fine detail in your boats above.
-
Good advice, see how you feel when you are near the end of your build, otherwise you might be tempted to start your new one before you finish Sherbourne! 😆 Oh and yes @Thukydides is right, Adder's bow is a challenge, doing it at the moment. 😉
-
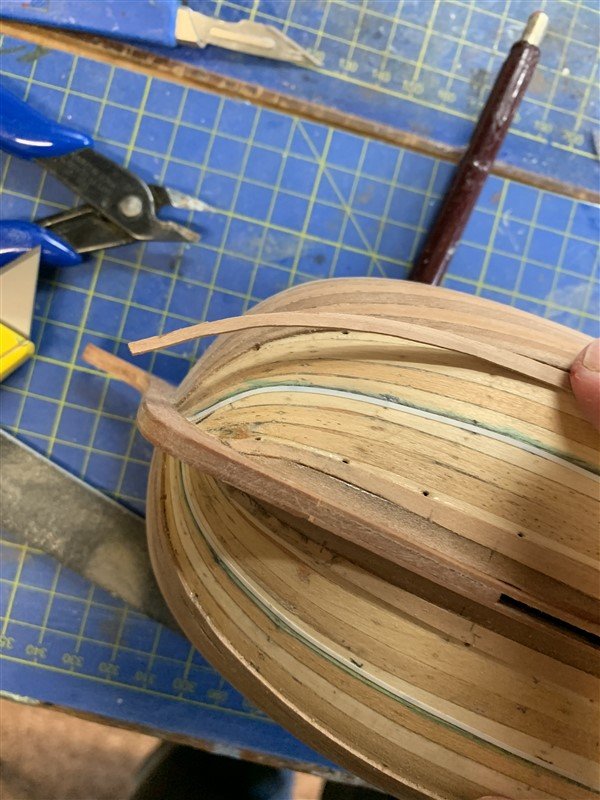
Thanks Craig, but It's worse than paint, it is going to be hidden under copper! 😬 I have done a bit of research 🤓 and Sparkler was coppered and fit-out soon after building. I don't mind, the planking was always going to be an exercise in improving my planking skills anyway. Maybe one day I will dare to do an unpainted model, just as long as I don't do any research, or my OCD will kick in and I'll have to paint/copper it, if I know the original was that way! 😆 But yes, planks are getting thin on the ground, so might be scraping together a few odds and ends to do the last couple underneath, but I have kept all the trimmed ends.
- 35 replies
-
- 6
-
-
- vanguard models
- Adder
- (and 2 more)
-
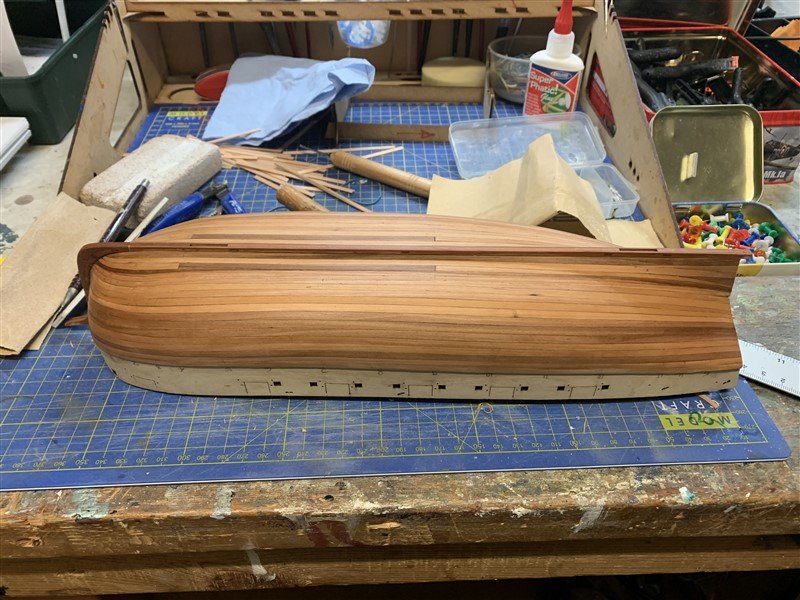
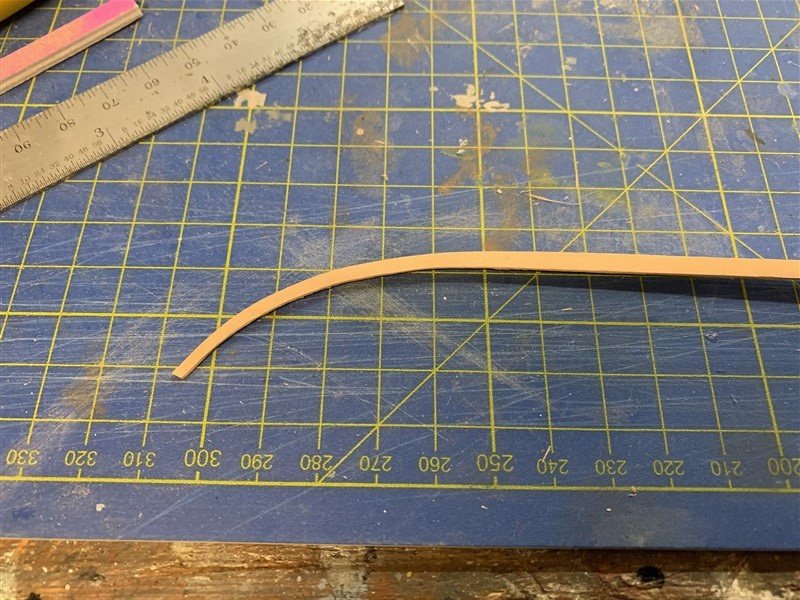
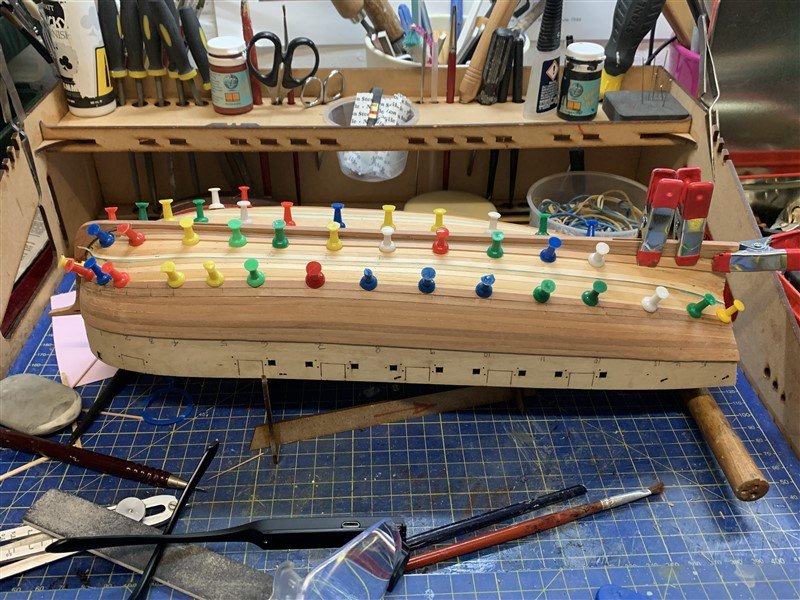
Thank you for the comments and likes everyone, second planking continues. Some of the bends were getting on the limit I could do without splitting the planks and some took a few goes under the iron to get them to curve enough. Some progress pictures, four planks left to do on each side now, but think I'm passed the worst of the bending. I have done some initial sanding of each band I have done so I don't have it all to do at the end. With a following wind I should have the second planking finished at the weekend.
- 35 replies
-
- 16
-
-

-
- vanguard models
- Adder
- (and 2 more)
-
That looks very nice, what did you paint the P.E. parts with to look like wood - really well done. 👏
-
Congratulations Tom on a fantastic build, the extra details; including the wonderful sails, really make for a stand out model.
- 144 replies
-
- 2
-
-
- HMS Speedy
- Vanguard Models
- (and 1 more)
-
You have been busy Rob, like the colour scheme you are going with, very nice.
- 47 replies
-
- 2
-
-
- Erycina
- Vanguard Models
- (and 1 more)
