AJohnson
-
Posts
2,052 -
Joined
-
Last visited
Content Type
Profiles
Forums
Gallery
Events
Everything posted by AJohnson
-
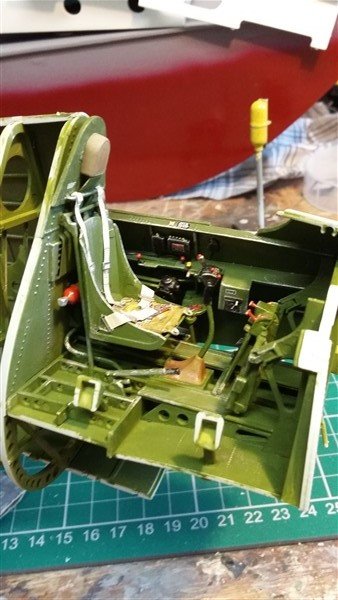
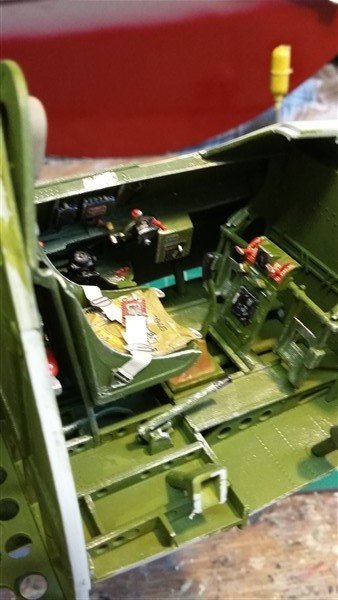
 Its taken me a while to realise "things with wings" were allowed on MSW, so here is a small selection of build shots from a recently finished project of mine of the mighty Grumman F6F-5 Hellcat in 1/24th scale! - A bit of a beast, but it actually went together fairly straightforwardly - well most plastic kits do compared to wooden model ship in my experience! 😆 The markings I chose were for a Fleet Air Arm Hellcat, JZ935 flown from HMS Indomitable by Sub-Lt T.B.Speak, as you will see from the reference photo, it came to grief on the flight deck (take a close look at the front of the engine, pilot fine...) Family link here is that the Admiral's grandfather served in the Fleet Air Arm on HMS Indomitable at the time, so may have witnessed this or the aftermath; he worked in A/C. maintenance from what I can gather.) First pics of the cockpit, engine to follow when I have resized them.
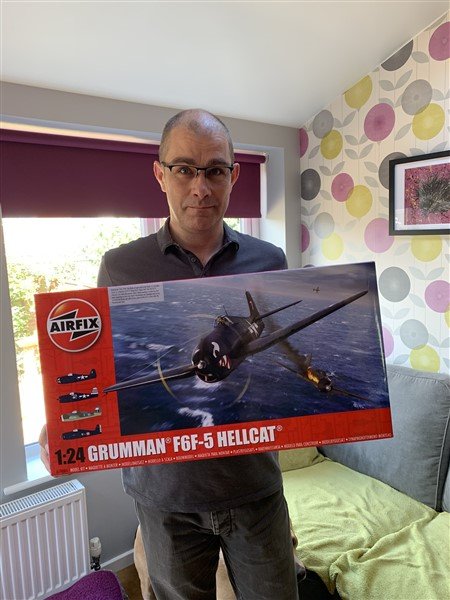

-
HMS Beagle by Krupi - OcCre - 1:60
AJohnson replied to Krupi's topic in - Kit build logs for subjects built from 1801 - 1850
Maybe have a look at pictures of HMS Trincomalee? Doing a quick image search shows plenty of pictures of her with green patina effect on the waterline you might be after. Think you are right, maybe tone it down, but an interesting way of producing a real effect on copper. 👏 well done! All down to personal taste, but like you I don't like bright and shiny copper, others people do, which is equally valid. Only comment I would make is that the "scale" effect of seeing a ship from the distance required to render is 1/60th it's real size will naturally "mute" any bright/strong colours, but I think a well done and muted green band along the waterline would be a great addition and "talking point" for many copper bottomed models.... thinking about my current build now.... 🤔 -
Beautiful build, nice to see another CC Bounty under construction, we are at similar stages, I'm also doing the ship's boats and considering the bowsprit. I will follow your build. 👍
-
Really like the copper plates you have done, the kit provided ones for other builds I've done are all a bit too nice and shiny for my liking and you have gone to the trouble to darken yours, wish I had! So good to see someone making their own - well done! 👏
-
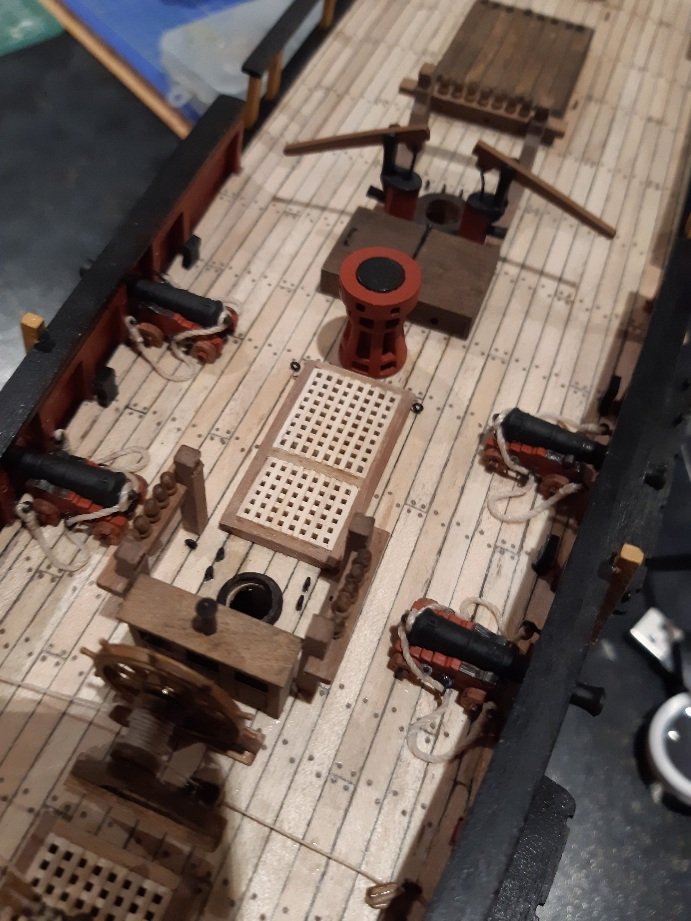
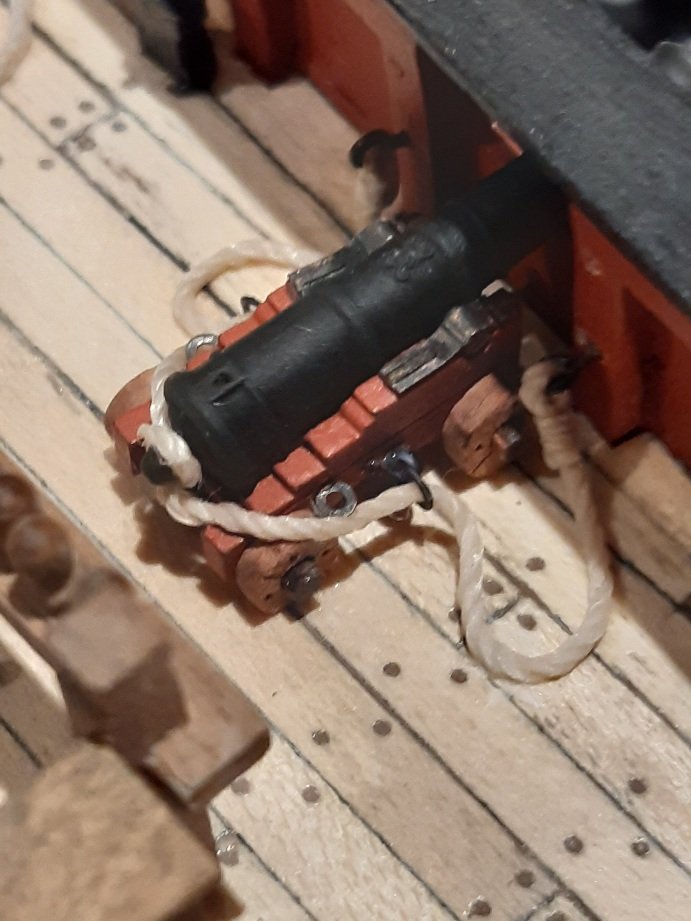
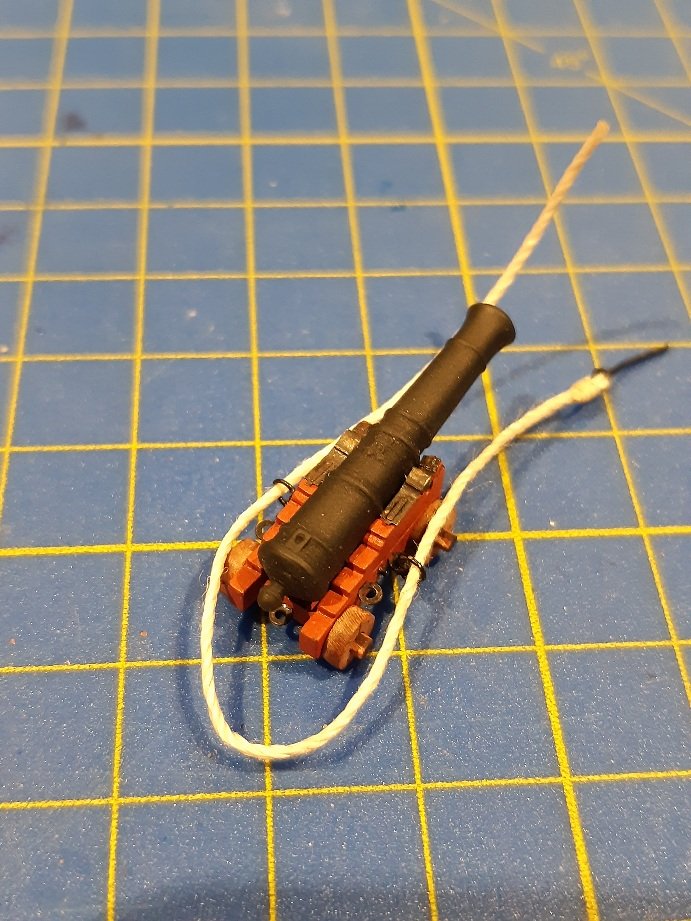
Well, the cannons are in place this evening with their breeching ropes. I soaked the threads in water so they would lay as desired and brushed over with thin matt varnish (MIG Ammo ultra matt.) so hopefully that will keep them in place on the deck. Next up the tackle, I have stroped the blocks and added hooks, so need to rig them next. Note to self for next build - add cannons and ropes BEFORE anything else on the deck! What a pain trying to do this with the Binnacle/capstan etc. in the way! Doh! 🤭

-
Likewise there are a few carvings on my CC Bounty, I will photograph and send if you want.
-
Yes I’m using Birchwood Casey Brass Black, seems to work quite well if you follow the guidance and tips here on MSW. Trick is cleaning the parts and diluting the blackener and not trying to get a jet black finish in one dip. Certainly teaches you patience this hobby of ours! 😂
-
To be honest some of it does, getting better at blackening metal parts, I used to assume that more blackening = darker metal but it just flakes off / goes crusty. So I'm now more patient and use diluted blackener for less time (a minute or two) and dip the parts more often if I want a darker tone. Still it can wipe off a bit, so a quick touch up with thin black acrylic paint is all I use when I have finished messing about with the part, but mostly it looks okay.
-
I will second that! Just starting rigging my Bounty cannons, thanks all for sharing your knowledge, makes it so much more accessible for the less experienced amongst us. 👍😄
-
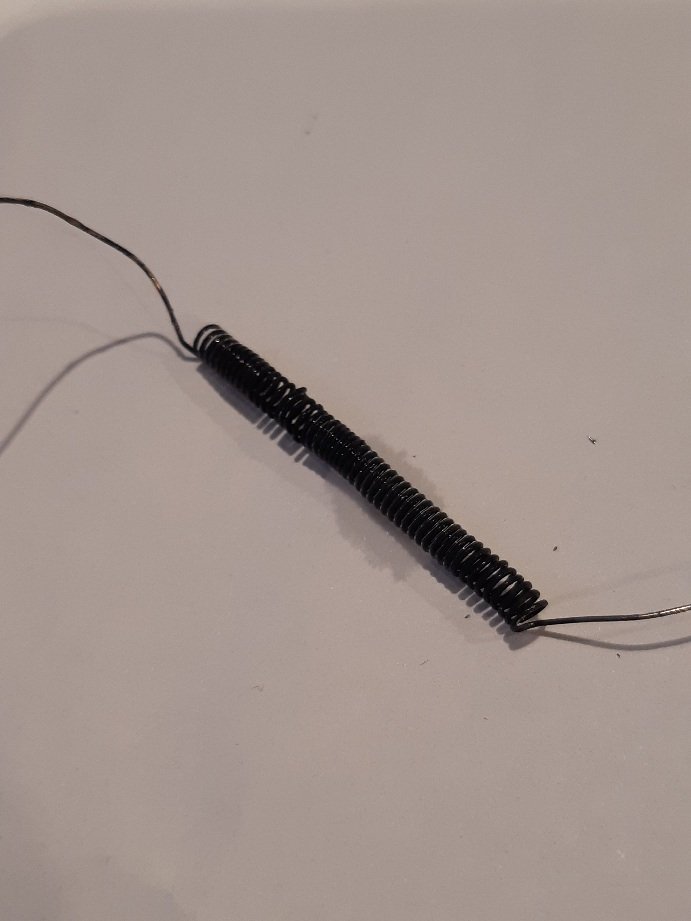
More block tying today for the cannons, also made some ring bolts for the breeching rope, used some wire wrapped around a cocktail stick. Blackened with Brass blackener, then I cut off "split rings" to thread onto the eyebolt in the cannon carriage. Hopefully the "split" bit of the ring can be hidden under the breeching rope. Mock-up picture attached.
-
It's a great little programme, makes uploading build log pictures a doddle, thanks for doing this and sharing. 😄
-
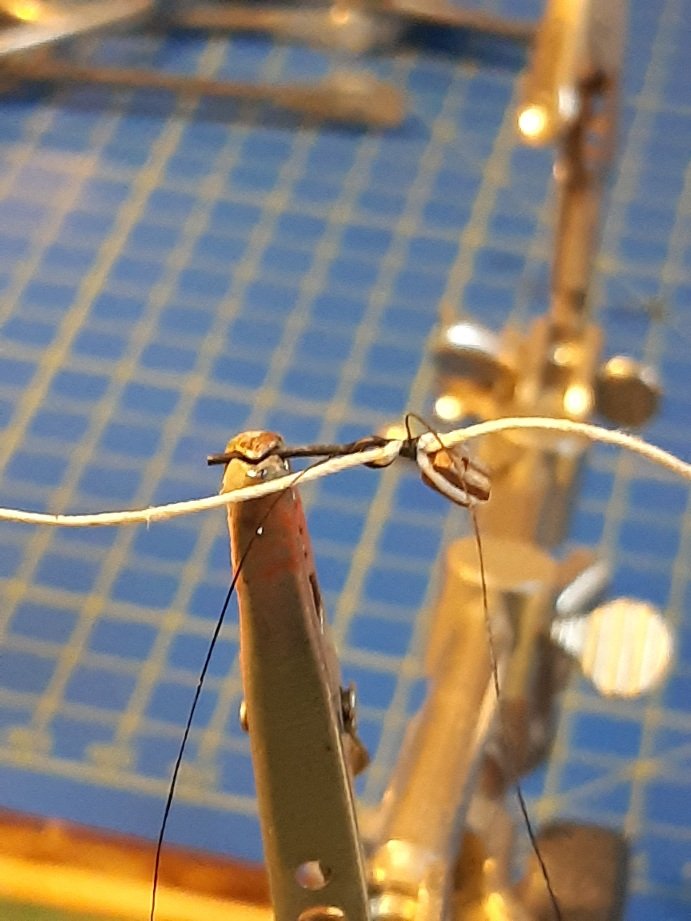
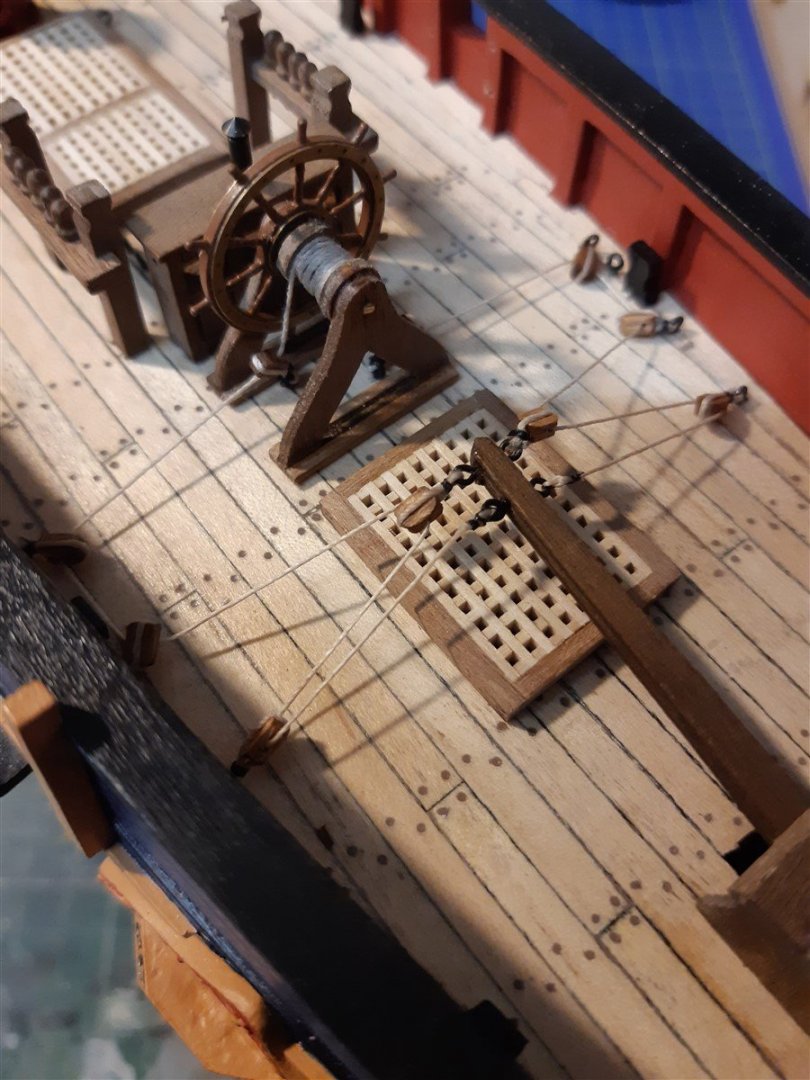
Had a frustrating few evenings tying eyes to blocks and doing the rigging for the Tiller/Wheel. Got there in the end, but wish I had waited for the brilliant advice I got from John @JRB9019 who talked me through his method and sent me a wonderful word document on stropping blocks! 😁 - Thank you John! 👏 Also had a mini disaster when threading the thread through all the blocks and wrapping around the wheel when one of the blocks popped out. ☹️ Took most of this evening to redo. Off to practice with Car sponges / rope & gaffer tape rolls! (will let John explain that one! 🤣)
-
Hi John, Looking good, I'm just at this stage on my Bounty, looking at how to tie blocks to eyelets and hooks, so glad to come across someone doing the same. Yep CC instructions are brill aren't they! 😆 I've got myself some illuminated headset magnifying lenses, as my eyesight is not what it once was! 🤓
-
The new Binnacle is from Vanguard models, they do them in 1/64th and 1/72nd scale, sorry not your 1/50th scale! However the McKay AOTS book you have just got does show the Binnacle, so maybe you might try building one from scratch if your kit does not provide one?
-
Seemed to do a lot of faffing about tonight with not much progress to show, except for the replacement Binnacle from Vanguard installed, it's quite a bit wider than the the CC one, hope that doesn't cause issues down the line.... 🤔
-
That is a good book and I have been referring to it constantly. Yes it does show up discrepancies with the various kits out there; my Caldercraft Bounty is no exception, all us lesser mortals can do is try and make our kits a little better by referring to sources like McKay and MSW of course! Maybe one day, perhaps, gain the skills to scratch build something! 🤣 Keep up the good work!
-
Thanks Mike, really hoping to finish this one! I'm enjoying following your Snake build closely, as I have one of those in stock! 😉
-
You have done a fine job Mike! By coincidence I have just done the catheads on my Bounty build, I only channelled out between holes for the catfalls and didn't do sheaves, I salute your dedication! 👏
-
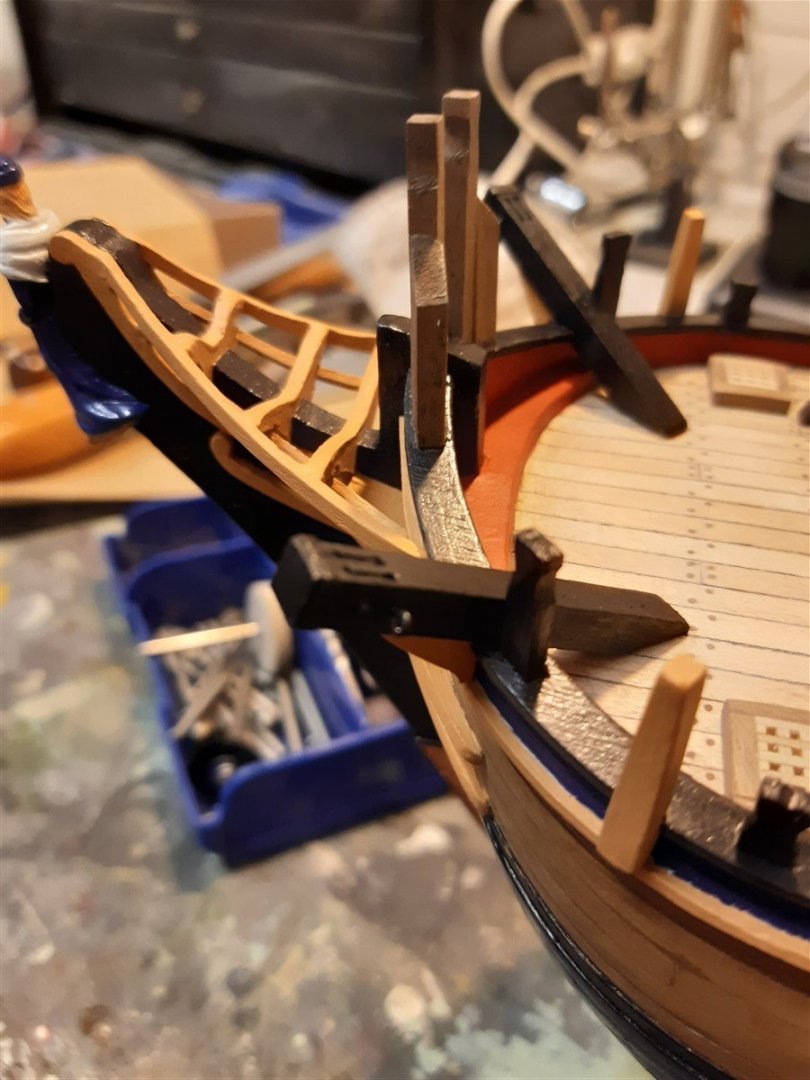
Another quick update, added the Catheads, adding card strip to simulate the band at the end of the Cathead from MyKay's AOTS book. Also channelled out between the holes drilled for the catfall, so they don't sit proud of the cathead; didn't go as far as sheaves!
-
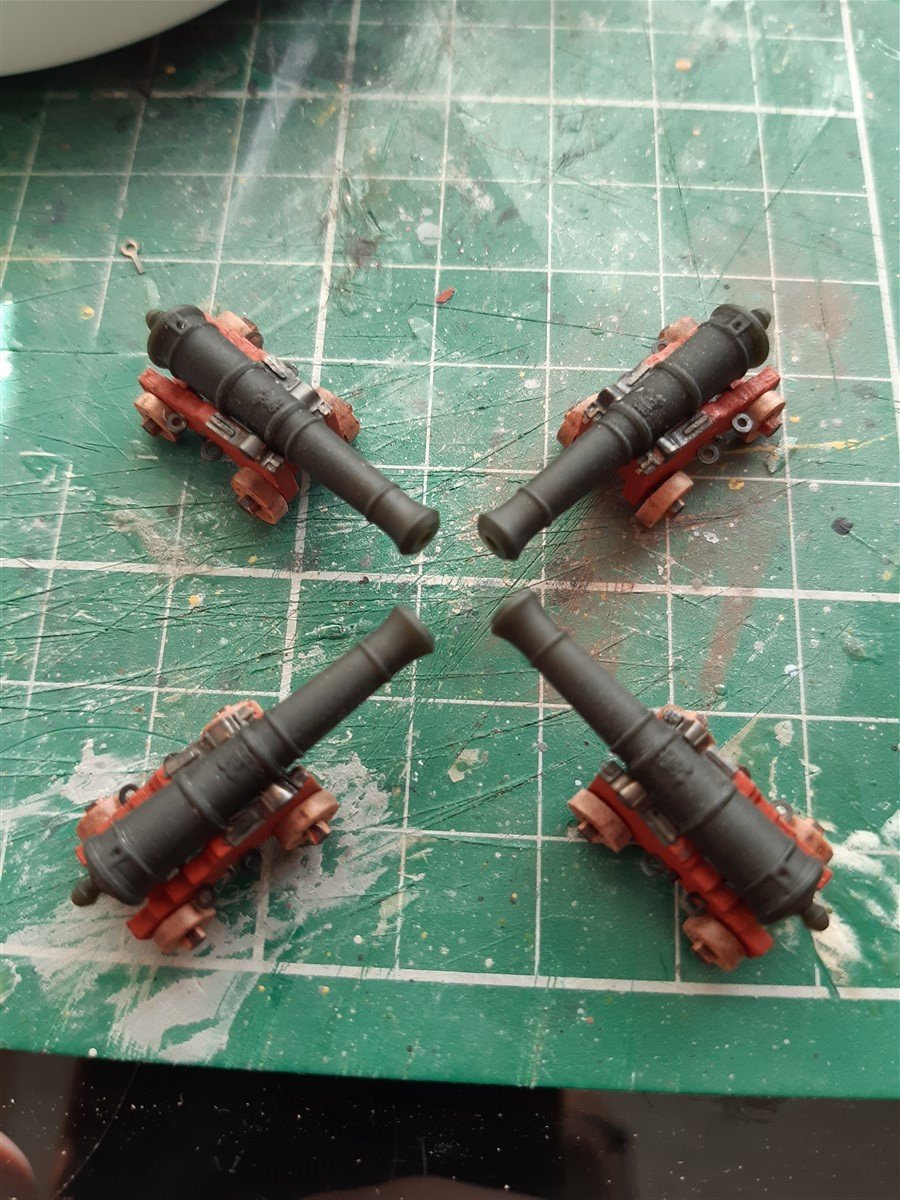
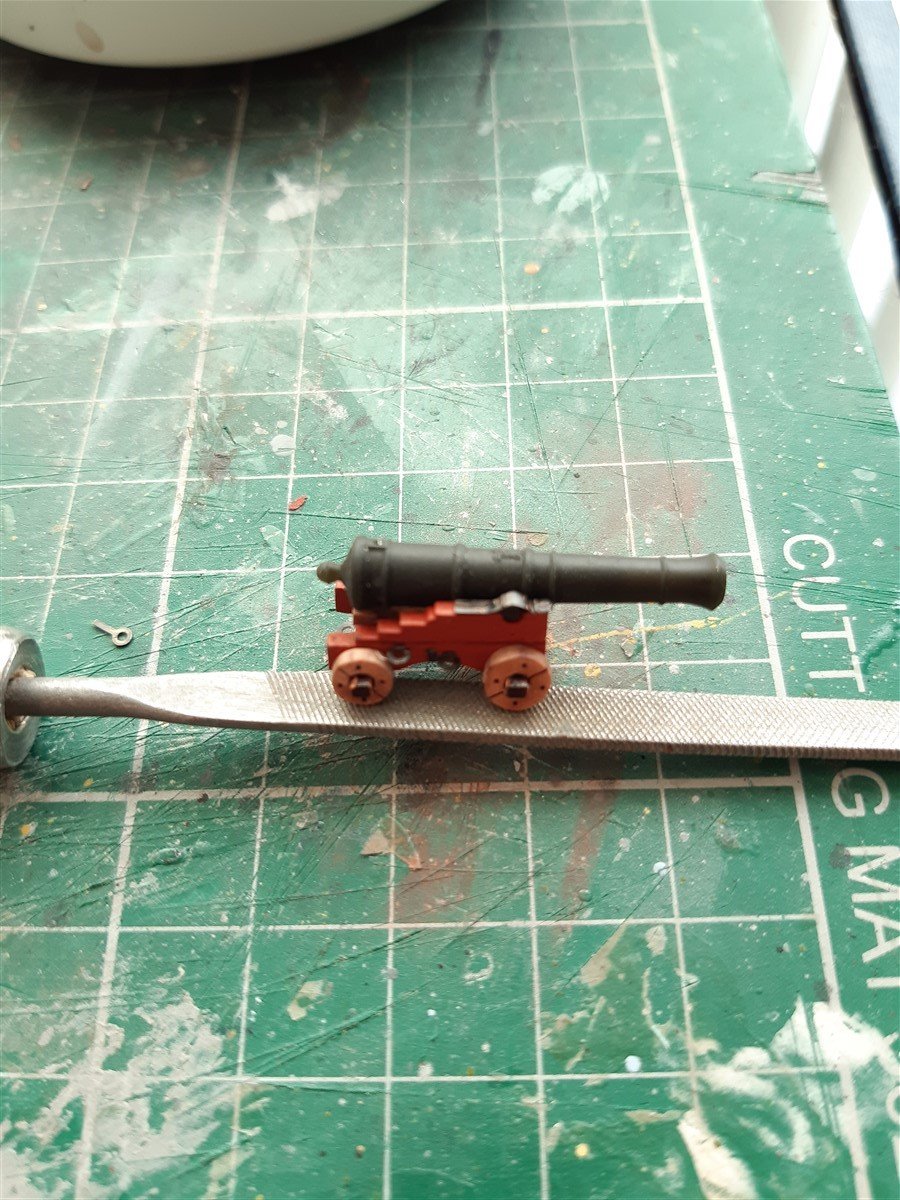
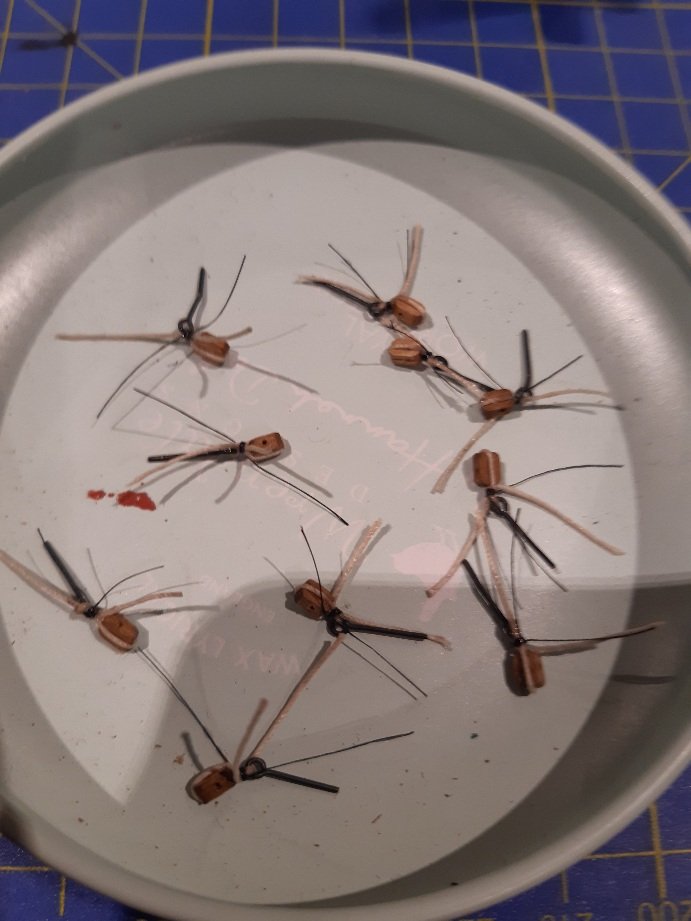
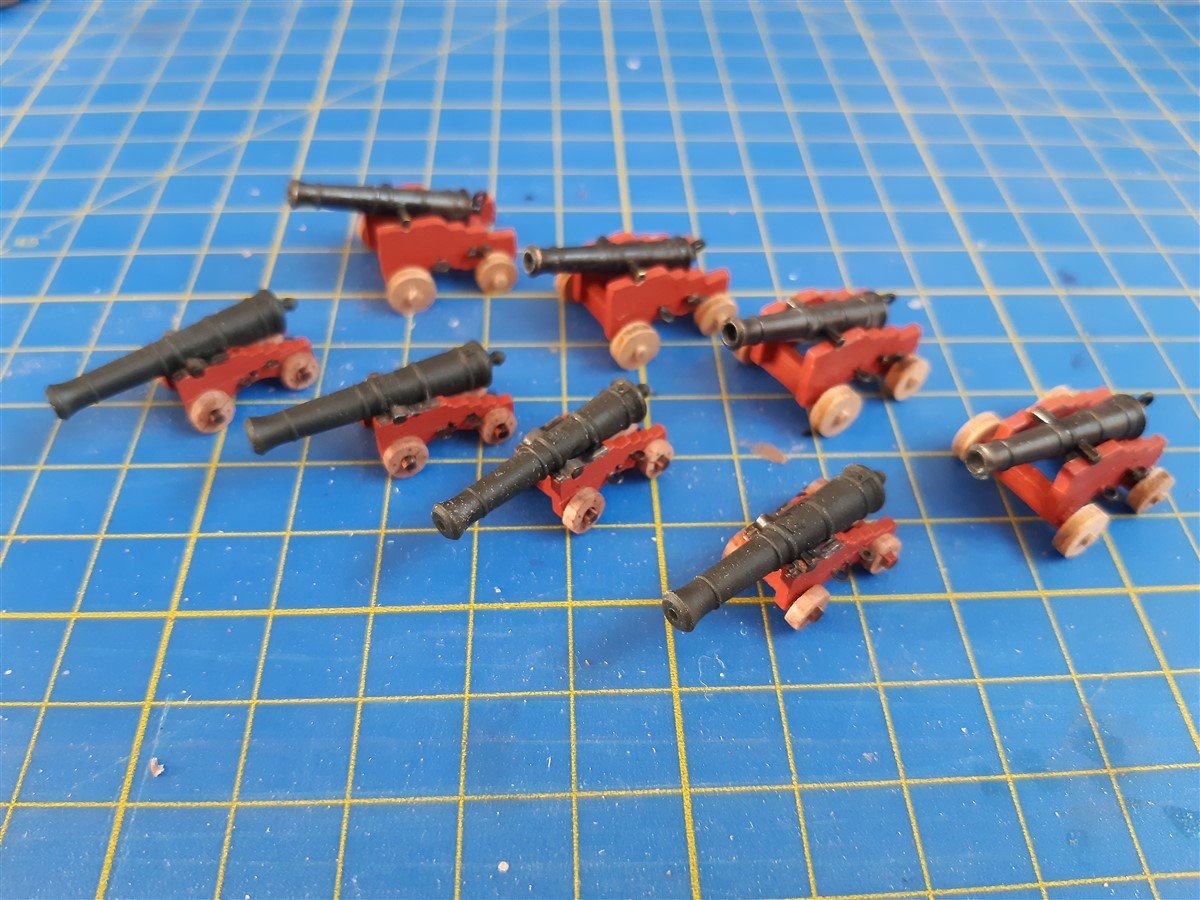
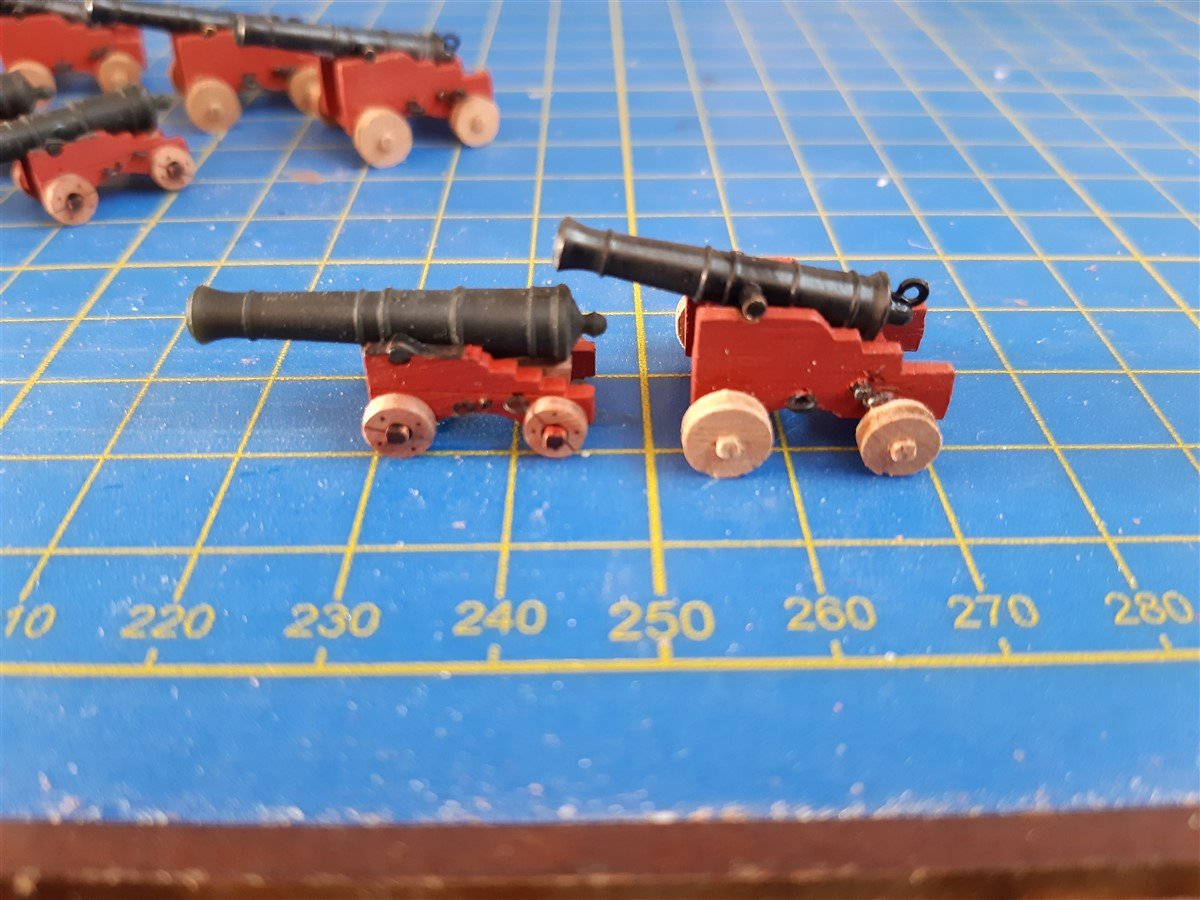
Finished assembling the replacement Cannons and carriages from Vanguard models, these are fine little models in their own right and went together quite easily. To be fair I don't think the original CC ones are bad, but just looked a bit "clunky" For comparison the row of cannons at the back and on the right are the originals. Think the new carriages look very close to the McKay AOTS drawings. Now looking through MSW for tips, to see about rigging them, as there are only four of them going to try more than the breech rope - hopefully!


-
I didn't know that, every day is a school day, so it could be facing any direction, one less thing I need to worry I could stuff up! Thank you 🙂
-
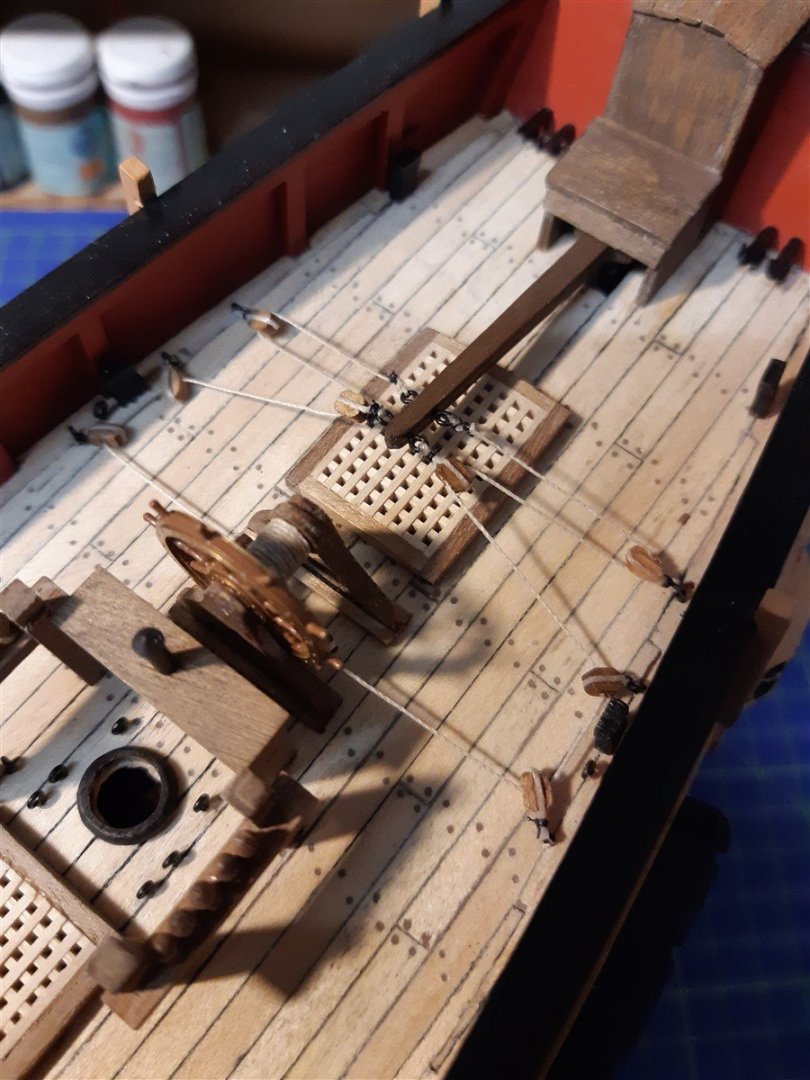
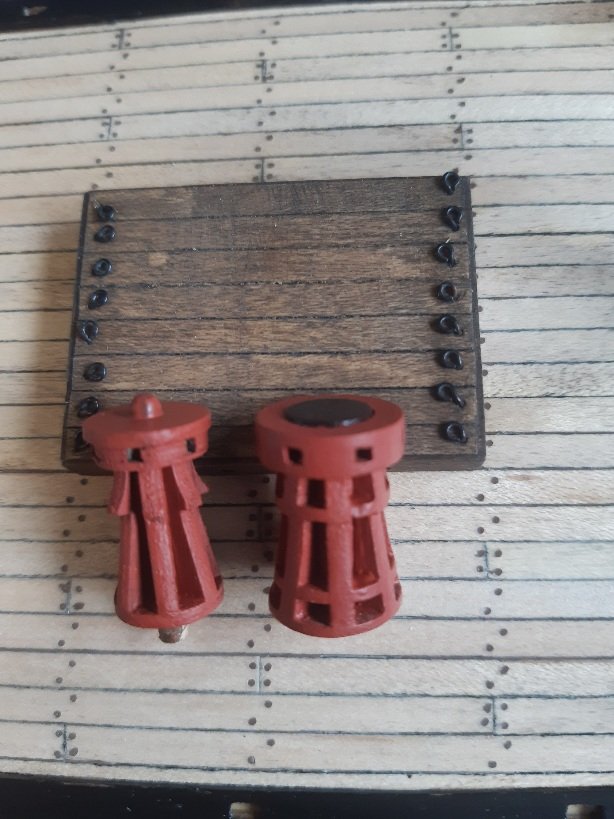
Bit more progress, added the capstan; I replaced the kit part with a new one from Vanguard Models, which went together really well (the kit part is the one on the left on the side by side picture.) Also finished and added the two pumps.
-
Ah, maybe that explains things as I have also noticed Cornwall are not their usual service for despatch when getting replacement parts for my Bounty.
-
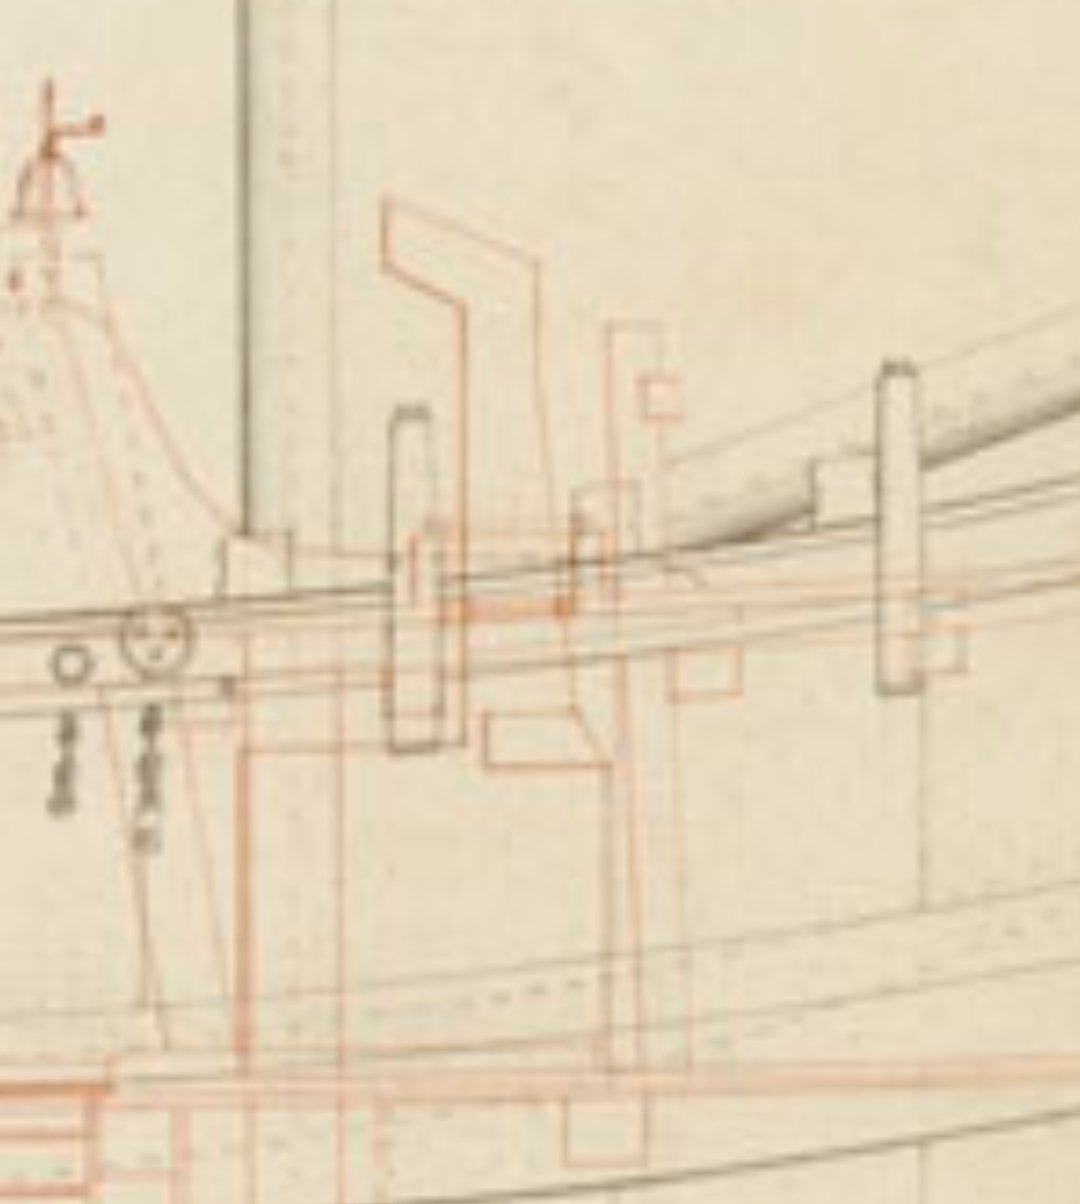
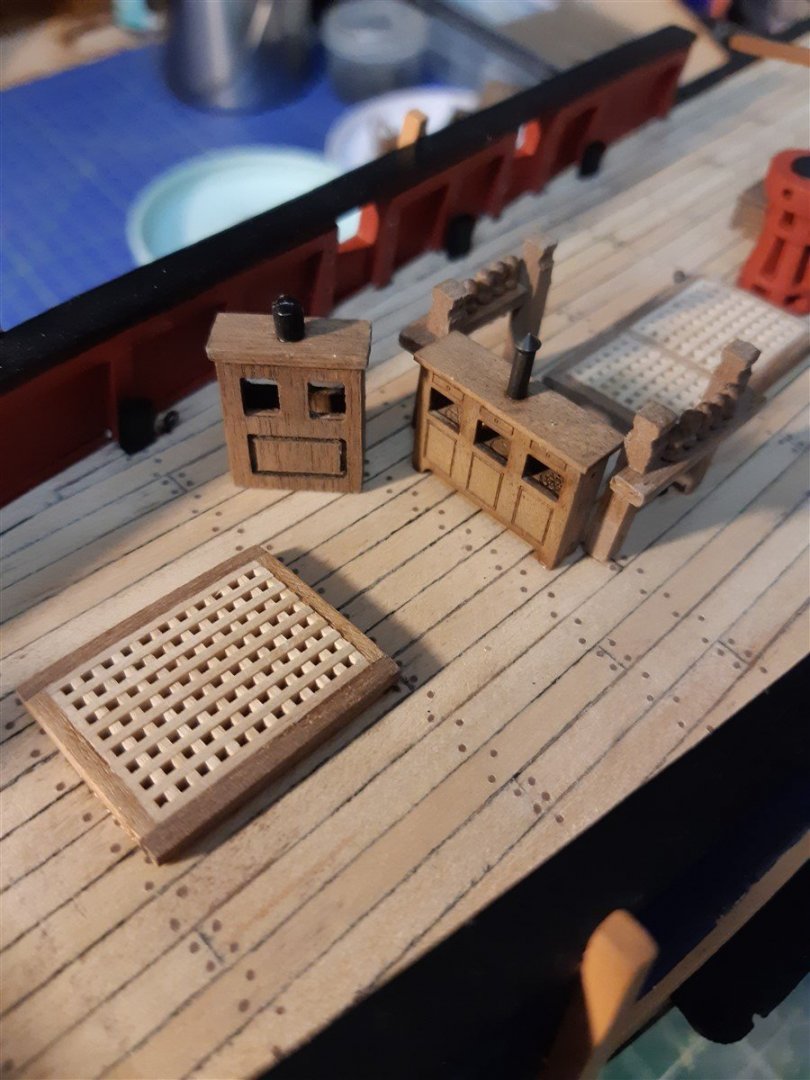
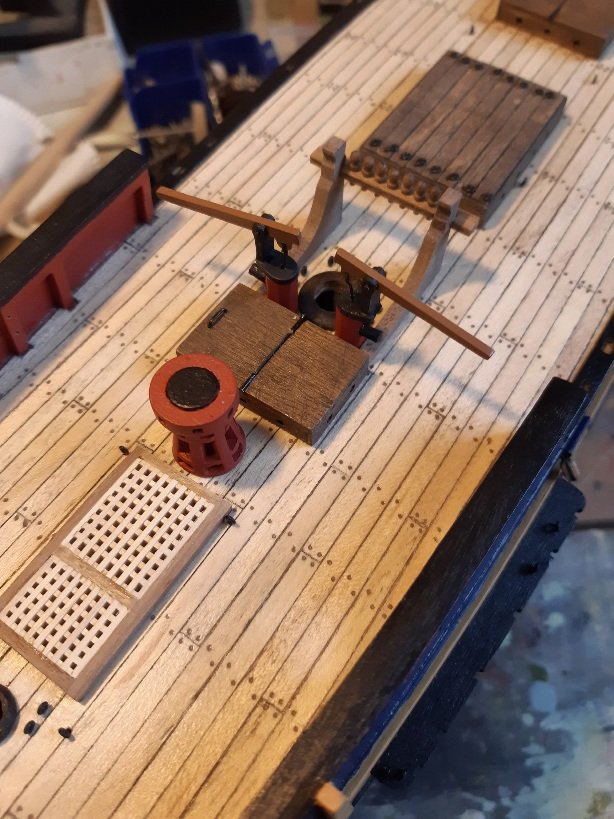
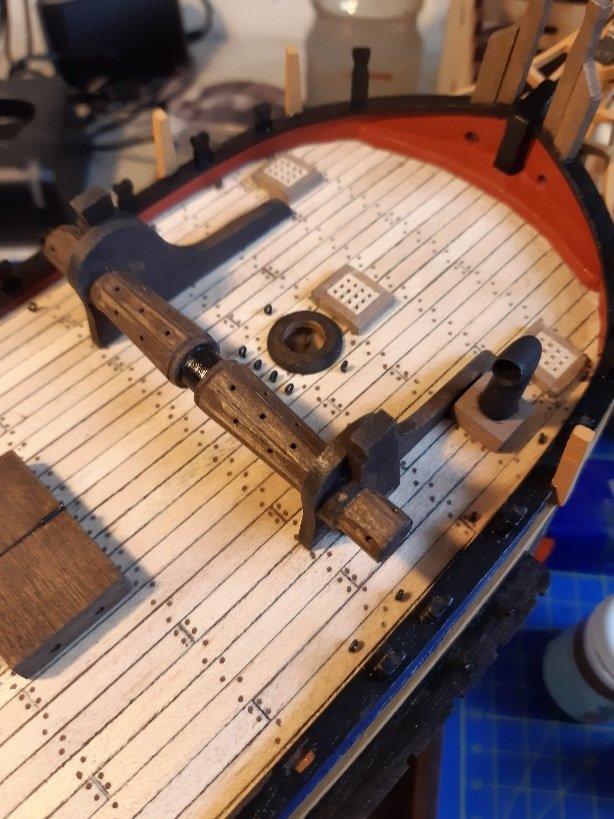
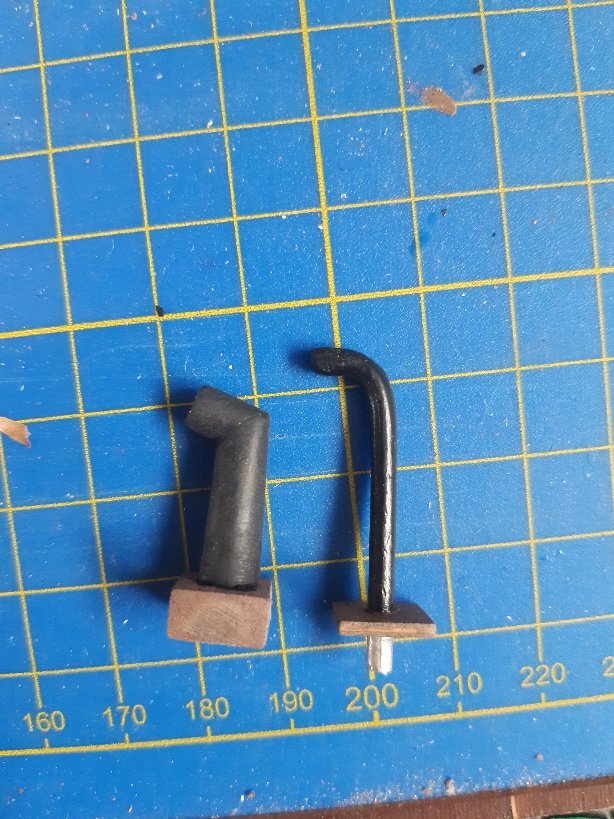
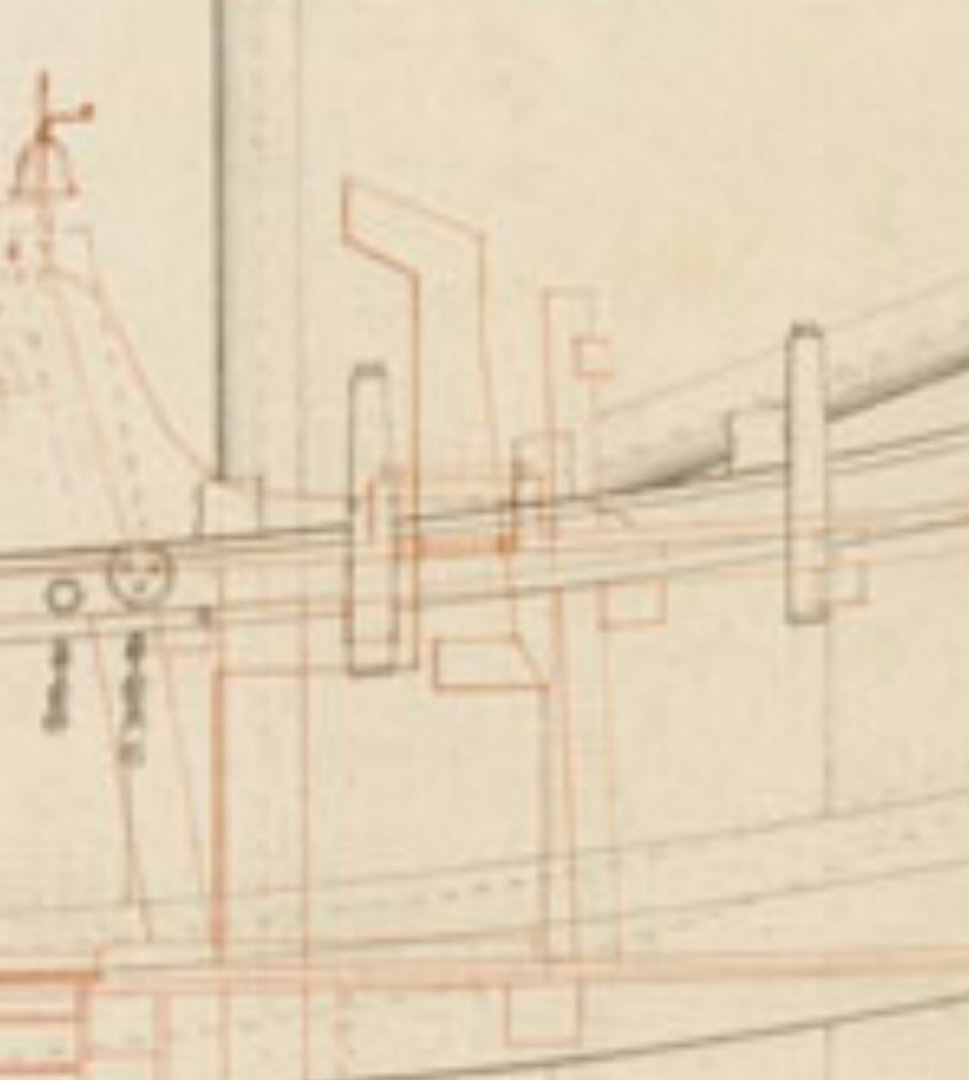
Replaced the kit chimney (which looks like a 20th century chimney - the one on the right of the pictures showing the two) with another white metal Caldercraft part, though this needed cutting so the opening was not at right angles to the chimney stack and a rim around the opening need filing off. I have also looked into which direction the opening faced, many builds and McKay's AOTS book show the chimney opening facing forward, but the original plans show it facing to the rear, so I have gone with that.

-
I'll be keeping a close eye on your progress Dave, as I hope to be on with masts and rigging in a few weeks time with my own Bounty. Keep us posted 👍