HOLIDAY DONATION DRIVE - SUPPORT MSW - DO YOUR PART TO KEEP THIS GREAT FORUM GOING! (Only 20 donations so far - C'mon guys!)
×

S.Coleman
-
Posts
1,146 -
Joined
-
Last visited
Content Type
Profiles
Forums
Gallery
Events
Everything posted by S.Coleman
-
 Thank you Grant for having a peek. These decorations are coming up great. It's putting so much weight onto the model that I had to move it's temporary stand down the keel towards the stern in order for the model to be balanced. Thanks for checking in.
 -
Yes I have seen that too with the build log of greatgallons. But lucky for me this kit must be a newer one as I have already measured and they are fine. Cheers for checking in.
-
Cheers. Sounds like walnut will be best. The glue, I was just wondering if you are sticking Wood strips to the clay model itself. Not too sure how Wood glue would stick too well to clay. Or you might have to use super glue.
-
Great job on the skylights. I've never used that Krystal clear before but it sounds like it's magic. Top work.
- 258 replies
-
- 2
-

-
- harriet lane
- model shipways
- (and 1 more)
-
Im all in for the changes. As for the carvings......um. How are you finding the sergal plans? I dare not ask about the rigging plans. Be Interesting to see how the transom pans out. I'm sure it will be fine. Nice job.
- 322 replies
-
- 3
-
-
- sergal
- sovereign of the seas
- (and 5 more)
-
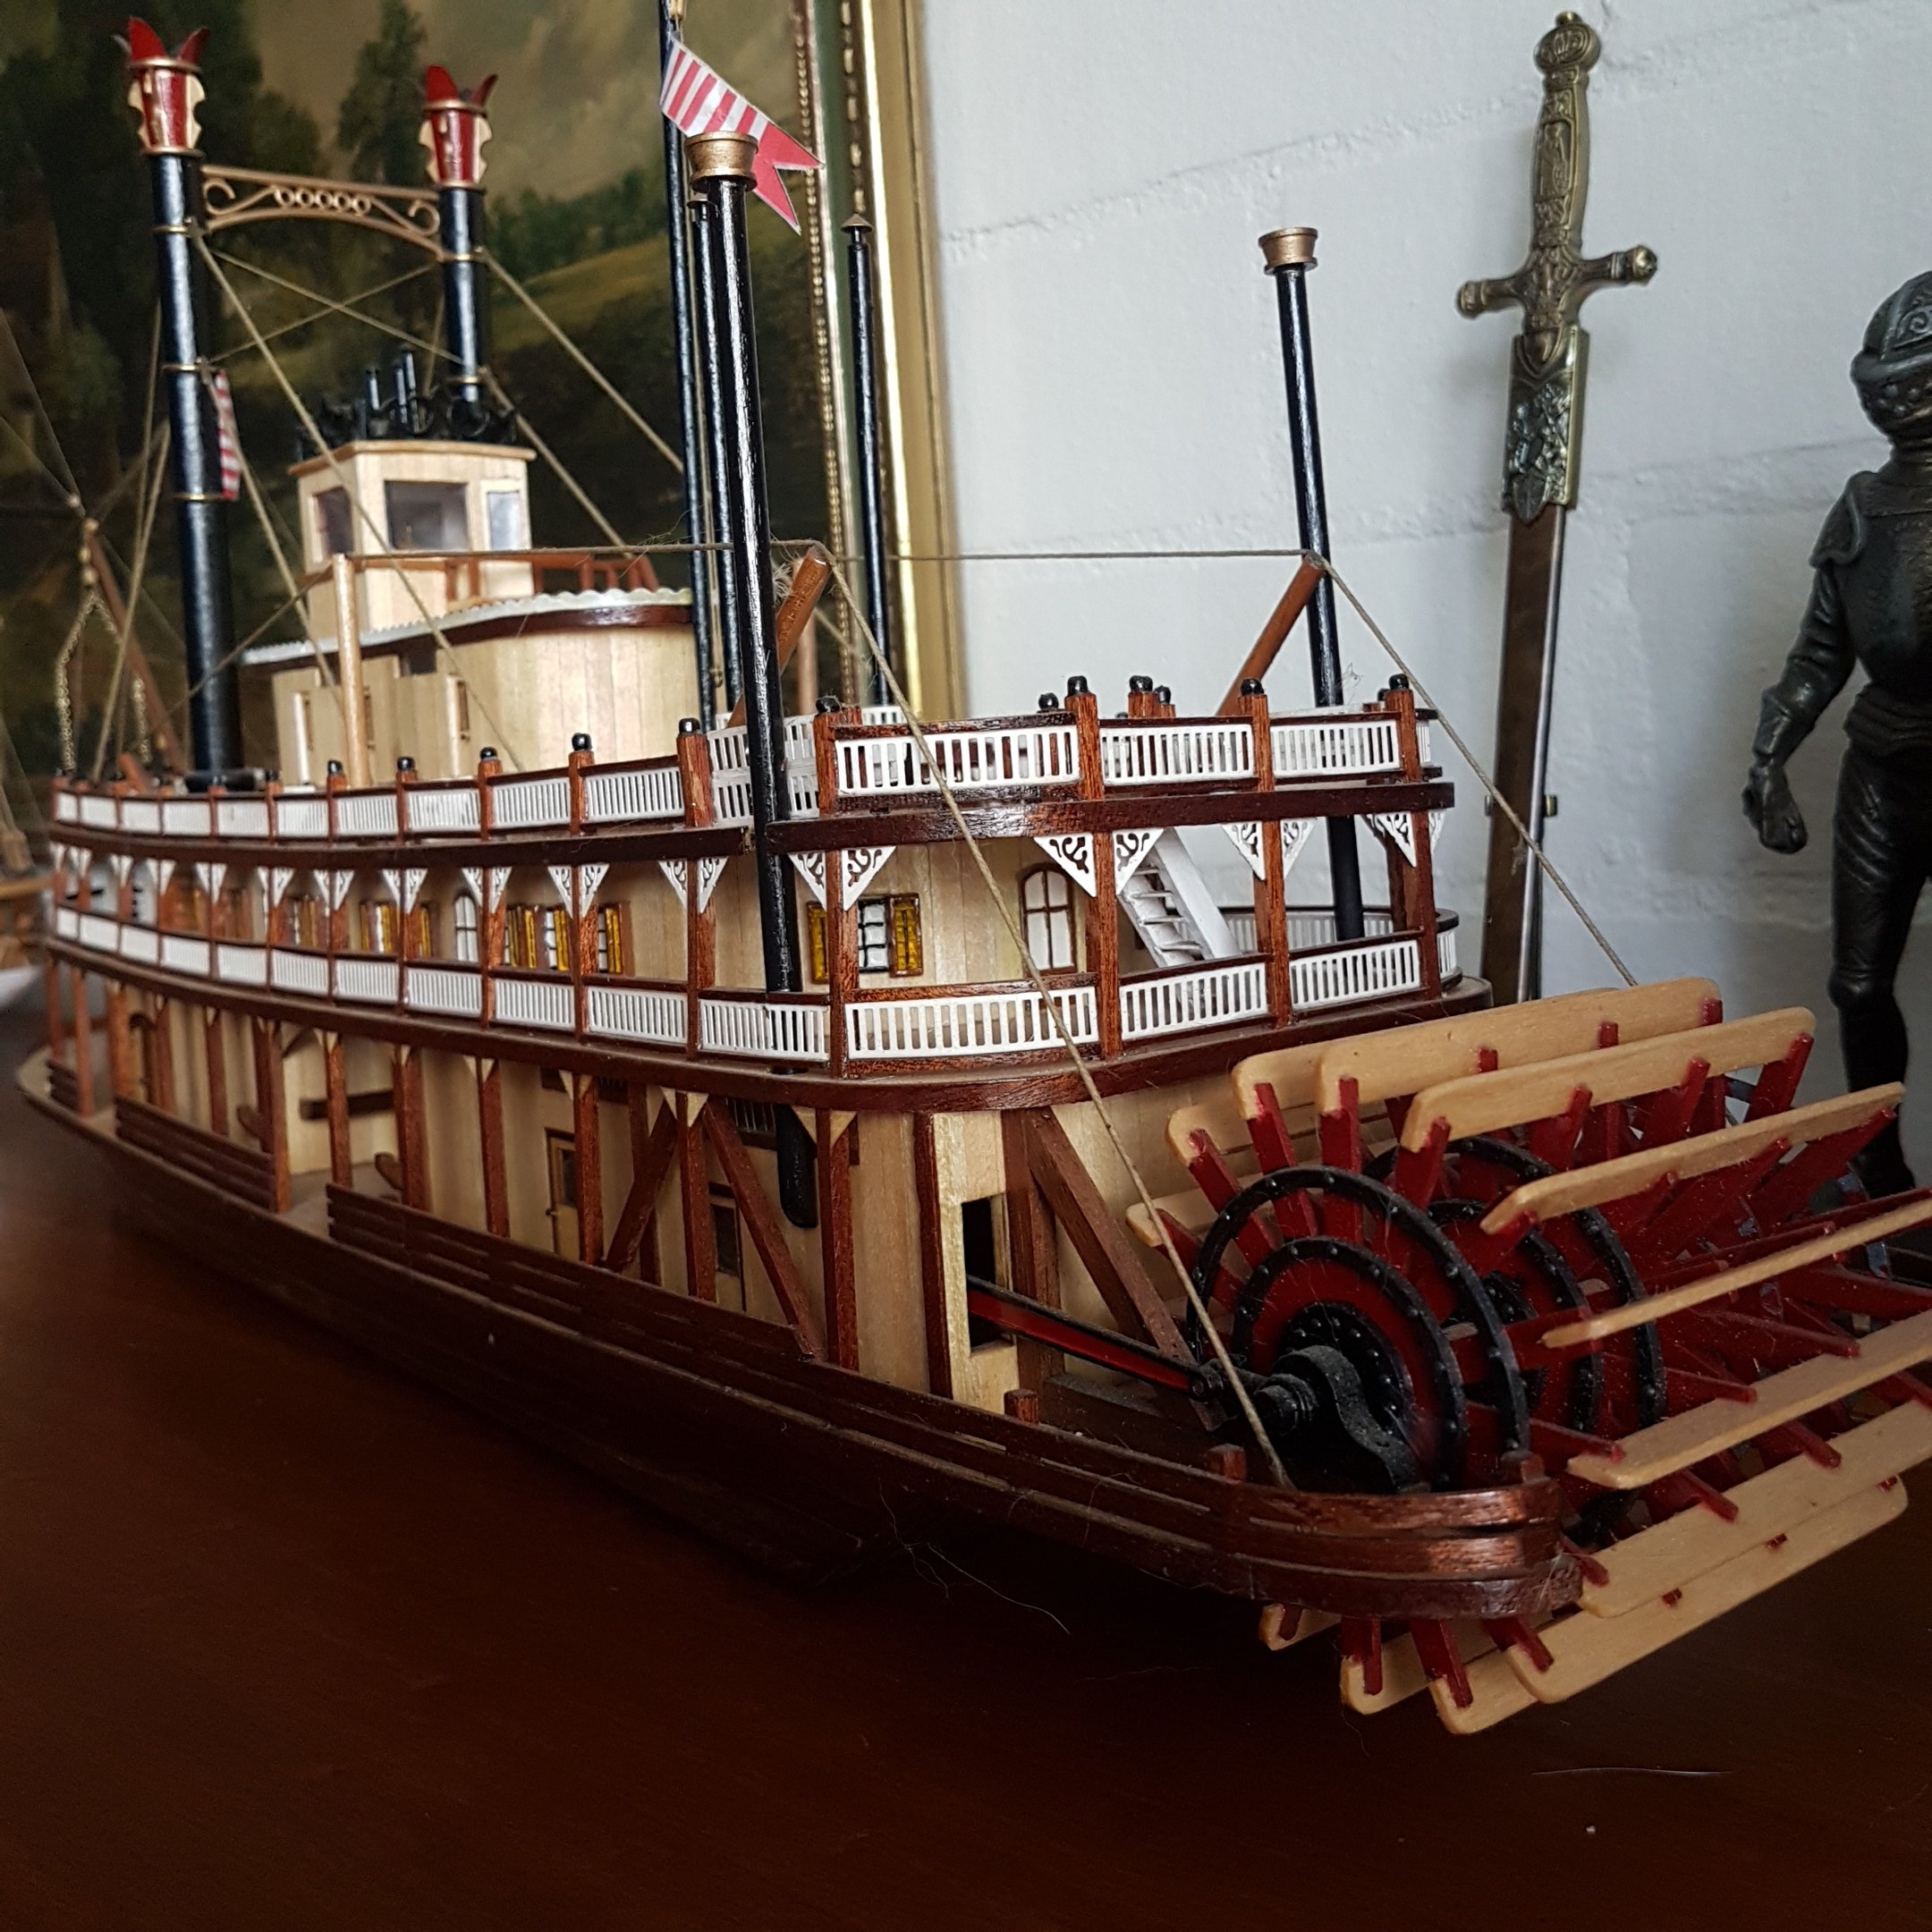
Congratulations on finishing your build. It looks amazing. Well done. Top notch job.
- 265 replies
-
- 2
-
-
- finished
- artesania latina
- (and 1 more)
-
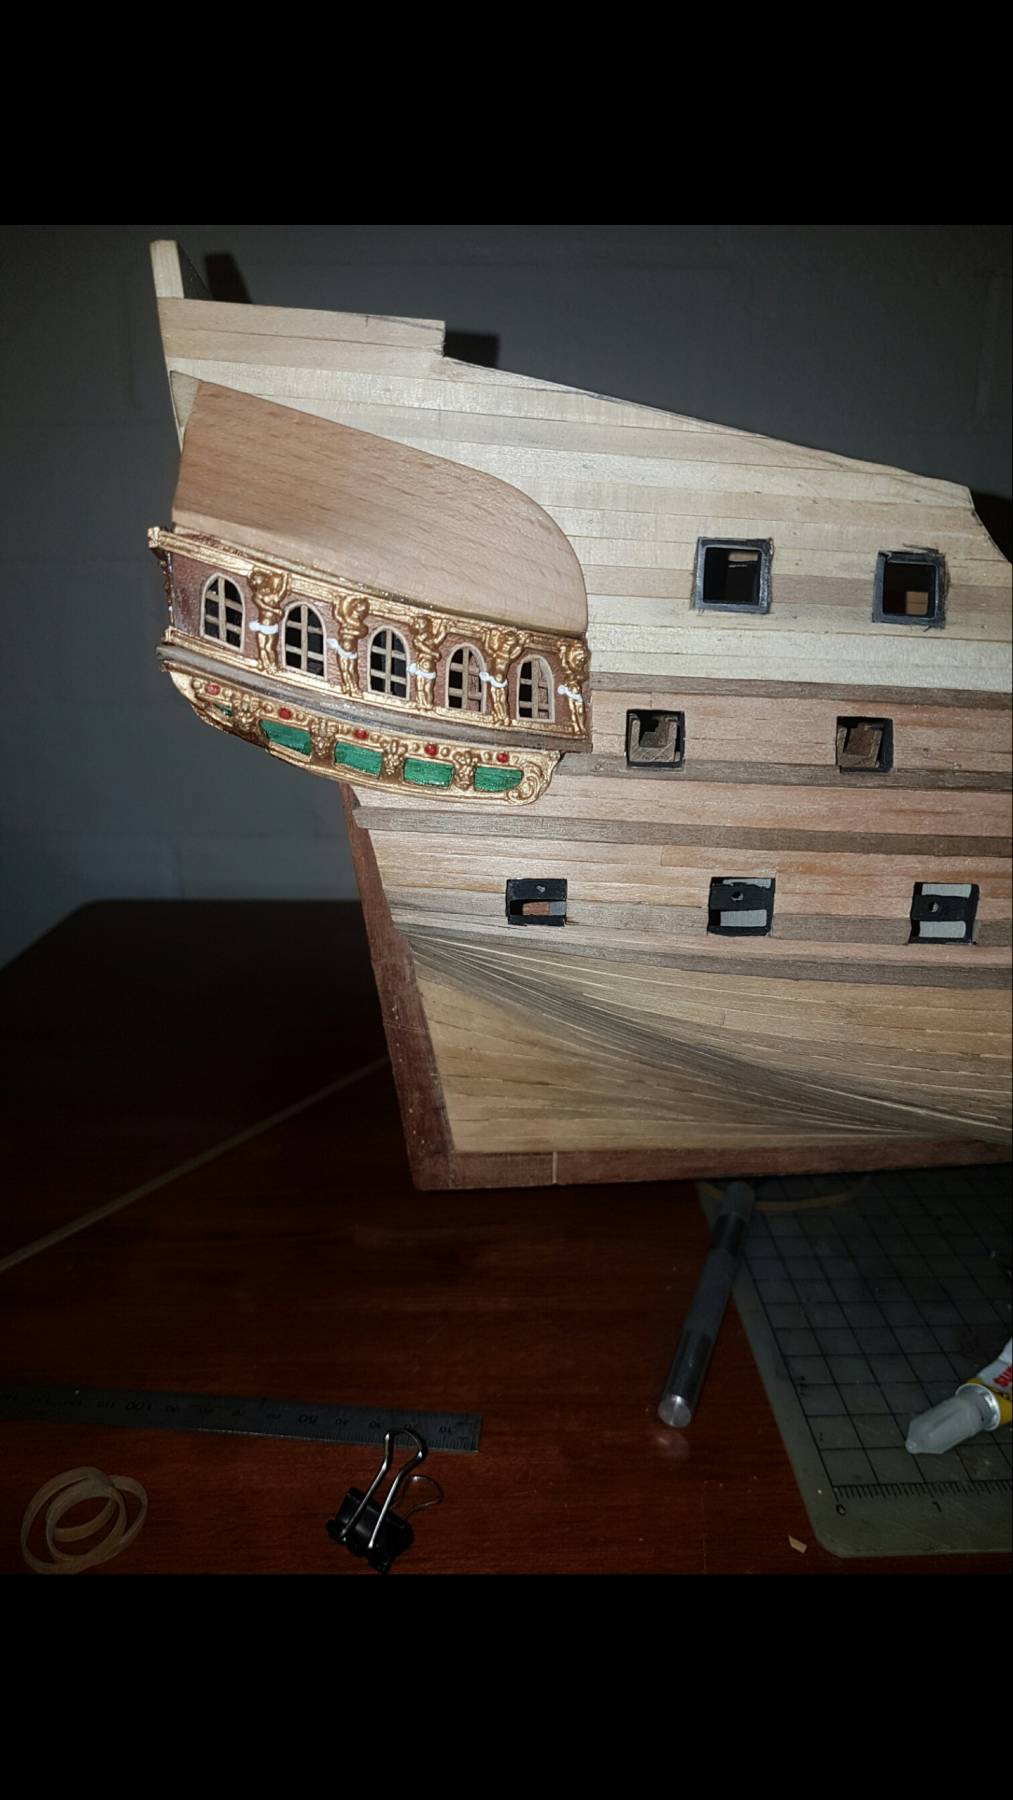
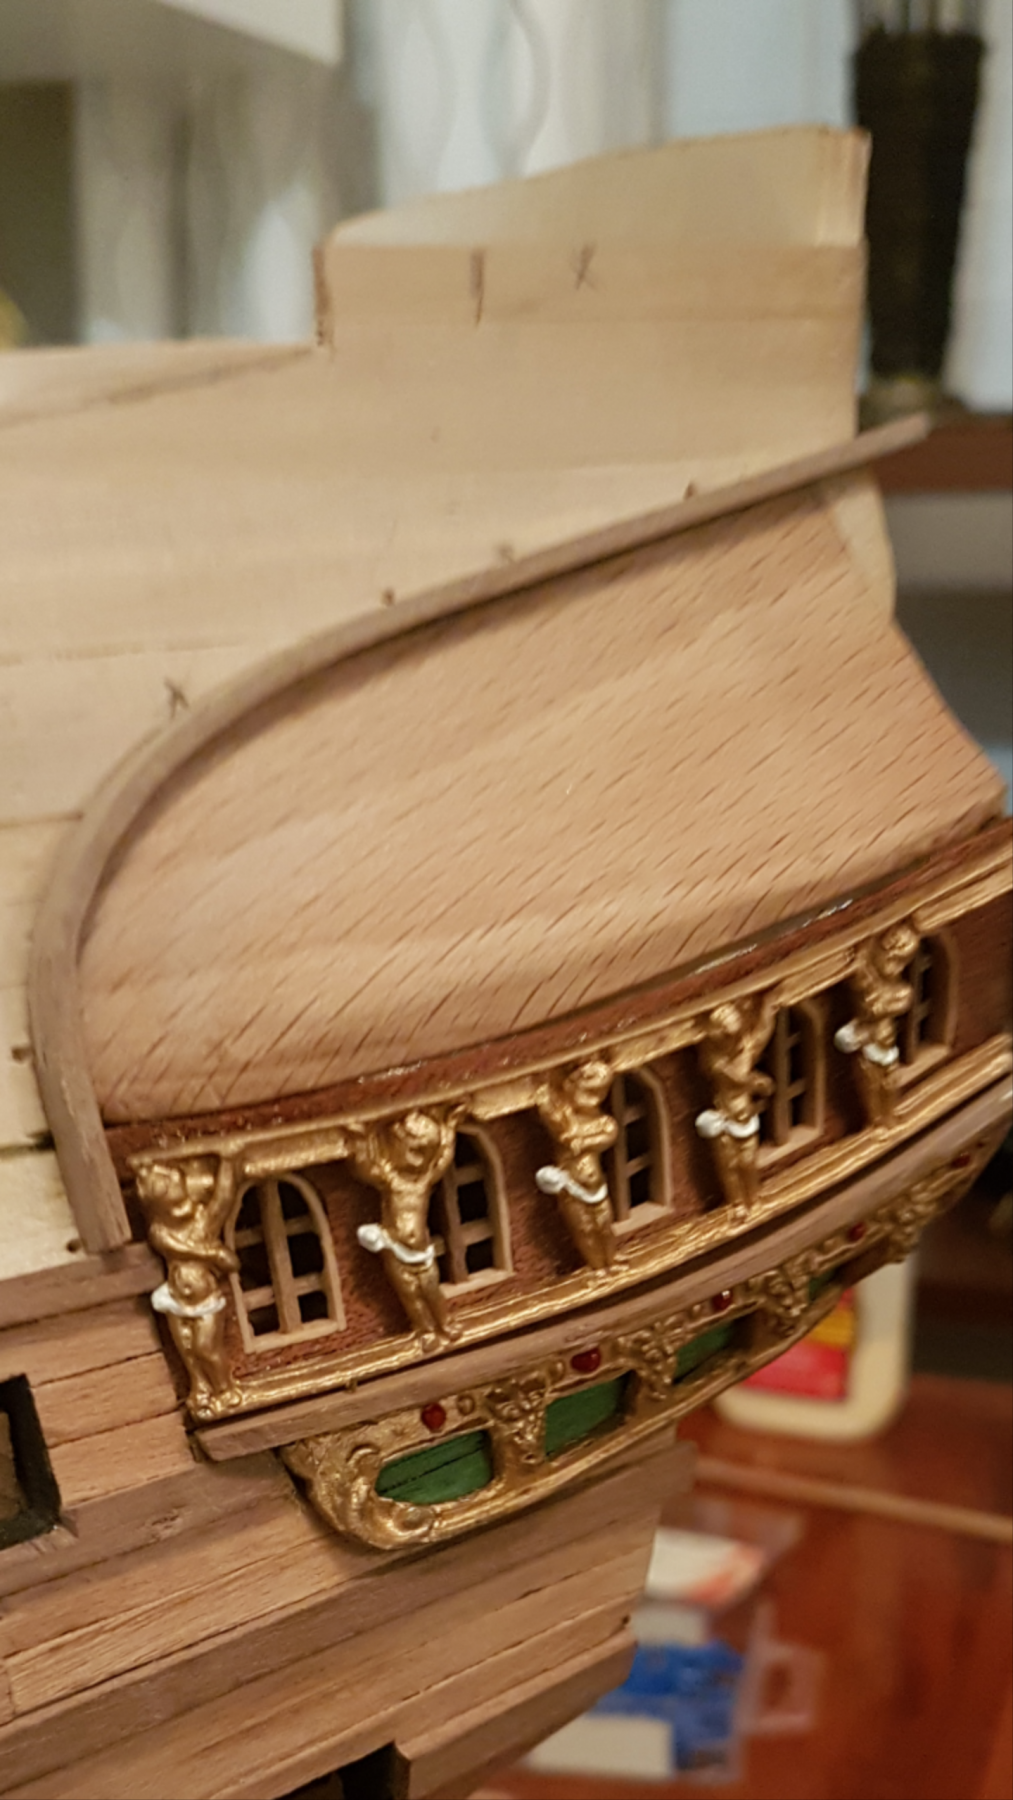
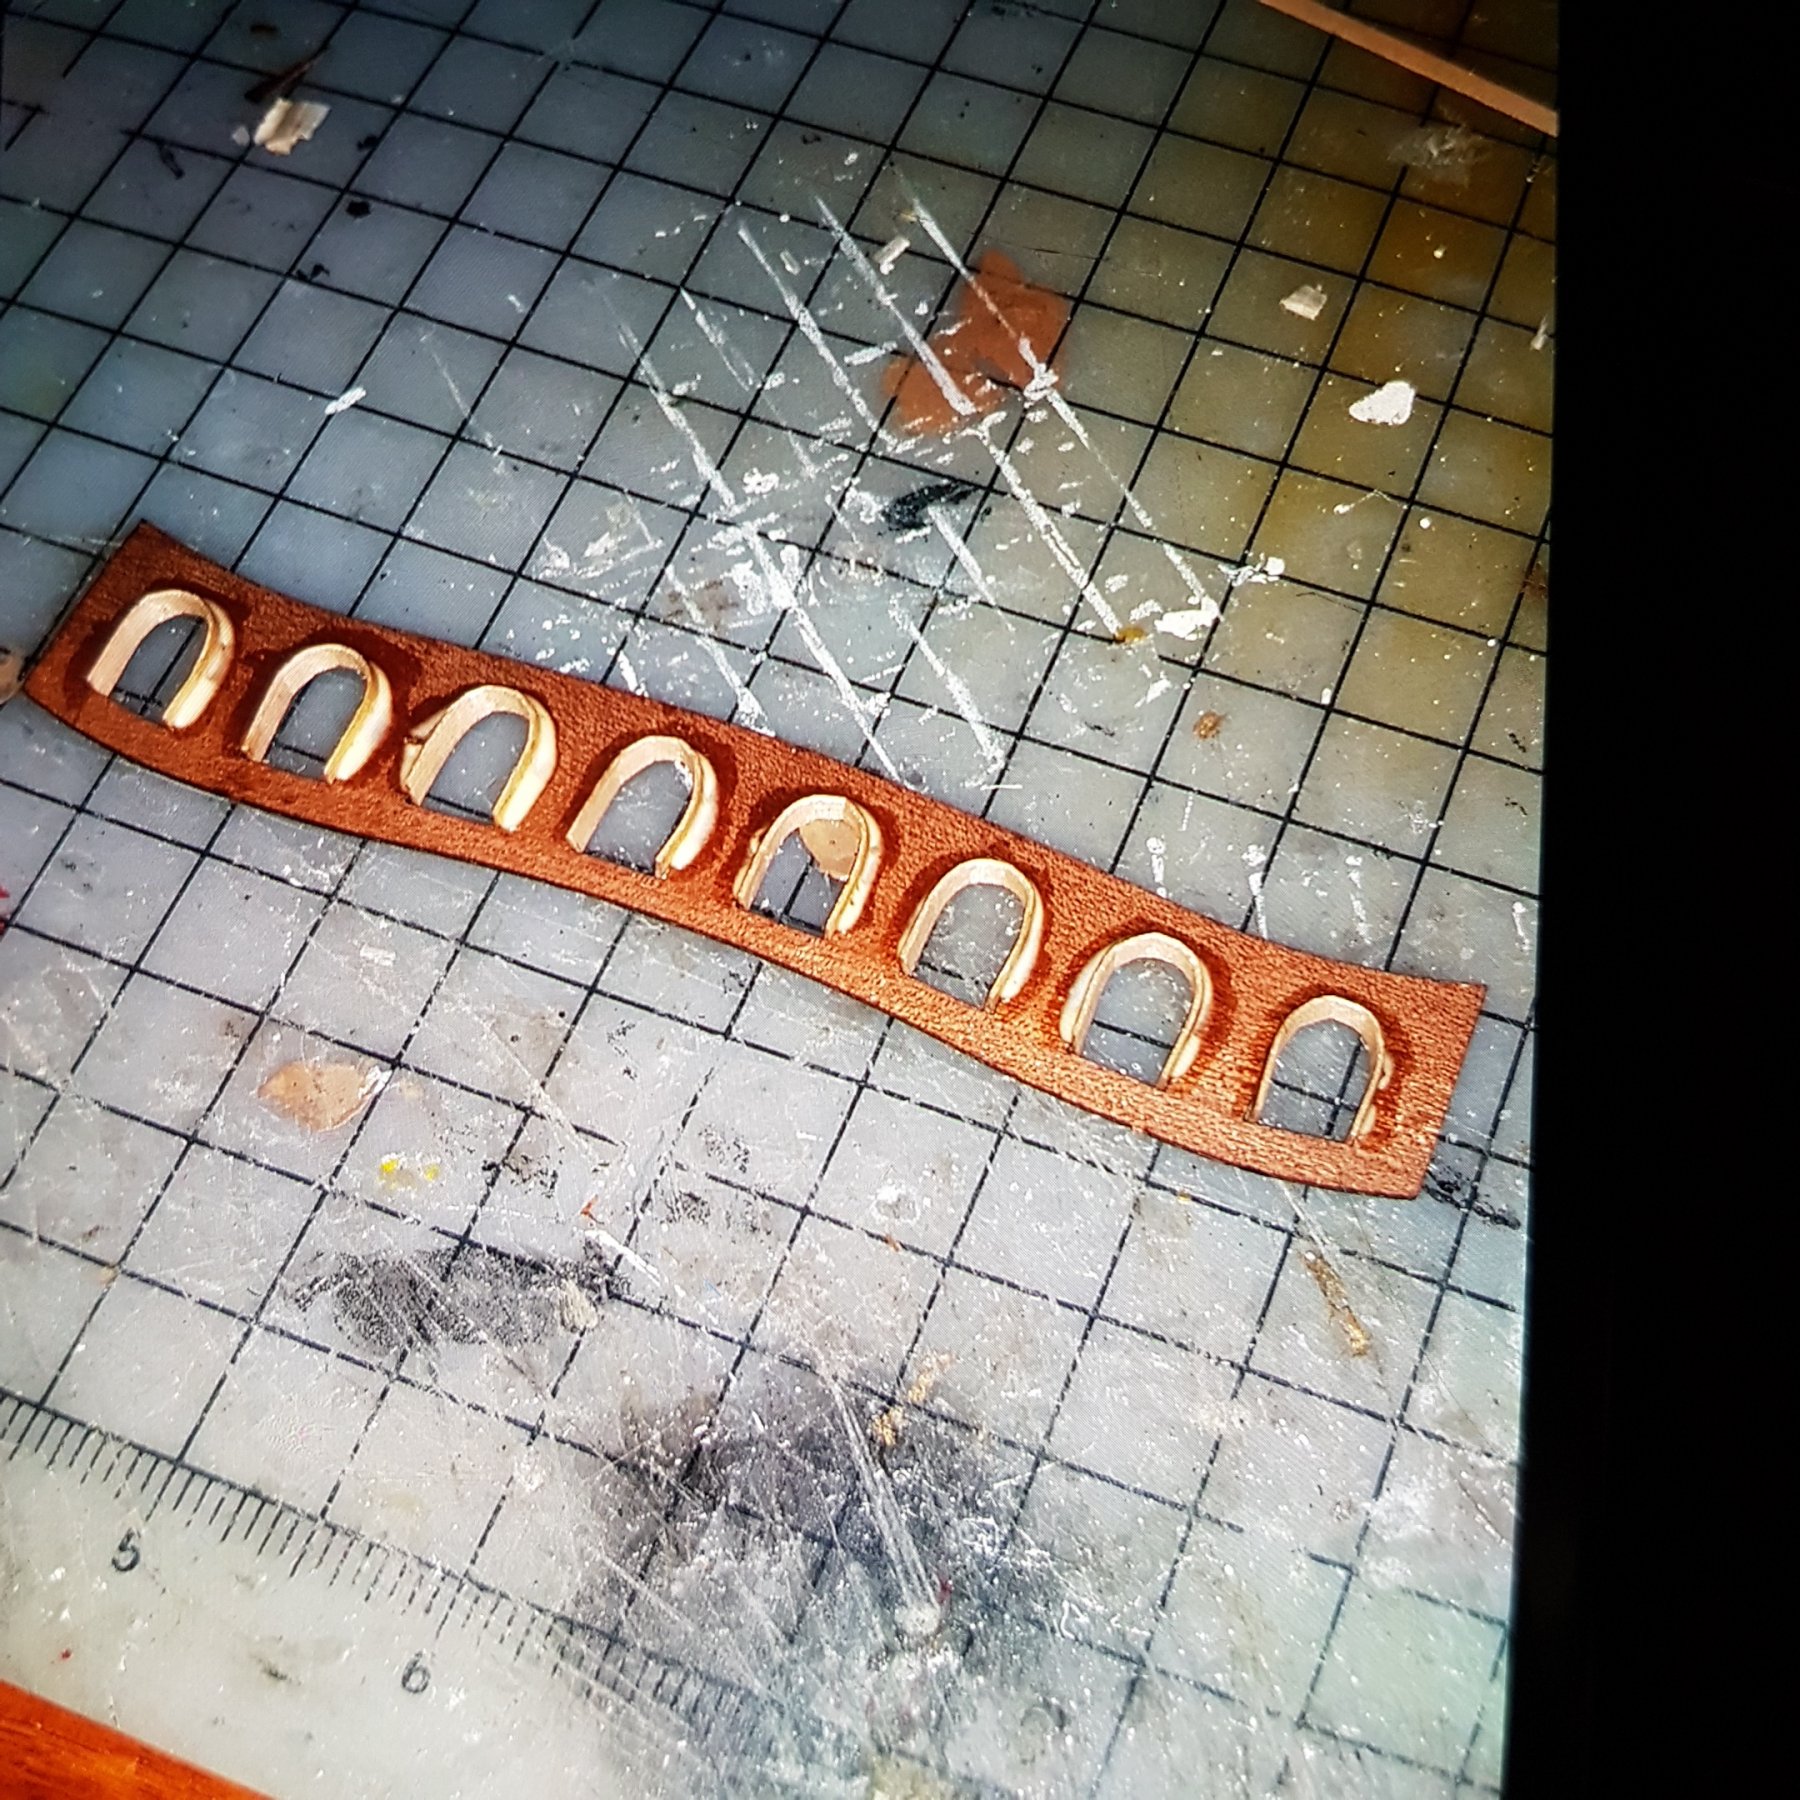
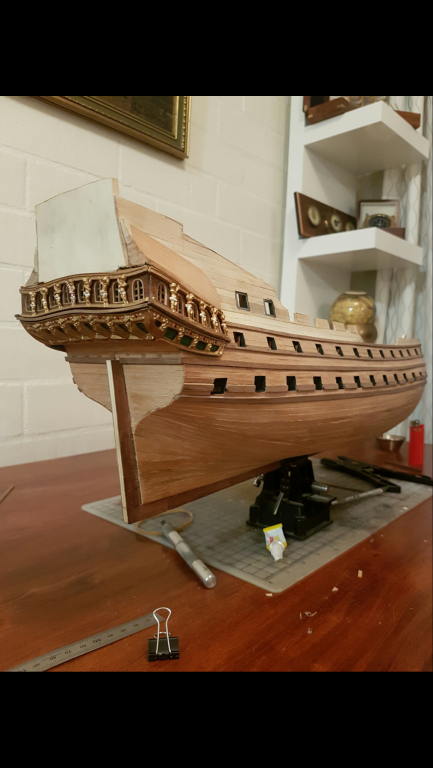
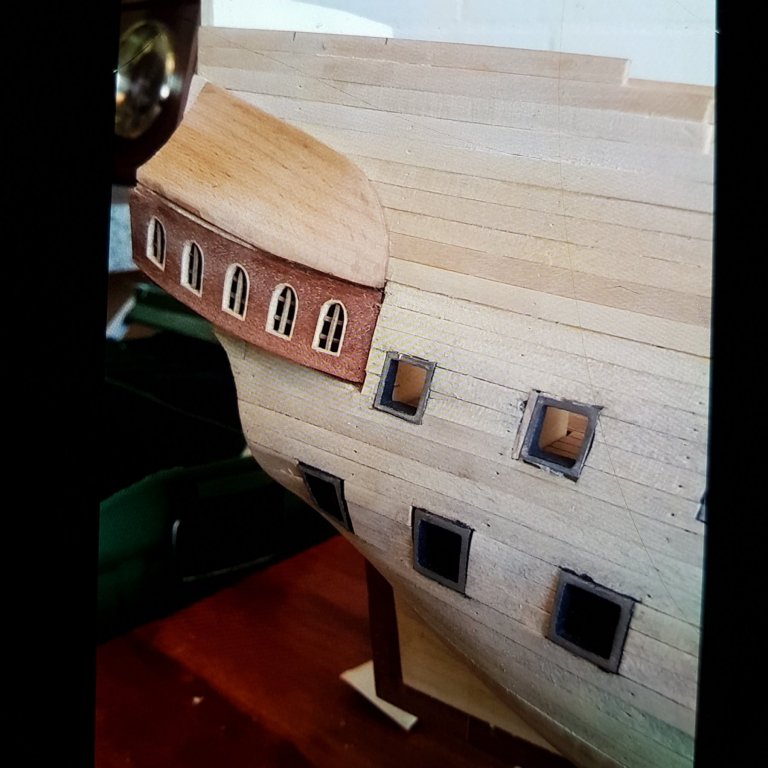
The next stage to start working on the stern galleries roofs and ornamentation. The decorative peices around the windows were painted and attached. Abit of bending and elbow grease and finally got them to fit properly. They are of a soft metal. A 2×5mm strip was bent around the top of what is to become the gallery roof. The green is actually dyed Wood strips that had to be cut and mounted on the inside of the decorations under the windows.


-
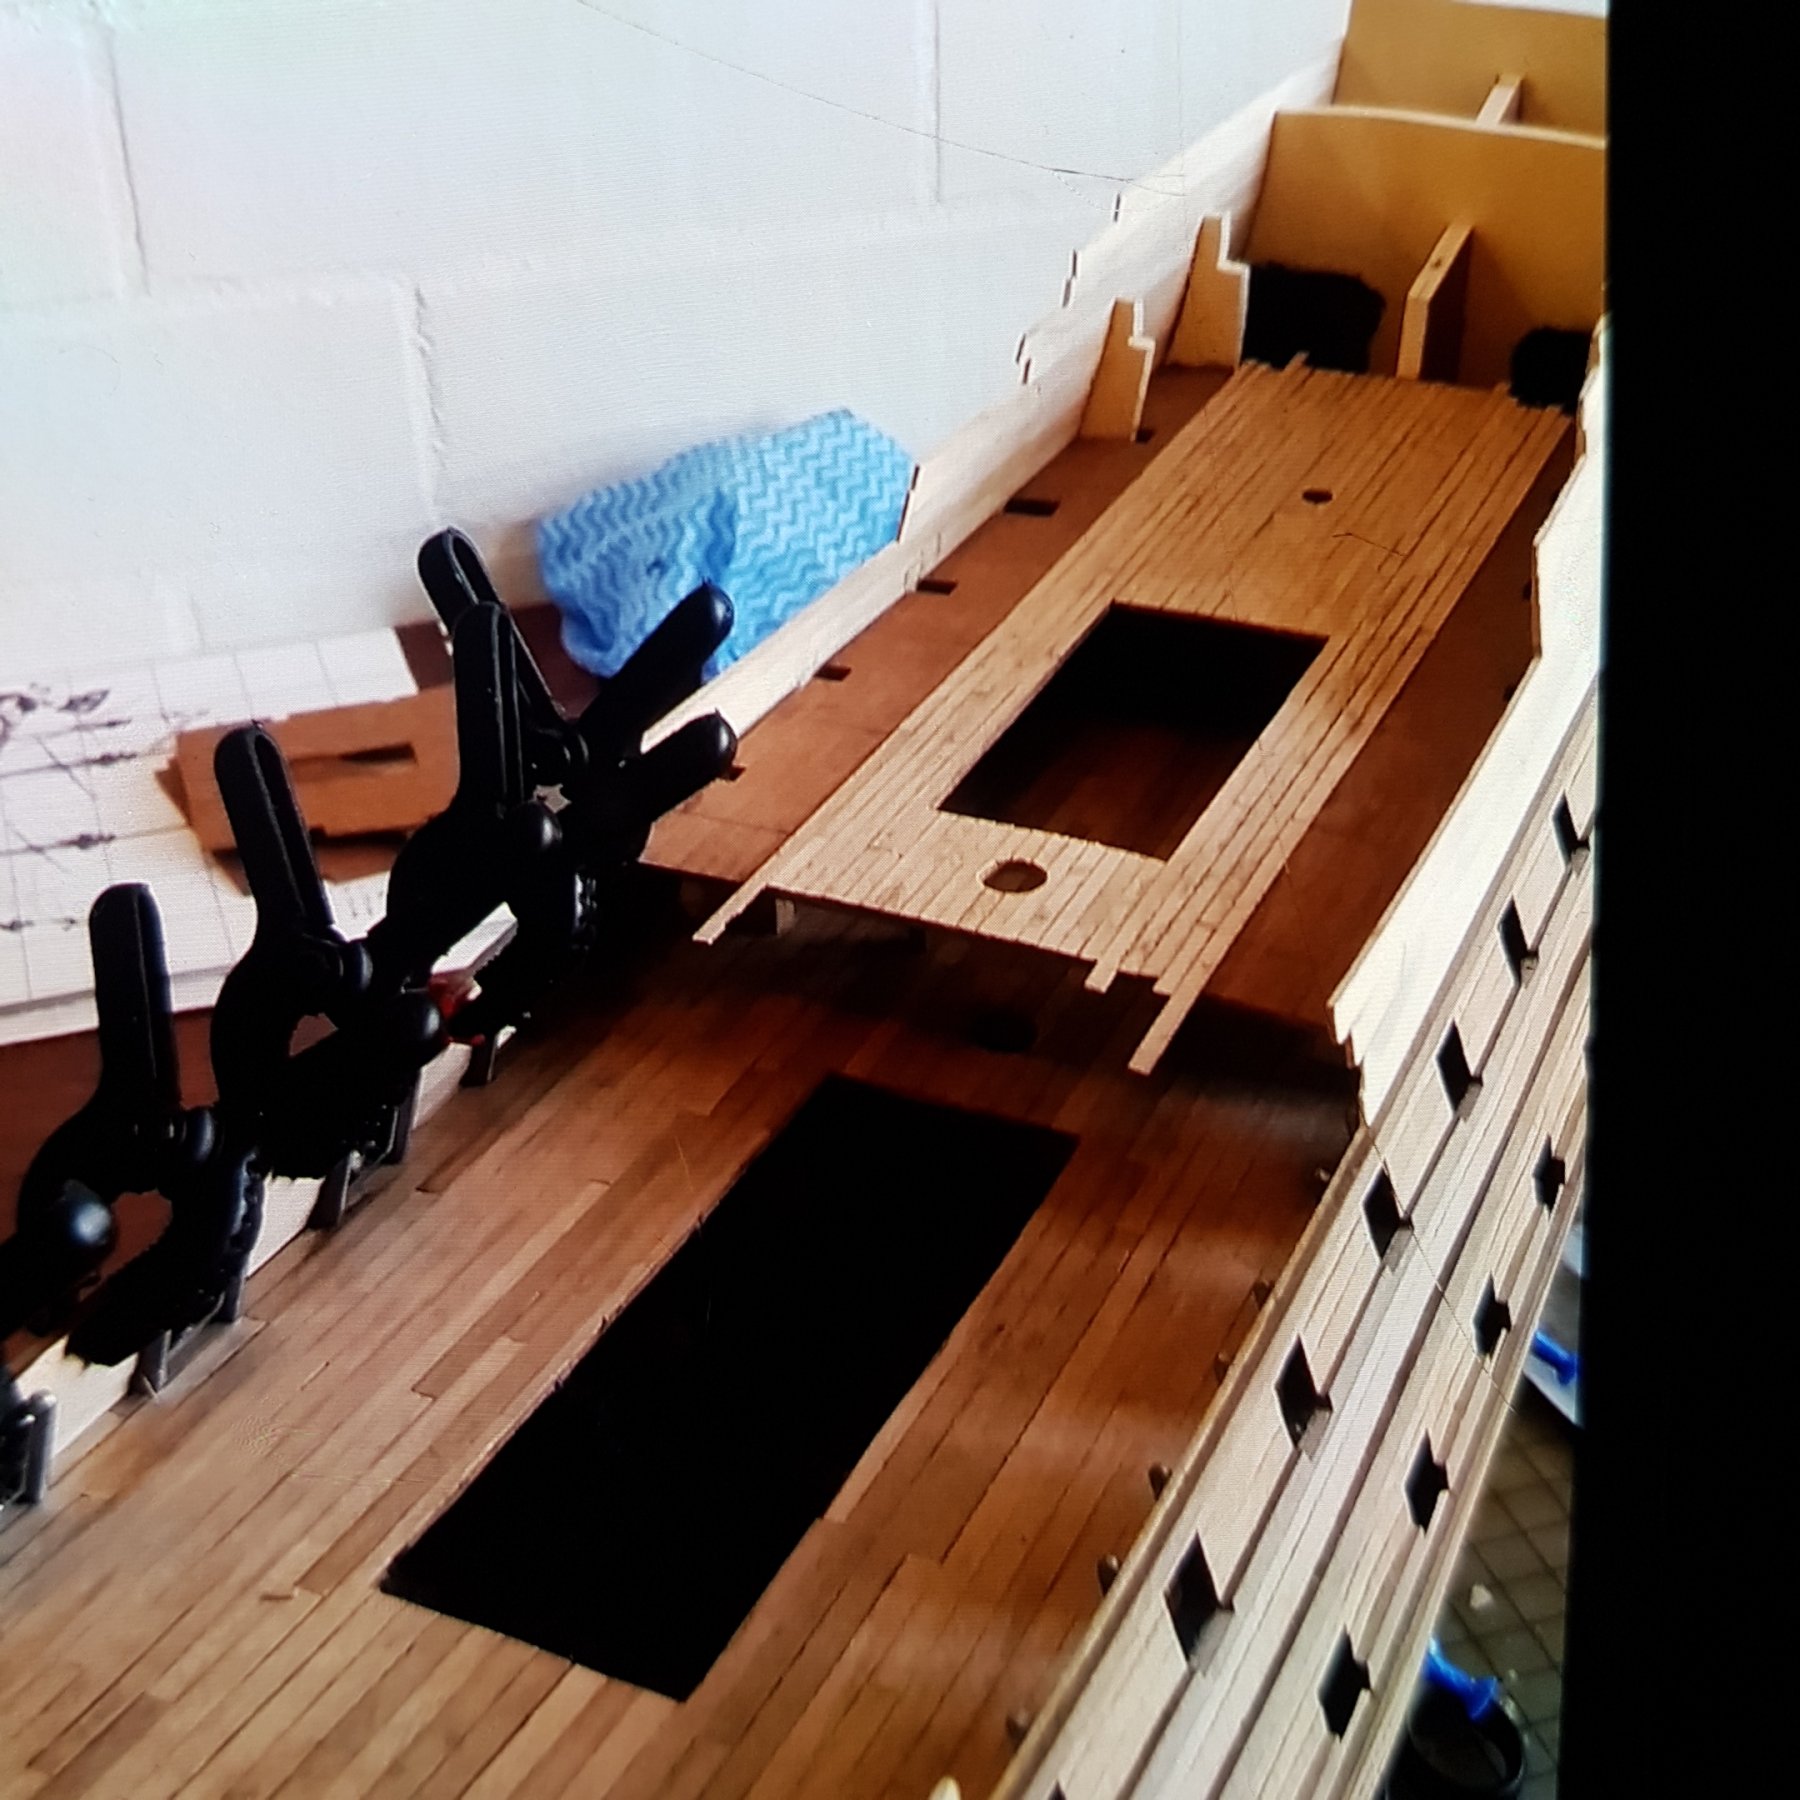
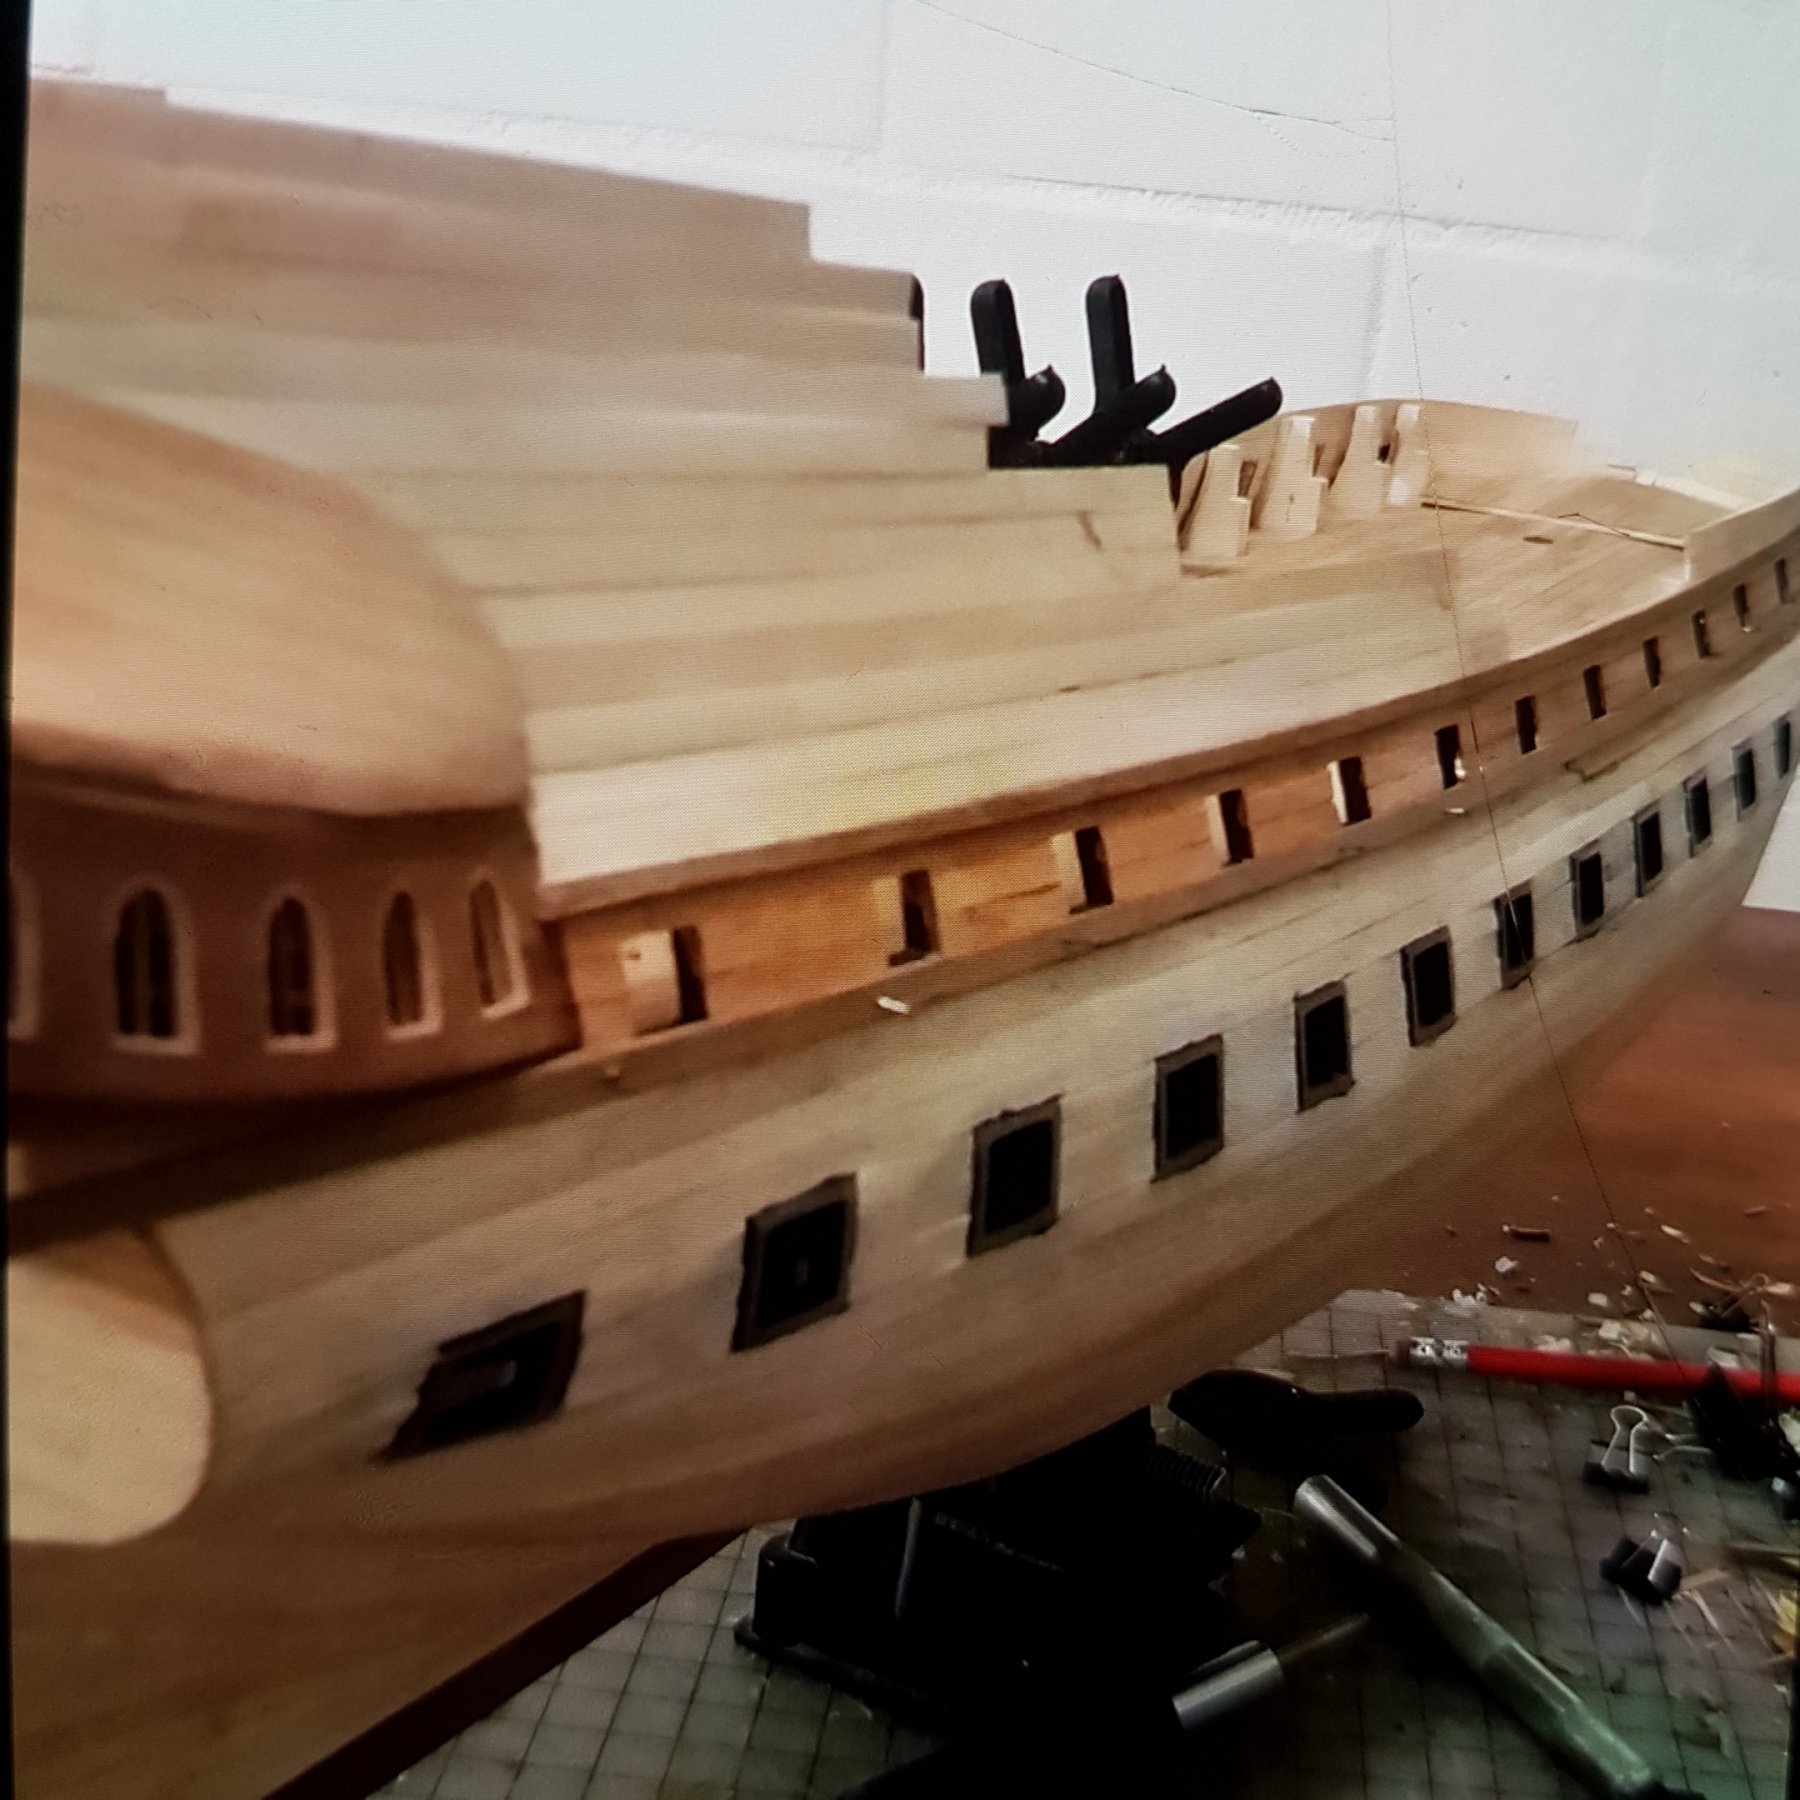
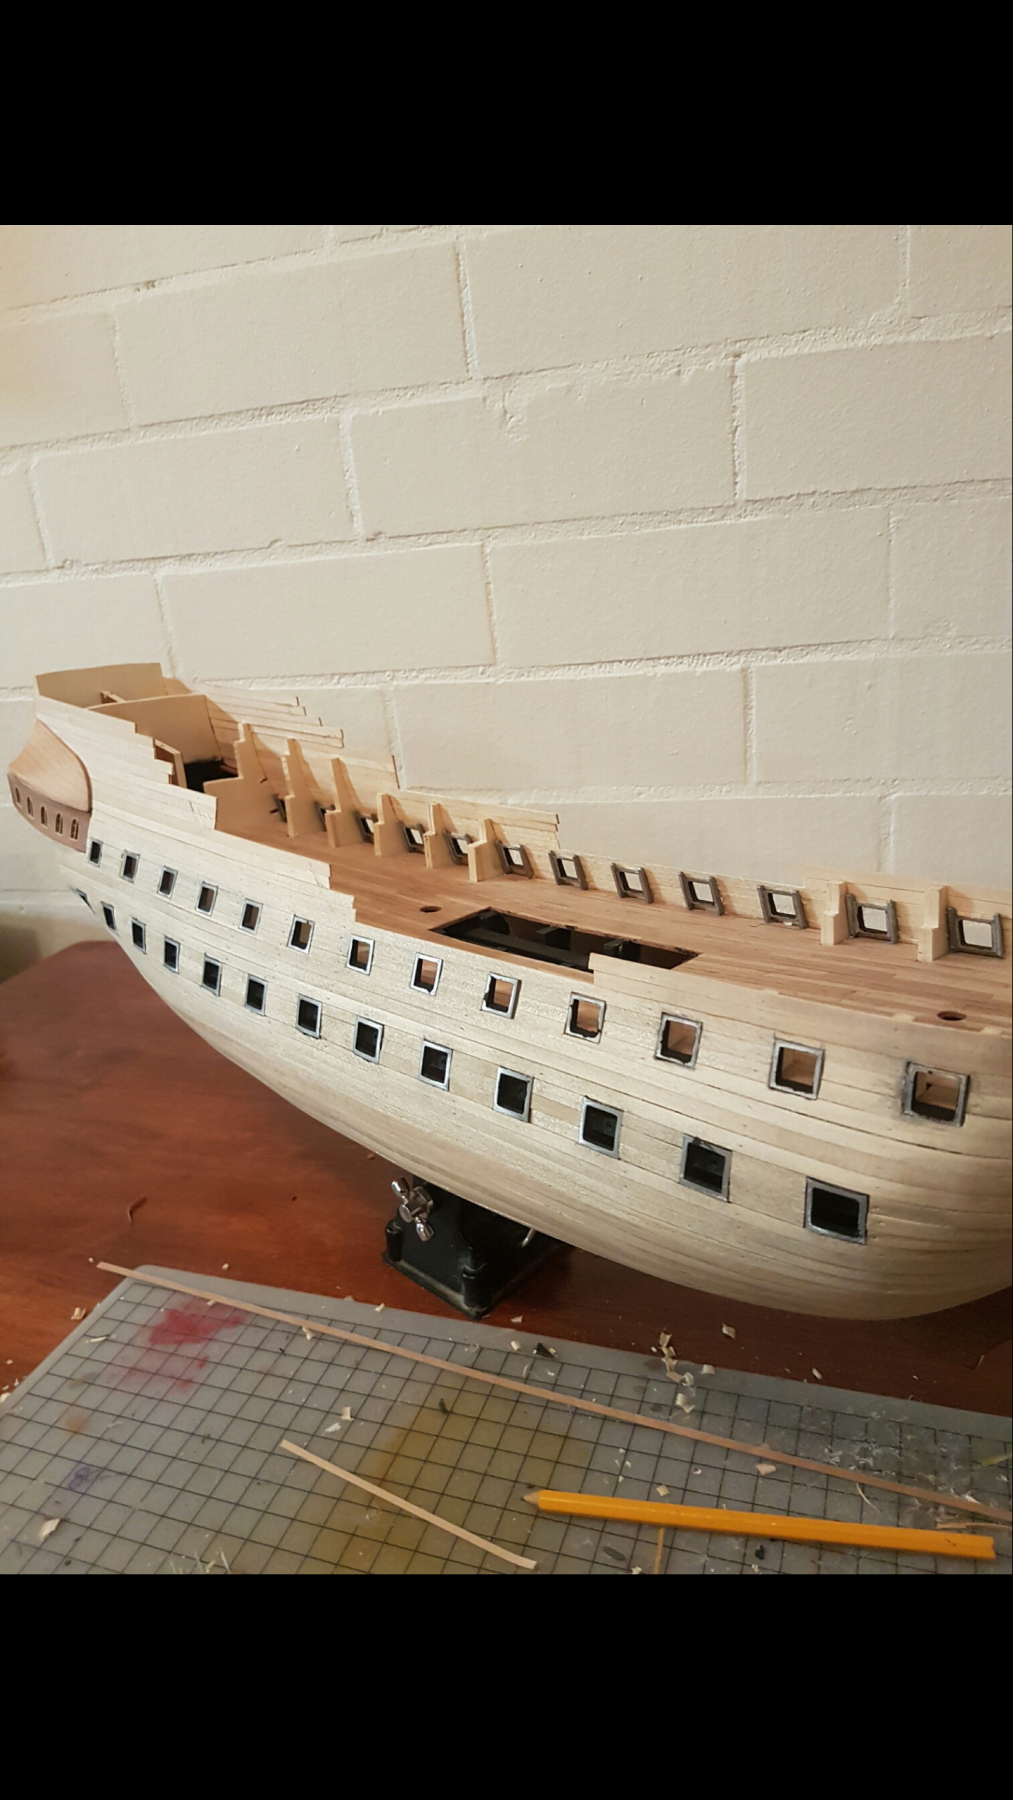
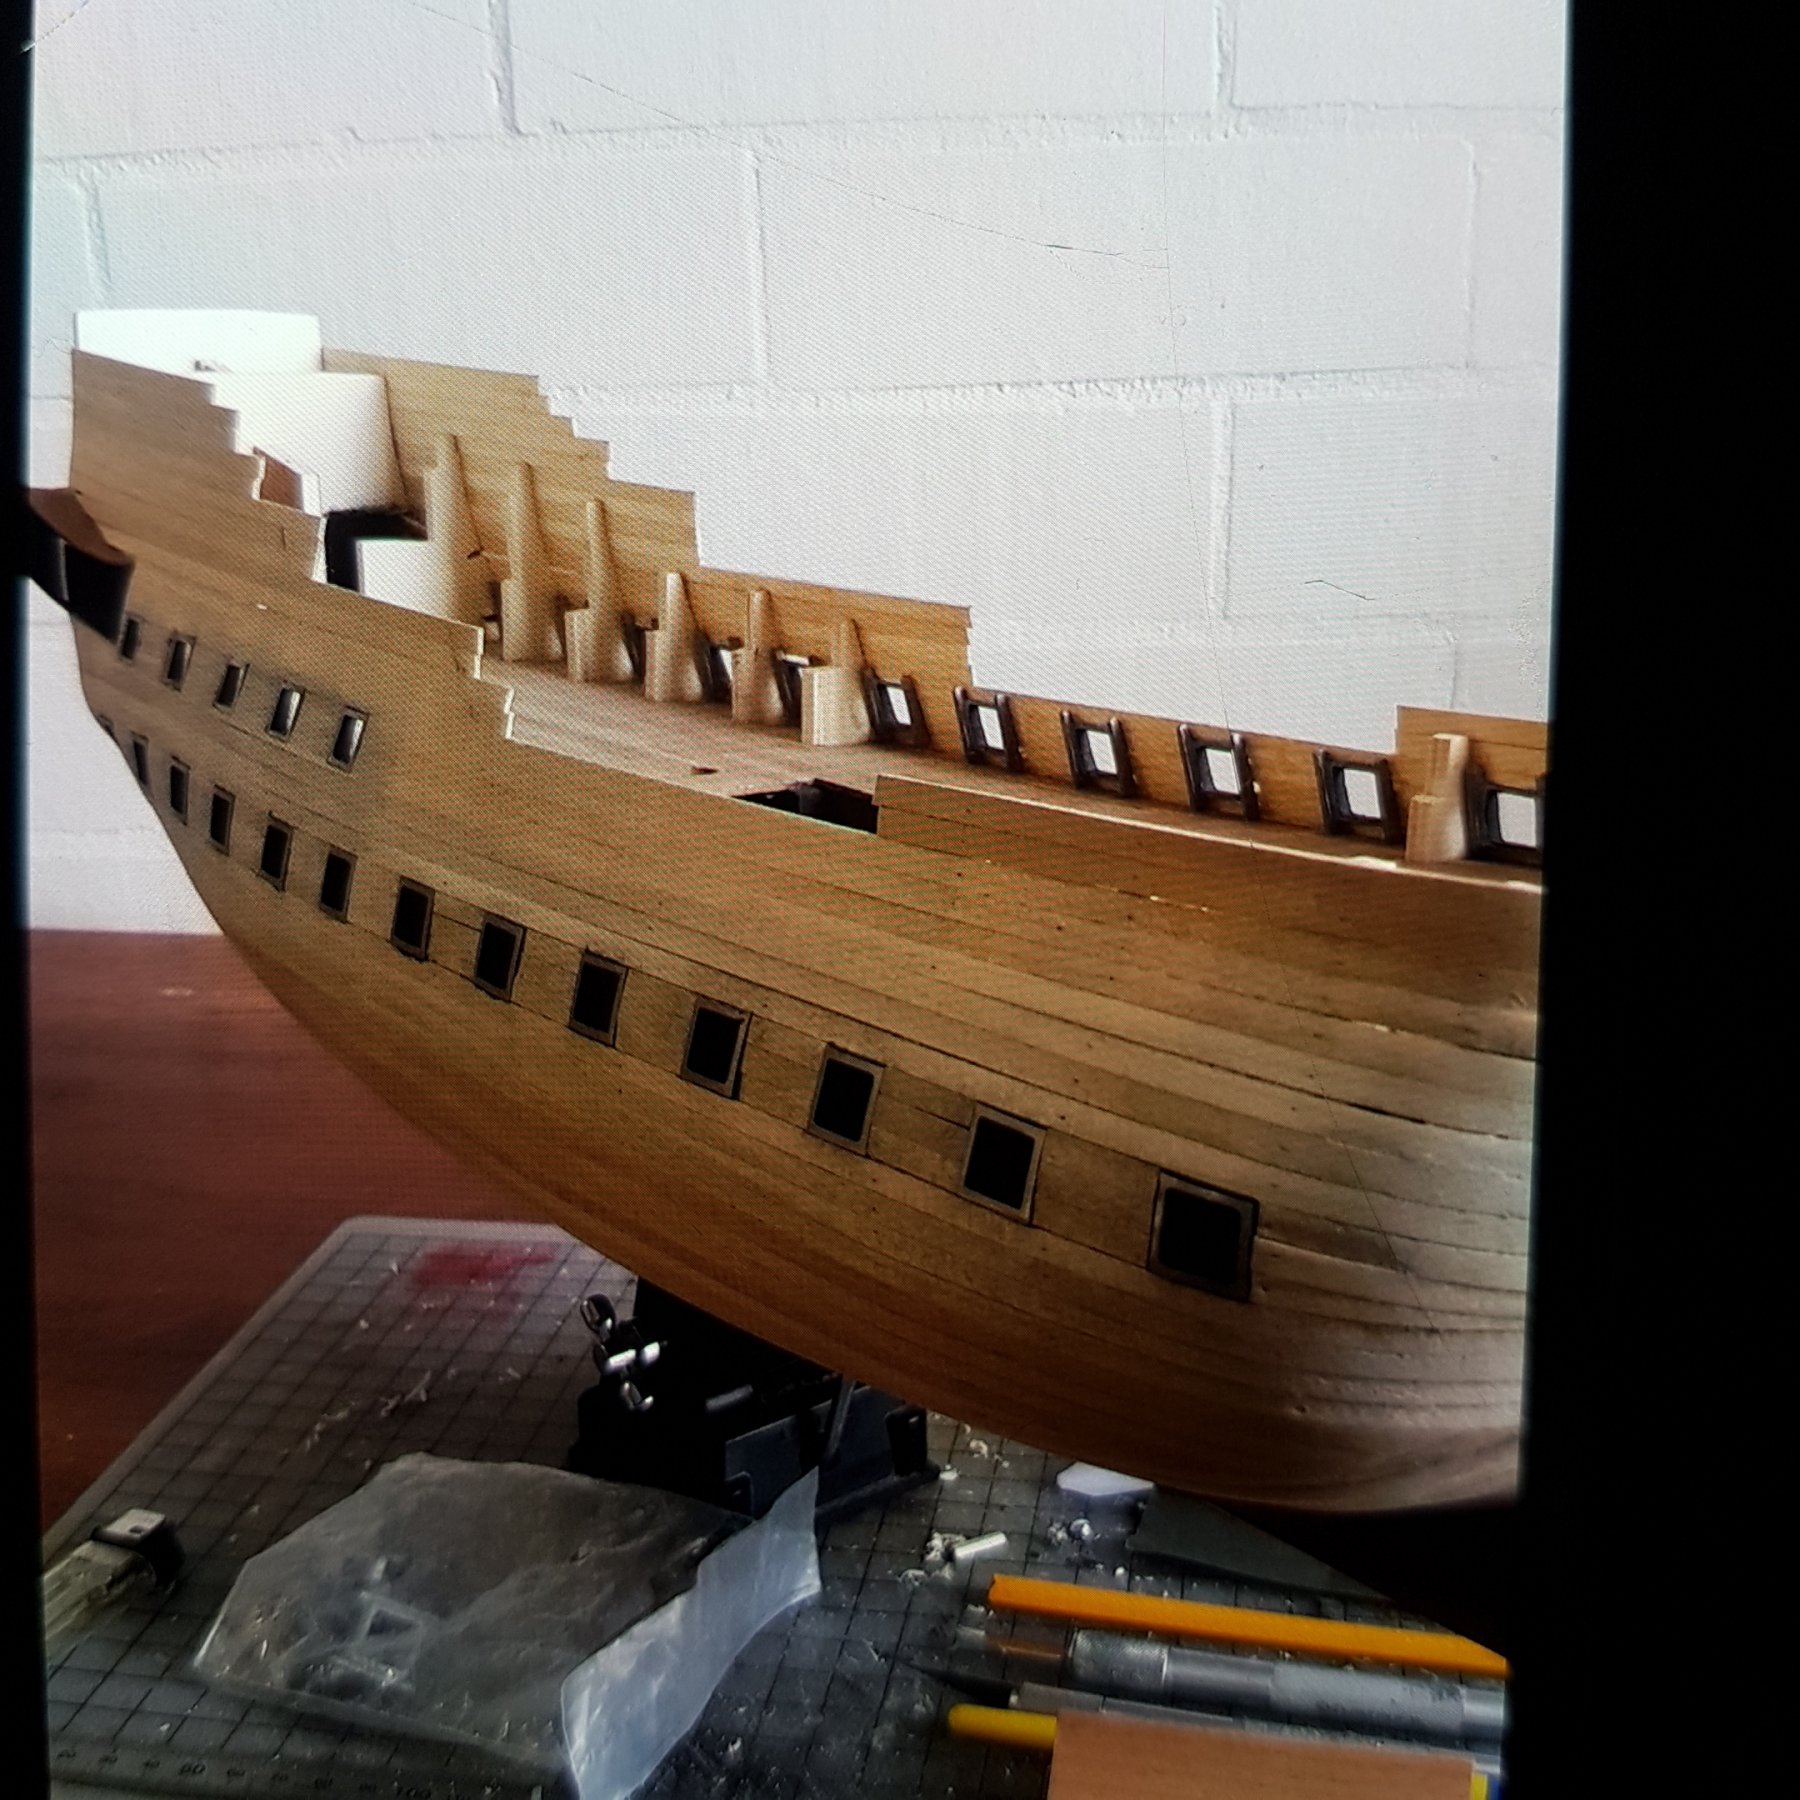
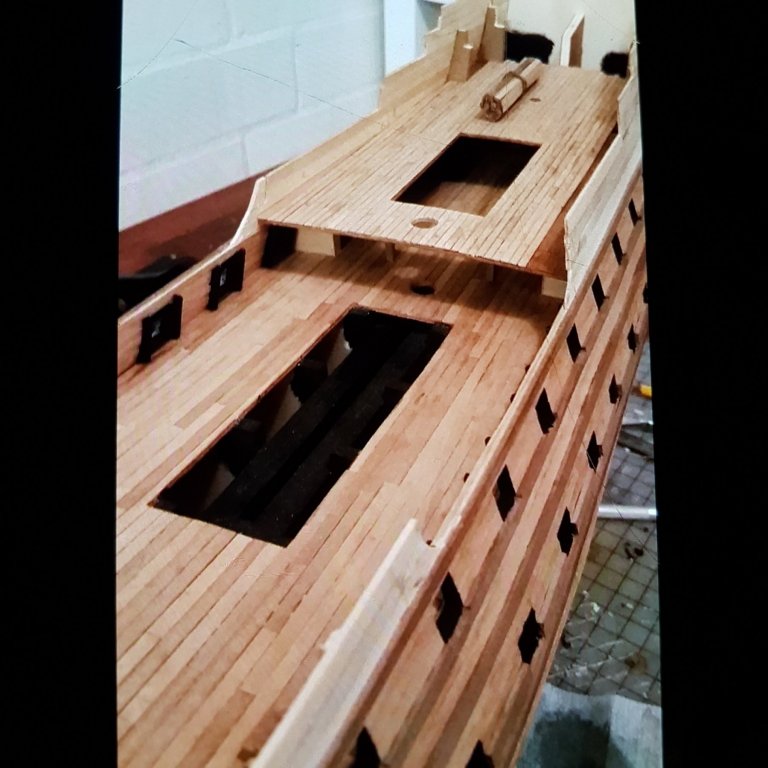
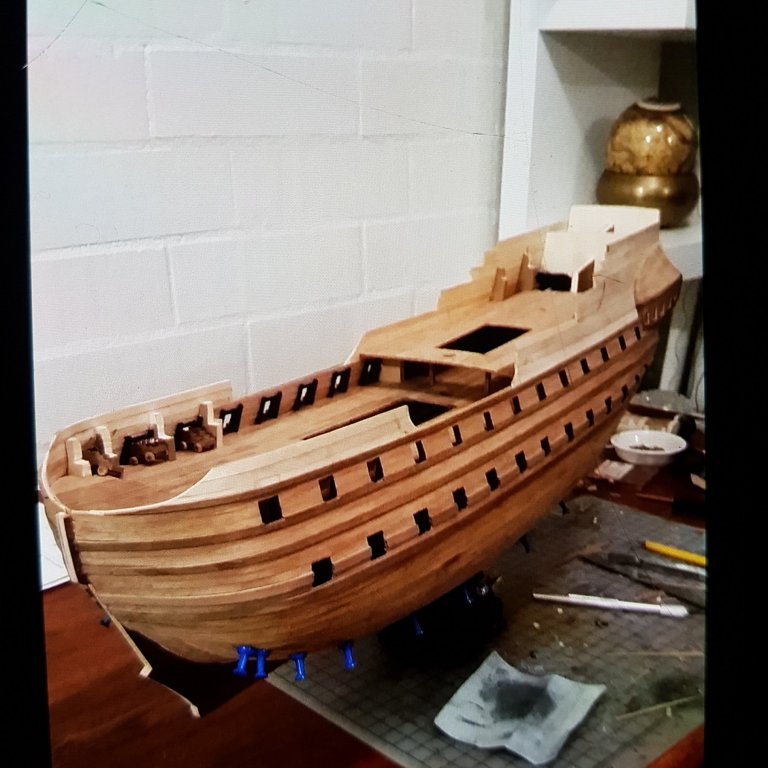
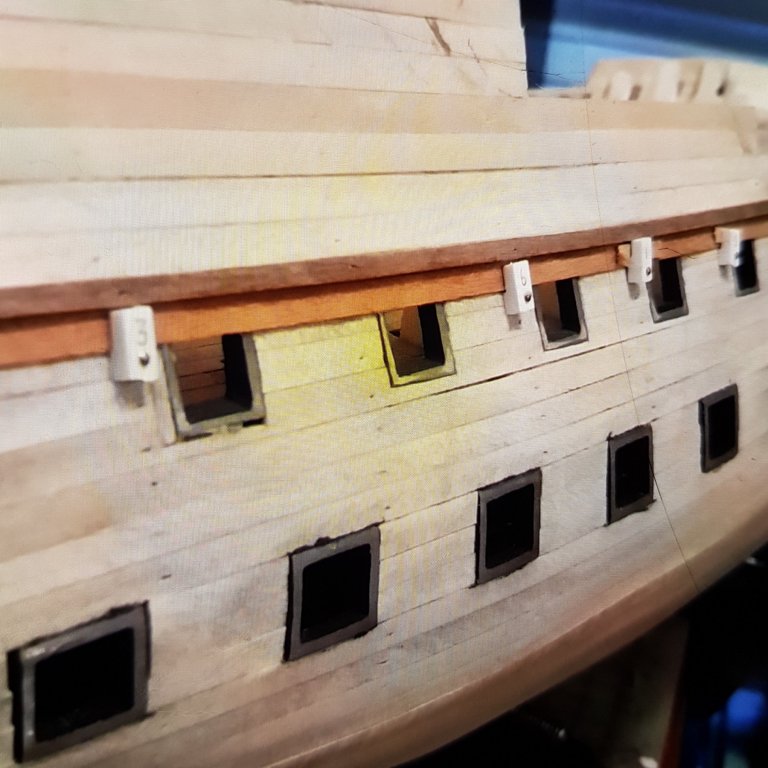
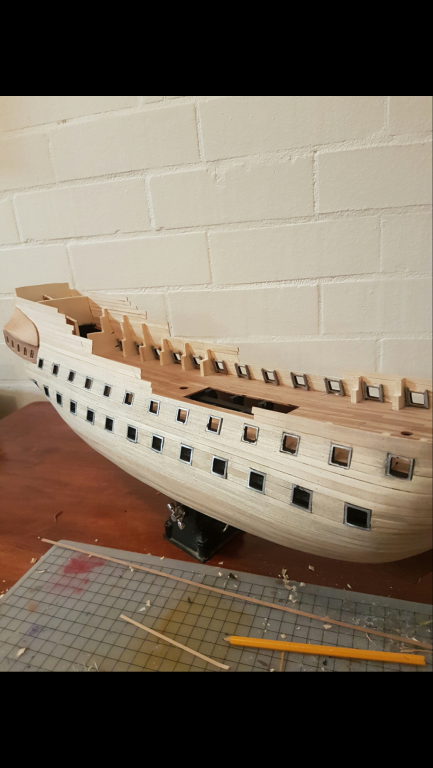
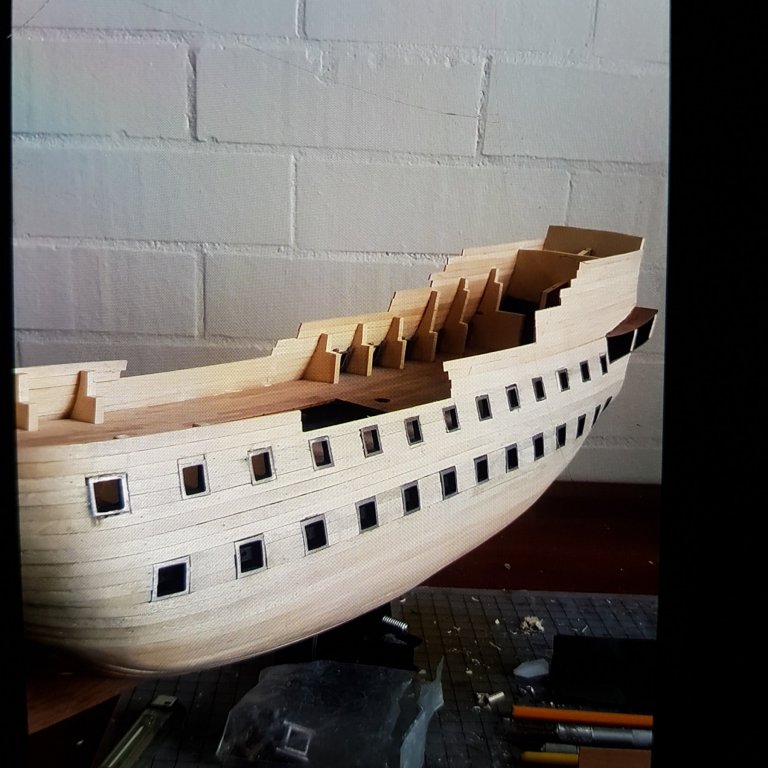
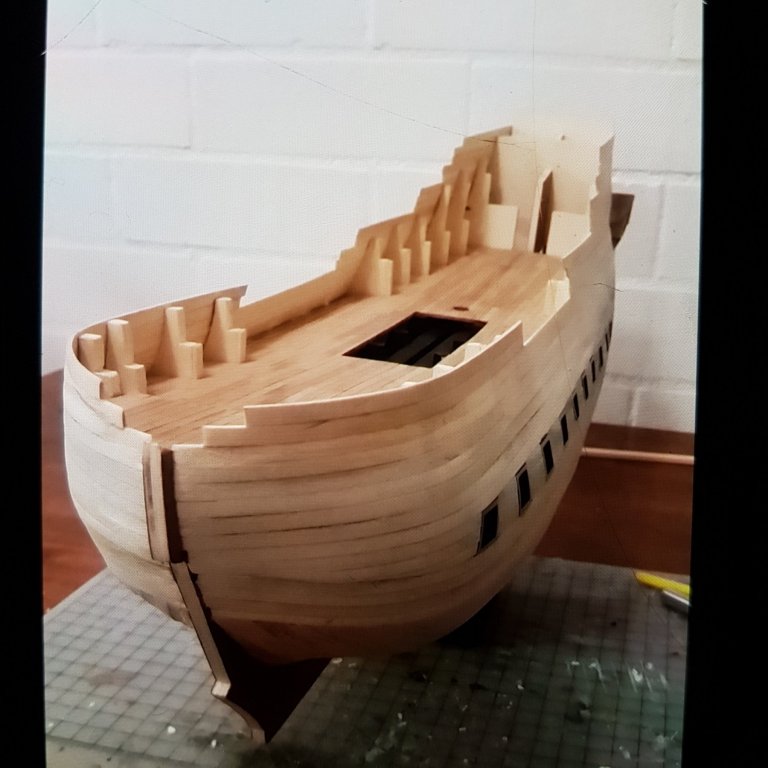
Last few hull planks and it's onto plank the 2nd deck. Mamoli suggest the same 5mm wide planks as used on the main deck to be used on all the decks. But I didn't like the look of massive bulky planks on the smaller decks so I raided my stores for smaller width planks. Also tested heights for cannons at this stage and cut out the 2nd deck gunports ports.


-
I only found out later, much too late later that the stern planking on either side of the stern post should be at a 45° Angle My fault. It's been a fun process though.


-
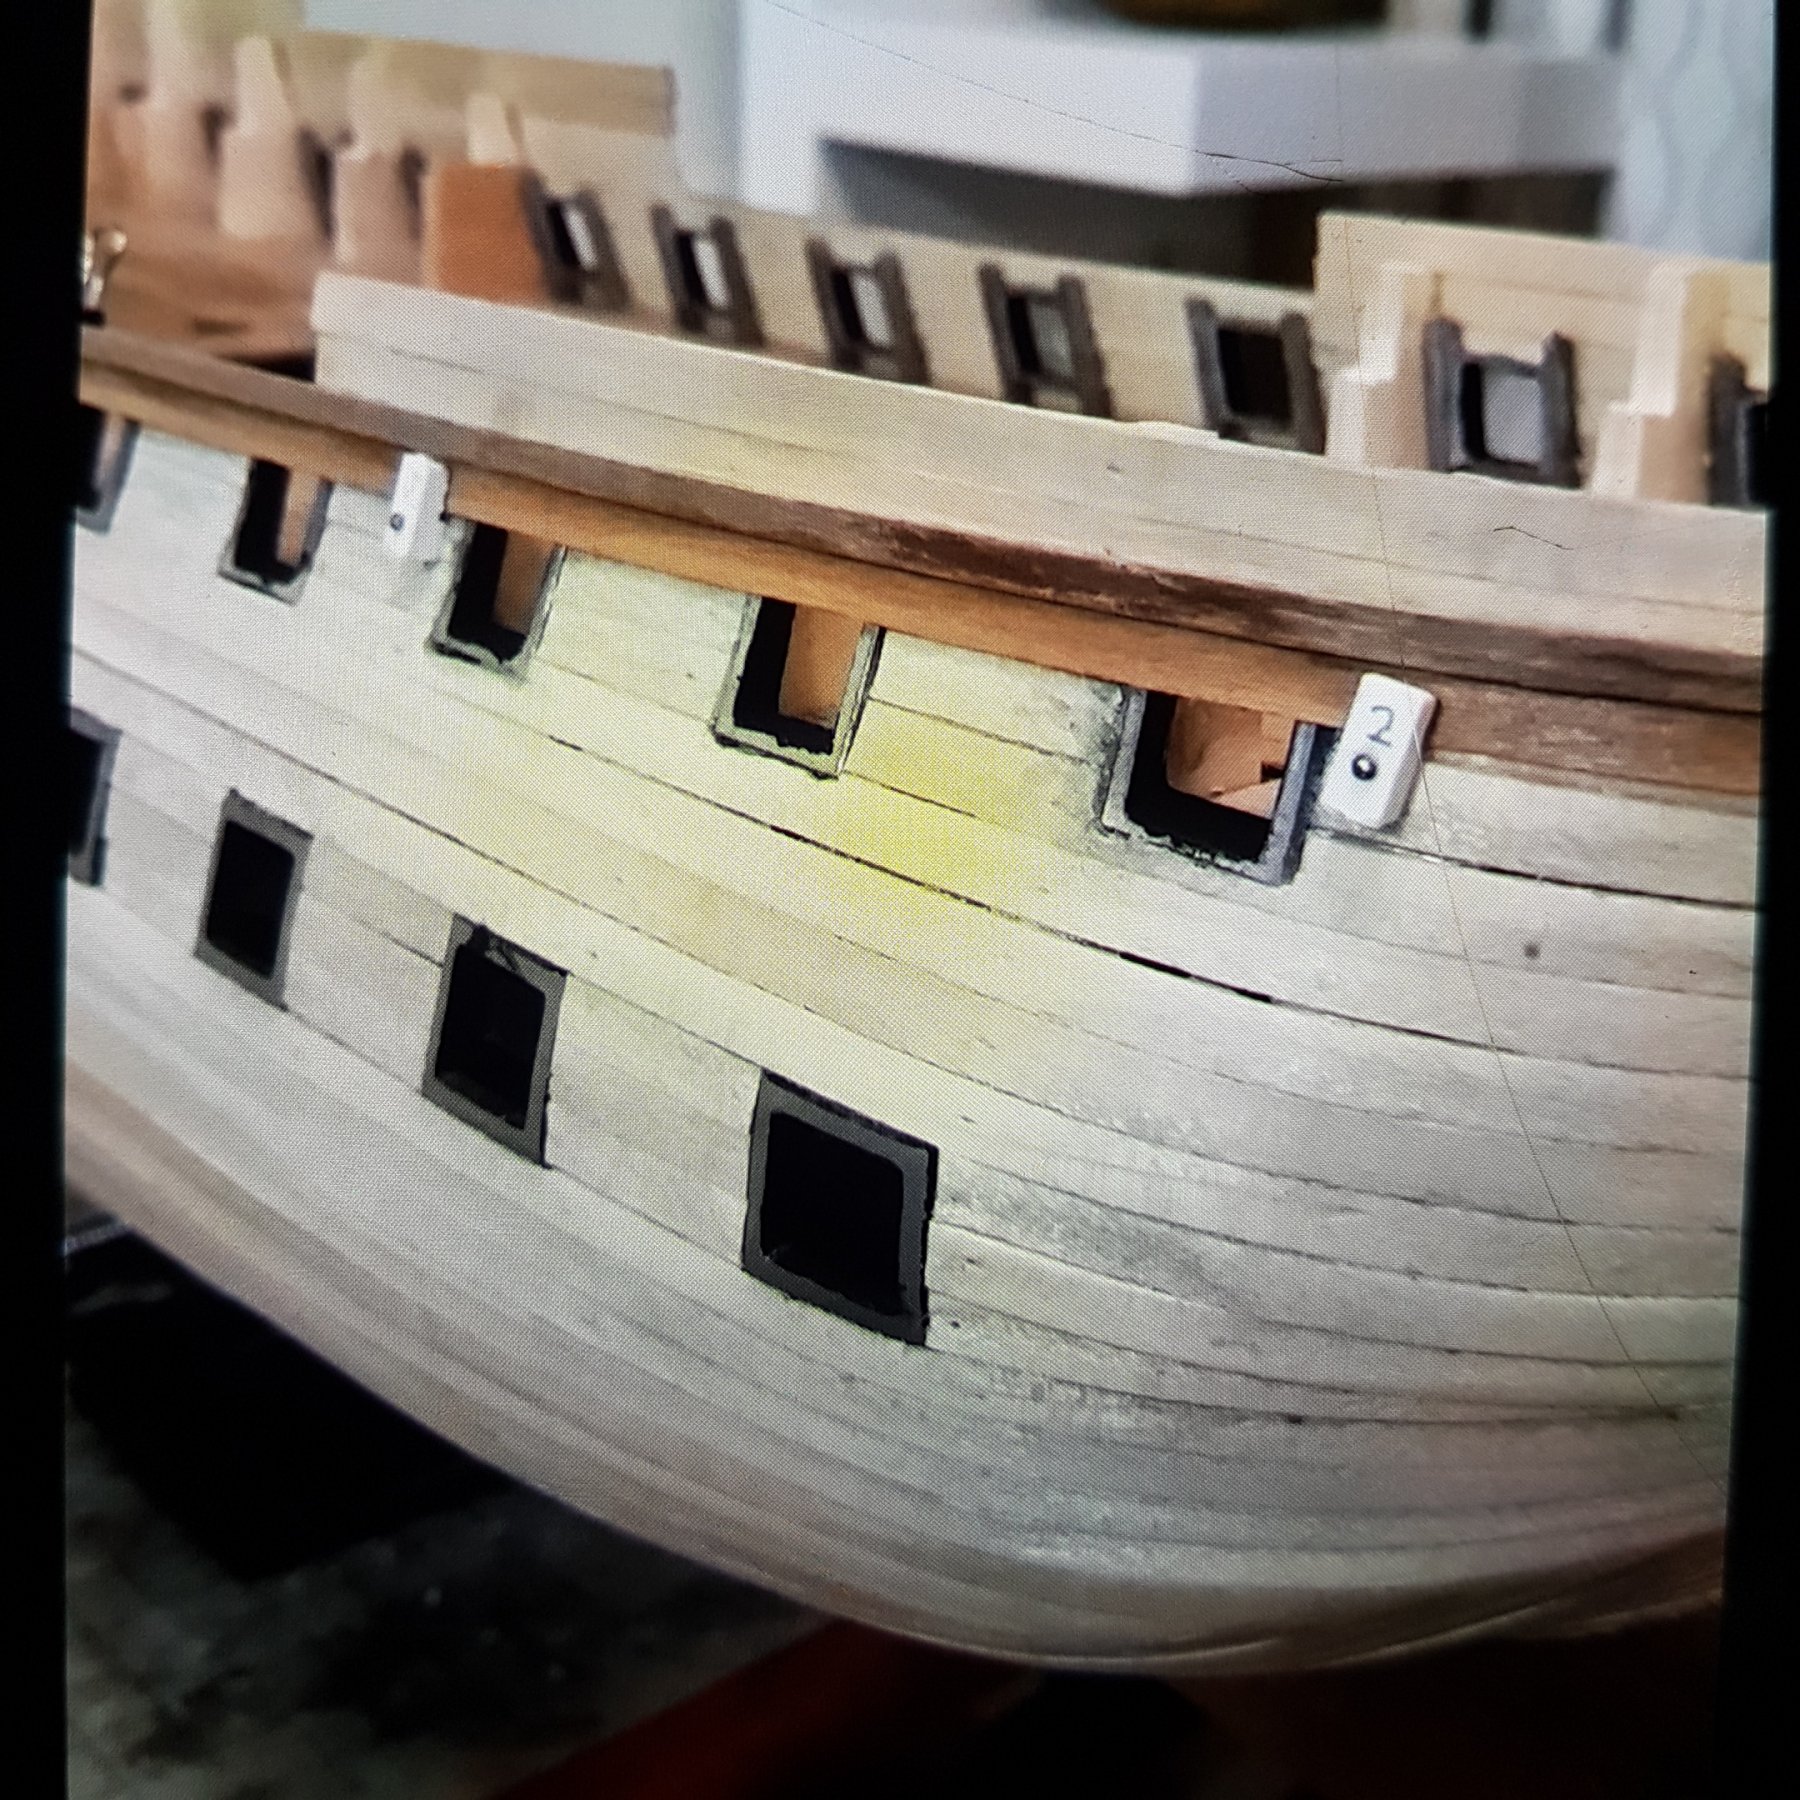
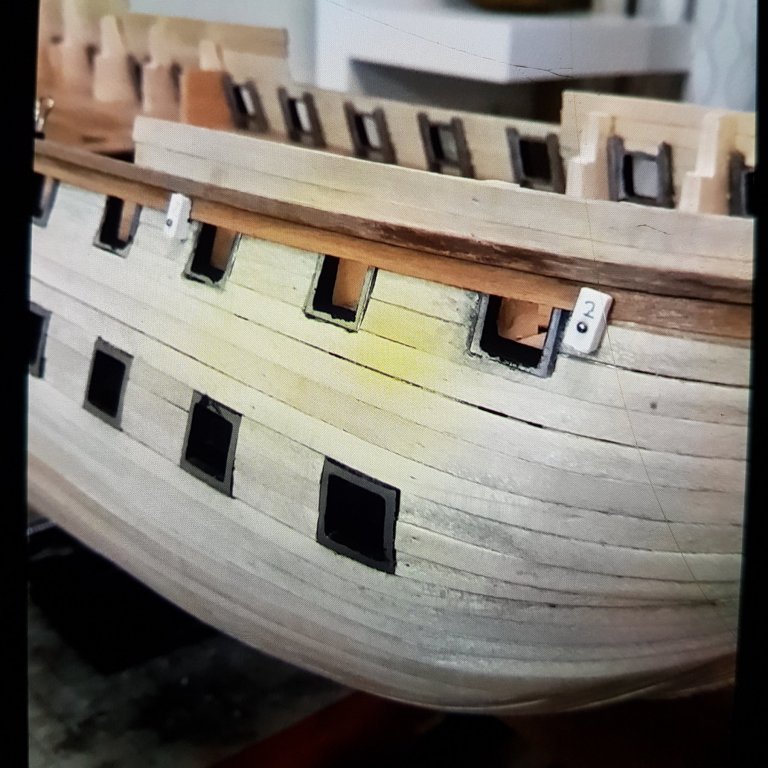
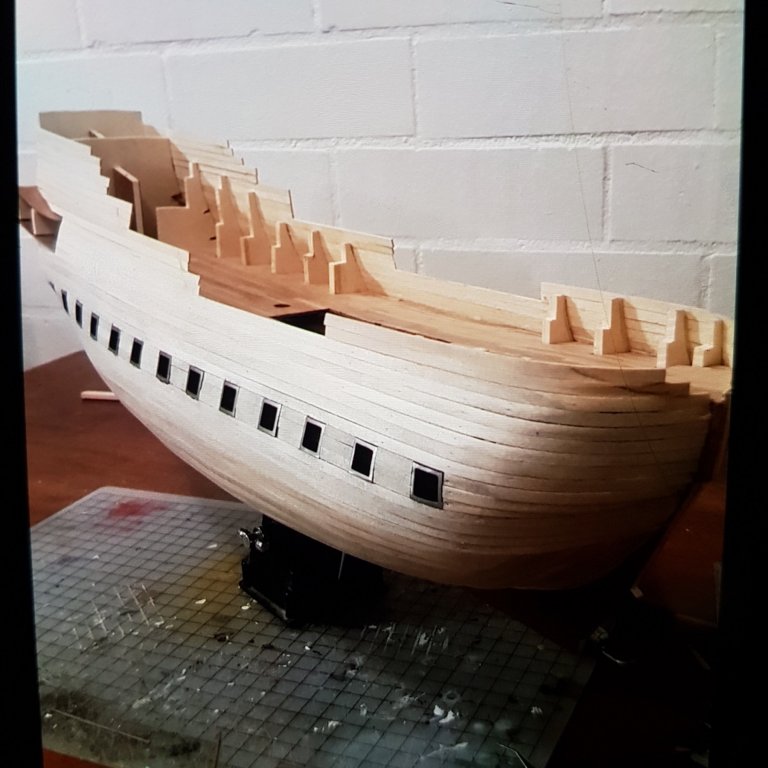
More planking. Planks were simply laid straight over the gun ports and then re-cut out later. I found this easier than measuring and pre-cutting.


-
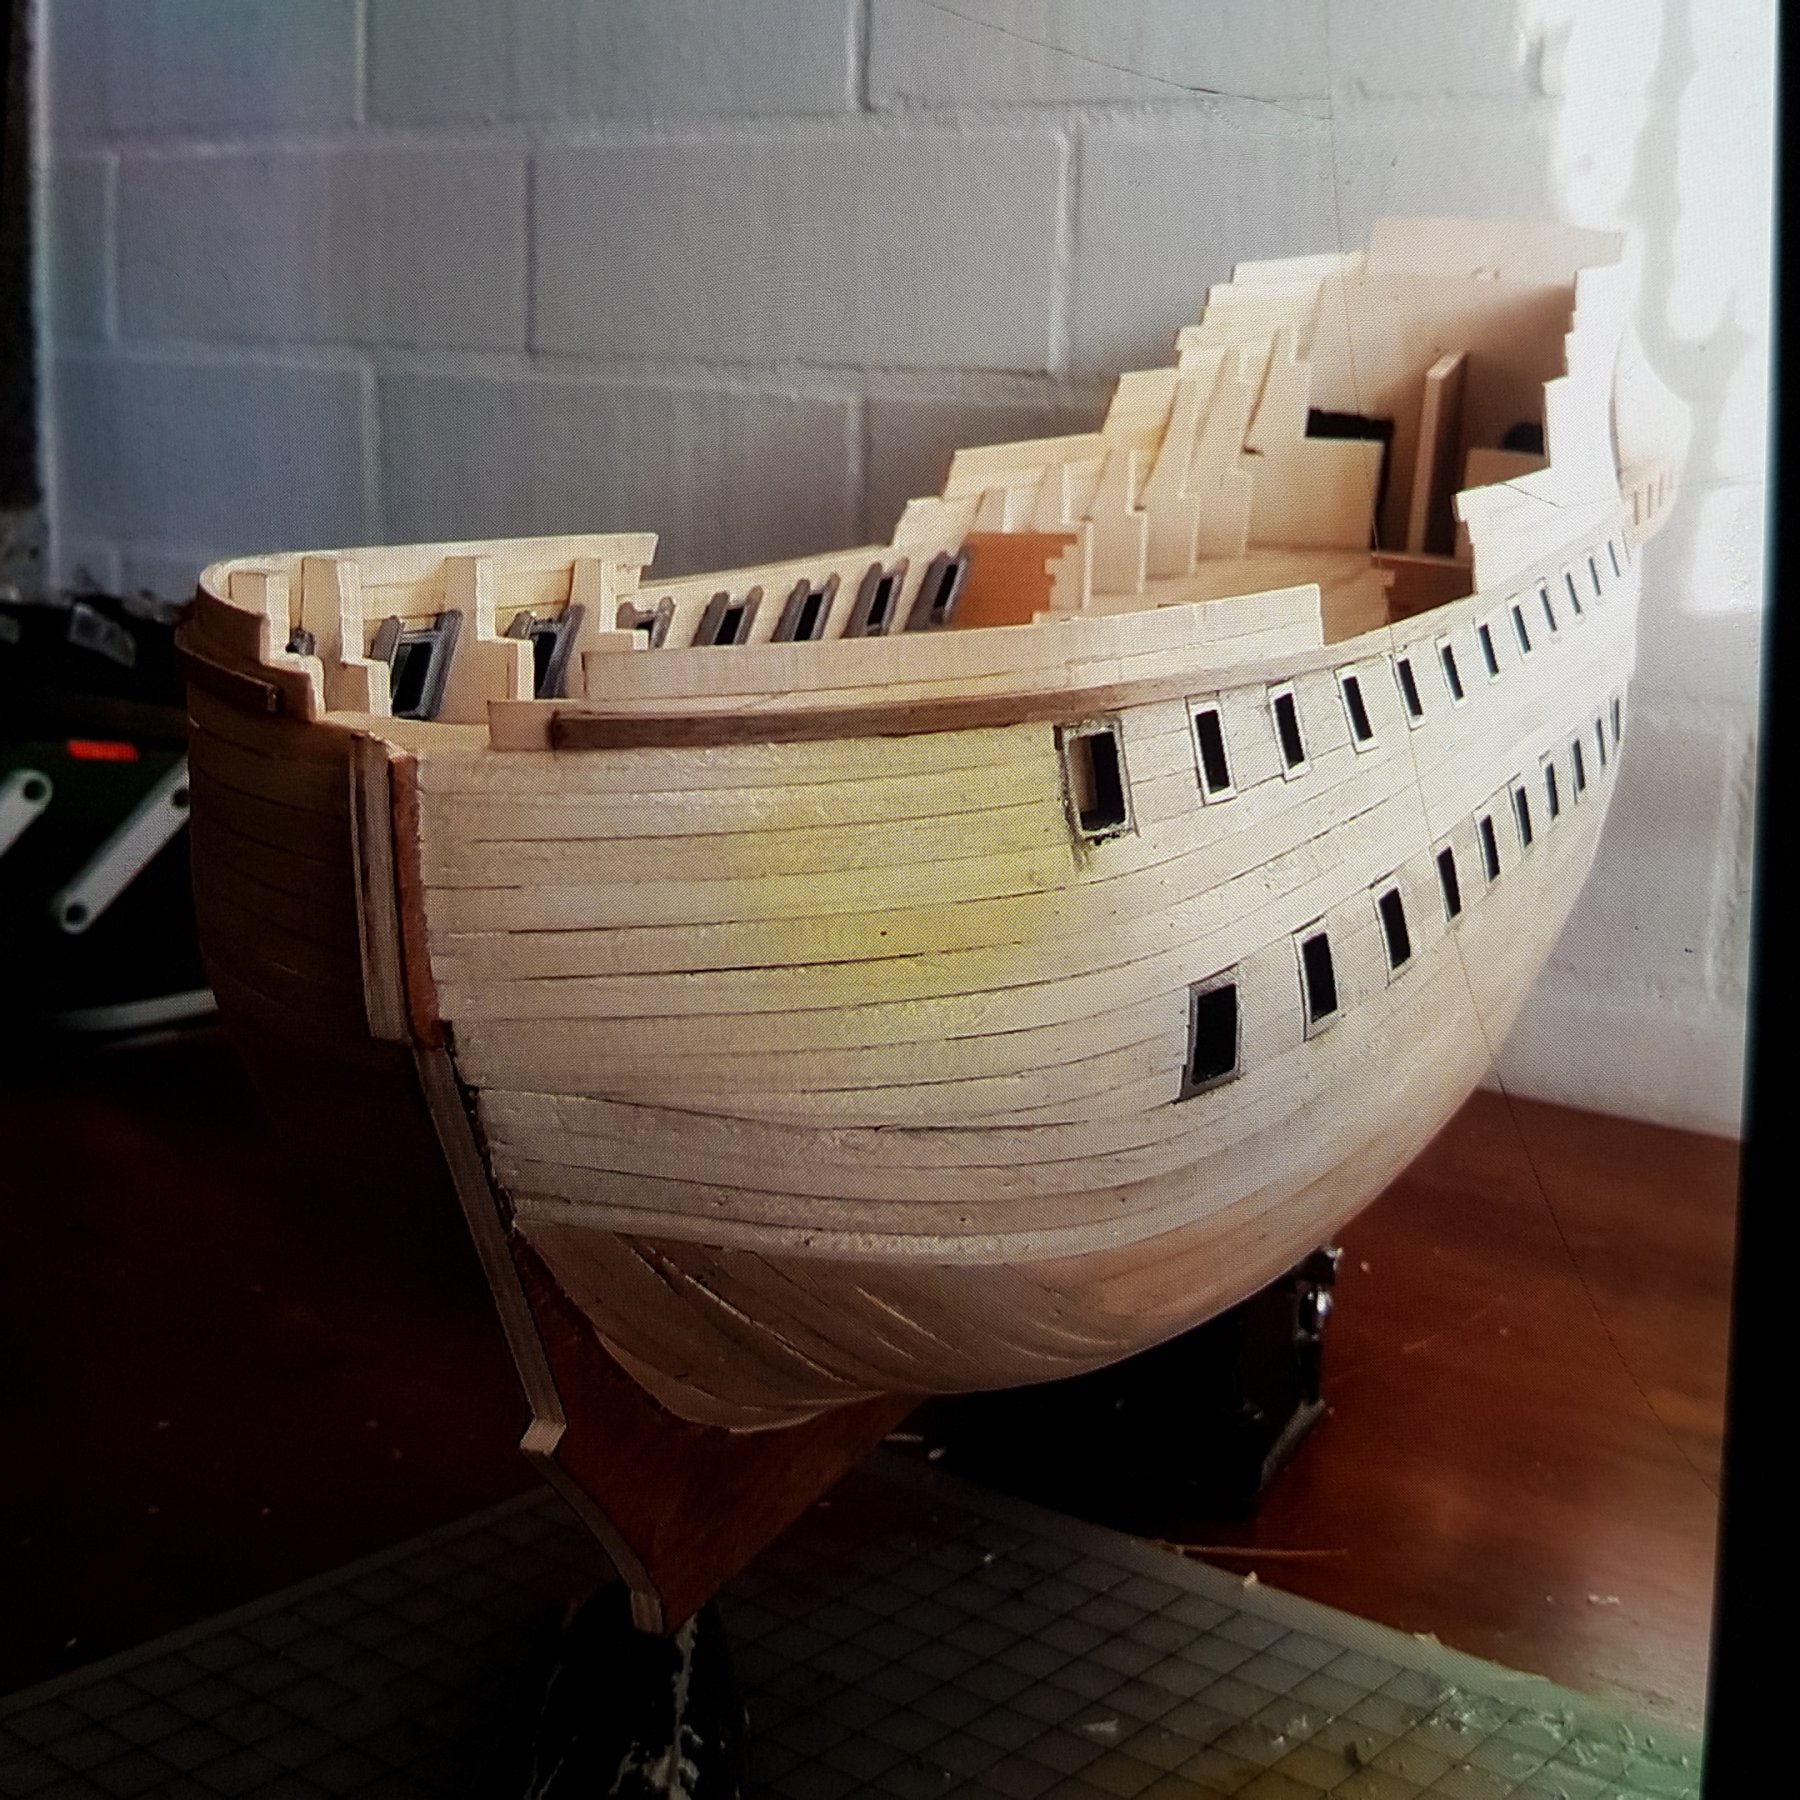
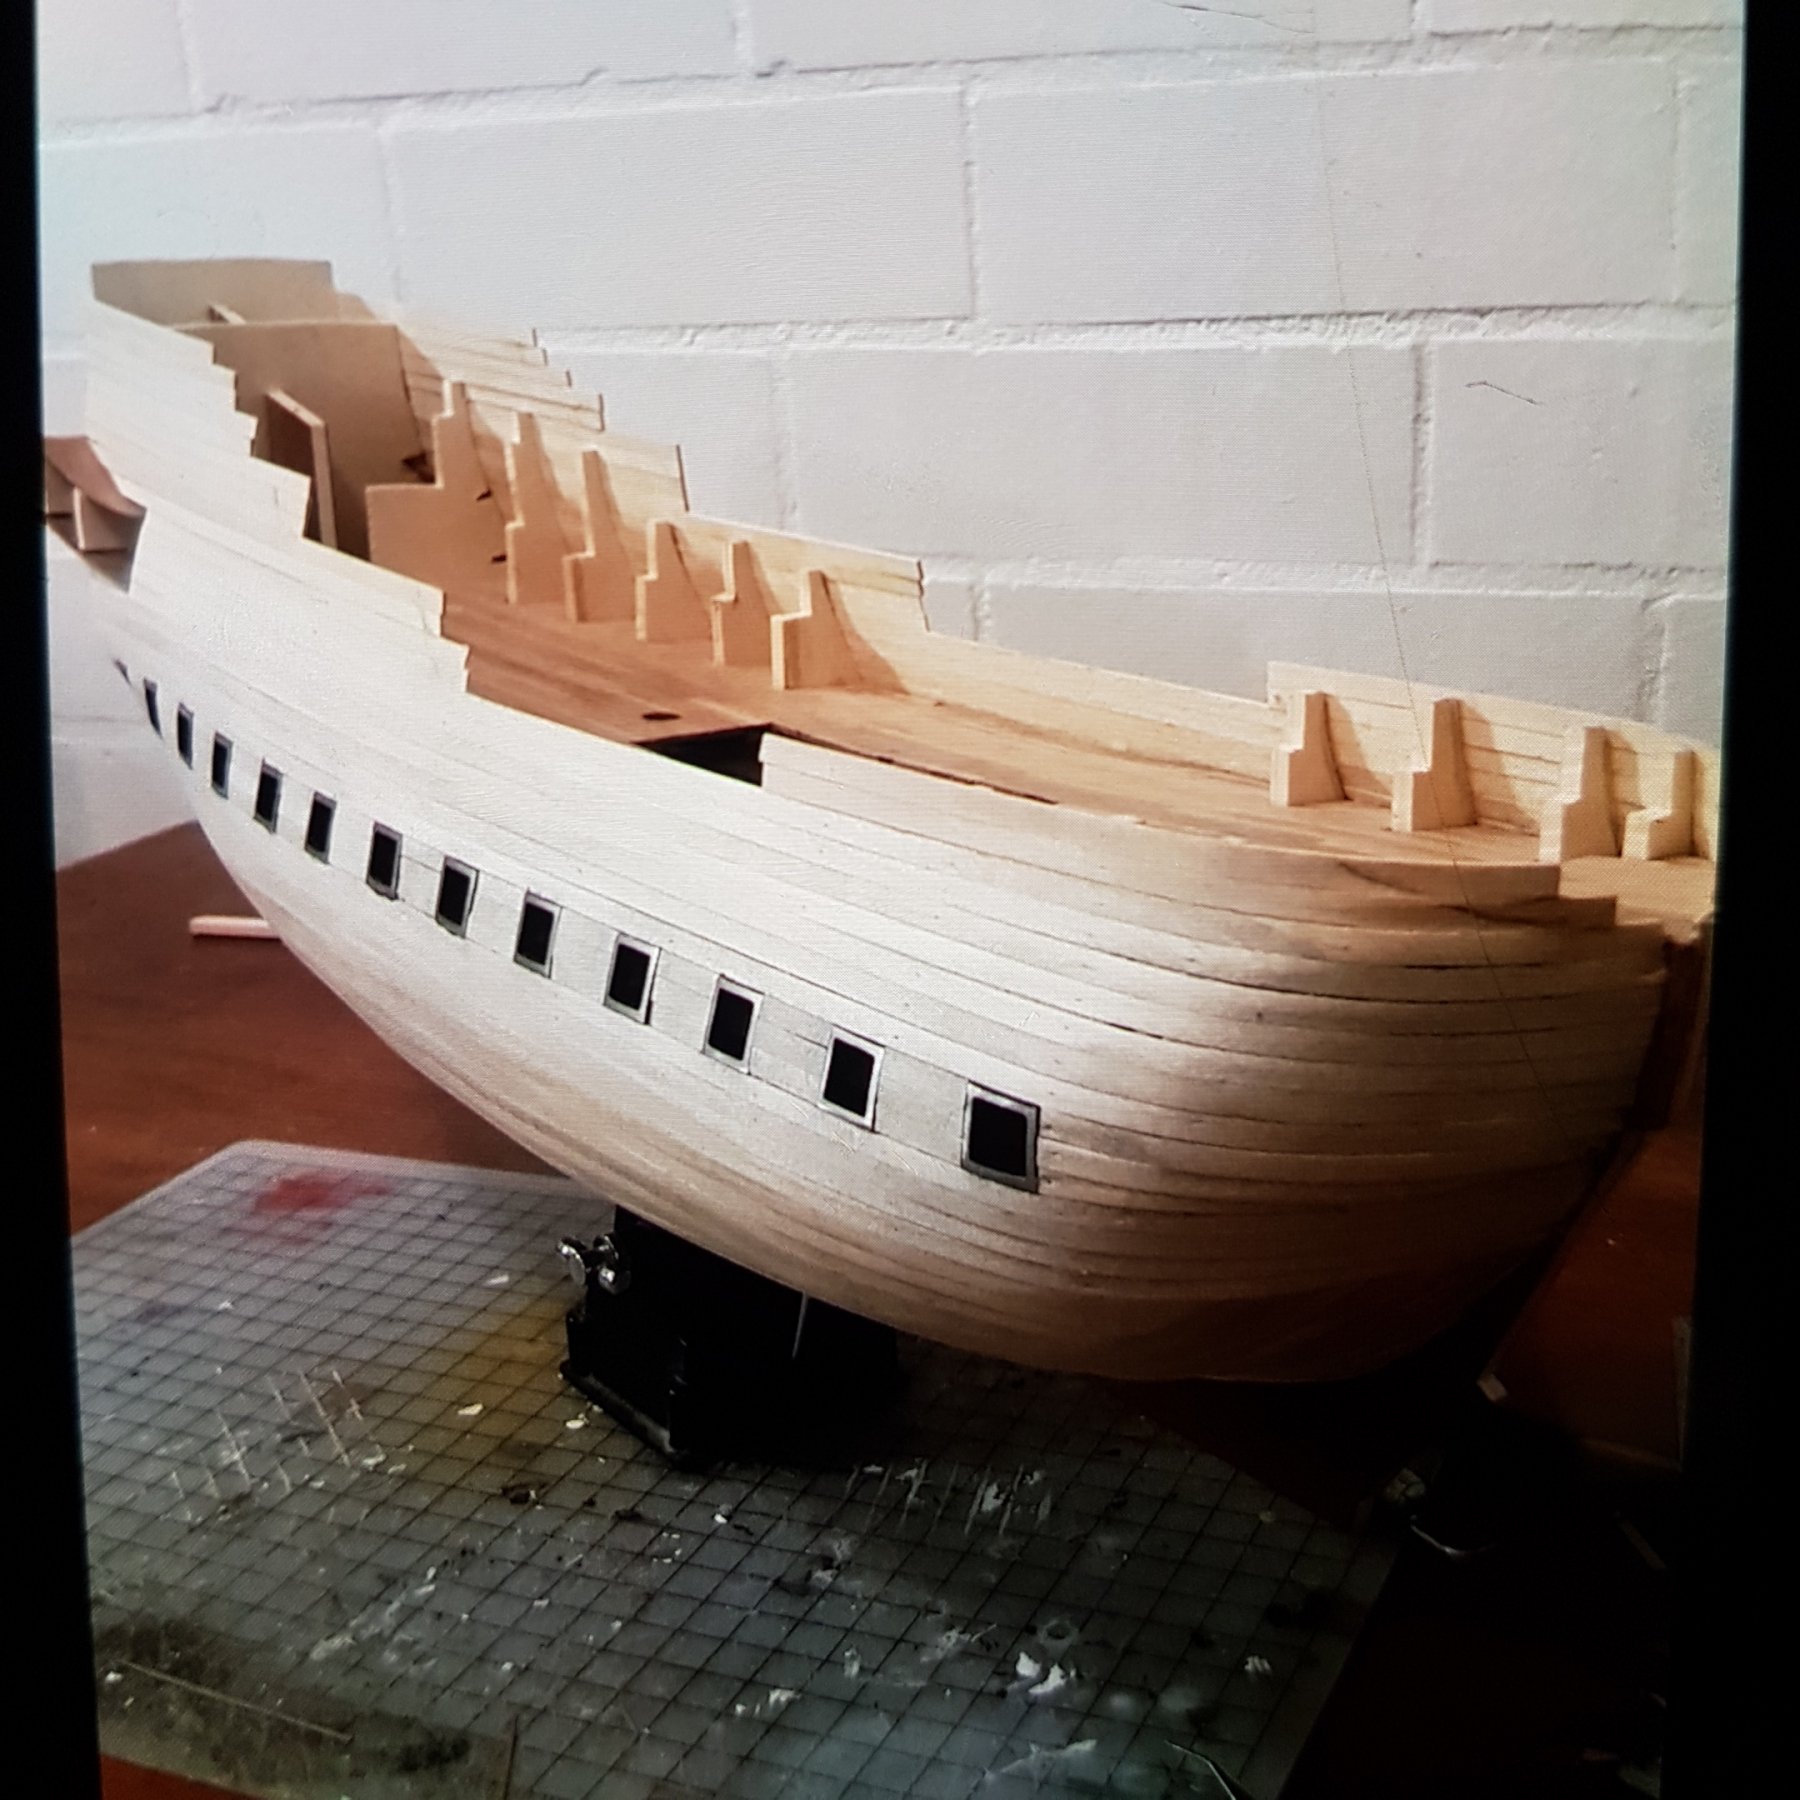
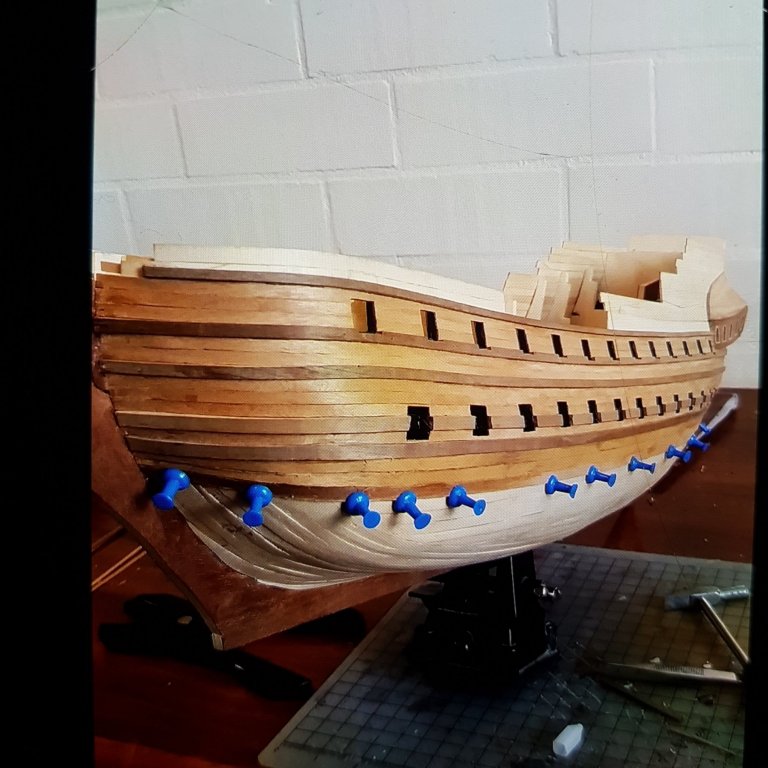
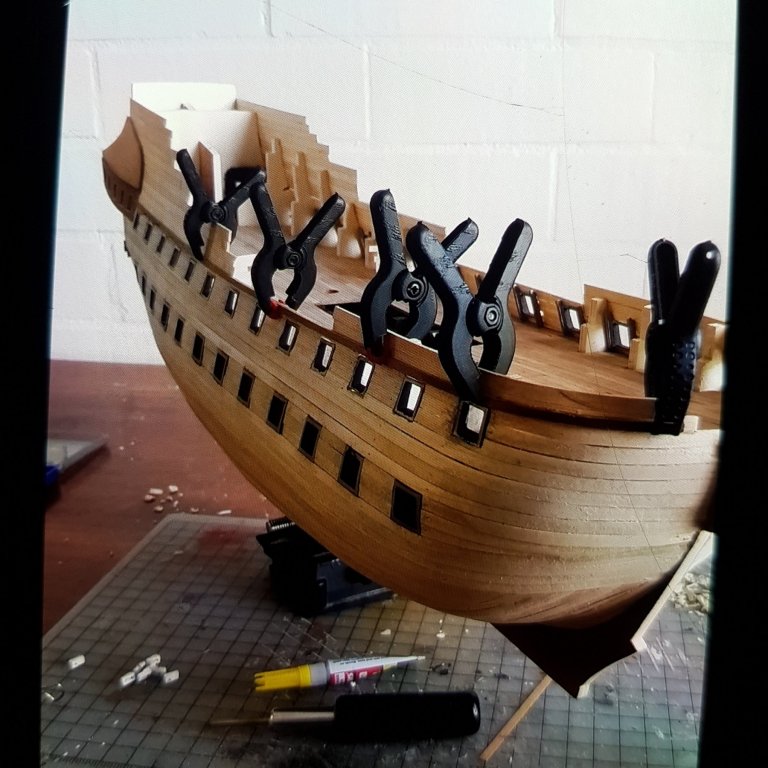
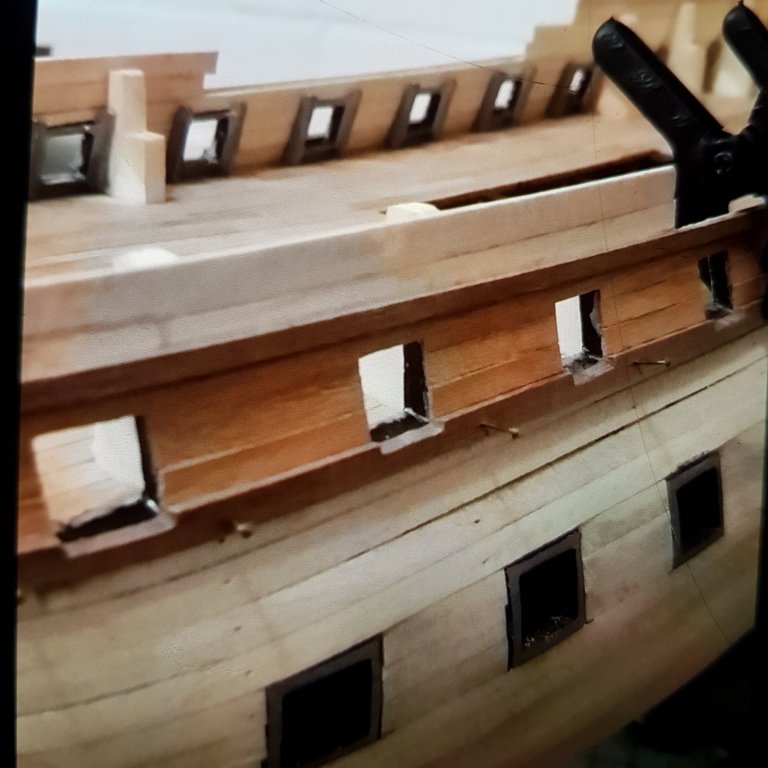
2nd layer of planks including strakes being assembled. Tried out new homemade planking clamps but later realised drawing pins do just as good a job.

-
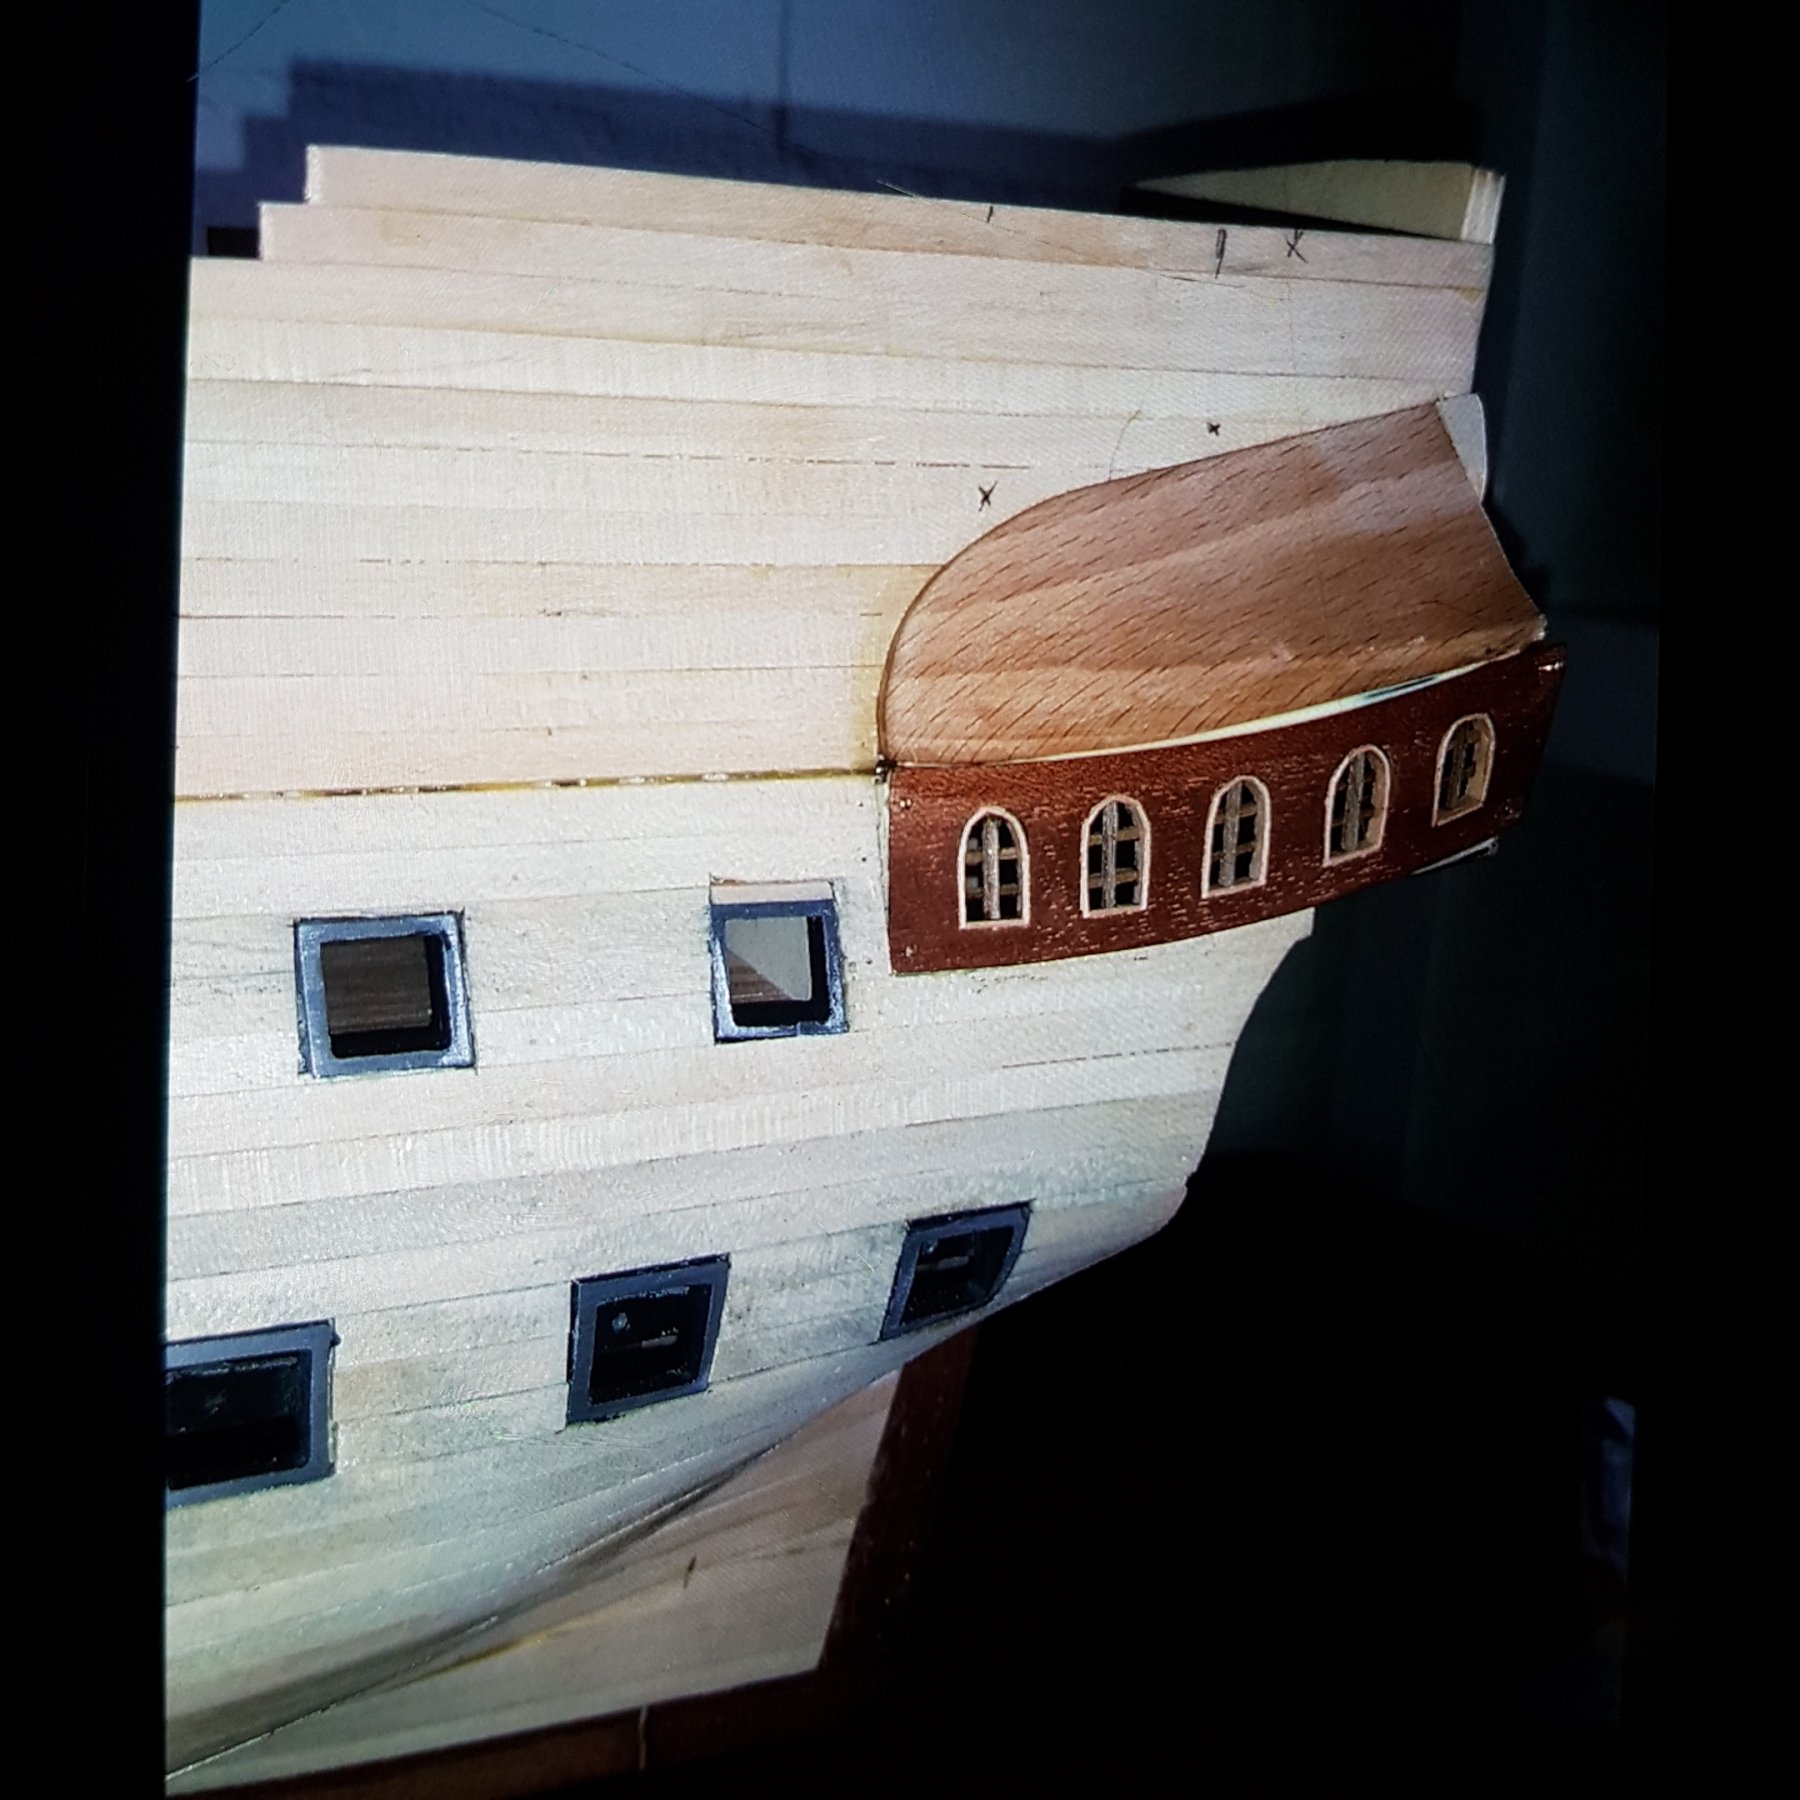
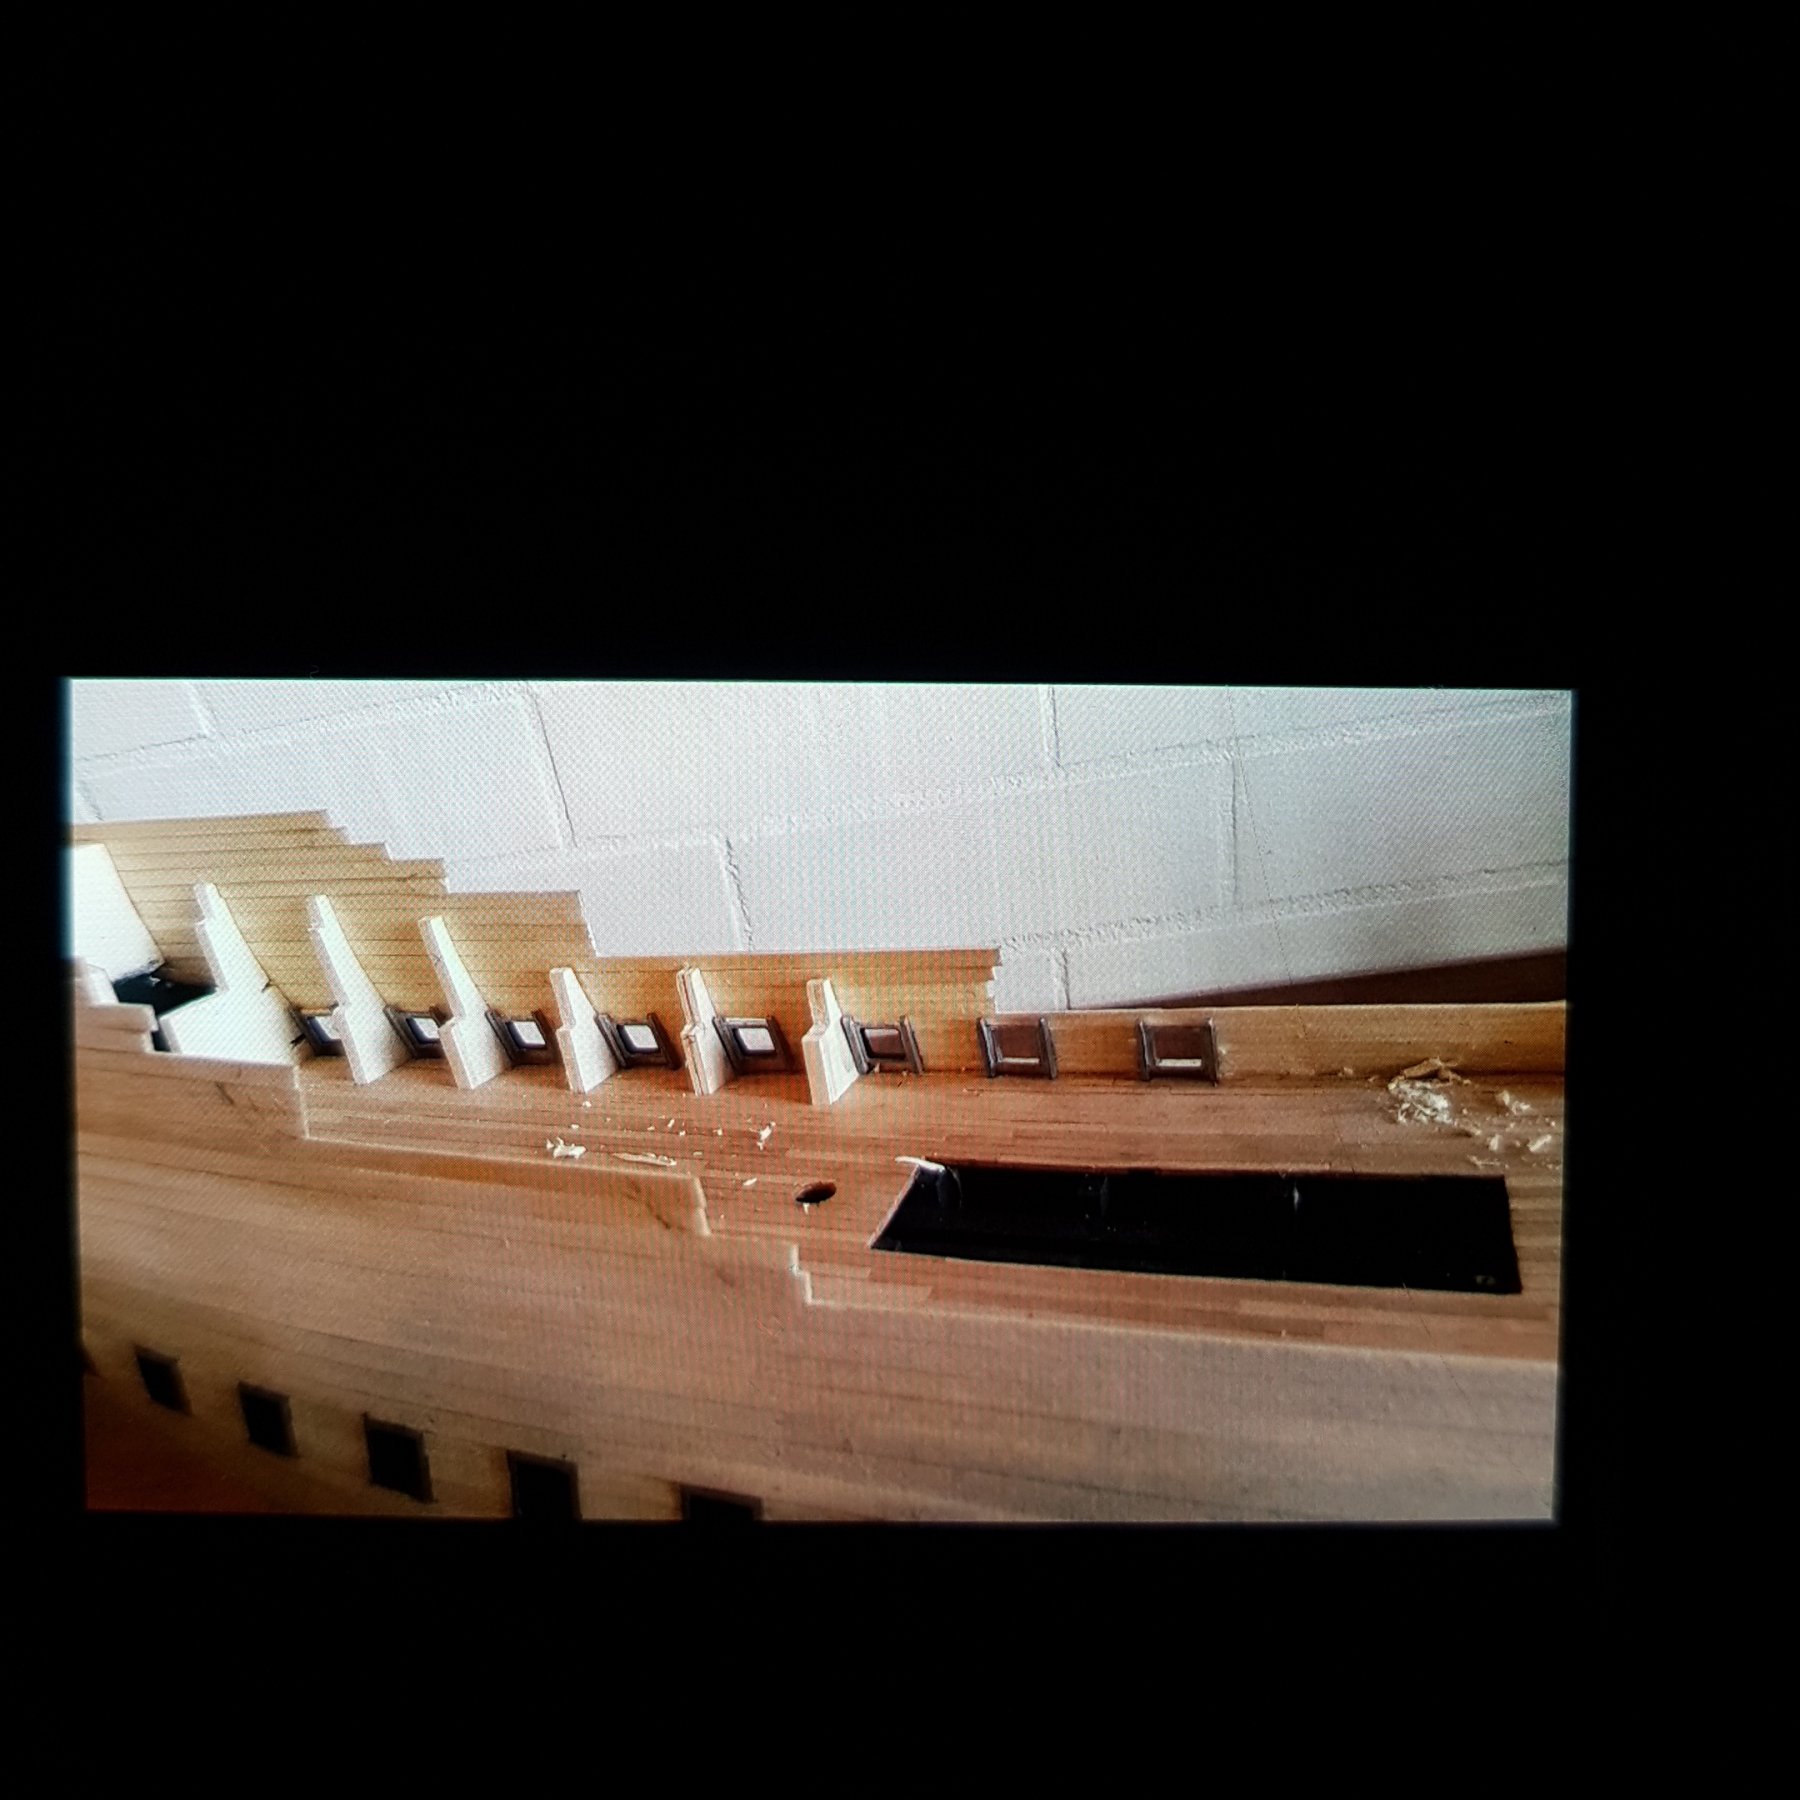
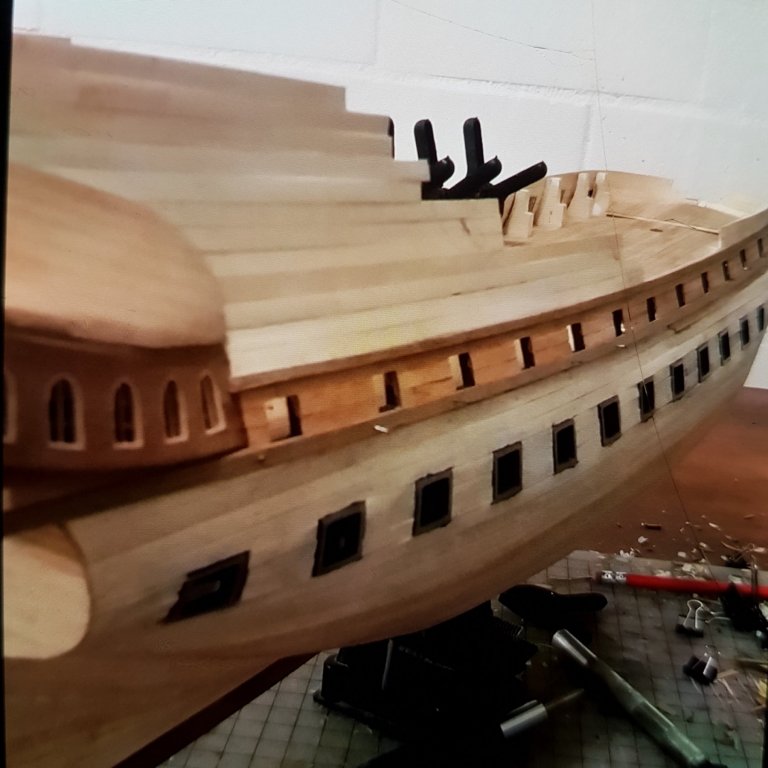
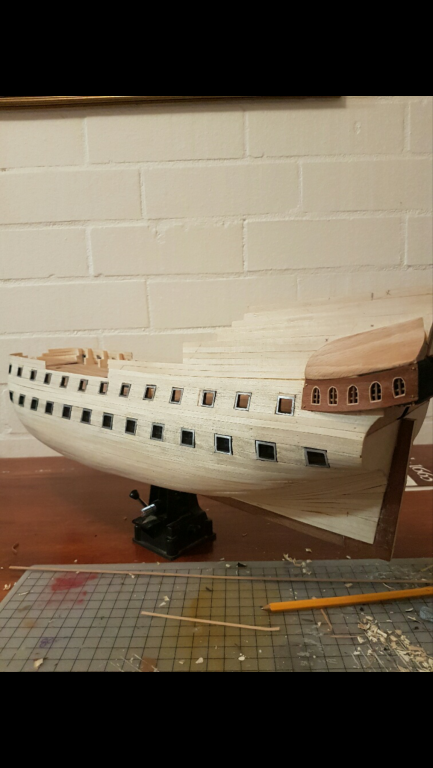
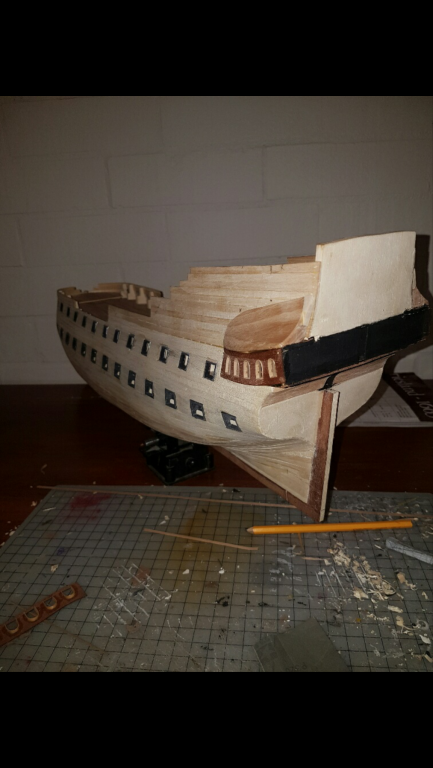
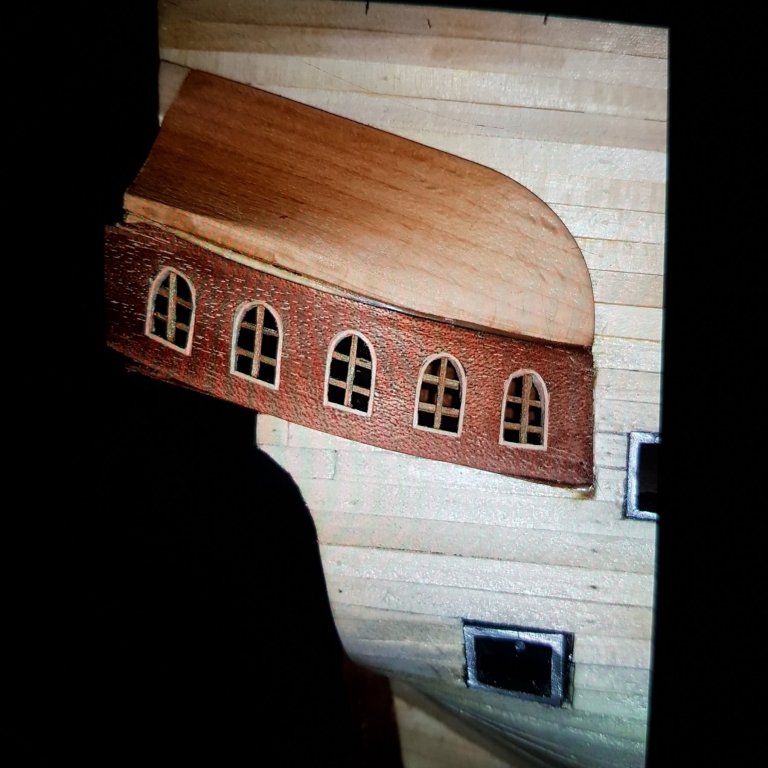
All bar 4 white metal gunports are in and the stern windows are being placed. The rear is painted black so the windows can go in front. Now onto the final layer of planks.
-
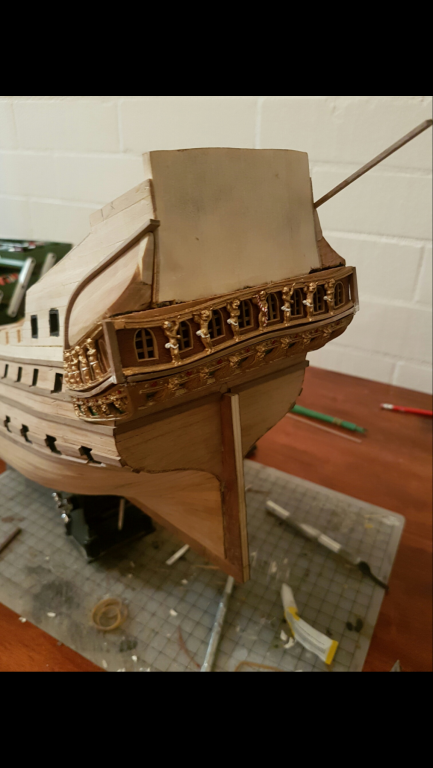
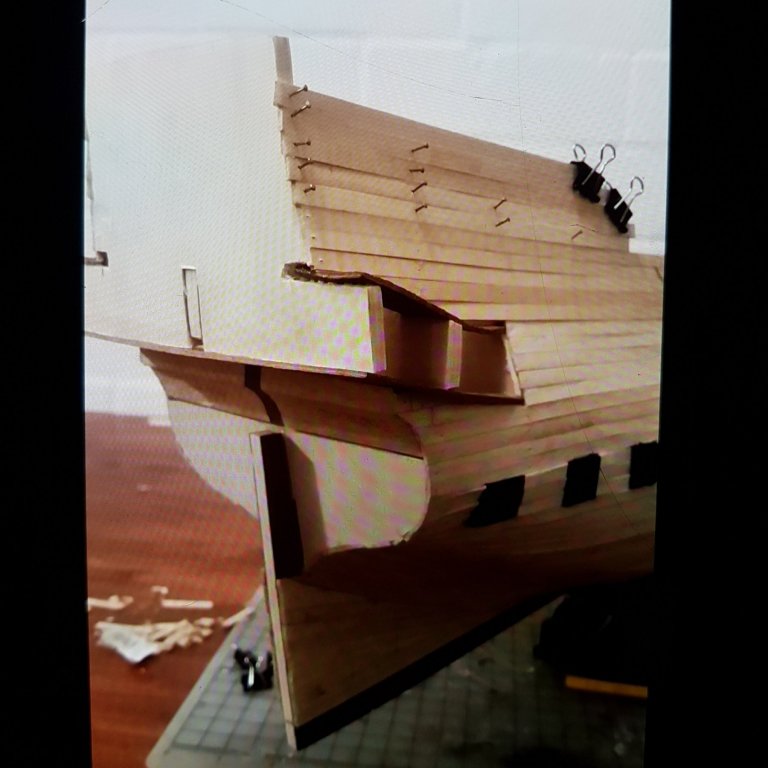
After the use of a heavy duty modeling knife shaping these blocks it's time to scratch build the windows. Using some spare 1×3mm strips I framed the windows and added 1×1mm sashes. I think they turned out better than I thought.


-
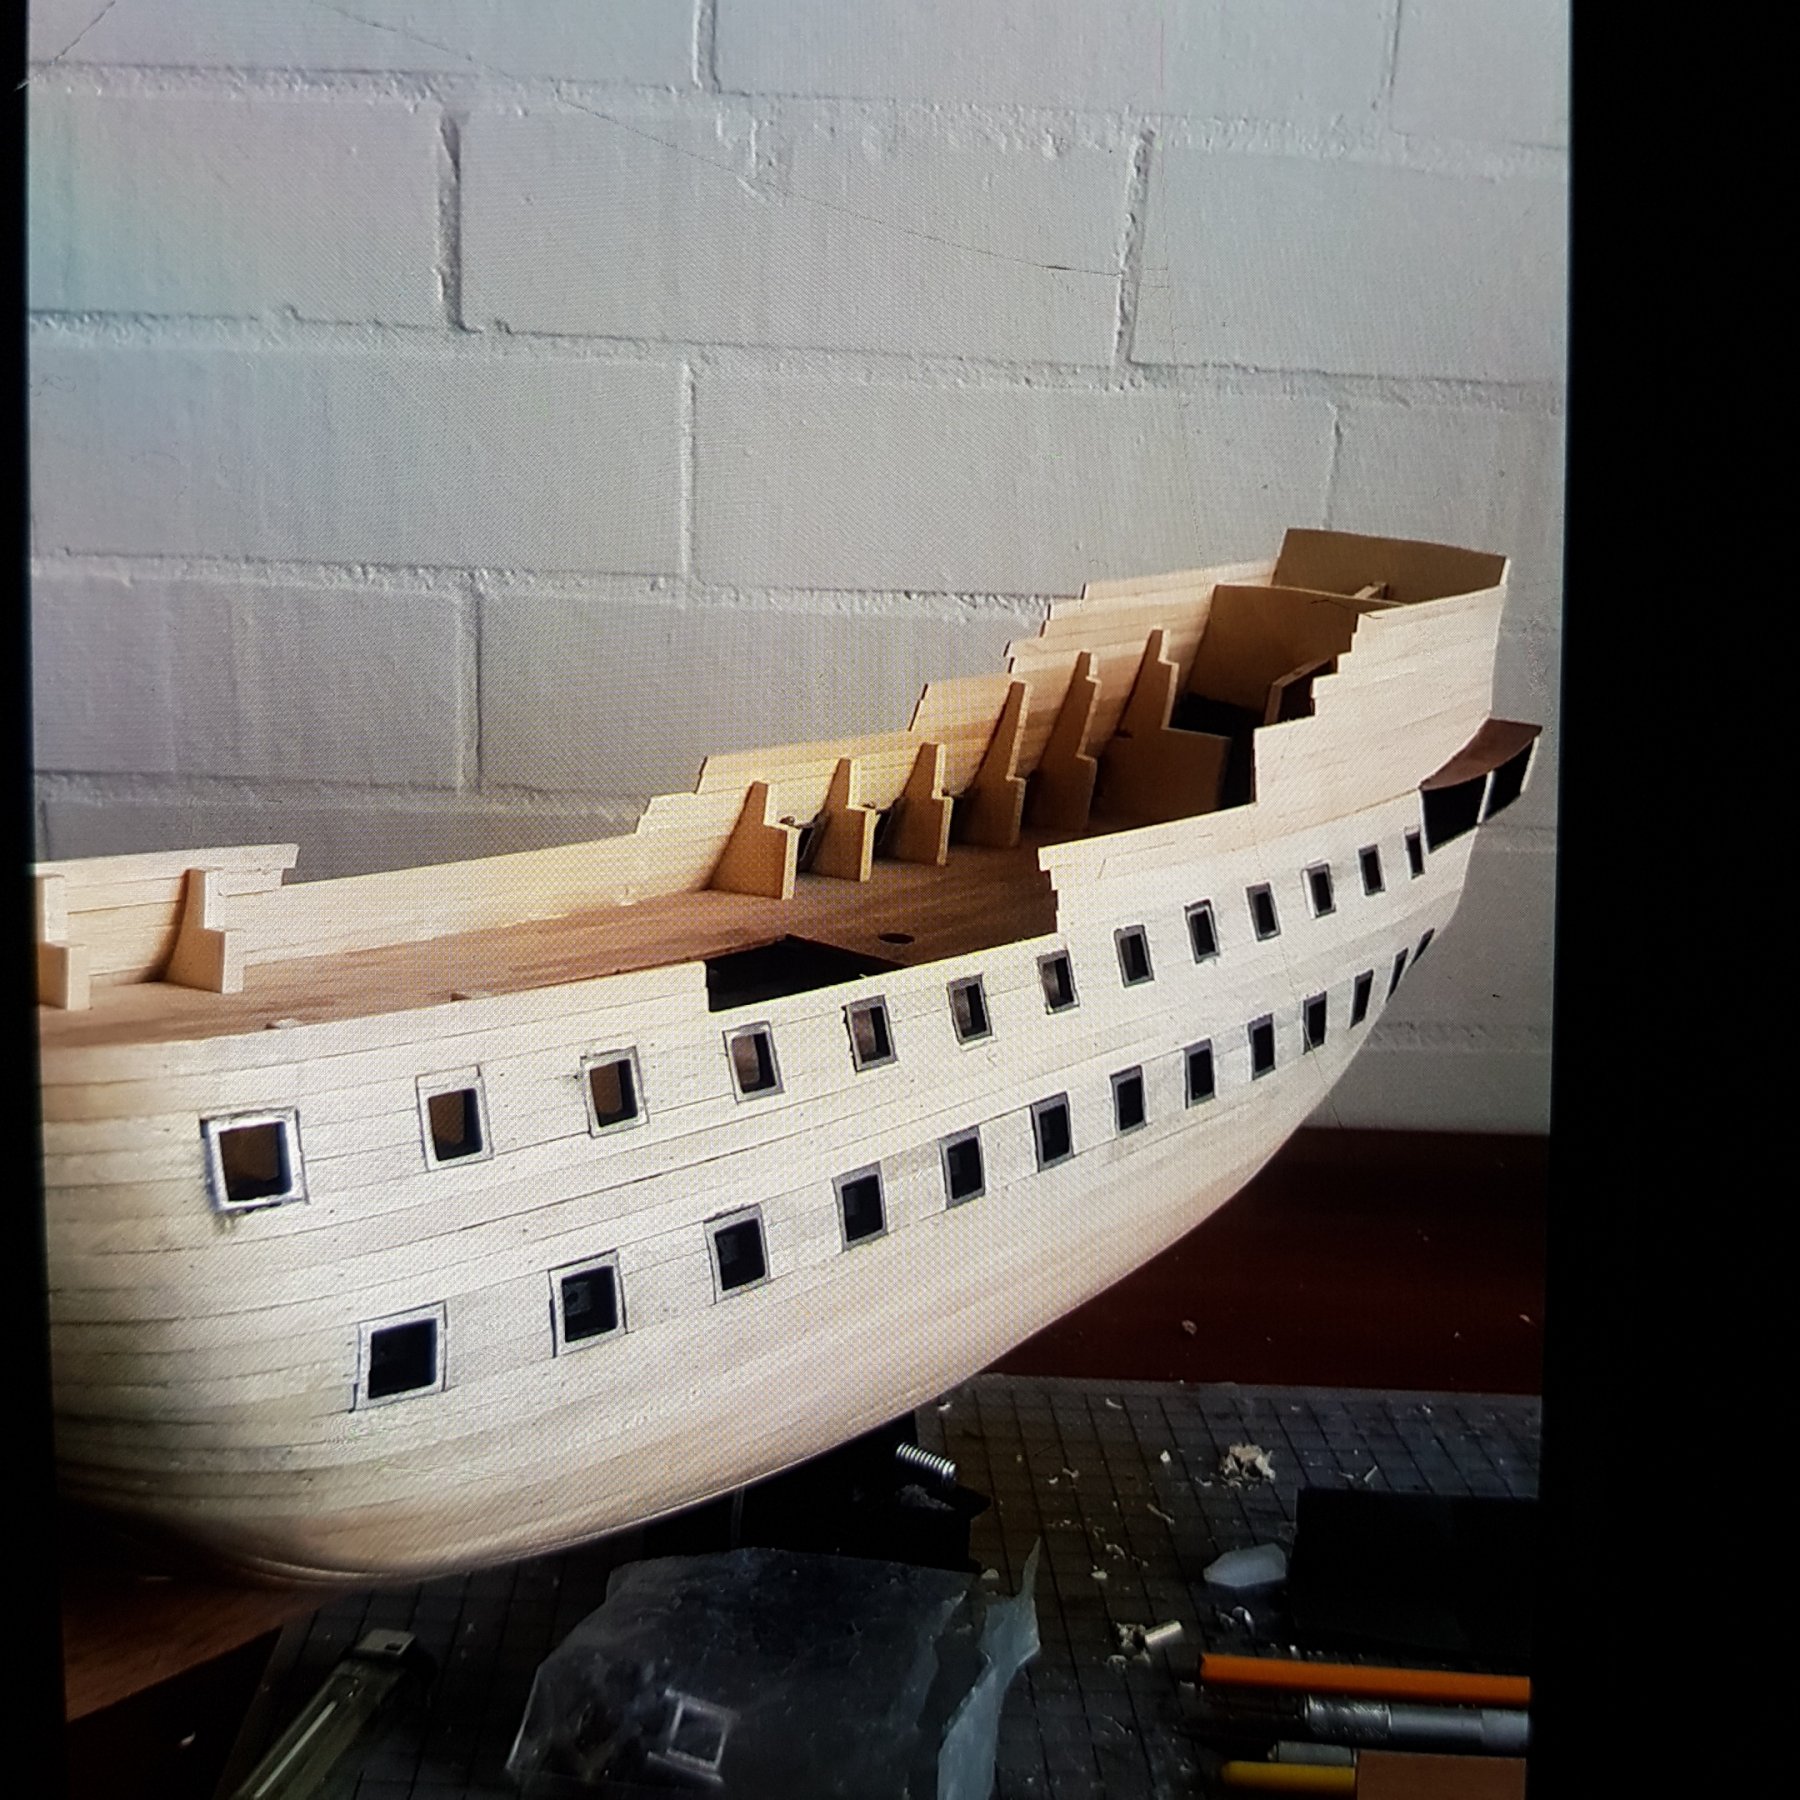
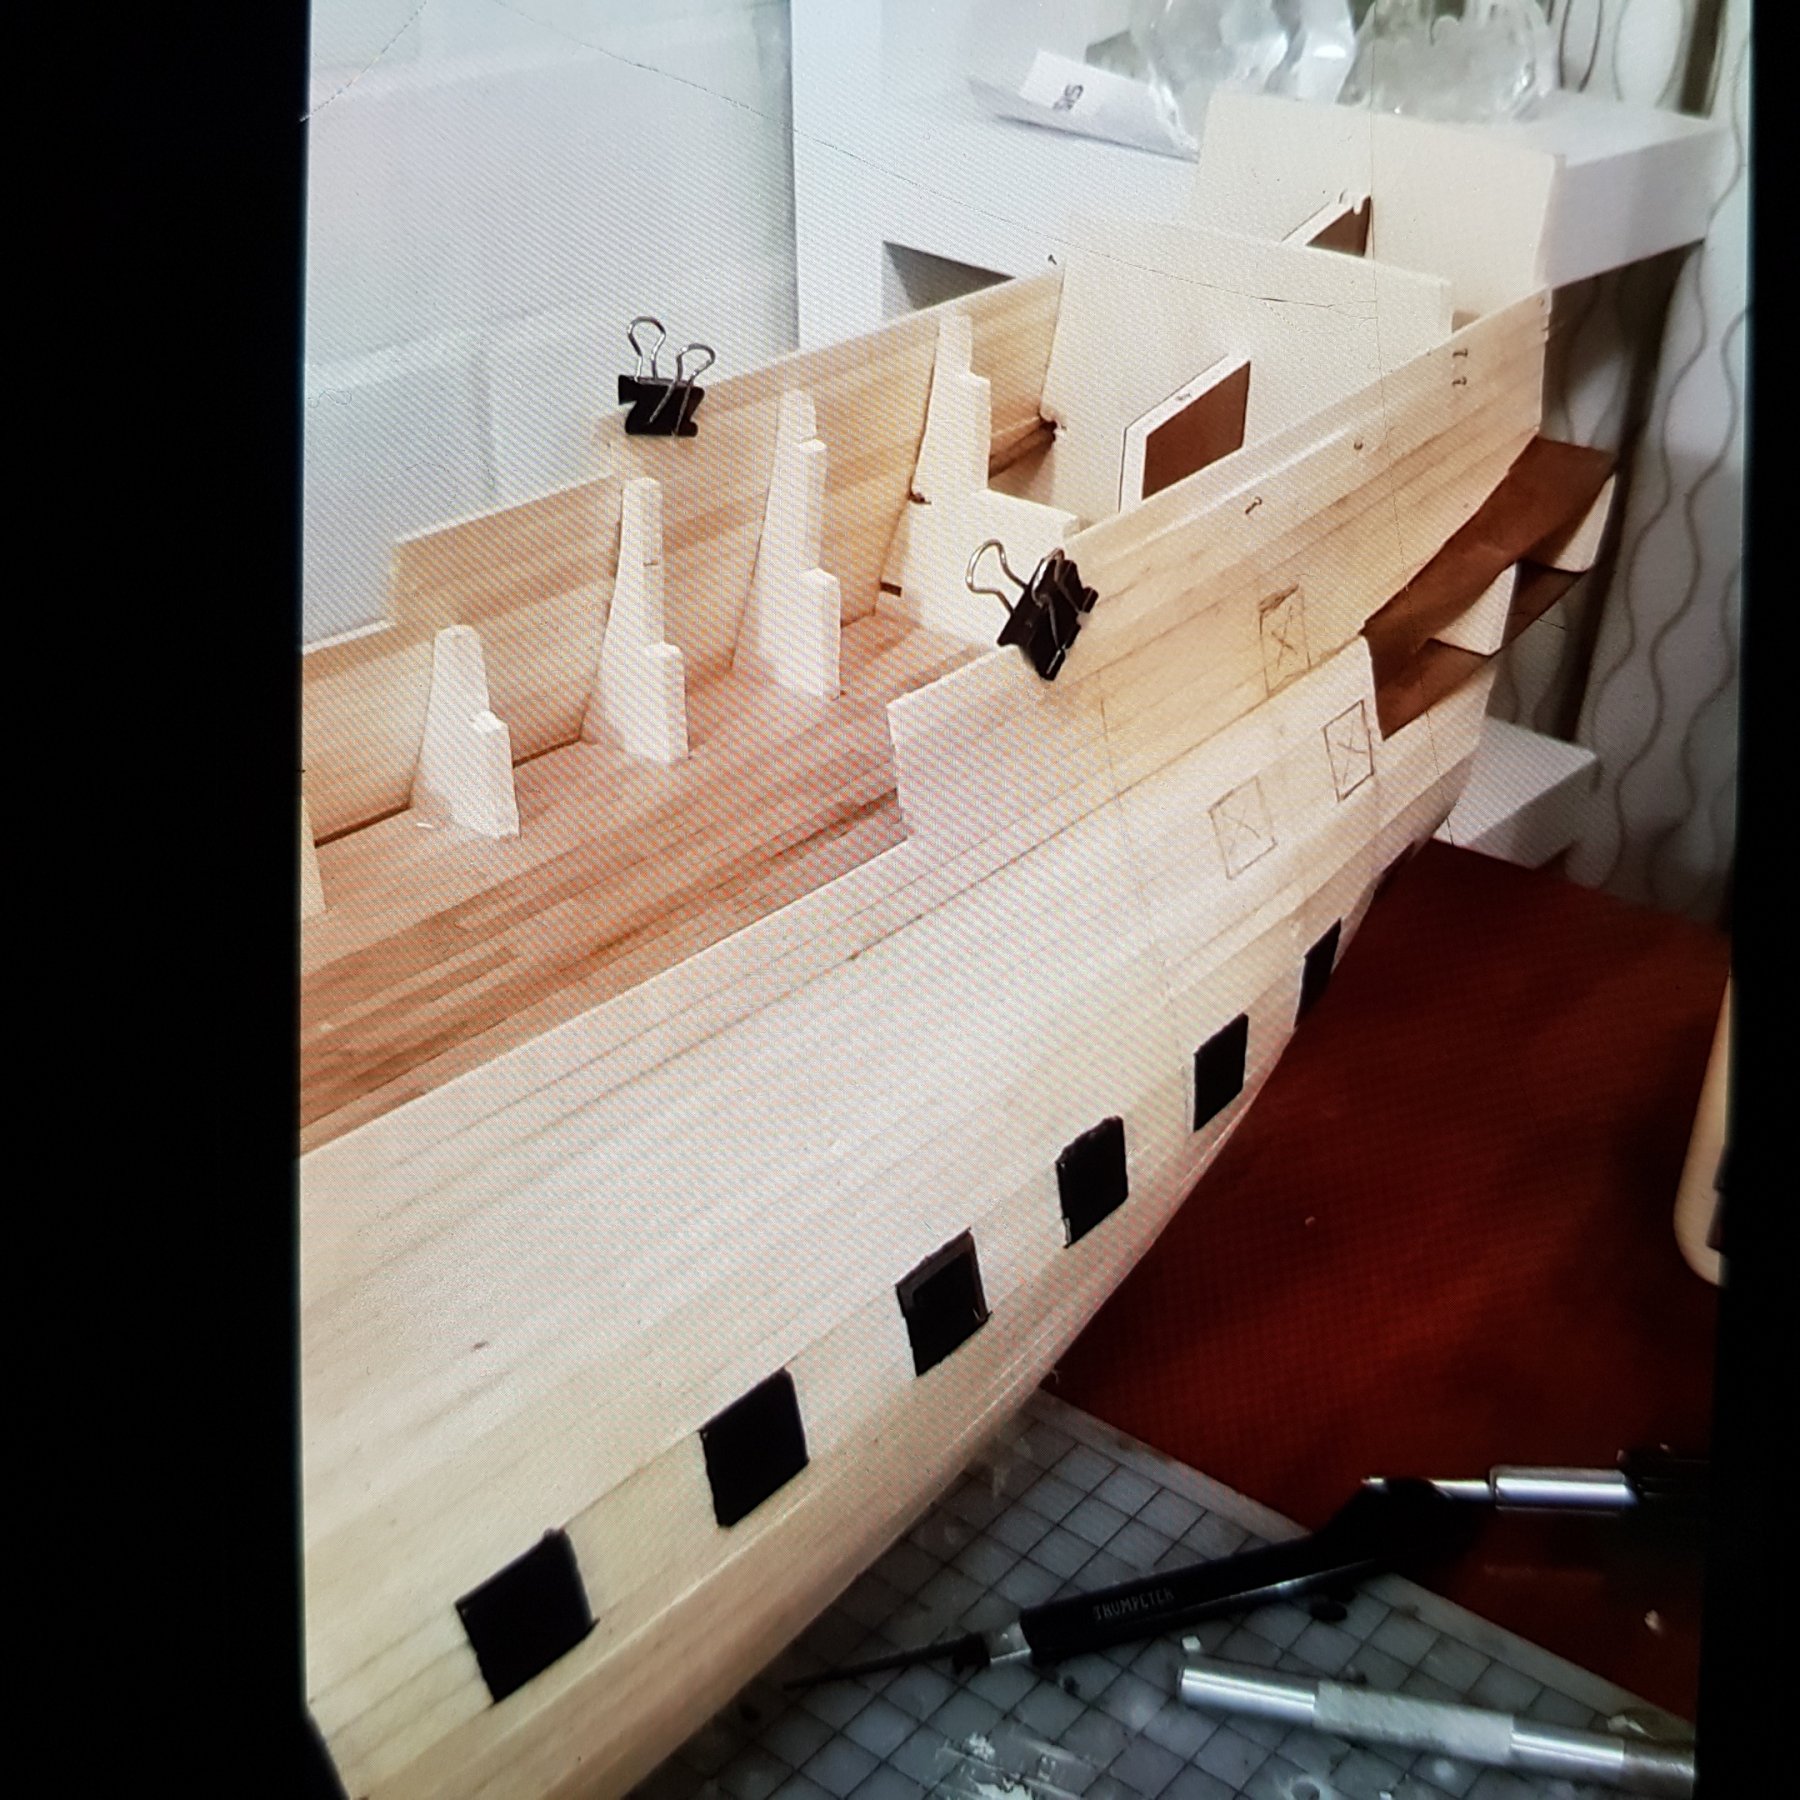
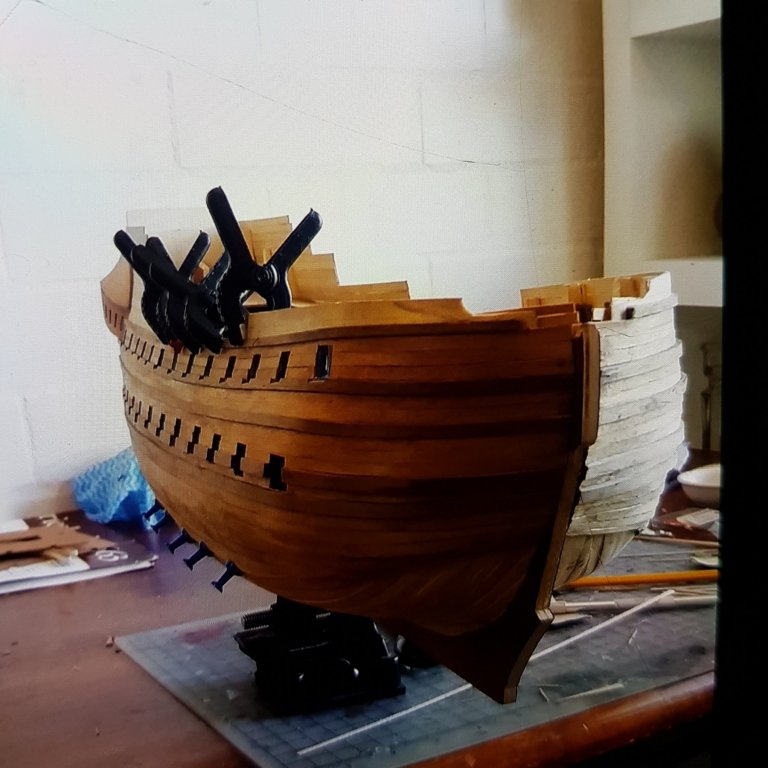
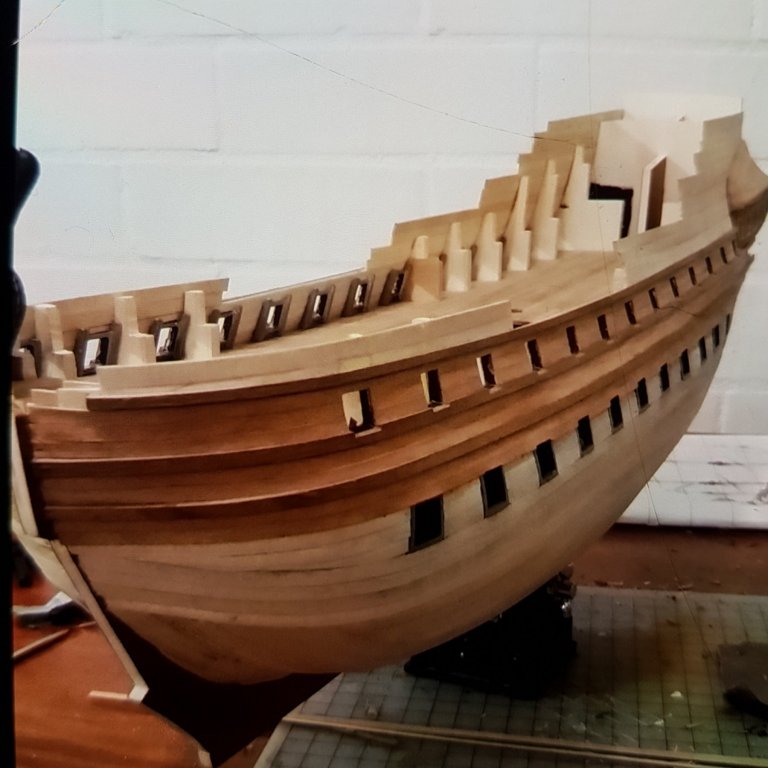
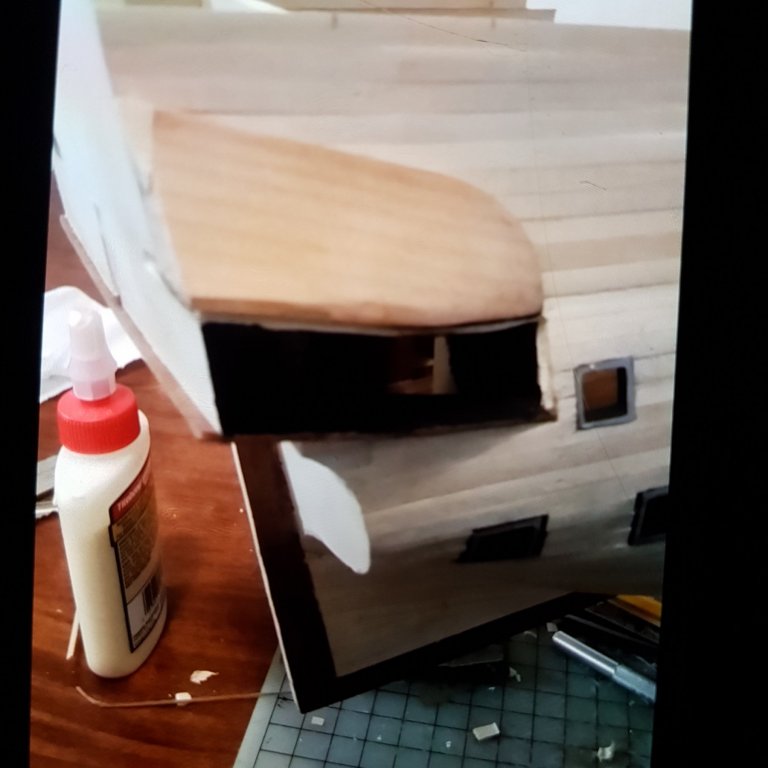
Port and Starboard second row complete. Next is the transom gallery curved roof. These are two hard blocks simular to scotia boards around your ceilings in your house, And needs to be carved into the required shape, Perfectly symmetrical to each other. As shown in the last picture.

-
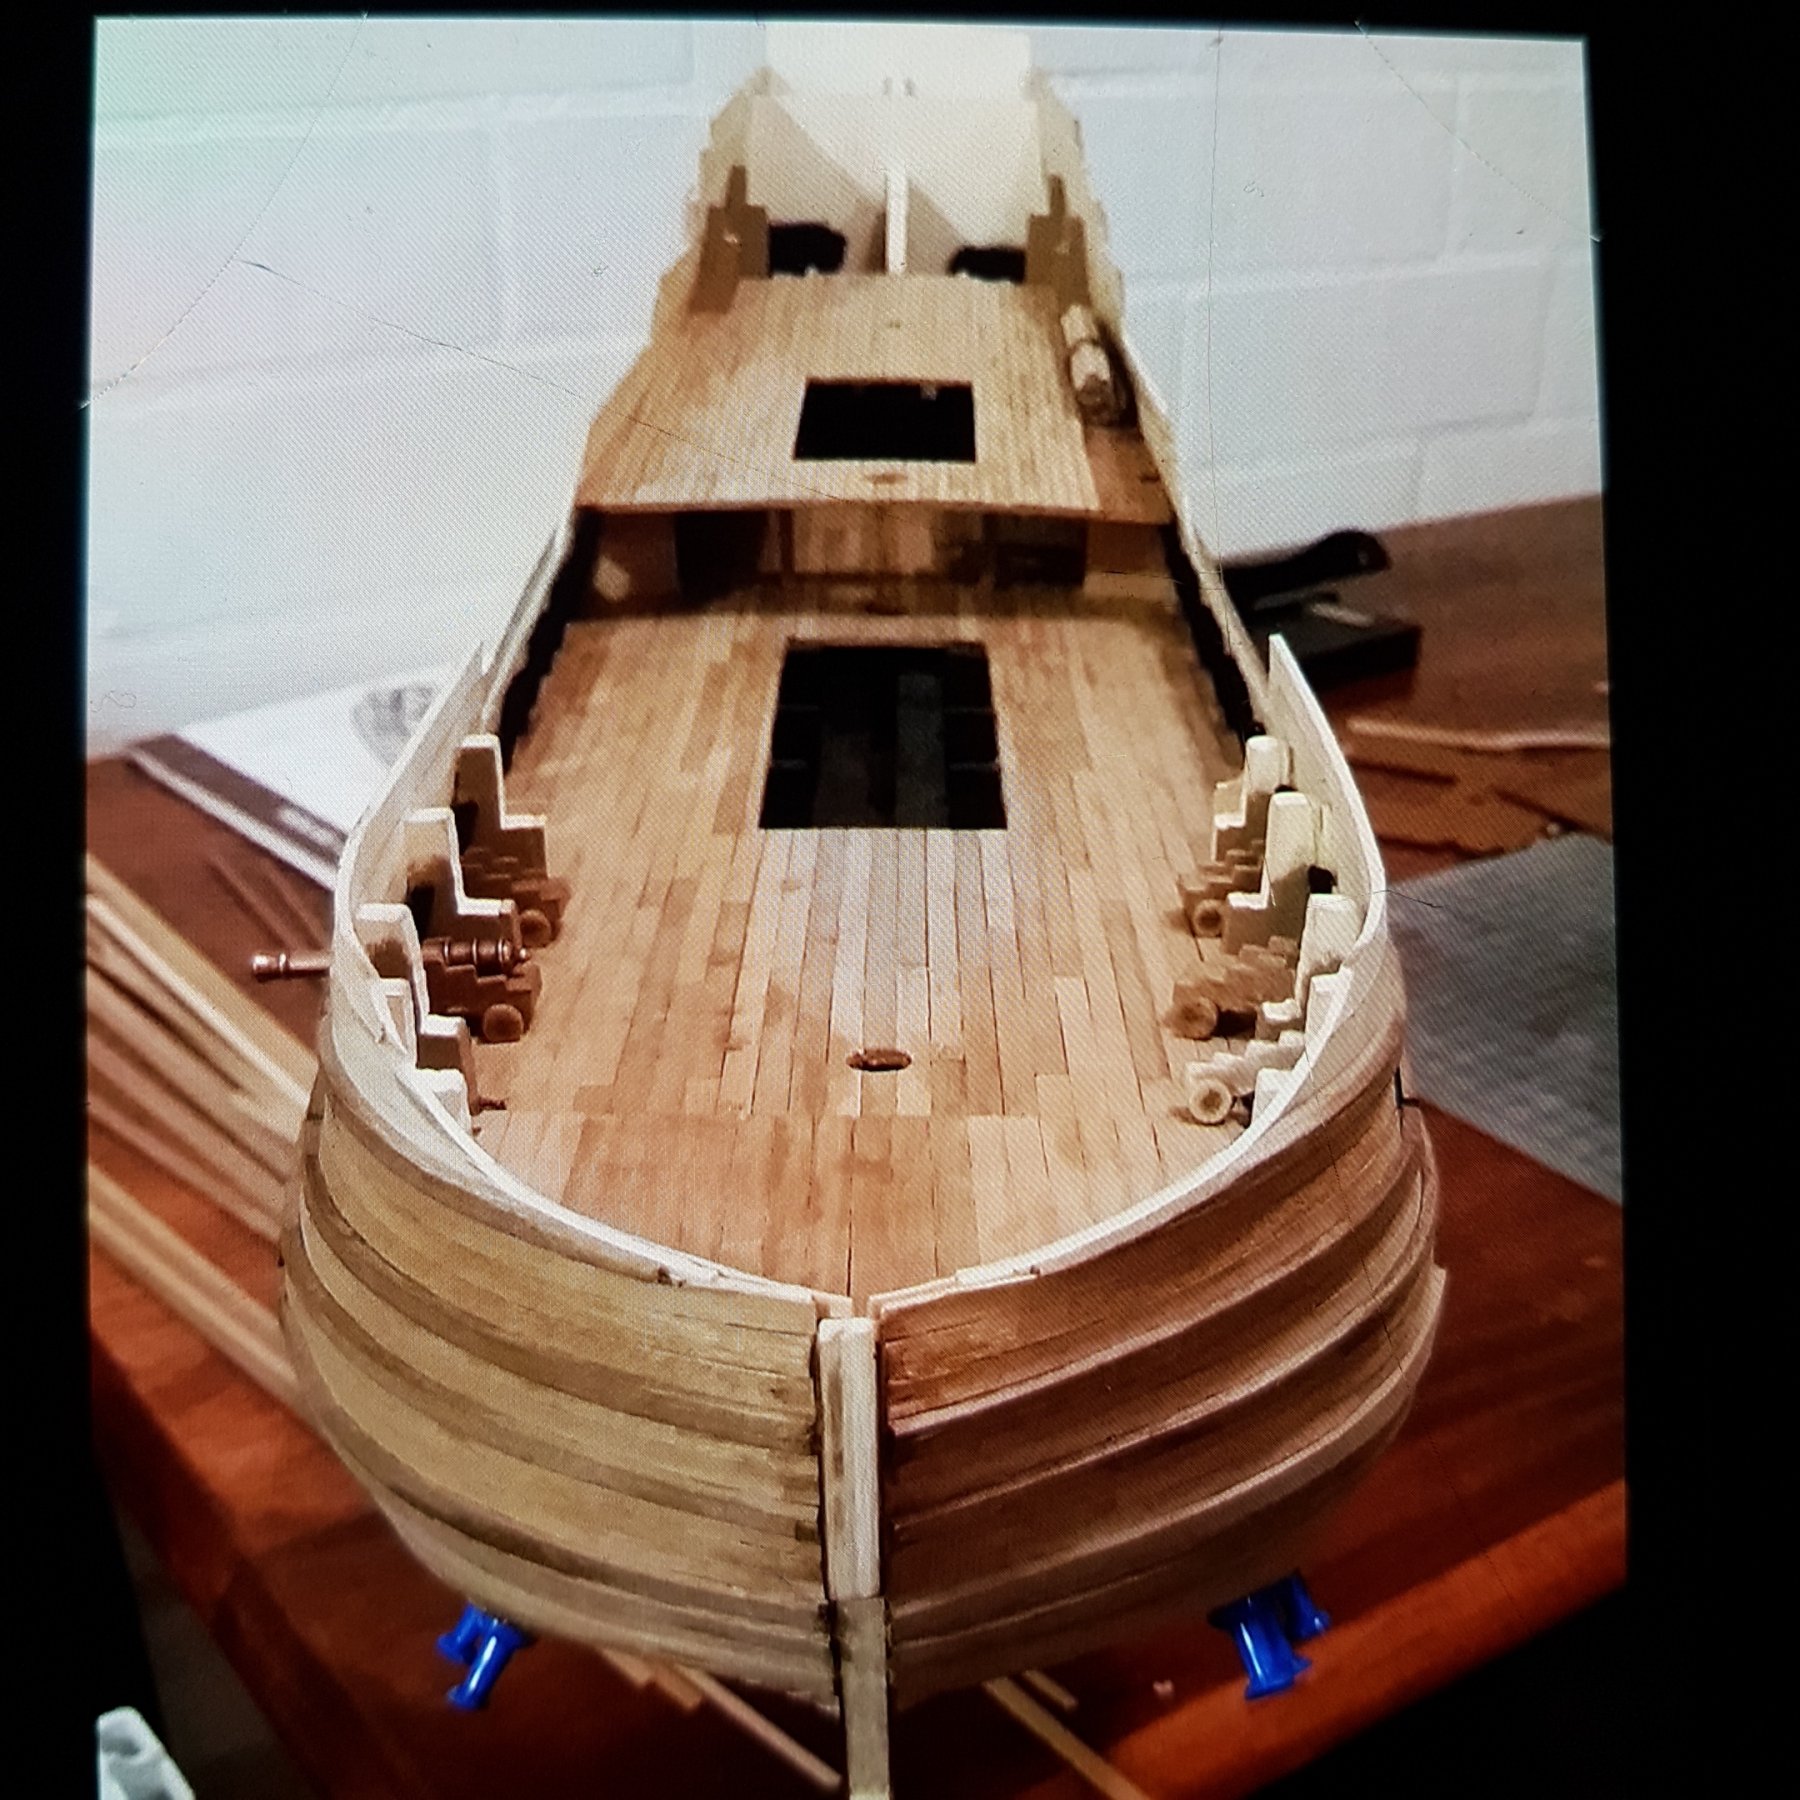
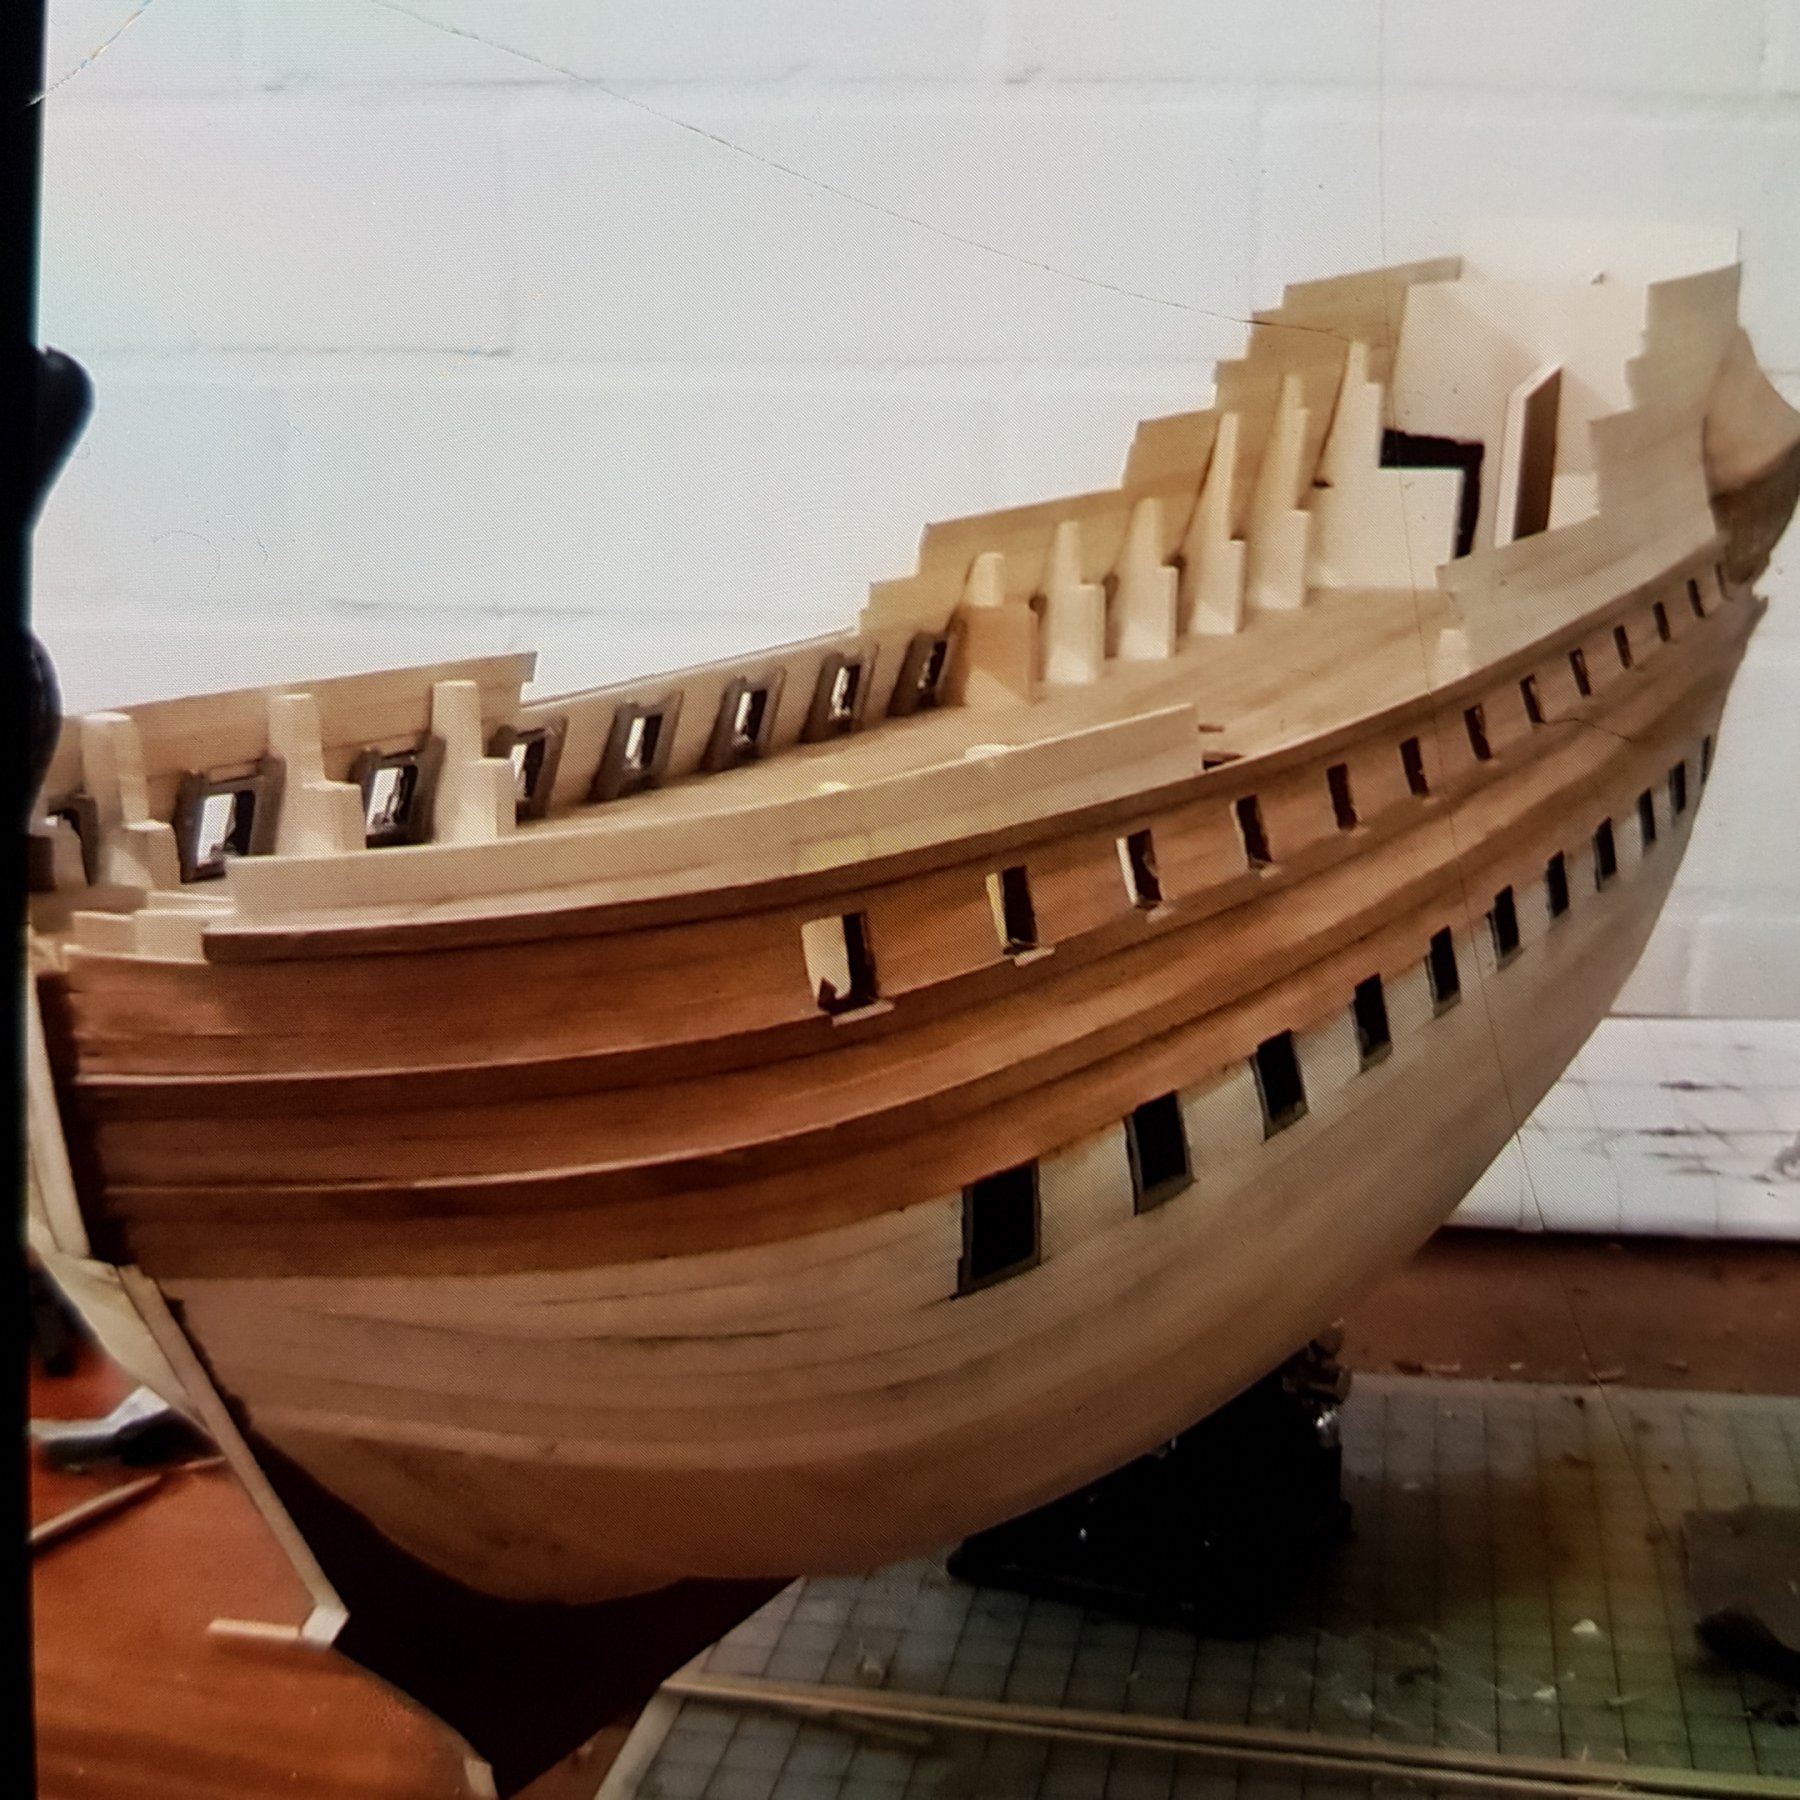
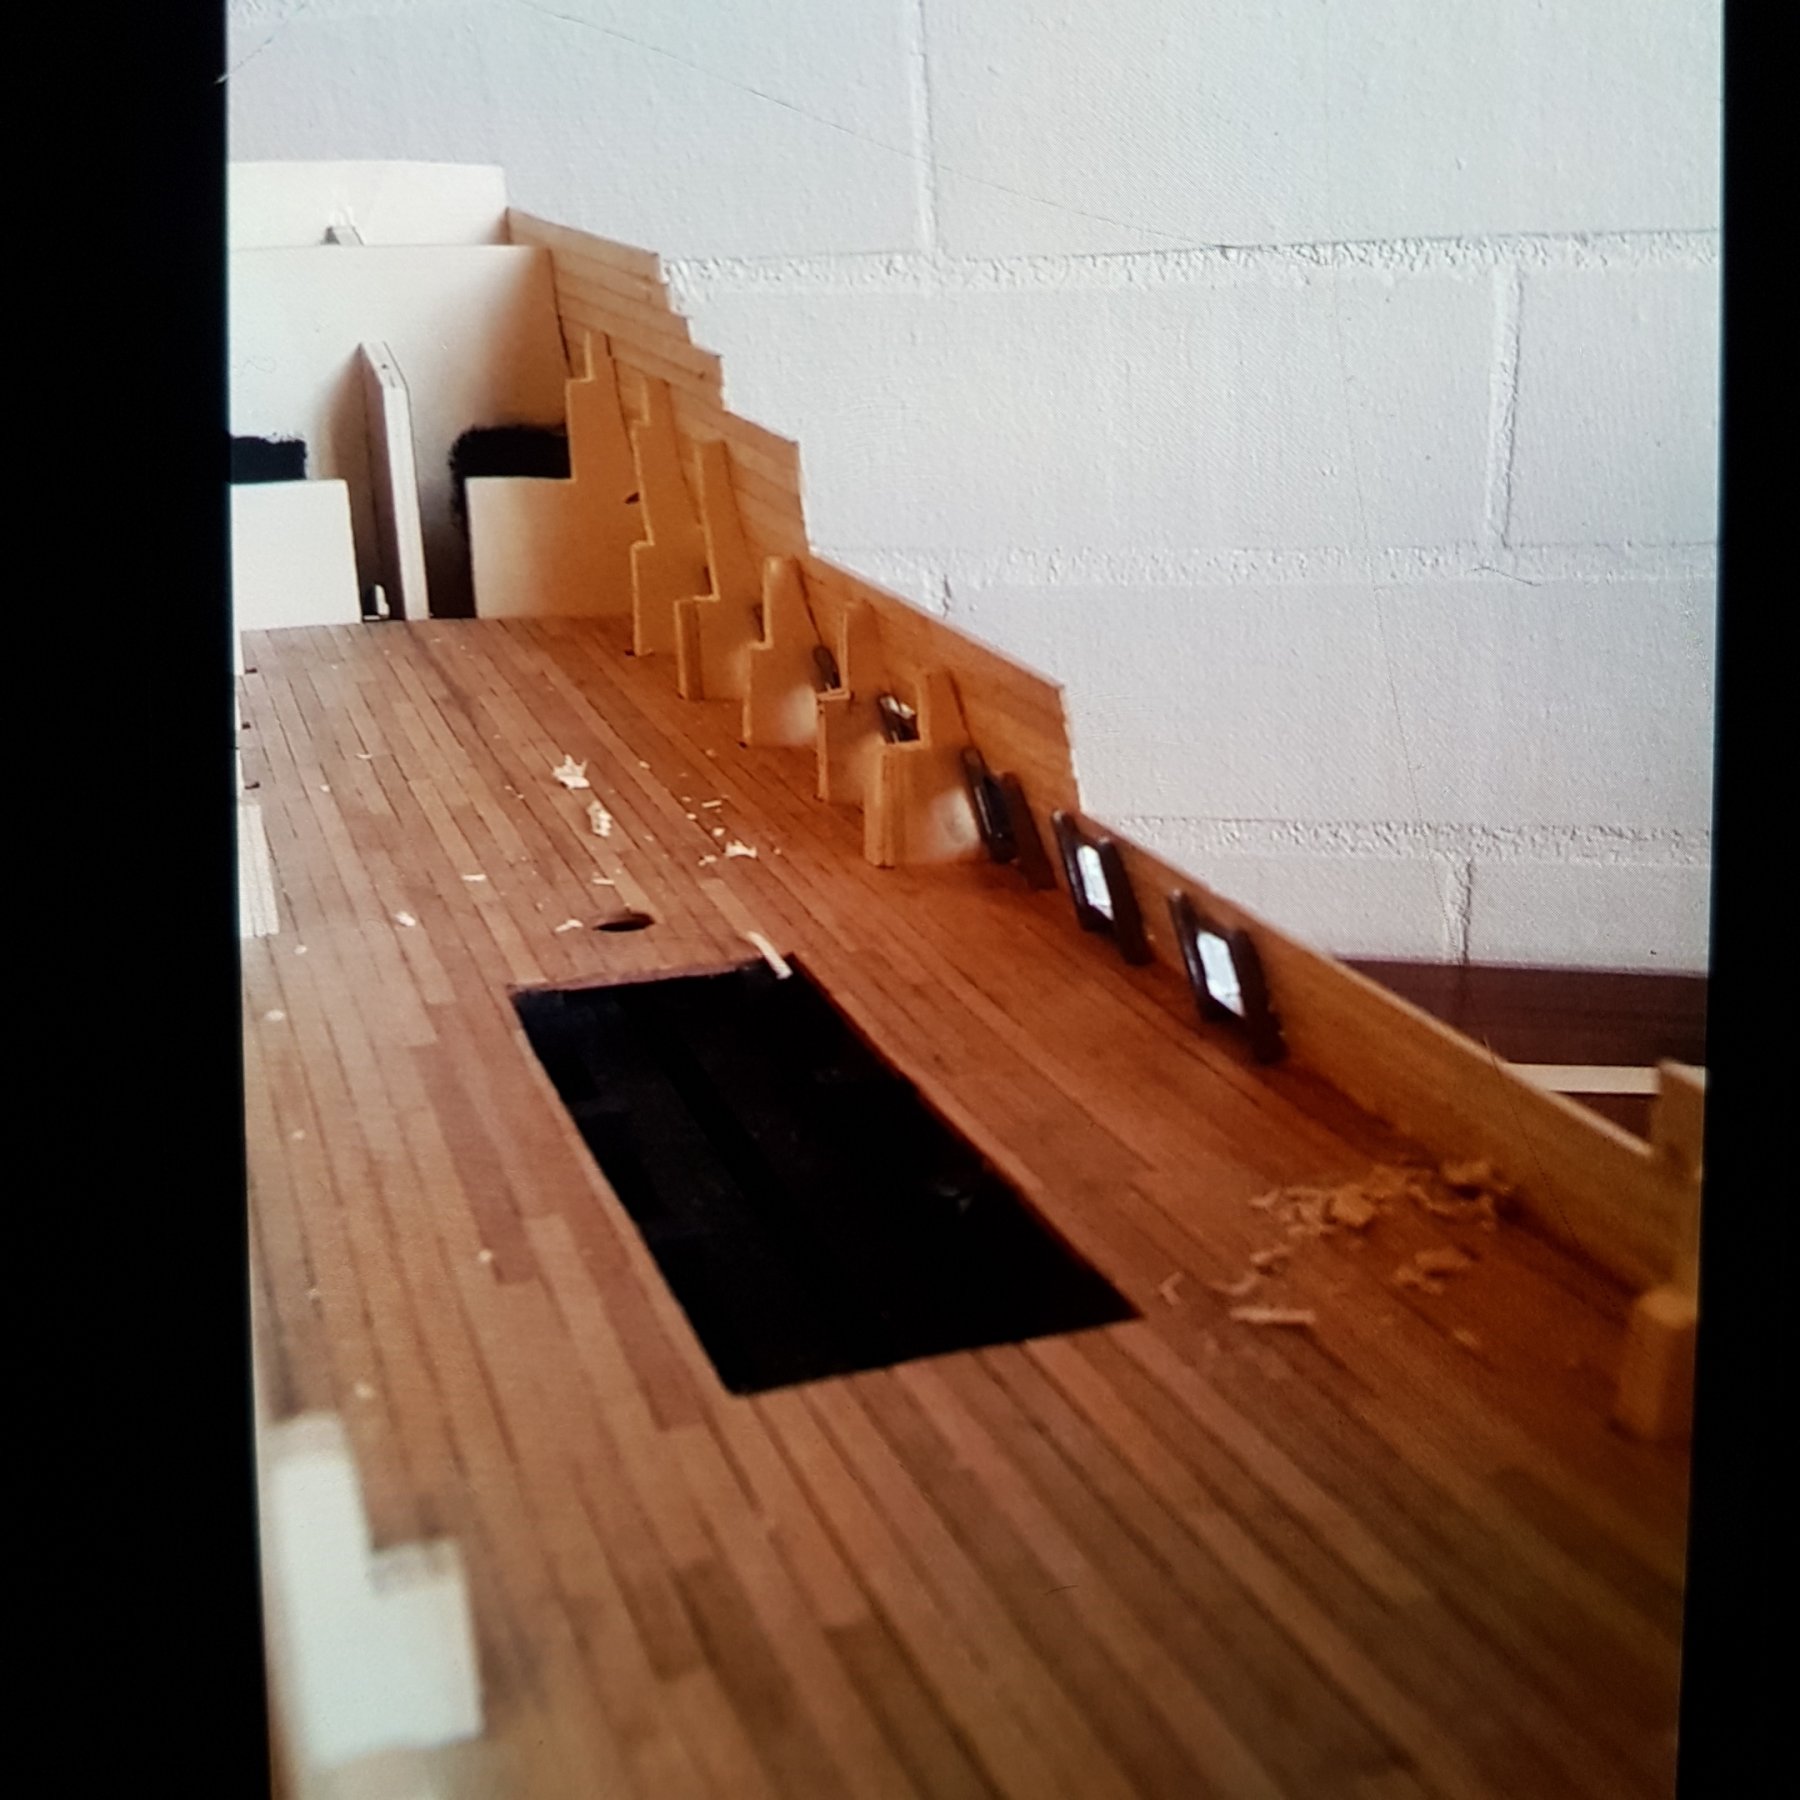
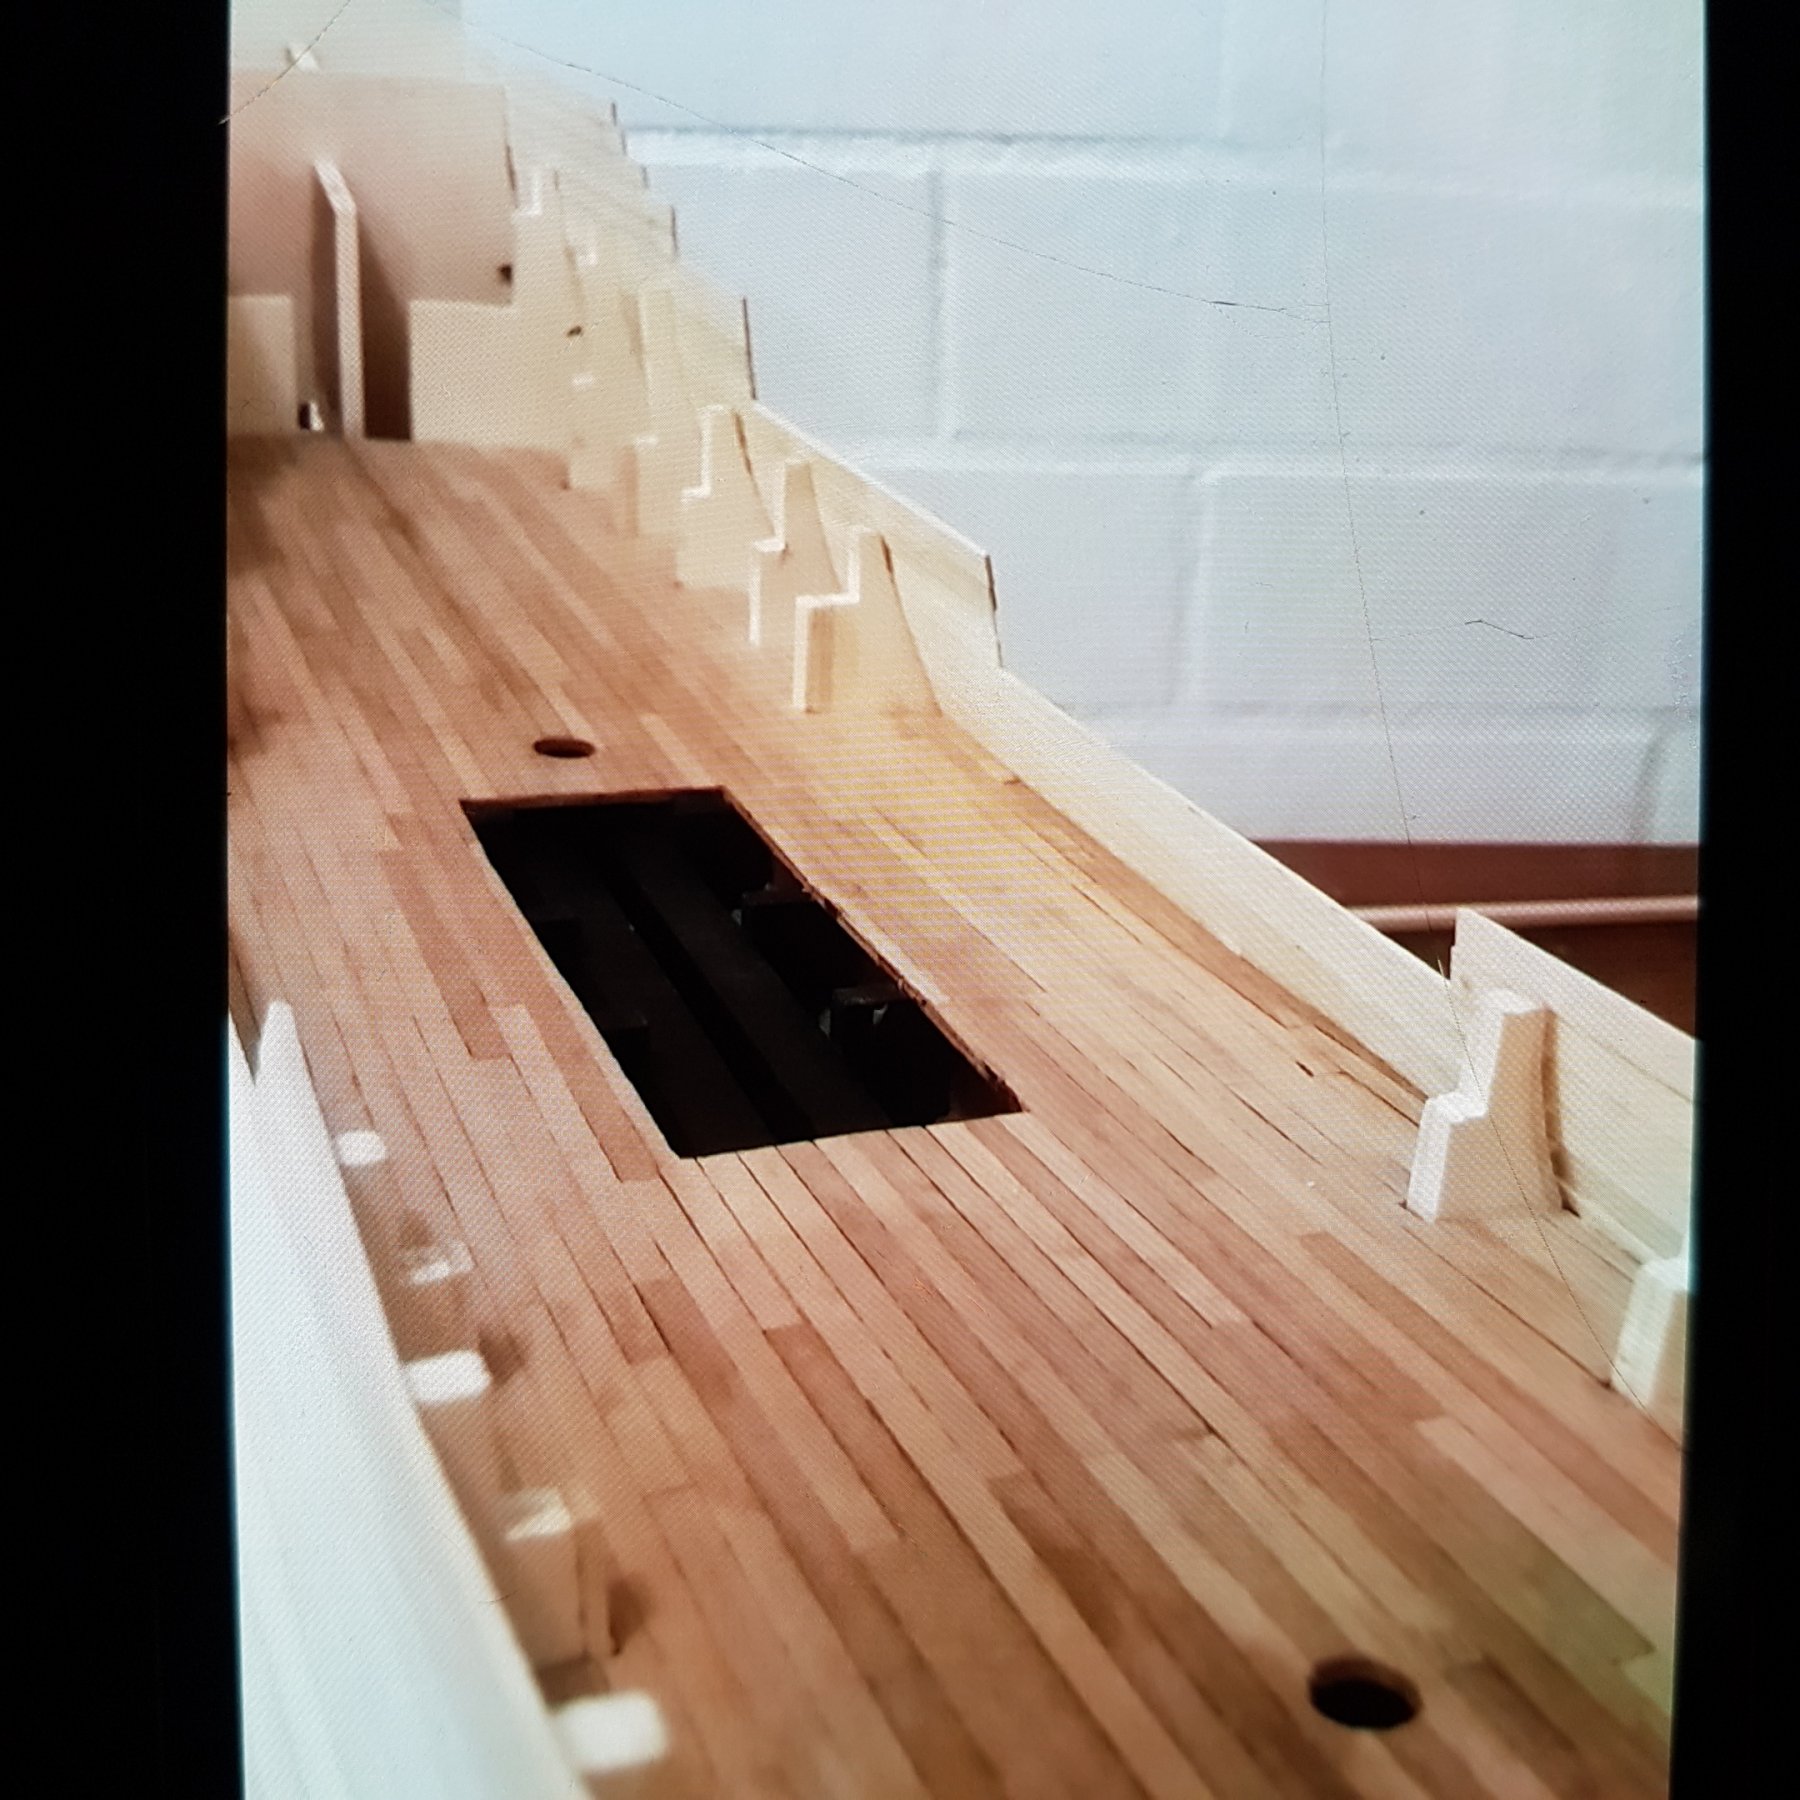
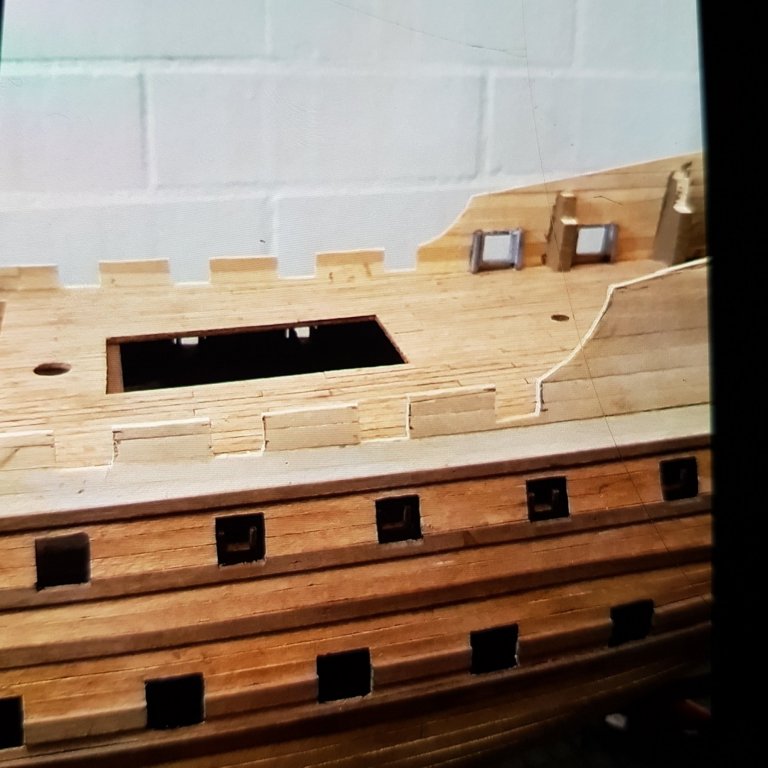
More planks up the transom area. Hull sanded and gunports sanded back flush so second layer can overlap gun ports frames. Tops of bulkheads 4,5,6 and 7 trimed to deck level and deck planks brought right up to the inside of the bulwarks.

-
I had a search for you but mainly Mamoli Golden Hind kits I found. I'm sure its Dusek has taken over from Mamoli after they stopped production. So my guess is they will be the same, probaly just a little bit better. Hope this helps.
-
Thanks Sjors. Yes from Deep down under. You are most correct in saying it's not an easy build. It's like a game of chess, Trying to think 2 steps ahead! I'm sure I have photos somewhere here of some of my other completed builds. I am hoping to bring this build to a good end and not just an end. My spare room as it lays now. Some built and completed, Some awaiting construction.

-
I have just stumbled upon this log. This is something very new and different. Your doing a great job. I don't know about using balsa for the planking but, Prehaps some thin walnut strips? Something with not much grain showing. Also I'm not sure how glue would adhear to the clay. Unless you use CA?I've honestly never attempted to do this. All the best and glad you returned.
-
That is an epic bow figure! It must be time to head outside for some relaxing sanding.
- 322 replies
-
- 3
-
-
- sergal
- sovereign of the seas
- (and 5 more)
-
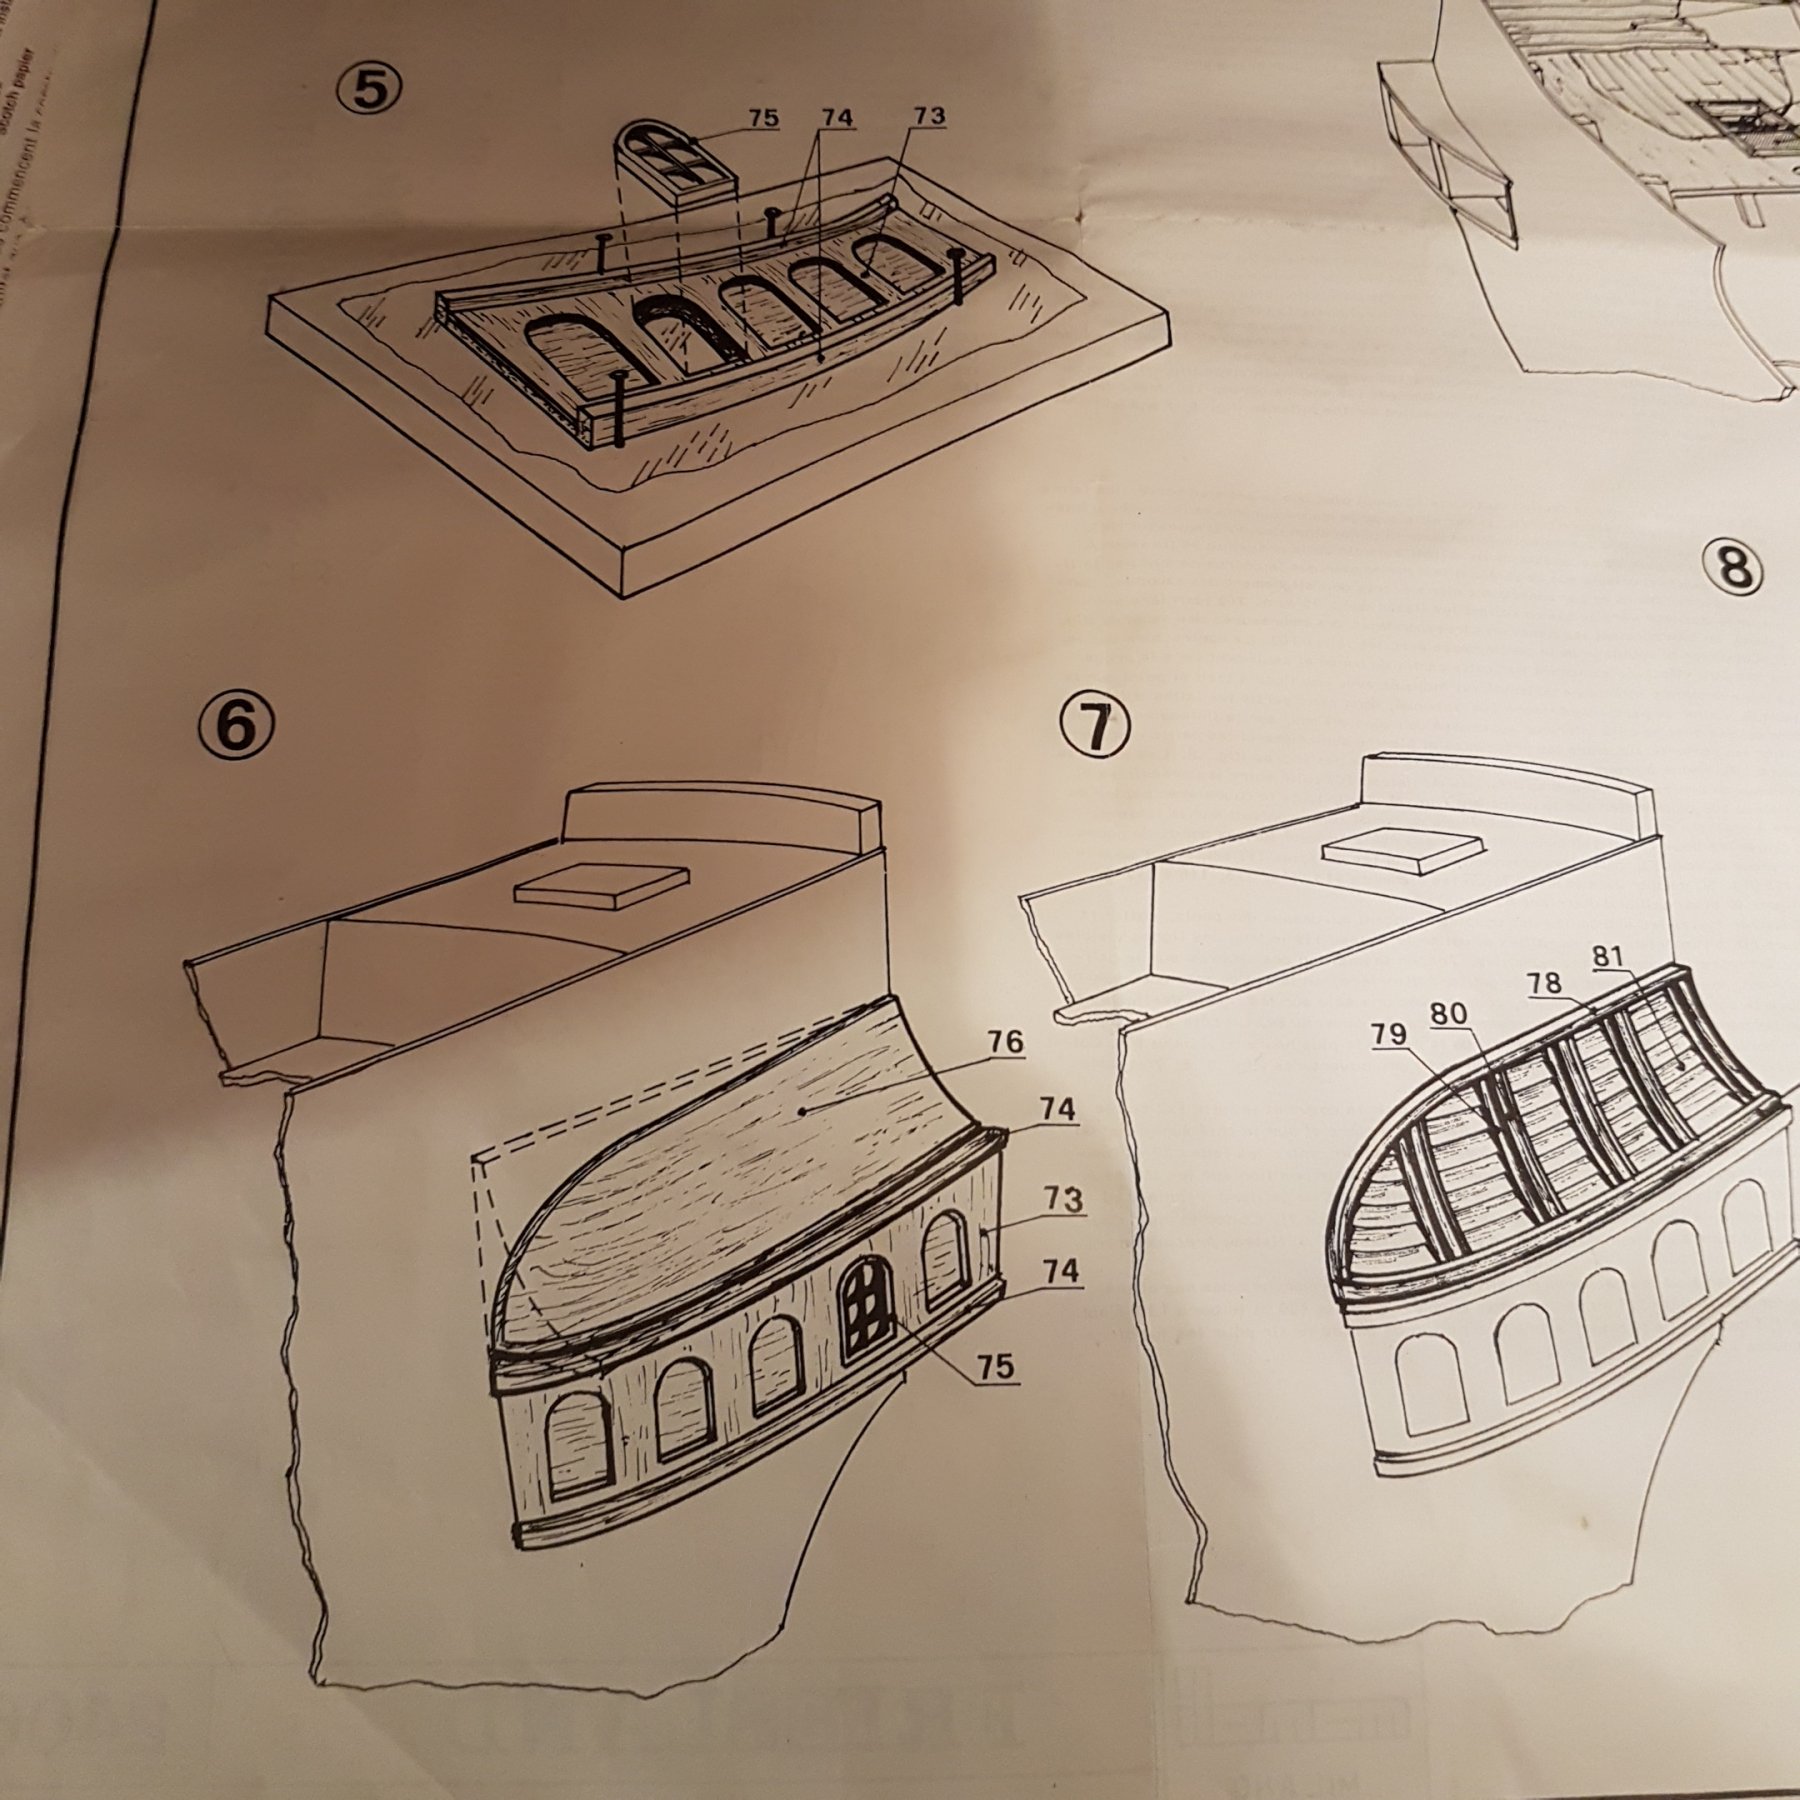
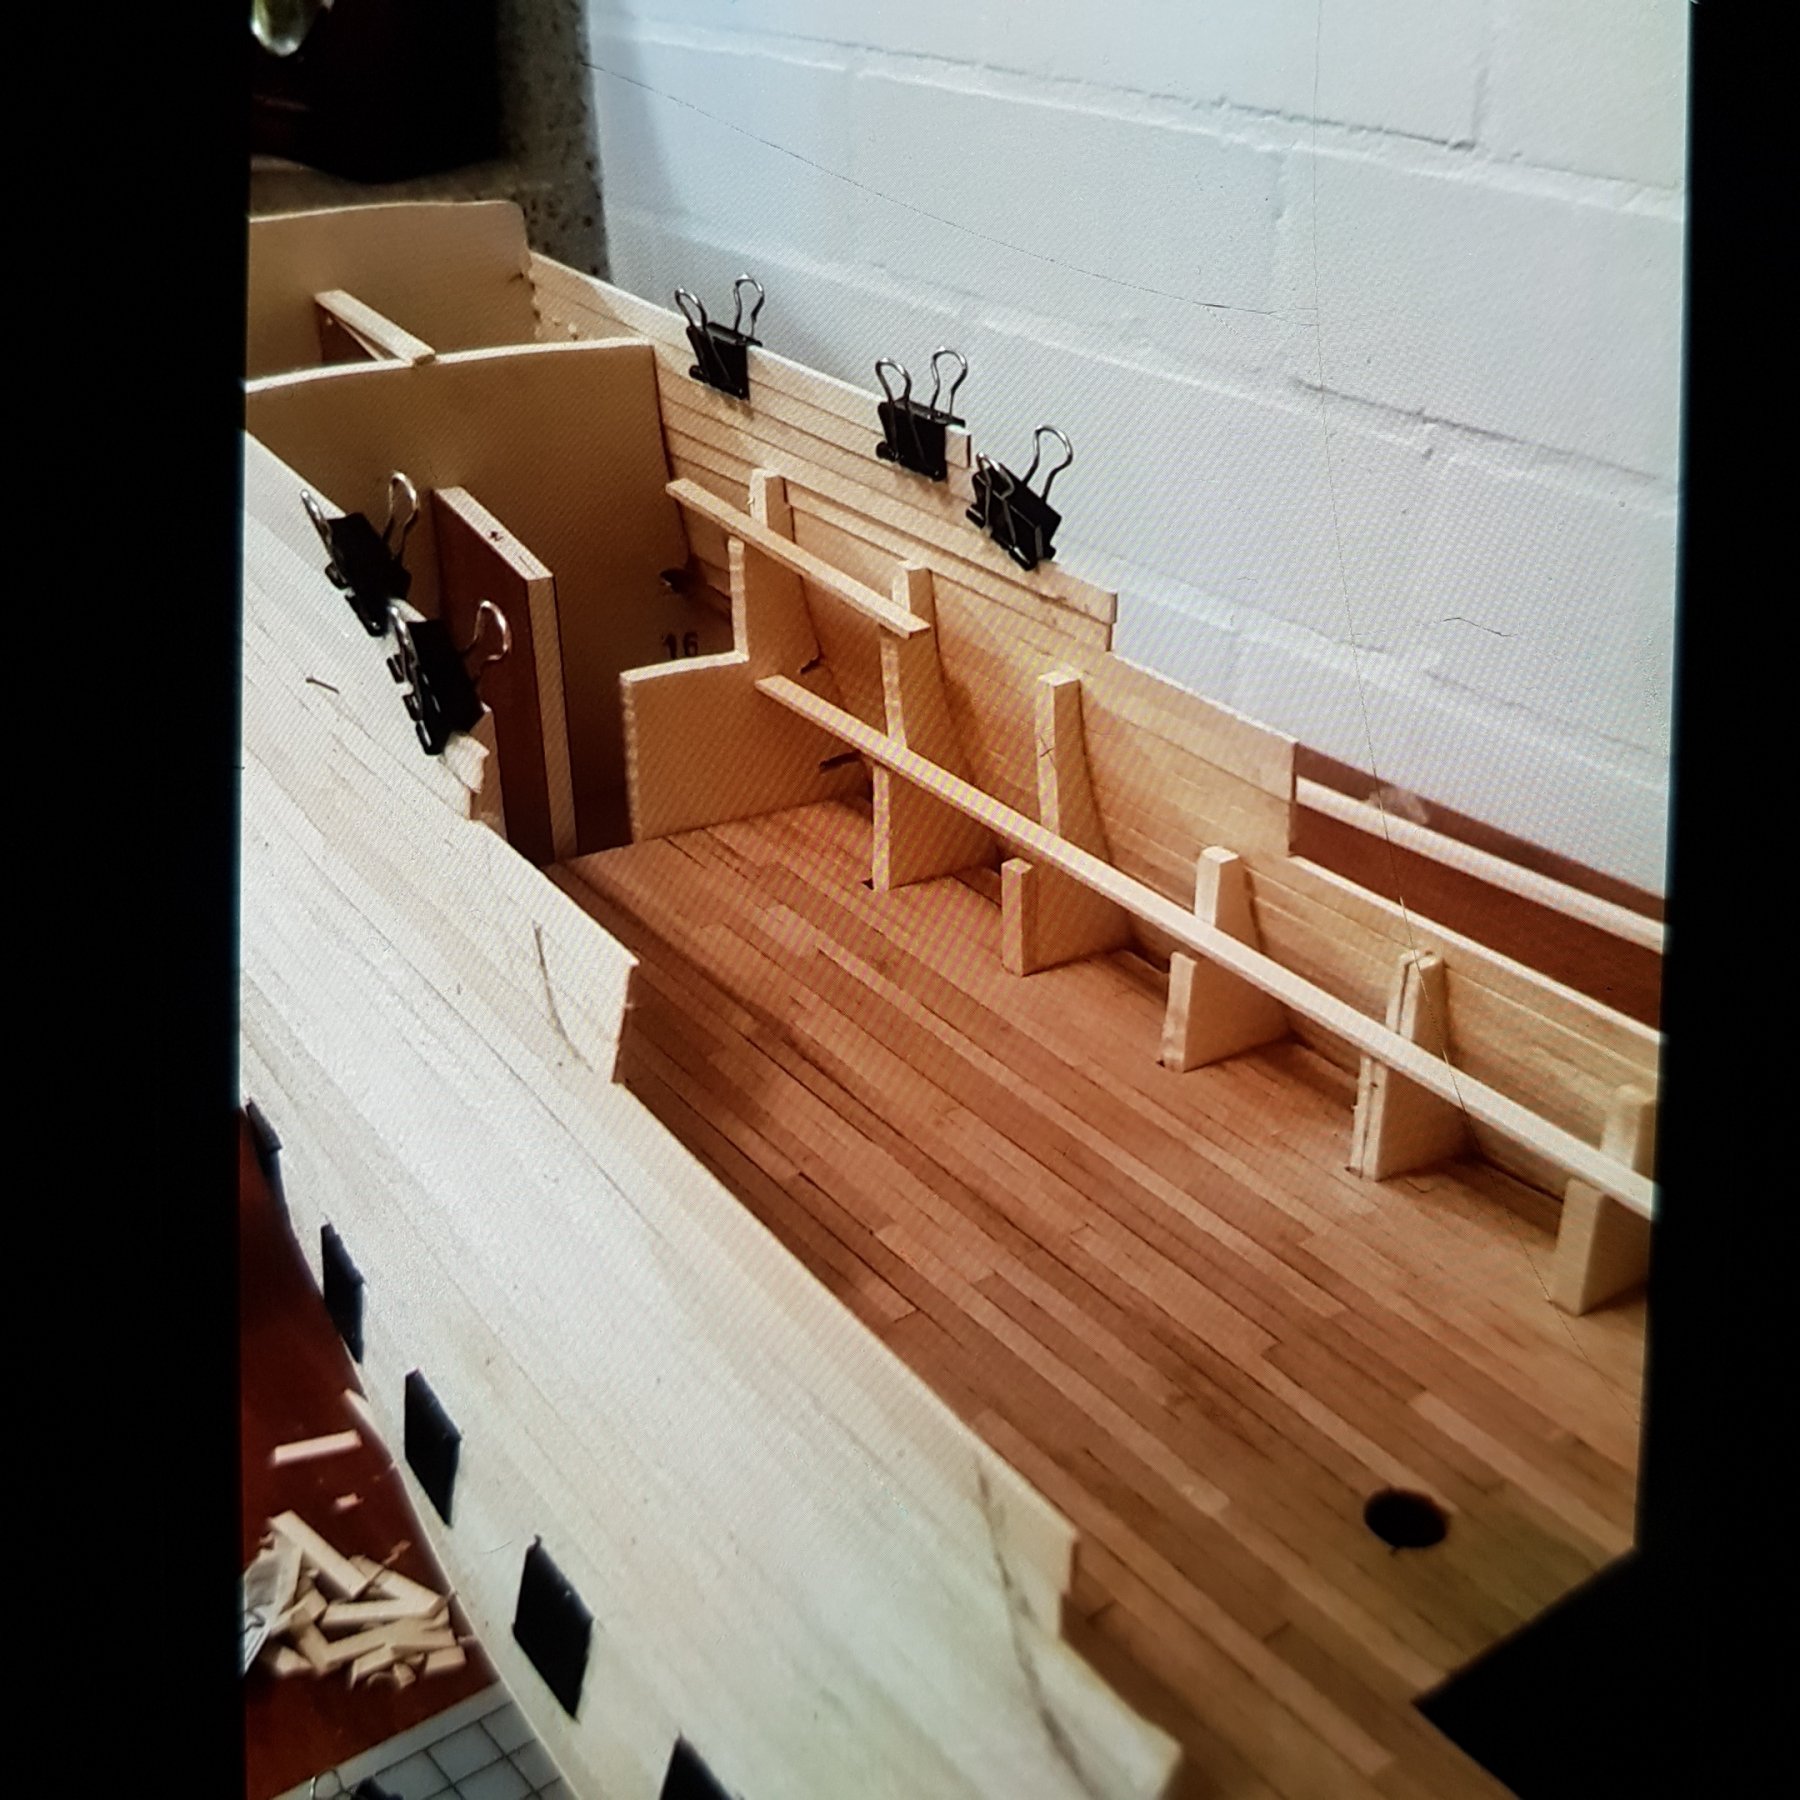
Here is the plans way of construction. I just don't like having those blanked out sections.

-
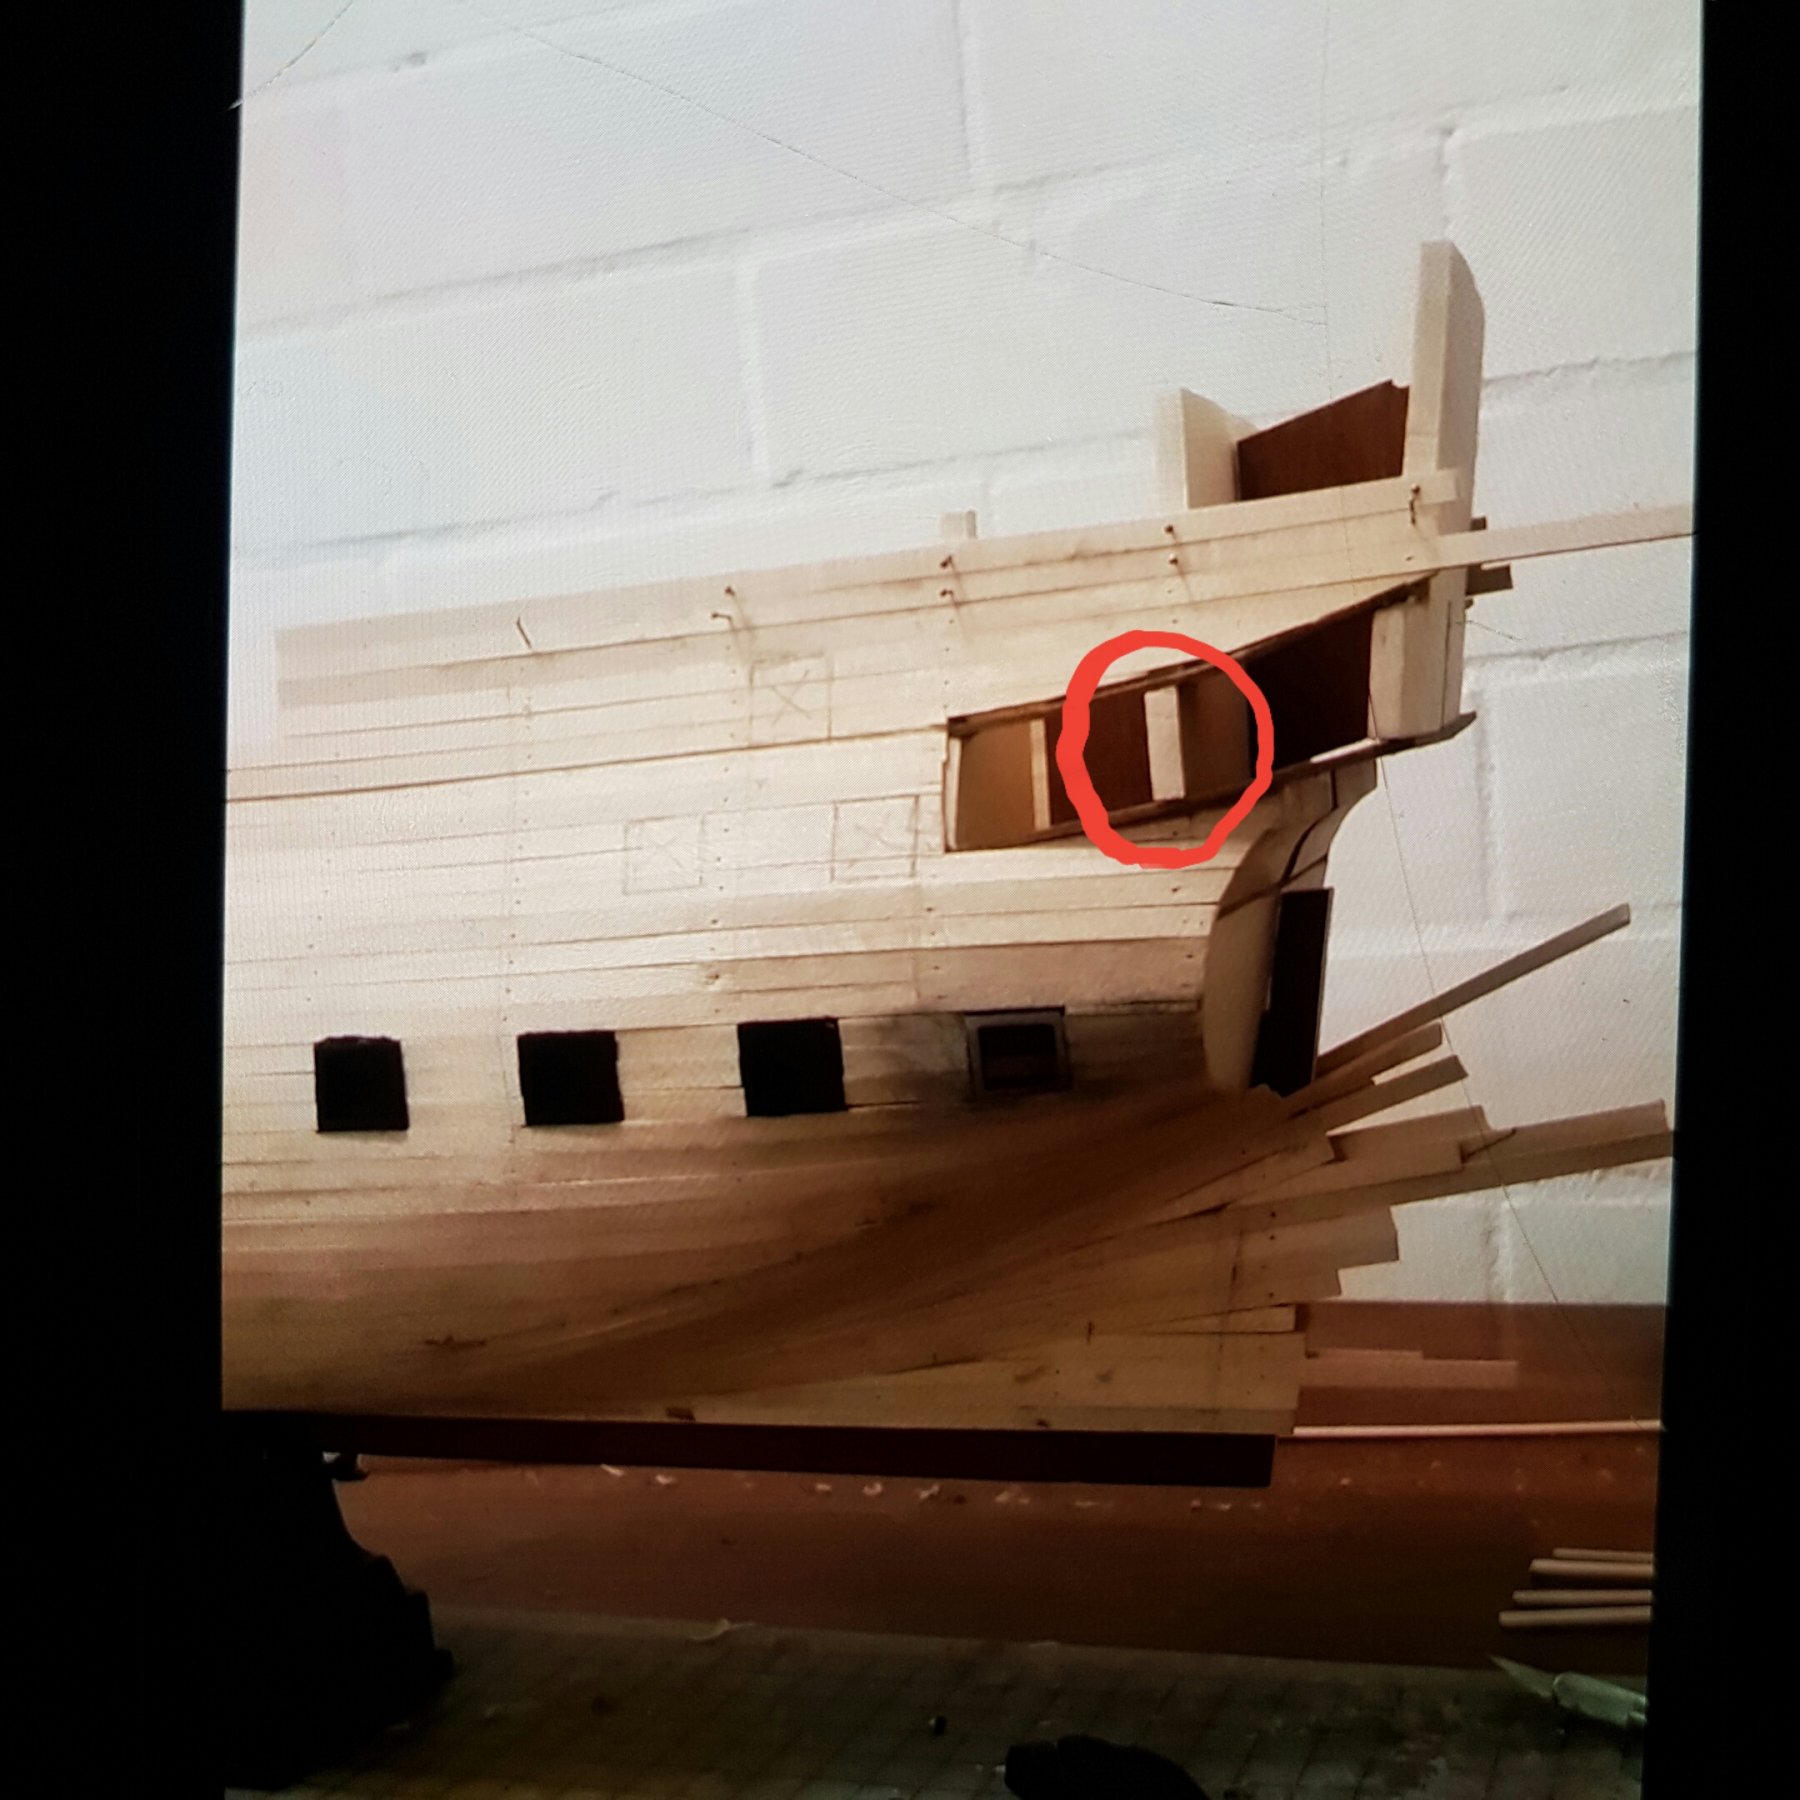
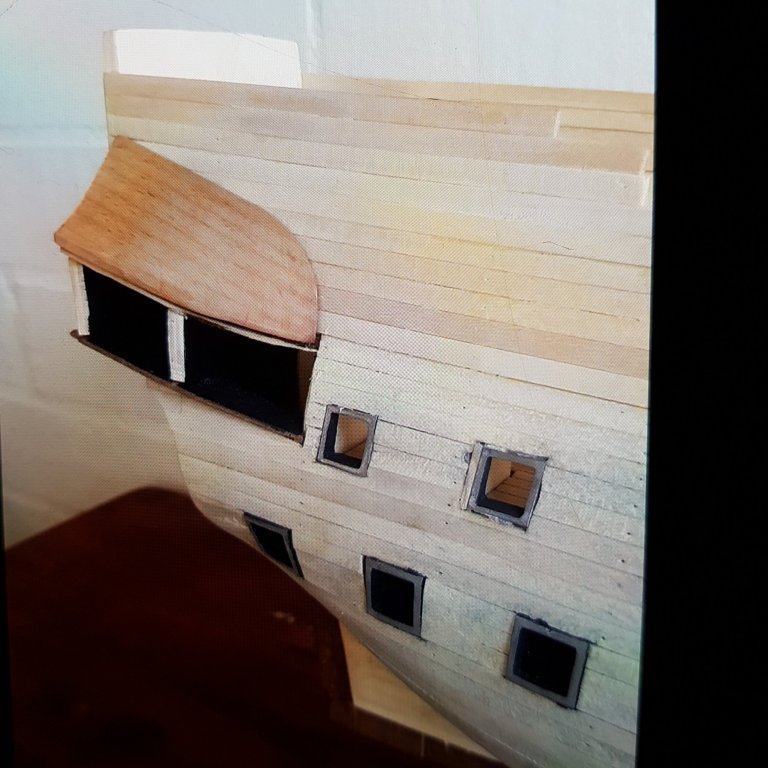
This part of the transom bulkhead will be completely removed as it obstructs one of the windows. The plan calls for only one window and it's nasty molded plastic. So I'll do away with that and scratch build my own windows in all of the provided frames. The inside will be painted black

-
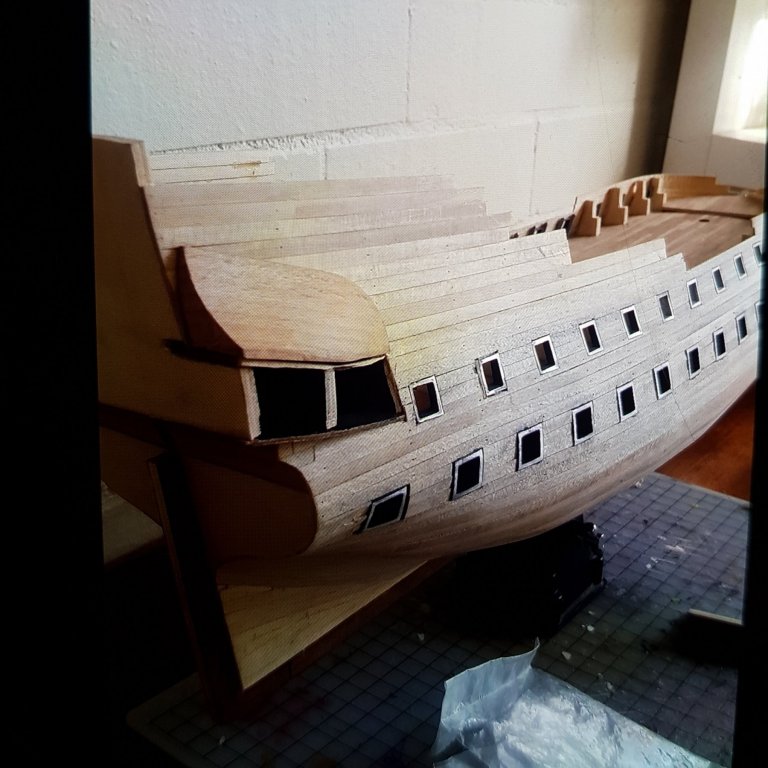
Here you can see the stern gallery curve much better as I was talking about in earlier posts. Fitting steelers and starting to sand back gunports. Also roughly marking out next deck gunports. Planking continues higher up the transom area and planks are sitting on the bulkheads inside to give a rough indication of the next level decks.