
S.Coleman
-
Posts
1,146 -
Joined
-
Last visited
Content Type
Profiles
Forums
Gallery
Events
Everything posted by S.Coleman
-
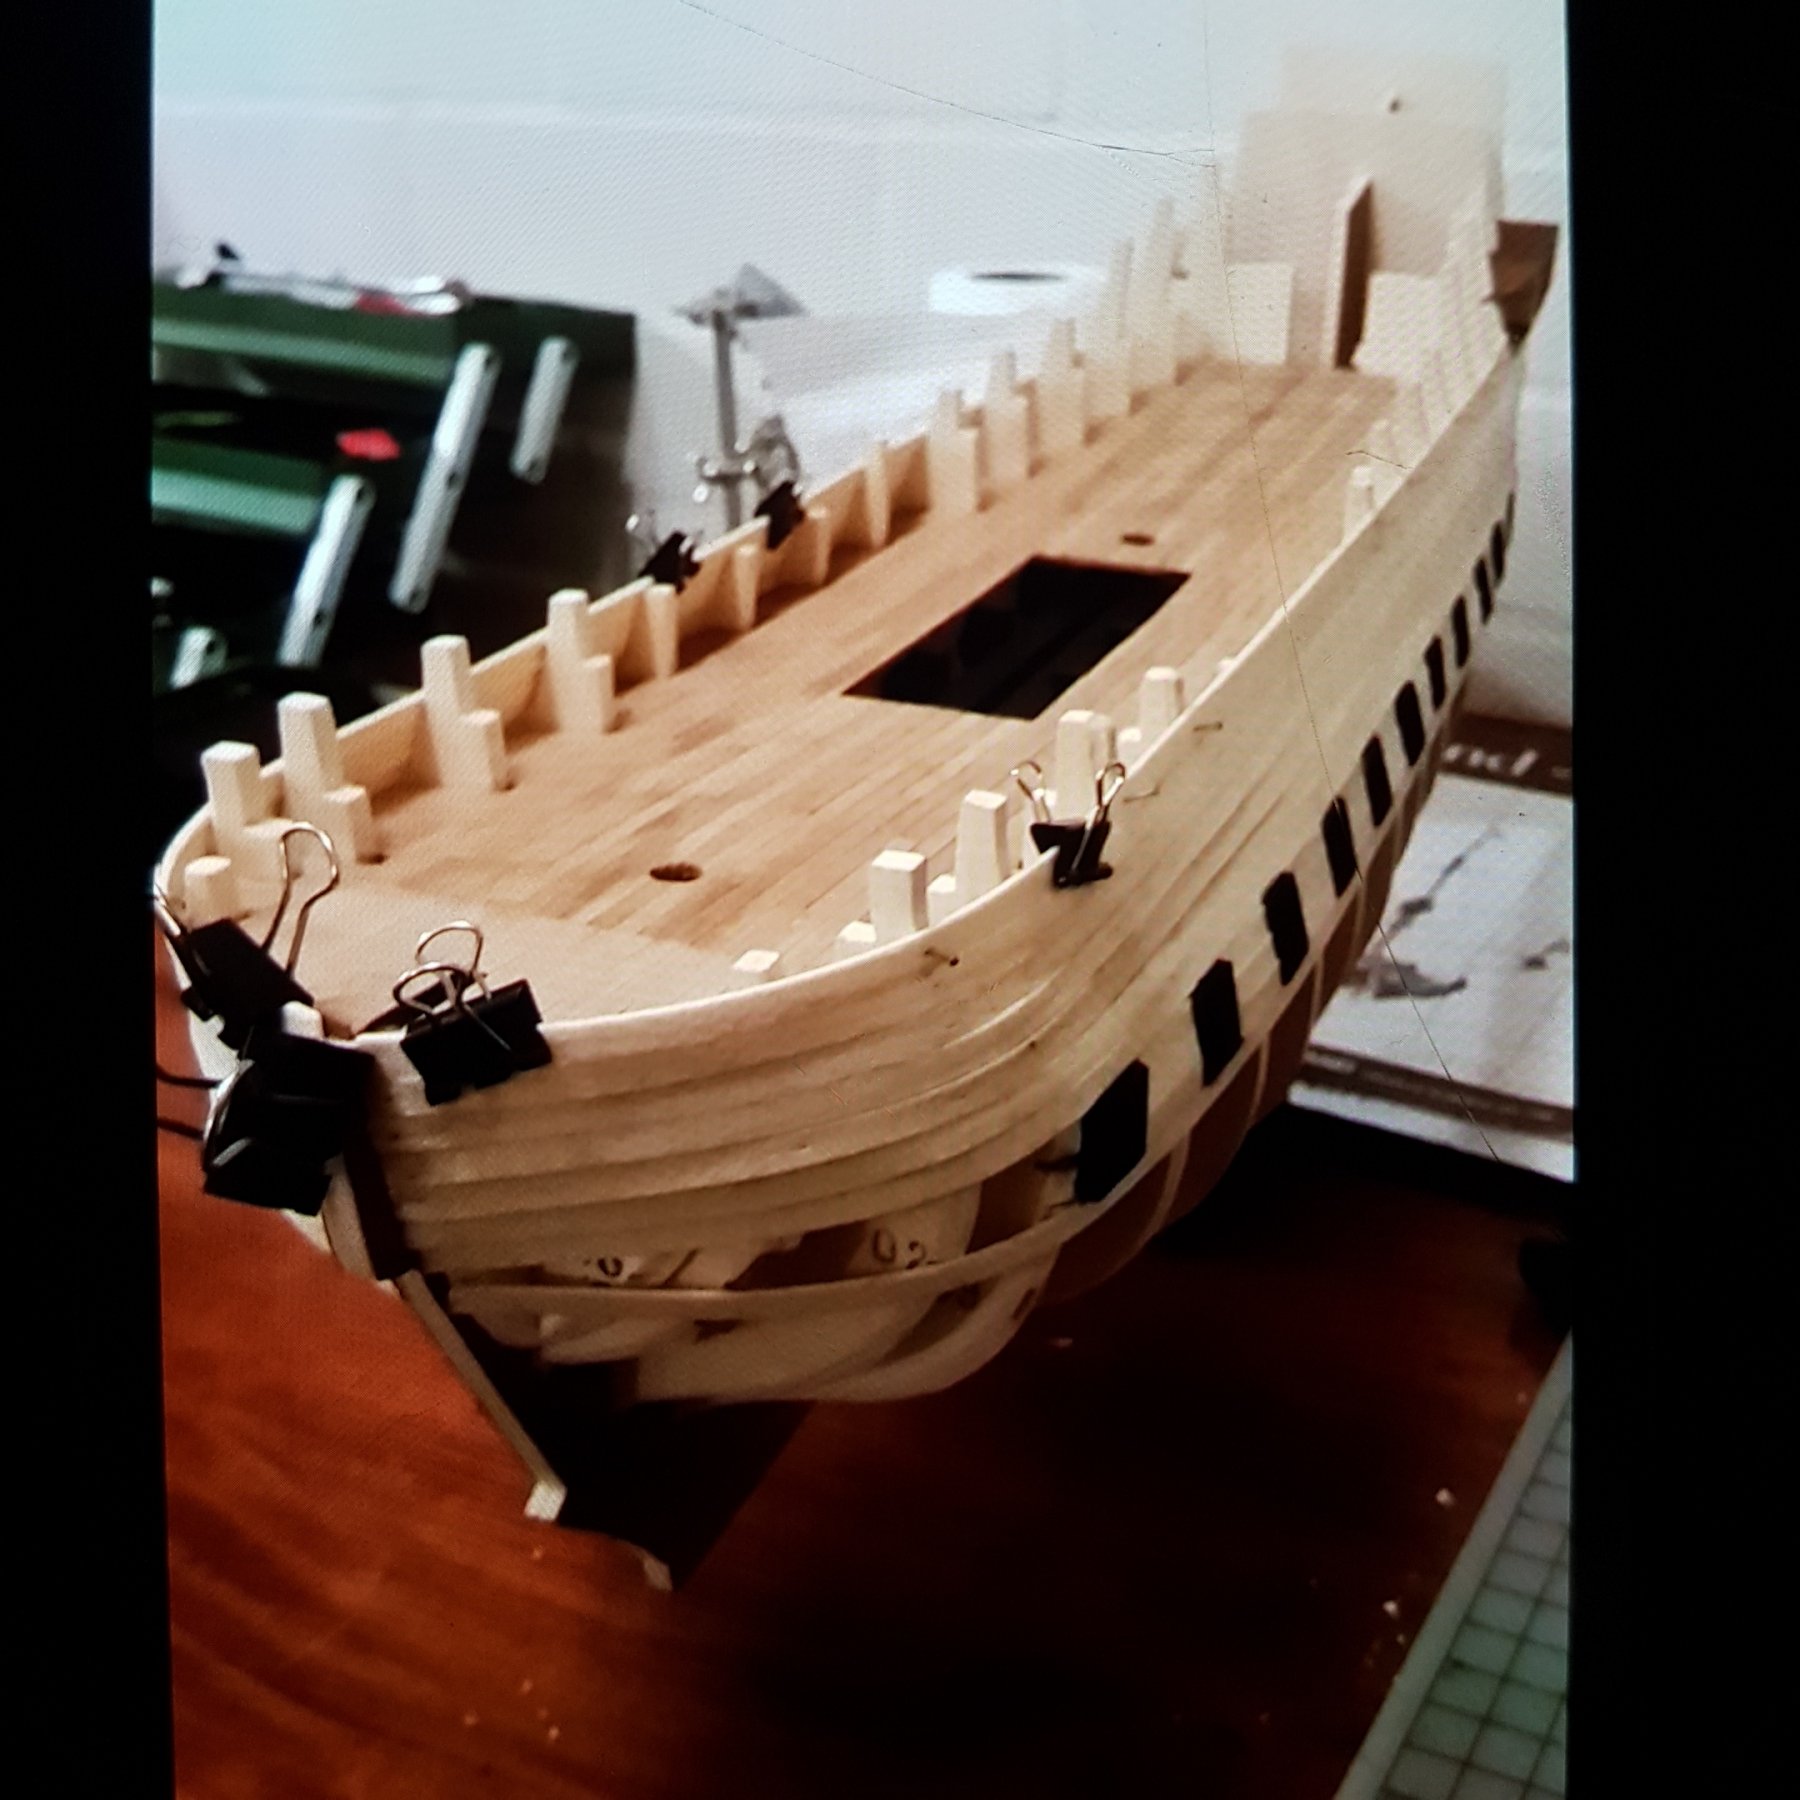
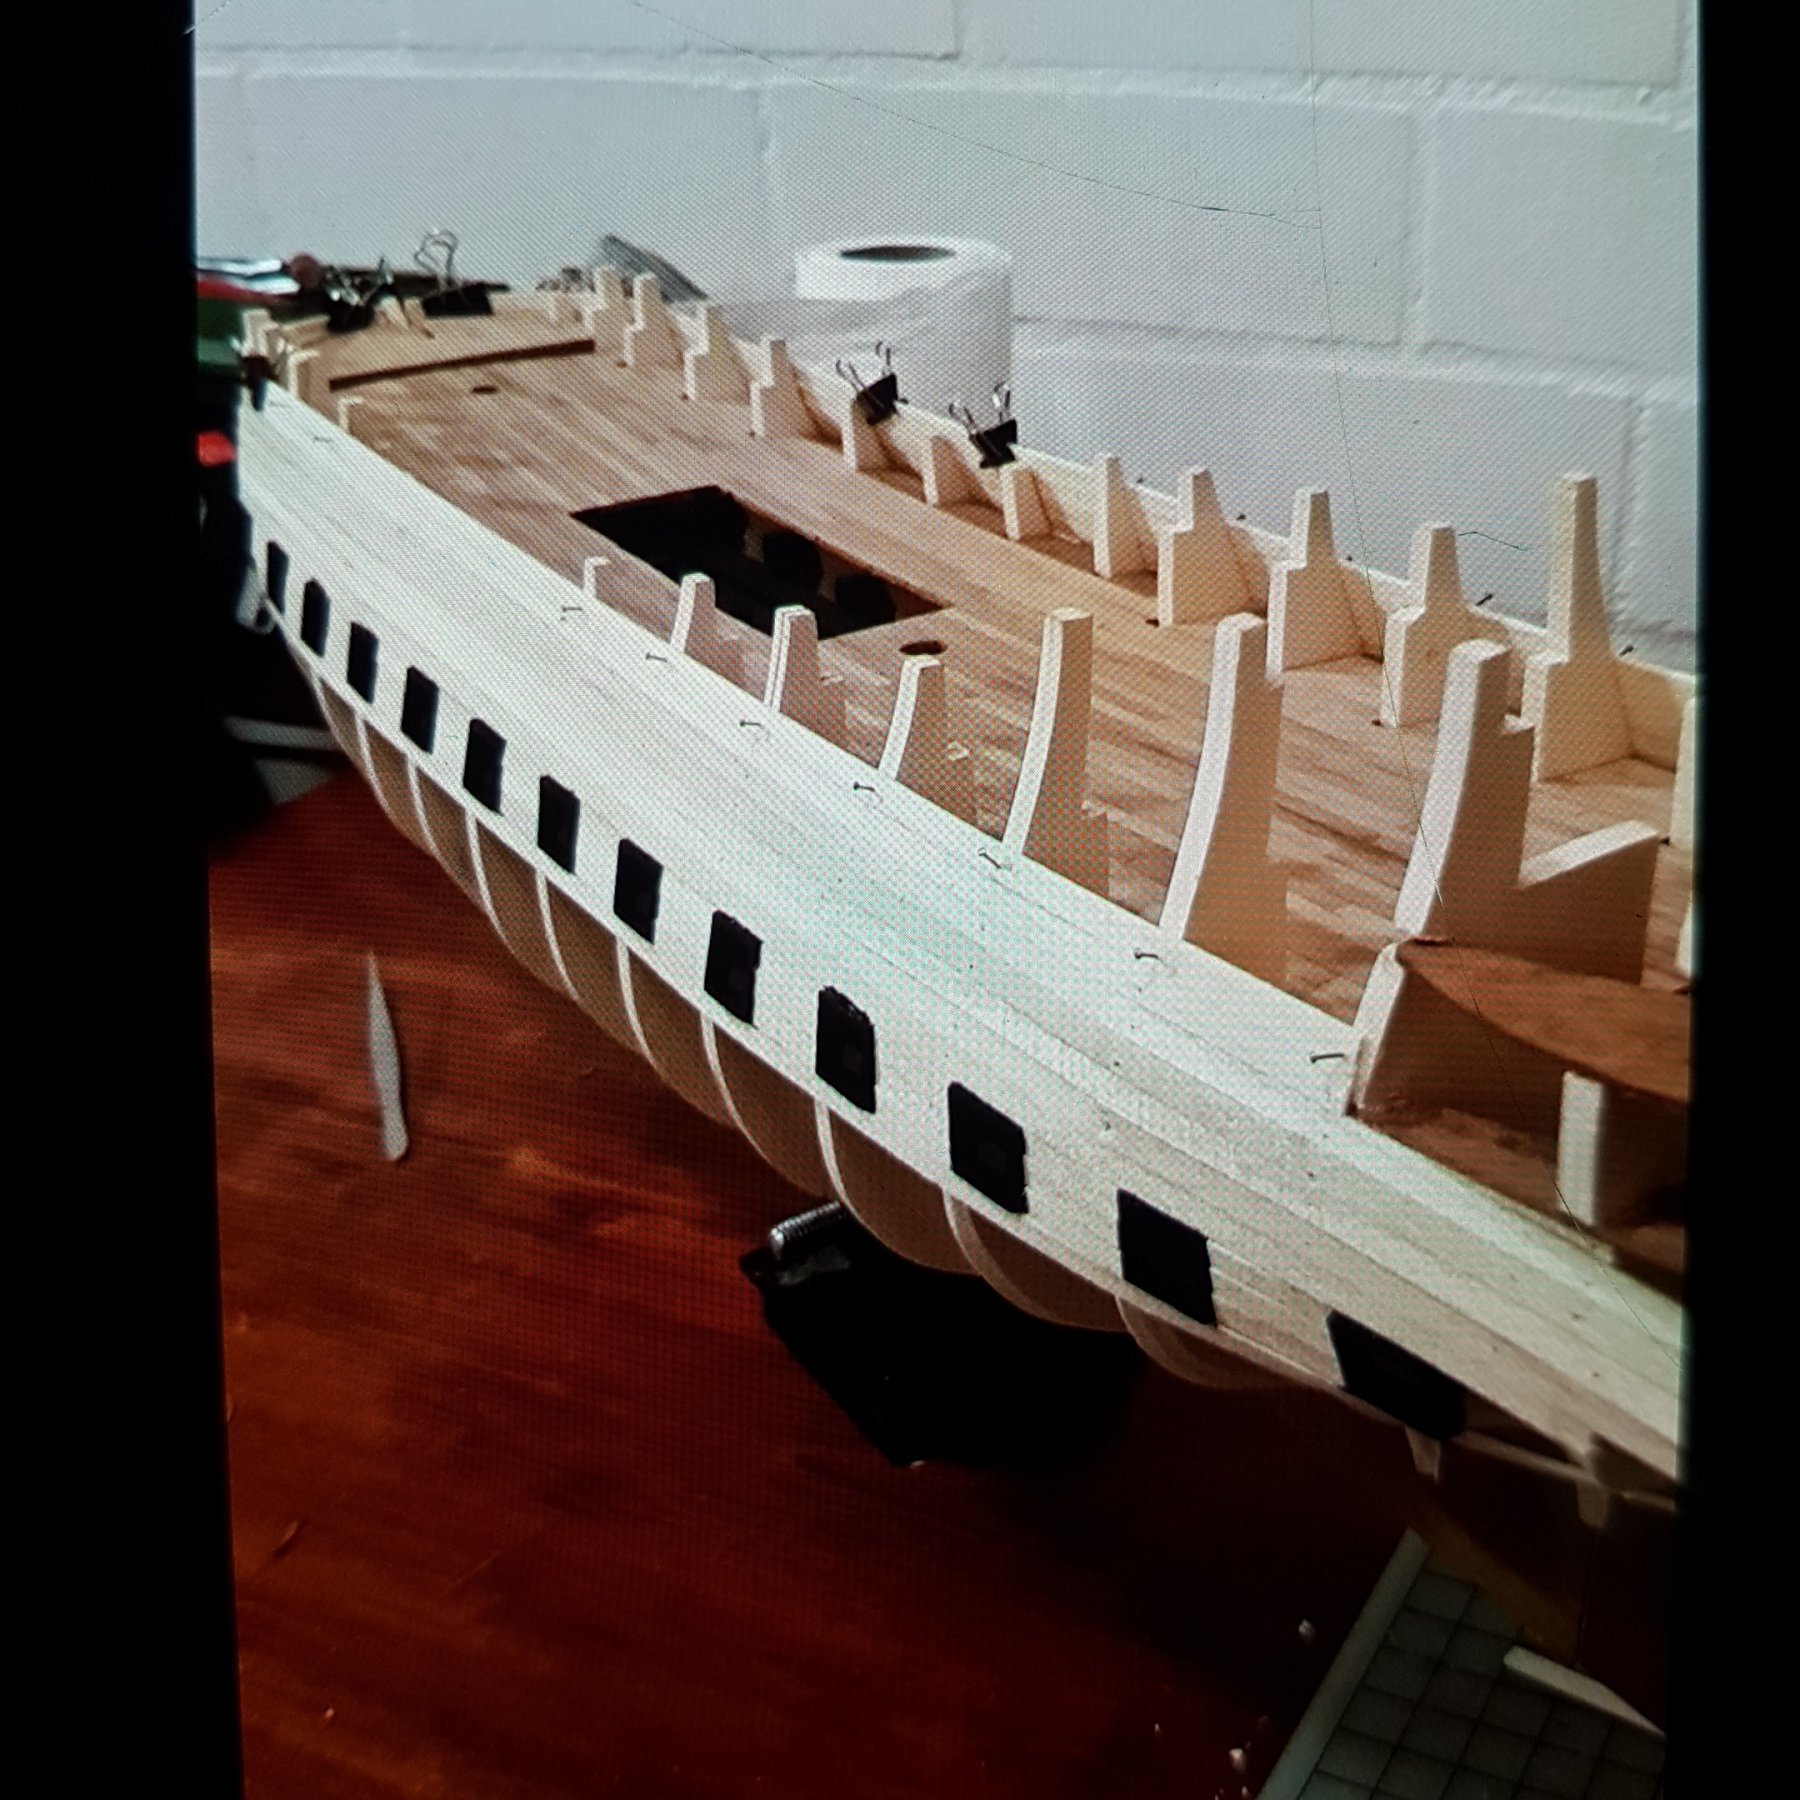
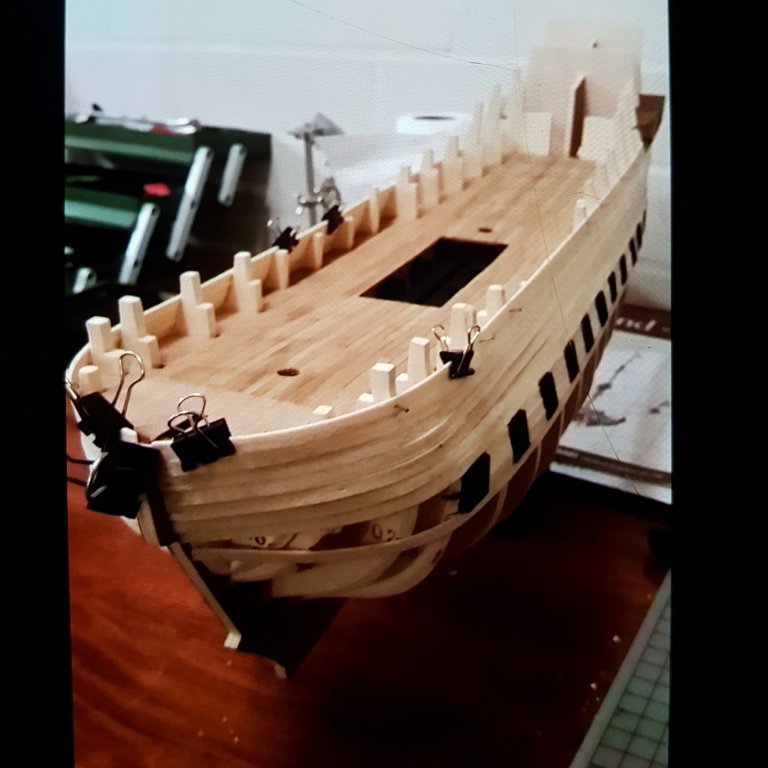
 The gun ports look dead straight but trust me the have a very slight curve. Not as much as I would of liked but it's there. Looking along the side you can tell.
 -
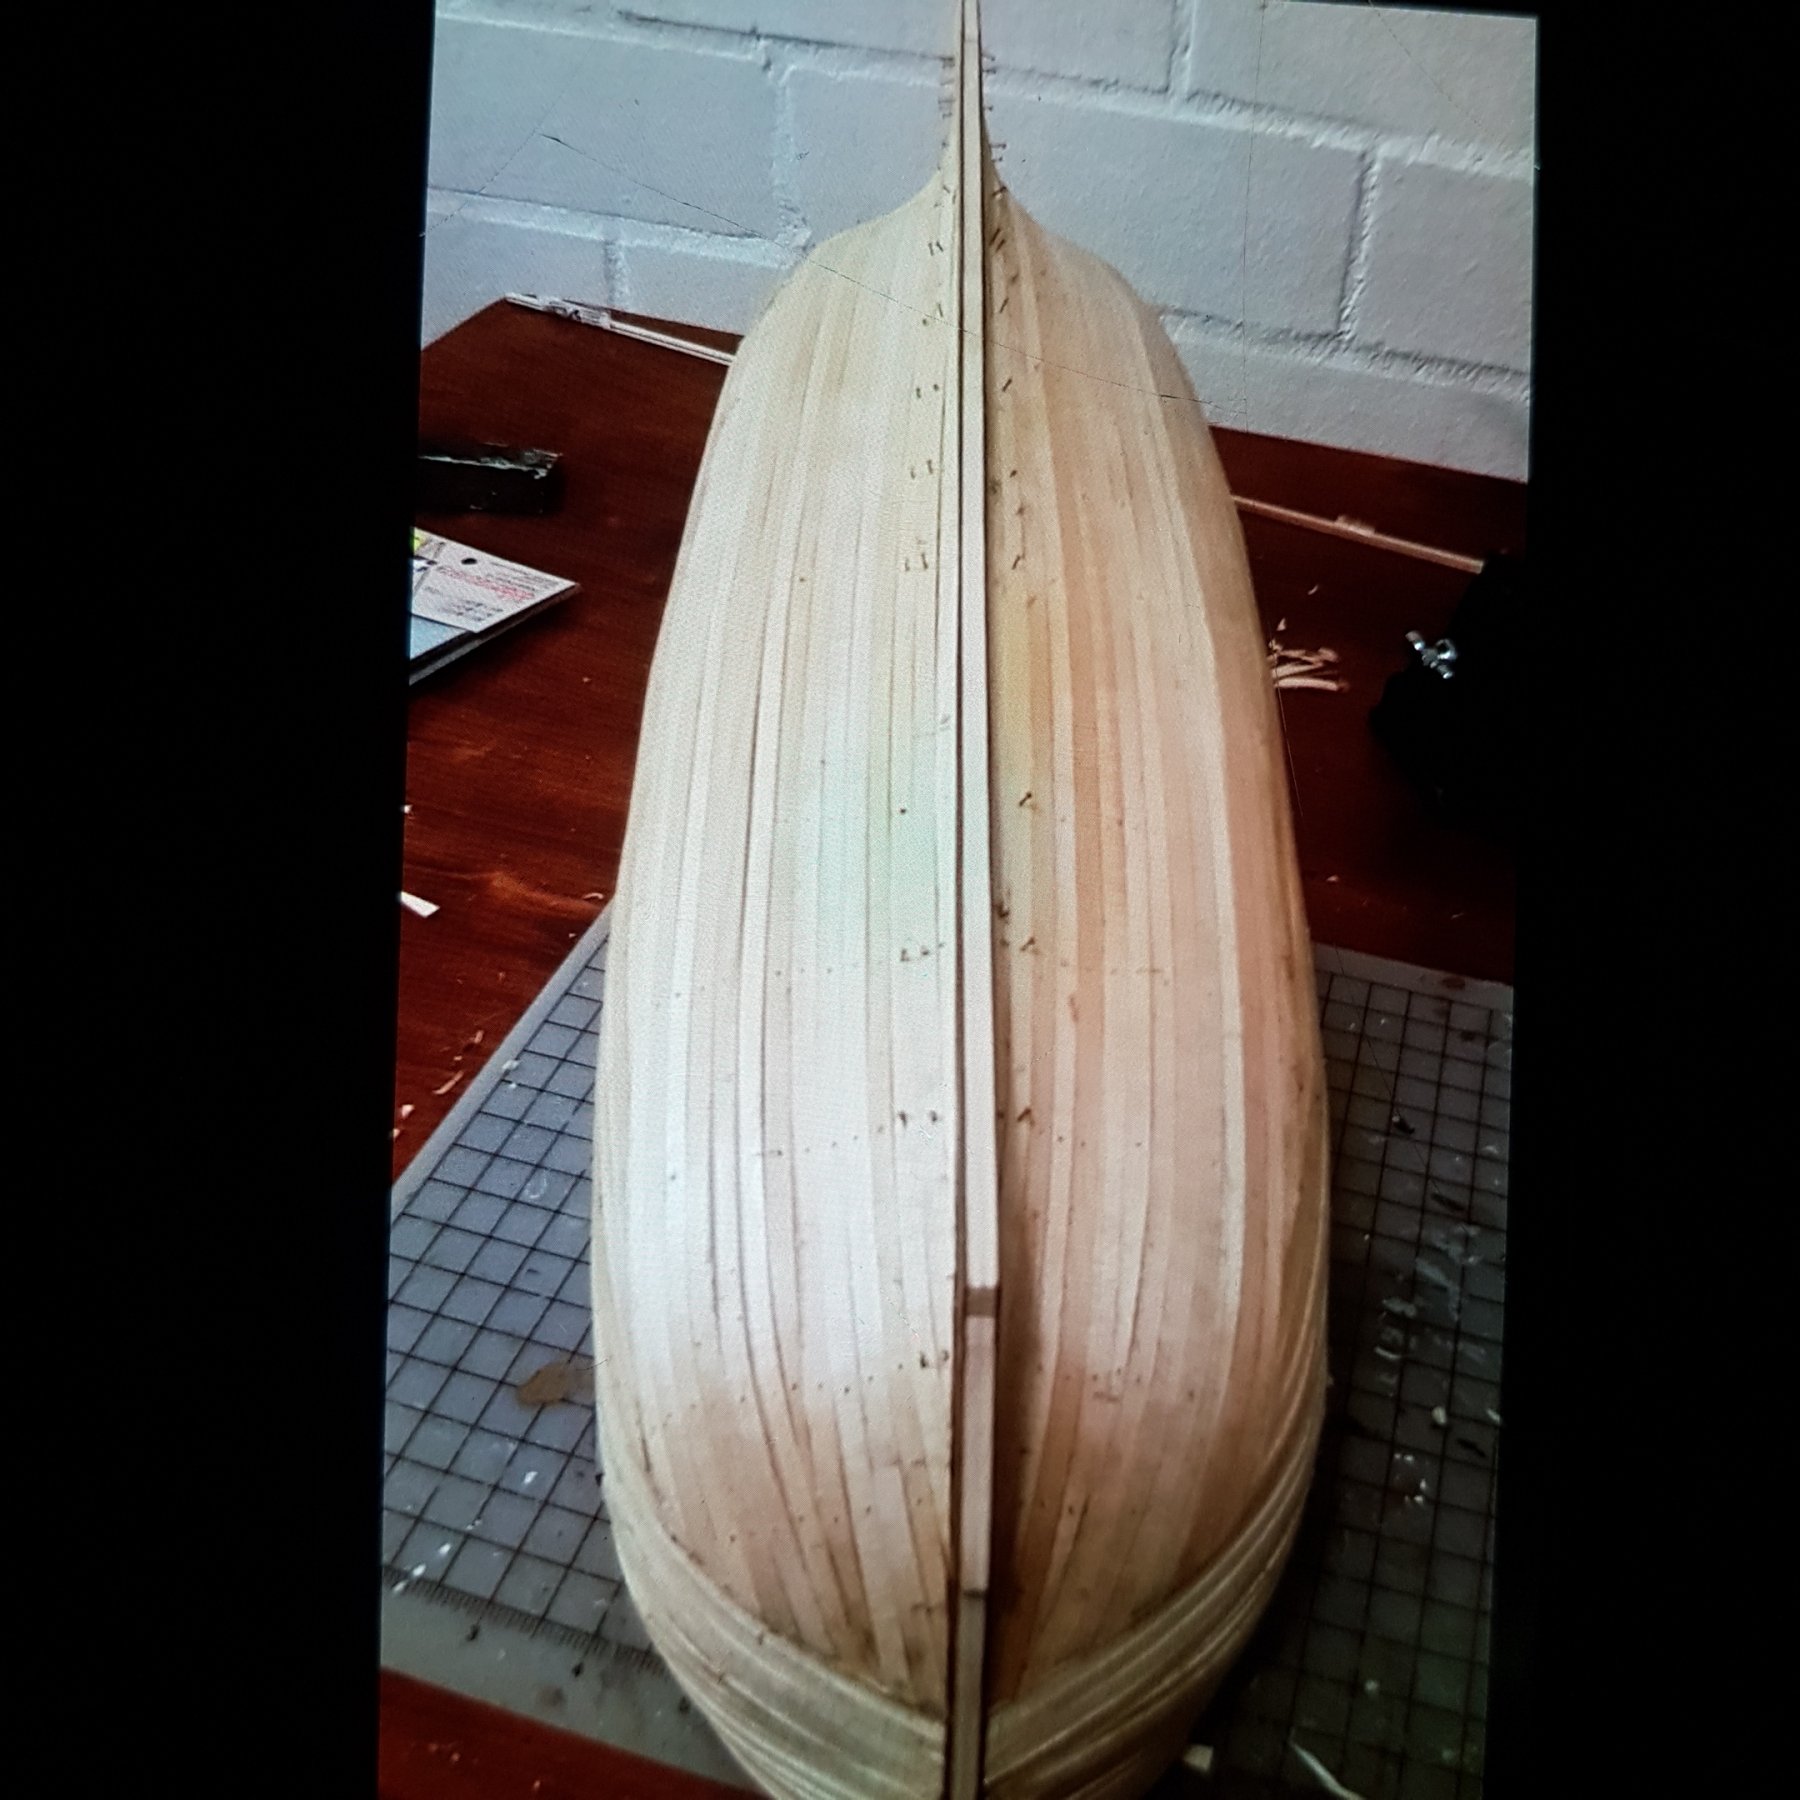
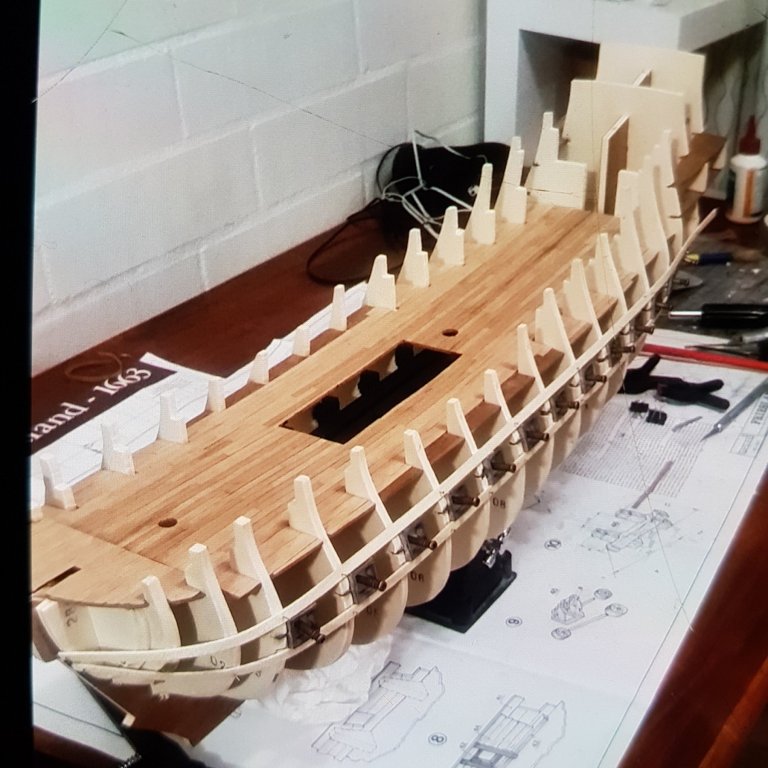
The hull first layer planking completed. The gun ports stand out abit proud but will be sanded back.


-
Barbies with life jackets. Haha. So now I suppose you are underway for the traditional first layer hull closing up party? Drinks and speeches? The hull is looking great. On every ship i build I write the date started on the keel before closing it up. Just a little tradion of mine. Good work.
- 322 replies
-
- 3
-

-
- sergal
- sovereign of the seas
- (and 5 more)
-
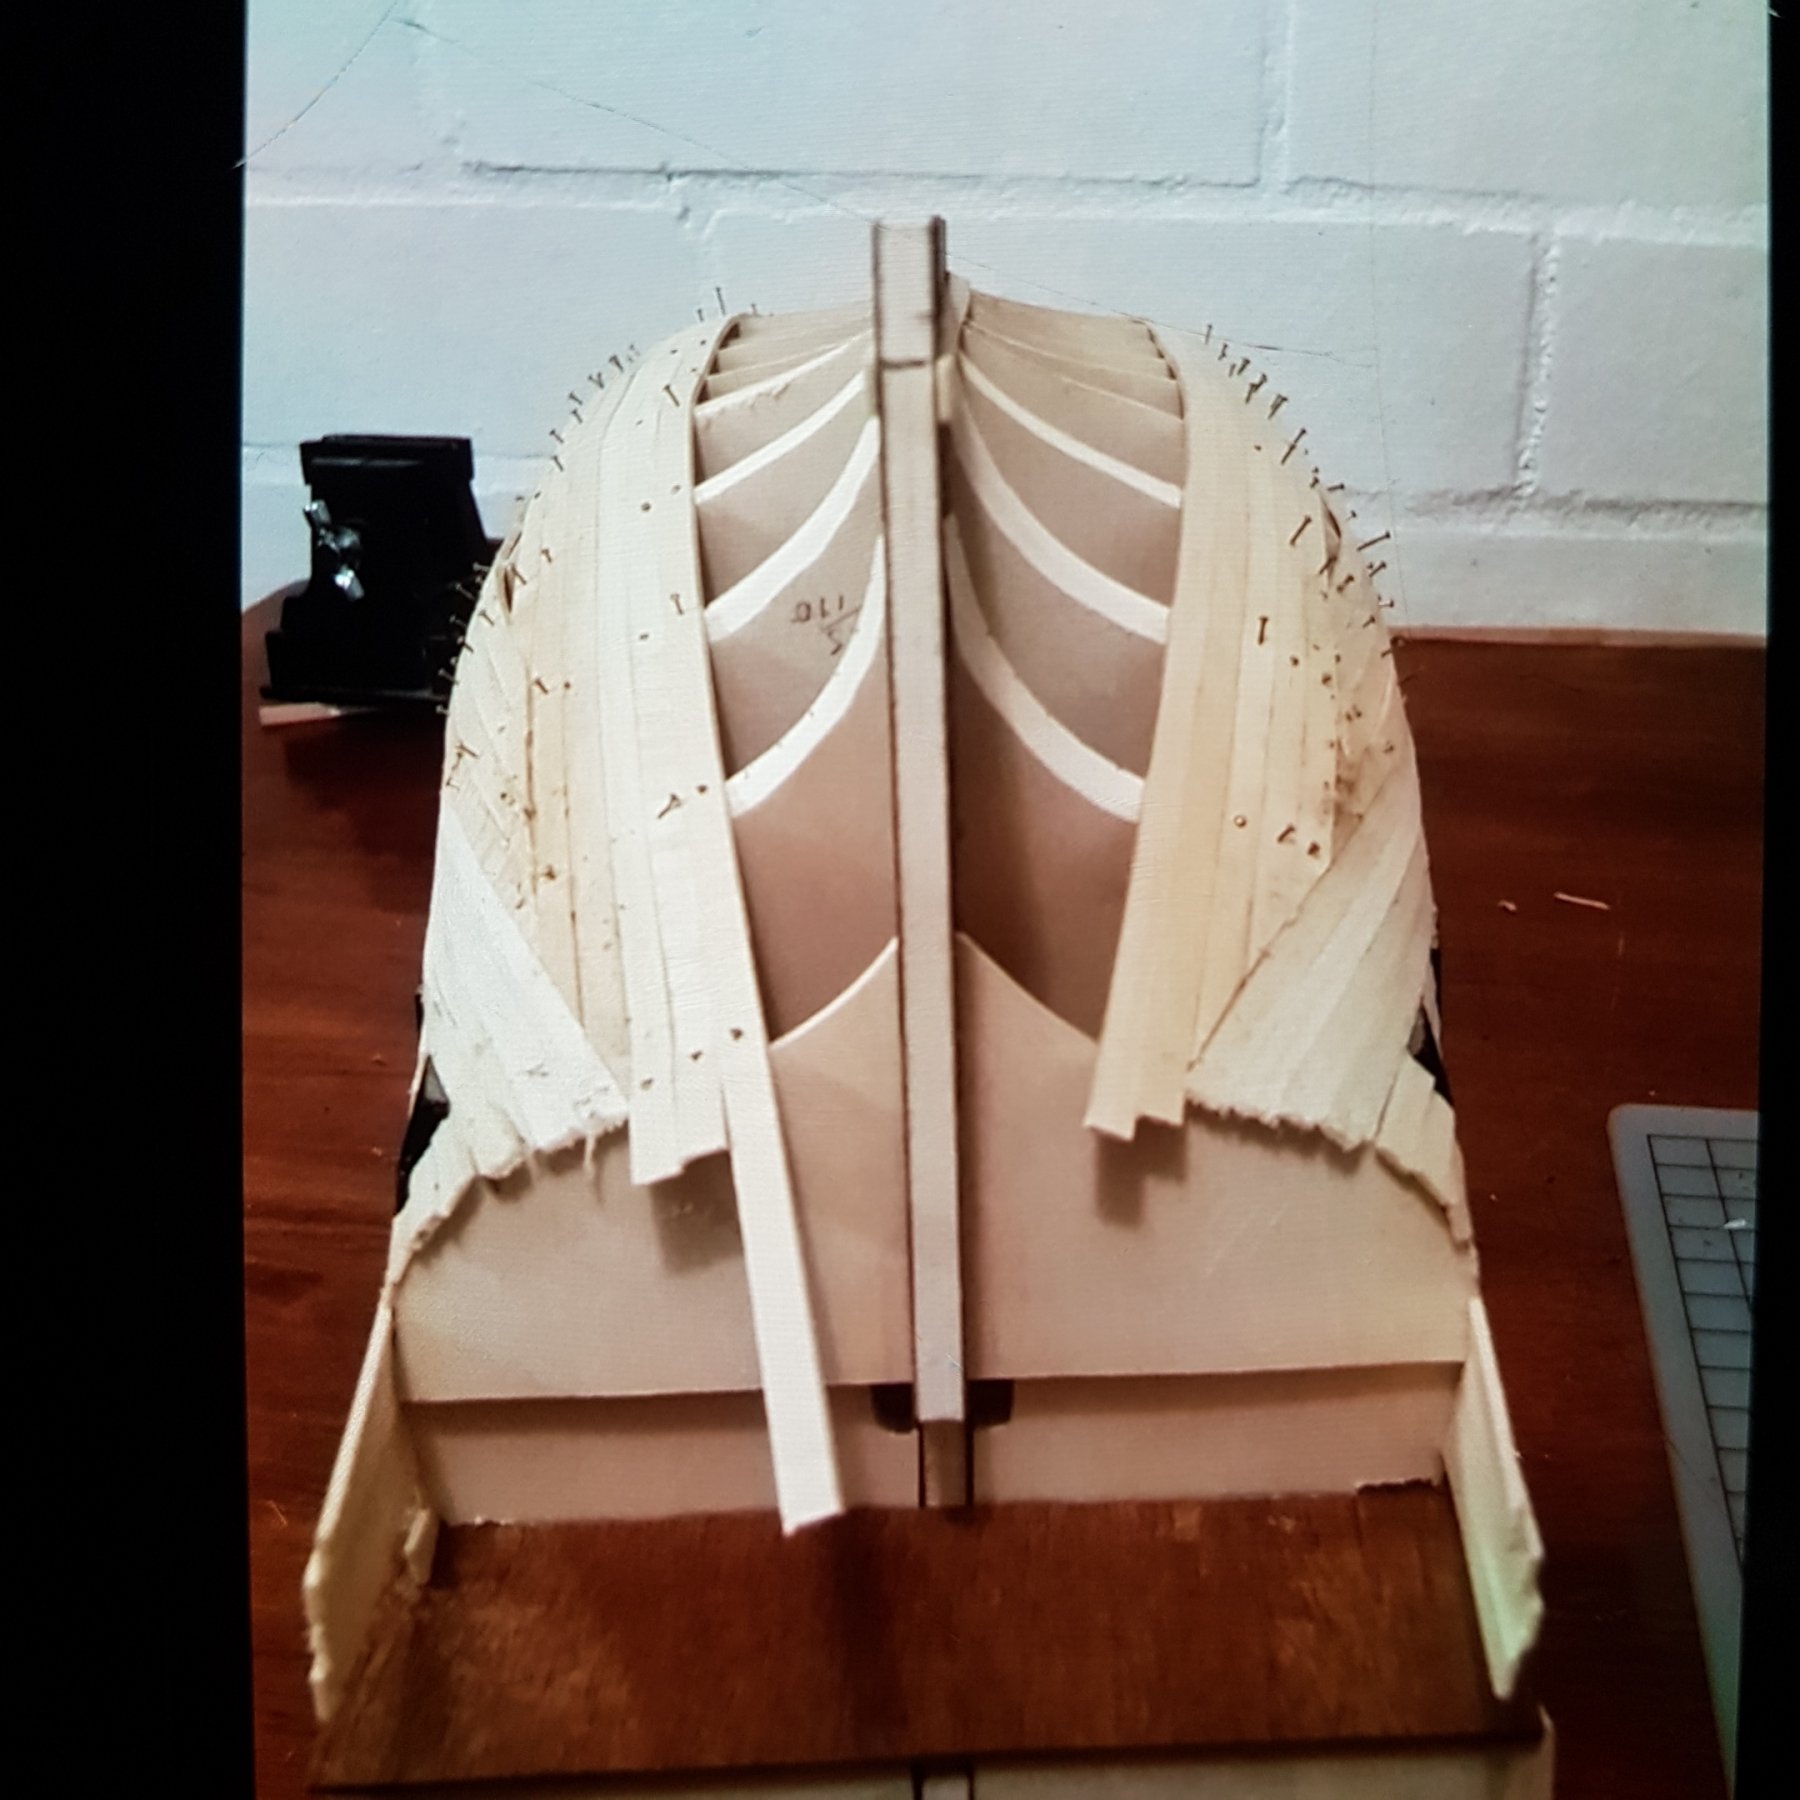
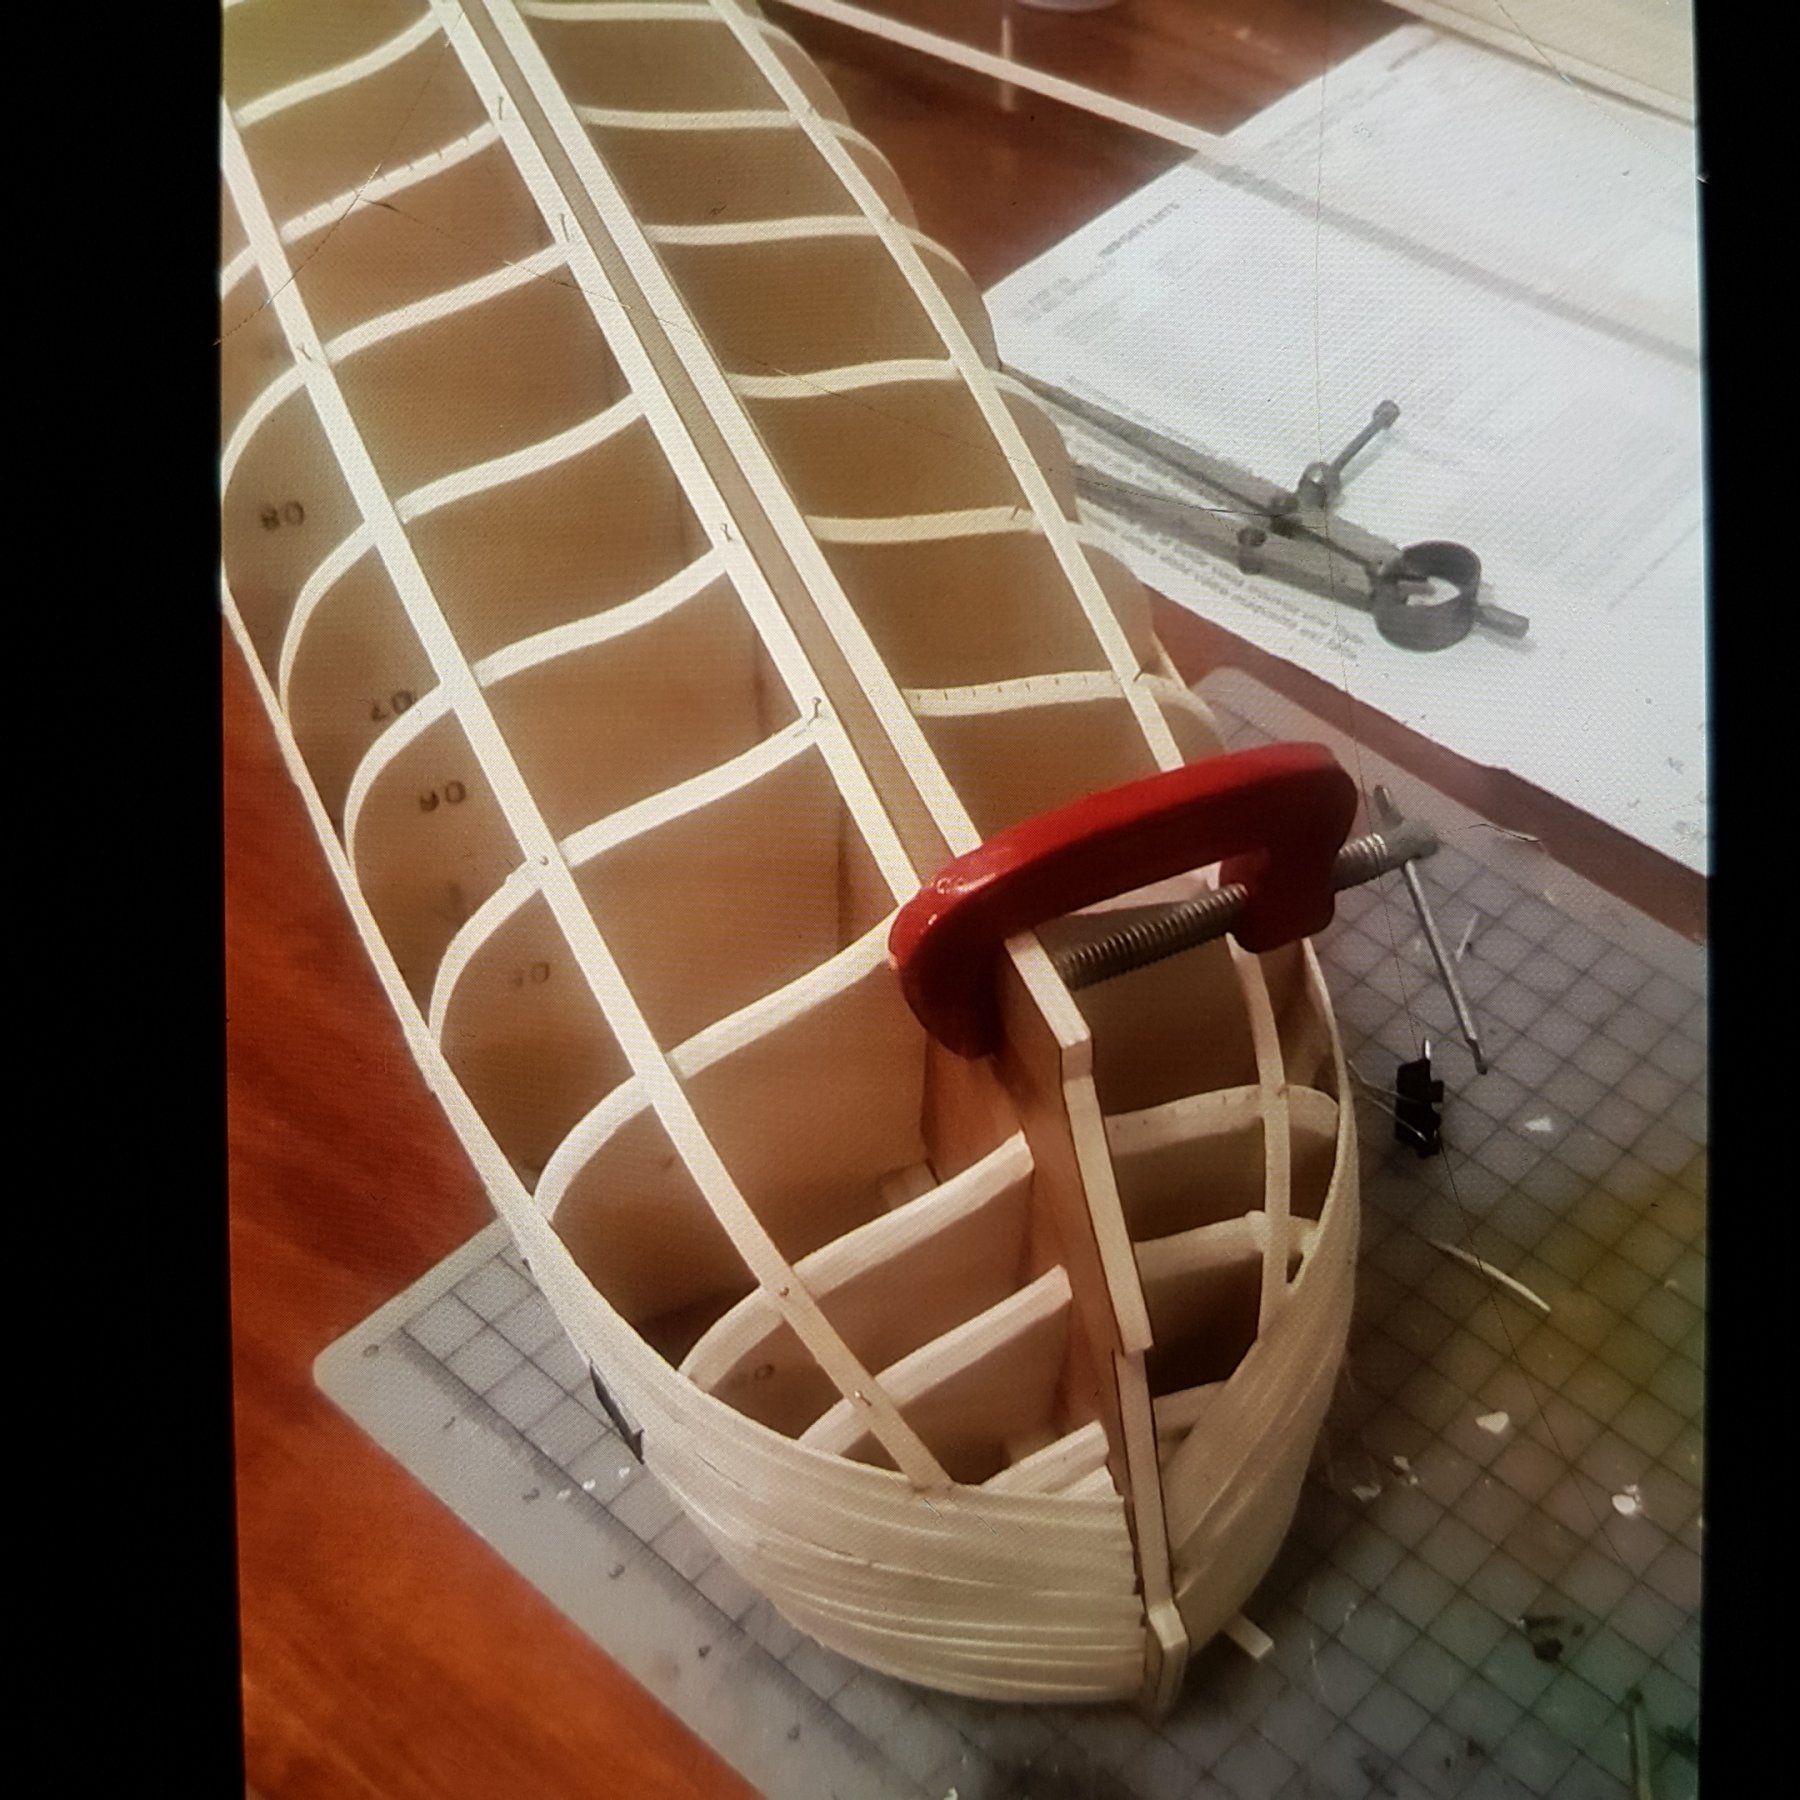
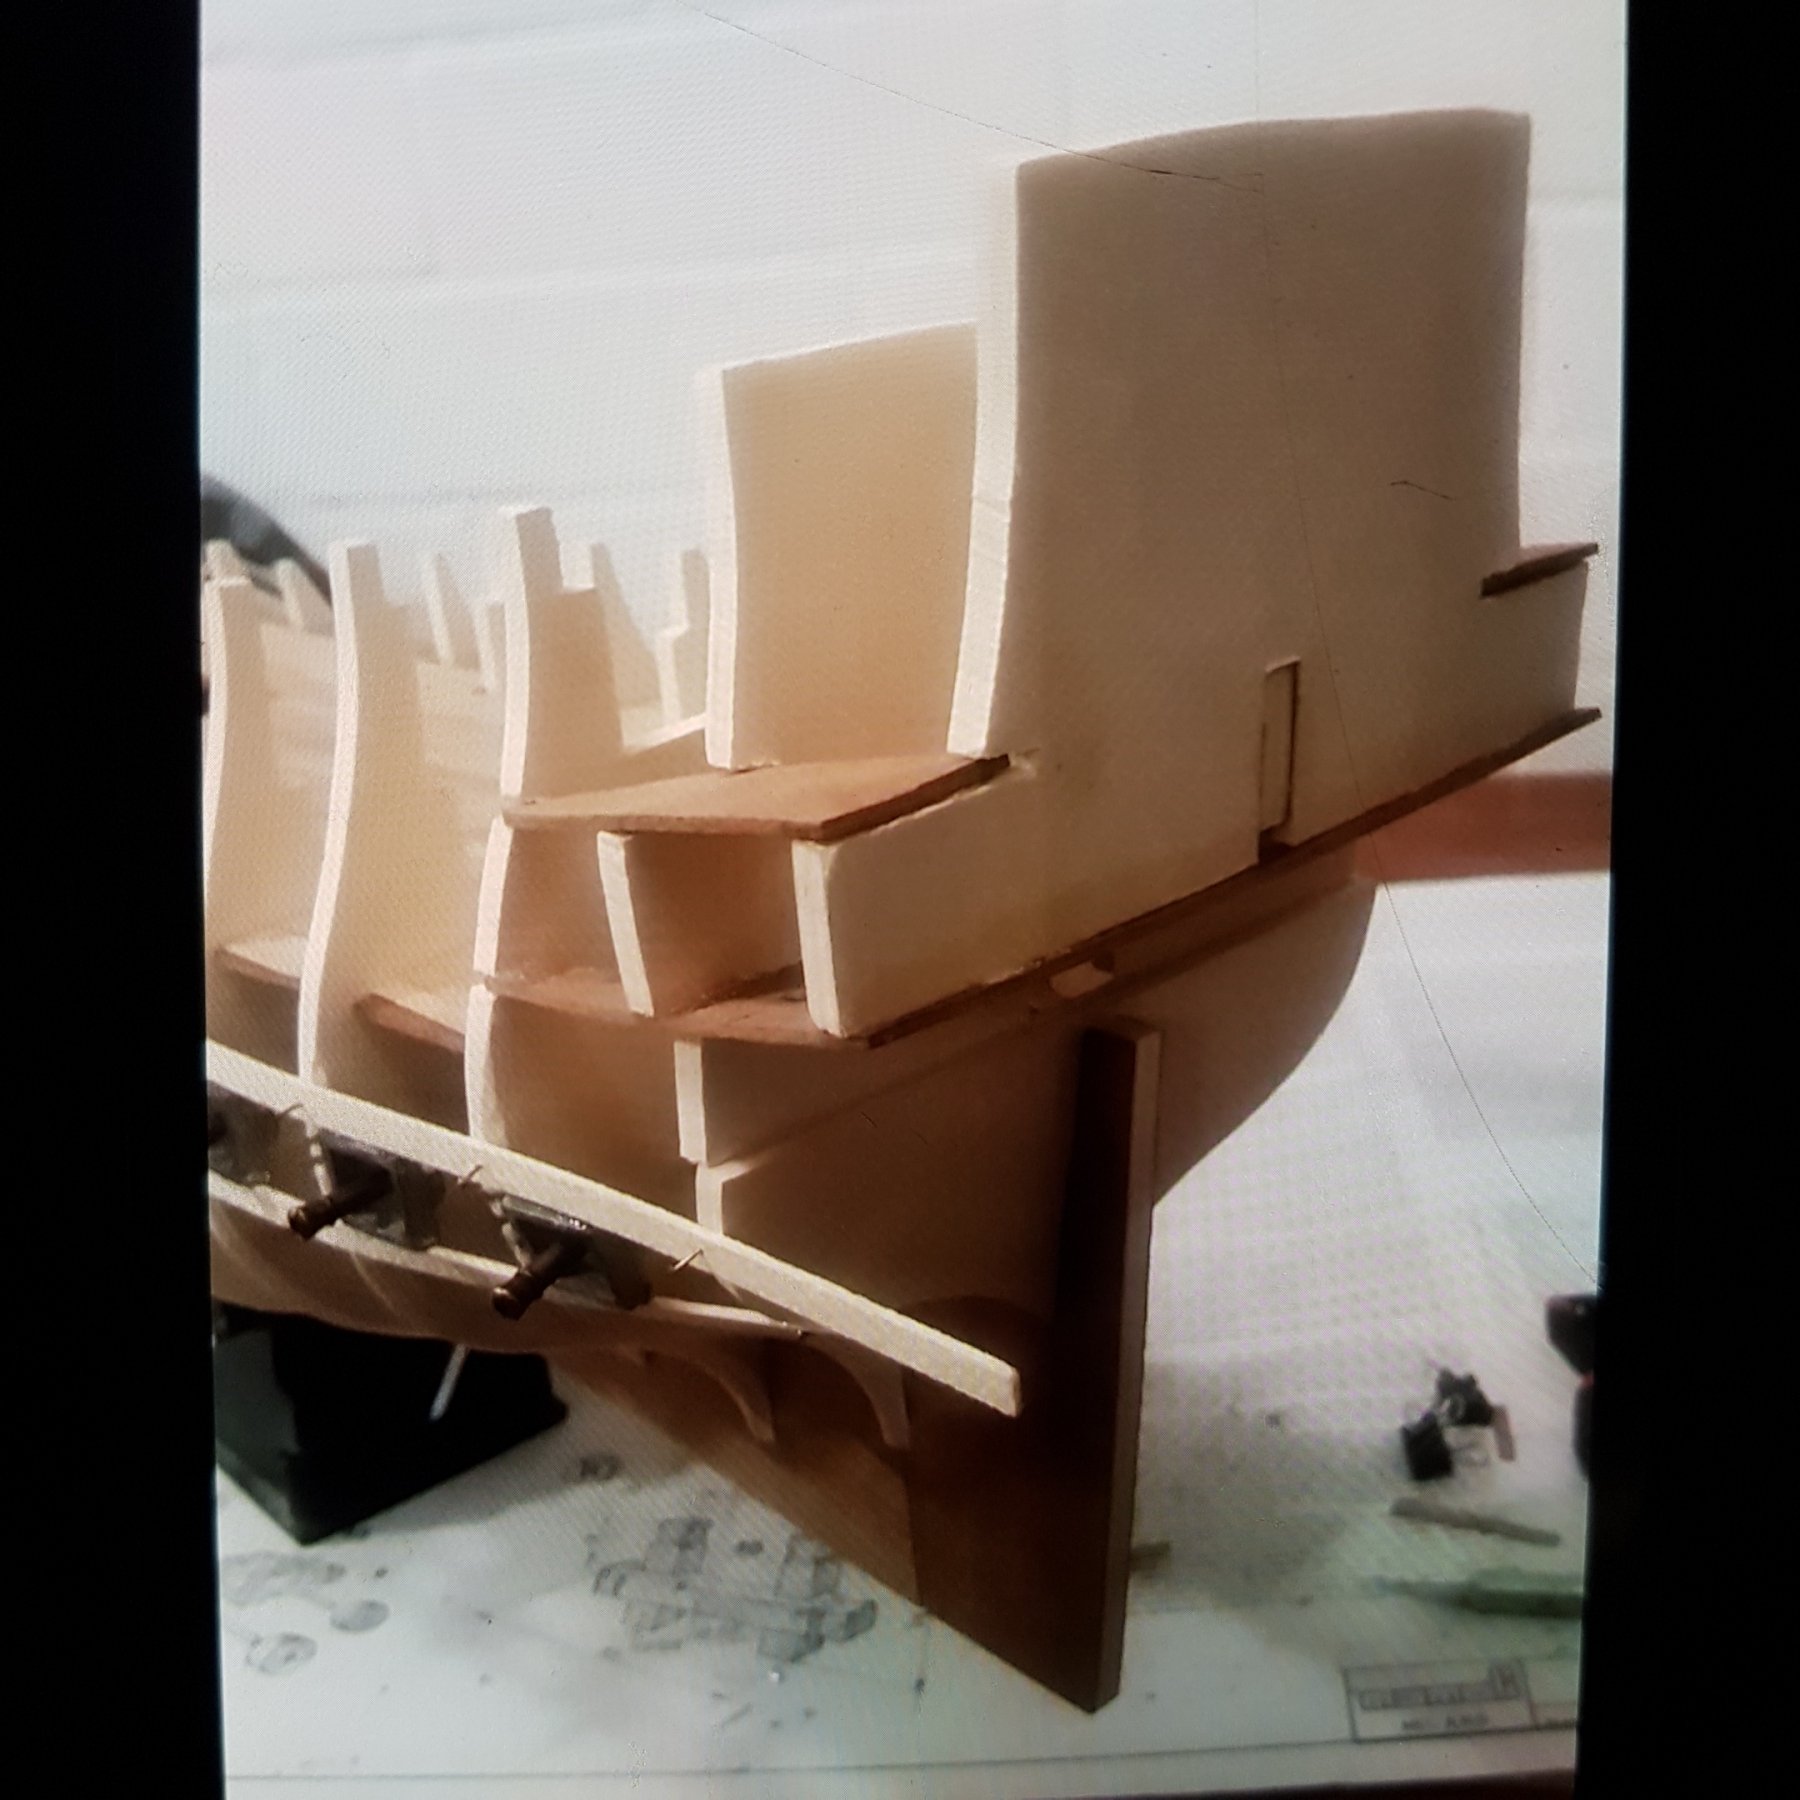
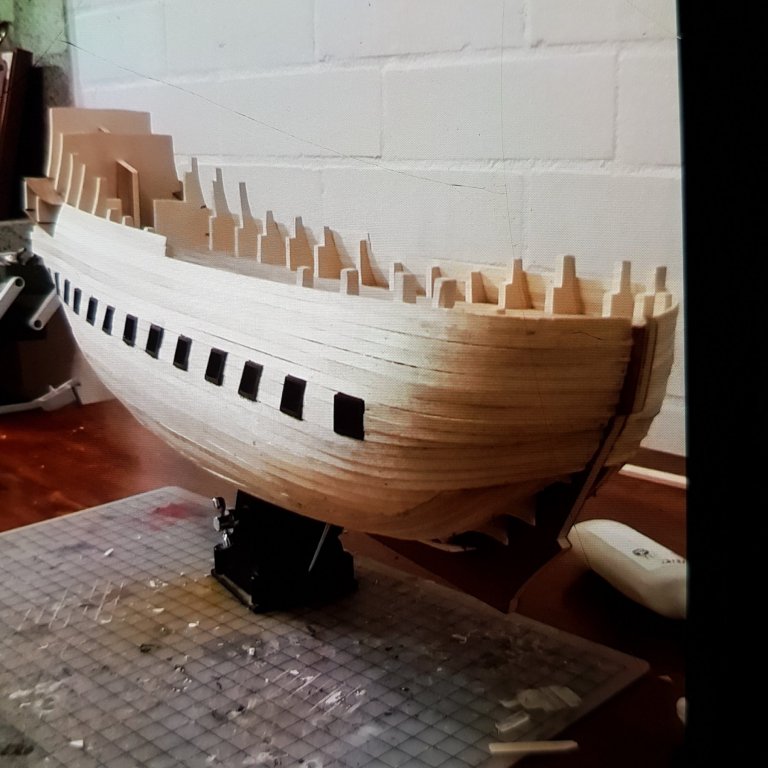
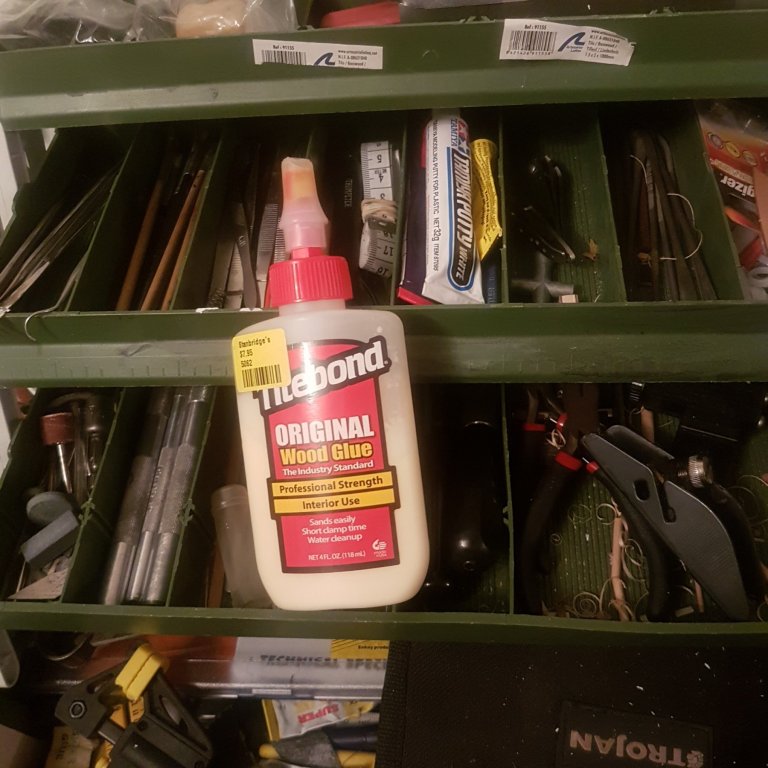
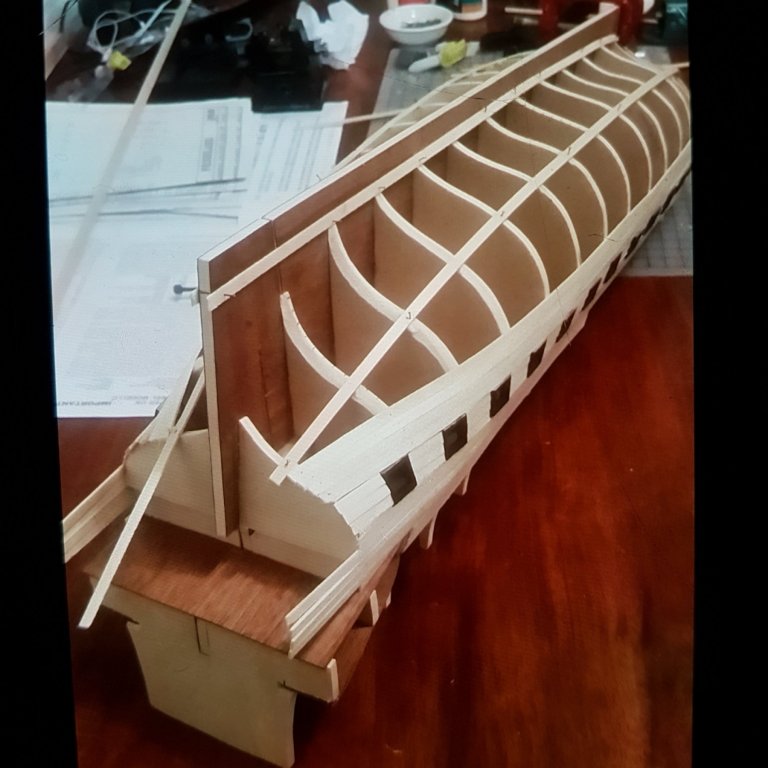
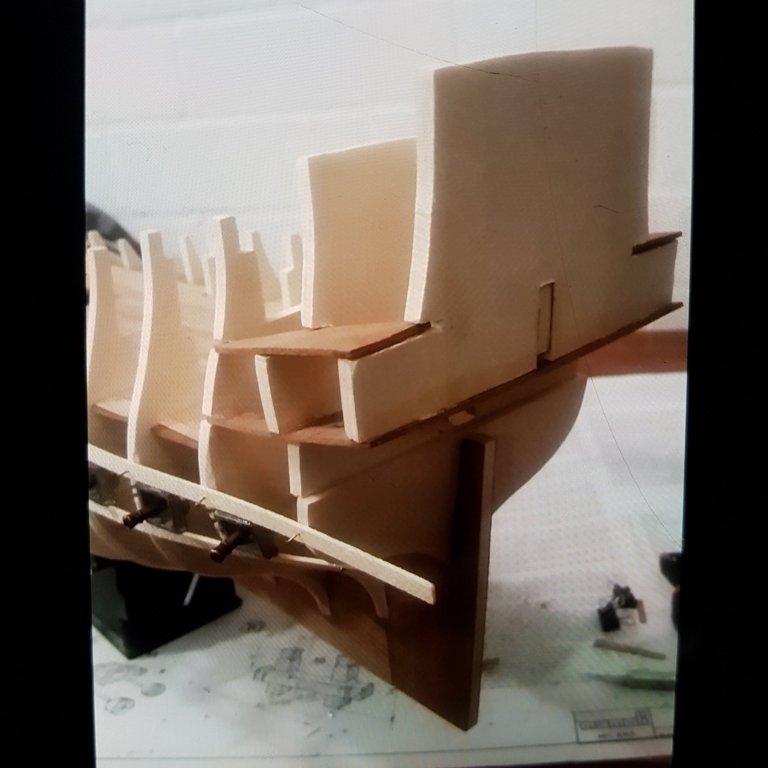
The very last bulkhead at the stern was not faired as the way the planks run across it at that angle would affect the profile of the bulkheads if I sanded it down. Instead as each plank was applied a small wedge was inserted underneath it. This way I could keep the exact profile and keep it symmetrical. My choice of glue is tightbond. Very quick setting Wood glue.


-
Thank you Hans Peters. This kit is very hard to find. Ages of sail are the only place I have seen it advertised and only 1 left! It's a shame because mamoli is my preferred kit manufacturer.
-
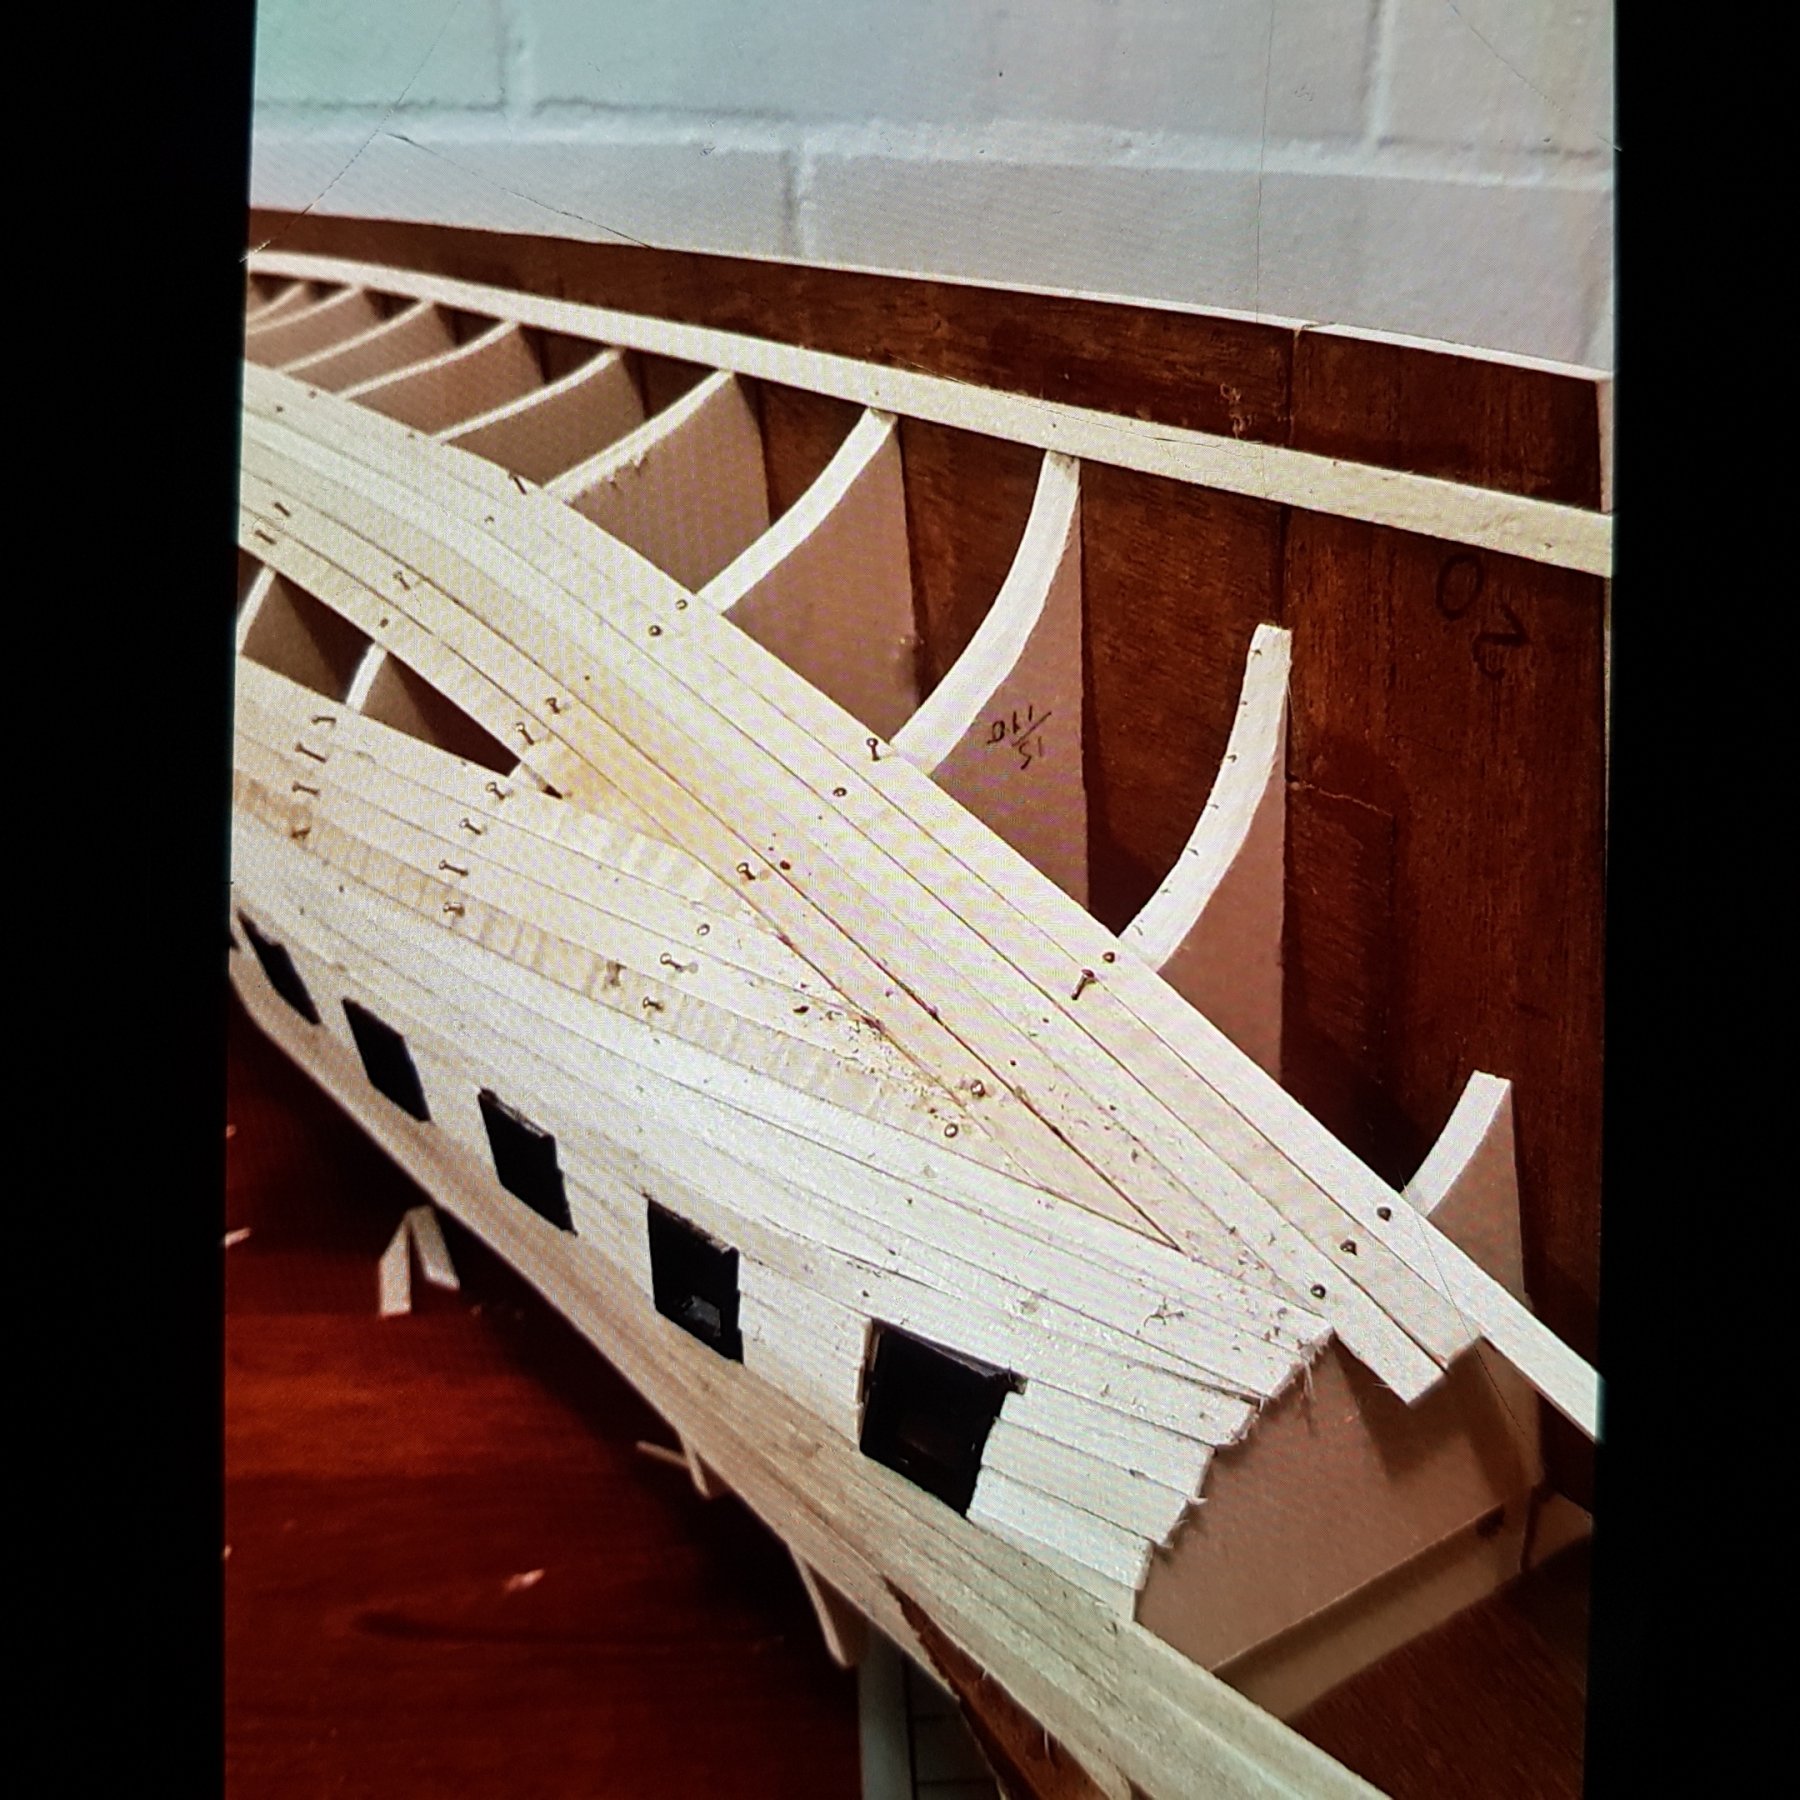
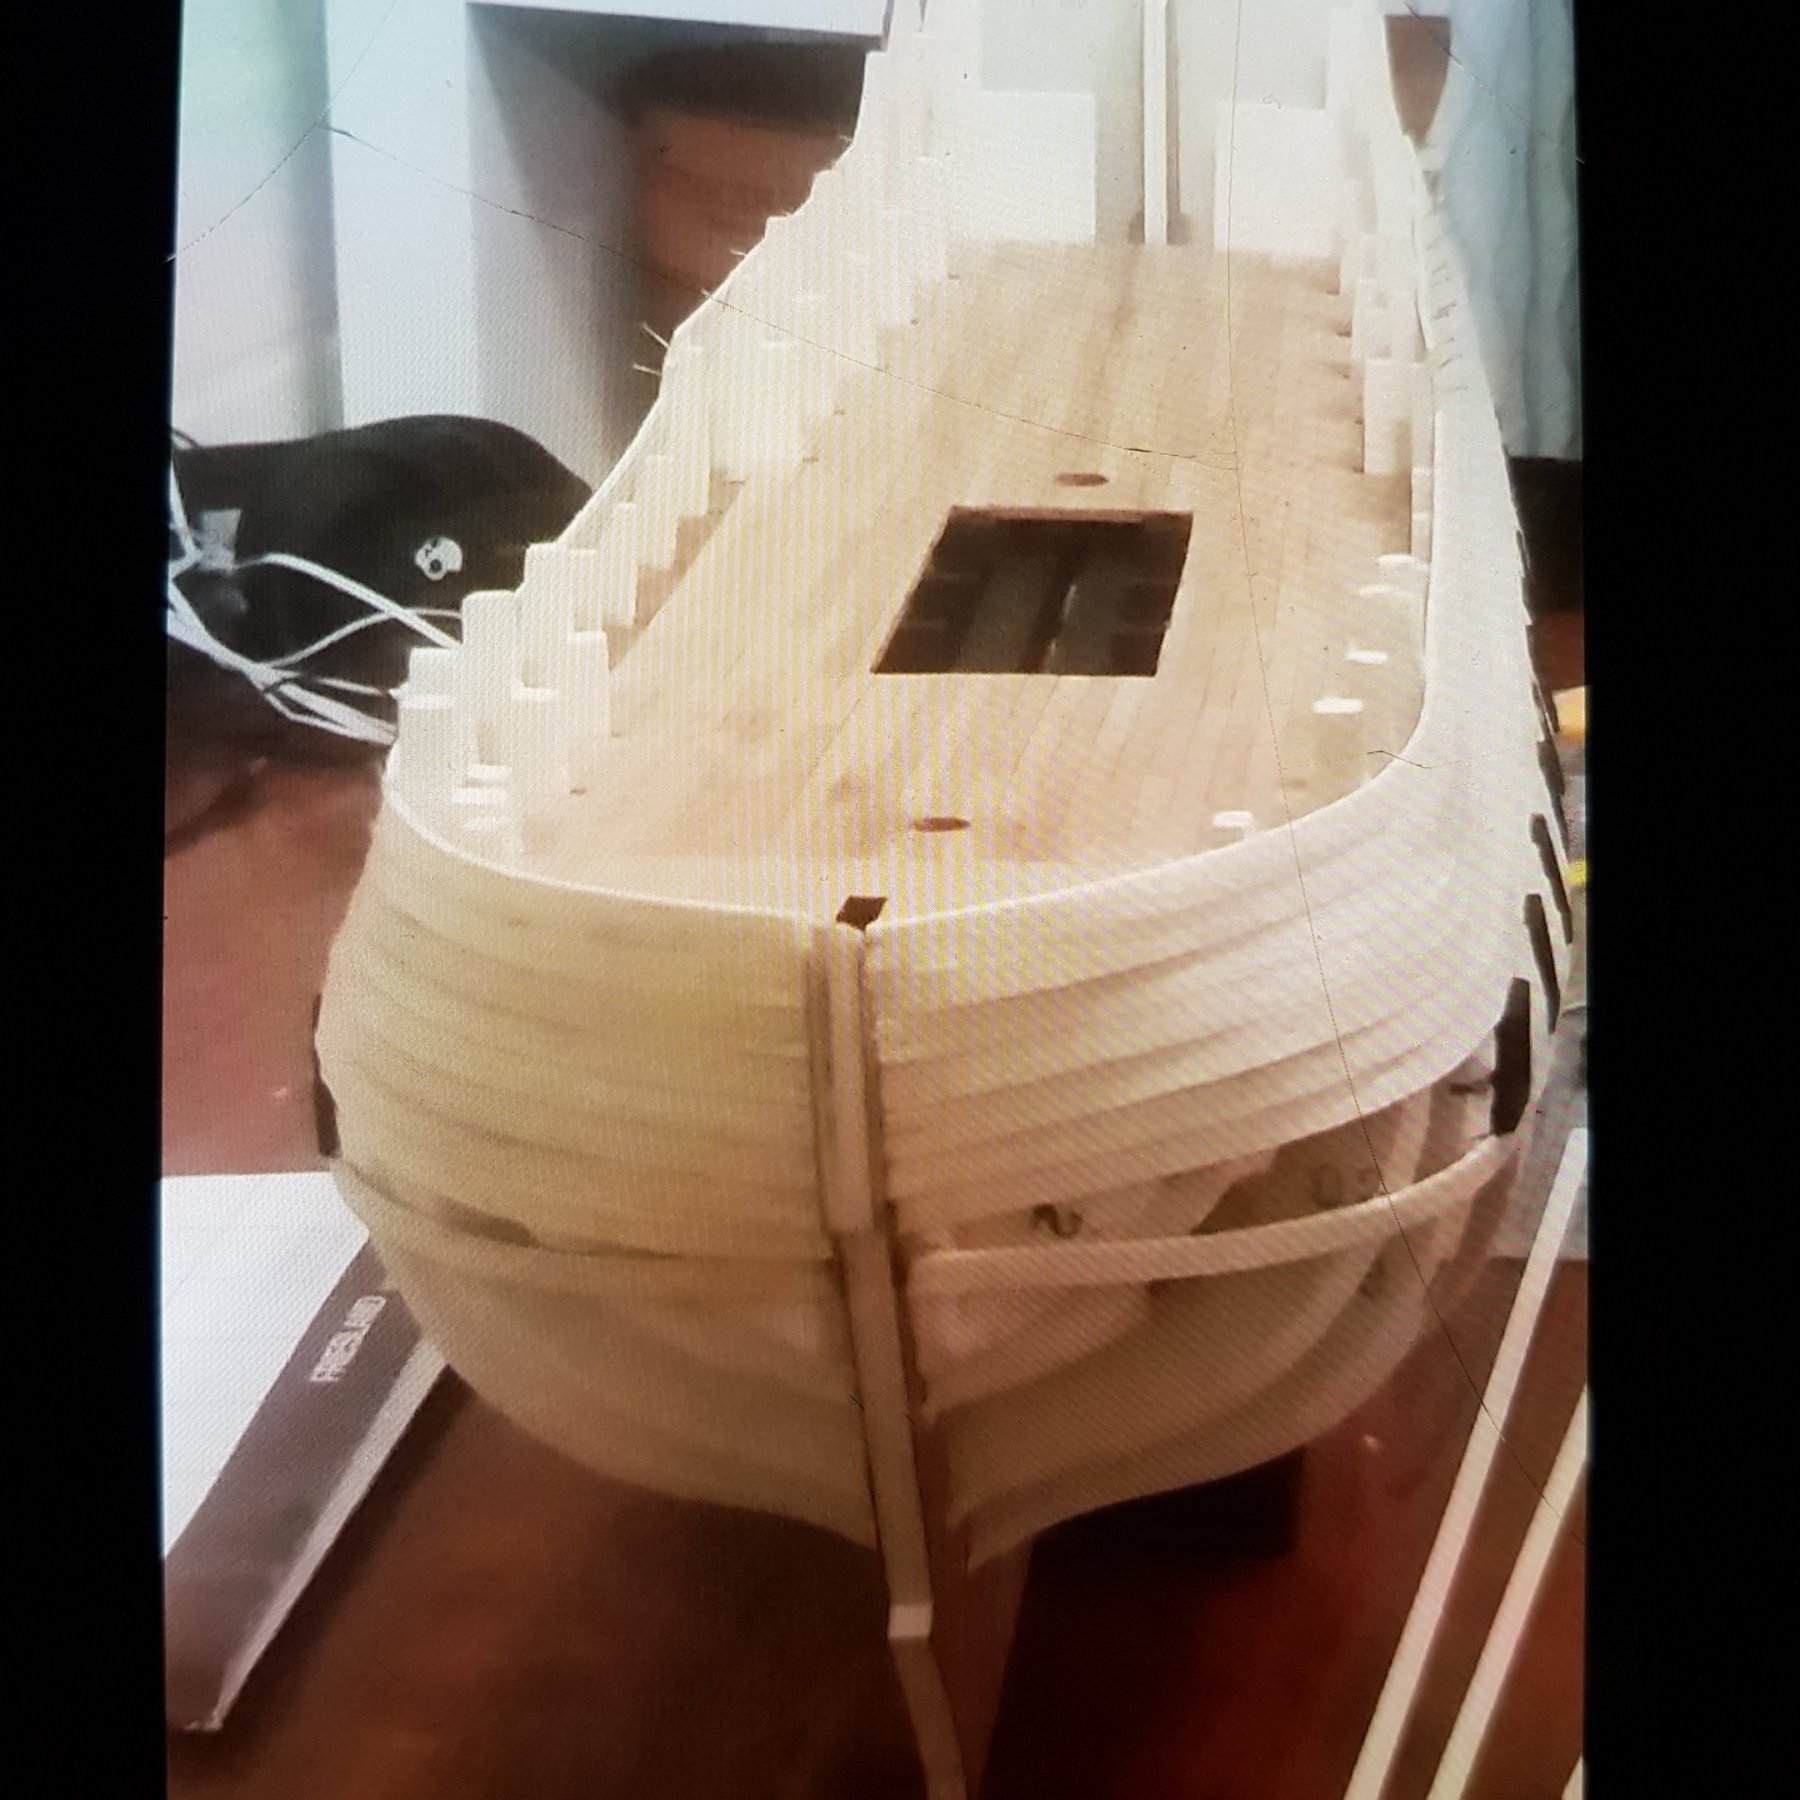
Planking continued. The garboard plank is next also with the band planks going on. I was lucky with this kit as the keel was perfectly straight.


-
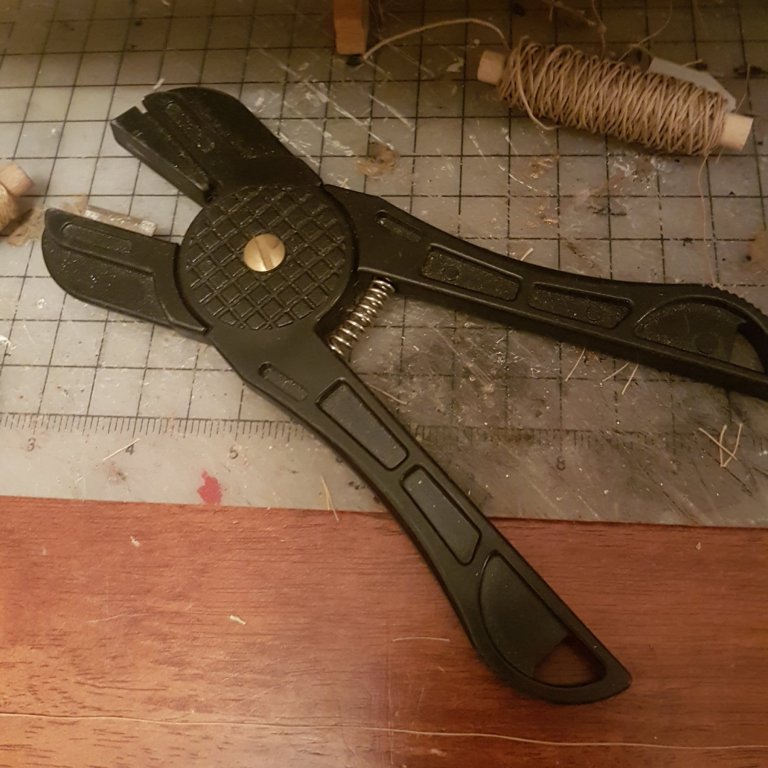
Might I add the fore deck is dry fitted at this point. Some filing is need for it to fit flush. I bend my planks by the soaking method. And a simple AL crimping tool.
-
Very nice place you have. Is your dog a husky or an Alaskan malamute? Looks like he/she is keeping the kids busy. I have seen around perth small groups of people gathering to sail these R/C yachts. They are quite fun to watch.
- 322 replies
-
- 3
-
-
- sergal
- sovereign of the seas
- (and 5 more)
-
Hey those treenails have come out brilliant. Good work. Only another 1000 to go.........
-
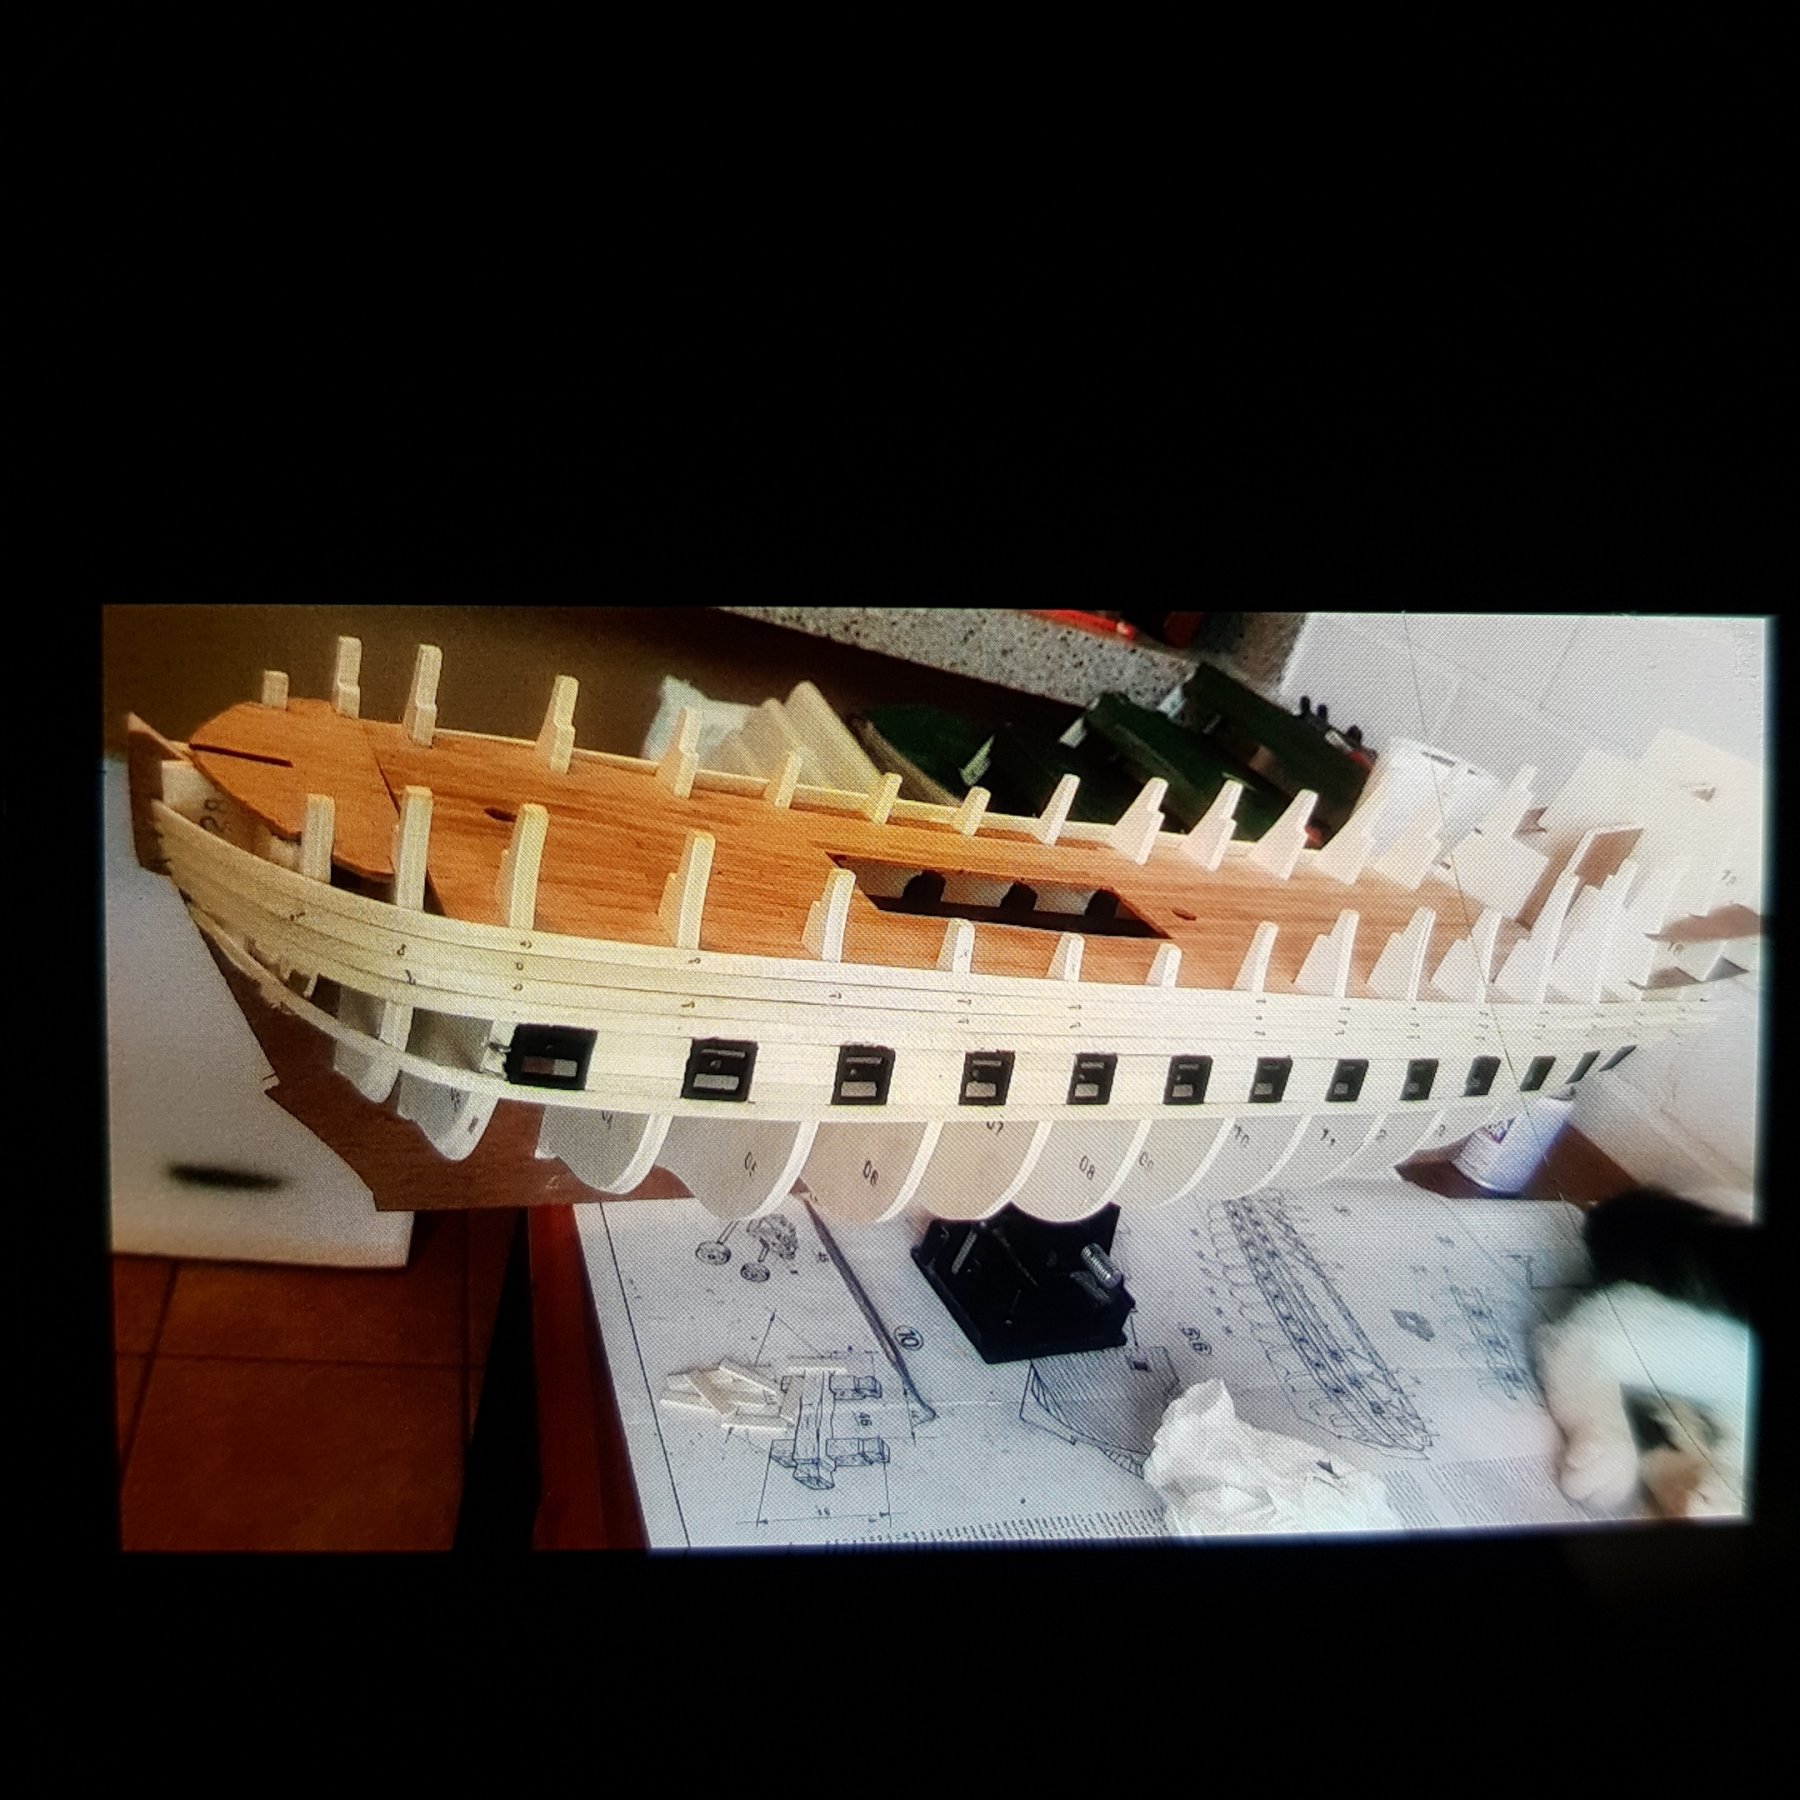
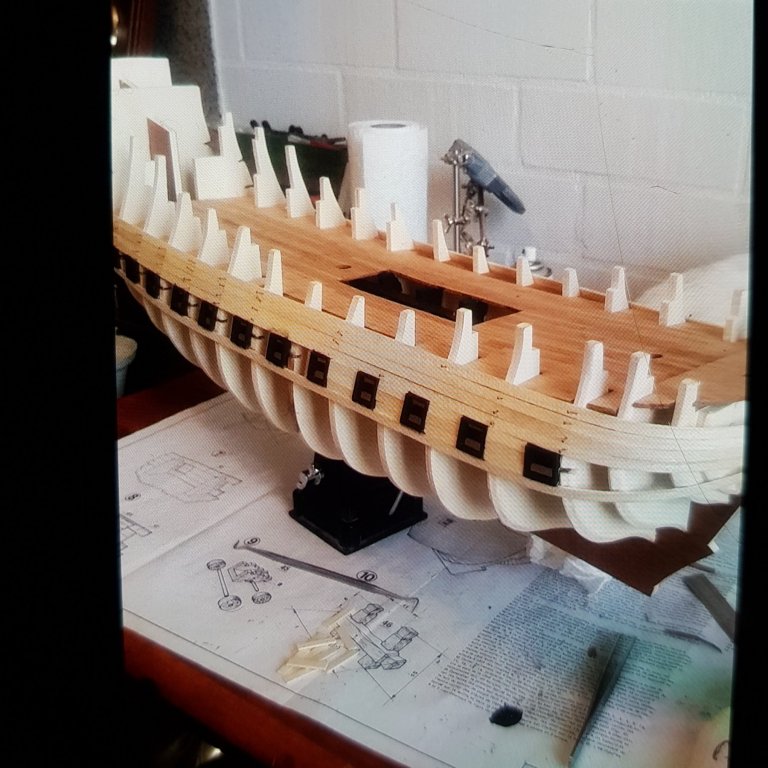
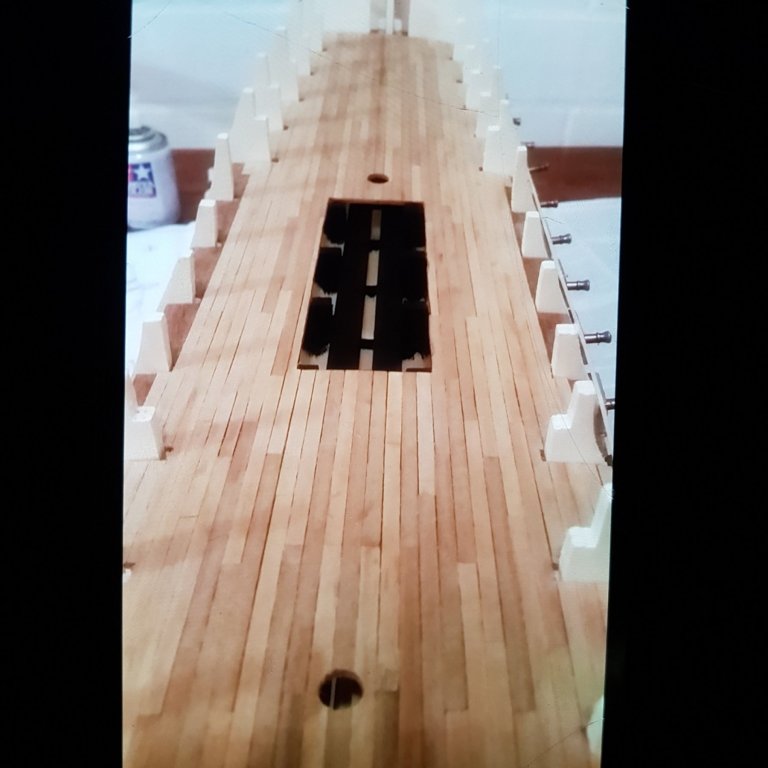
Once I was sure all the bulkheads had been faired I painted the inside of the lower gun ports Matt black and procceded to plank from the gunports to the to of the bulwarks. Cutting short links to fill inbetween the gun ports.
-
The second photo shows the beginning of the stern gallery formations. It was later found out that the thin plywood on the top had to be bent in a downwards fashion. Lots of cutting and filing to get this part right.
-
She is a good looking ship indeed. I do like the green clinker type planking around the upper gunports and I like the stern decorative peices. The covered balconies on port and starboard of the stern also have an appealing touch.
-
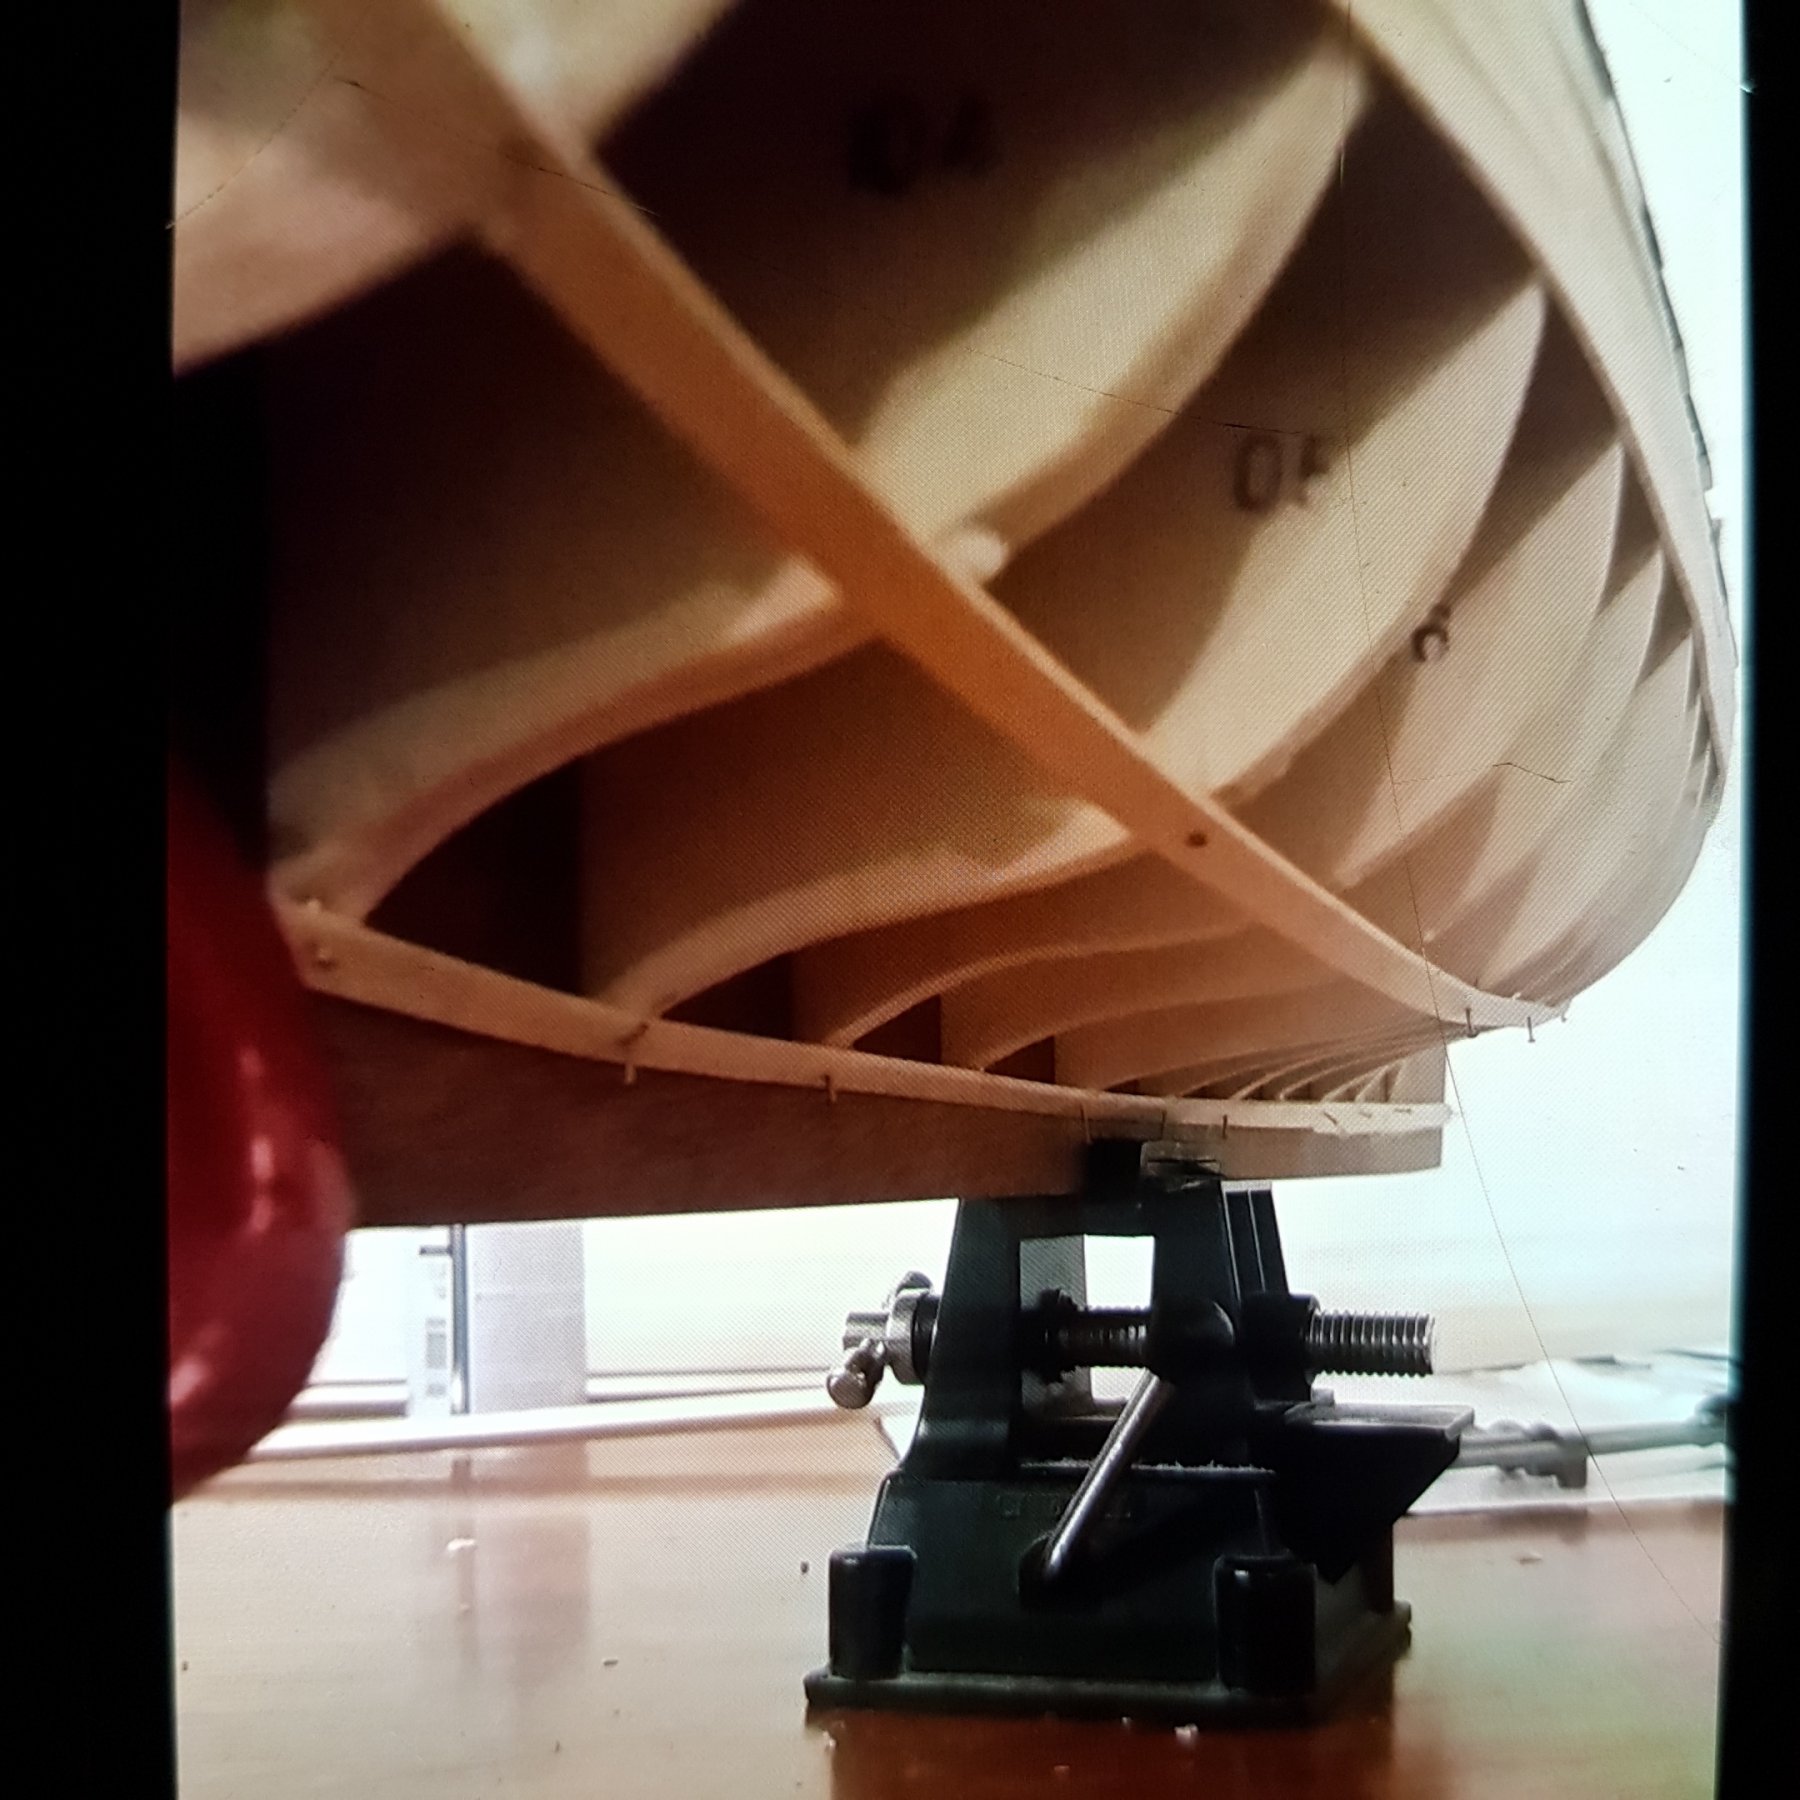
I find this type of keel bulkhead construction interesting. Would you prefer this method to other solid one peice keels? Best of luck with this build. Off to a great start.
-
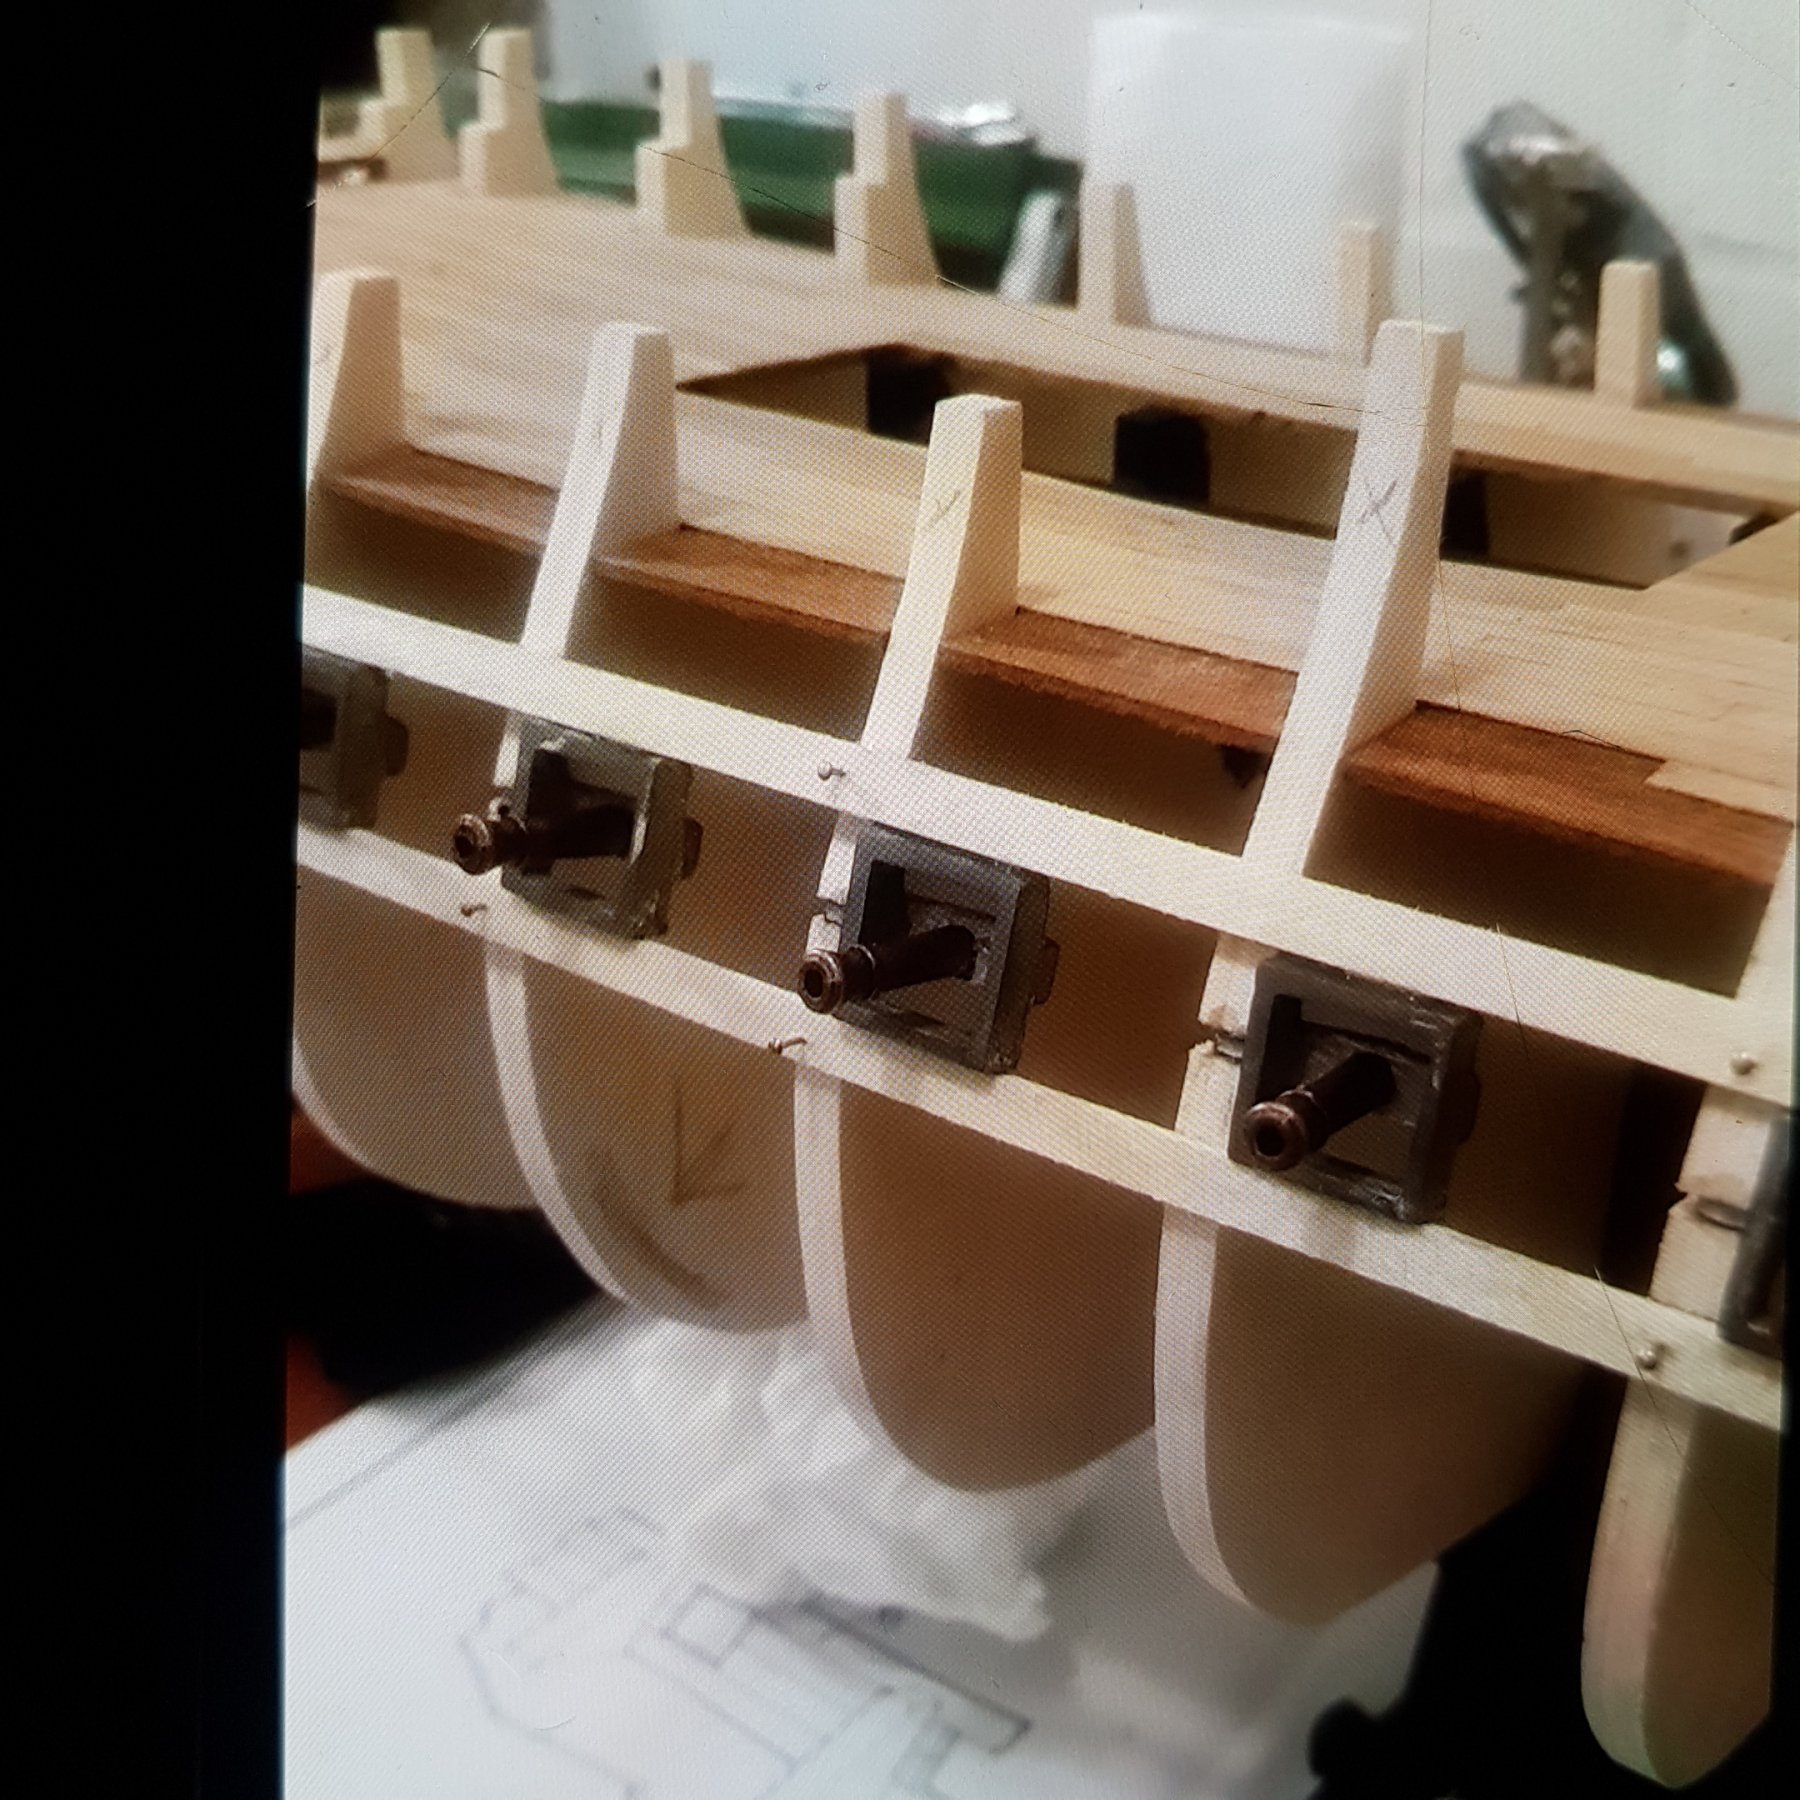
One of the first steps of construction was to plank the main deck and line up the lower gun ports. The bulkheads had notches cut out for little flanges on the cast white metal gun ports to slot into. I was lucky enough that all the notches on the bulkheads lined up perfectly. The instructions stated that the gunports be lined up and supported by a plank top and bottom. The cannons are purely just for lining up purposes and are dry fitted.


-
I should also of come clean and mentioned this kit was started in December. So I'm sort of back tracking. I hope this is allowed.
-
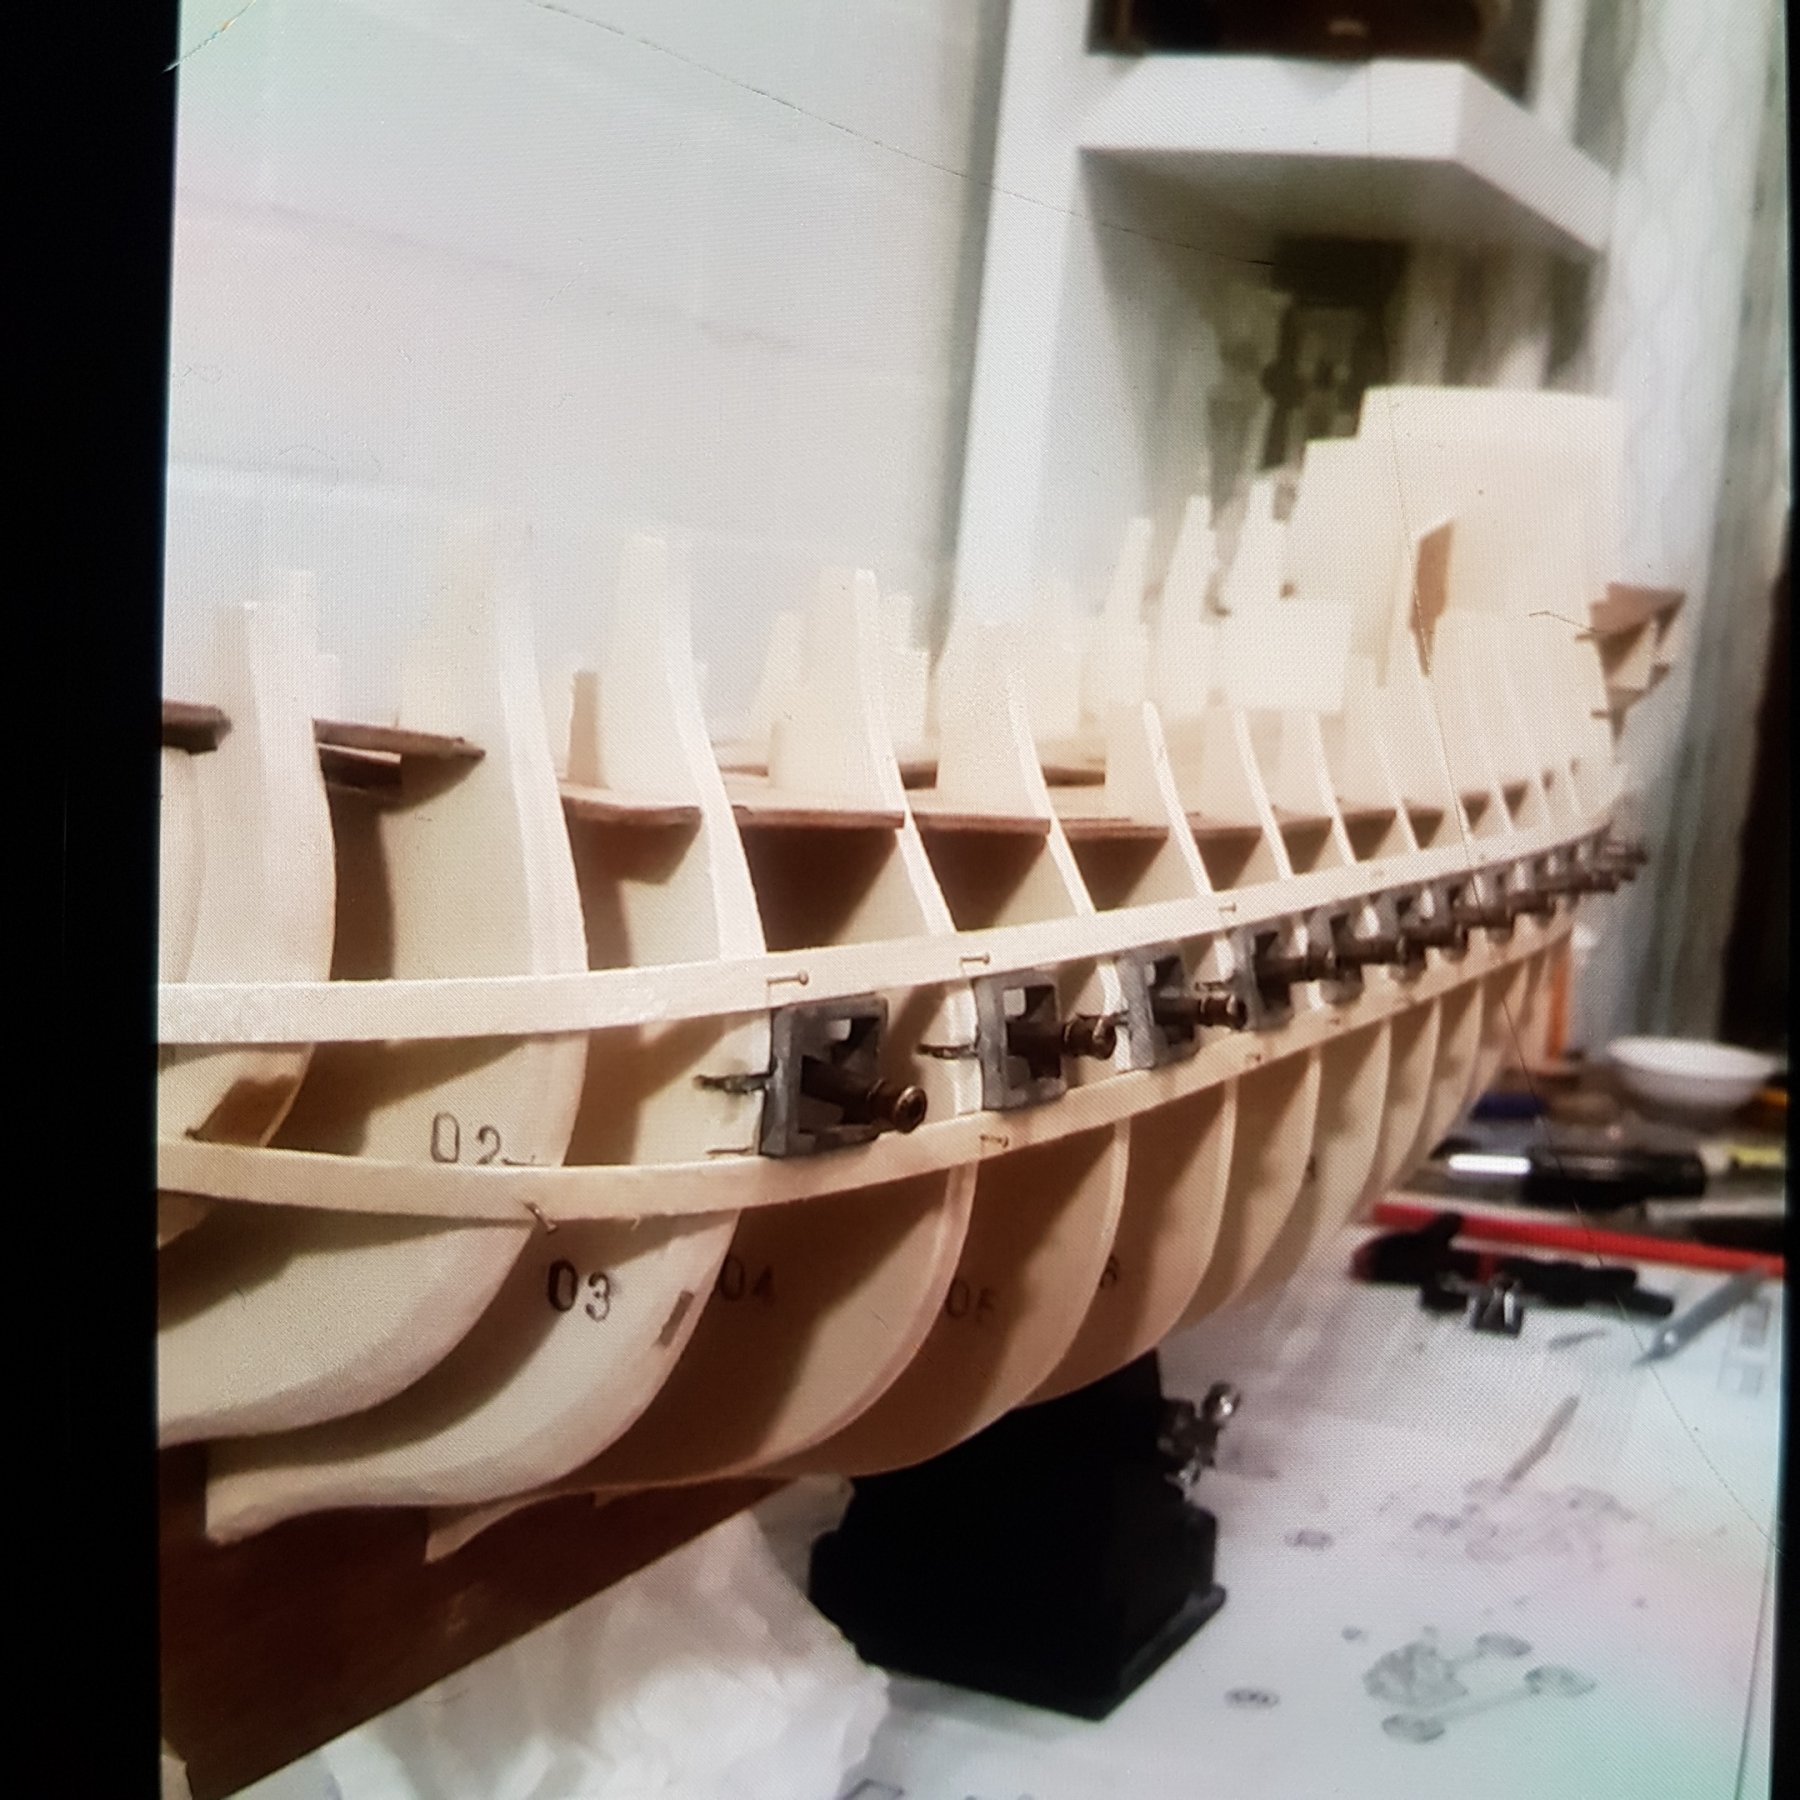
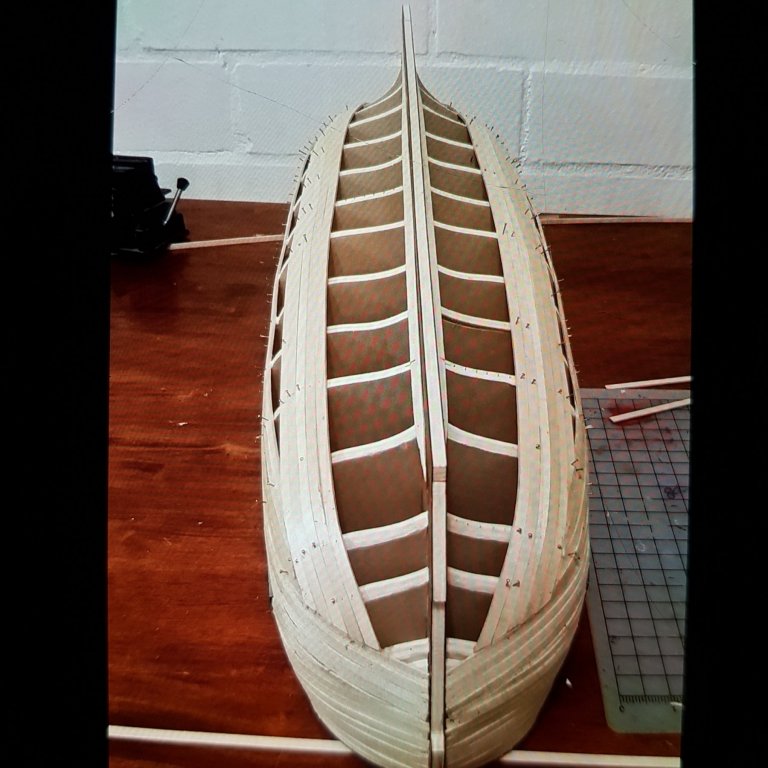
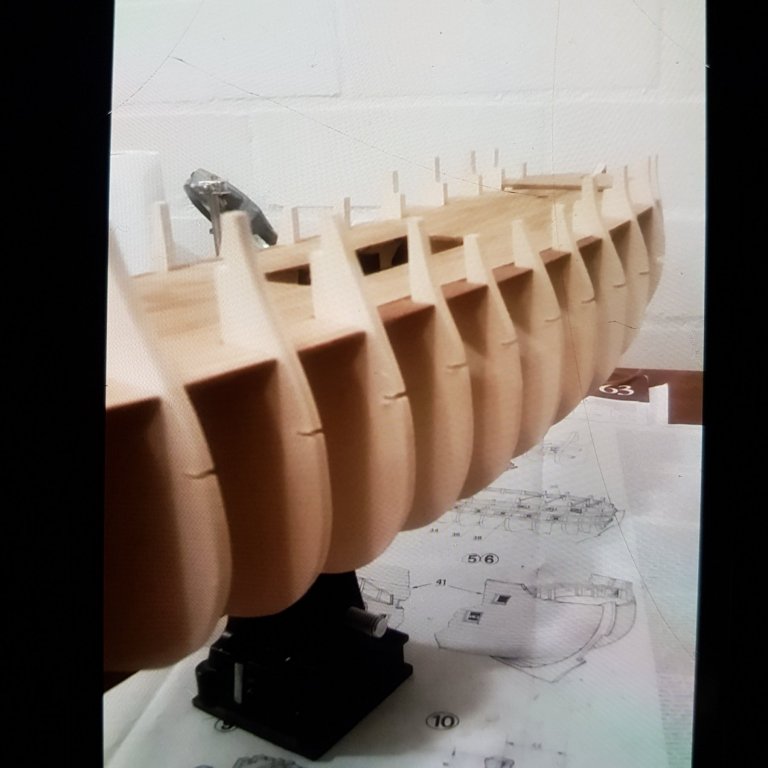
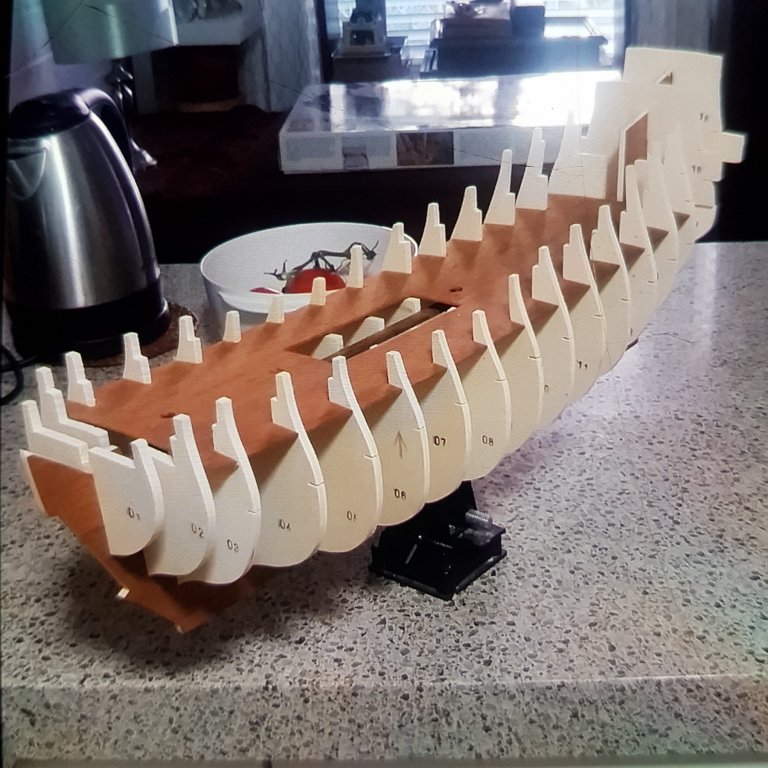
Hello fellow modelers. It's been an extremely long time since I got my act together to post a build log. Half of because I had lots of trouble with posting pics and the other half is I'm very shy when it comes to showing others my work. Its abit nerve wracking for me so please be persistent with me. All of this is done over my phone as I don't have a PC or laptop. I brought this kit awhile back and is my first shot at a large build. I have 6 other ships under my belt just to get some experience needed for this build. The first photo shows the all too familiar sight of bulkheads and keel assembly. Some wrangling was need for things to line up but eventually I got there. The deck is just dry fitted at this point of time.
-
The hull is coming up great. I like this stage in particular as this is the first time yout get to see the body emerging. Good work.
- 322 replies
-
- 5
-
-
- sergal
- sovereign of the seas
- (and 5 more)
-
Got to love the cyclone season. I used to be FIFO out of Karratha for a few years and had some interesting cyclone parties. Your ship looks great. Good start to your planking.
- 322 replies
-
- 2
-
-
- sergal
- sovereign of the seas
- (and 5 more)
-
I can imagine pulling a pin out with a coil belayed around it and ending up with a messy tangle! With the rope firstly going around the bottom of the pin then wrapped up around the top would this over time work the pin upwards and eventually pop out?
-
Extremely well done. Looks great. Thank you for sharing. I had done glass like this and scoured the lines representing the lead squares. After scouring the lines I coloured the pane with a black whiteboard marker and then simply wiped it off, Leaving the black ink to settle in the scour marks. Have you used this approach before? Beautiful workmanship.
- 4 replies
-
- 1
-
-
- lantern
- ship lantern
- (and 1 more)
-
That picture just got me thinking. You all probaly know this but I'm unsure, Do some ships have removable belaying pins for different configurations? Just noticed the empty hole next to the pin in the picture.
-
Wow. This is the most detailed build of this kit I've ever seen. I wish I did the same as you, But I just built mine straight out of the box. Well done it looks amazing. Good work.
-
Crew included. Now that's a difference. Looks like a great kit. All the best.
- 317 replies
-
- 1
-
-
- hermione
- artesania latina
- (and 1 more)
-
What an amazing job you have done. Just been looking through your whole log to date and it's very impressive. I have the Bismarck at 1:200 scale card. And lots of this PE to go on it too. But that's awhile off yet. I think I will just keep watching your build for awhile. Keep up the good work.