HOLIDAY DONATION DRIVE - SUPPORT MSW - DO YOUR PART TO KEEP THIS GREAT FORUM GOING! (Only 13 donations so far - C'mon guys!)
×


shipman
-
Posts
1,275 -
Joined
-
Last visited
Content Type
Profiles
Forums
Gallery
Events
Everything posted by shipman
-
Do these products have a shelf life? Also, what proportions for the baking soda/water pickling solution? Thanks.
-
 John, hi. Clearly the rails pre-date her training days.
- 399 replies
-
- 1
-

-
- cutty sark
- revell
- (and 2 more)
-
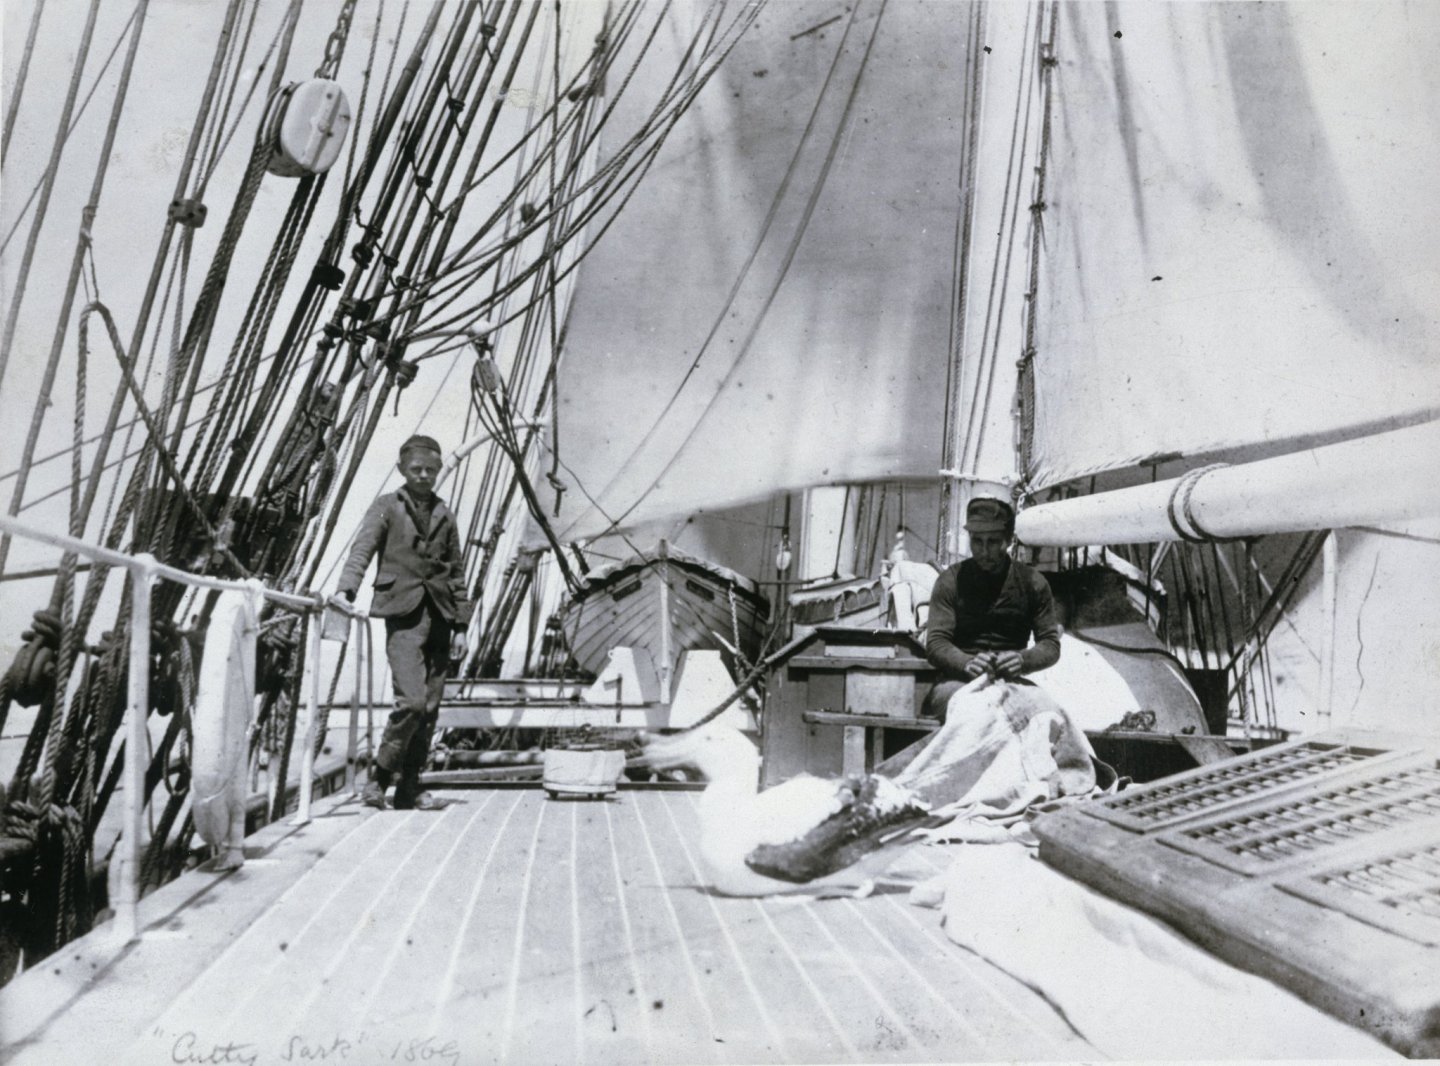
Realised I have a migraine! These rails.....were they mounted as a safety feature when 'Cutty' was a training ship? Your collective observations and opinions are very welcome.
- 399 replies
-
- 2
-
-
- cutty sark
- revell
- (and 2 more)
-
(boy holding the rail) Sorry, having difficulty combining text and images. Anyway, these rails feature on most models I've seen, including yours, Marco. It appears I was assuming these rails were present pre-fire. May be it was a mental confusion, as when I went back to my files, the rails indeed weren't there pre-fire. However, all kits seem to include them, Longridge includes them and they can be seen in several 'period' photo's. Now I've given myself a brain fog. By including these images I hope you can see what I'm getting at?
- 399 replies
-
- 5
-
-
- cutty sark
- revell
- (and 2 more)
-
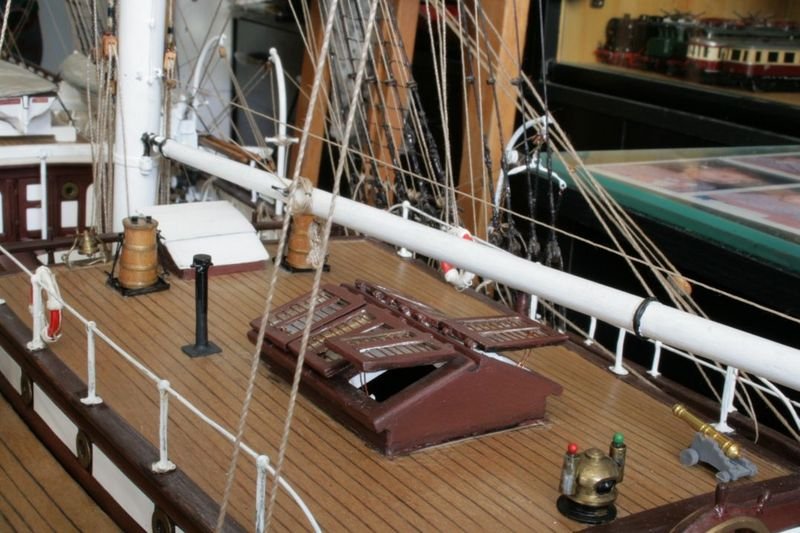
Just been breezing through my folders of the ship I've gleaned off the 'net over the years (A LOT). No one seems to have picked up on the changes made to the 'Liverpool/Monkey Poop'. There are several subtle differences, but the main one is what happened to the prominent side rails? Before restoration they were there and now they've gone.
- 399 replies
-
- 2
-
-
- cutty sark
- revell
- (and 2 more)
-
Gratings
shipman replied to DaveBaxt's topic in Discussion for a Ship's Deck Furniture, Guns, boats and other Fittings
The plastic milk bottles made of Poly propylene (that's what the CA bottles are made of). -
Bob, when the BBC turned up back then, God forbid you weren't dressed properly. Before the 60's some things were not done. God made the British. Then he made the rest.
-
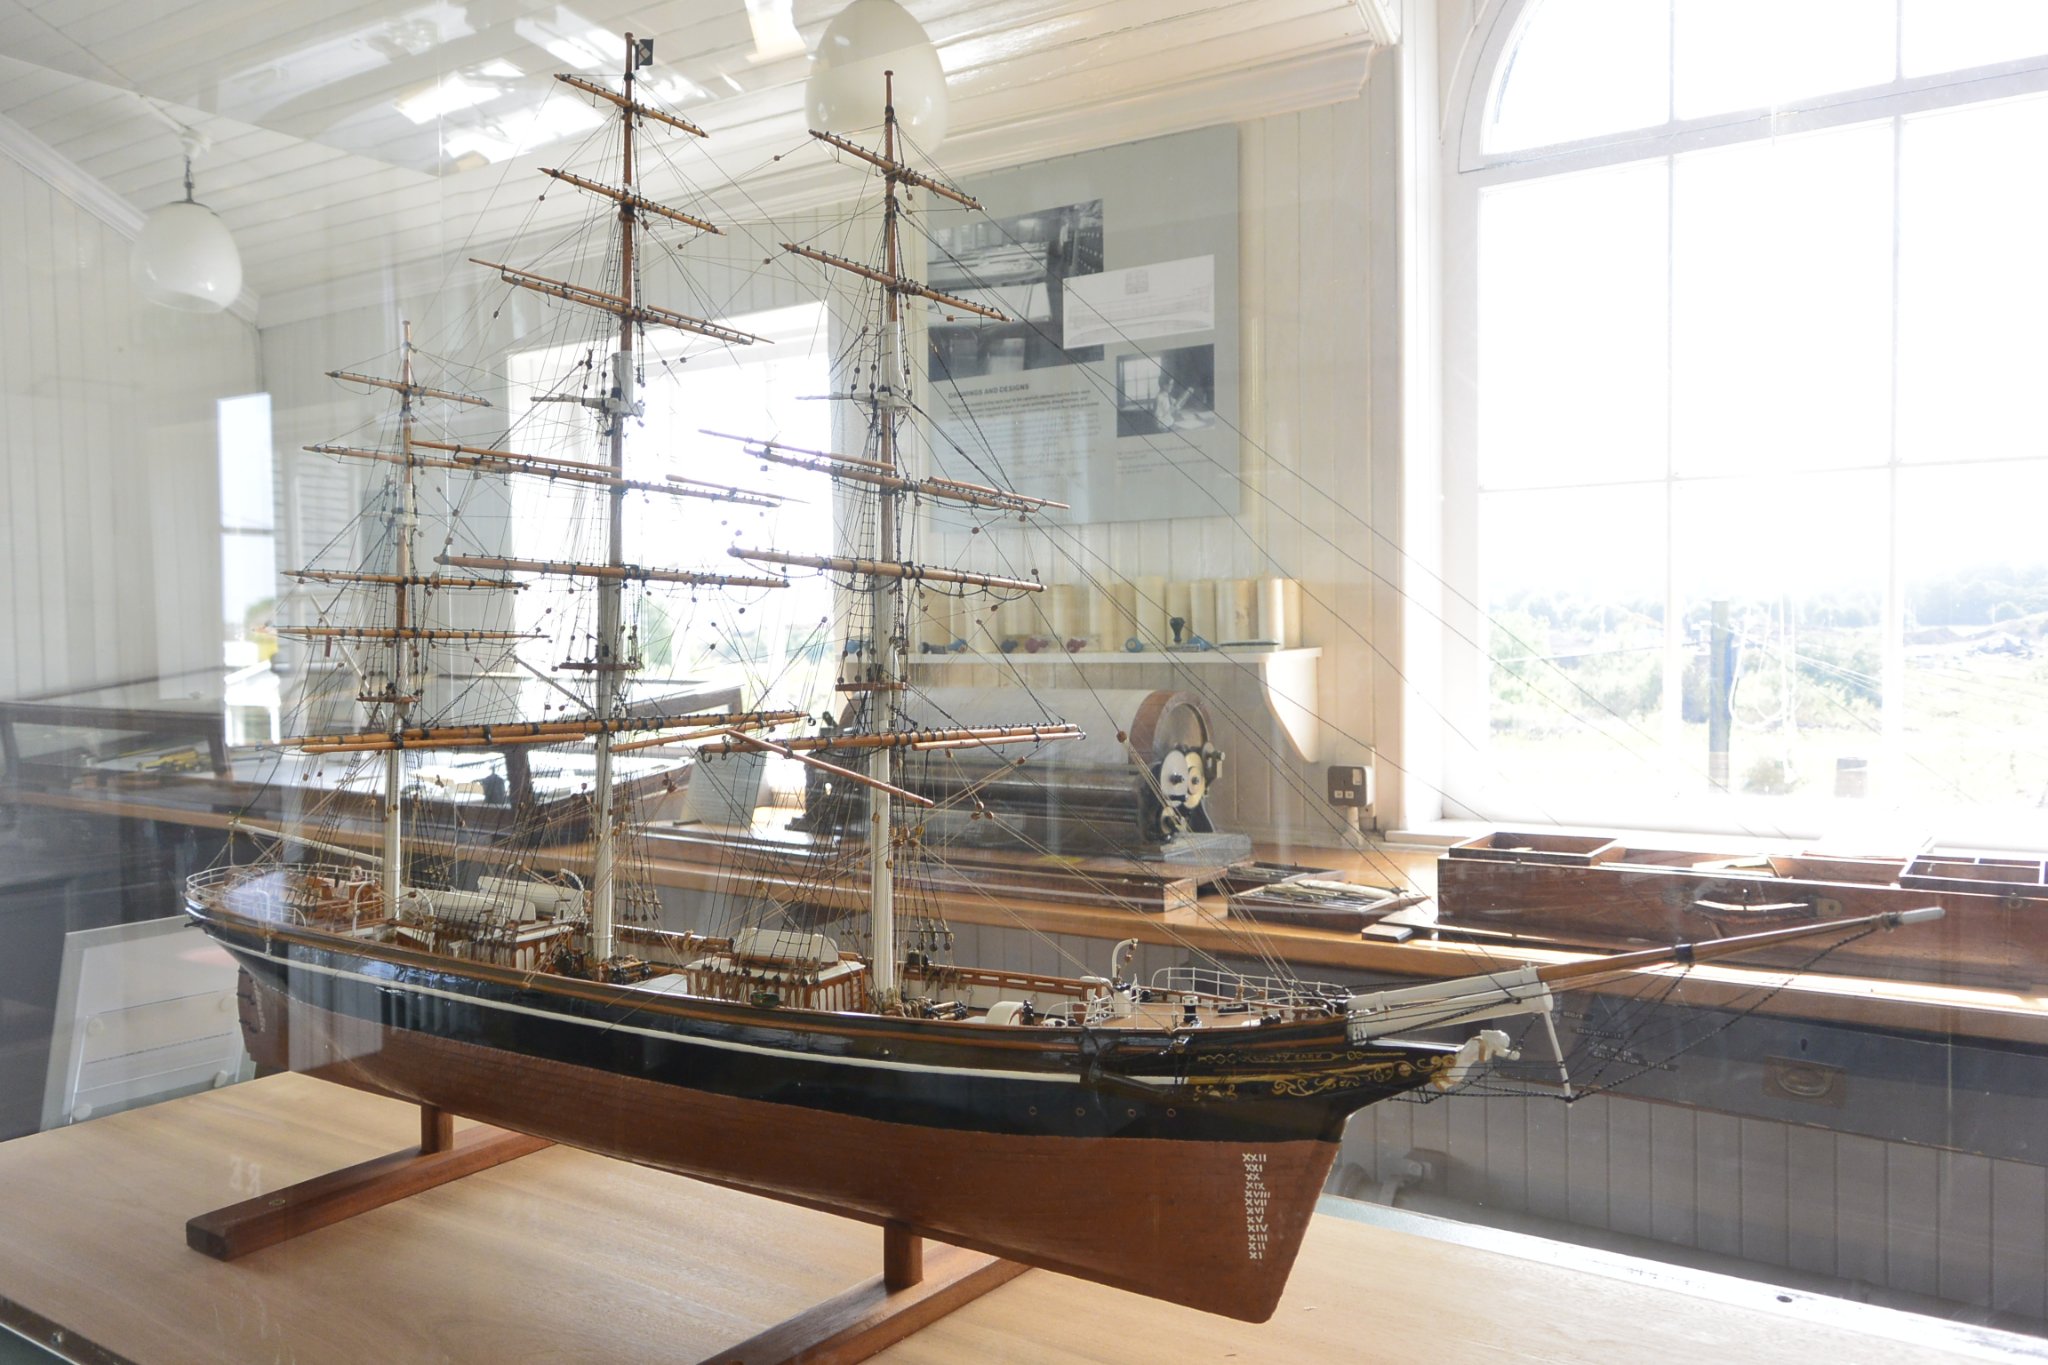
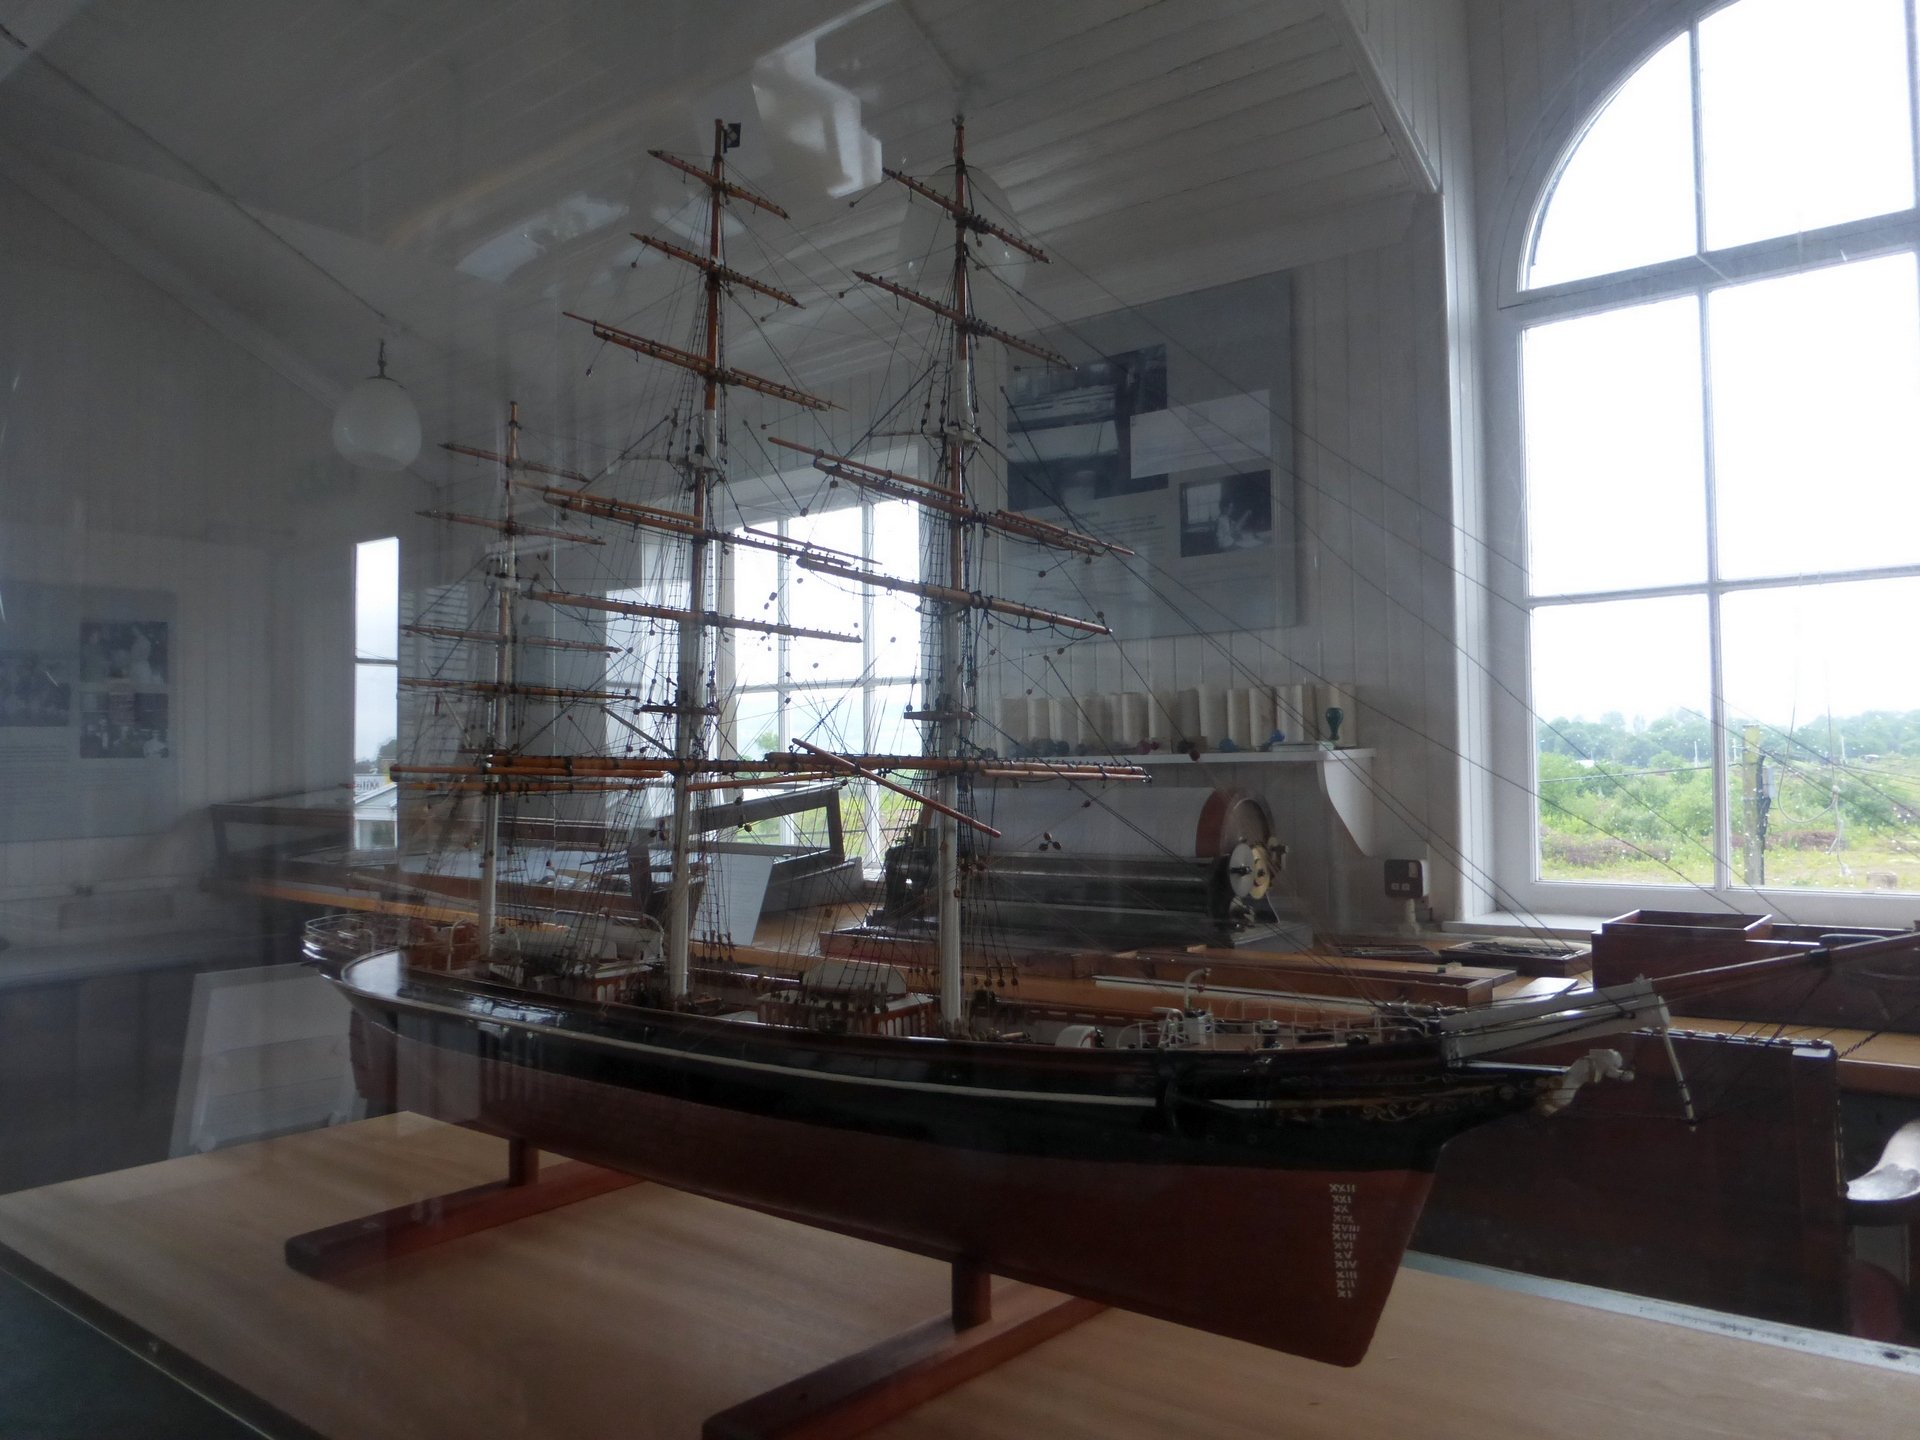
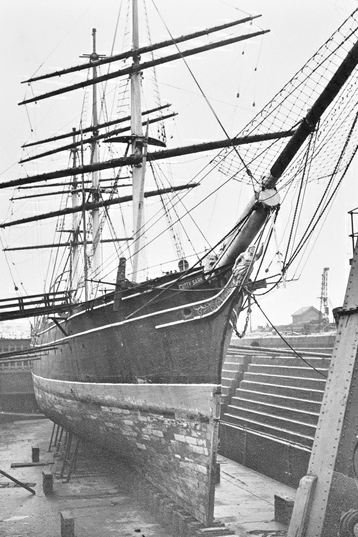
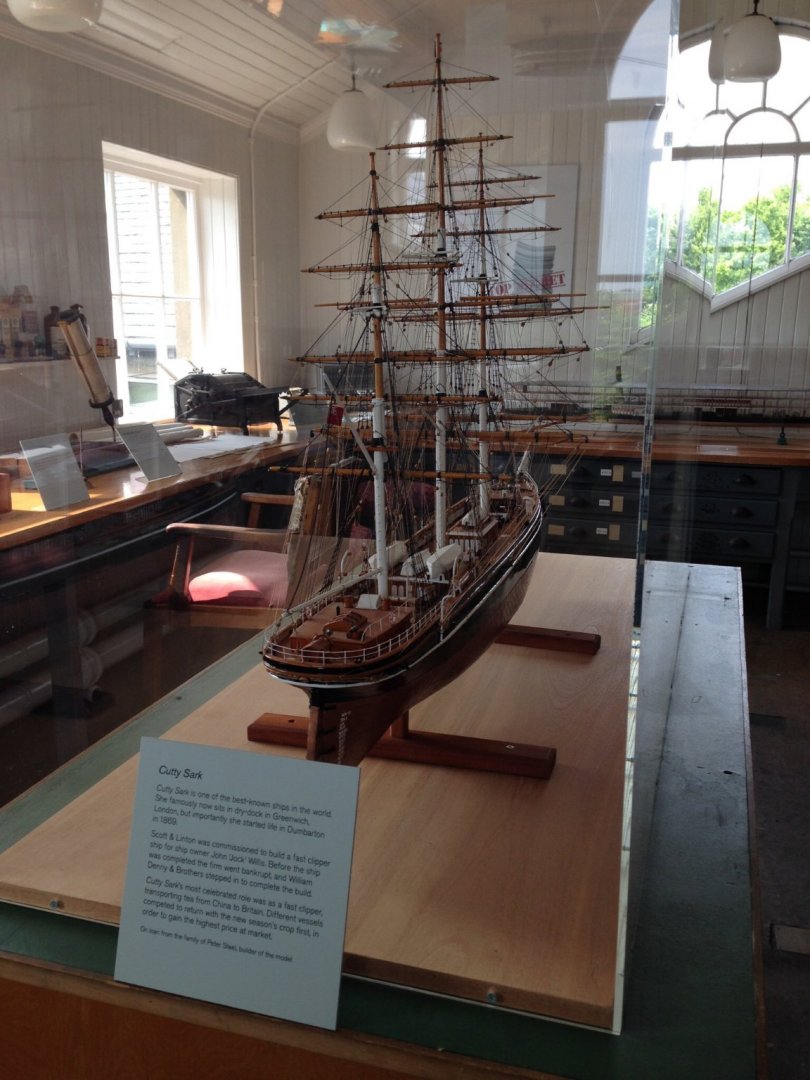
Cirdan, hi. The 'Denny' model could be wrongly attributed, but the museum claims it is? The Rennie drawing is fascinating, thanks for bringing it to our attention. Somewhere I'm sure I read that the fore deck house was not there originally? This photo shows a square forefoot?
- 399 replies
-
- 4
-
-
- cutty sark
- revell
- (and 2 more)
-
Campbell = 1950's. Underhill = early 1930's. Having seen the thoroughness which Underhill researched his other subjects, personally (for what it's worth) I'd go for his interpretation. In the end, I don't think either got it completely right. Too much is lost and forgotten and any claims to definitive historical accuracy are ultimately based on conjecture. Until the original plans turn up (not entirely impossible) nothing is written in stone and I for one am getting rather weary of this aspect, which I feel is getting close to the autistic spectrum. Build your models and enjoy doing it.
- 399 replies
-
- 4
-
-

-
- cutty sark
- revell
- (and 2 more)
-
When were the Campbell plans first drawn up? Though these are, or appear to be comprehensive, they aren't the only plans available (ie Underhill). Decorative elements at stern and bow have been changed, damaged or lost at different times. Lubock mentions the lurid dancing naked witches; removed early on for Victorian 'decency' reasons.
- 399 replies
-
- 2
-
-
- cutty sark
- revell
- (and 2 more)
-
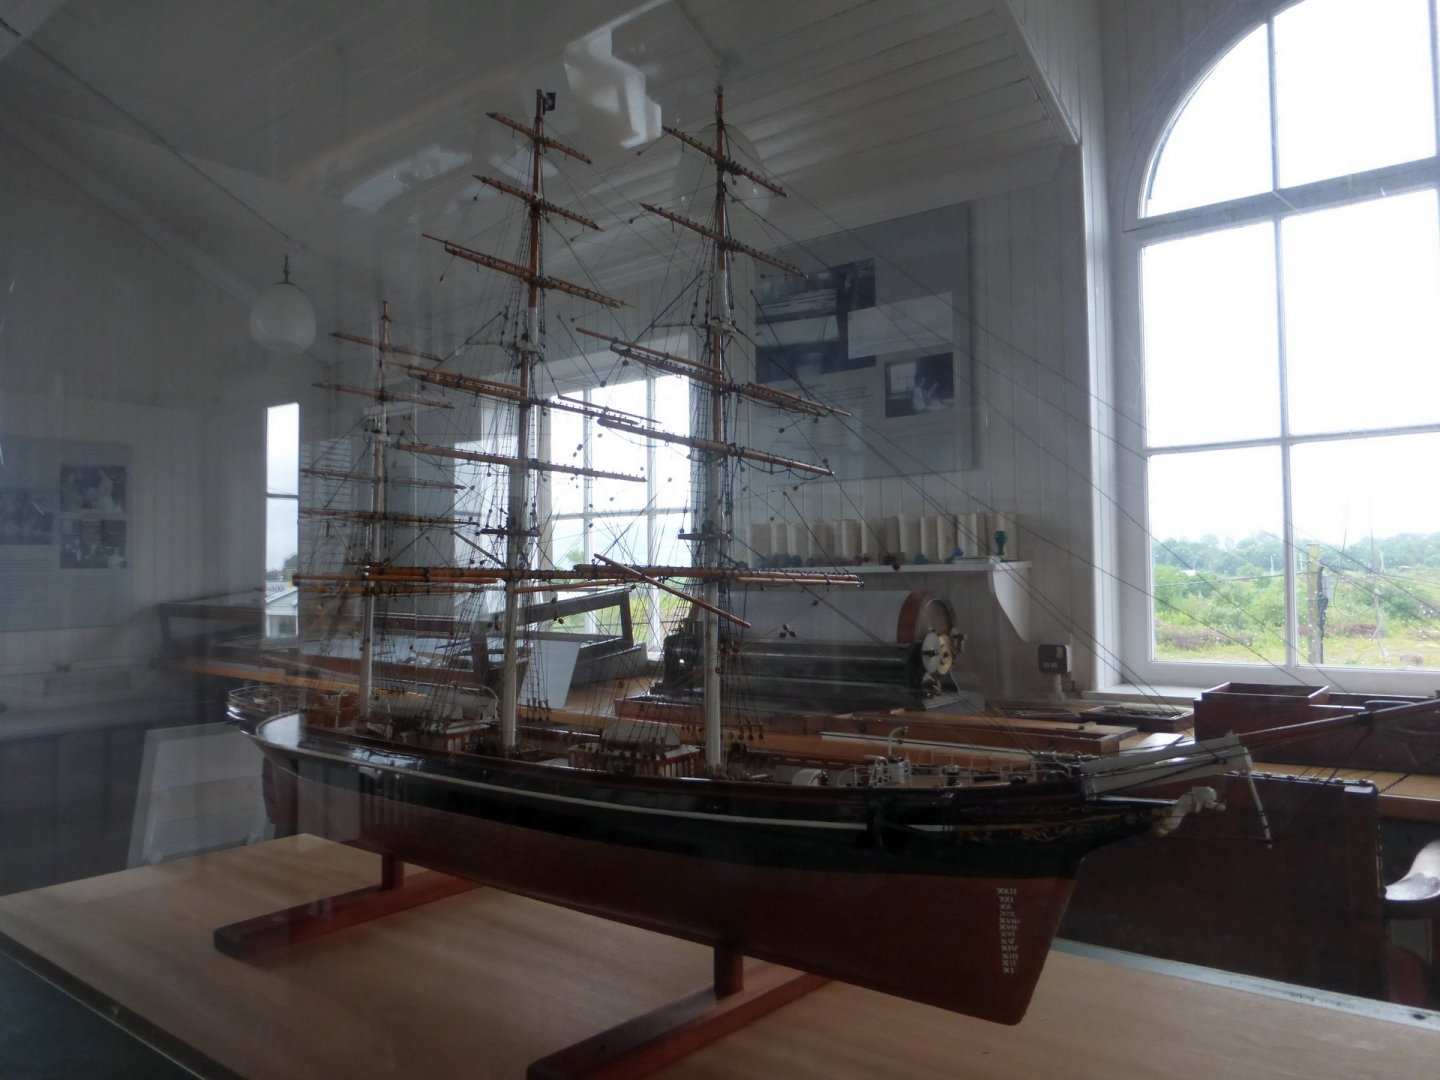
Just came across these images of the Denny model, Scottish Maritime Museum....

- 399 replies
-
- 7
-
-

-
- cutty sark
- revell
- (and 2 more)
-
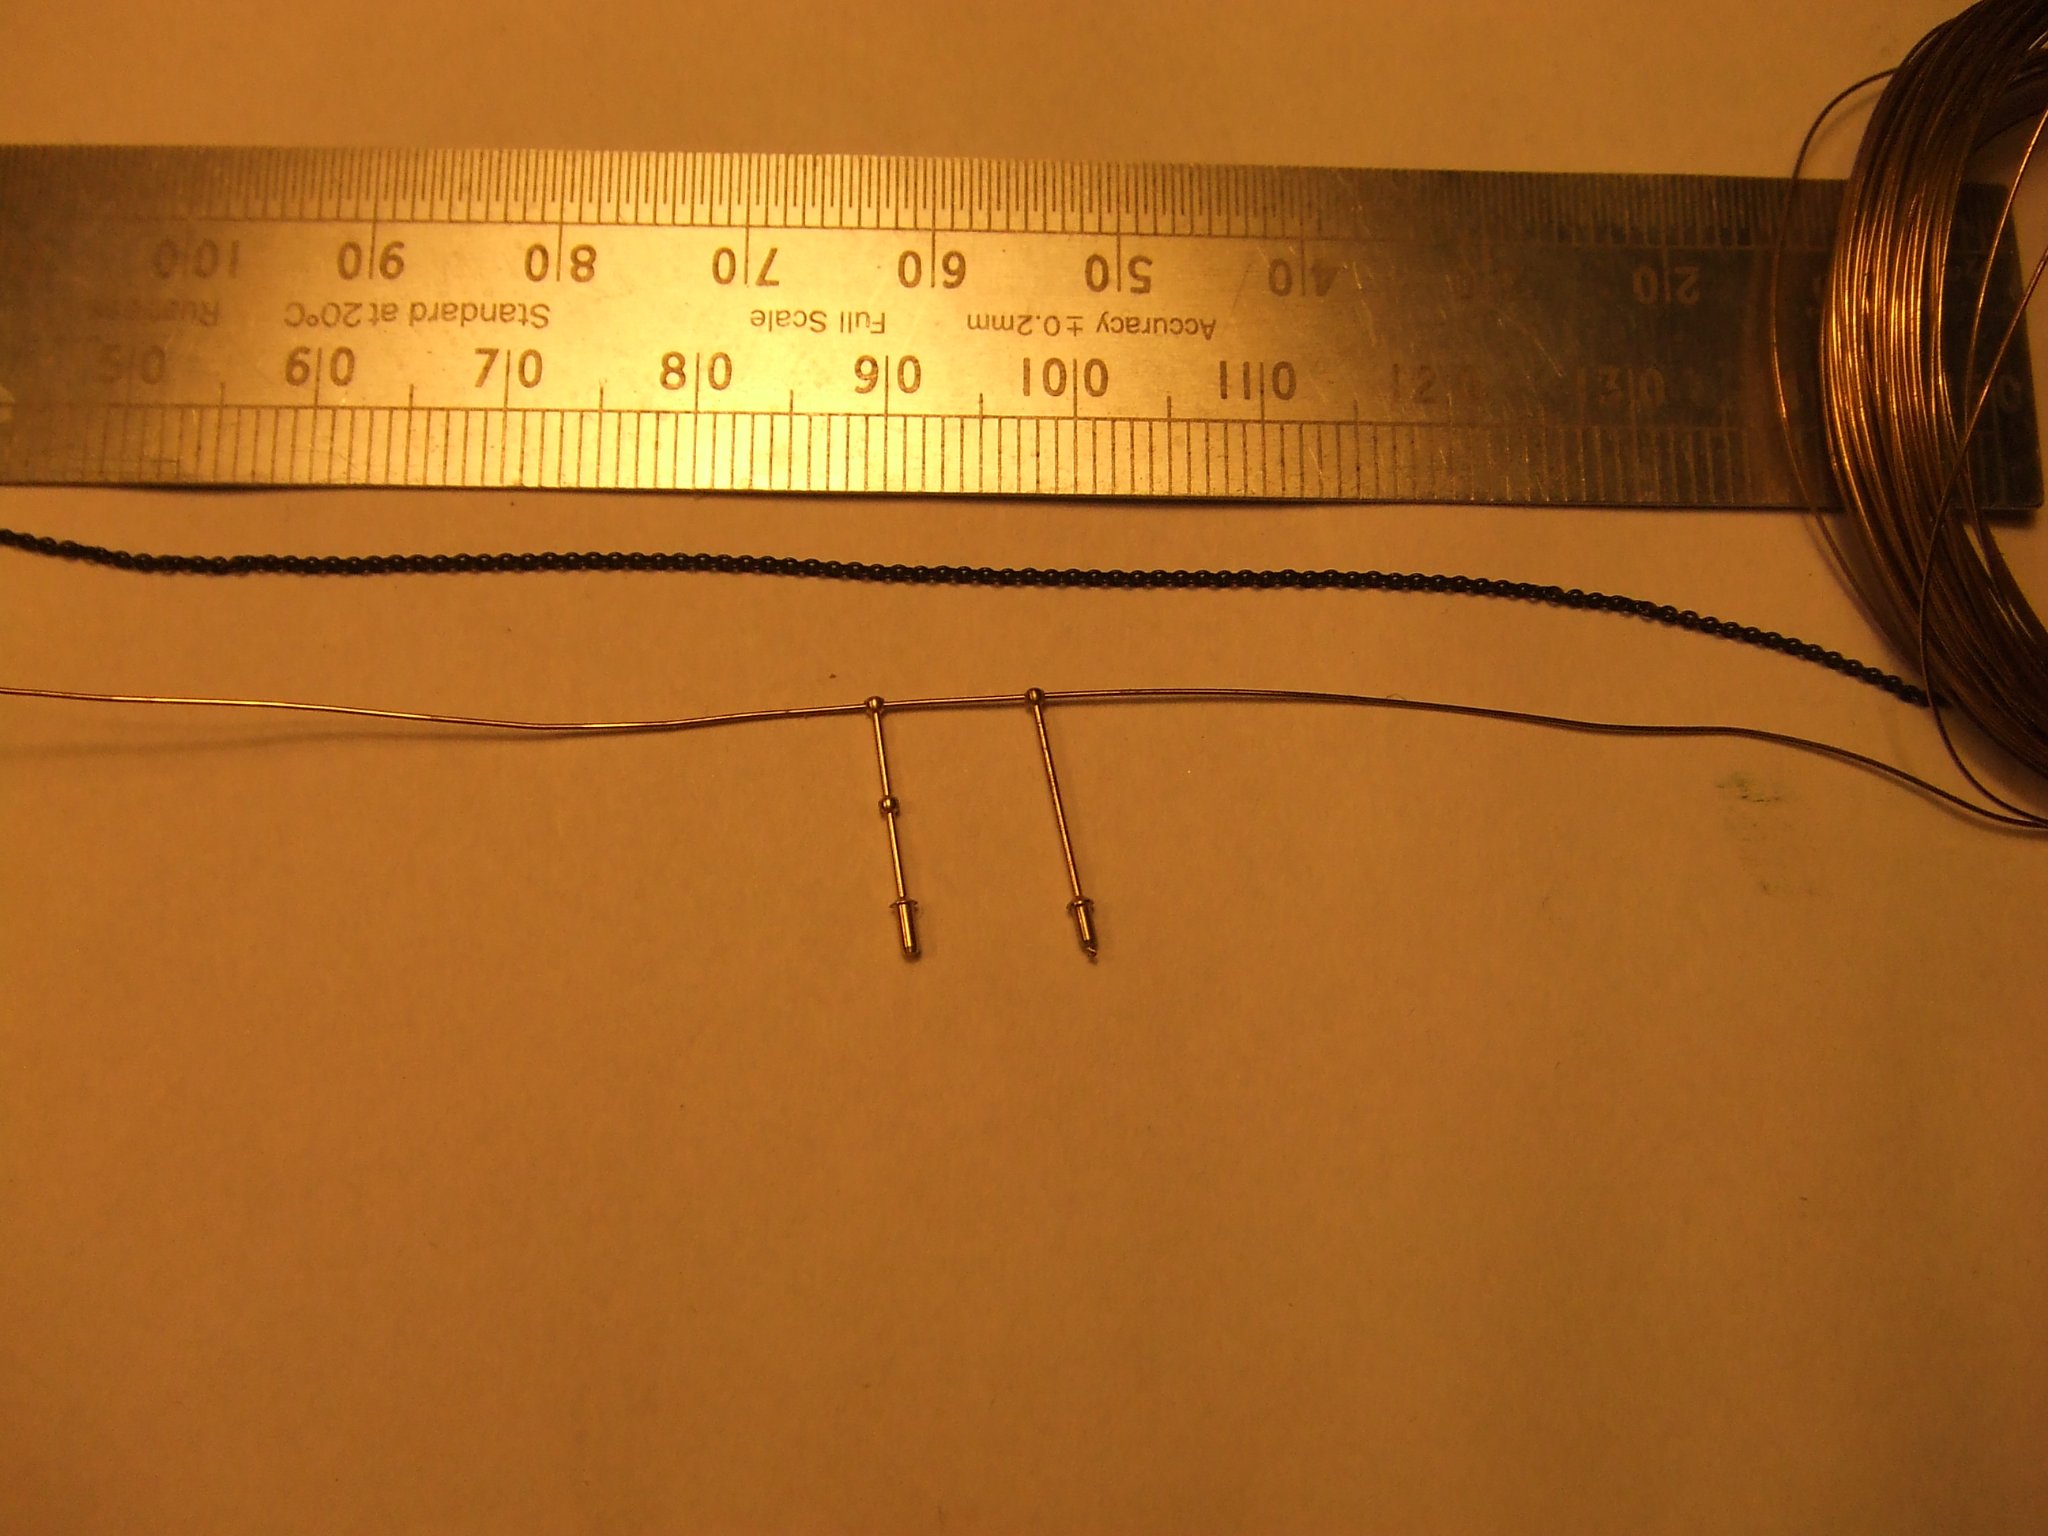
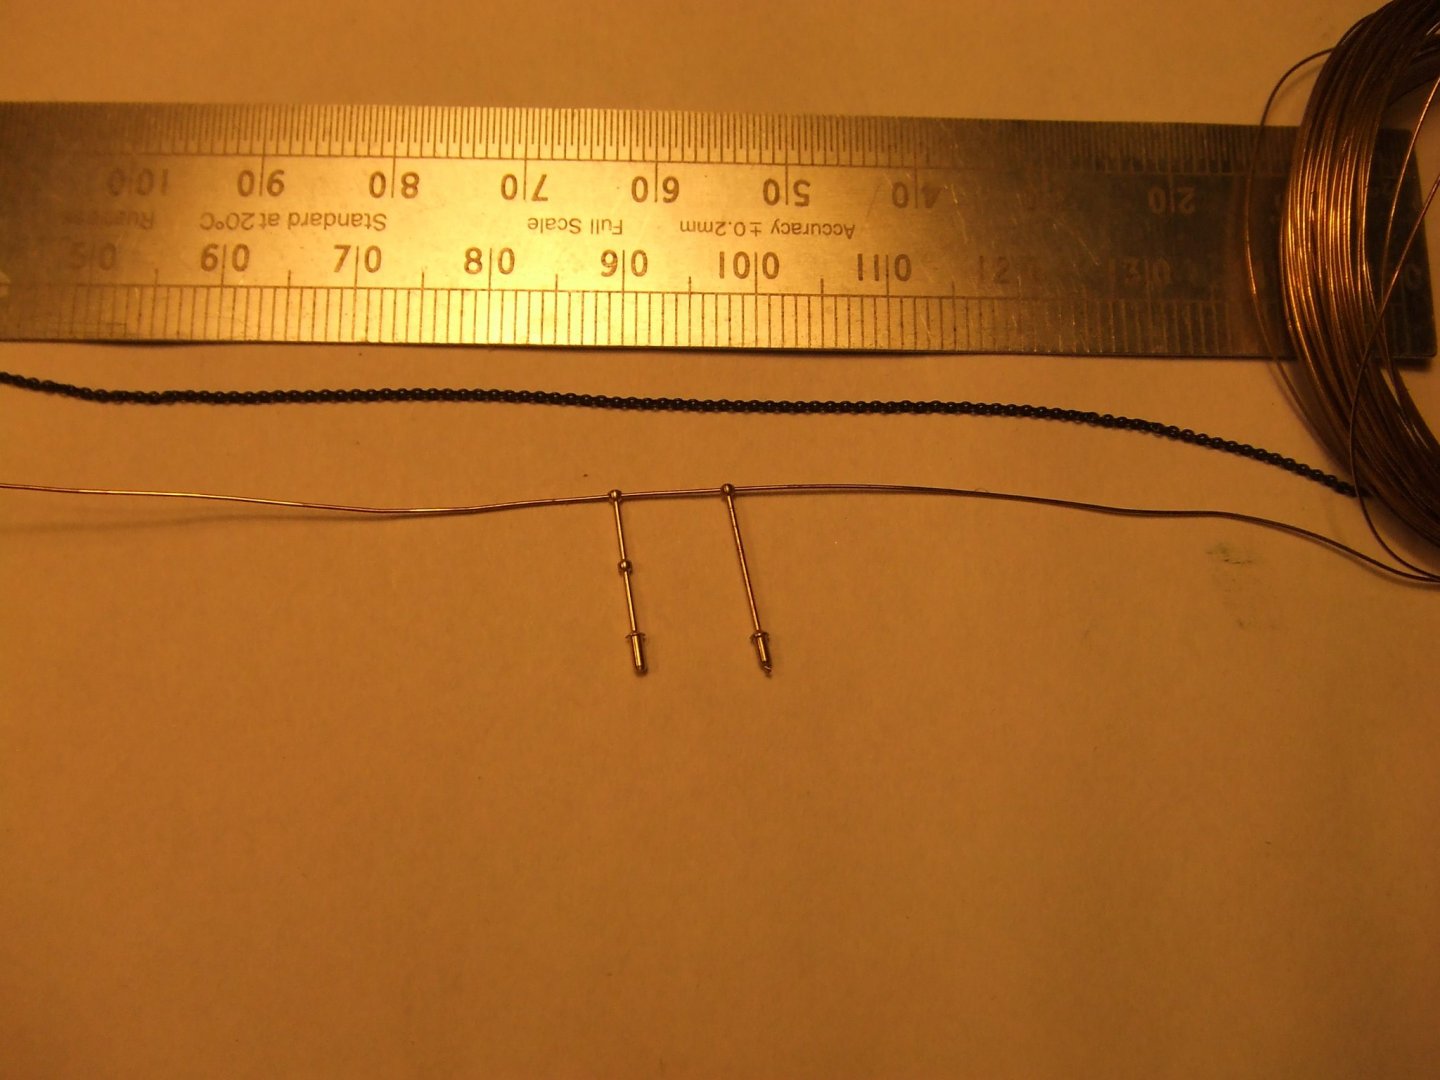
As promised....... 1:96 single and 2 ball stanchions + railing wire + the 42 links per inch chain.
- 399 replies
-
- 6
-
-
- cutty sark
- revell
- (and 2 more)
-
Gratings
shipman replied to DaveBaxt's topic in Discussion for a Ship's Deck Furniture, Guns, boats and other Fittings
'.....and the tin foil worked a treat'. ??? -
Marco, hi. I did buy the bow and stern etch from HisModels; they make a much better job compared to the iffy kit decals. What did you use to attach them? I bought my stock of very small chain, stanchions and brass wire for railings from a very helpful chap in the Isle of Man who has since sadly passed away. All that stuff is hidden away now; however, I'll go hunting for it tomorrow and photograph it and post it for you ASAP. I do recall I was impressed with these items, being fine and delicate; eminently suitable for the CS. From what I can see on HisModel's site, they are identical. I was very tempted to buy brass belay pins but when I realised they would disappear under rope coils, so couldn't justify the cost. Someone Stateside sells bumper packs of these at reasonable cost, but the P&P killed that for me. I see Willis specified steel pins so presumably they were painted black. The rails and stanchions are another one of those items that bug me a little. Published descriptions often remark how the Clippers were treated like yachts by their owners (at least when new). For instance, the upper hull planking was planed, painted and polished, so the separate planks couldn't be discerned. Well, if they went to all that trouble, then why not polished brass rails? Photo's of CS, taken in Australia when she was by then plying the wool and general cargo trade clearly show them painted white. But what about before?
- 399 replies
-
- 2
-
-
- cutty sark
- revell
- (and 2 more)
-
Mmmm. That white/grey/lilac colour certainly doesn't reflect the 'A bright, white pigment' dicription I introduced earlier. Zinc white is relatively translucent, so the practice of using it as a top coat over a 'conventional' oil based white paint is sound practice. One of its earliest recognised properties was as an anti-fouling medium (ie it would stay whiter longer).
- 399 replies
-
- 3
-
-
- cutty sark
- revell
- (and 2 more)
-
These are the heavy duty Swann-Morton knives. Just as sharp as a scalpel but much sturdier. https://www.scalpelsandblades.co.uk/range_23_swann-morton-supatool-blades-and-handles.php
-
Bruce, now we are getting the dubious benefits that Brexit rewards us with. I gather any and all imports are being slammed with arbitrary customs and handling charges.
-
Out of curiosity.......was there a standard width of thwarts?
-
see point 62: "Masts and Spars white last coat zinc". 'Zinc white. A bright, white pigment composed of Zinc oxide. Zinc white is permanent, opaque, and nontoxic. It was known as a white compound since the Middle Ages but was rarely used as a pigment until 1834' That goes with the Willis philosophy of specifying nothing but the best. Zinc white would have been 'state of the art' for him.
- 399 replies
-
- 2
-
-
- cutty sark
- revell
- (and 2 more)
-
I reckon a lot of this hobby is a form of therapy. Sharing our thoughts and accomplishments is group therapy. It's ok to be kind to ones self and to others. Mostly 🤪
- 399 replies
-
- 3
-
-
- cutty sark
- revell
- (and 2 more)
-
Cirdan, taking the Willis spec literally would imply everything (masts and spars) was intended to be white. Well spotted. However, there are several elements in the spec which give the builders some leeway as to what was possible and or available. I can't imagine there was a shortage of white paint? Marco, I must compliment your recent photography of your excellent progress, which to me is a revelation. One observation.....your build is becoming so refined, it highlights your choice to proceed with the kits rail stanchions and string. I understand your motives, but imagine the difference wire and brass stanchions would have made. Re the chain....I was refering to the 1:700 anchor chain highlighted in my post #79. Looking at the chain around the bows......it looks the business !
- 399 replies
-
- 3
-
-
- cutty sark
- revell
- (and 2 more)
-
Just took delivery of Vol 2 of the Longridge tome and am happy to say it also includes the separate plates from VOL 1 😀 Hunting for Vol 2 I got the distinct impression it is relatively scarce. First edition was 1933 and a 'limited re-issue' in 1949. (I have both) The 'combined' volume was issued in 1975. The above plates are bound into the book at much reduced size. The 'Underhill' library is curated by Dave Stevens. I contacted him to see if Underhill's research survives. The library has nothing relating to the Cutty Sark; Dave assumes the drawings were a private commission and all material went to the customer (whoever that was). For many years I think David MacGregor supplied the plans. They are now sold by:- https://www.modelerscentral.com/plans/underhill-ship-plans/ship-model-plans-cutty-sark-uh/ I wonder if they inherited the Underhill research material? One of the details I gleaned from the Willis specs was the 'monkey poop' was originally called the 'Liverpool Deck'. When did the monkey arrive? Marco, if you go to the extravagance of that tiny chain I highlighted, please let us know what the link count is.
- 399 replies
-
- 3
-
-
- cutty sark
- revell
- (and 2 more)
-
Worth a read if you haven't seen it before? https://www.johnsankey.ca/willis.html
- 399 replies
-
- 3
-
-
- cutty sark
- revell
- (and 2 more)
-
Splendid job, well done.