

Eurus
-
Posts
110 -
Joined
-
Last visited
Content Type
Profiles
Forums
Gallery
Events
Posts posted by Eurus
-
-
-
-
We have arrived at the end of the journey. Thank you all for your comments and your support.
In picture 1 you can see the oarlocks and harpoon crutch glued in place.
Picture 2 shows the line tubs in their correct places, along with the rest of the deck accessories.
In pictures 3 and 4 the completed model is displayed, oars peaked, on its driftwood base. The small compass and hatchet are added near the loggerhead.
The whaleboat is officially completed, and only one final step is left.
-
10 hours ago, robdurant said:
Wow! What a brilliant job you've done of this kit. The quality of work at every stage is very apparent. Looking forward to seeing the finished photos, especially with the ingenious and very effective boat stand you've found. Just sad I didn't find this log earlier. Will you be moving back onto the ARM Cuauhtémoc now? She looks like a very handsome vessel indeed.
Rob
Thanks Rob for your kind comments. I will post the finished gallery very soon!
And yes, the Cuauhtemoc is waiting, but not for long!
-
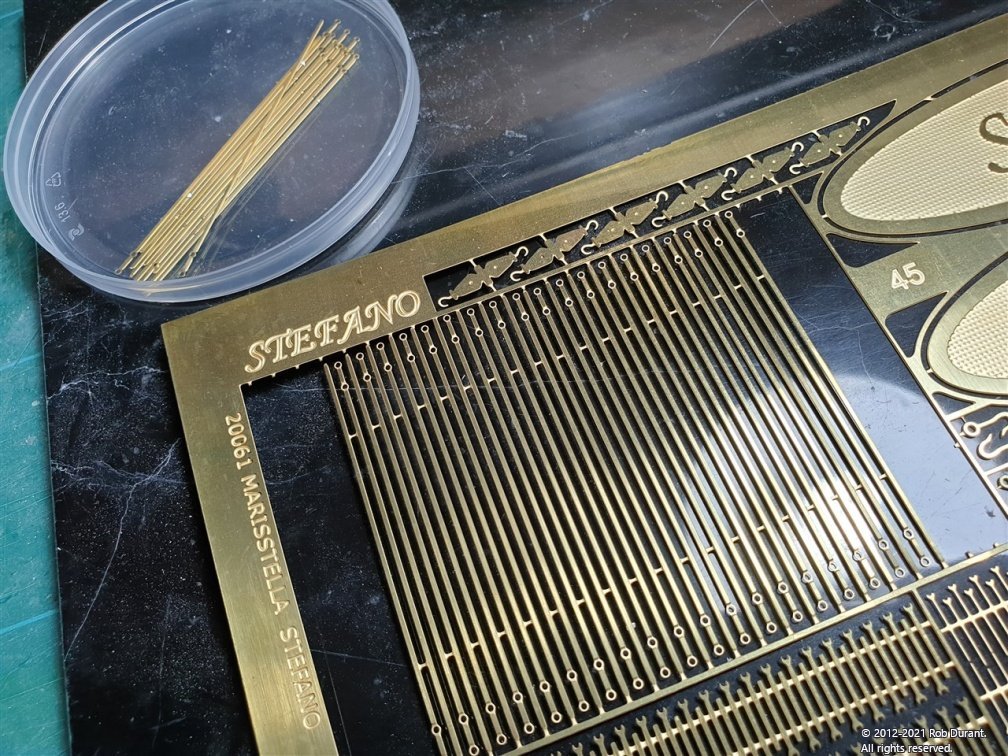
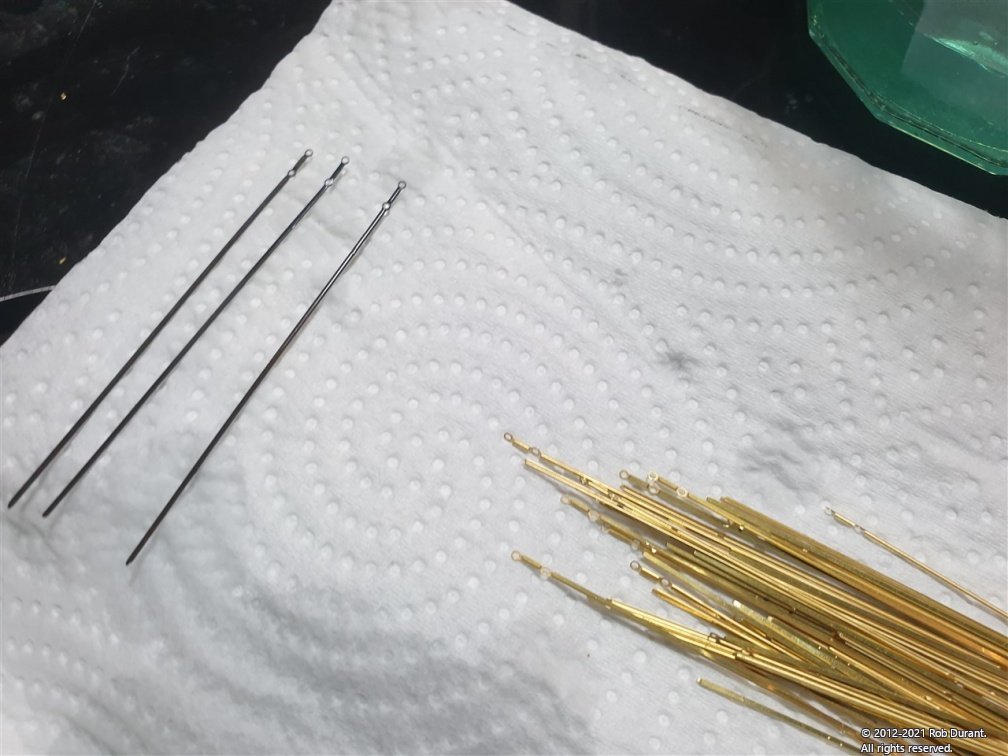
Those who know about whaling will notice that one accessory was still conspicuously missing from the build. It’s the whaling line tubs, and there was a reason for that.
I had serious doubts about the technique for storing the coils. If you look closely at them, you’ll probably understand why. After two or three layers, it will be hard to preserve such a pristine appearance. After some research, I decided to go with what most modellers did, instead of a more realistic—but unsightly—approach.

Picture 1 shows the small tub, which holds the spare line. This is the start of the coil. Picture 2 shows the tub in its finished state. I did not like the result, and is probably one of the few details I regret not correcting in time; certainly the most noticeable one.
In contrast, the second tub, shown in pictures 3 and 4, is much better. I learned the lesson.
A close-up of both tubs can be seen in the big picture 5 at the right.
With the lines in place inside the tubs, the only thing left is to glue them inside the Providence and arrange everything so that it looks good for the final set of photographs.
- bruce d, GrandpaPhil, Cathead and 2 others
-
 5
5
-
On 7/21/2021 at 3:00 AM, robdurant said:
Hi all,
A small update. I've added the eyelets on the deck, drilling the holes using the template I made for the deck. This kind of worked, although in retrospect I would have gone back and neatened up the marks a little before I actually drilled them.
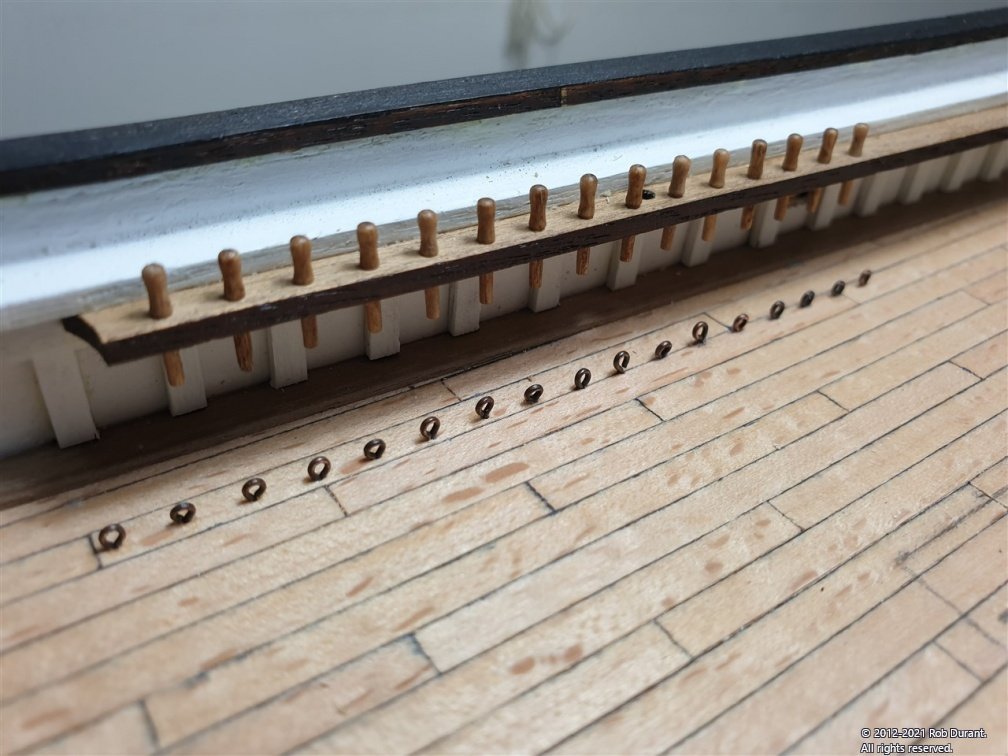
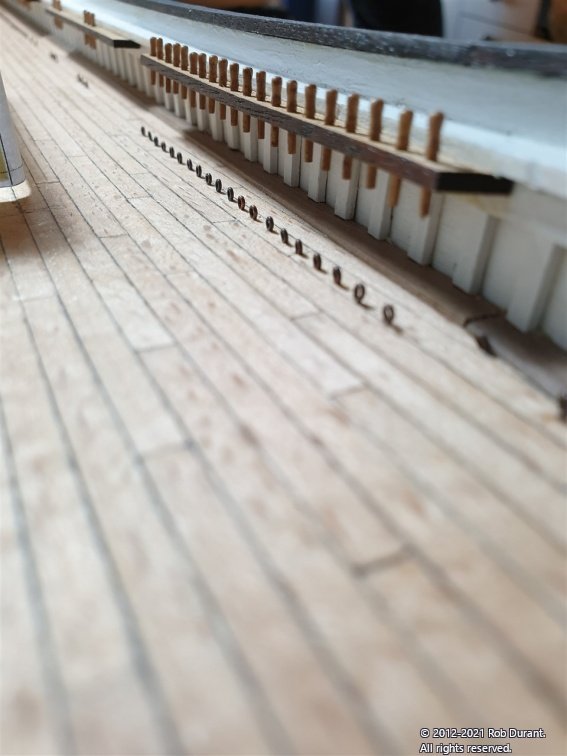
I've also completed the (faux) chain plates on the starboard side. These are attached like chain plates, but actually stop where they enter the underside of the rail. The deadeyes themselves will be glued into the rail on the top side. Careful comparison of the top down and side elevations were necessary to ensure these match up, and will look right compared to the mast position / pin rails, etc...
This was done by overlaying the two elevations on the computer and printing out the resulting overlay to cut out and place on the model. The chainplates themselves are photoetch, and look very flimsy, but I was surprised by how sturdy they actually proved to be. They were blackened before fitting with brass pins (a 0.8mm hole was drilled to accommodate the lower pin for fitting, and then once fitted the position of the upper hole was marked and drilled. This ensured the two holes lined up as hoped.
Small sewing snips proved to be the best tool for removing the chain plates from the photo-etch sheet.
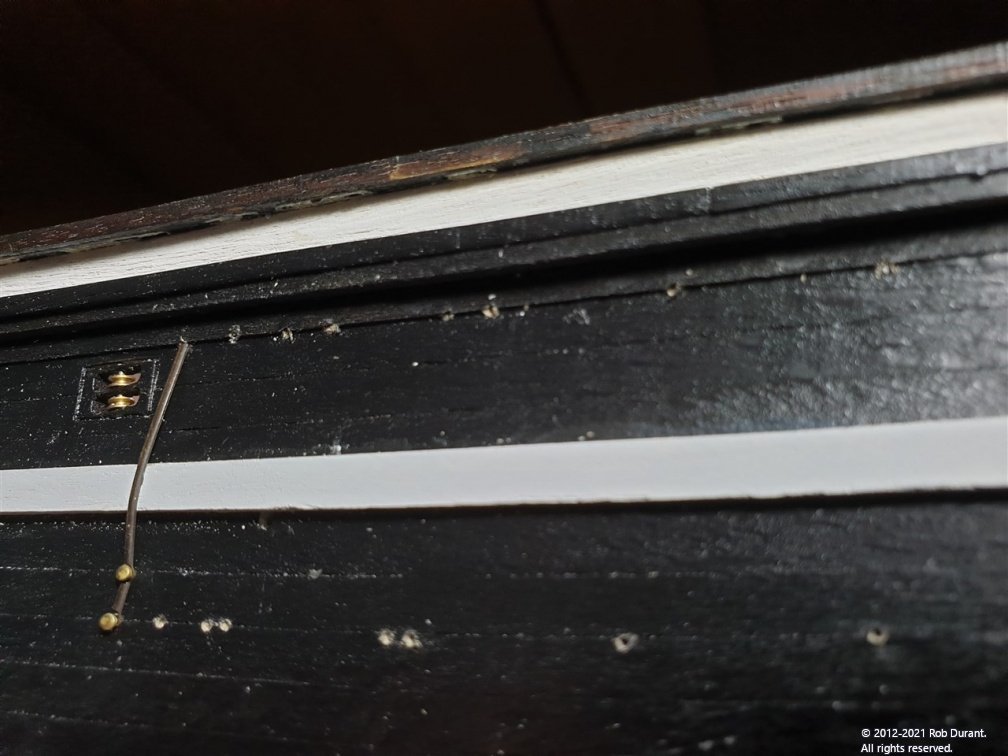

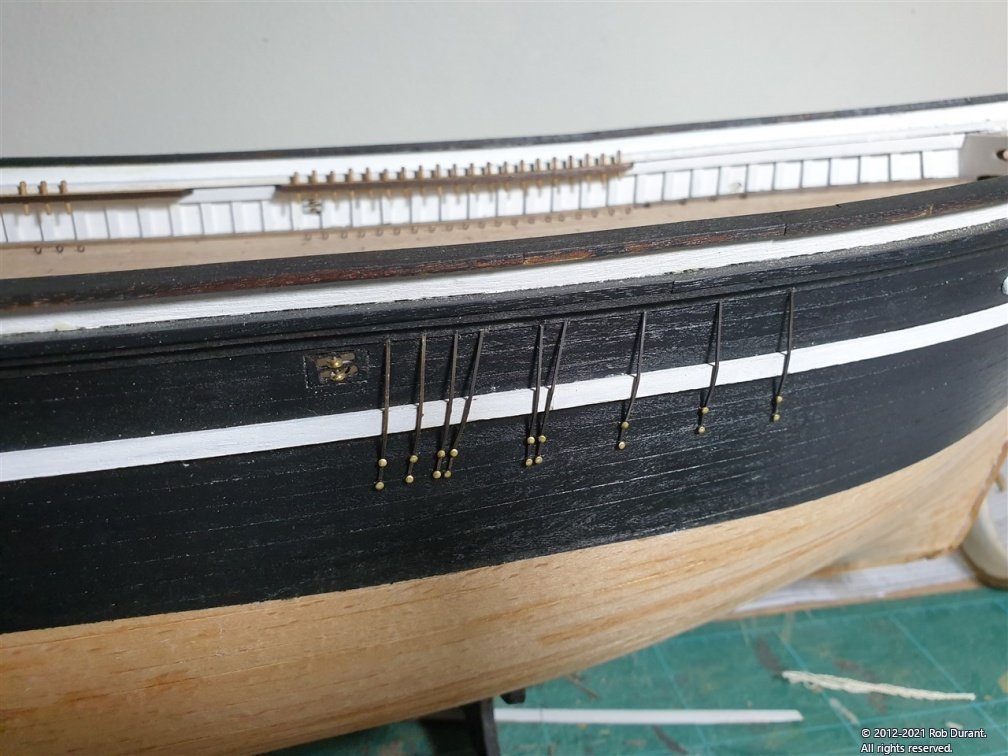
You'll notice that the remained of the belaying pins also arrived from Cornwall Model Boats, so those have been put into position. It blows my mind that I'd pre-drilled the holes for these wooden components before they arrived (to 0.6mm), and they were a gentle push fit when they arrived... every single one of them! I wish I could work with that kind of precision and consistency!
Happy building, all!
Rob
What a beautiful ship! And such clean lines, superb attention to detail. Great job!
-
5 hours ago, Papa said:
Thanks. Any suggestions for the diameter? I am thinking maybe 3 to 4 cm? Hmmmm at 1/64 scale this might not be a good idea. A 1mm dowel will scale up to around 2.5 inches. Seems a bit fat, but they were stabbing 🐳
The diameter might be perhaps 1-1.5 inches, I agree, 2.5 seems too fat, especially considering that it is not like a bullet (the impact and penetration made to kill) but rather, the harpoon is a means of fastening the whale to the boat, preventing its escape. The whale is killed by a stab with a lance, a much longer device designed to penetrate and come out easily--as opposed to the harpoon, which is made to stick thanks to the flues.
The killing blow is delivered by the boatheader with said lance, and usually aiming at the heart or the lungs. Harpoons won't penetrate as deep.
For reference, look at these:
https://www.liveauctioneers.com/en-gb/item/65159530_antique-single-fluke-harpoon
Perhaps a pin or a common embroidery needle might do the trick at that scale.
Edit: the wonderful picture that John Ruy found shows the harpooneer holding a lance, not a harpoon. Lances are typically longer, and are not meant to detach from their wooden shafts. Harpoons are expendable, lances are prized possessions.
-
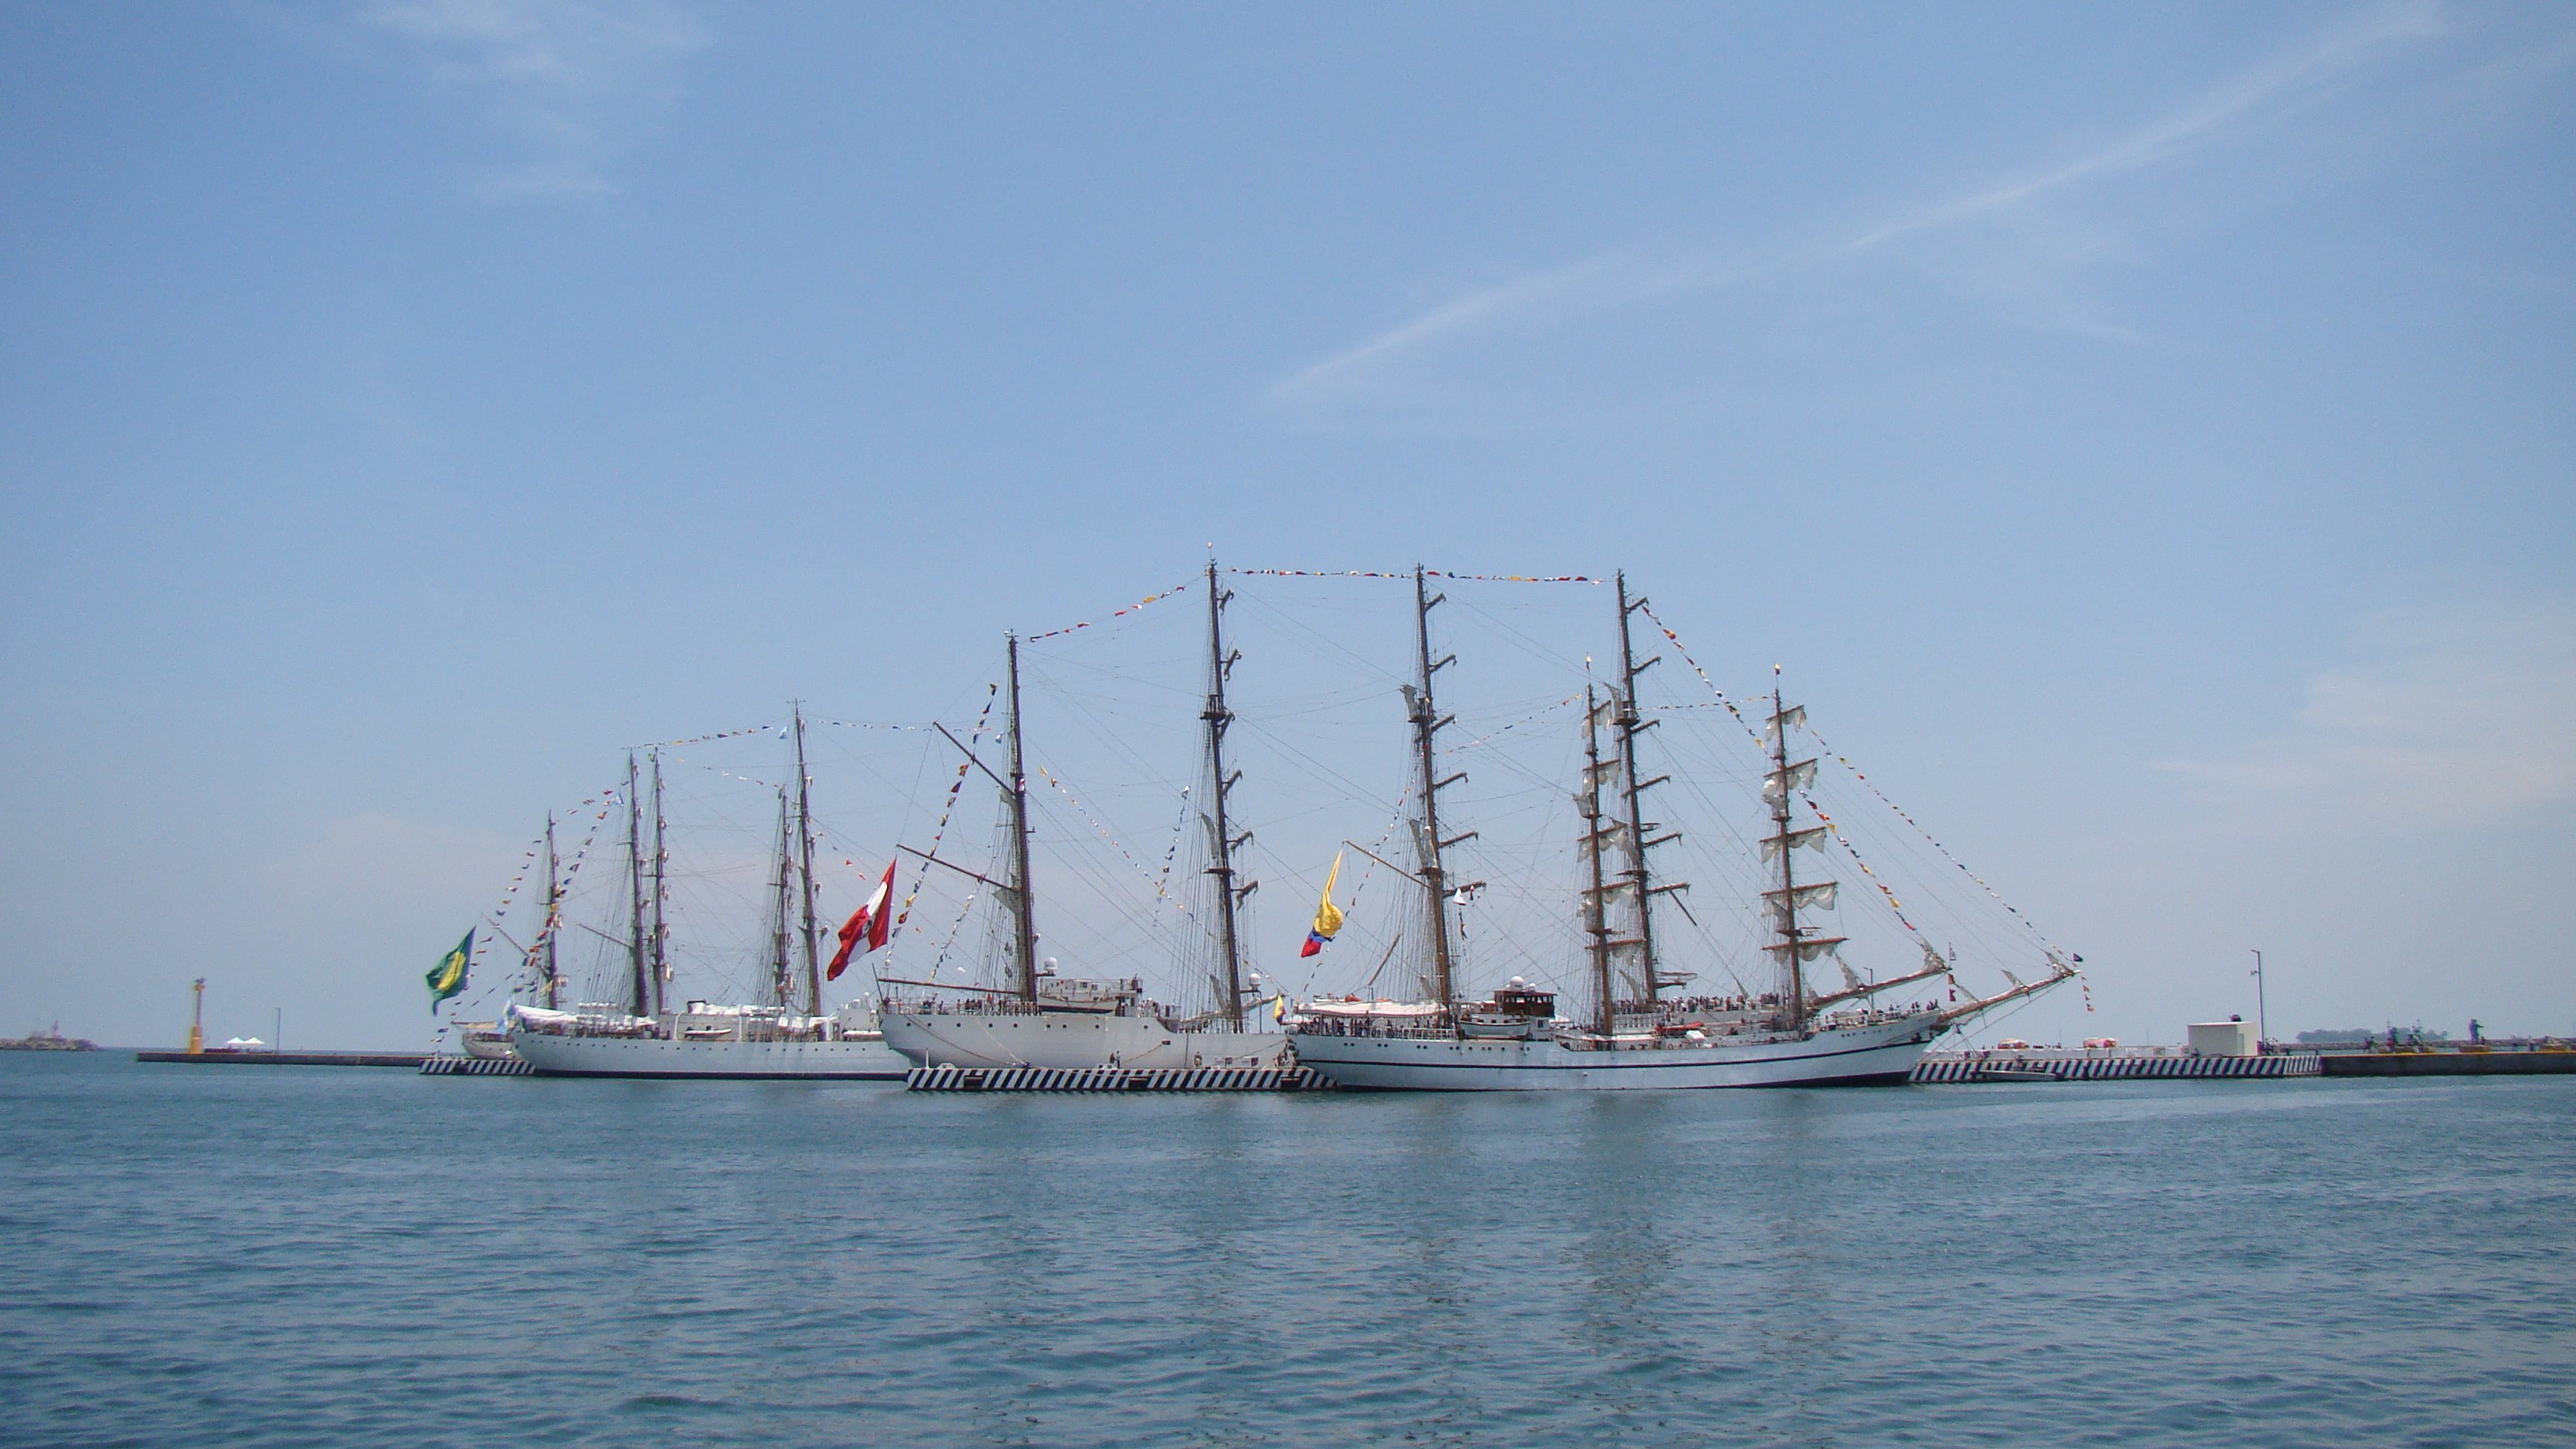
Welcome to the forums! Those ships look awesome!
- Keith Black and mtaylor
-
2
-
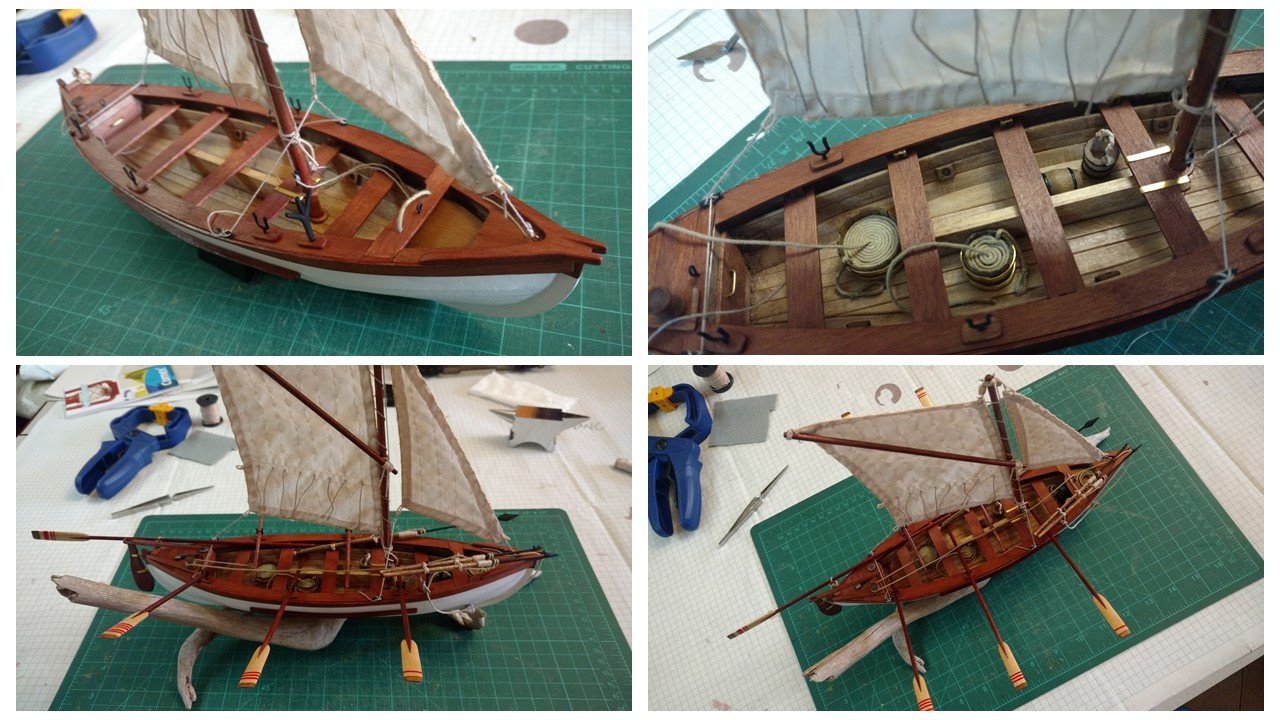
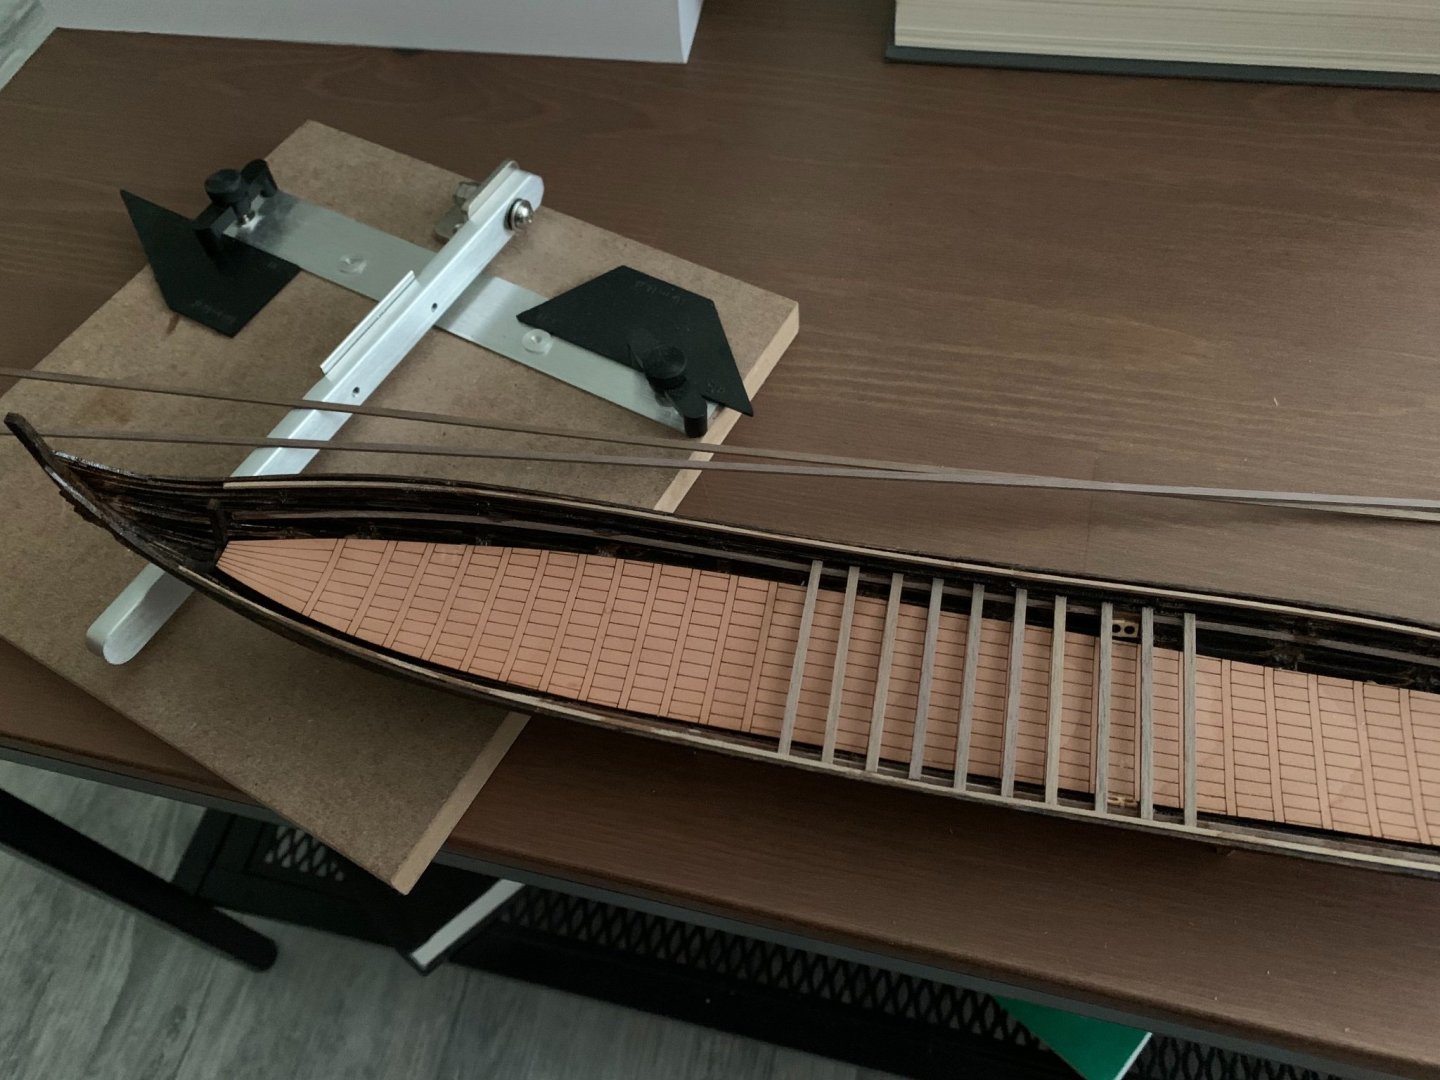
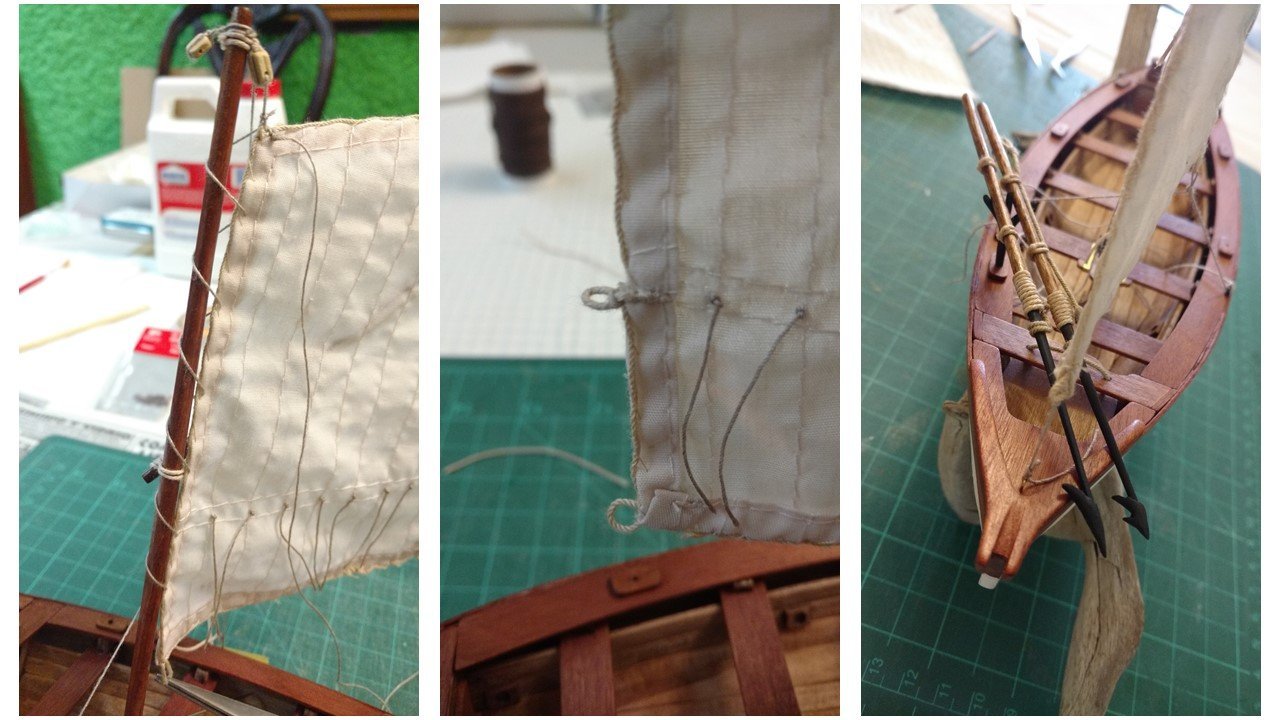
Traditional whaleboats are steered in two ways: with a very long oar or with a tiller. Usually the oar is better, but it can get cumbersome, especially in the final stages of the hunt. Depending on whether the propulsion was by sail, paddle or oar, the boatheader would decide which one to use. When the tiller is not in use, it can be disassembled and stored.
At this point I had enough confidence in the processes of wood dyeing, painting and varnishing, so this step was relatively fast. Both the tiller and the rudder were dyed in cherrywood color, then separately varnished, and finally glued together.
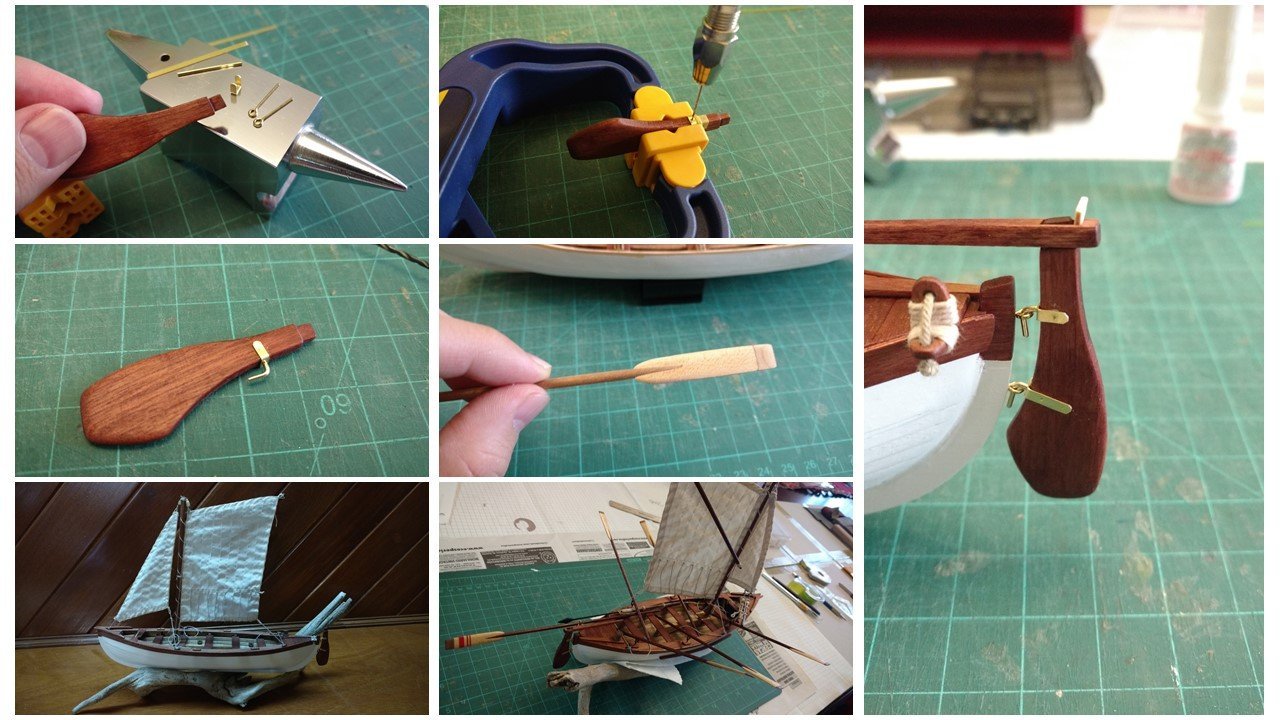
In picture 1 you can see the wooden rudder already carved and dyed, as well as the brass fittings to be used. This shape was achieved using a small wood file.
The brass strips were cut to adequate size and then bent in shape to hug the rudder board. The very simple fittings are made of a bent brass wire and brass eyebolts. The metal pieces will be left without any finishing, since I want to preserve their looks.
Tiny holes were needed once the brass fitting was attached, and then through the wood to fit the wire. This can be seen in picture 2. These strips are repurposed material, since the kit’s instructions do not mention the creation of the fittings. Once again, I added them for authenticity’s sake.
A suggestion of bolts or nails was made by puncturing the brass with a nail and a small hammer. The piece is so small that any detail is hard to see. Also, to do this by inserting real nails would have been impossible: the rudder’s thickness is ~2mm.
The big picture 3 on the right shows the rudder and tiller in place, before gluing. I had to insert a tiny wooden wedge to keep the tiller from falling (only for the pic).
Picture 4 shows the upper fitting already installed.
In picture 5 you can see a detail of the previous step: the three different wood types—basswood, boxwood and cherry—involved in the building of the oars can be better appreciated prior to dyeing and varnishing.
Picture 6 shows the Providence on her base with the tiller and sails, but without oars or accessories.
In picture 7 I have put everything in its place, just prior to gluing.
Up next: the two missing accessories, and finishing touches.
- bruce d, Duanelaker, Jack12477 and 2 others
-
5
-
43 minutes ago, Papa said:
I was thinking about hanging a few harpoons on the racks in the shelter, but i can't seem to find any harpoon dimensions by asking Google
Can someone provide that info to me, say from the MS Whaleboat kit.
Traditional harpoon dimensions can vary wildly, depending on where and who made them. In general, I can suggest a length of 80-100 cm for the iron and 120-140 cm for the wooden shaft, for a total length of 200-220 cm--since the wooden shaft locks partly inside the hollow section of the iron, some total length reduction can be expected.
-
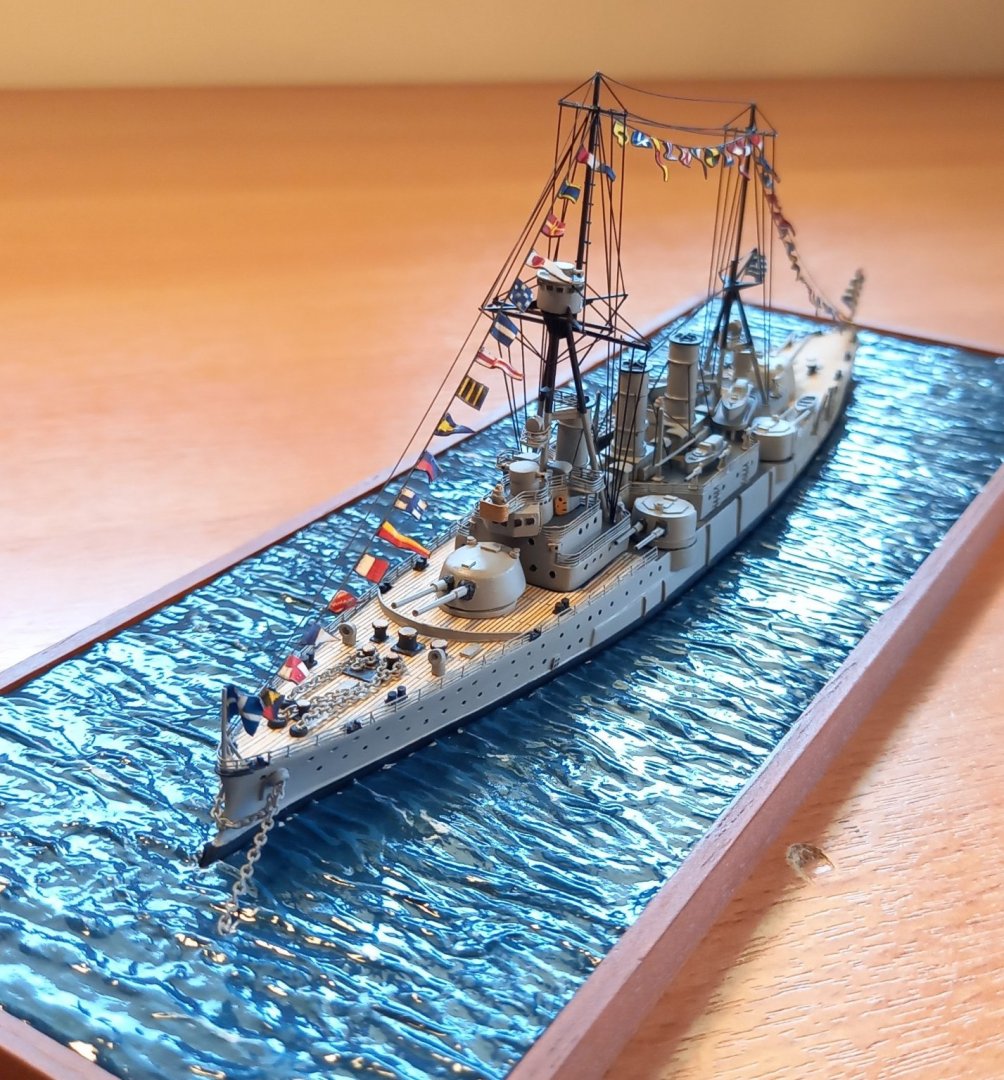
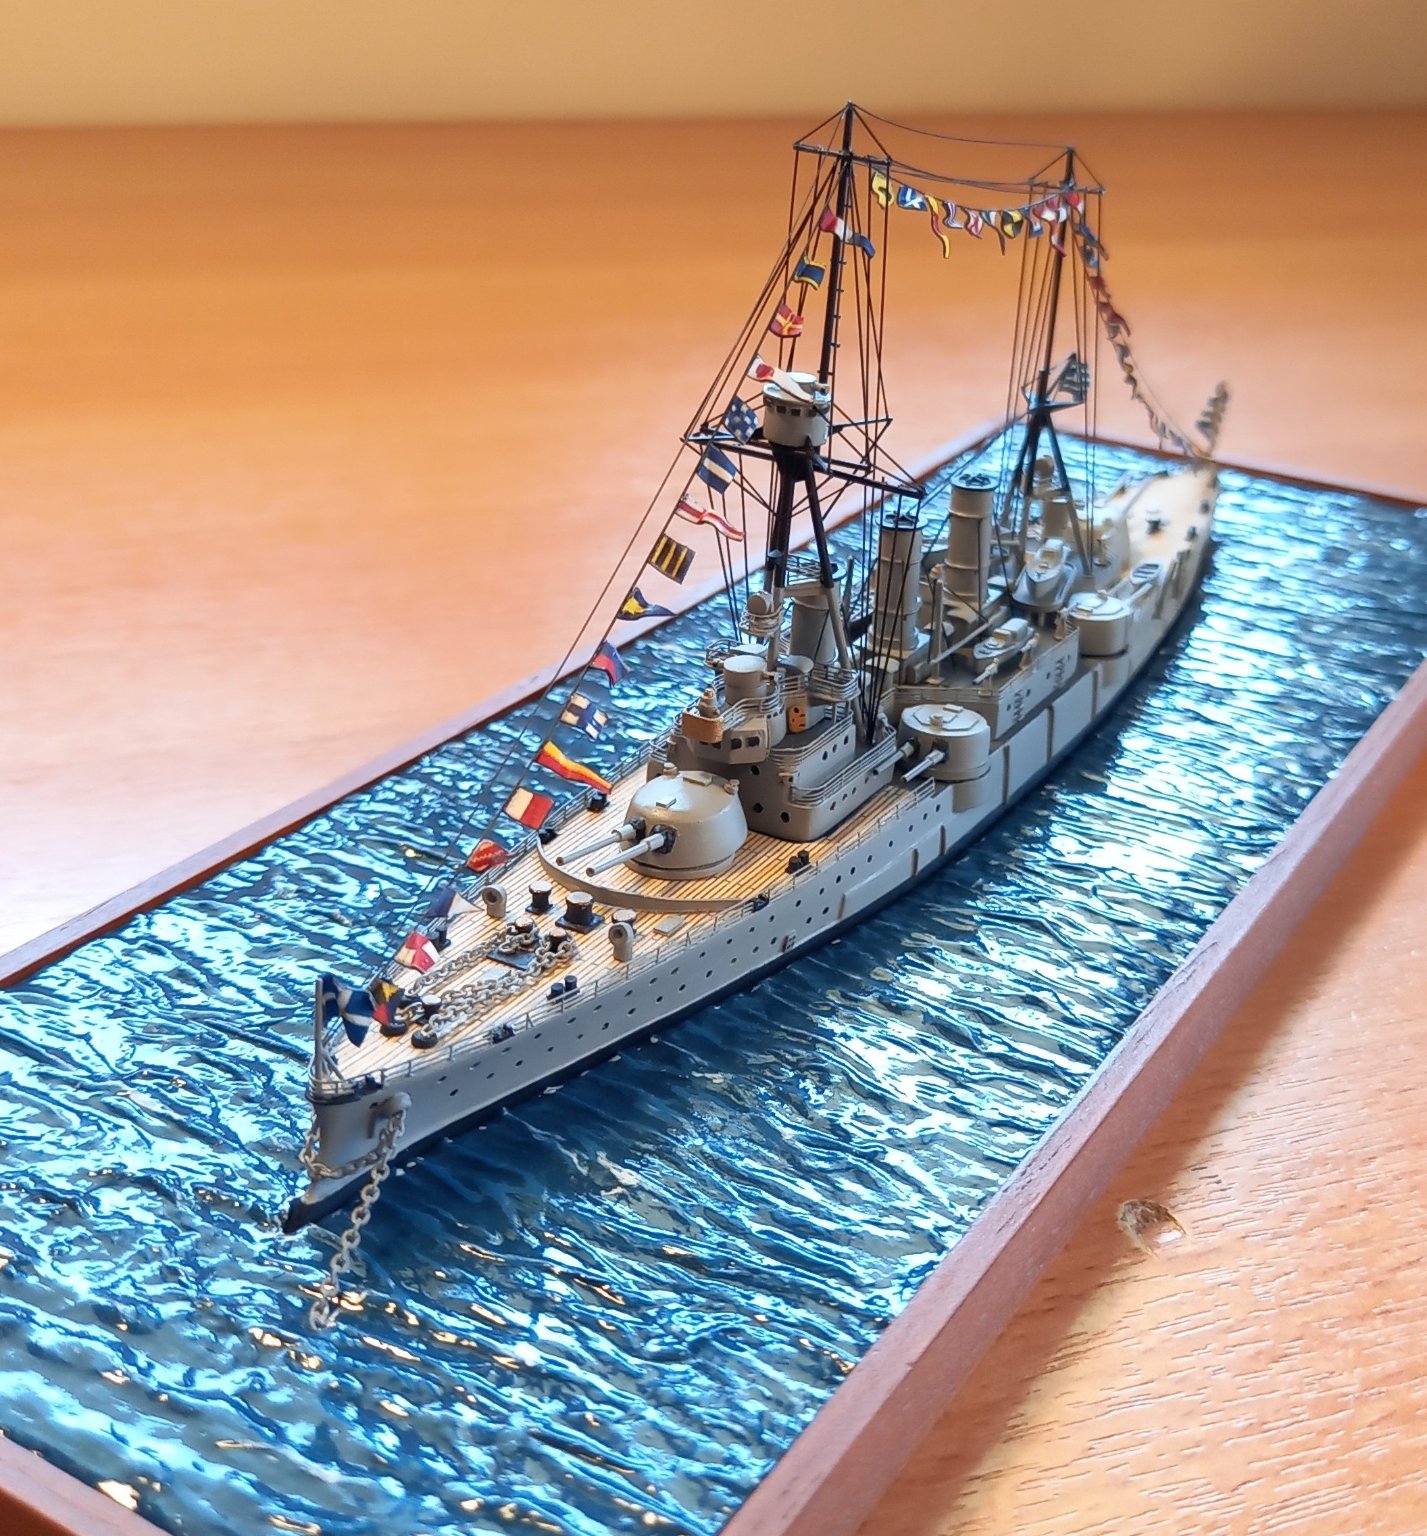
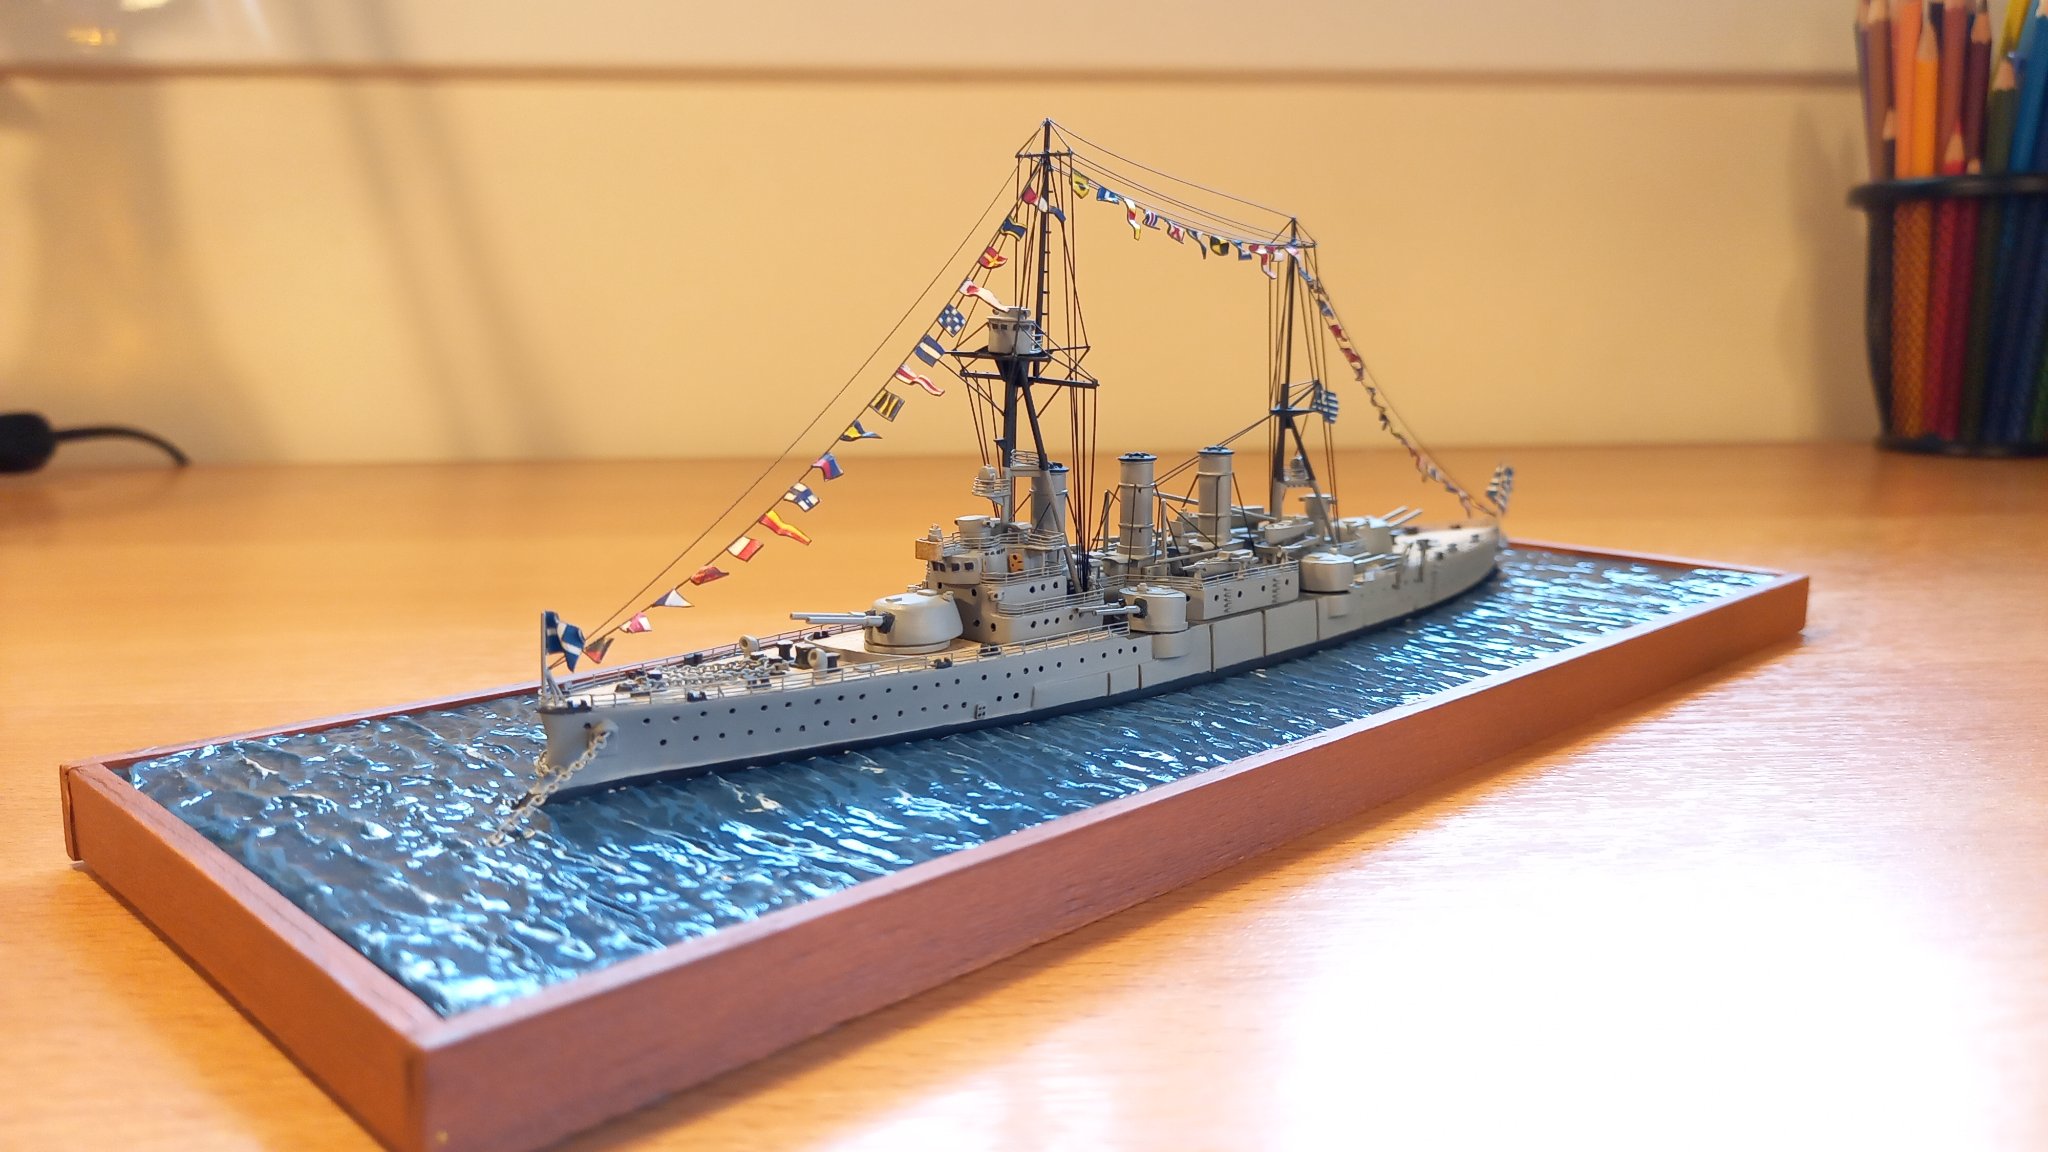
On 6/6/2021 at 11:53 AM, GeorgeKapas said:
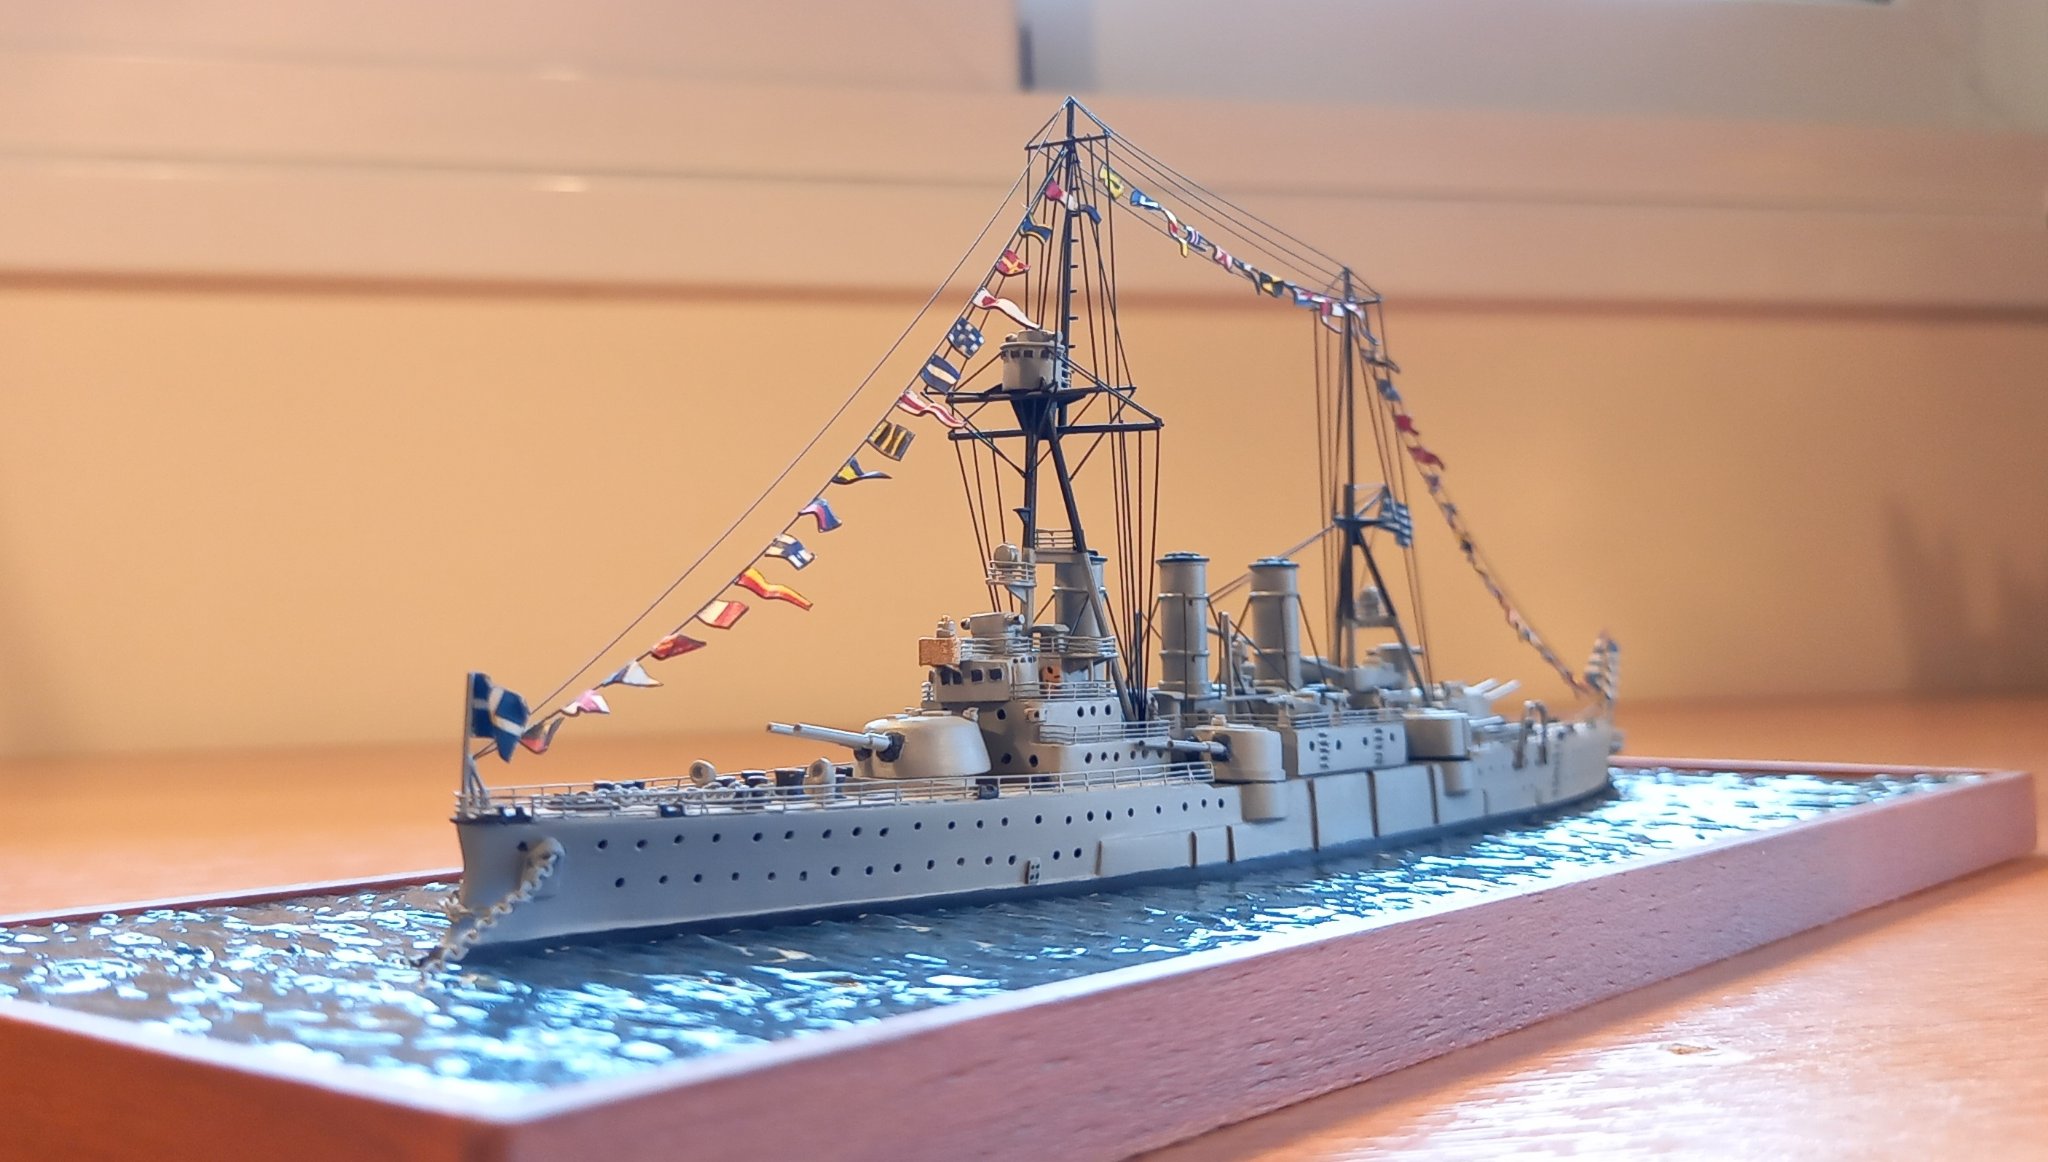
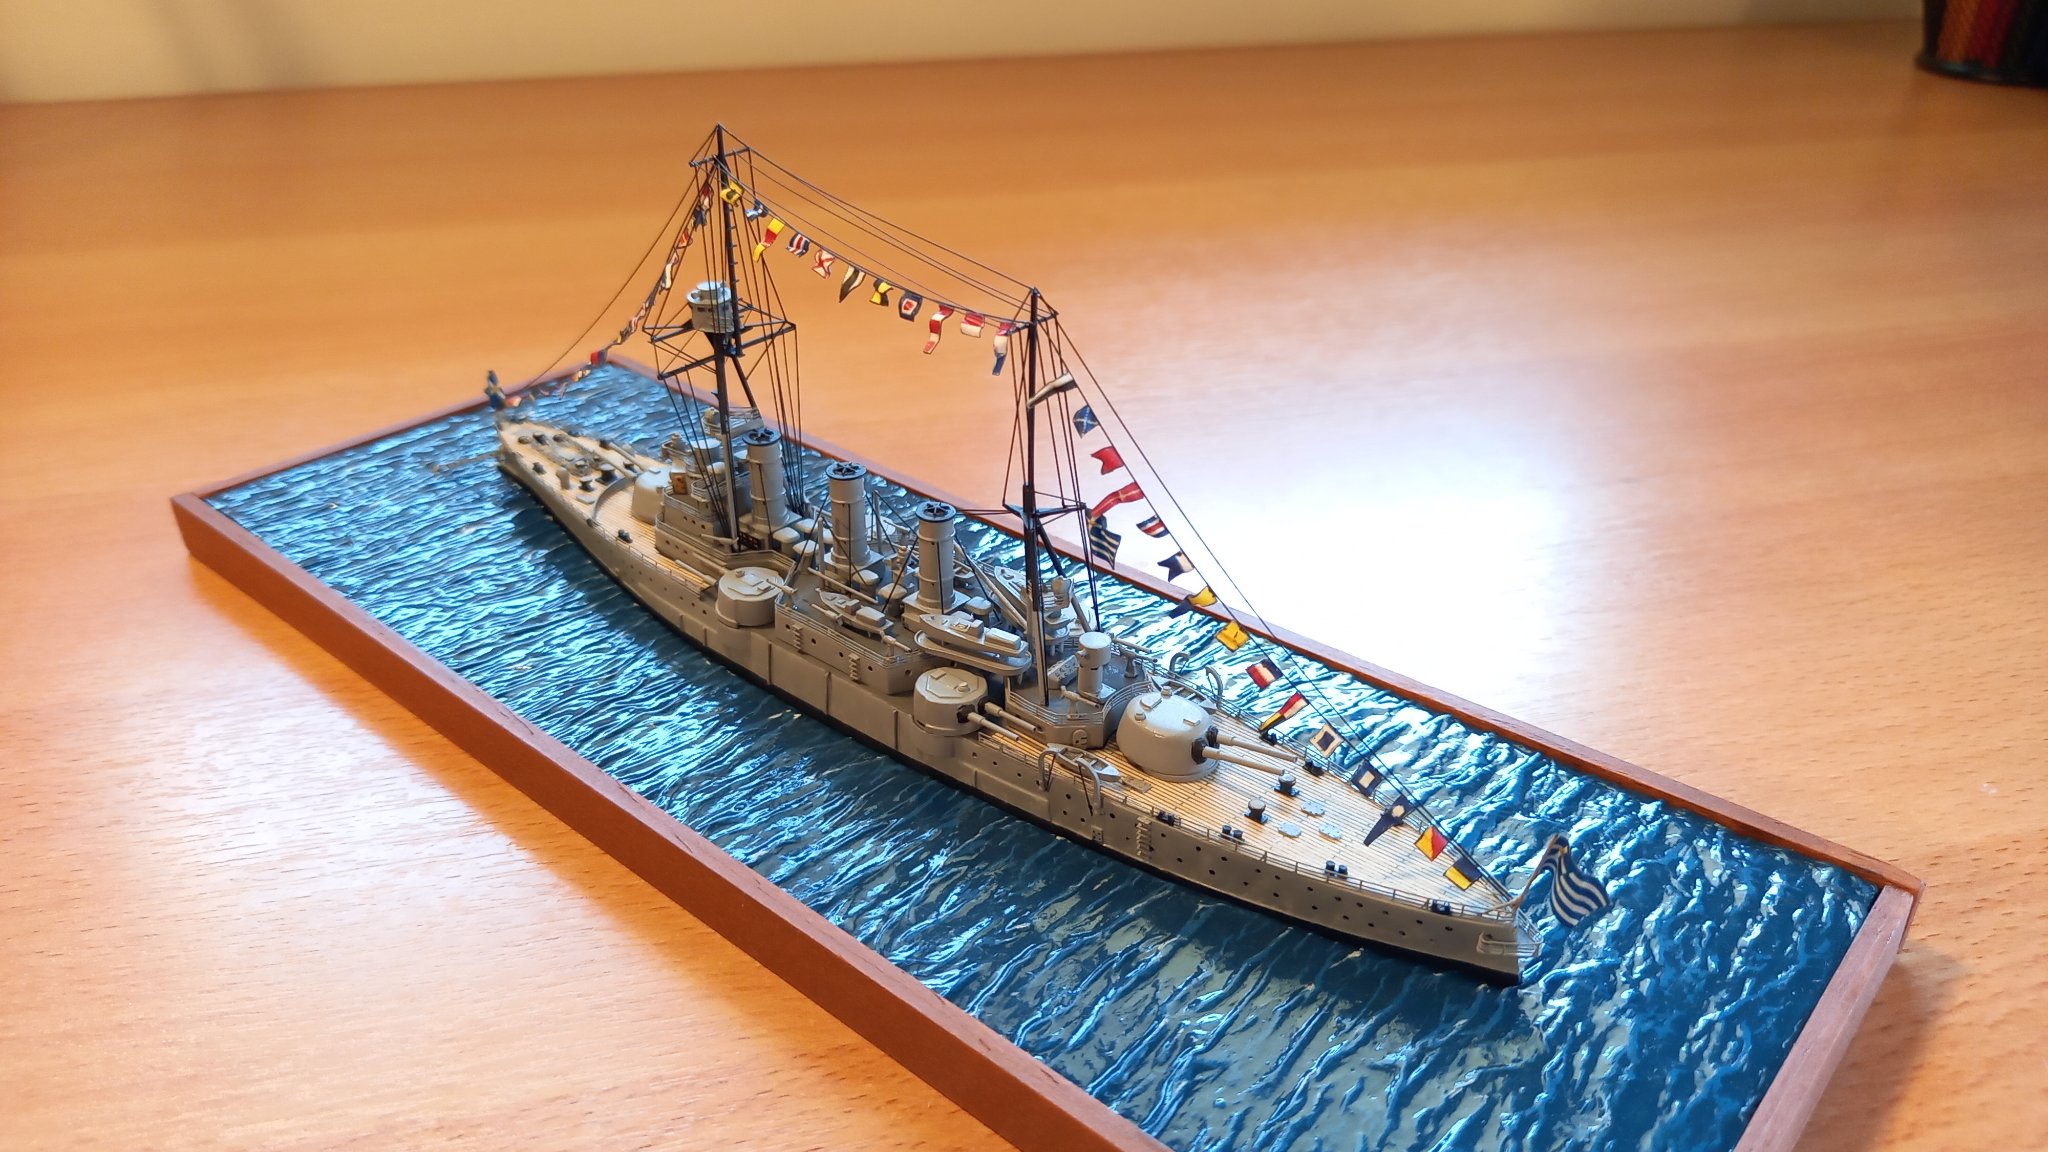
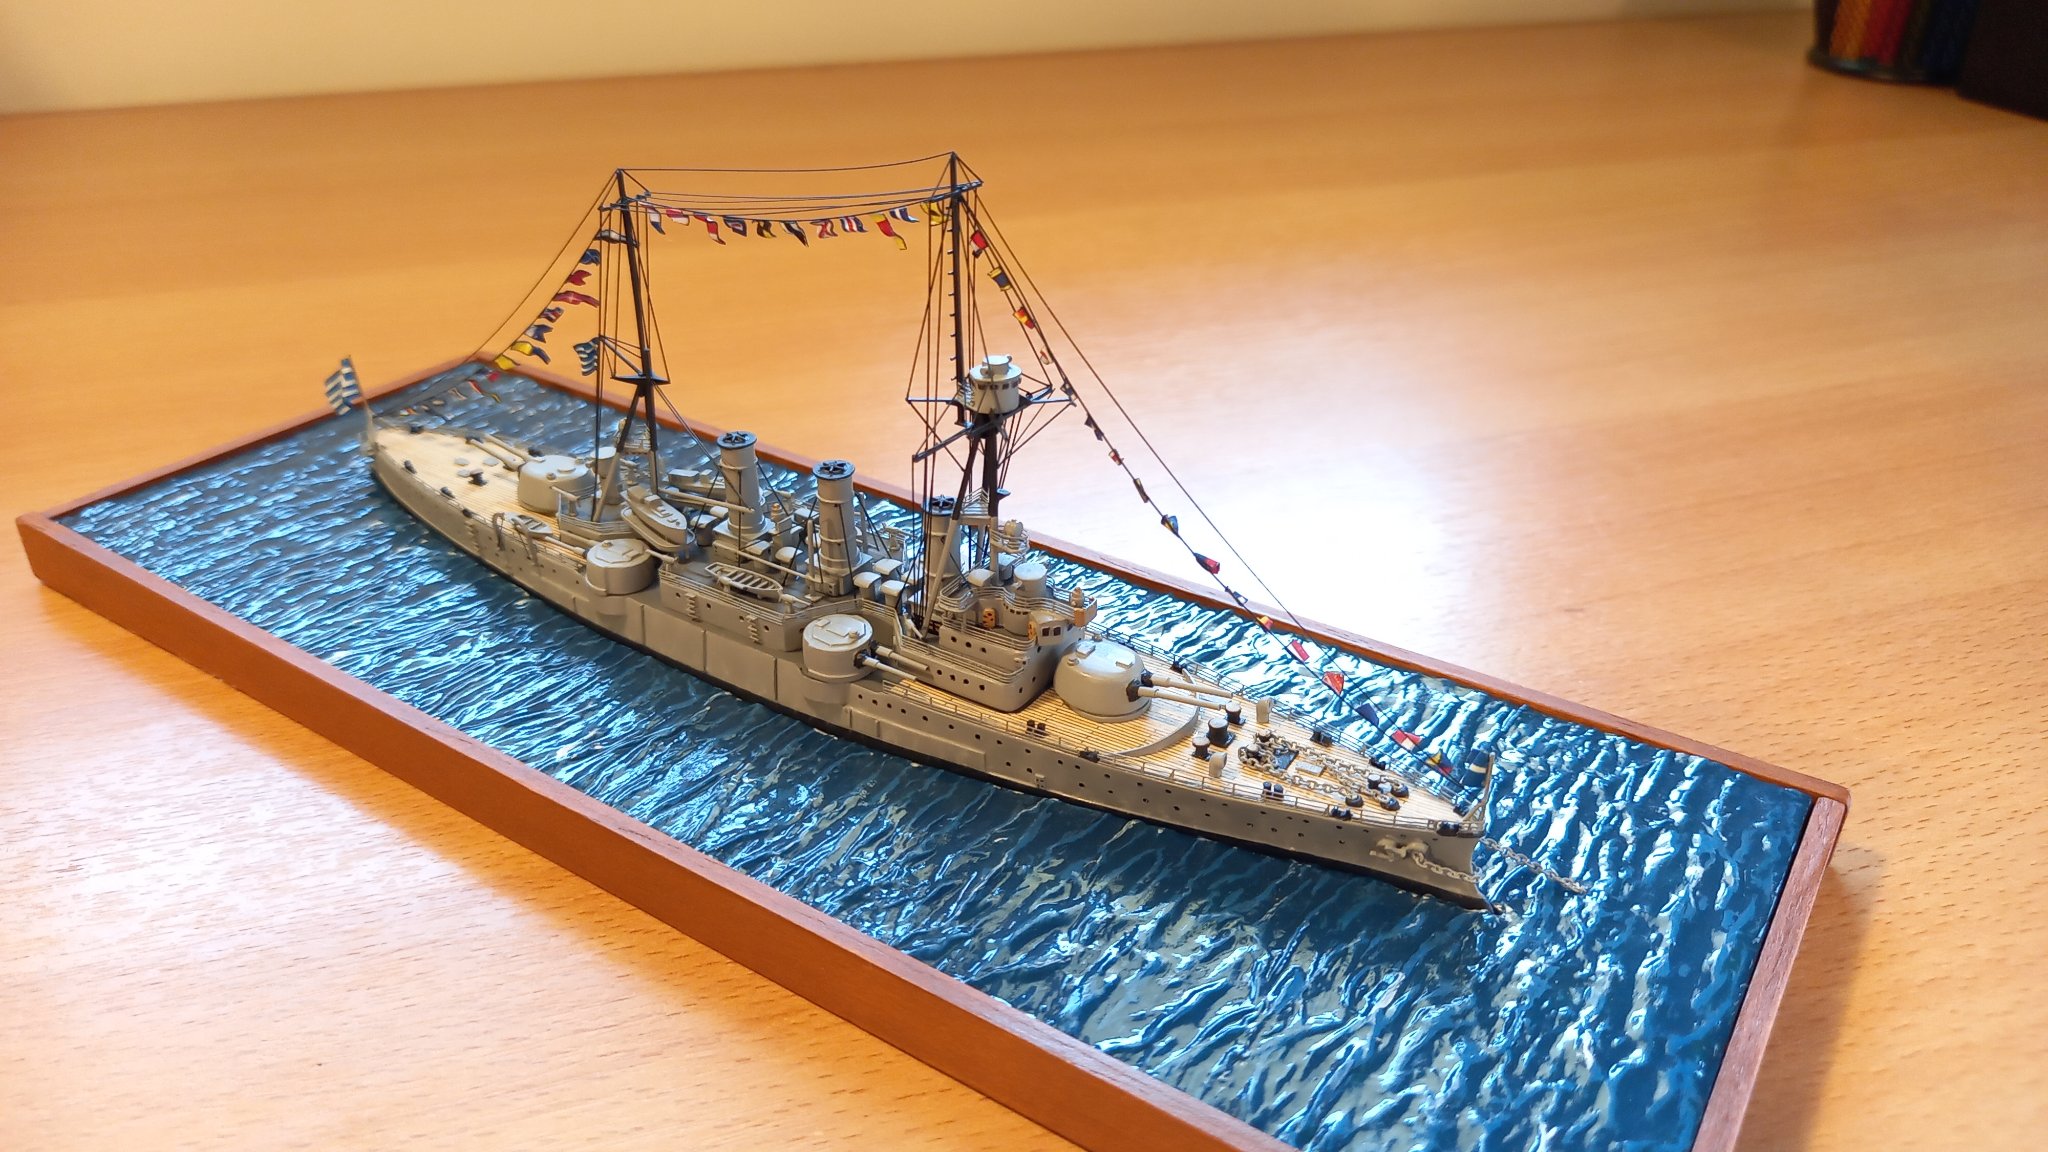
Thank you all! She is finally ready! I managed to find a small enough chain in a jewelry shop, and with small additions she is finished. The final gallery:


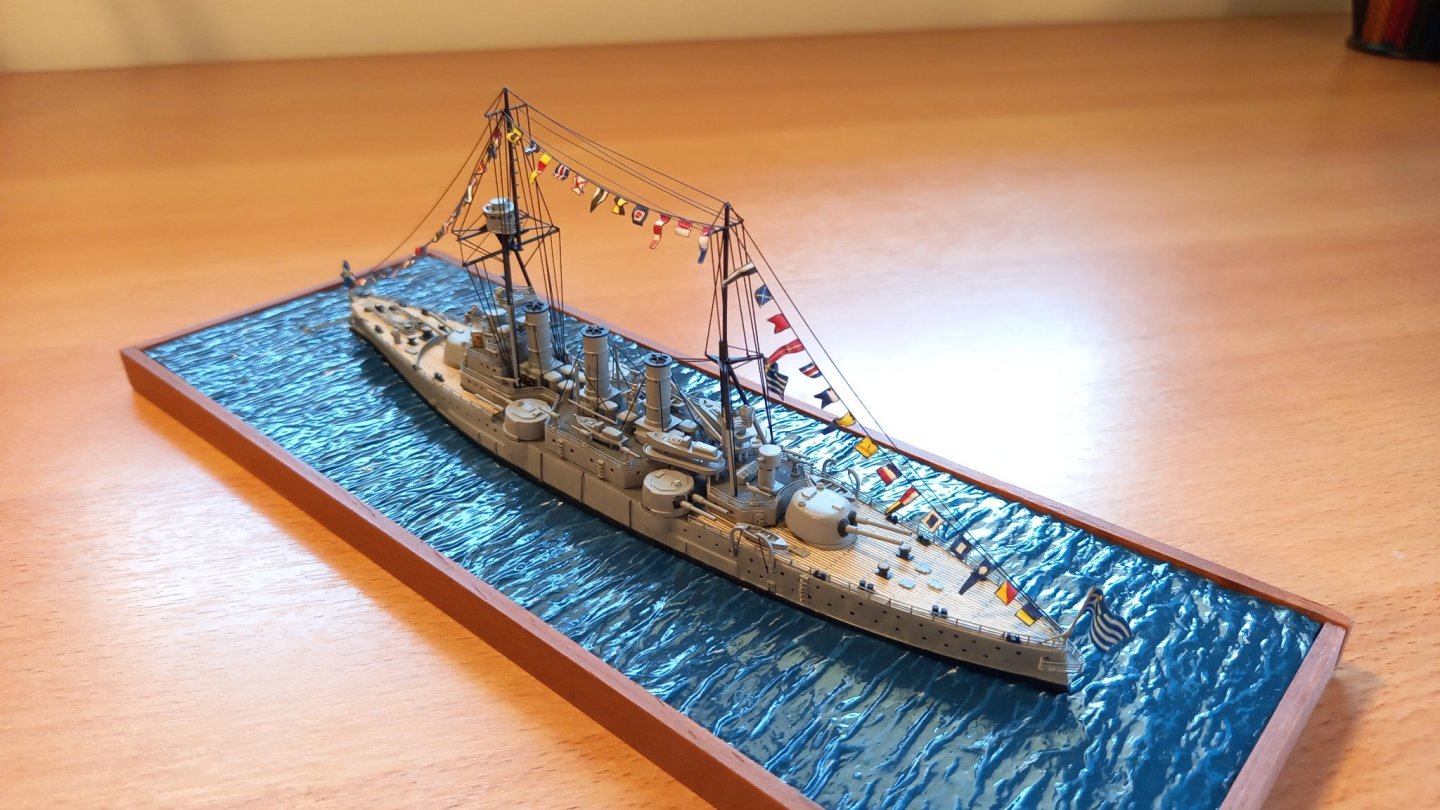


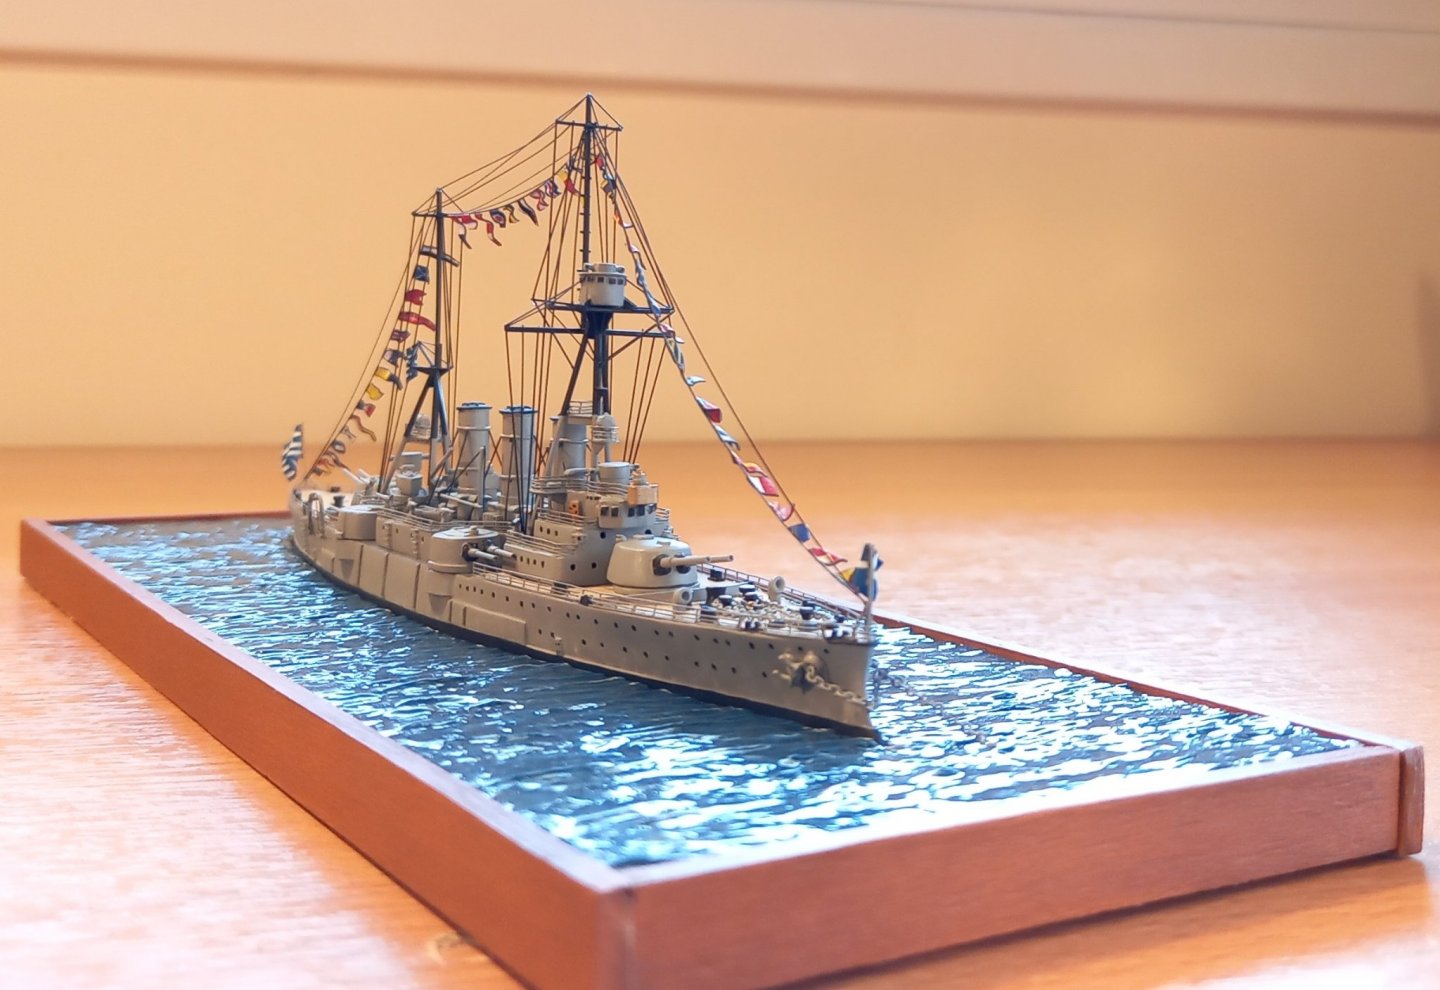
Very nice! The flags are fantastic!
- Thanasis, mtaylor and GeorgeKapas
-
3
-
-
5 hours ago, Thukydides said:
Table of Contents
Welcome to my build log for documenting the making of HM Cutter Alert by Vanguard Models. In order to keep this organized I have reserved this first post for a table of contents in order to allow future readers to jump ahead to sections they are interested in if so desired.Excellent idea!
-
Good luck, and have fun. Following!
- Obormotov and Thukydides
-
1
-
 1
1
-
Hello, and welcome aboard!
For a first model I recommend a small one (size) but big scale. As you mentioned, Artesanía Latina has several good options, adequately priced and with excellent materials, but their instructions are somewhat lacking.
If you have never worked with wood, I suggest a boat with a solid hull. The Phantom by Model Shipways looks like a great option.
As Beef Wellington advises, finds something that you love. Is it racing boats? Schooners? Fishing? Whaling? Take a look at the forums and the build logs. You will surely find something that catches your eye.
- JeffT, Keith Black, Razorbill and 2 others
-
5
-
-
Thanks everyone for your very useful answers!
4 hours ago, Captain Slog said:These wheels are available in sizes sub-2mm and larger in brass photo etch.
If you google GPM card models this will bring up a Polish site where I have seen them previously.
I can't remember if the PE fret contains multiple diameters or 1 fret per size.
I agree 3 or 4mm wheels will be more in keeping with scale.
Cheers
Slog
3 hours ago, Roger Pellett said:HO Model Railroad scale is 1:87 and is very common, at least here in the US. There is also a tt scale that is 1:100. Railroads use lots of hand wheels so you should be able to find something from a model railroad supplier.
I don't know a lot about trains, but definitely that appears to be the best option.
2 hours ago, mcb said:Hello Eurus,
As Roger said above you should be able to find something to use for the wheel such as N scale model Railroad brake wheels (see below) in photo etched metal. I thought I had something that could work in plastic but I didn't find it in a quick search of my inventory.
If I recall Gold Metal Models may have offered water tight type doors (USN), but don't hold me to that.
Good Luck,
MCB
edit1.thumb.jpg.94105c74d644e68dbe7828aa15552206.jpg)
Well, that's exactly what I need! Thank you MCB for the picture. Now I know what to look for. There's a model train supplier nearby, I hope they have one of those. The size seems perfect.
As long as I can get my hands on one of those photo-etch cards, I can make the doors out of scrap wood or tiny metal pieces. That would solve the problem.
Thank you!
- mtaylor, Keith Black and Captain Slog
-
3
-
19 minutes ago, Keith Black said:
Eurus, a 2mm wheel is less than a tenth of an inch. This is so small I don't think you're going to be able to get any detail though there are folks doing incredible things with 3D printers. Were it I, I'd make a 2mm circle from card, wood or brass, paint is white and call it good. I assume this is for the Cuauhtemoc?
Yes, it's for the Cuauhtemoc. That's a pic of the real ship that serves as an excellent reference.
I re-checked the scale and measurements and probably a 3-4mm diameter wheel would do the trick as well. I agree that these are very small details, and that is why I want to avoid scratch-building them if possible.
I believe such a part exists--there's lots of WWII warship models which potentially use these wheels or hatches. I am considering cannibalizing and repurposing small jewelry pieces, chain links or even steering wheels from Hot Wheels toy cars.
- Keith Black and mtaylor
-
2
-
Hello friends!
I need your kind help. For one of my builds I am in need of a particular type of door, as shown in the picture:

The main problem here is that the doors supplied in the kit are totally different, like so:
.thumb.jpg.235f2ad0c085d6cce0c692c69ce4103b.jpg)
Even if I decided to carve the inner, wooden door directly from the ship's wall, I need the second, outer watertight hatch. I am thinking of transforming the zamak part provided, but then I need the wheel. These would need to be around ~2mm in diameter. I don't know how to solve this situation, or if any such aftermarket part would be available somewhere. I have so far looked in some stores without success. I do not want to have to manufacture these tiny pieces myself: I need 12 of them!
What should I do? Your opinion is welcome.
Thank you!
- mtaylor and Keith Black
-
2
-
The oars in this model are quite interesting: three different types of wood are involved. The manufacturing process was somewhat tedious, though.
I watched some tutorials on YouTube of people using drills and power tools to shape the oar shafts, and especially the handles, however, their results were always sub-par, even if they saved some time. The risk of damaging the wood is also quite high. So, I decided to carve all handles by hand using a small wood file.
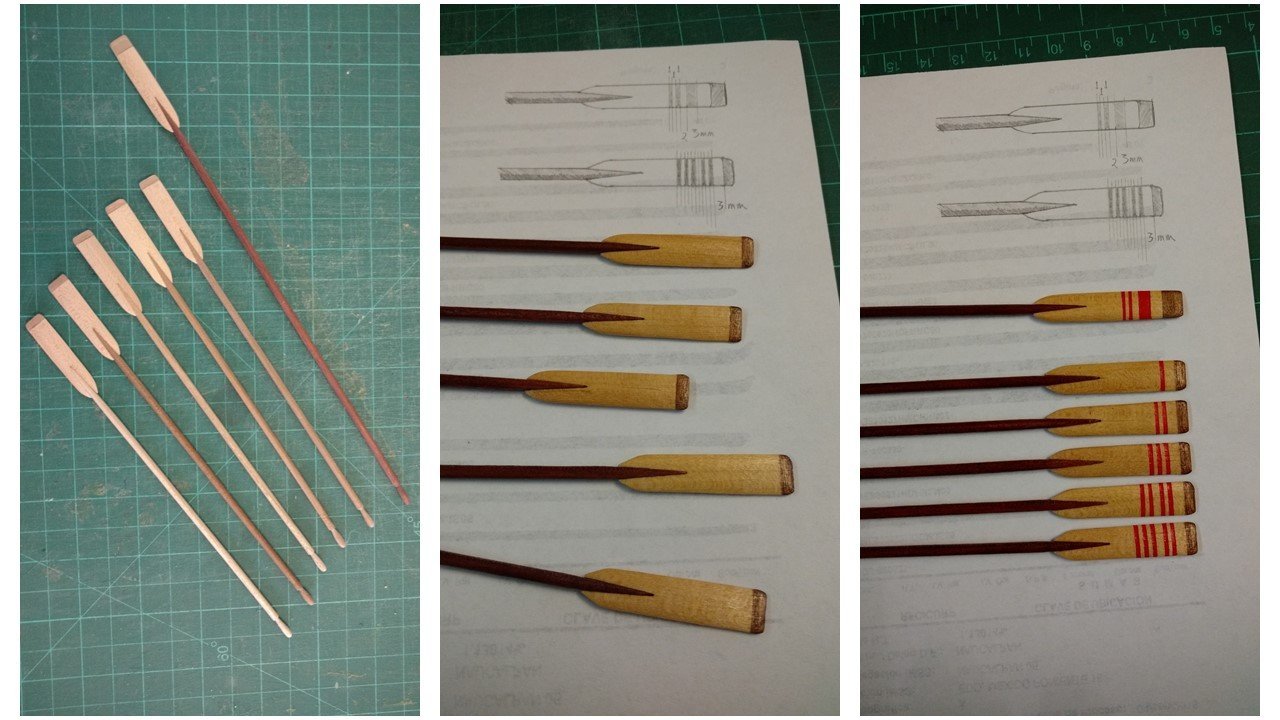
In picture 1 you can see all six oars—five regulars plus the steering one—sanded and assembled but unglued, and ready to paint. As mentioned before, I had to make one from scratch, since the kit only provides for five. Luckily, there was enough scrap wood left. Notice the hand-carved handles.
In a whaleboat each rower position has a name and a distinct responsibility, and in order to reflect this even the oars are personalized. In some instances, they have different lengths. That is why they are marked here with their corresponding number.
In picture 2 you can see the oars dyed and varnished, ready to be marked with their numbers. There is also a small to-scale diagram depicting how they should be painted.
Picture 3 shows the finished oar blades. The topmost one is the steering oar. They were covered in masking tape and then carefully spray-painted in bright red.
- robdurant, Duanelaker, GrandpaPhil and 1 other
-
4
-
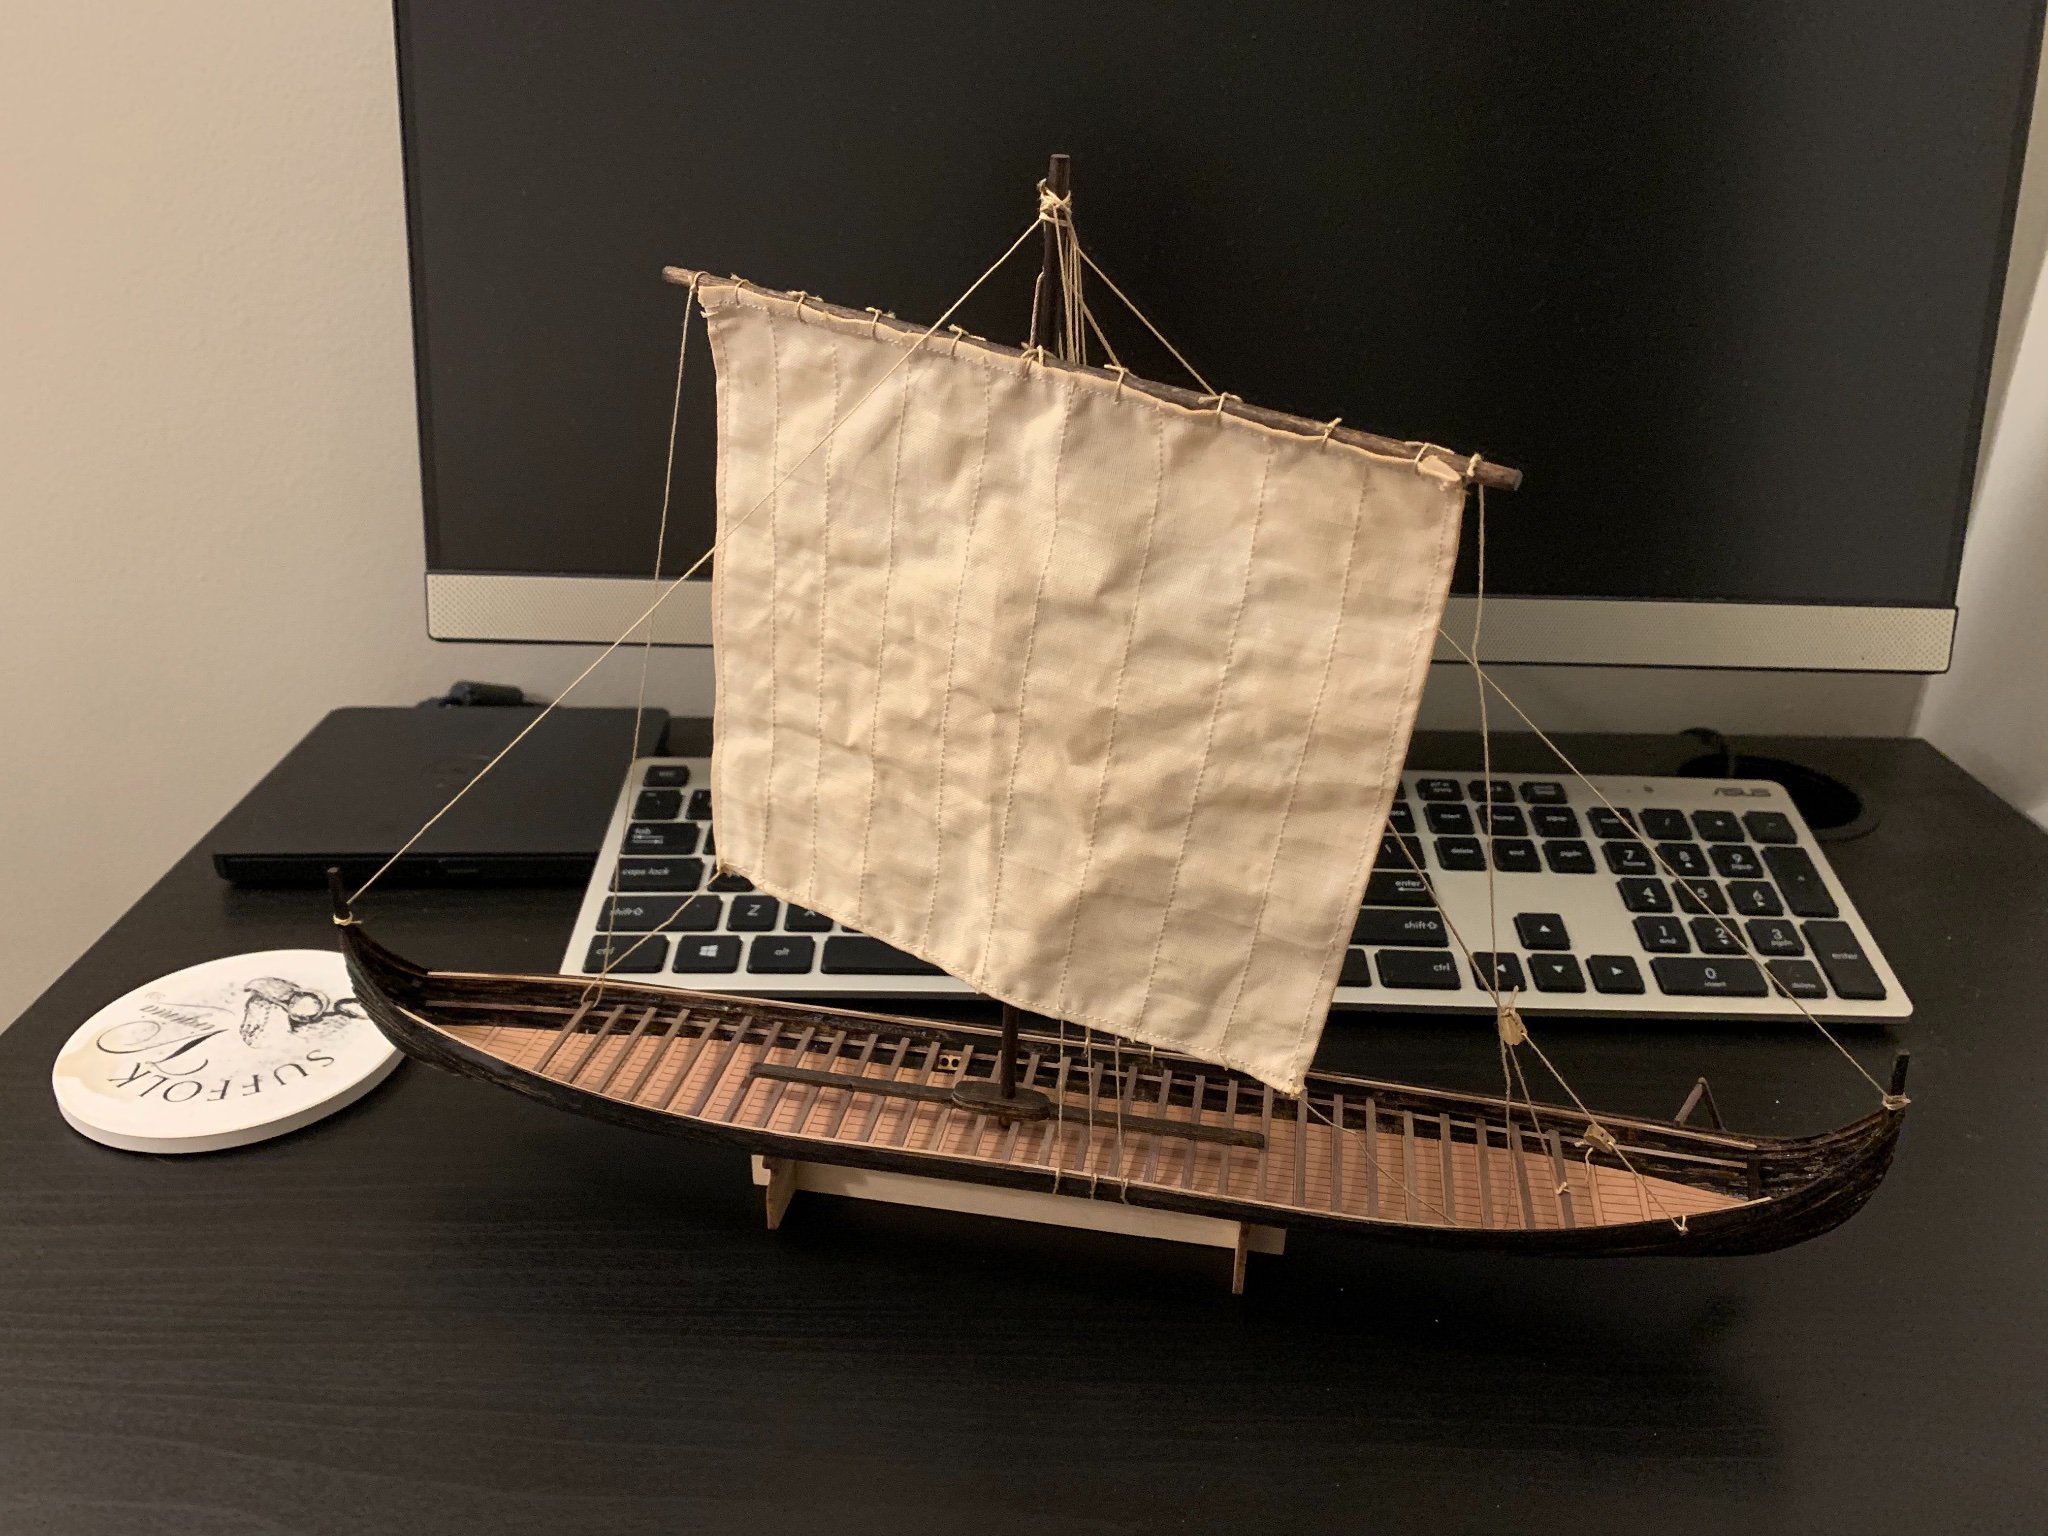
6 minutes ago, Joseph F. said:
I finally got around to finishing this project today. This kit should only take someone about a week or two, working steadily.
Adding seating planks. So far, the Chop-It from Micromark has been an essential tool for me, it’s incredibly helpful for making uniform lengths of planking.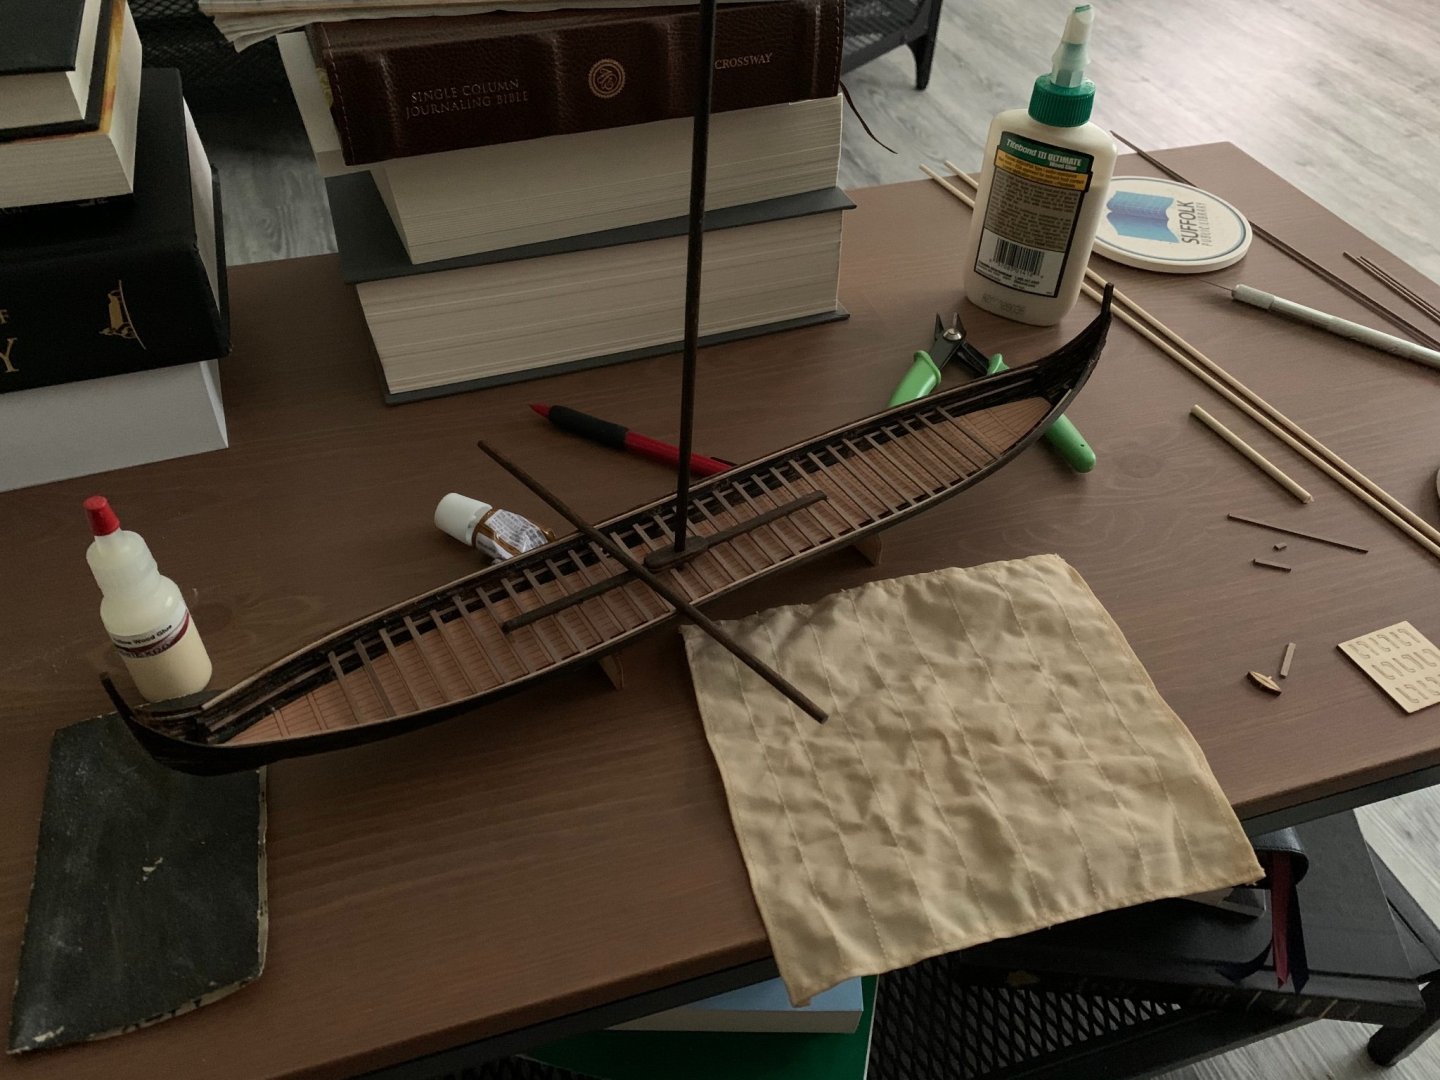
Mast attached. I first steeped the sail in a cup of tea, which gave a very natural sail-cloth color, but I decided to steep it again in a cup of coffee which gave a darker and more handsome color.
The finished boat! I didn’t bother to make oars, or to attach the shields that come with the kit.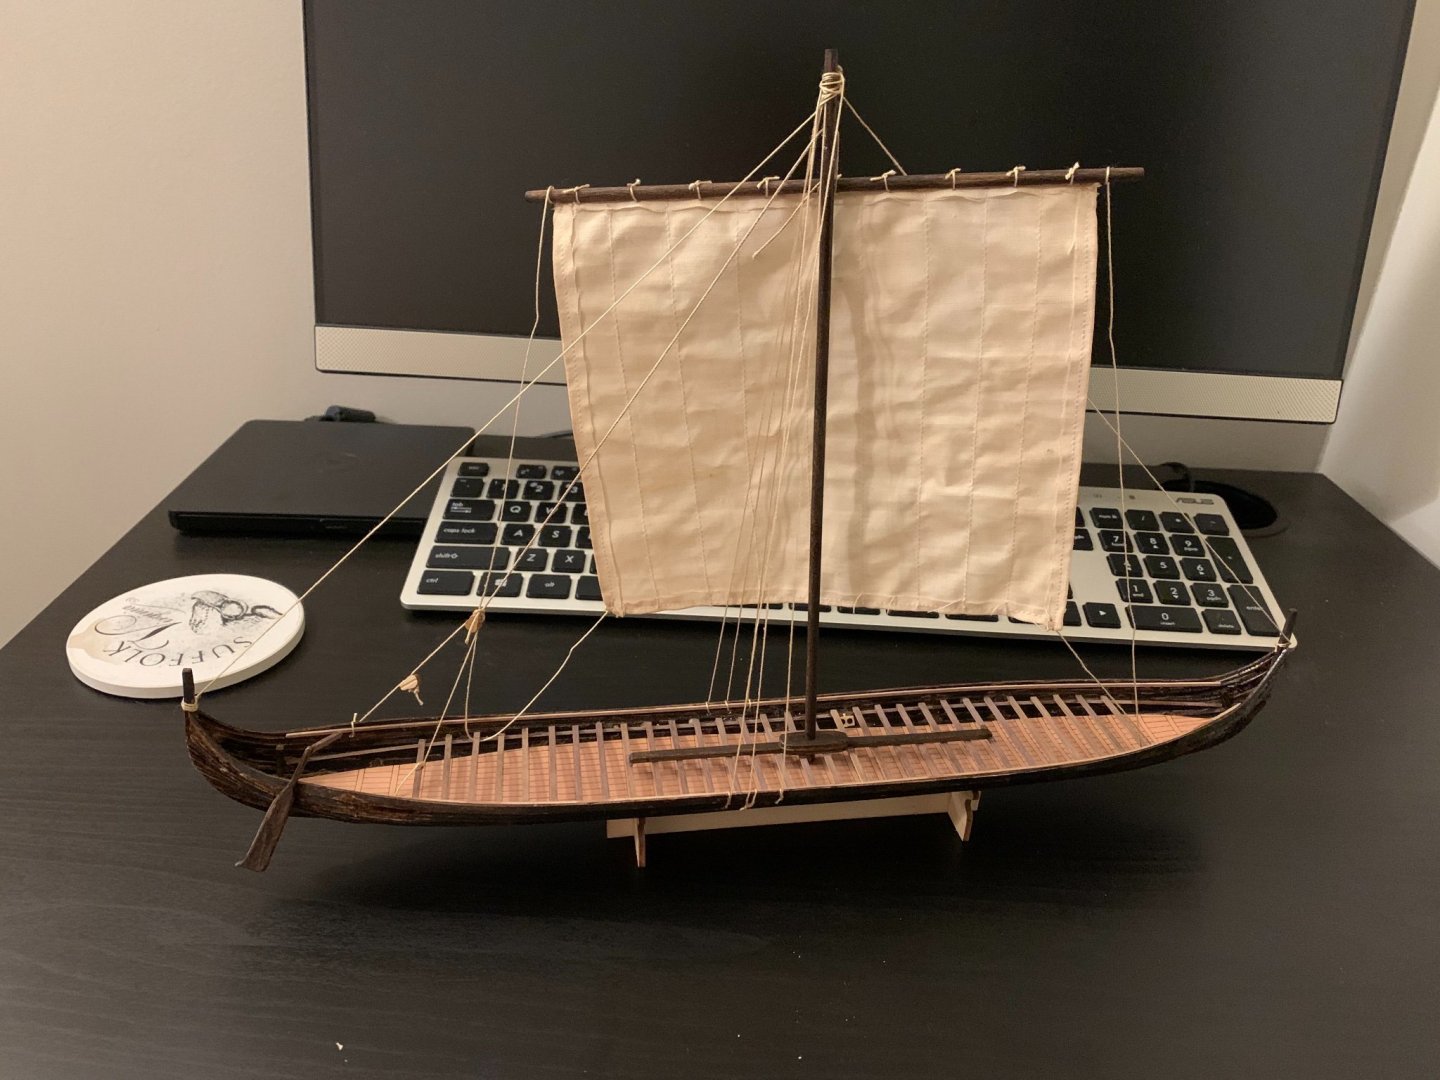
This project was a commission for a friend, and I hope he’ll be pleased when he sees it. It was an easy kit with good quality materials. Thanks for the tips and encouragement I’ve received from people!
Looks really nice!
-
While I prepare the next set of pictures, here are some close-ups of the Providence, showing a bit more detail of the previous stages:
- Cathead, Duanelaker and GrandpaPhil
-
3
-
4 hours ago, Thukydides said:
This is my latest project that I am trying to finish up. Almost done, just a few minor bits then I need to assemble them and add a dash of snow. Then on to the alert.
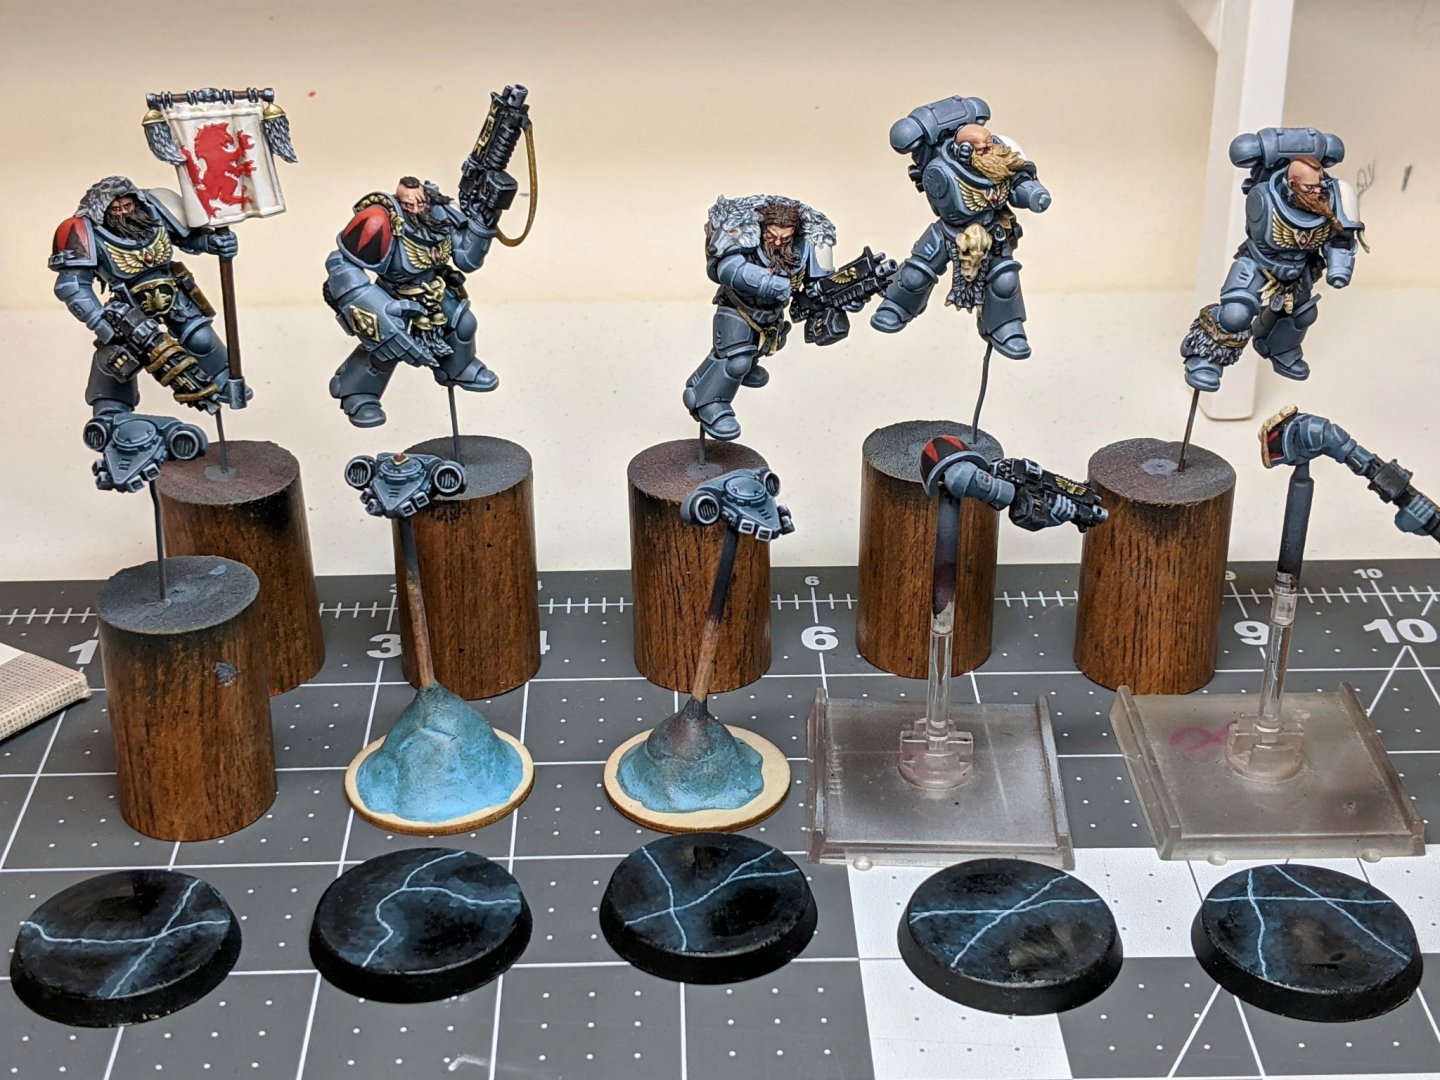
Very nice! So you're a Warhammer fan. Those miniatures have lots of detail indeed, considering how tiny most are. If you have the attention and patience to paint those, you'll feel right at home here.
I am a fan of WH myself, but only play on PC; mainly Total War, Blood Bowl and Mechanicus. 🎮
- Keith Black, Thukydides and mtaylor
-
3
-
17 hours ago, mtaylor said:
I'm in on this one after seeing the hearse.
Same here! 😀


edit1.jpg.fa5d7349570243ba8e78e33968b8f870.jpg)
.jpg.ed57bf09ad730f43b8d8cc940bad7080.jpg)


Providence by Eurus - FINISHED - Artesania Latina - 1:25 - whaleboat
in - Kit build logs for subjects built from 1851 - 1900
Posted
Thank you! And you are right, the instructions are definitely not the best!