Paul Le Wol
-
Posts
841 -
Joined
-
Last visited
Content Type
Profiles
Forums
Gallery
Events
Everything posted by Paul Le Wol
-
Jacques, congratulations on finishing the Peapod. The lobster trap is amazing!
- 65 replies
-
- 3
-

-

-
- Maine Peapod
- Midwest Products
- (and 1 more)
-
Hi Mike, good luck with your Round Stern! These are wonderful boats.
-
Hi Chris, everything is looking great. The bowsprit turned out very nice!
-
Jacques, I am very happy to see that you are continuing to scratch build these very interesting working boats. Great introduction. Good luck with this project!
- 284 replies
-
- 2
-
-
-
- Chile
- Latin America
- (and 5 more)
-
Hi knipster, welcome to MSW. This is a beautiful project you are about to start. The only thing I can think of regarding the planking showing would be that it may be difficult for it to remain consistent depending on the amount of sanding that is needed. If you head over to the new members section and introduce yourself you may get more responses to your questions. Good Luck!
- 1 reply
-
- 1
-
-
Thank you John. This was an enjoyable little project.
- 201 replies
-
- 4
-
-
- Oyster Sharpie
- first scratch build
- (and 1 more)
-
Thank you Keith and Gary. Always great to hear from you guys
- 201 replies
-
- 4
-
-
- Oyster Sharpie
- first scratch build
- (and 1 more)
-
Hi Jeff, beautiful work and a great build log. Well done!
-
Jim, congratulations on completing your Grand Banks Dory. A superb job!
- 56 replies
-
- 2
-
-
- grand banks dory
- Midwest Products
- (and 2 more)
-
Doug, congratulations on finishing your Gretel. She is beautiful. Good luck with your next project!
-
Keith, your work with the pastels is amazing. What a difference they make!
-
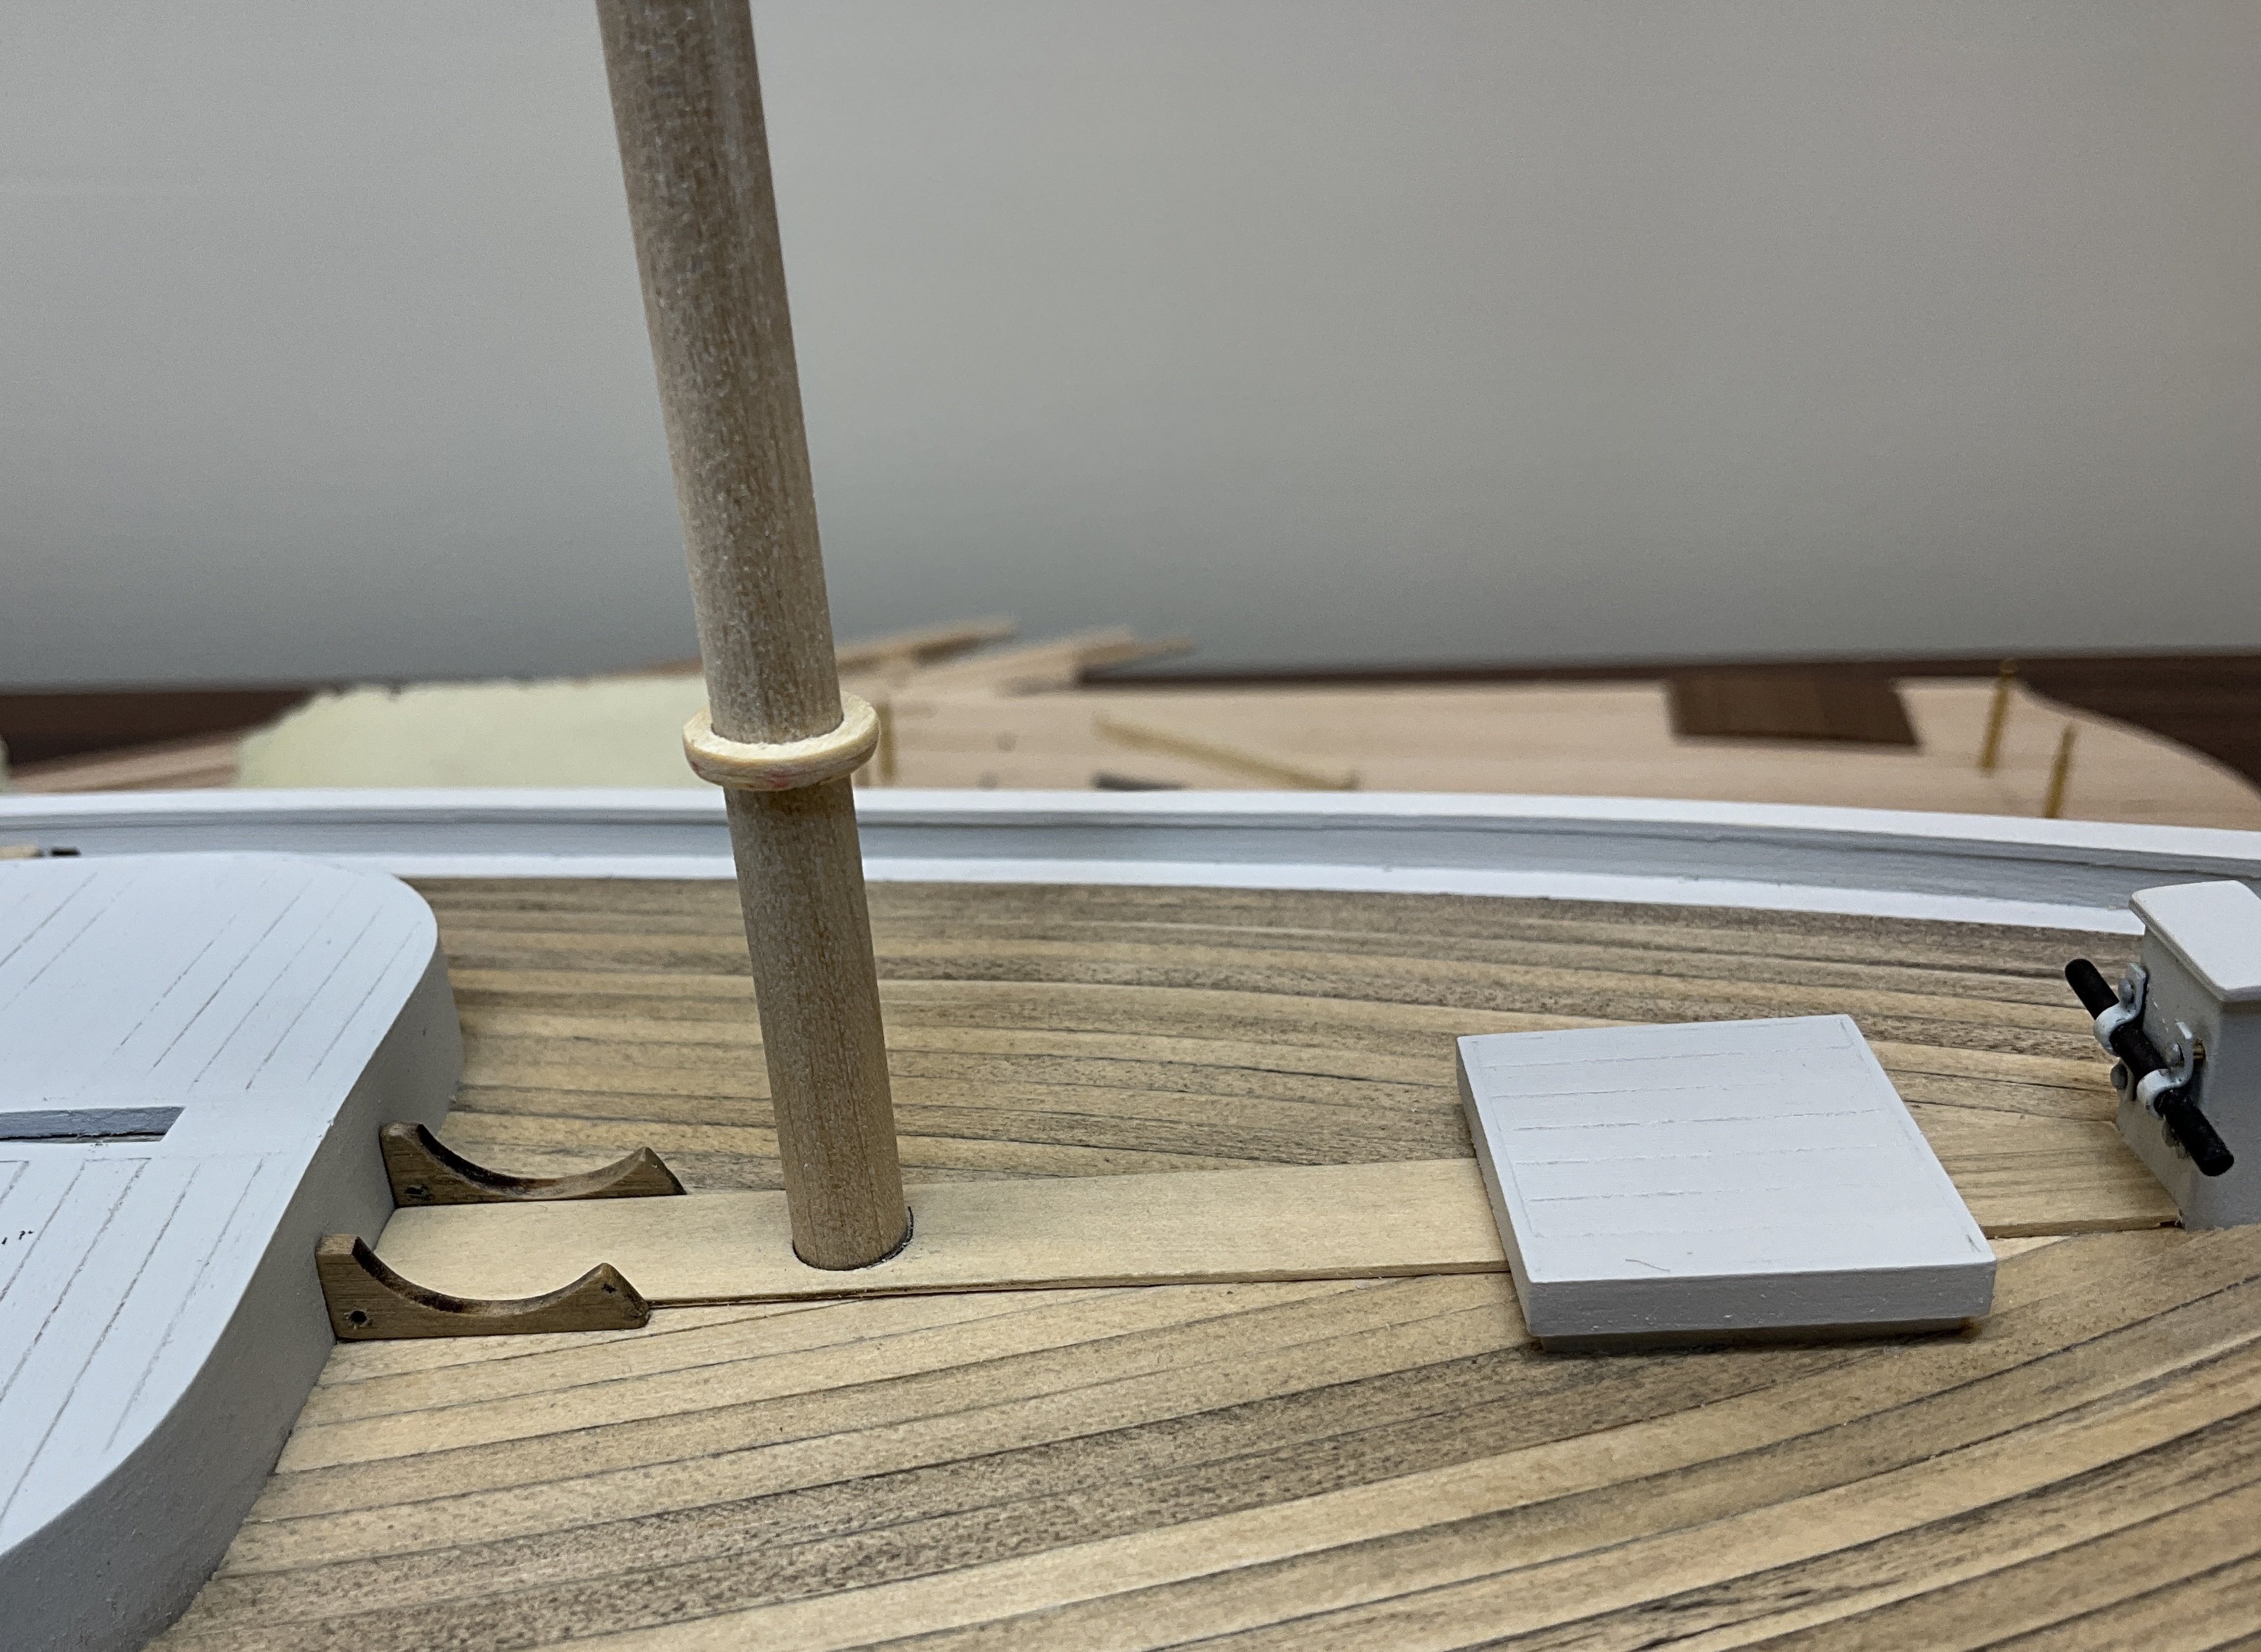
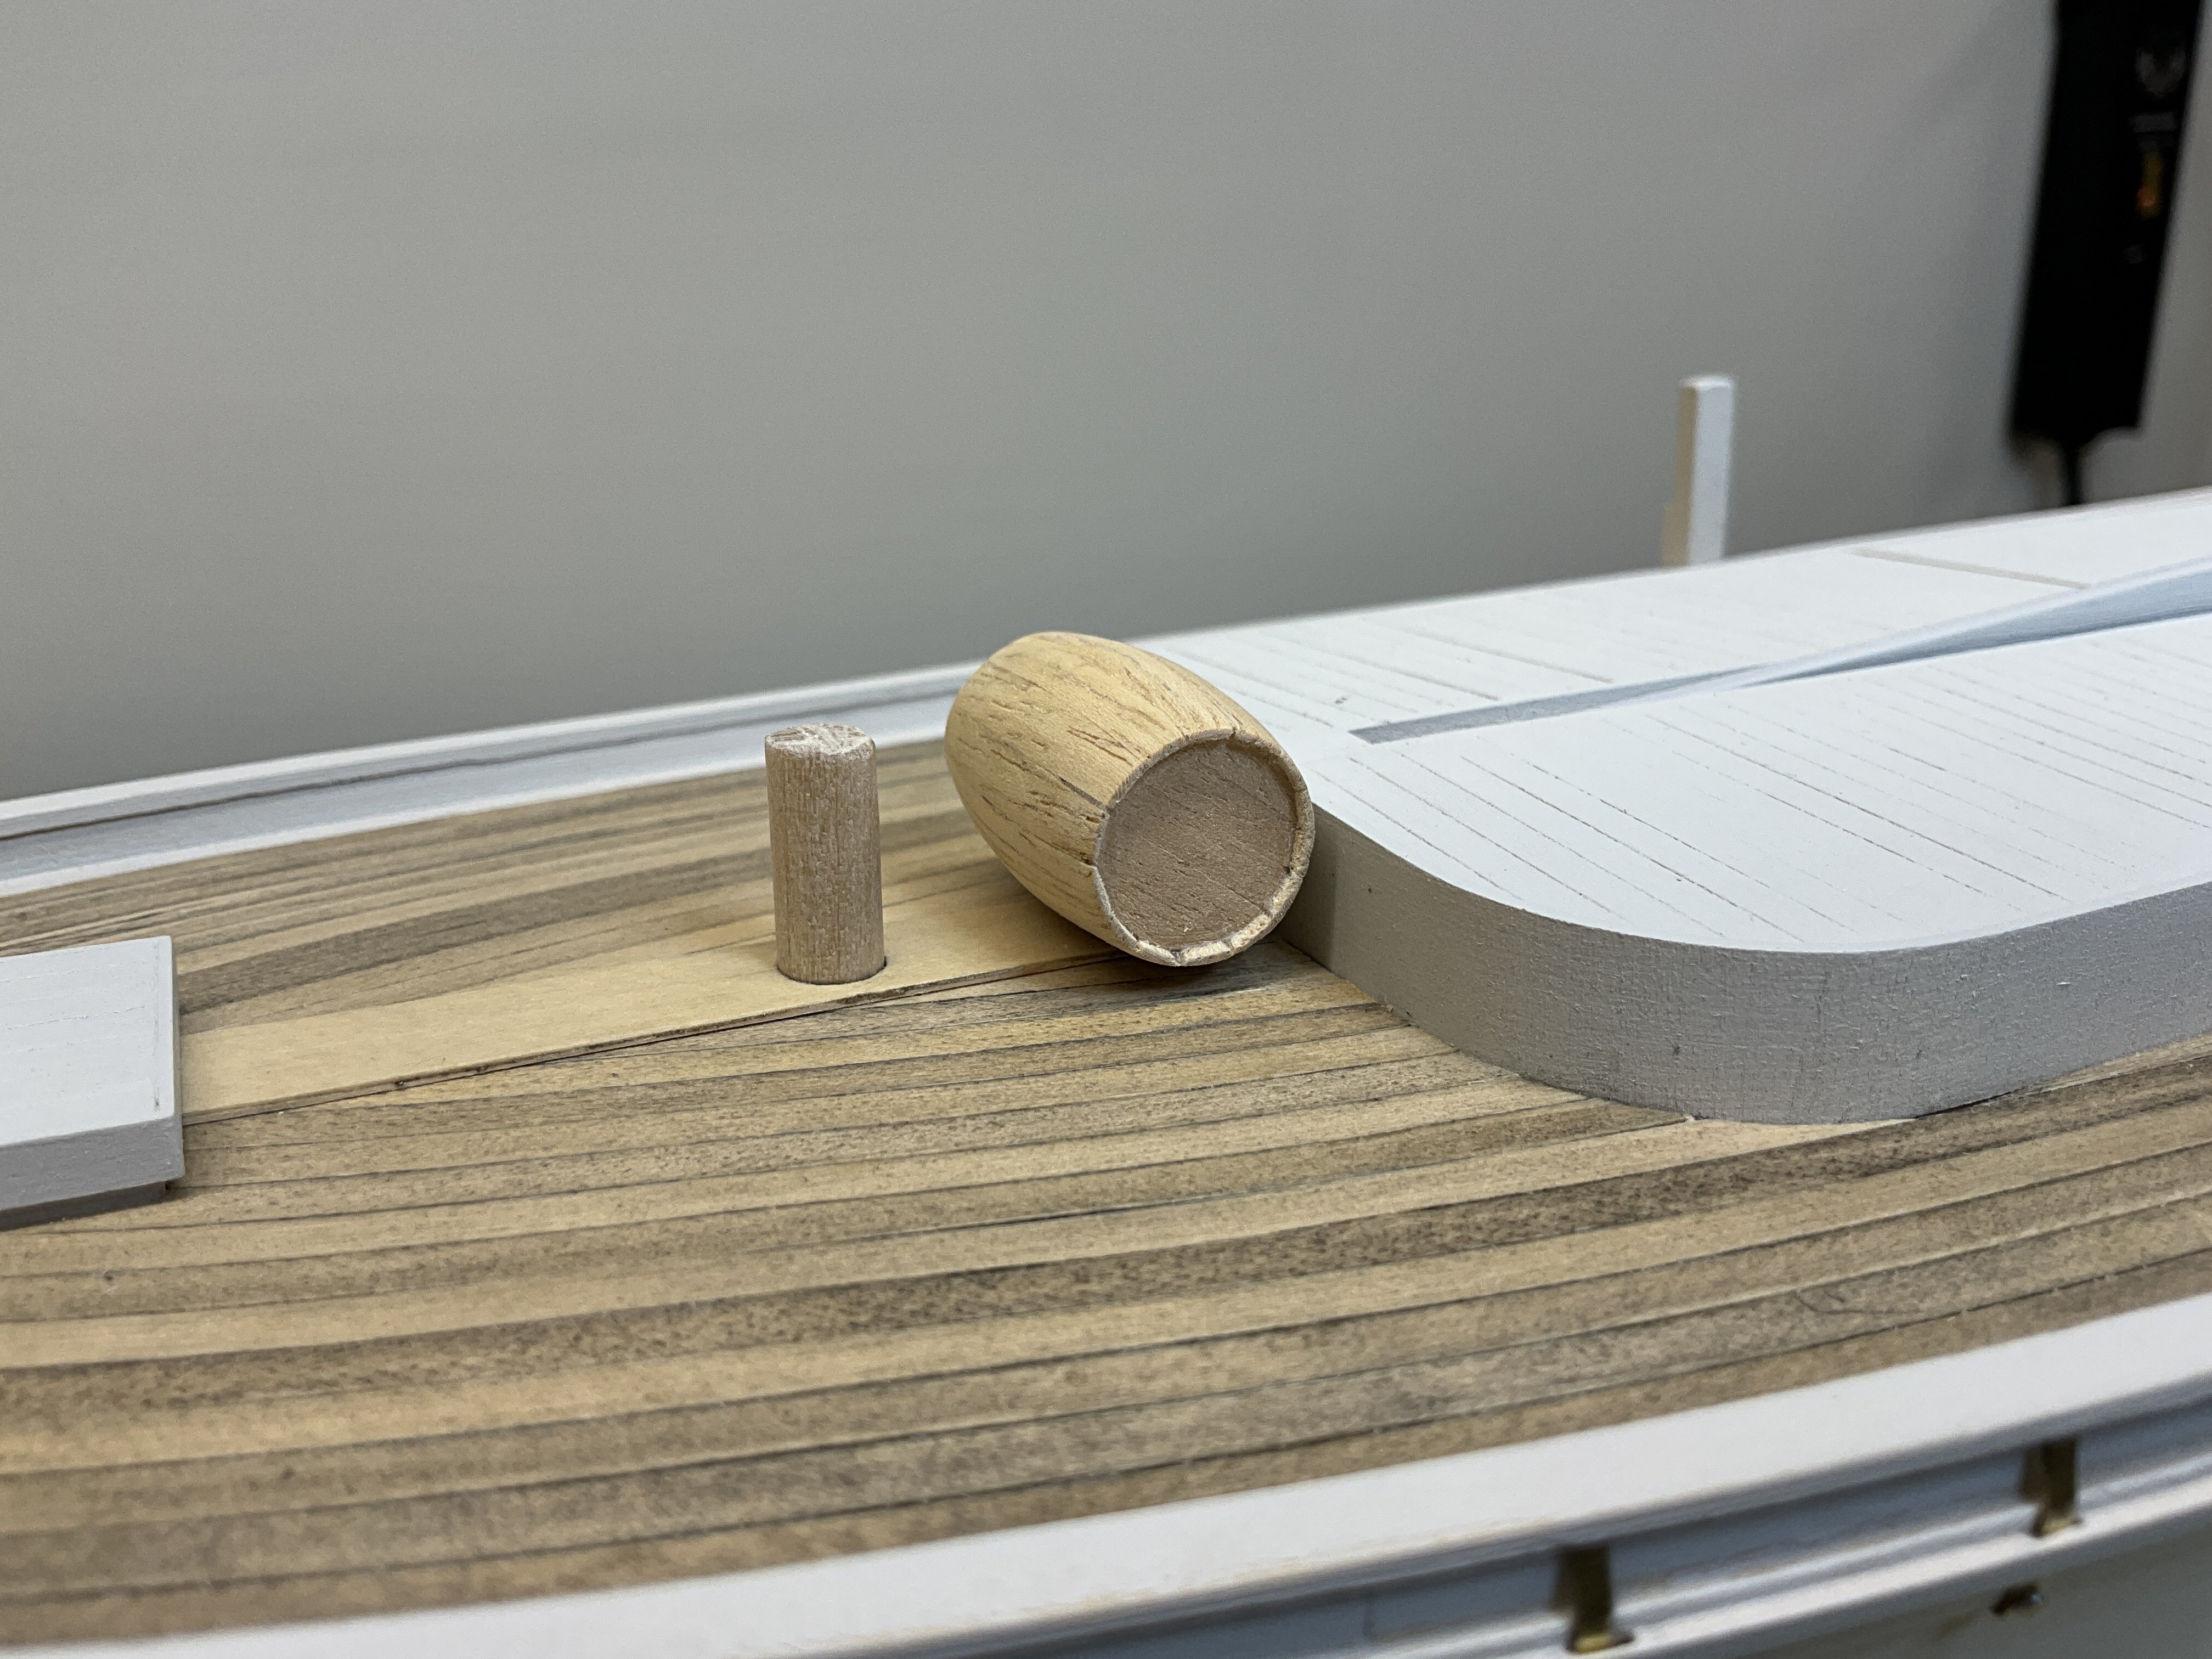
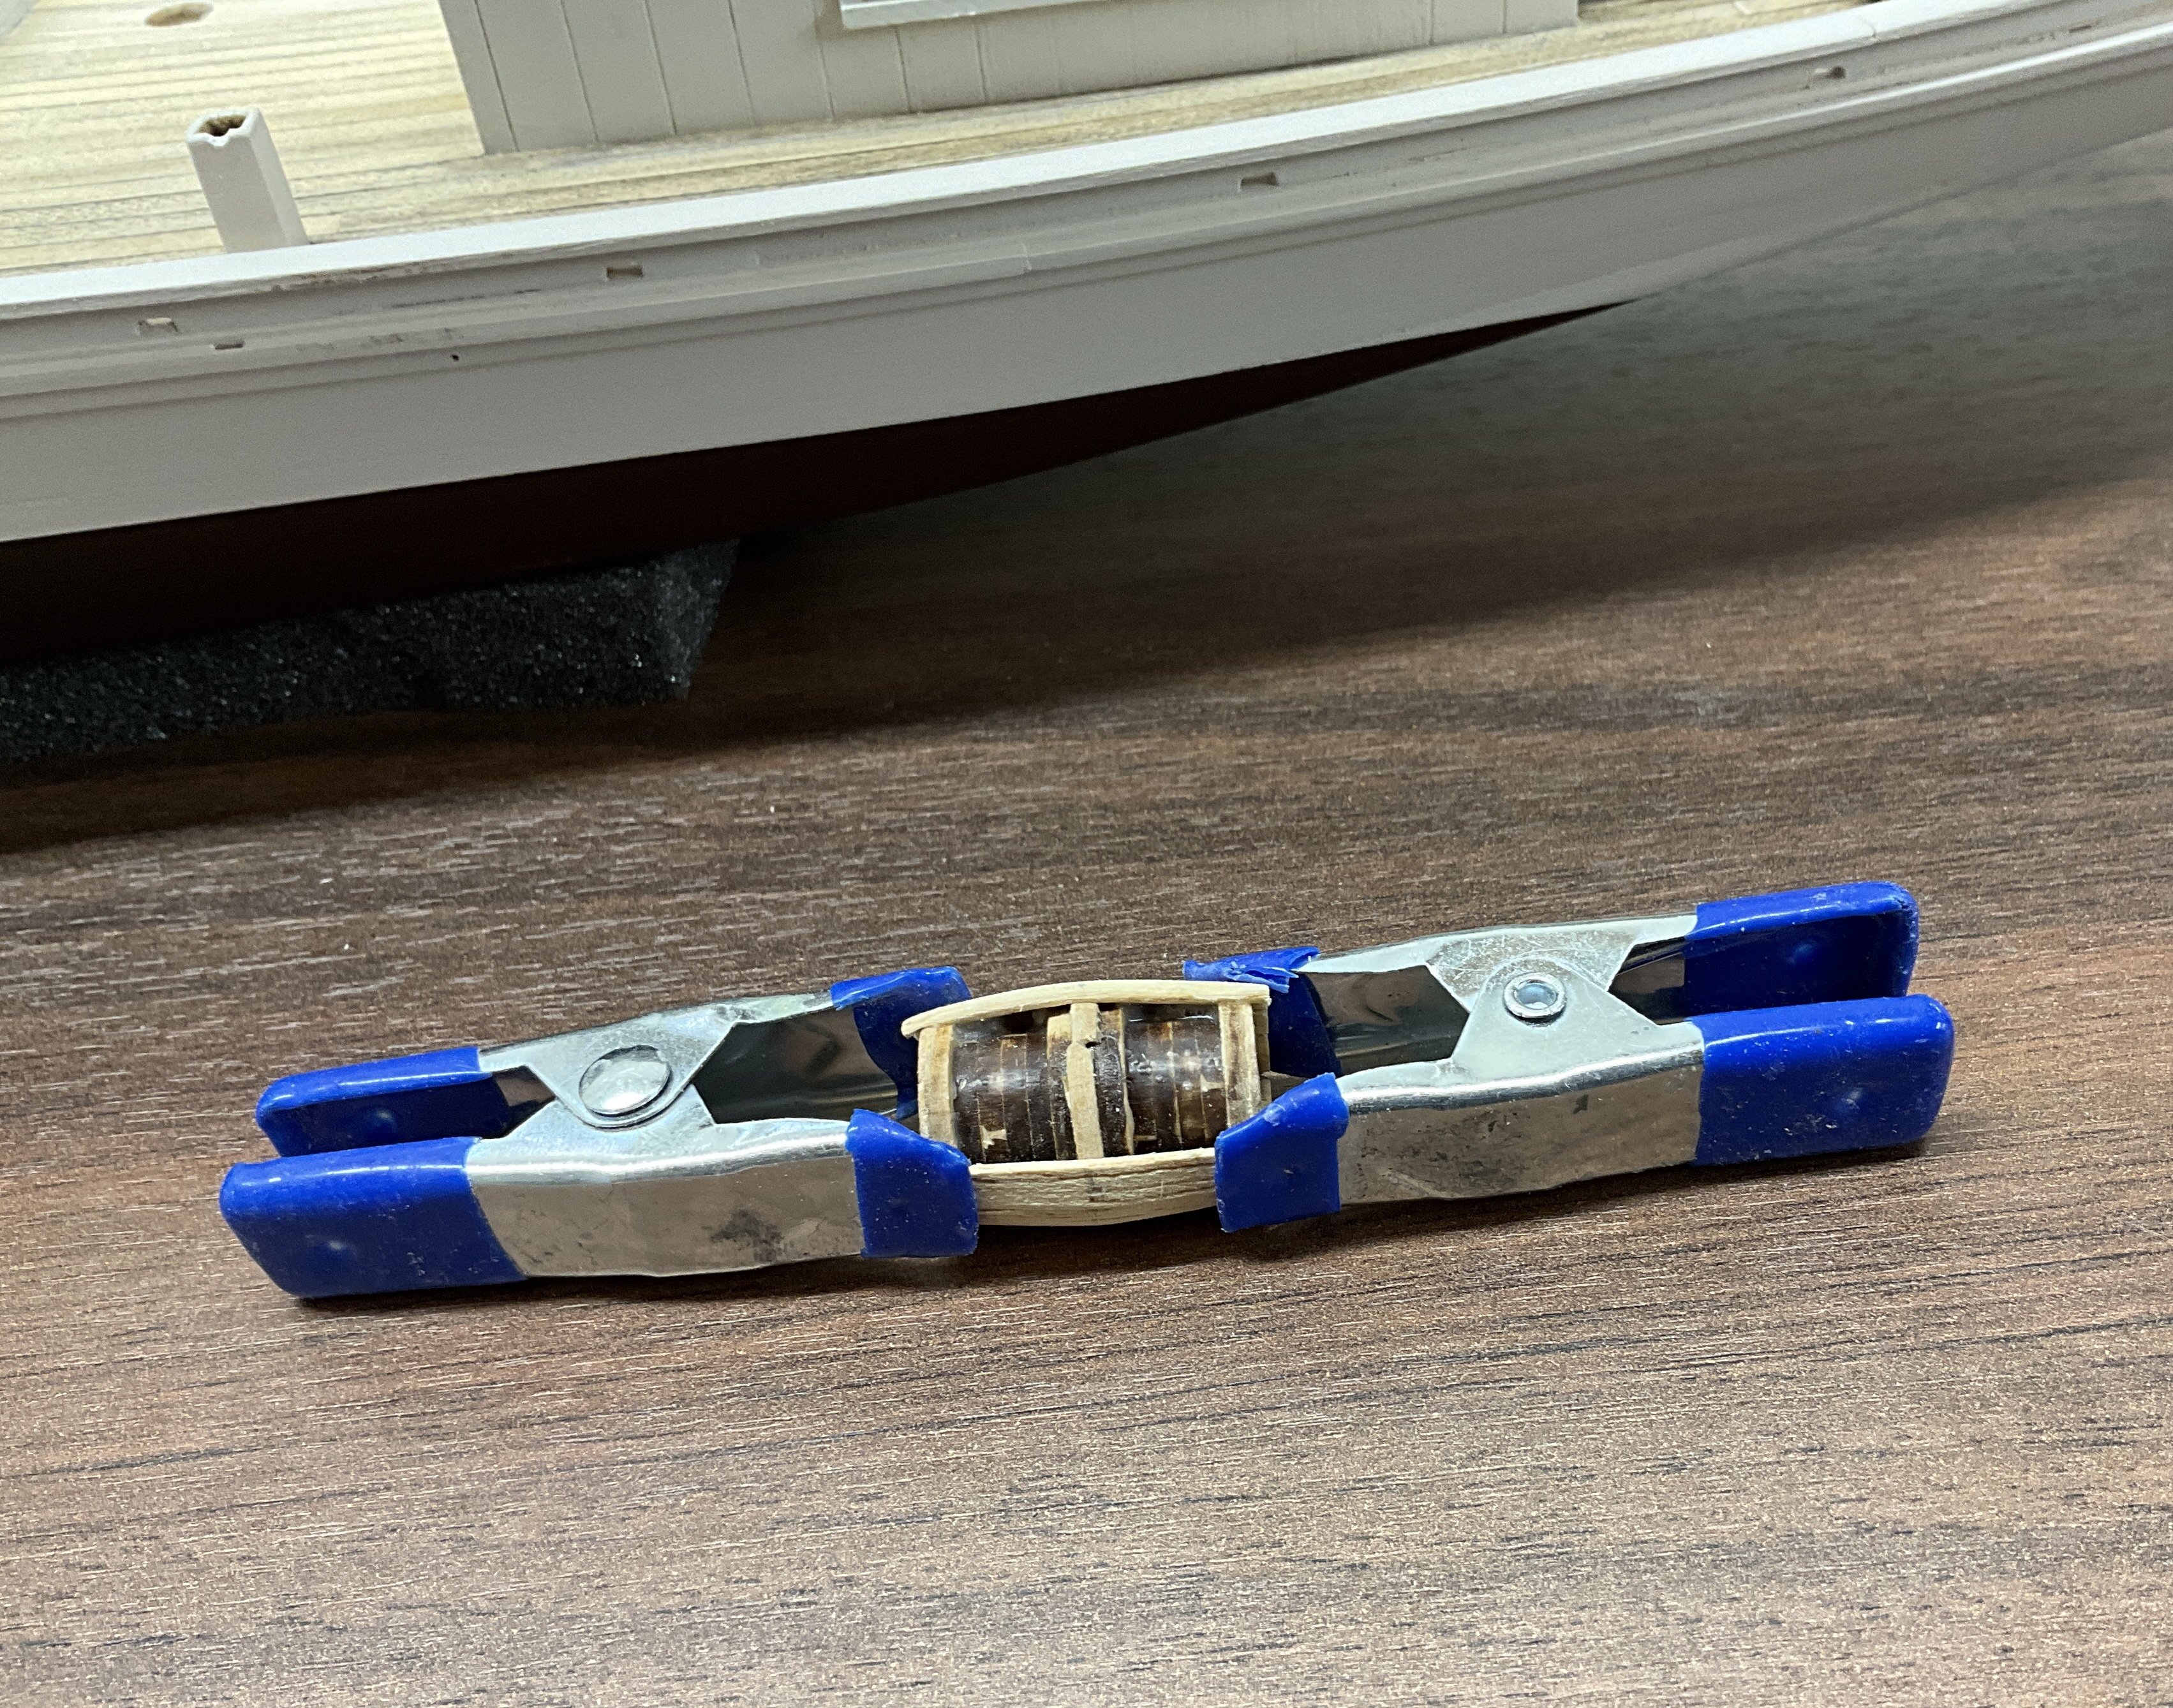
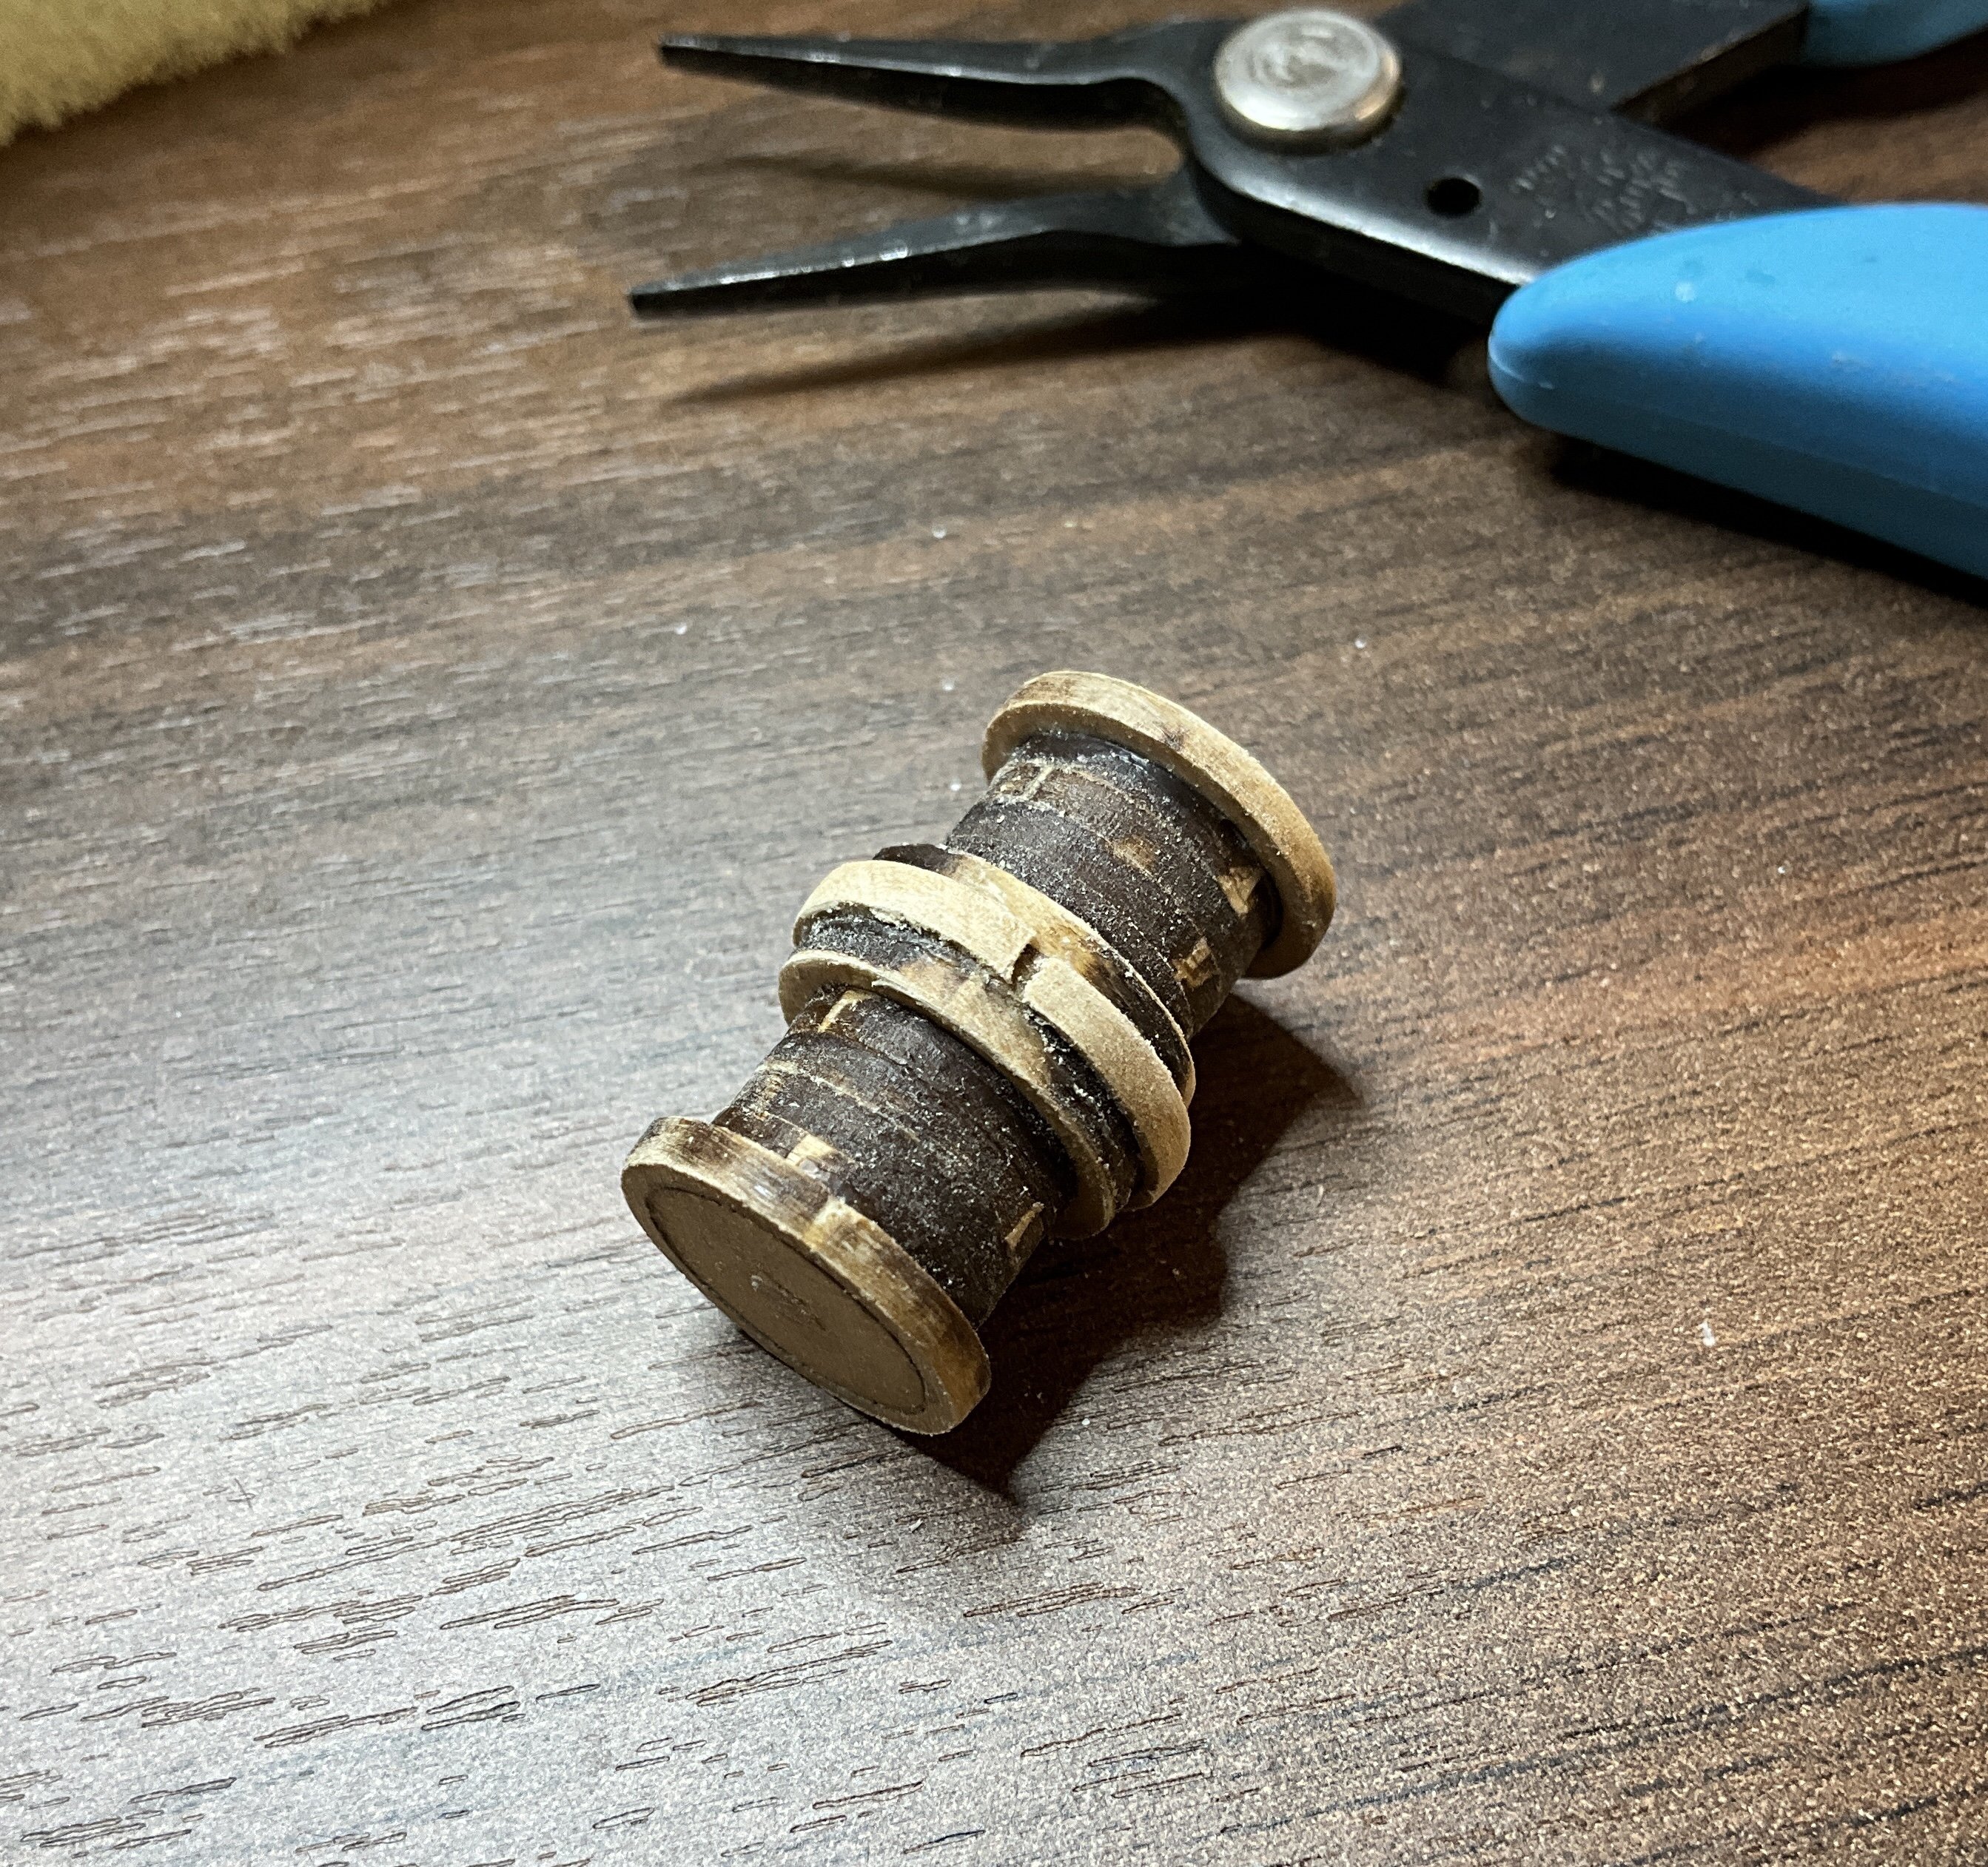
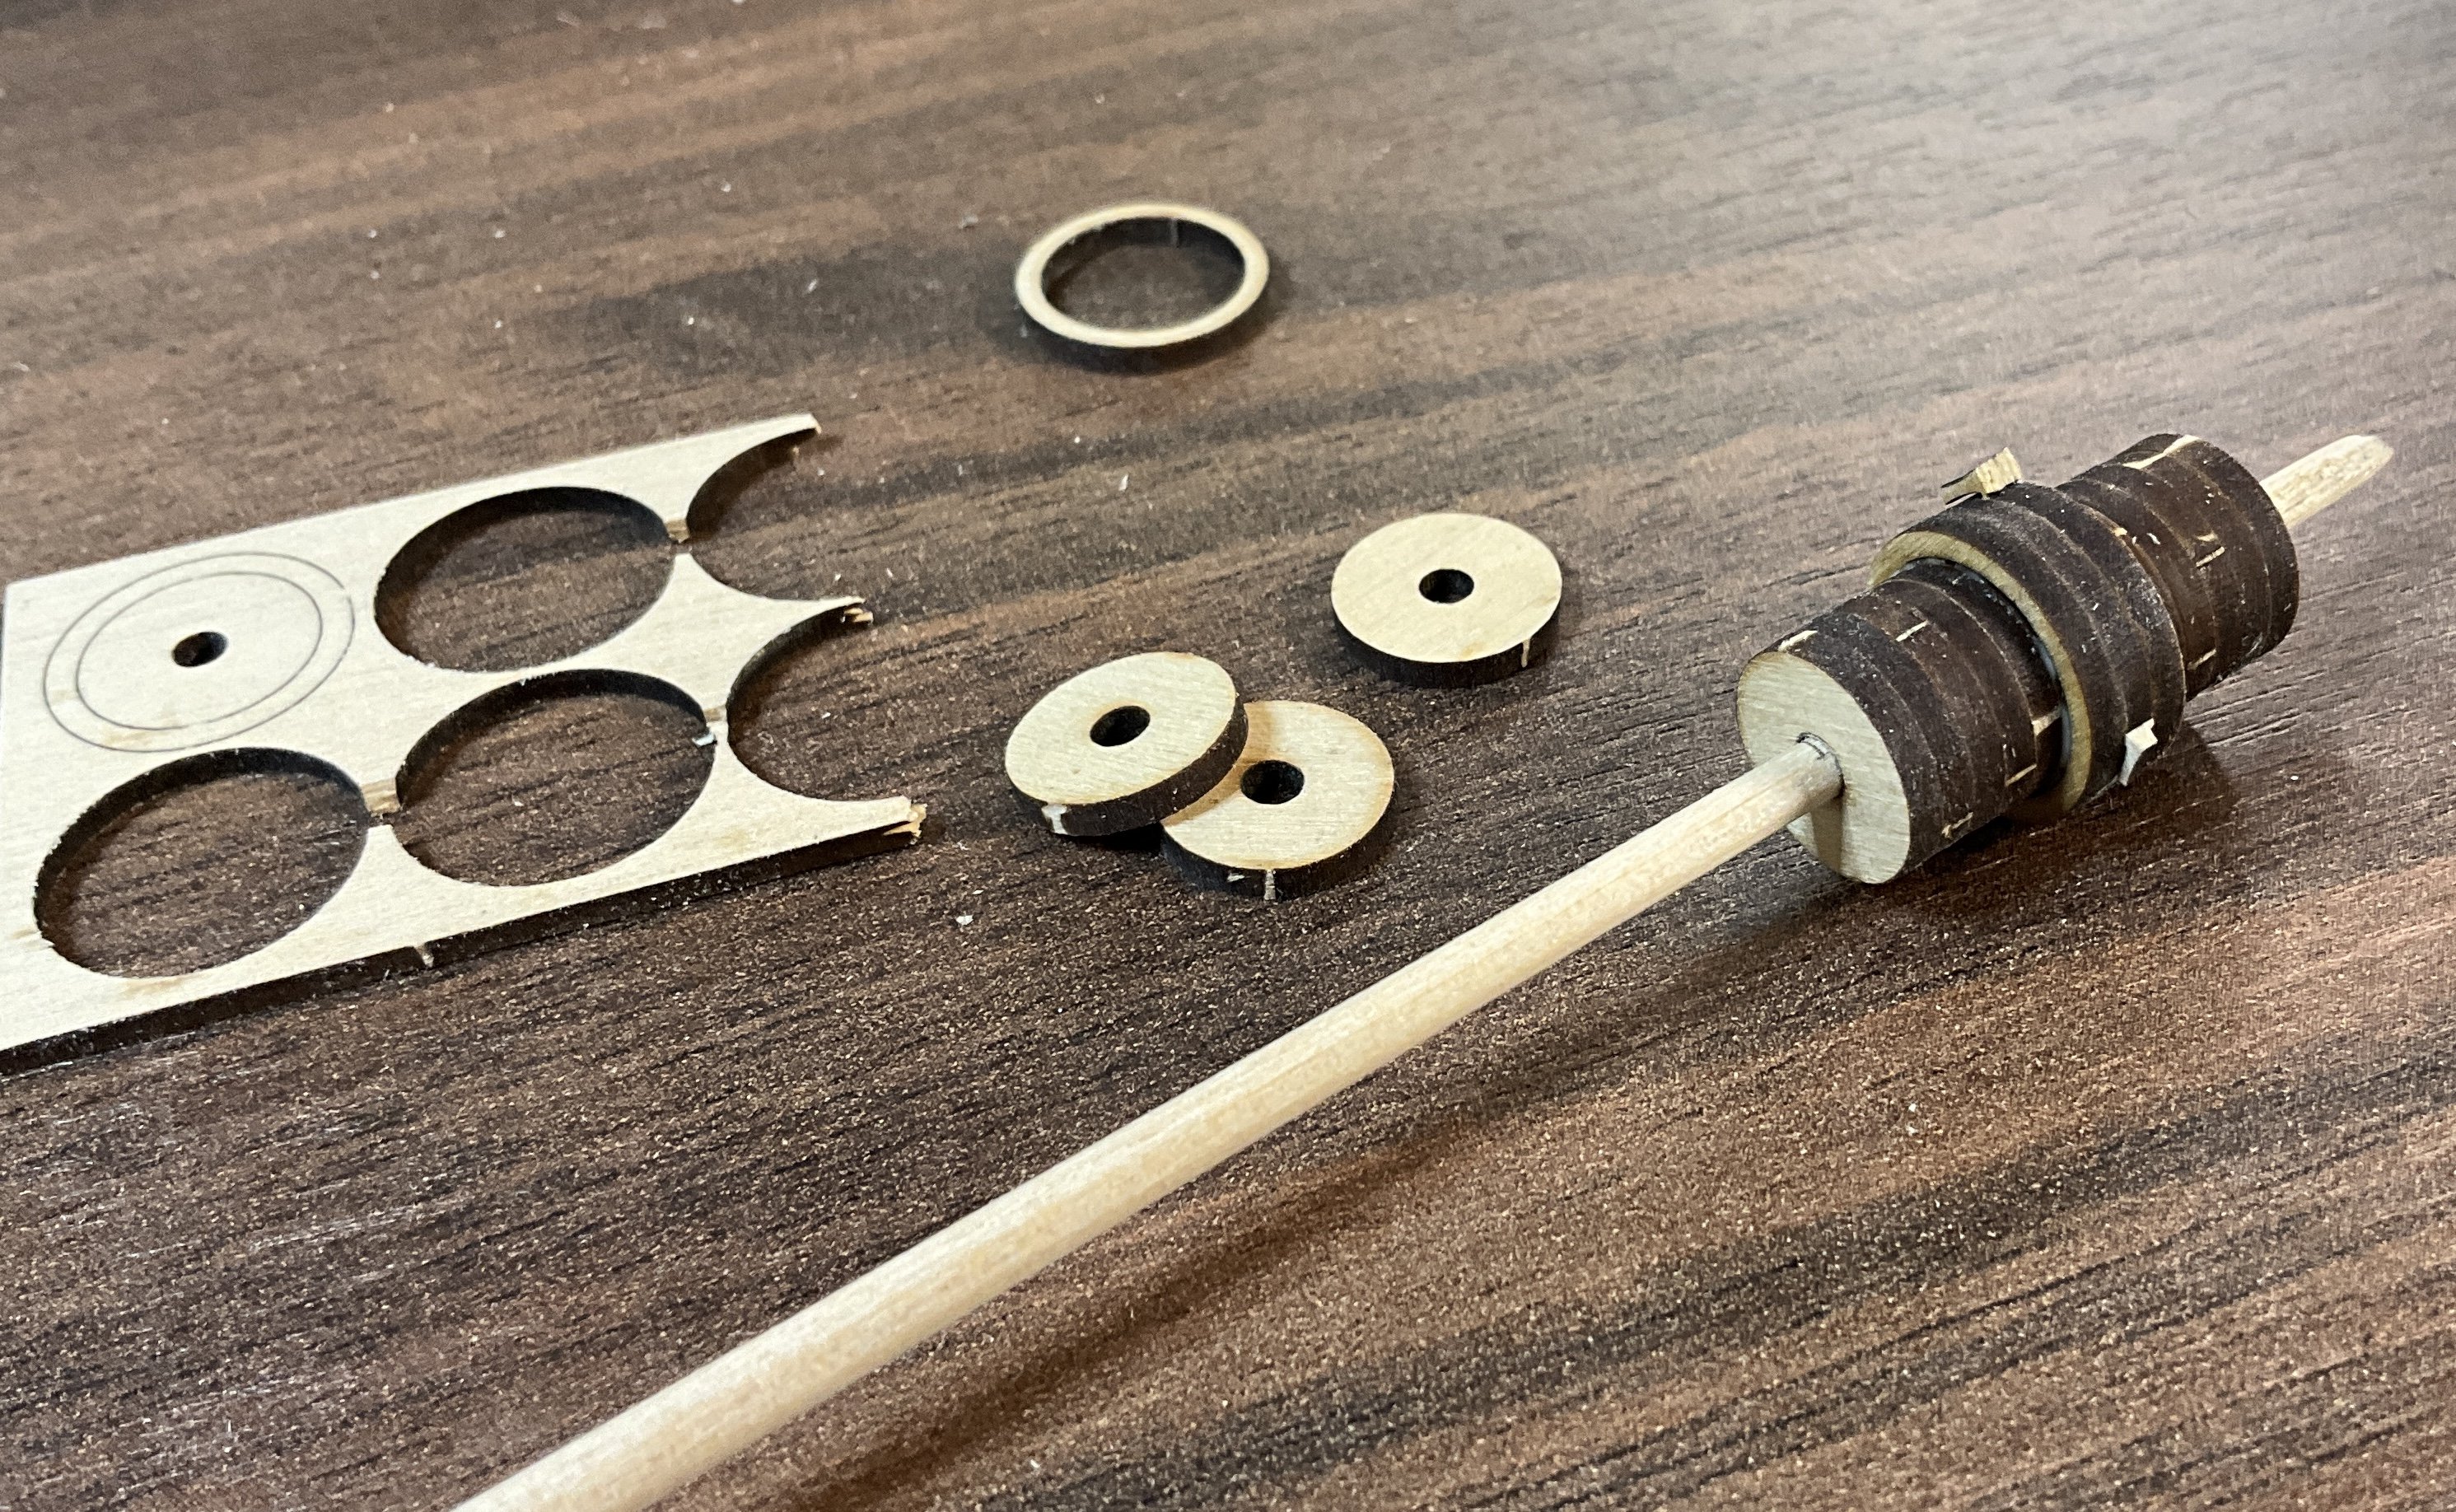
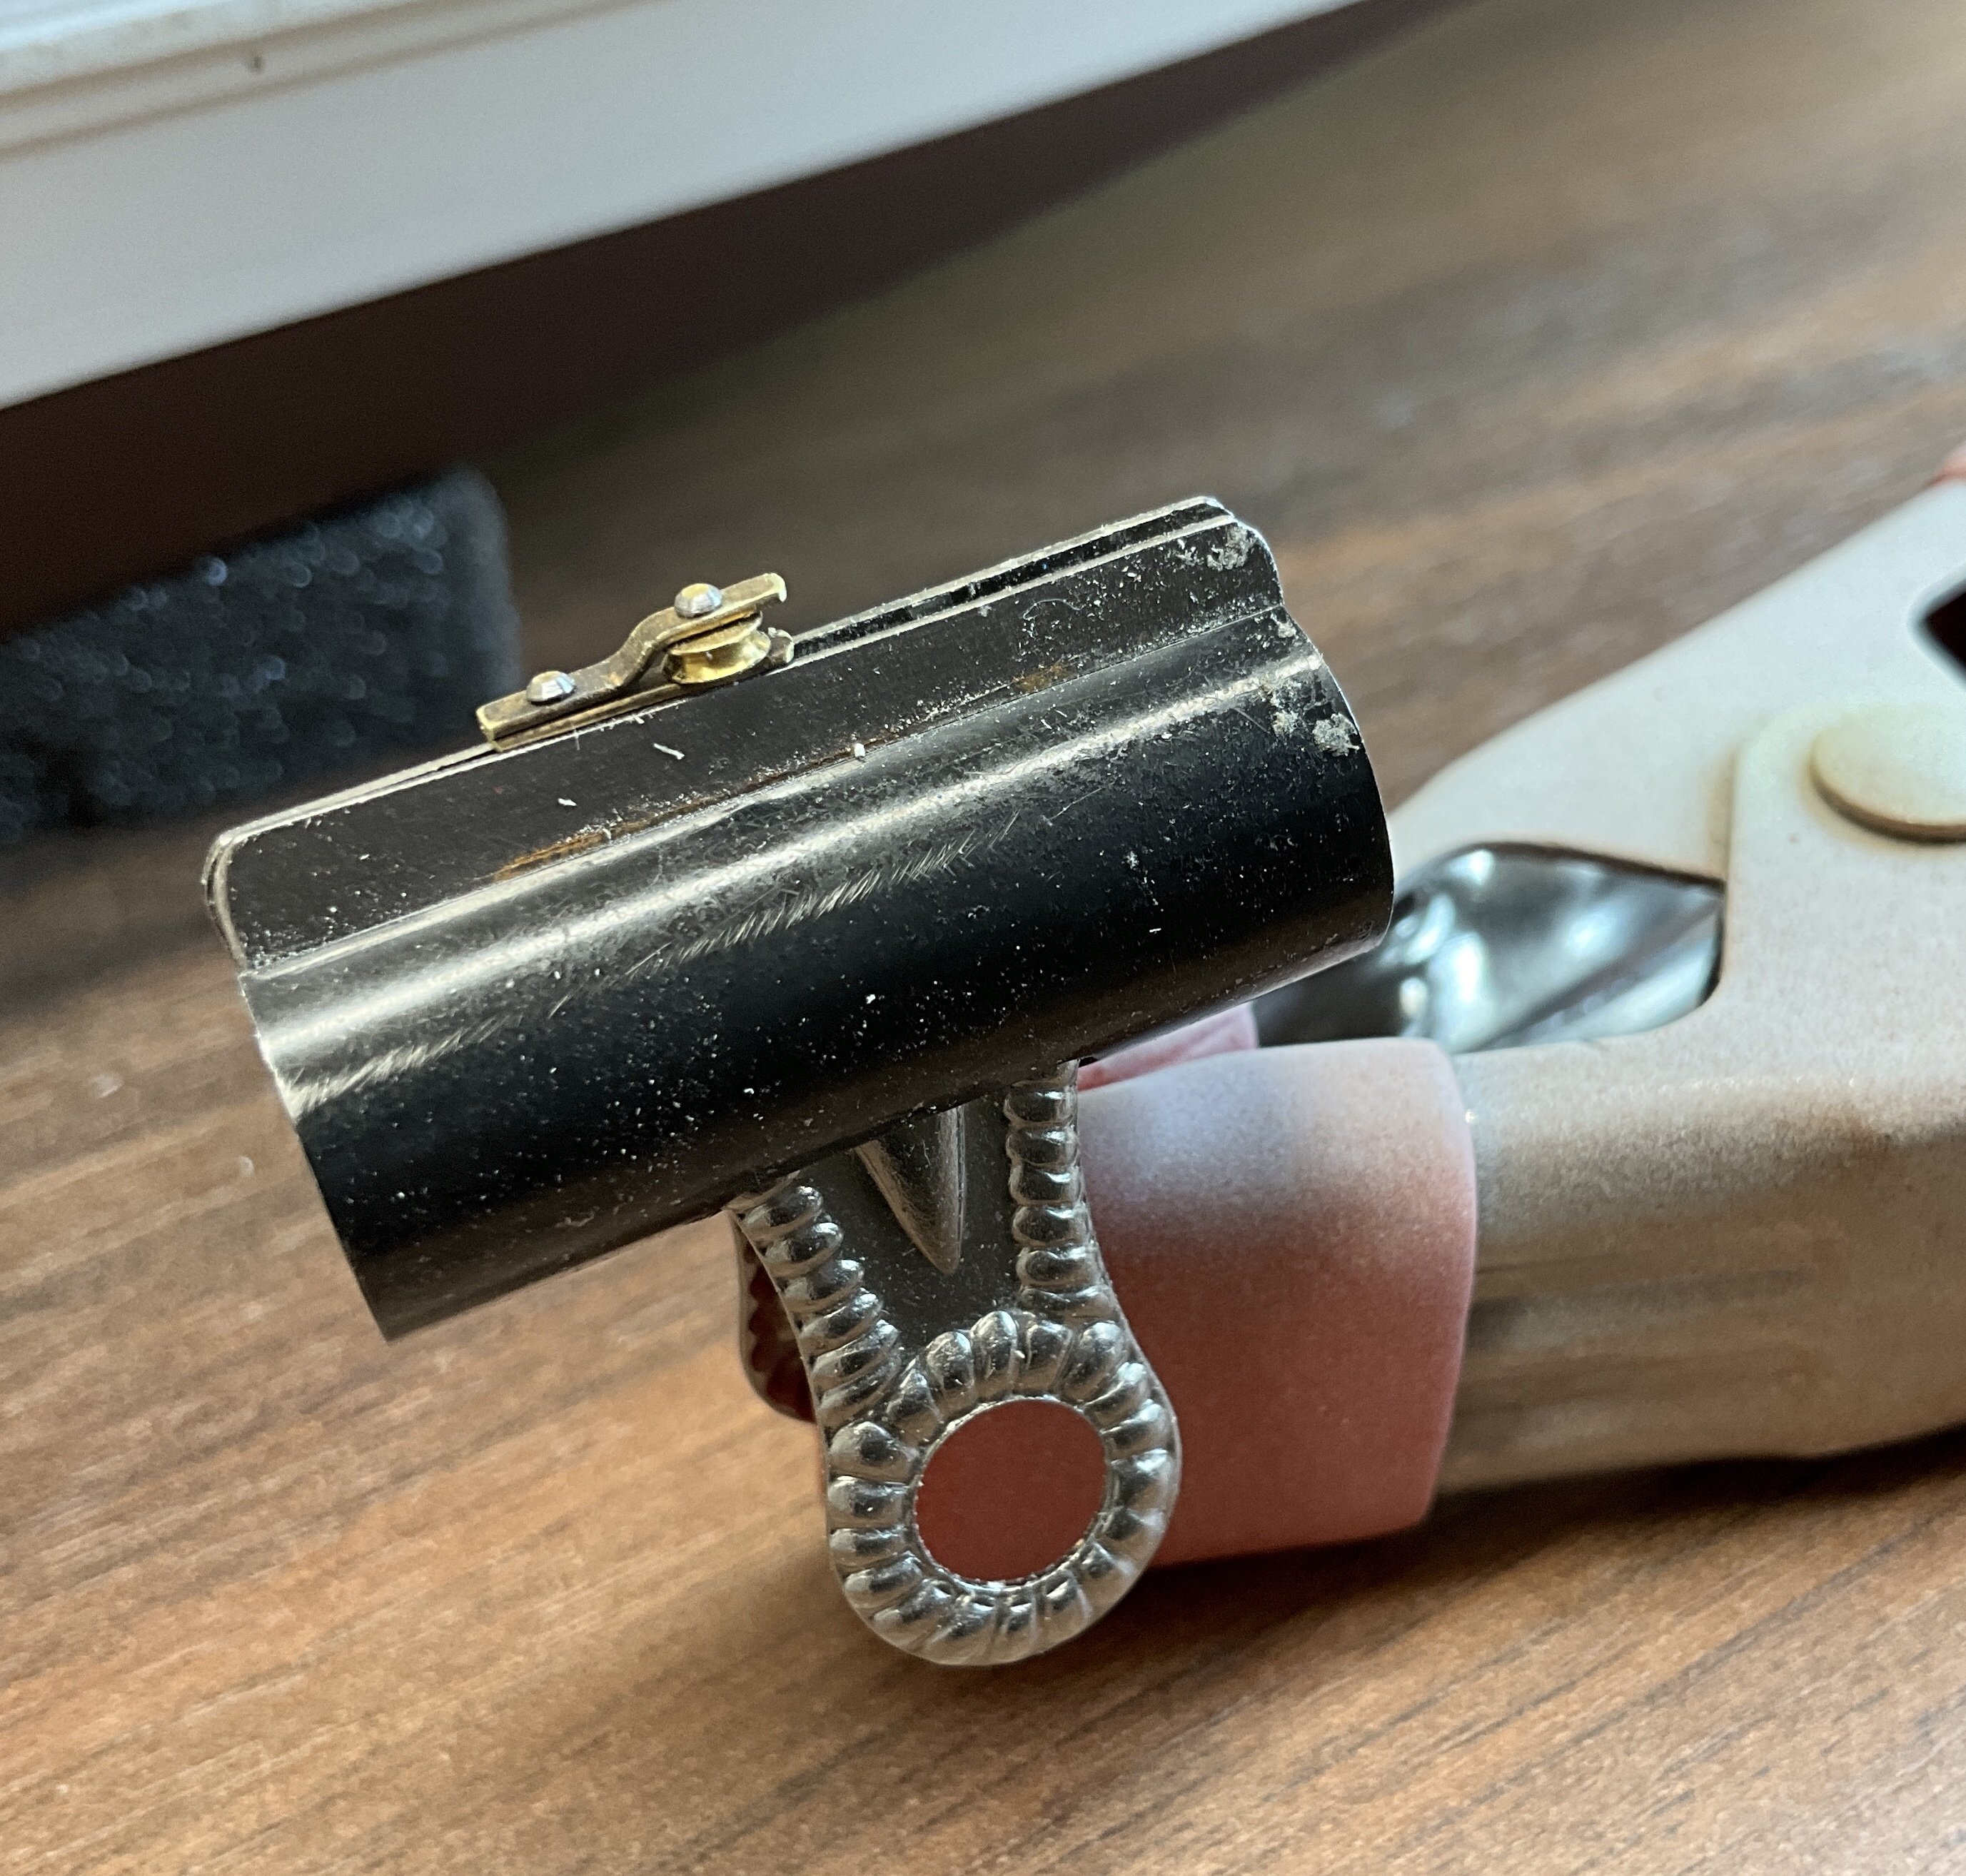
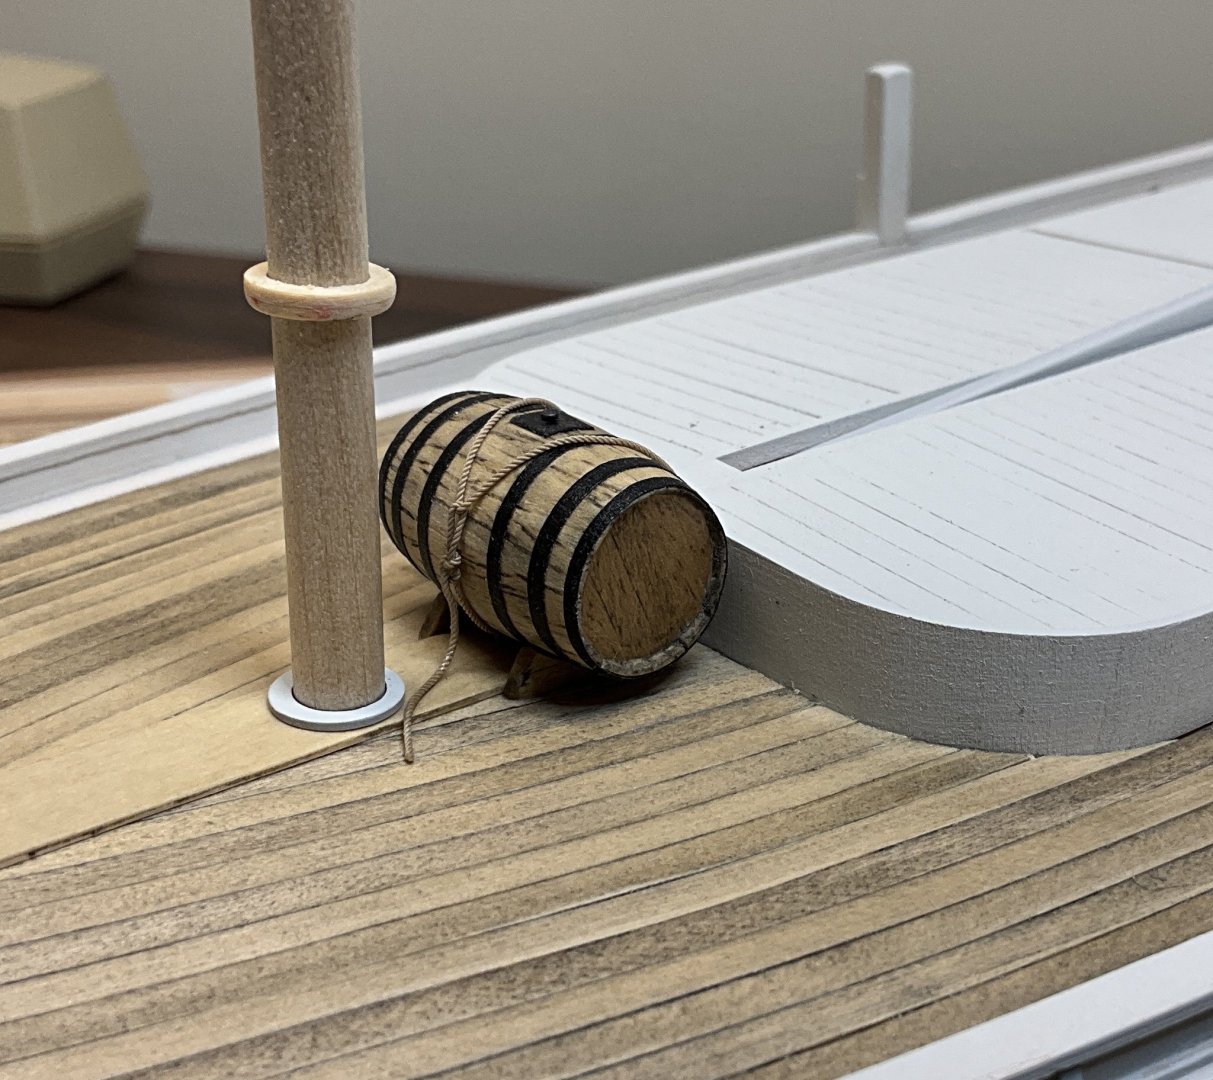
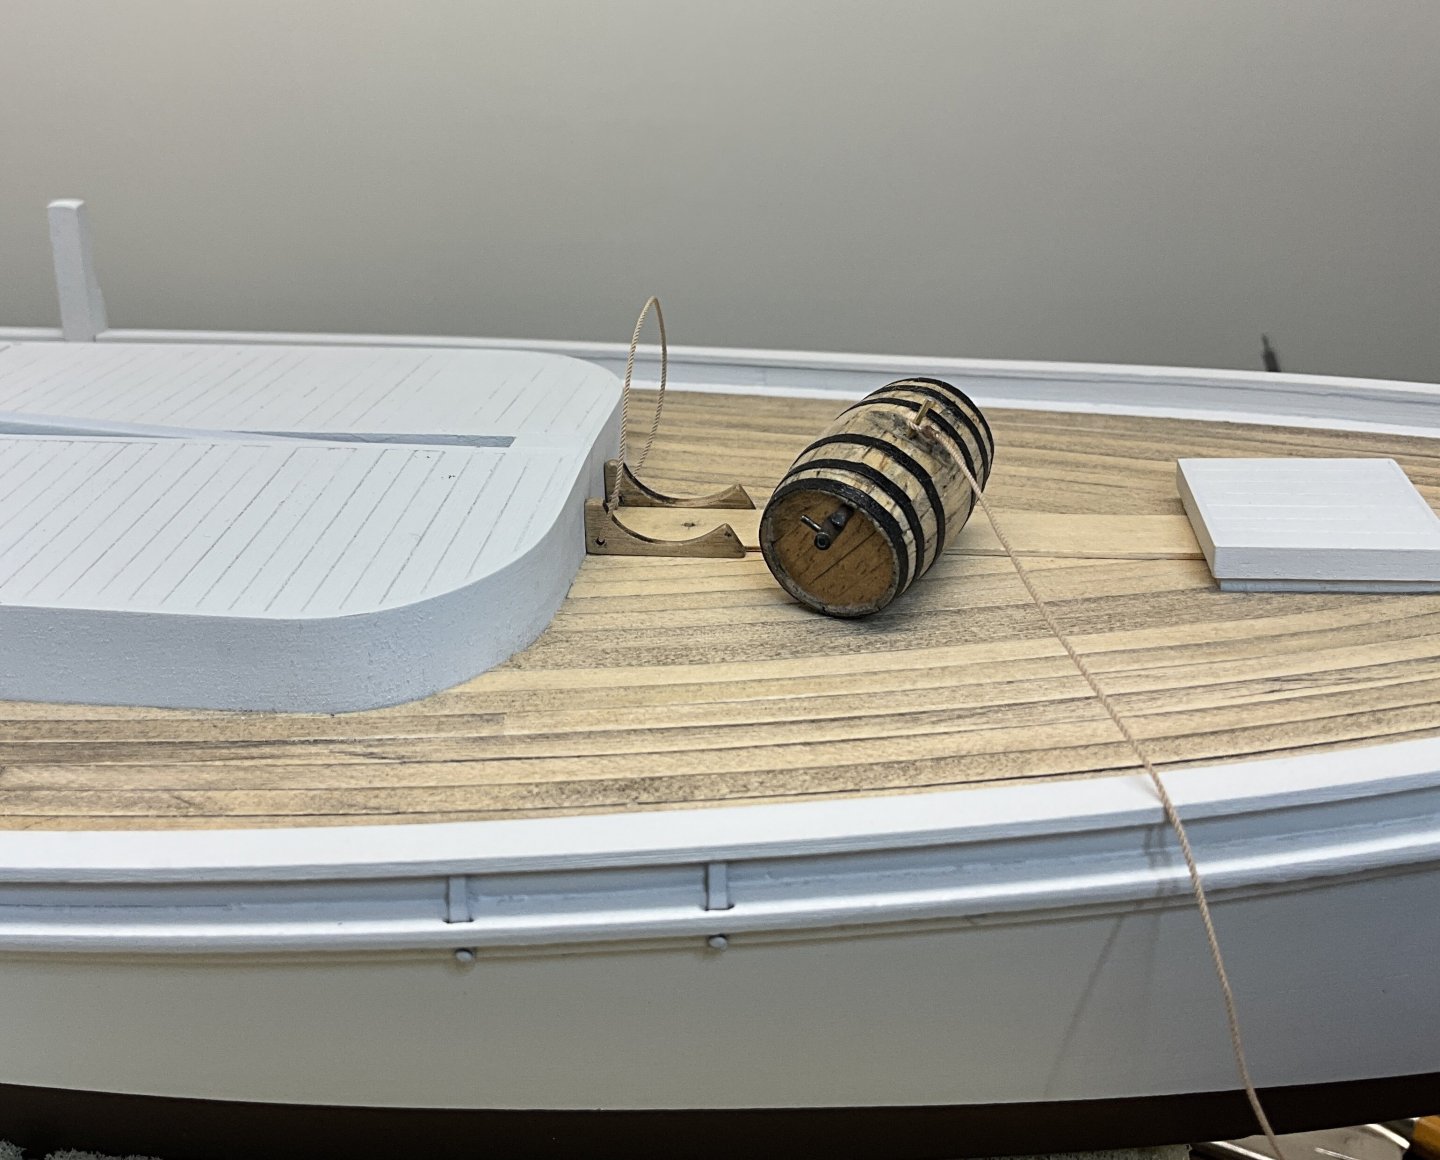
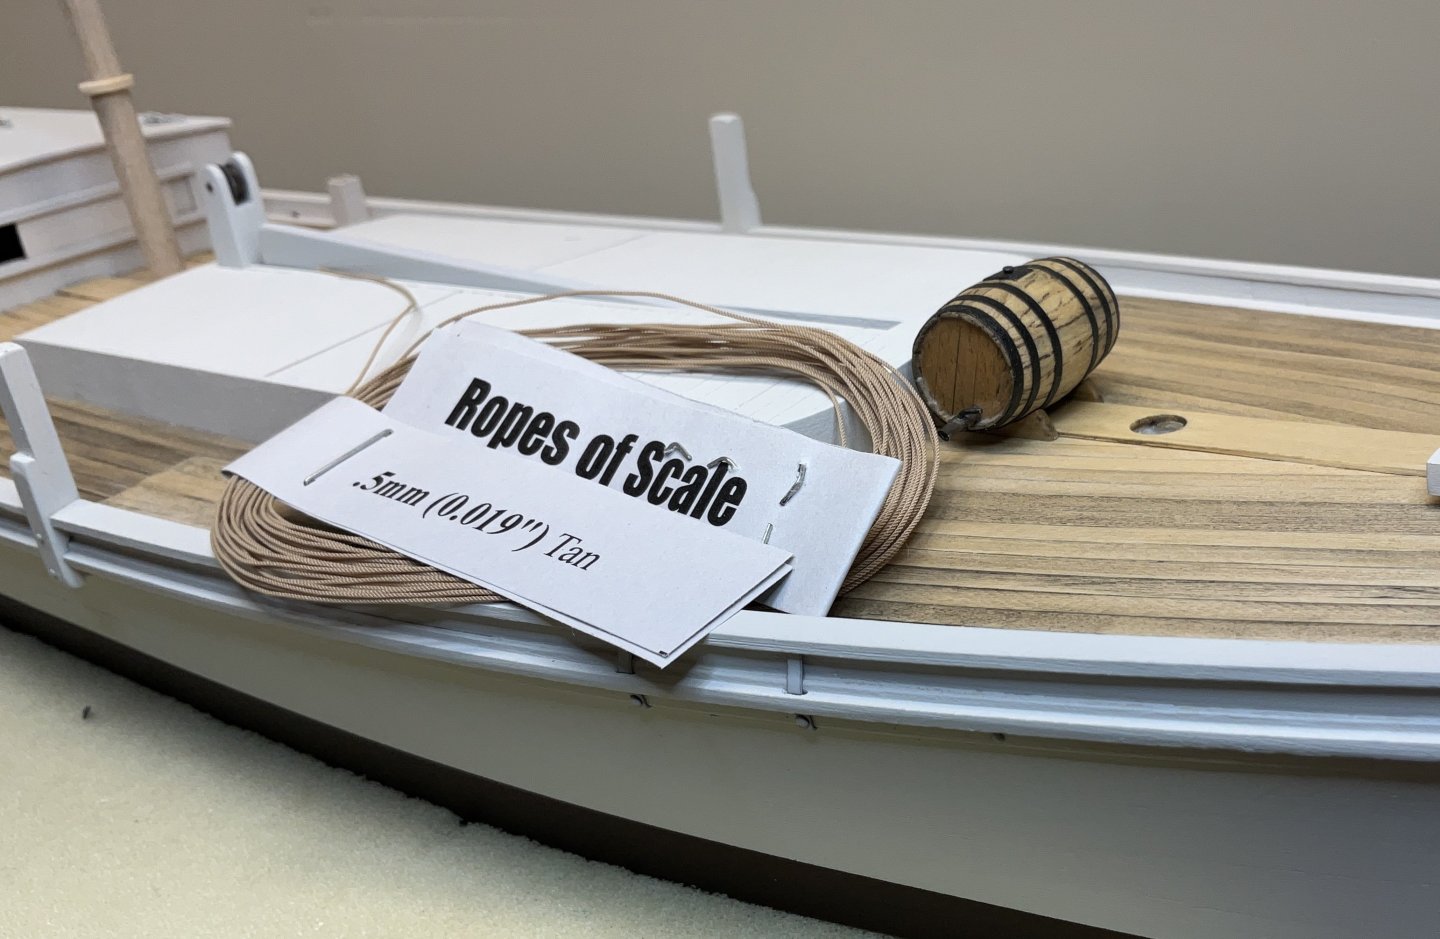
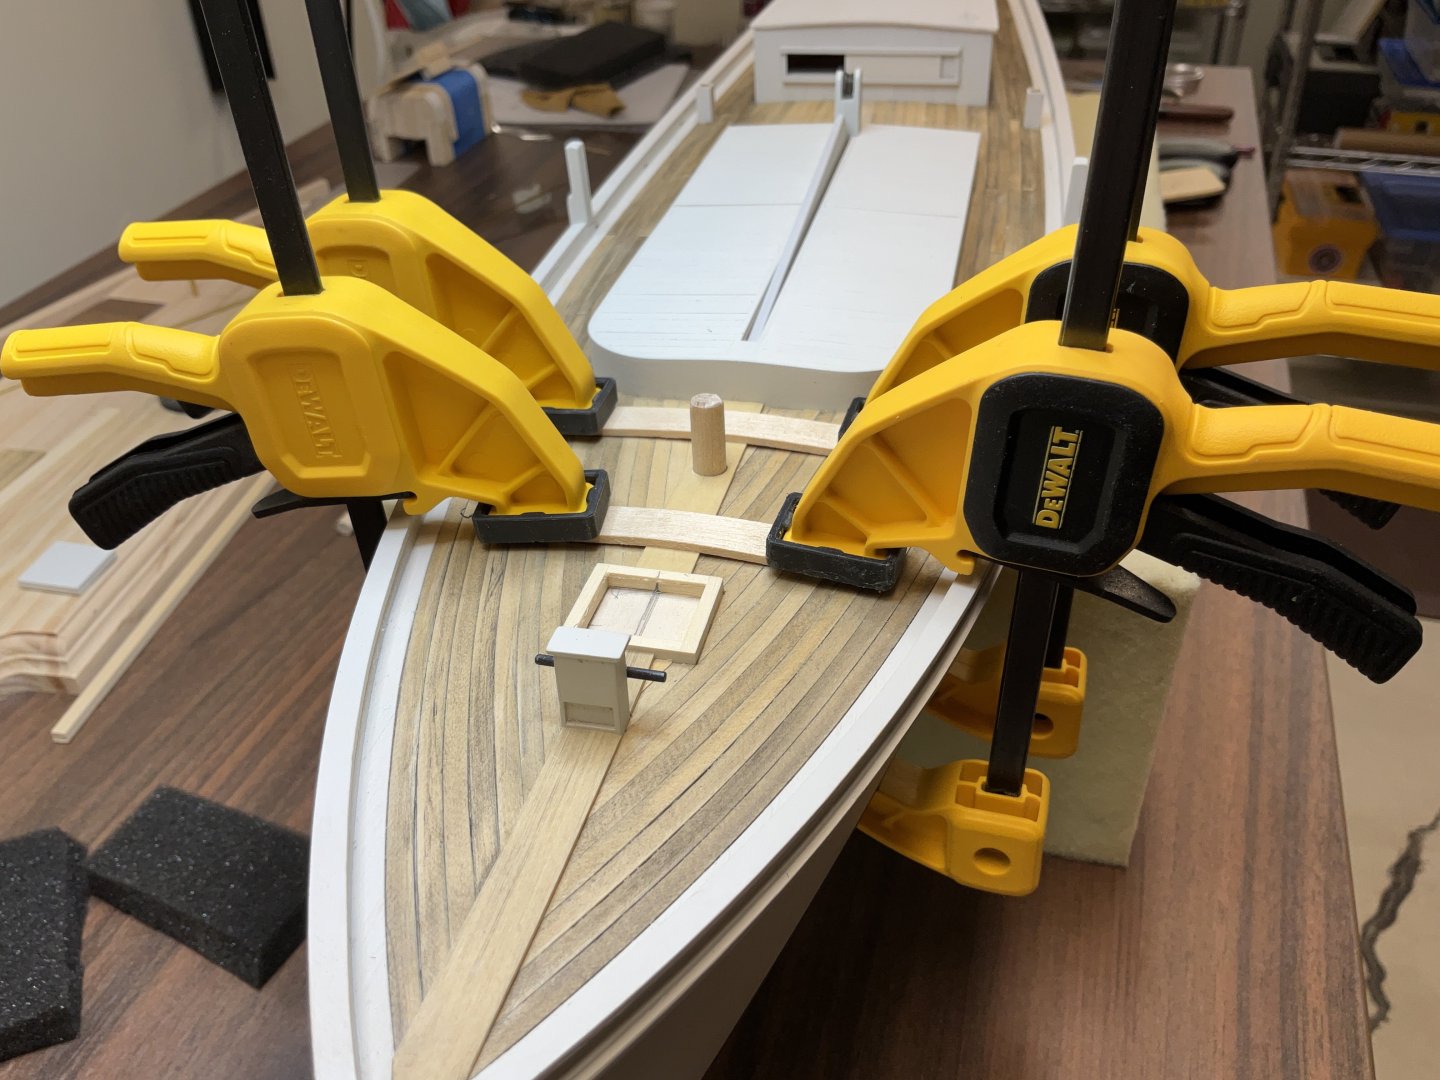
Hi Everyone, just a small update. Thanks to all of you for the Comments and Likes. The water barrel was started a while ago and now is the time to mount it as it will be easier to lash it down before the foremast is stepped. The innards of the barrel where made from leftover parts from a previous build. They are mast hoops and their carrier sheets from Glad Tidings. The heads were made from 1/8” x 1/32” strips of wood glued together and then glued to the ends of the former. The staves were shaped, soaked , clamped in place and glued after drying. So it took a day to finish one strake. The stand for the barrel was also made from the carrier sheet for the mast hoops. Holes were drilled in the bottom back corner and a loop of rope was secured to the stands by a knot tied in each end after being pushed through the hole. The rope coming out from under the front of the barrel had an eye made in one end that was slipped over a pin that secures the barrel to the deck. The barrel hoops were made from 1/8” chart tape cut down to just under 1/16”. The ends of the tape were were glued with CA where they overlapped under the barrel. The barrel was then lashed down. Now that I think about it, the rest of the updates will be smaller. Lots of little things to do now. My thoughts and prayers are with everyone that was and is in harm’s way. Hope to see you soon.


- 201 replies
-
- 12
-
-

-
- Oyster Sharpie
- first scratch build
- (and 1 more)
-
Jacques,congratulations on finishing the half hull project. This is an exceptional result. Very impressive.
- 82 replies
-
- 3
-
-
-
- half hull planking project
- half hull
- (and 2 more)
-
Hi Ian, thank you for your generous comment. I appreciate very much!
- 201 replies
-
- 2
-
-
- Oyster Sharpie
- first scratch build
- (and 1 more)
-
Glen, l see you’re on track for another great build!
- 185 replies
-
- 6
-
-
-
- Flying Dutchman
- Black pearl
- (and 2 more)
-
Looking great Jacques. I keep thinking how good she looks sitting on that rough-sawn wood
-
Hi Rik, thank you for posting this picture. It is a very beautiful and inspiring model. I hope that the rest of your visit was just as rewarding.
- 201 replies
-
- 4
-
-
- Oyster Sharpie
- first scratch build
- (and 1 more)
-
Looking great Kenneth!
-
Hi Keith, thank you very much. In previous builds I felt like I was fighting the metal. Now I feel like I’m kind of getting along with it 😀
- 201 replies
-
- 4
-
-
- Oyster Sharpie
- first scratch build
- (and 1 more)
-
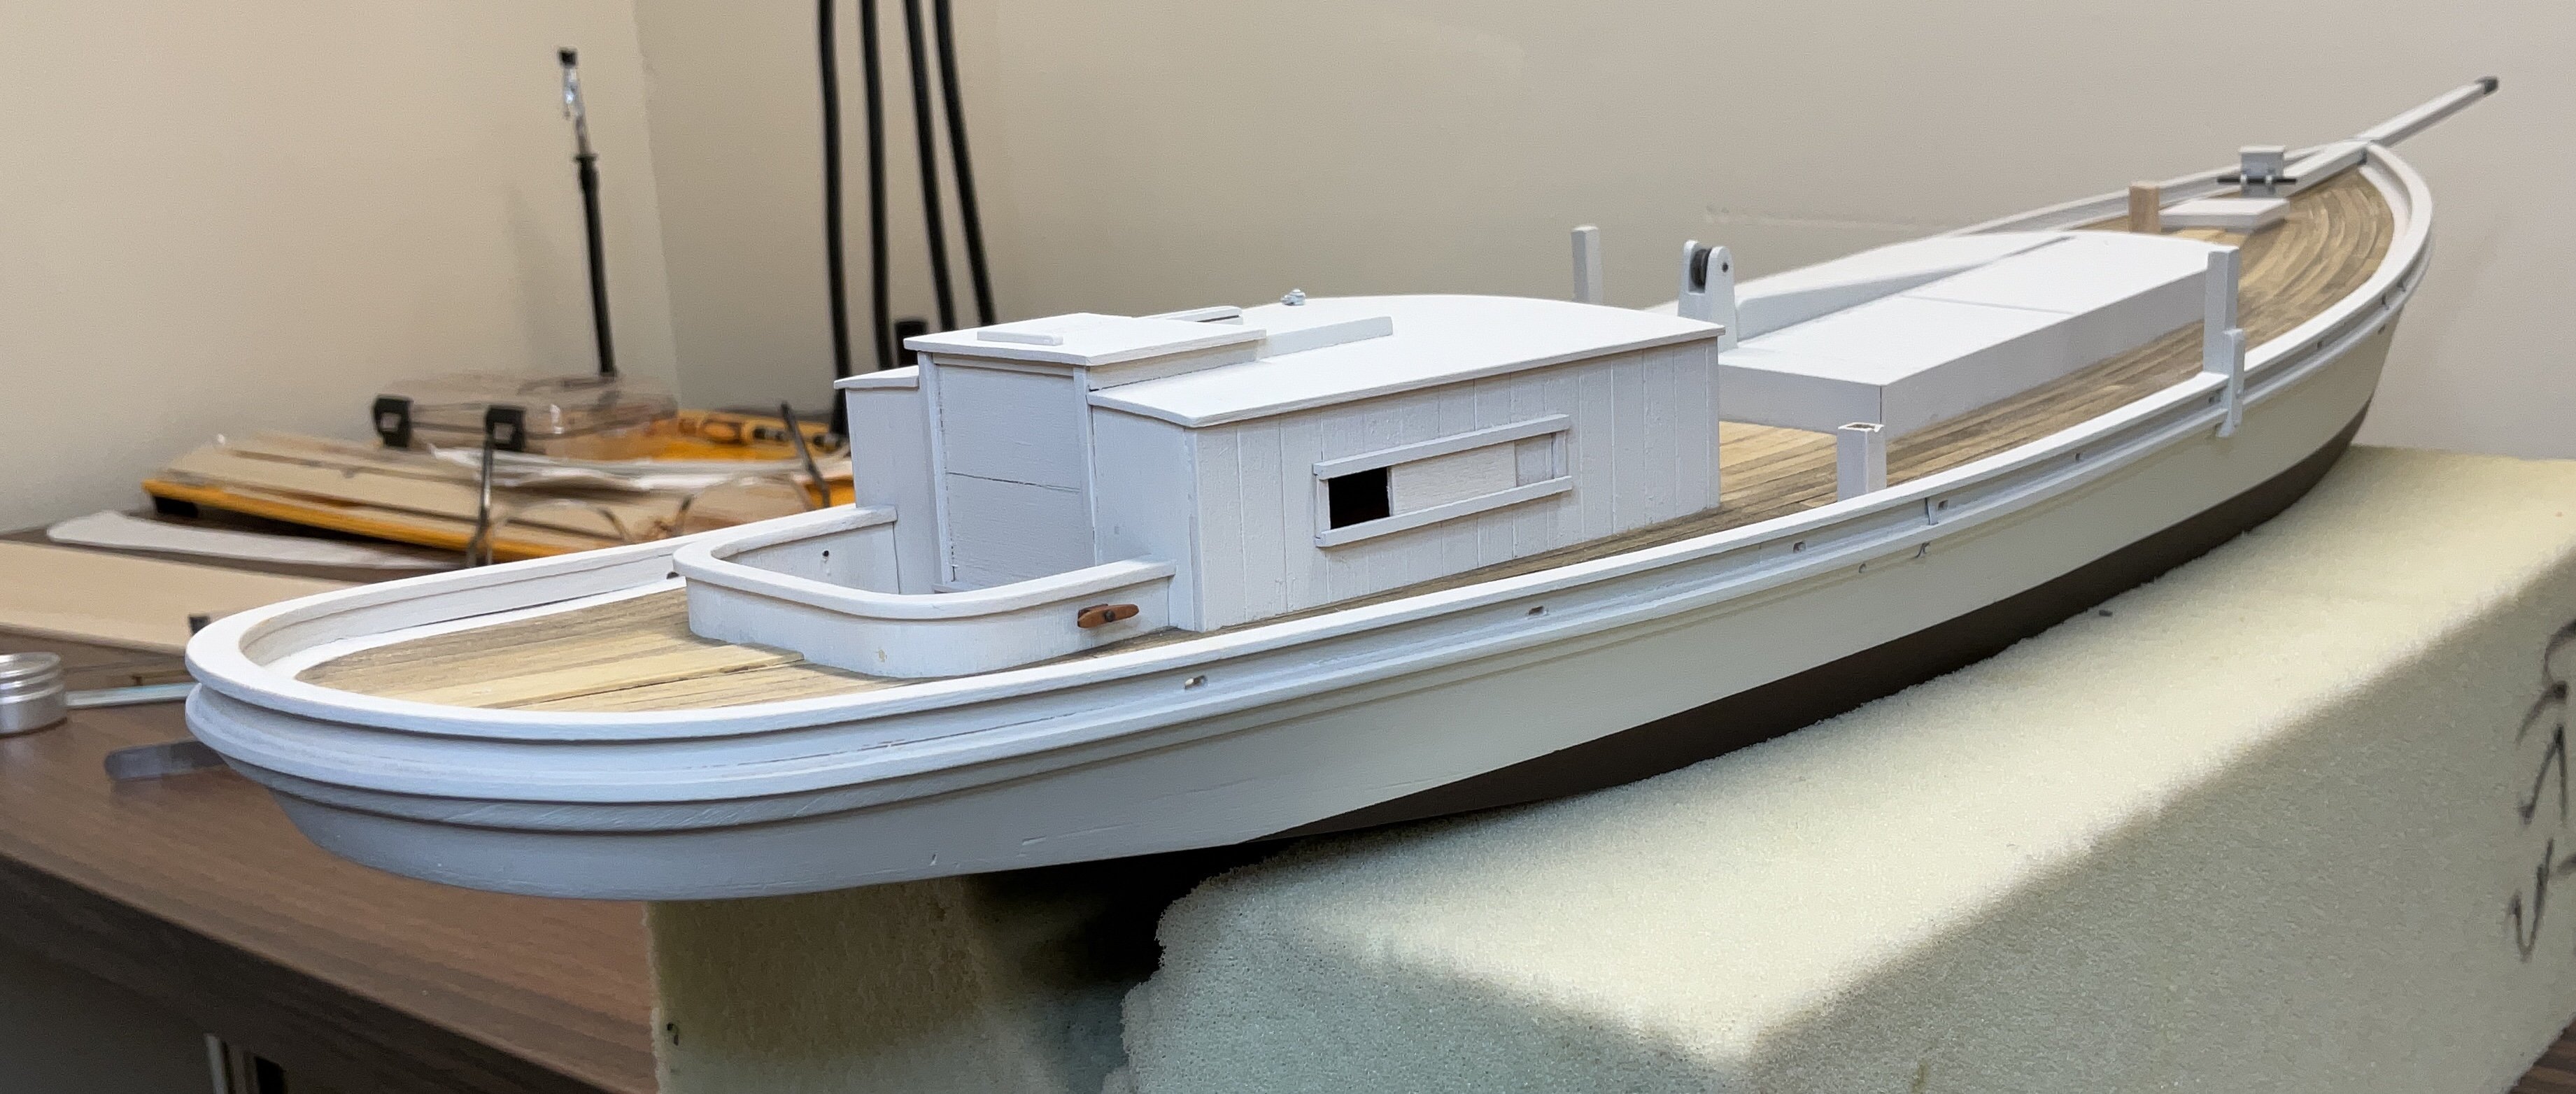
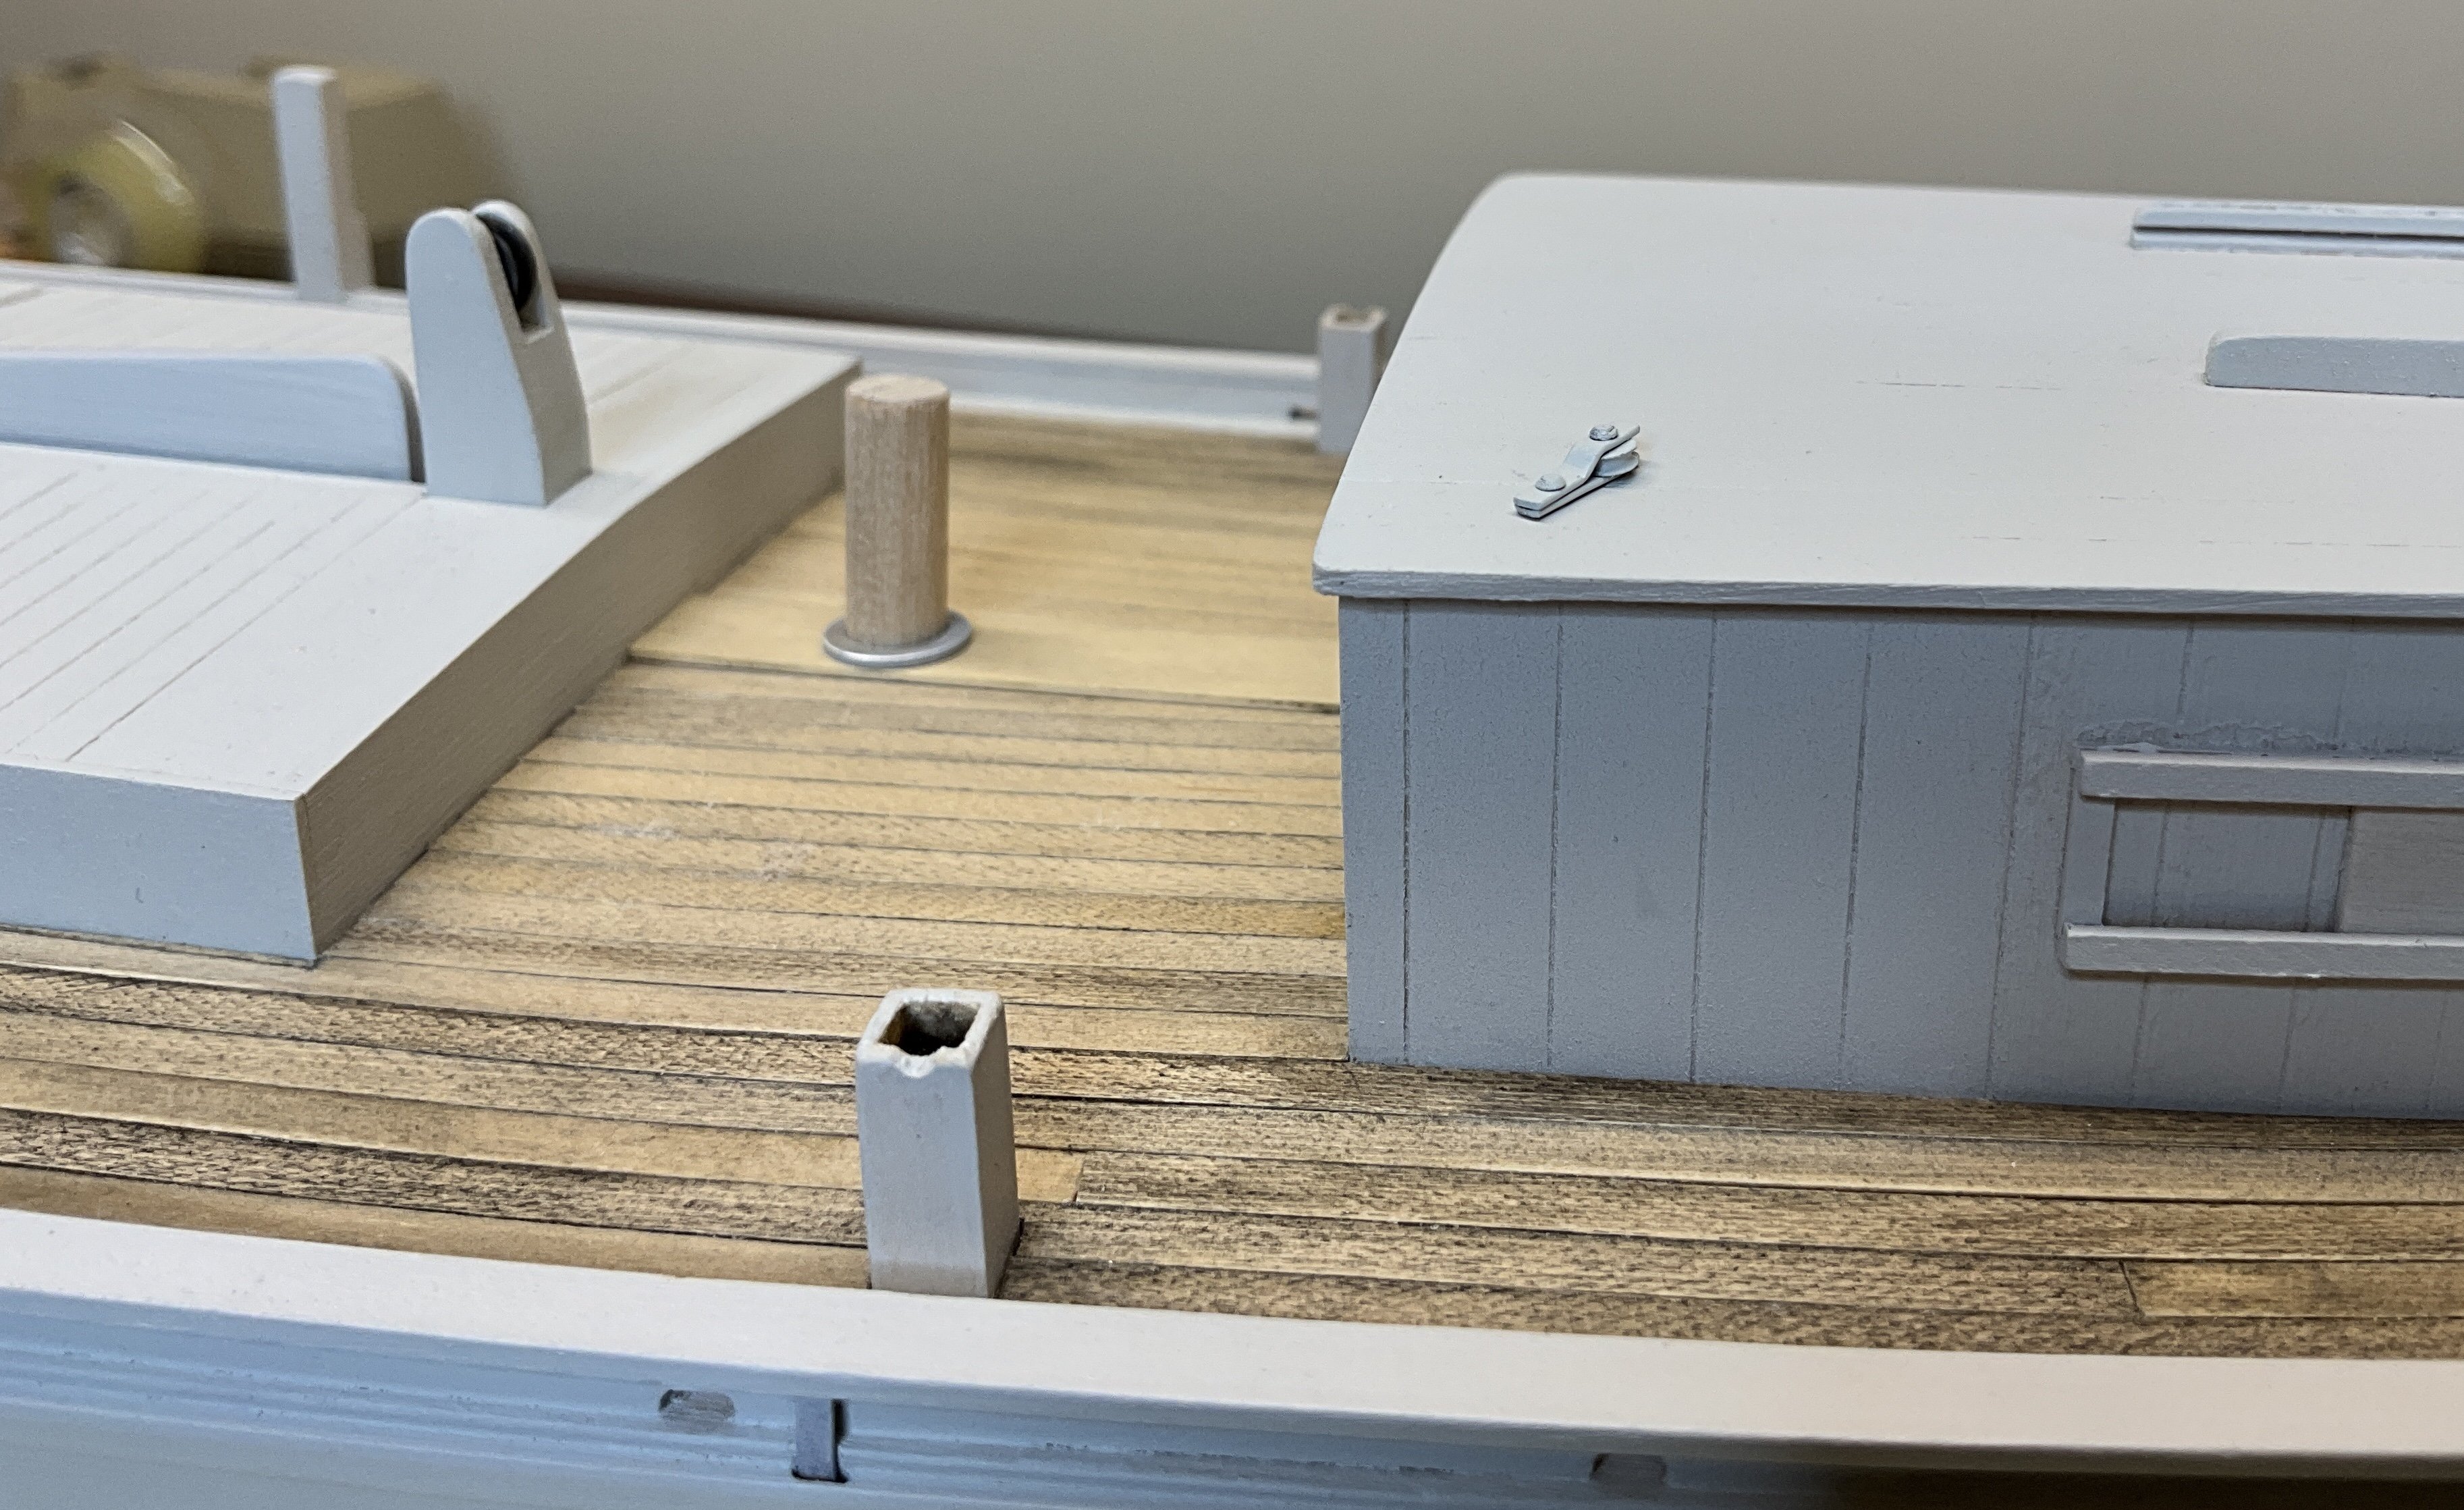
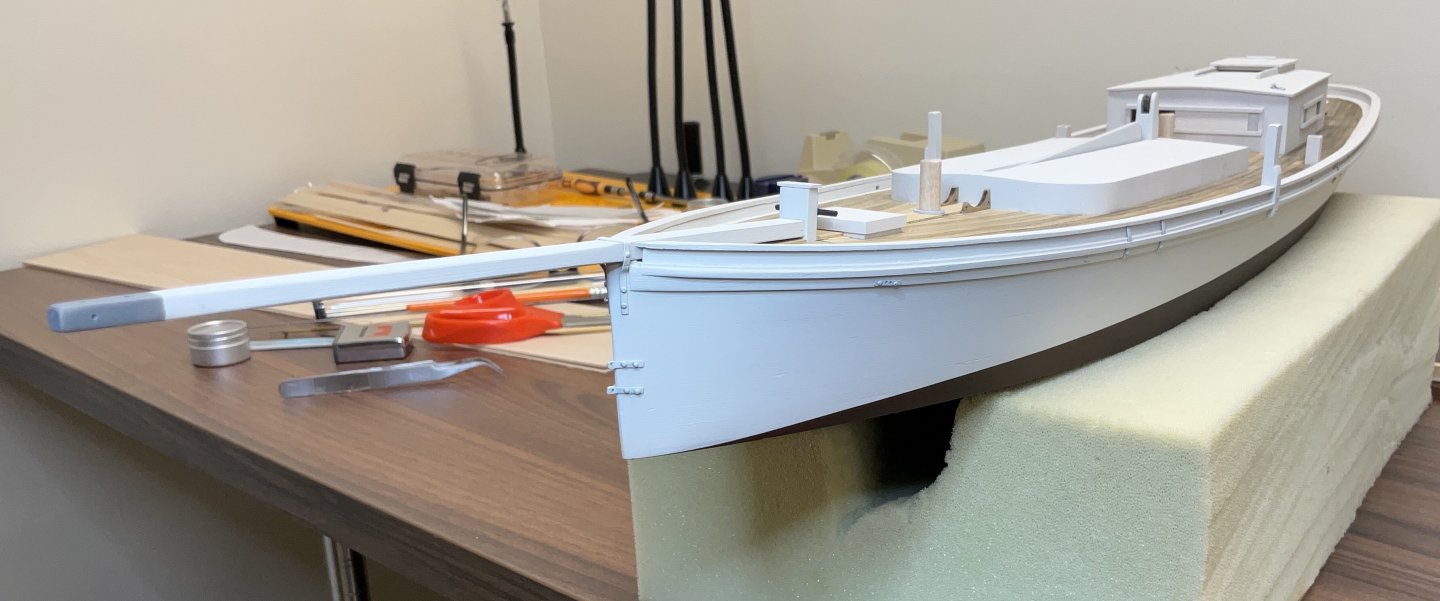
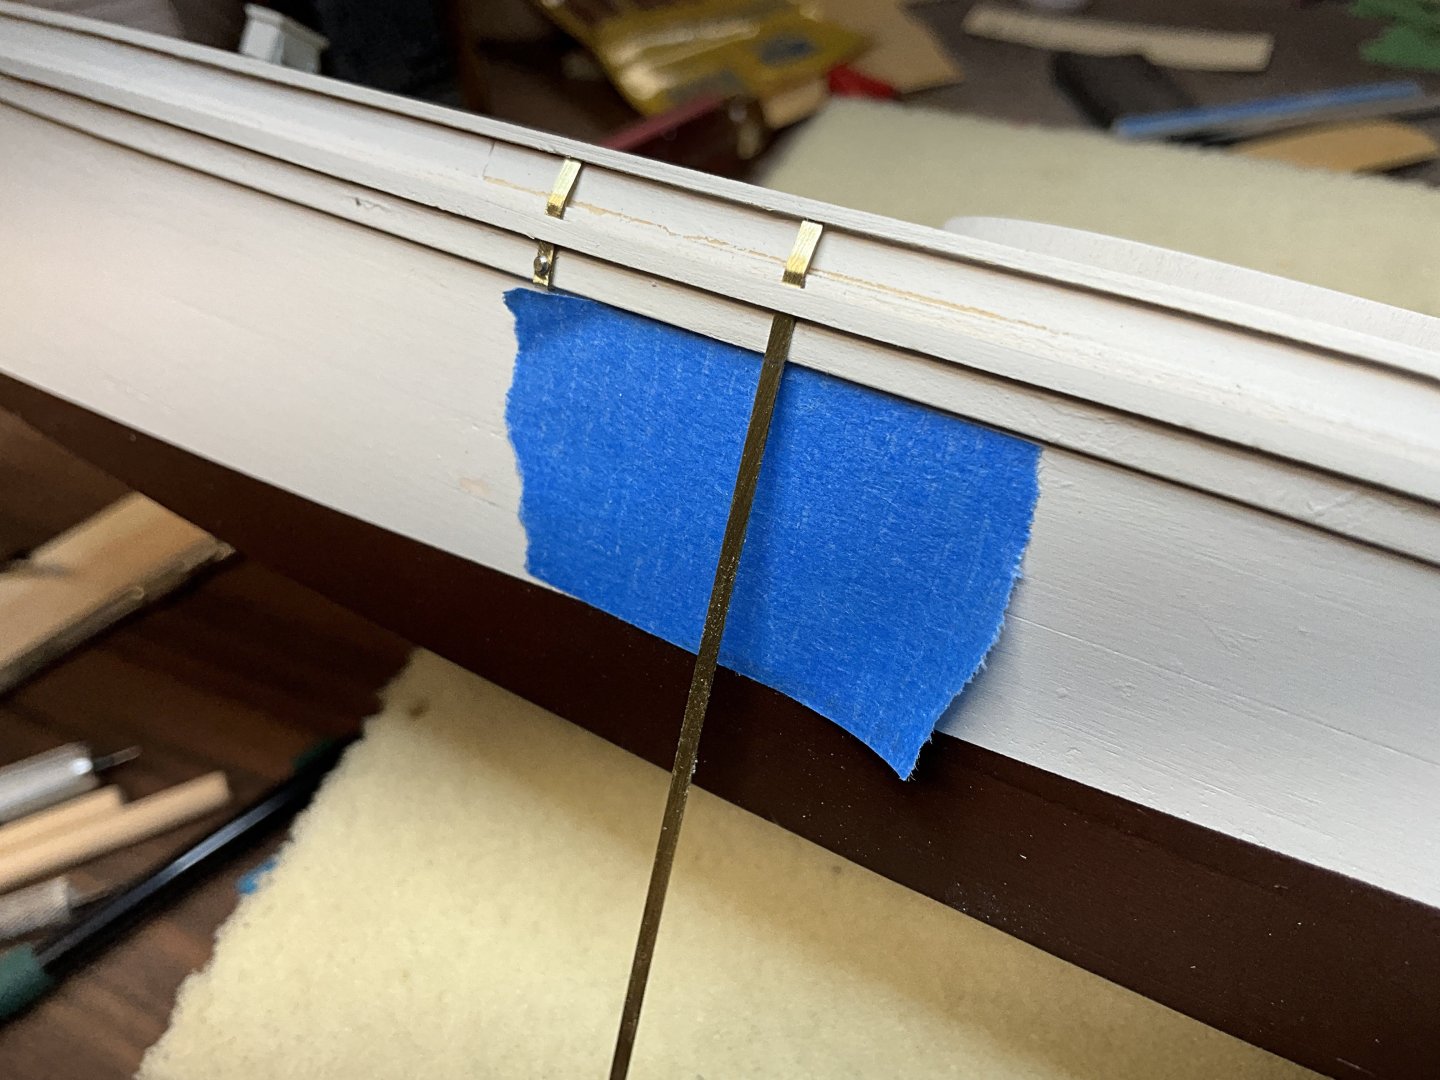
Hi Everyone, I hope everyone is safe and sound. Thanks to all for your Comments. Likes and visits. The last couple of weeks were spent making metal parts and attaching them. The king planks were also finished and the holes for the masts were trued up. The chainplates were attached so that they butt up against the bottom of the rail. A hook will be mounted in the top of the rail to accept the deadeyes. The bobstay stem plates were made and then mounted to the stem. Somewhere in there the bowsprit shroud plates were made and attached. The gammon iron was bent and mounted on the bowsprit and painted. Then the bowsprit was mounted and the gammon iron was finished. After all of that a coat of paint was applied to the hull on both sides. And lastly a roller fairlead was made for the center board rigging and attached to the cabin roof. I bought these 3mm sheaves from The Crafty Sailor a few years ago. He used to have some neat stuff there. Too bad that he’s gone. Next I’m going to have to think about mounting her on a stand and start on the masting. See you soon!


- 201 replies
-
- 11
-
-
-
- Oyster Sharpie
- first scratch build
- (and 1 more)
-
Hi Chris, even though I enjoyed your beautiful Speeljacht build, I am glad that you are back in “not ships” land. Very nice introduction!
-
Jeff, nice fix on that rogue bulkhead
-
Hi Chris, what kit and scale is this? I was looking at @ahb26 build log of the Midwest/Model shipways kit and he looks to have used narrower planks in the cockpit.
-
Beautiful work Jeff. Your build log is excellent! Really enjoy reading it.
-
Fine planking Jacques. Looking forward to your finishing updates
- 82 replies
-
- 2
-
-
-
- half hull planking project
- half hull
- (and 2 more)