Paul Le Wol
-
Posts
1,062 -
Joined
-
Last visited
Content Type
Profiles
Forums
Gallery
Events
Everything posted by Paul Le Wol
-
Andrew, congratulations on completing your Lobster Smack! Very nice. Looking forward to Miss Adventure.
- 11 replies
-
- 2
-

-
- Muscongus Bay Lobster Smack
- Midwest Products
- (and 2 more)
-
Beautiful work Harvey!. The crow’s nest is superb
-
Thank you so much Gary, @FriedClams your Comment is very kind and I appreciate it a lot! I’ll definitely be starting another build log. A build without a log is like a day without sunshine. I think that’s how the saying goes 😀
- 201 replies
-
- 5
-
-
- Oyster Sharpie
- first scratch build
- (and 1 more)
-
Hi Jacques, totally agree with the previous comments. Beautiful planking.
- 312 replies
-
- 4
-
-

-
- Chile
- Latin America
- (and 6 more)
-
Thank you @druxey and @Thukydides . I appreciate your Comments very much. I would also like to thank everyone for their Likes and for dropping by. I forgot to mention that before.
- 201 replies
-
- 4
-
-
- Oyster Sharpie
- first scratch build
- (and 1 more)
-
Hi Everyone, my thanks to @JacquesCousteau, @ccoyle, @kurtvd19, @davec, @Glen McGuire, @Keith Black, @Jim Lad. Your generous comments make this effort so worthwhile. Thank you Chris for updating the title. Not sure what comes next Jacques but it will probably be another work boat of some sort. Watching everyone scratching together their builds has been a great inspiration!
- 201 replies
-
- 6
-
-
- Oyster Sharpie
- first scratch build
- (and 1 more)
-
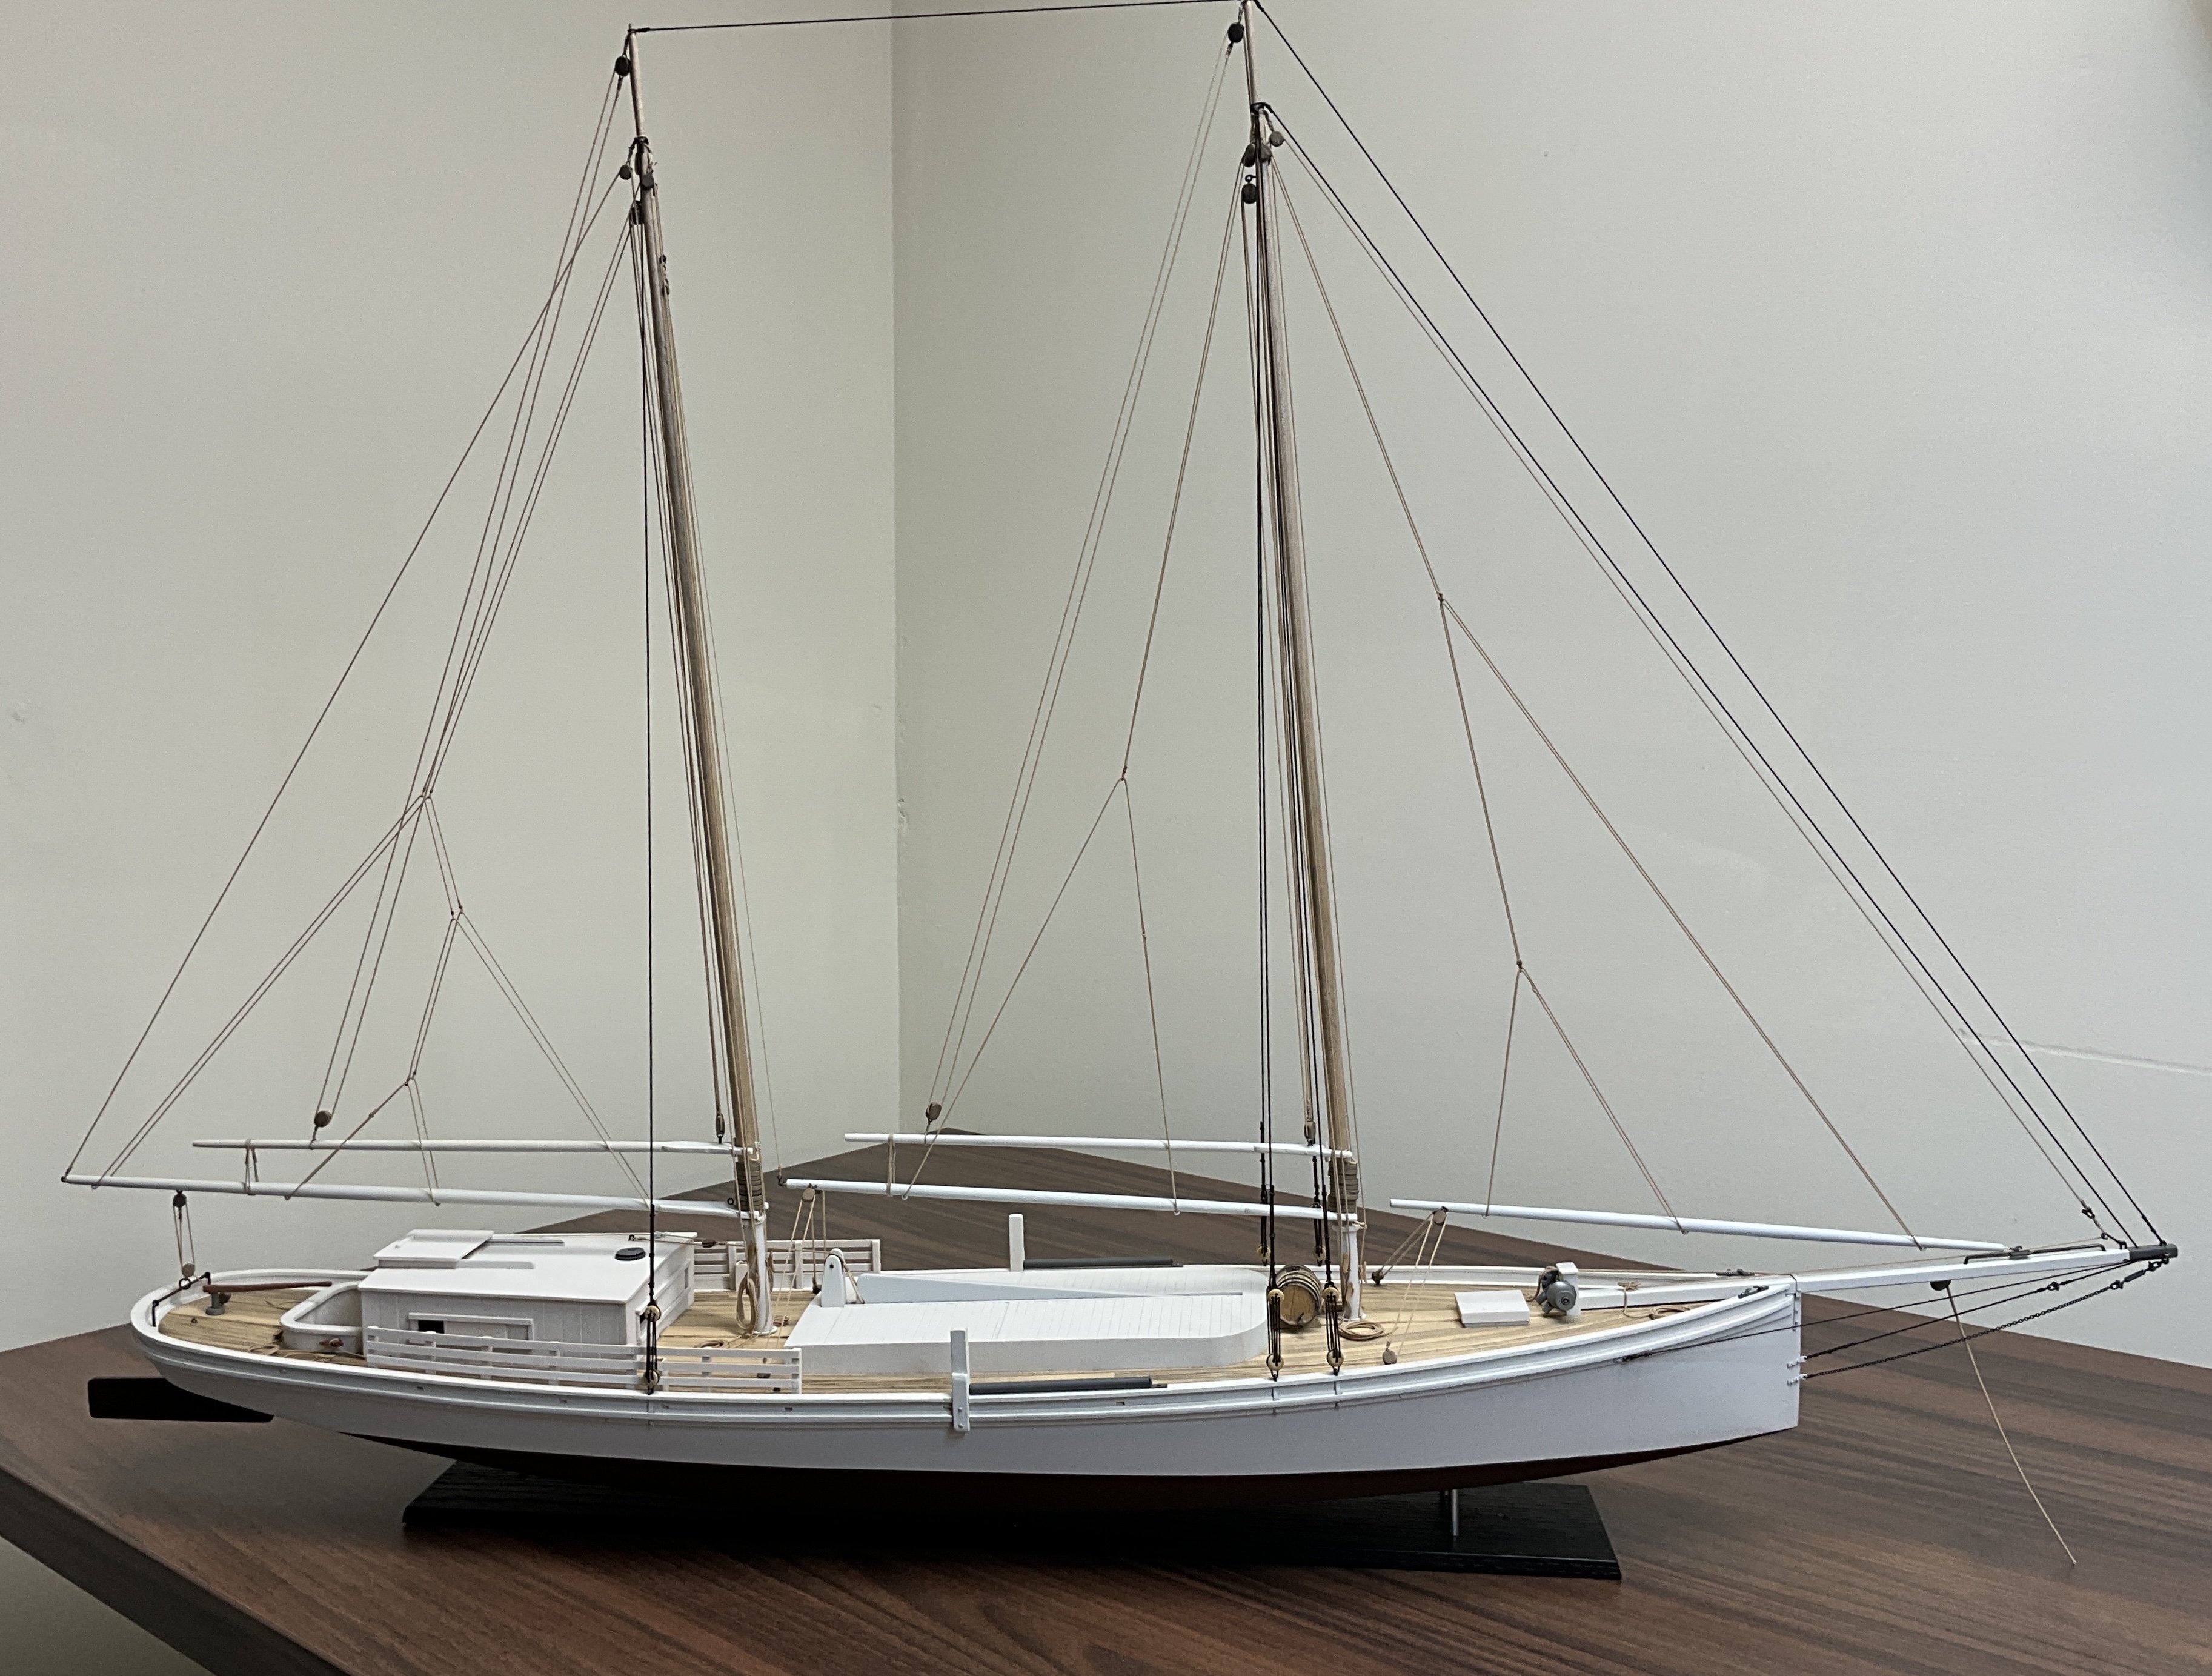
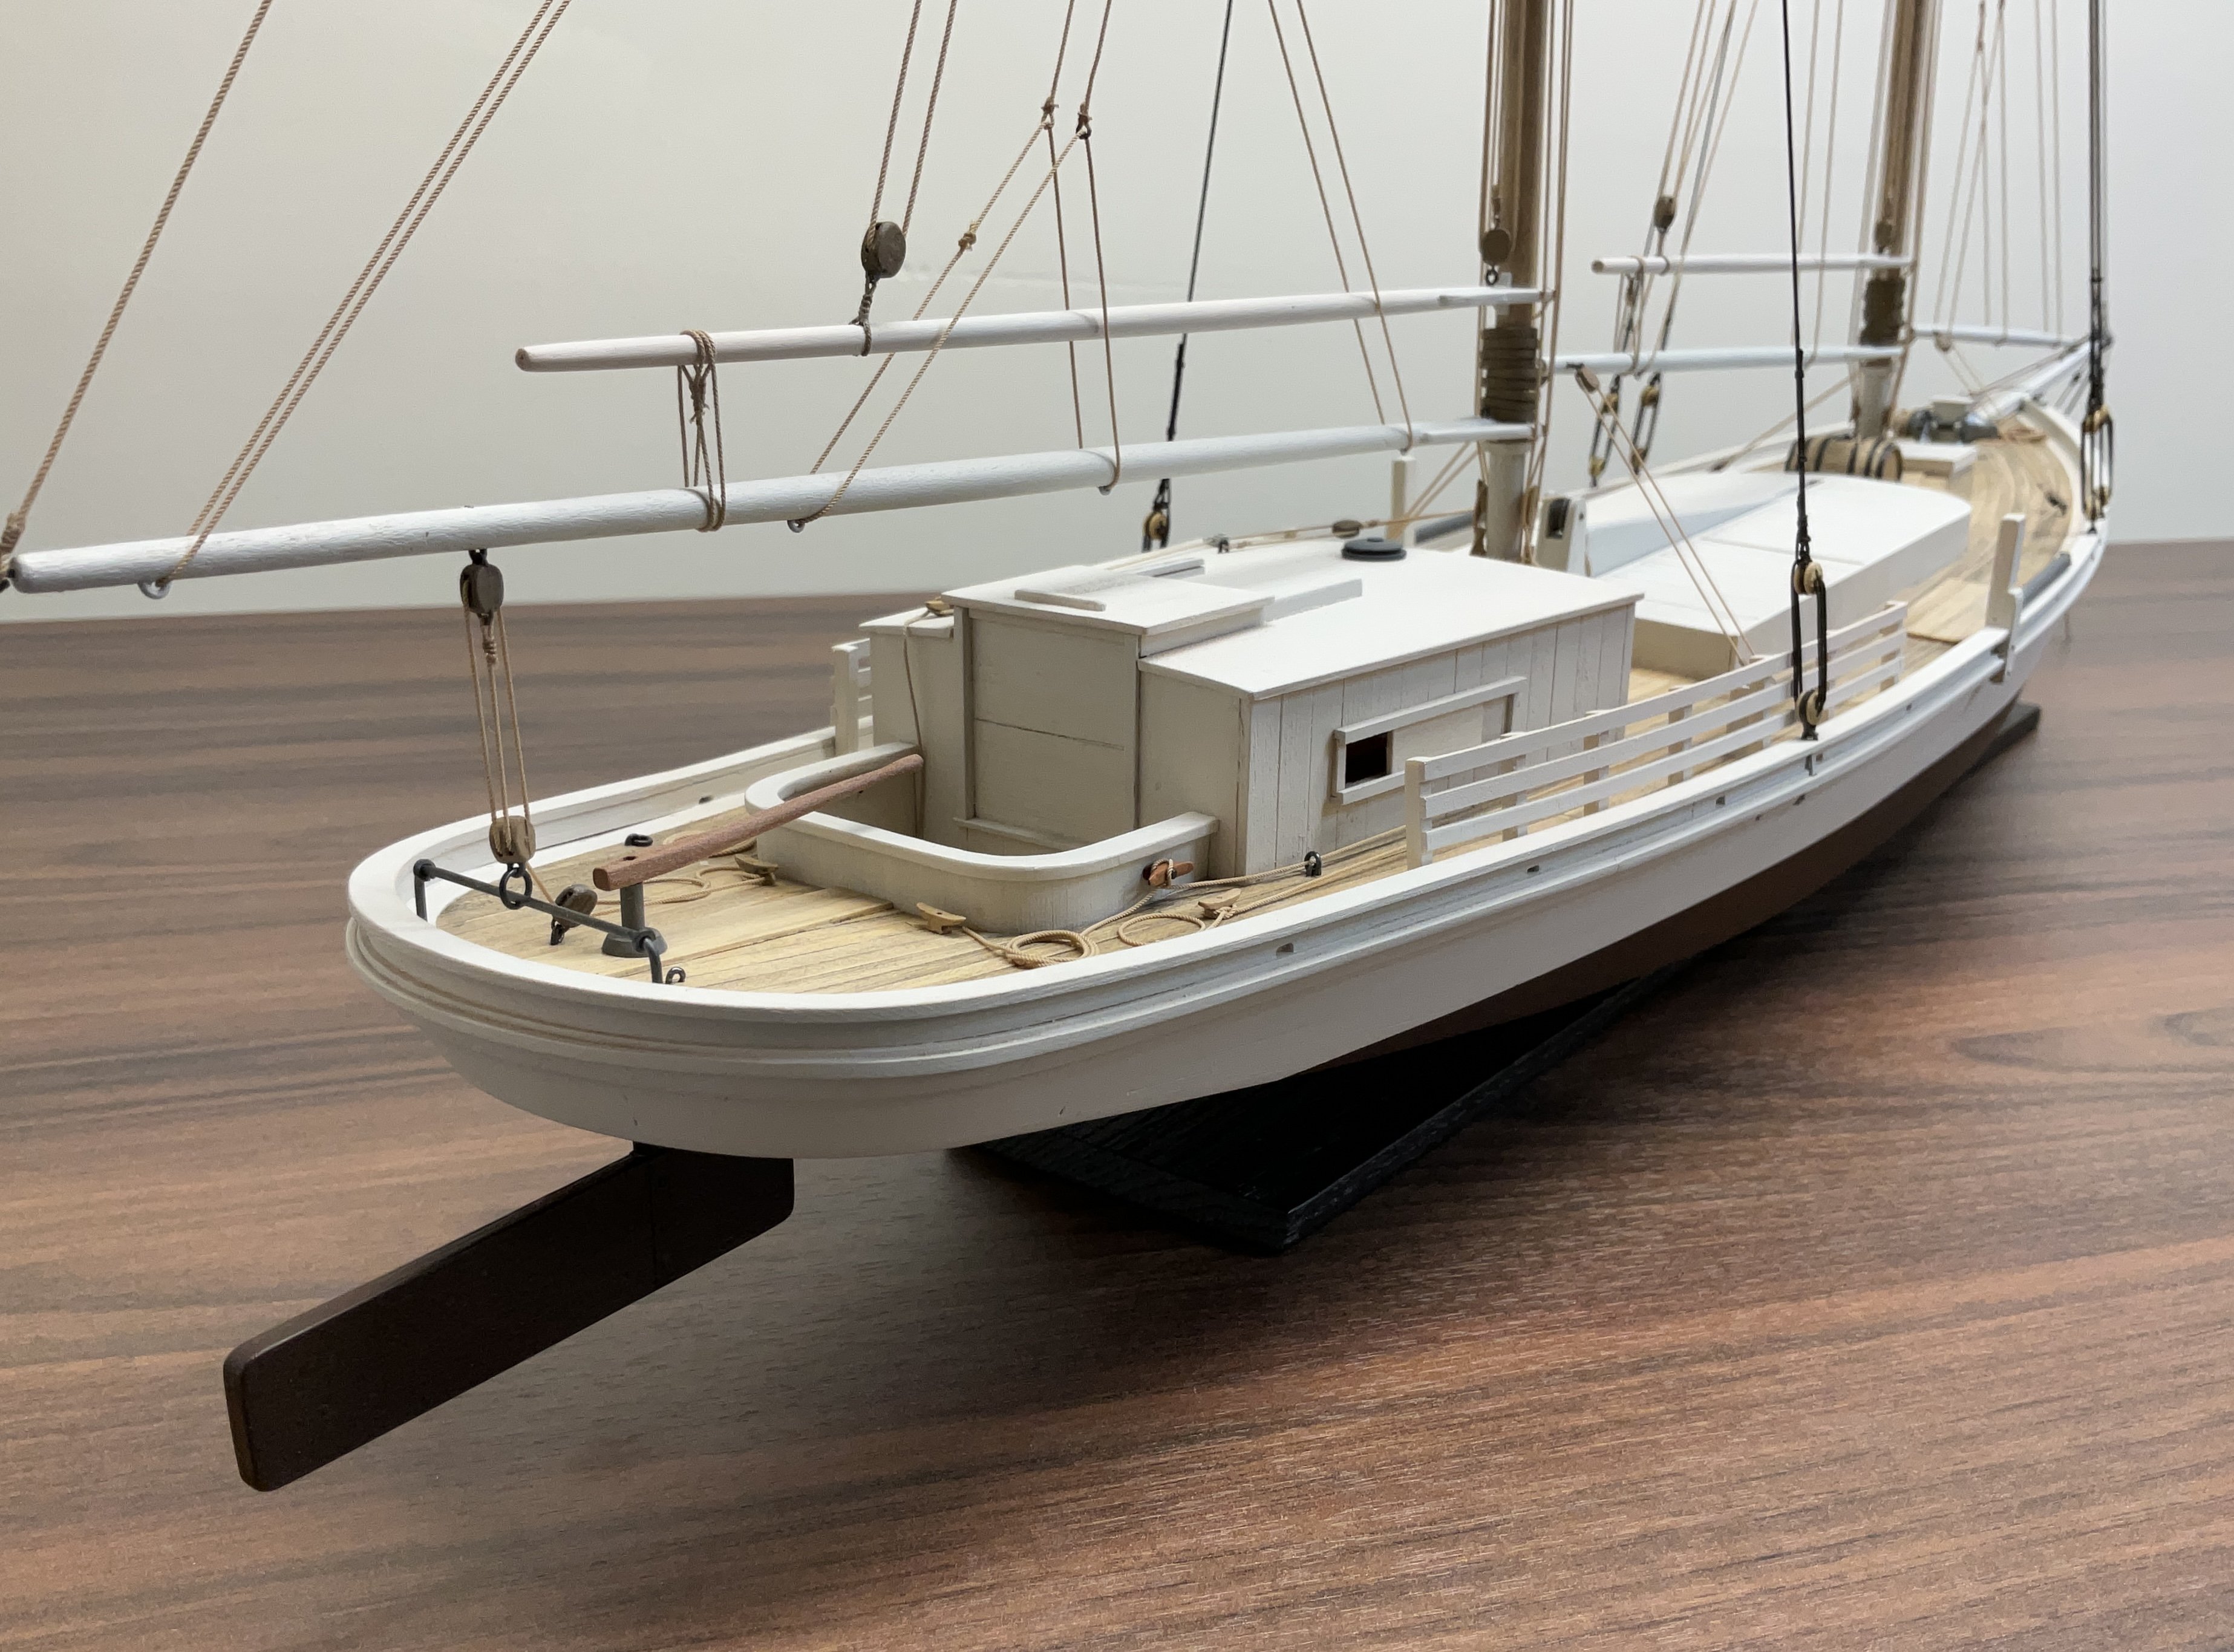
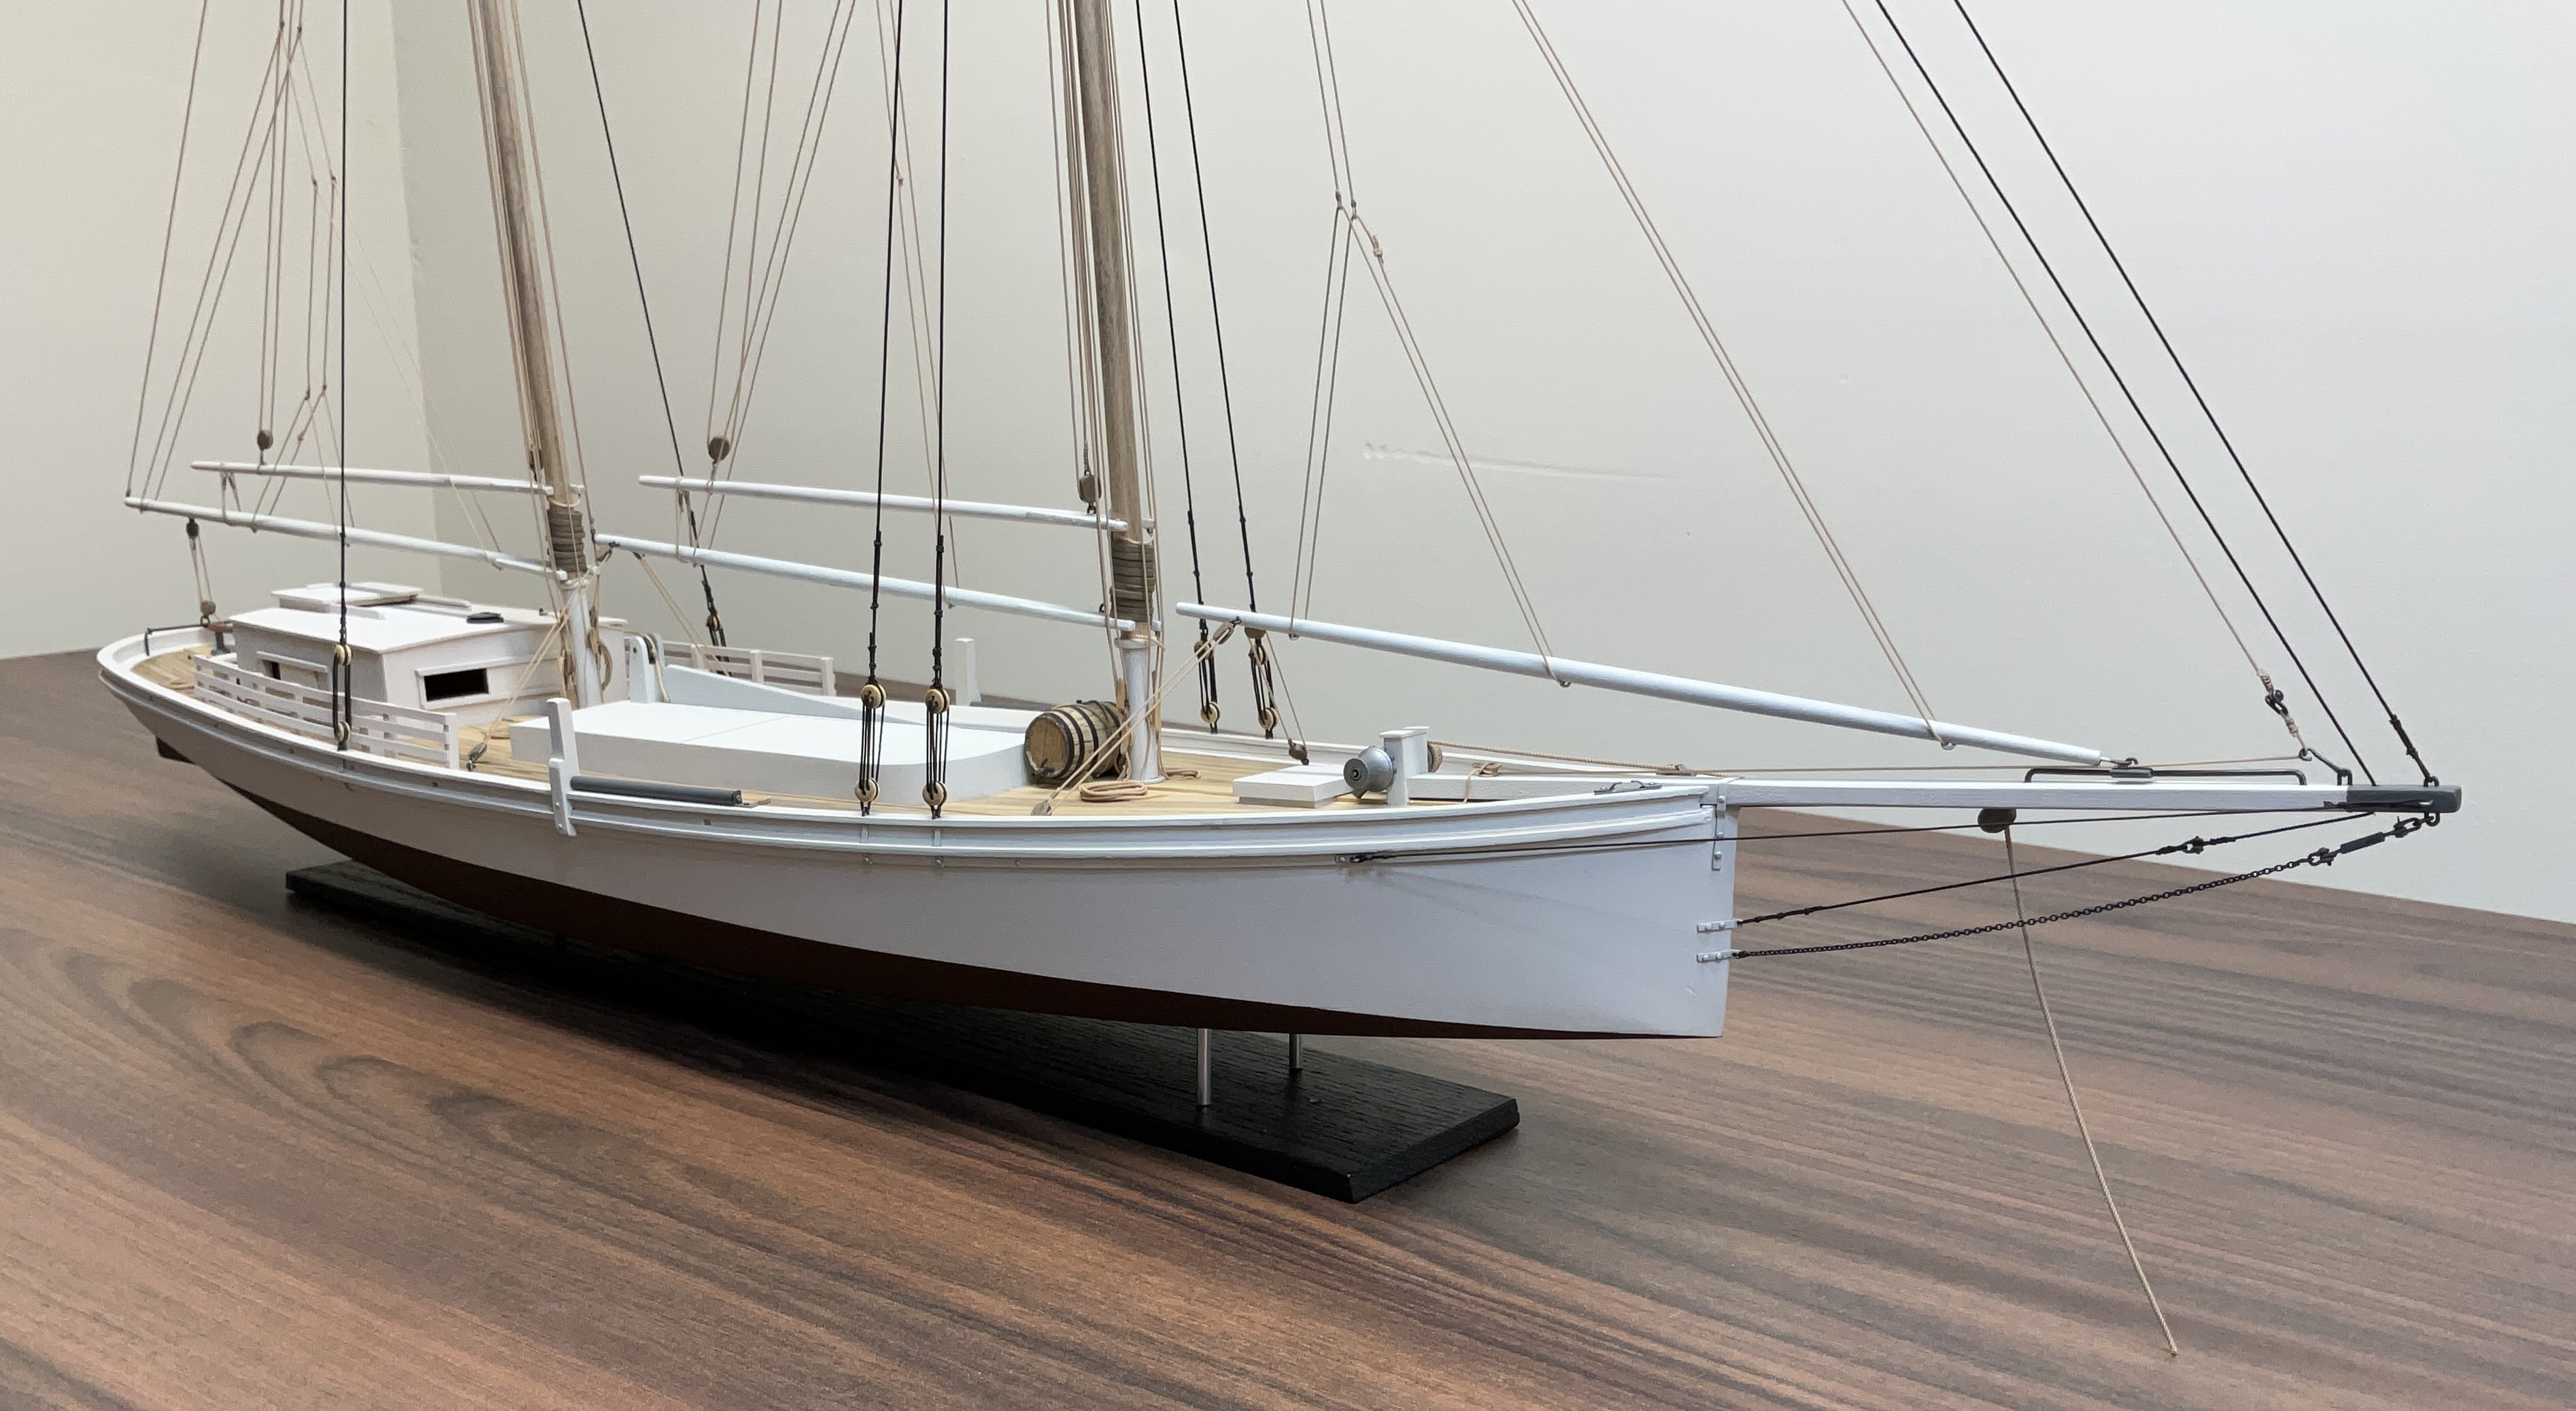
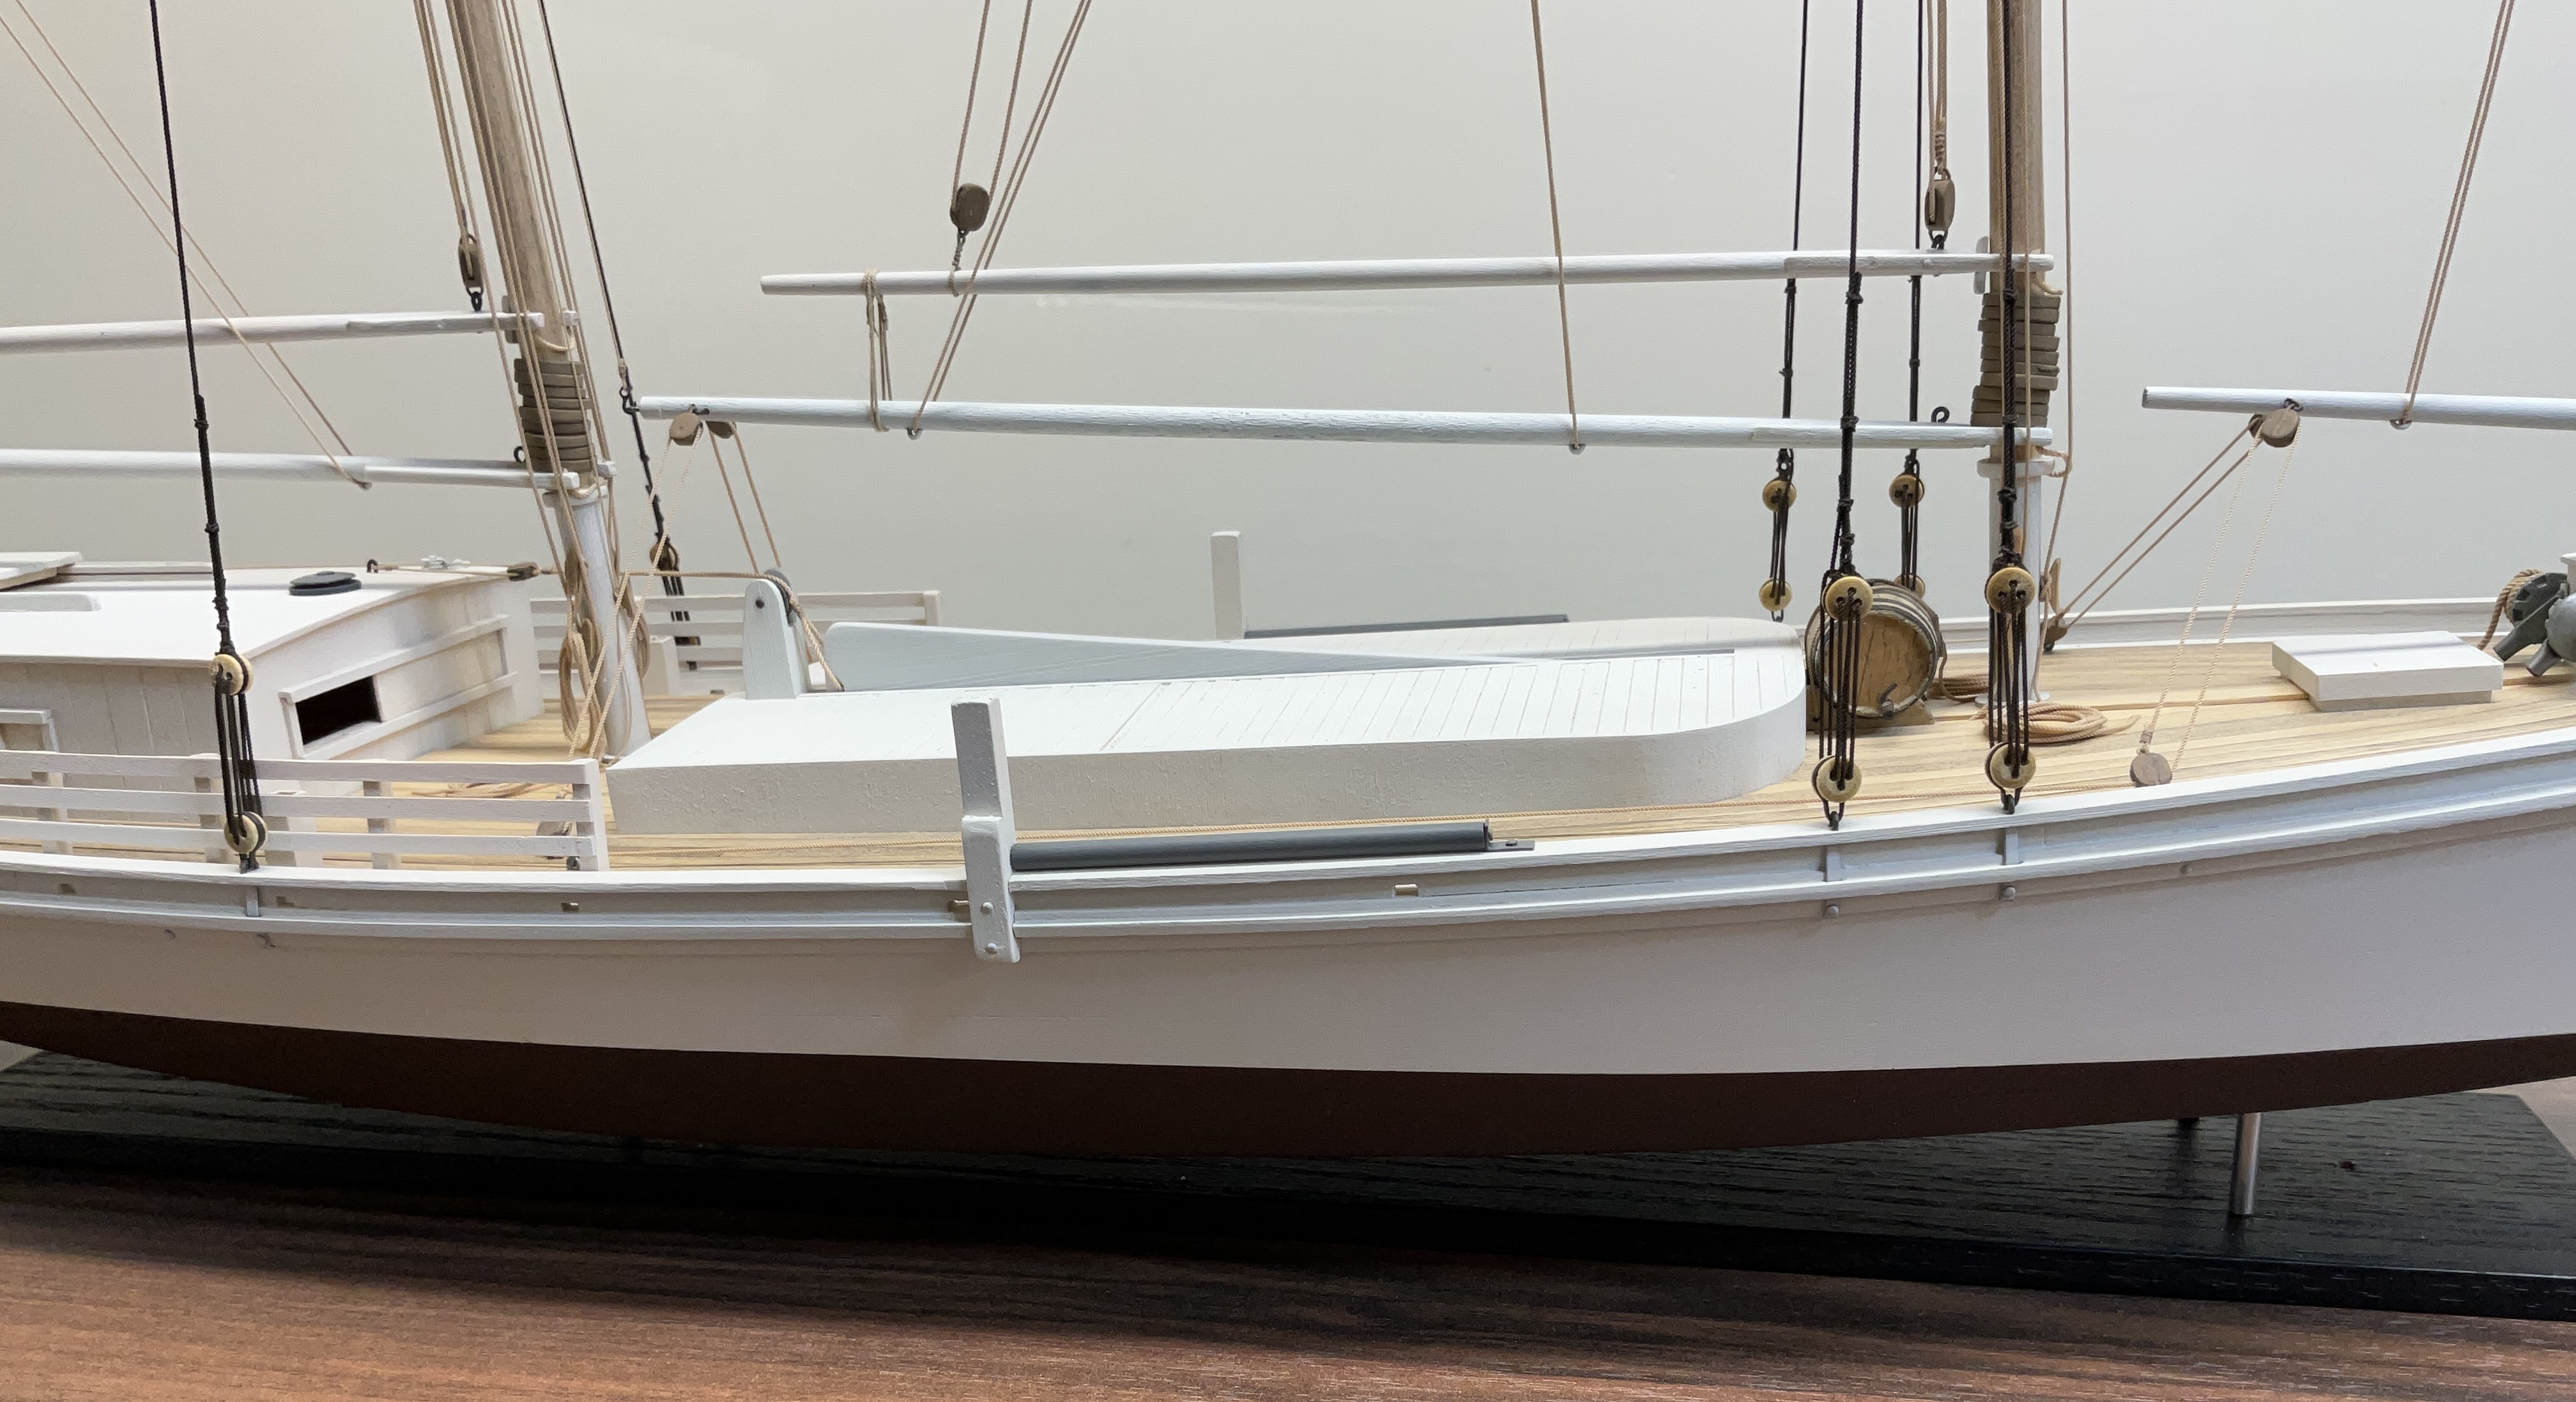
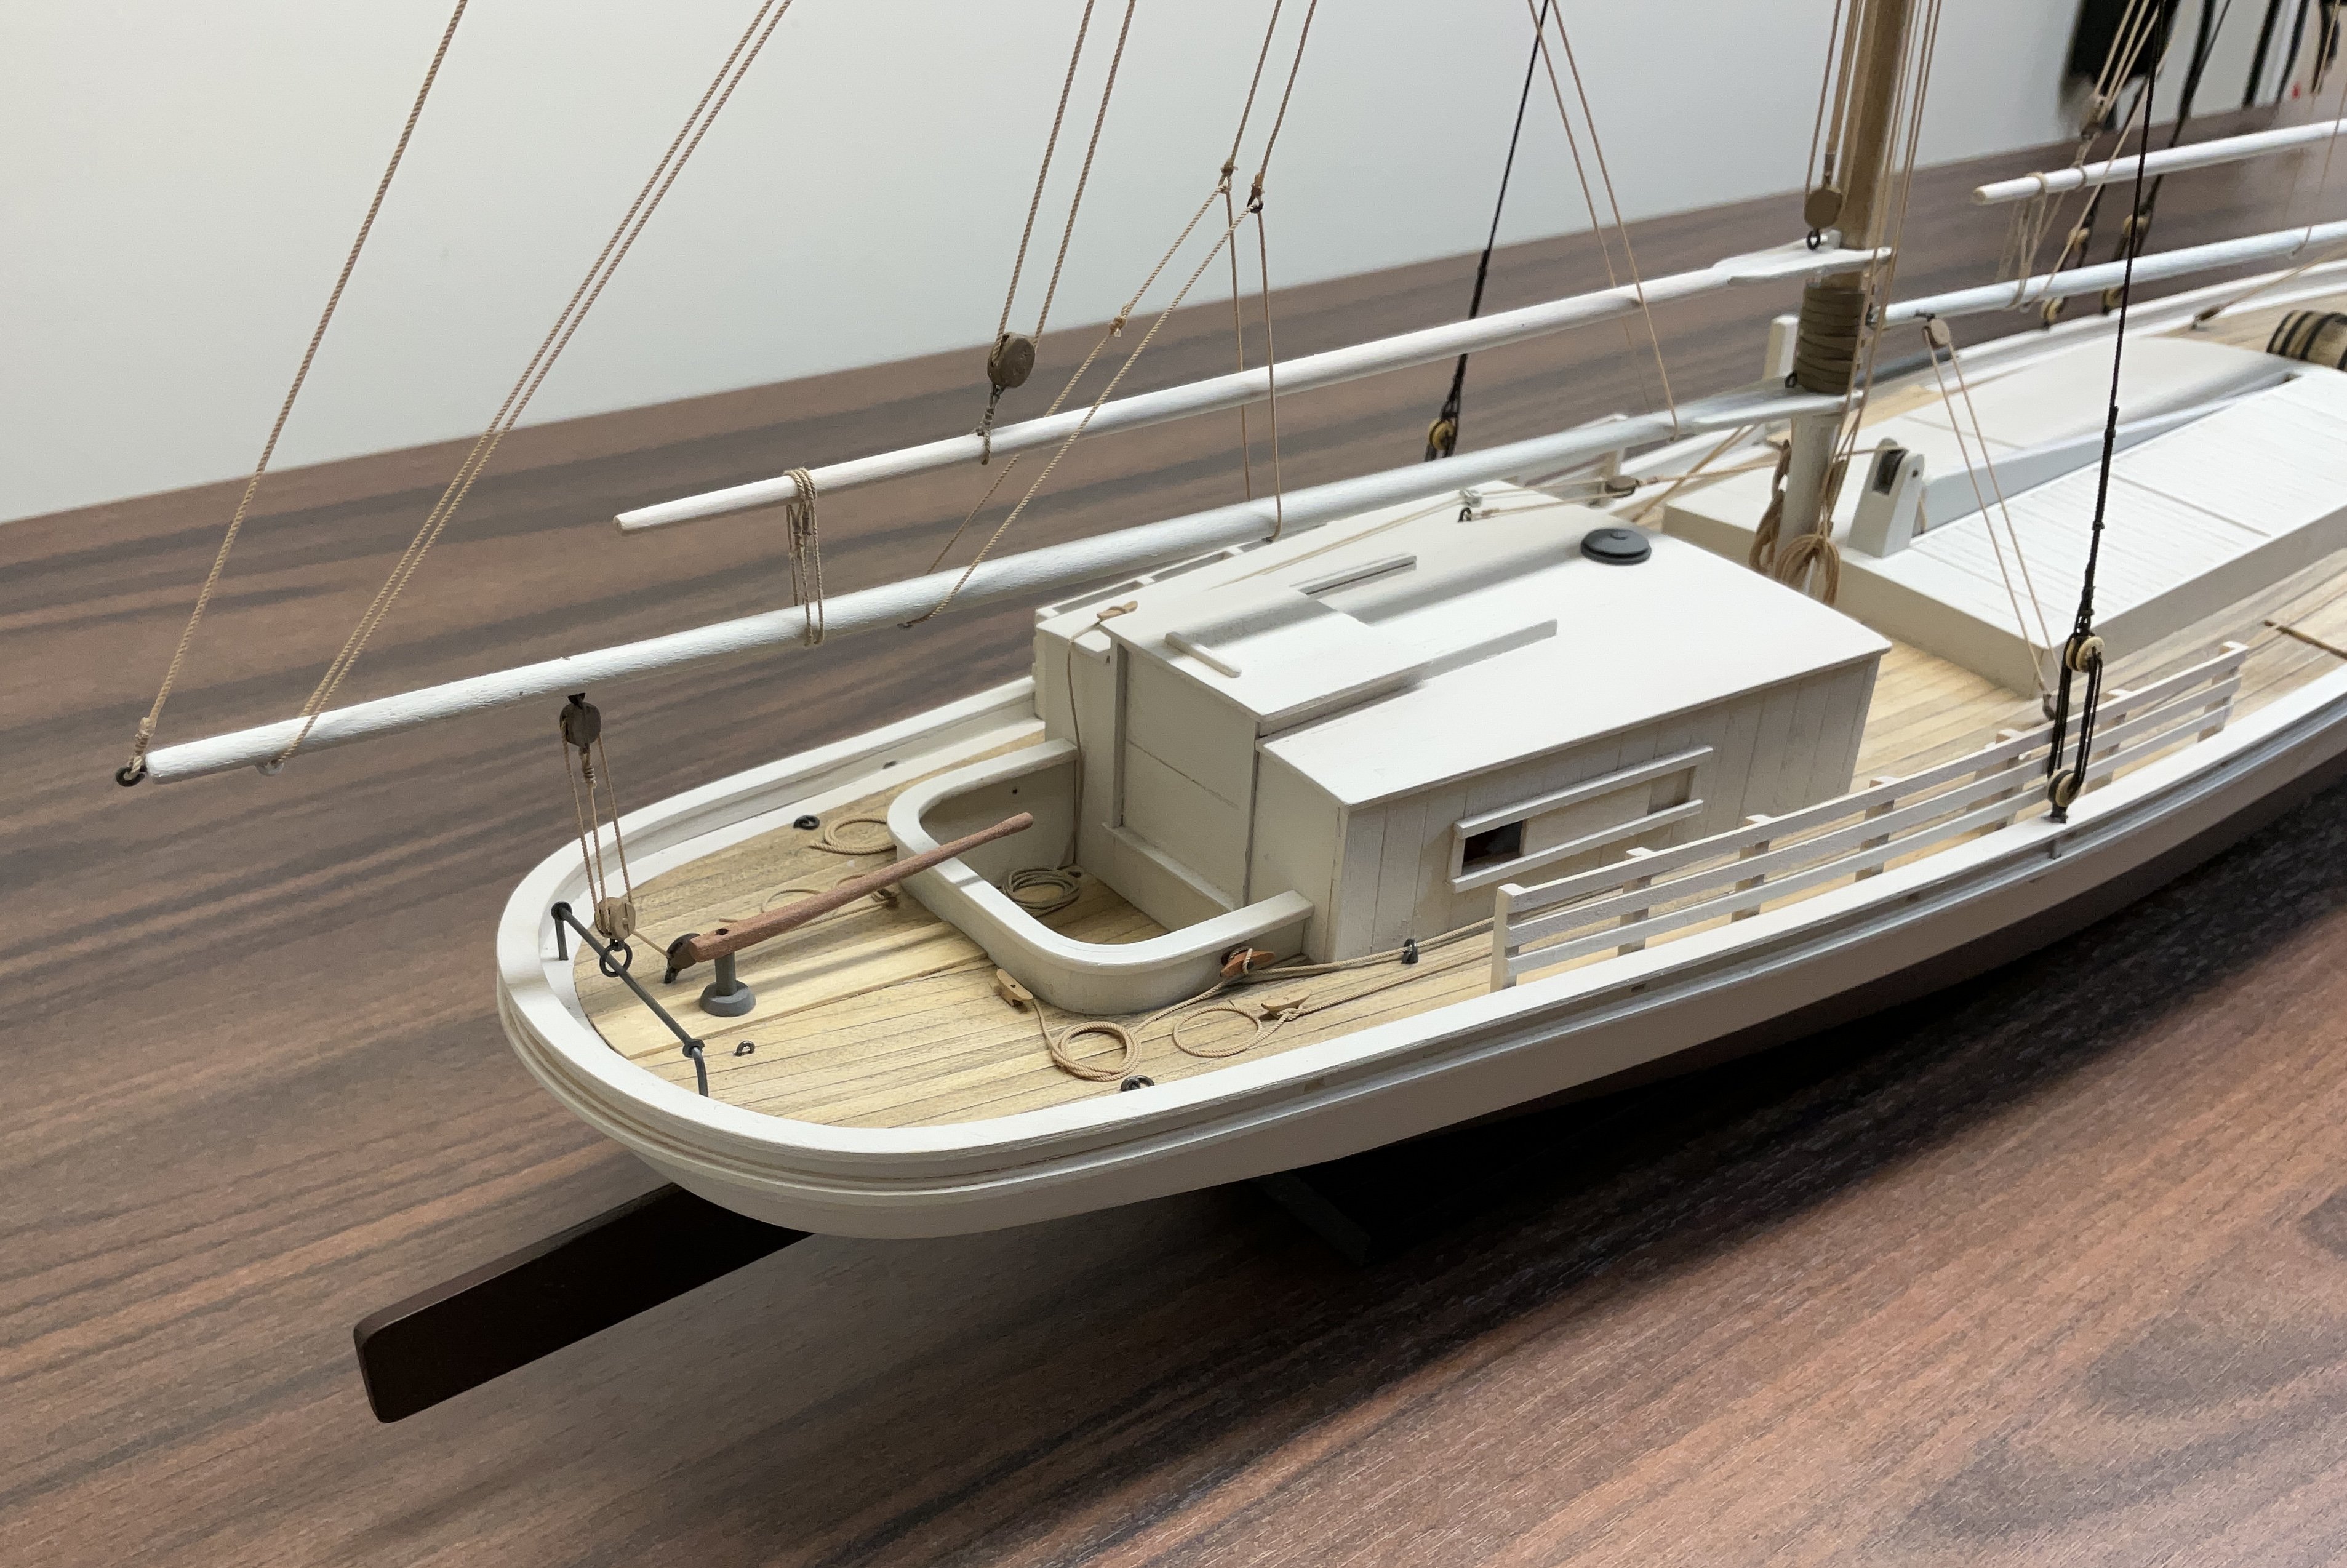
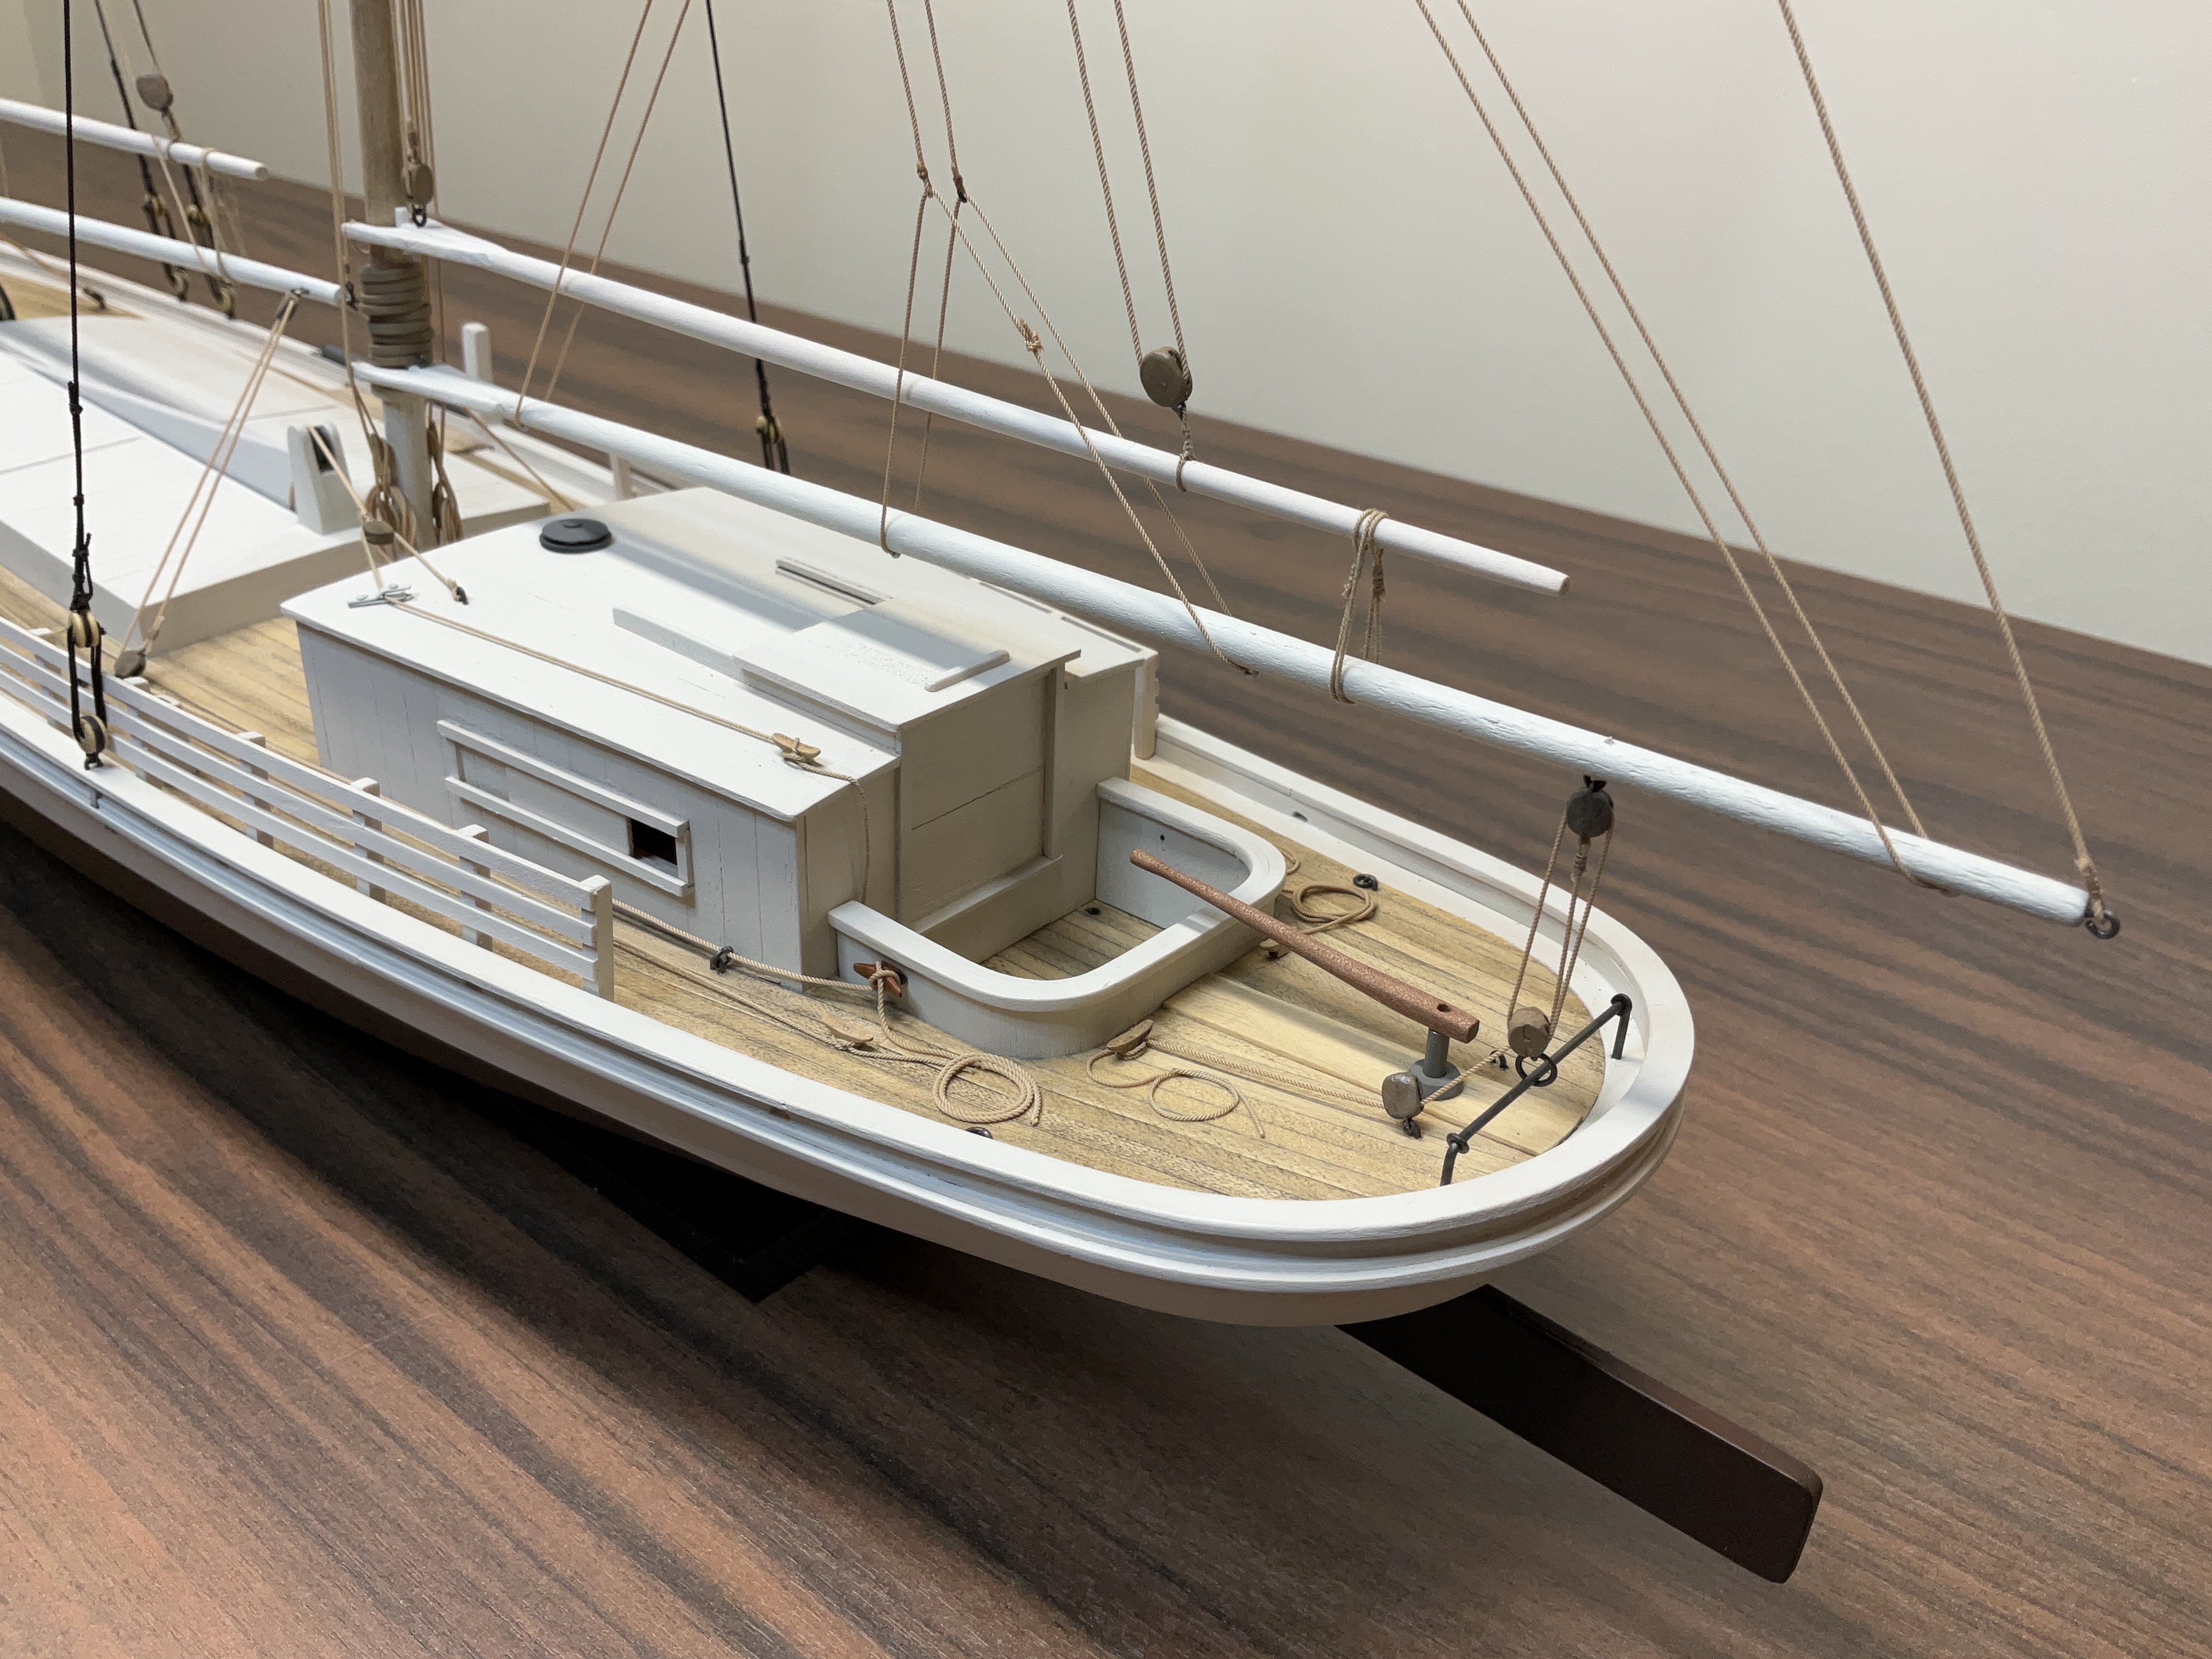
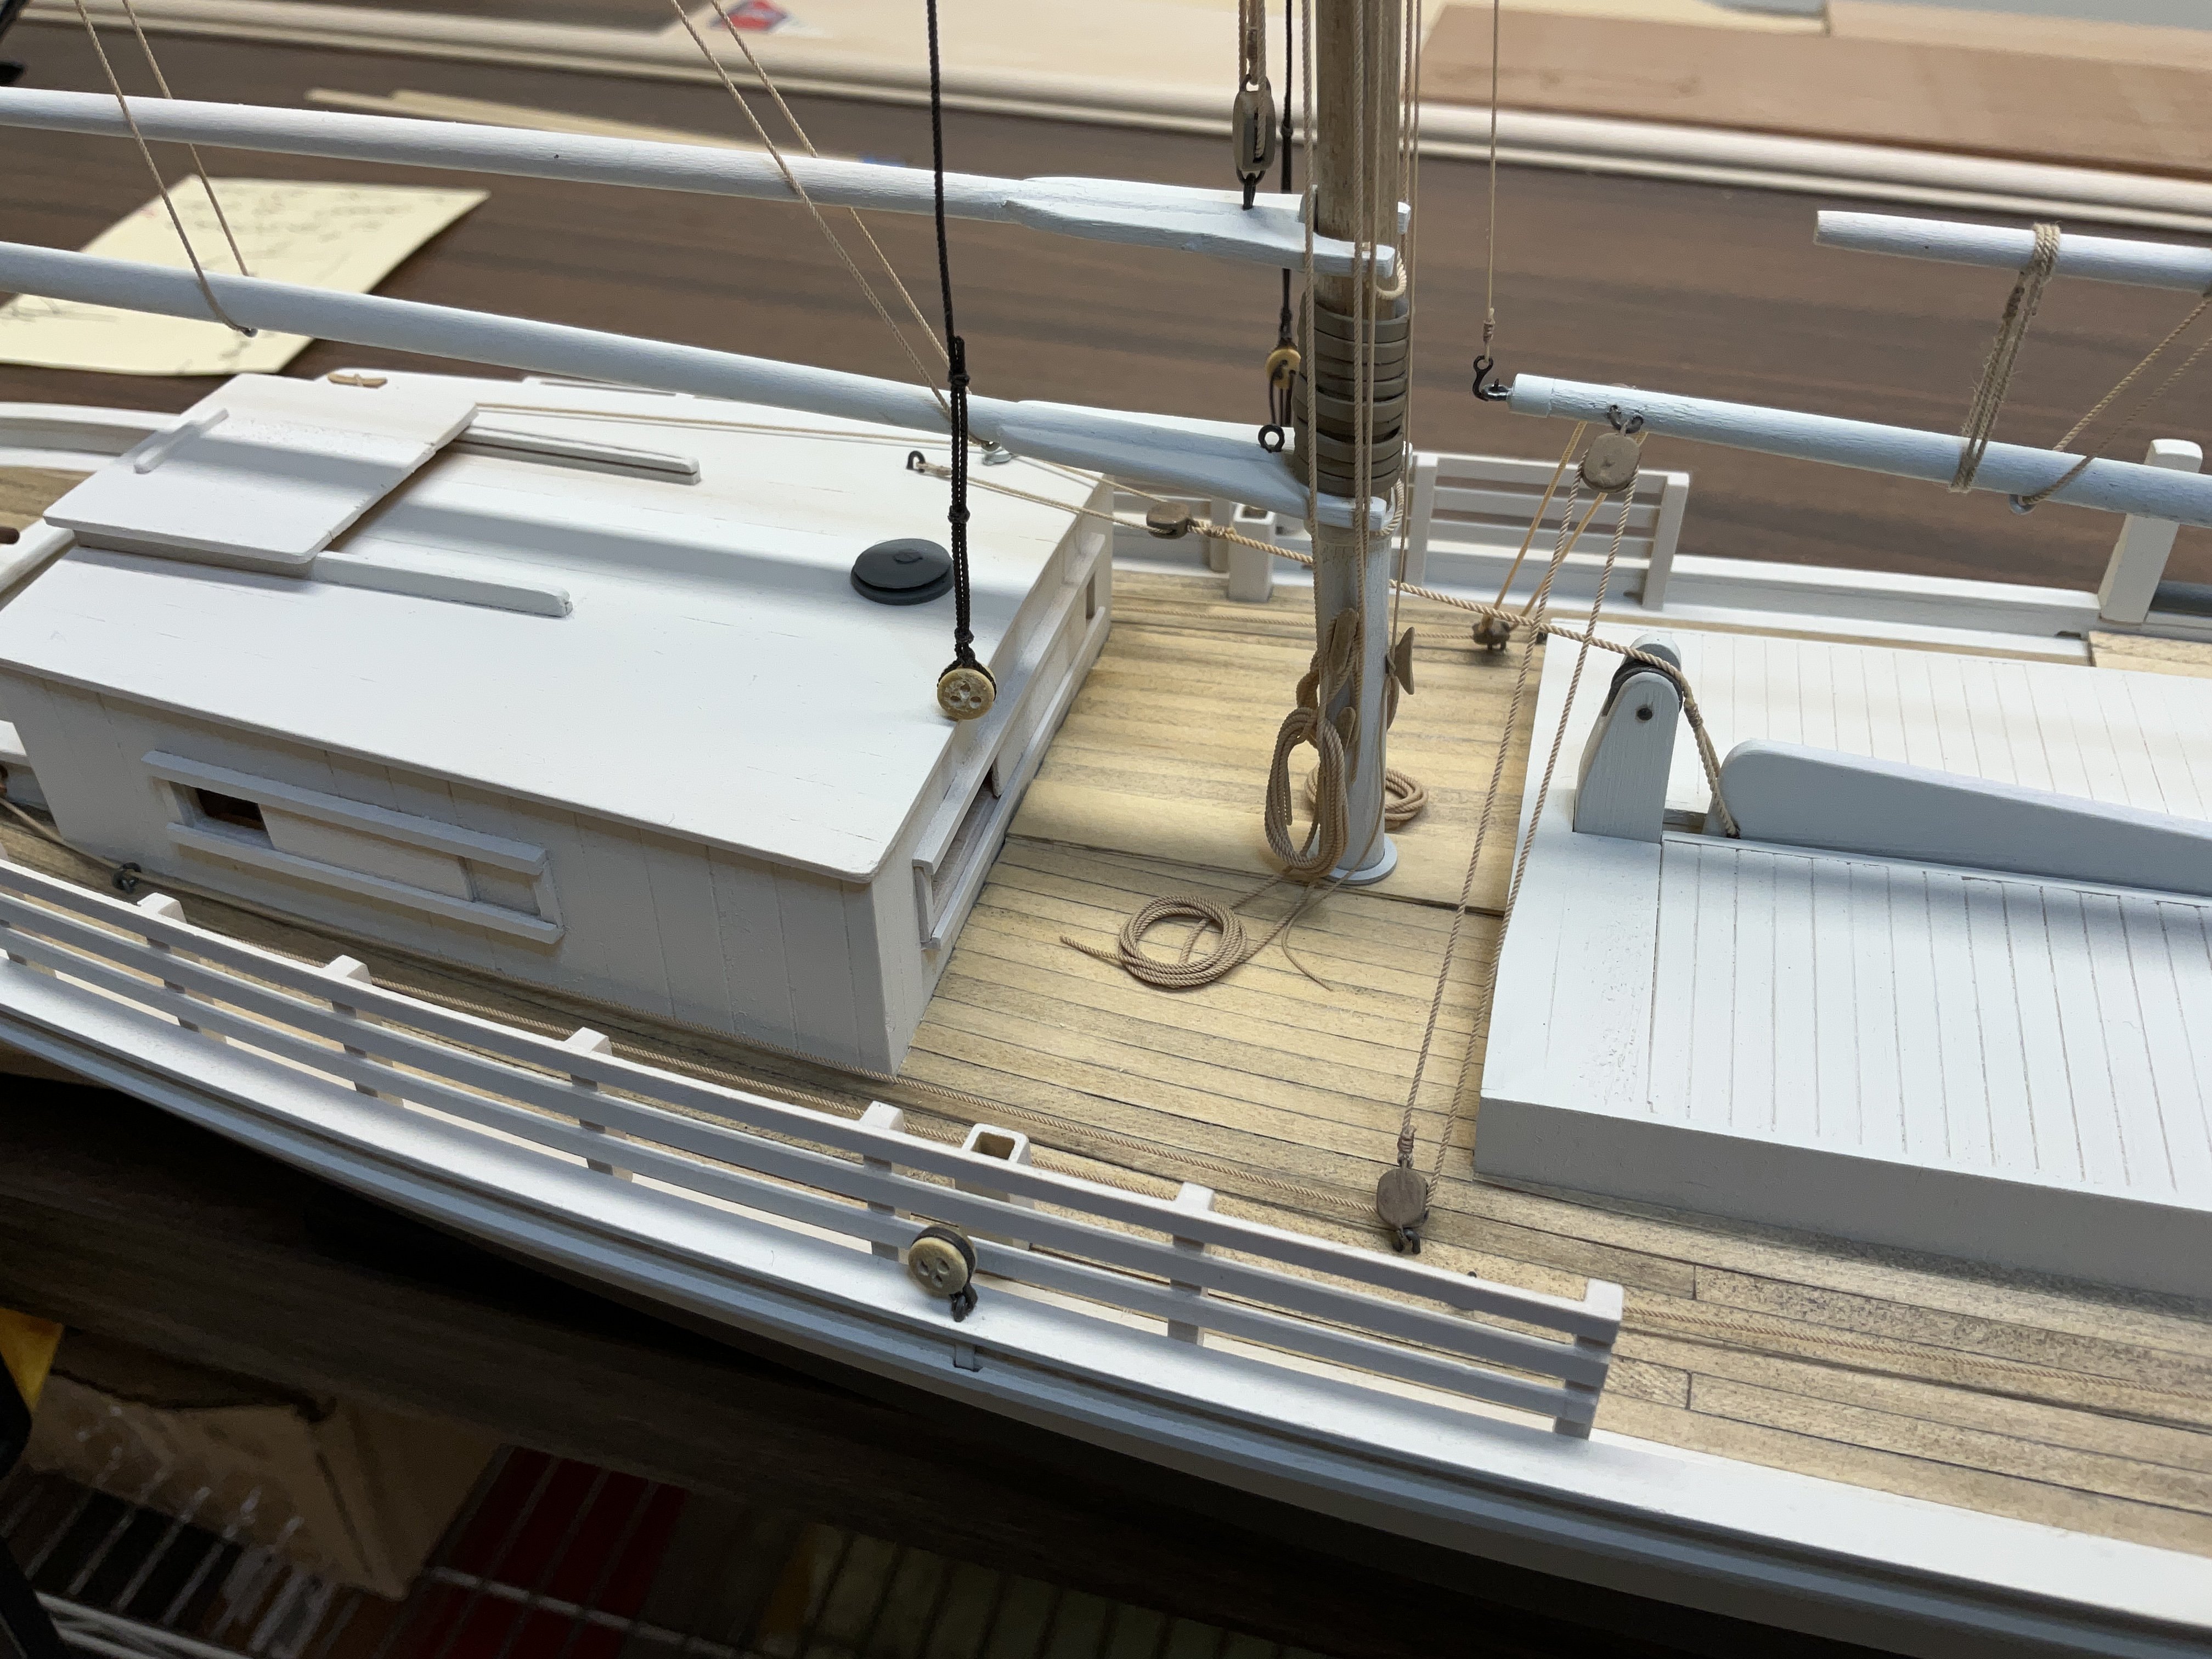
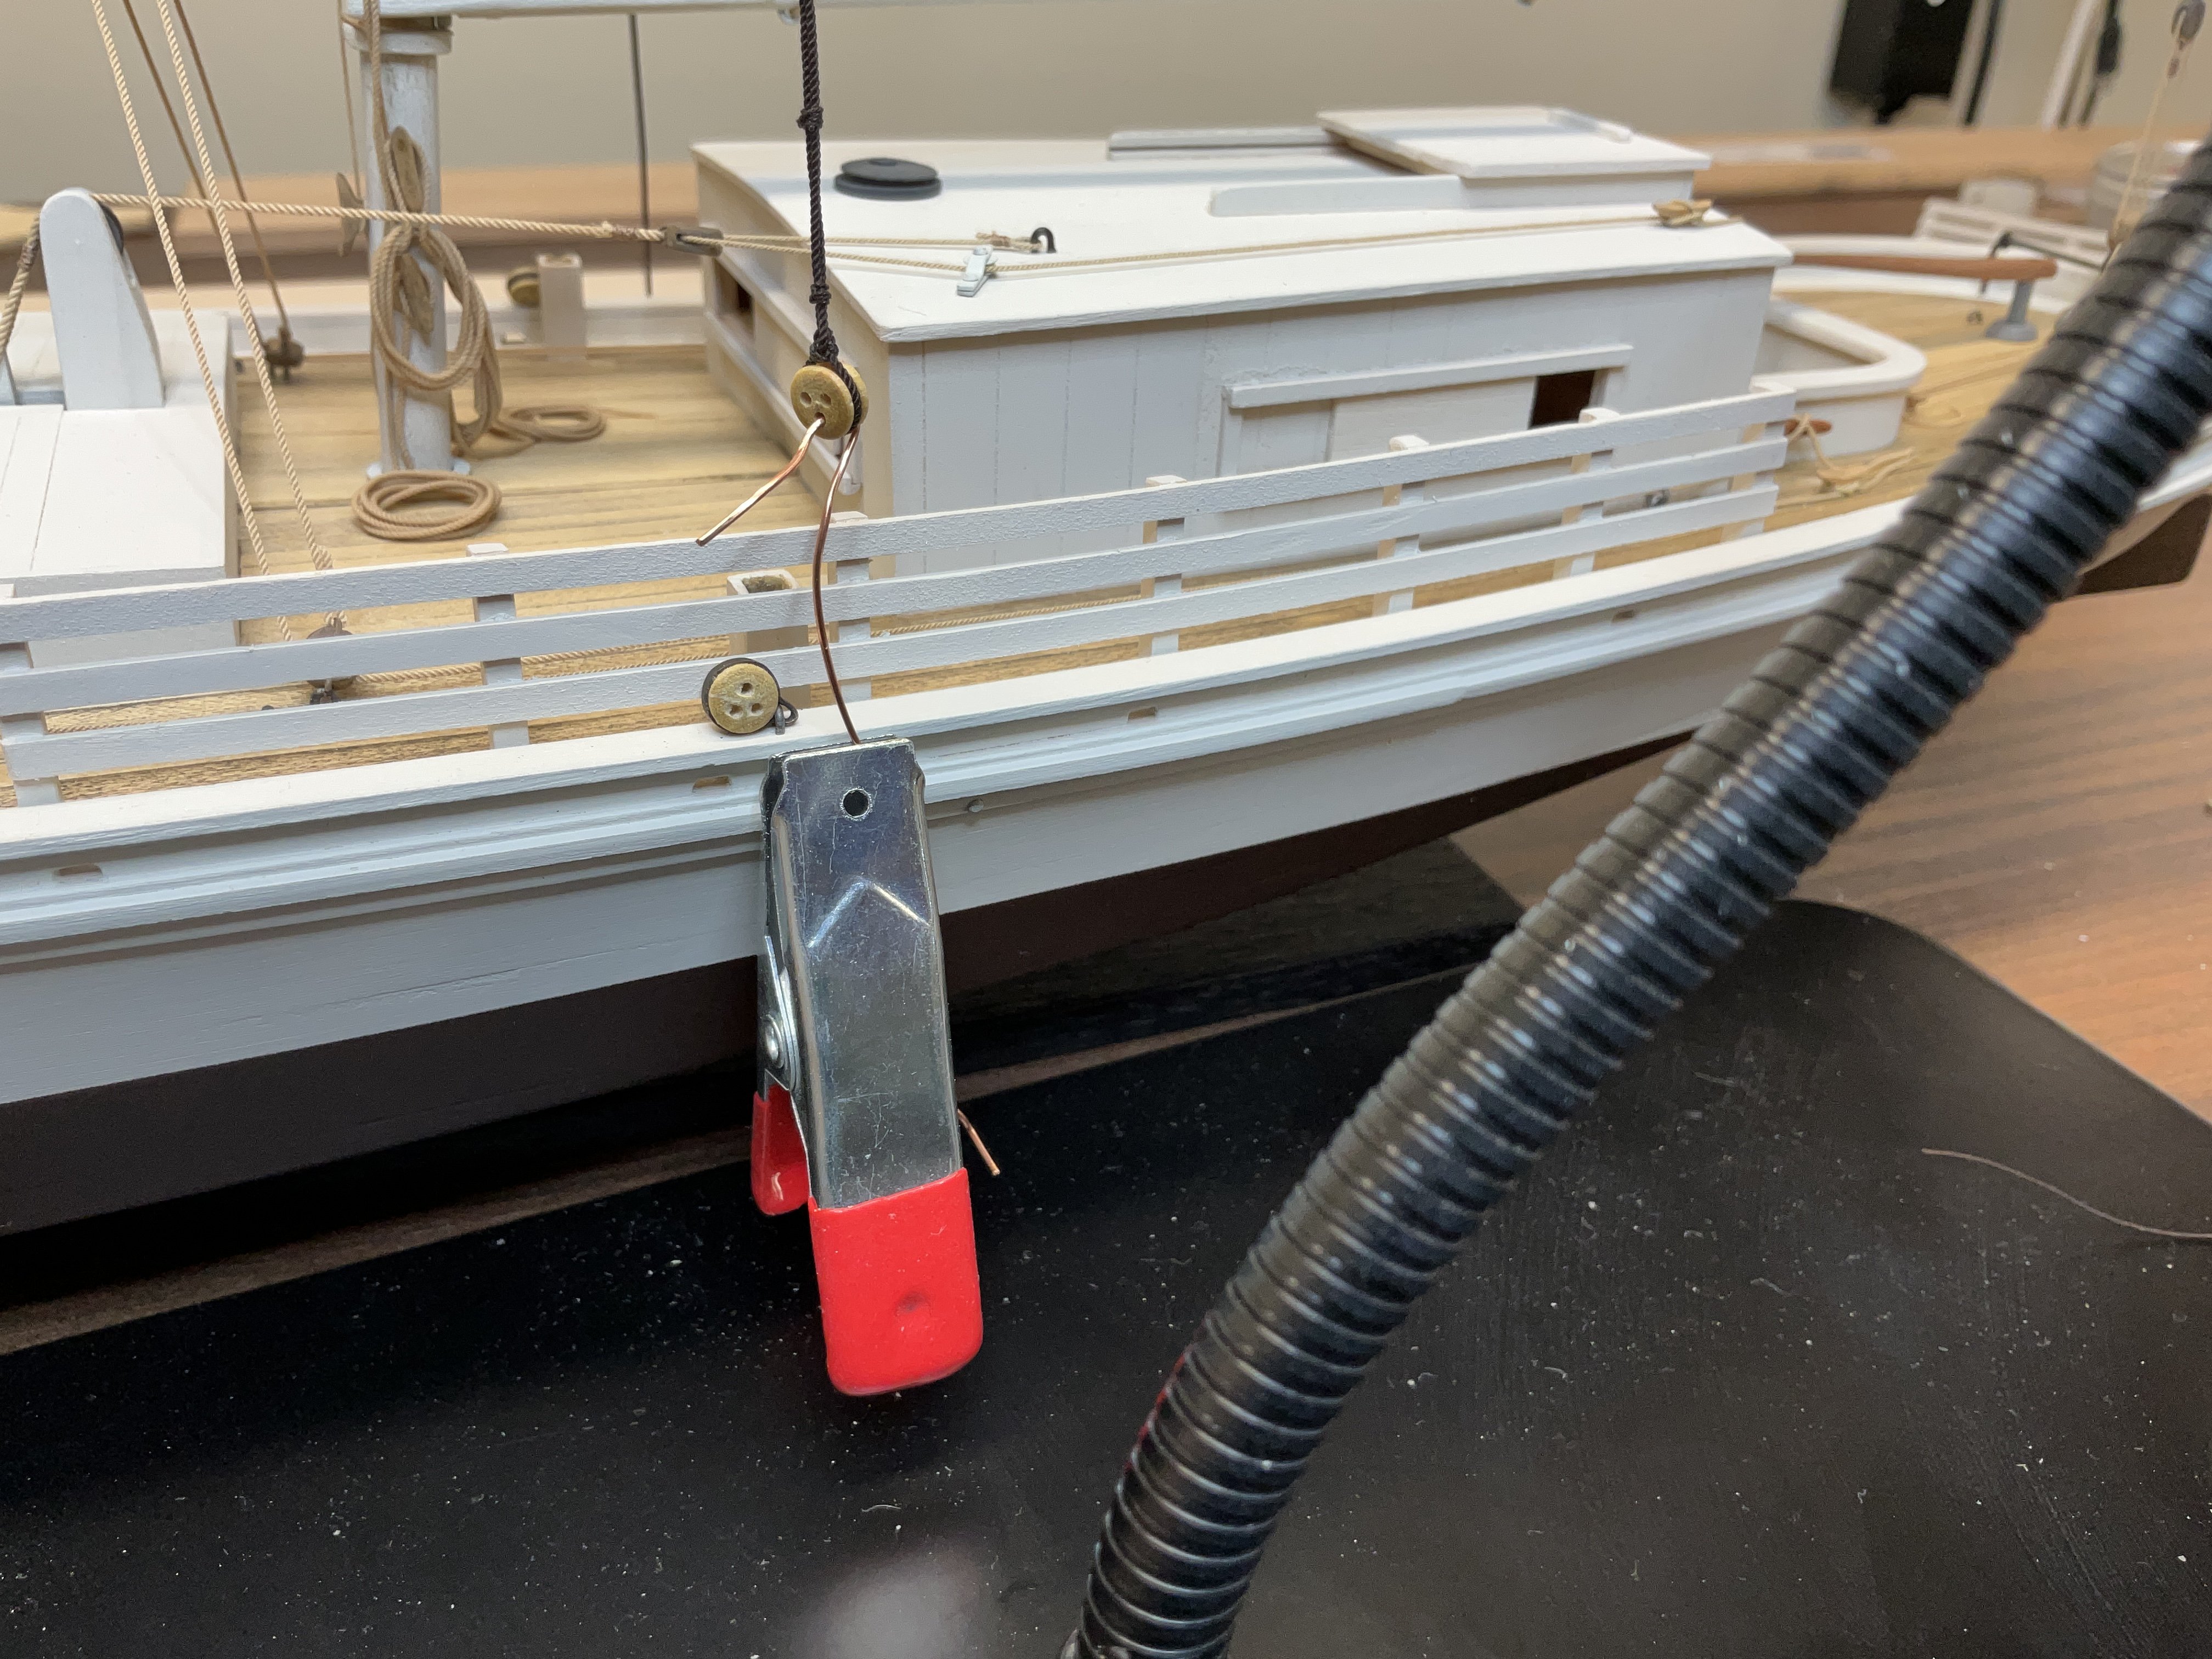
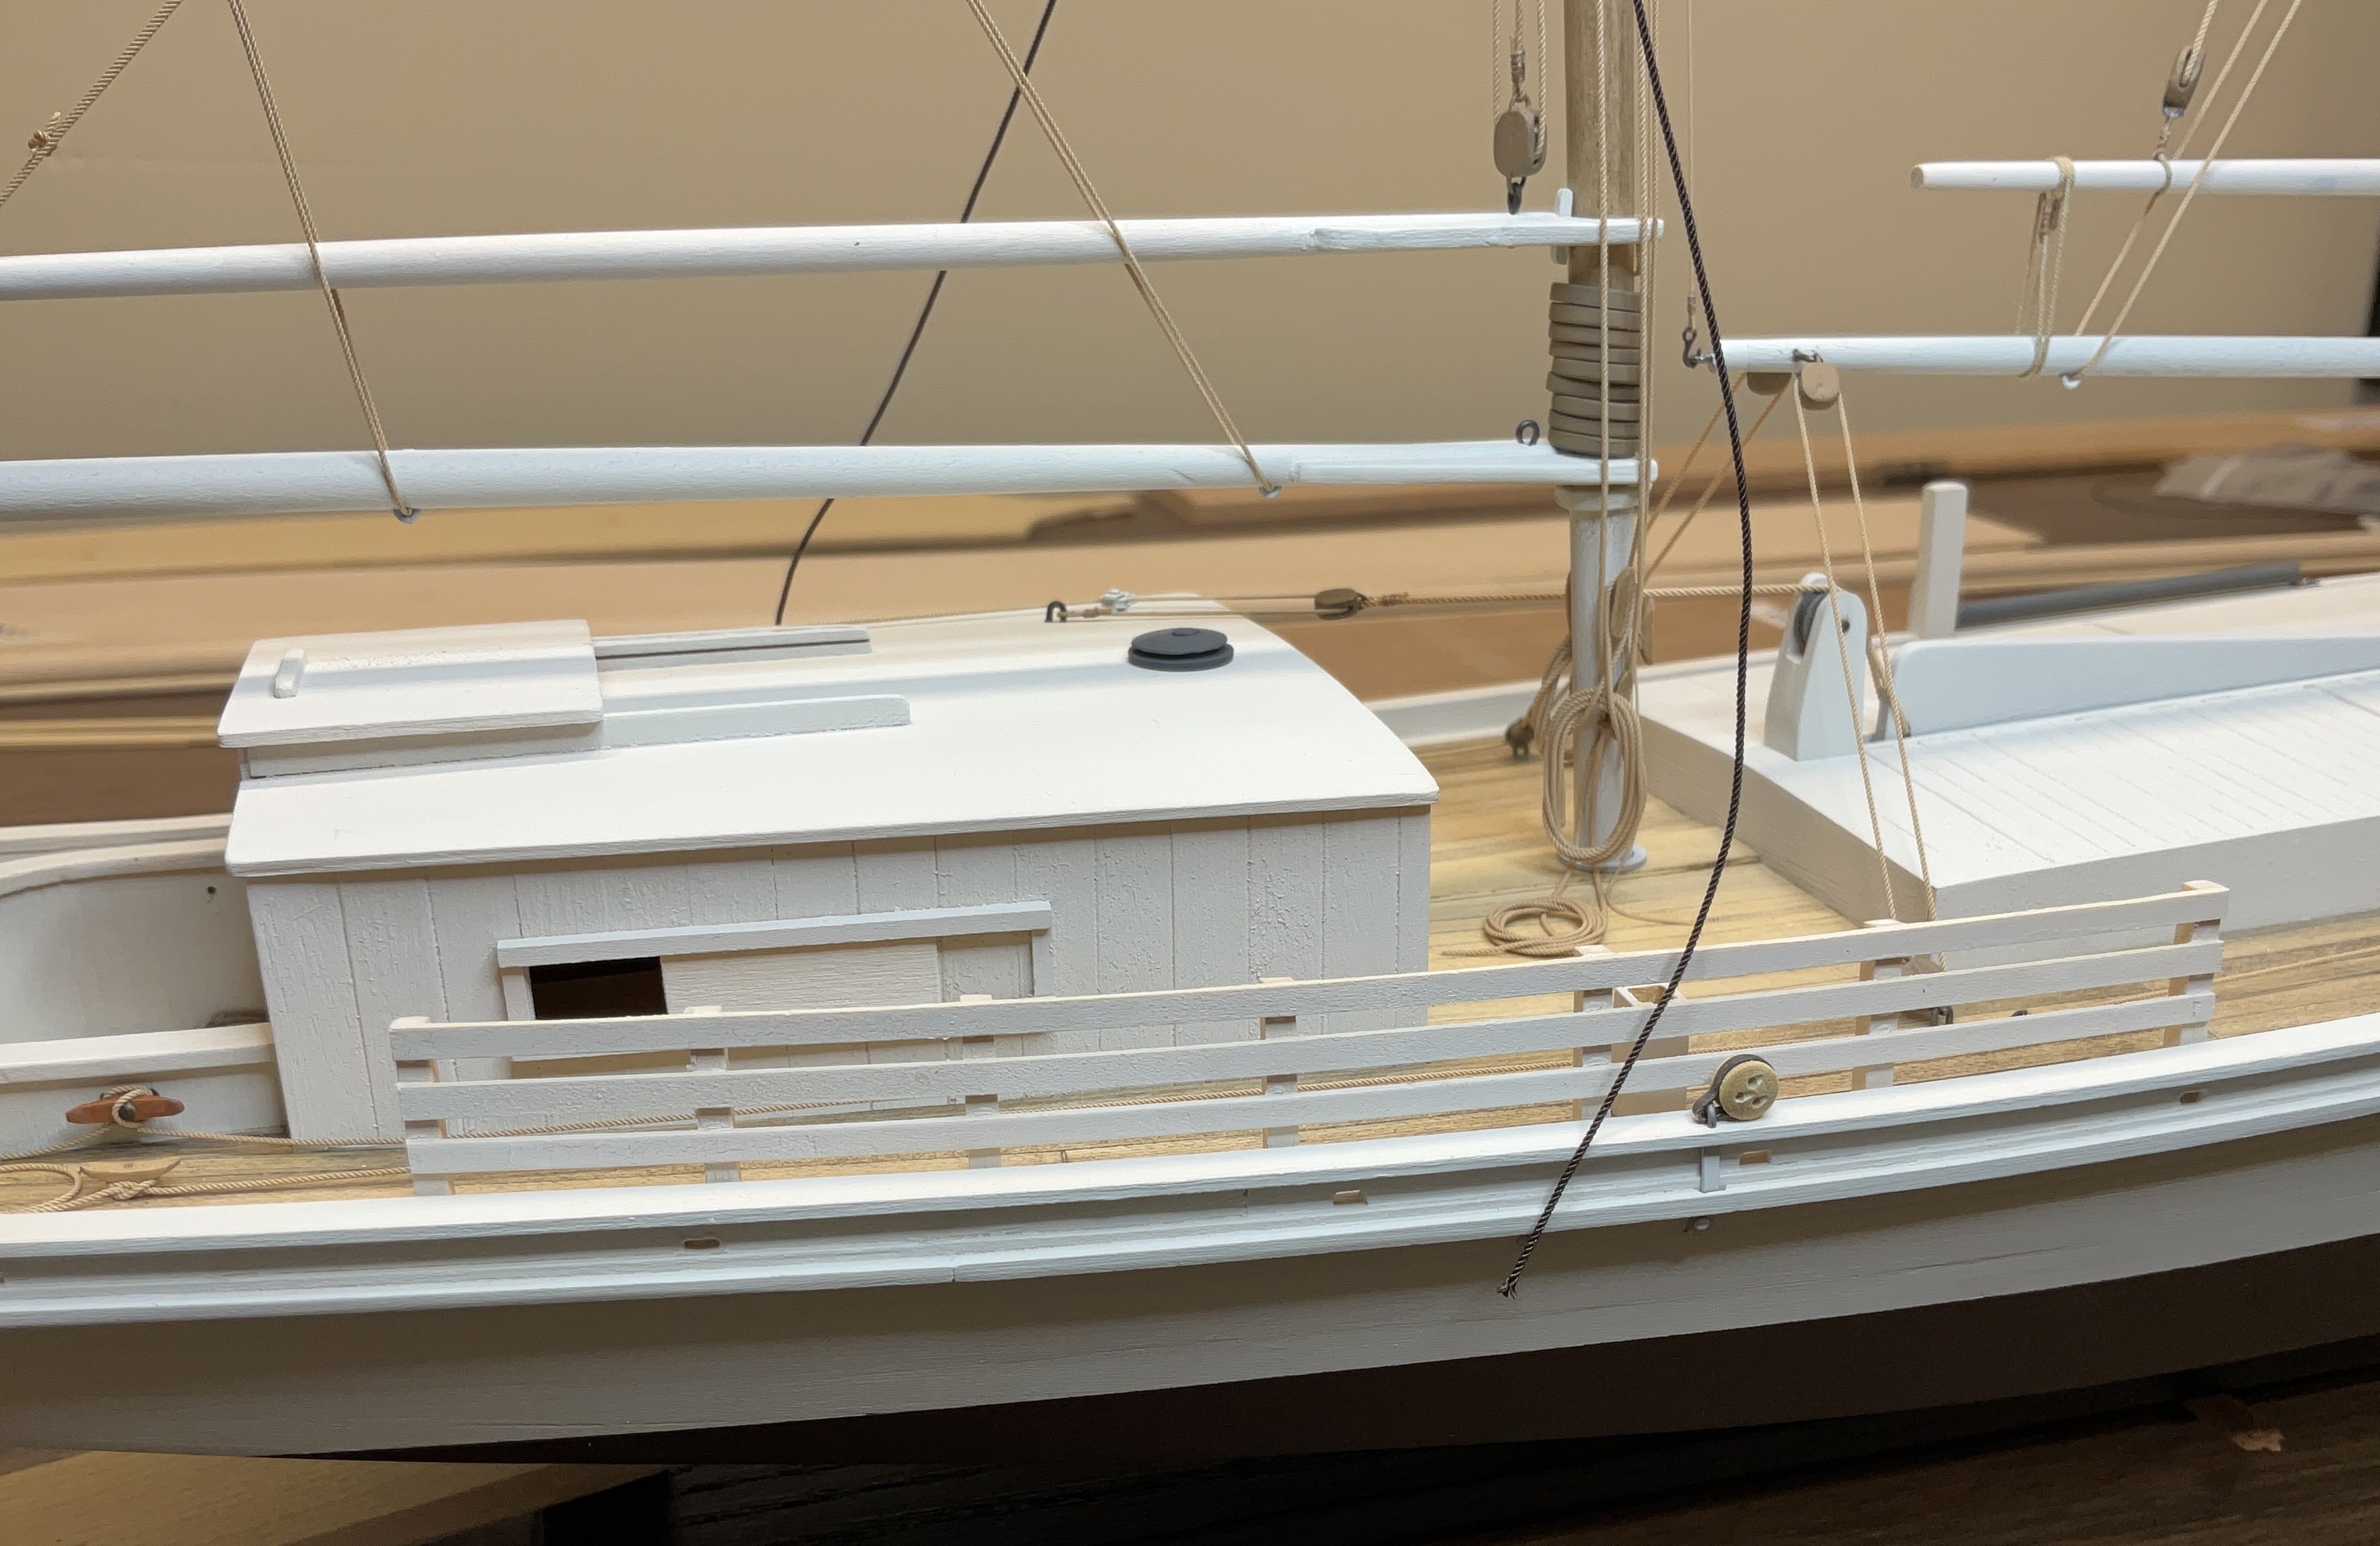
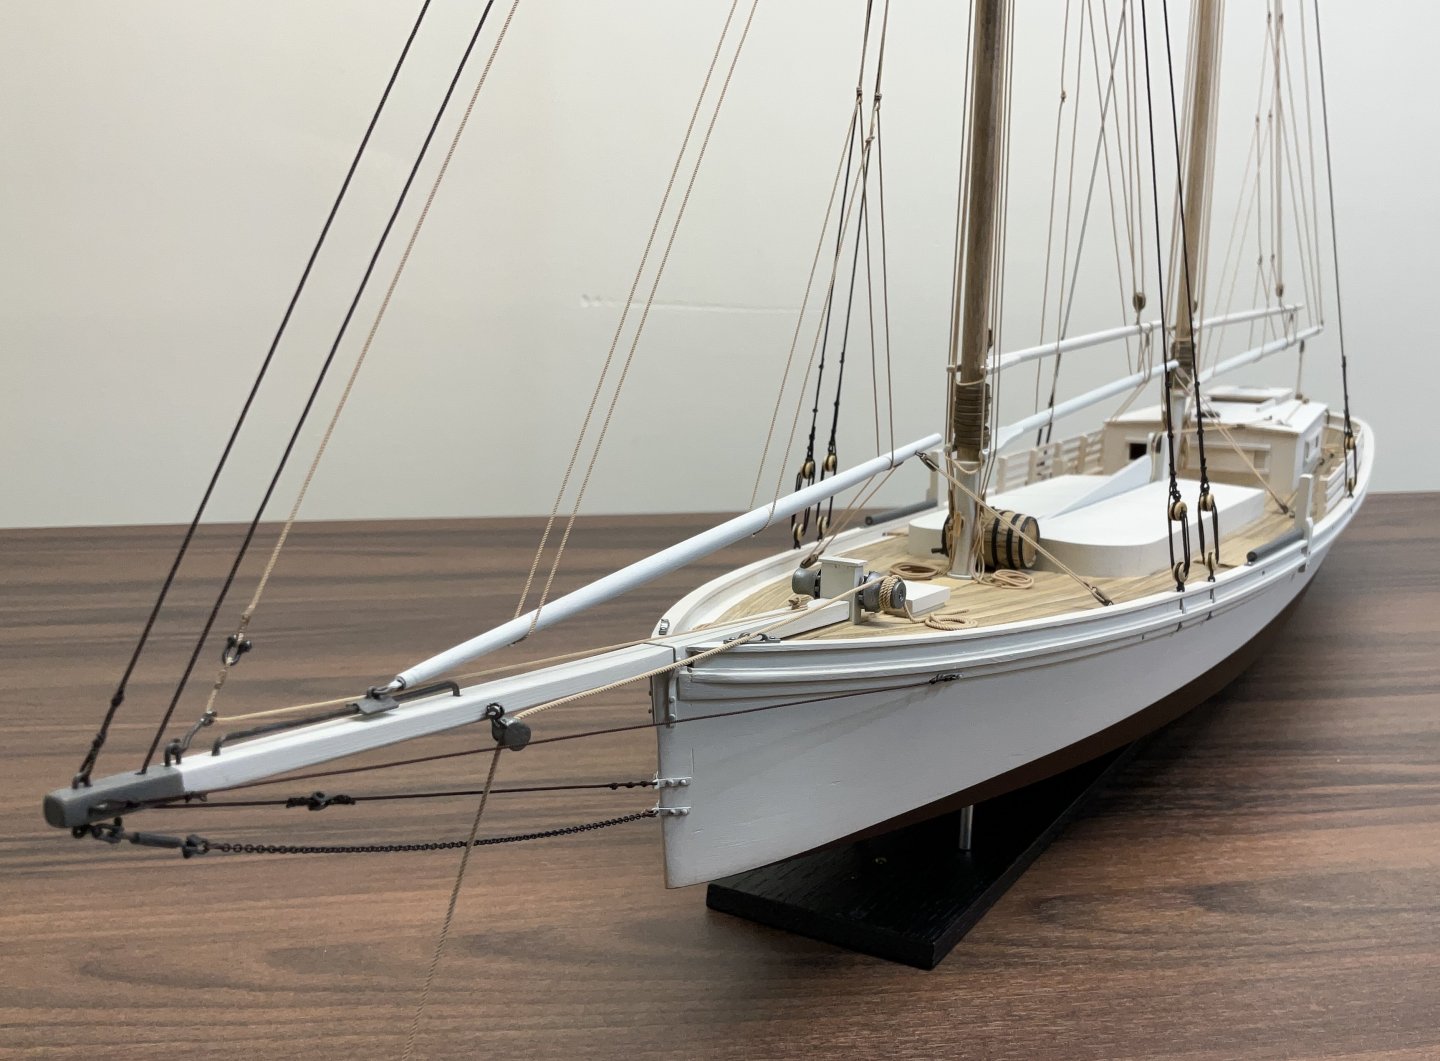
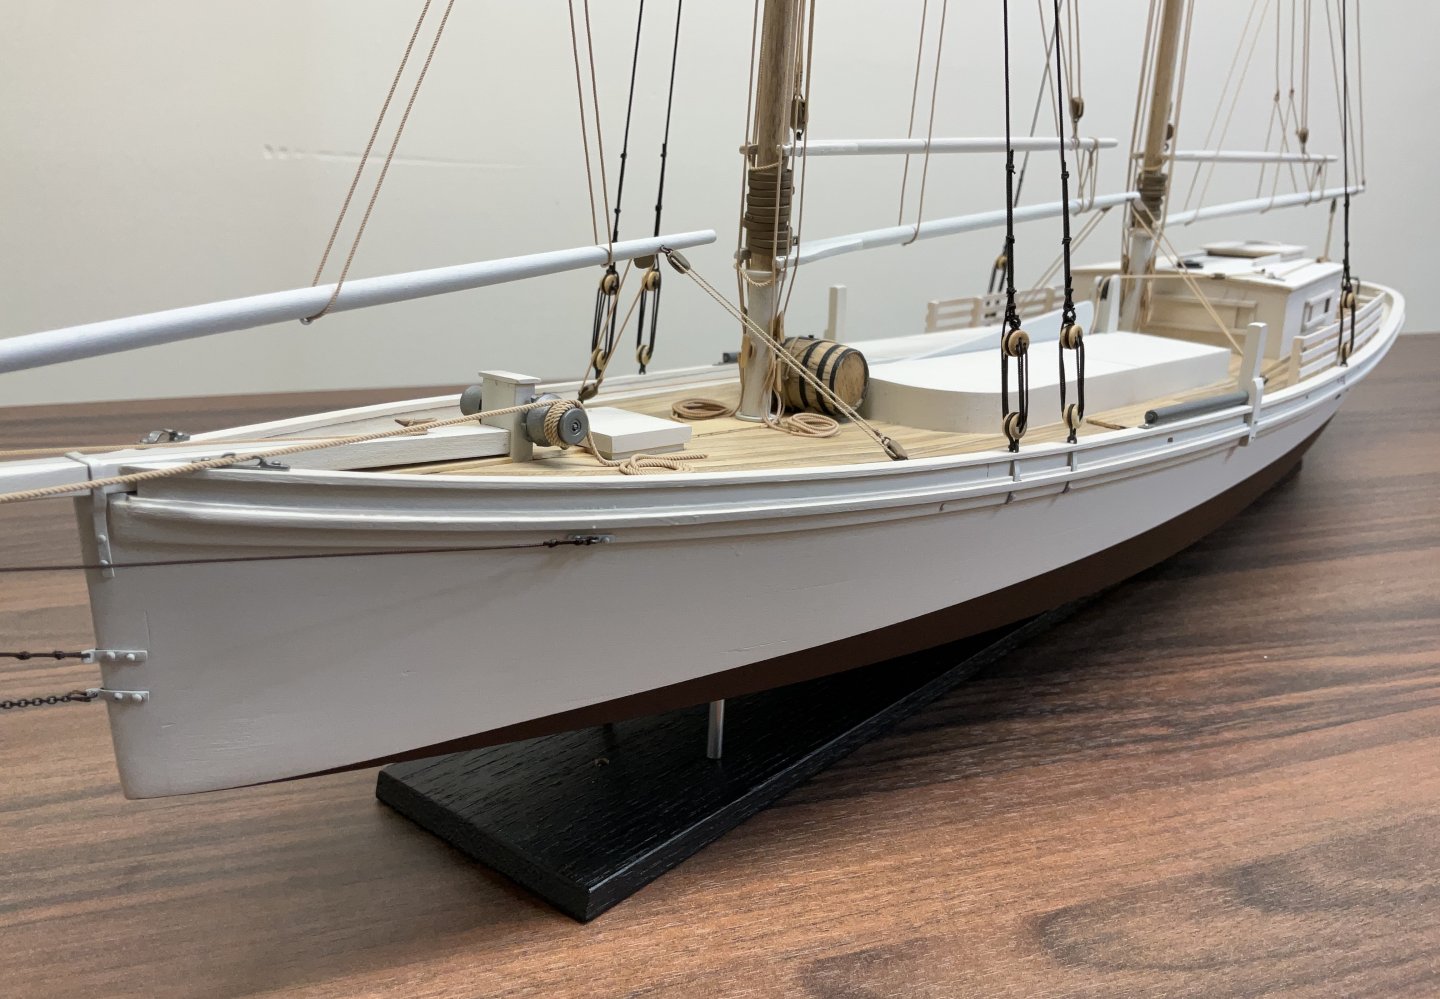
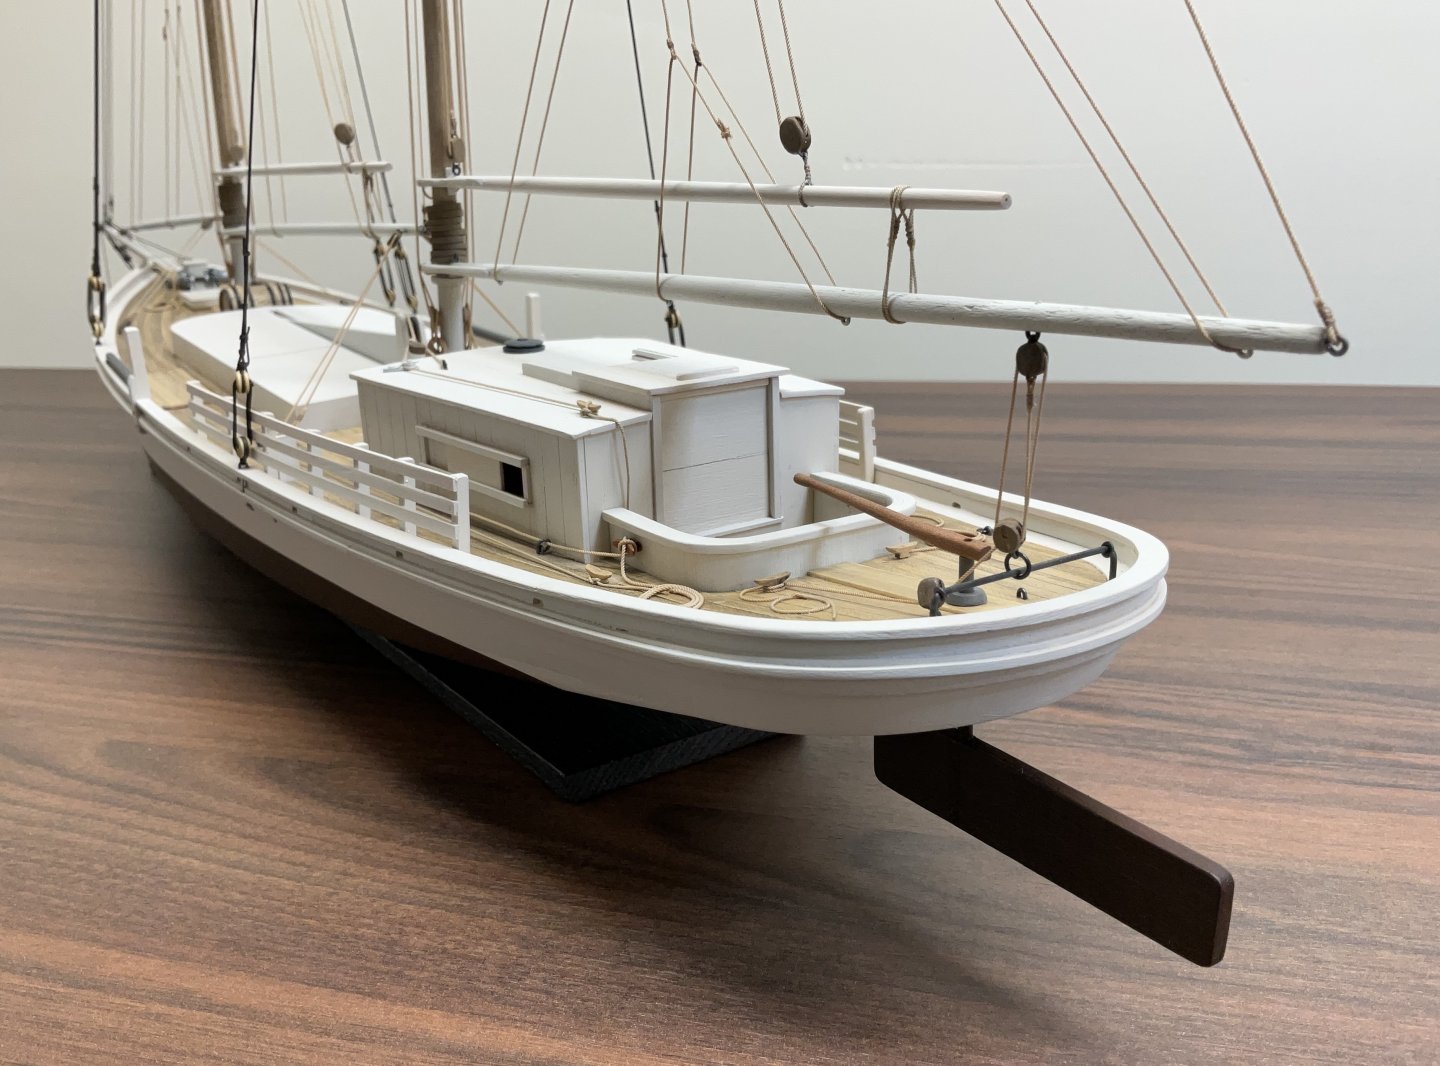
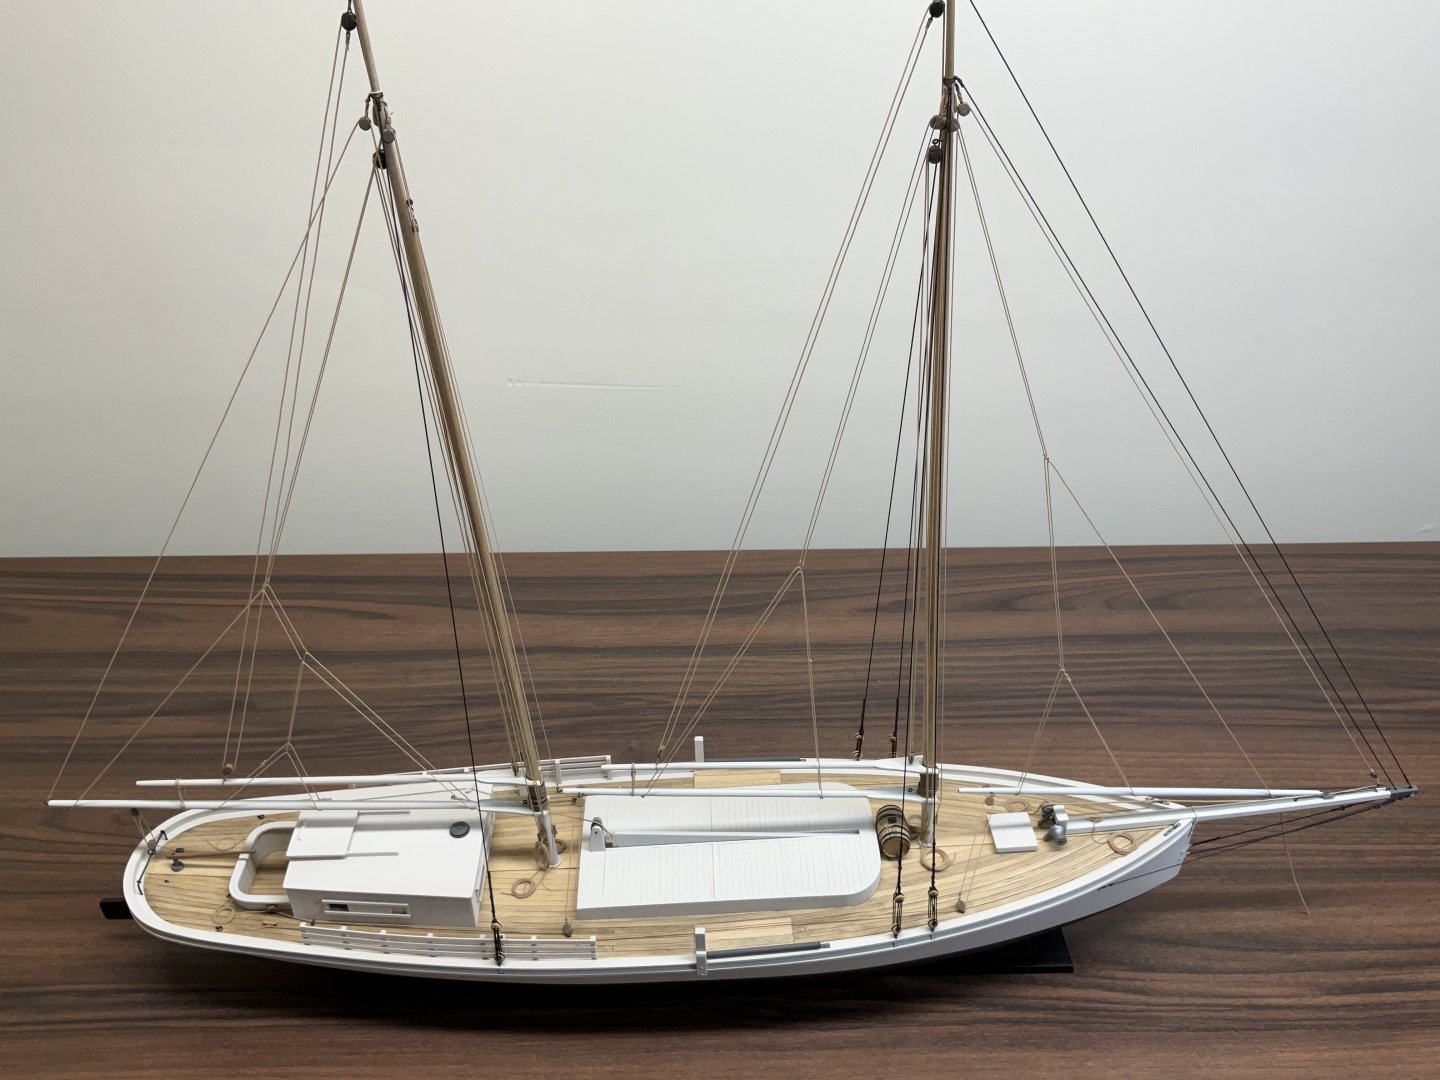
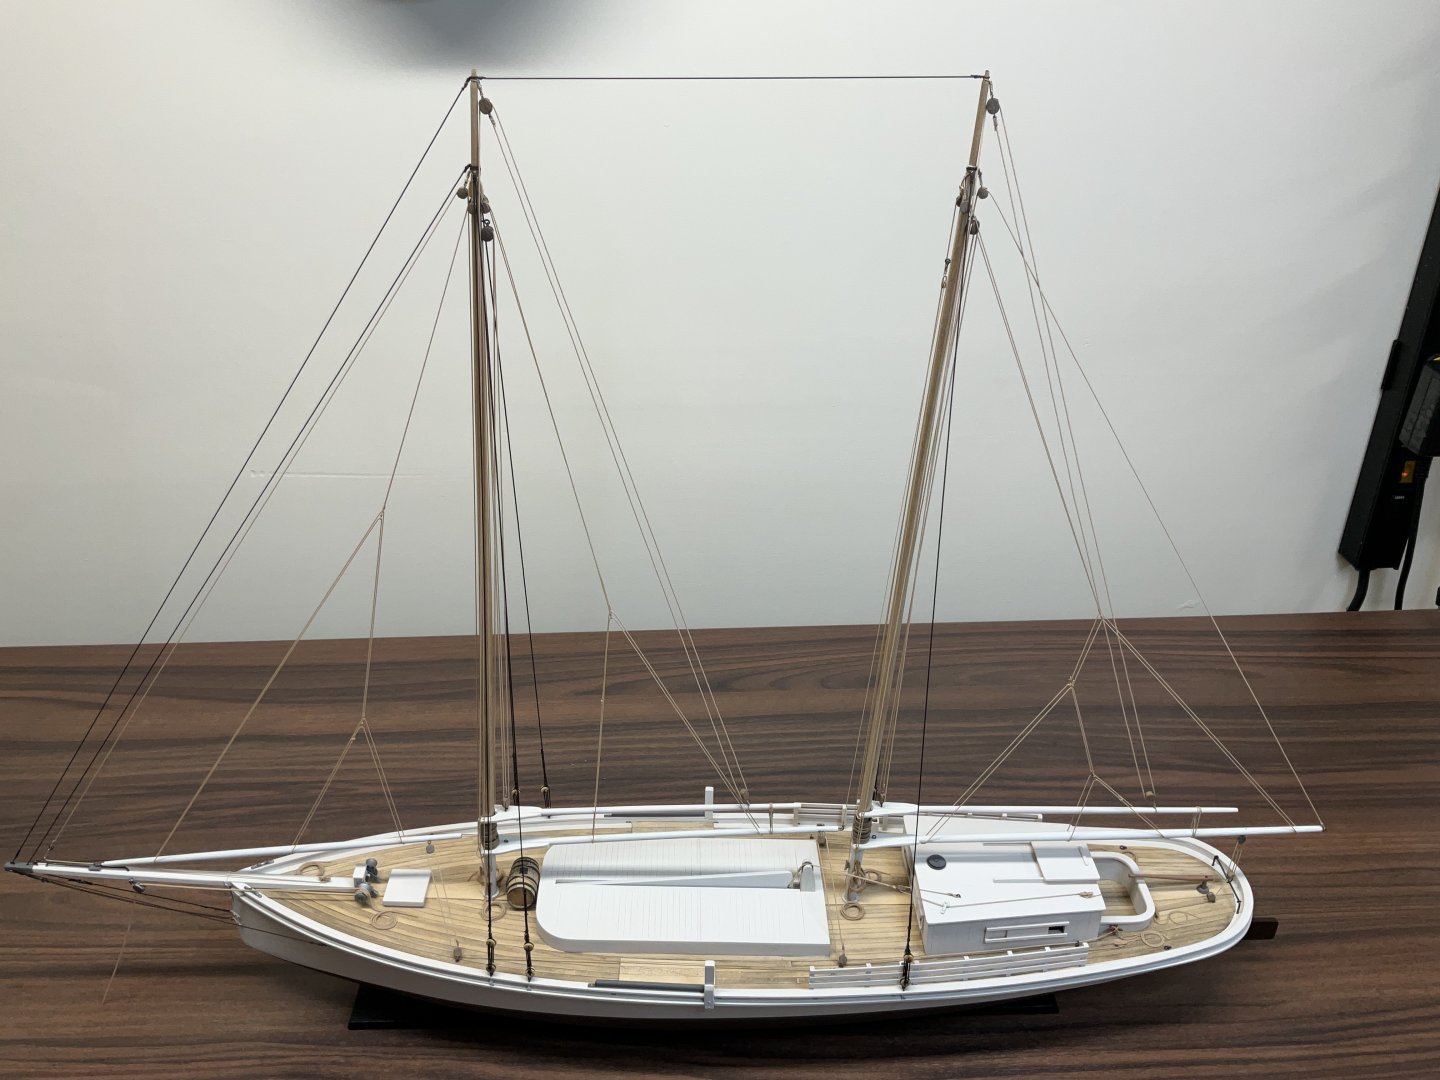
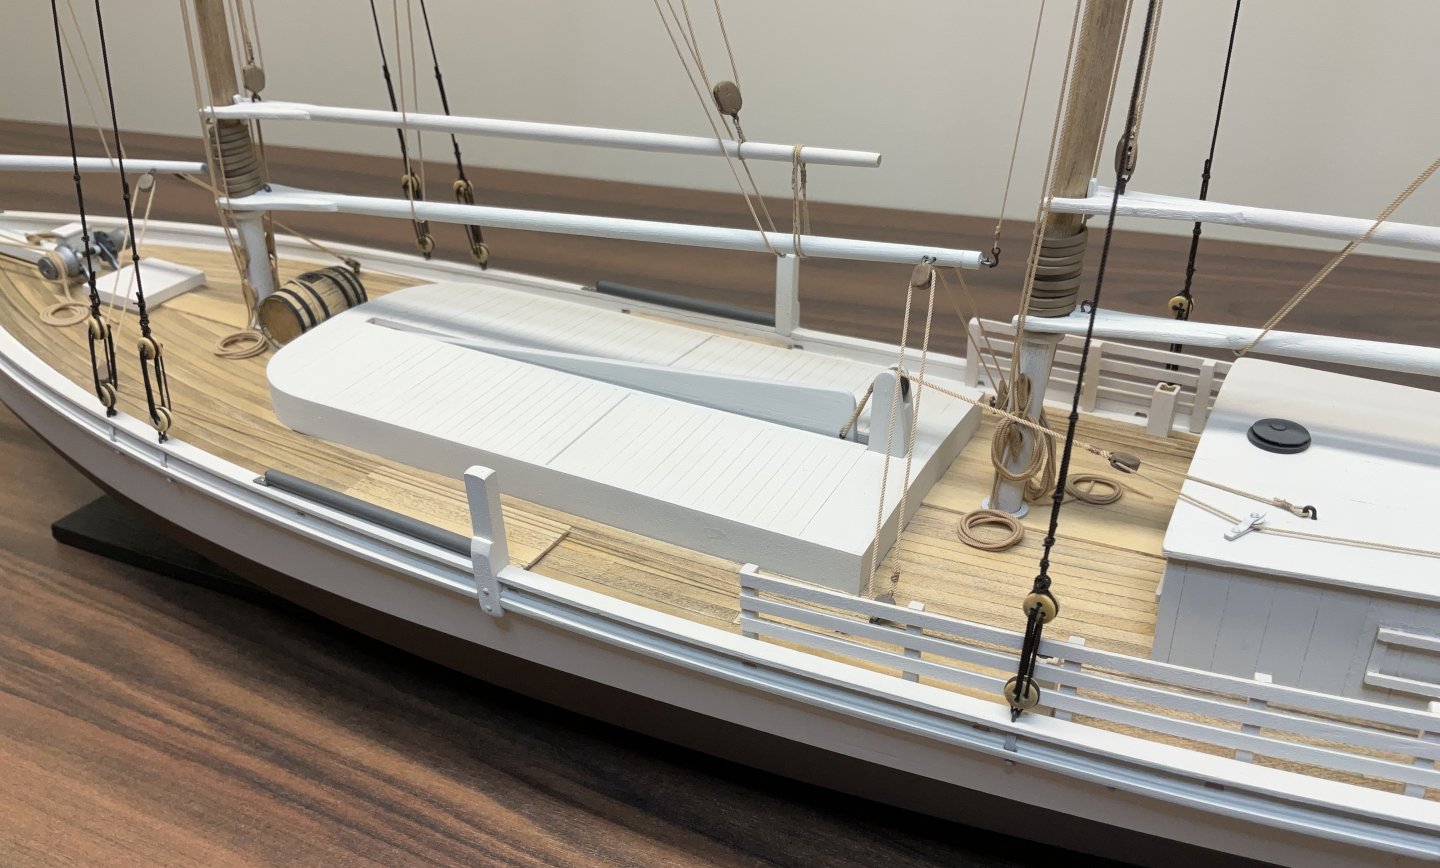
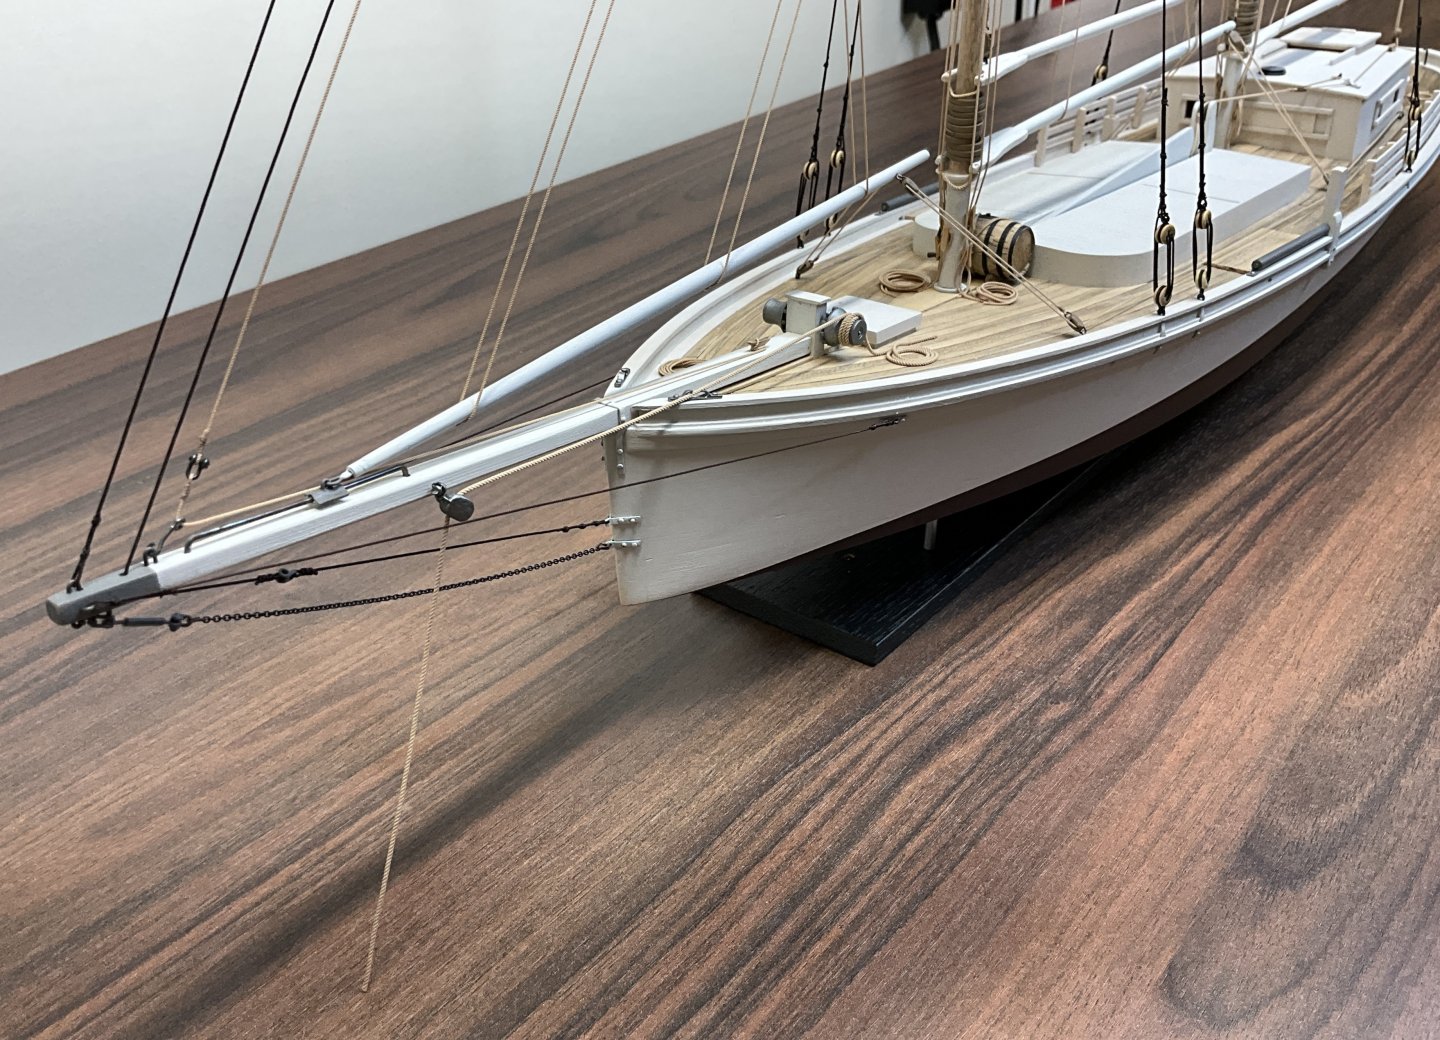
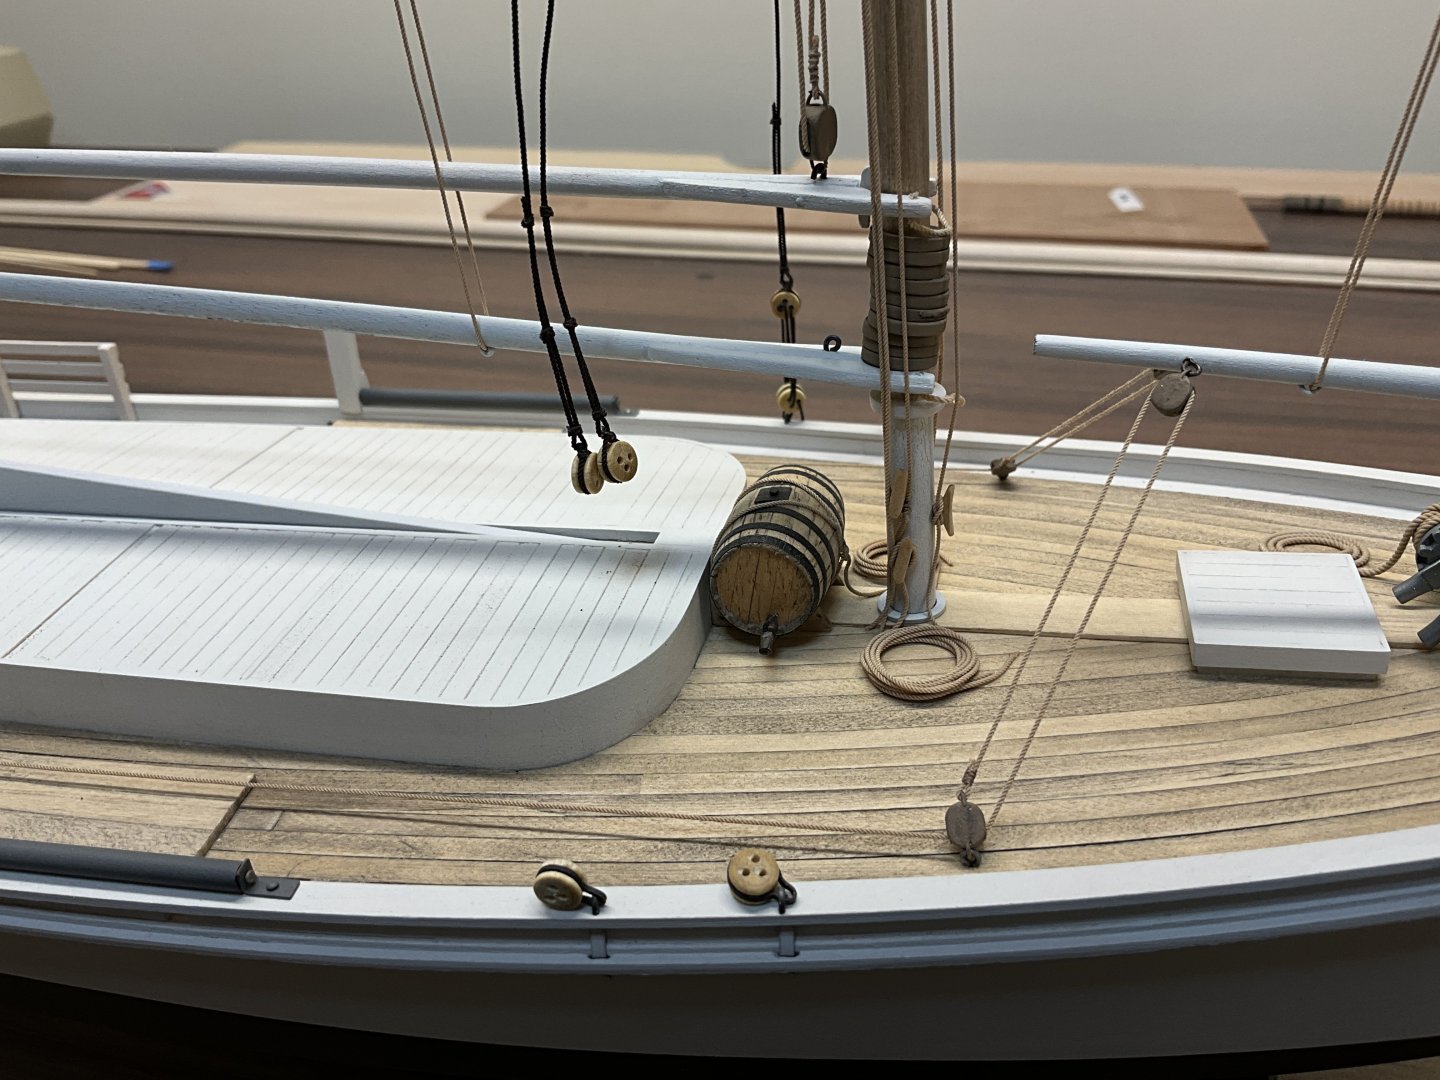
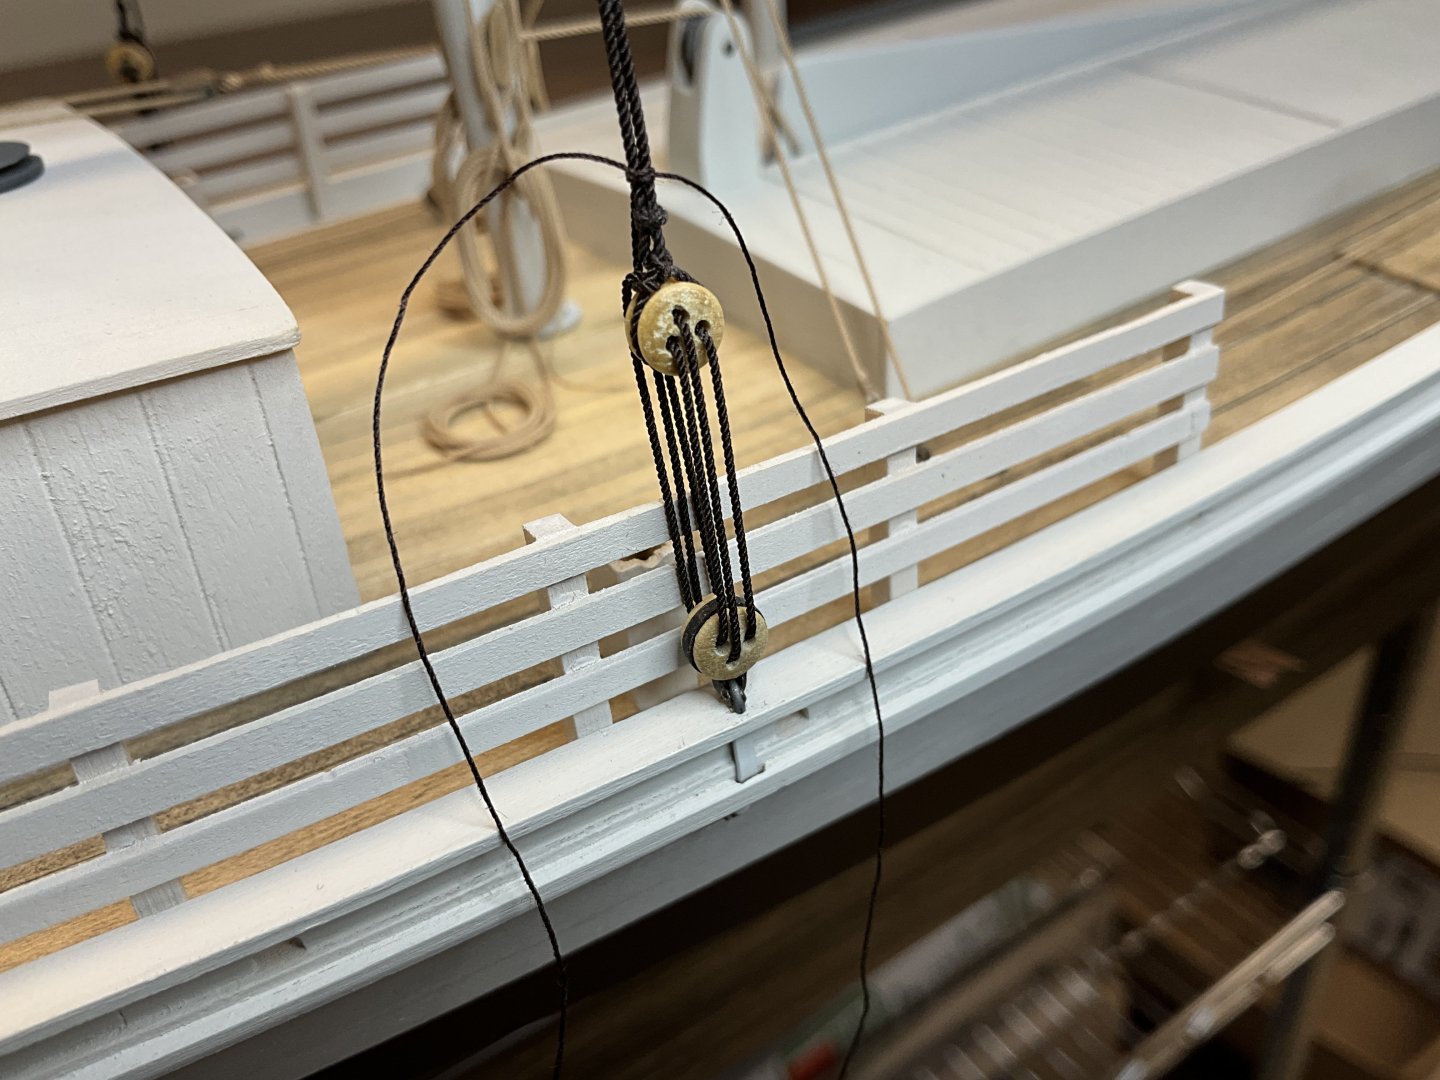
Hi Everyone, hope you are all doing good. Thank you for the Comments and Likes! Well I finally got the lead out and finished the shroud lanyards. Here’s a few pictures of that process. The lanyards do lean on the upper slat of the fences a bit. When you look at the high resolution photos of a sharpie on Alamy you can see that the lanyard straddles the top slat and the middle slat has been trimmed. I didn’t think it was bad enough to make those modifications to the fences. I also decided to leave off the oar locks and the oars. They might be added at a later date. So on that note I shall declare this build finished. Some photos of the completed boat starting with the imaginary anchor. I realize that there are probably more than a couple of historical inaccuracies present so it anyone has any ideas on how to make this a more accurate representation please feel free to share your thoughts. I won’t be changing anything but perhaps future builders will be able to benefit from them. Thank you to everyone for joining me in this build. You have made this project very enjoyable.


- 201 replies
-
- 21
-
-

-
- Oyster Sharpie
- first scratch build
- (and 1 more)
-
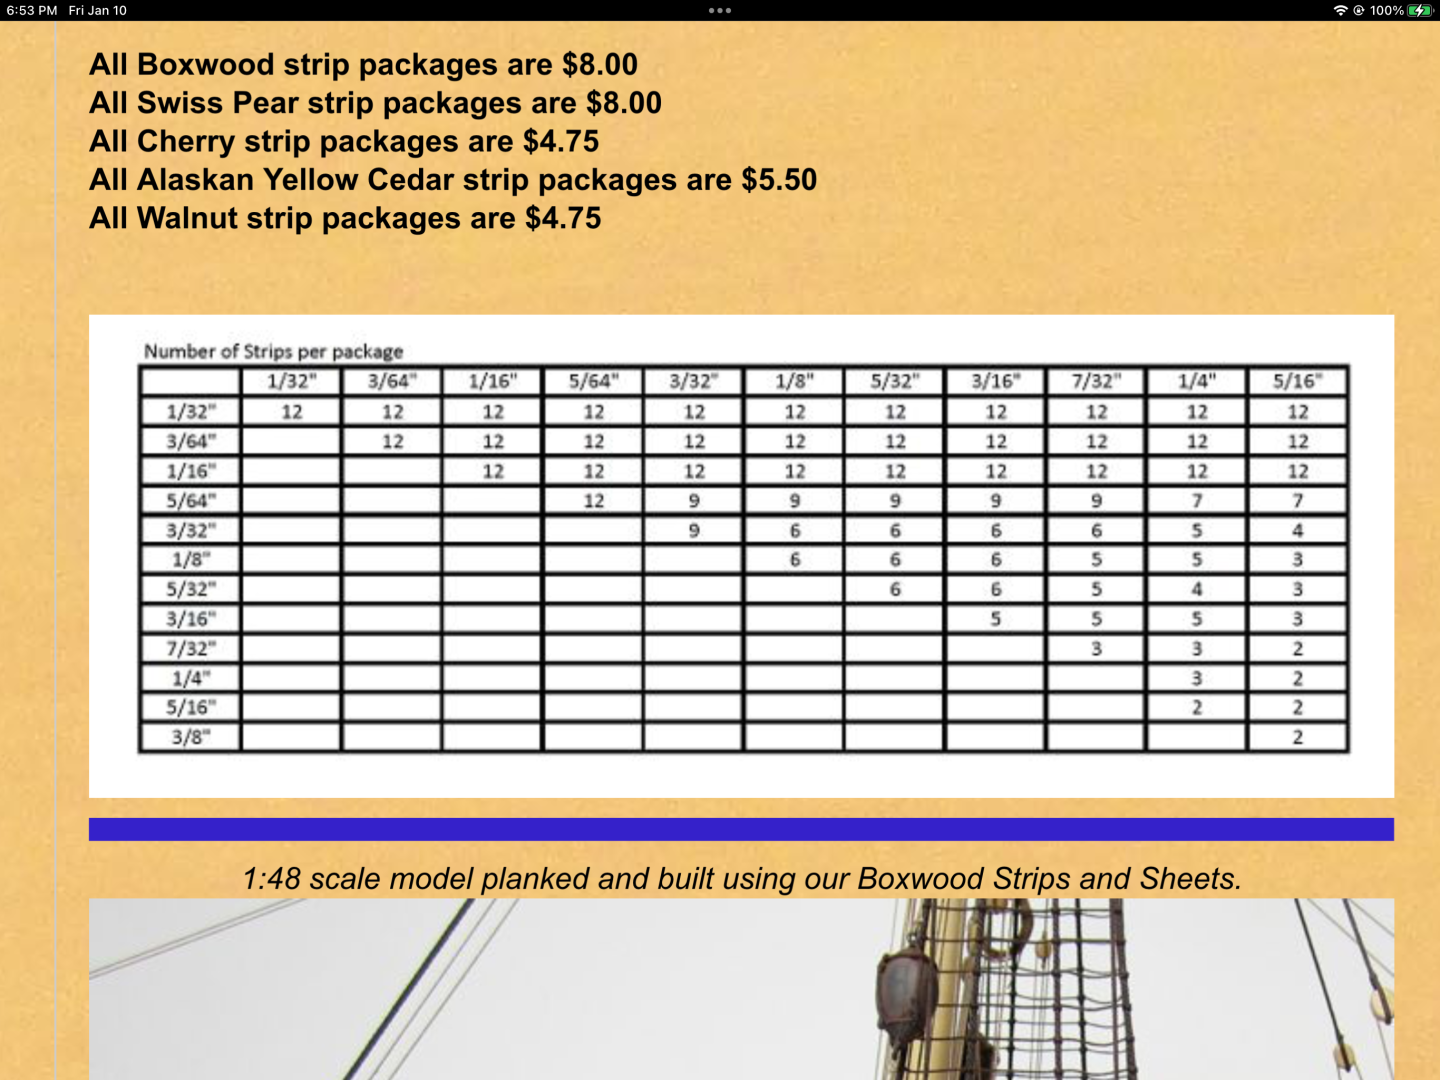
Here is a chart of the wood strips that Joe sells.
-
Dave, congratulations on completing this wonderful looking Dory!
- 32 replies
-
- 2
-
-
- Grand Banks Dory
- Model Shipways
- (and 2 more)
-
Glen, what strikes me most about this SIB is the difference between the tranquil presentation and the chaos going on inside the bottle. Congratulations on finishing this amazing project!
- 185 replies
-
- 5
-
-
-
- Flying Dutchman
- Black pearl
- (and 2 more)
-
Hi Gary, good to see this much anticipated update. The roof looks great. Everything does !
-
Hi Gary, thanks so much for your comments and support. Going to have to start thinking about what’s next. Only have a couple of hours worth of work left on the sharpie
- 201 replies
-
- 4
-
-
- Oyster Sharpie
- first scratch build
- (and 1 more)
-
Great weathering effects on the base Glen. Looks superb. Going to have to add Concrete Block to my list of shop tools to acquire 😀!
- 185 replies
-
- 7
-

-
- Flying Dutchman
- Black pearl
- (and 2 more)
-
Thank you very much Dave. Started this build in March of 2023. That’s quite a while ago and it’s gone by very quickly. Hope time starts slowing down some 😀
- 201 replies
-
- 4
-
-
- Oyster Sharpie
- first scratch build
- (and 1 more)
-
Hi Glen, thank you for your comments. They are appreciated very much!
- 201 replies
-
- 4
-
-
- Oyster Sharpie
- first scratch build
- (and 1 more)
-
Just to add to the airbrush topic. @Landlubber Mike suggested in a post to check out Vince Venturella’s Hobby Cheating YouTube channel. #213 is about cleaning. Excellent channel.
-
John, thank you very much for your generous comments!
- 201 replies
-
- 3
-
-
- Oyster Sharpie
- first scratch build
- (and 1 more)
-
Hi Keith, thank you for your comment and thank you for joining me on this ride. It’s been a lot of fun!
- 201 replies
-
- 4
-
-
- Oyster Sharpie
- first scratch build
- (and 1 more)
-
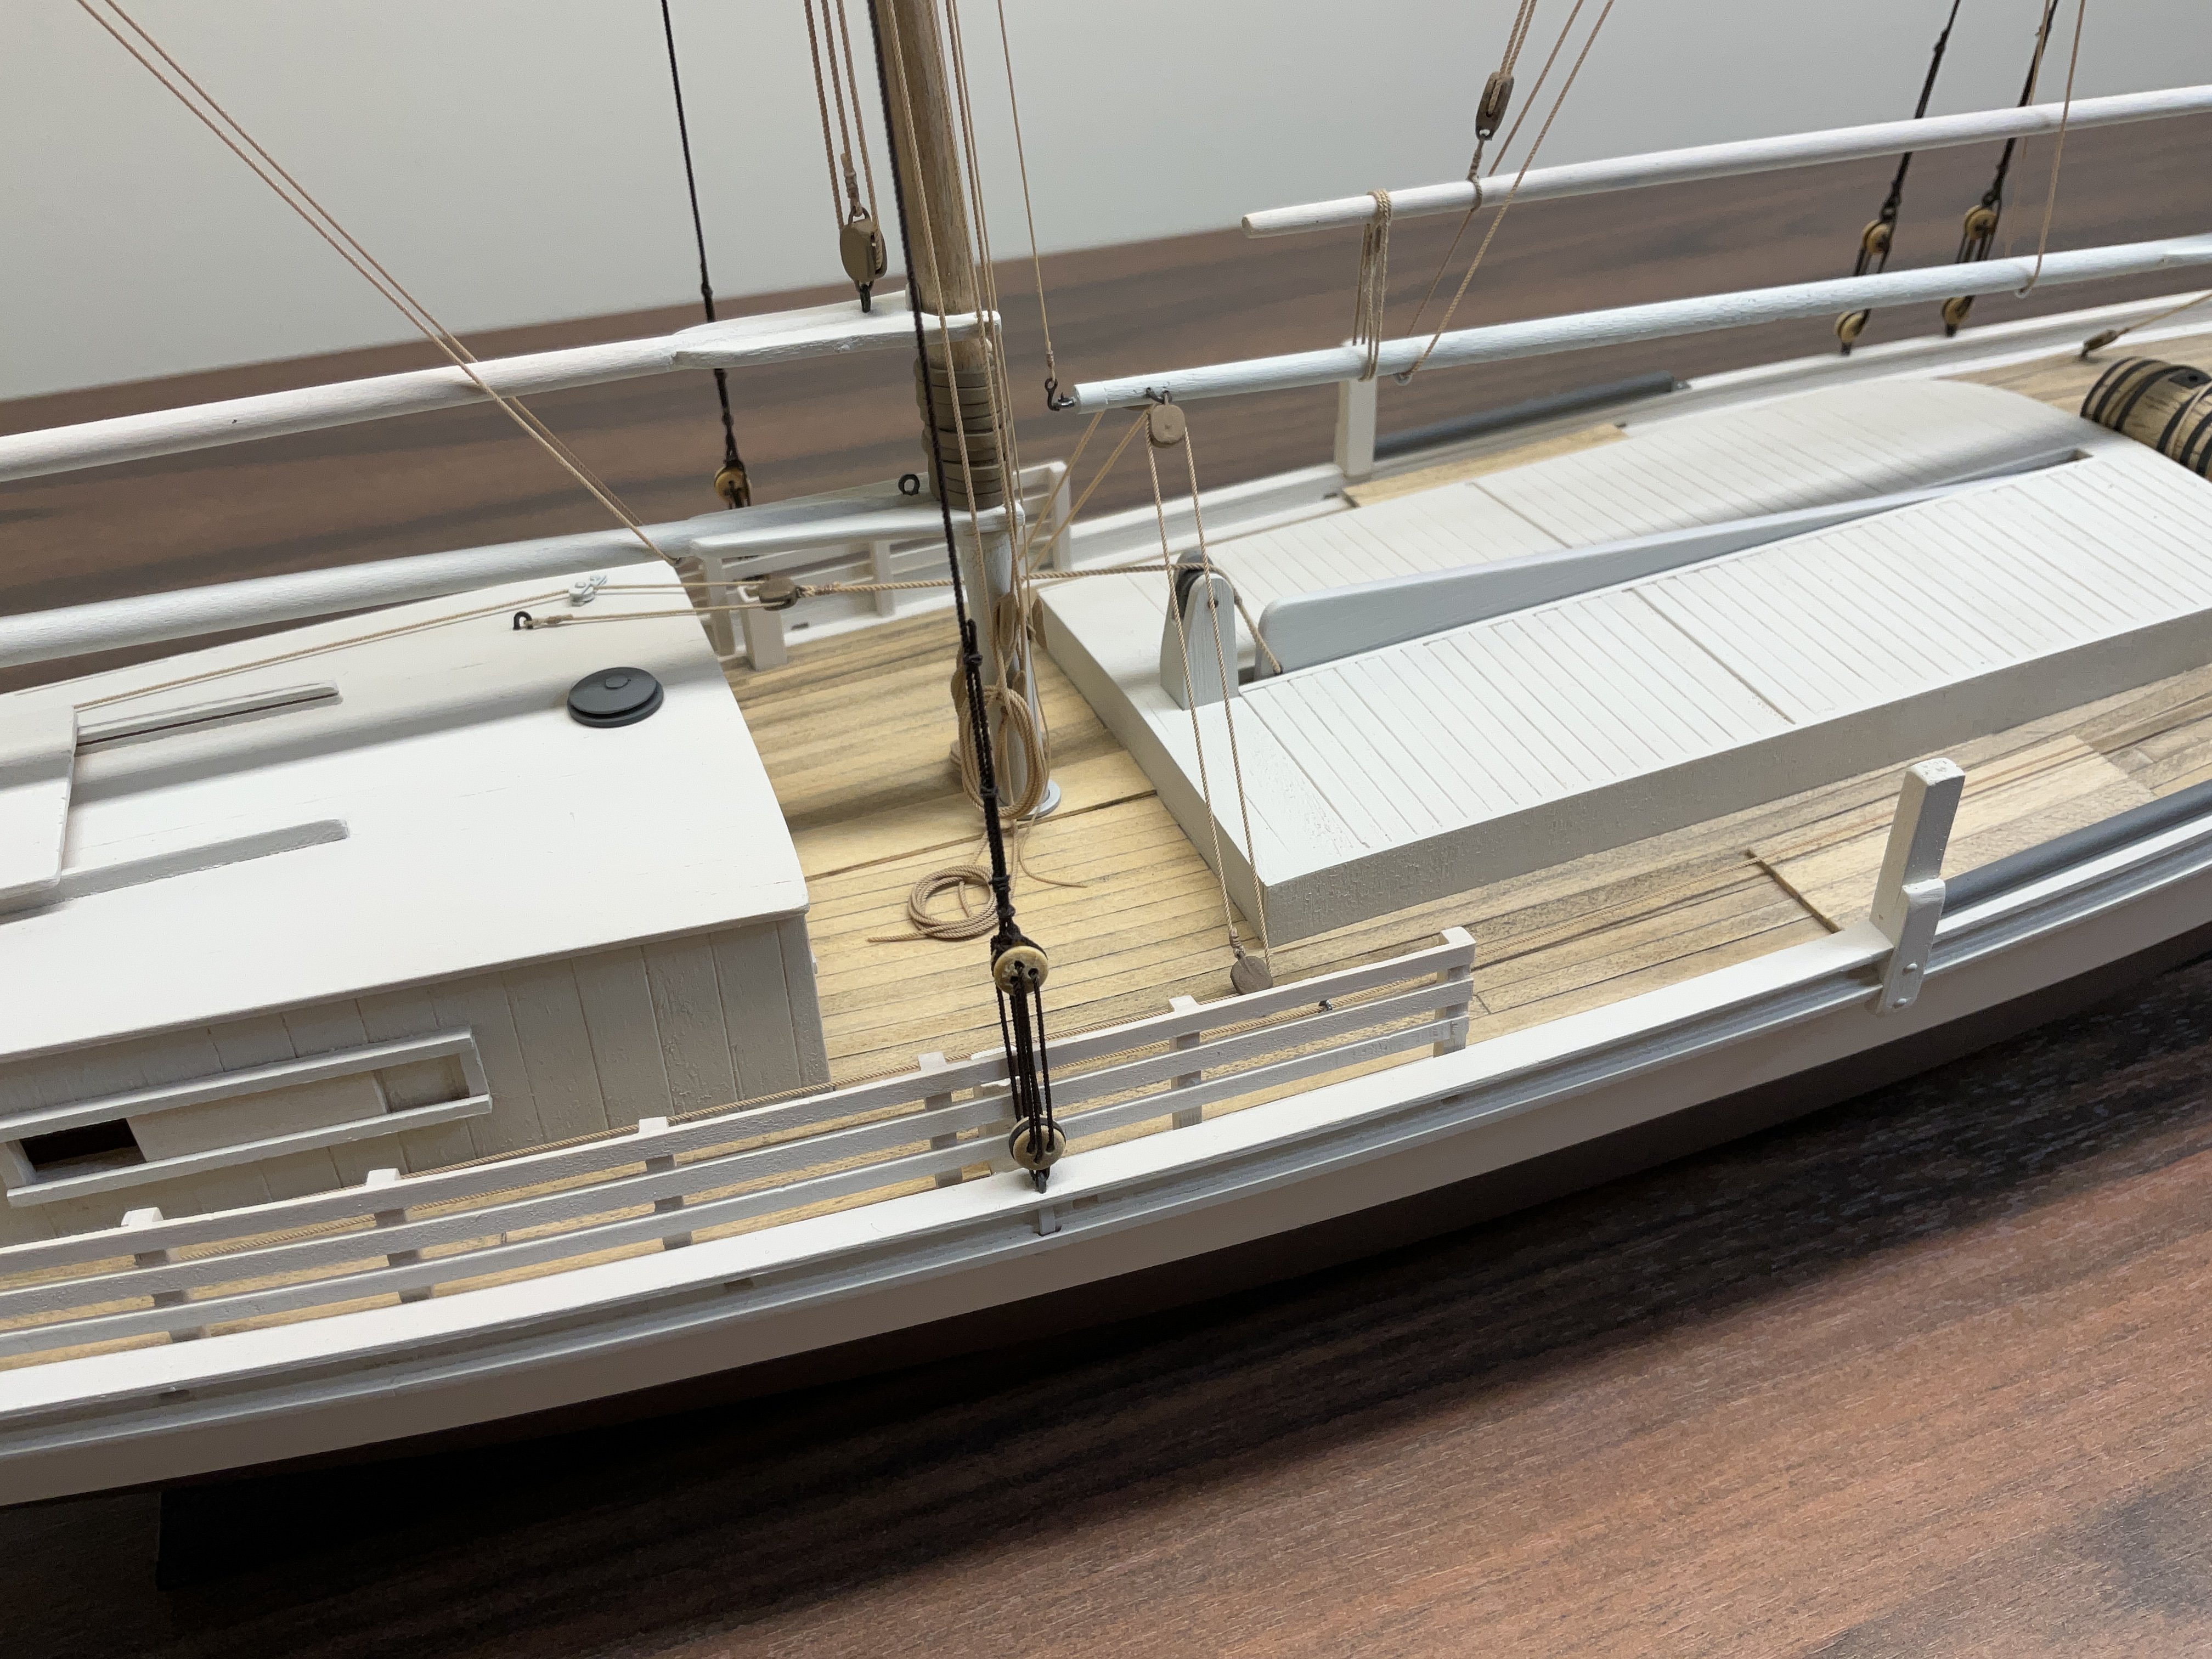
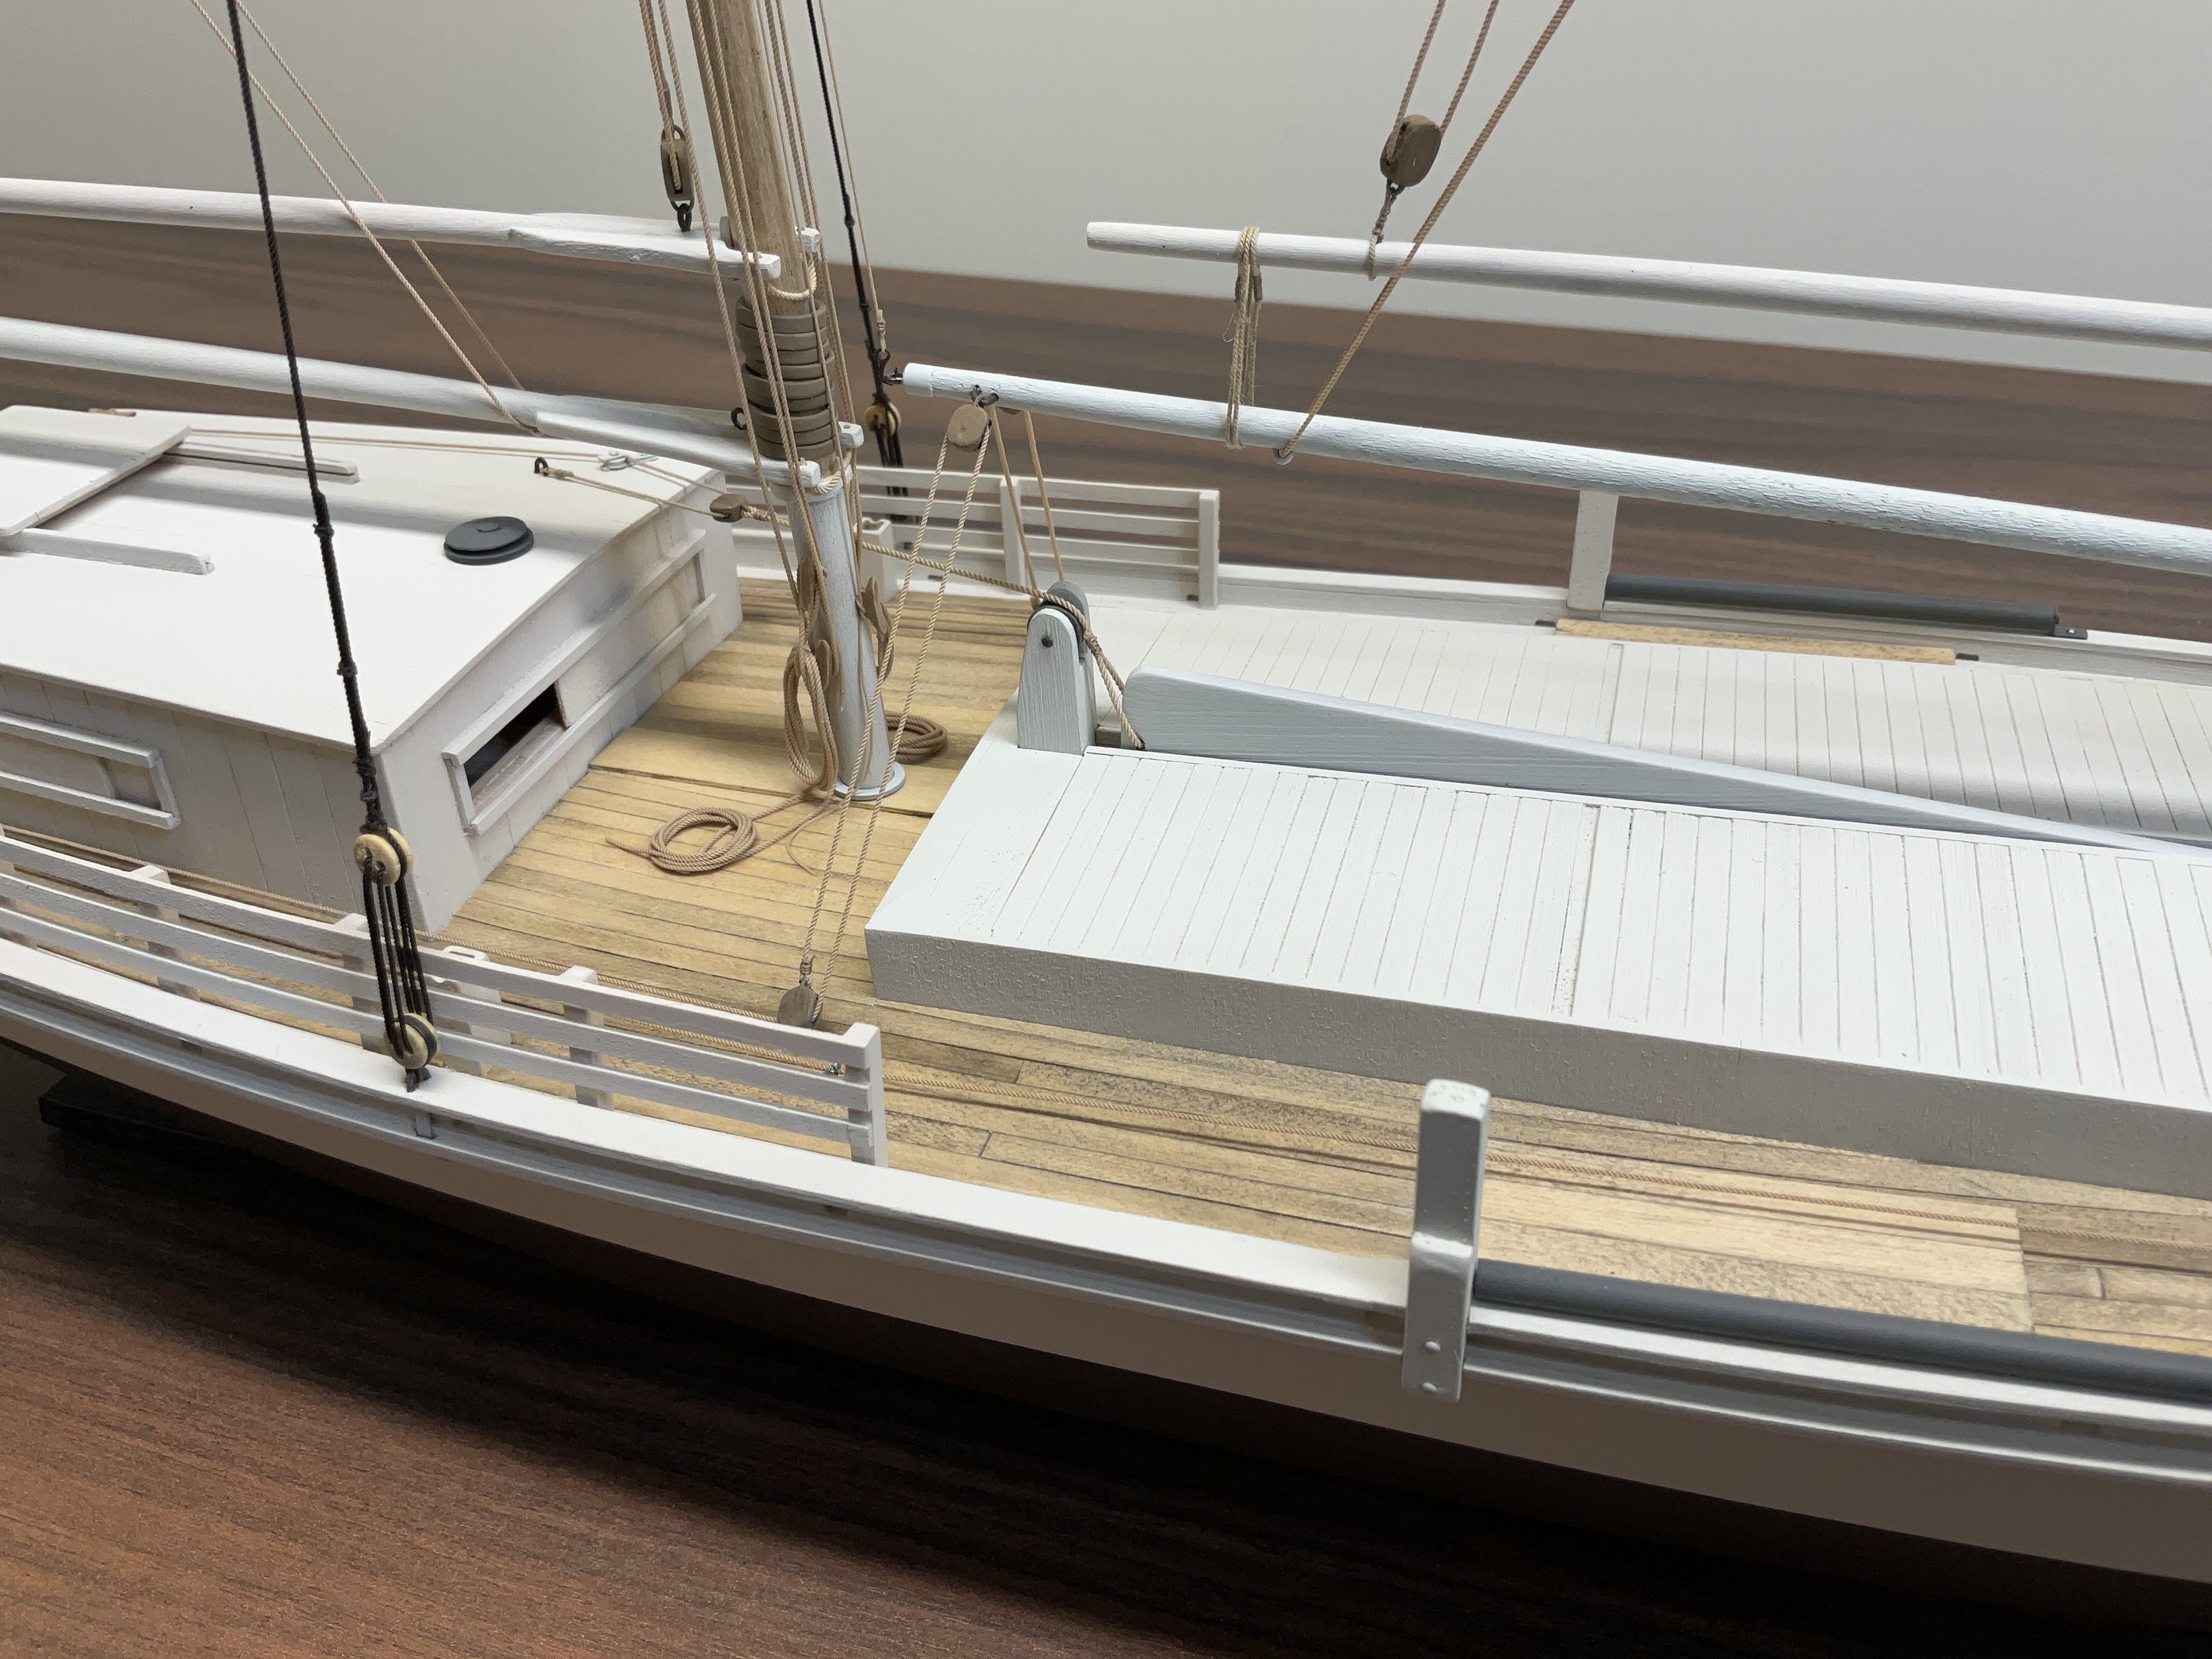
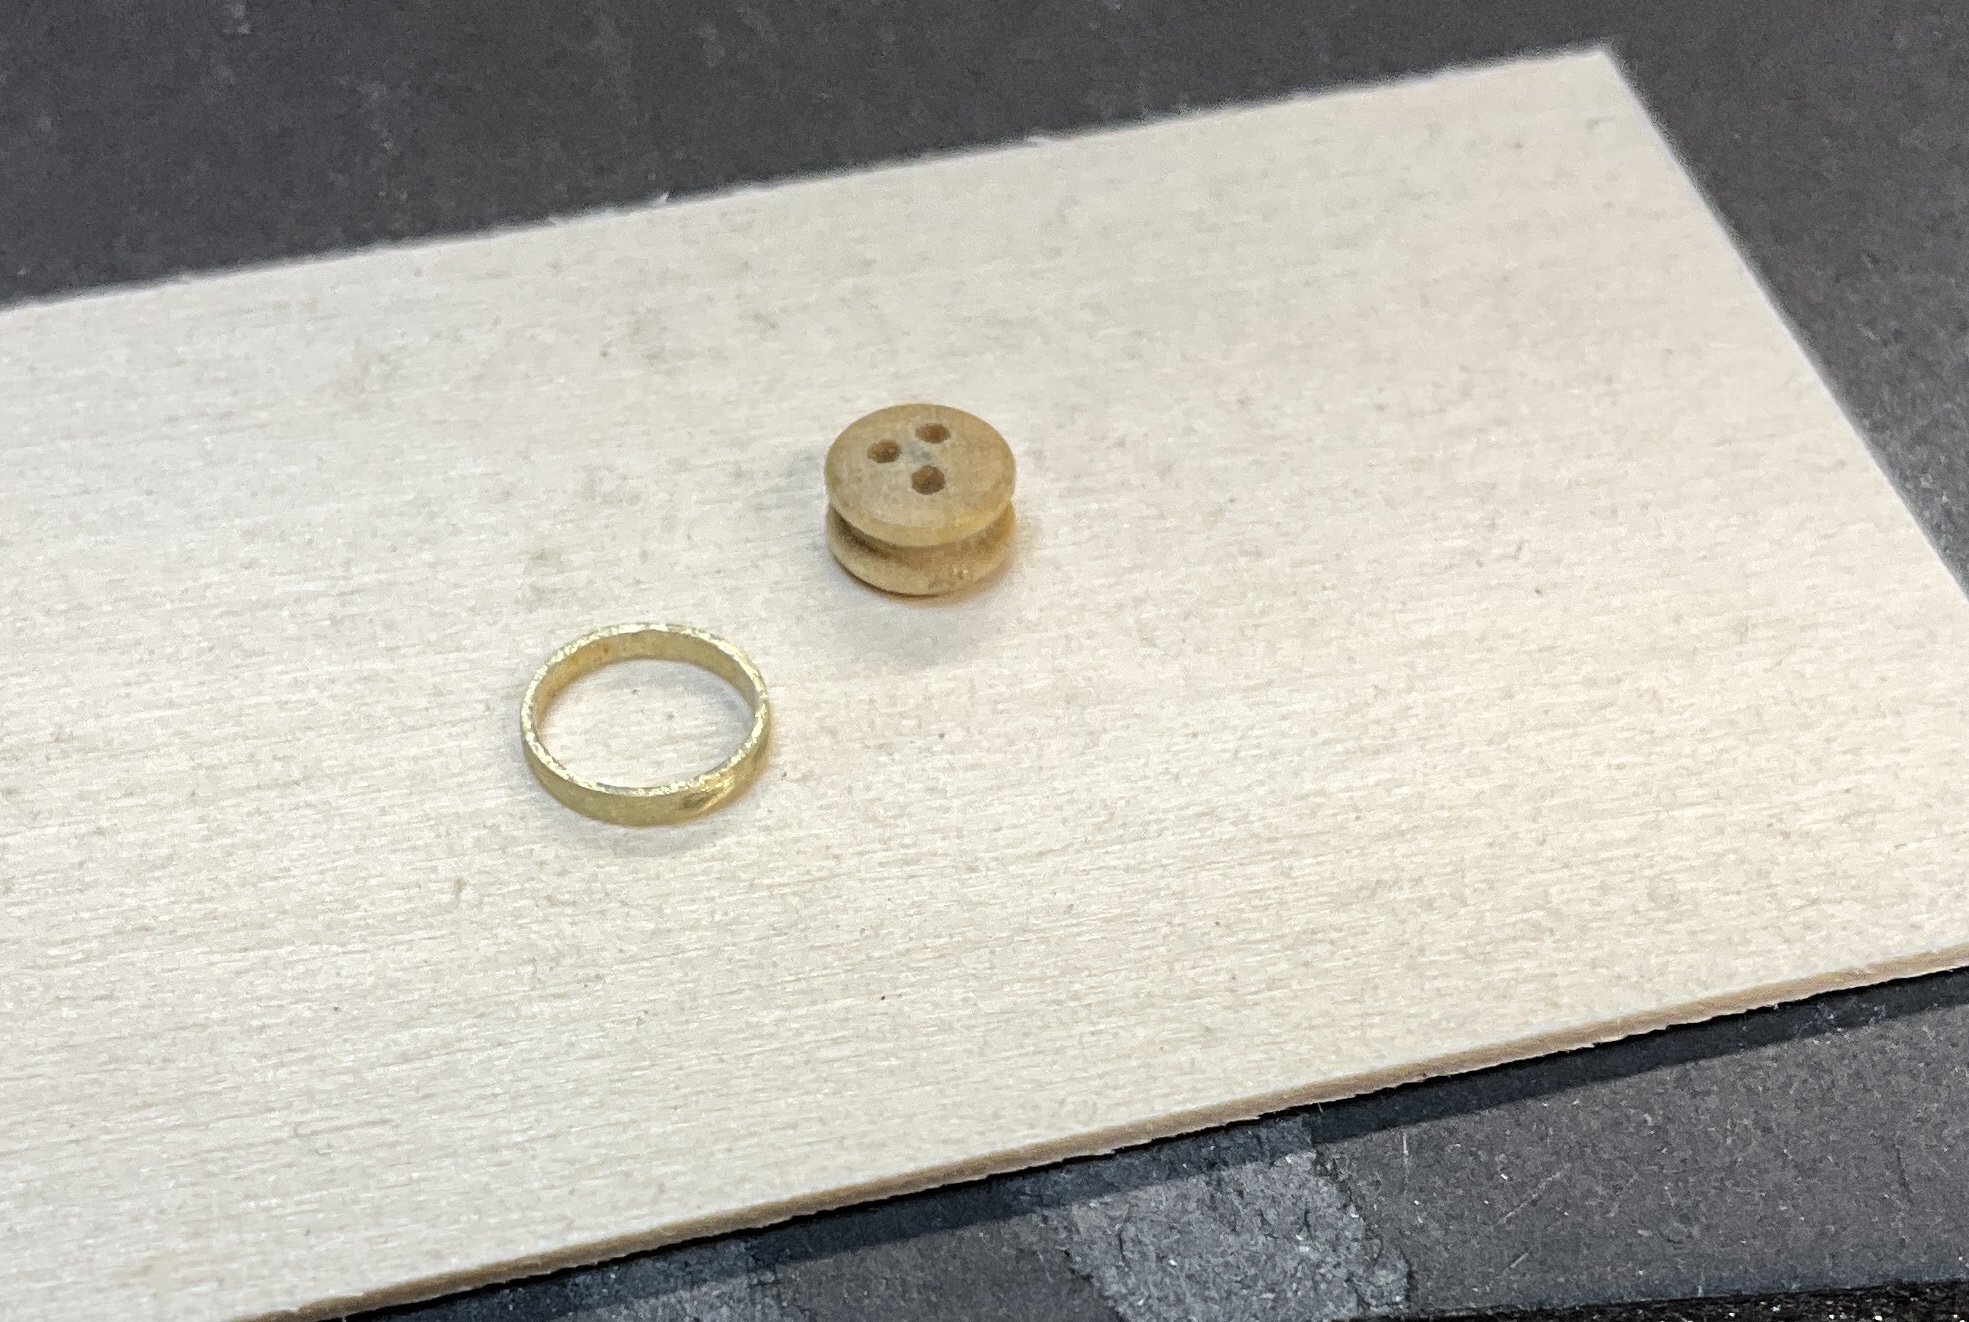
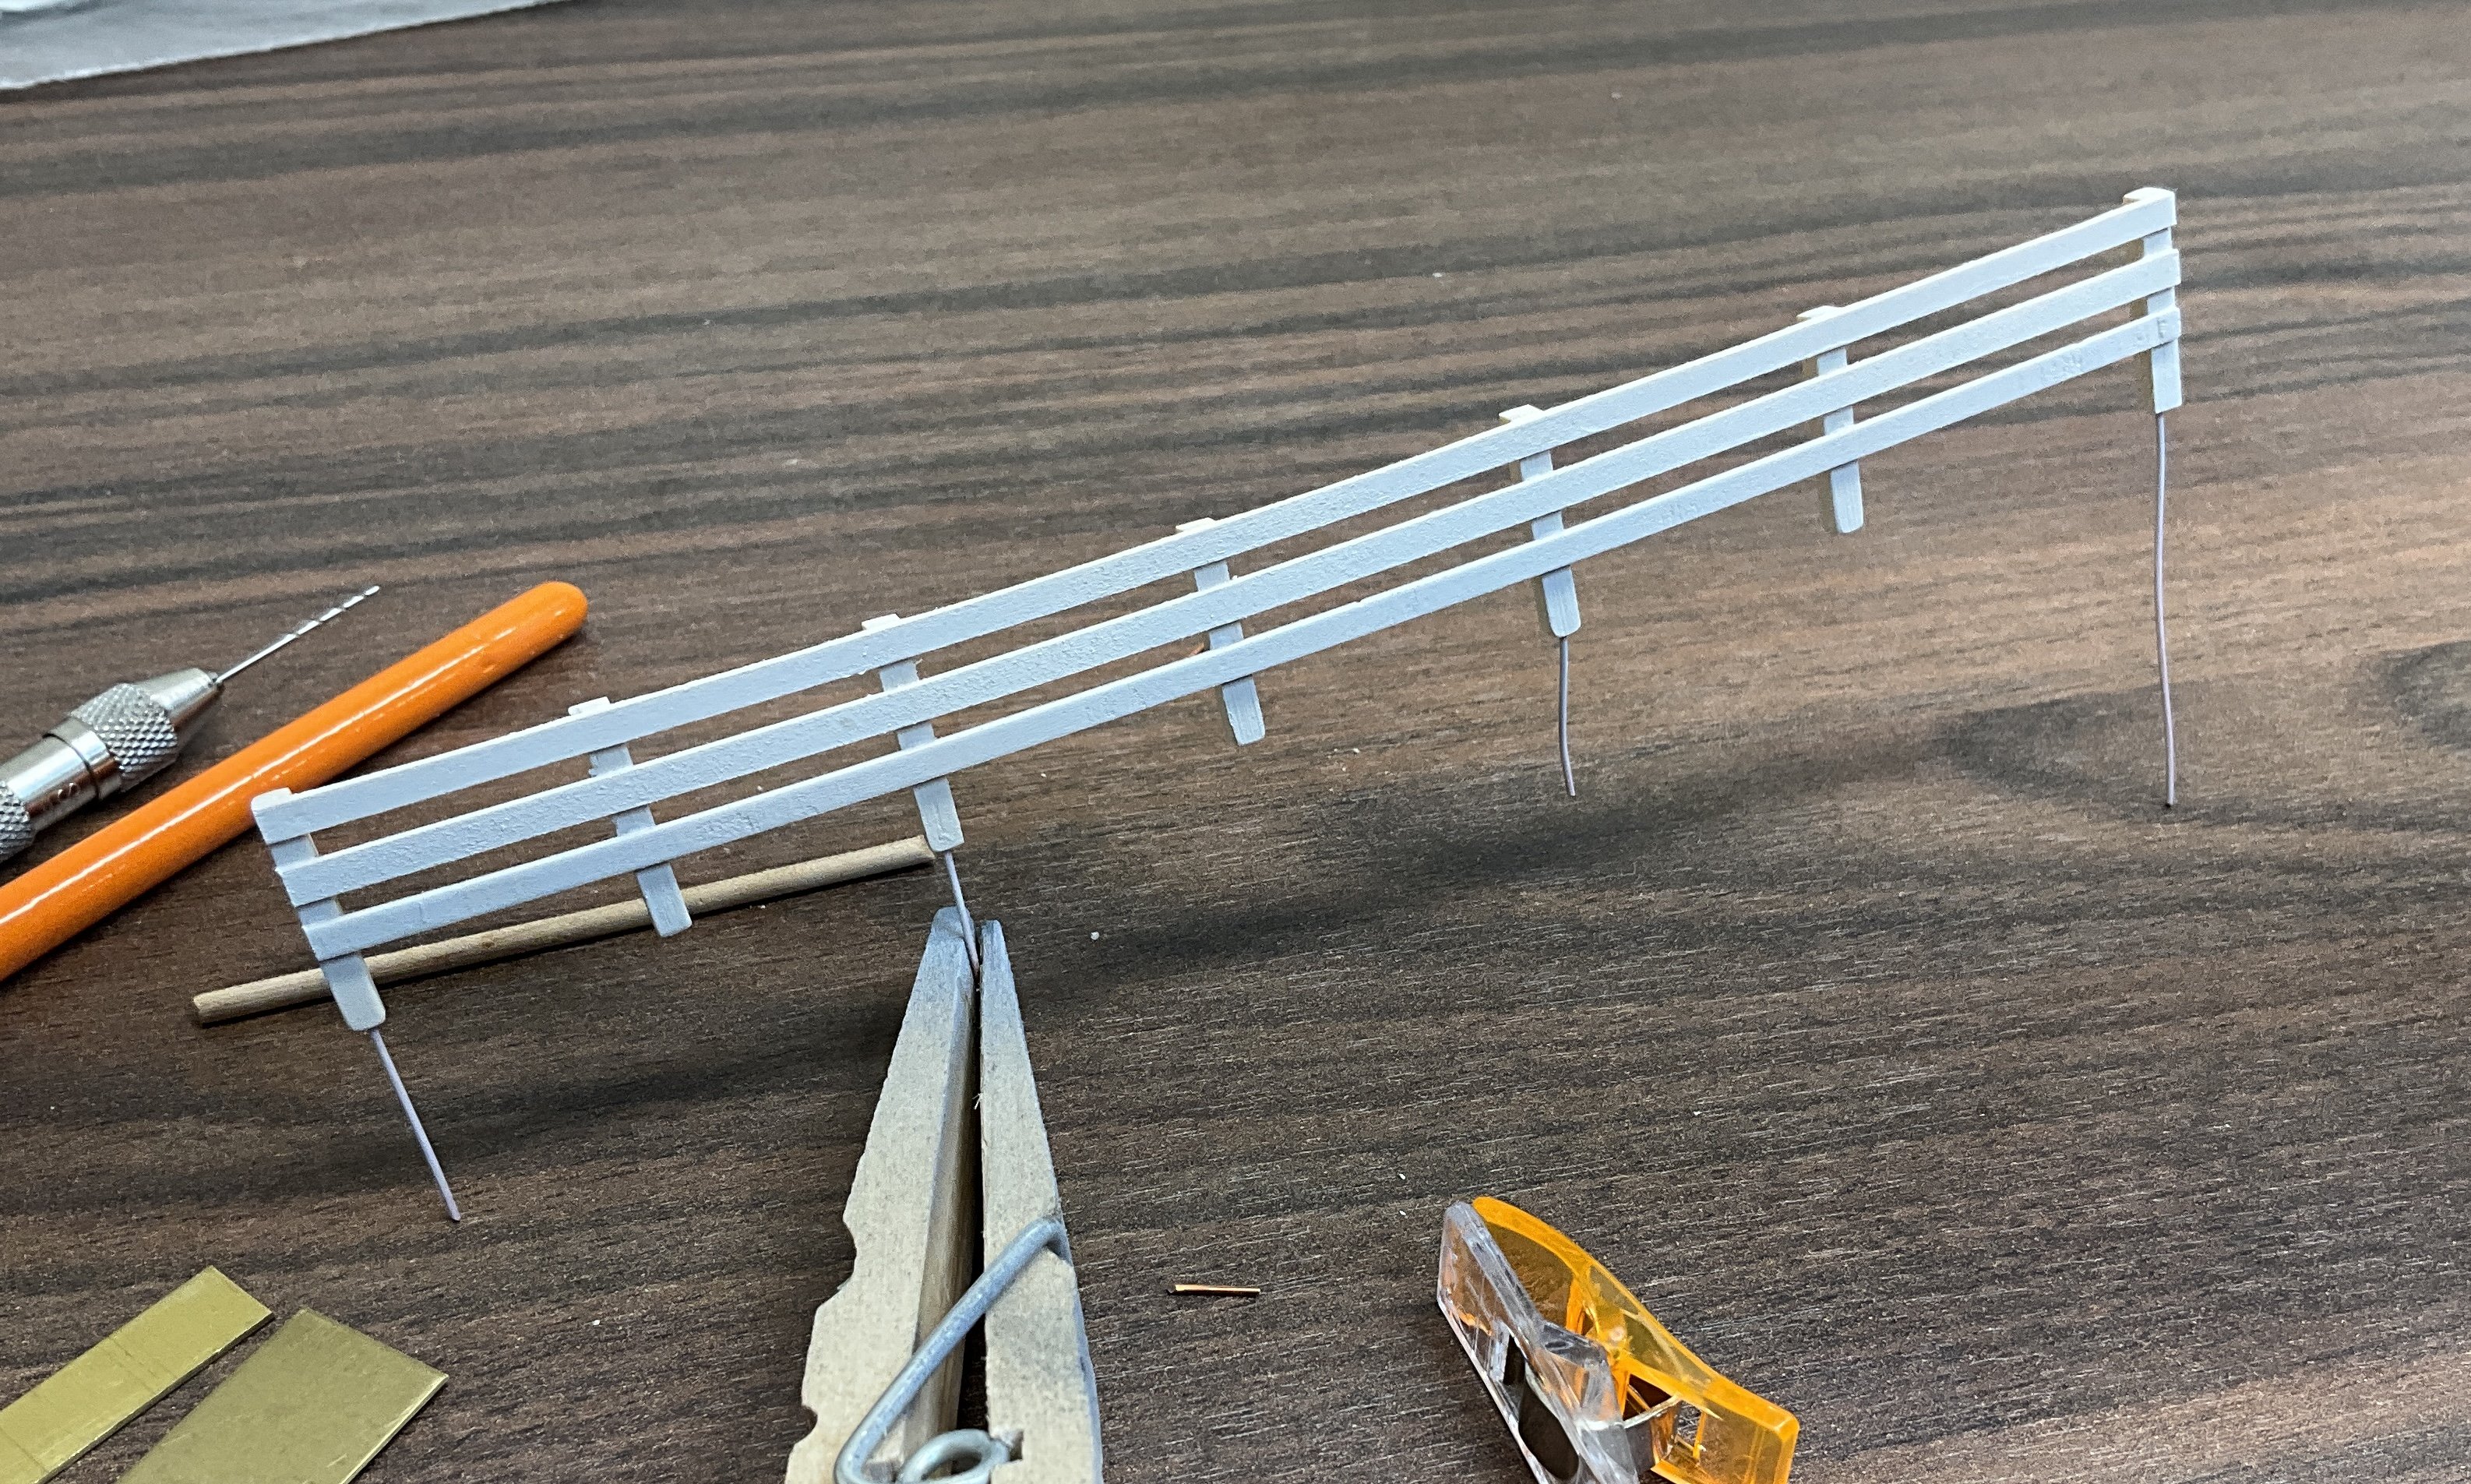
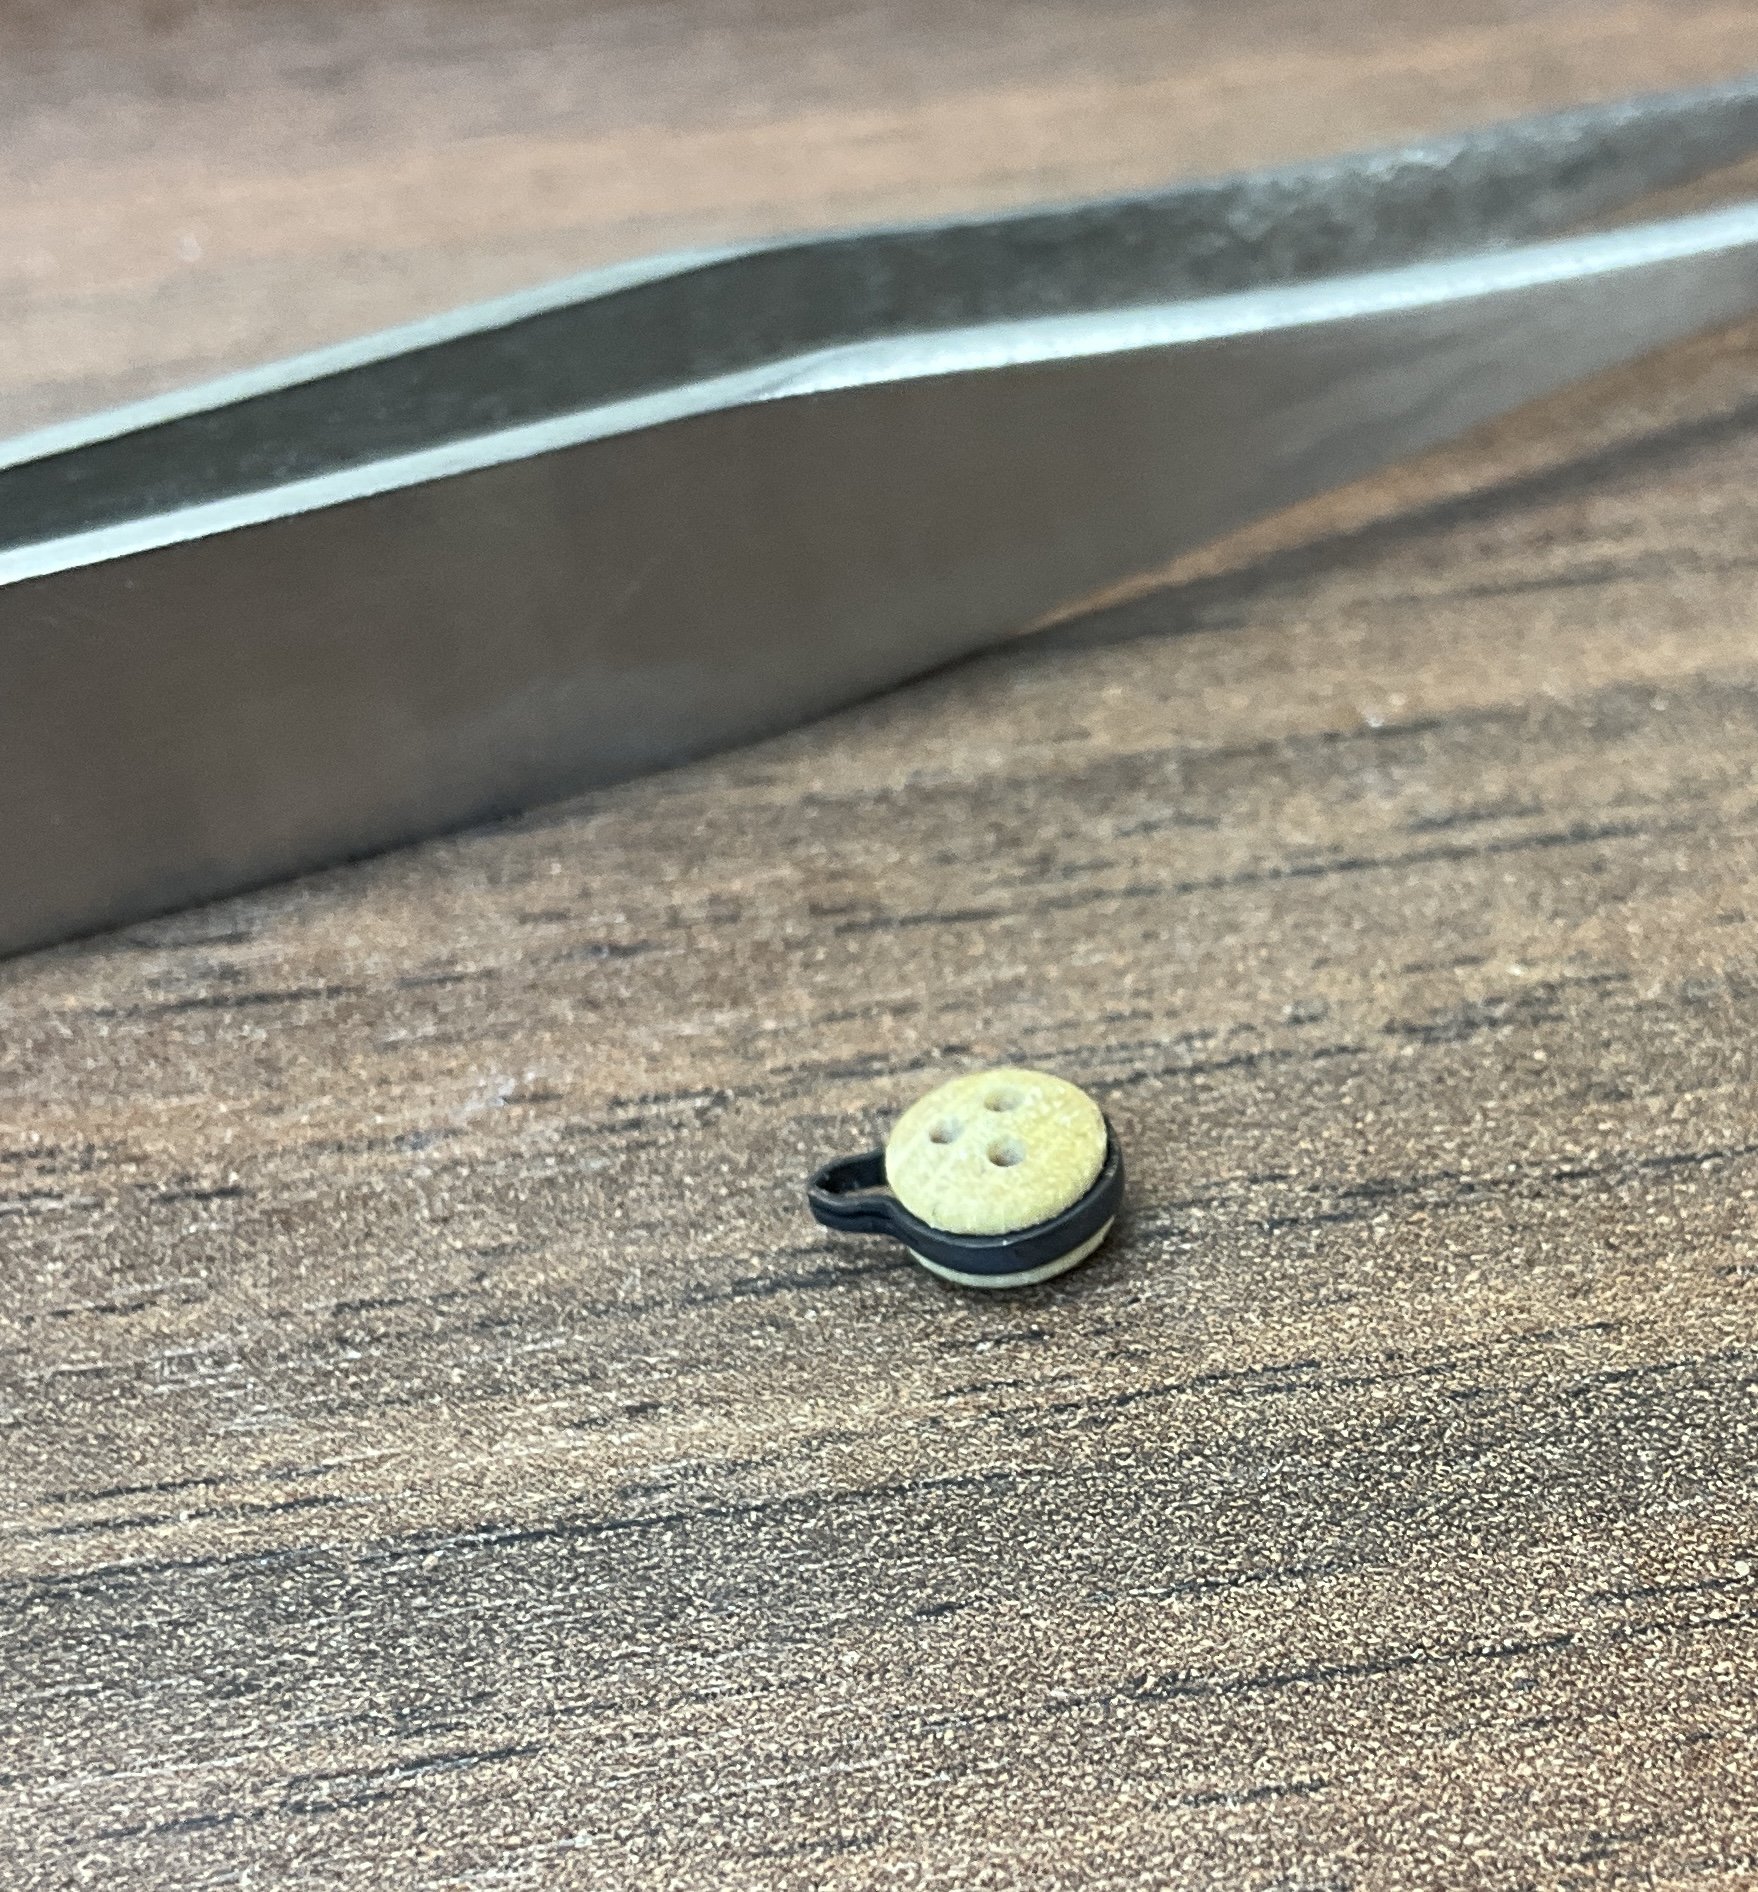
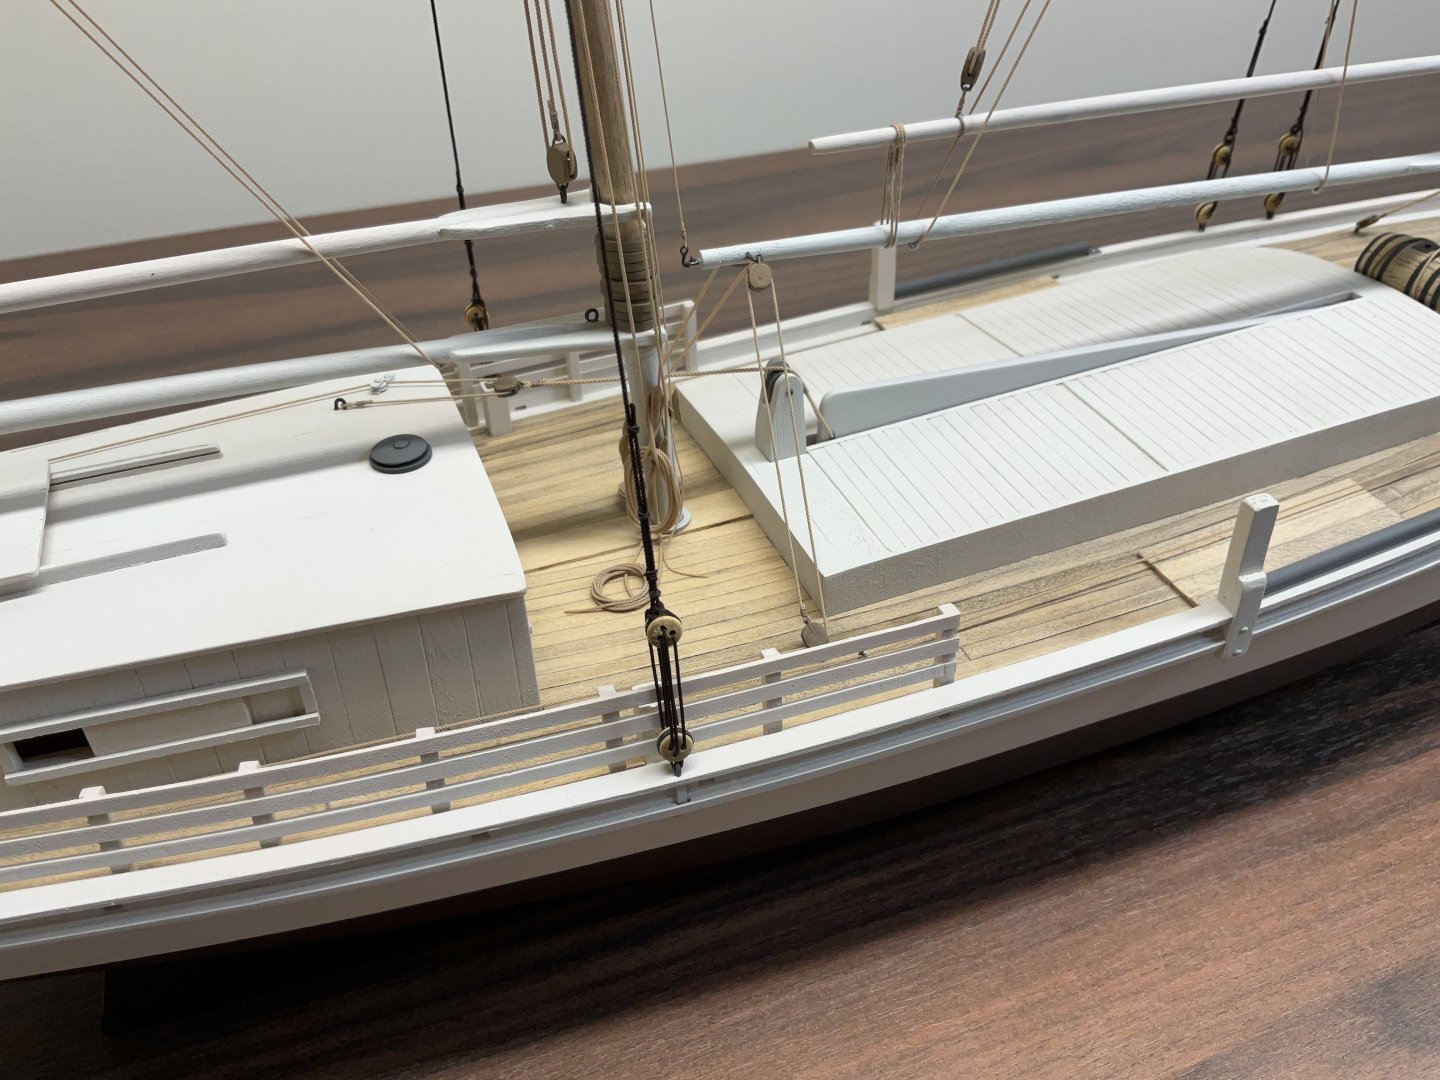
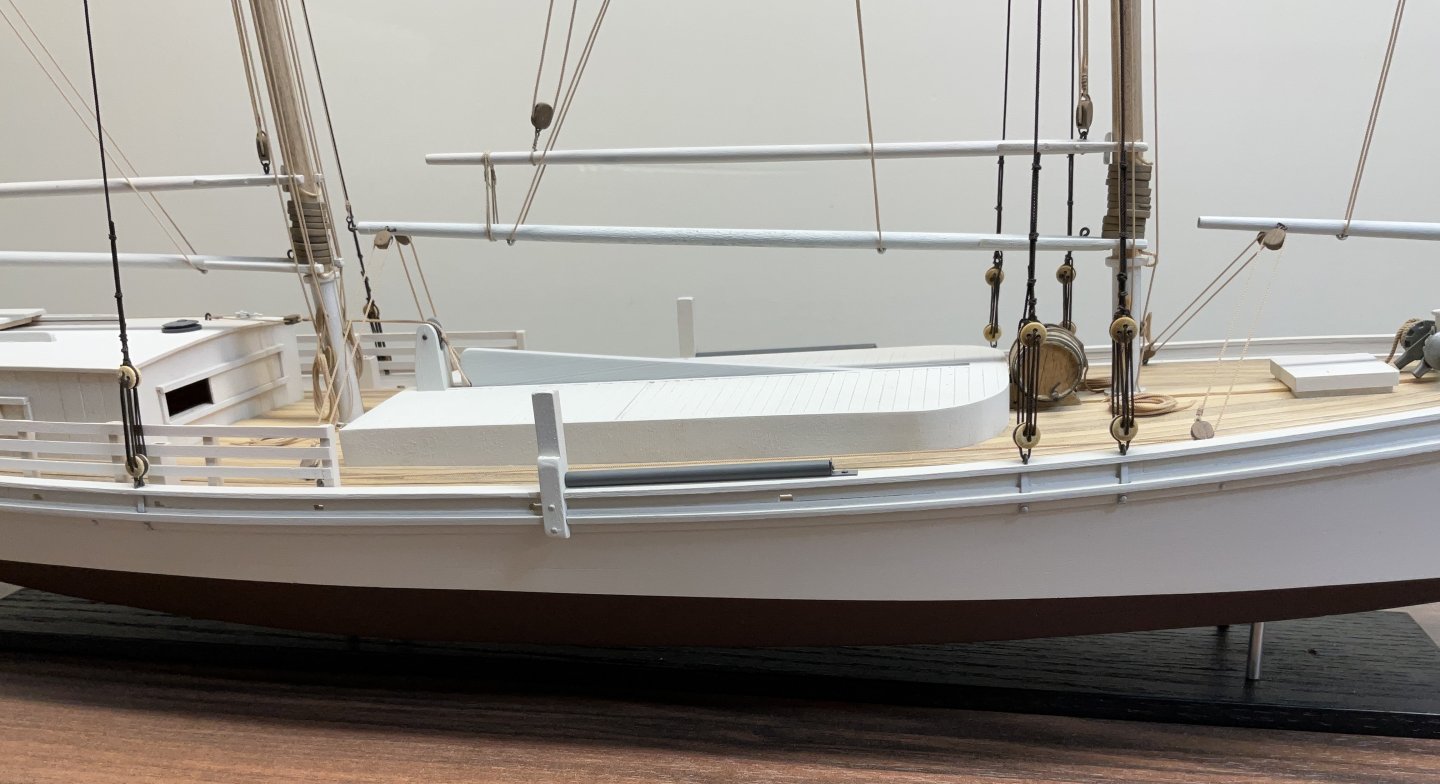
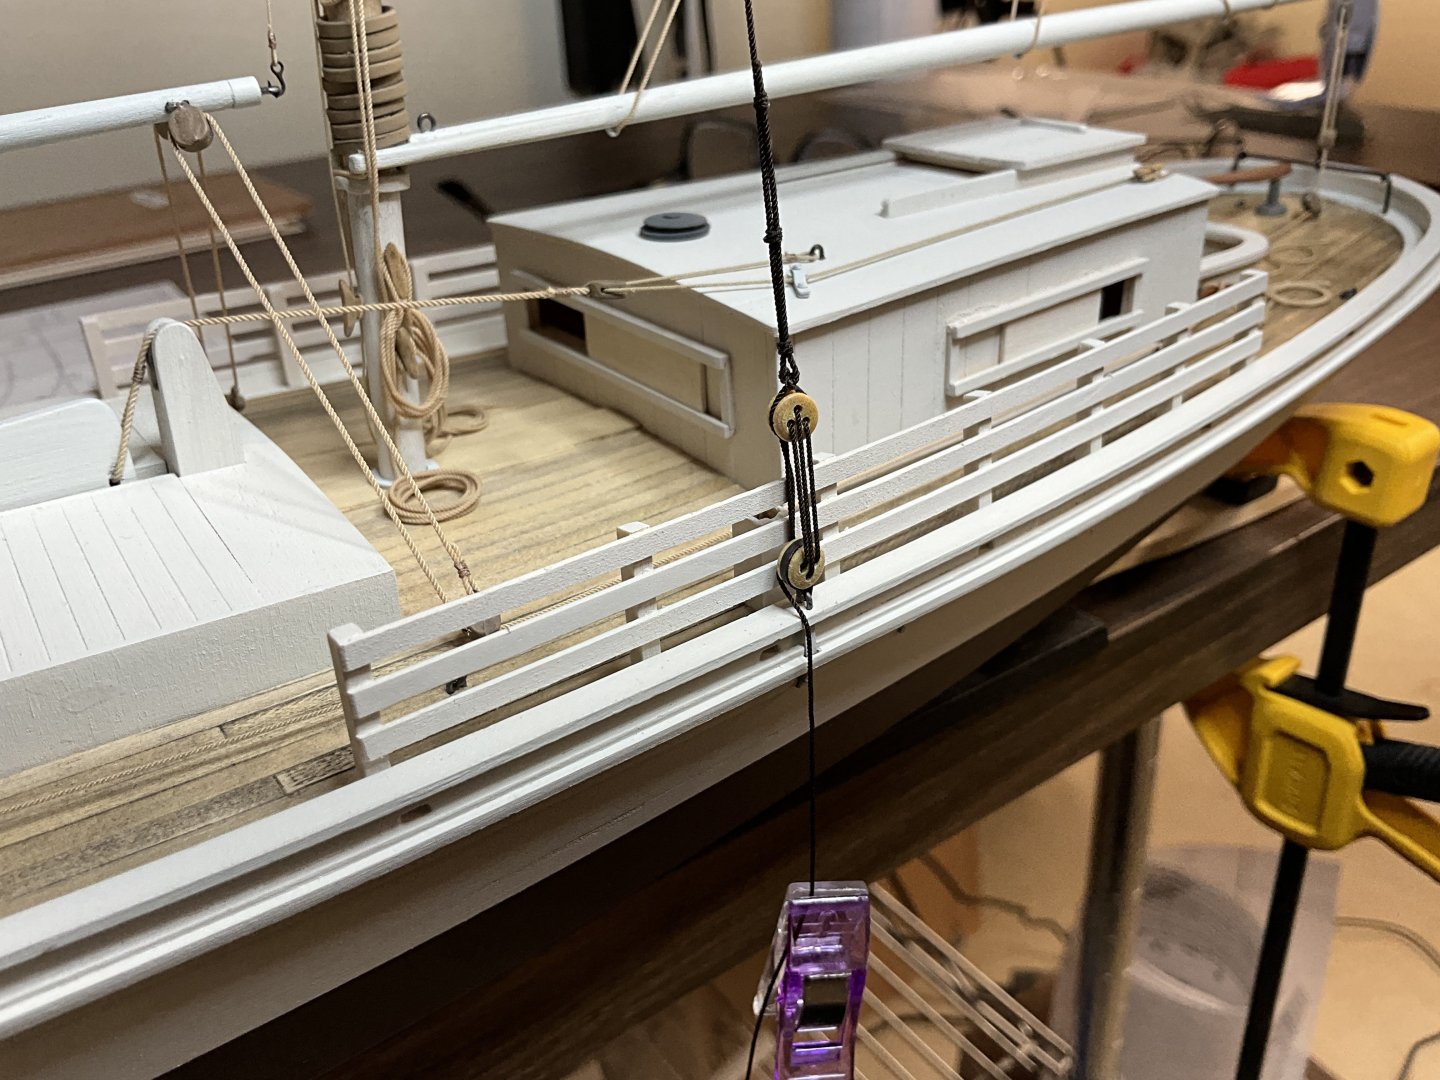
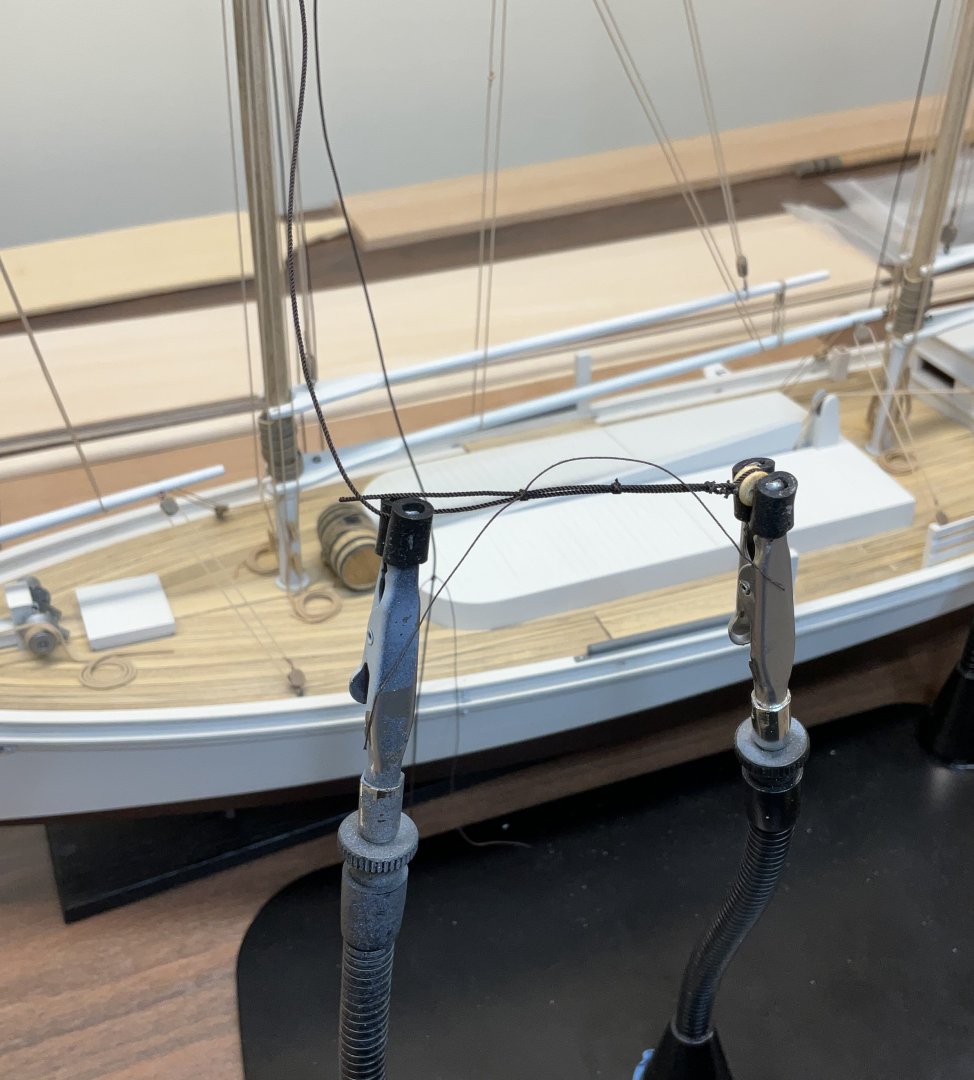
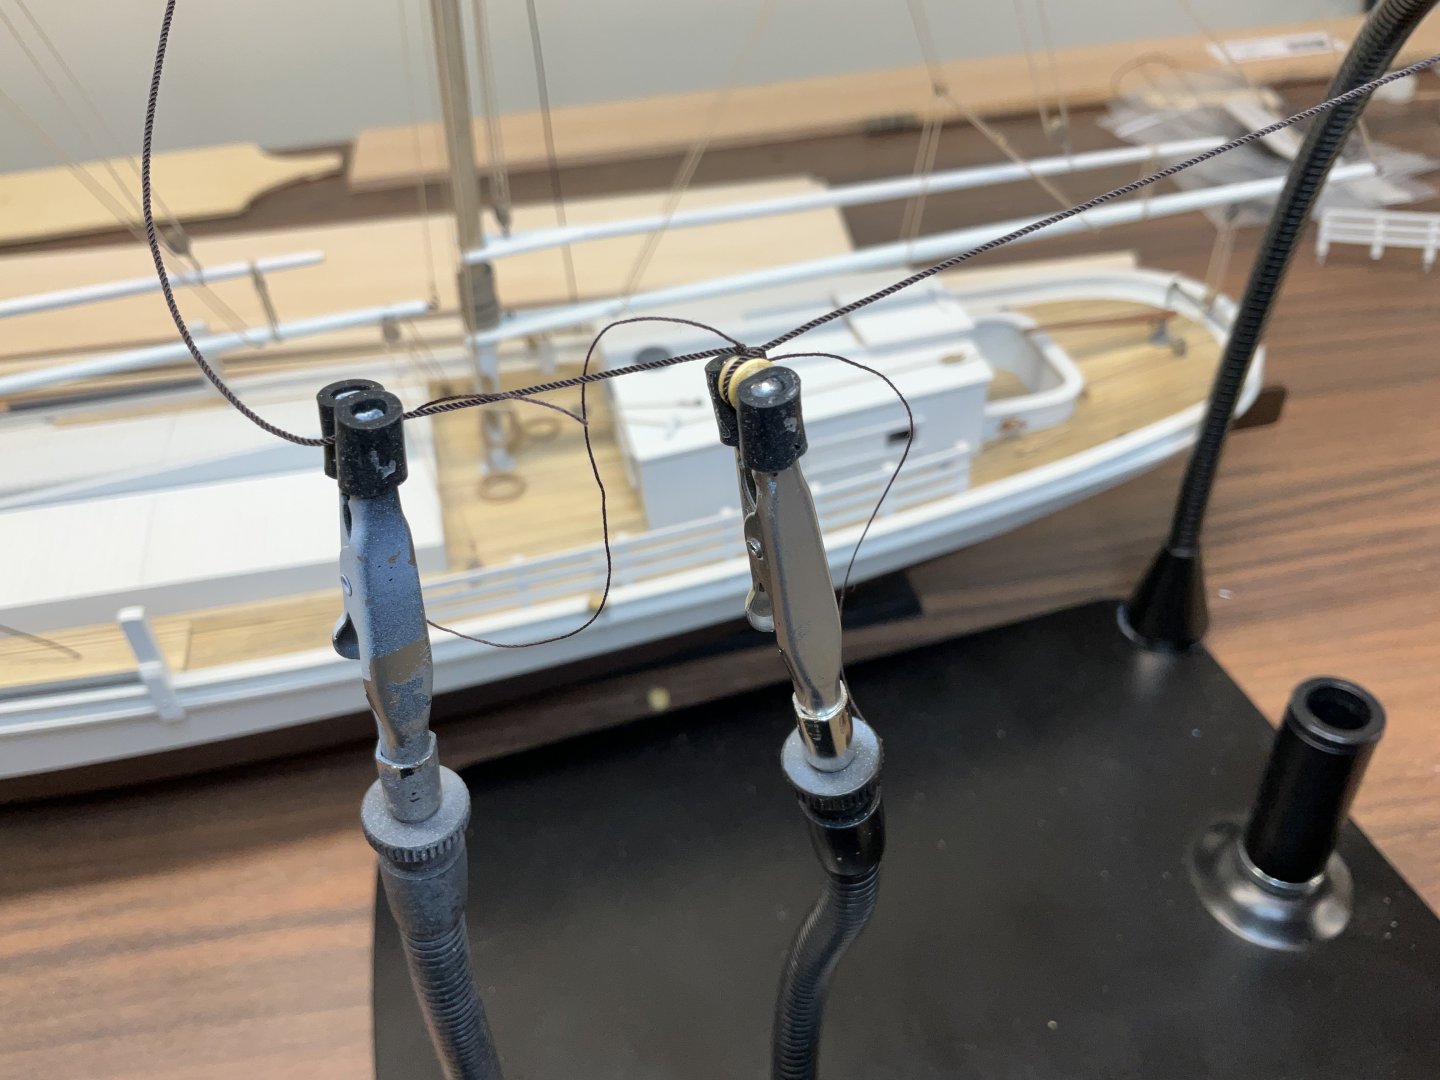
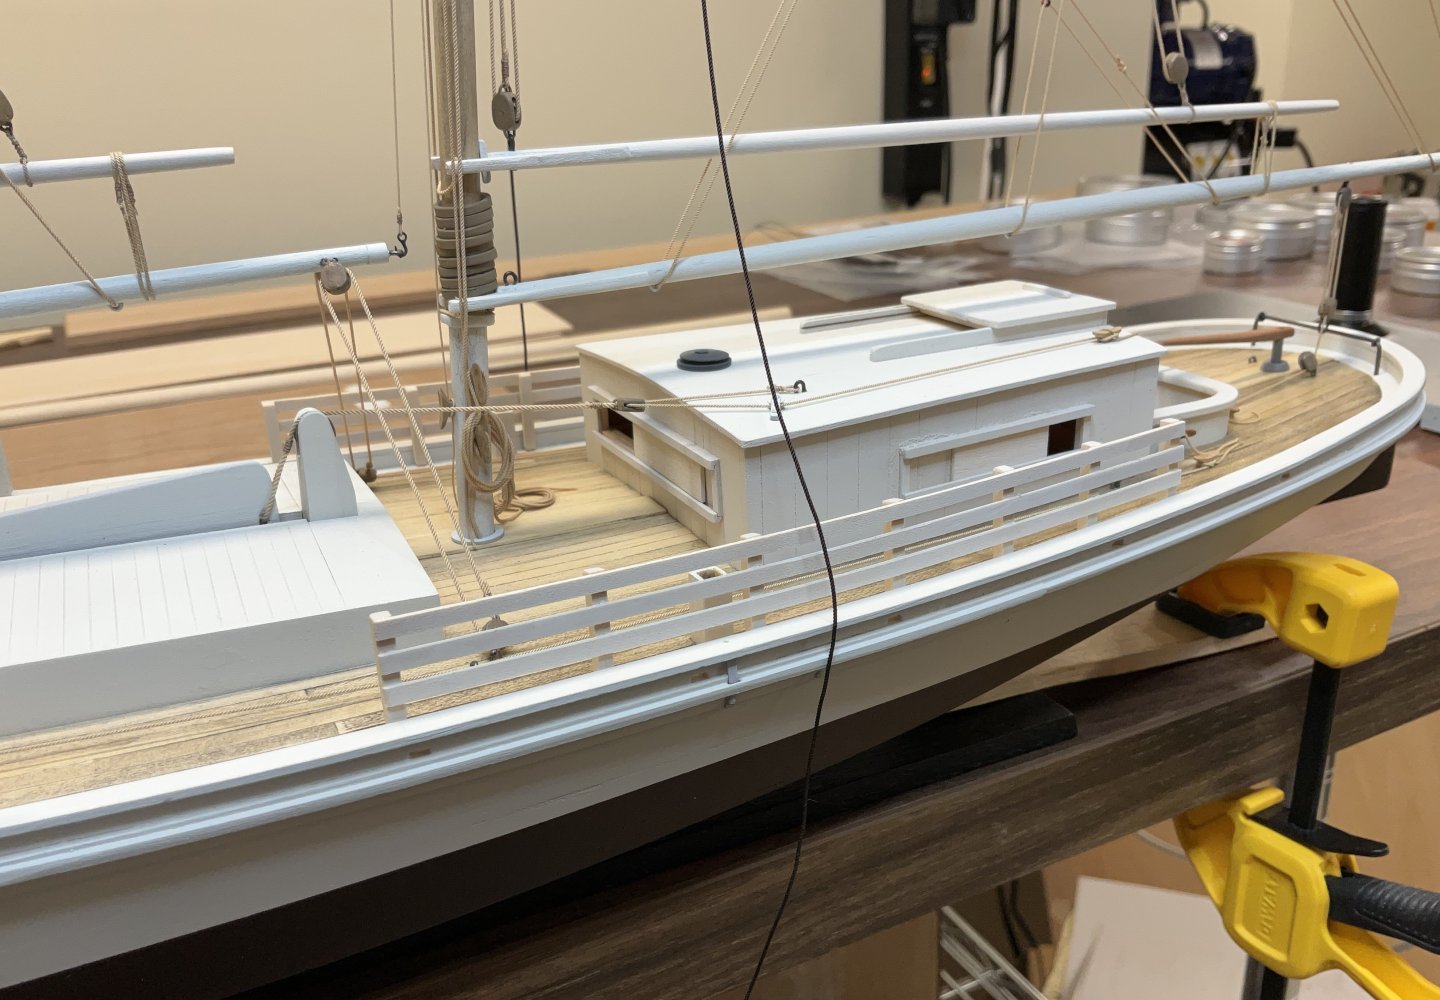
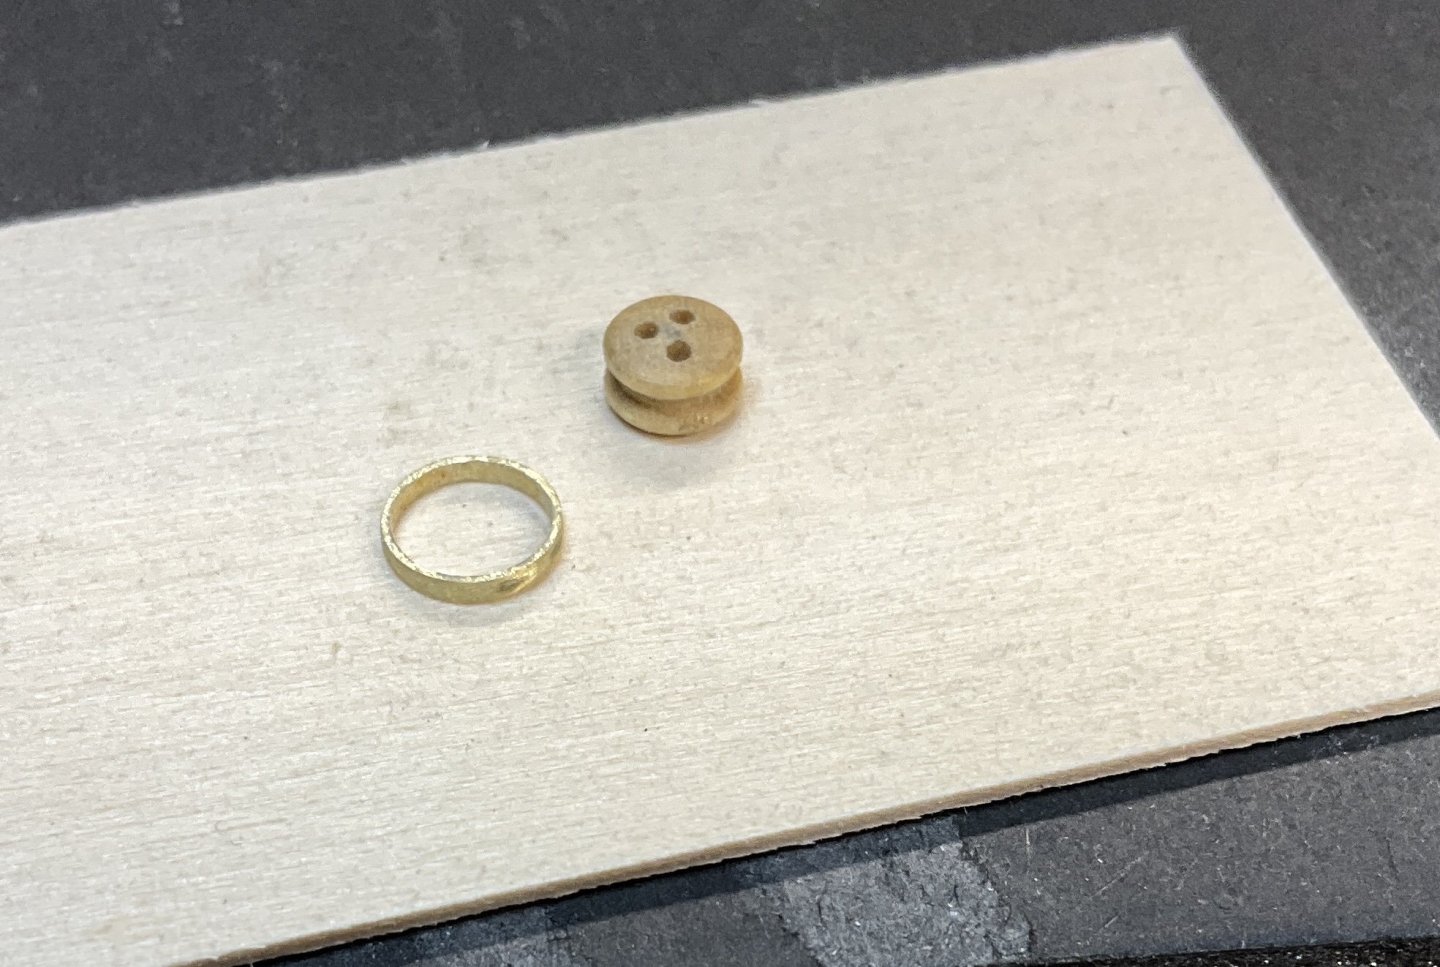
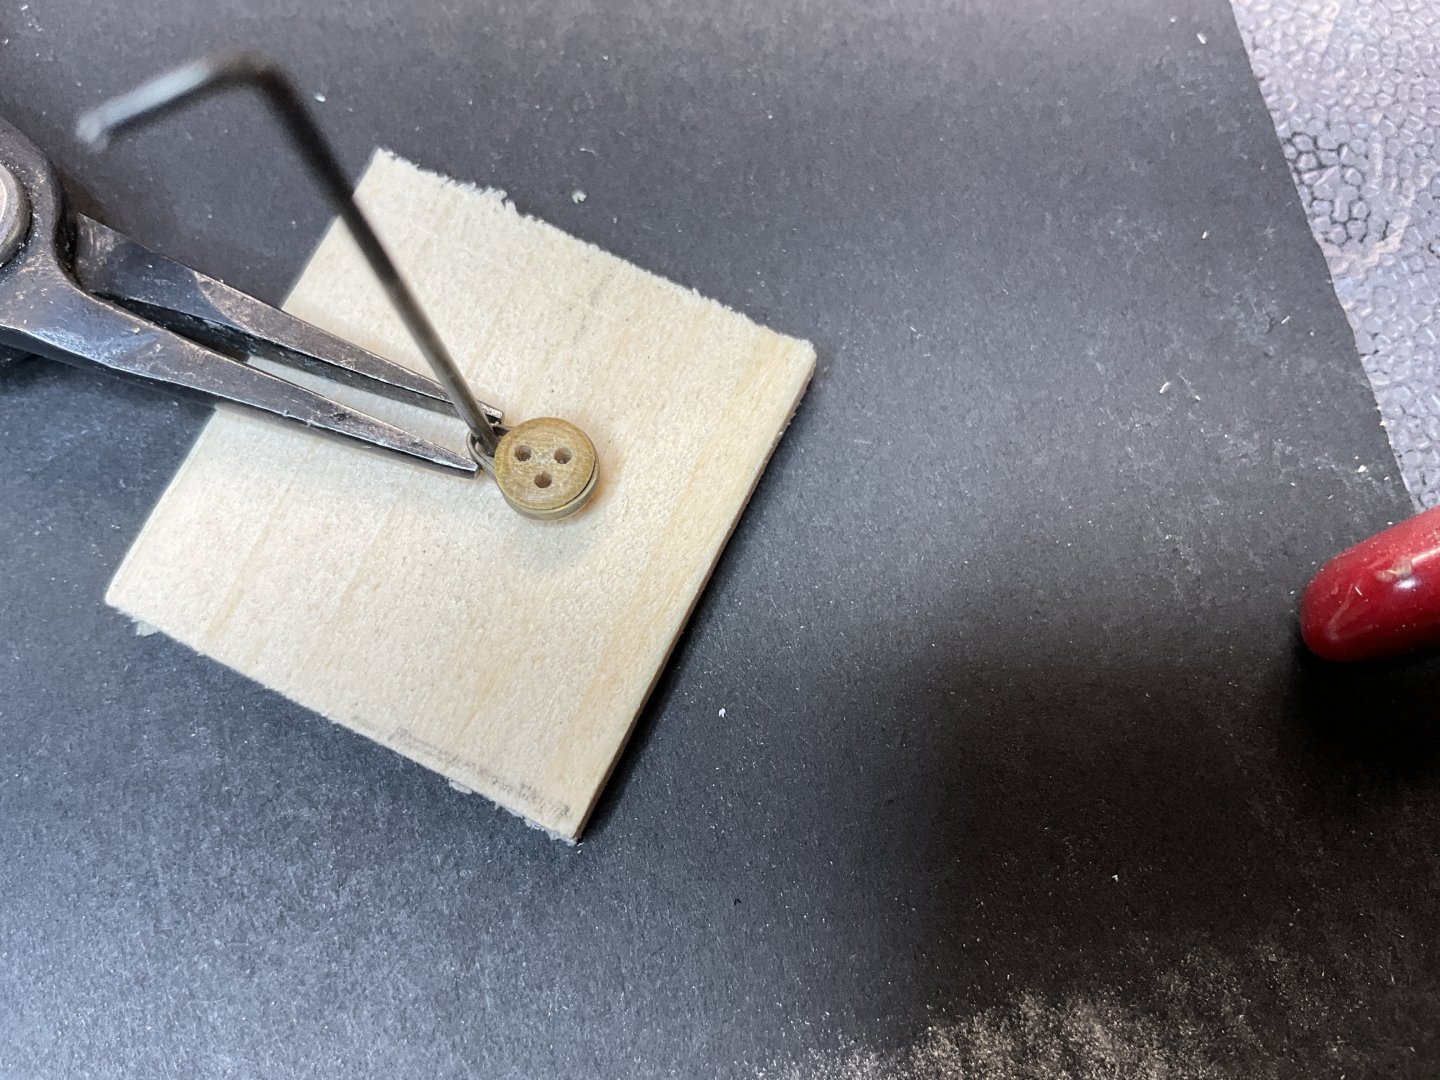
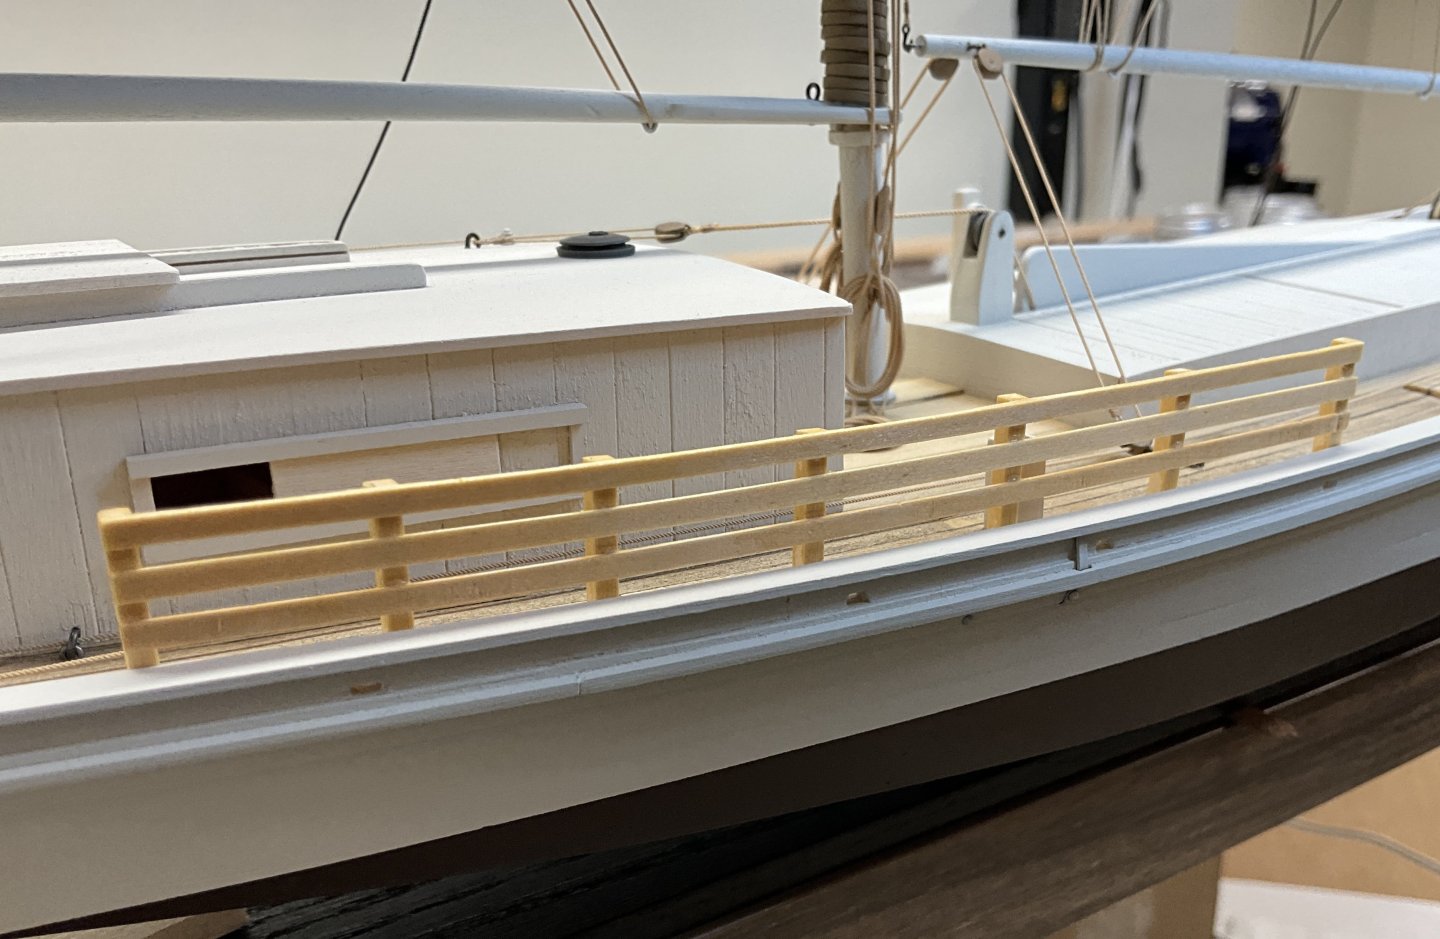
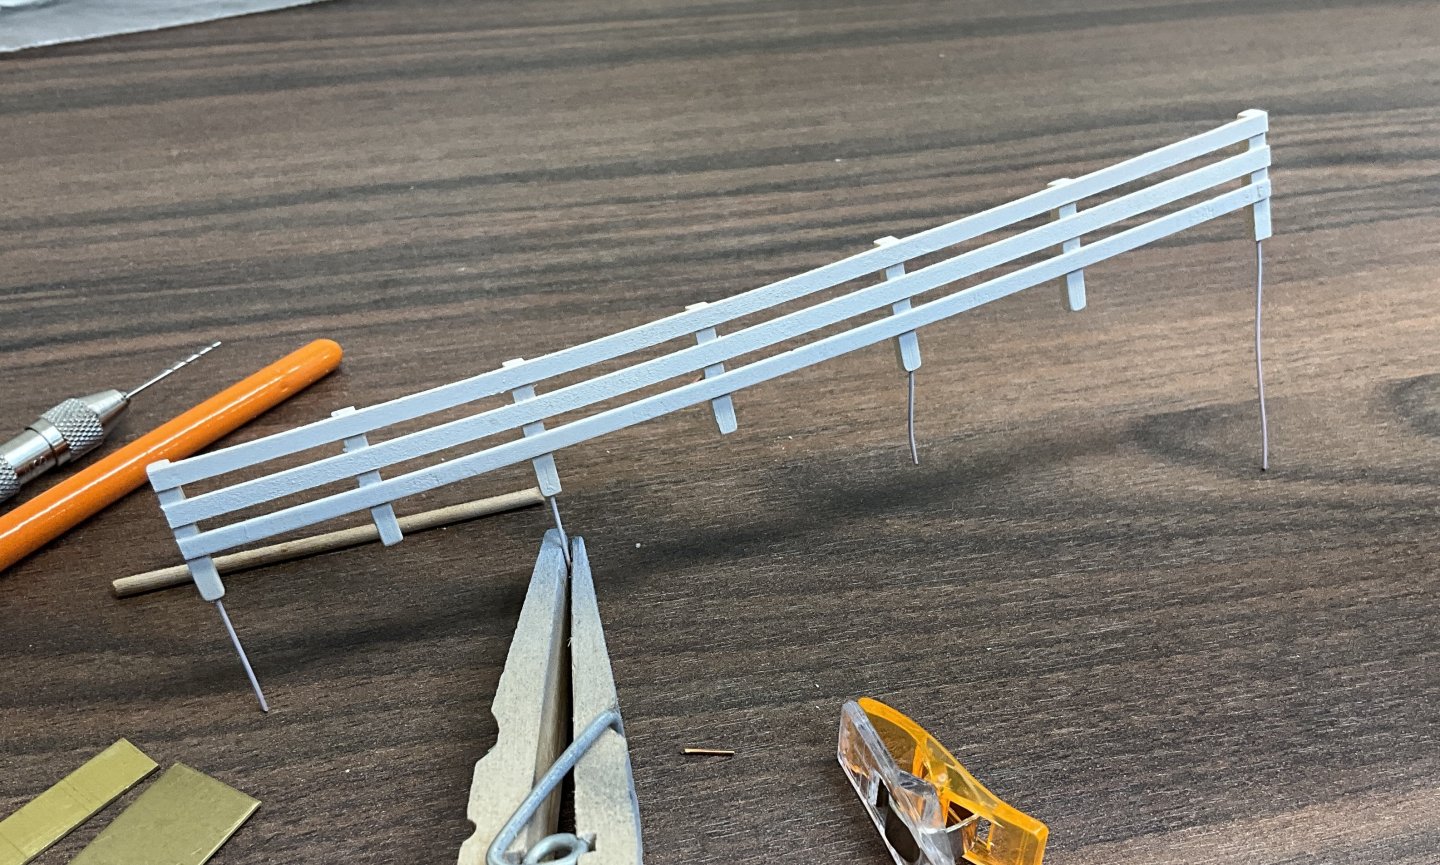
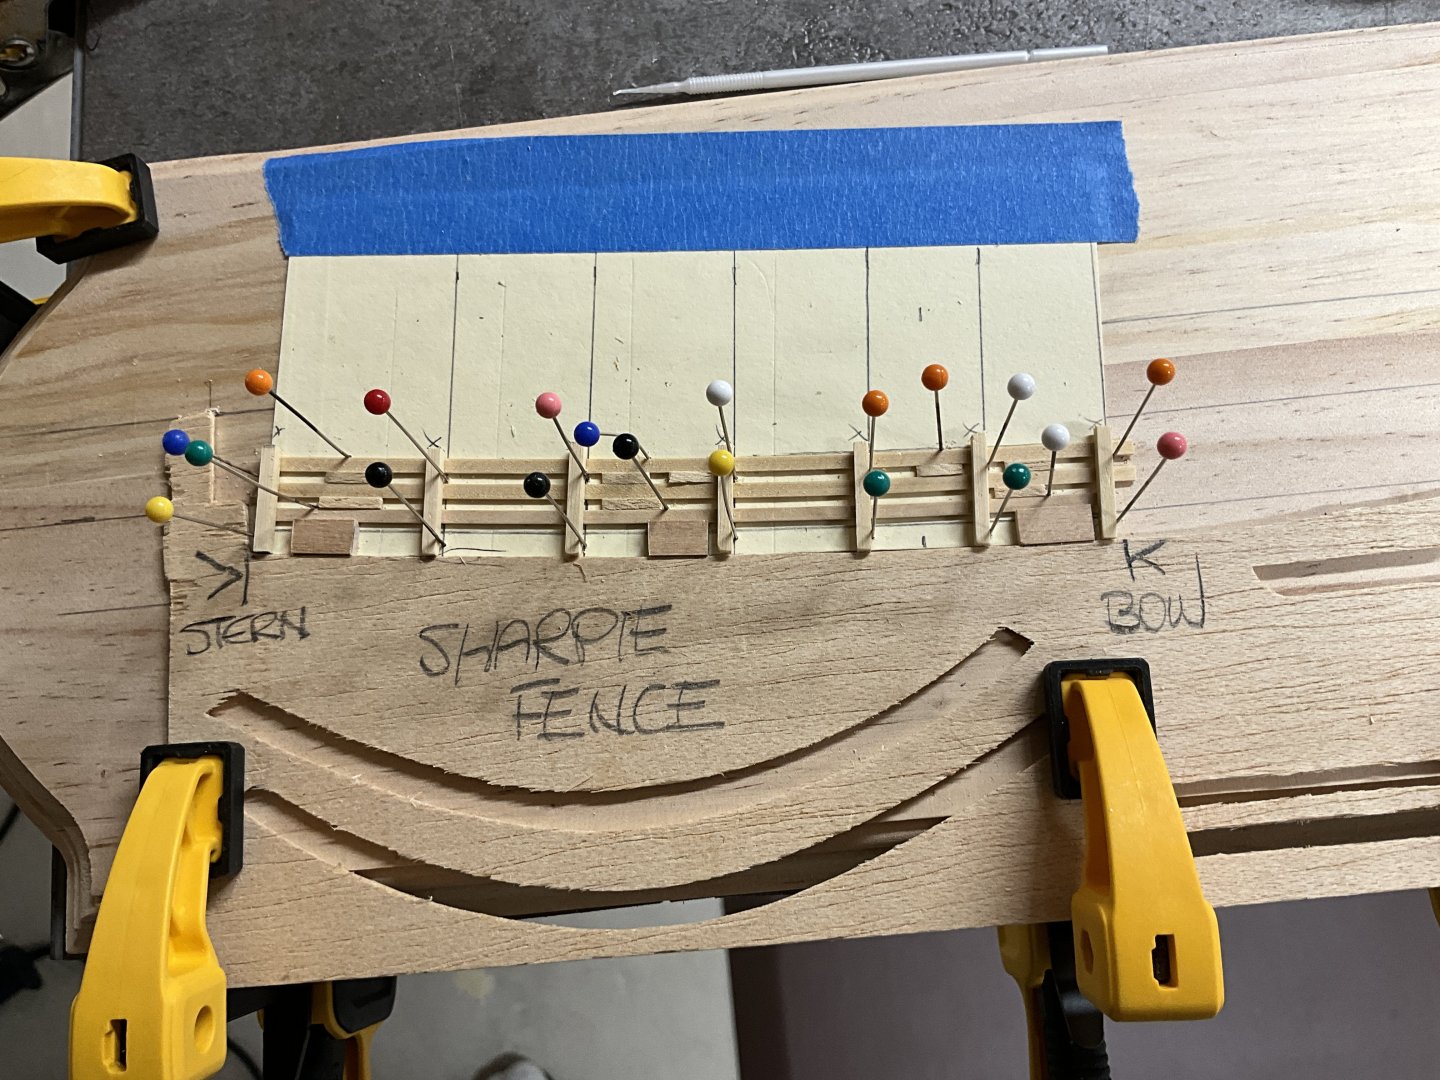
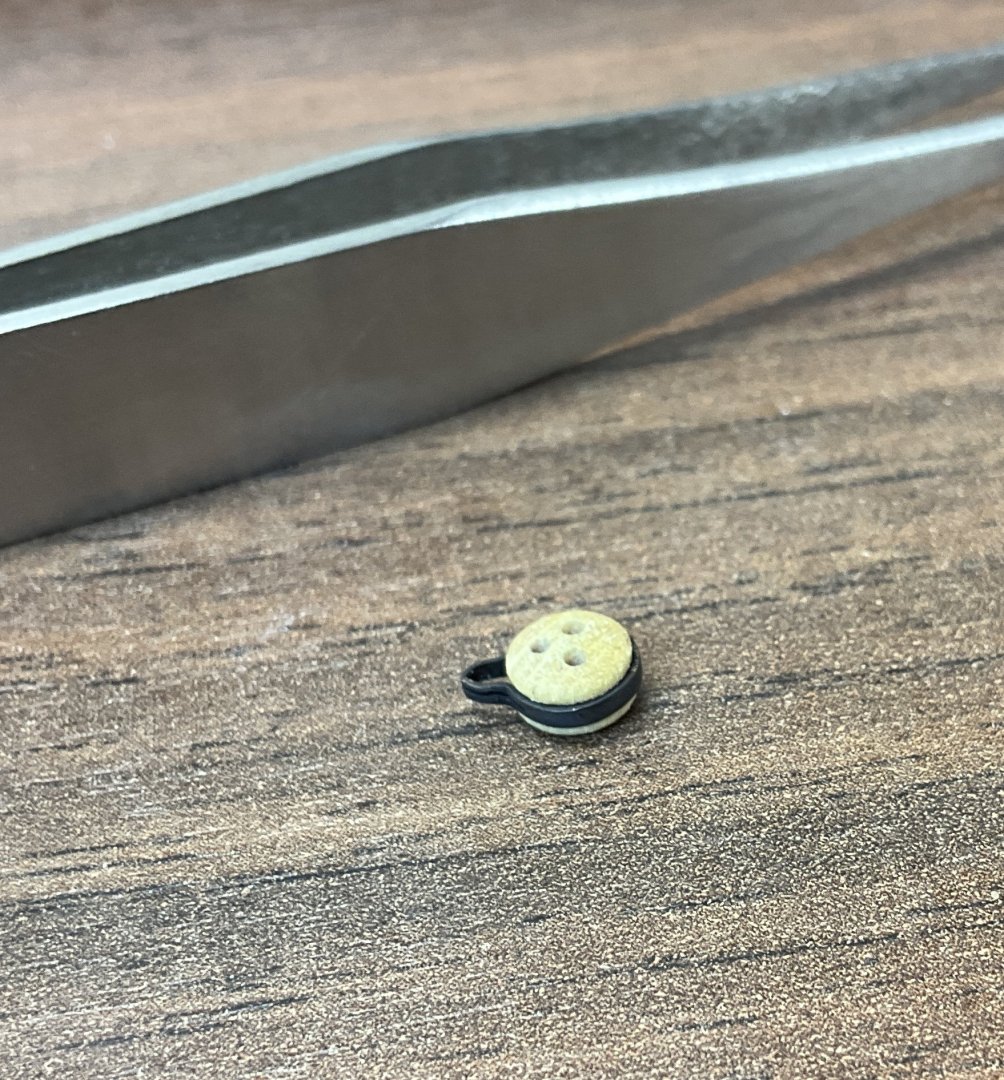
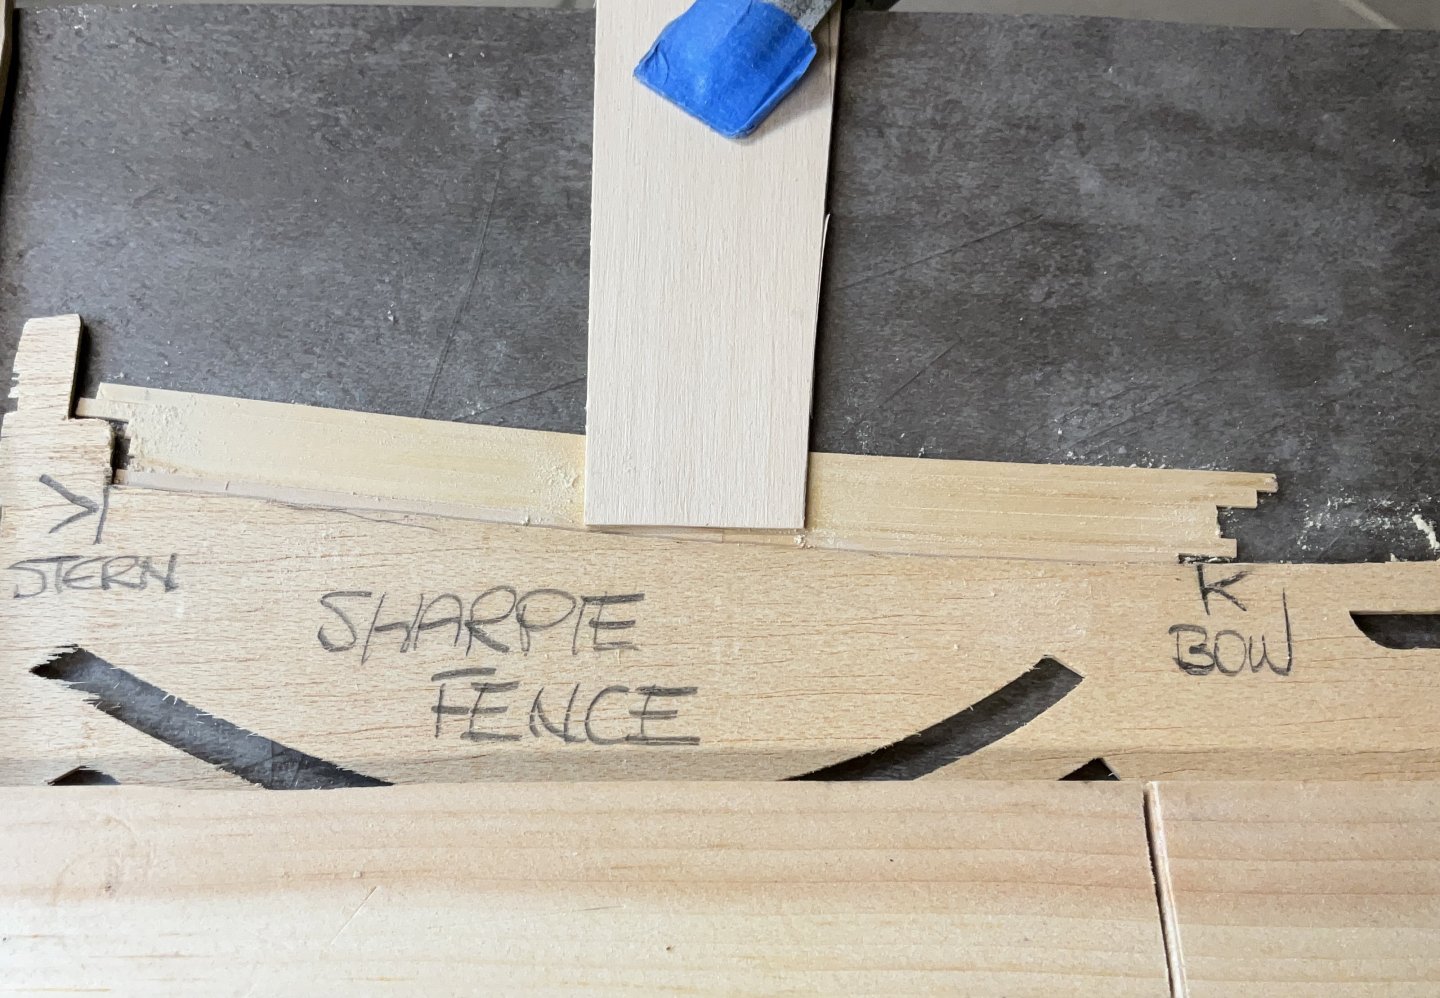
Hi Everyone, I hope you are all having a great New Year. Thank you very much for the Comments and Likes. This will probably be the second last post for this log. It’s coming together quickly. I started by stropping the 5mm deadeyes that a friend gave me. They are from an abandoned Billing kit. Slices were cut from a 1/4” brass tube. After being cleaned up they were heated. When cool they were shaped around the deadeye and then the whole thing was placed into blackening solution. The fences were made next to see if there would be any clearance issues with the deadeyes. A template was made from a file folder. There is a slight curvature in the deck where it runs past the cabin so the horizontal slats were edge bent all together. They are 1/32” x 3/32”. According to Chapelle’s drawing, none of the posts are spaced equally. Probably to avoid scuppers and things. After a test fit the fences were given a coat of clear shellac and then airbrushed. A #22 copper pin was used in every other post to attach the fence to the deck. The posts are 3/32” square. The pins are glued into the posts but not the deck. A length of.009” rope was attached with a clovehitch to the shroud ( with a bit of varnish) where the top of the deadeye is located. This rope is used to tie the knot where the shroud passes itself at the top of the deadeye. Once these are finished it will be just a matter of cleaning up some ropes on the deck. Hope to see you soon.


- 201 replies
-
- 16
-
-
-
- Oyster Sharpie
- first scratch build
- (and 1 more)
-
Bob, you’ve built a beautiful ship. Perhaps you can start a build log so that we can see her completion. I have been using Ropes of Scale synthetic rope and using Vallejo Matt Polyurethane Varnish straight out of the bottle to shape it. If you need it to look like wire rope or cable I think Ben will work with you to get the color you need.
-
Hi Patrick, welcome to MSW. Good luck with your Calypso. It looks like a very nice kit. If you want to comment on someone’s post, go to the bottom of their post and click on “Reply to this post “ .
-
Dave, thank you very much for your support.
- 201 replies
-
- 4
-
-
- Oyster Sharpie
- first scratch build
- (and 1 more)
-
Thank you Glen, I’m finally absorbing some of the metal work knowledge that’s available in this forum.
- 201 replies
-
- 5
-
-
- Oyster Sharpie
- first scratch build
- (and 1 more)