.jpeg.882f0a147f14858c9e673da7e13d8ebe.jpeg)
RossR
-
Posts
531 -
Joined
-
Last visited
Content Type
Profiles
Forums
Gallery
Events
Everything posted by RossR
-
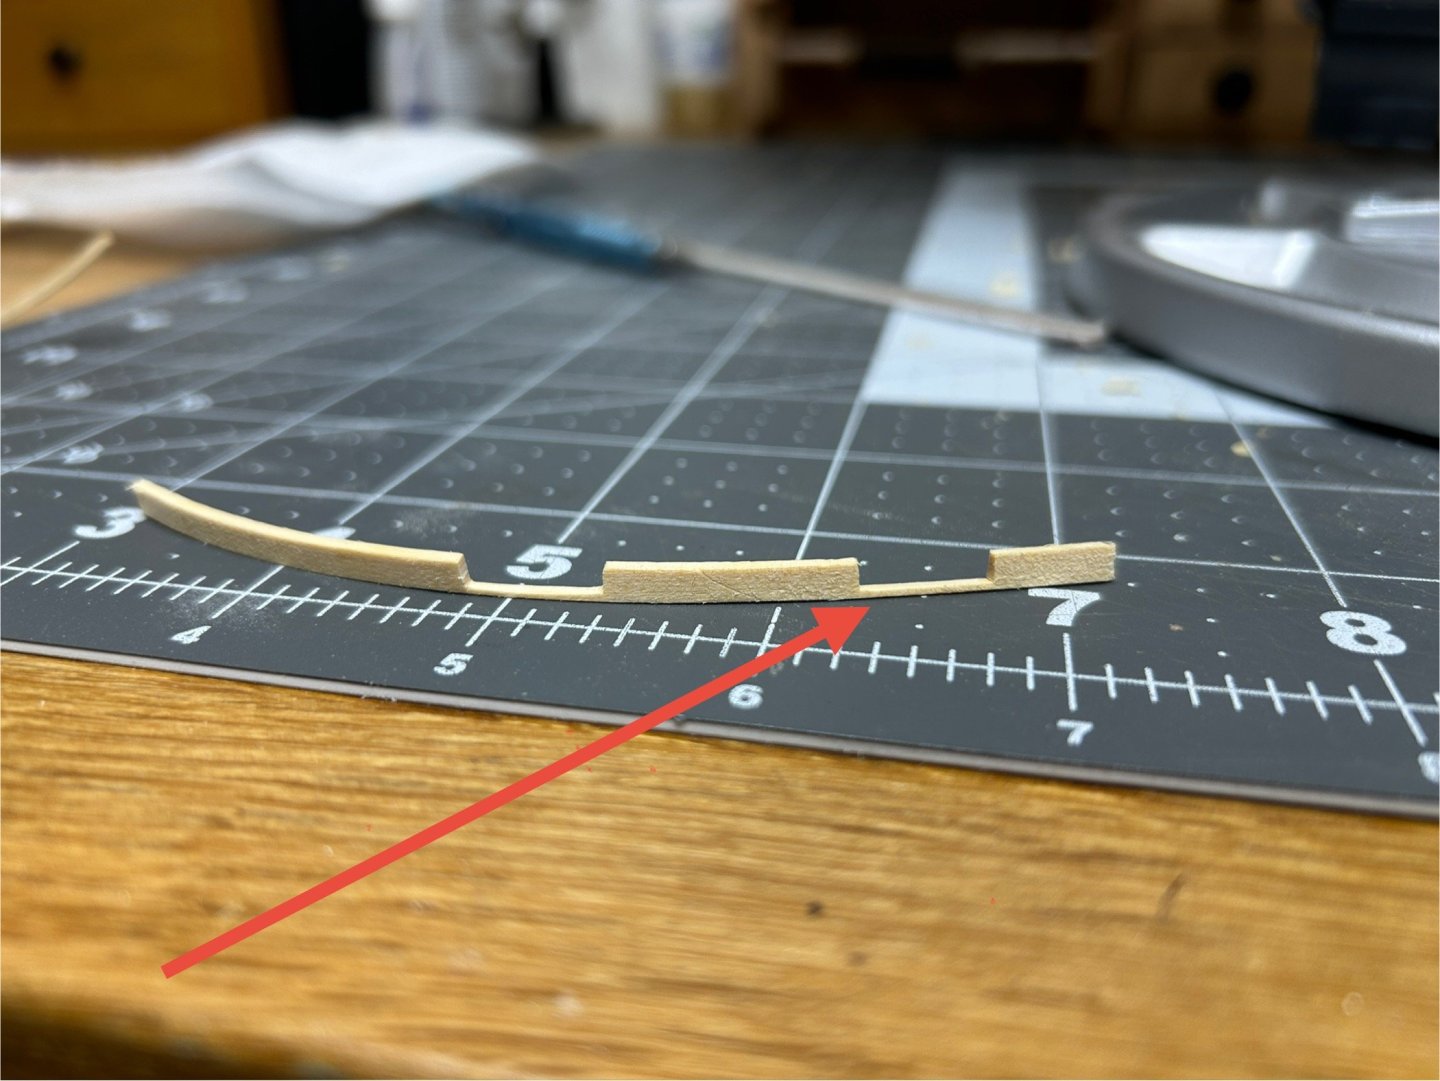
.thumb.jpeg.ffac2f8a24d212961a83eab4efb06a6c.jpeg) I did a little looking online and I saw some versions of Zinsser shellac it is recomended that the shellac be diluted to a two pound cut. A 2 pound cut is pretty standard but if the shellac out of the can was heavier than that and you applied several layers you may have just applied a very thick layer of shellac that is easily damaged. I usually apply two coats of 2 pound cut with a sanding using 00 steel wool after each coat. It leaves a nice finish on the wood, but there is no visible layer of shellac like you would get with lacquer.
I did a little looking online and I saw some versions of Zinsser shellac it is recomended that the shellac be diluted to a two pound cut. A 2 pound cut is pretty standard but if the shellac out of the can was heavier than that and you applied several layers you may have just applied a very thick layer of shellac that is easily damaged. I usually apply two coats of 2 pound cut with a sanding using 00 steel wool after each coat. It leaves a nice finish on the wood, but there is no visible layer of shellac like you would get with lacquer. -
I assumed Zinser was the brand of shellac please ignore my previous advice if is a product other than shellac.
-
I have use shellac and never experienced anything like that. I use shellac flakes dissolved in denatured alcohol, so I can’t speak to the premixed shellac. You may be able to brush some alcohol the spot. Shellac should dissolve and then brush the shellac to “fill in” the area that appears to be missed. I would test it on some scrap wood first.
-
.25 inches seems pretty extreme. When you notched out the Keelson did you get all the notches even? This could cause some discrepancy, but not a quarter of an inch. I had to shim some frames on mine, but nothing that extreme.
-
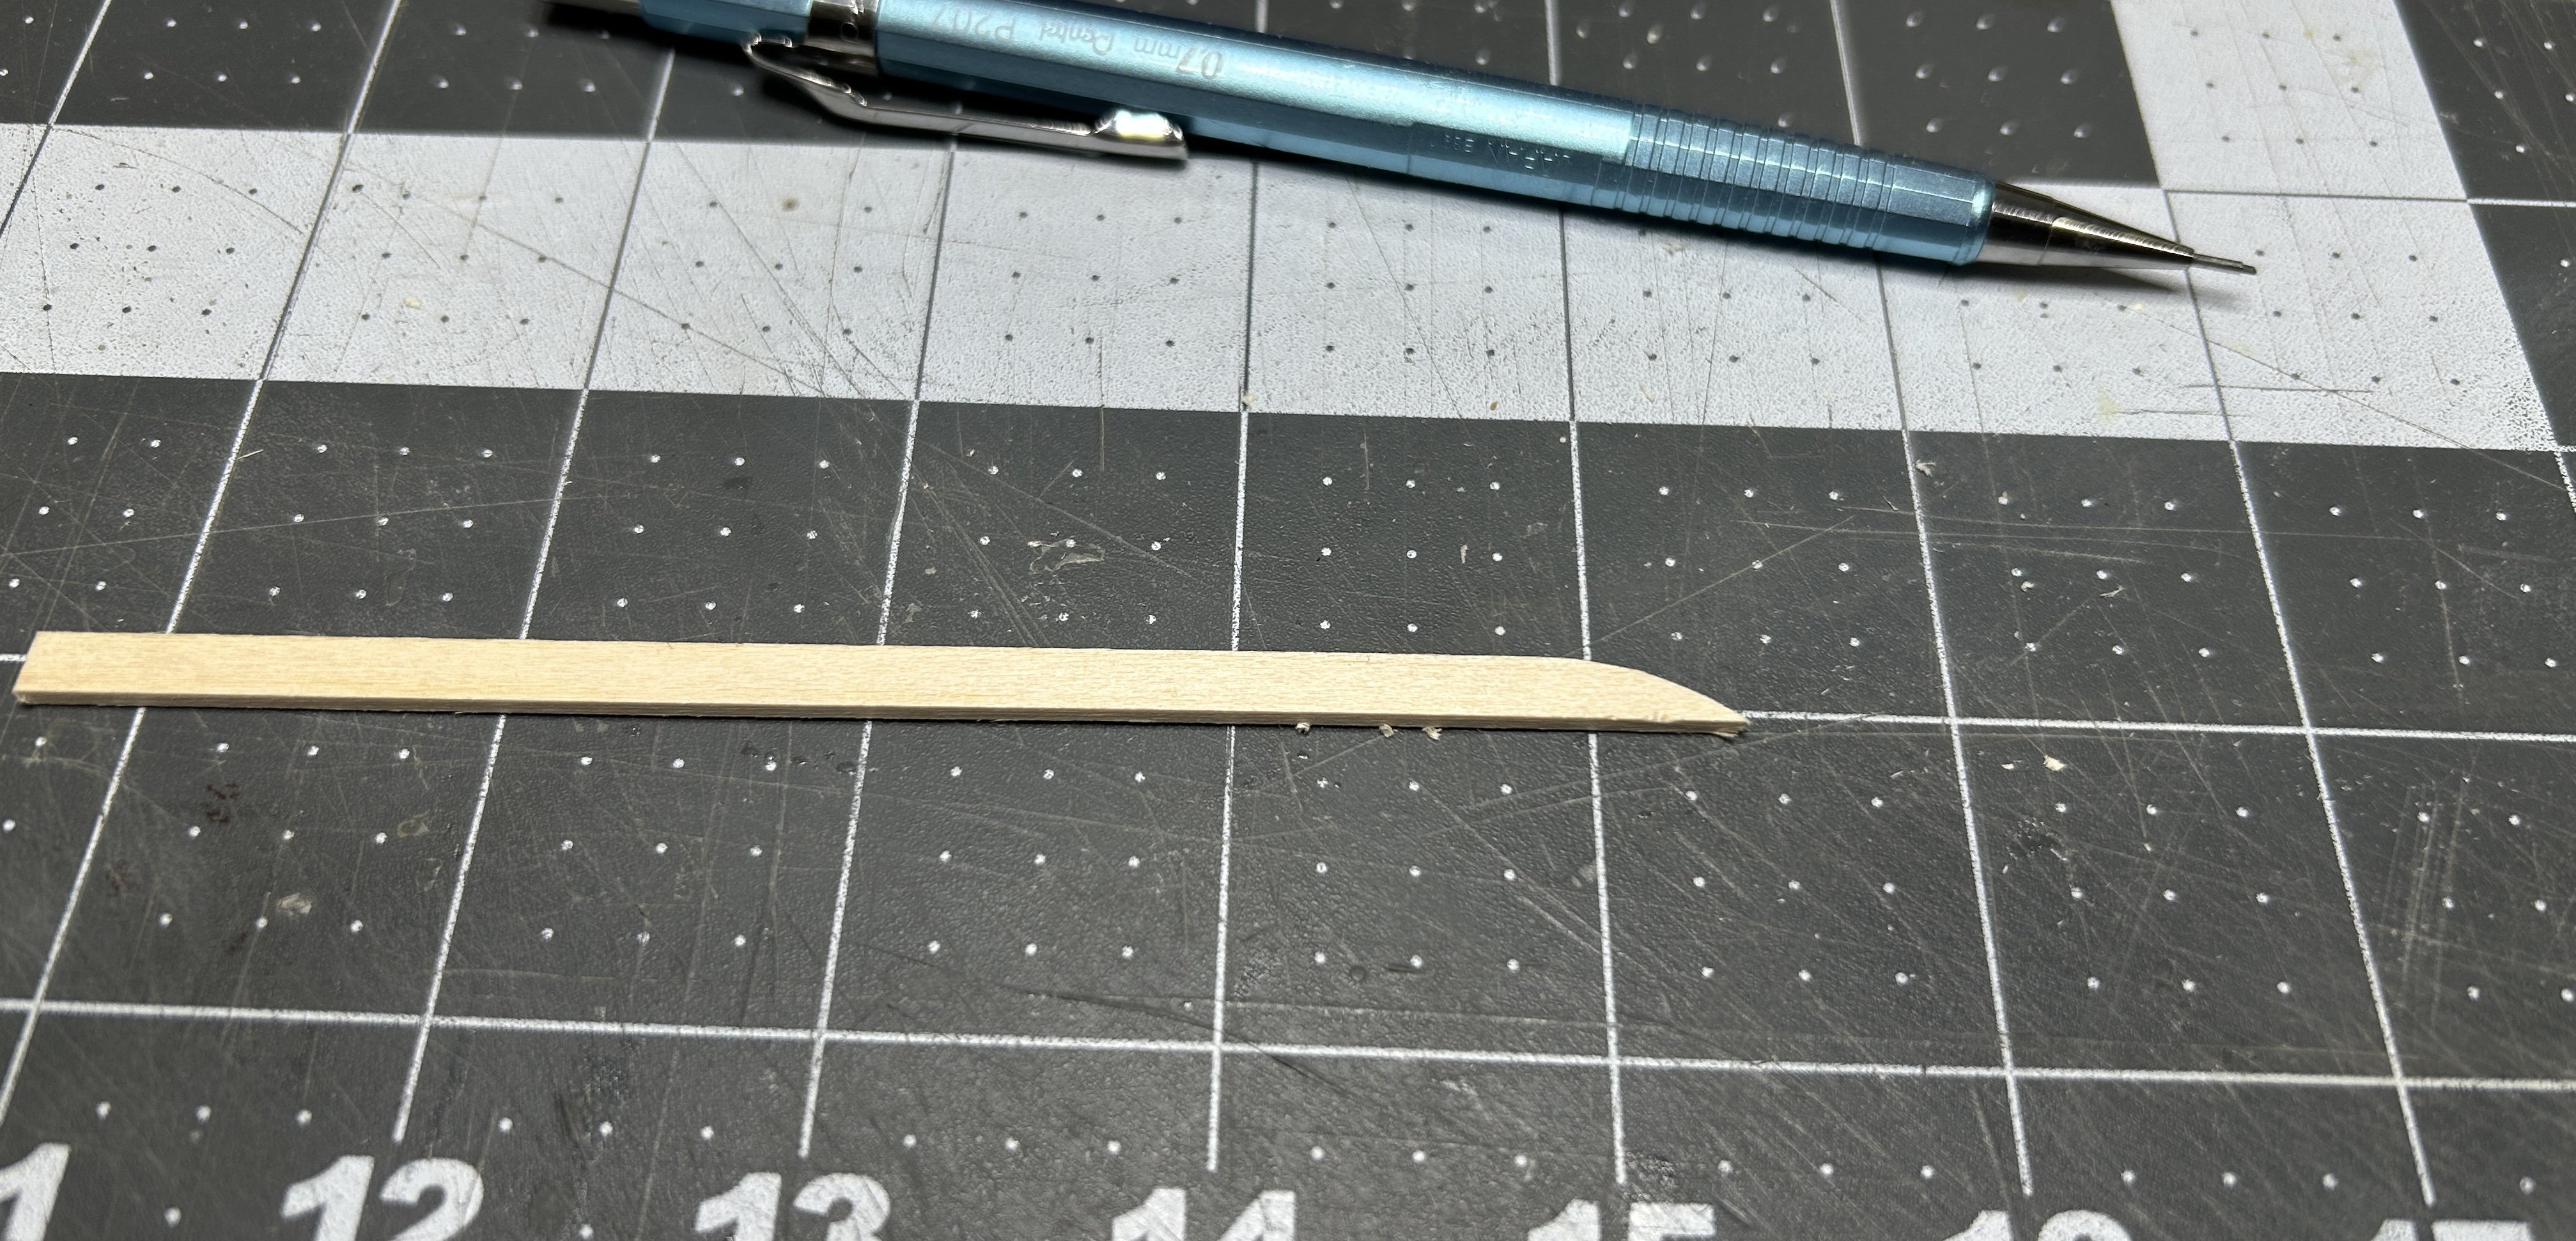
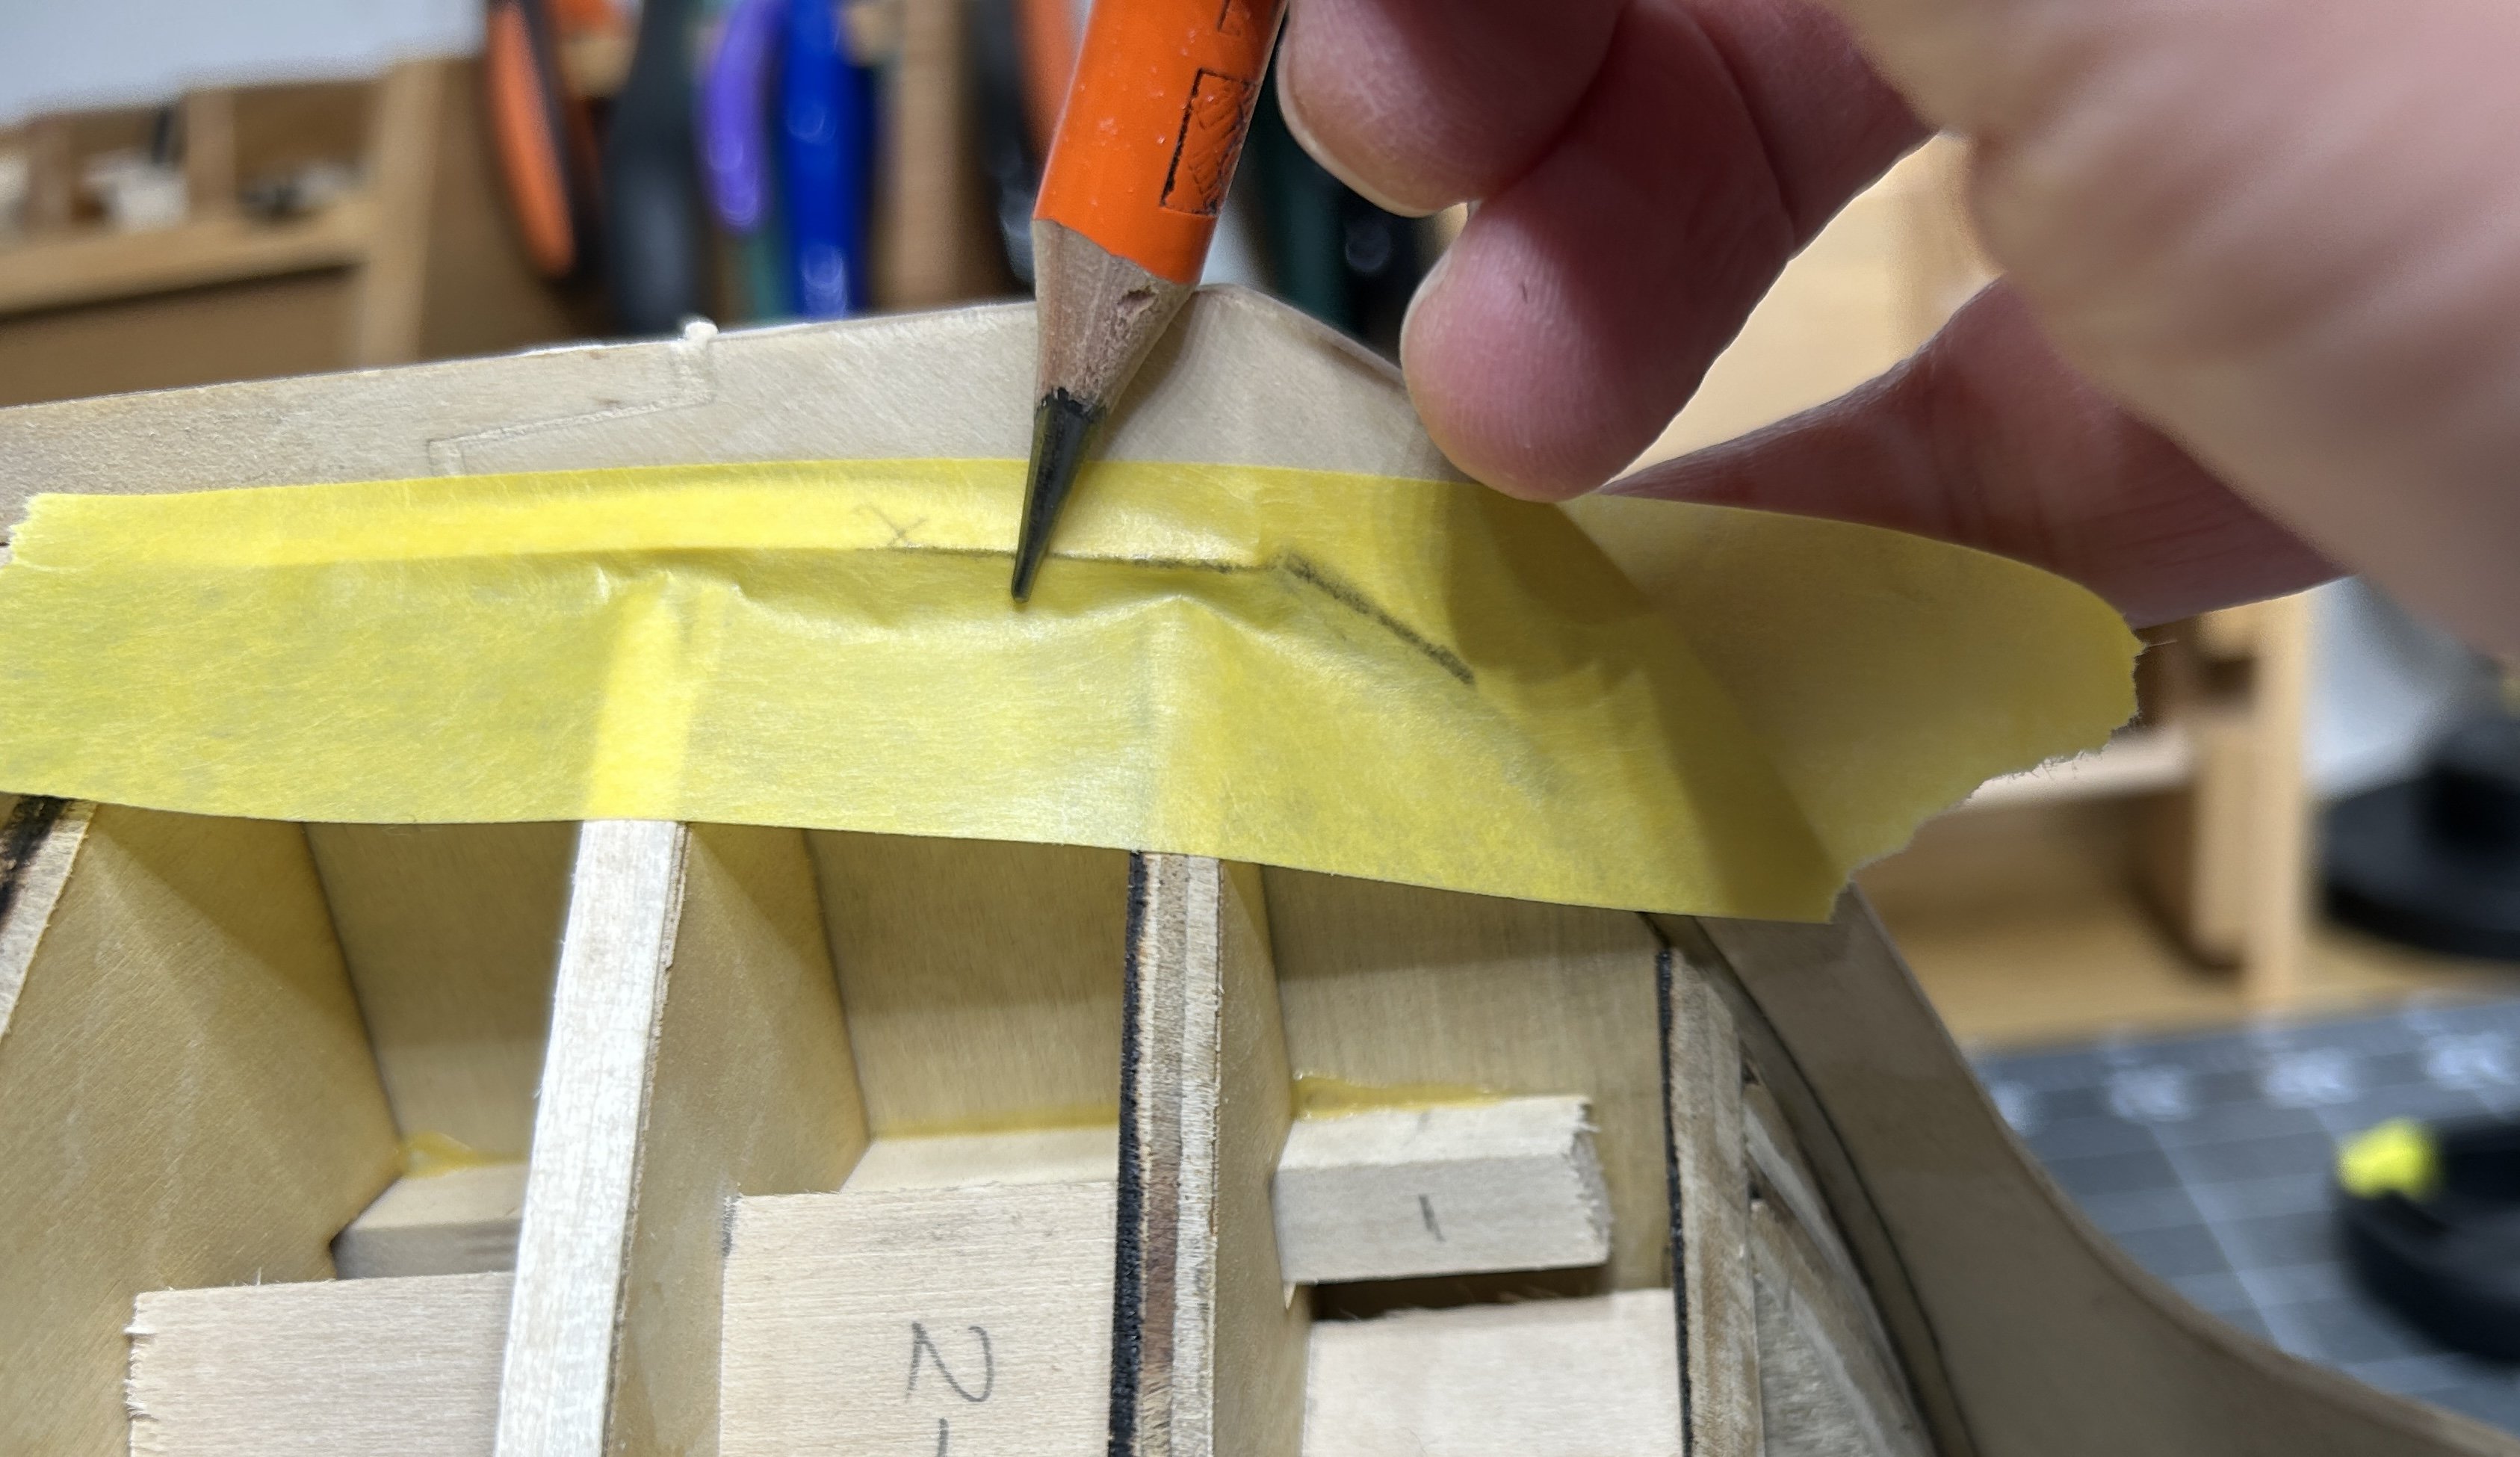
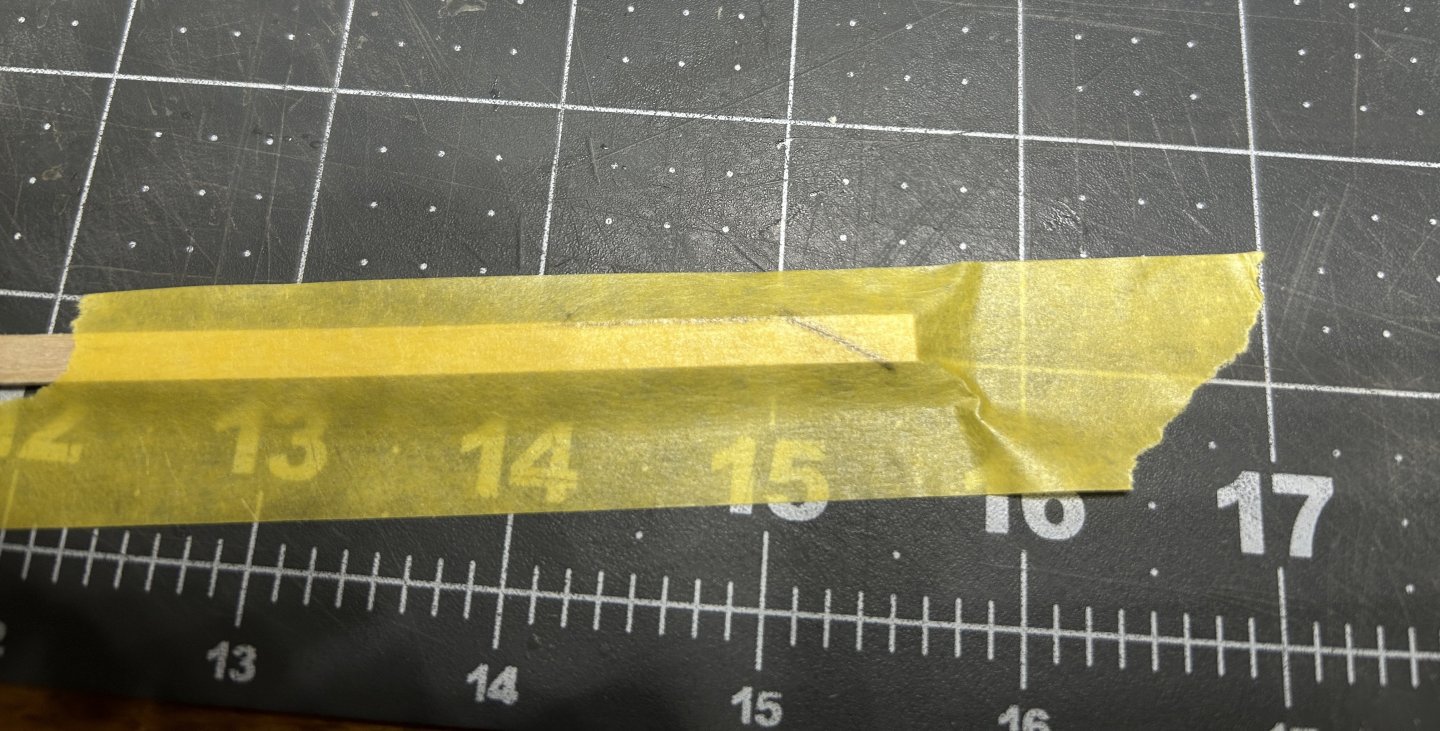
I have the garboard and broad strakes installed. I used 3/16 wide planks for these two planks. The rest of the planking will use 1/8 inch planks. So far I had been using PVA for all the gluing on this build. On the broad strake I switched to CA. I just couldn't get the plank clamped adequately, so I thought the quicker CA made sense. At the bow I used tape to get the shape of the strake and cut it out with a scalpel. Next I will be figuring out the number of bands of planking on the rest of the hull and determining where I need to add drop planks and steelers. I will also need to work out the shift pattern.


-
I have the upper part of stern planked. I either lost or didn’t get the window pieces, but I had some left over grate material from earlier builds that worked well. The windows will be behind a boat hanging from davits on the stern on the complete model. The stern was planked with Basswood as it will be painted. next up is the garboard and broad stake. I will use 1/16 x 3/16 planks for these two planks. After that I will take my time figuring out the layout for rest of the planking. The instructions call for an expedient, and simplified planking below the hull using three planks per row with no staggering of the planks. Everything below the wale is painted or coppered, so it makes some sense. I have come to believe practice is sometimes required, so despite the paint and copper, I will follow more accurate planking methods as much as I can. I will attempt to edge bend the planks. I am planning on using planks of about 4 inches which would be about 25 feet at my scale. Hopefully I will feel bad covering it up with paint and copper, but be better prepared for a build that requires no paint or copper in the future.

-
I know people that have been around this hobby for years will probably say we don’t need another Constitution, Cutty Sark, etc. but I personally would love to see some of these classics available with all the modern design elements.
-
Thanks for sharing so much detail. I am almost to the point of planking my current build and it will be my first attempt at edge bending. I really appreciate you sharing your process.
-
The boats look great. Nice work.
-
I have completed all of the planking above the wale on the exterior of the hull. As I mentioned earlier, I use some Alaskan Yellow Cedar for this section since the planking at the gun deck level will not be painted. Hoping this will look a little better than basswood. I found my Ultimation Sander to be a great tool for this work. I cut each plank to a near net length and used the sander to bring the length down to the perfect length. I did make one adjustment to the sander. The sander ships with 120 grit paper which has worked well with other woods, but I felt that I could see marks in the Alaskan Yellow Cedar with that coarse of a sand paper, so I used a 240 grit disk and was very happy with the results. The planking around the gun deck gun ports has a 1/32 inch rabbet and the gun ports on the quarter deck do not have a rabbet as those gun ports do not have any lids. There is still a lot of sanding and a little filling above the gun deck level which will be painted. Next up is planking the stern. In addition to work on my ship, I had a small household project that I completed. I built a small coffee table with some whisky barrel staves. My wife loves the look of the staves, but they are miserable to work with, They are not uniform in size and not a single straight line on the stave. These were from a whisky barrel so they are charred on the inside. We removed any loose char and then uses a spray matte polyurethane to seal the charred surface. Three bolts hold the whole thing together. I have previously built this billiard rack with wine barrel staves.


-
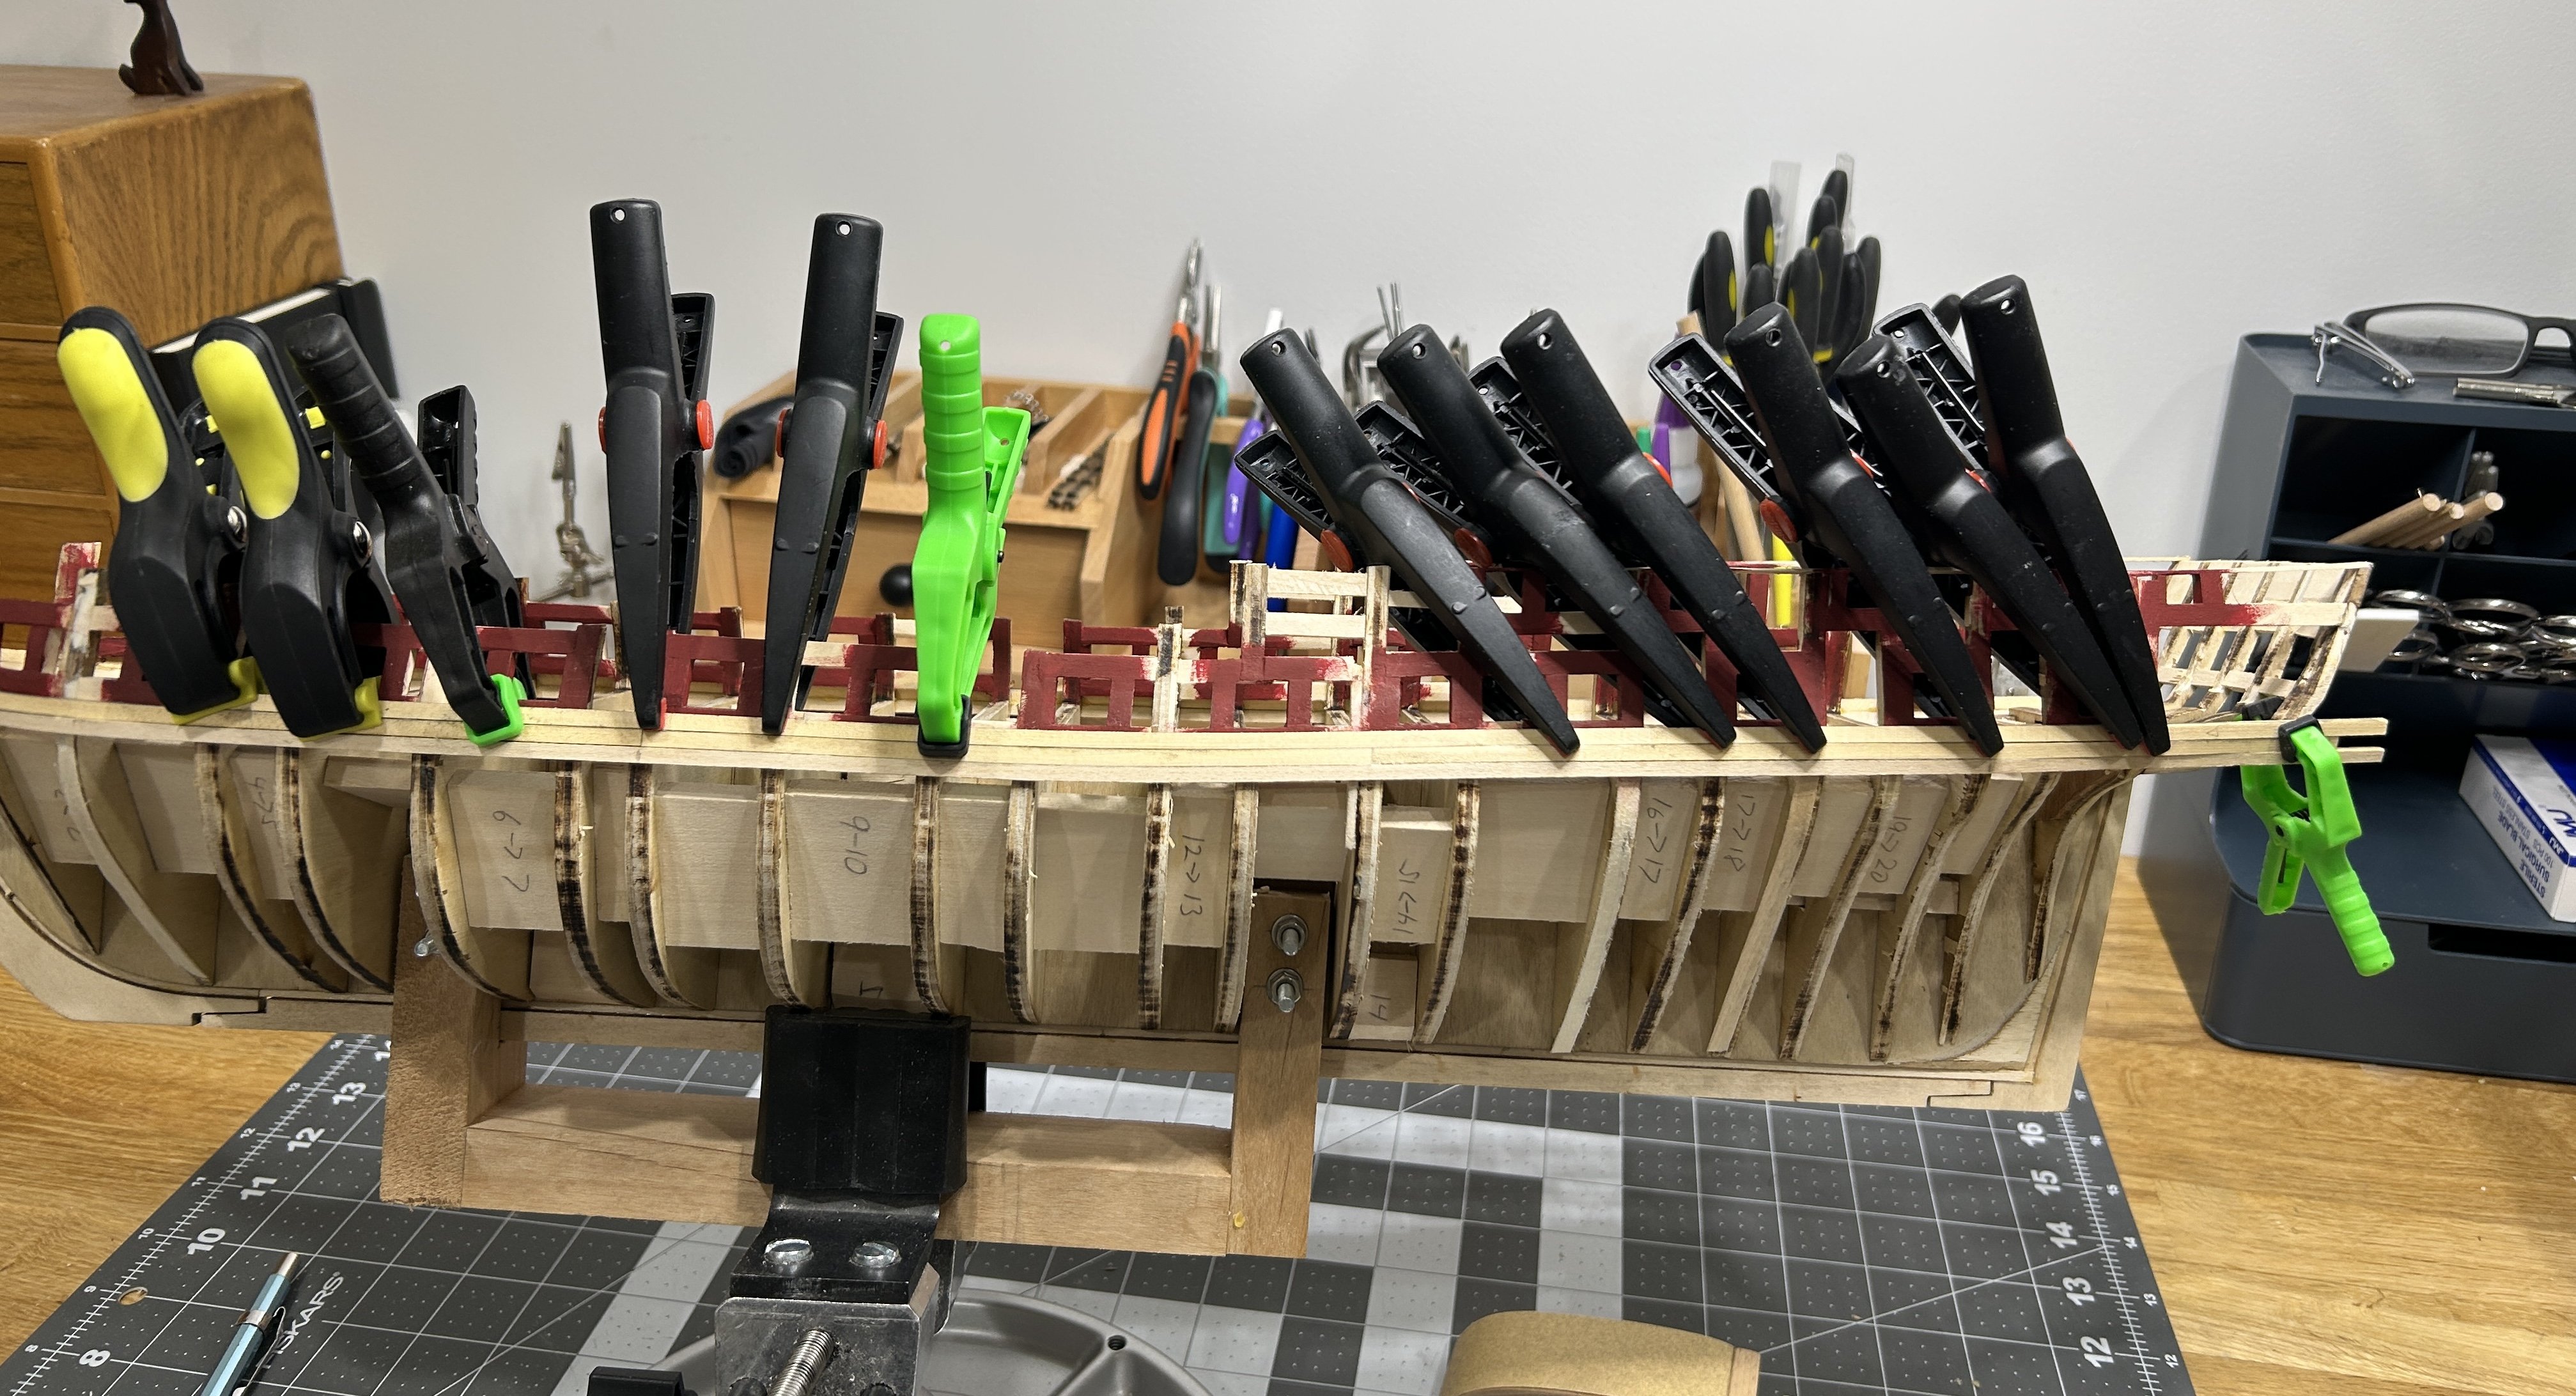
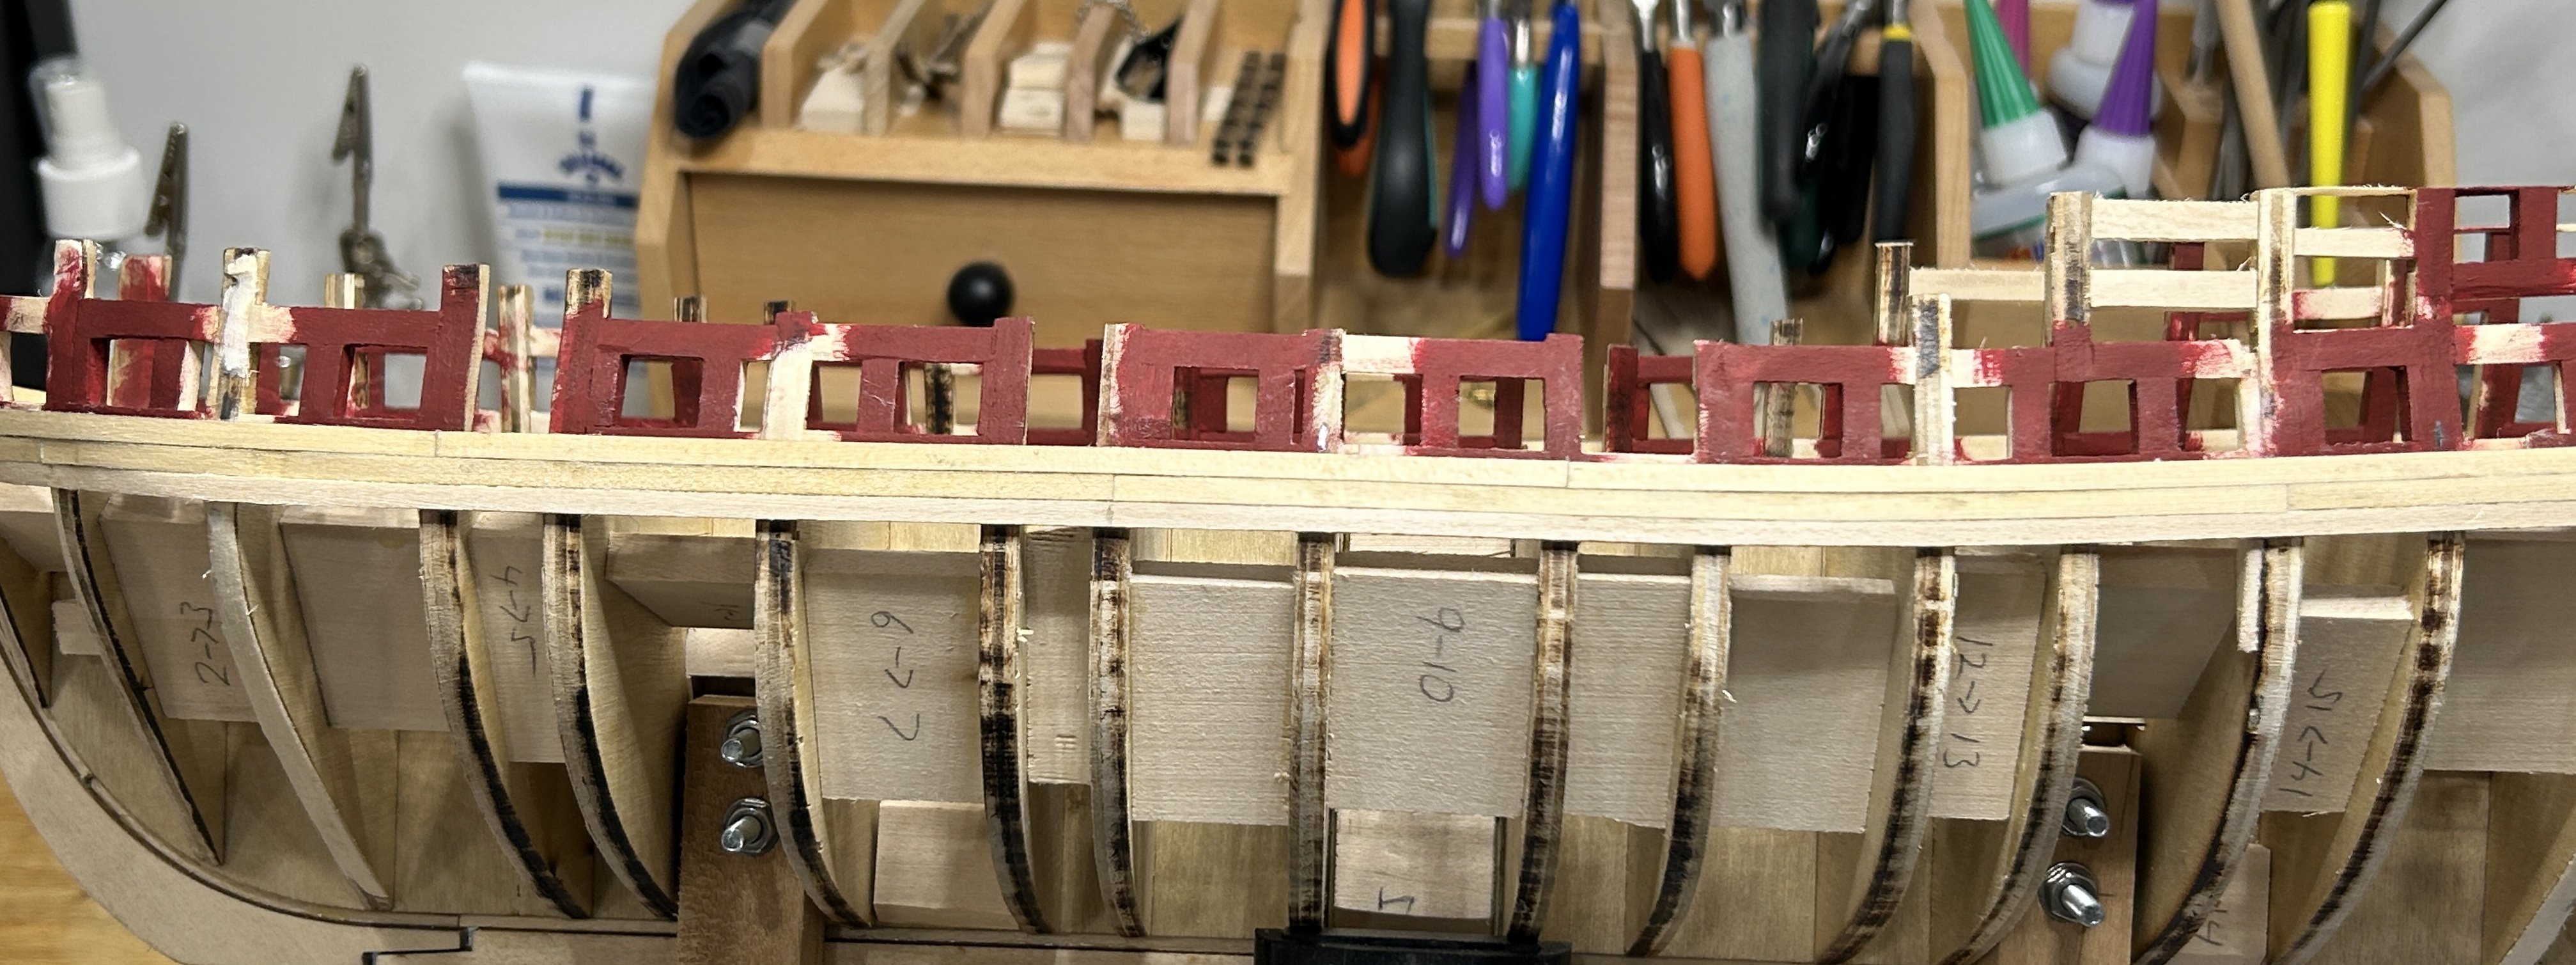
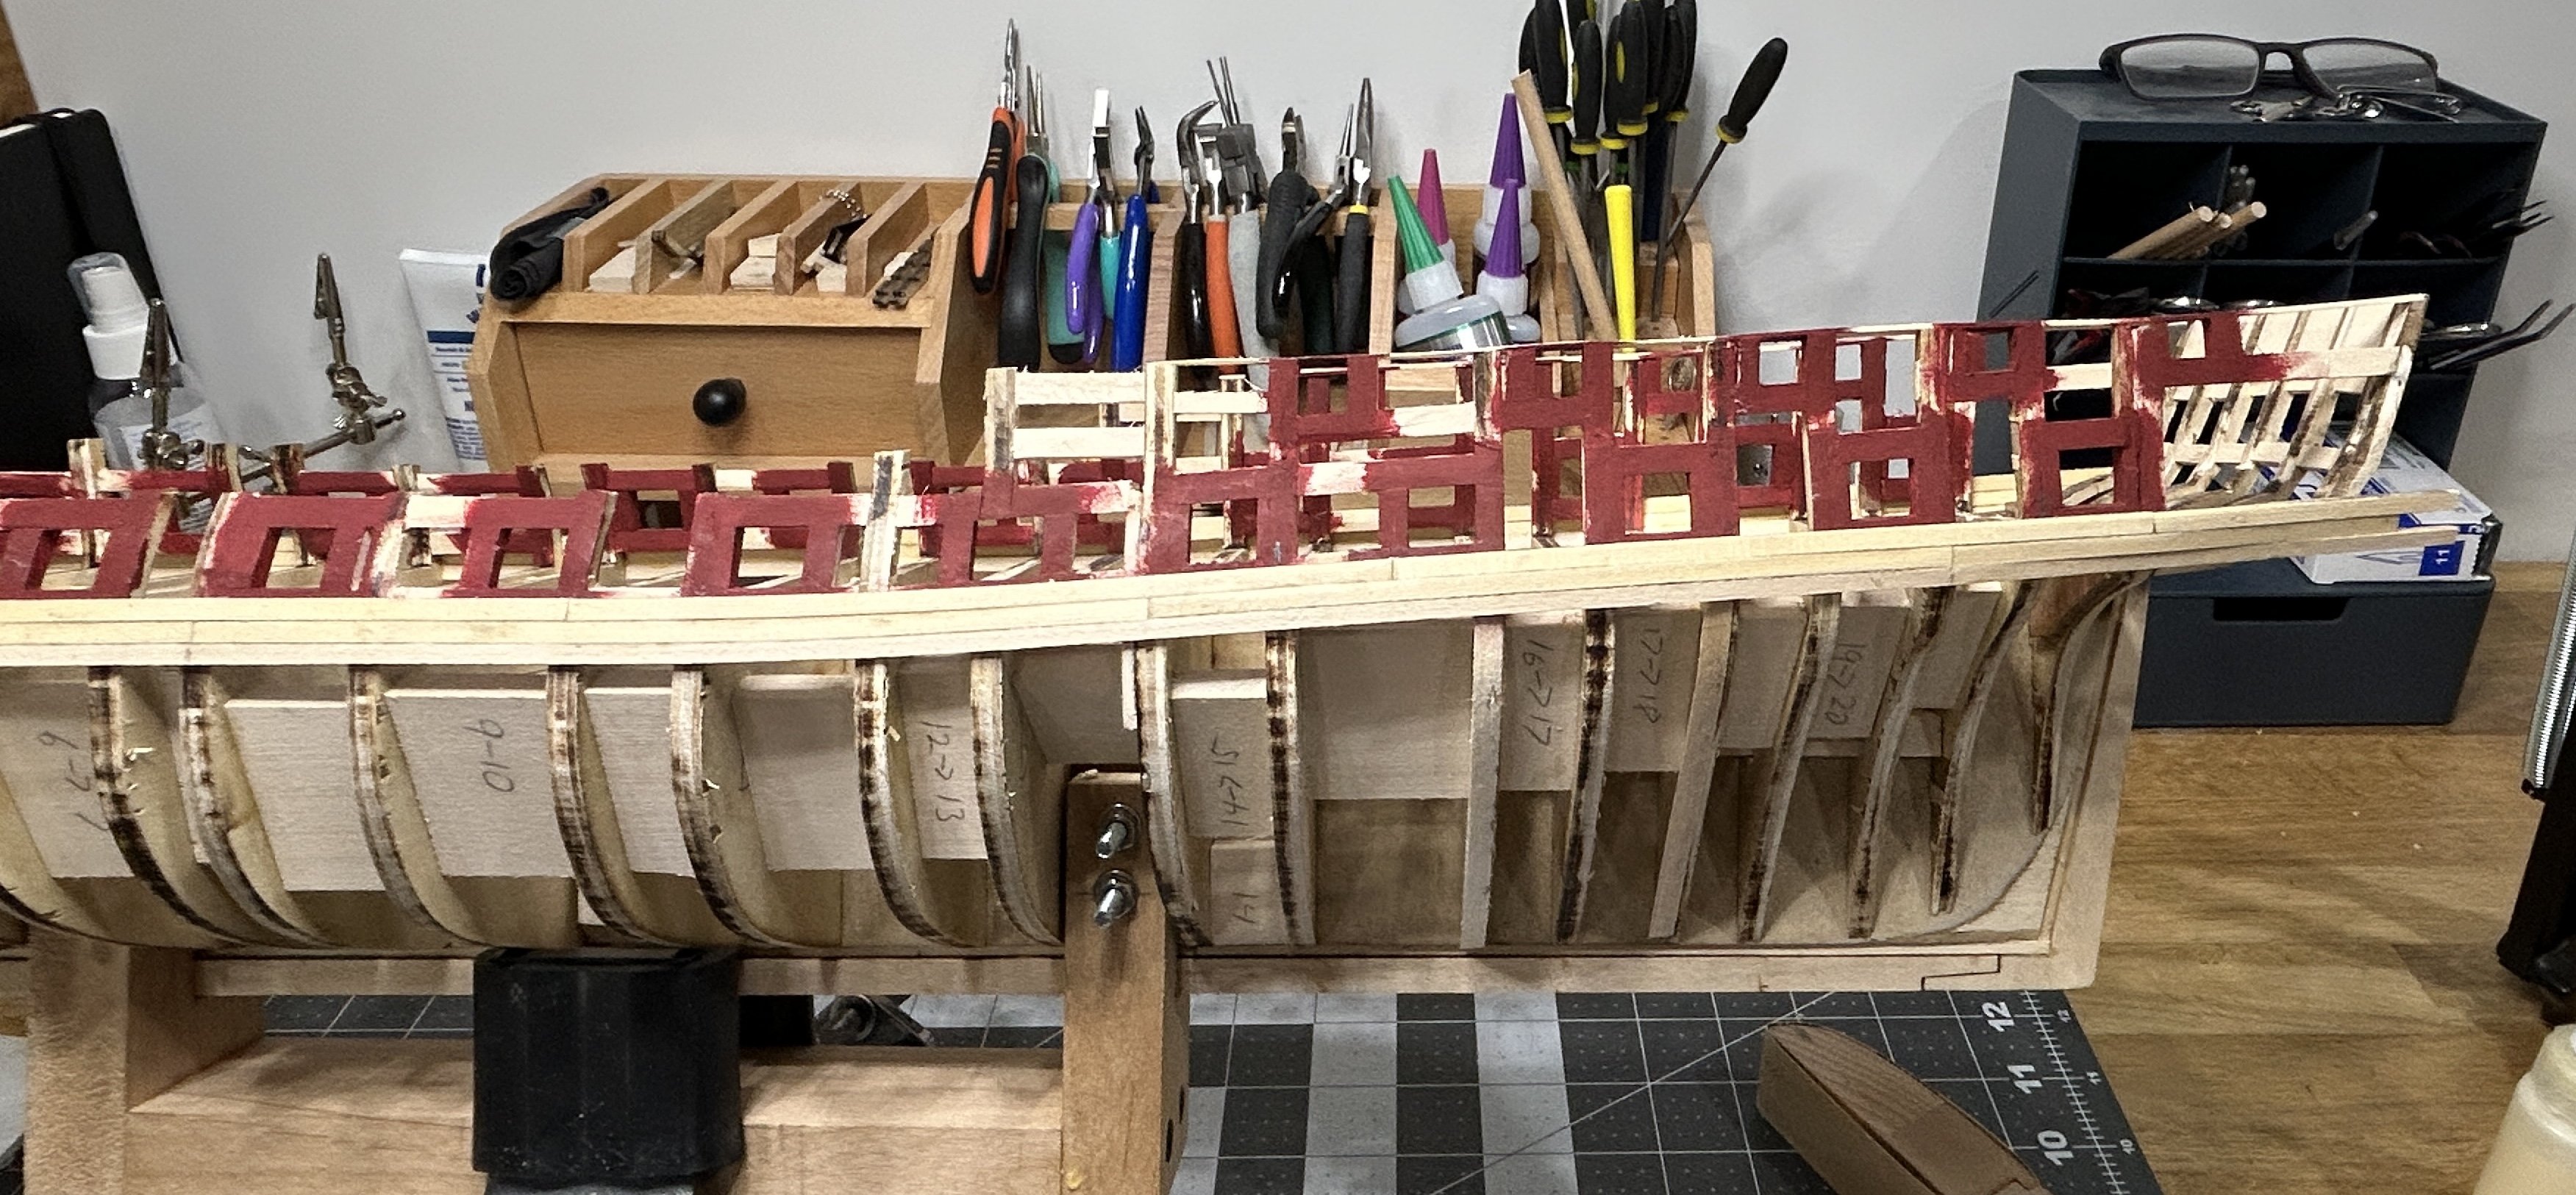
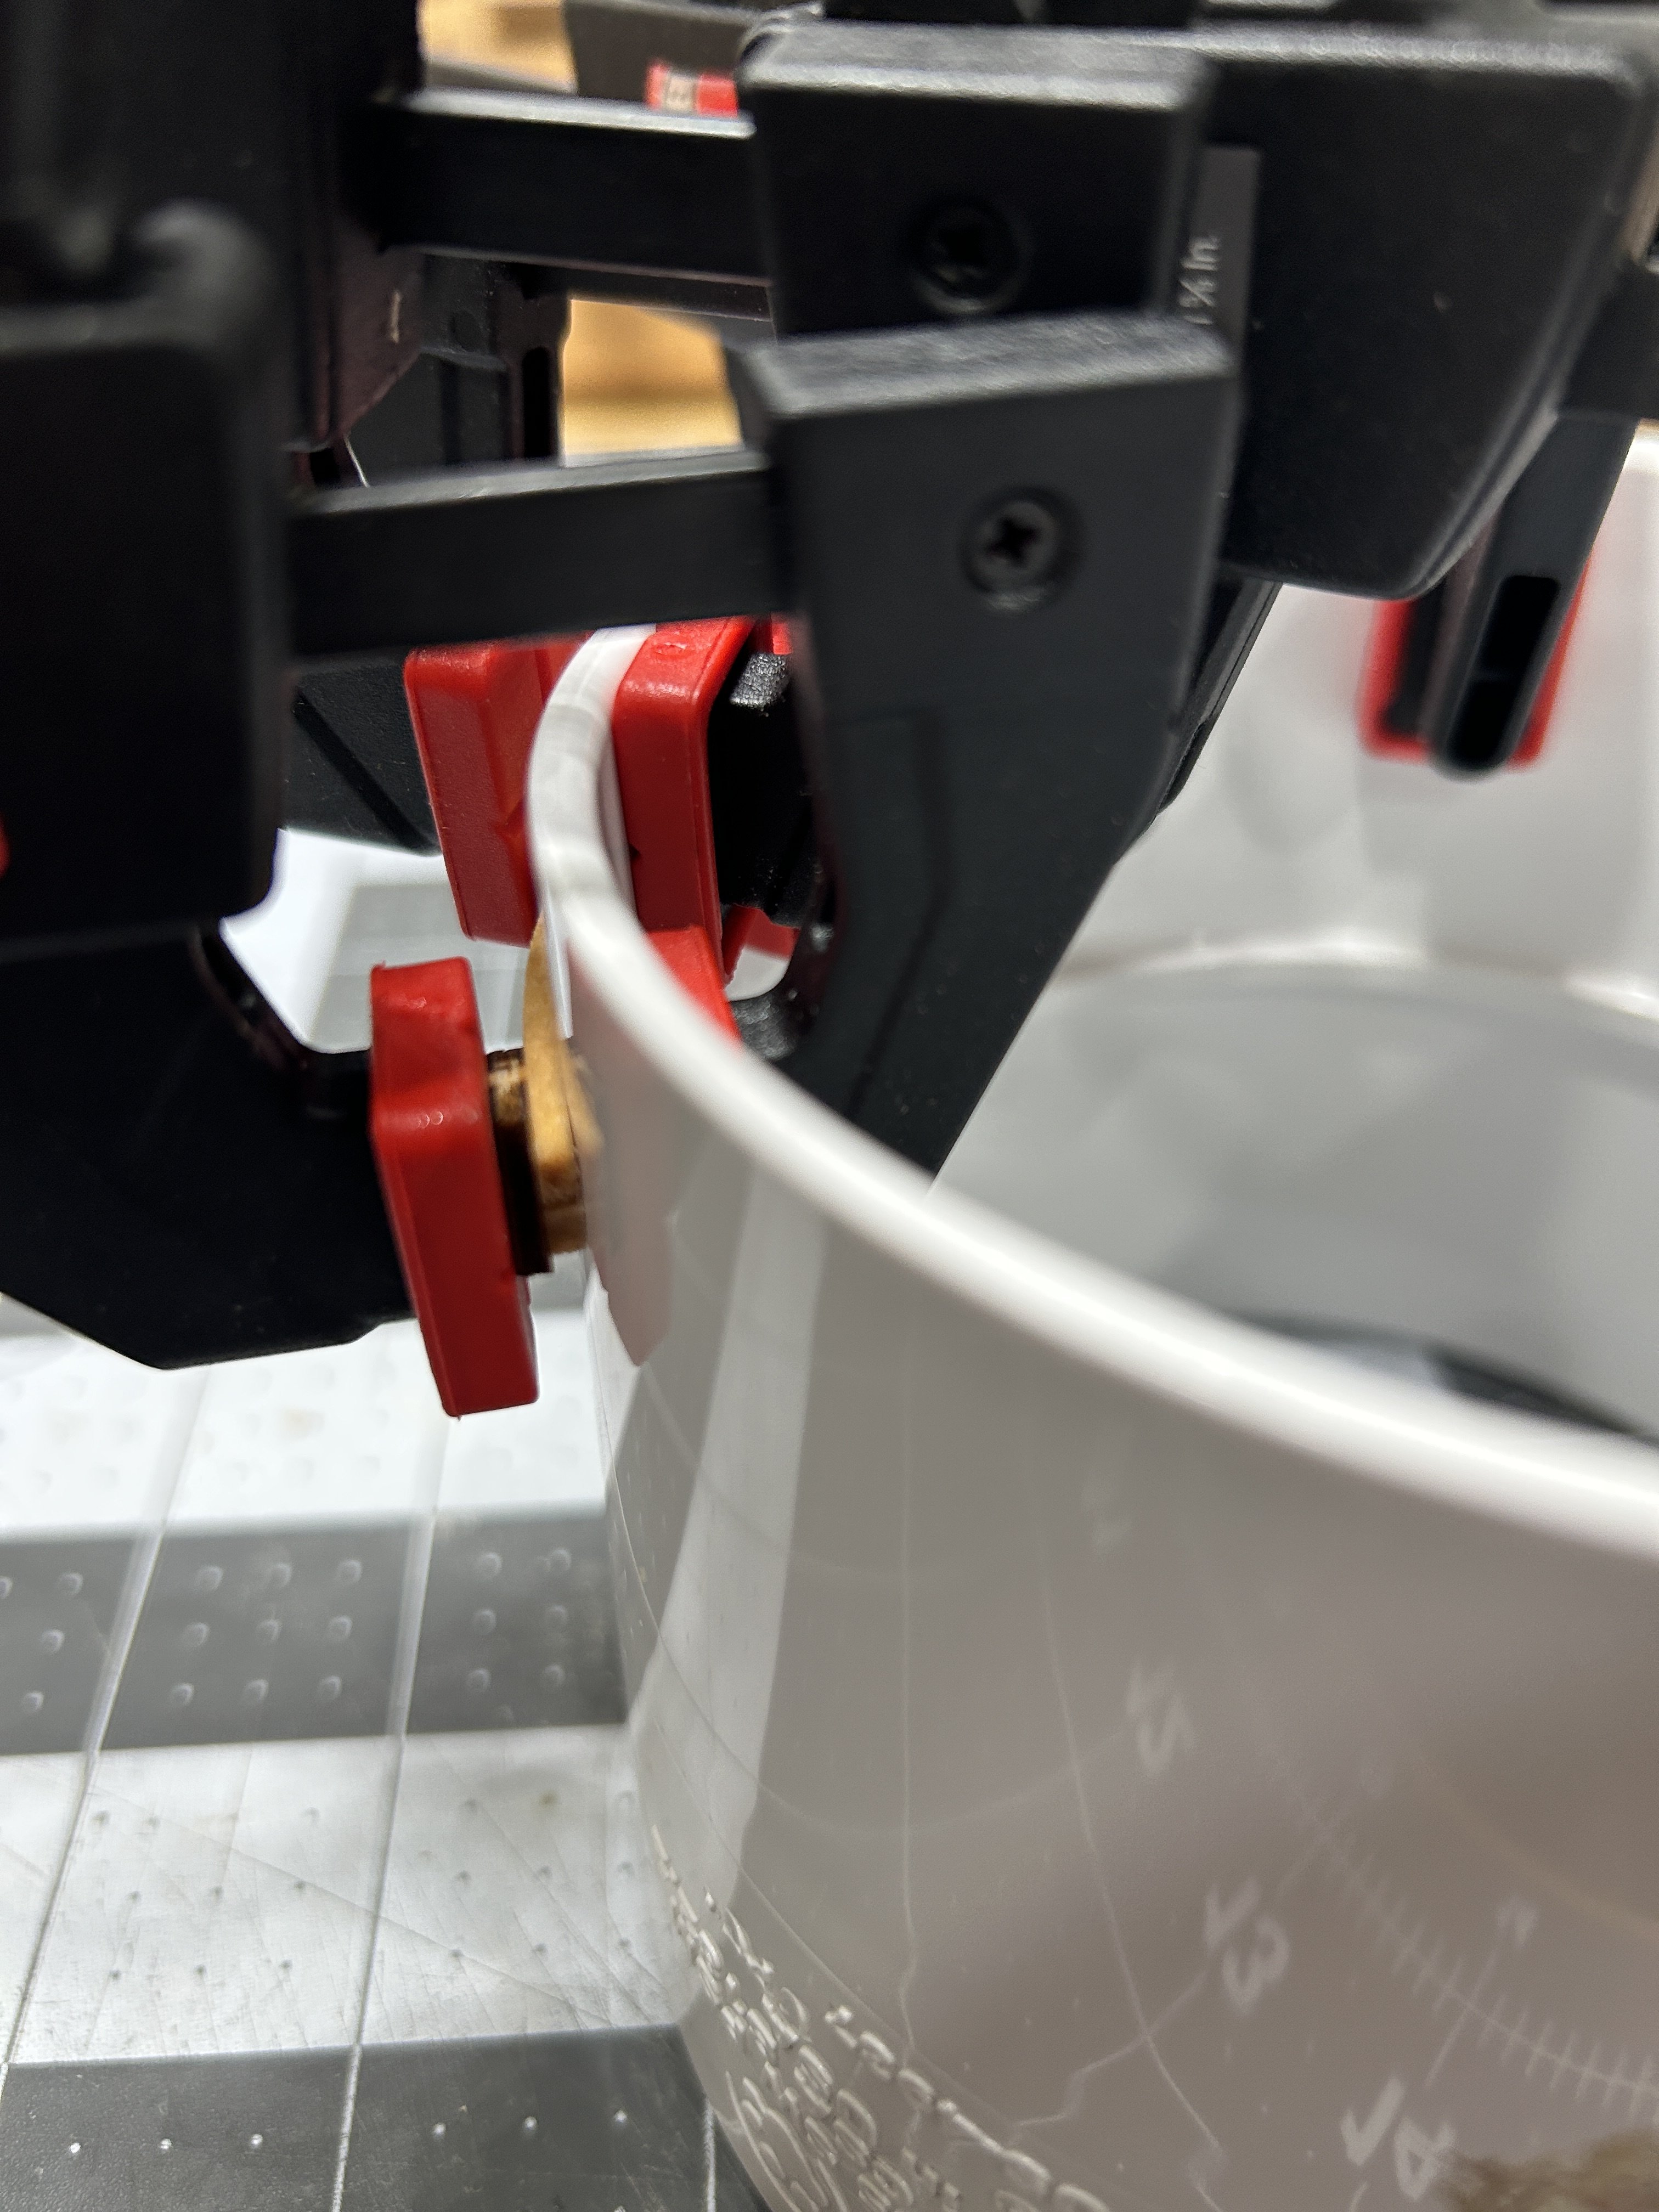
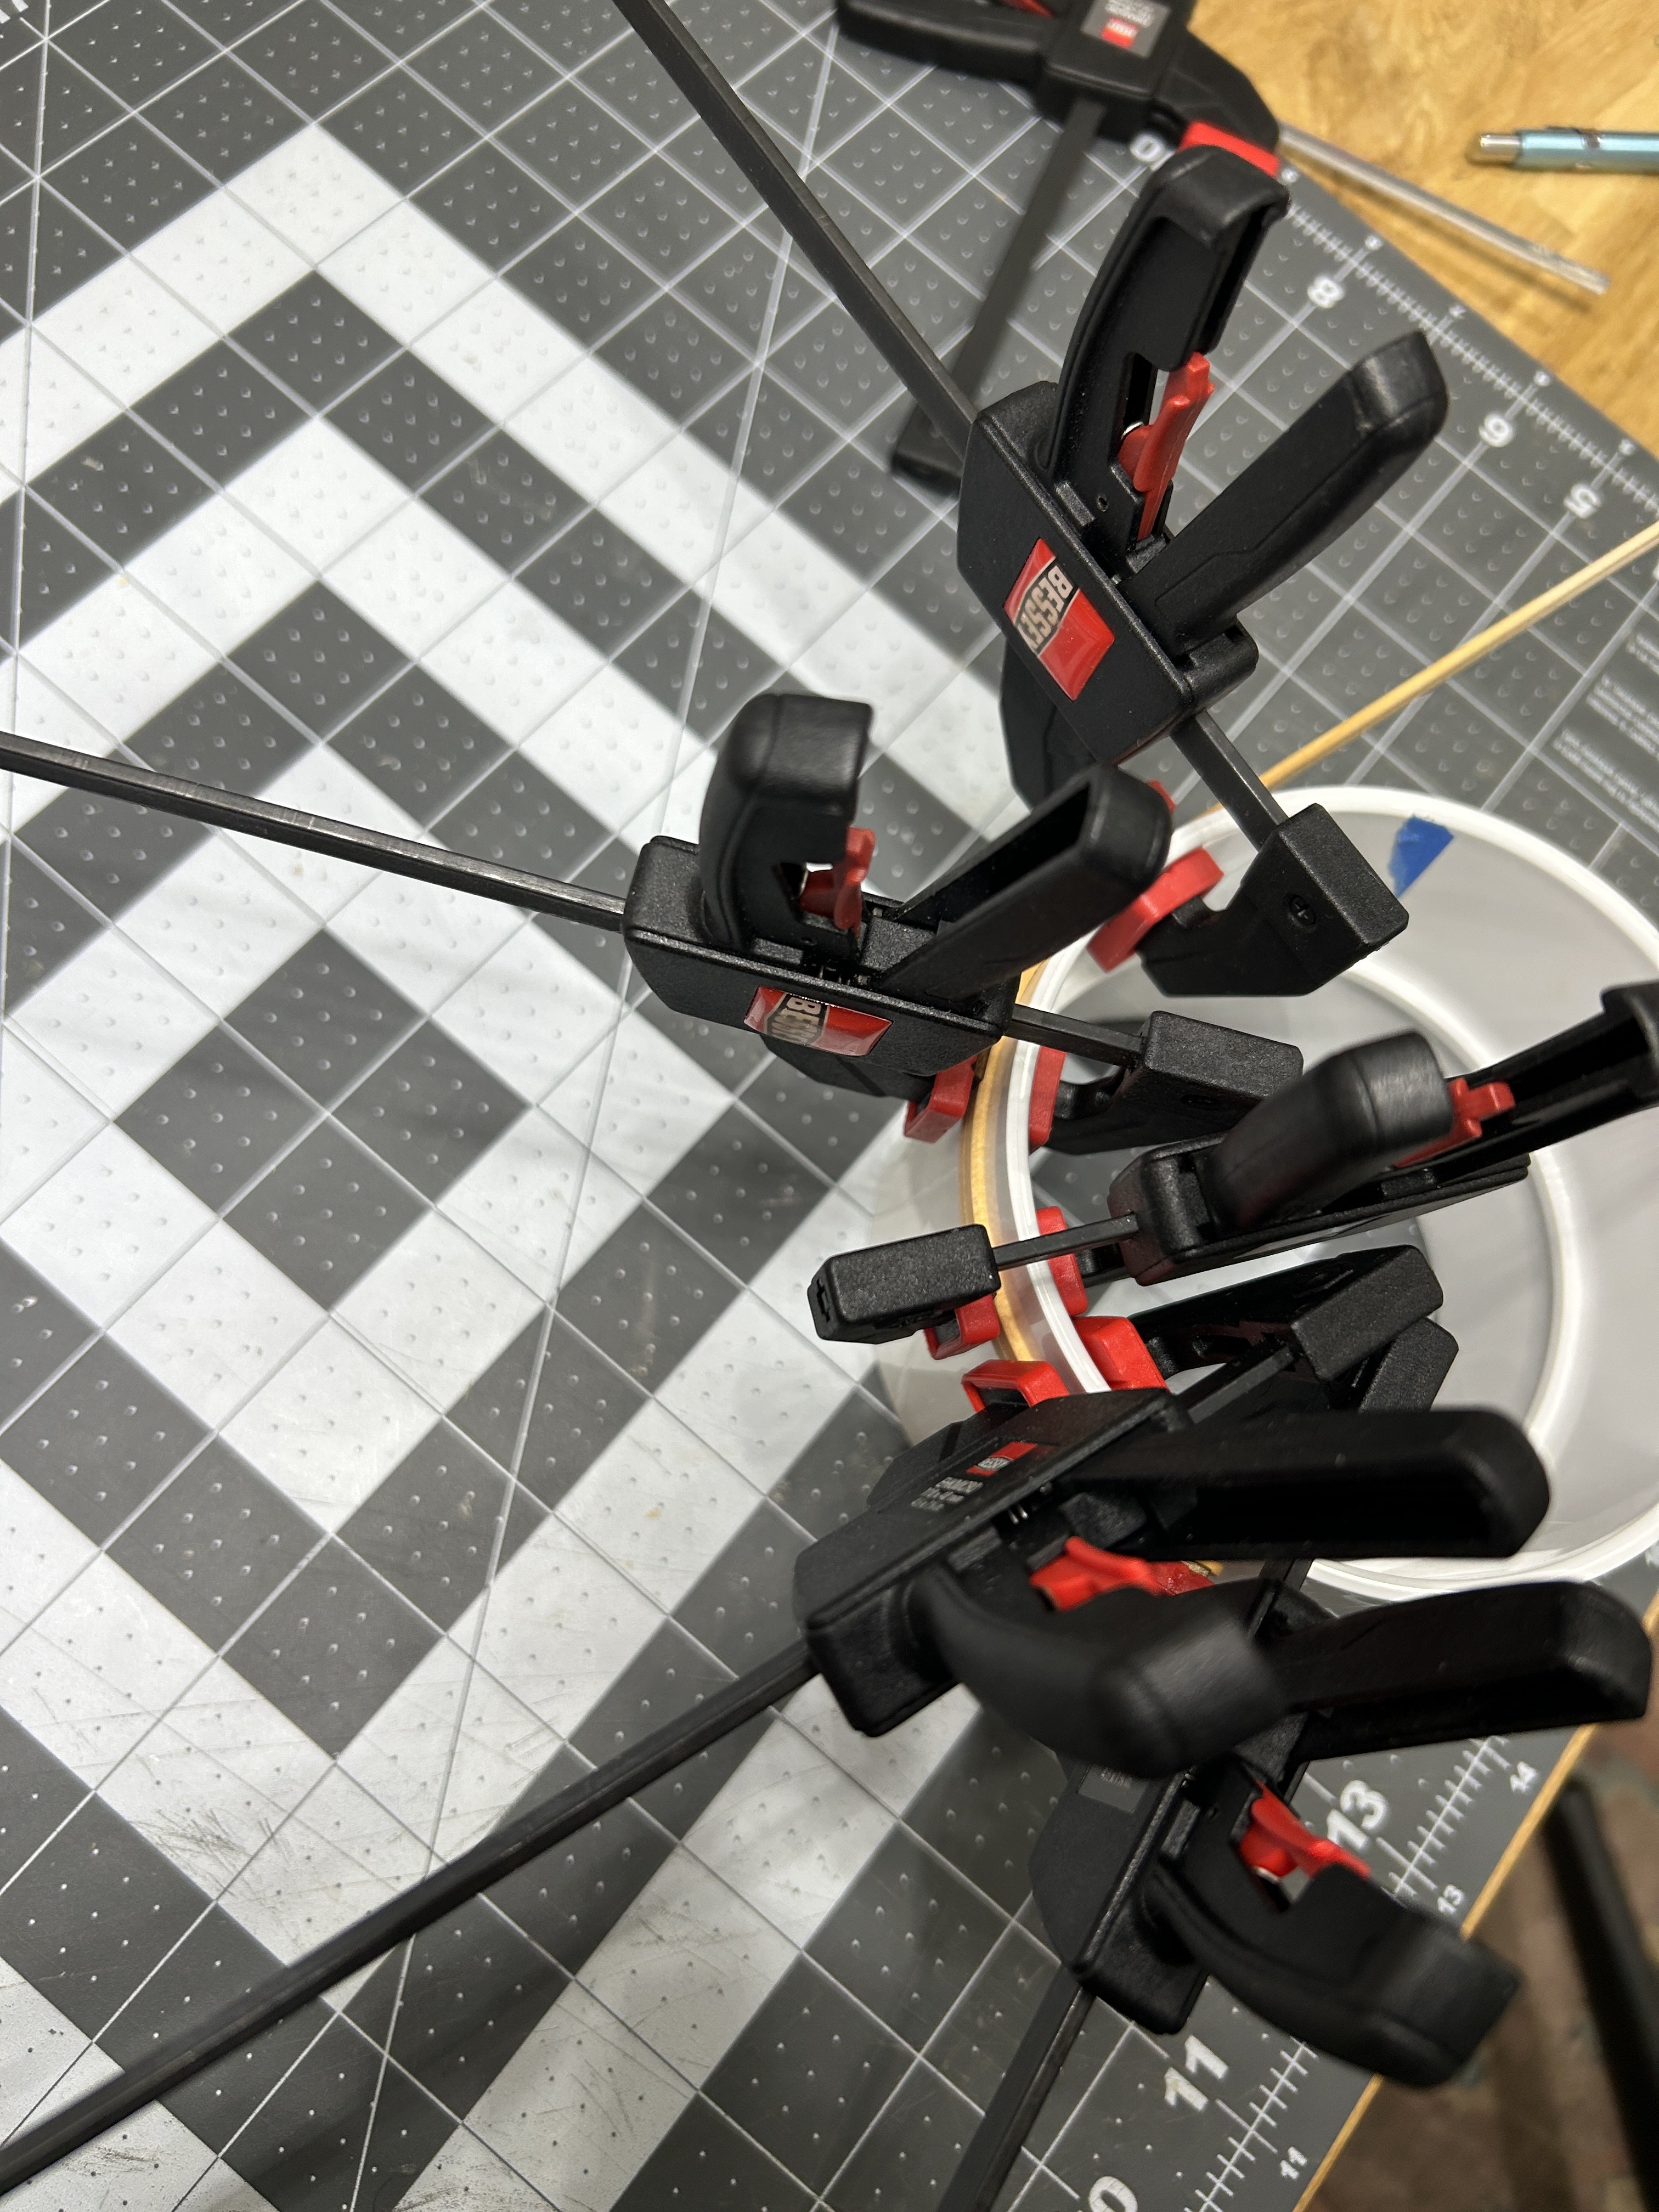
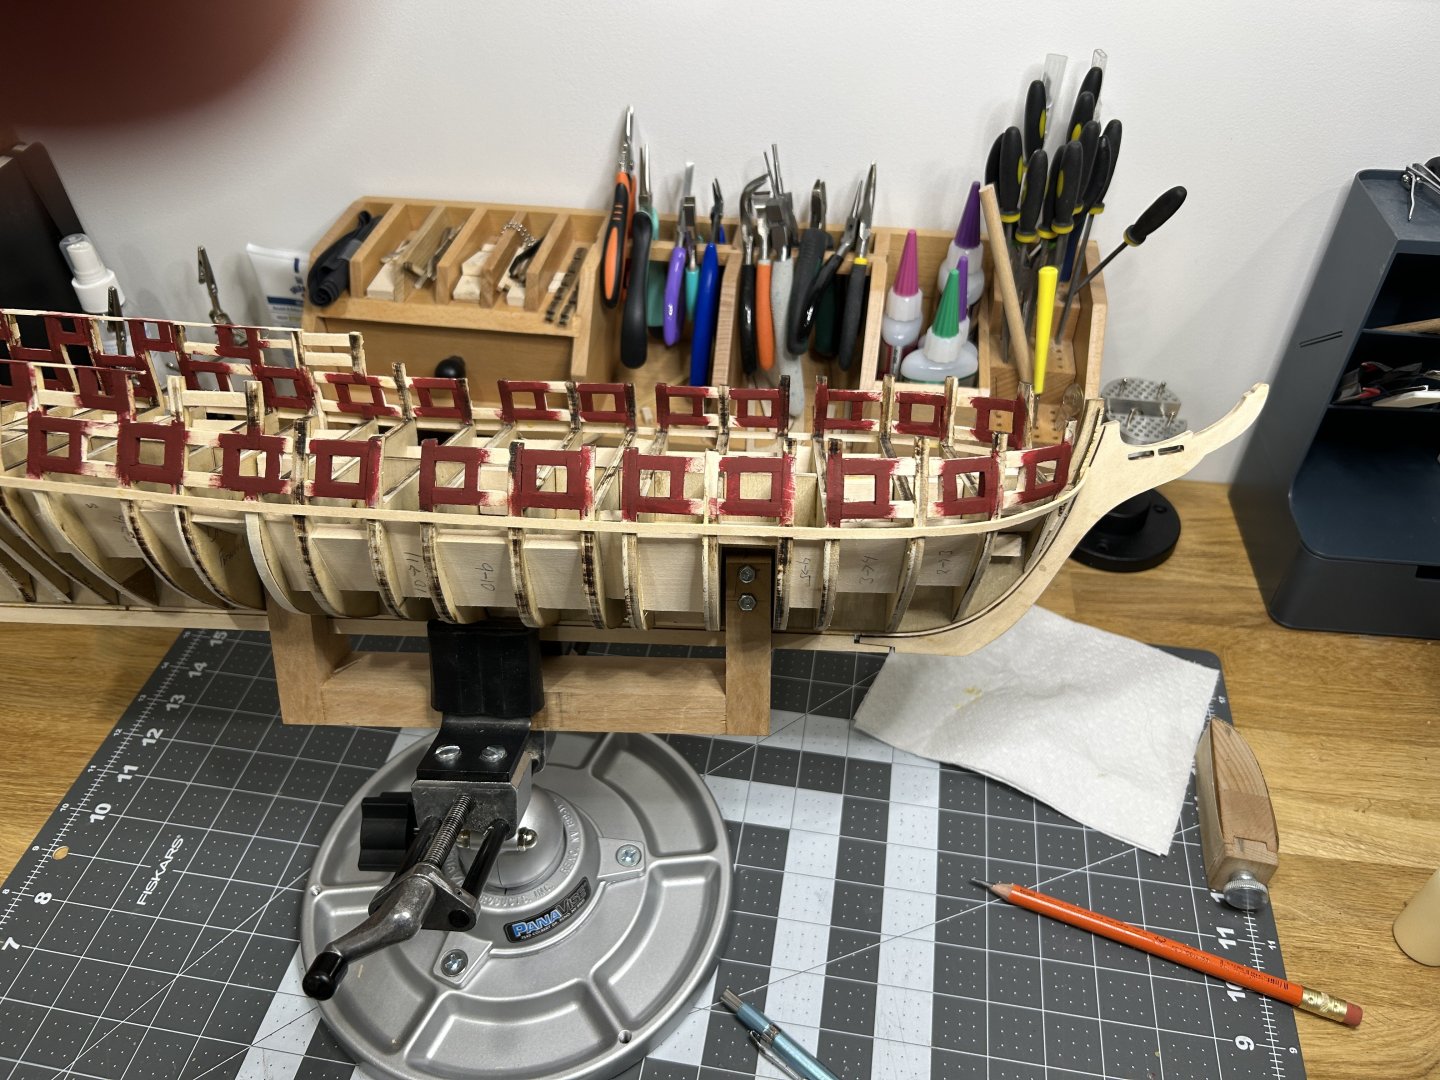
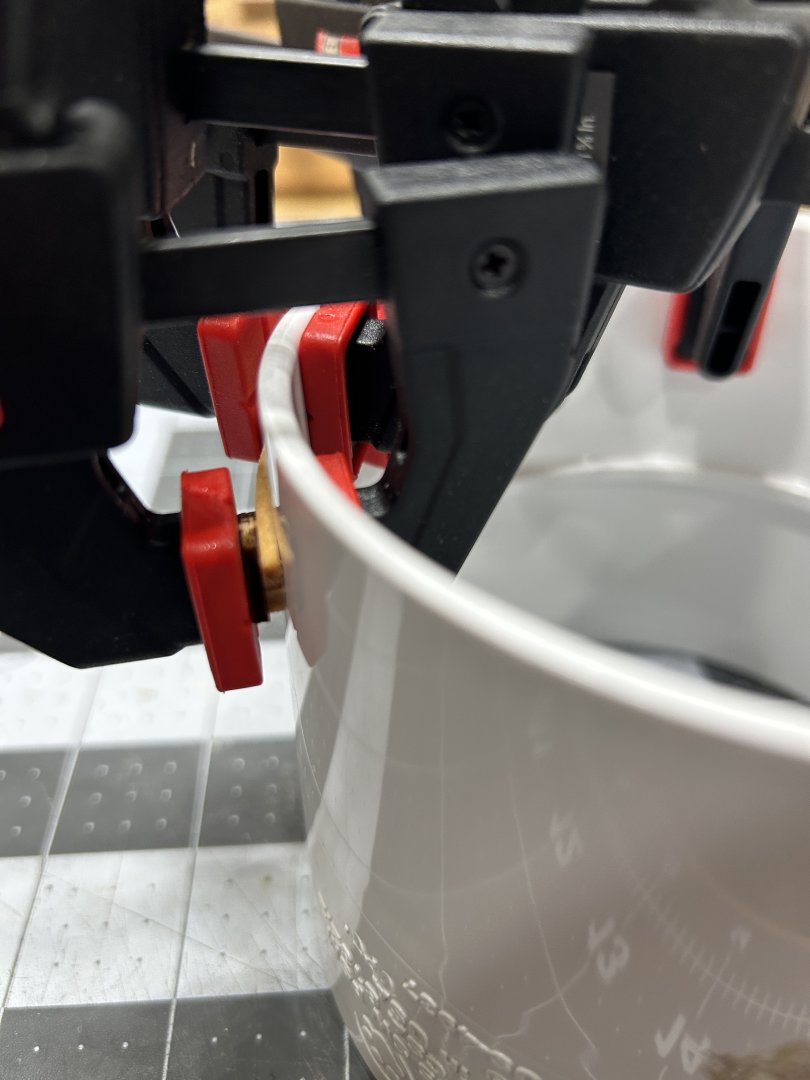
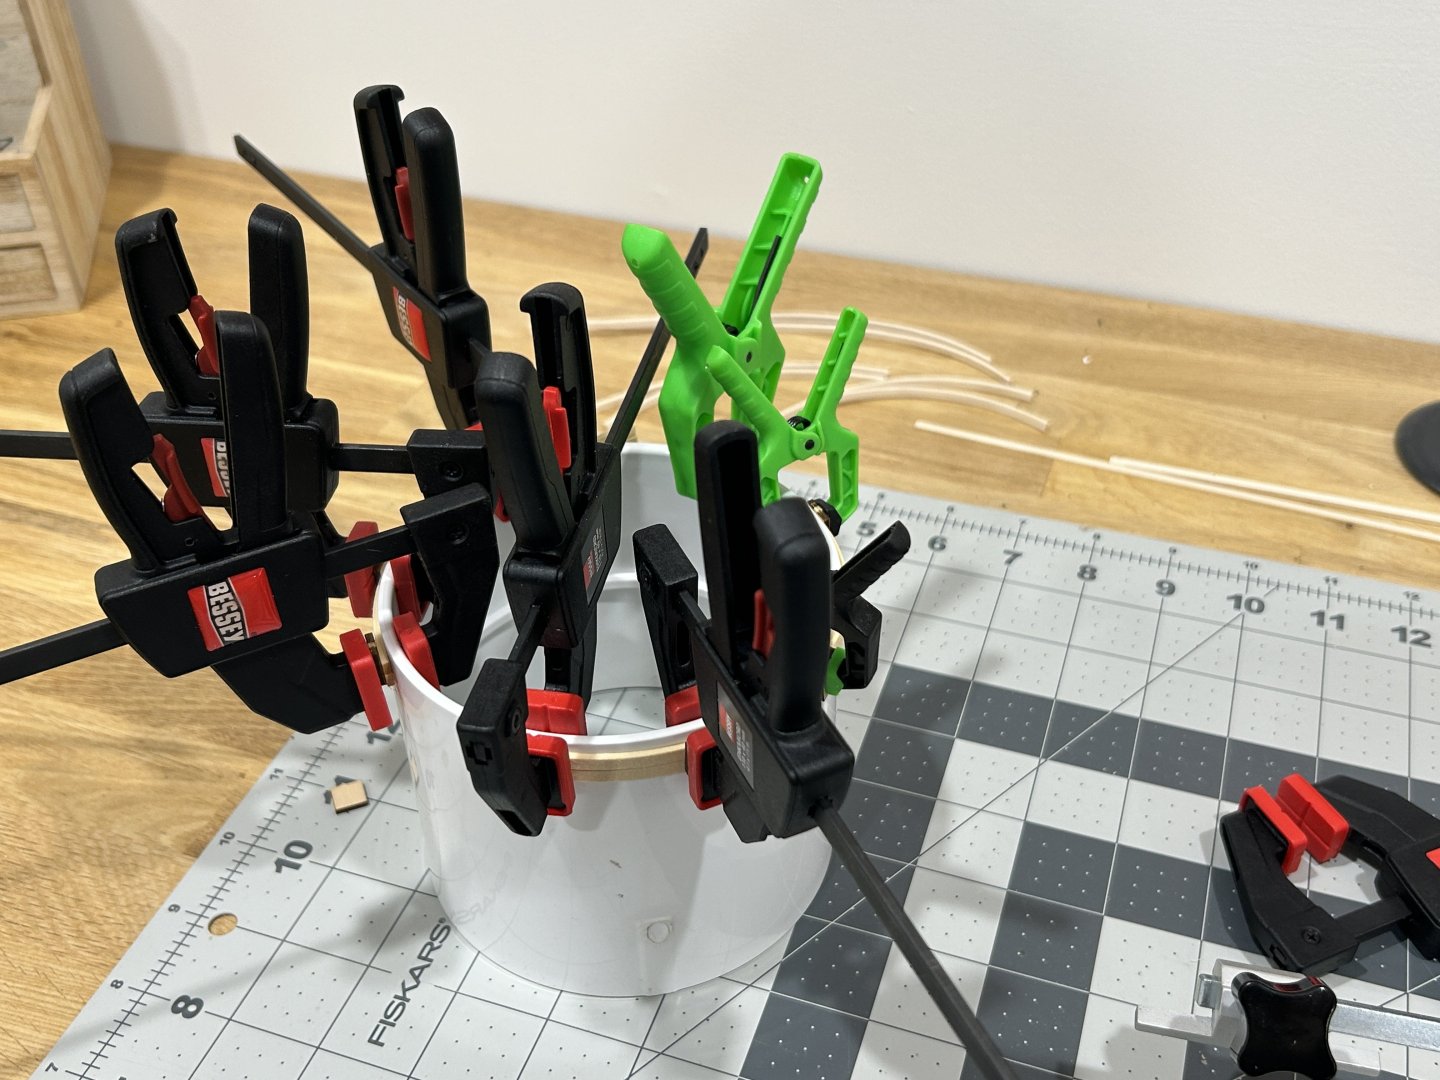
I have started the planking. It is the first time I have felt like I have been making progress in awhile. The first plank I added was a basswood strip that runs the entire length of the ship to get a smooth run for the planking above. I am not worried about the lack of vertical seams on this plank as it will be covered with other planks to make the wale later. Above this plank I am using the Alaskan Yellow Cedar that I purchased from Modeler's Sawmill. Hoping that the planking at the gun deck level, which is left unpainted, will really pop with the higher quality wood. Two rows of planking were added above the first plank before I got to the gun ports. I definitely subscribe to the theory you can't have too many clamps. I bought 4 more of the black ones used near the stern at Menards today. I am trying to use PVA for gluing the planks. I really appreciate the ability to easily remove a plank if I decide It isn't right. I used a 4 inch PVC pipe as a form for adding the curve near the bow. I just soak the wood in hot water for about 10 minutes then clamp it to the pipe. Careful to use a old scrap price between the wood and the clamp to limit making and marks in the plank from the clamp. For the next row of planking I needed to notch out the plank to accommodate the gun port. The planking should reveal 1/32 of an inch of the gun port framing. For this row, I used a number 11 scalpel blade to cut away to material to accommodate the gun port. I carefully cut a little bit vertically then cut thin slivers horizontally and repeat until I get close to the total amount of material removed. The last bit is sanded away. On these planks the amount left where the gun ports will be is less than 1/32 of an inch. I am adding a row to the port then starboard sides and building up both sides of the ship. I will continue to use the Alaskan Yellow Cedar until I get to the planking at the height of the quarter deck which will be painted so I will switch back to the kit provided Basswood.


-
question about waxing thread
RossR replied to ford34tom@comcast.net's topic in Masting, rigging and sails
I did quite a bit of online research on bee’s wax and came to the same conclusion about its Ph. Technically it is slightly acidic, but so is wood. I have used it and my only concerns is the attraction of dust over time. Chuck uses it in his rope making tutorials. That gives me some comfort on its long term effects on the rope. -
Your planking looks great. Great job around the gun ports. I am just starting that step on my USF Essex. Looking forward to following your progress. And a couple days off to decompress is well earned.
-
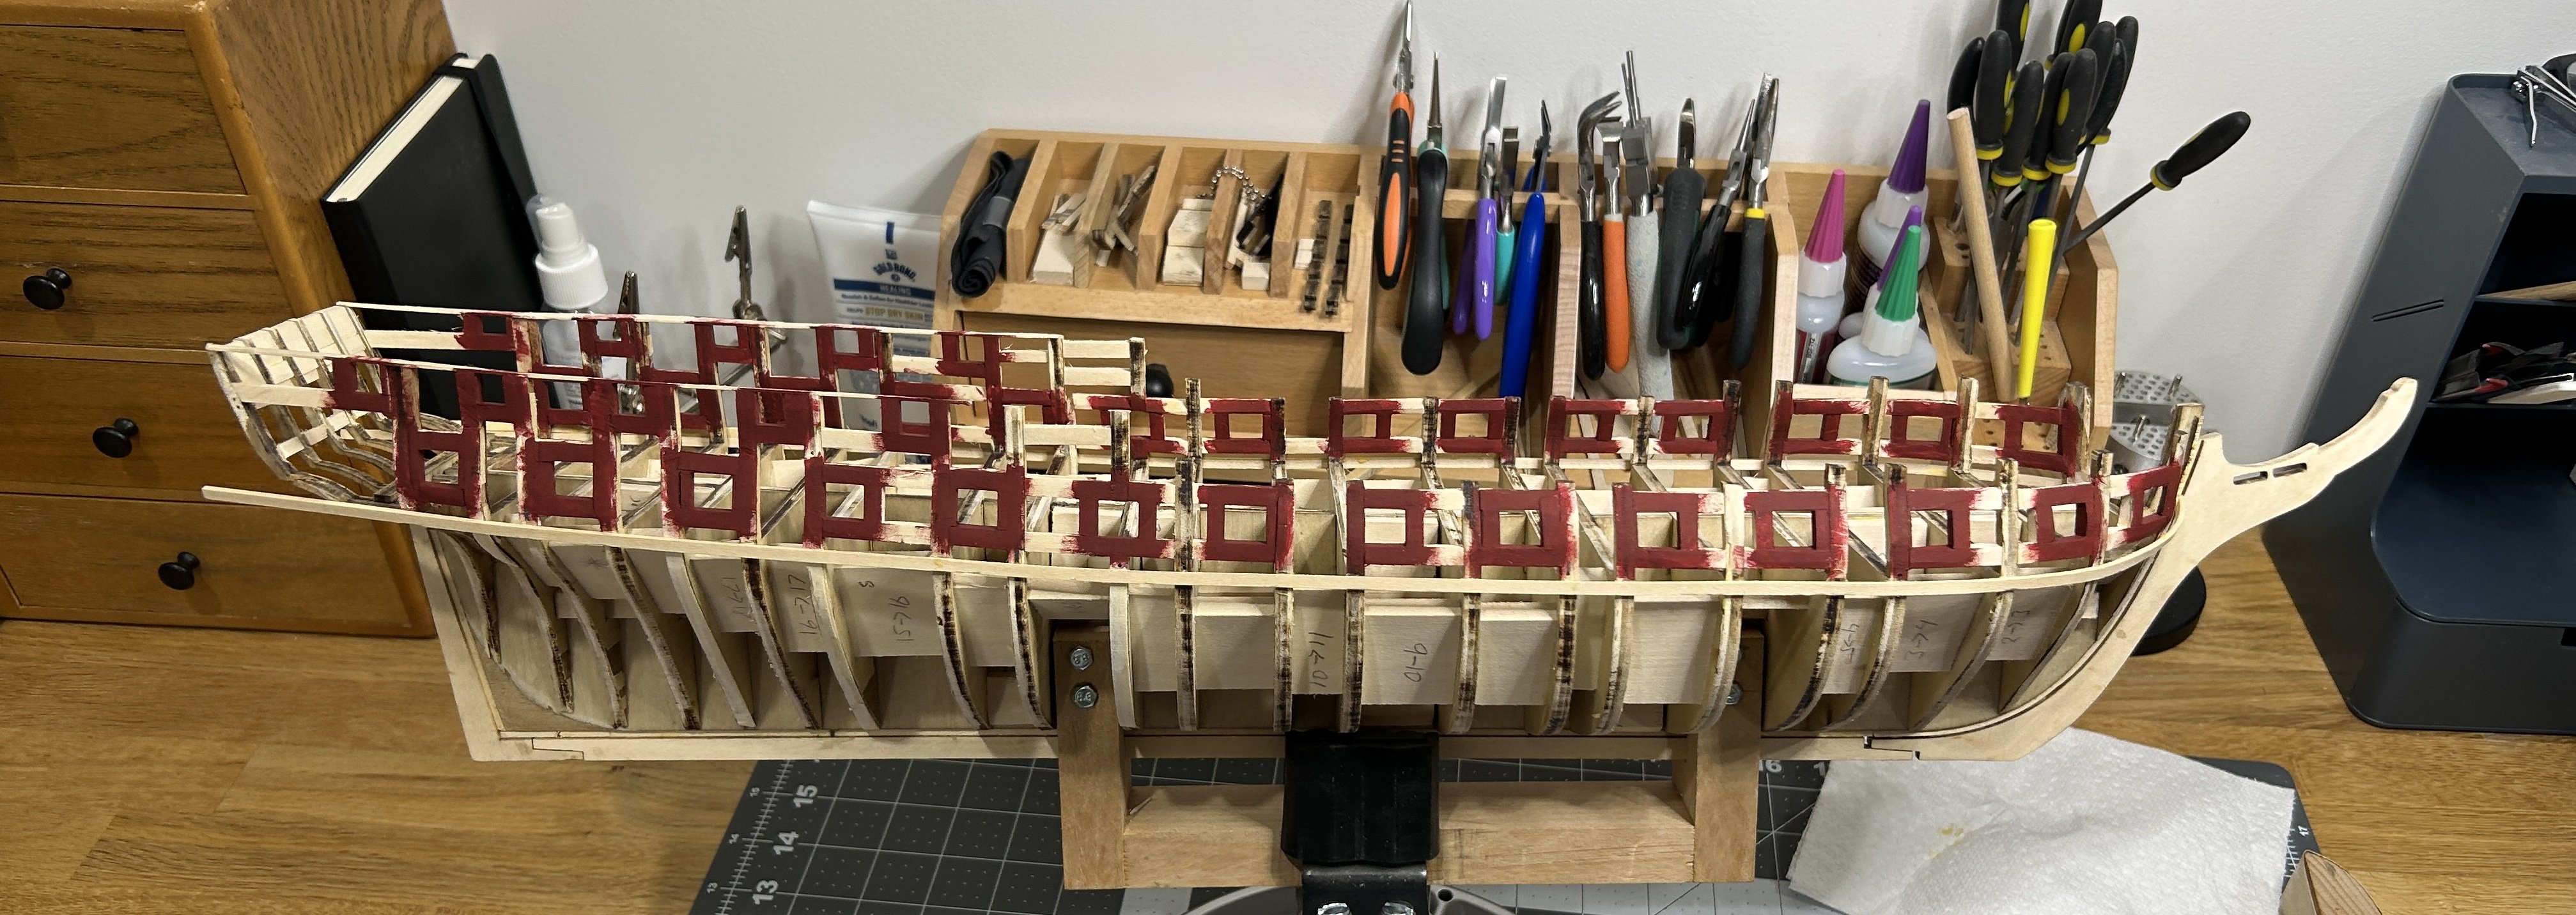
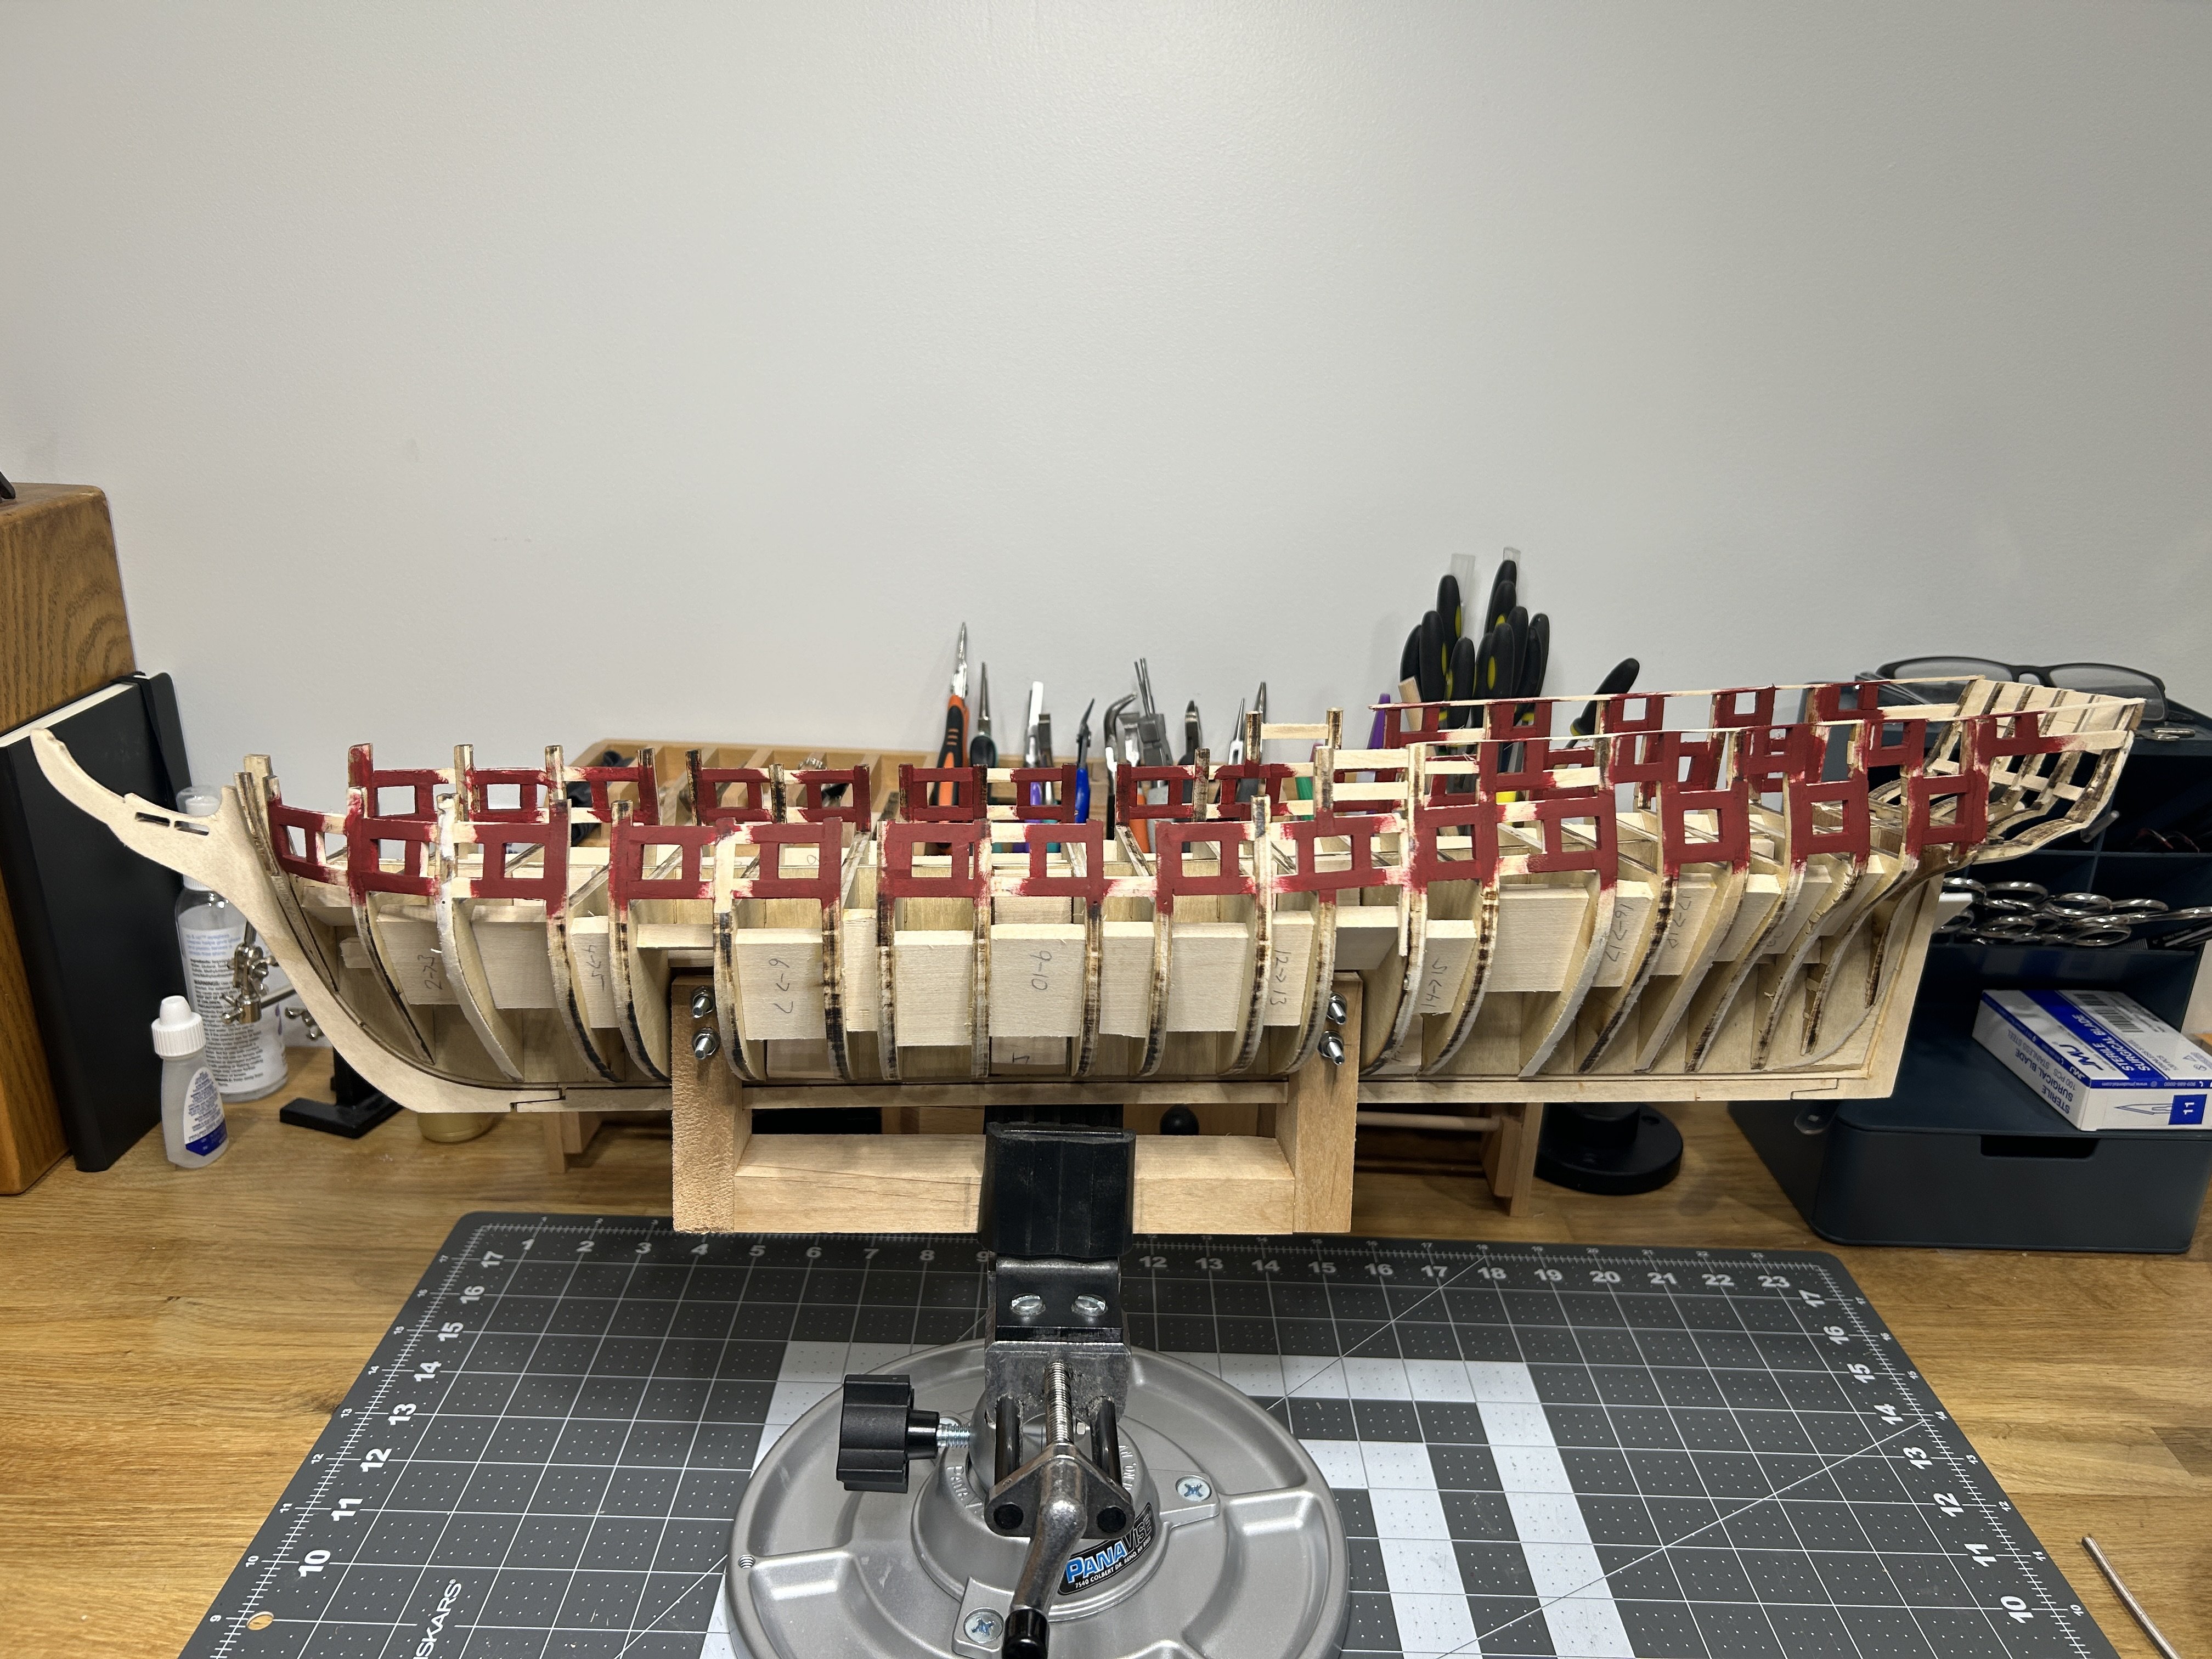
It has been awhile, but here is a quick update. I finally finished fairing the interior. I found this to be a very difficult task. I have the gun ports painted red, and now I will be starting the planking.

-
I would definitely e interested in that.
-
If anyone has one they want to sell, send me a private message.
-
For the pin vise, I would suggest one the uses a collet vs a chuck. I find it holds small drill bits better. when I started I used CA for most things. I thought PVA required clamping , but I recently built the NRG Half Hull and the instructions said to use PVA for the whole build. I have since switched to using PVA for almost all my wood to wood glueing. Holding for a minute our so and I have really good luck.
-
San Francisco cable car by kgstakes - FINISHED - OcCre
RossR replied to kgstakes's topic in Non-ship/categorised builds
I agree with Bob. -
I know you put the production of your ropewalk on hold due to tariff issues, any plans to reprice it and start production again. I might be interested in paying a few dollars more to get one.
-
How to bend planks laterally
RossR replied to Roughy's topic in Building, Framing, Planking and plating a ships hull and deck
I have built two Occre ships with the 0.6 mm second layer material, I wish you the best of luck trying to bend the material laterally, but I haven’t seen anyone pull it off successfully on the forum. if you figure out a method that works please post about it. A lot of users would be interested. Good luck. -
Work area pictures only
RossR replied to Johnny Mike's topic in Modeling tools and Workshop Equipment
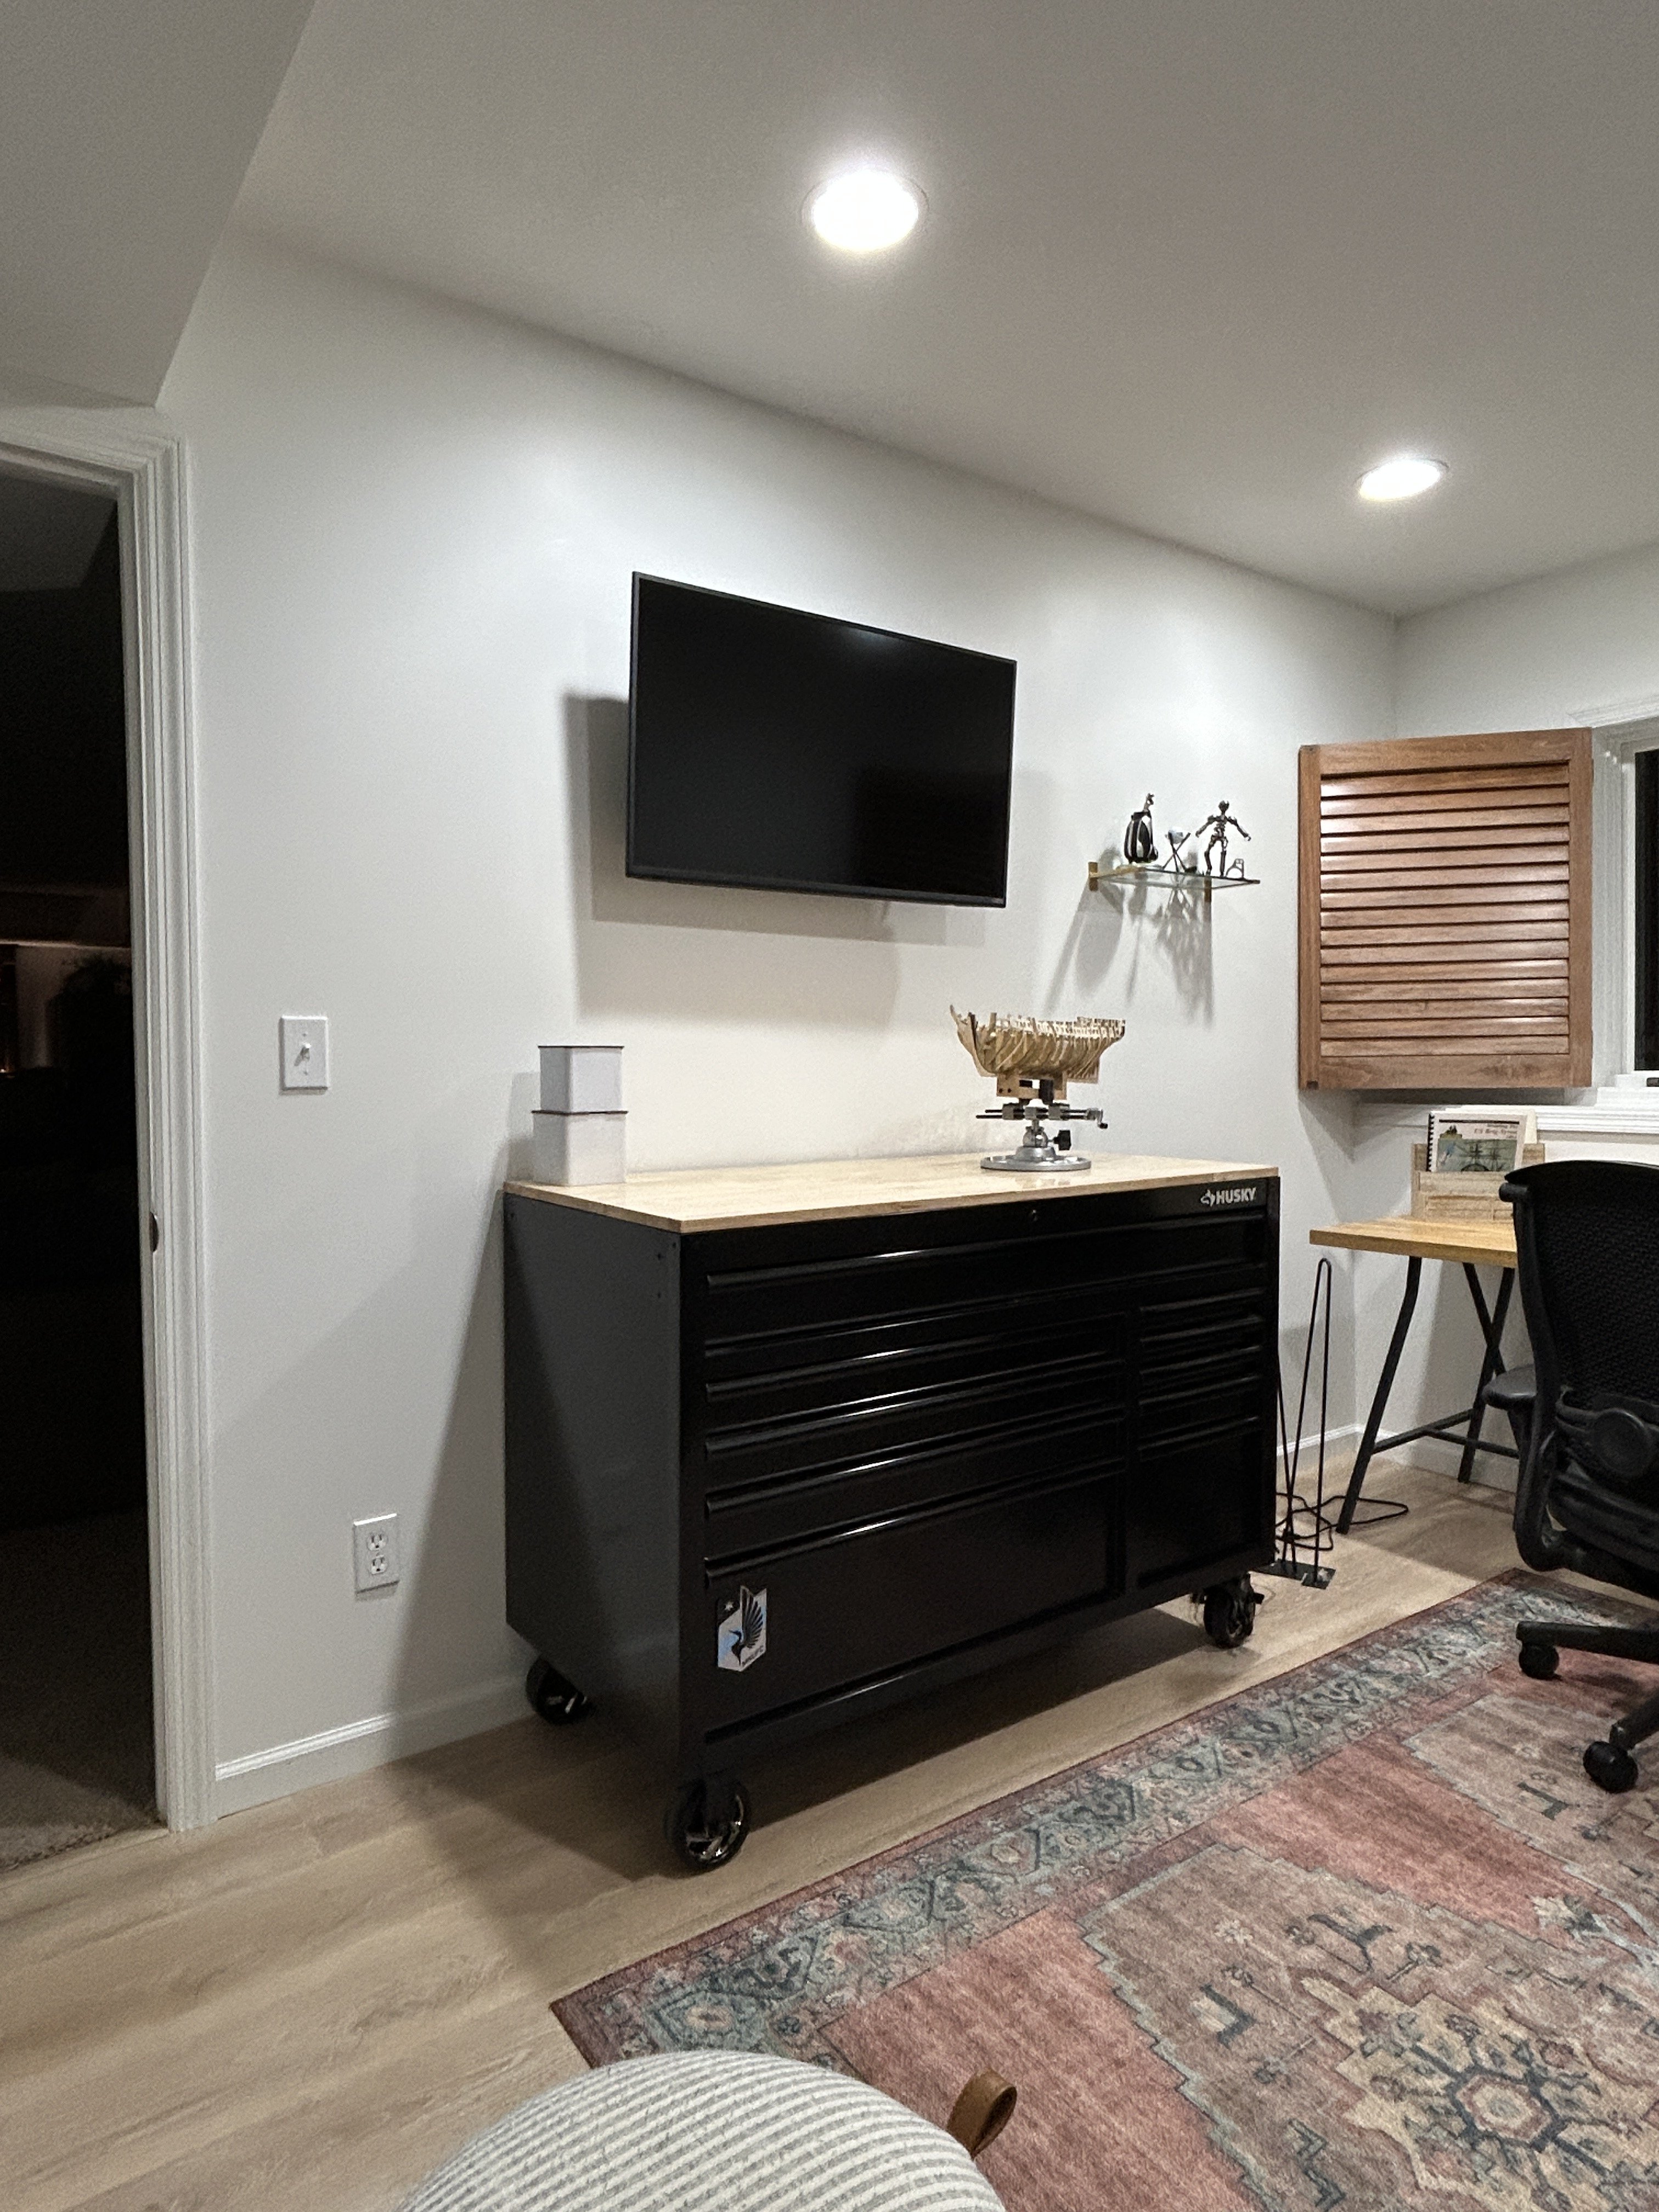
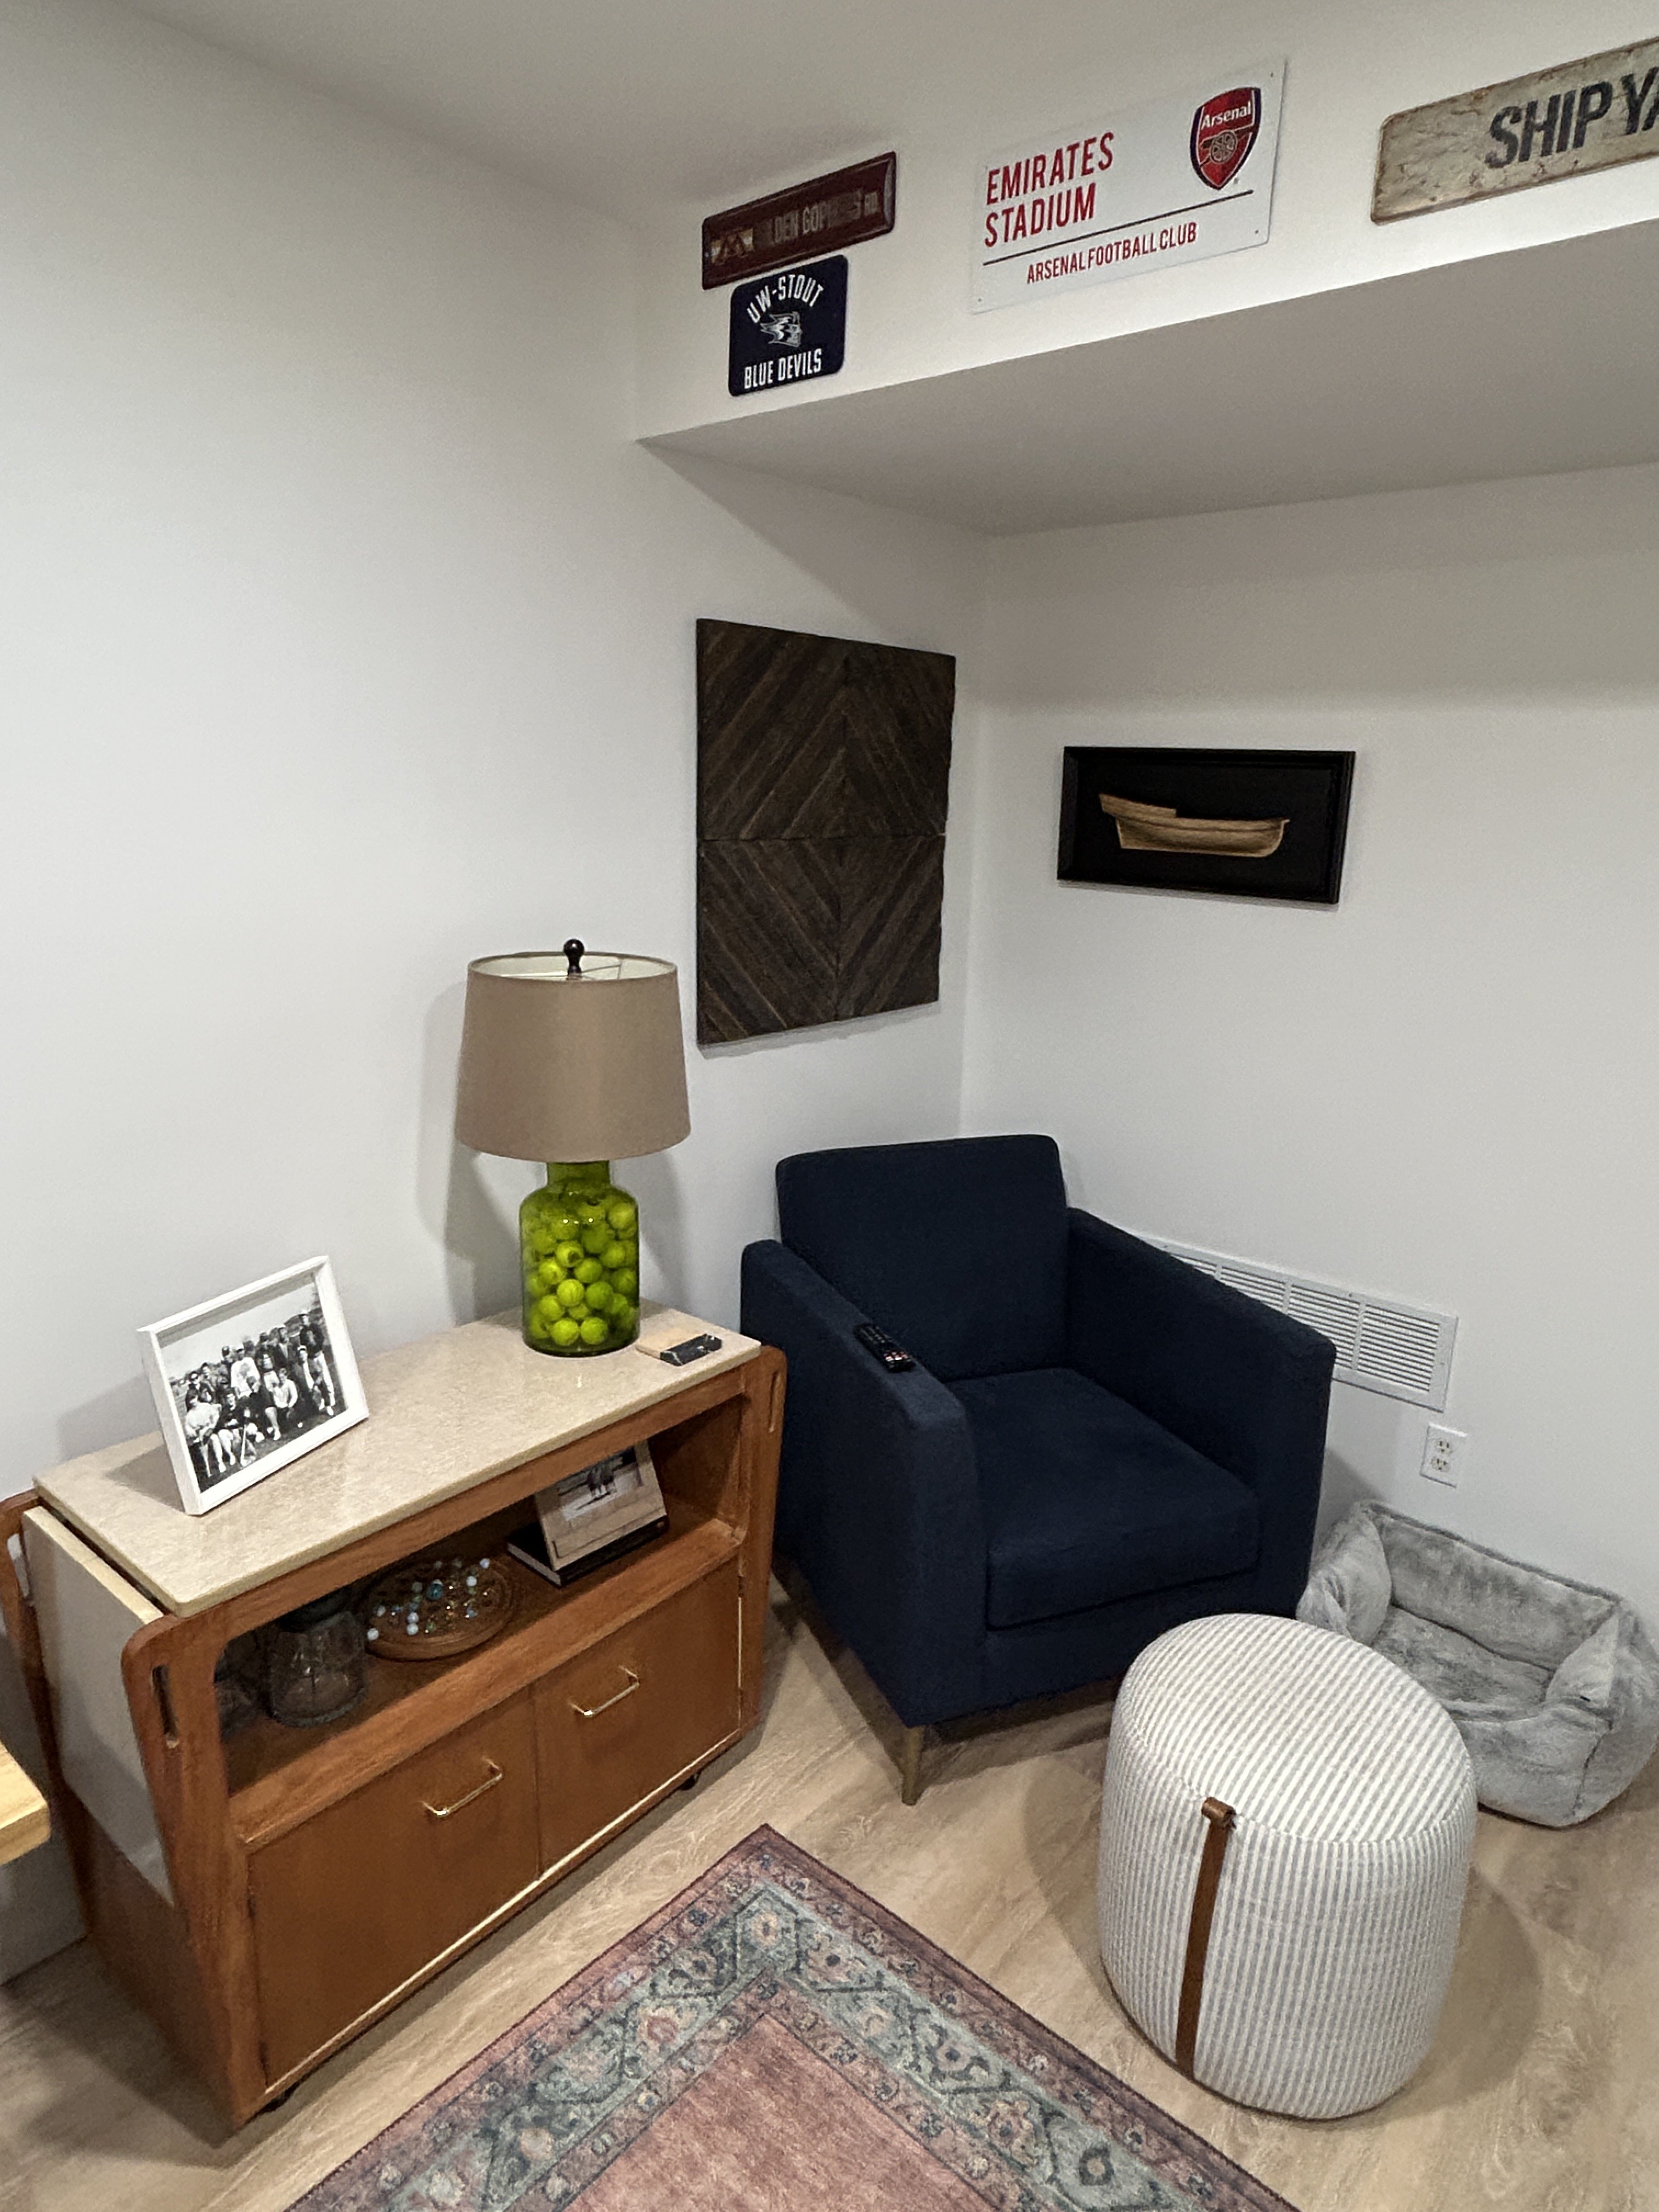
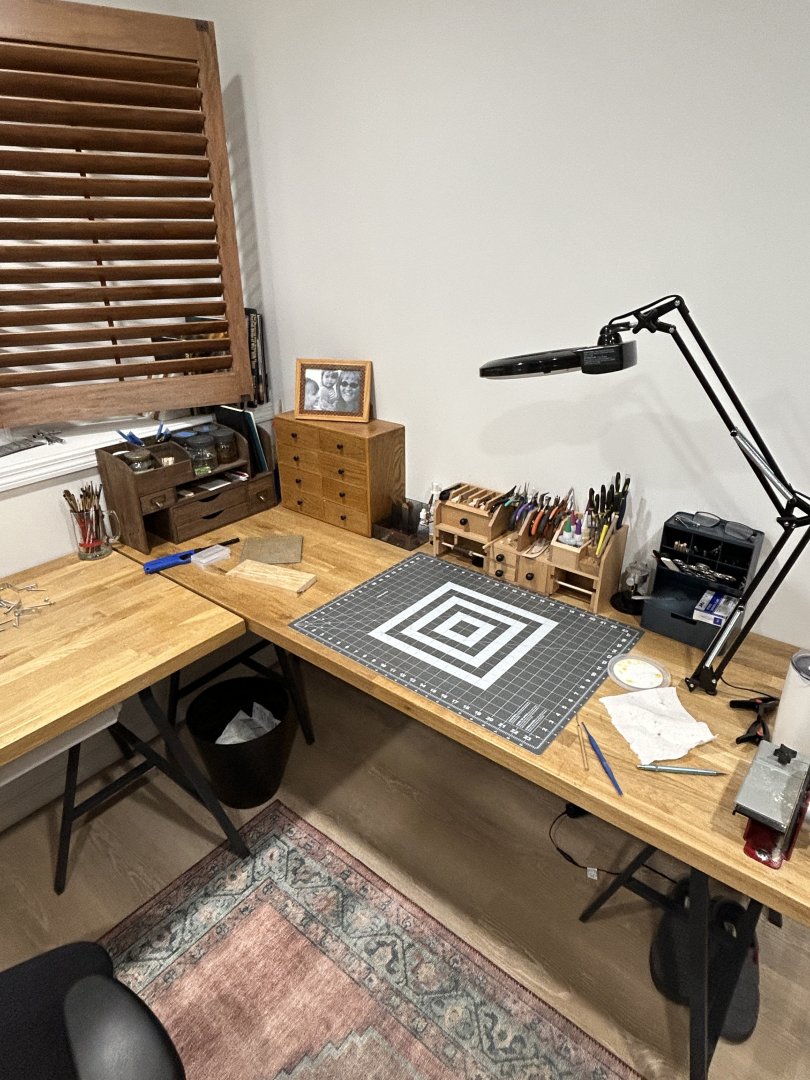
I posted some pictures of my shipyard a year or so ago, but over the weekend I make some changes. The two work surfaces used to be opposite of each other with the took box in between. I decided to create an L shaped work surface to take better advantage of the light from the window. I still have my comfortable chair for watching the Premier League on Saturday and Sunday mornings.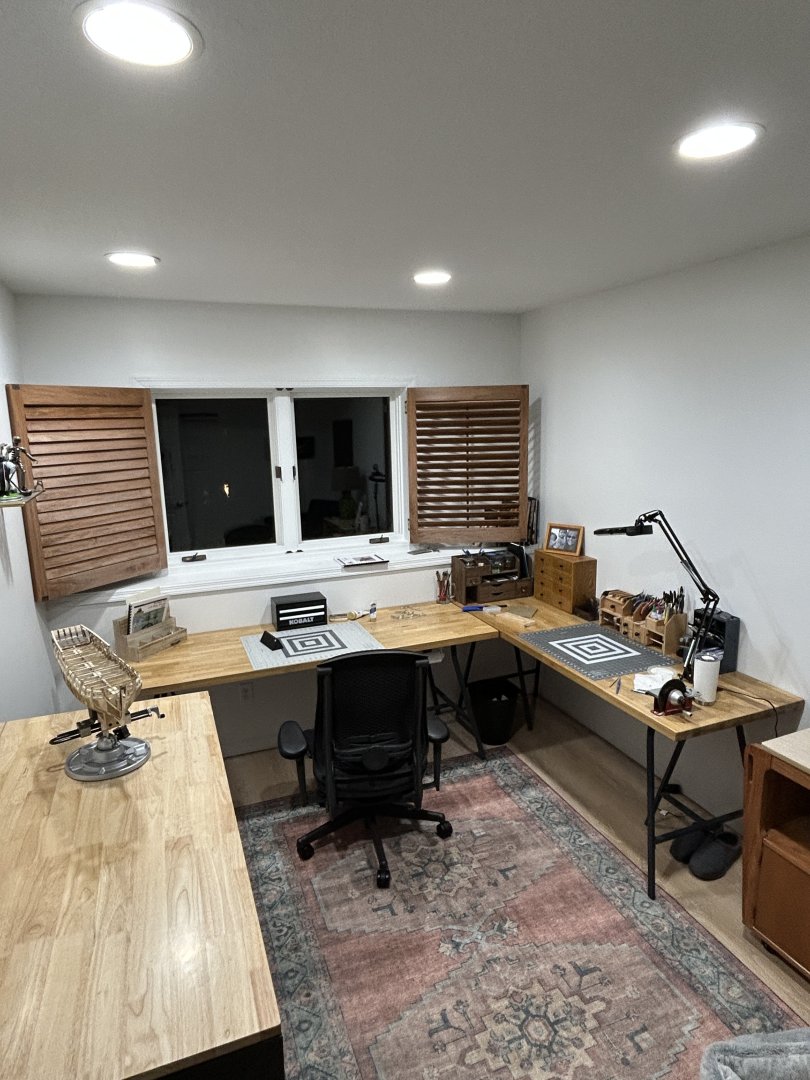


- 52 replies
-
- 14
-

-
I was just looking at my Beagle, and with the boat mounted on the deck you can barely see the windlass. Your work looks so good you may want to consider not mounting the boat so you can see the other features better.
-
Your workmanship is fantastic. I really like the way your windlass turned out.
-
I really like the look of individual planks vs drawing the joints. Great job.
-
San Francisco cable car by kgstakes - FINISHED - OcCre
RossR replied to kgstakes's topic in Non-ship/categorised builds
Your build looks fantastic. I think Occre does a great job on these street car and tram models. Can't wait to continue following your progress.