HOLIDAY DONATION DRIVE - SUPPORT MSW - DO YOUR PART TO KEEP THIS GREAT FORUM GOING! (Only 24 donations so far out of 49,000 members - C'mon guys!)
×


Rustyj
-
Posts
2,530 -
Joined
-
Last visited
Content Type
Profiles
Forums
Gallery
Events
Everything posted by Rustyj
-
 Great work Glenn. I love the picture too!
- 778 replies
-
- 1
-

-
- cheerful
- Syren Ship Model Company
- (and 1 more)
-
That looks really good Matthias!
-
Purchased separately. I don't remember what is the correct size. I'll check when I get home.
-
I asked this a while ago. Per Chuck, "The cannon are in fact the 1 15/16 resin for the gun deck. 1 9/16 for the upper decks."
-
Neither did dropping it a couple of times do much for me! Looking forward to this build!
-
Now the real fun starts! She's looking really good!
- 382 replies
-
- 1
-
-
- Vanguard Models
- Duchess of Kingston
- (and 1 more)
-
Hi Glenn, Glad to hear you are safe and hopefully things get back to normal sooner than later. It's always amazed me how many tools we get out for some of the smaller projects!
- 778 replies
-
- 1
-
-
- cheerful
- Syren Ship Model Company
- (and 1 more)
-
Thanks for the kind words Glenn, Tim, Glenn, Bob and Bob! The speed seems faster than it is as I've built various parts over a longer period of time as other portions of the build were drying etc. Then I installed them at the appropriate time. Also it shows what a good job Chris did designing this model!
- 201 replies
-
- 1
-
-
- Duchess of Kingston
- Vanguard Models
- (and 1 more)
-
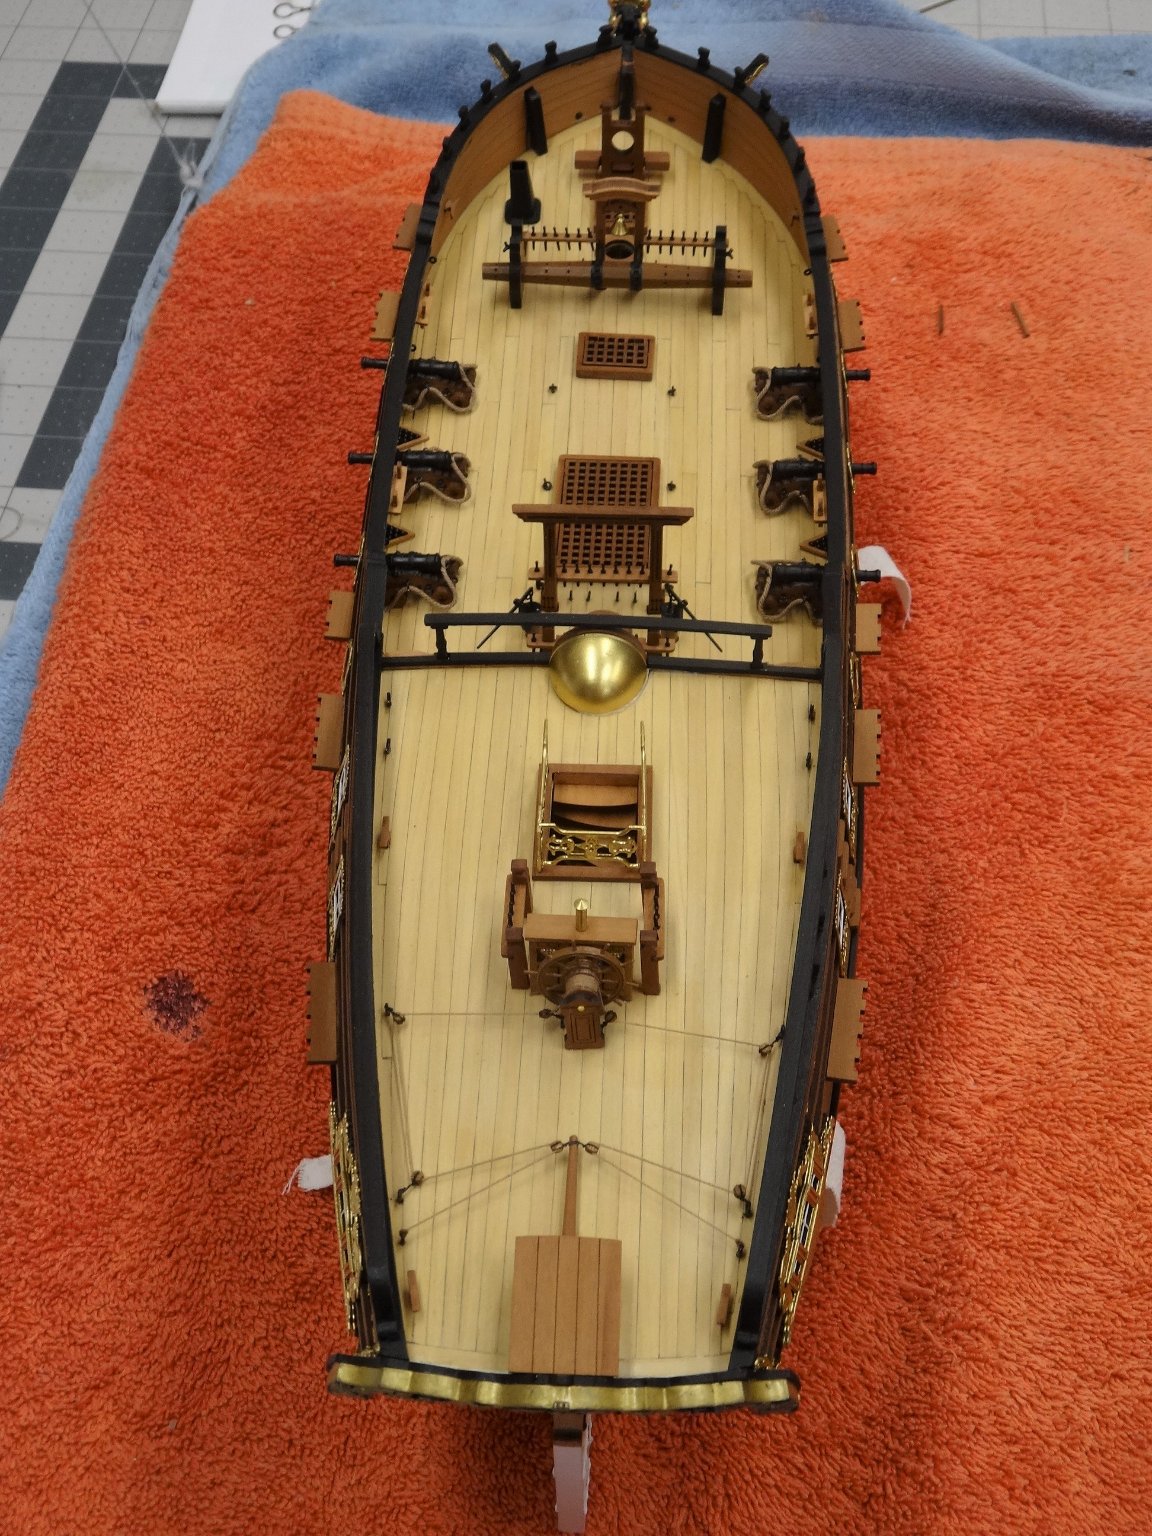
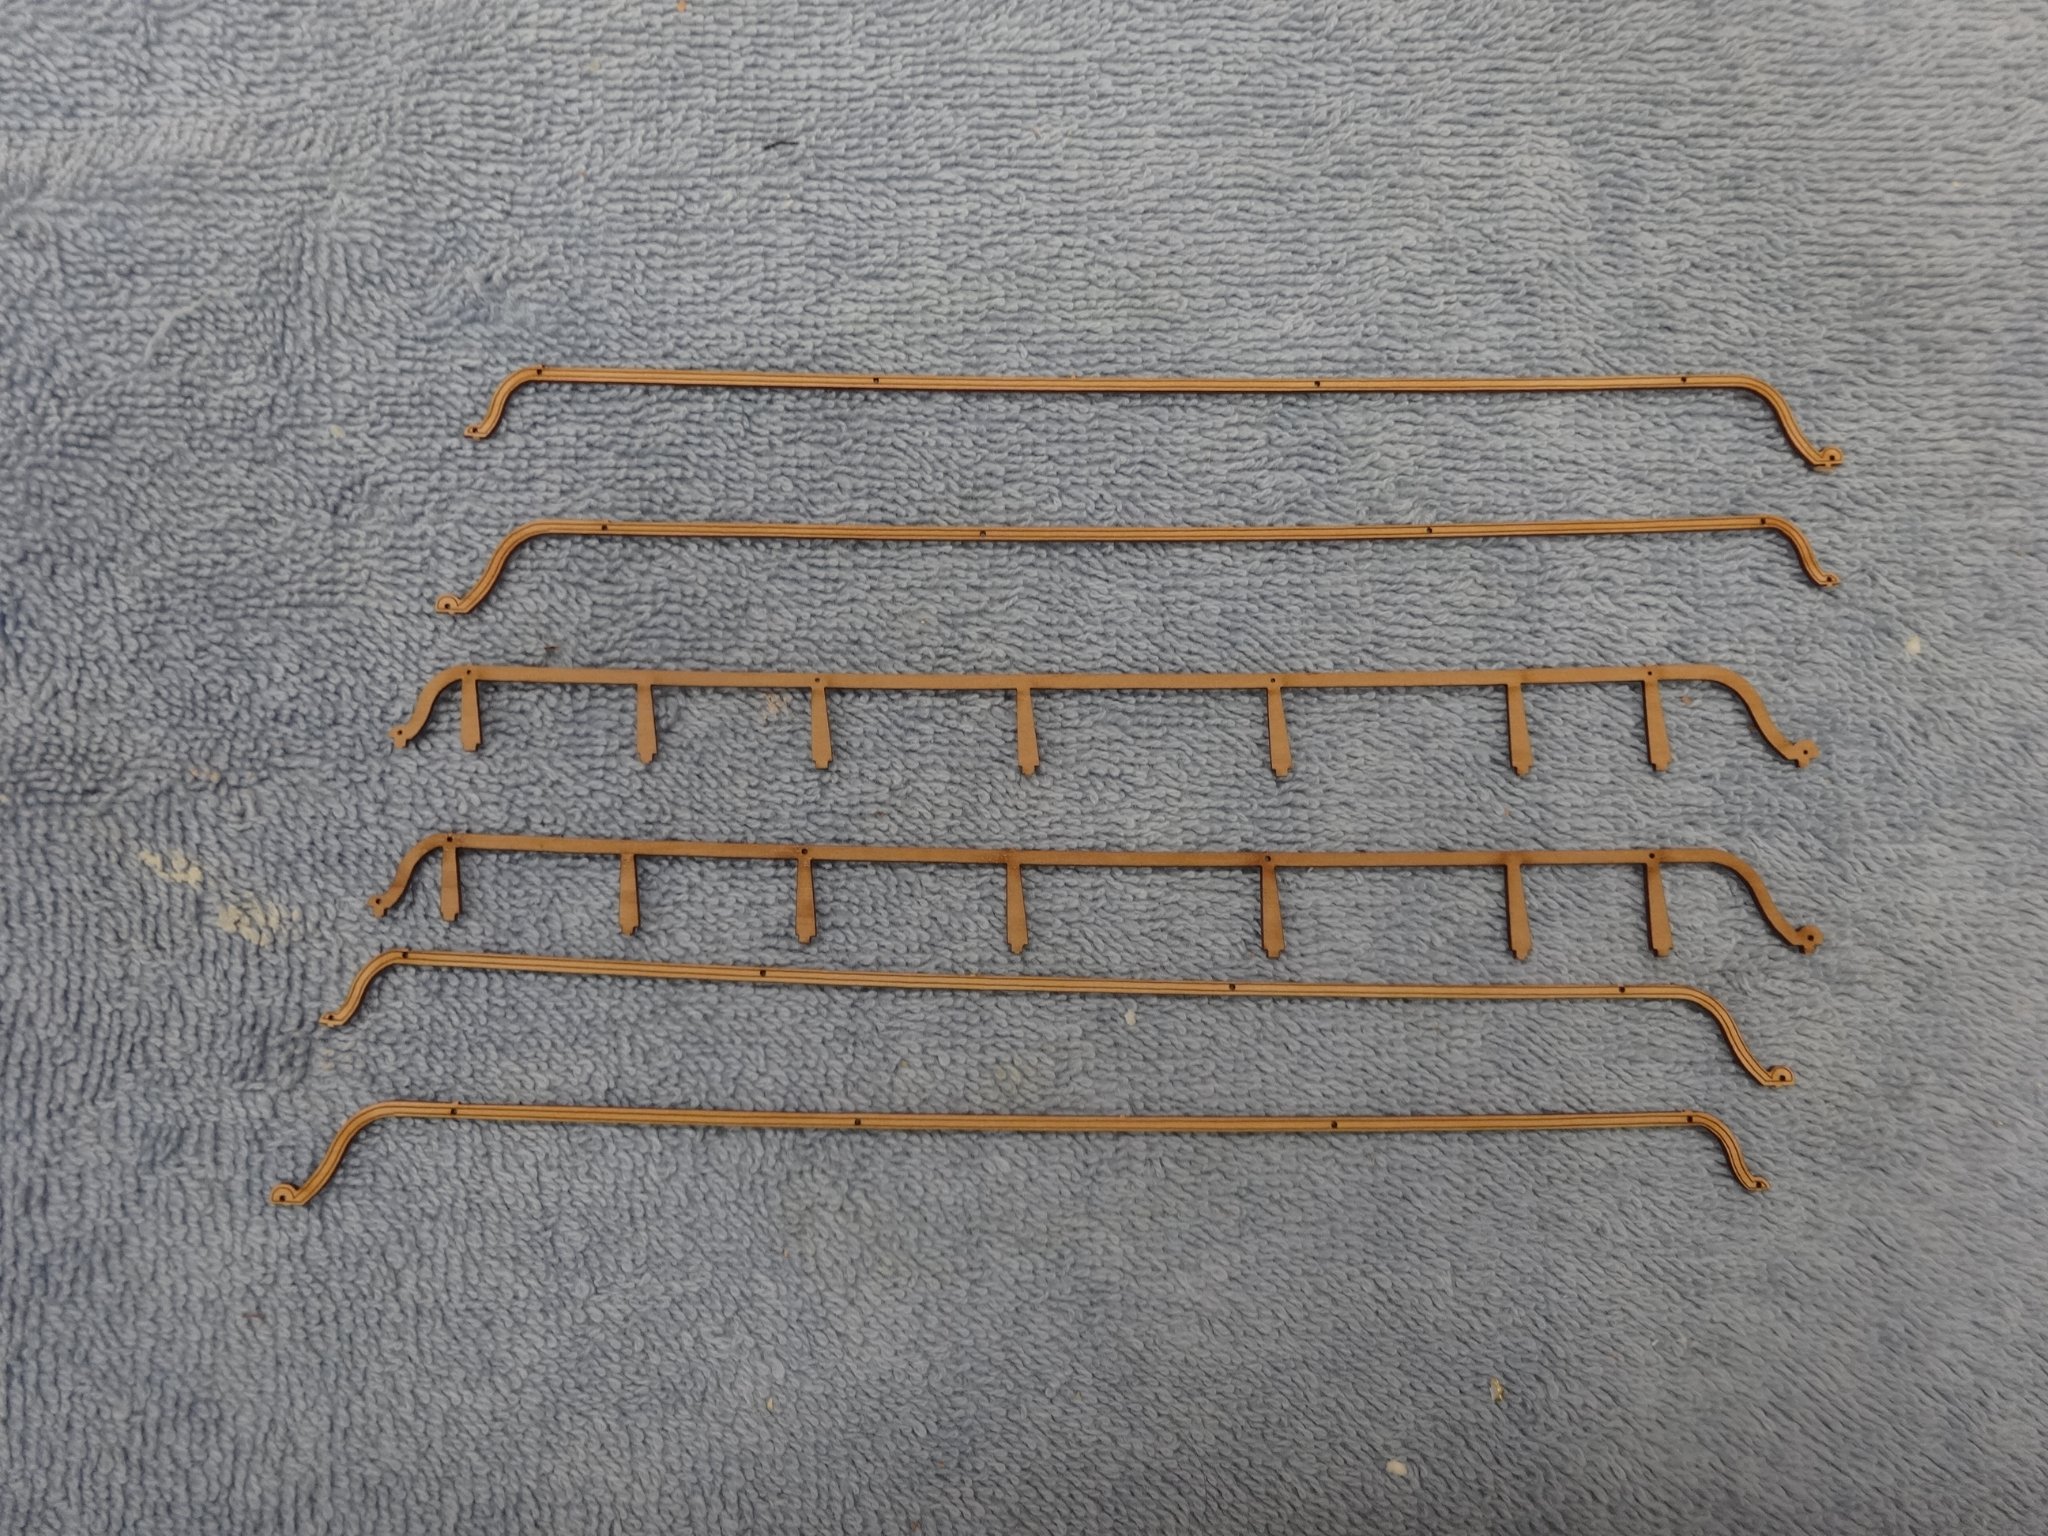
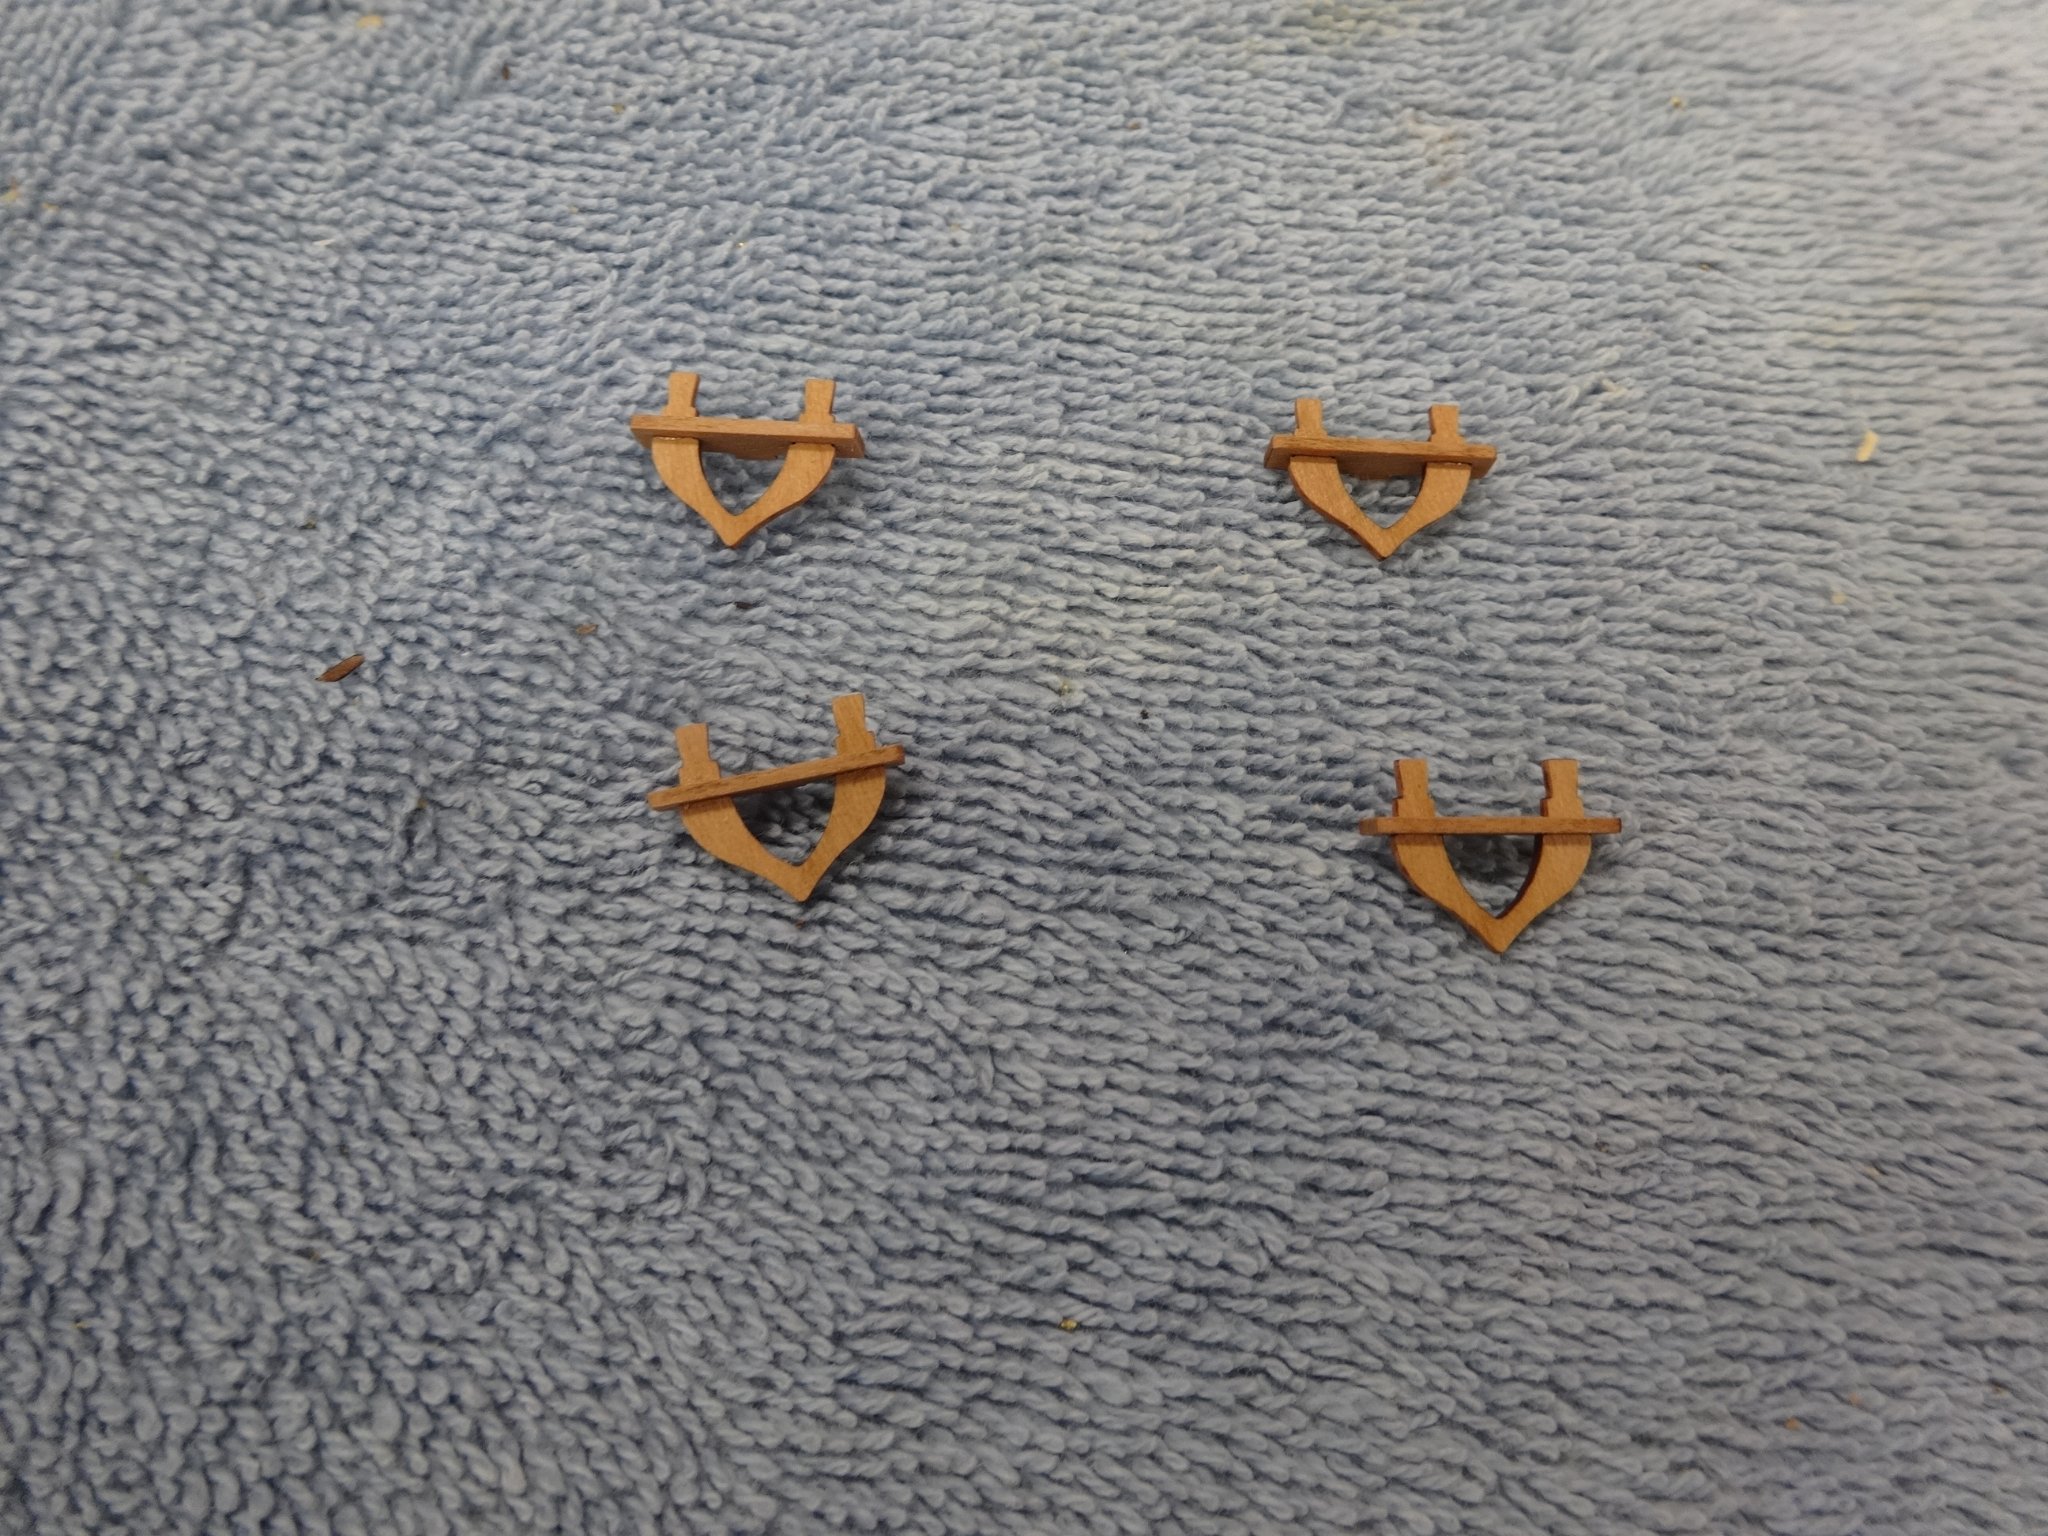
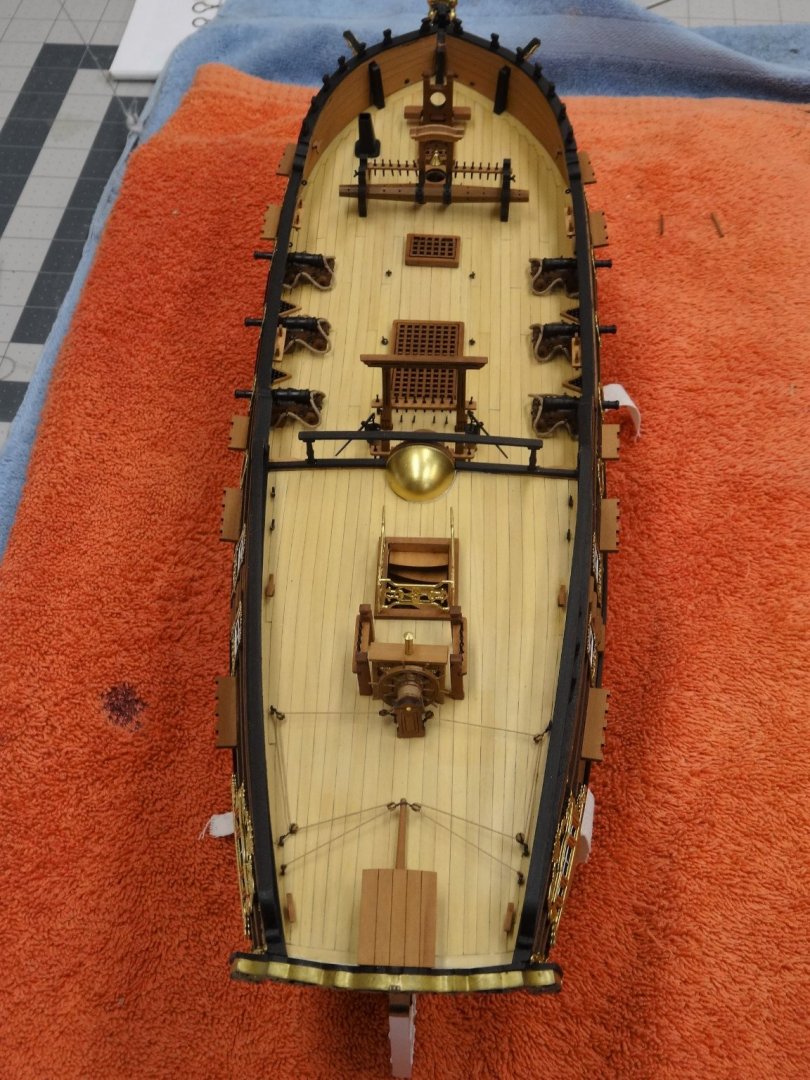
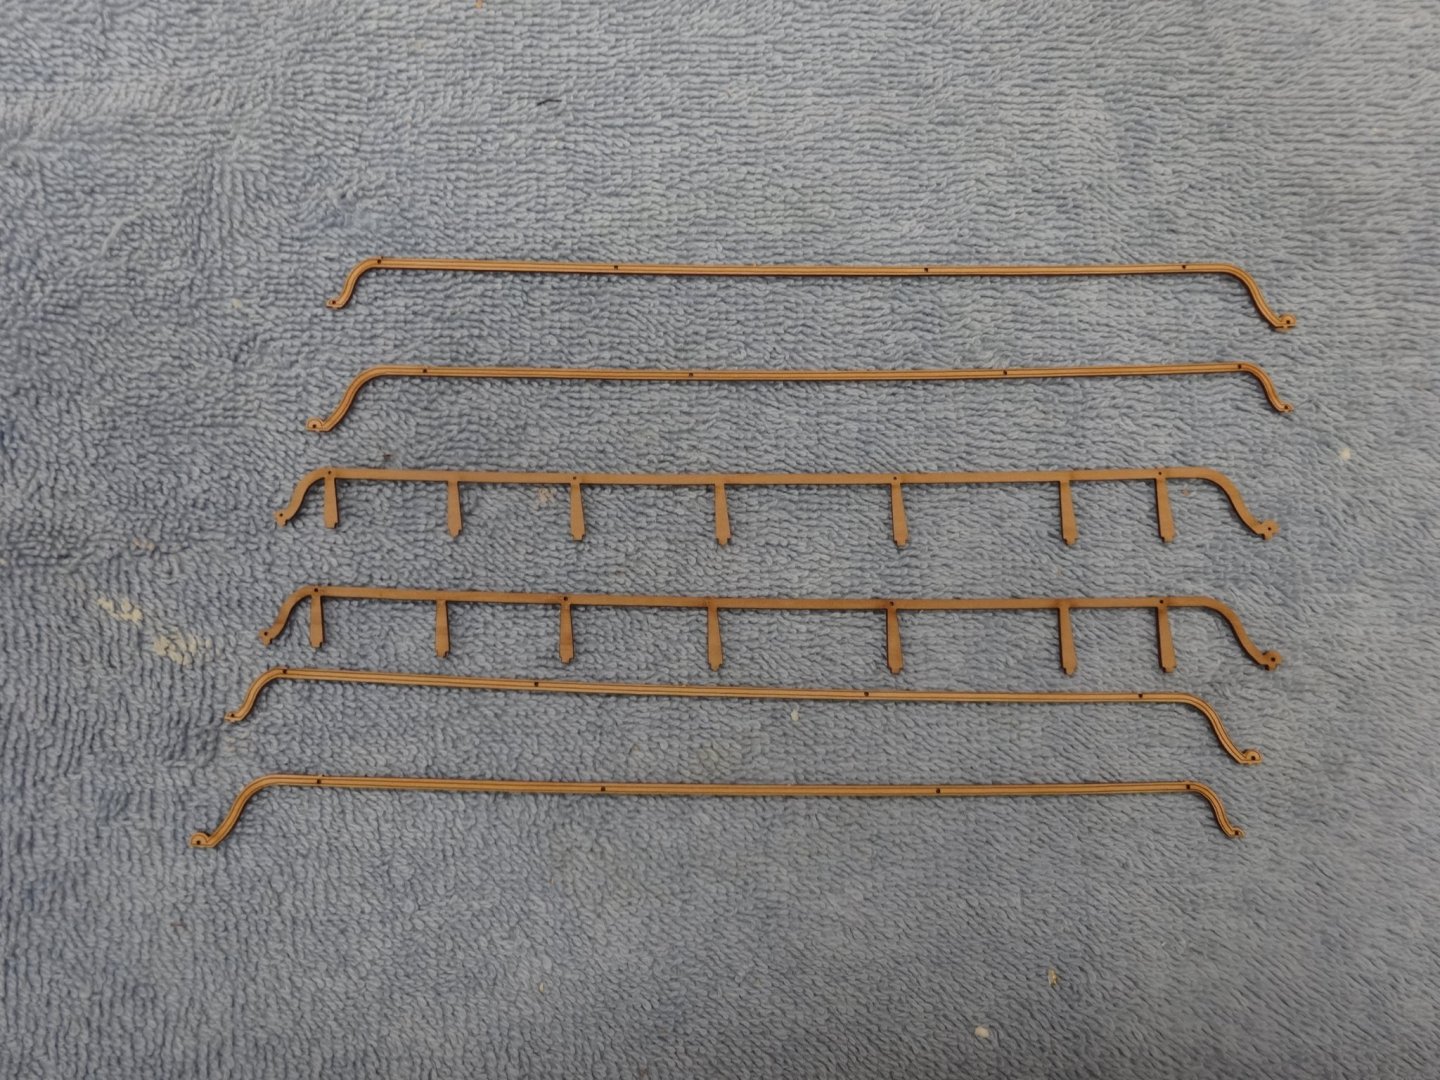
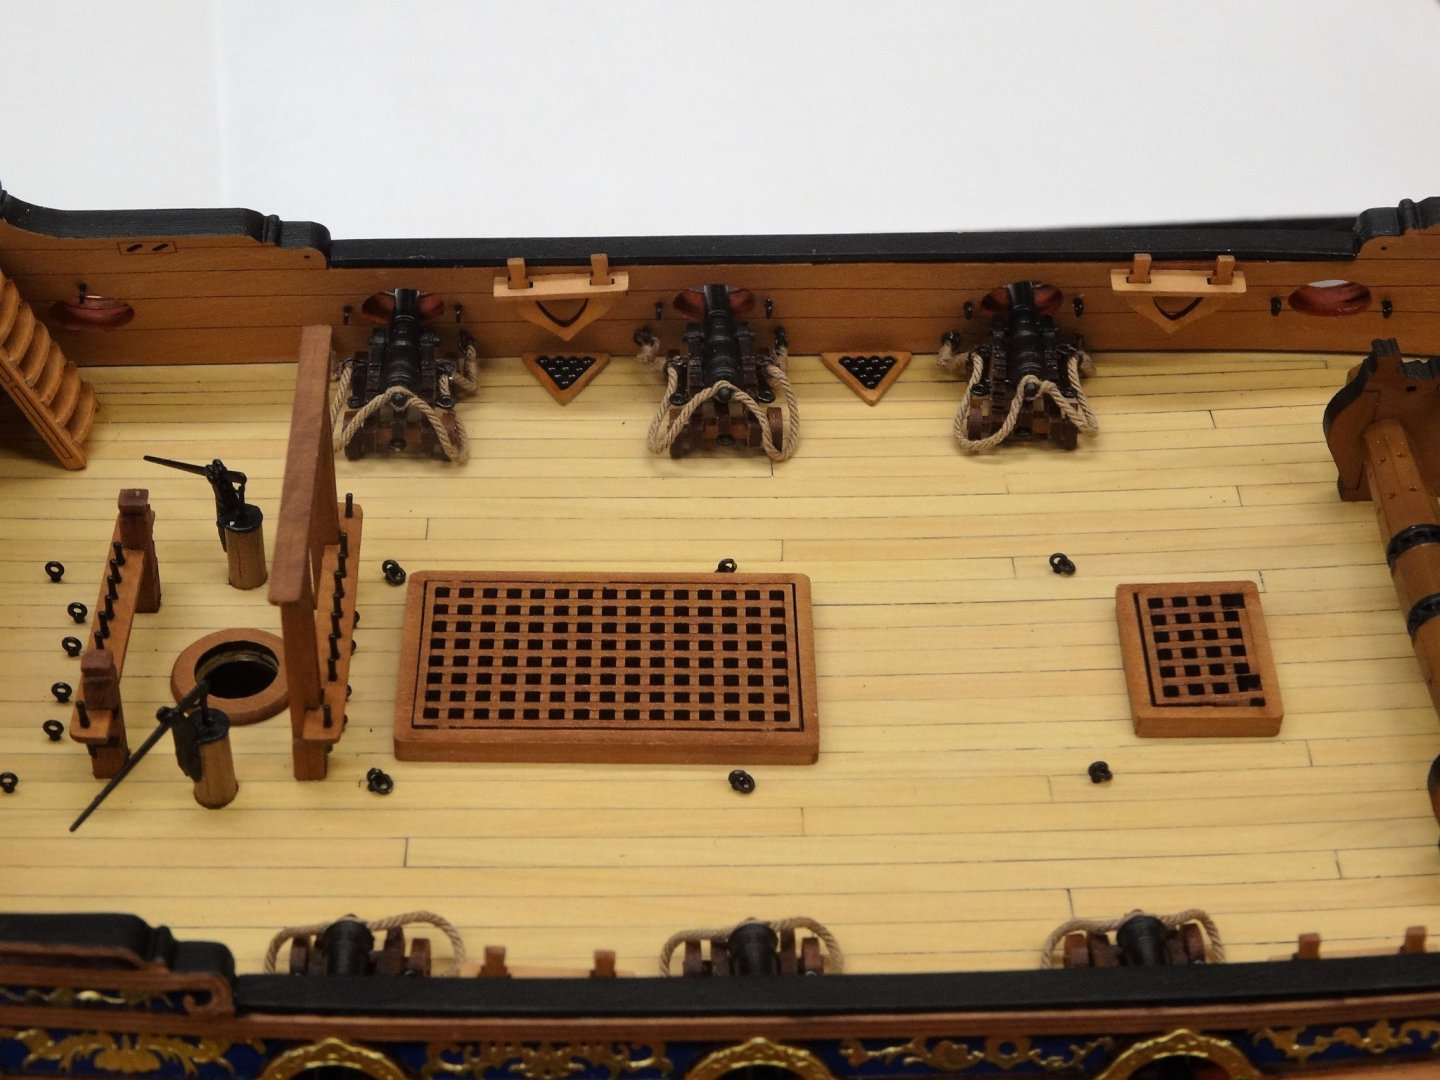
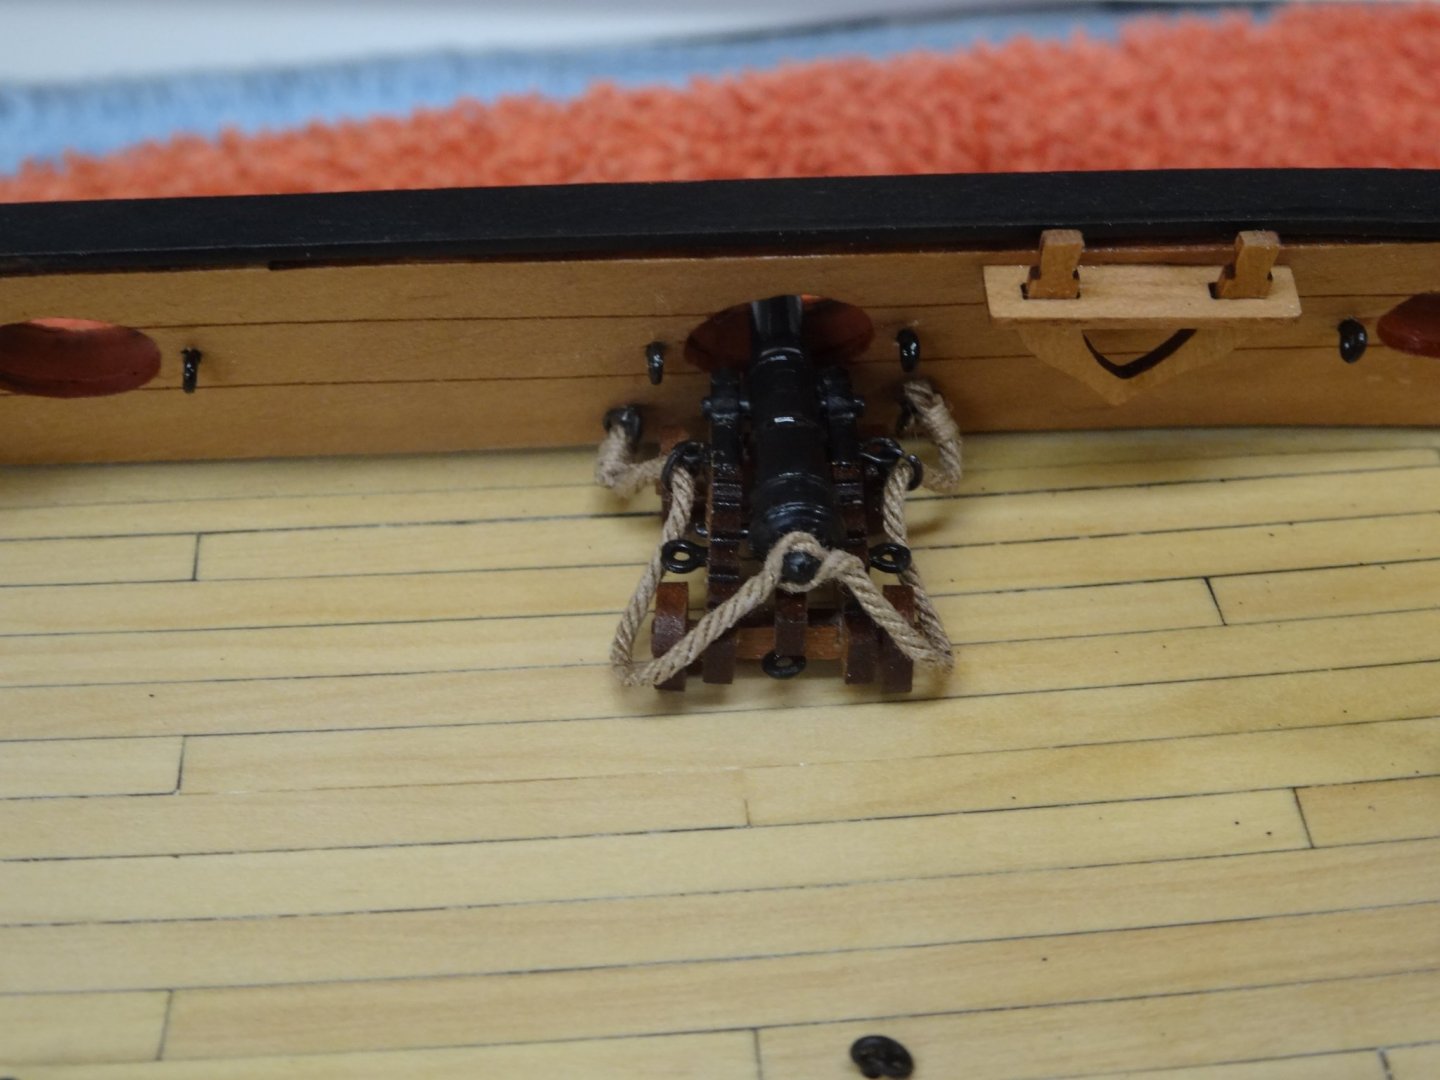
Hi All, The cannon breech ropes have been added and the cannon glued in place along with the shot racks. The quarter deck rail has also been added. The aft deck rails are three pieces glued together to create the rail. Here you can see the timberheads in place and painted. Next up is adding the deadeyes and then on to the masts and yards.

- 201 replies
-
- 16
-
-

-
- Duchess of Kingston
- Vanguard Models
- (and 1 more)
-
You're off to a great start! I think you will be just fine and should be real comfortable.
-
That is going to look great. Very nice.
-
Very nice! It look like a lot of fun.
-
kit review 1:48 HMS Granado ‘Cross Section’
Rustyj replied to James H's topic in REVIEWS: Model kits
I scratch built one years ago and this is very inviting. Hmmmm. -
Thanks Glenn and B.E.. Thank you. It is Admiralty Paints wood (walnut) brown with some coats of dirty brown weathering power. Also thanks for all the likes and stopping by.
- 201 replies
-
- 1
-
-
- Duchess of Kingston
- Vanguard Models
- (and 1 more)
-
Congratulations. You've done an outstanding job Tim. She's something to be proud of!
- 436 replies
-
- 3
-
-
- vanguard models
- alert
- (and 1 more)
-
Very nice Glenn. You are making great progress.
-
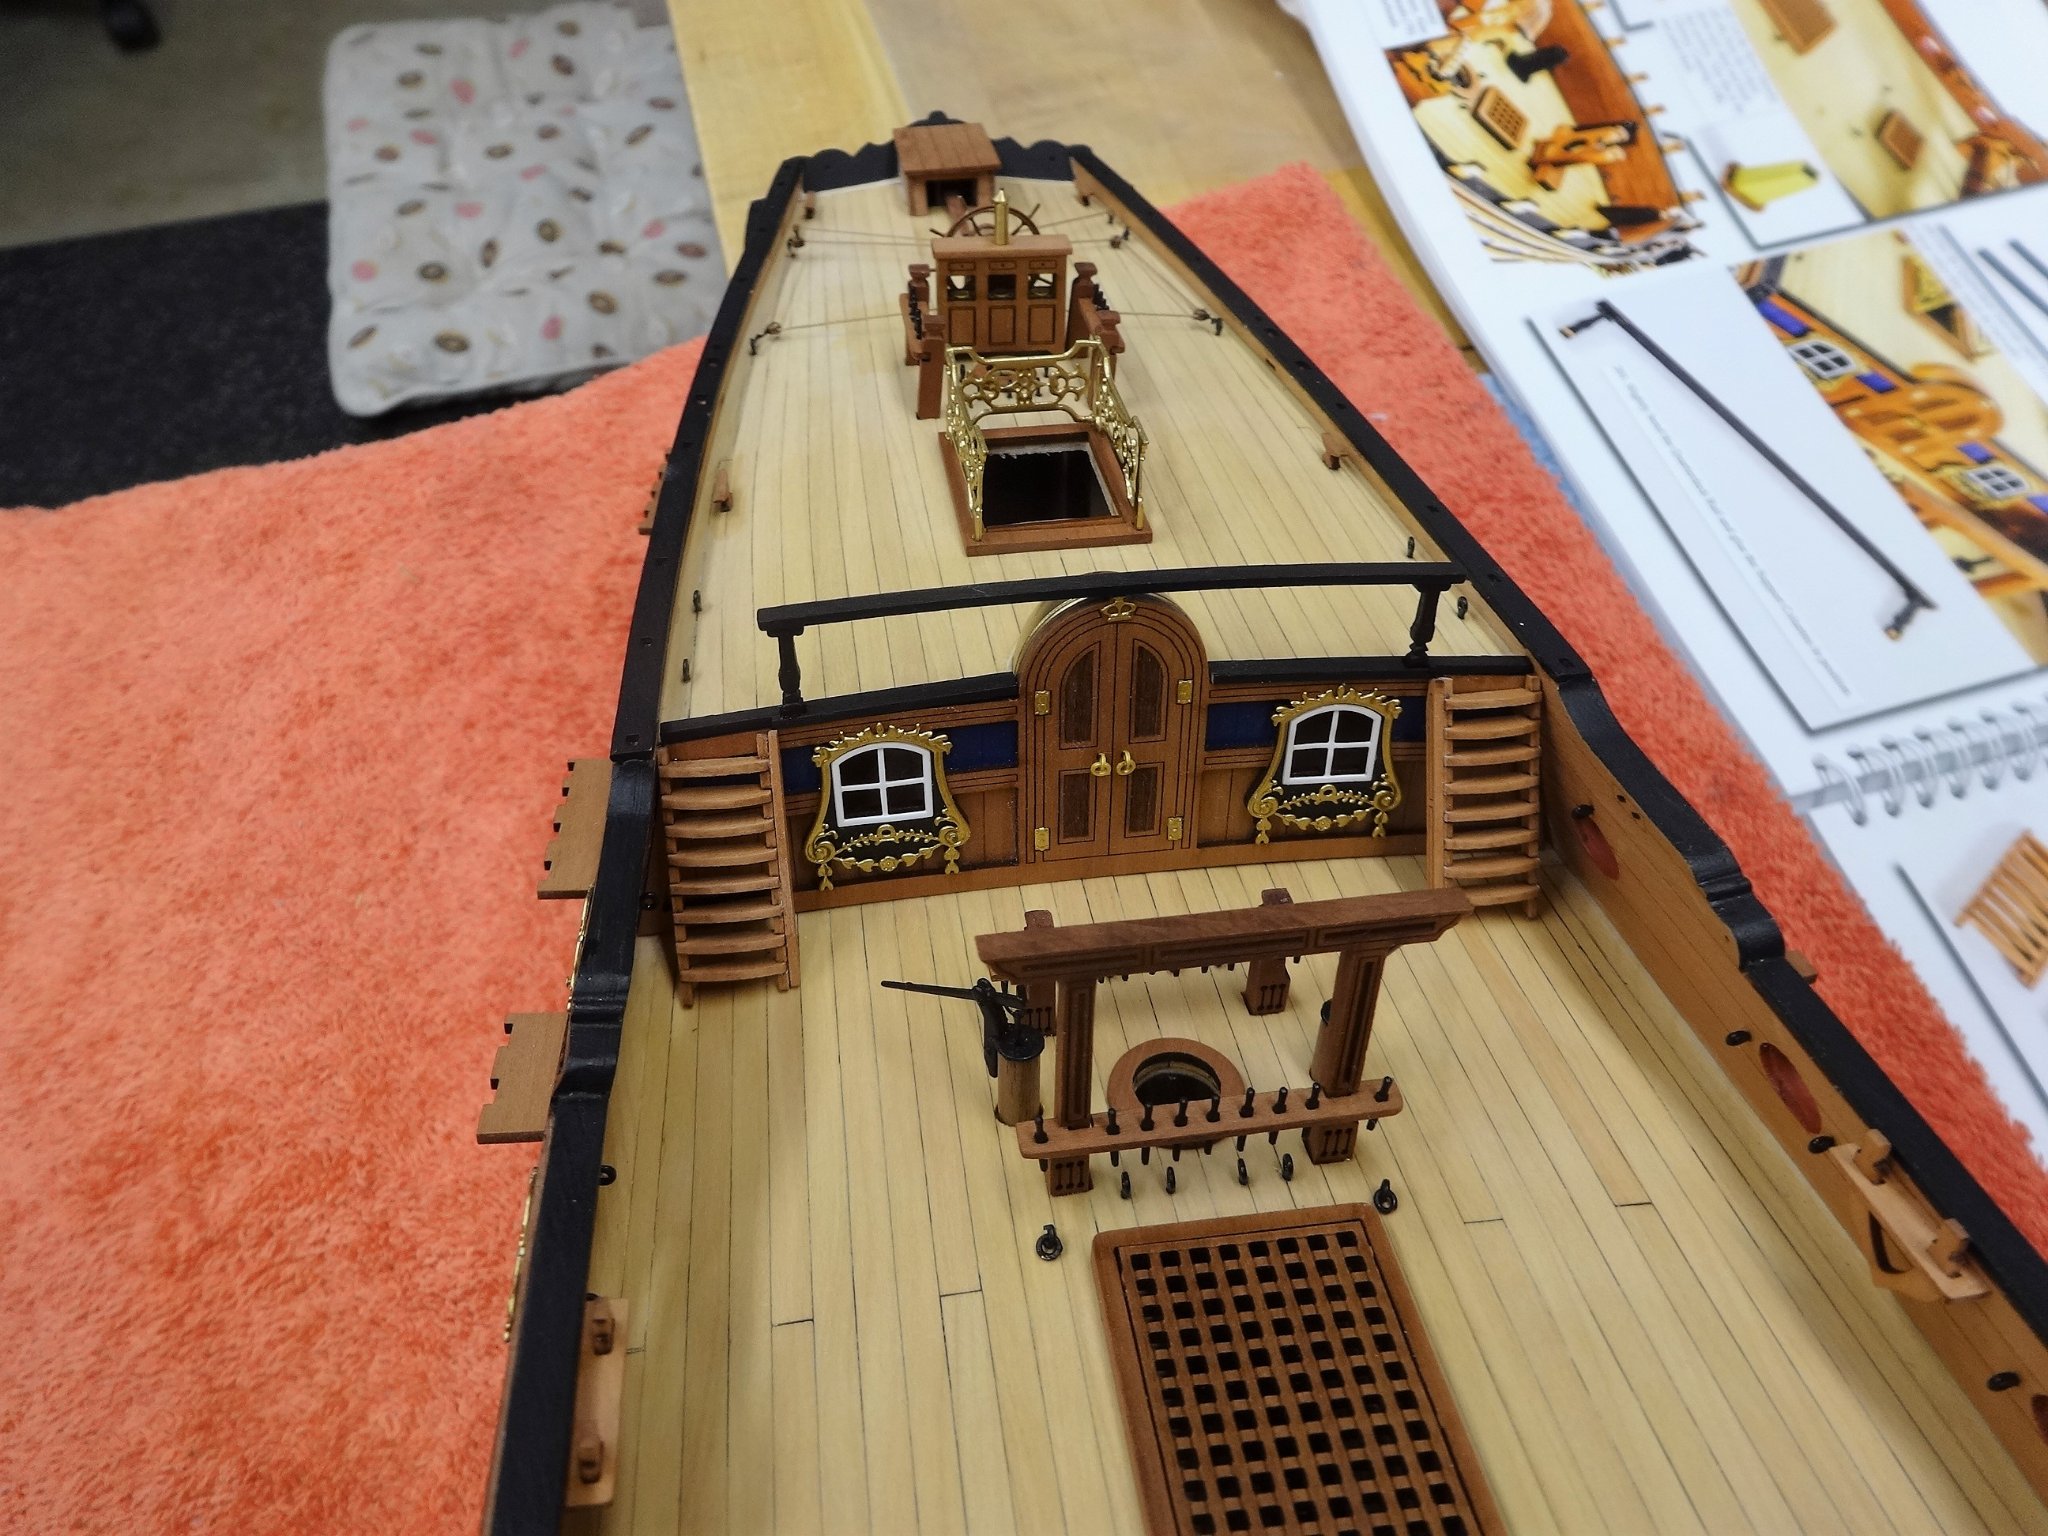
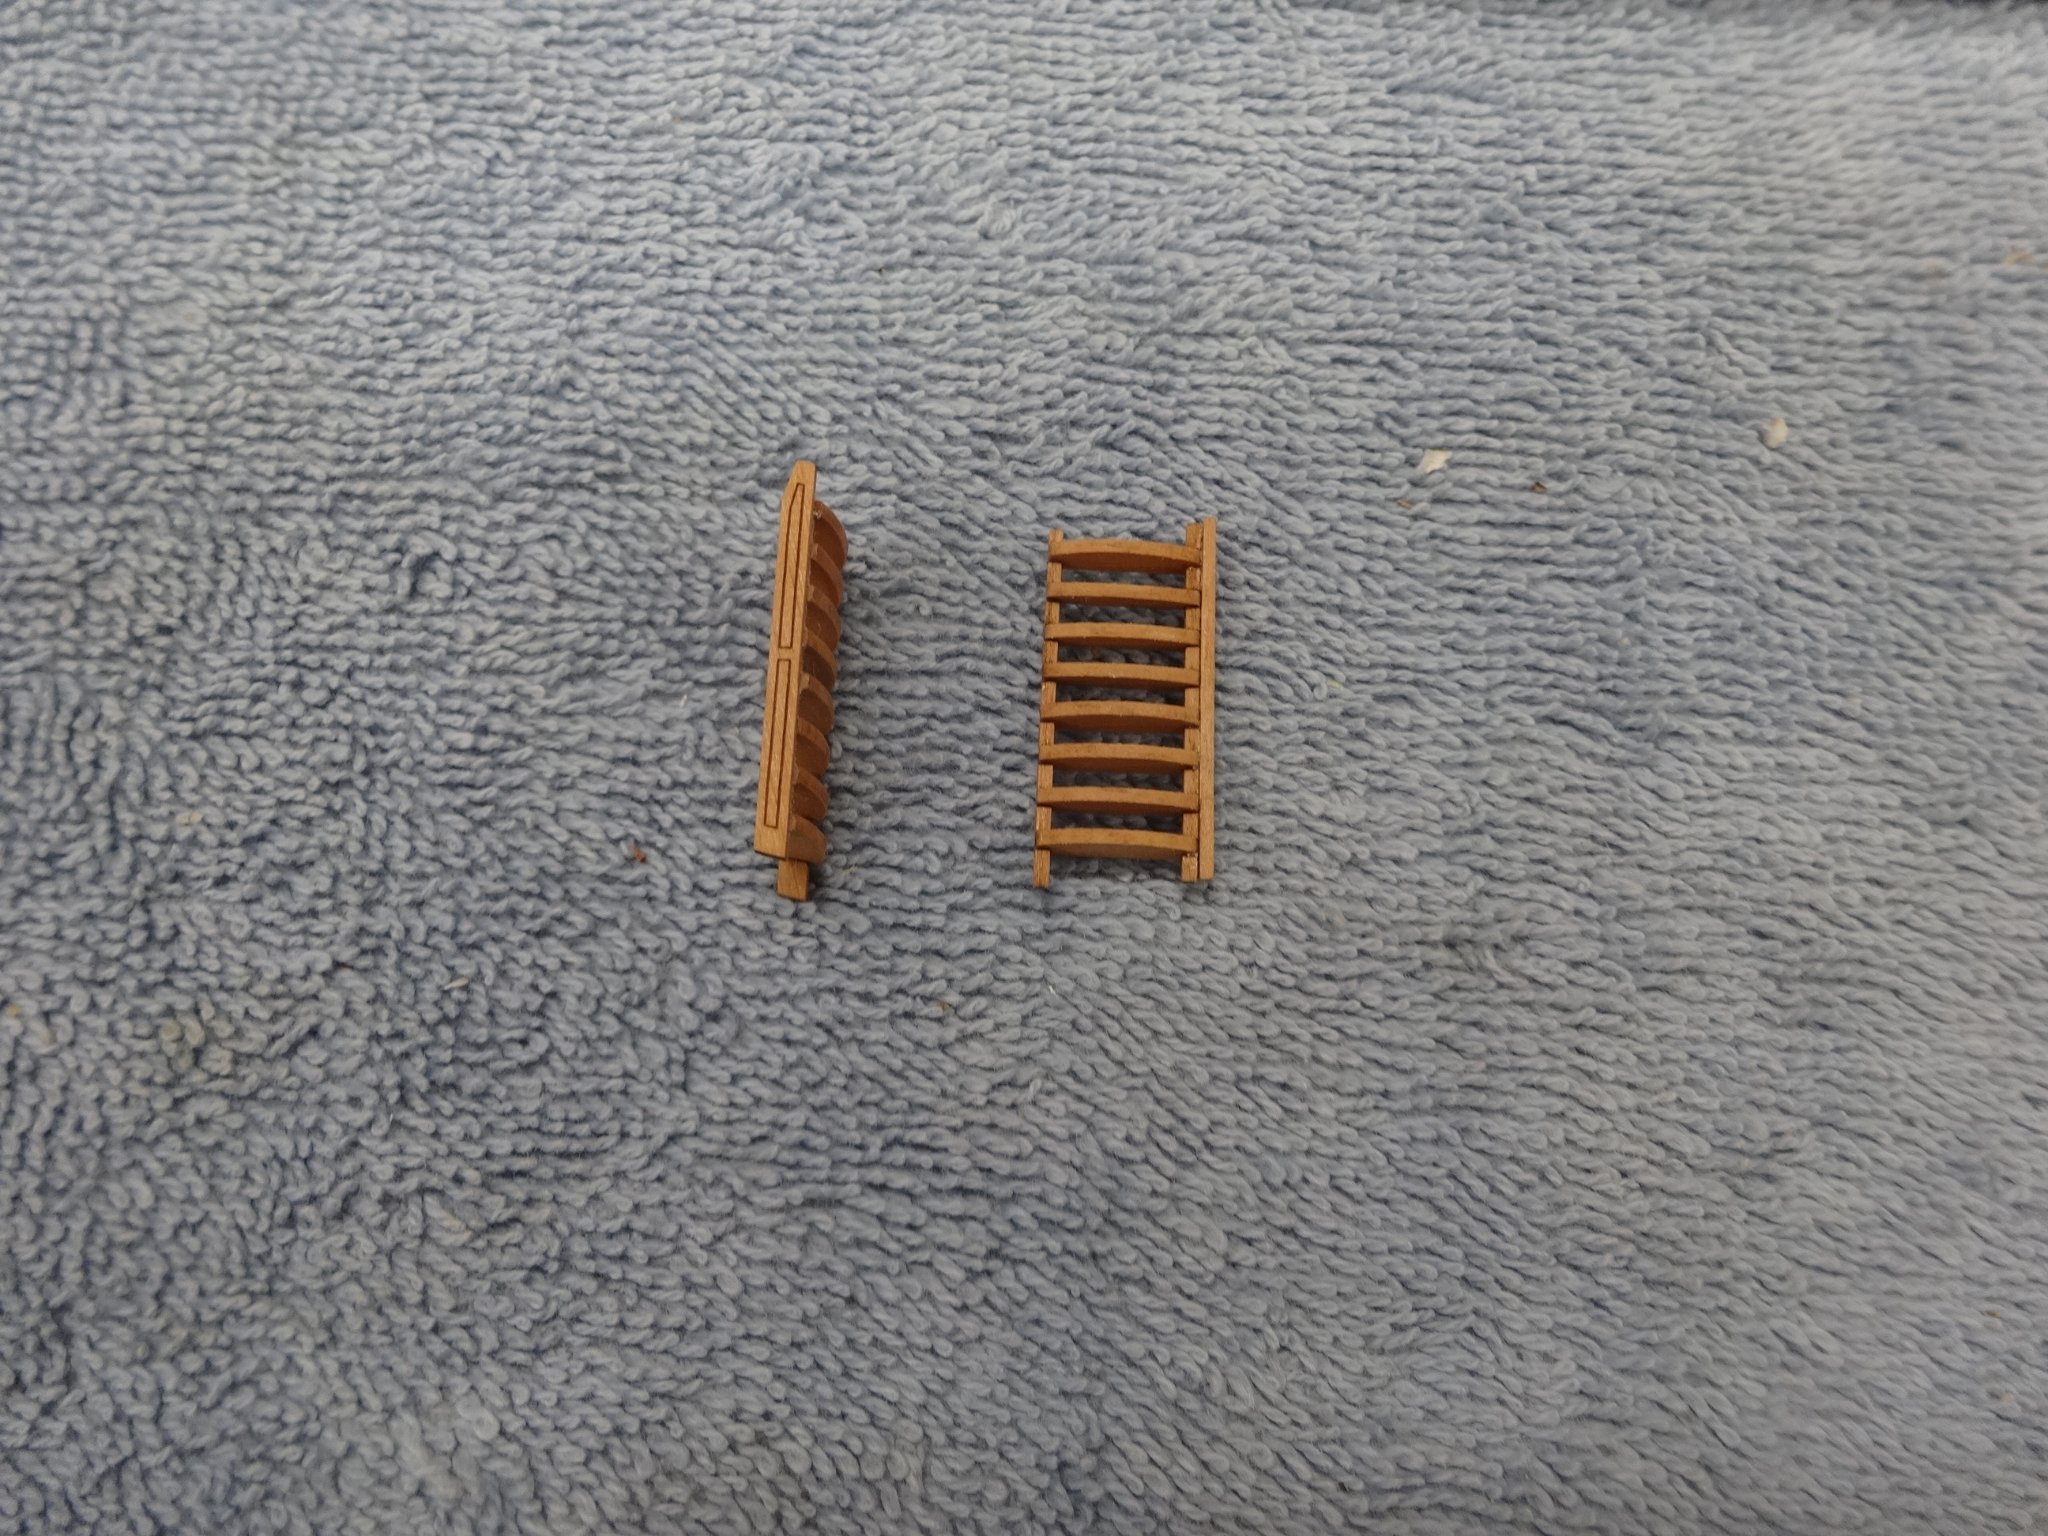
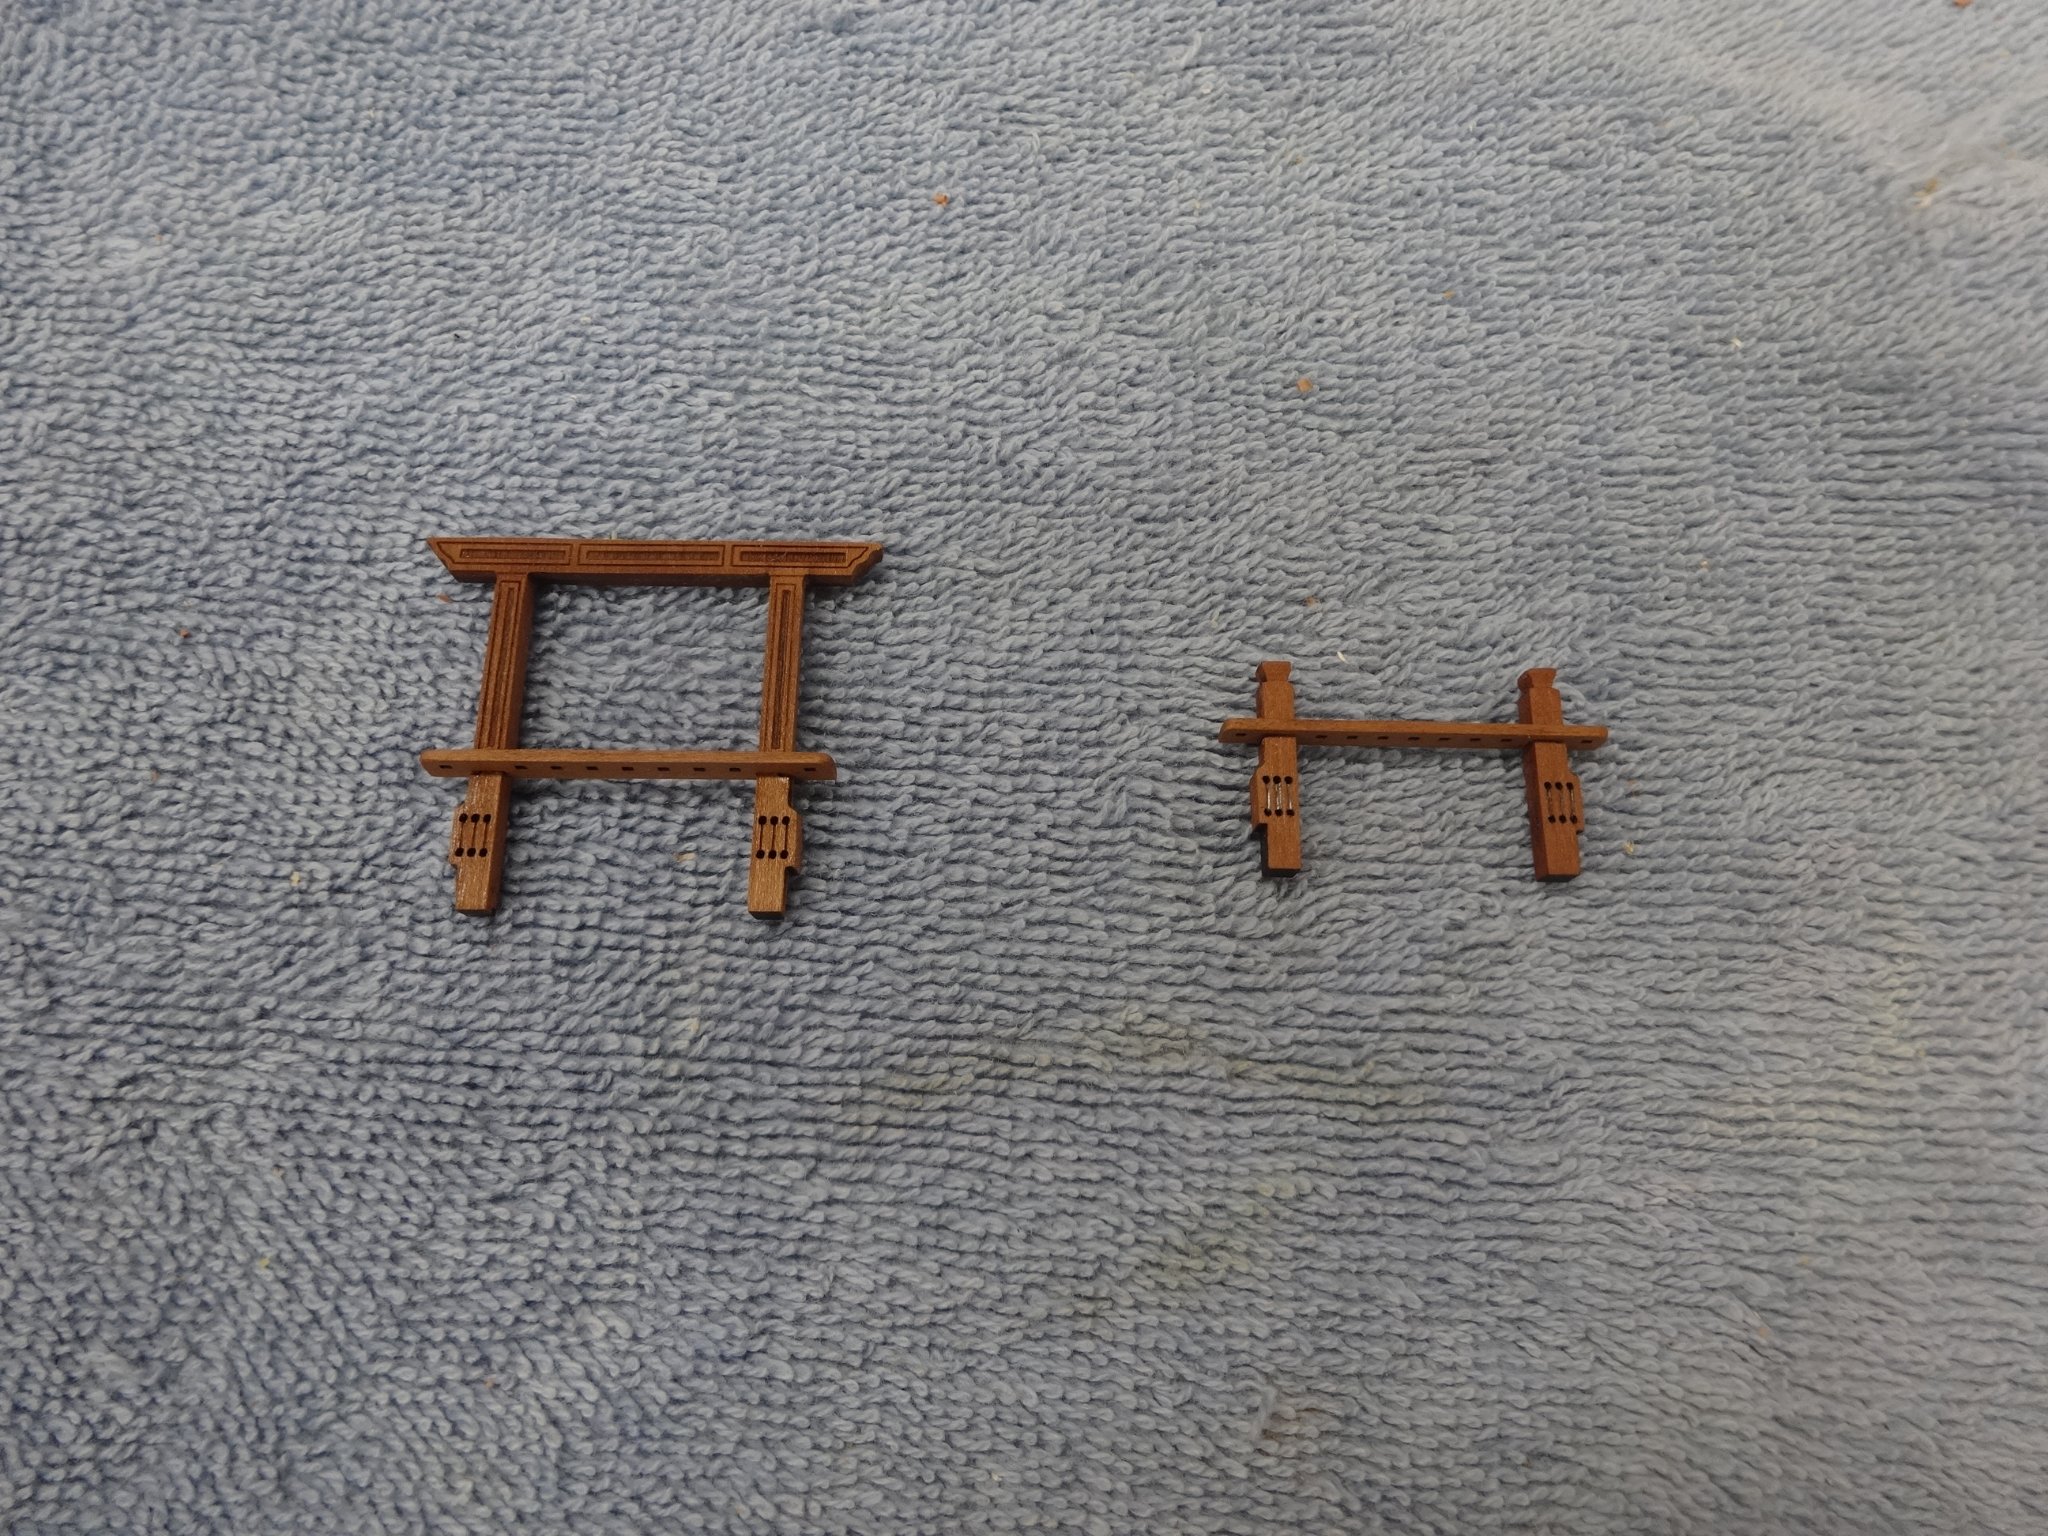
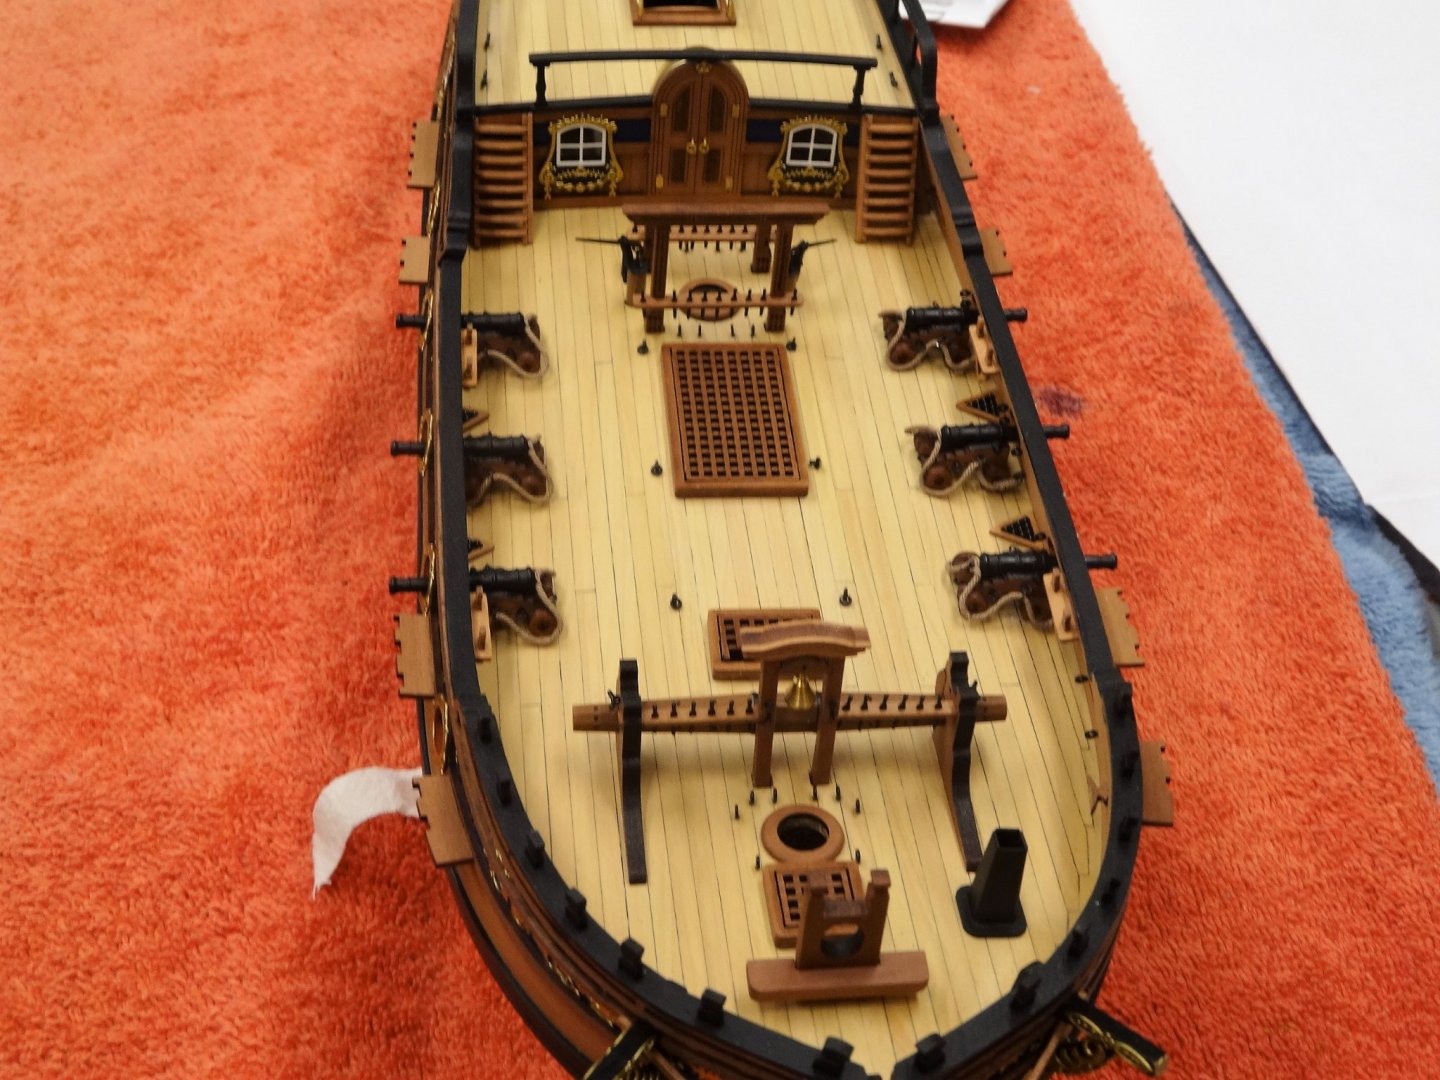
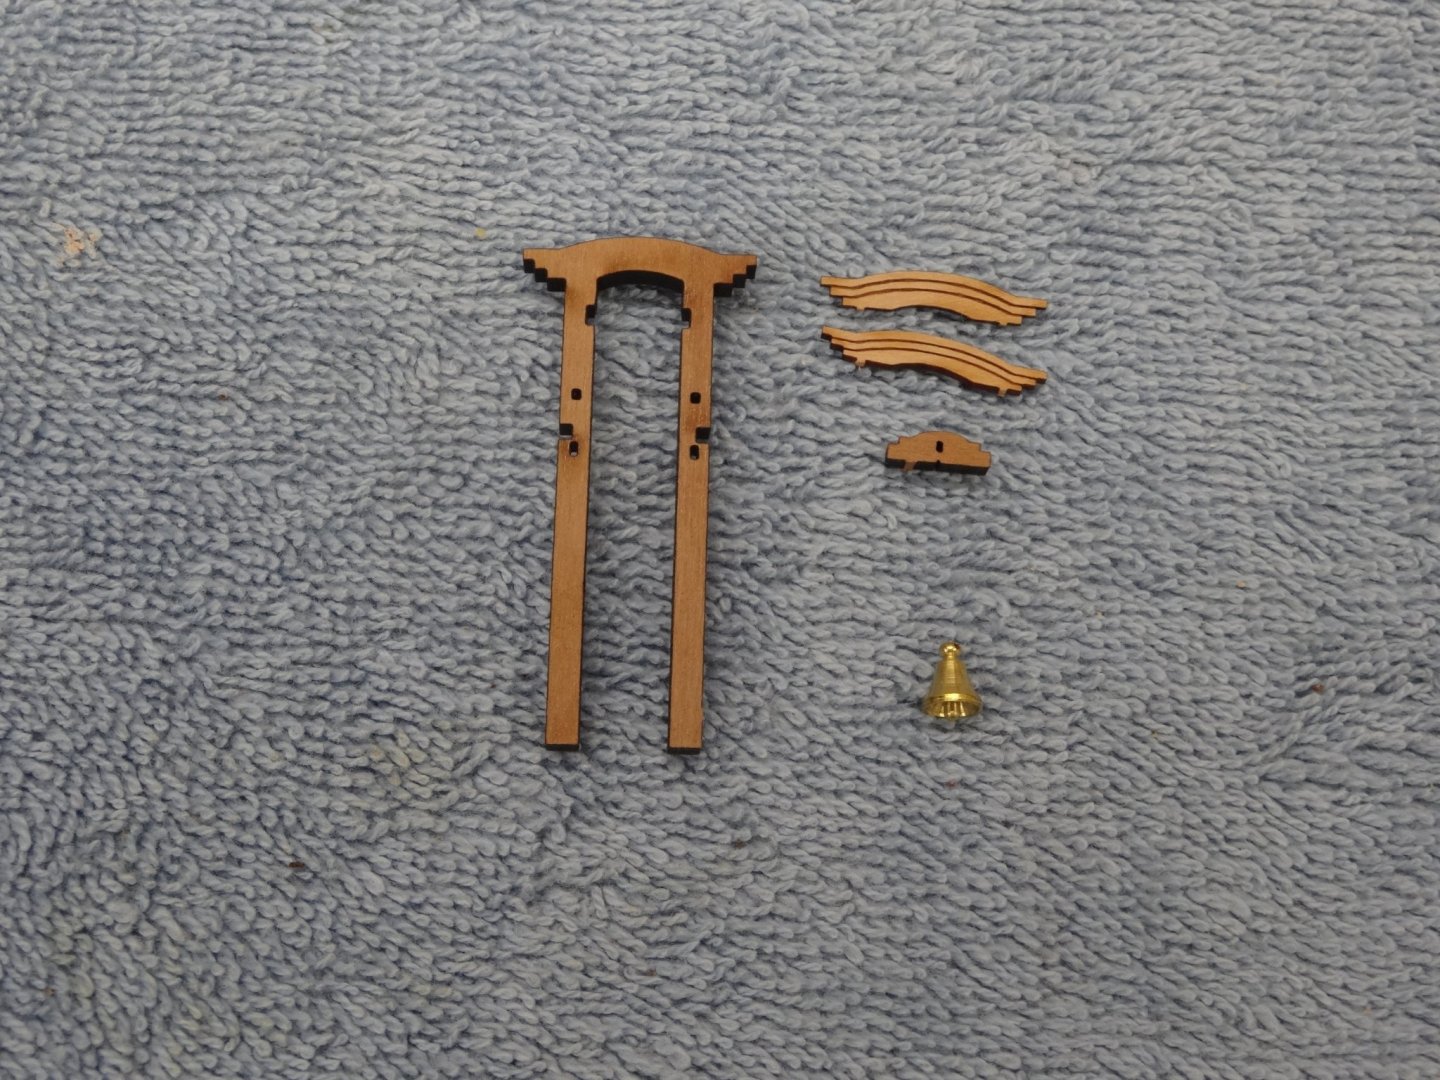
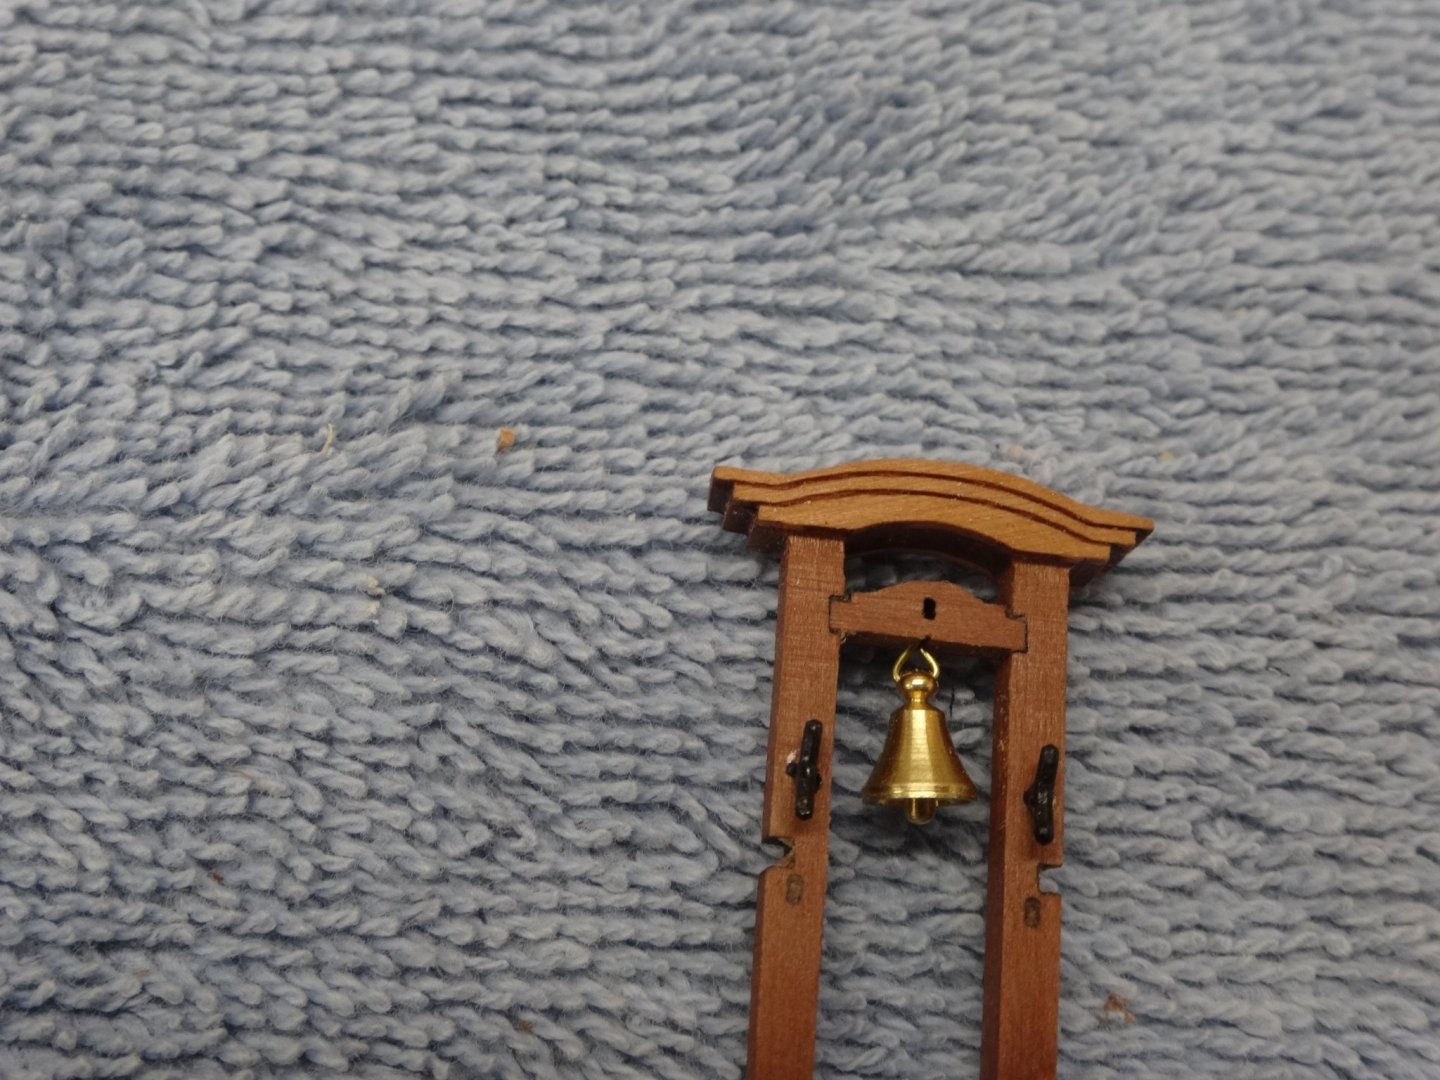
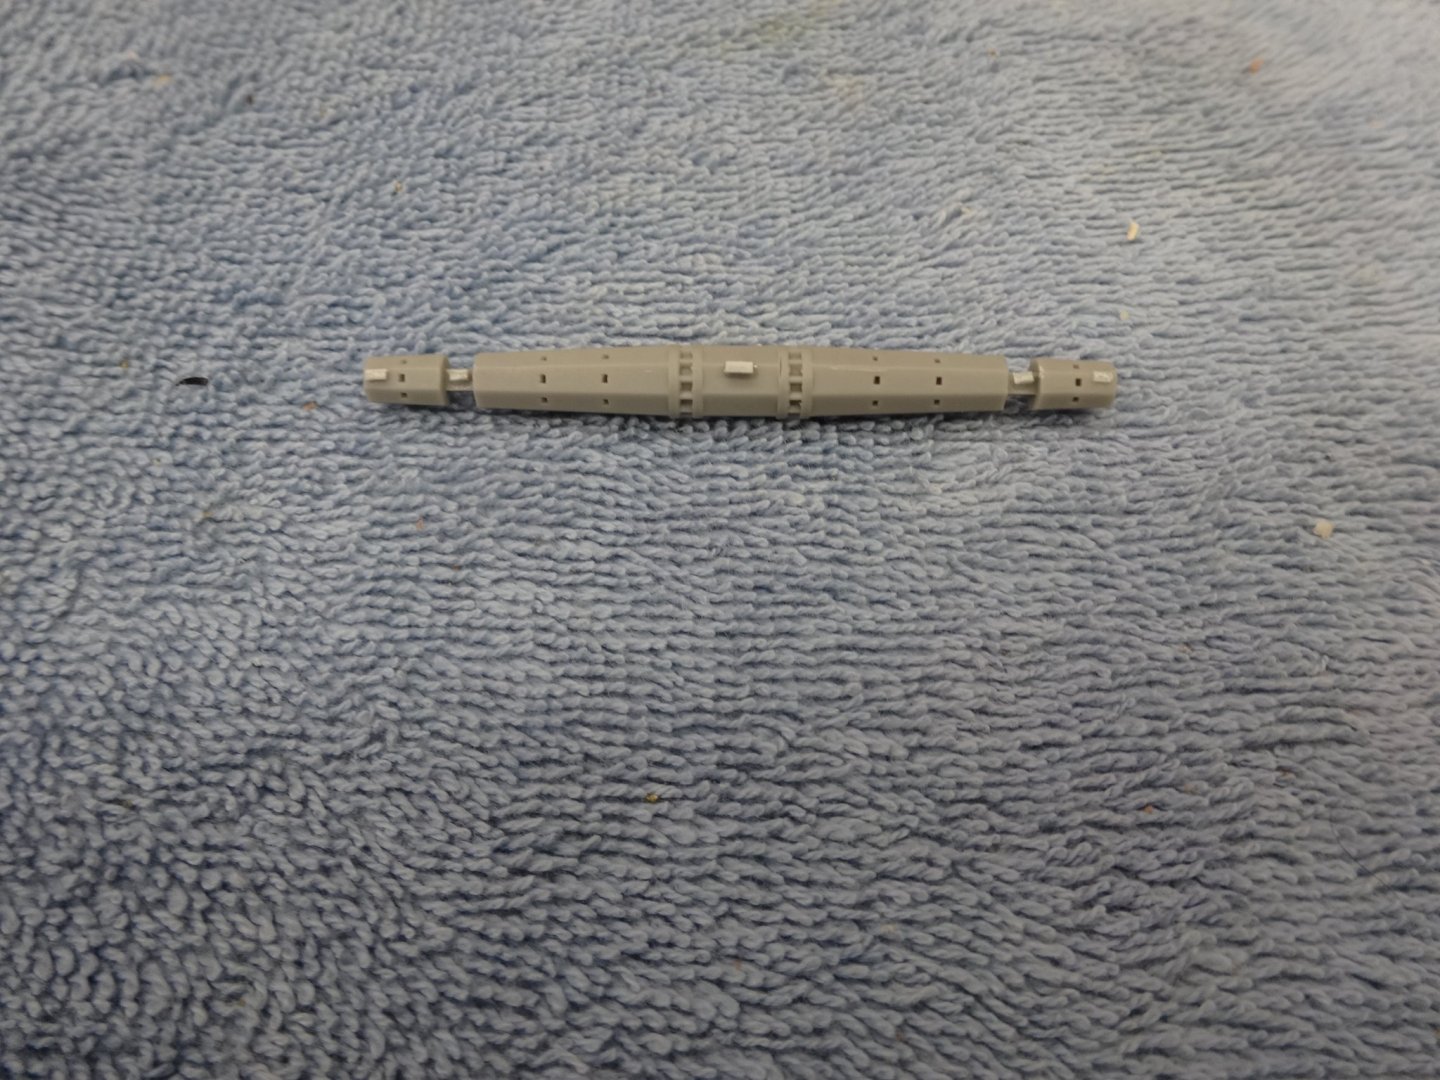
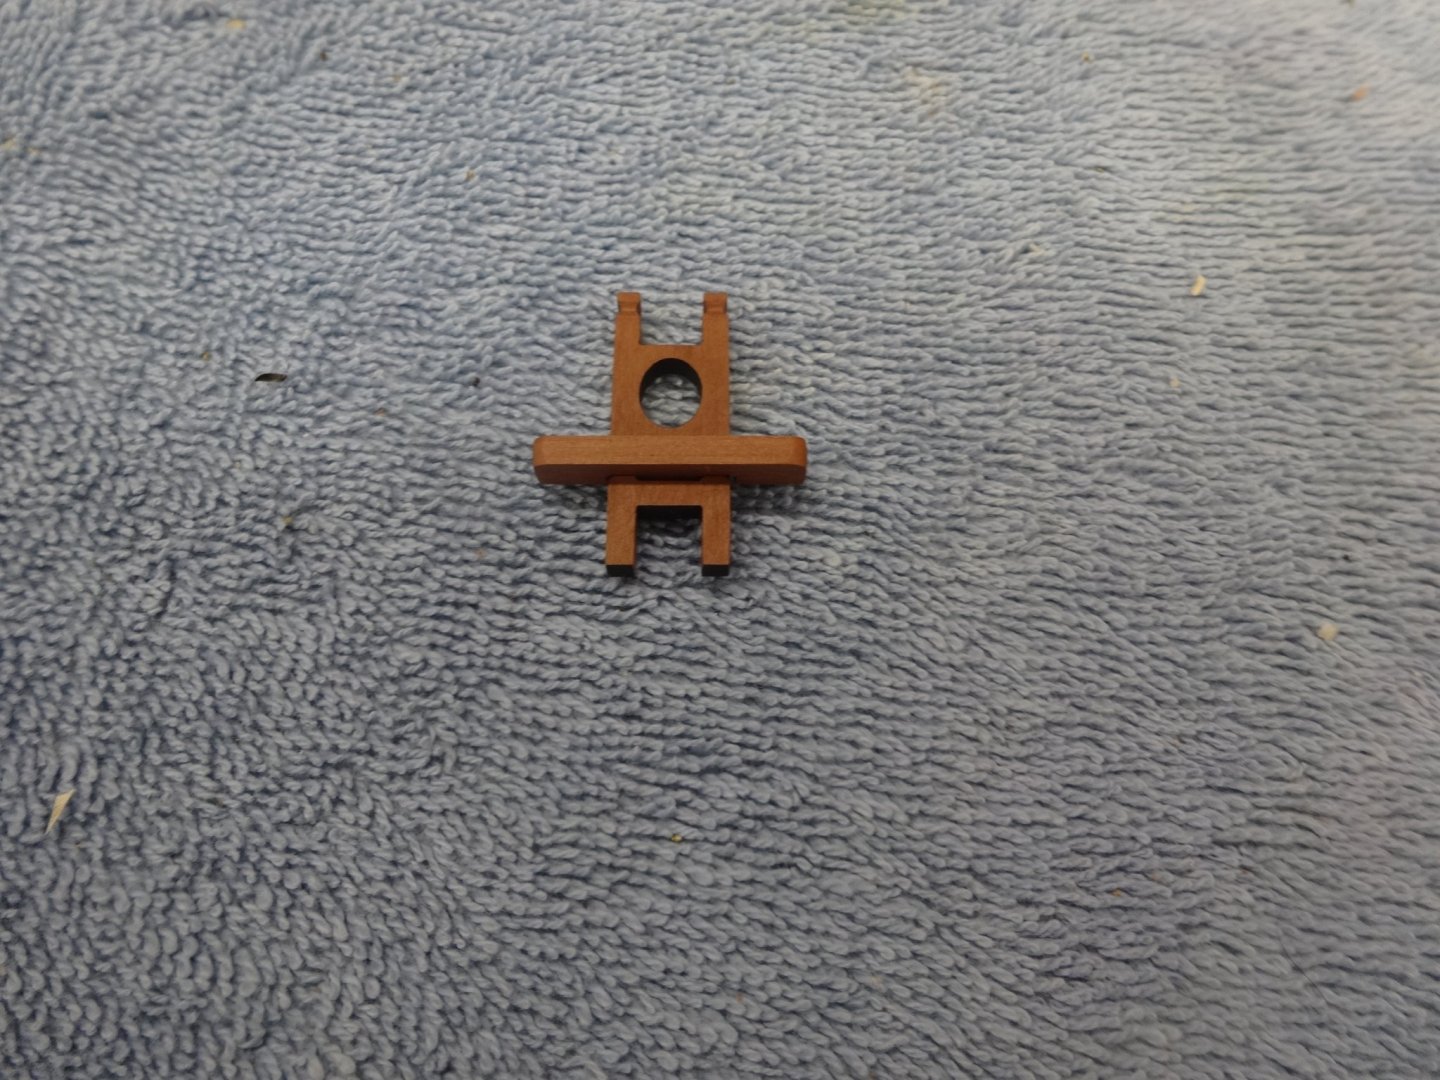
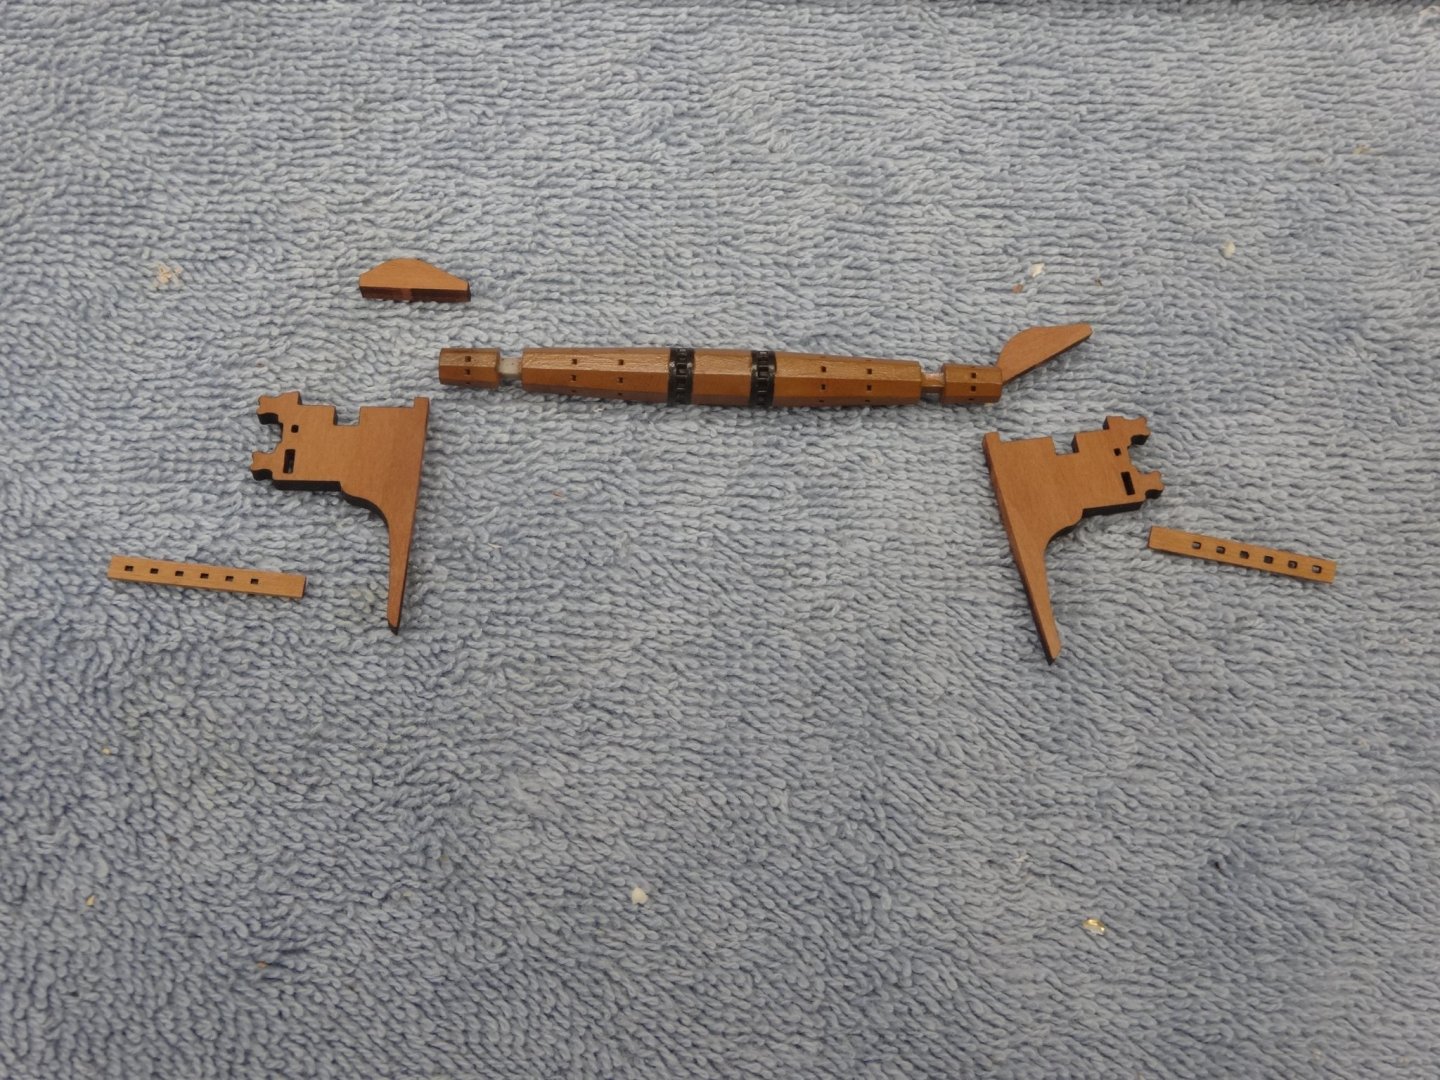
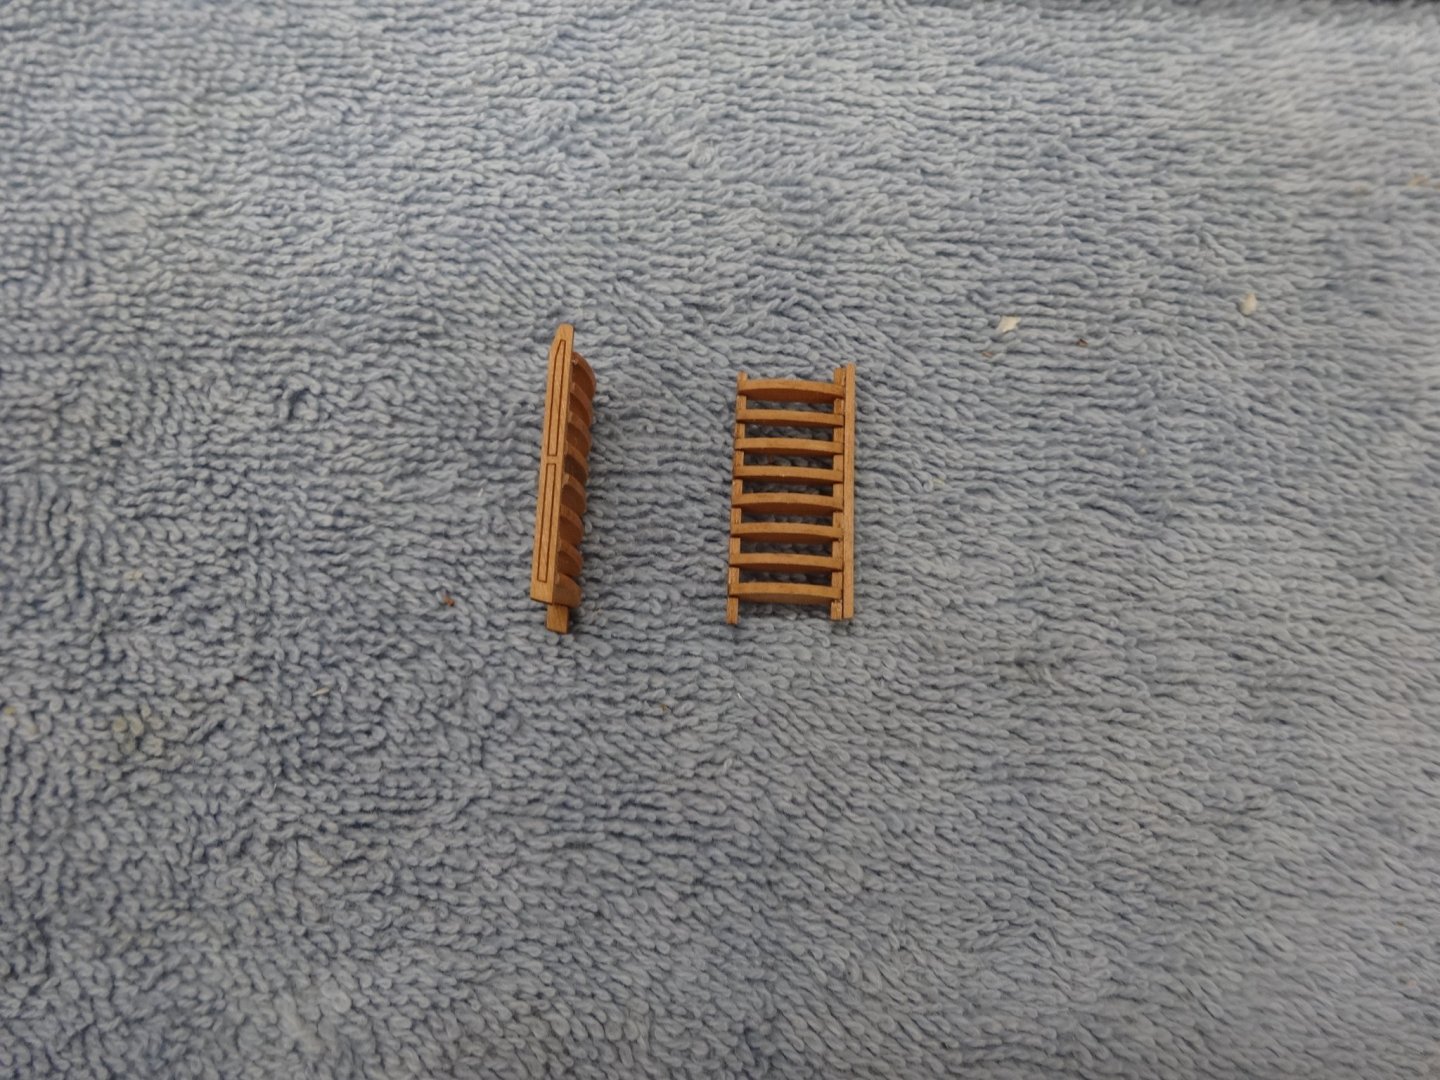
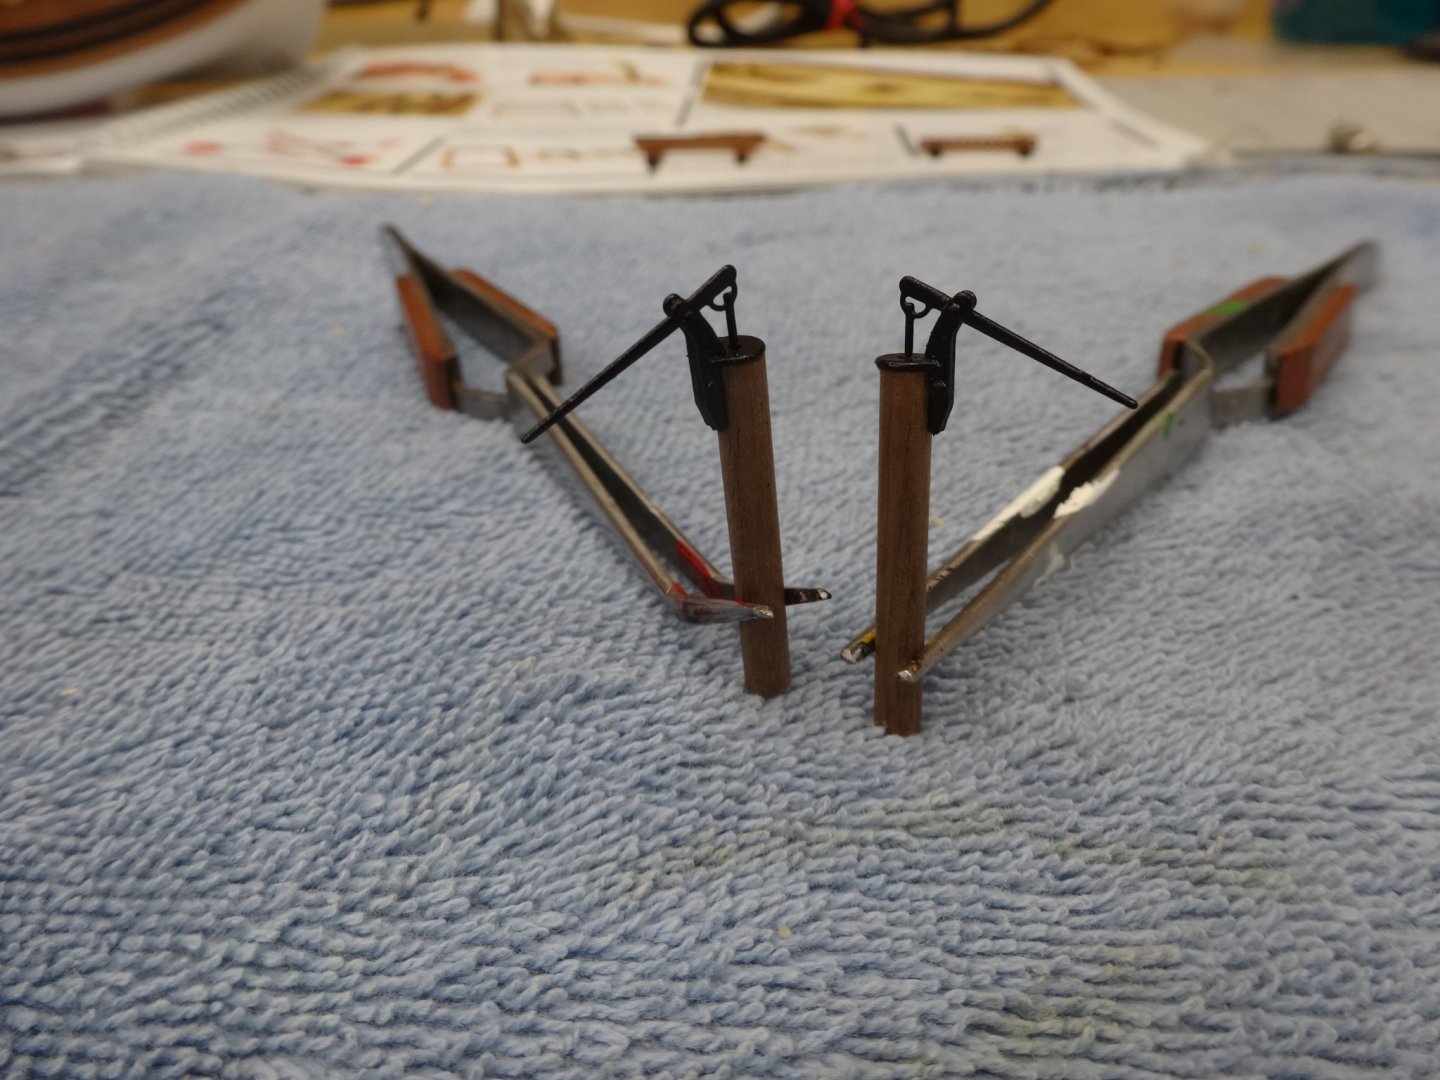
I've made the bell standard and bowsprit bits. To attach the bell I used some brass wire instead of the supplied pin. I also assembled the windlass and ladders. As with everything else the fit of the parts was great and did not require any "adjustments" on my part.
- 201 replies
-
- 16
-
-
-
- Duchess of Kingston
- Vanguard Models
- (and 1 more)
-
Very nice work Bob. I too found the aft deck rails very delicate and had to repair a couple.
-
Thanks Matt and Bob. Much appreciated. Towels are the newest modeling tool for me. LOL Glad to hear you got your shot. We're up to a total of 2,000+ 1st and 2nd shots a day. Thanks Glenn, looking forward to seeing how that goes.
- 201 replies
-
- 1
-
-
- Duchess of Kingston
- Vanguard Models
- (and 1 more)
-
Looking really nice Bob.
-
Very well done Glenn!
-
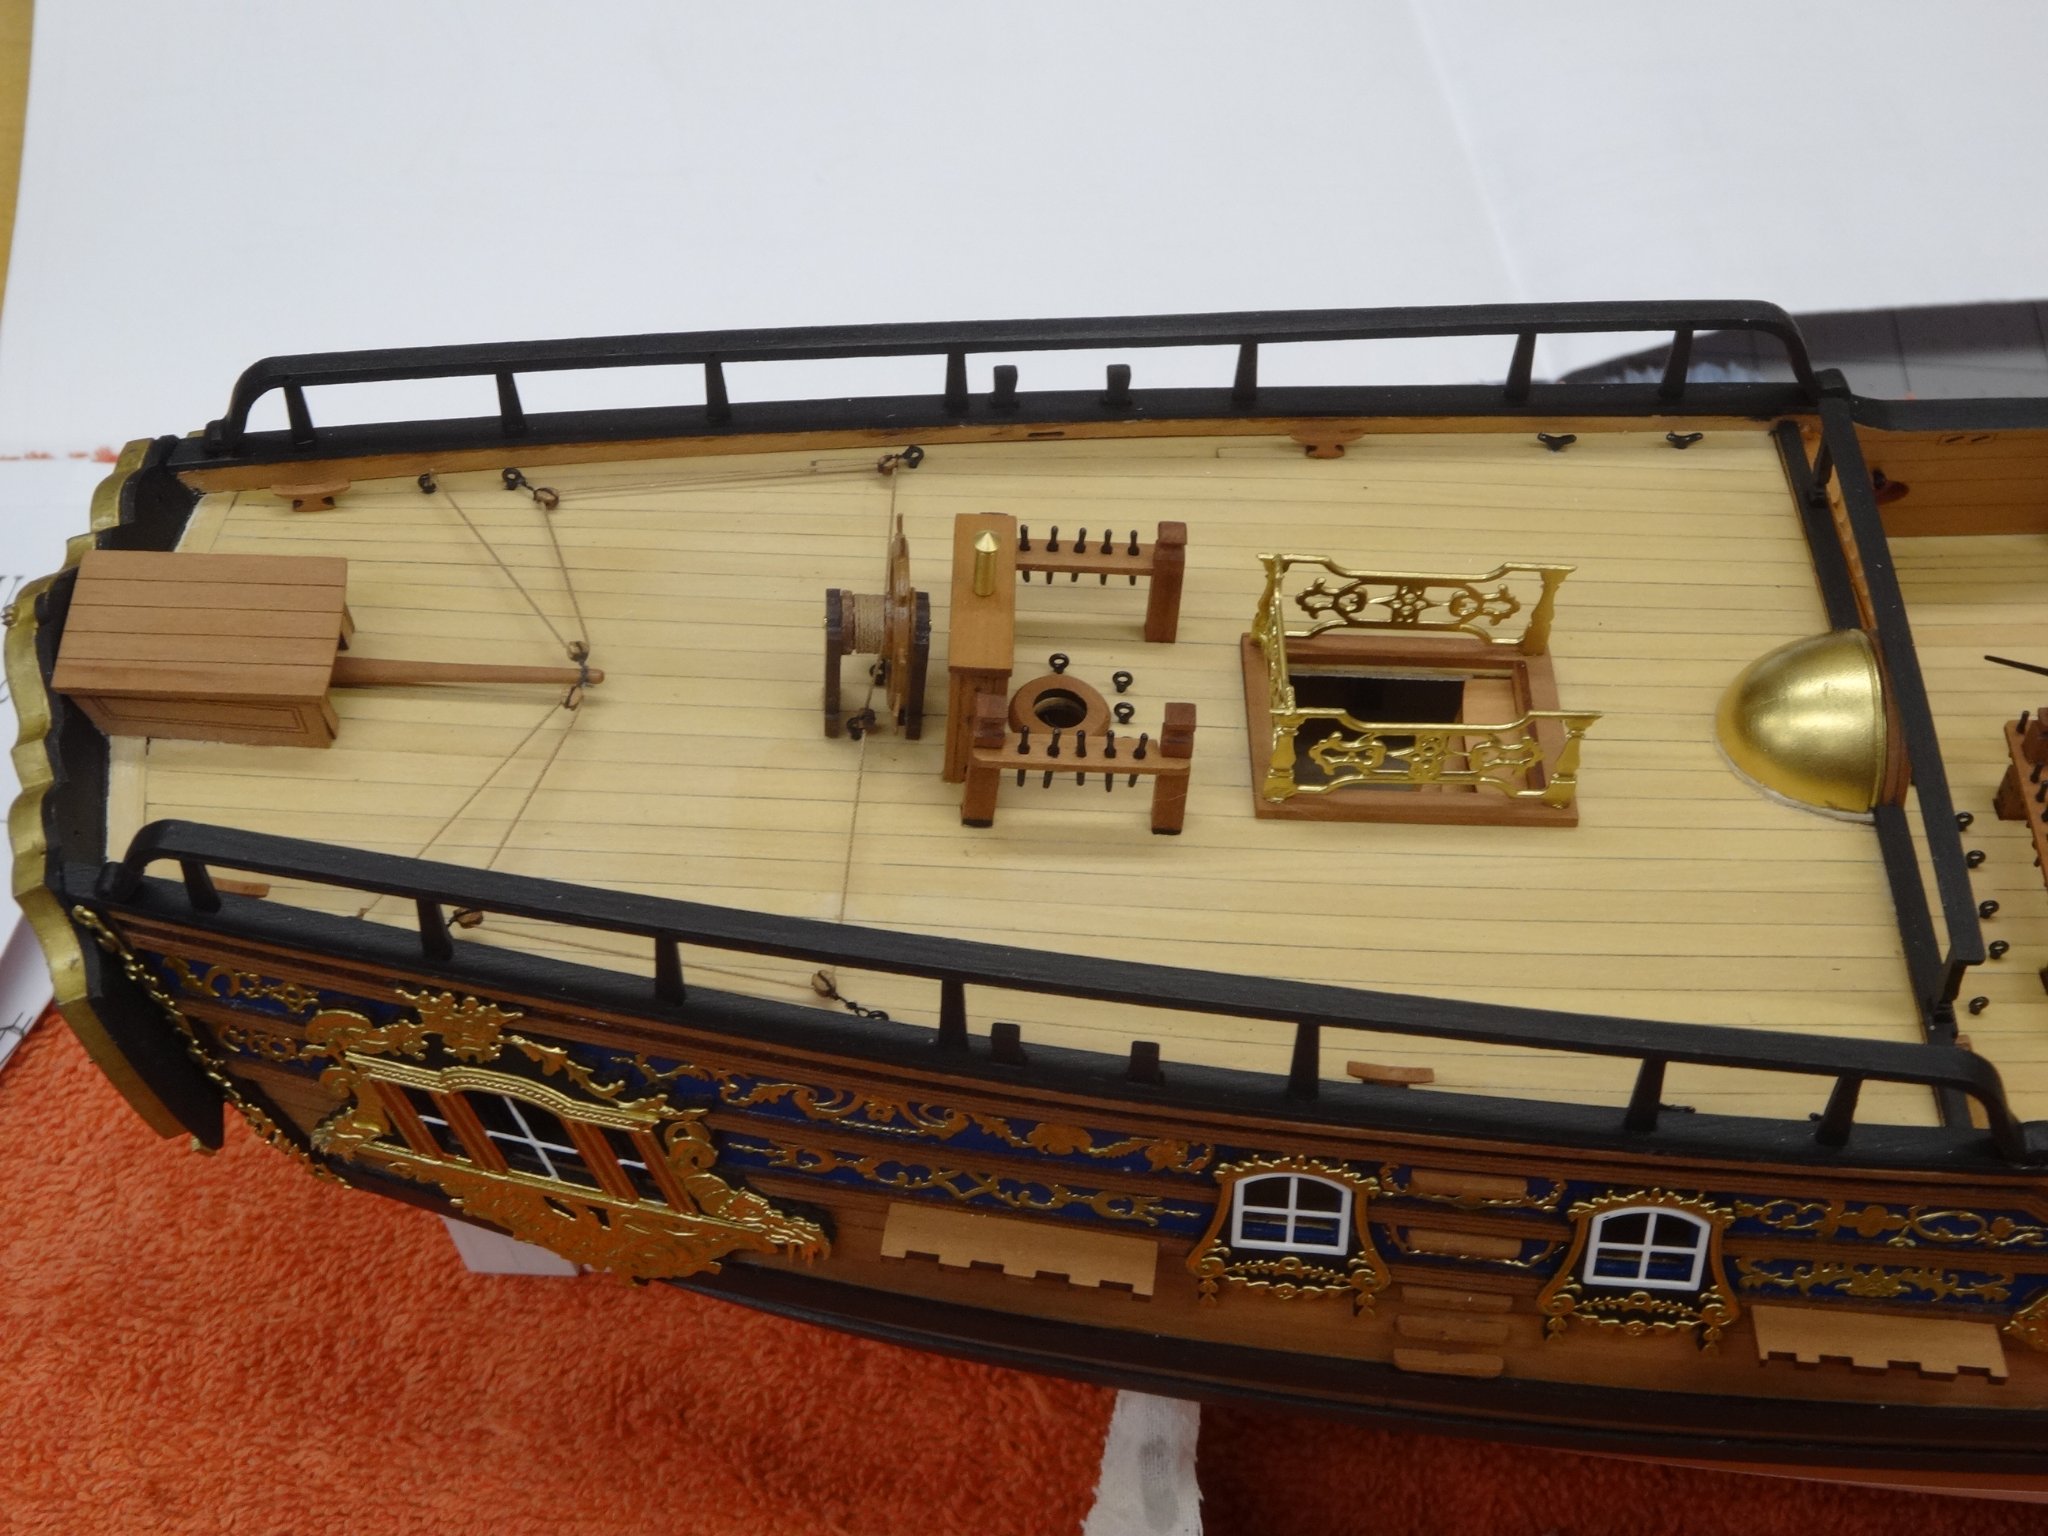
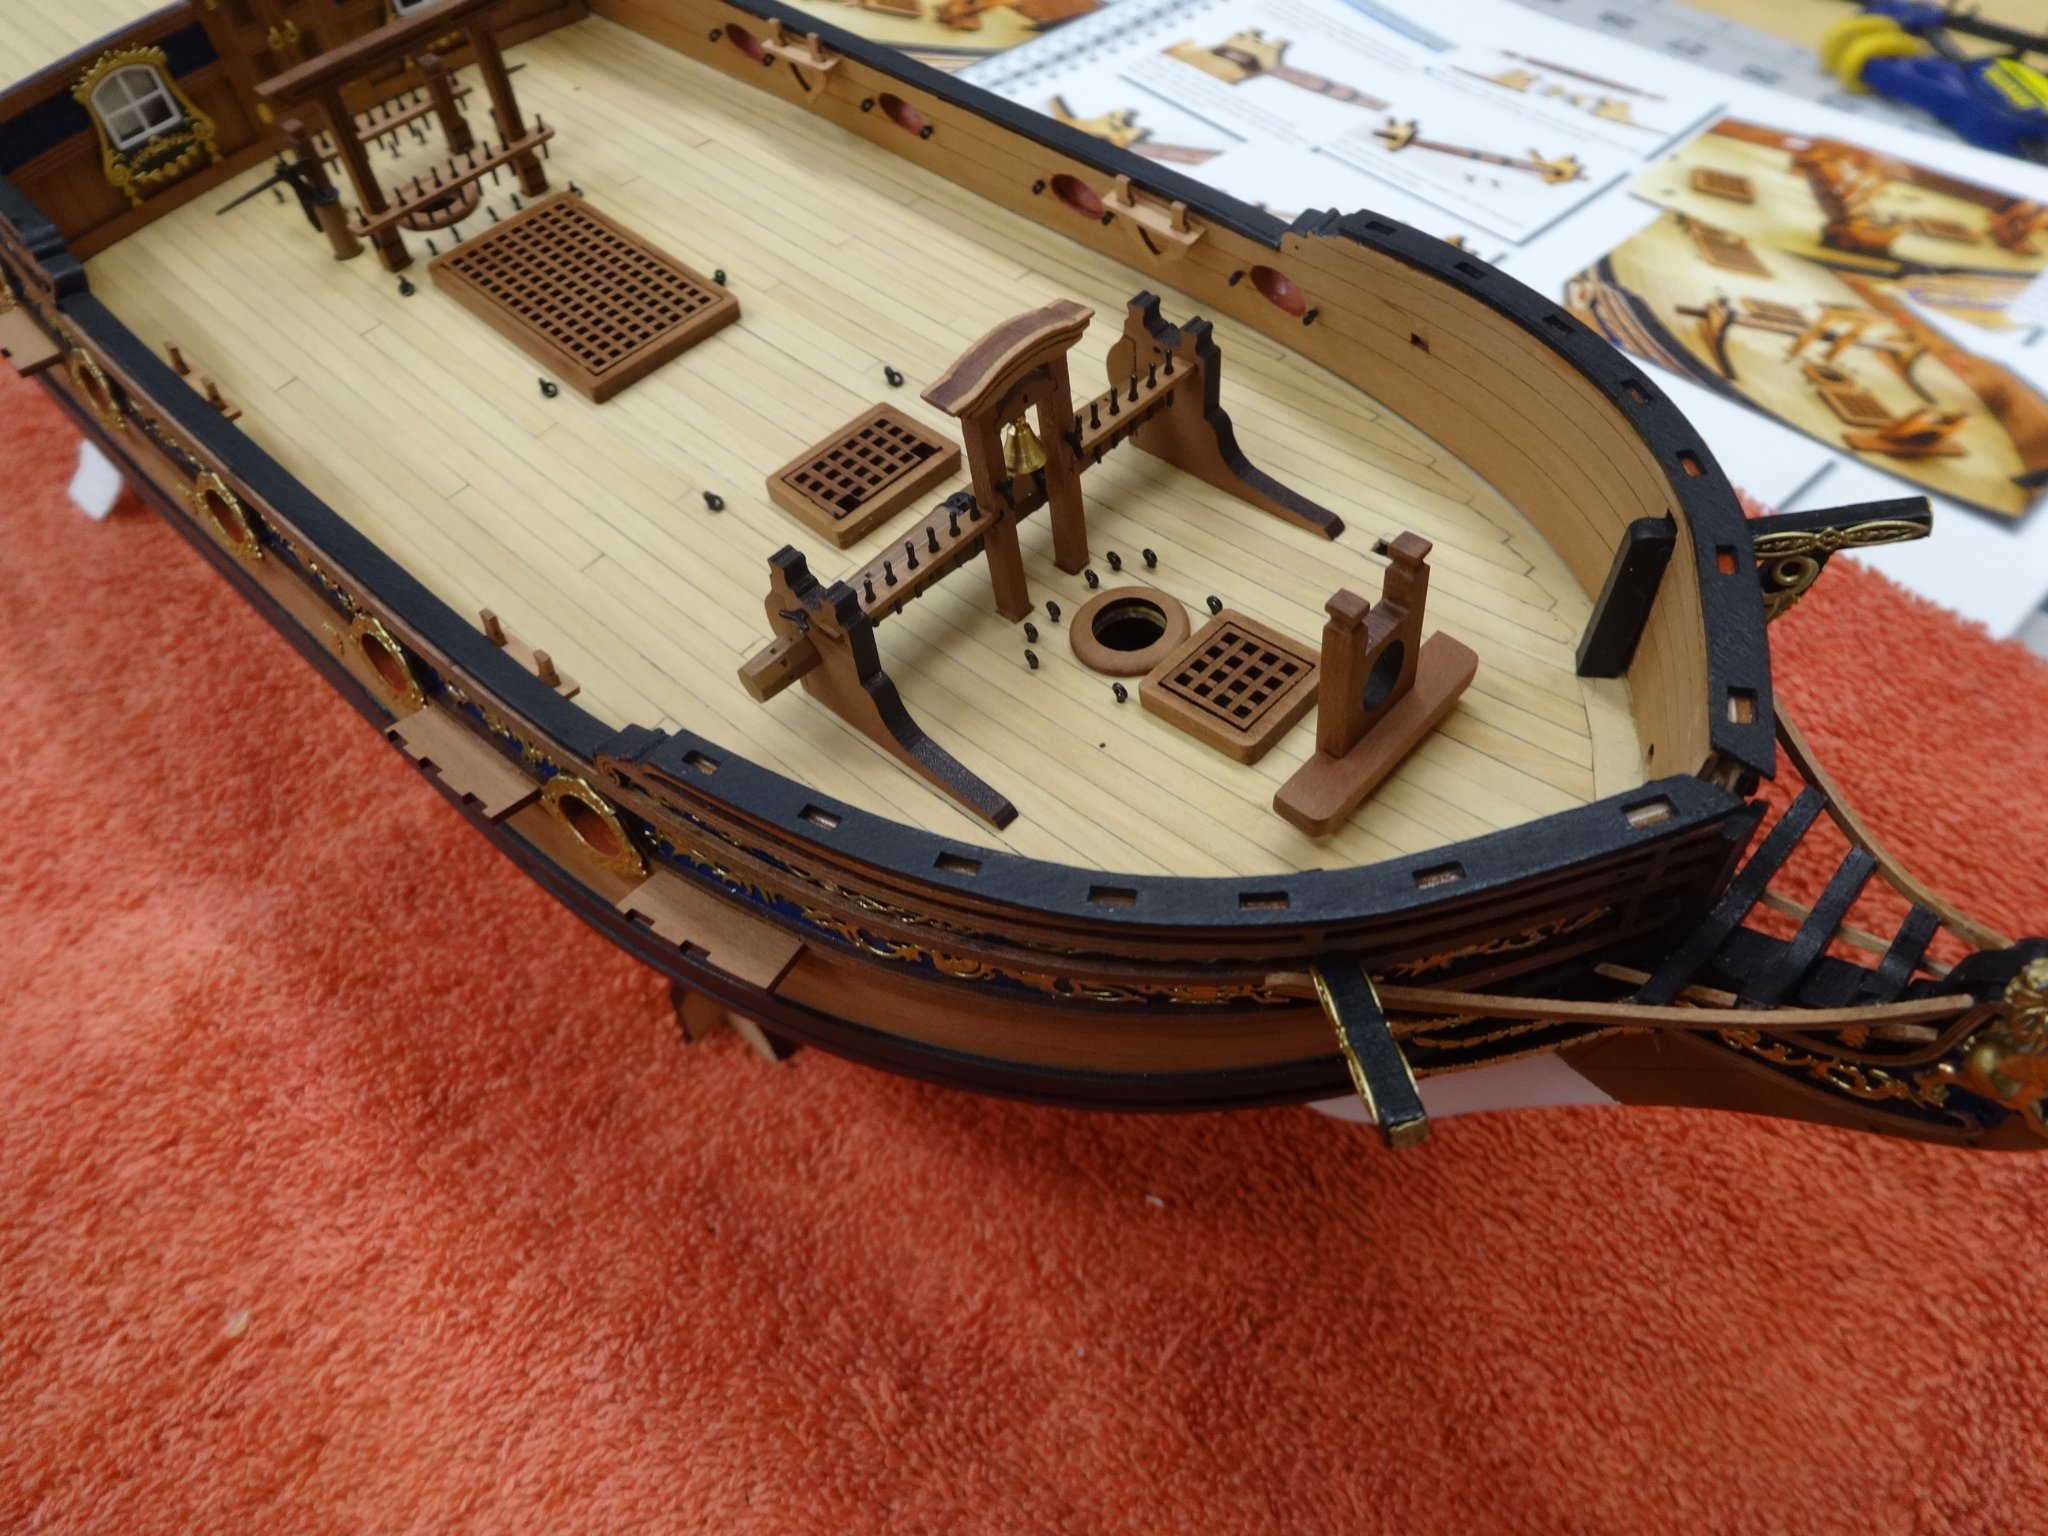
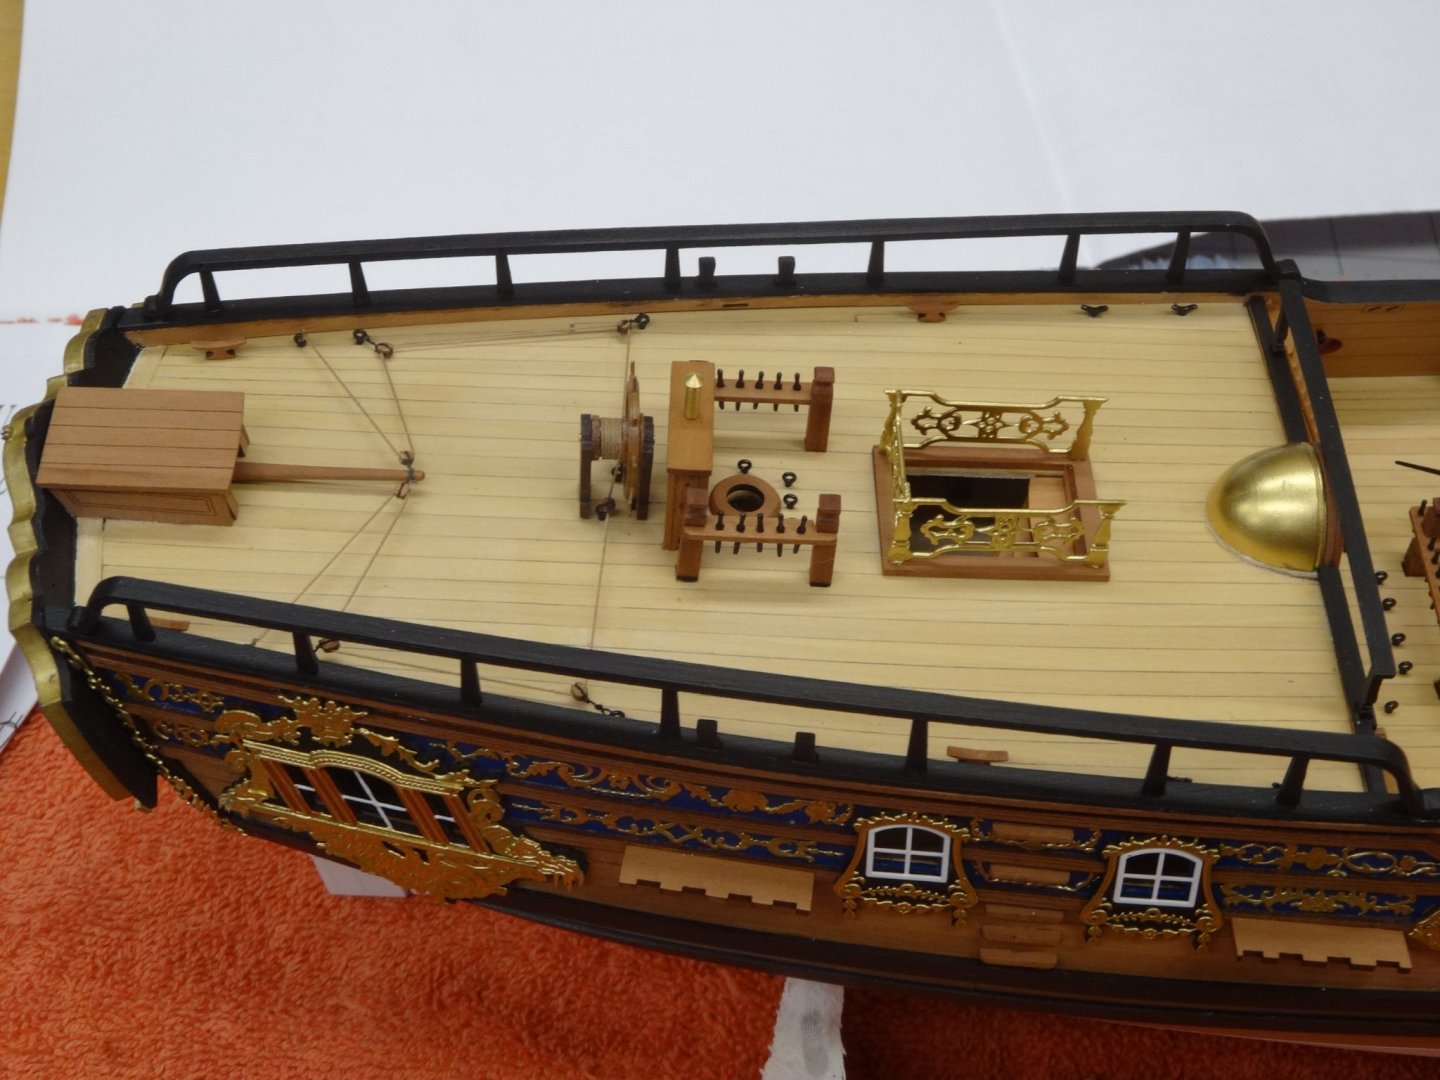
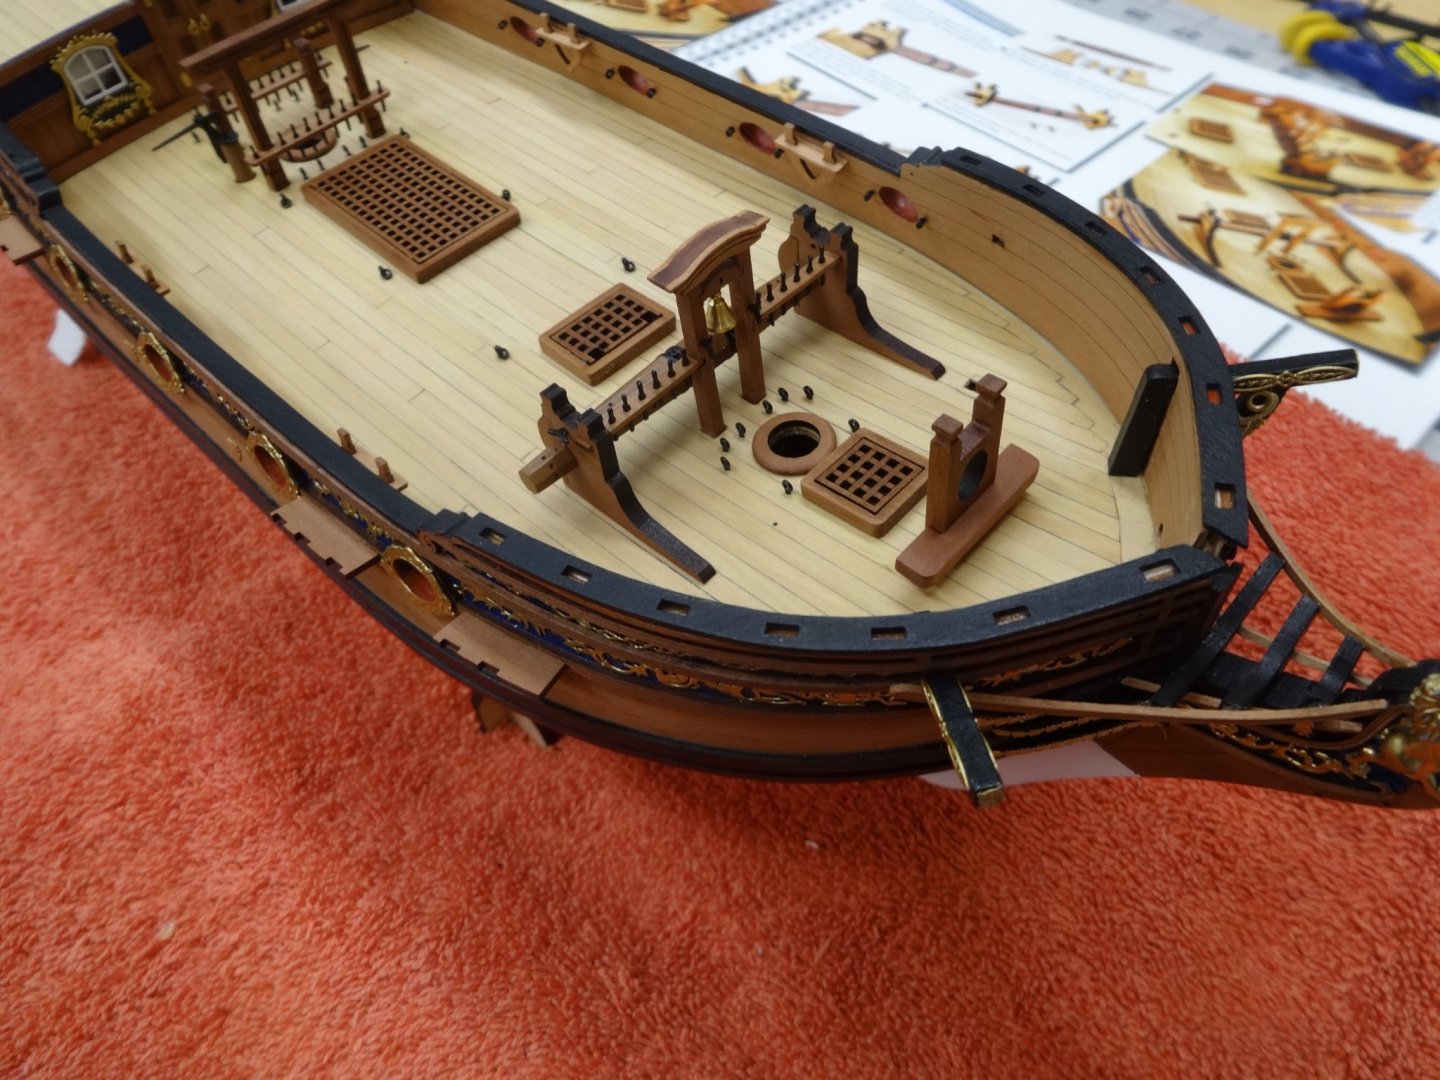
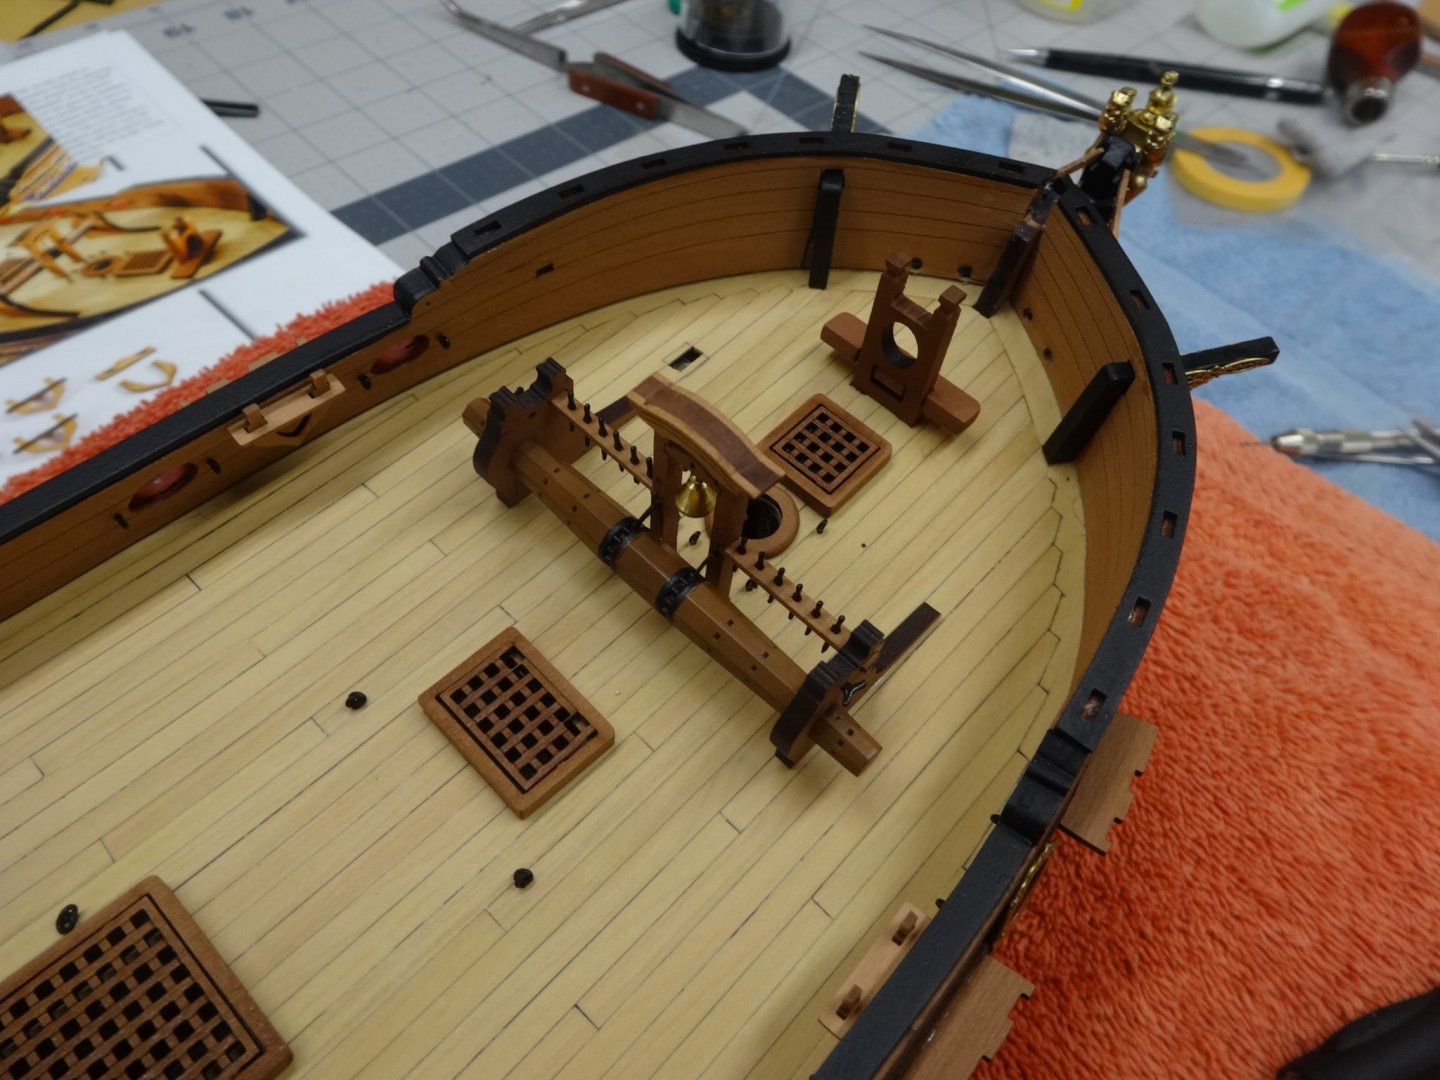
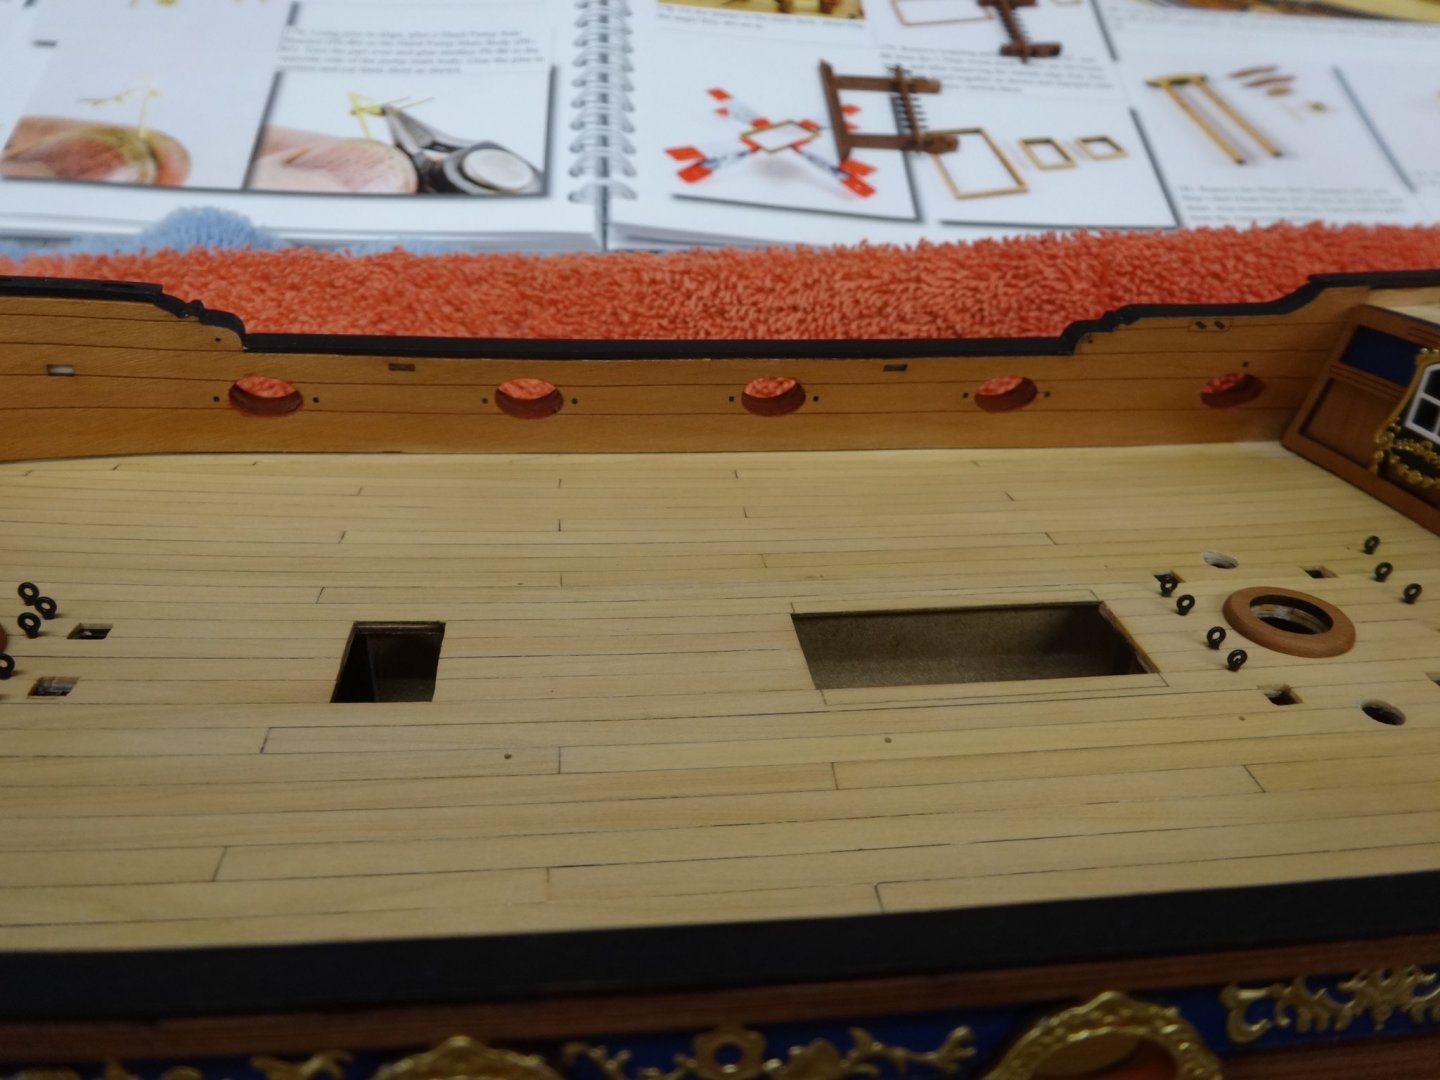
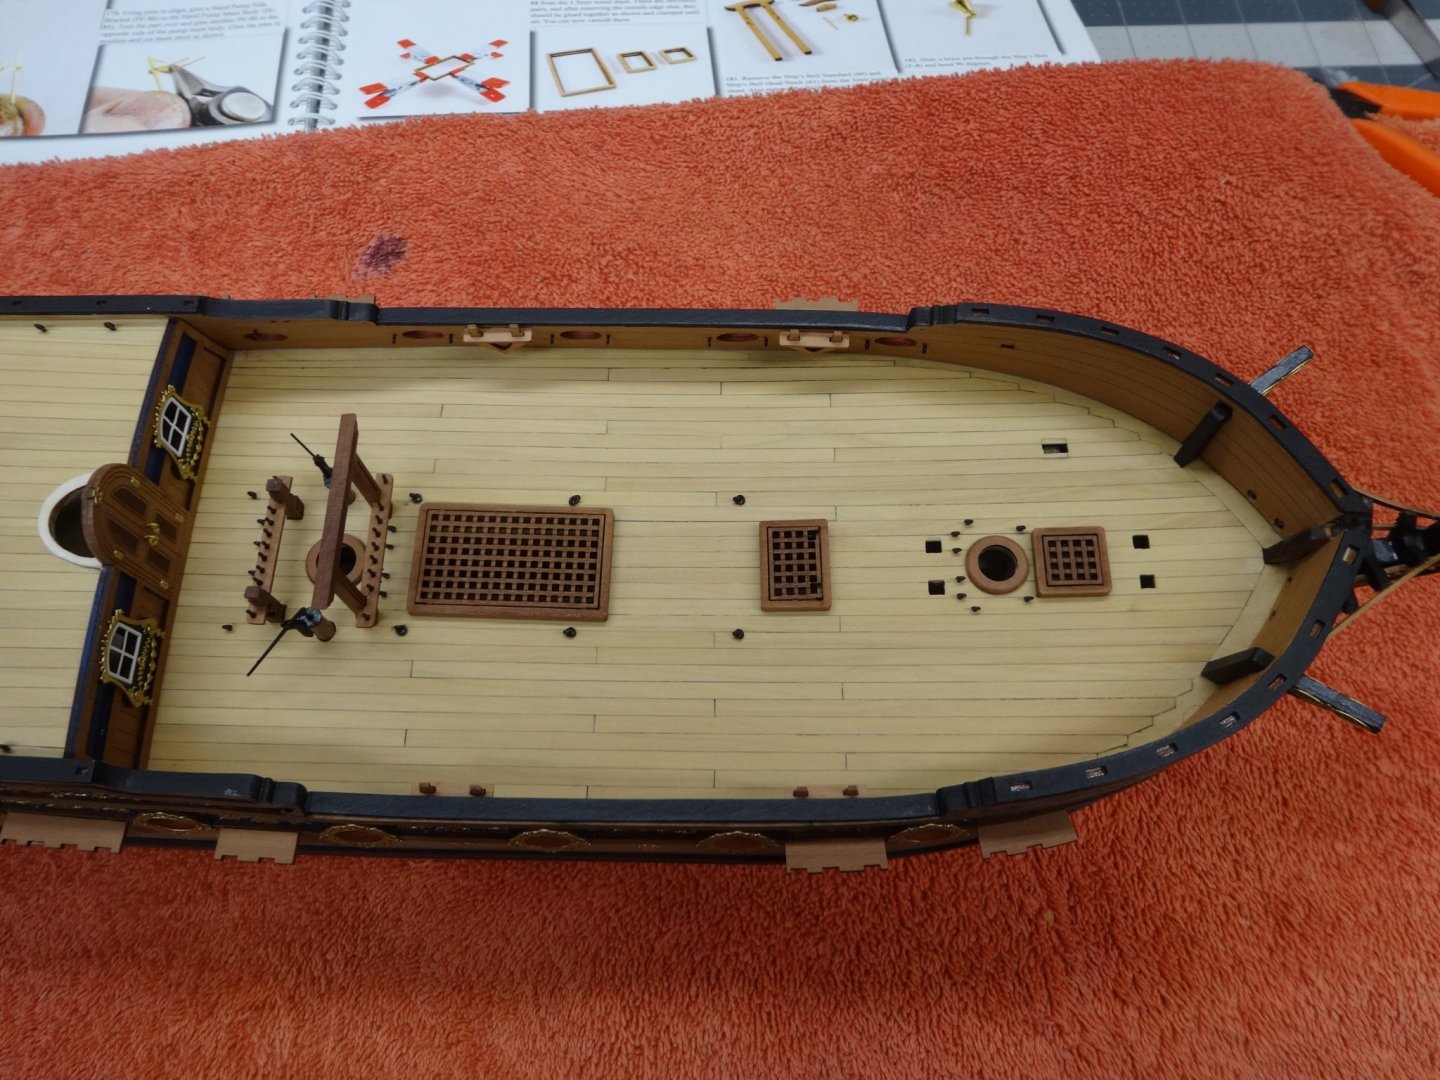
Hi All. Things have been a little chaotic at work the past three weeks as we've become a mass vaccination site. Time in the shop and on MSW have been curtailed. Anyways here's a bit more of where I'm at. I've painted the gun ports and I highly suggest you paint them prior to pinning the PE to the outboard side. Saves a bit of clean up if you are a sloppy painter like me. Mast coats were added with the edges rounded just a bit. Just something I like the way it looks. The gallows, main mast bitts and staghorn cleat beams were assembled and placed along with the hatch combings. I also assembled a cannon and rigged it with the breach rope. I attempted the tackle but even using 2mm blocks and the smallest hocks I could make there was no space between the blocks and I did not like the look. So I will just be adding the breach rope.


- 201 replies
-
- 15
-
-
- Duchess of Kingston
- Vanguard Models
- (and 1 more)
-
Great work and I appreciate the detailed explanation.