Rustyj
-
Posts
2,535 -
Joined
-
Last visited
Content Type
Profiles
Forums
Gallery
Events
Everything posted by Rustyj
-
 Thanks Matt and Bob. Much appreciated. Towels are the newest modeling tool for me. LOL Glad to hear you got your shot. We're up to a total of 2,000+ 1st and 2nd shots a day. Thanks Glenn, looking forward to seeing how that goes.
- 201 replies
-
- 1
-

-
- Duchess of Kingston
- Vanguard Models
- (and 1 more)
-
Looking really nice Bob.
-
Very well done Glenn!
-
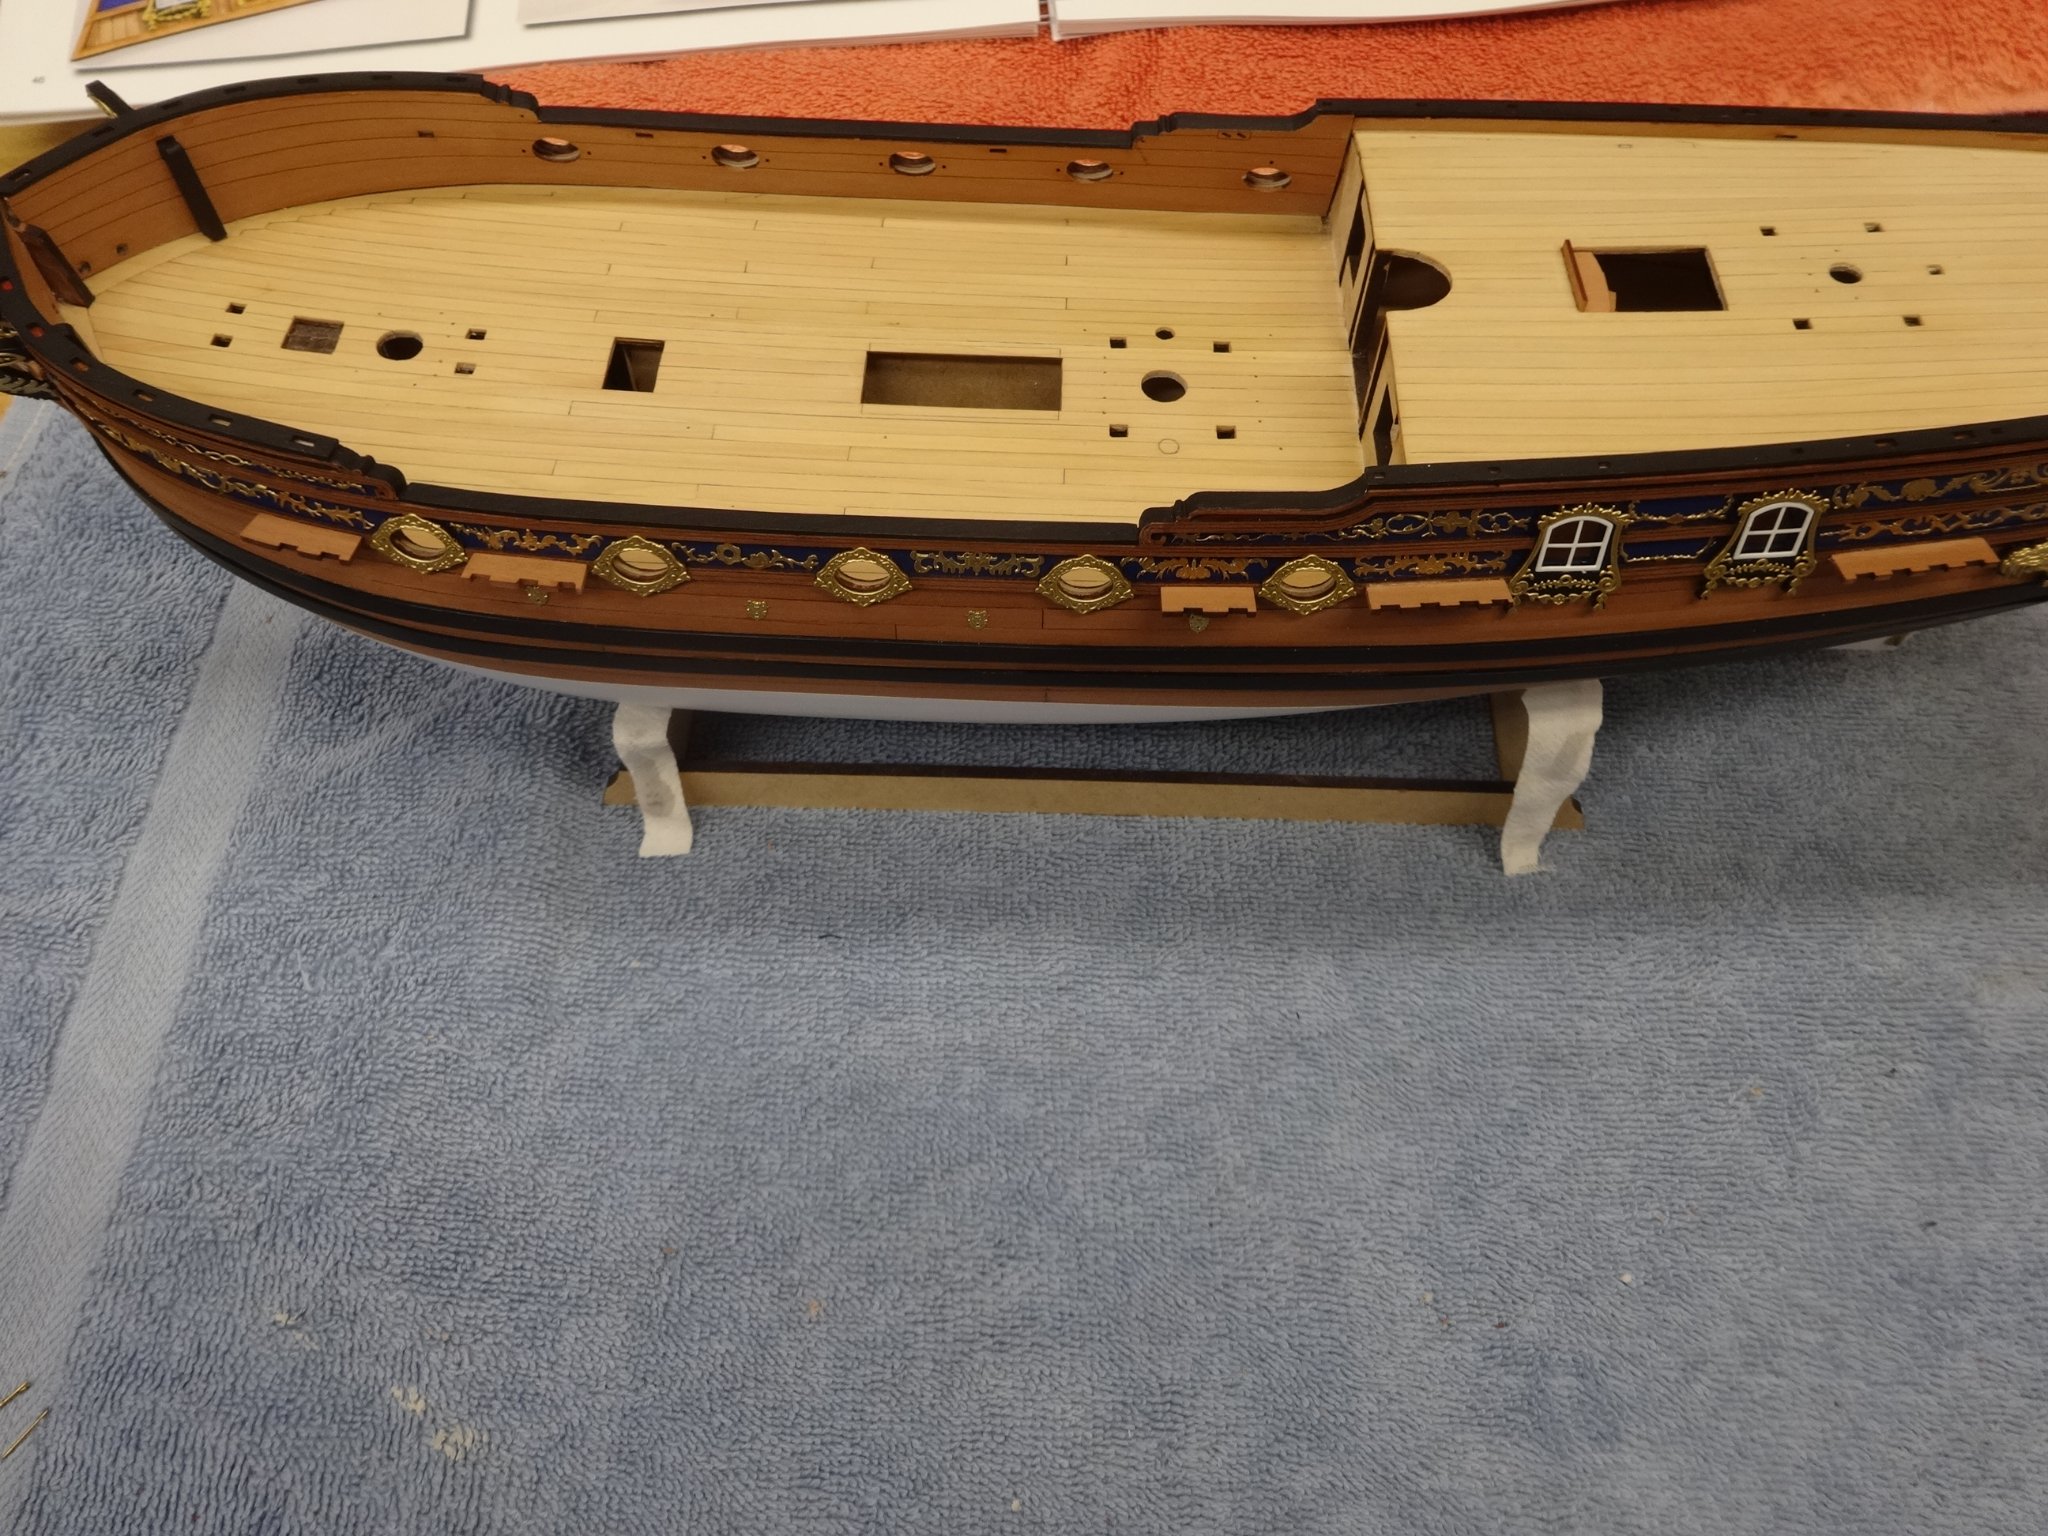
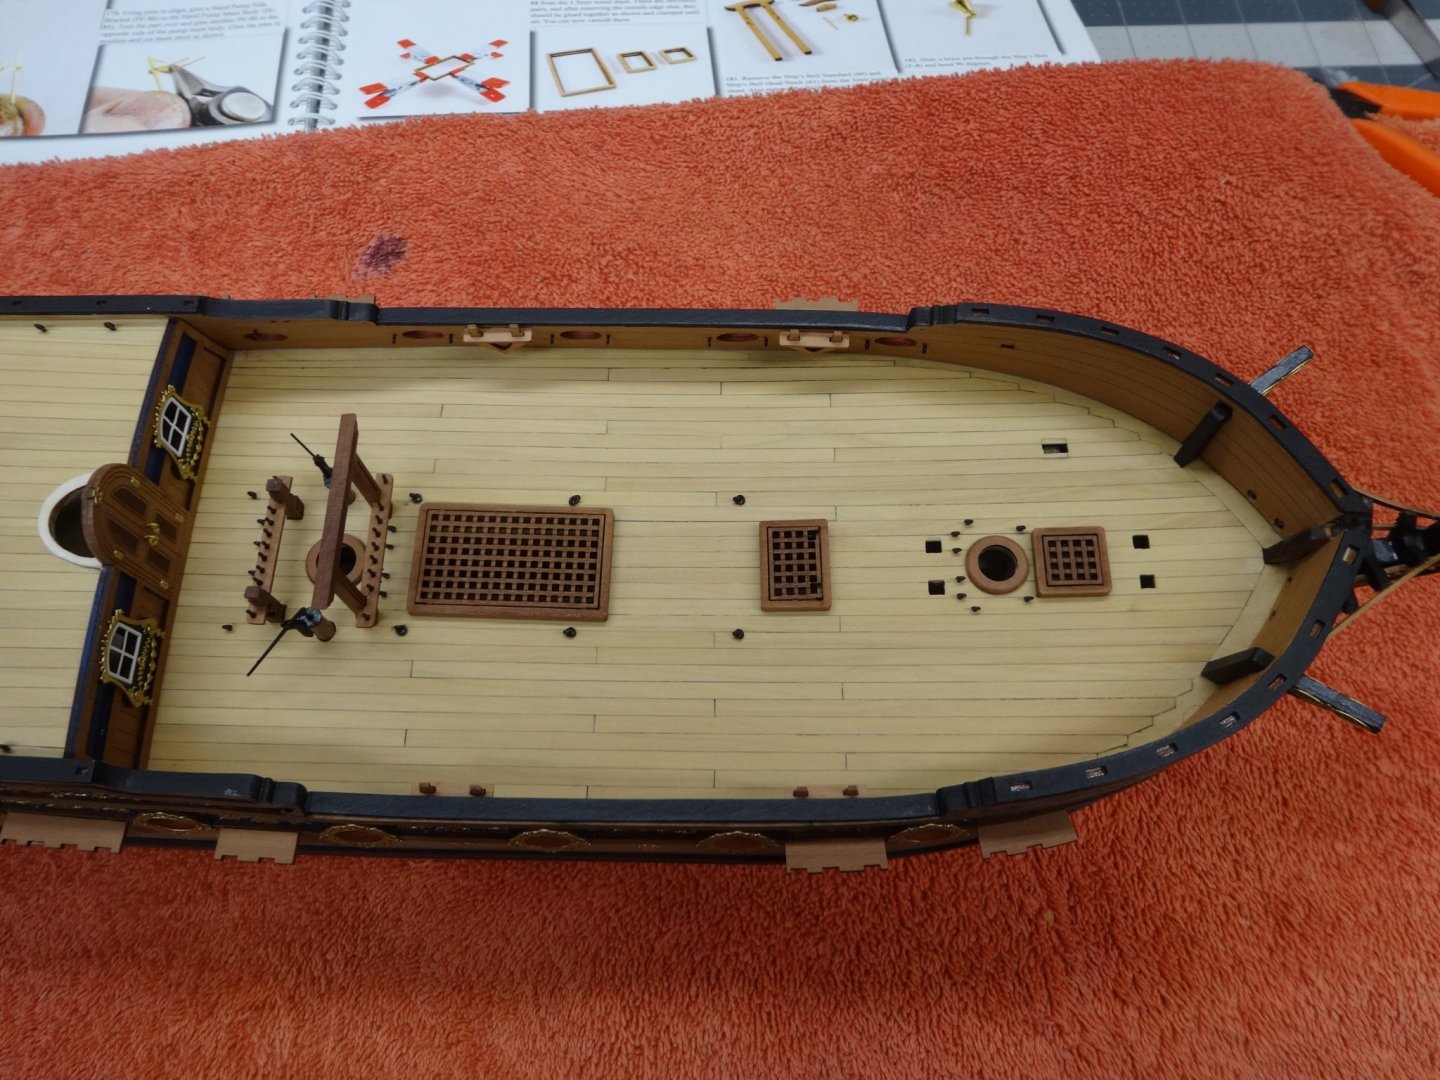
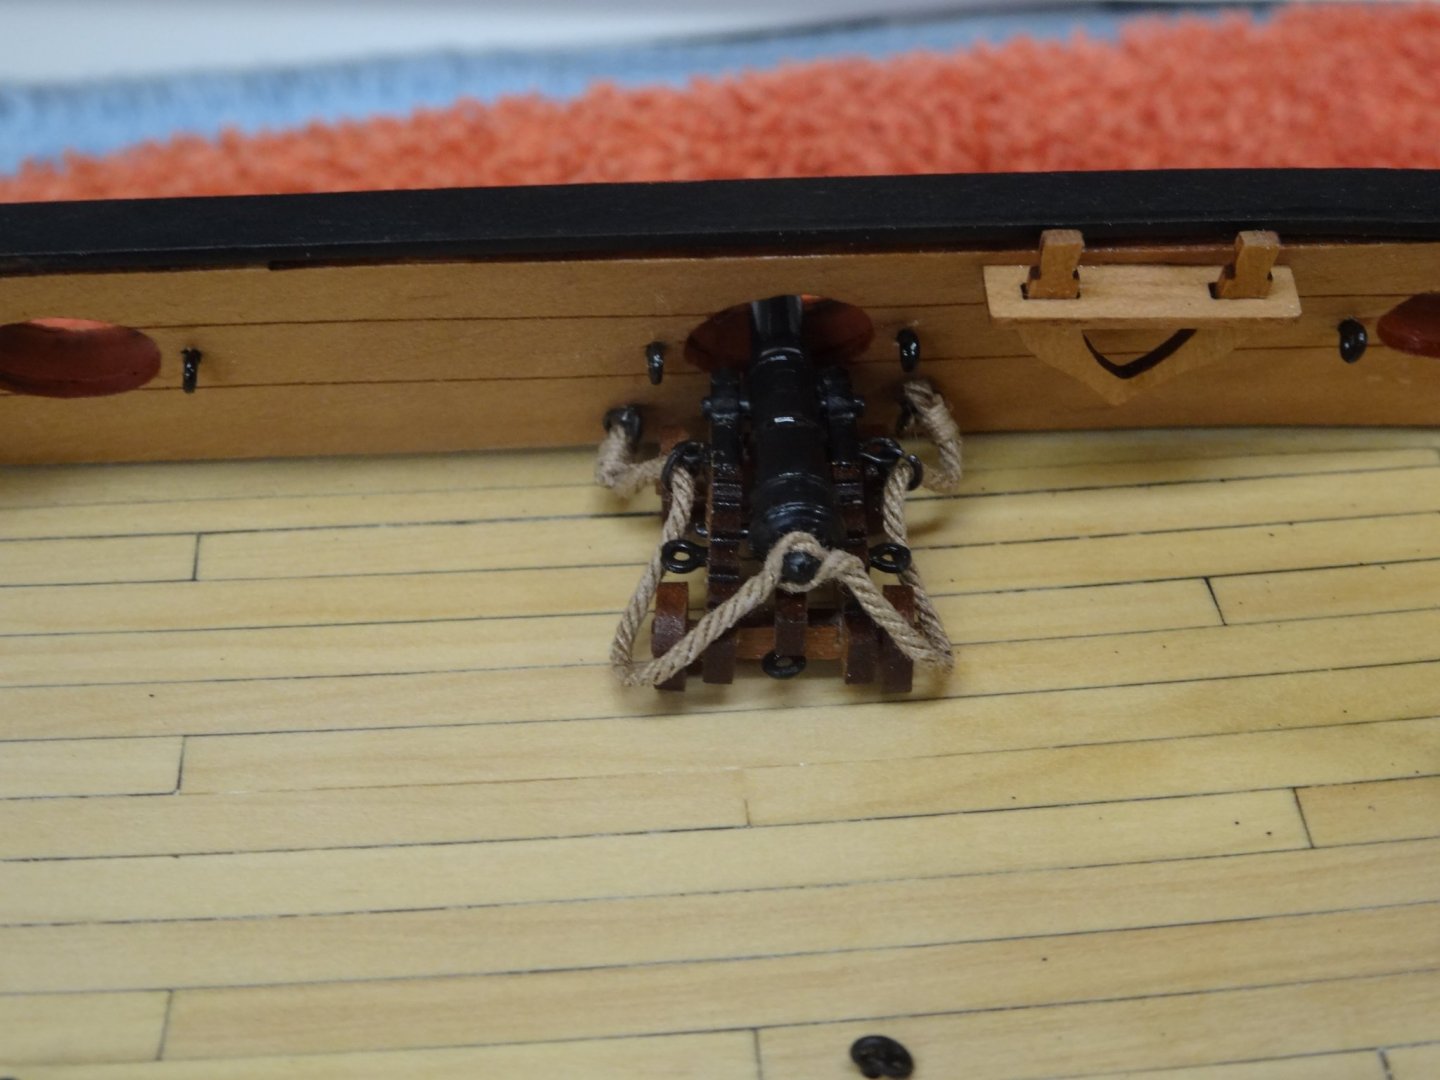
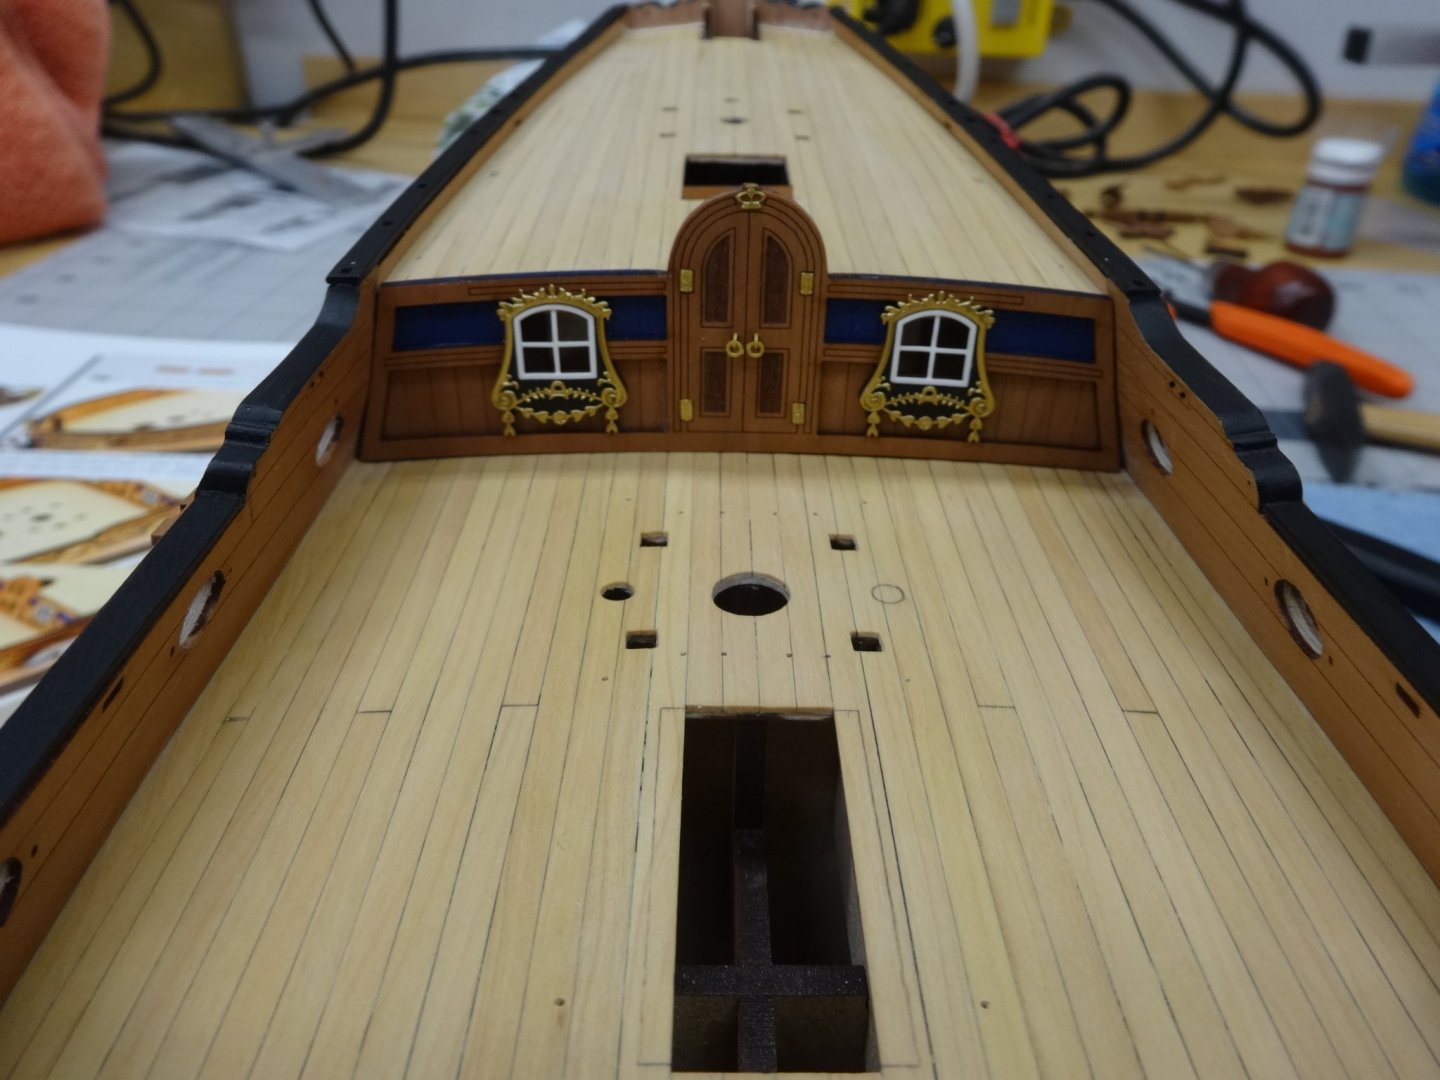
Hi All. Things have been a little chaotic at work the past three weeks as we've become a mass vaccination site. Time in the shop and on MSW have been curtailed. Anyways here's a bit more of where I'm at. I've painted the gun ports and I highly suggest you paint them prior to pinning the PE to the outboard side. Saves a bit of clean up if you are a sloppy painter like me. Mast coats were added with the edges rounded just a bit. Just something I like the way it looks. The gallows, main mast bitts and staghorn cleat beams were assembled and placed along with the hatch combings. I also assembled a cannon and rigged it with the breach rope. I attempted the tackle but even using 2mm blocks and the smallest hocks I could make there was no space between the blocks and I did not like the look. So I will just be adding the breach rope.


- 201 replies
-
- 15
-
-
- Duchess of Kingston
- Vanguard Models
- (and 1 more)
-
Great work and I appreciate the detailed explanation.
-
Thank you Jean-Paul. The PE is nice and thick so that helps. Also there's around four coats of primer then four coats of the final color. That gives it even more depth.
- 201 replies
-
- 3
-
-
- Duchess of Kingston
- Vanguard Models
- (and 1 more)
-
Very nice Glenn. great description which I'll reference often once I get there.
-
And you said your eyes were old! Great catch Bob. Thanks
- 201 replies
-
- 1
-
-
- Duchess of Kingston
- Vanguard Models
- (and 1 more)
-
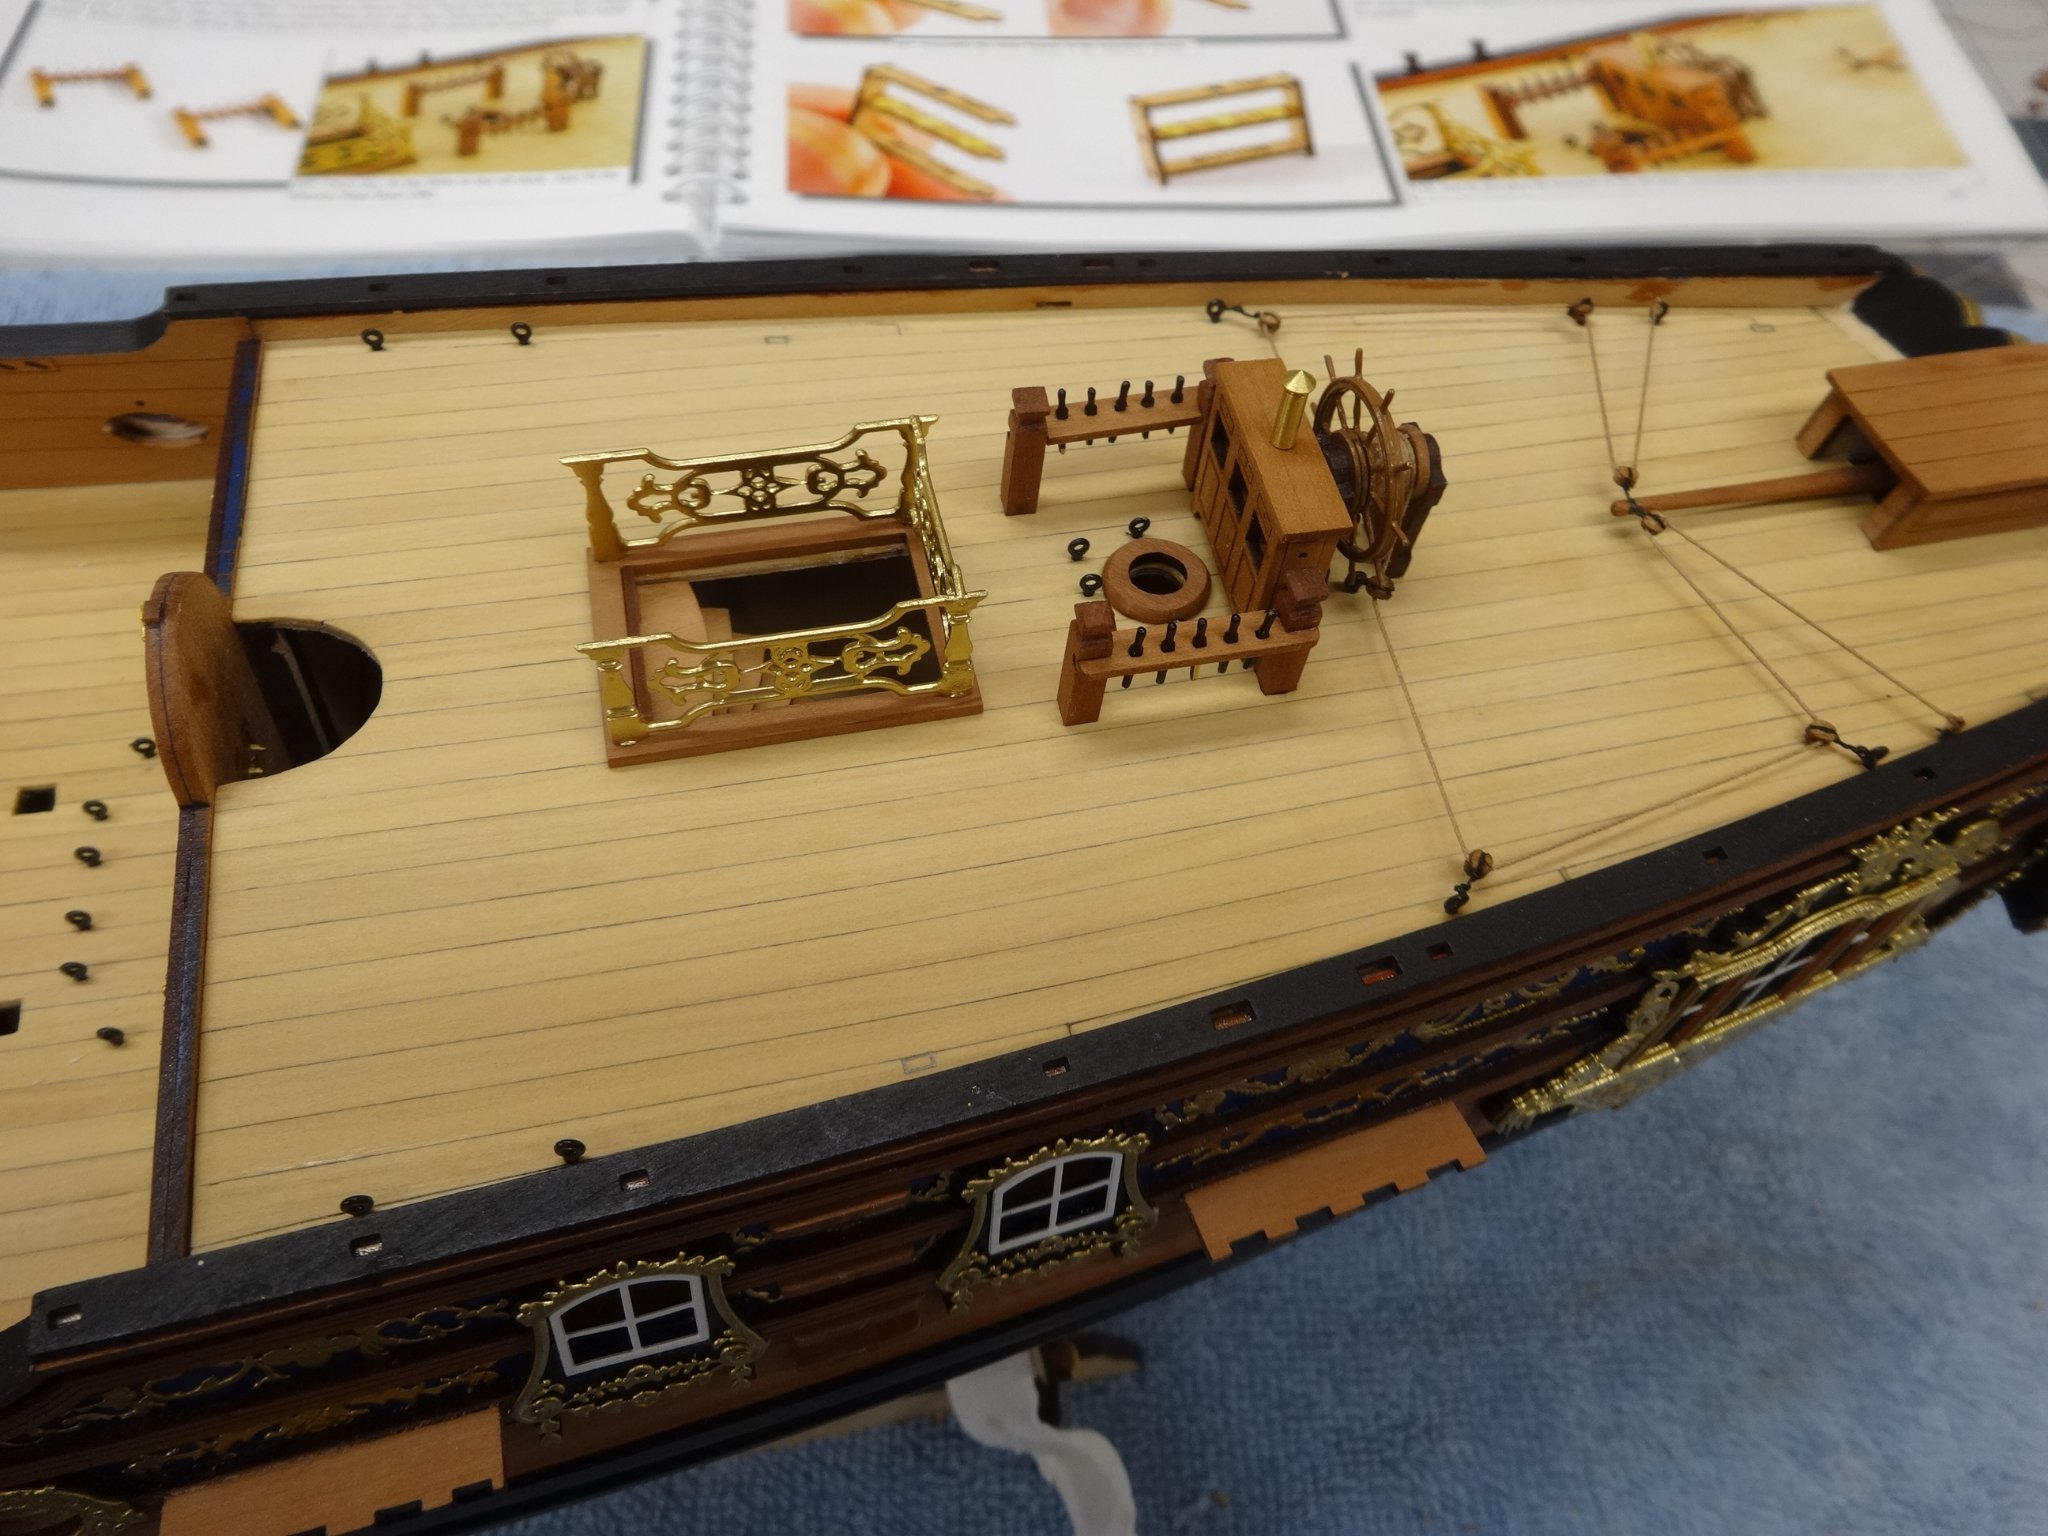
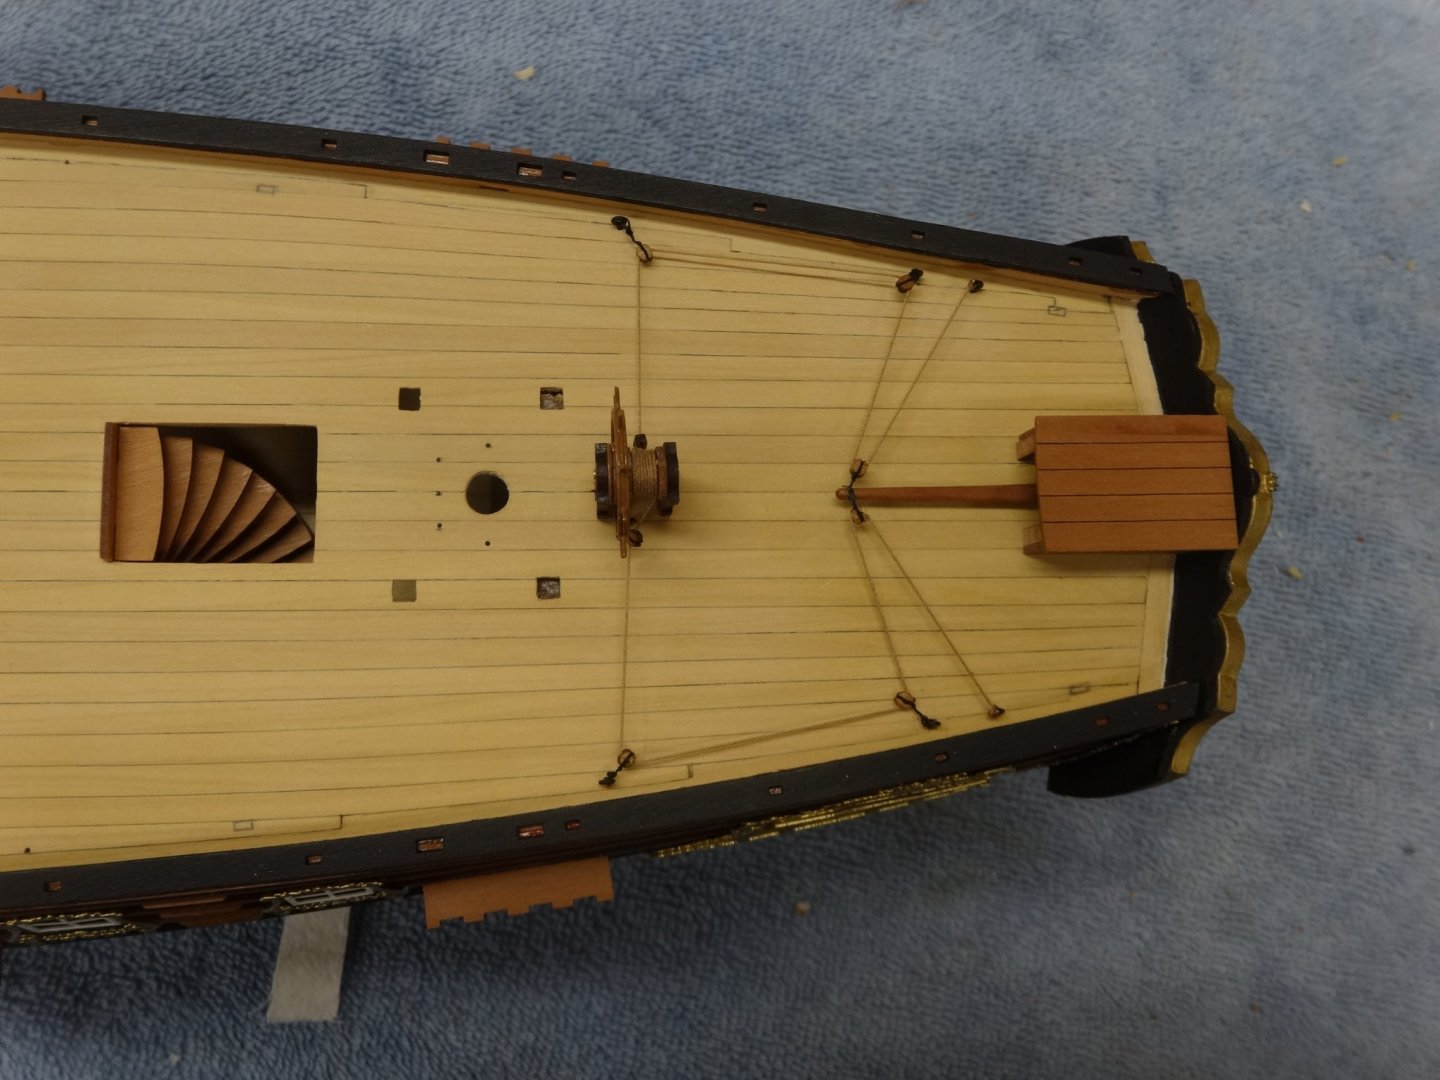
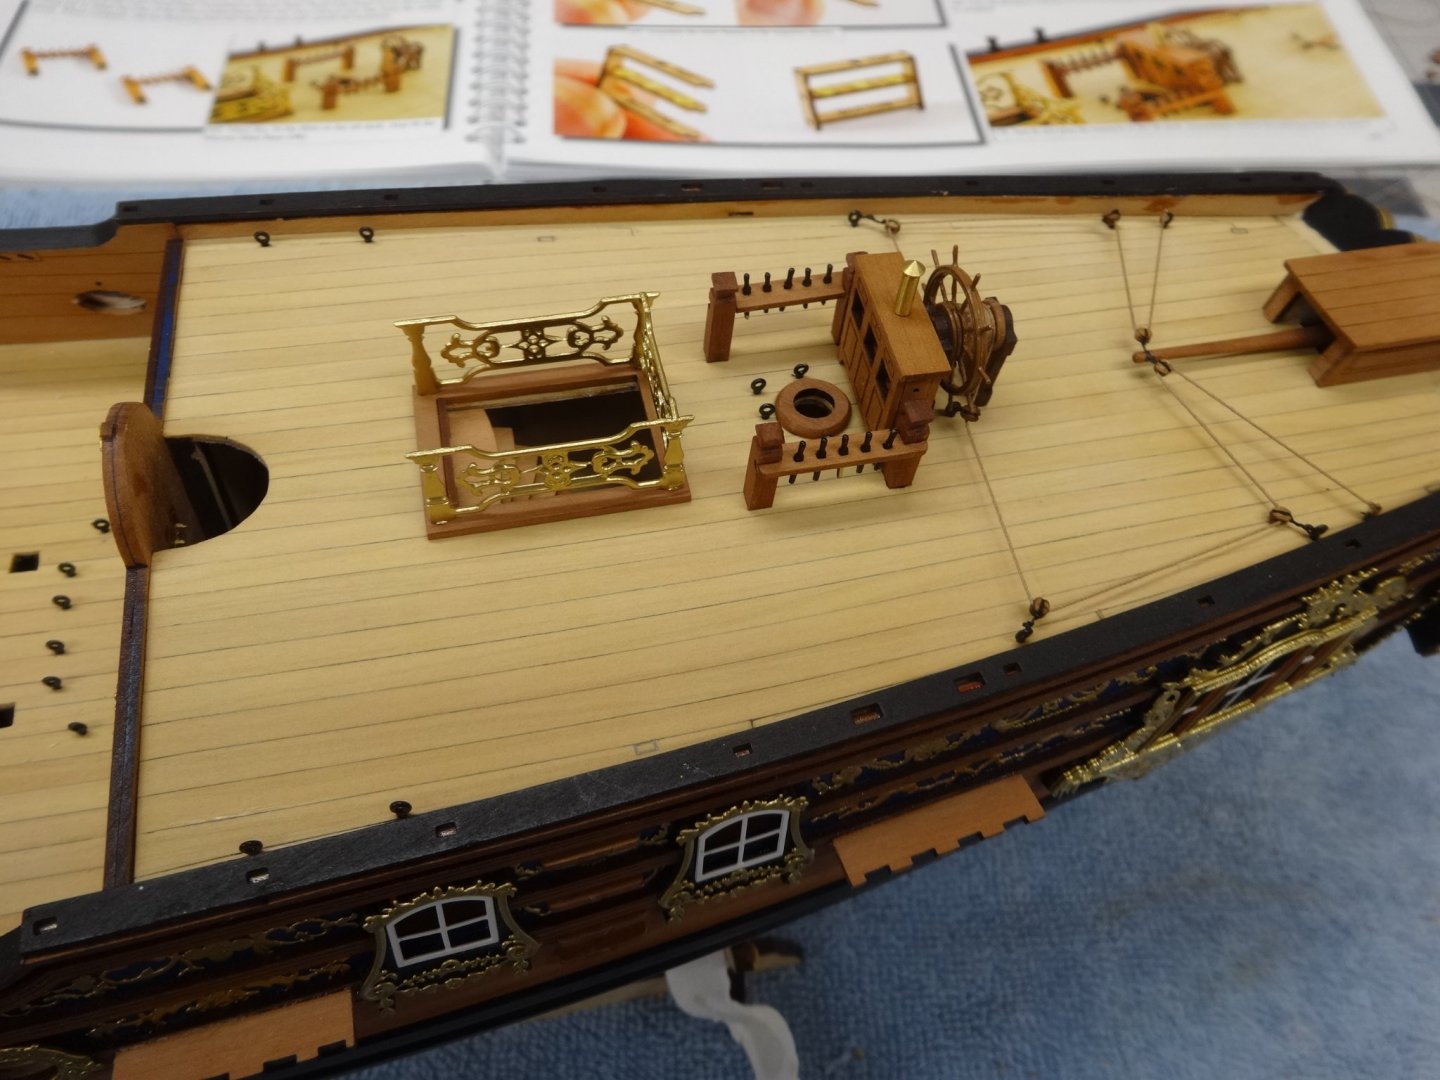
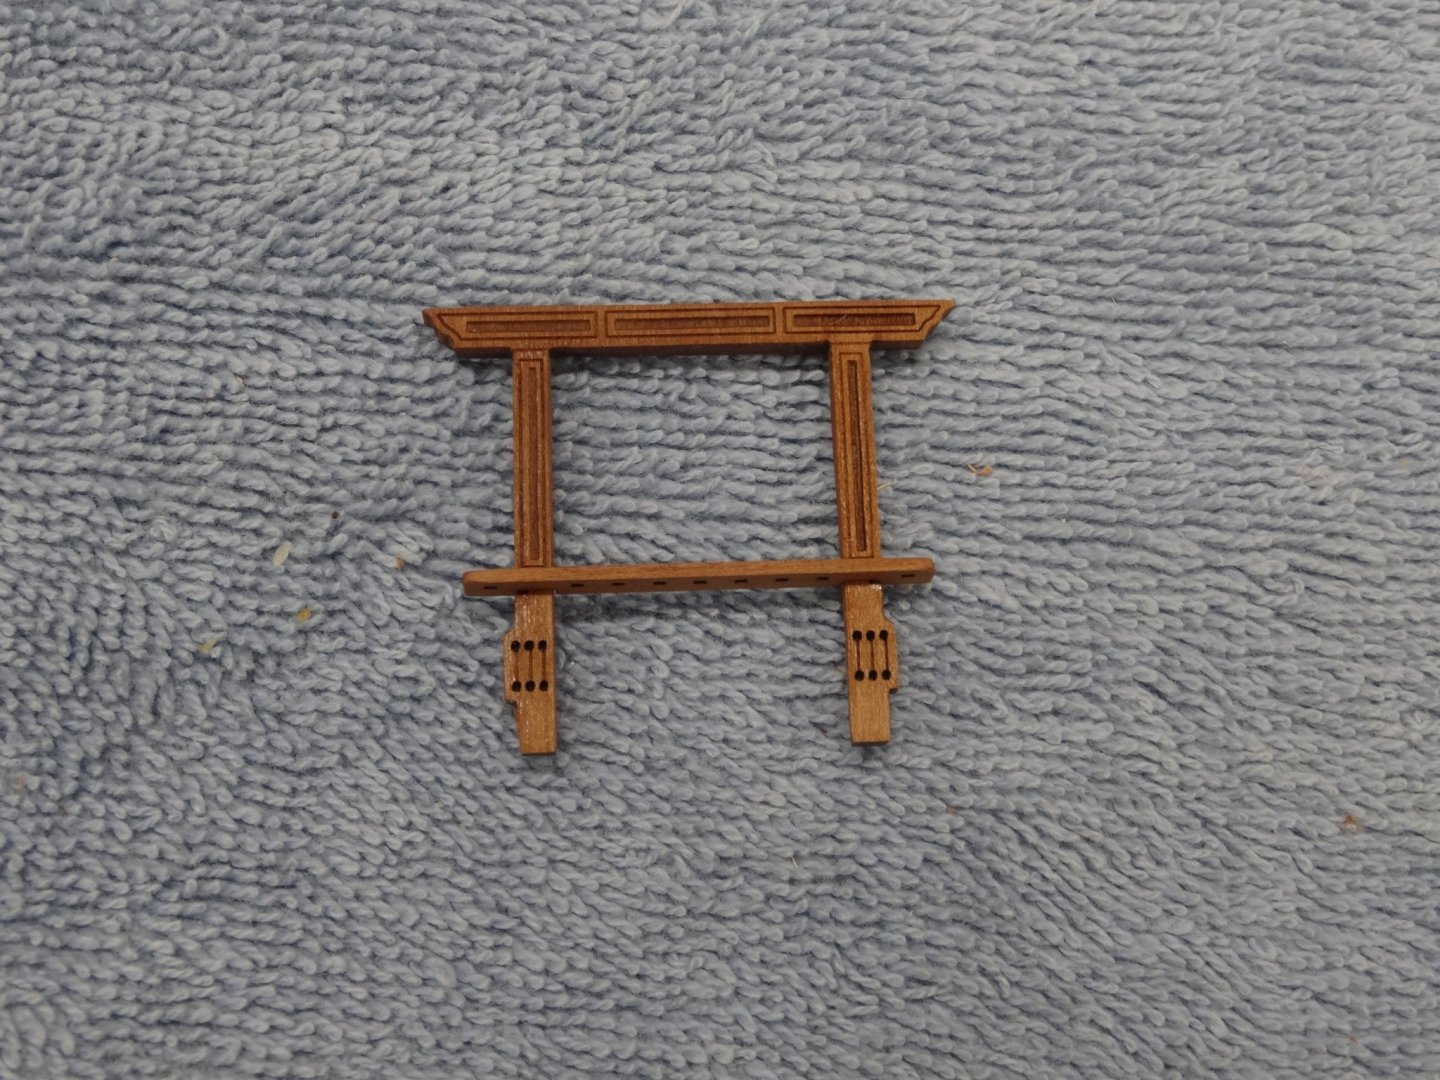
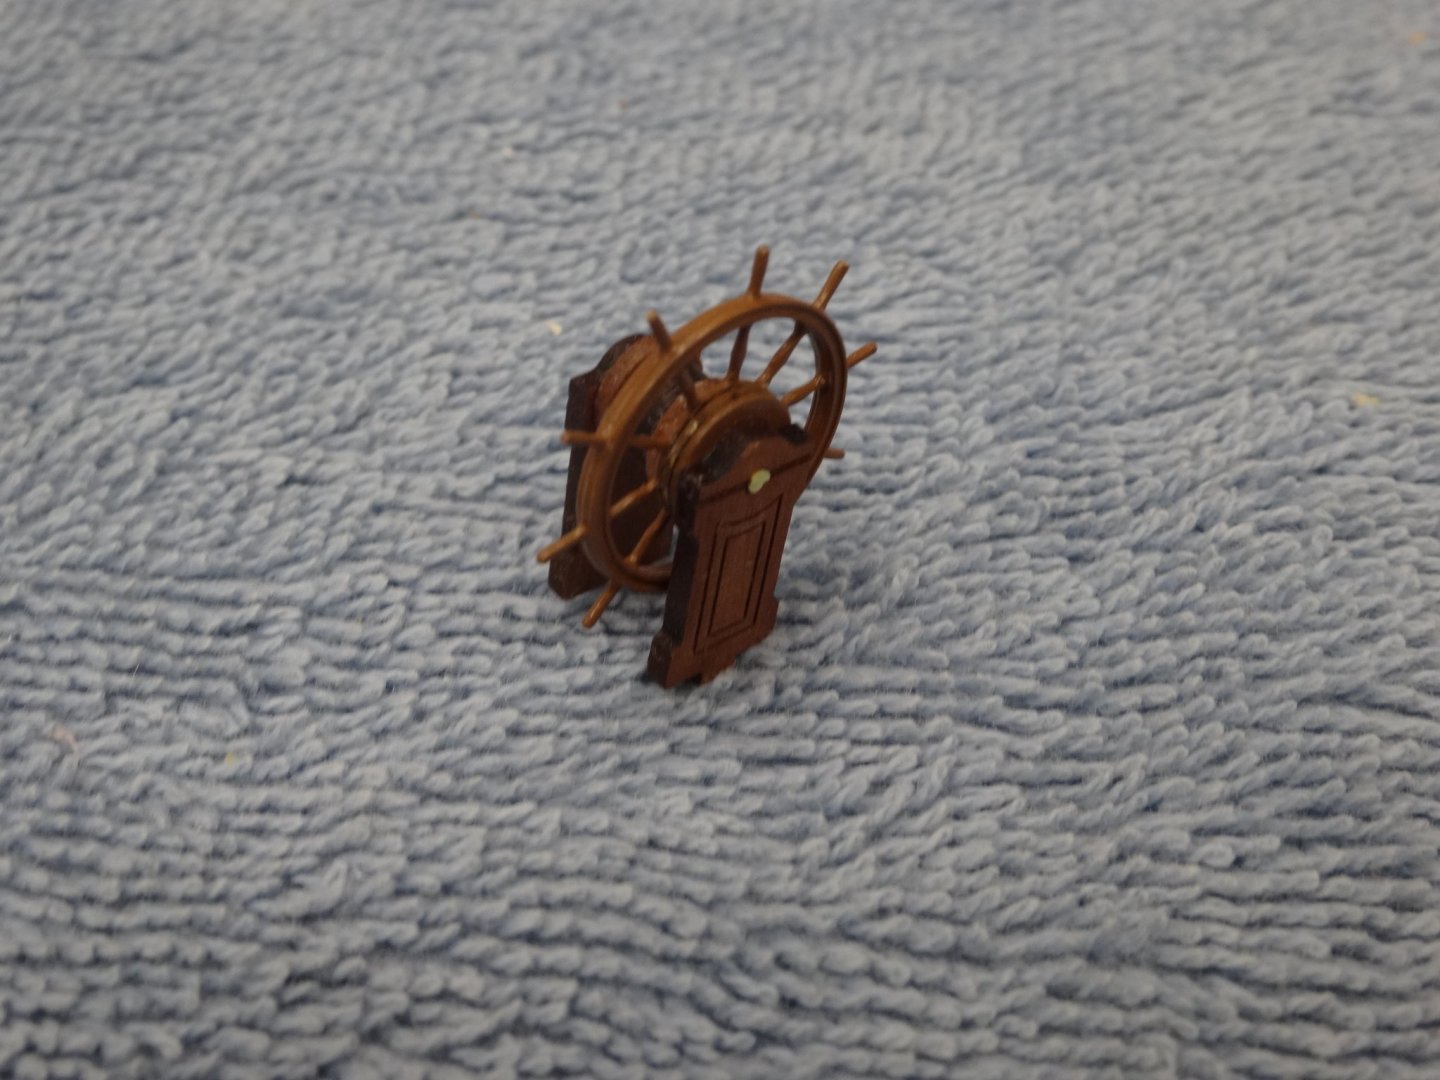
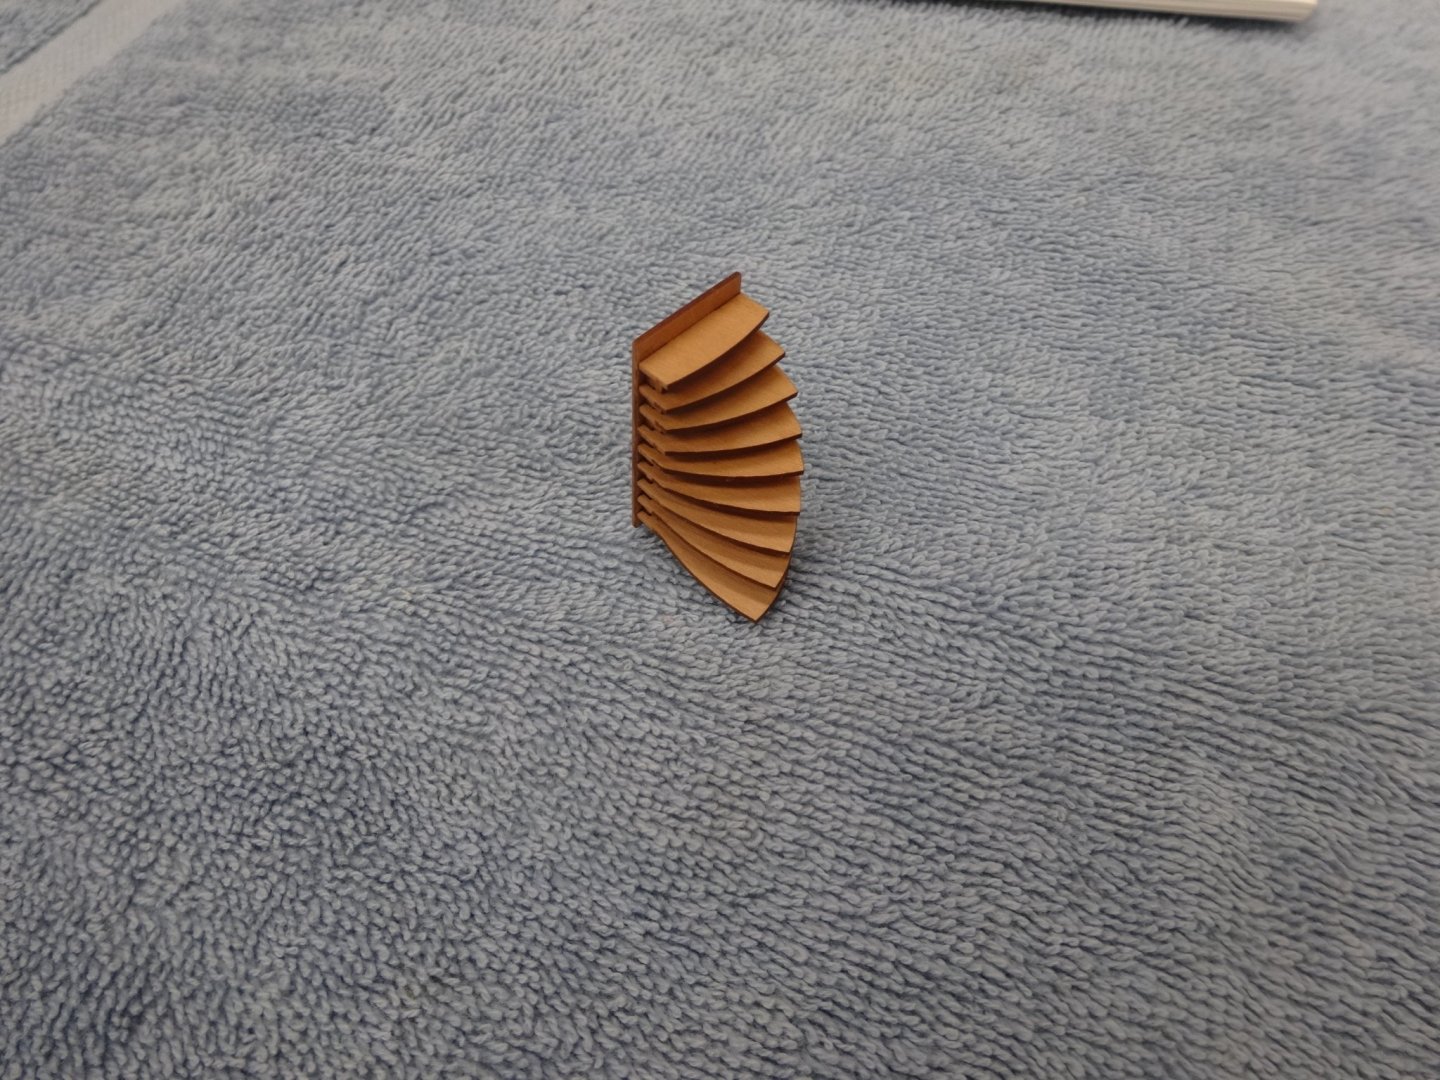
The mid deck bulkhead which was made earlier has now been placed. The spiral staircase glued in, the tiller housing and tiller handle are done as well as placing the ships wheel and rigged the blocks to the tiller. I used a light brown rigging thread I had from Syren. Also the quarter deck companion rails, binnacle, mast coat and bitts have been glued in place too.
- 201 replies
-
- 17
-
-
- Duchess of Kingston
- Vanguard Models
- (and 1 more)
-
Coming along nicely Bob. As far as canon rigging goes I'm gonna play with one and see how much tackle to add and what looks good.
-
Really nice Fred. Glad to see your progress!
-
Very nice Glenn. Good to see we do it the same way.
- 382 replies
-
- 1
-

-
- Vanguard Models
- Duchess of Kingston
- (and 1 more)
-
I can't say it any better than that!
-
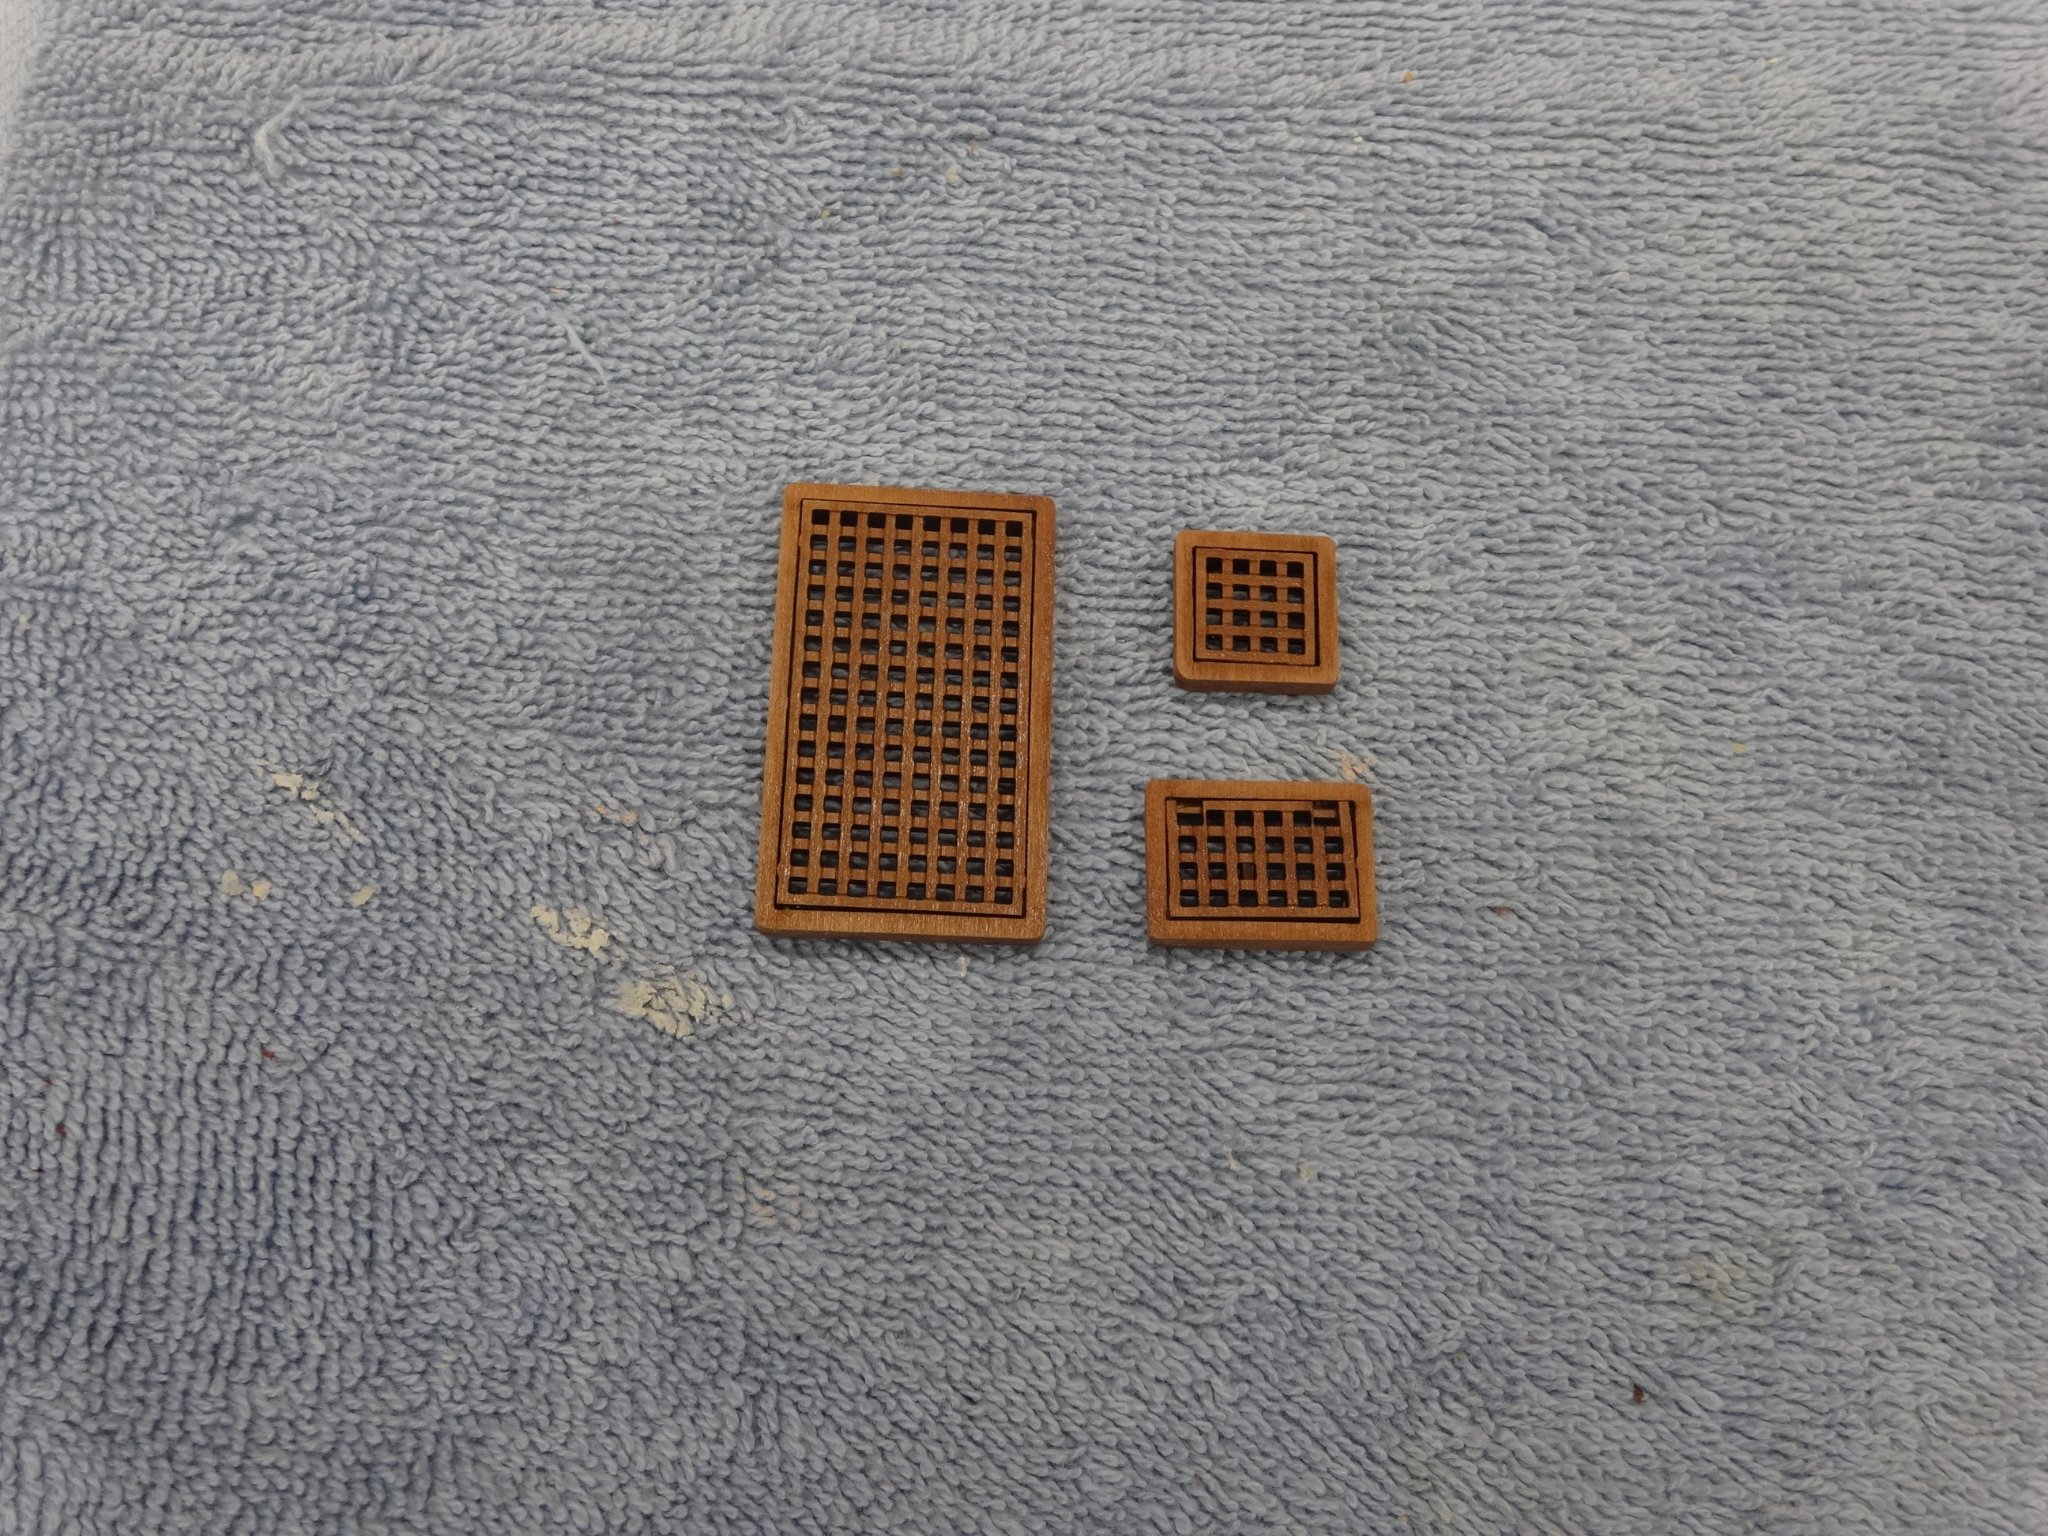
One of the best part of the build! Thanks the grating was just placed for the picture. For once I followed the directions.
- 201 replies
-
- 1
-
-
- Duchess of Kingston
- Vanguard Models
- (and 1 more)
-
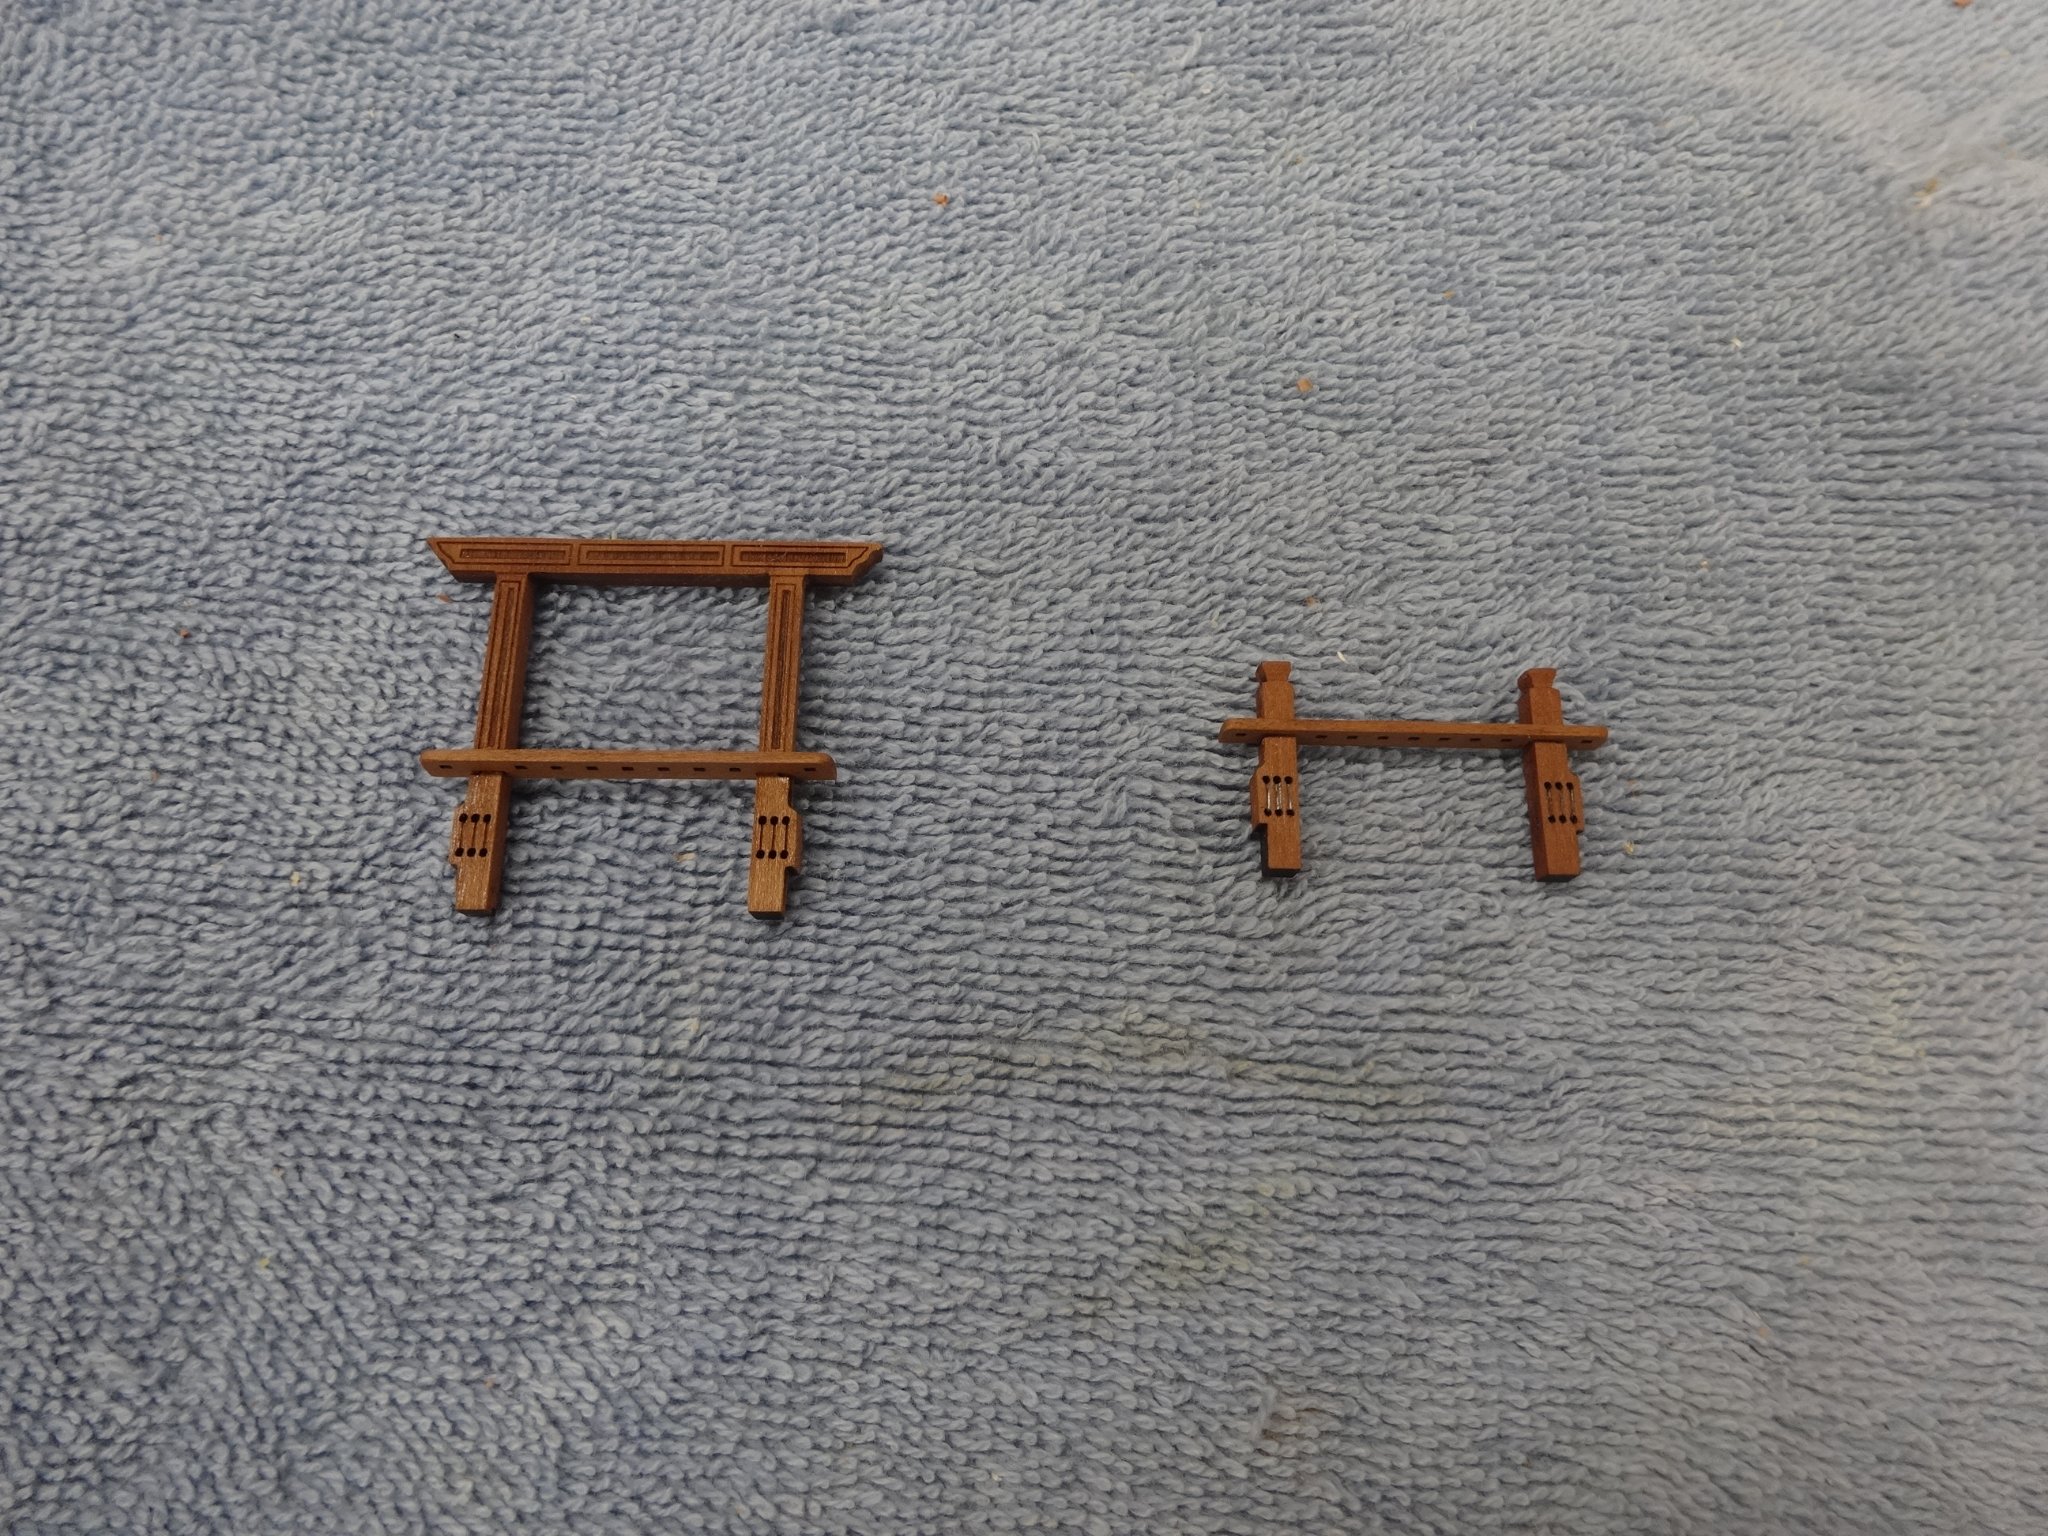
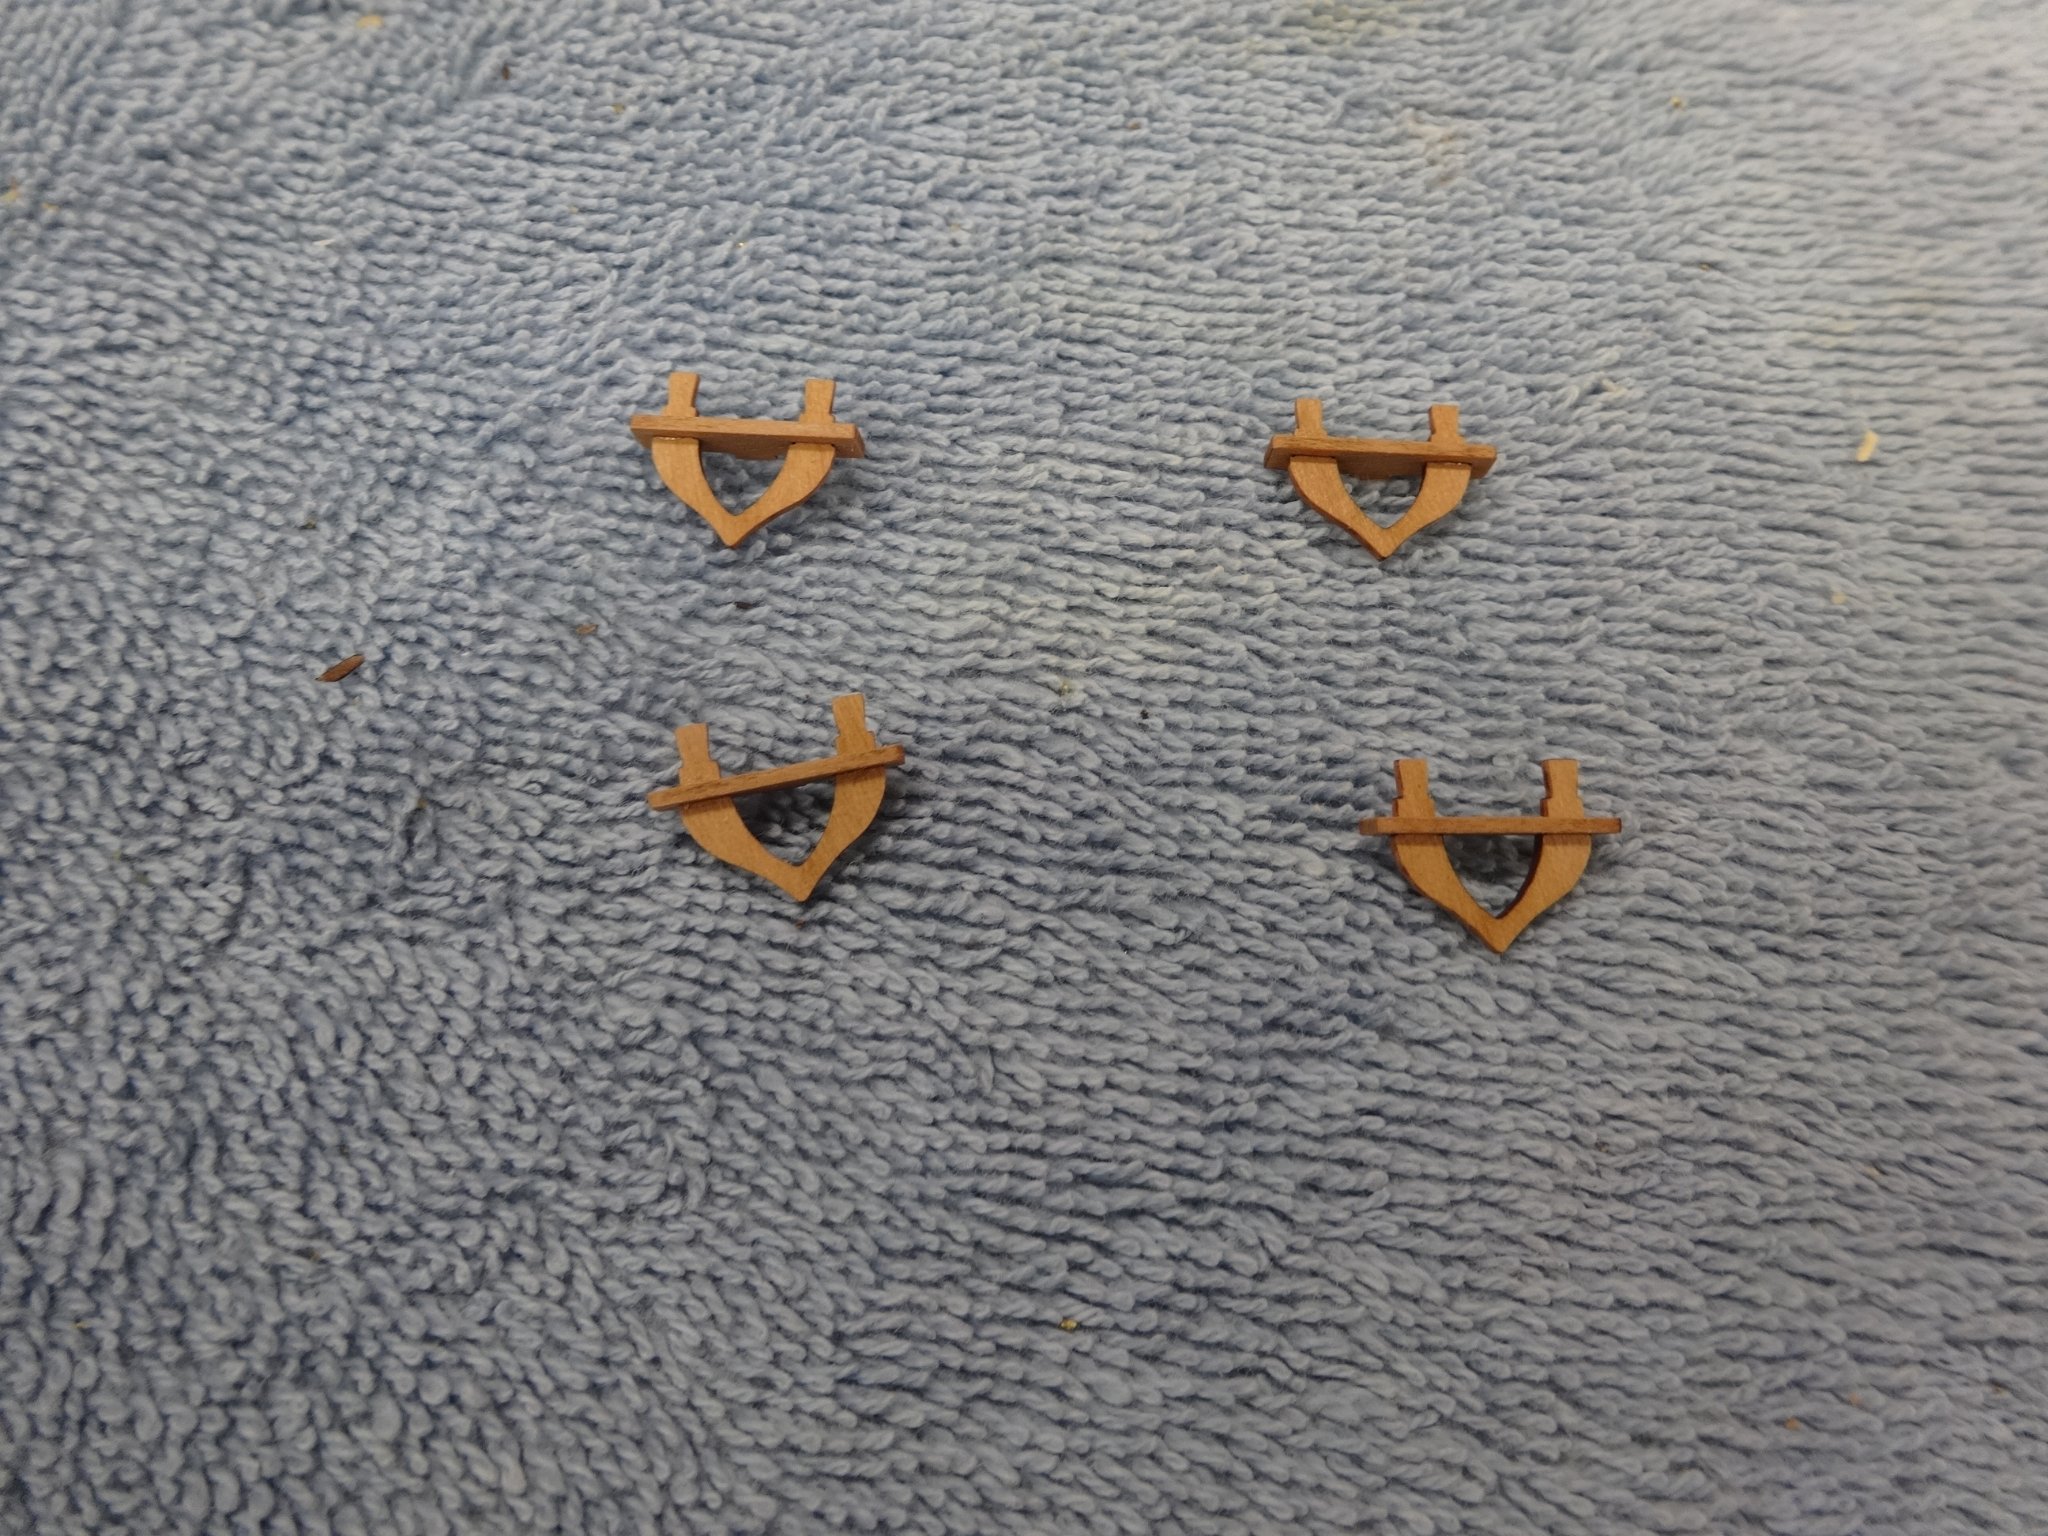
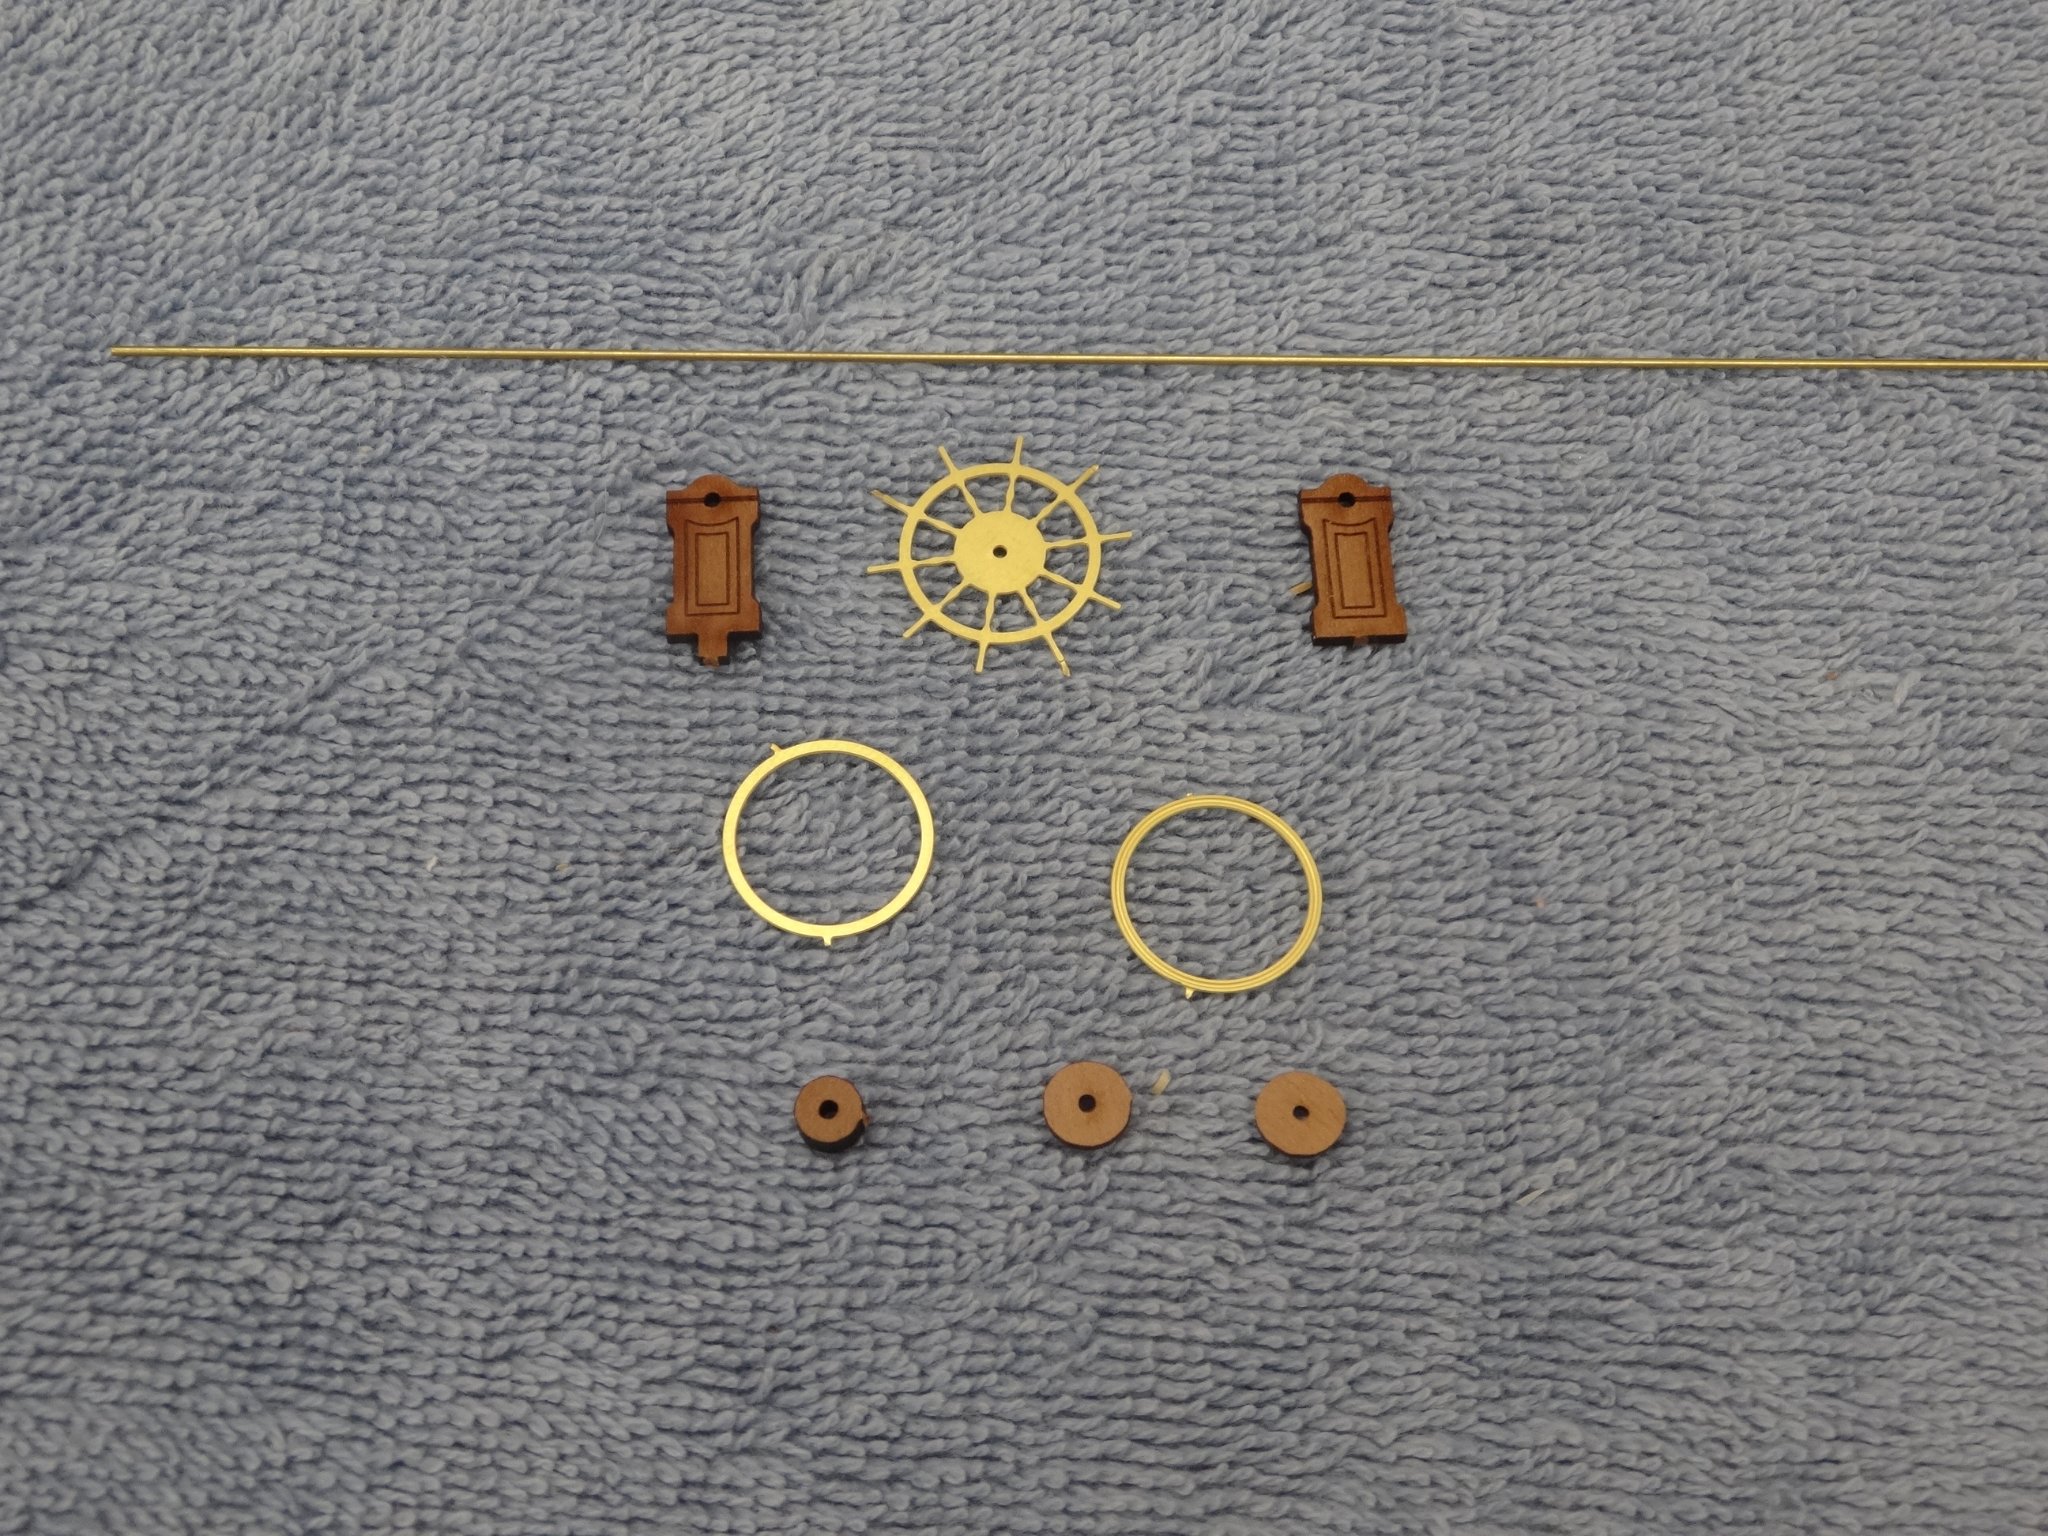
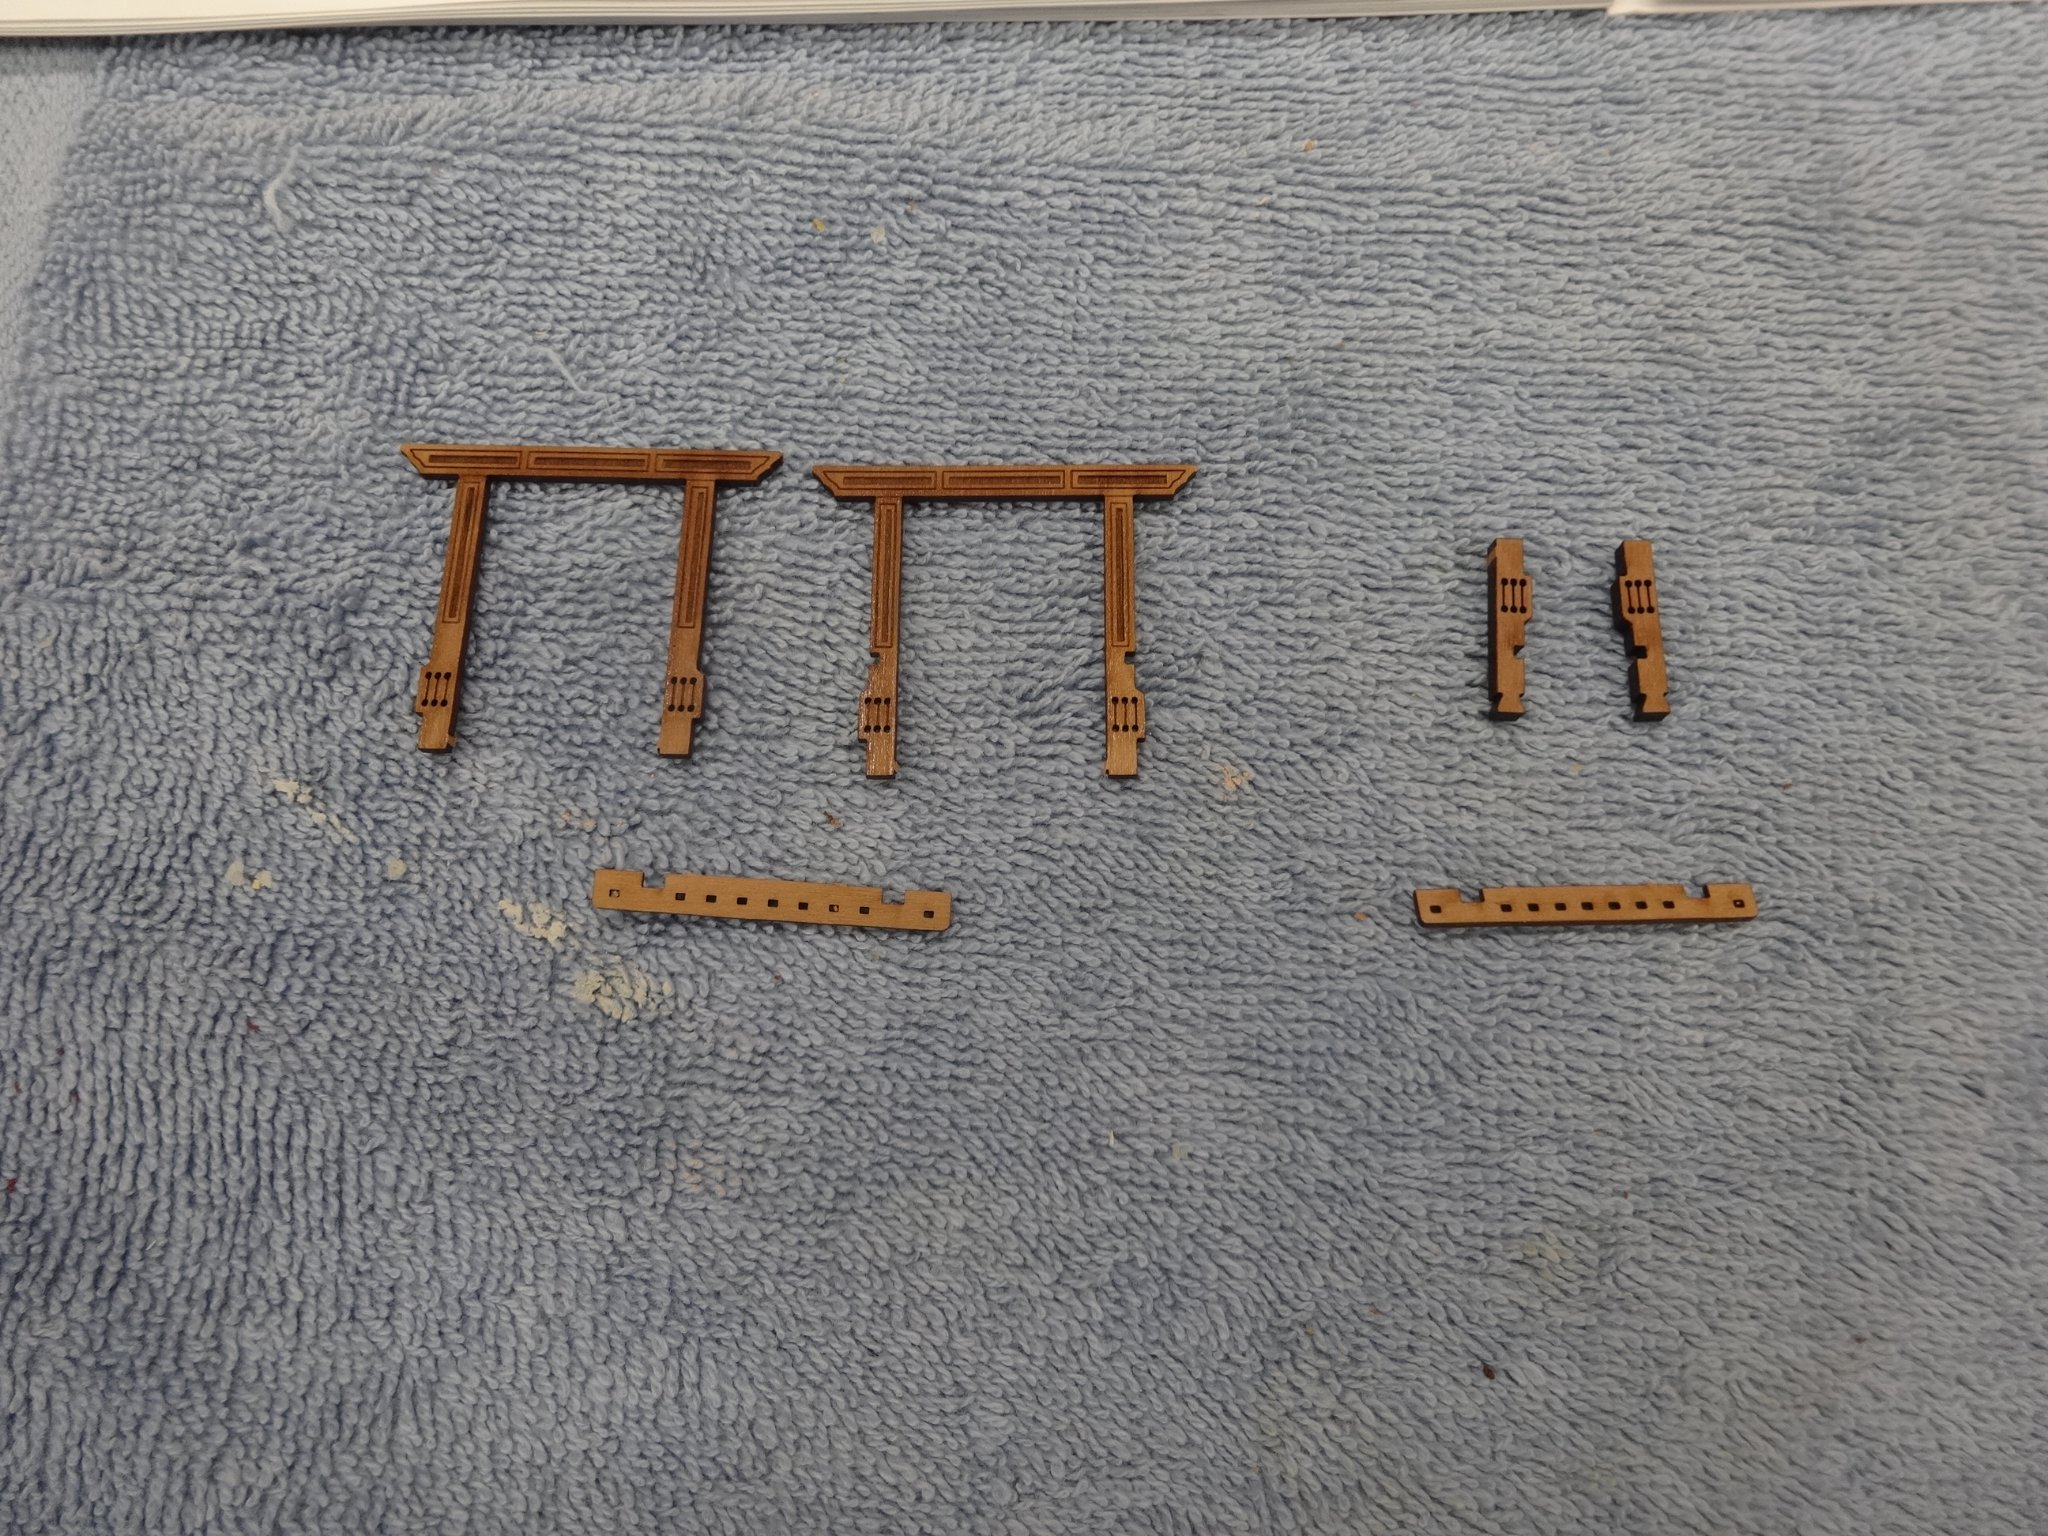
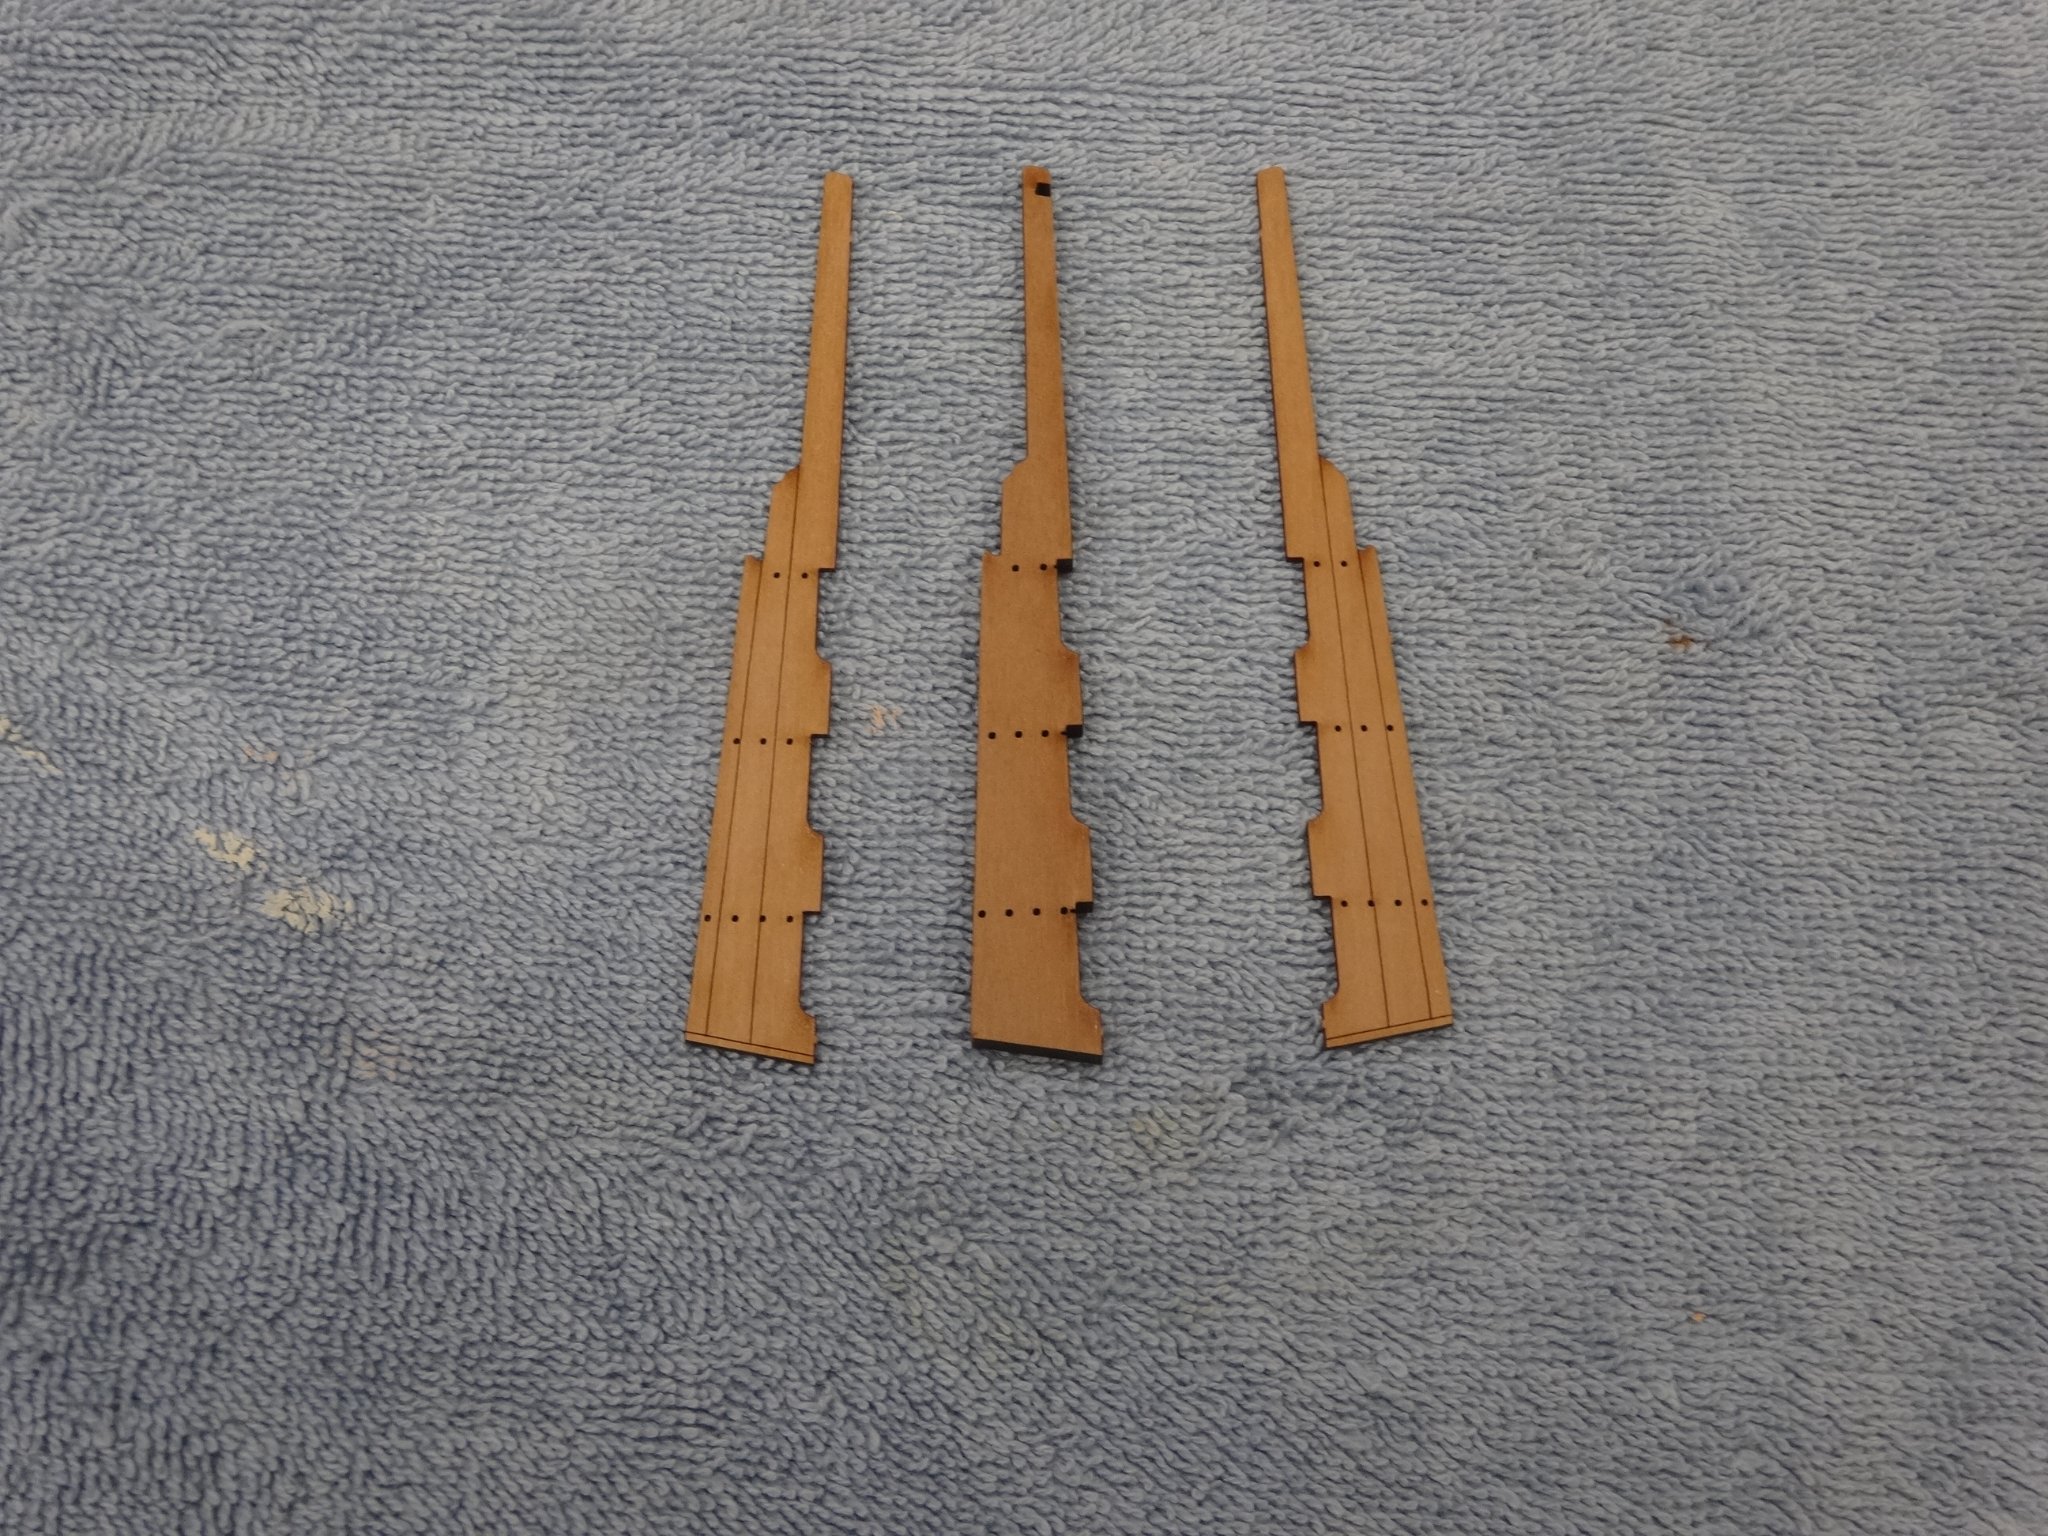
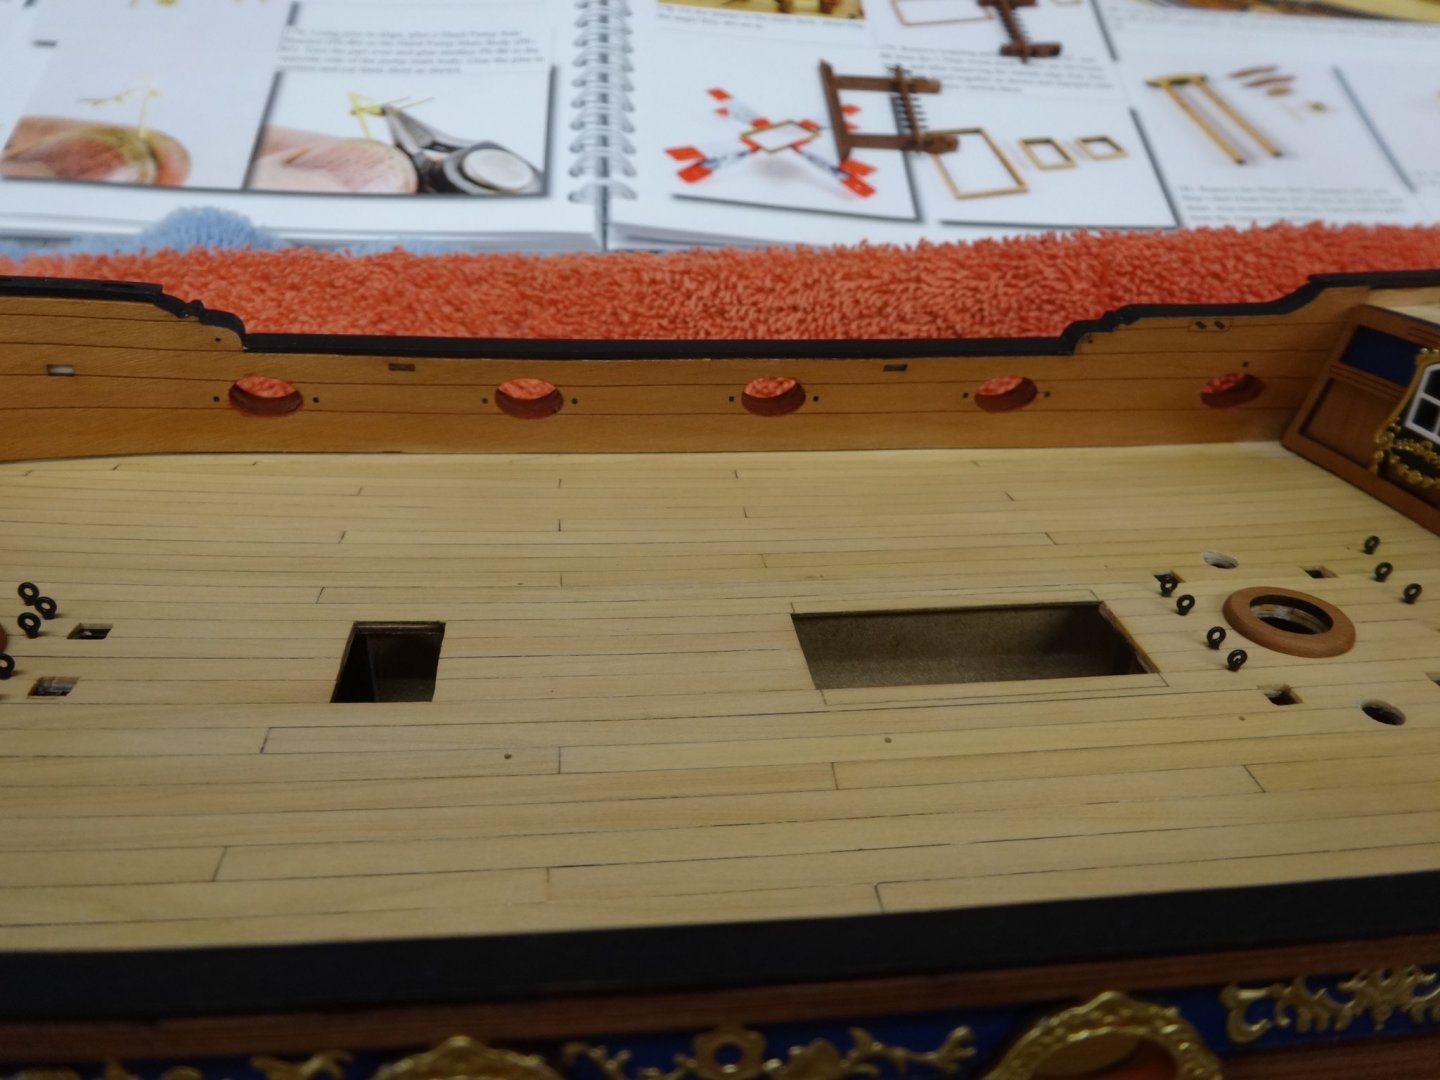
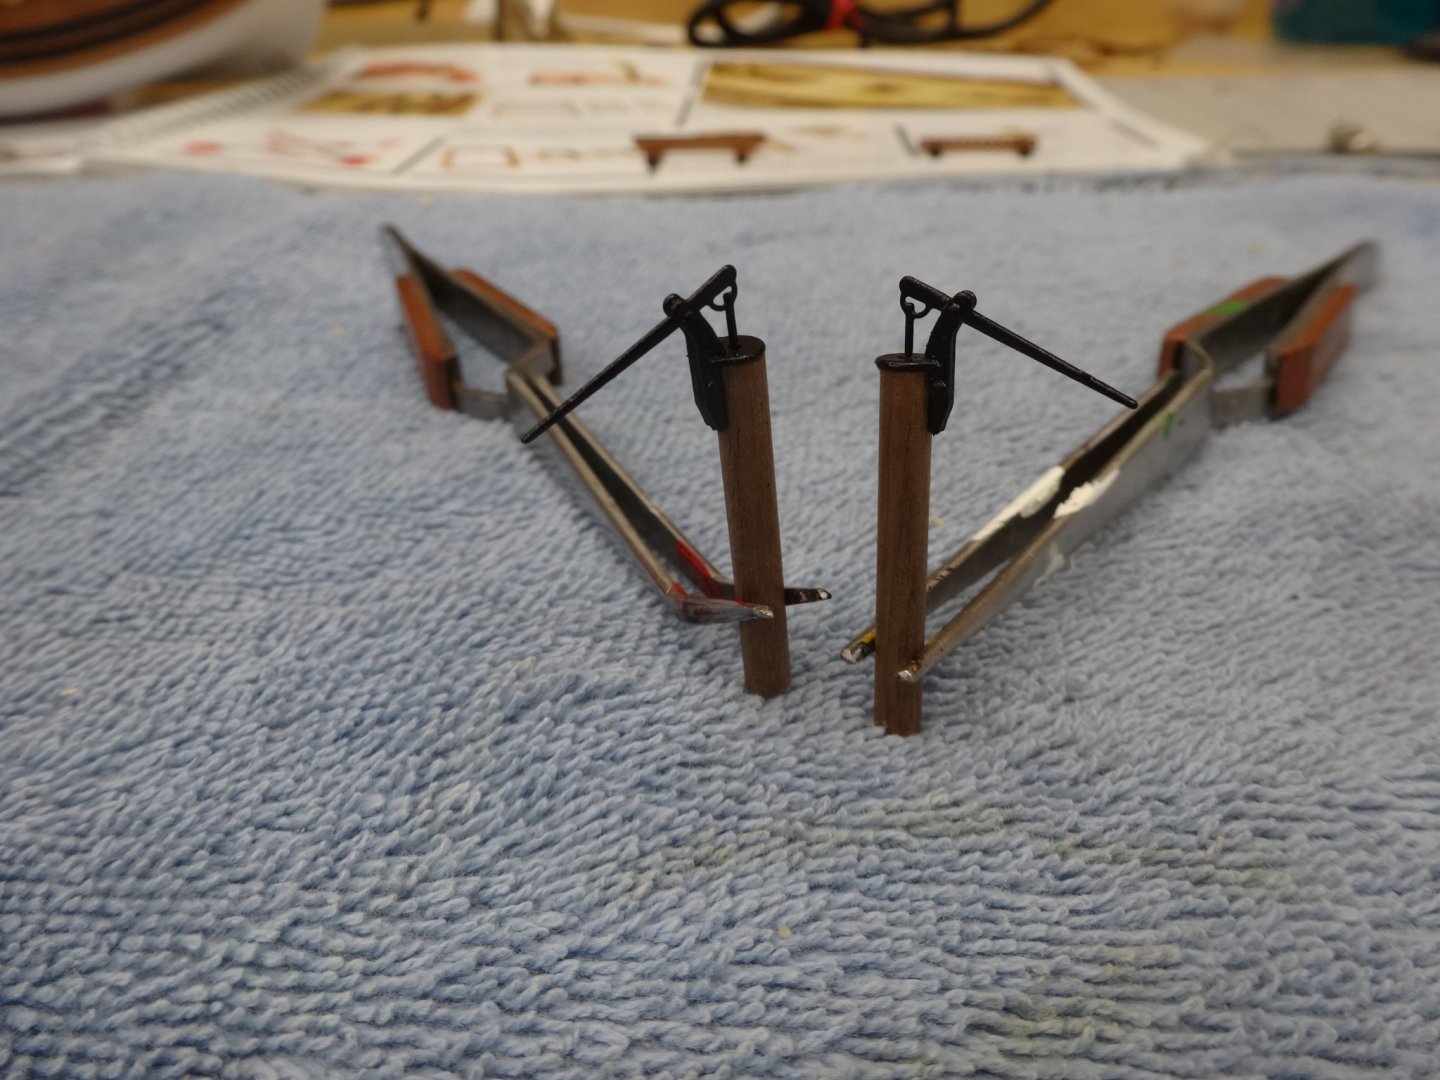
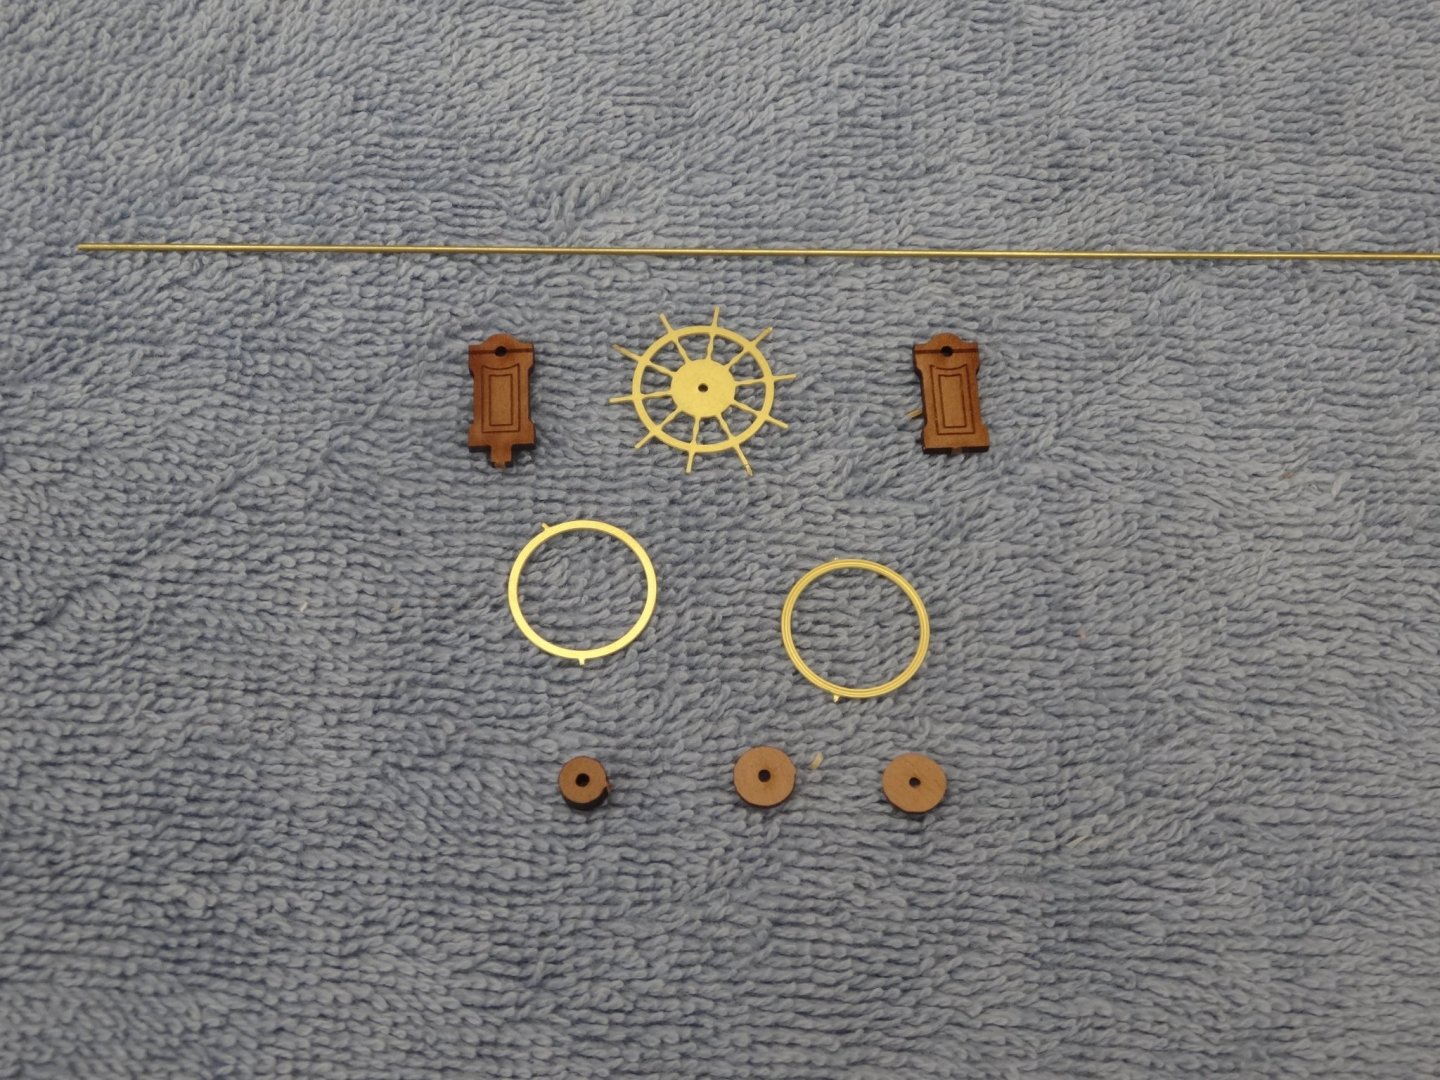
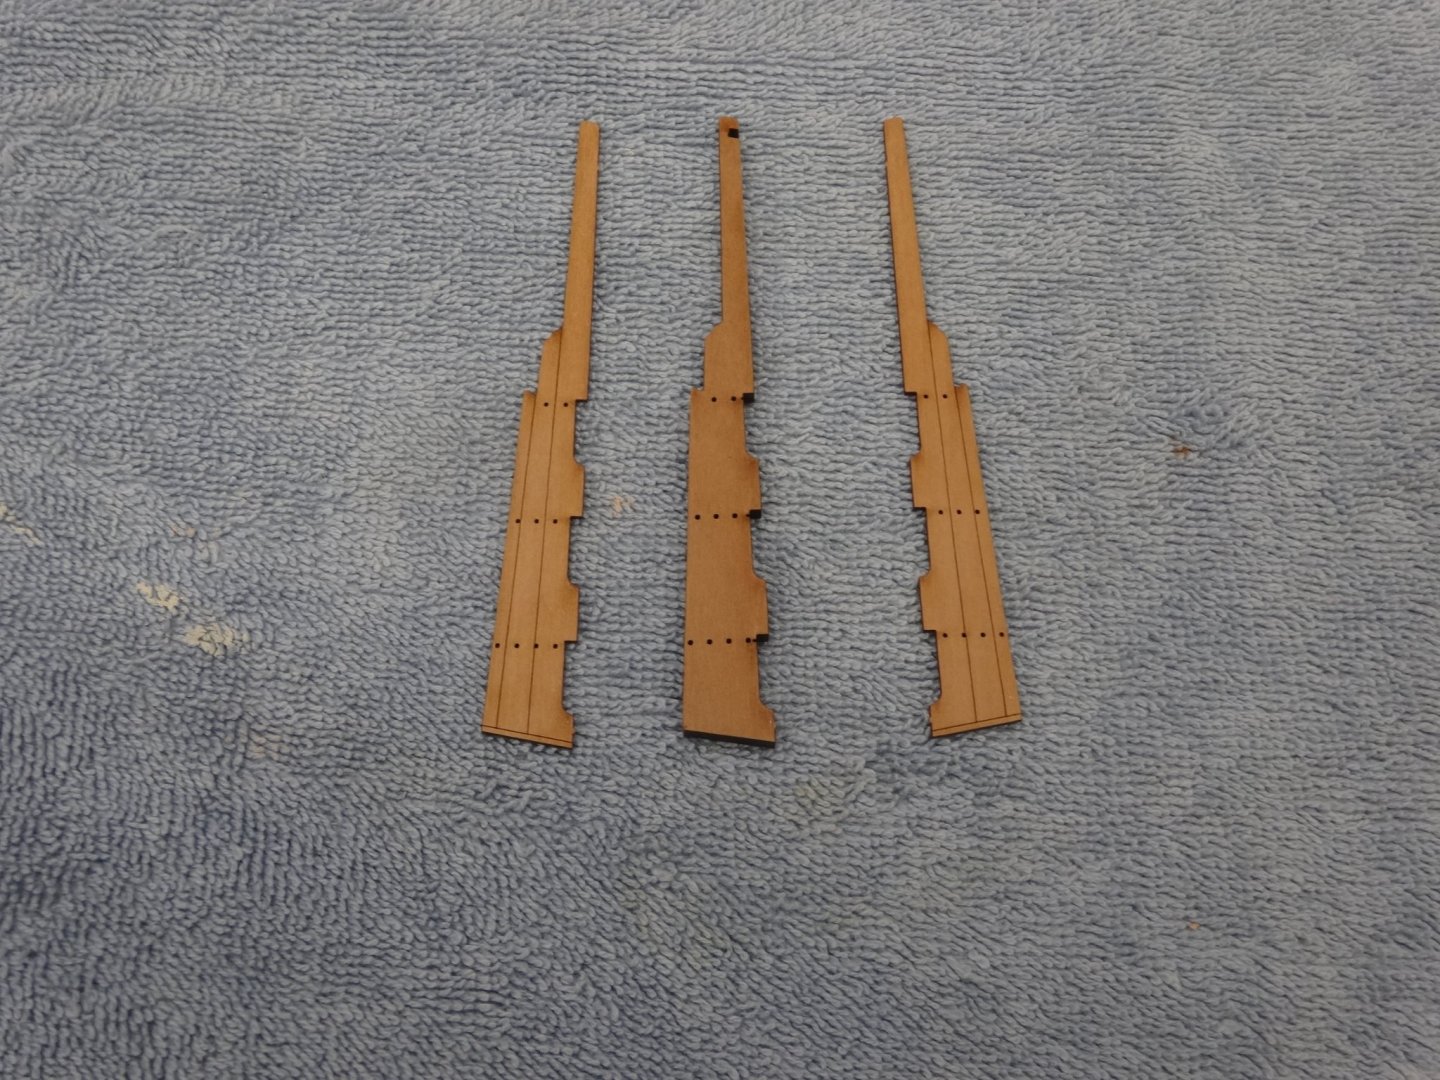
As the build has been progressing I've been building some of the various deck pieces. If I'm waiting for glue or paint to dry I would work on a piece. Here is some of what has been built so far. This will make things move much faster when I start working inboard.


- 201 replies
-
- 12
-
-
- Duchess of Kingston
- Vanguard Models
- (and 1 more)
-
Thanks Glenn. Trying to follow your, Jim's and Bob's fine examples. Thanks Joe. Thanks Chris, You've done a fine job designing the Duchess. Thanks Sjors. Also thanks for all the likes.
- 201 replies
-
- 1
-
-
- Duchess of Kingston
- Vanguard Models
- (and 1 more)
-
Hooray! It's a great milestone and looking really good.
-
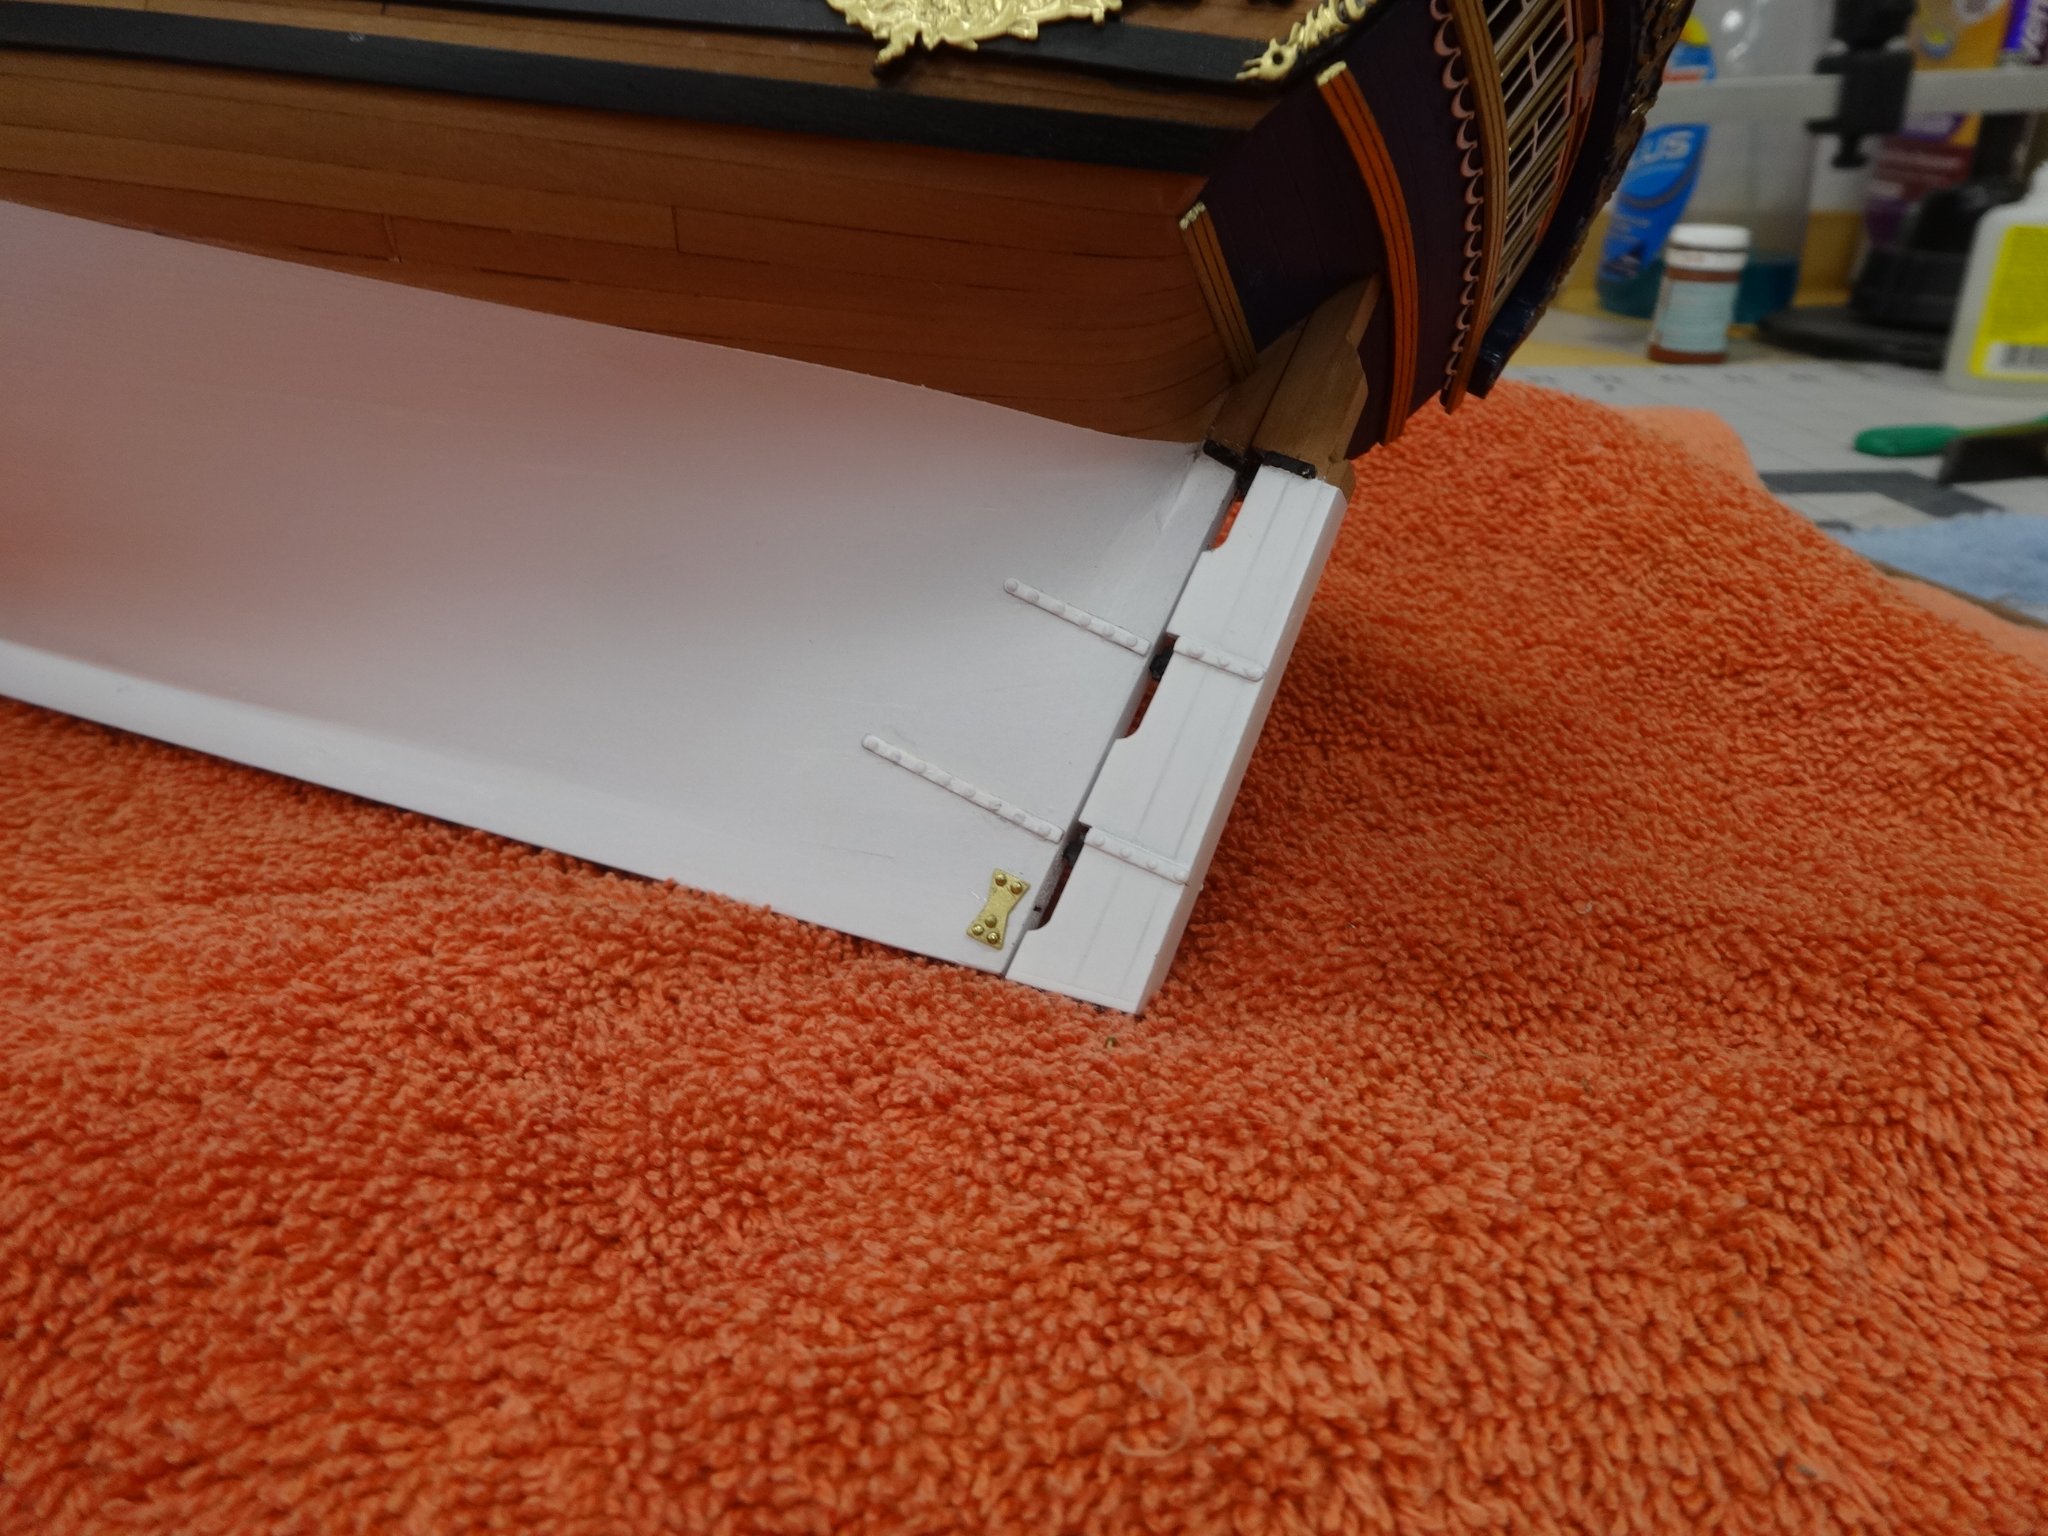
The channels have been placed by inserting in the designated holes. Channels were pressed against the points to mark their location. A pilot hole was drilled and the channels glued in place. The rudder was assembled and attached to the stern with the PE pintles and brace straps as per the plans.


- 201 replies
-
- 15
-
-
- Duchess of Kingston
- Vanguard Models
- (and 1 more)
-
Very nice Bob, I like your color choice!
-
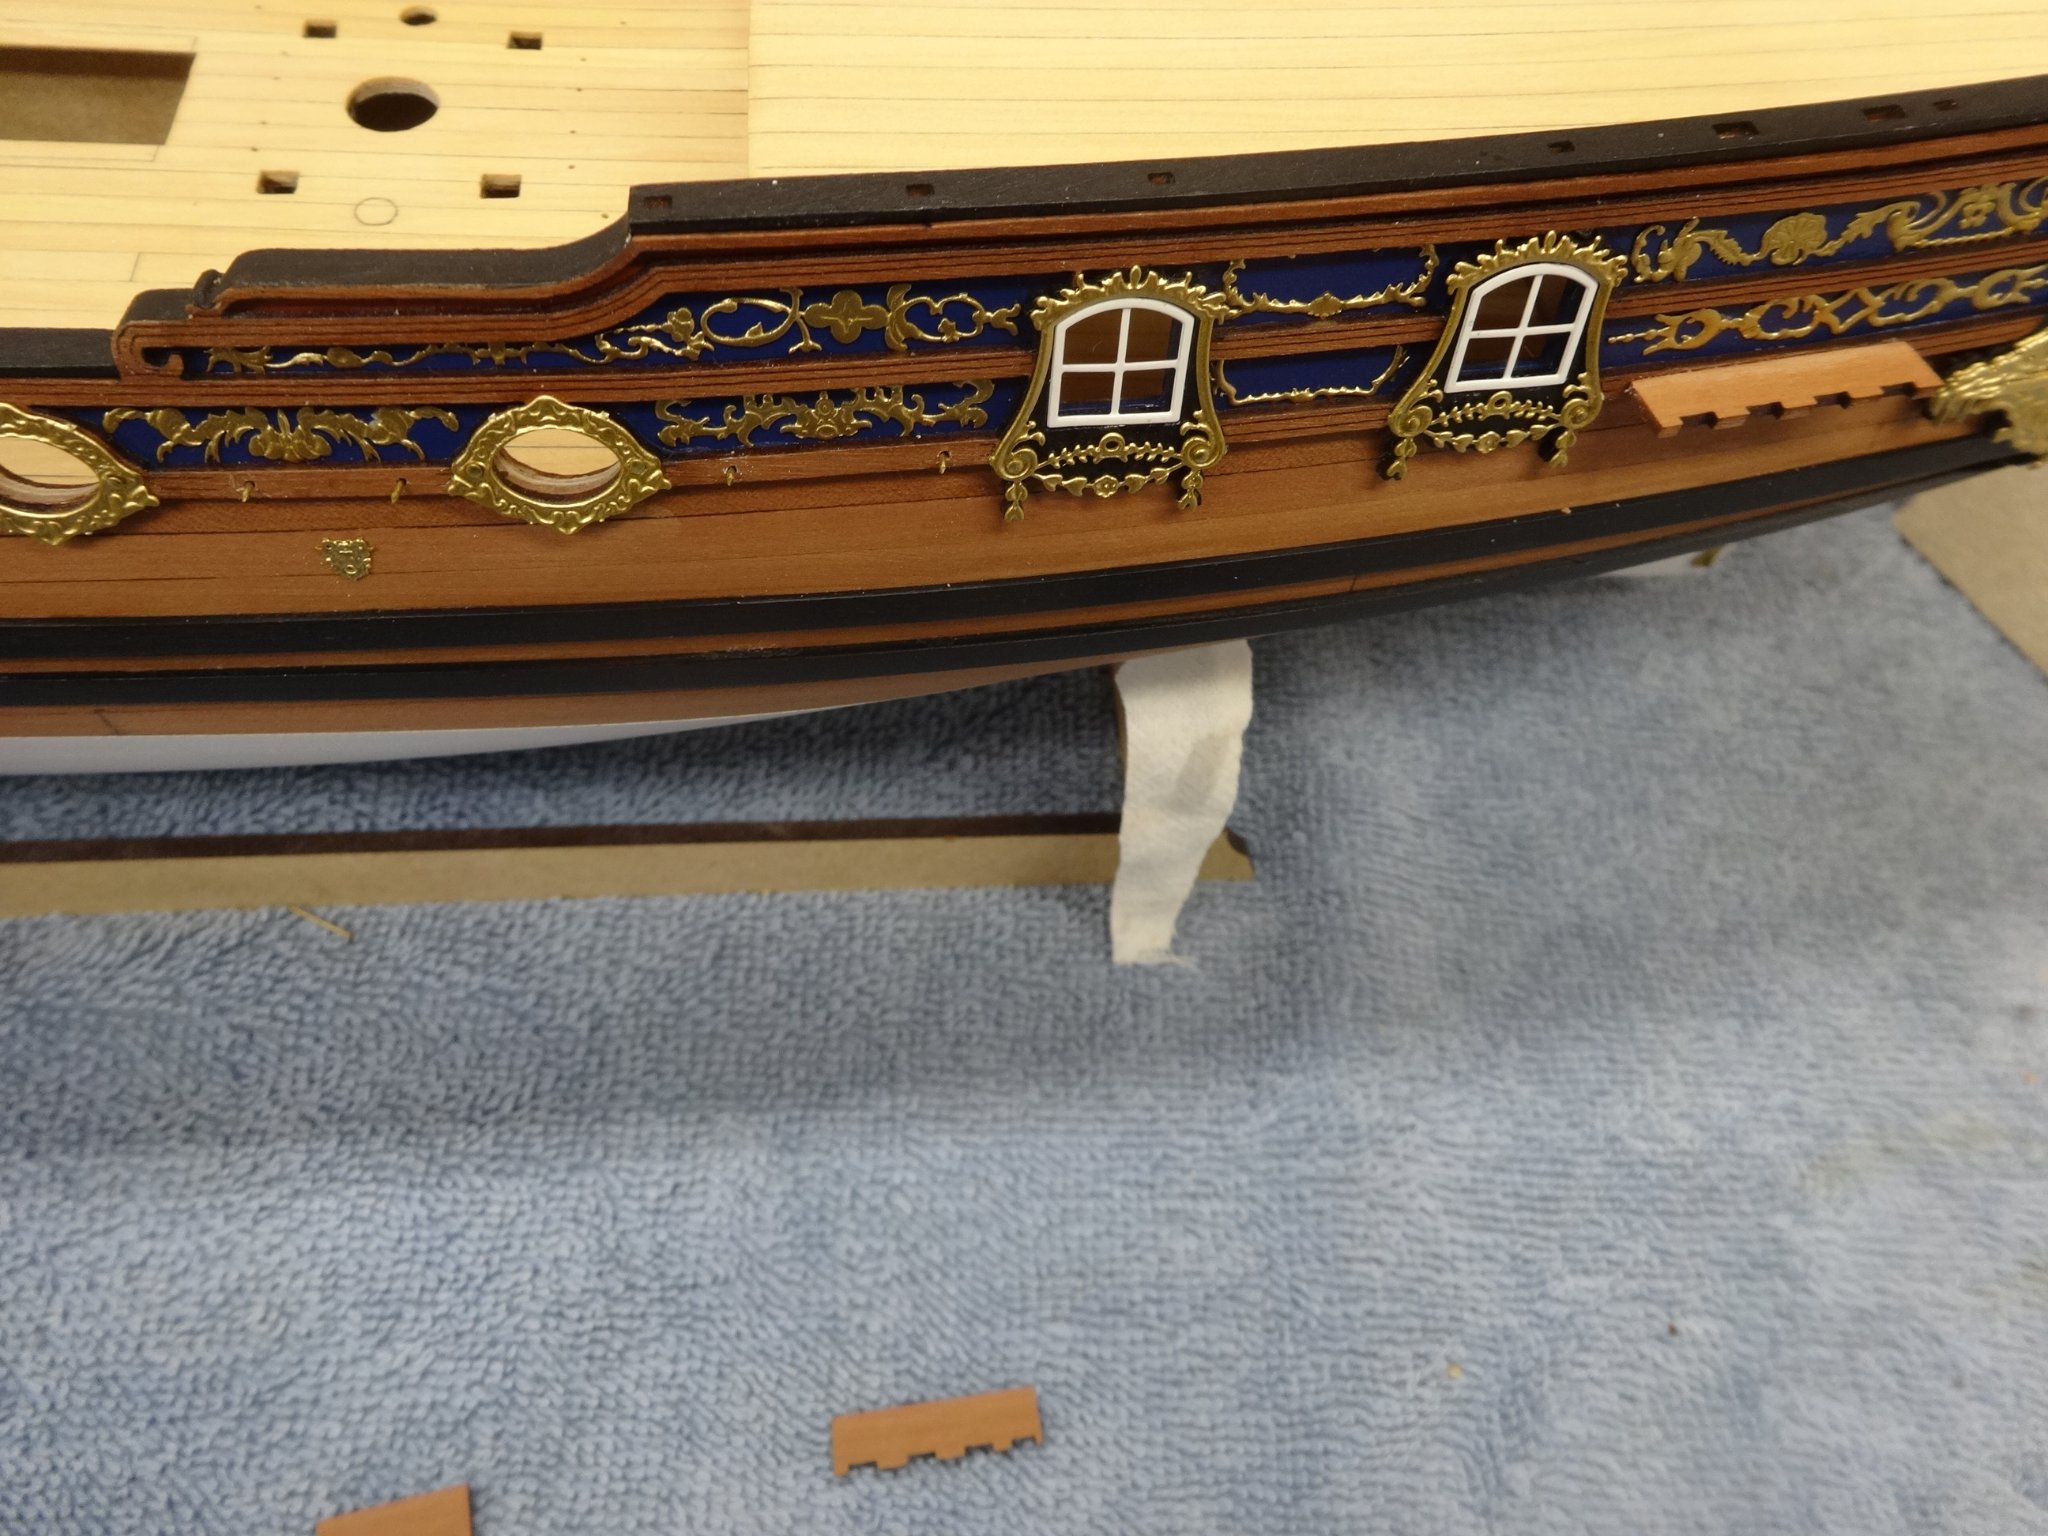
Hi Bob the gold is Rust-Oleum Imagine Craft and Hobby Metallic Gold and the white is FINE surface primer.
- 201 replies
-
- 3
-
-
- Duchess of Kingston
- Vanguard Models
- (and 1 more)
-
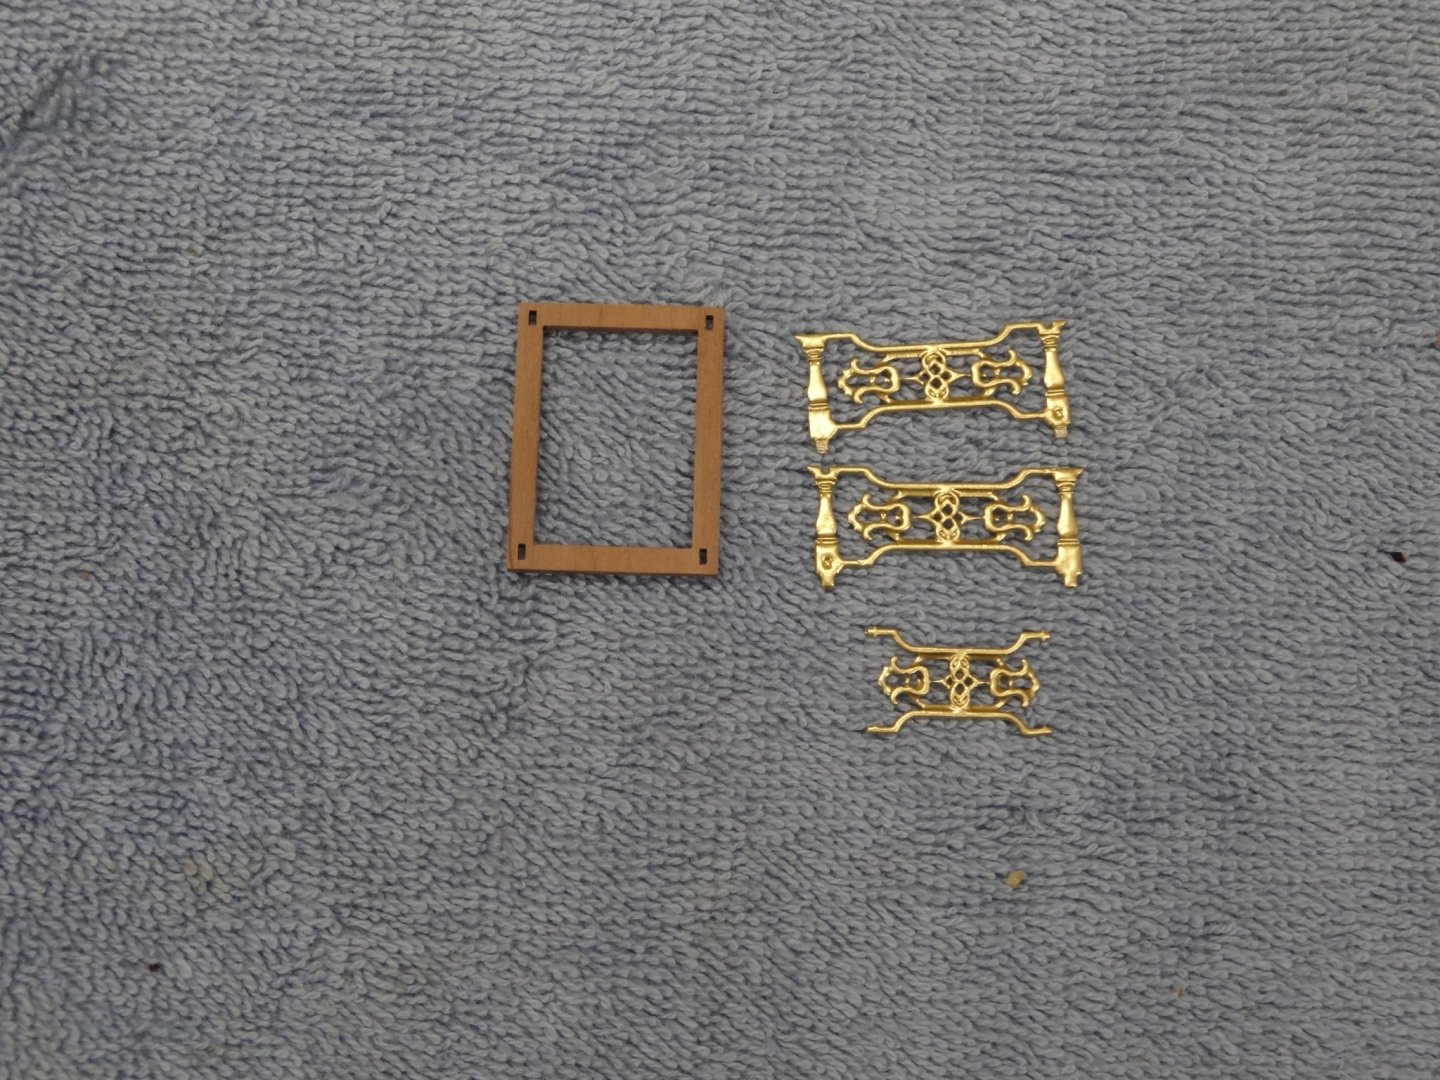
You are making great progress Glenn. You'll be rigging her in no time!
-
Thank you PJG and all the likes Thanks Jim, The instructions have them gold so I stuck with that. I've also seen them the same color as the hull painting and black. I don't know what would be accurate on a real ship. Thanks Bob, The gold and white are rattle can spray paint. I'll have to get the brands when I get home but they are generic paints. The red and blue colors are brushed on. They are Admiralty Paint Red Ochre and French Blue.
- 201 replies
-
- 4
-
-
- Duchess of Kingston
- Vanguard Models
- (and 1 more)
-
She's looking really good Glenn. I was just looking at the directions on page 54. In one of the pictures the gun ports look painted red. Just wanted to point that out incase you want to paint them first. As far as the guns go I'll try rigging them but will have to see how it looks.
- 382 replies
-
- 1
-
-
- Vanguard Models
- Duchess of Kingston
- (and 1 more)
-
Thank you Chris, Glenn, Jim, Glenn again, B.E., Jean-Paul and Bob. Also all the likes! Everything is designed and fits so well that good results are almost guaranteed.
- 201 replies
-
- 1
-
-
- Duchess of Kingston
- Vanguard Models
- (and 1 more)