Rustyj
-
Posts
2,535 -
Joined
-
Last visited
Content Type
Profiles
Forums
Gallery
Events
Everything posted by Rustyj
-
 Thank you Reg, JJ and Glenn. Also for all the likes. Glenn despite it's size it's really a lot of fun. Plus it's not rigged so that helps keep the foot print down.
- 642 replies
-
- 4
-

-
- winchelsea
- Syren Ship Model Company
- (and 1 more)
-
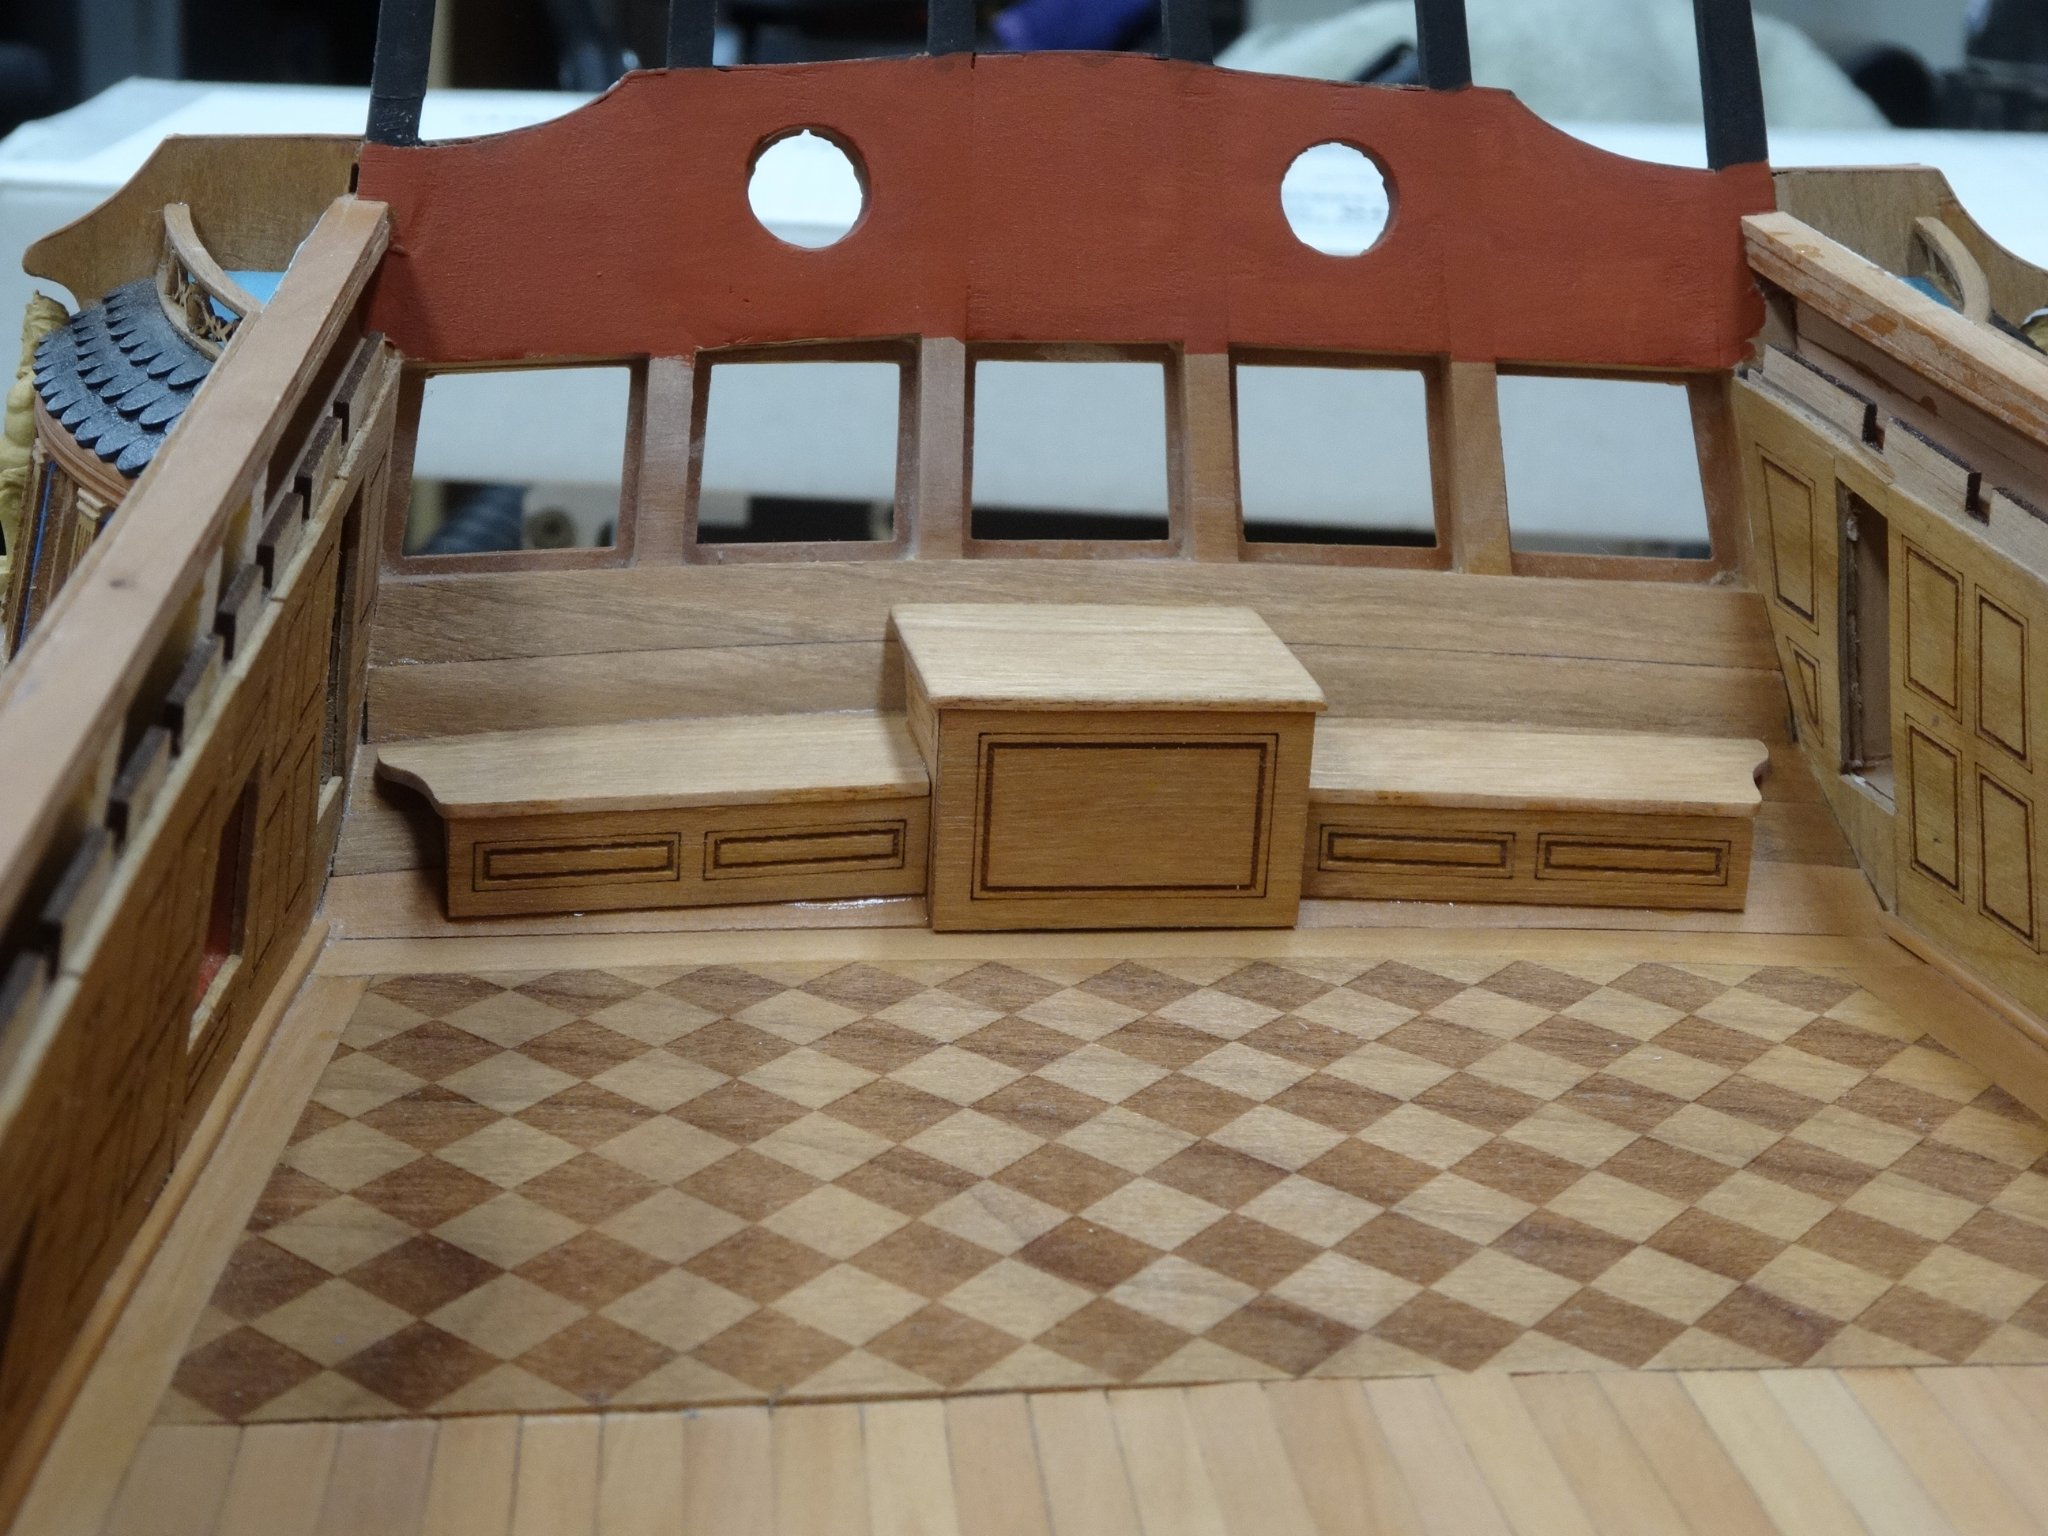
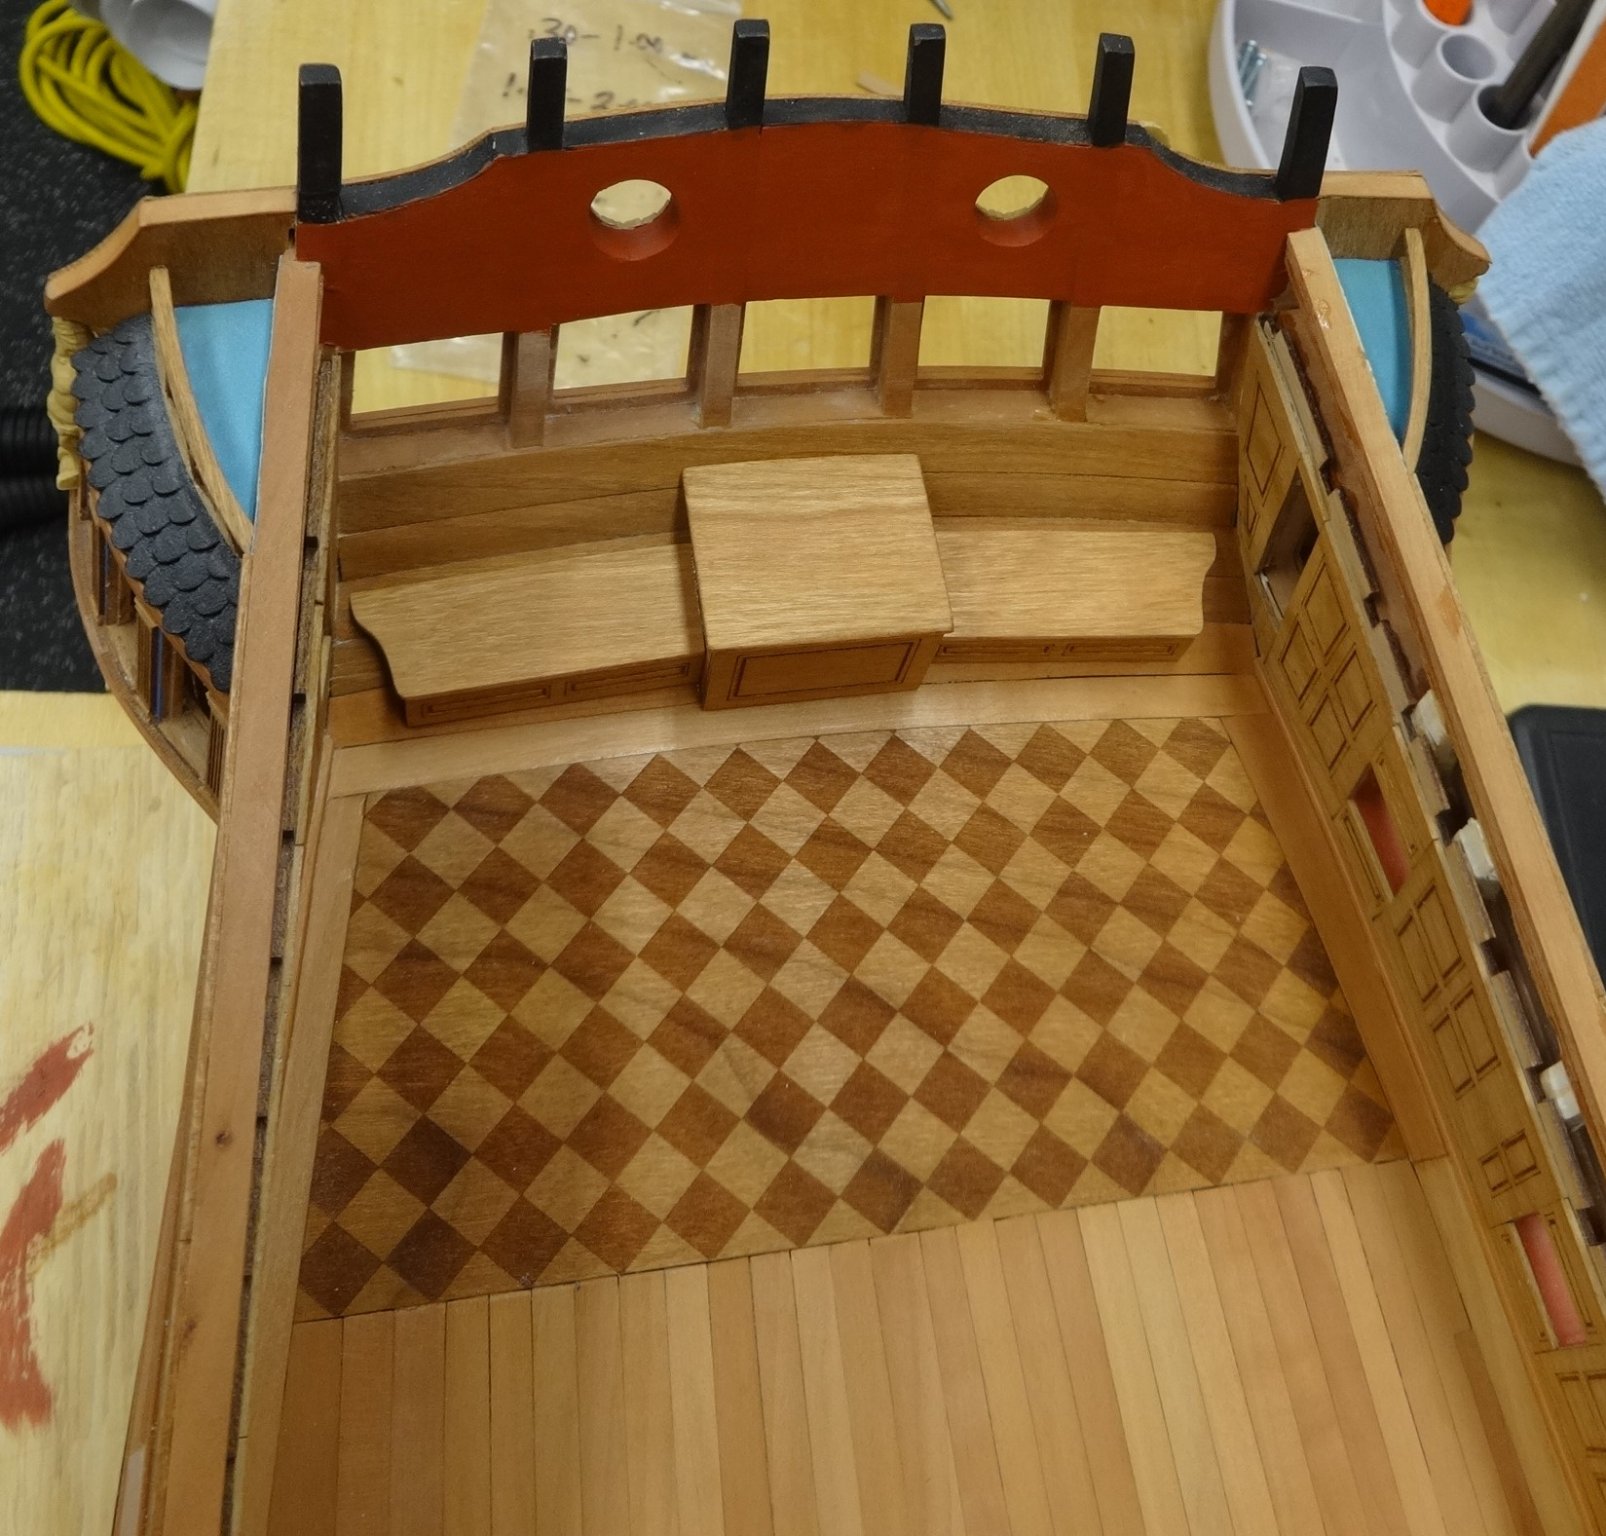
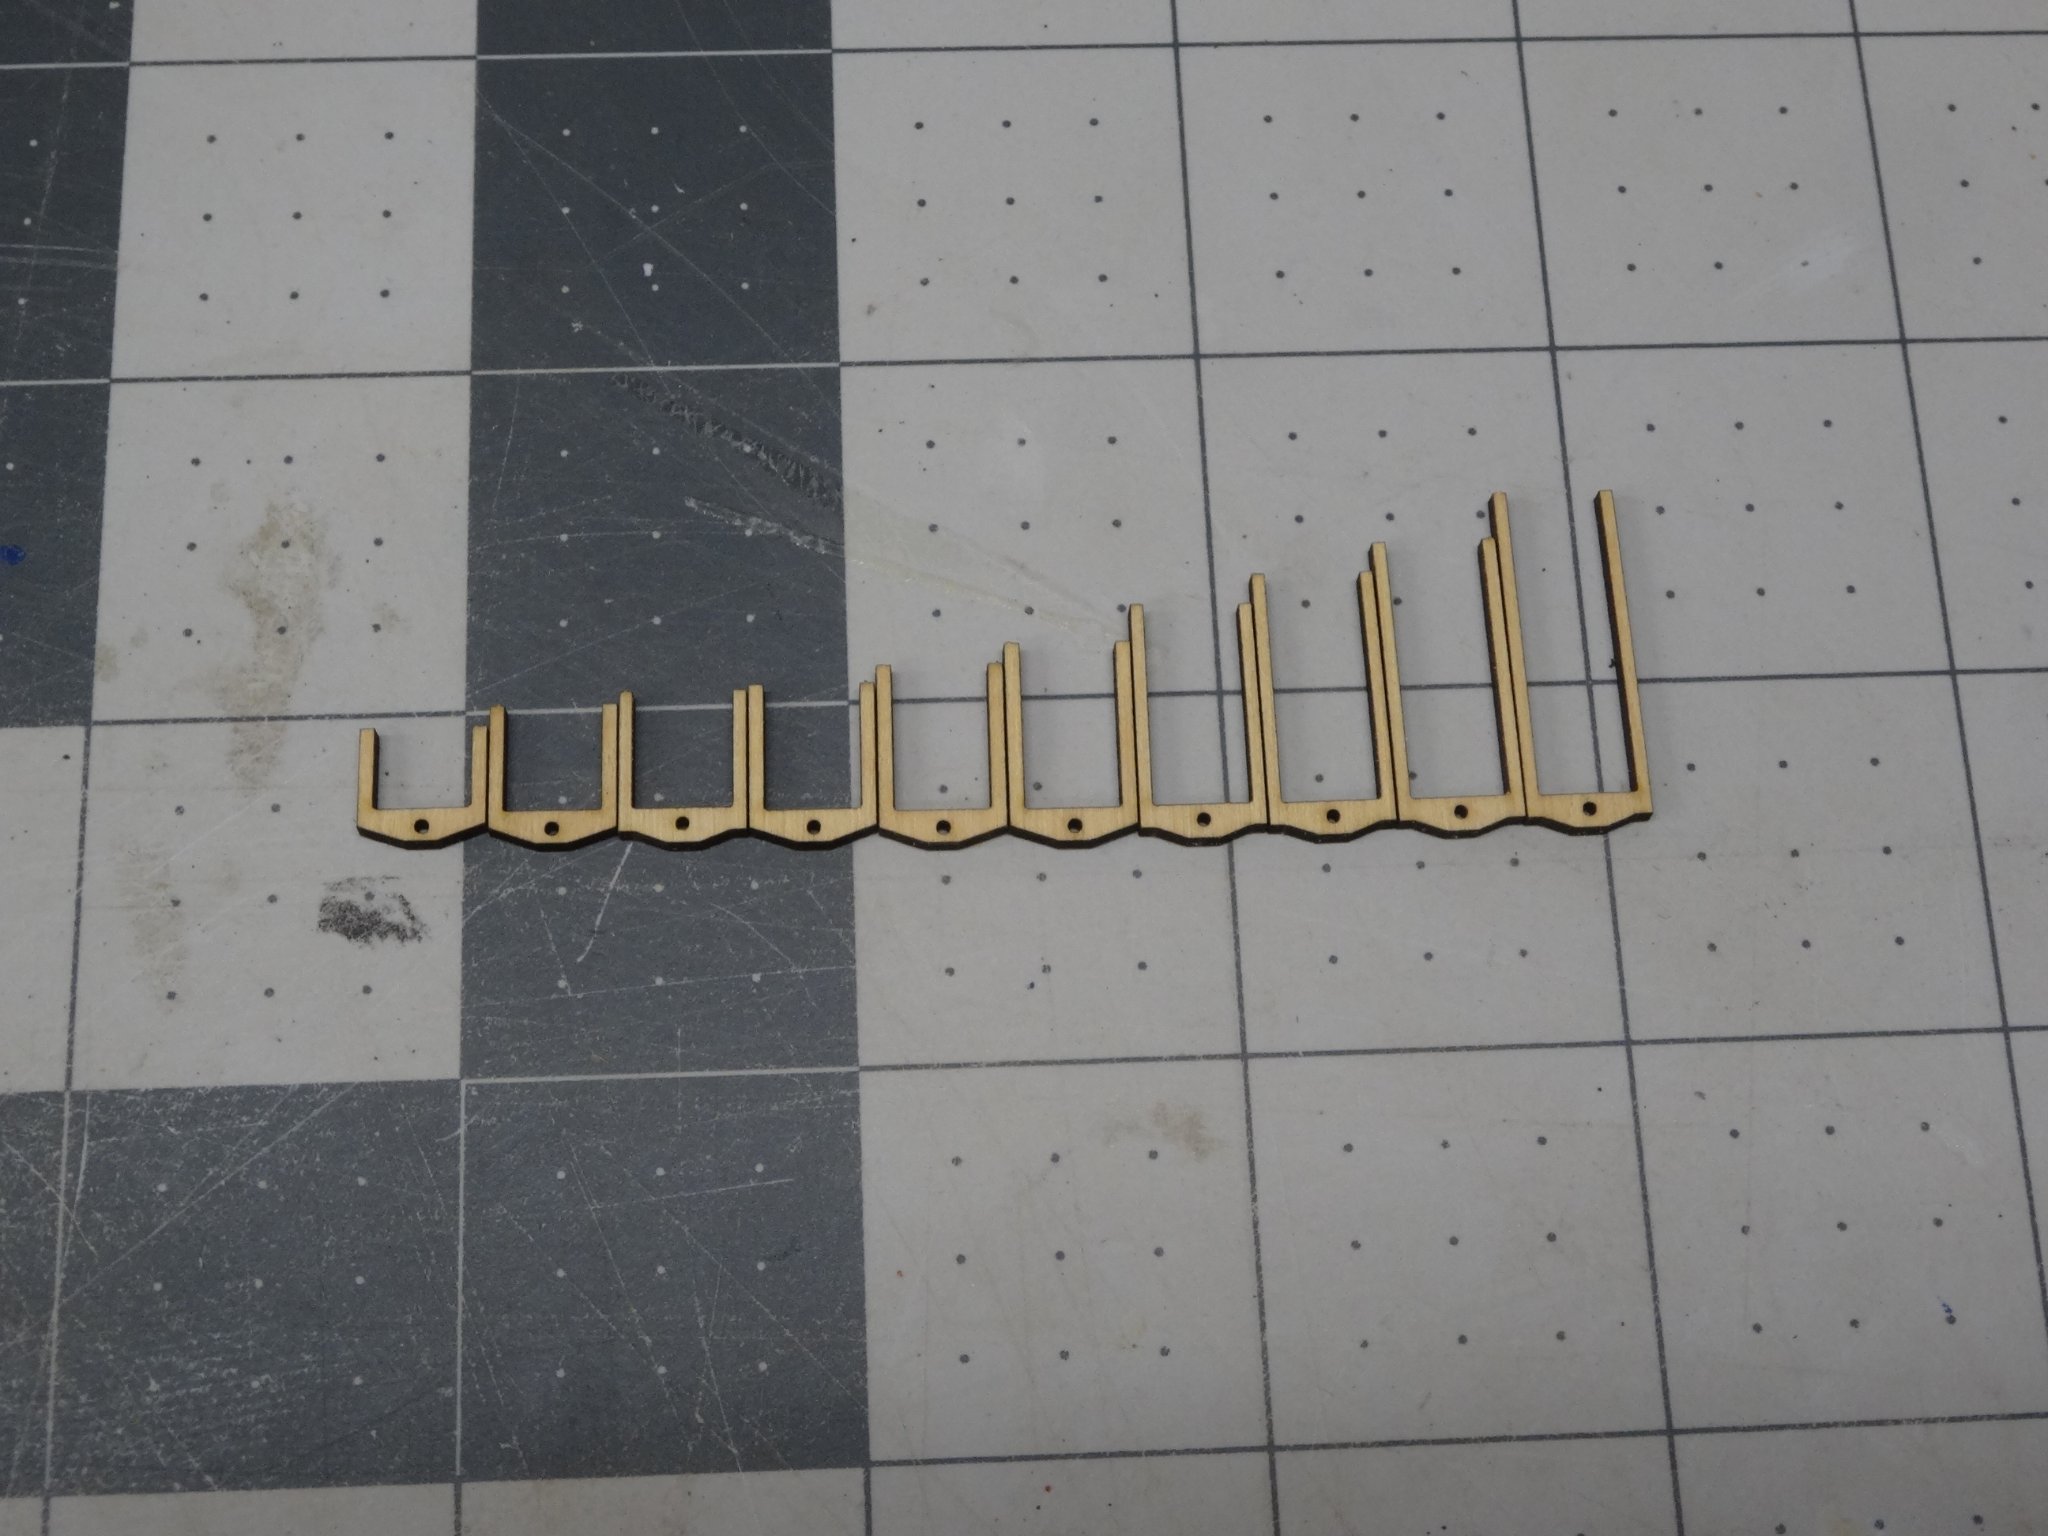
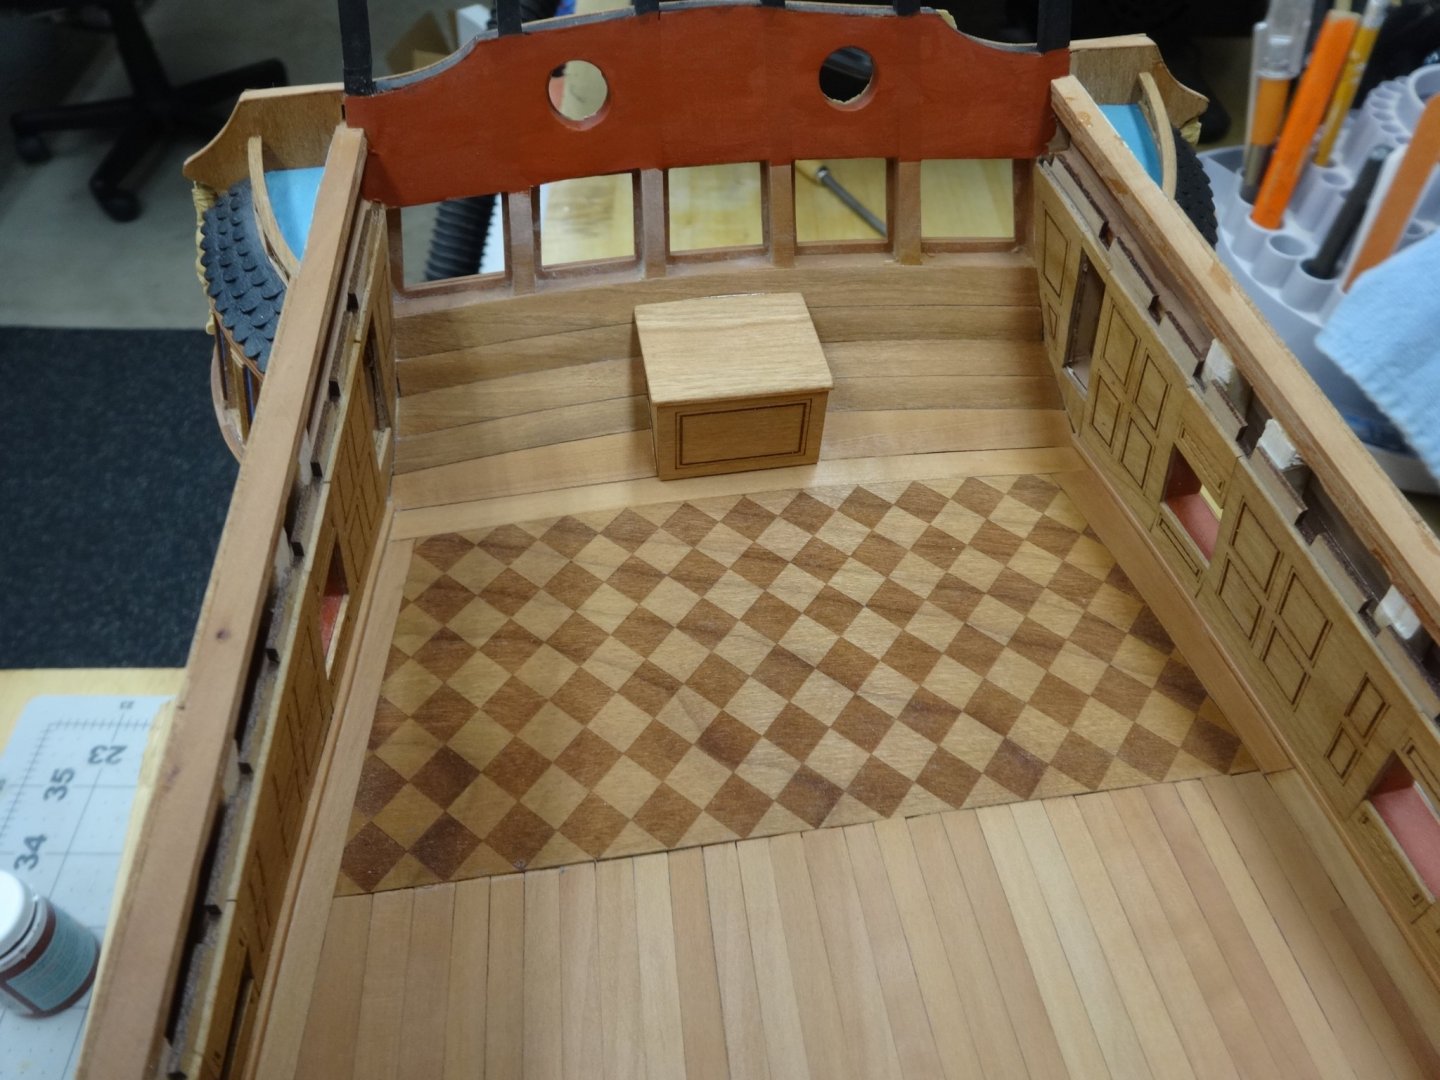
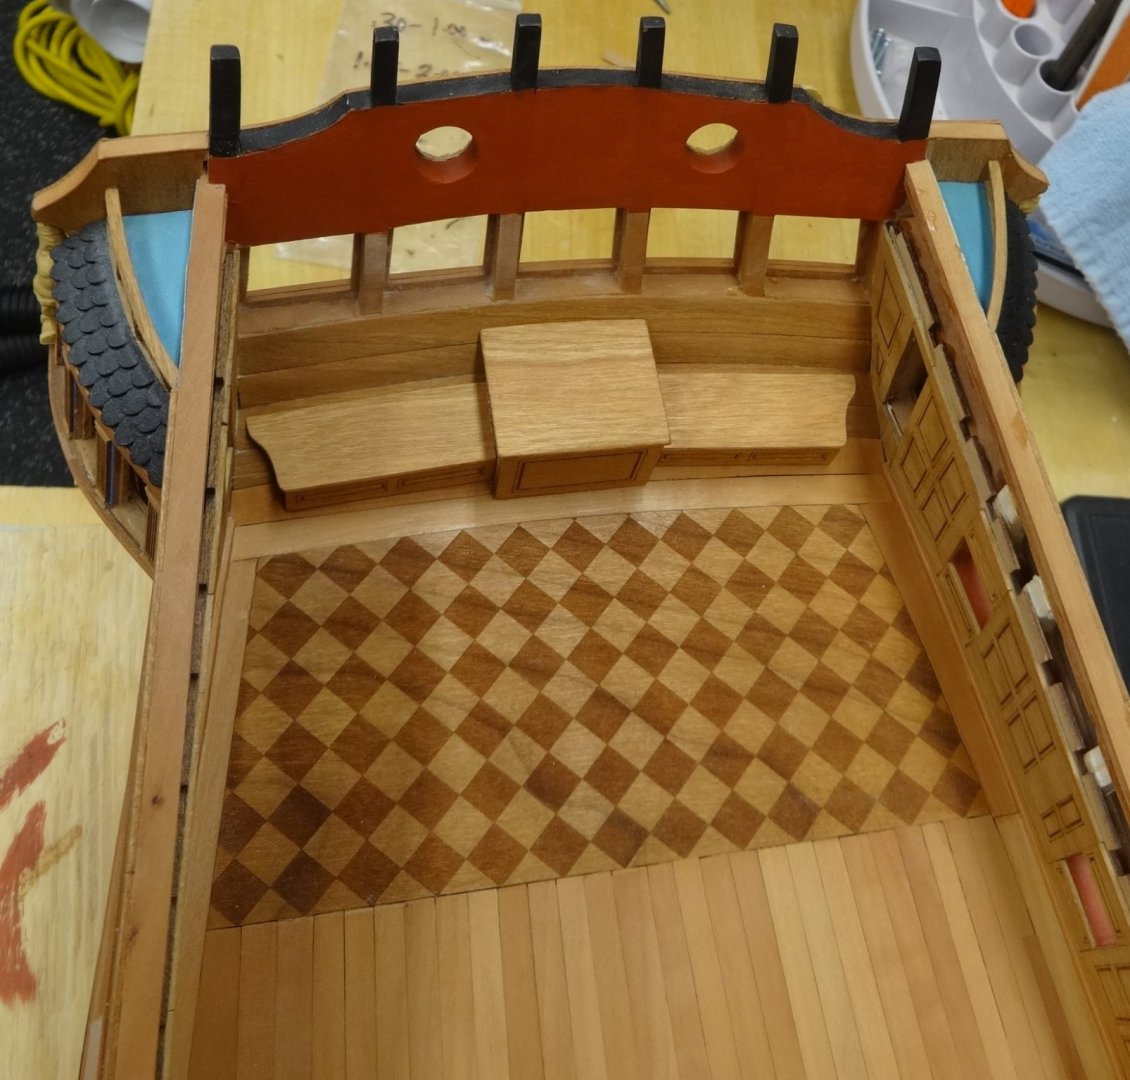
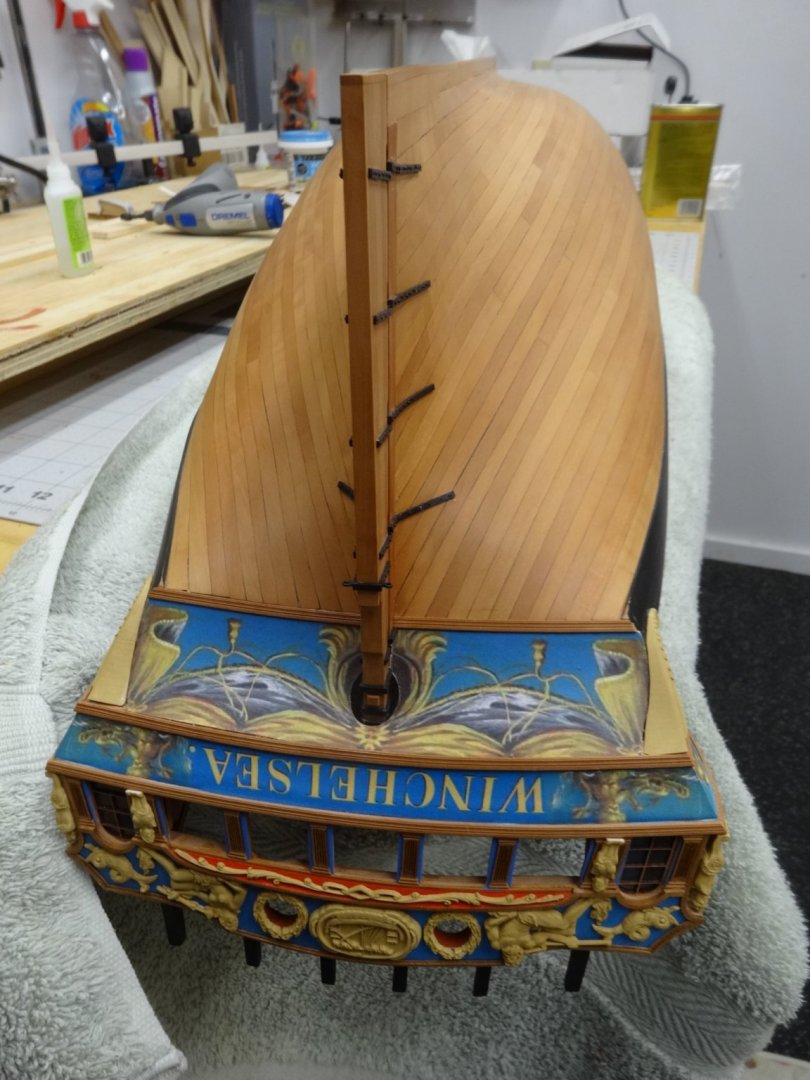
I was able to find a little time to complete the rudder cover and the benches. The parts are laser cut from cherry by Syren. and are perfect. Now I have to clean up any dust so I can add the windows to the stern and Q galleries '.

- 642 replies
-
- 20
-
-
- winchelsea
- Syren Ship Model Company
- (and 1 more)
-
Great job!
-
Great job Greg!
-
Looks great and sounds like fun!
-
Thanks Joe. Yes still 6 days a week. Though the activity is decreasing I've still have to put in the hours. I just pick away a bit at a time and I post once I've compiled enough.
- 201 replies
-
- 1
-
-
- Duchess of Kingston
- Vanguard Models
- (and 1 more)
-
Hi Glenn, Your Cheerful is looking great and so are your pictures. Love it!
-
For me it seems I spend an extraordinary amount of time rerunning line as I keep crossing them. She's coming along nicely.
- 382 replies
-
- 1
-
-
- Vanguard Models
- Duchess of Kingston
- (and 1 more)
-
Hi Greg. I've enjoyed working with the pear and happy with the way it is looking. As to the rudder opening you are correct about the openings size. I can get about 2/3 movement but I didn't want to cut away more of the frieze. So straight and steady for this Winnie! Can't get anything past those sharp eyes of yours.
- 642 replies
-
- 2
-
-
- winchelsea
- Syren Ship Model Company
- (and 1 more)
-
Exactly! Just follow Chucks mantra "slow and steady"
- 642 replies
-
- 1
-
-
- winchelsea
- Syren Ship Model Company
- (and 1 more)
-
Thanks Greg. For me I would do it at Chapter 5. It wasn't hard at all to do and I'd worry about putting the frieze on with the hole there.
- 642 replies
-
- 2
-
-
- winchelsea
- Syren Ship Model Company
- (and 1 more)
-
For me the center was the hardest. You should have smoother sailing now.
-
Beautiful work!
-
Yes I do too. Thank you for creating such a wonder design that we get to have so much fun with! Thanks Glenn and Bob. She's so much fun to build. Also thanks for the likes too!
- 642 replies
-
- 2
-
-
- winchelsea
- Syren Ship Model Company
- (and 1 more)
-
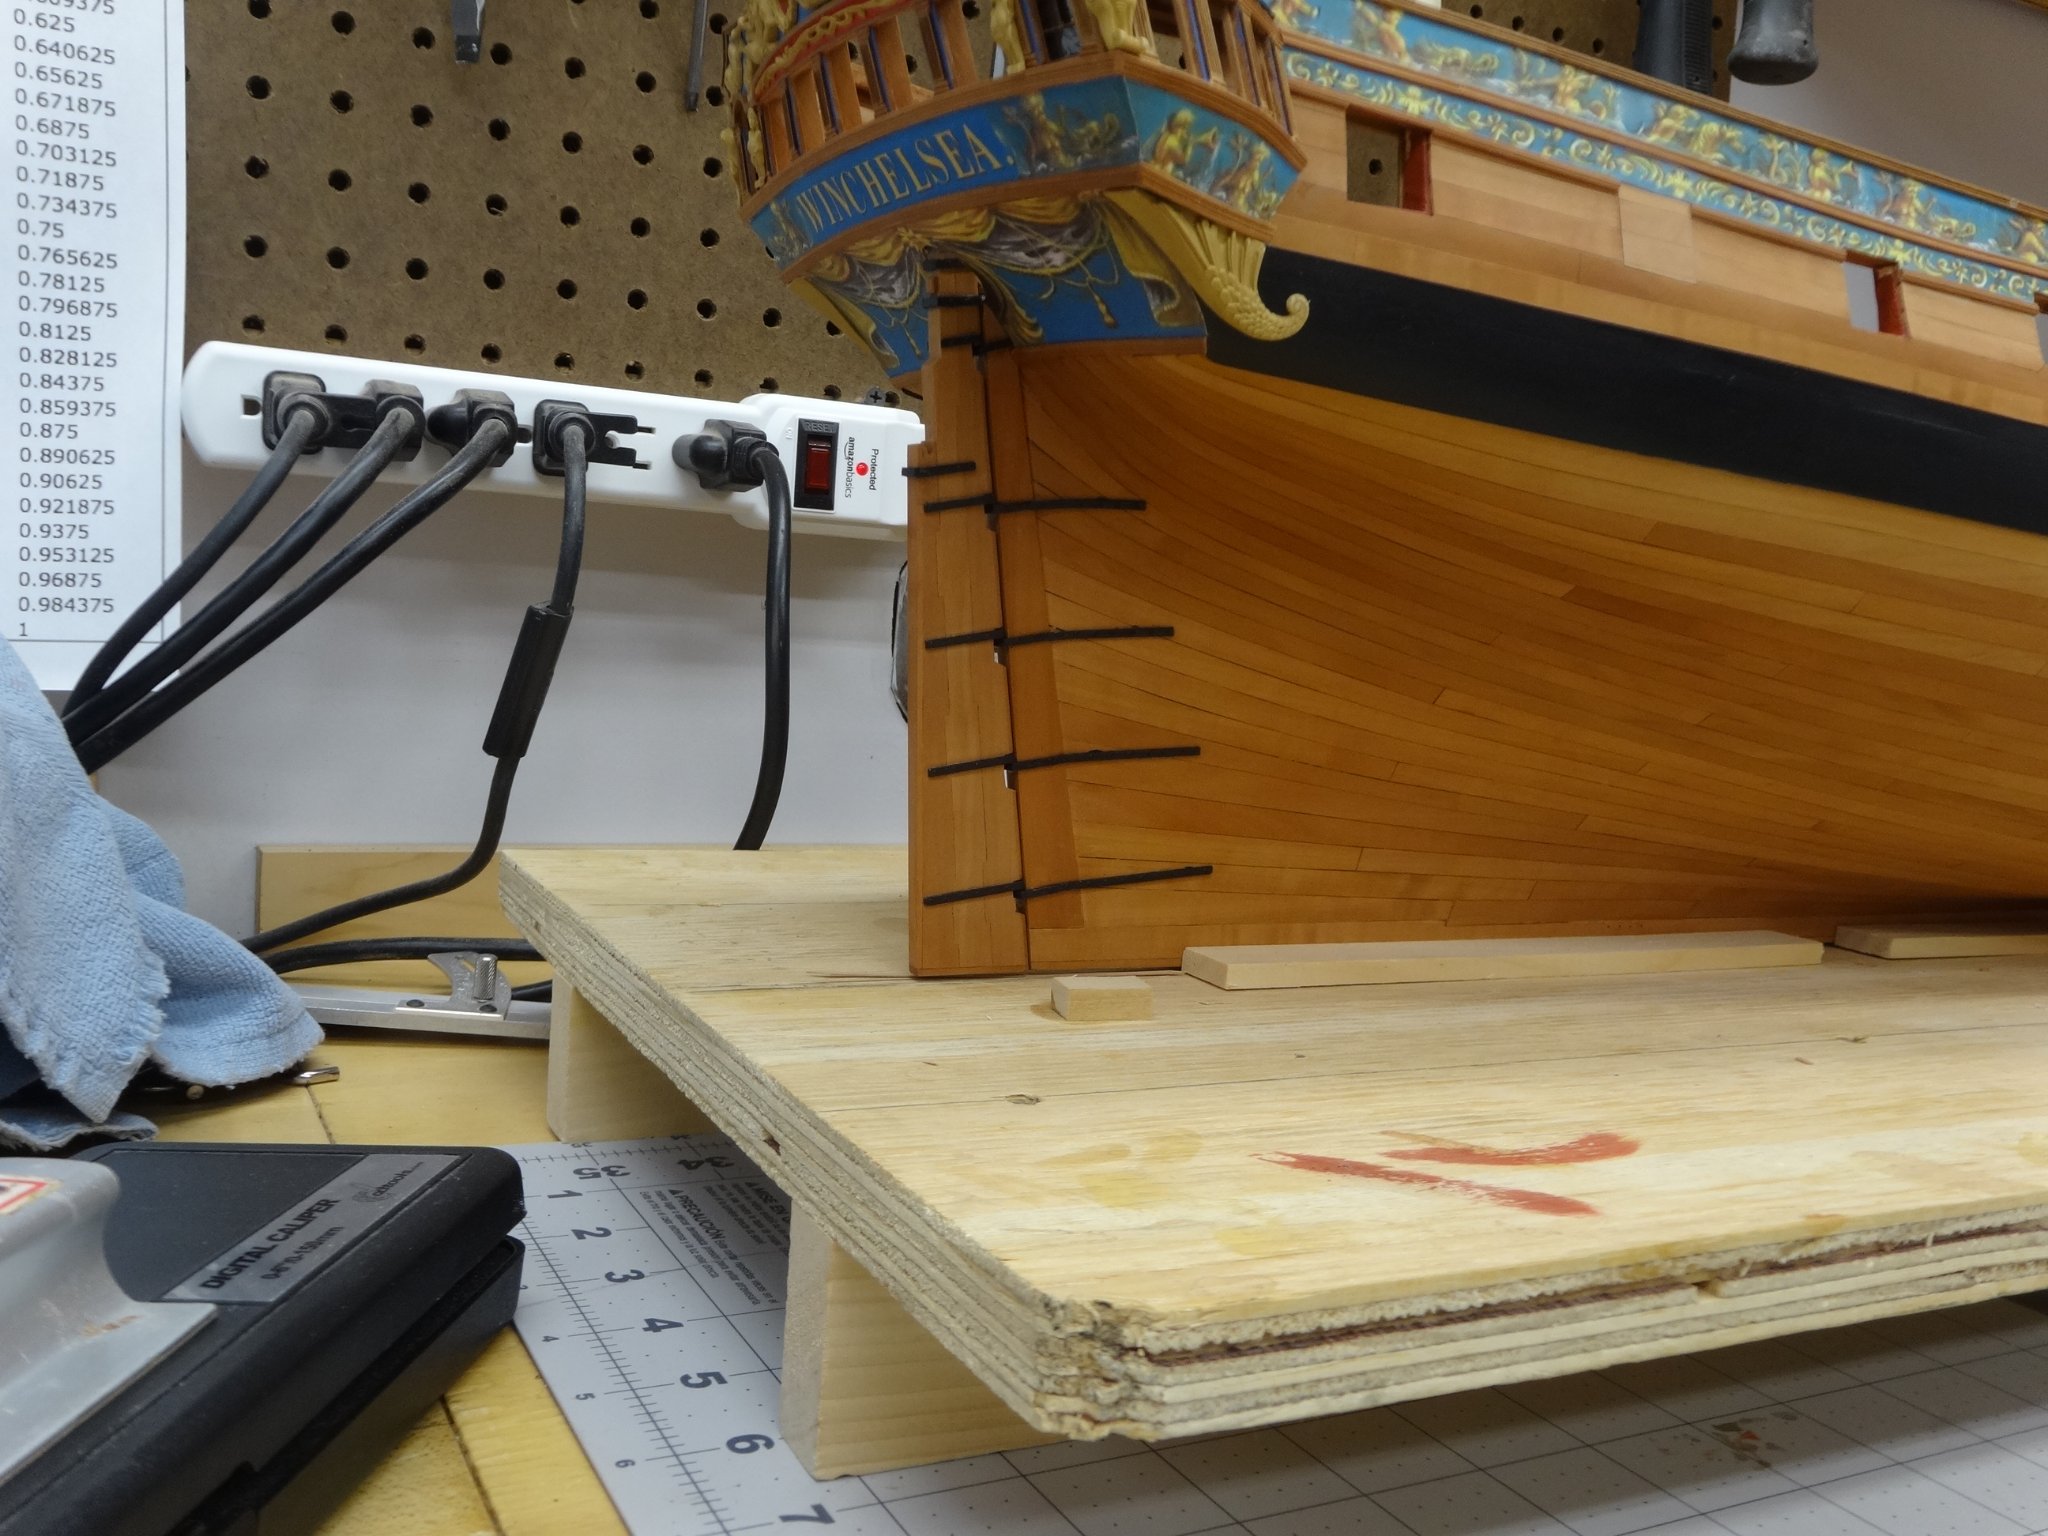
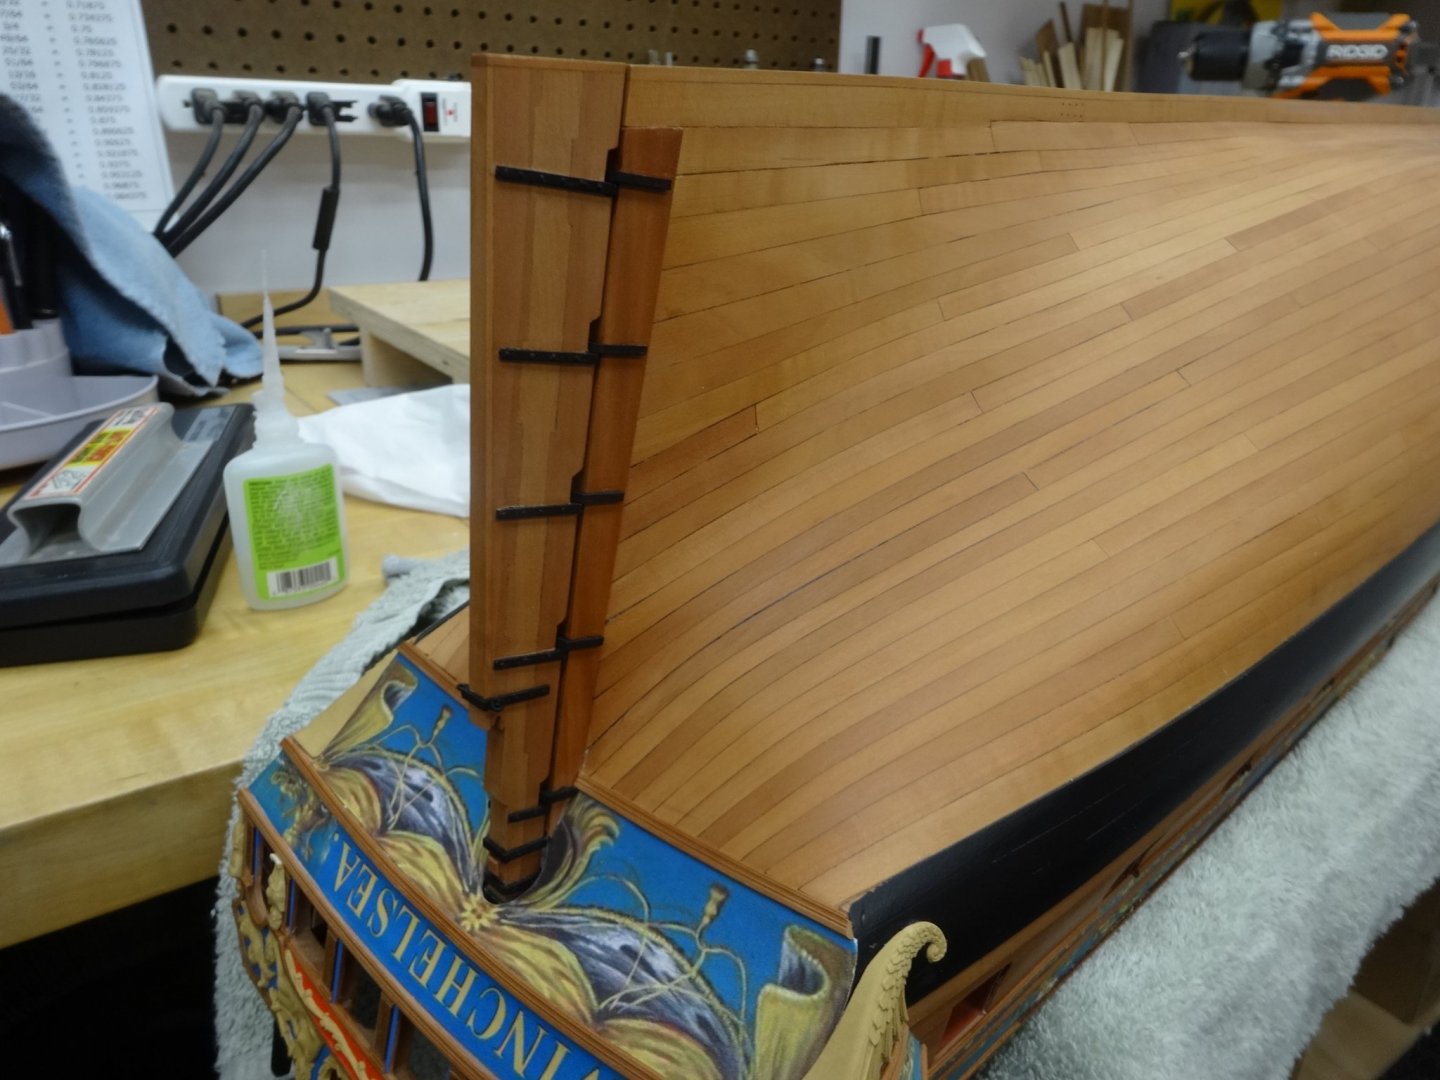
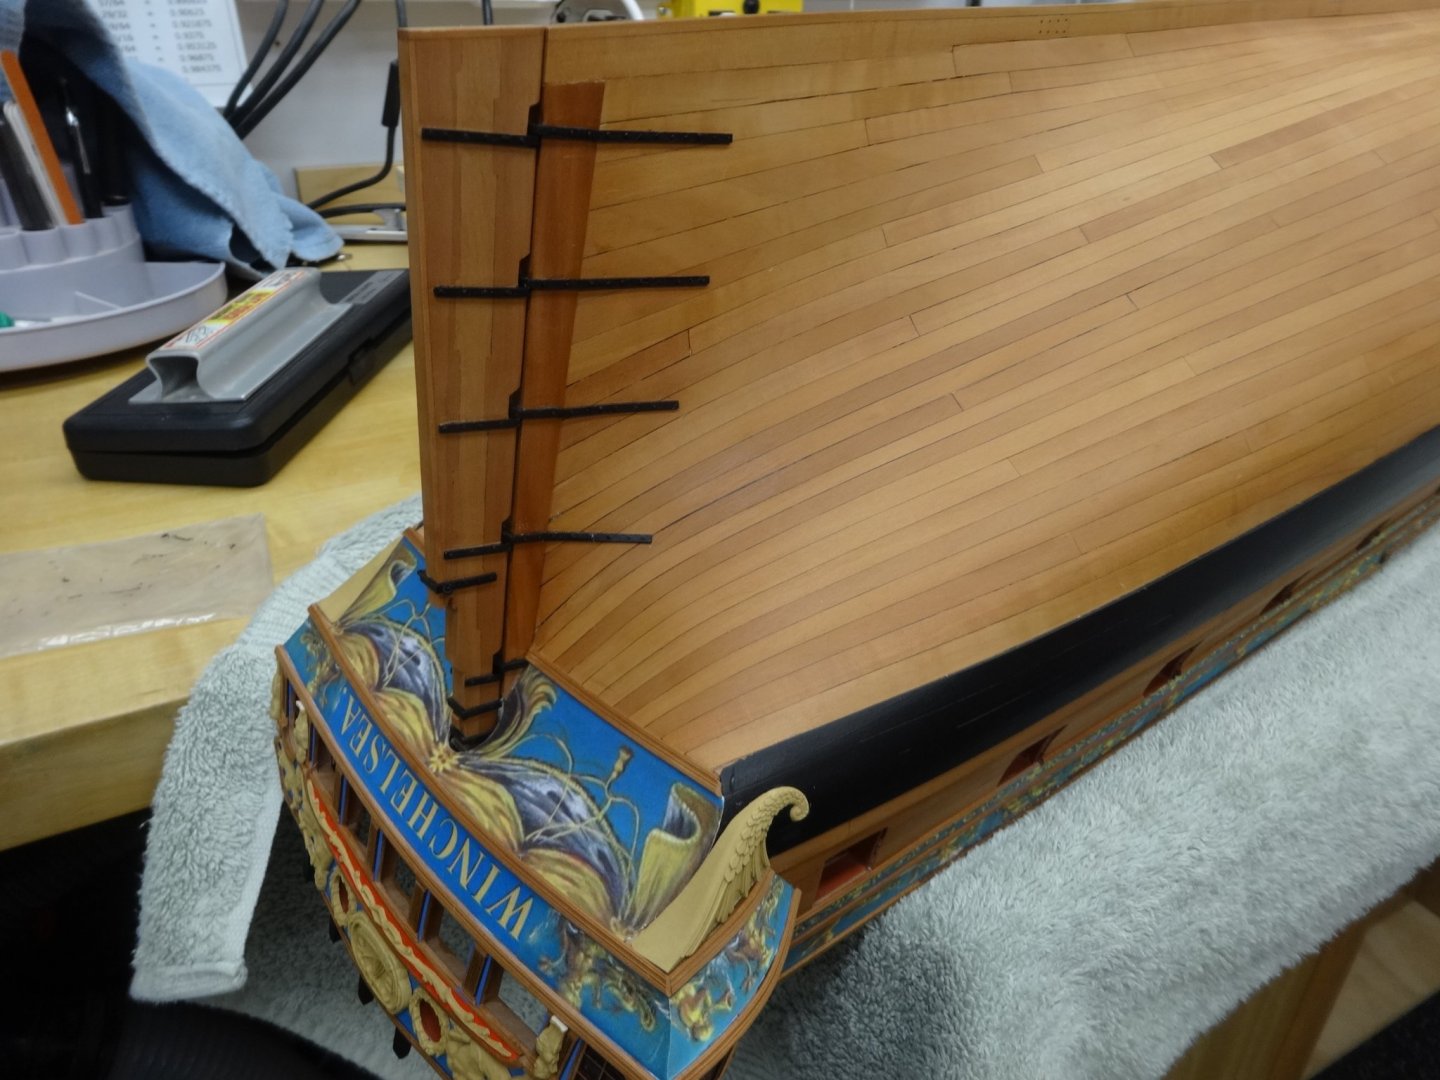
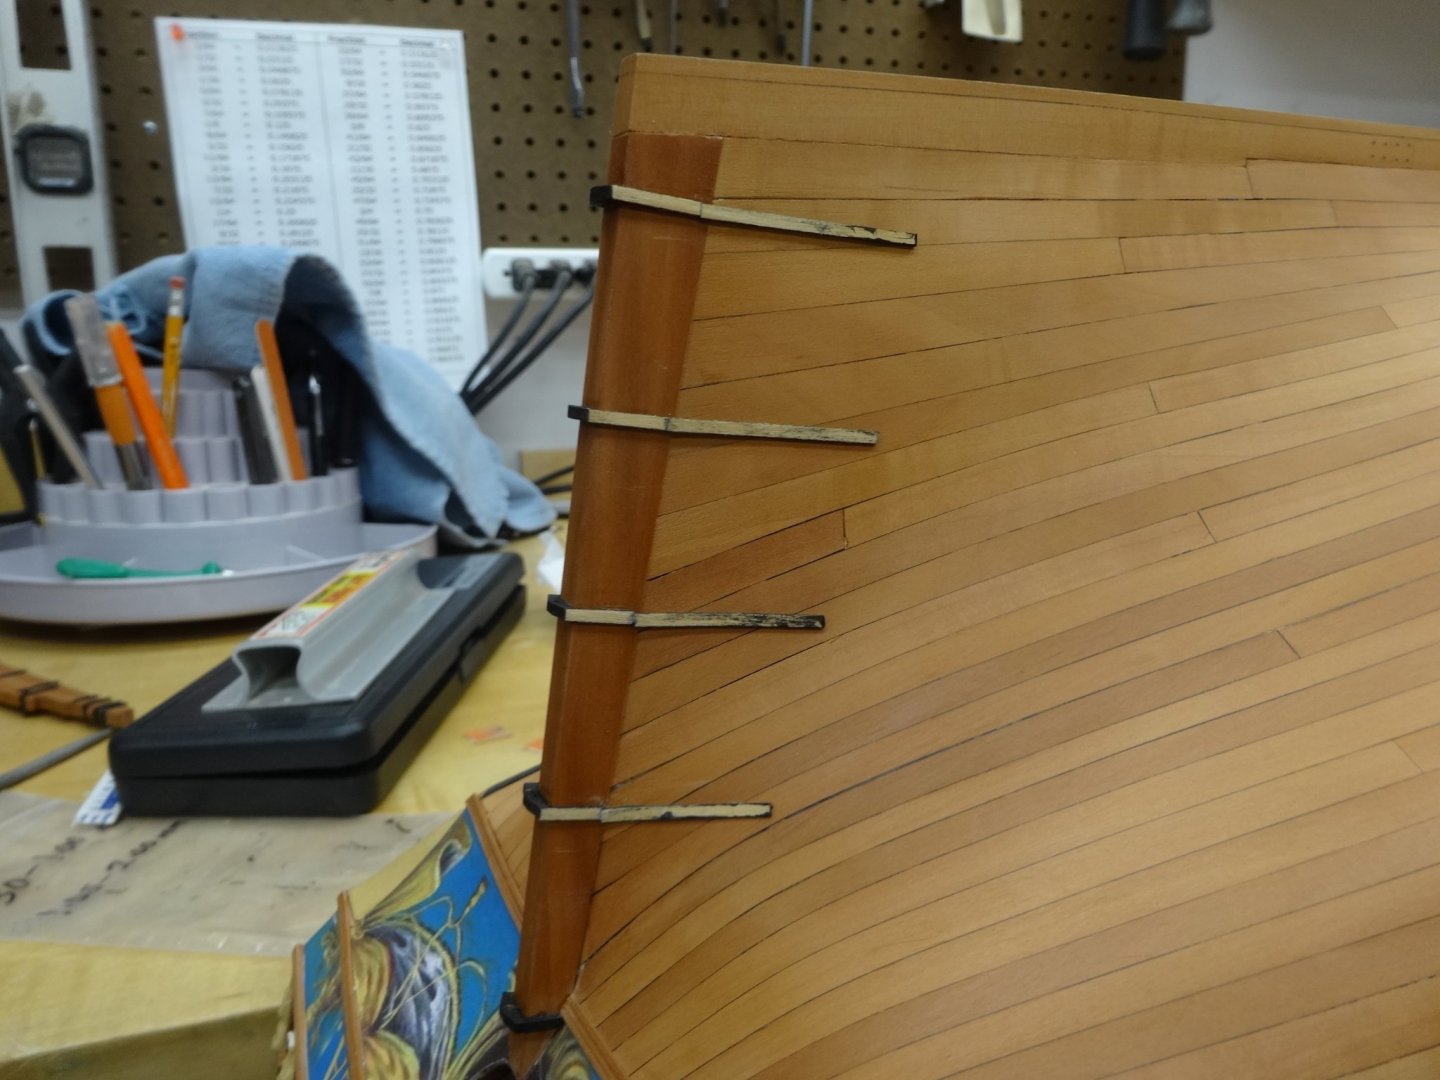
Ok I can breath a little easier. I flipped her over cut the hole mounted the rudder and no dropsies. As per the instructions the pintels and gudgeons were added, sanded thinner and the the bolts simulated with 20lb monofilament though once everything was painted black they are hard to see in the pictures. First Test Fit Starting the finishing And finished I've seen Chuck beautiful base and pretty soon I've gotta figure out how I'm gonna mount her!

- 642 replies
-
- 17
-
-
- winchelsea
- Syren Ship Model Company
- (and 1 more)
-
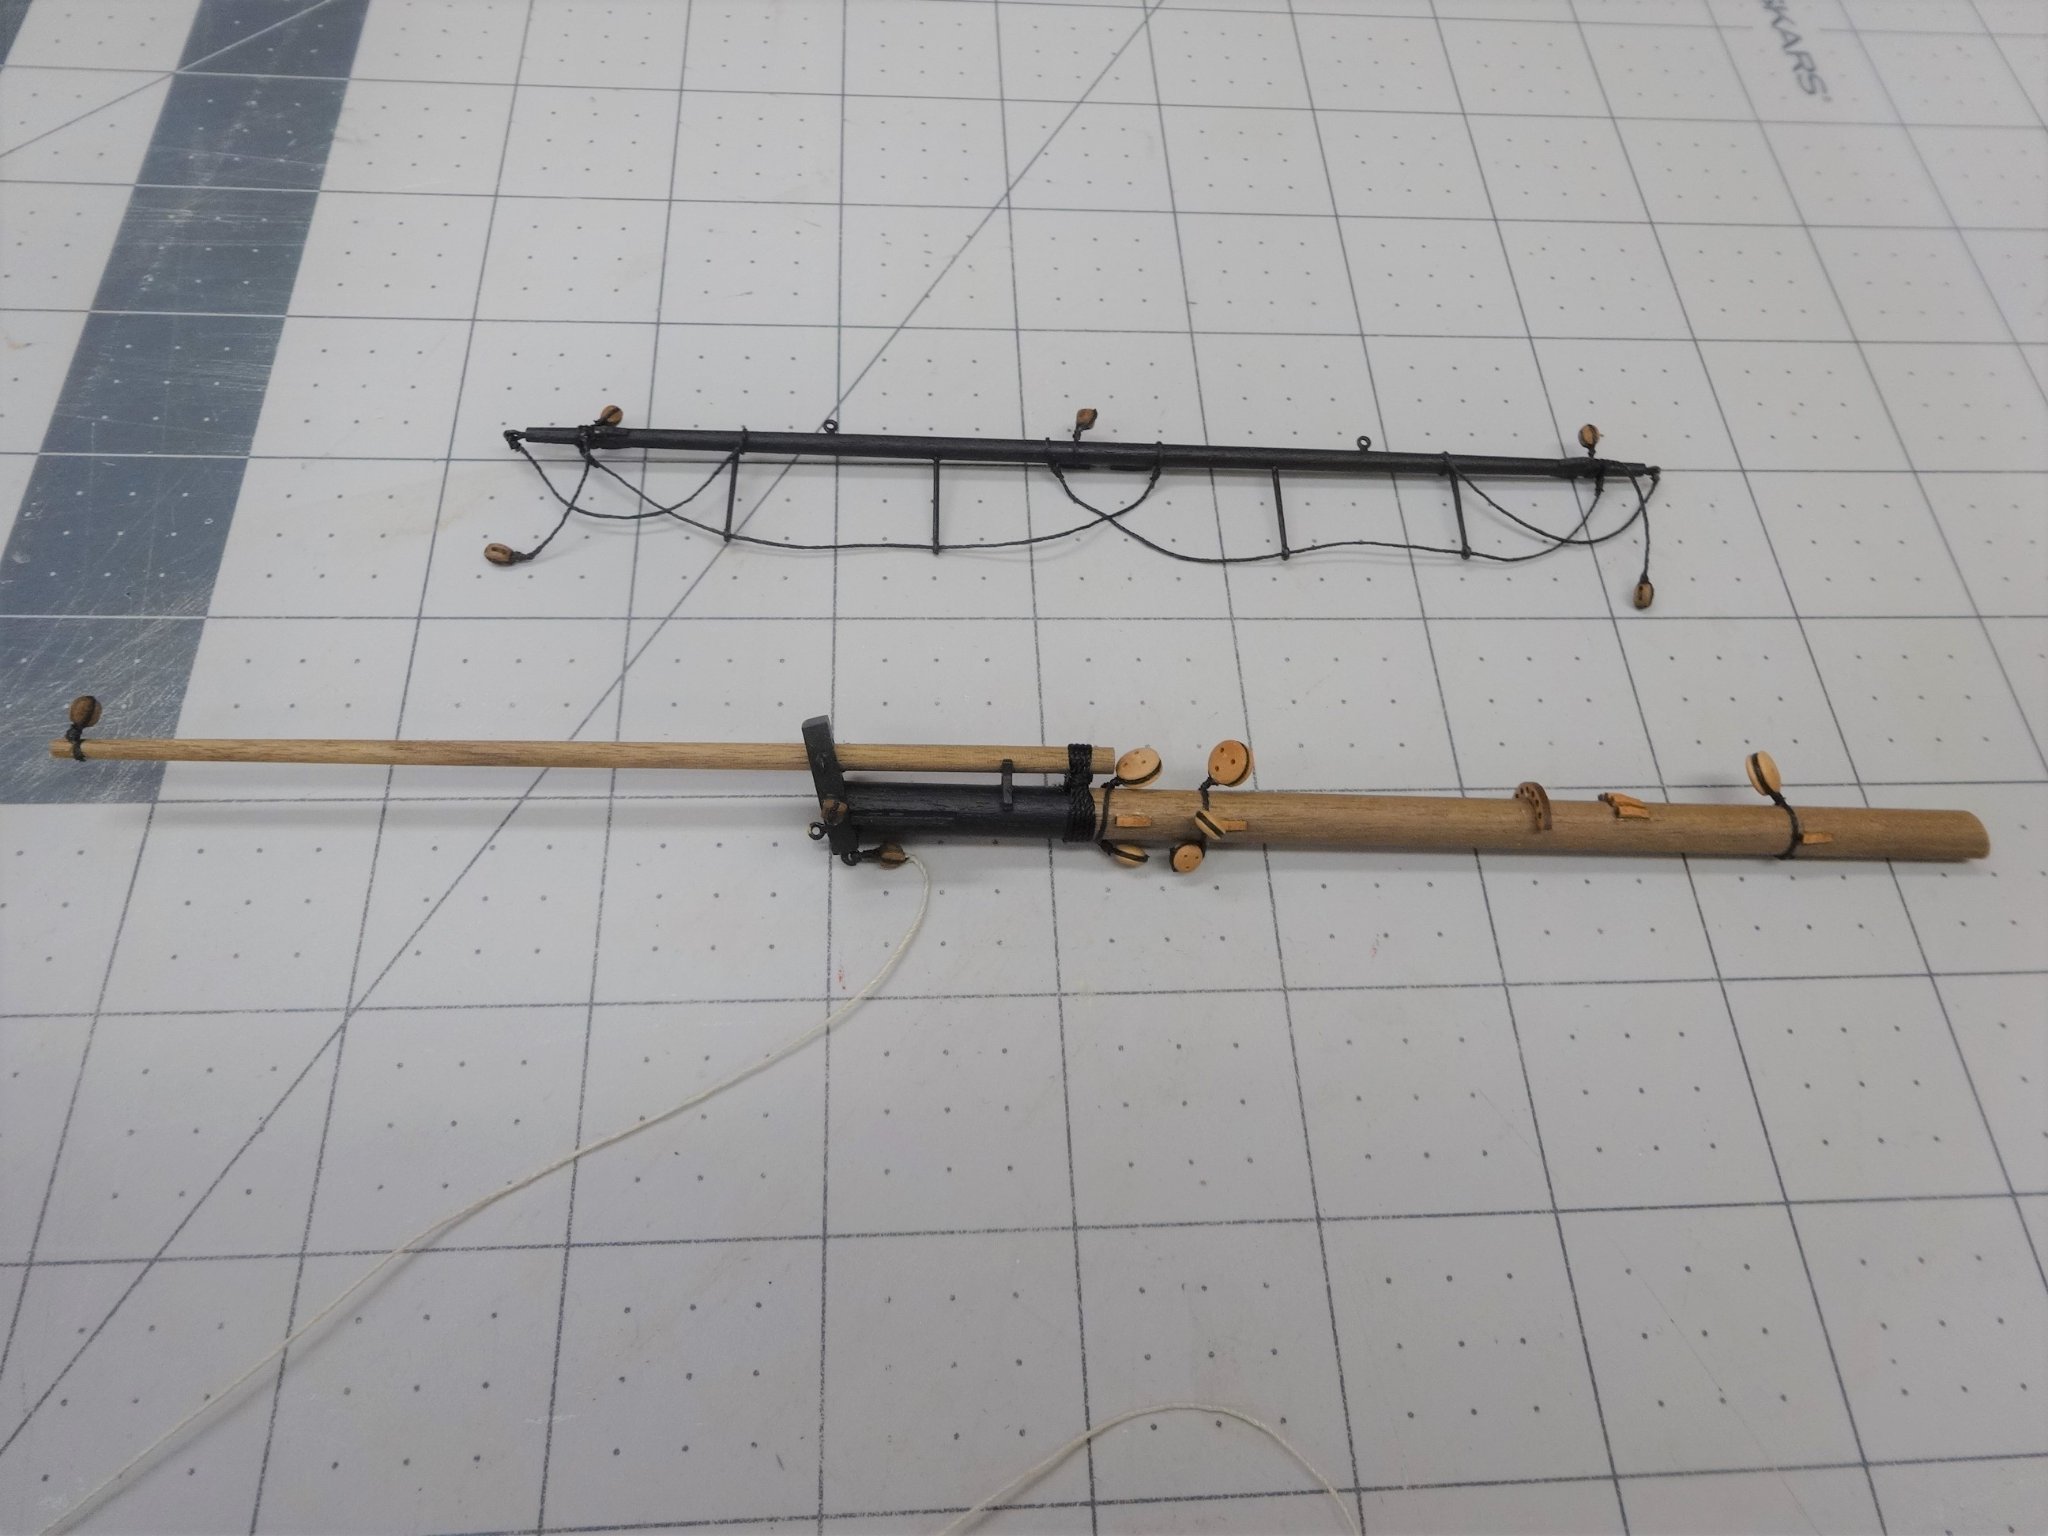
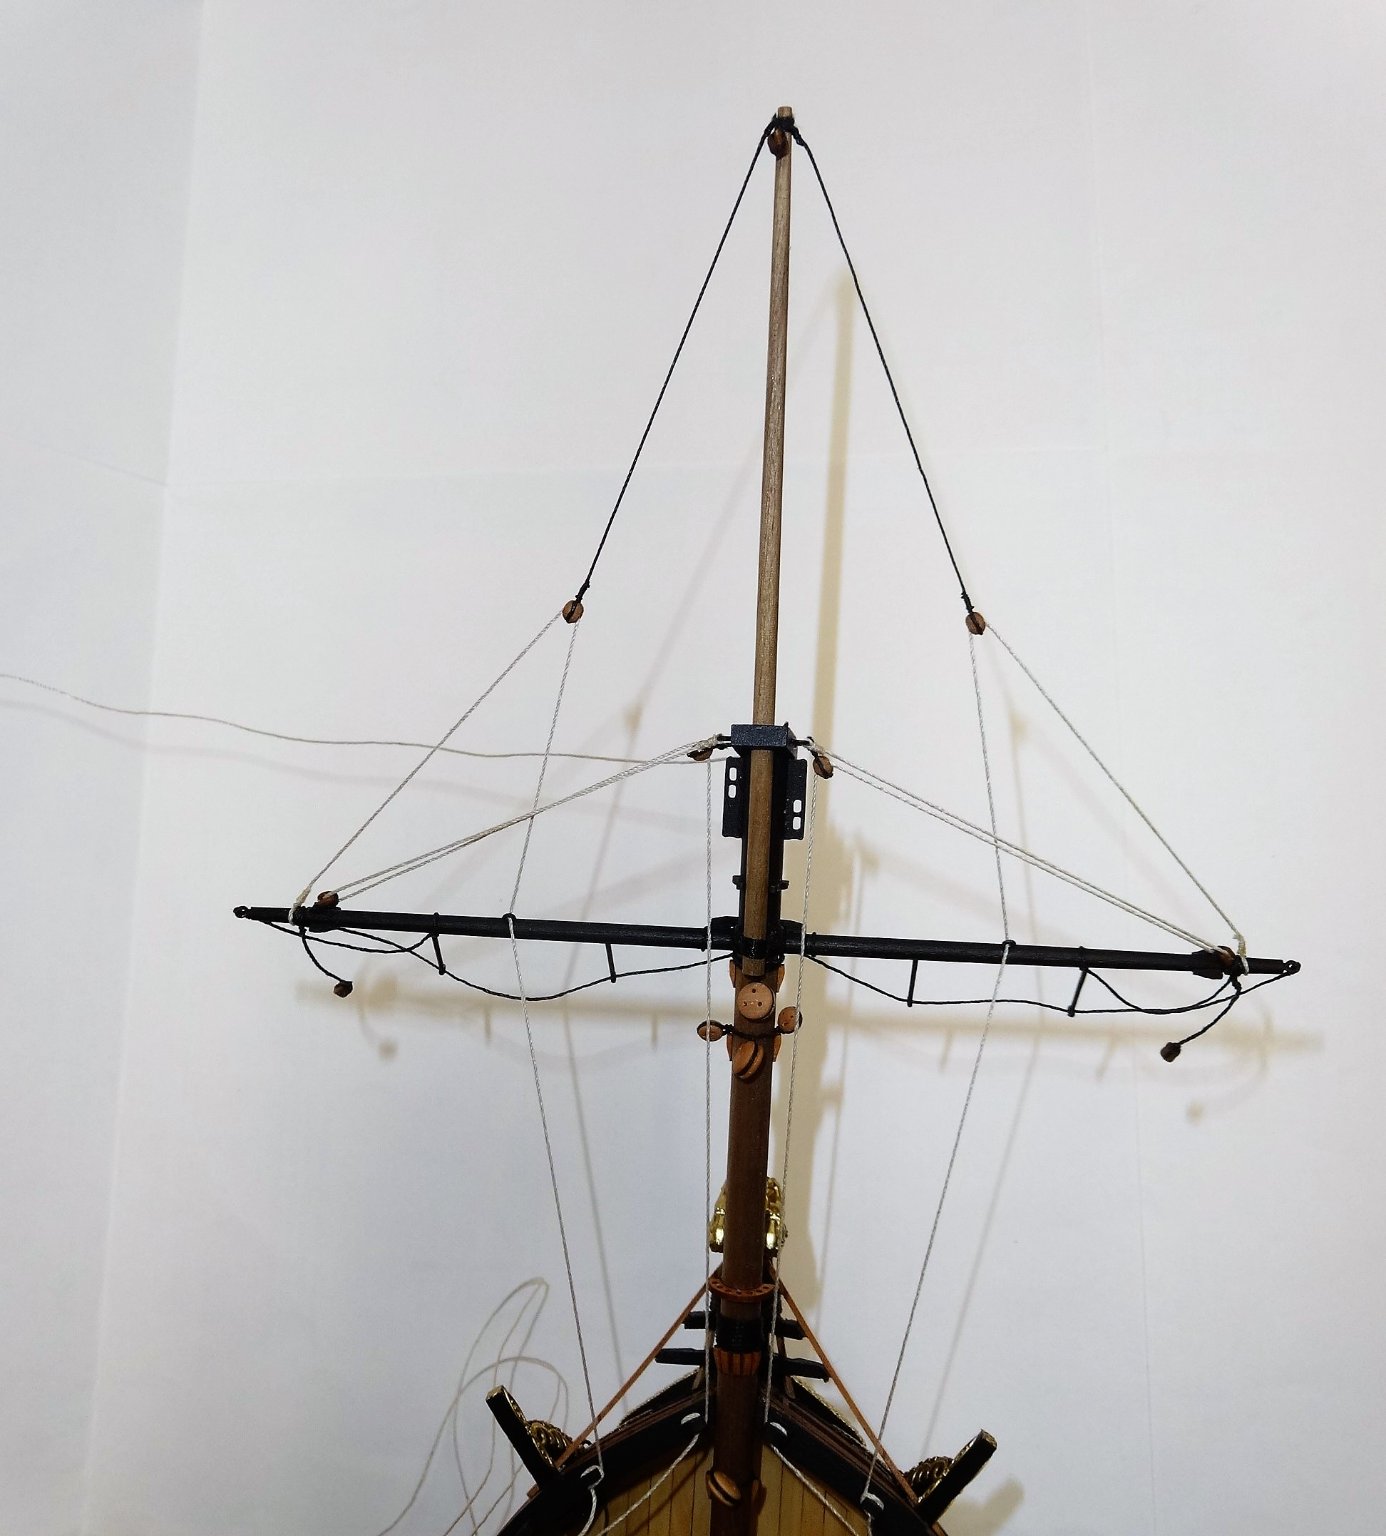
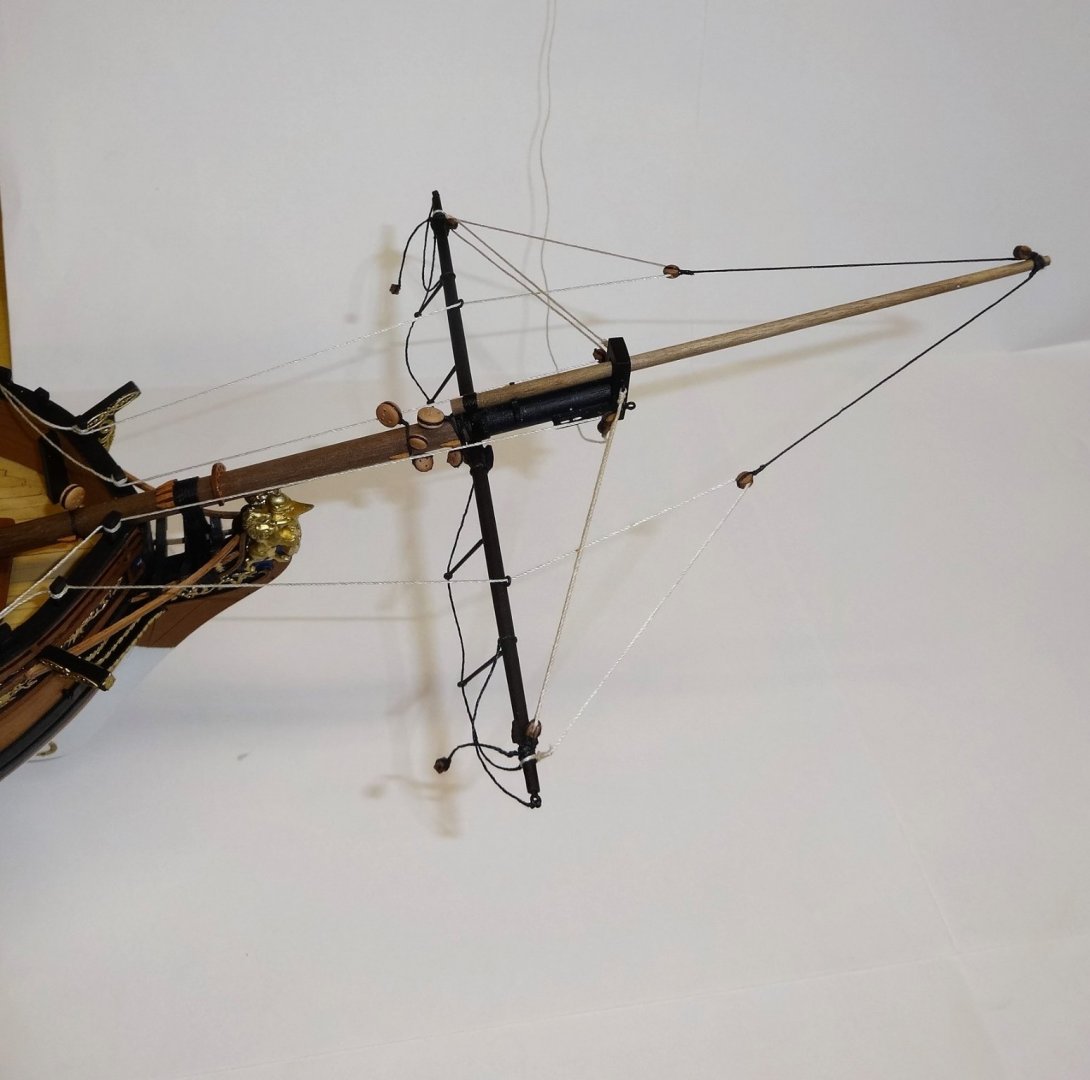
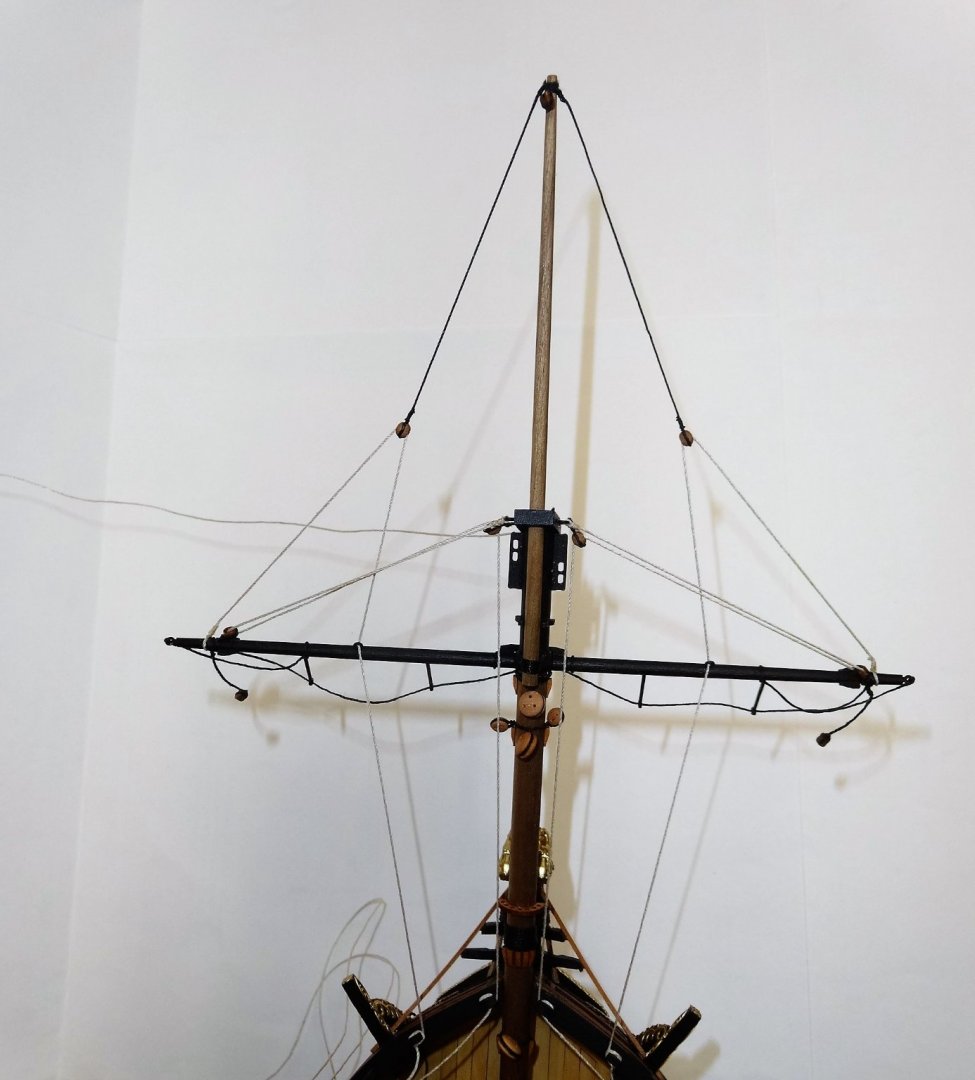
I've started the rigging with the bowsprit first. I mounted the bowsprit and then the gammoning. The spritsail was then attached. The running rigging was then added. The ends were tied off with the extra line left attached in case adjustment was needed later on.

- 201 replies
-
- 17
-
-
- Duchess of Kingston
- Vanguard Models
- (and 1 more)
-
Thanks Steve. It felt great getting to work on her again. Hi Matt, Not too afraid of turning her over though a spotter isn't a bad idea. It's cutting the hole in the lower counter that has me spooked the most! Also thanks for the likes!
- 642 replies
-
- 3
-
-
- winchelsea
- Syren Ship Model Company
- (and 1 more)
-
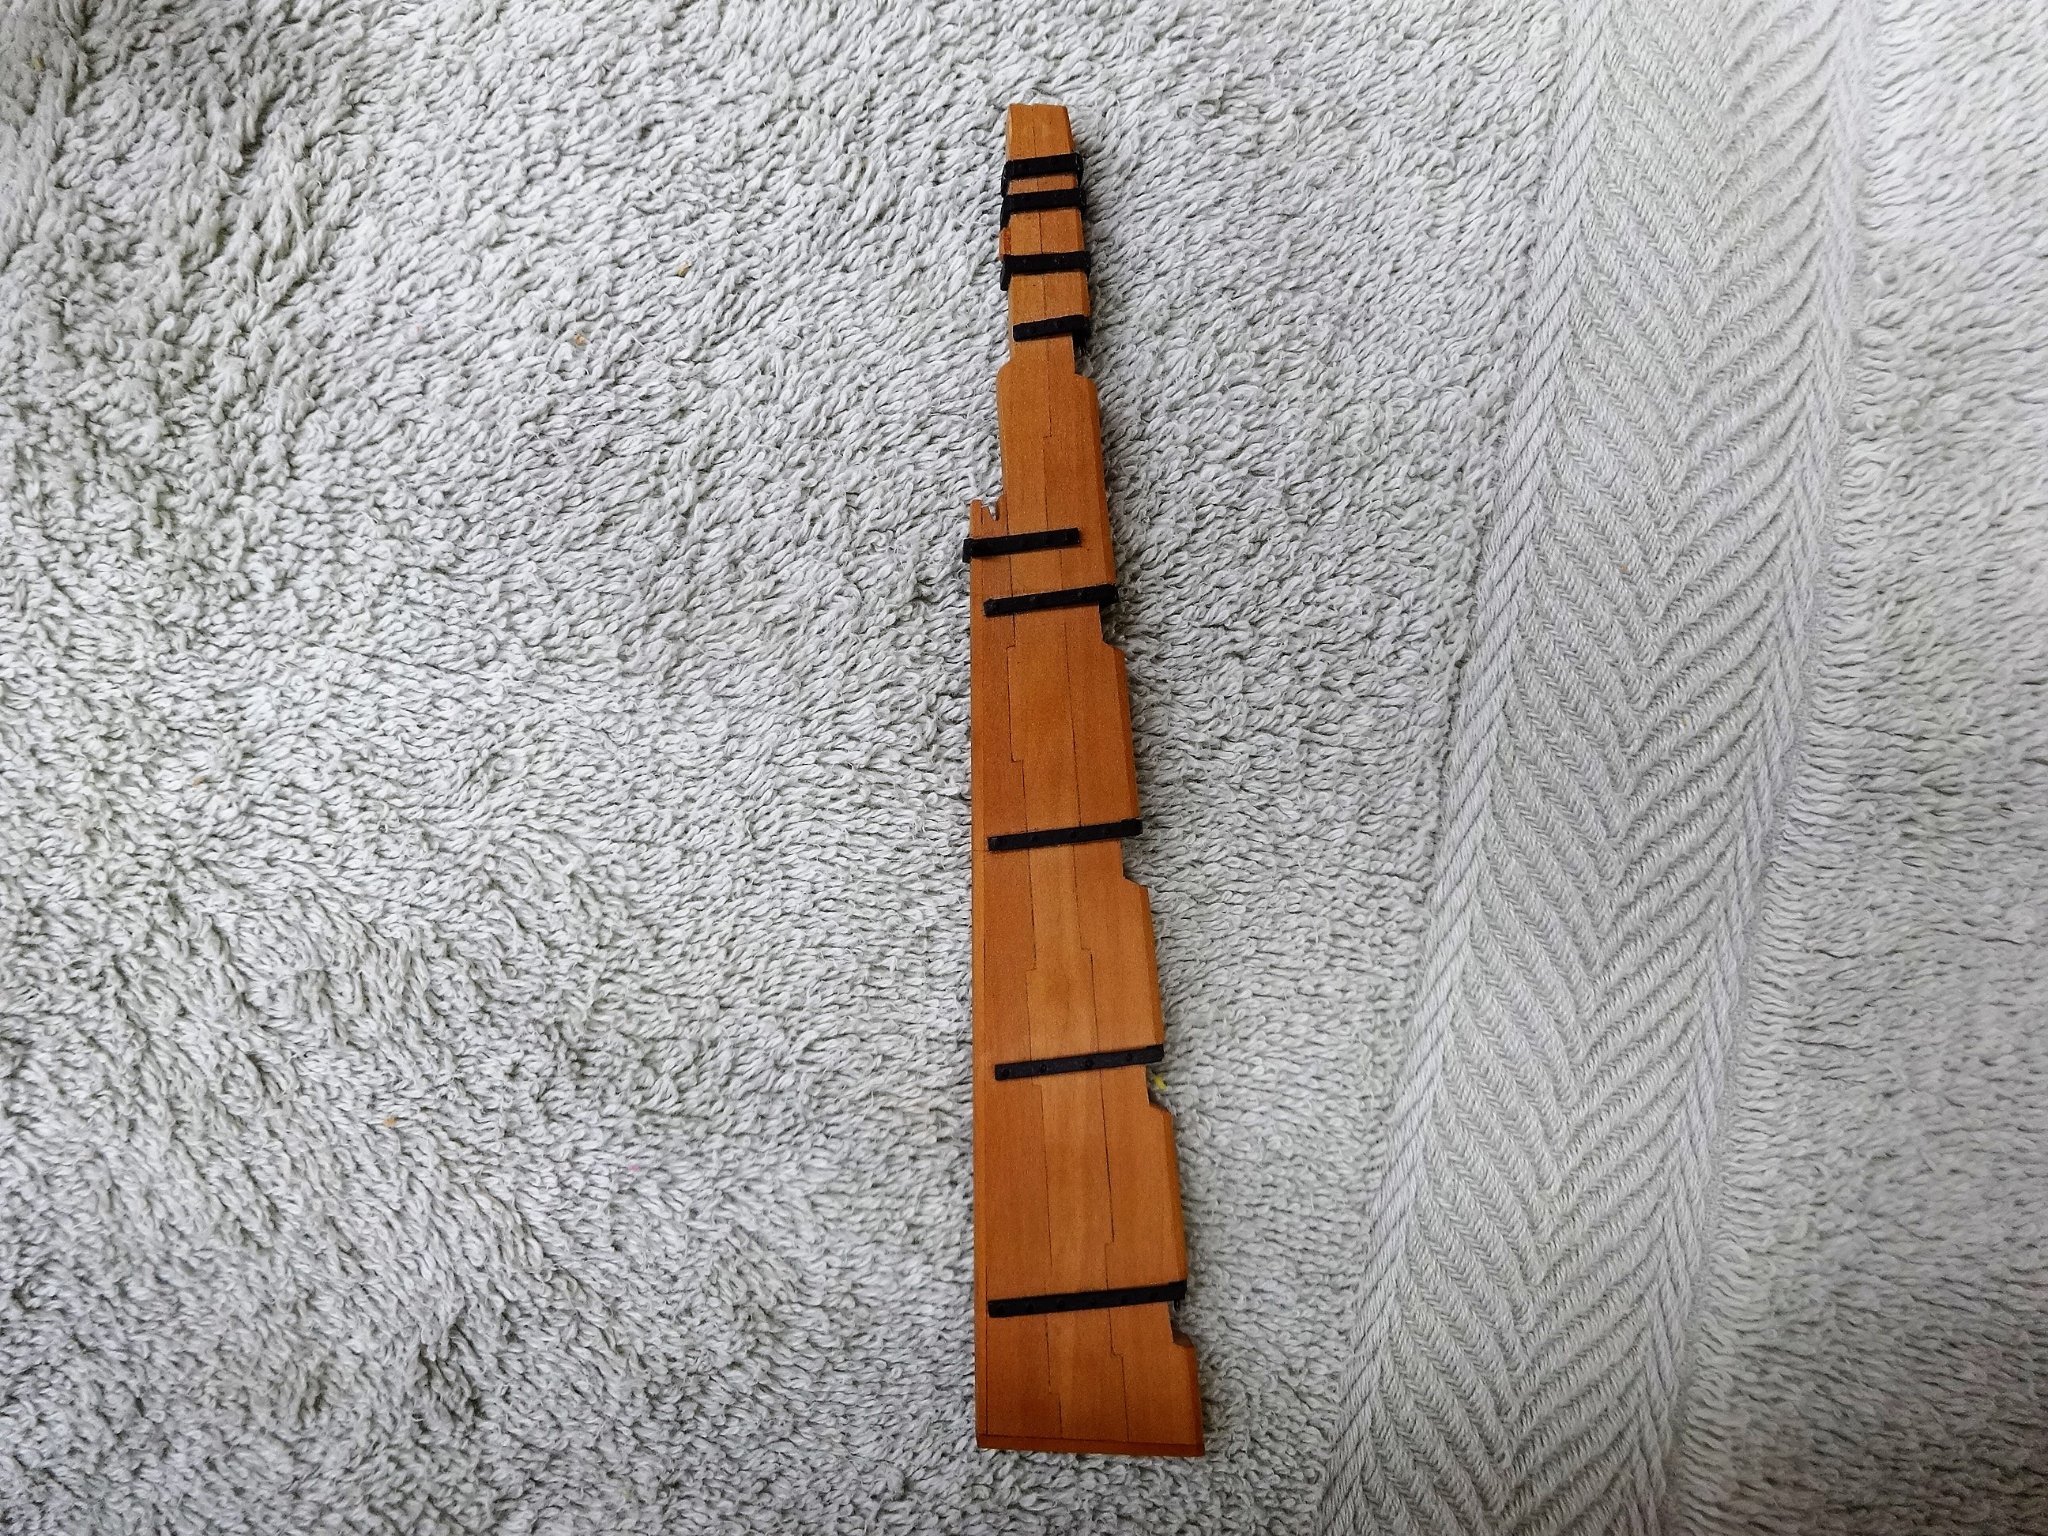
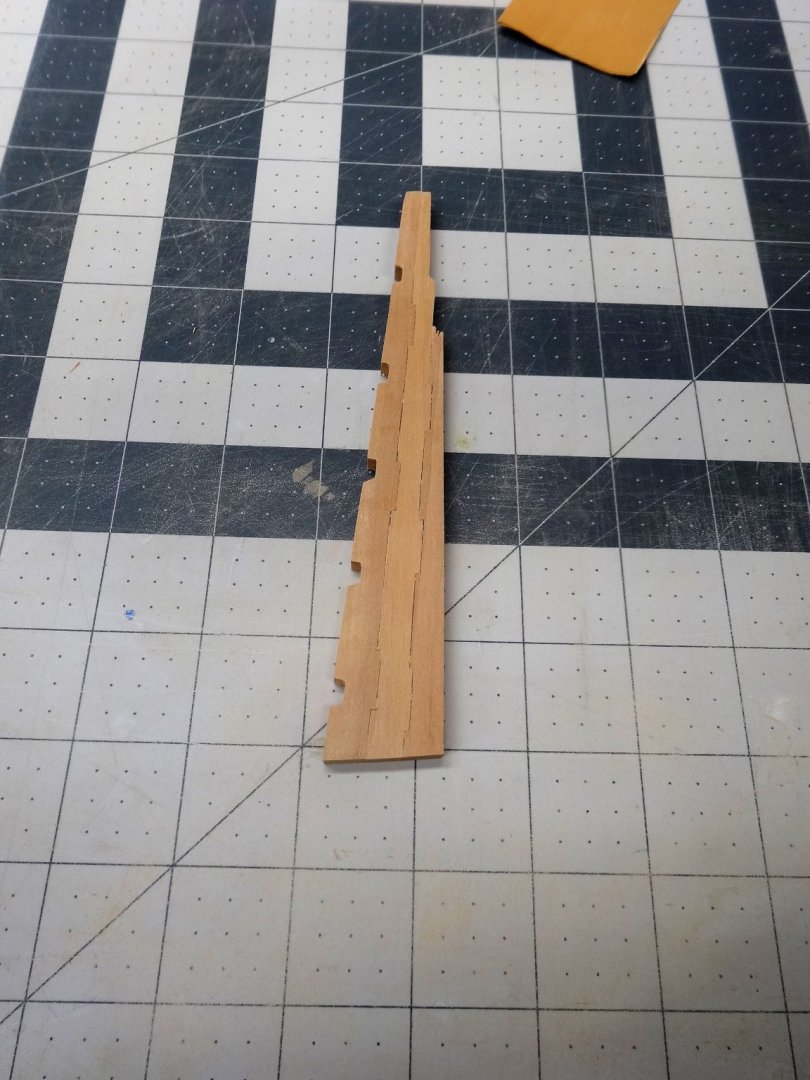
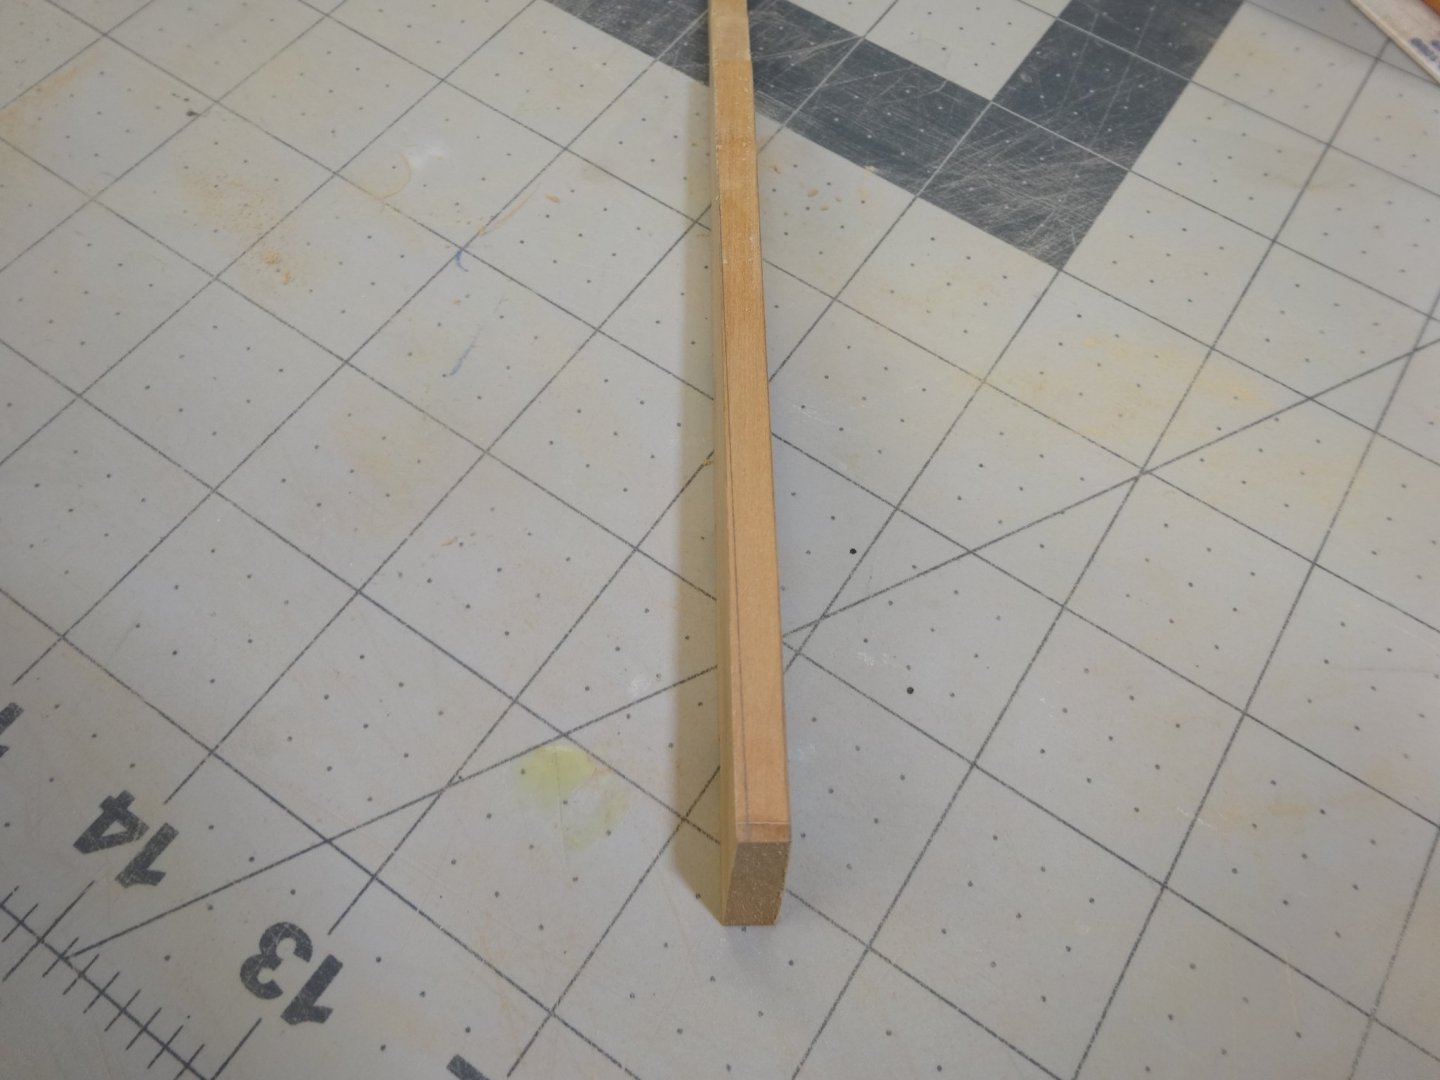
Hi All, My chapter 5 Cherry parts arrived a while ago and I've found sometime to get back at the Winnie. Though Chuck supplied a superb laser cut rudder I tried my hand at cutting one out of pear on my scroll saw. I'm pleased with the way it came out so I will be using it. Here it is assembled waiting to be tapered on the aft side towards the bottom. It needs to end up around 5/32" wide. I marked it off and you can see one side sanded to the correct thickness. These are the boxwood laser cut pintels and gudgeons. They were added to the rudder along with the straps and 20# monofilament to simulate the bolts. Next I'll have to flip the hull over and, gasp, cut the rudder port in the lower counter and hang the rudder. Nothing can go wrong doing that can it?!


- 642 replies
-
- 17
-
-
- winchelsea
- Syren Ship Model Company
- (and 1 more)
-
I agree with Chuck and Matt. I did alternate the rows but that was just my way of doing it.