NenadM
-
Posts
3,254 -
Joined
-
Last visited
Content Type
Profiles
Forums
Gallery
Events
Everything posted by NenadM
-

Cutty Sark by NenadM
NenadM replied to NenadM's topic in - Build logs for subjects built 1851 - 1900
Works continues on left side Bob, your idea about hiden suppirtin molding is briliant and neccessary for strongnes of rail And again nice detail

- 4,152 replies
-
- 8
-

-
- cutty sark
- tehnodidakta
- (and 1 more)
-
Cutty Sark by NenadM
NenadM replied to NenadM's topic in - Build logs for subjects built 1851 - 1900
"You can not play with your ship tonight. You must play with me !" Obviously, I am not master of my time ...q
- 4,152 replies
-
- 7
-
-
- cutty sark
- tehnodidakta
- (and 1 more)
-
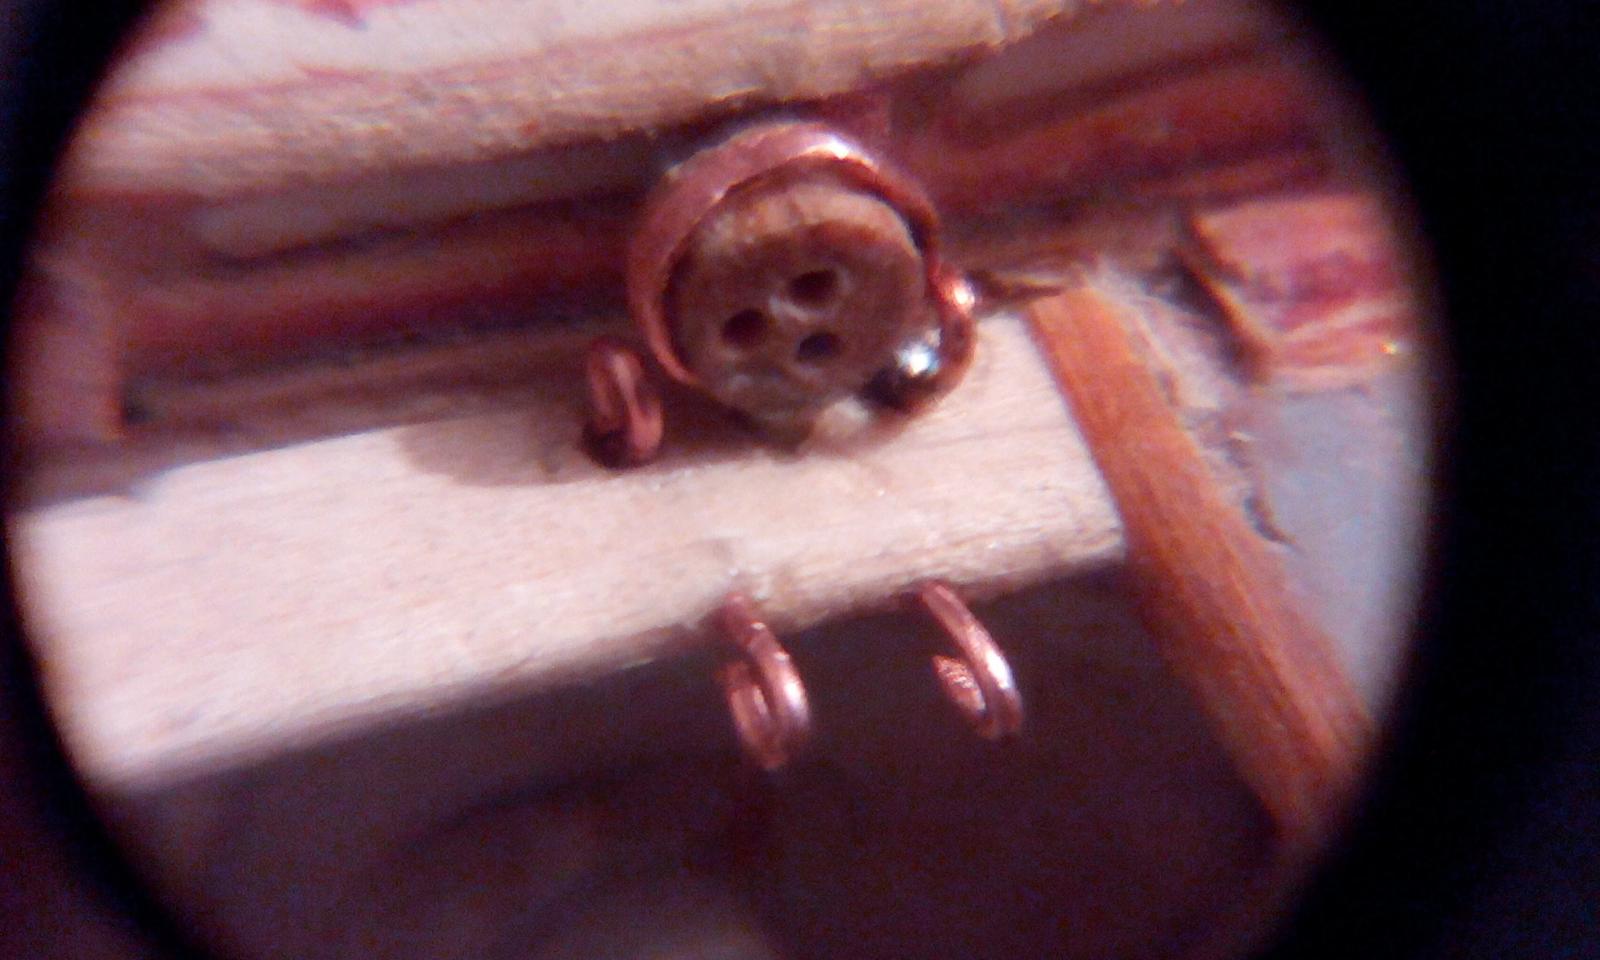
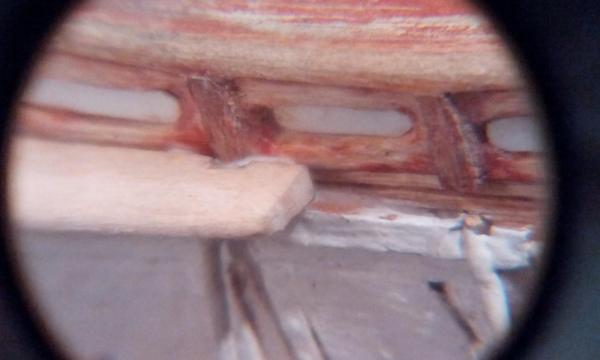
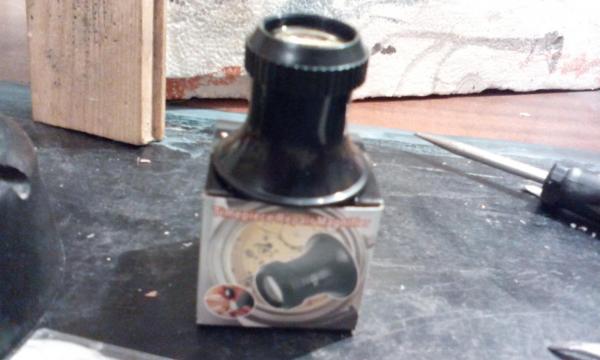
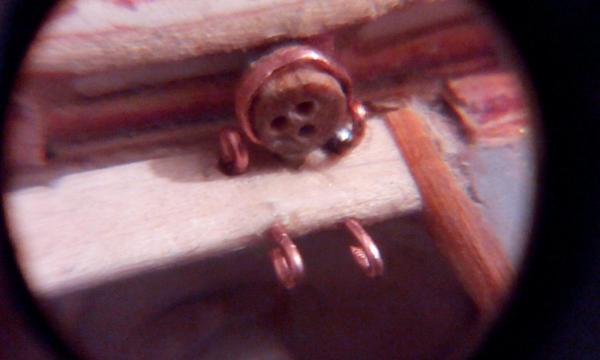
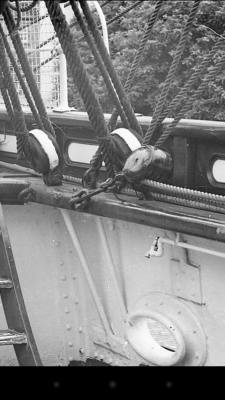
I use camera on my cellphone. 5MP is enough - not to oversize MSW limits - but to get clear pictures. For macro shots I add little cheep Chinese optical lenses in front of cell camera Here are results I get with this technique Wider look to rudder Detail Don`t forget - macro shots are our enemy !!!! Mistakes you can not see by your own eyes, are very very visible on macro shots !!!!

-
Mayflower by SawdustDave - Finished
NenadM replied to SawdustDave's topic in - Build logs for subjects built 1751 - 1800
Wind to your sails !!! -
Cutty Sark by NenadM
NenadM replied to NenadM's topic in - Build logs for subjects built 1851 - 1900
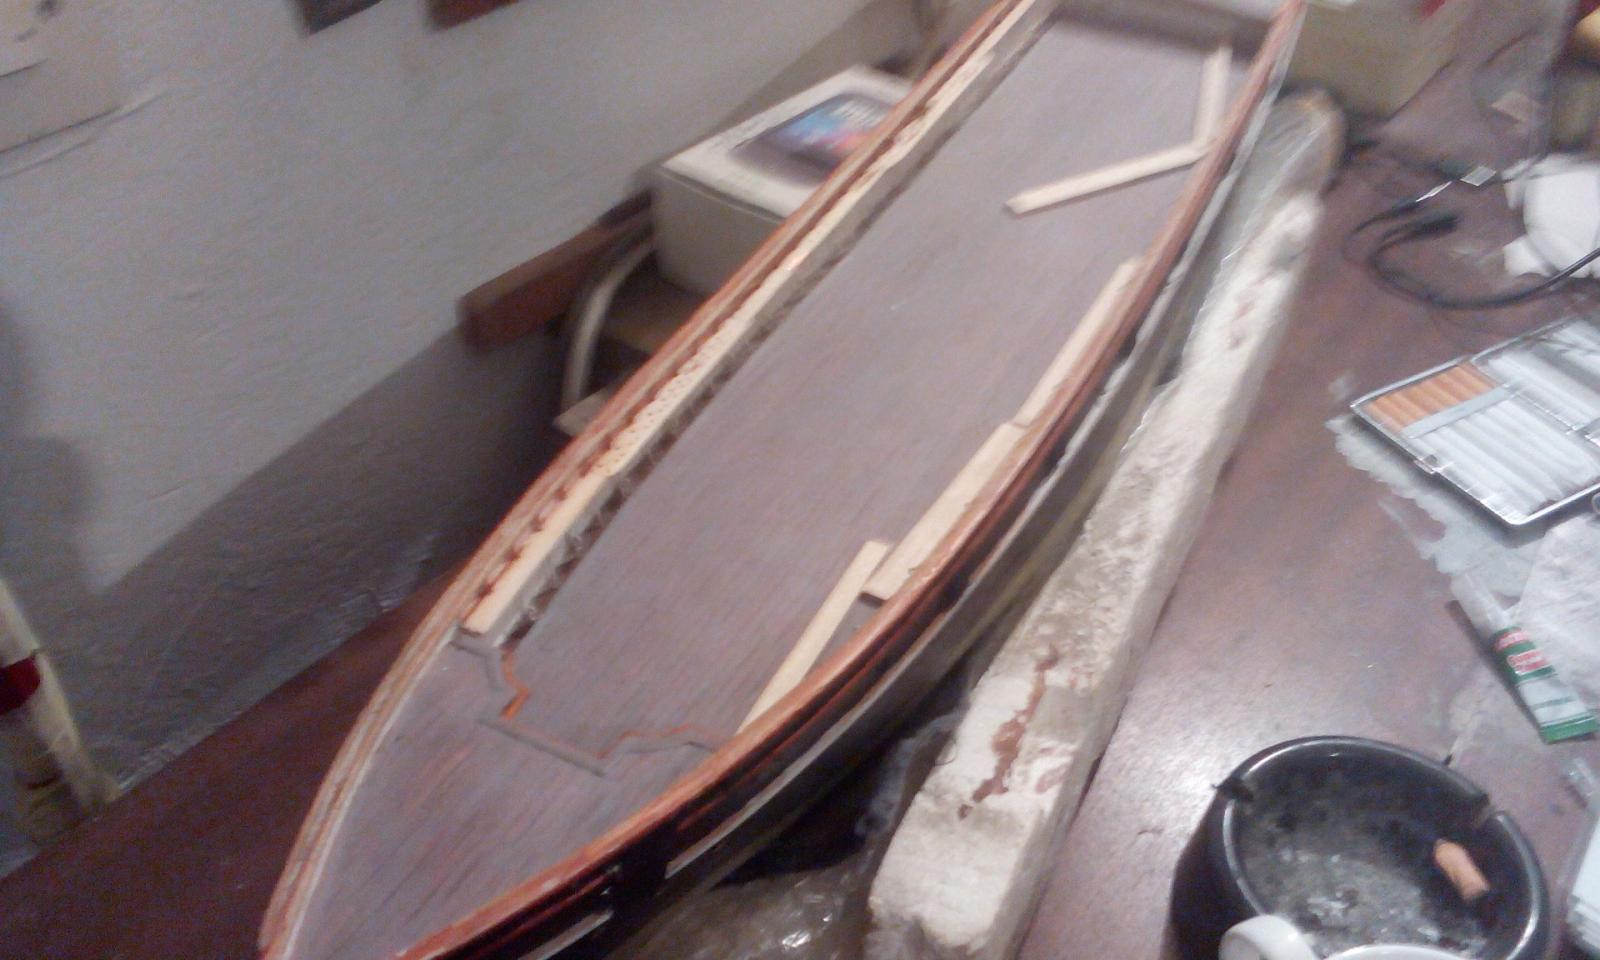
Right side finished. Still need some triming (?) and correcting when glue dried Another little sweet detail. Why I didn't make this for aft side? Why all the generals are smart after battle? There are real chances for ending of attorney strike next week. We'll see ... It will be great victory for rule of law, and a great shame for actual government ... four months whole judicial system was stopped at all, only because Constitution Act for people in lead political party does mean - nothing ... 21th century ... civilized world ... and islands still in middle age ...


- 4,152 replies
-
- 9
-
-
- cutty sark
- tehnodidakta
- (and 1 more)
-
Cutty Sark by NenadM
NenadM replied to NenadM's topic in - Build logs for subjects built 1851 - 1900
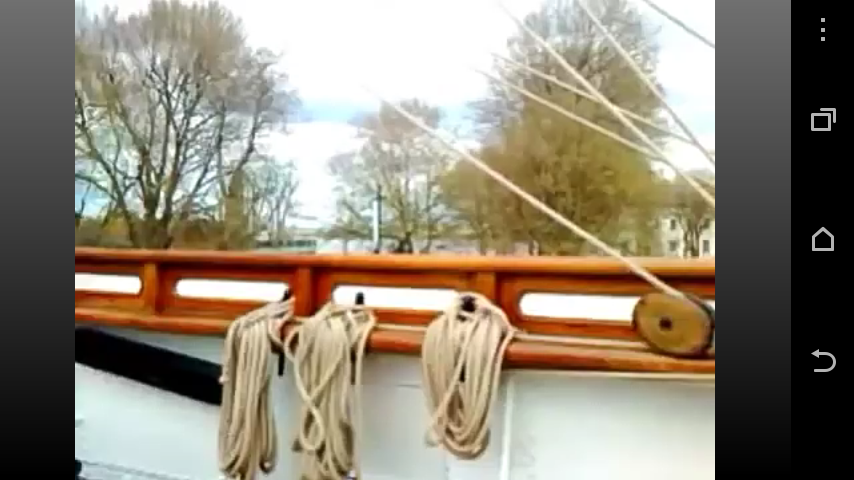
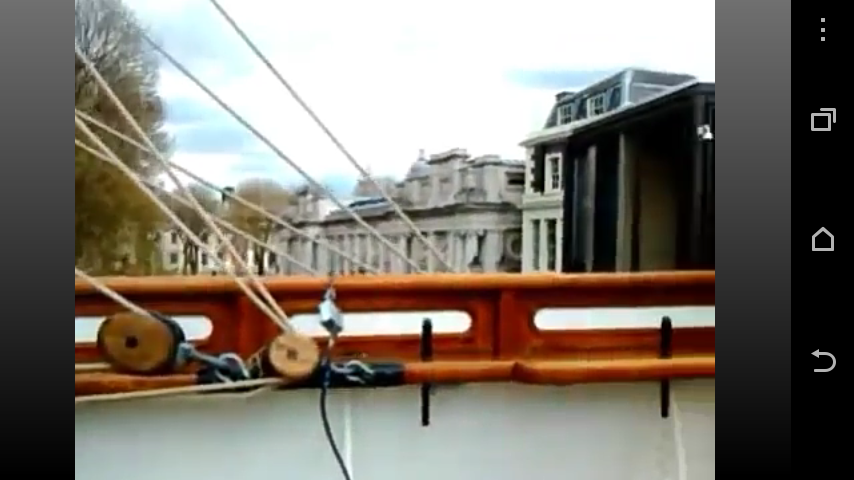
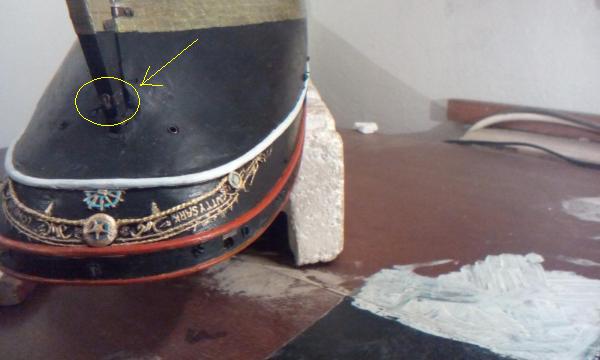
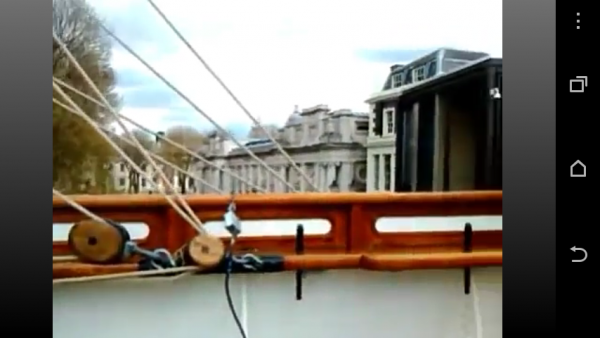
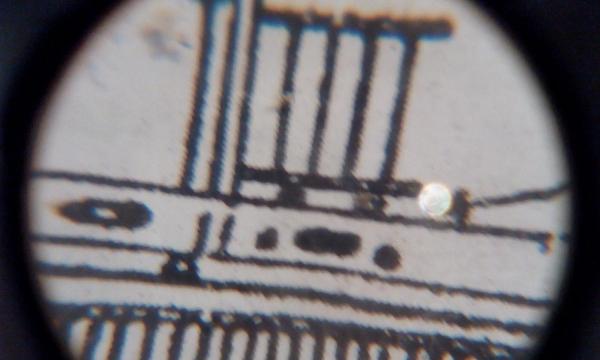
Doing my researching about details which interests me, main resource is, of course, internet. Today I was looking for some detail on rail shown on C-plan which I can not find on photos. Then I started with youtube videos made by visitors, and - bingo !!! But, how to transfer it on picture? Think think think .... And idea comes During play on phone on desired place, pause clip, and make screenshot !!! Android 4 comes with this feature, if not, there are some apps on Gstore with this function And here are results: Just what I am looking for my planned today work
- 4,152 replies
-
- 5
-
-
- cutty sark
- tehnodidakta
- (and 1 more)
-
I have little problems with my english to understand some of your thoughts, but, generaly, great build and very interesting log
- 956 replies
-
- 3
-
-
- andrea gail
- trawler
- (and 1 more)
-
Cutty Sark by NenadM
NenadM replied to NenadM's topic in - Build logs for subjects built 1851 - 1900
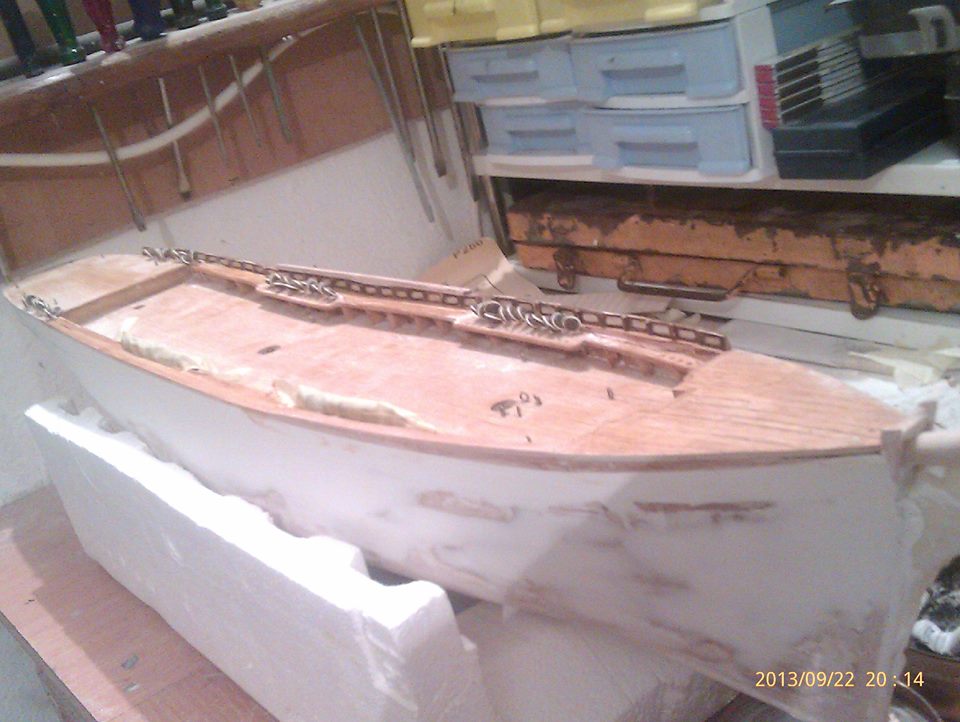
Just to remember where I was ...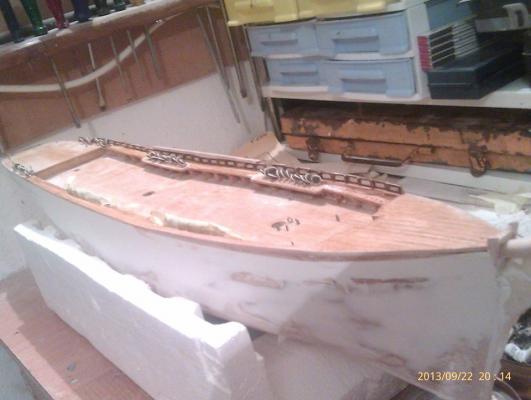
- 4,152 replies
-
- 7
-
-
- cutty sark
- tehnodidakta
- (and 1 more)
-
Cutty Sark by NenadM
NenadM replied to NenadM's topic in - Build logs for subjects built 1851 - 1900
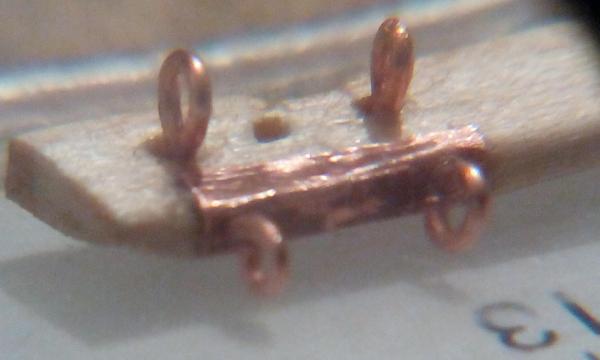
First two sections on right side finished and mounted. Aft deadeye hole will be drilled later, to get line with holes on aft-deck I decided to step of C-plans about position od deadeye line, and to move it closer to the panel. Considering pictures, this is their today position. With this decision I got more space for them, and possibility to neat look of that jungle od ants and another beasts which have to be placed there Little sweet detail for end. I just couldn't resist to play a bit It is possible that back (right on picture) ring has to be moved more forward, we'll see when time for back line of deadeyes come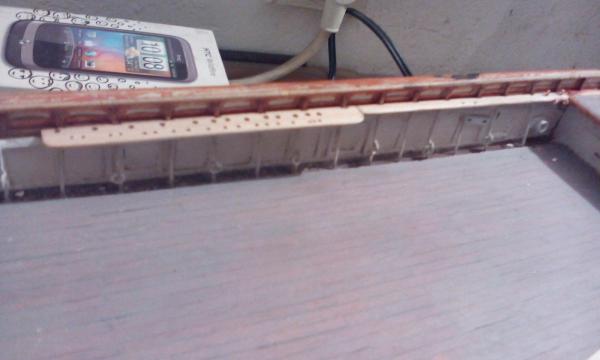

- 4,152 replies
-
- 9
-
-
- cutty sark
- tehnodidakta
- (and 1 more)
-
Cutty Sark by NenadM
NenadM replied to NenadM's topic in - Build logs for subjects built 1851 - 1900
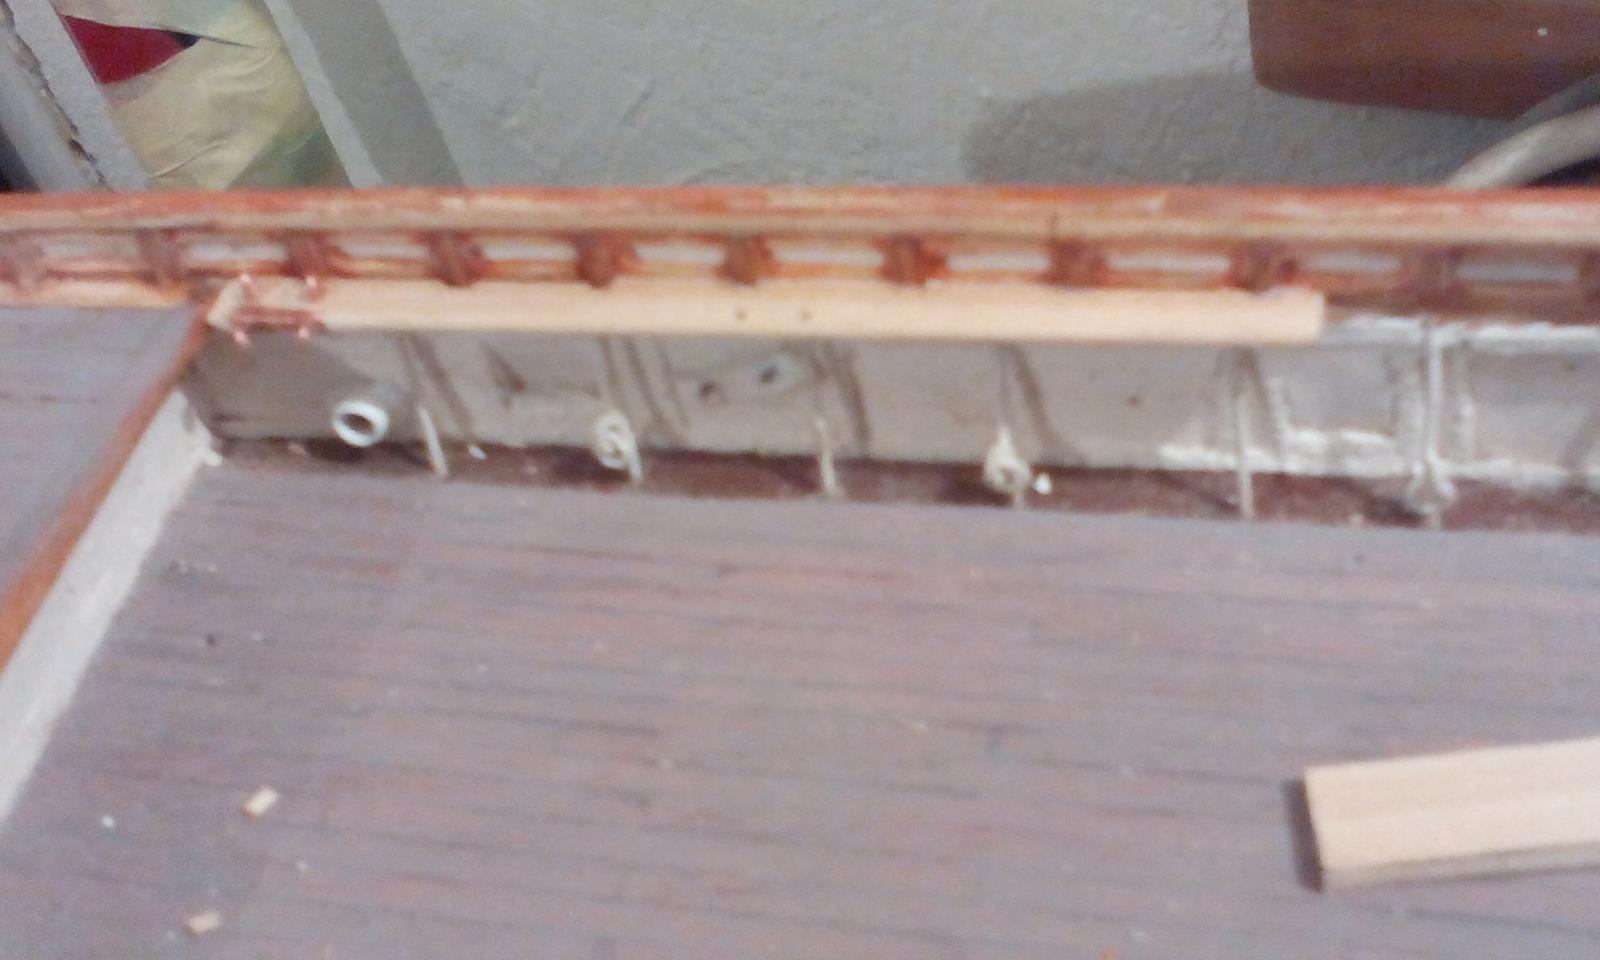
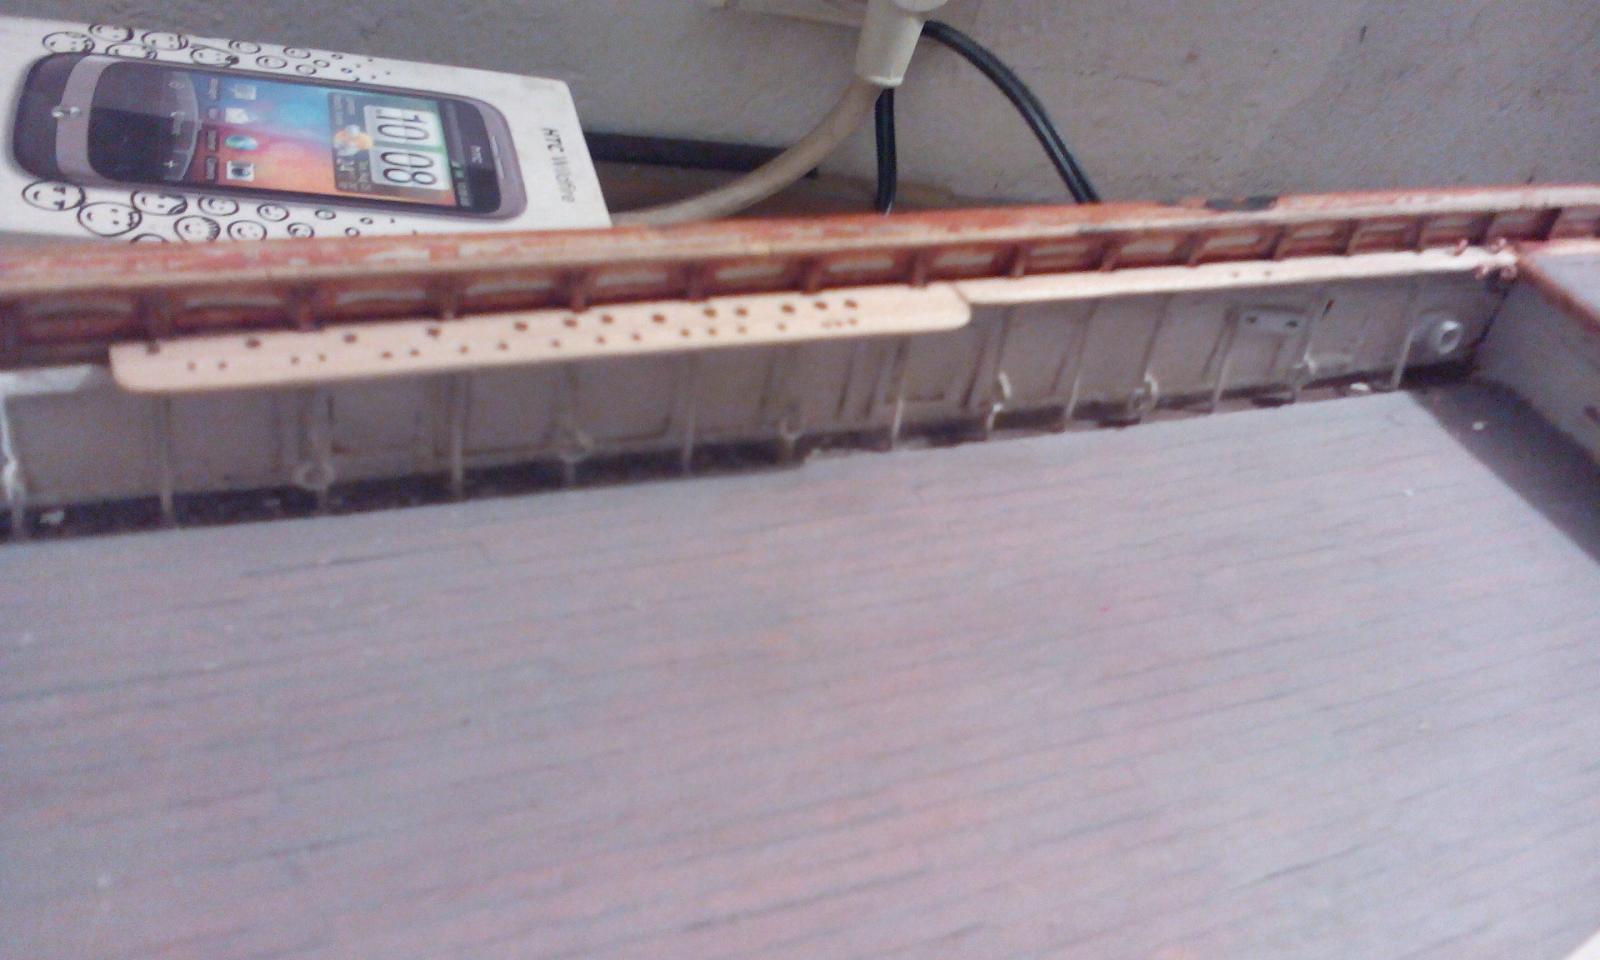
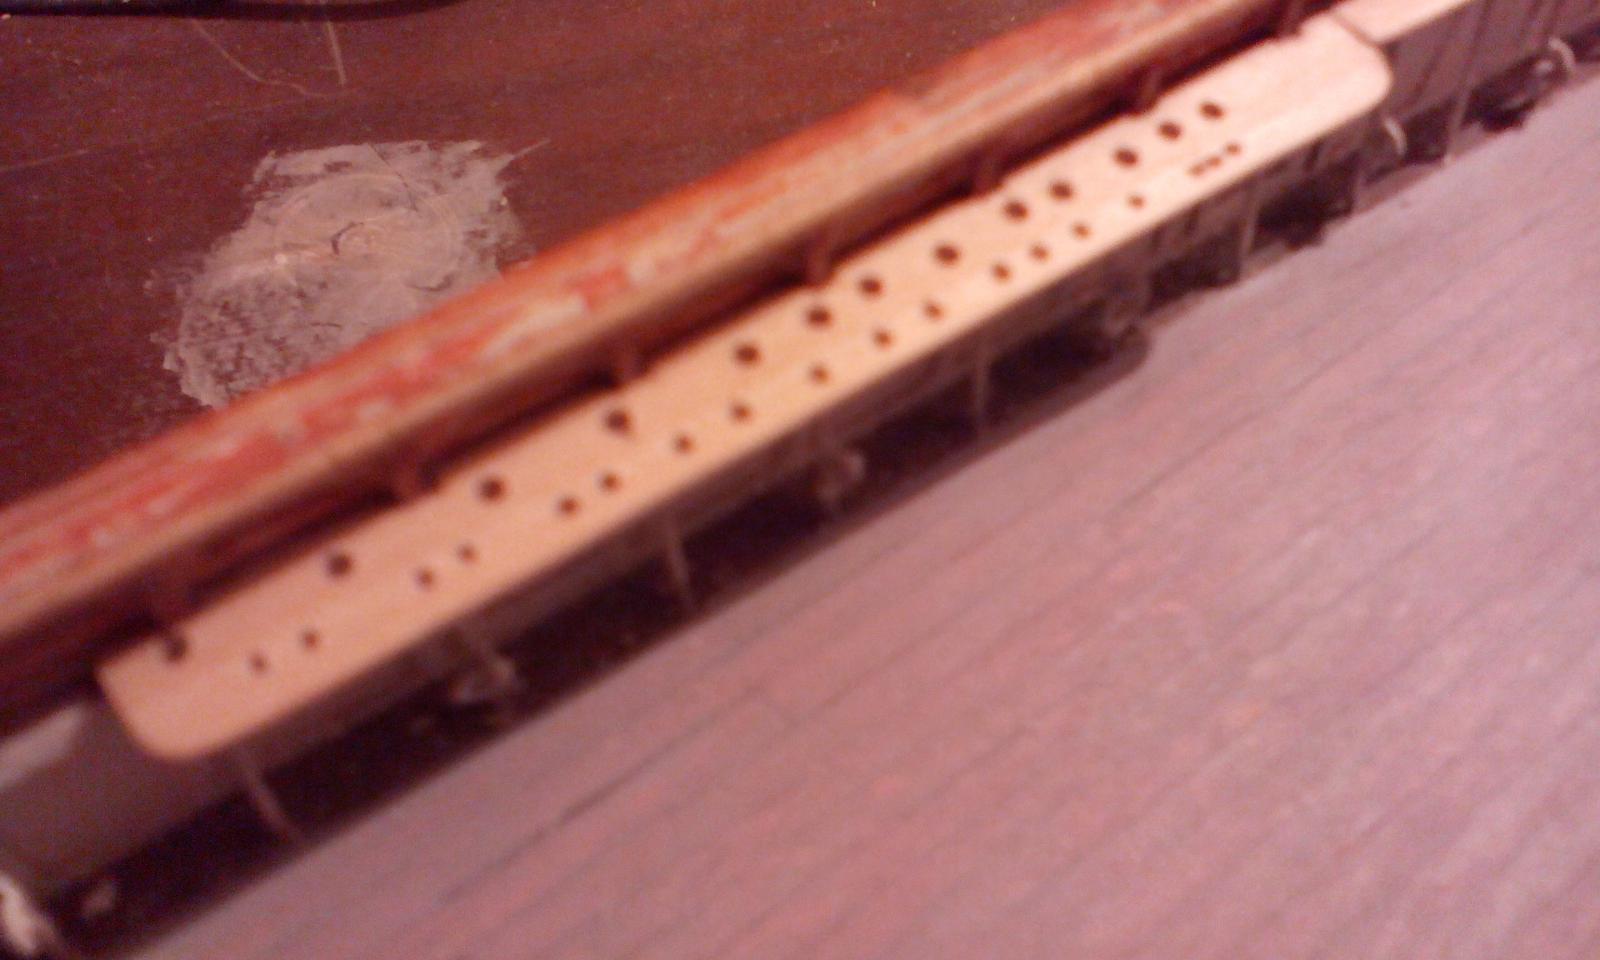
Ok, Denis ... "dummy" Nenad made brave step through fog Rail - first stage, still not glued and thinned, without holes. Looking for proportion between narrow and wider segments Rail is a bit wider than in C-plans, but whole feeling is ok, and I have got comfort space to fill it with little beasts without crowd And the best : if you look careful, it can be seen that little "pillars" between white panels I made really long ago, finally got their meaning, look and feeling, as on picture above. That was plan when I was making white panel section, but considering mess I made before and after, on that time it seems to me that it was not appropriate to mention that. It is so good to feel smelt of some sawdust, and to make something from wood larger than 5mm after long time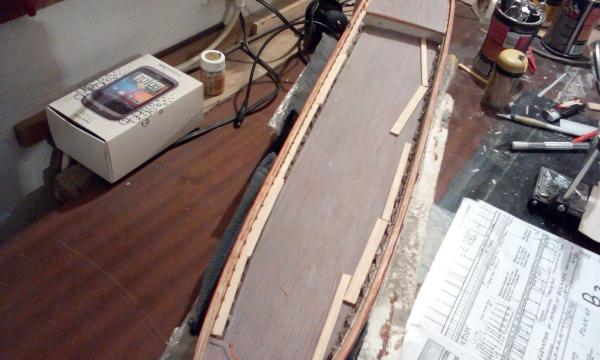

- 4,152 replies
-
- 10
-
-
- cutty sark
- tehnodidakta
- (and 1 more)
-
Cutty Sark by NenadM
NenadM replied to NenadM's topic in - Build logs for subjects built 1851 - 1900
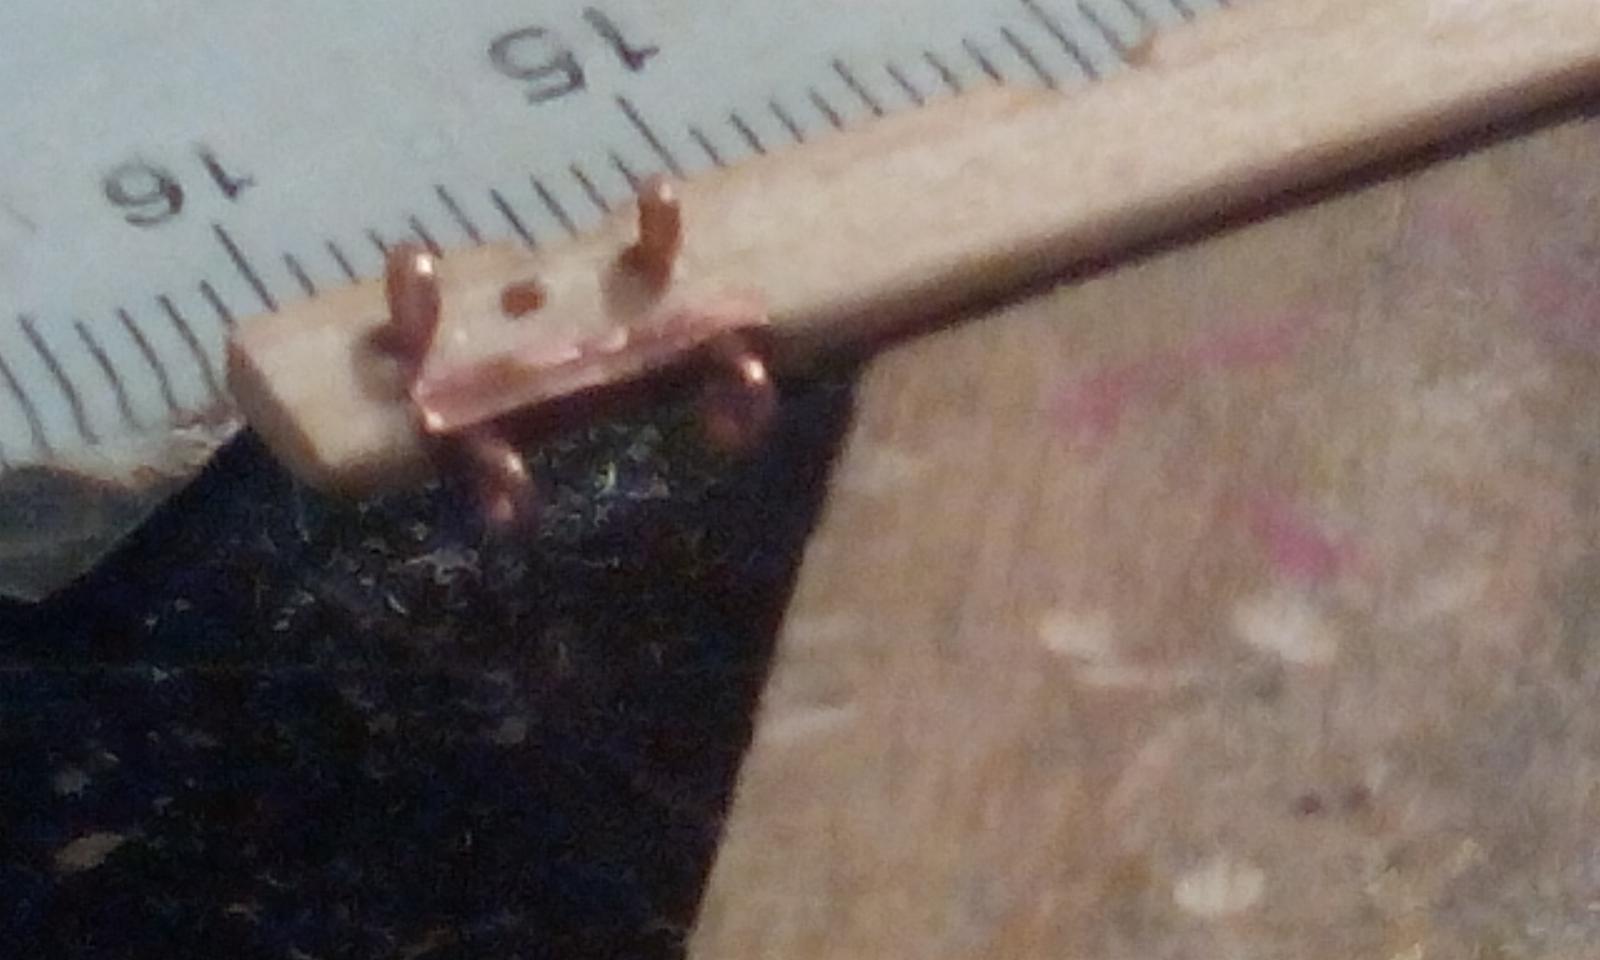
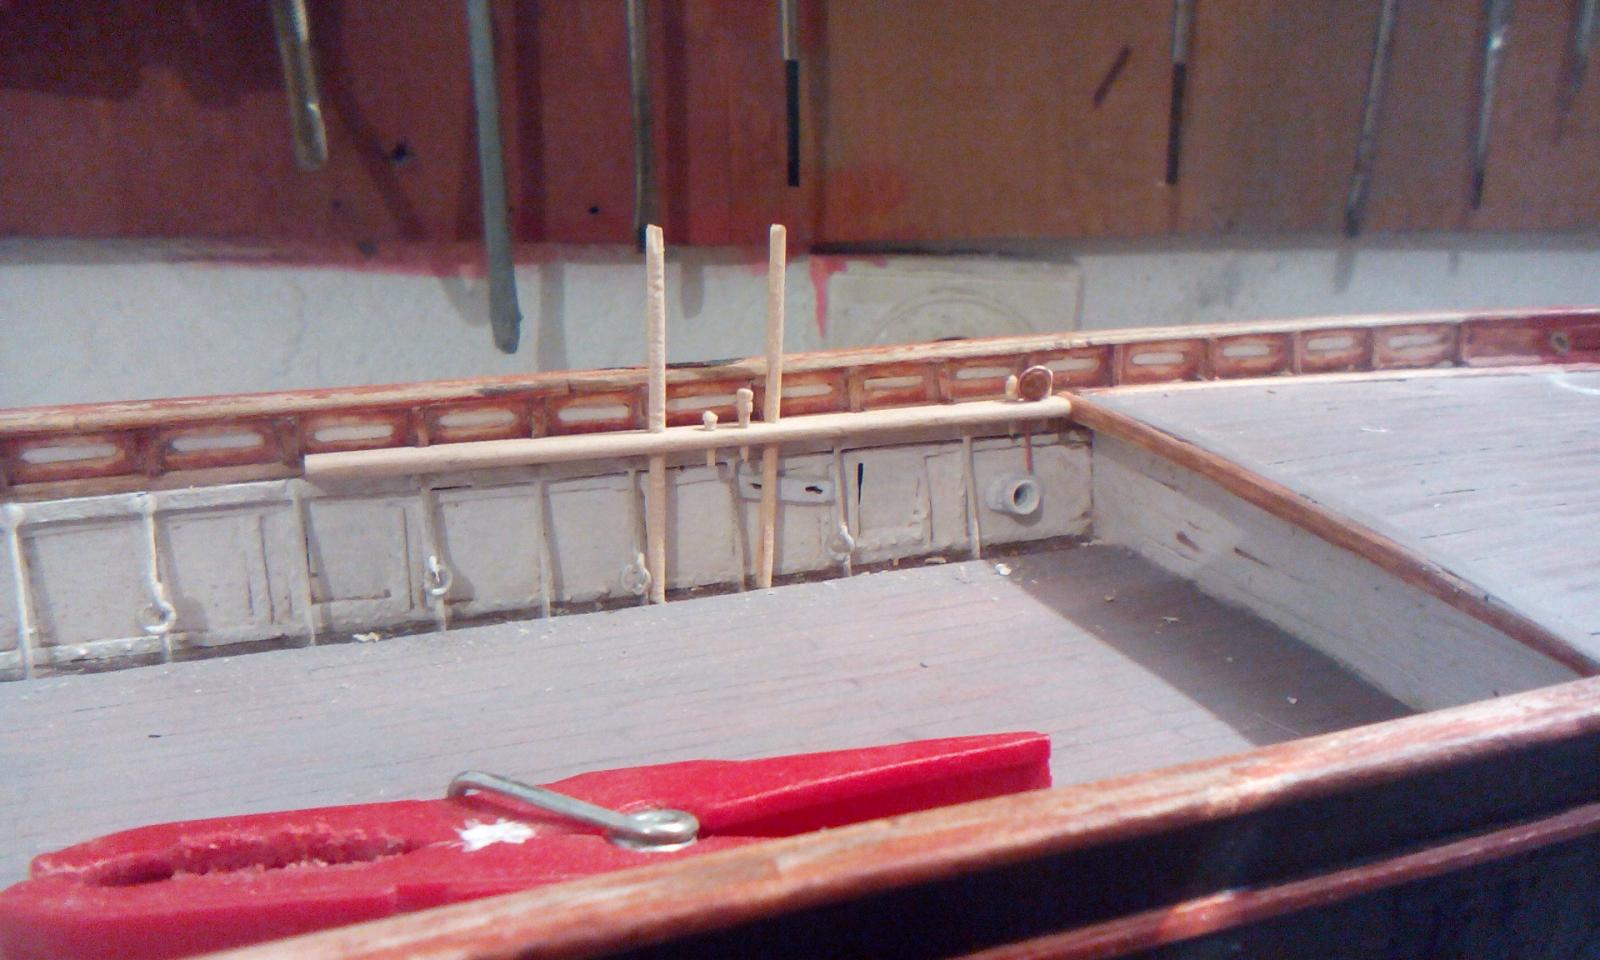
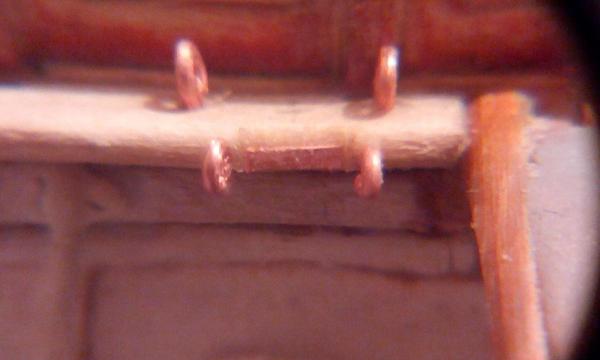
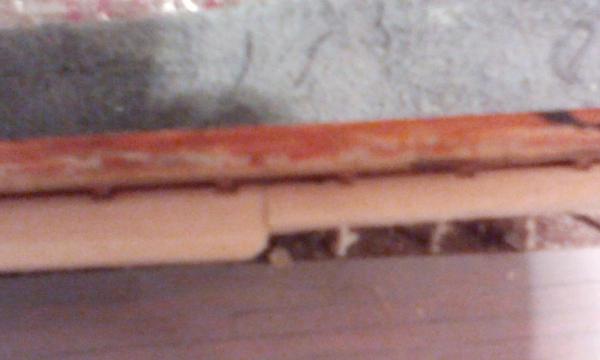
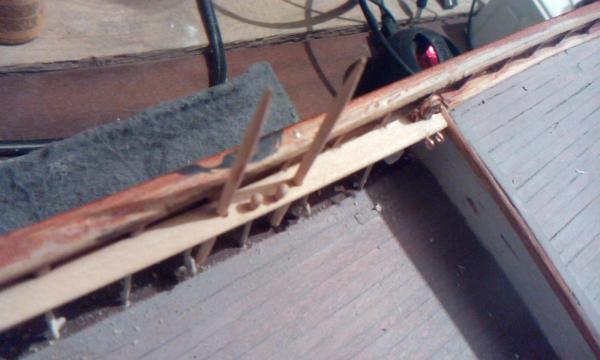
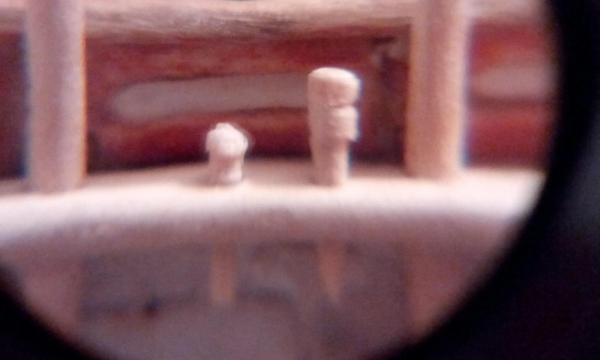
For compare purpose, I first made 2 shots of yesterday attempt. And made a new rail, a bit wider, with thined outer edge to 1mm. Inner edge stays thick 2mm ( you can not see this) to give strenght to construction It looks more better and visible thicknes of rail is more in scale And here is detail of critical place Did I mentioned this is still testing ? Nails are from yesterday, deadeye also. Eyeplates are pure fast improvisation But, I think I found a way Big question for tomorrow testing is joining two parts of rail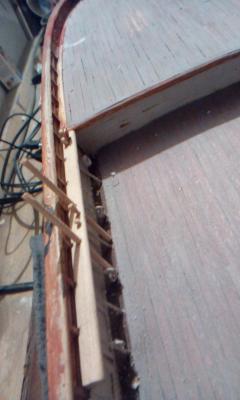

- 4,152 replies
-
- 9
-
-
- cutty sark
- tehnodidakta
- (and 1 more)
-
Cutty Sark by NenadM
NenadM replied to NenadM's topic in - Build logs for subjects built 1851 - 1900
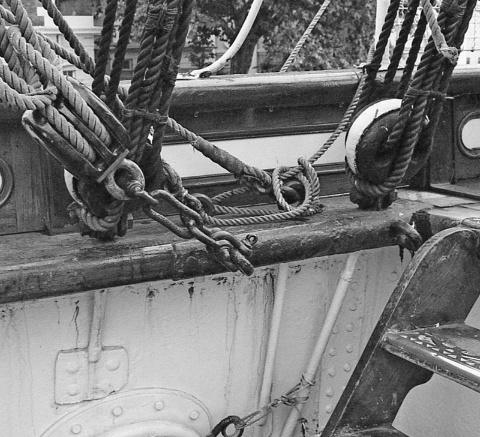
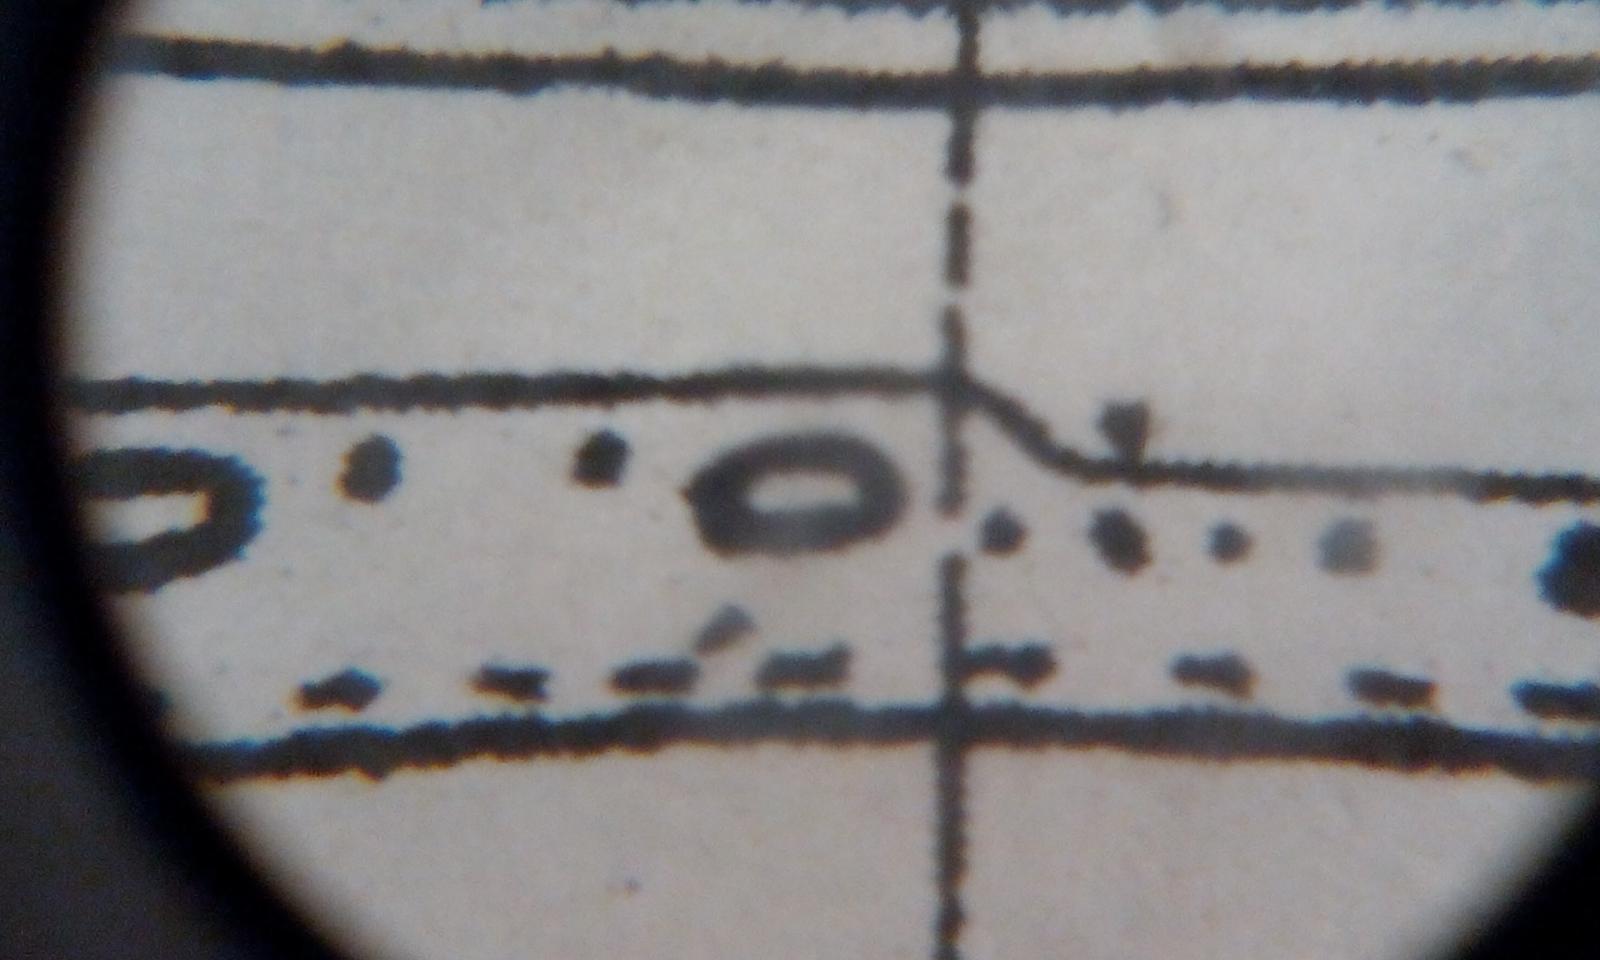
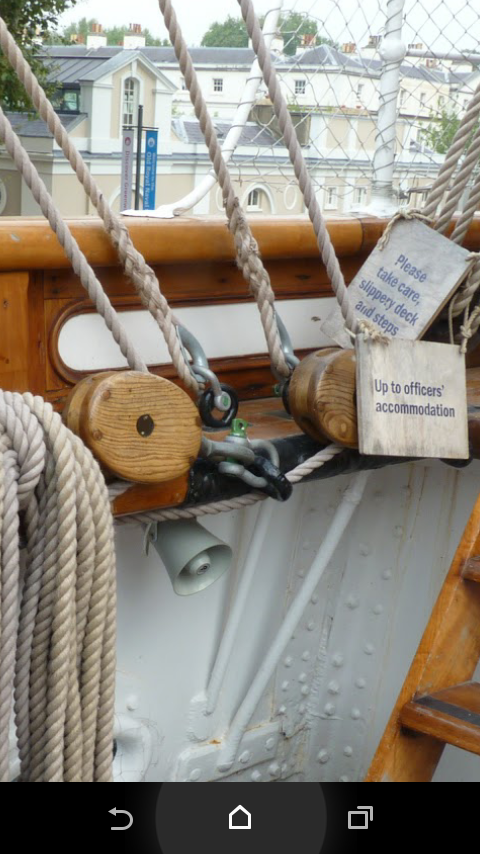
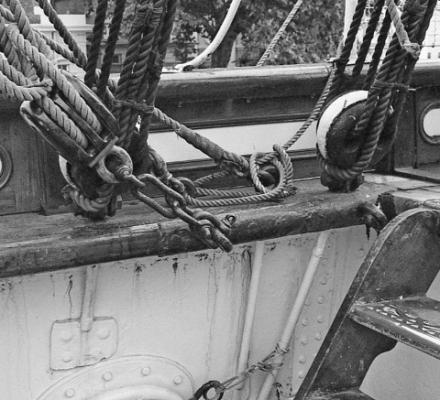
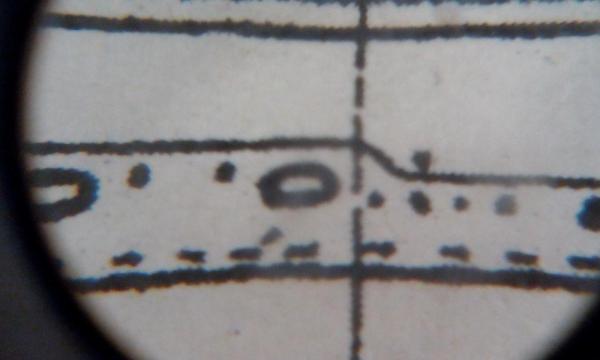
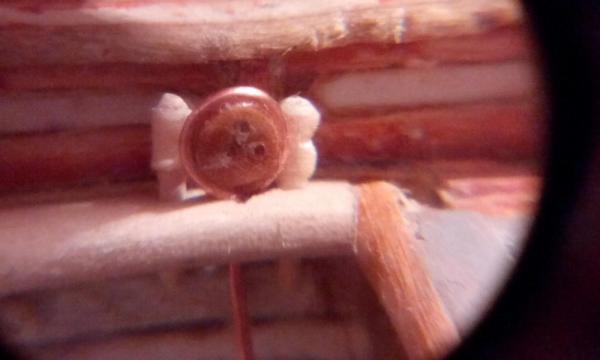
Obviosly, every step/foot of rails must be subject of investigation for dummy Nenad Pins around deadeye at edge of rail? Where I saw this? C-plans As I can read this ants, this parts are called " 2 eyeplates for Main upper&lower T....n brace ....." letters on dots I can not read from my copy of plans So, let us look at some photos made by Swen and Lou A ha, now it is clear what has to be done on this position 2 eyeplates arround deadeye, and two another on the inside edge of rail


- 4,152 replies
-
- 7
-
-
- cutty sark
- tehnodidakta
- (and 1 more)
-
Cutty Sark by NenadM
NenadM replied to NenadM's topic in - Build logs for subjects built 1851 - 1900
Just like that, Denis !!! I am already faced with some milimetars up/down/left/right/back/ etc etc displaced lines of deck/bulwark etc etc, so, it is time for brave move forward with another tests- 4,152 replies
-
- 3
-
-
- cutty sark
- tehnodidakta
- (and 1 more)
-
Mayflower by SawdustDave - Finished
NenadM replied to SawdustDave's topic in - Build logs for subjects built 1751 - 1800
Because your brain works, which means overload with ideas and curiousity -
Cutty Sark by NenadM
NenadM replied to NenadM's topic in - Build logs for subjects built 1851 - 1900
Thank you Marc and Denis Second attempt with new made 4mm deadeye No !!!! Nenad must read some nice tutorials on MSW, and must stop discovering hot water
- 4,152 replies
-
- 5
-
-
- cutty sark
- tehnodidakta
- (and 1 more)
-
Cutty Sark by NenadM
NenadM replied to NenadM's topic in - Build logs for subjects built 1851 - 1900
Marc, photo don't show well, left pins are in front. Right pins on photo are mistake, and rather test holes. Problem to resolve is - pinrail is only 5-6mm wide, and it is pretty crowded there with really micro parts. Test pins are less than 1mm thick in diameter, and only 5-6-7mm long ... beside that, all deadeyes ( 4,5 and 6mm in diameter) have to be equial, all in line with some equial space between, turned in same direction ... huh ...- 4,152 replies
-
- 2
-
-
- cutty sark
- tehnodidakta
- (and 1 more)
-
Denis to run out of options ... that movie isn't made jet
- 956 replies
-
- 3
-
-
- andrea gail
- trawler
- (and 1 more)
-
All of them will be on their place with full equipment ... but ... long road untill I reach there, and a plenty of time to learn what I have to know about
-
Mayflower by SawdustDave - Finished
NenadM replied to SawdustDave's topic in - Build logs for subjects built 1751 - 1800
I like it ! -
Cutty Sark by NenadM
NenadM replied to NenadM's topic in - Build logs for subjects built 1851 - 1900
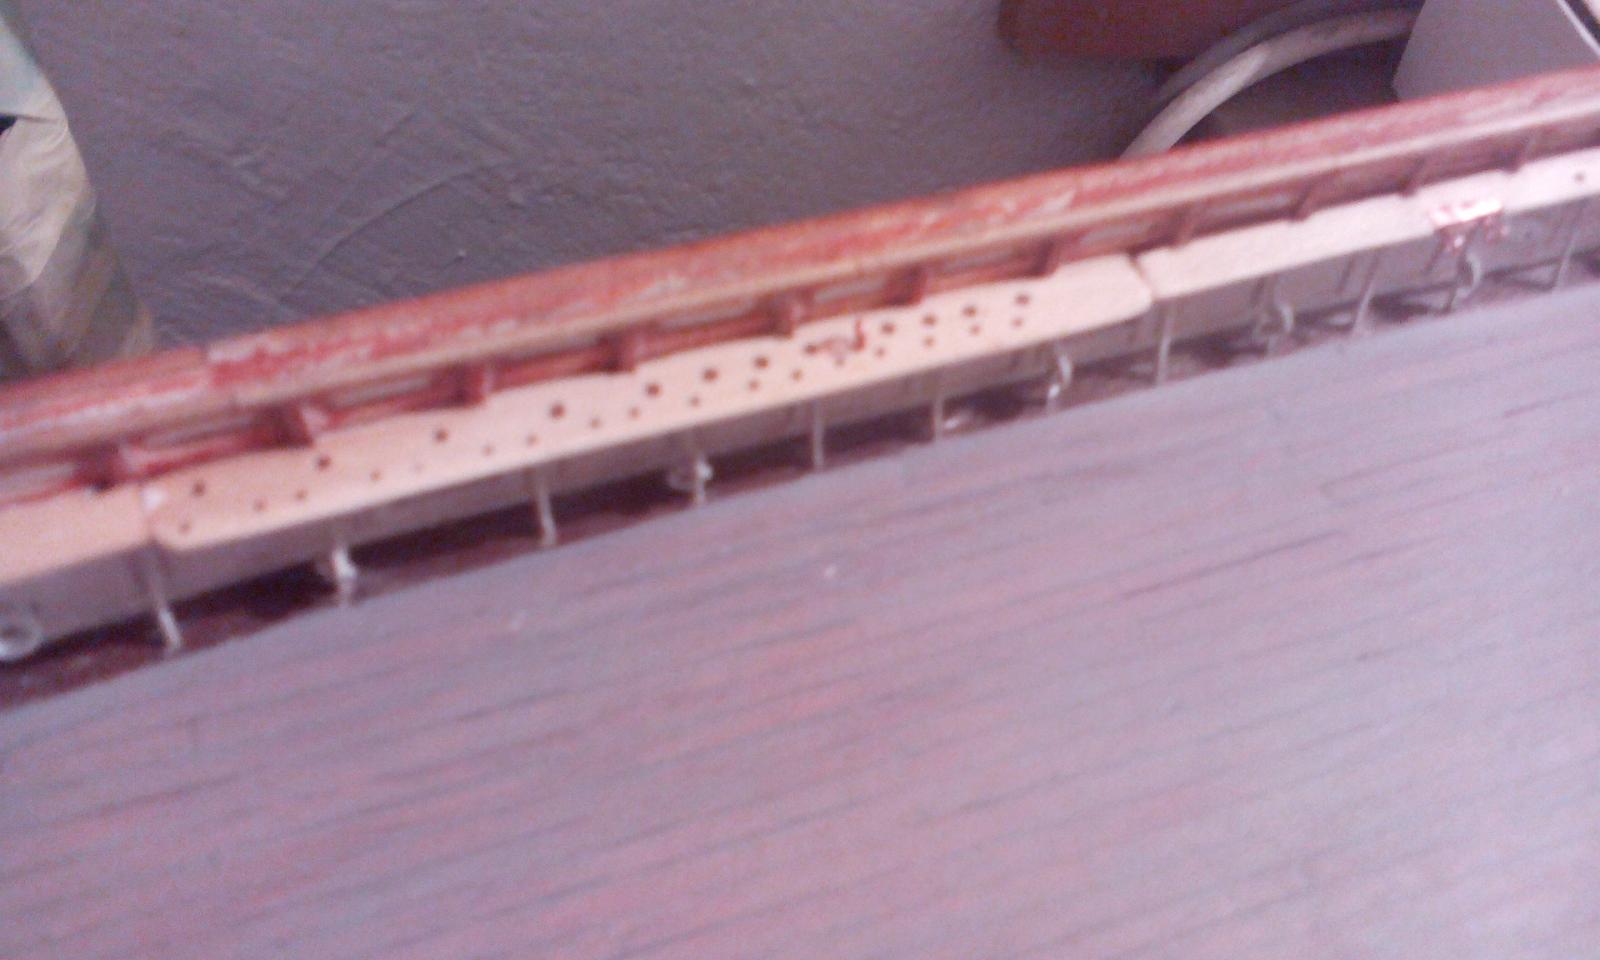
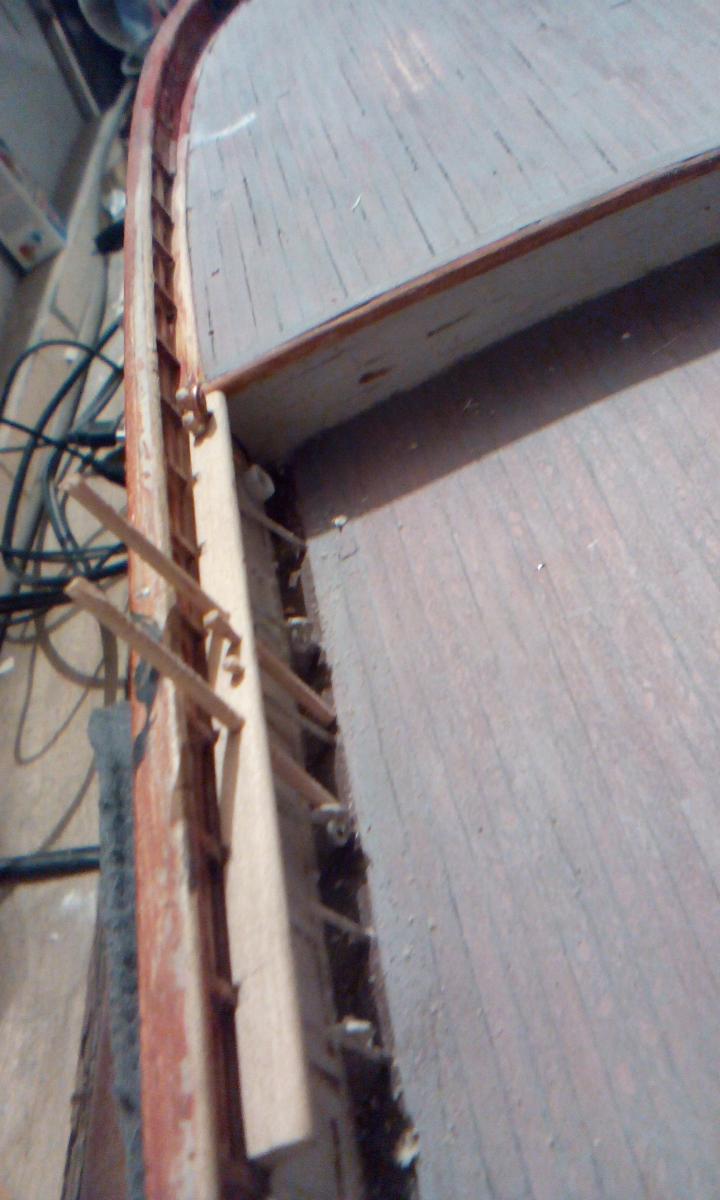
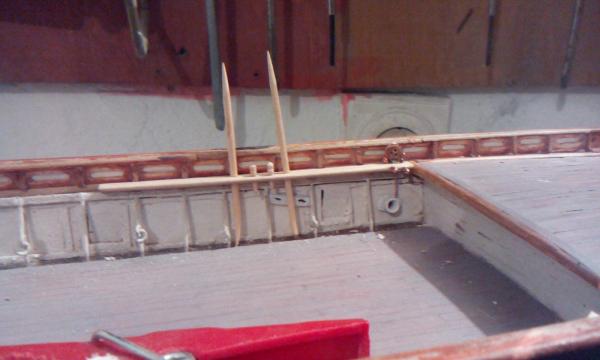
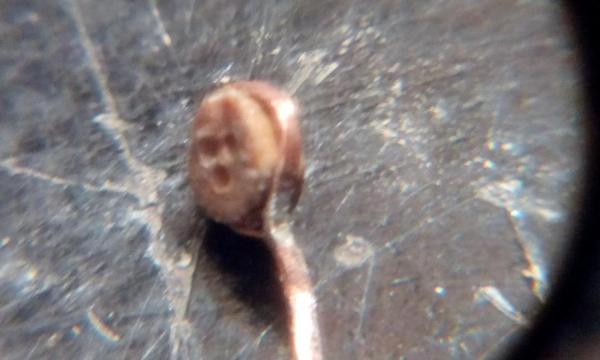
Testing ... First - rail. Seemd little thick ... Wideness is fitted according C-plans, but must think about and make some tests - to get them wider over 0,5-1,0 mm. Not much, but it will cover thick look, and it will not affect whole look and proportions of deck, but it can also give opportunity to arrange pins and deadeyes more neat, and to give better look to rails Second - deadeye 4mm diameter I succeded to make it in scale, but not satisfied with "ring" around. More tests have to be done, and more thinking - is it worth to make ALL of them manualy ( as I remember well, over 60 pieces) Next, pins Test result - half satisfied. I found a way how to make/fabricate them easy (just put toothpick in dremell jaw, and on slow speed stabize rotation by finger, then careful carve with blade, and fit with sandpaper), but I am not satisfied with their look. More tests to be done And final test - all this temporary "in place" General conclusion - it seems that in my case, drilling of holes has to be done later, after whole rail will be glued on position. Reason is simple - if I drill holes now according Campbell's plan, here is a big chance to miss their position toward mast and other stuff, because "lost hull and deck lines" catch me again, hiting my improvisations from beginning of building directly to my face. So, artistic fine approach based at first to "look" seemd to be in my first attention line Hmmm ...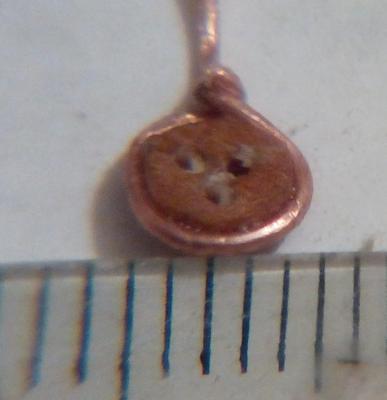

- 4,152 replies
-
- 7
-
-
- cutty sark
- tehnodidakta
- (and 1 more)
-
Cutty Sark by NenadM
NenadM replied to NenadM's topic in - Build logs for subjects built 1851 - 1900
Thank you, Jud, I was surprised too ,)- 4,152 replies
-
- 2
-
-
- cutty sark
- tehnodidakta
- (and 1 more)
-
Cutty Sark by NenadM
NenadM replied to NenadM's topic in - Build logs for subjects built 1851 - 1900
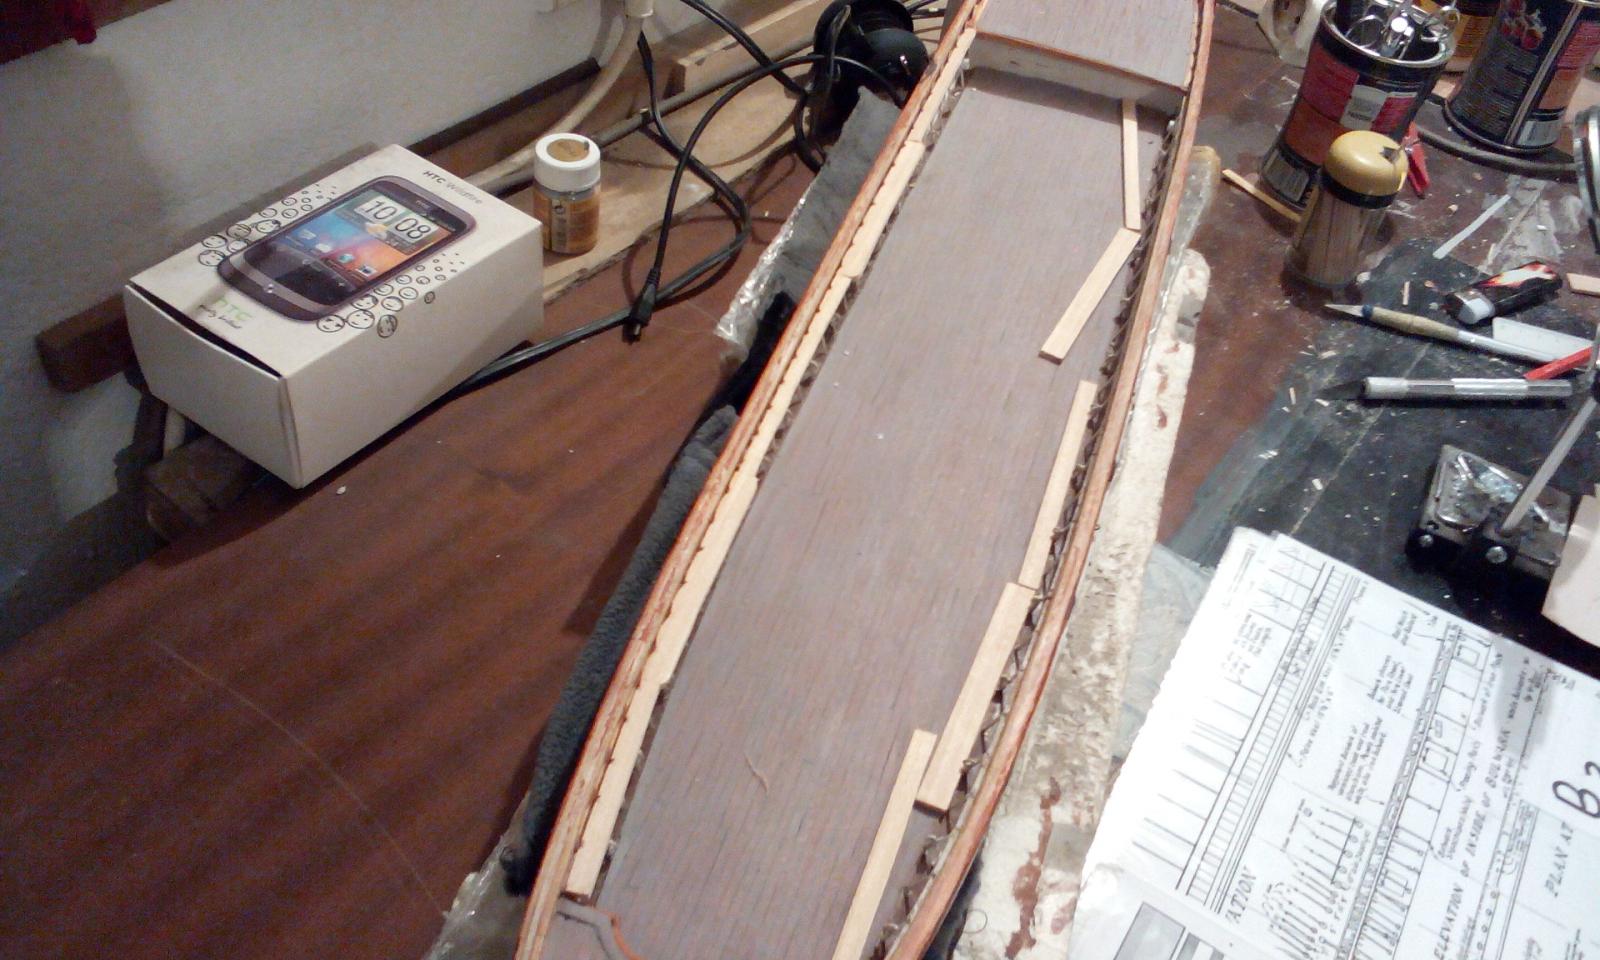
Talking about plans ... Step backward to check if I miss something in this stage ... Completly drown in papers & sheets ... I couldn't ever be a enginieer ... Admiral wqs not happy with this paper exibition - dinning table is reserved for meal and her puzzle madnes Fortunately, I miss - nothing ( as I can see - for now) And concluded that next step is .... Concluded nothing ... jet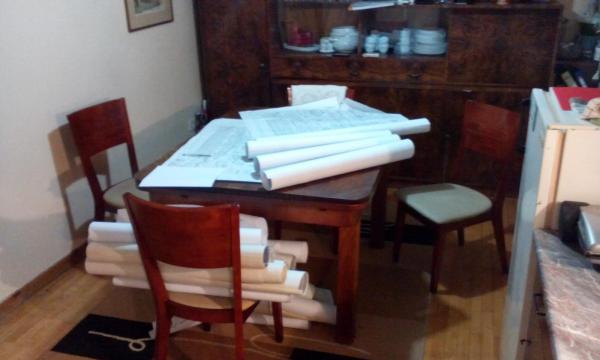
- 4,152 replies
-
- 5
-
-
- cutty sark
- tehnodidakta
- (and 1 more)
-
Cutty Sark by NenadM
NenadM replied to NenadM's topic in - Build logs for subjects built 1851 - 1900
Hey Ddimma !!! You can find and download on your own responsibility Internet SERGAL ROMA sheets ( 12 large pages including Campbell 3 sheets) + step by step photo instructions. Free for download, but copyrights ... so I do not intend to put link here Otherwise, Cutty Sark museum sell Campbell's plans for couple of € price, and send them to you for post service price, depend where you live. But, I heared there are problems with clear details guaranty, particulary on sheet #3. Friend of mine was in museum couple of months ago in intend to bye sheet #3 for me and to bring it to Belgrade, with my instructions first to see what he bye, with pointed and printed places on sheet to check sharpnes clear of plans, and he CAN NOT see what he want to bye before he pay/order plans for me, and I gave up. Even my friend lives and works in London, they were very unkind, and don't allow him to see scaned plans even on monitor on PC before !?!? Just - bye or not. I do not understand this in any way. On sheet #3 (rigging) there are a few really little remarks, words, and names drown on sheet, and in Museym they have them scaned in who know how high resolution. So, you can gamble or not Wish you a good luck, warm wrllcome to CS fleet on MSW, and hardly wait for your building log- 4,152 replies
-
- 1
-
-
- cutty sark
- tehnodidakta
- (and 1 more)