SaltyScot
-
Posts
867 -
Joined
-
Last visited
Content Type
Profiles
Forums
Gallery
Events
Everything posted by SaltyScot
-
 You really did make a grand job of that sheathing, Phil. The end result here looks quite elegant. I enjoyed reading your comments on what the different areas of sheathing are actually for, a nice insight into a "working boat" design.
- 482 replies
-
- 4
-

-
- minesweeper
- Cape
- (and 1 more)
-
You are too kind, sir. They are not quite uniform enough yet so that the wee gap gauge slides into each one smoothly. A bit of fine tuning is still needed but thank you for that mate.
-
I second that.I have to remind myself to shut my mouth which falls open in awe when I see this kind of workmanship
-
A masterpiece to be sure and one that continues to inspire me.
- 332 replies
-
- 1
-

-
- Harpy
- Vanguard Models
- (and 1 more)
-
Because yesterday was a wash out, quite literally because it rained ALL DAY, I was able to get a bit of work done in the shipyard which was fun. I decided to start working on the gun ports: It was quite an ominous feeling knowing that I was going to have to cut into the side of my ship but, with chisel in hand, after the initial pilot hole was drilled, I pushed forward: The "rough cut" has been done on one side.The ports still need a bit of fine tuning but, thanks to a good tip from @Dr PR, I made what is pretty much a gap gauge to get the hole sizes all the same (thanks, Phil):


-
Hey, Stephen, welcome from a fellow Scot! This forum will help with any questions you have, they are a great bunch of people. When you do start building, get a log up and running so others can watch your progress and assist where needed.
-
Welcome to MSW, Steve. That copper plating looks good. As others have noted, you are off to a good start.
-
Very nice work, Phil. What do you seal them with? I like your very technical stands there, they must have taken a while to assemble 😉
- 288 replies
-
- 5
-
-
- Card
- Pre-Dreadnought
- (and 3 more)
-
You have a new follower, sir. What a fine build. I will be hopping aboard for the rest of the ride!
-
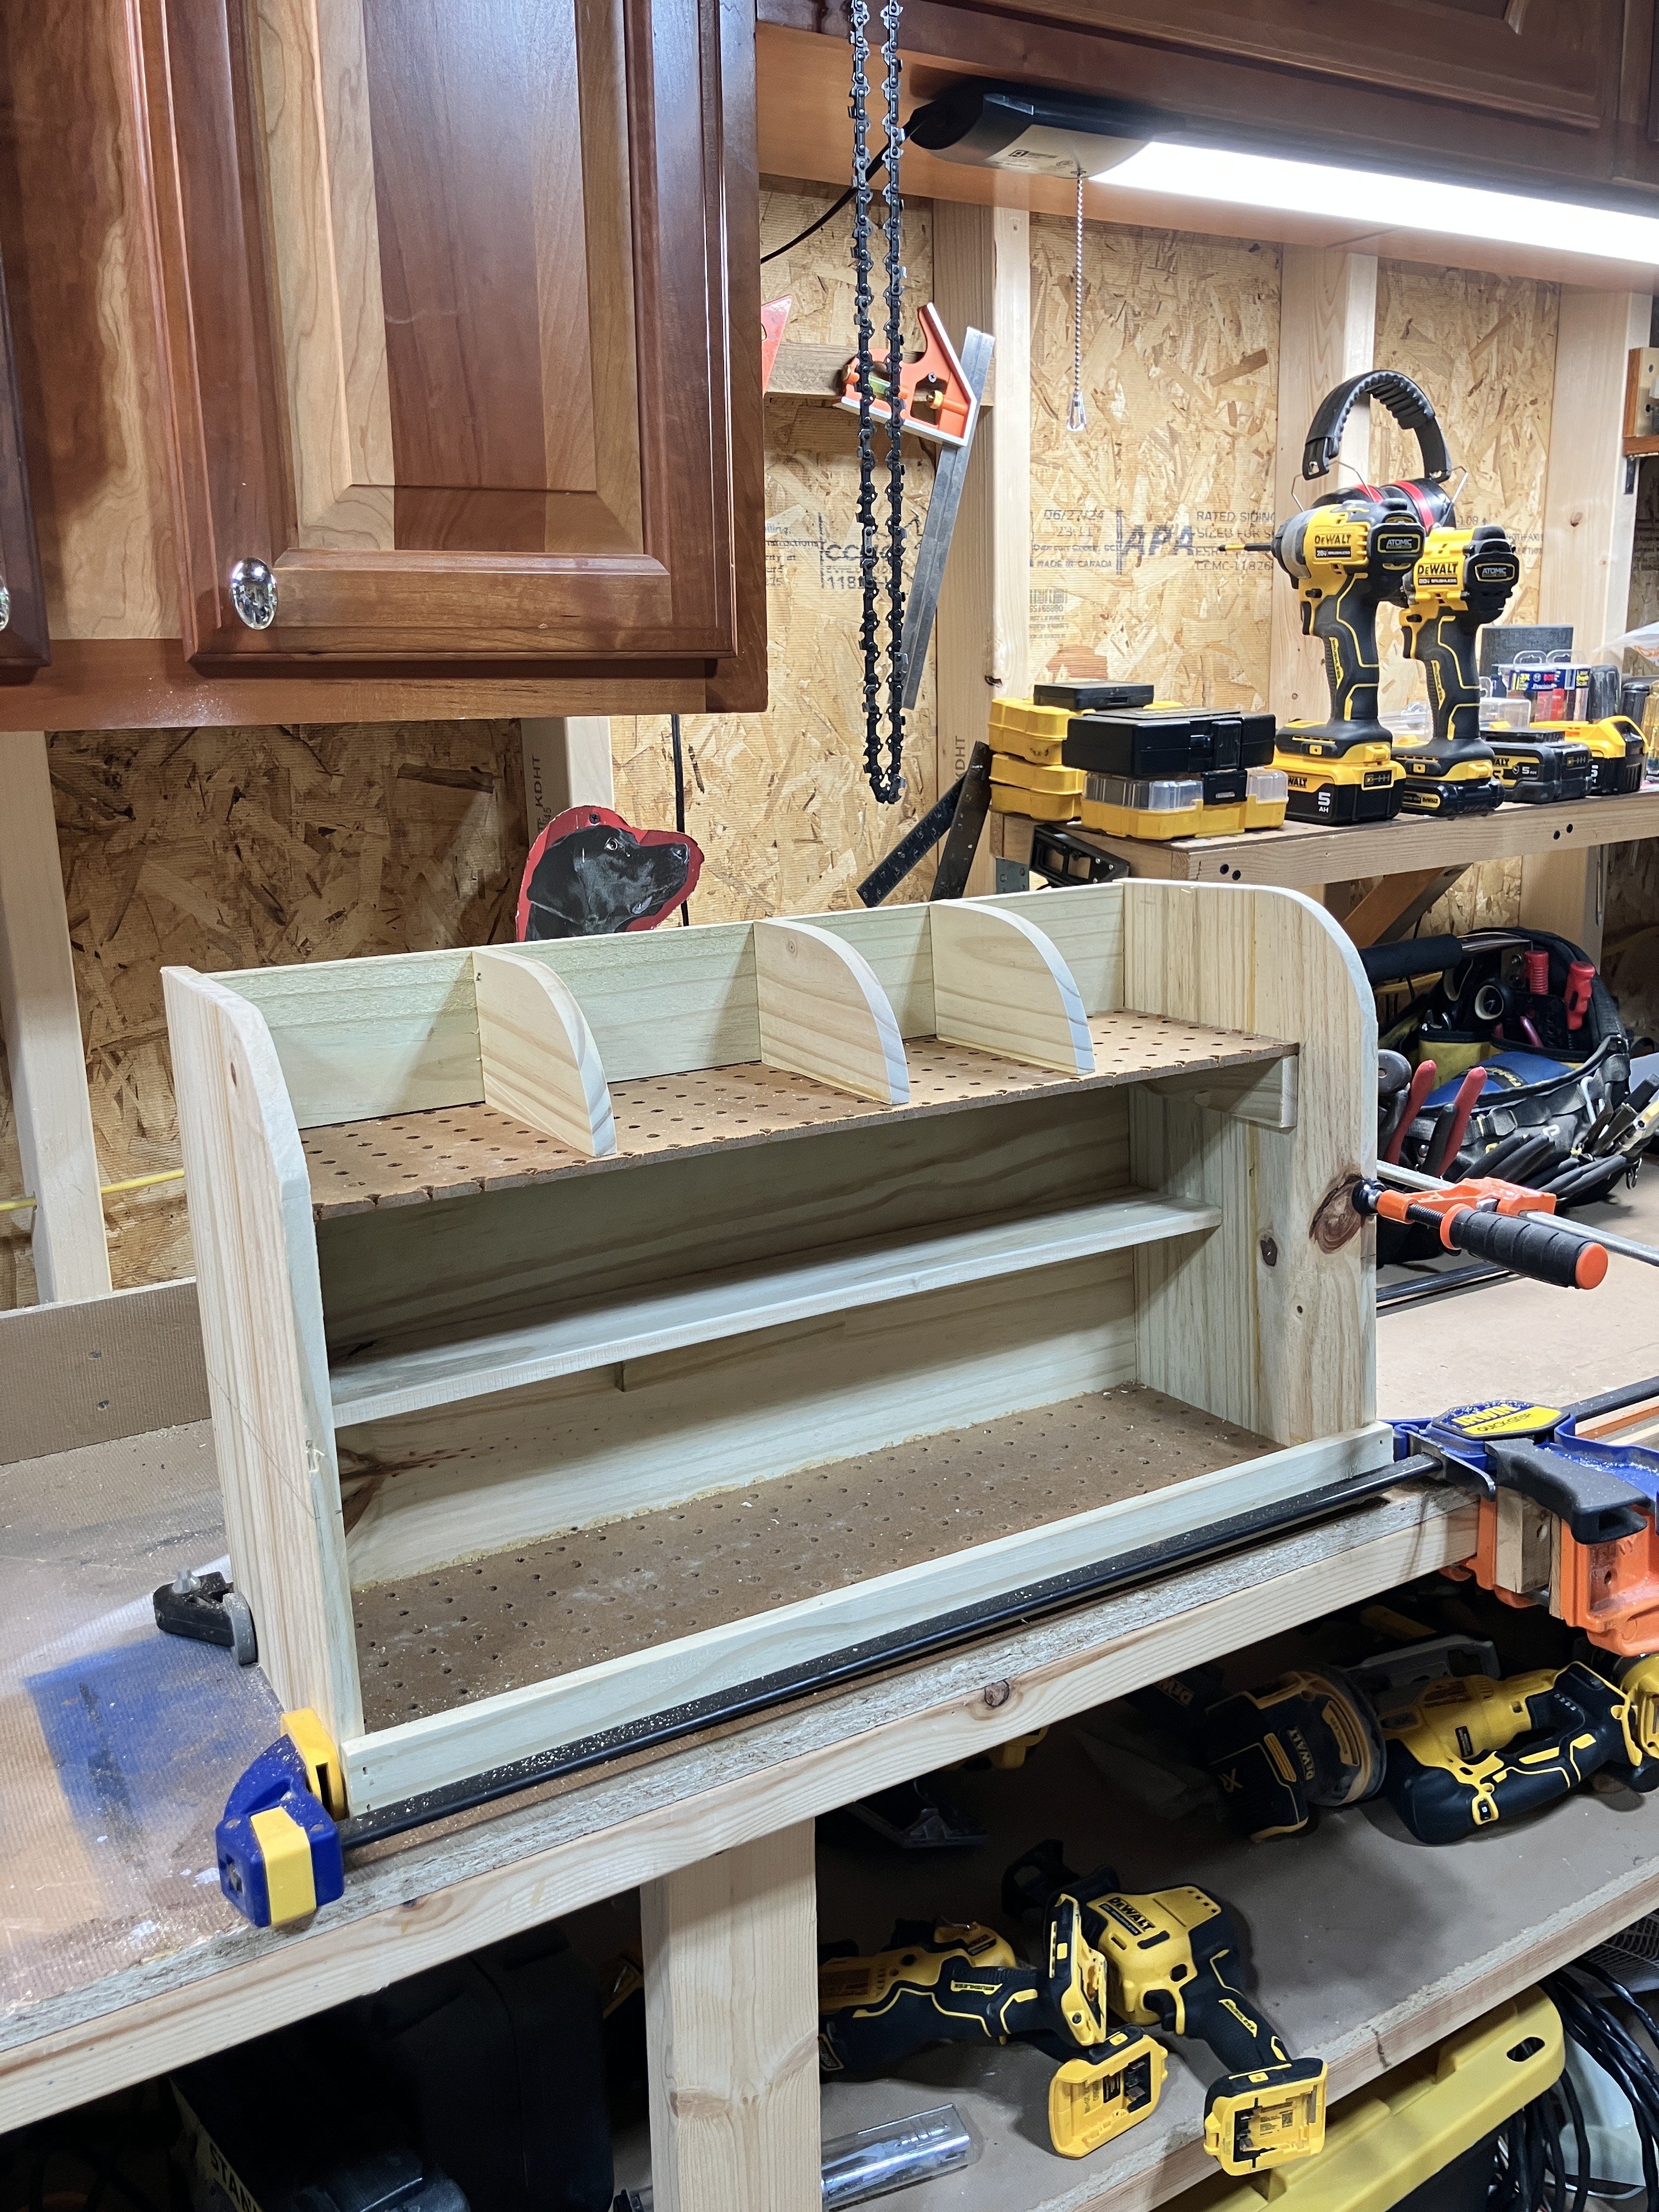
And the shipyard is open for business again, kitted out with the "scrap wood built organizer" This is my HAPPY PLACE!
- 257 replies
-
- 11
-
-

-
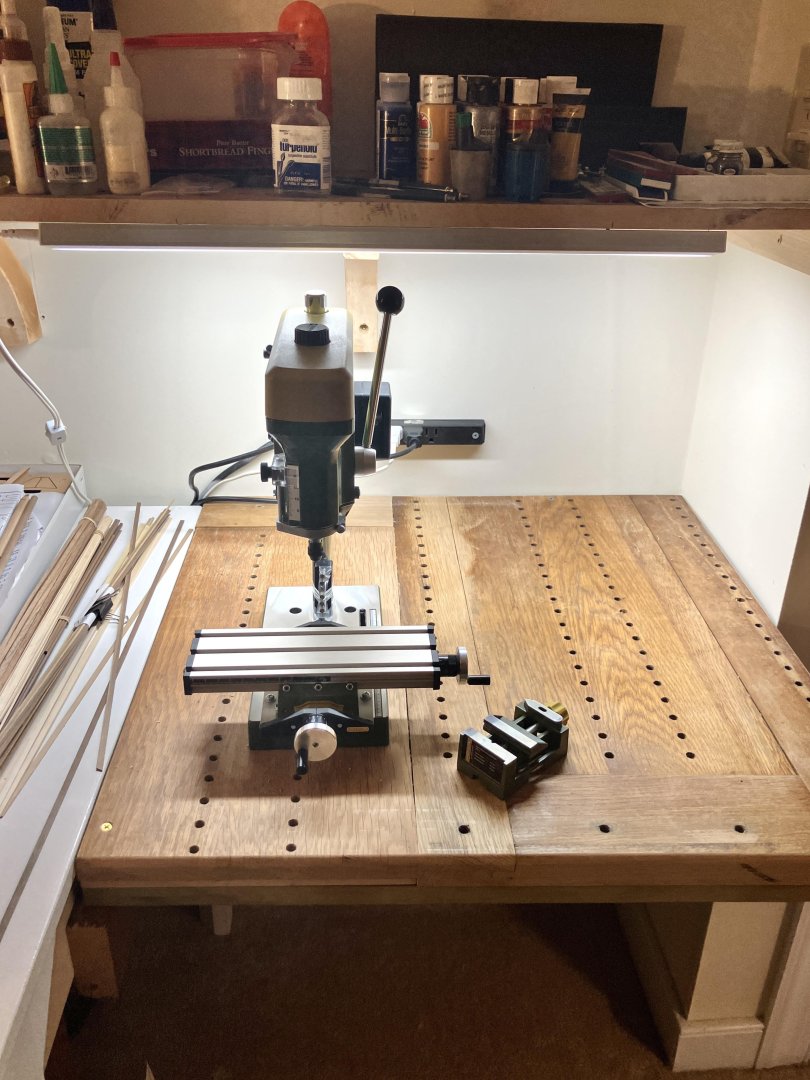
The new tool has pride of place in the shipyard. I built the table from some old shelves that we pulled out of the mother-in-law's house when she moved. The CEO's father was a navy man and these shelves have US Navy stamped on them. Fitting that they should end up in a shipyard ⛴️
-
She is my greatest treasure, Steve. Can't imagine life without her Absolutely true, Keith. As they say, happy wife..... etc. Yep, just as big a surprise as well, Glen!
-
Because I am sitting here enjoying my breakfast right now, that sounds quite inviting! I do agree, those wee boats look fantastic and completing a task on a mini project like that is certainly rewarding. Their detail will add to the beauty of an already superb build.
- 332 replies
-
- 4
-
-
- Harpy
- Vanguard Models
- (and 1 more)
-
That depth perception issue has got to be more than frustrating, Tom. Let's hope your eye doc can get that figured out! Those lines look very neat and I agree with the ratline procedure, a few at a time would be the way to go. Nice job.
- 206 replies
-
- 1
-
-
- Endurance
- Shackleton
- (and 2 more)
-
I had a very nice surprise yesterday. I didn't realize that the CEO had been paying close attention to my goings on regarding new tools and what was necessary for the shipyard. I had told her in passing that I didn't really need anything because I had a functioning wood shop already. Well, she completely blindsided me and had these delivered: It confused me at first because I know I didn't order them. She let me open the packages and then told me how she had picked up on the fact that I may have needed a drill that was a little more accurate than the Dremel tool I am currently using. She did good! I will finish the cleanup in the shipyard today and get these two situated.

-
I agree, that does look good, Kevin. It was fortunate that you were able to unhinge the rudder so that you could reach around the keel stem with that tape. Nice save.
-
I ran some old fence slats through the thickness planer, Steve, then cleaned up the edges on the table saw. I was actually surprised how clean they came out for being rough cut wood. I am still considering painting the whole thing white, we will see.
-
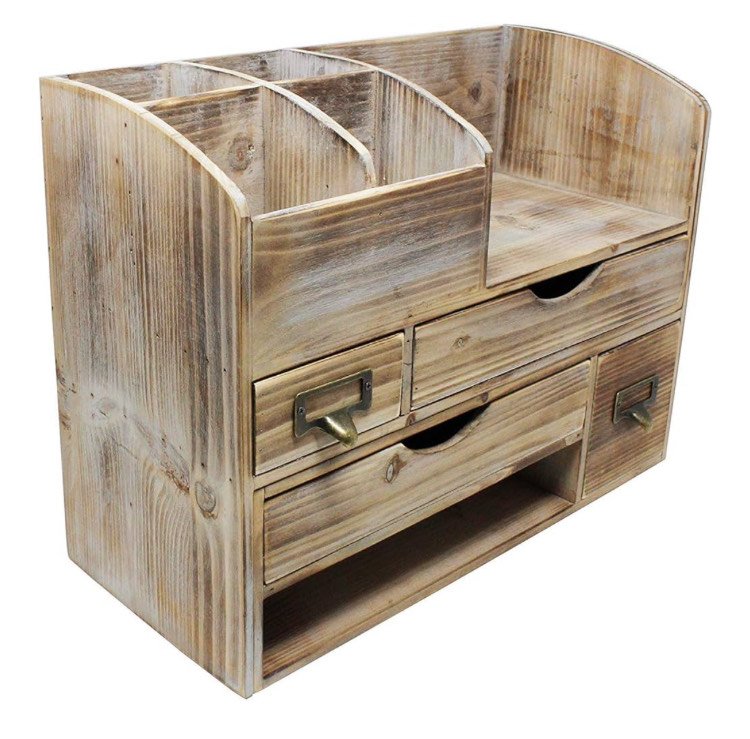
Well, we can't have that, can we. Here is an image from Amazon of an organizer that I liked but, they wanted $36 for it! 🤨 So, I collected up some scraps, literally, and threw this together. It still needs some compartments on the bottom and something to slot tools into at the front but it will do nicely I believe:

-
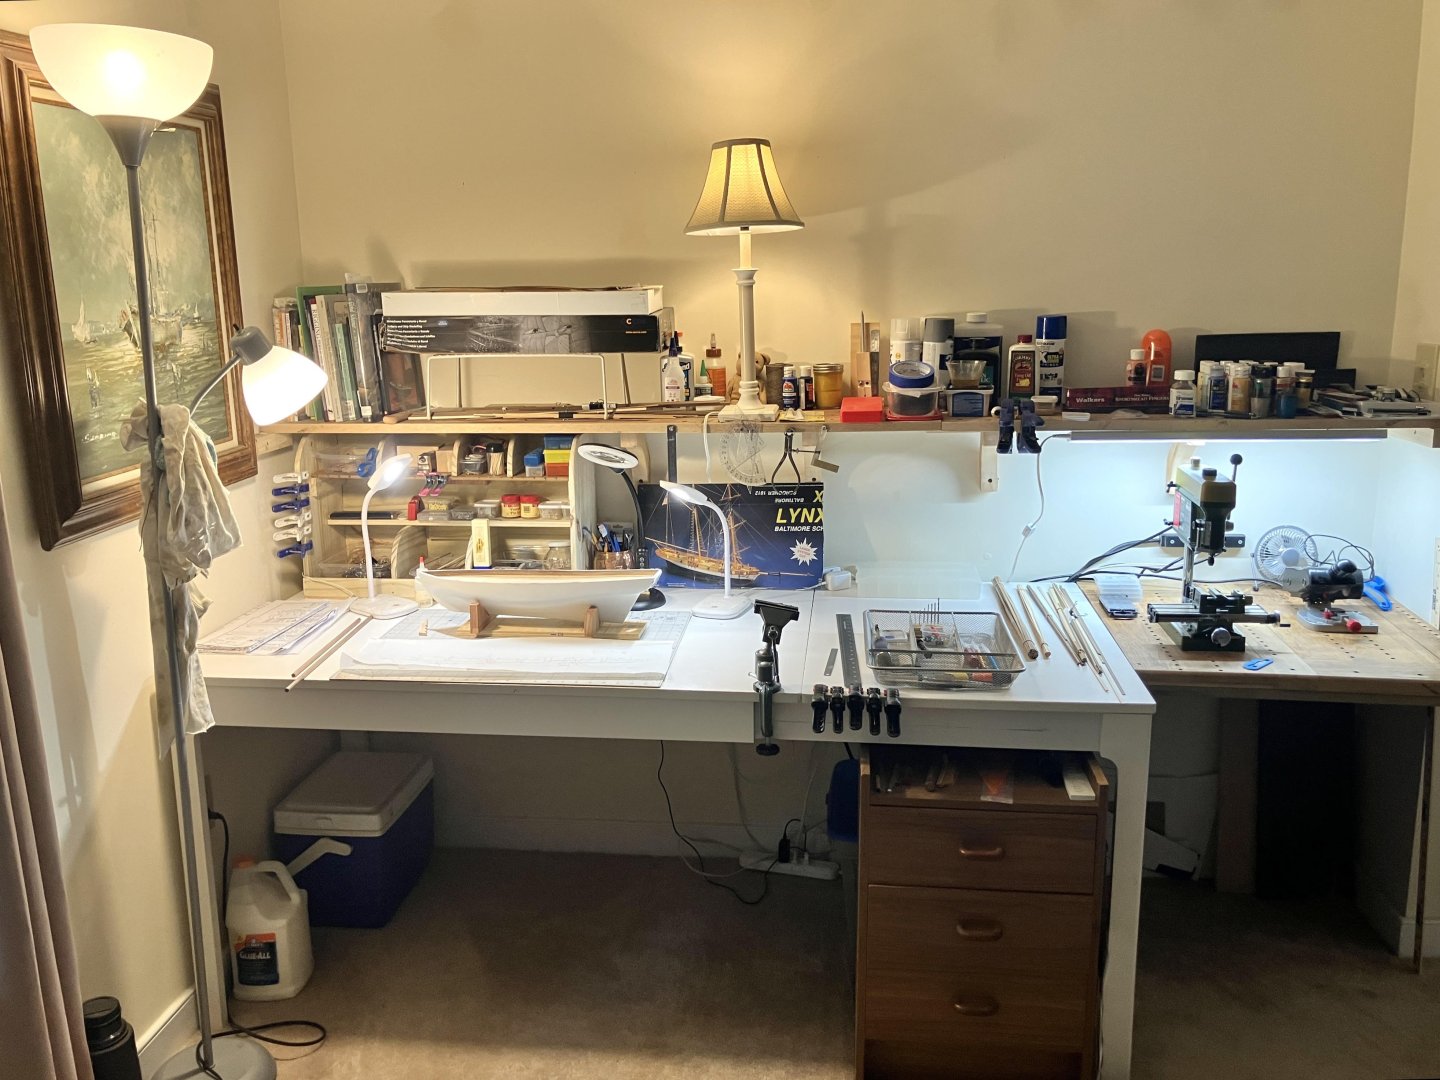
The shipyard is getting an overhaul today. I went ahead and ordered some much needed accessories for the yard, just things like a laser level, a decent contour gauge; stuff like that. Because I was looking where I could keep these items so that they were handy, I decided to clear my table off completely and (finally) get things organized. "Craft room organizers" were ridiculously expensive so I decided to build my own from sone scrap wood I had laying around. Images to follow.
-
OK, I'm hooked. You have another follower,Peter. You have done a fine job on her. I will enjoy this, even if I am very late to the party
- 207 replies
-
- 2
-
-
- billing boats
- cutty sark
- (and 1 more)
-
Welcome, Kamil!. Posting a log will help you show others what you are up to and allow them to offer pointers. Enjoy the journey
-
Nice, what CAD software did you use? I am familiar with Thingiverse, I used in school a lot when I was teaching 3D printing and showing the students where they could source free STL files. I will check that file out but, to be honest with you, I prefer to build my own. I see from the images here that you have included pretty much everything on the carriage. I prefer the gun tackle loops and breeching ringbolts to be brass. The only 3D printed part of my guns will be the brackets.
-
I think she stopped looking like that a long time ago, John!