


druxey
-
Posts
13,402 -
Joined
-
Last visited
Content Type
Profiles
Forums
Gallery
Events
Everything posted by druxey
-
 A superb result. Andreas! I'm just catching up with your work.
 -
Yes, the cant frame learning curve is very steep! But you've done it and, as you say, the next time it will be a lot easier. I think on my first model I rebuilt this area four times before I got it right. As Mike Y says, it's much easier to fair inside without the square frames in your way.
-
I don't know, Aleksandr. Check with the manufacturer.
-
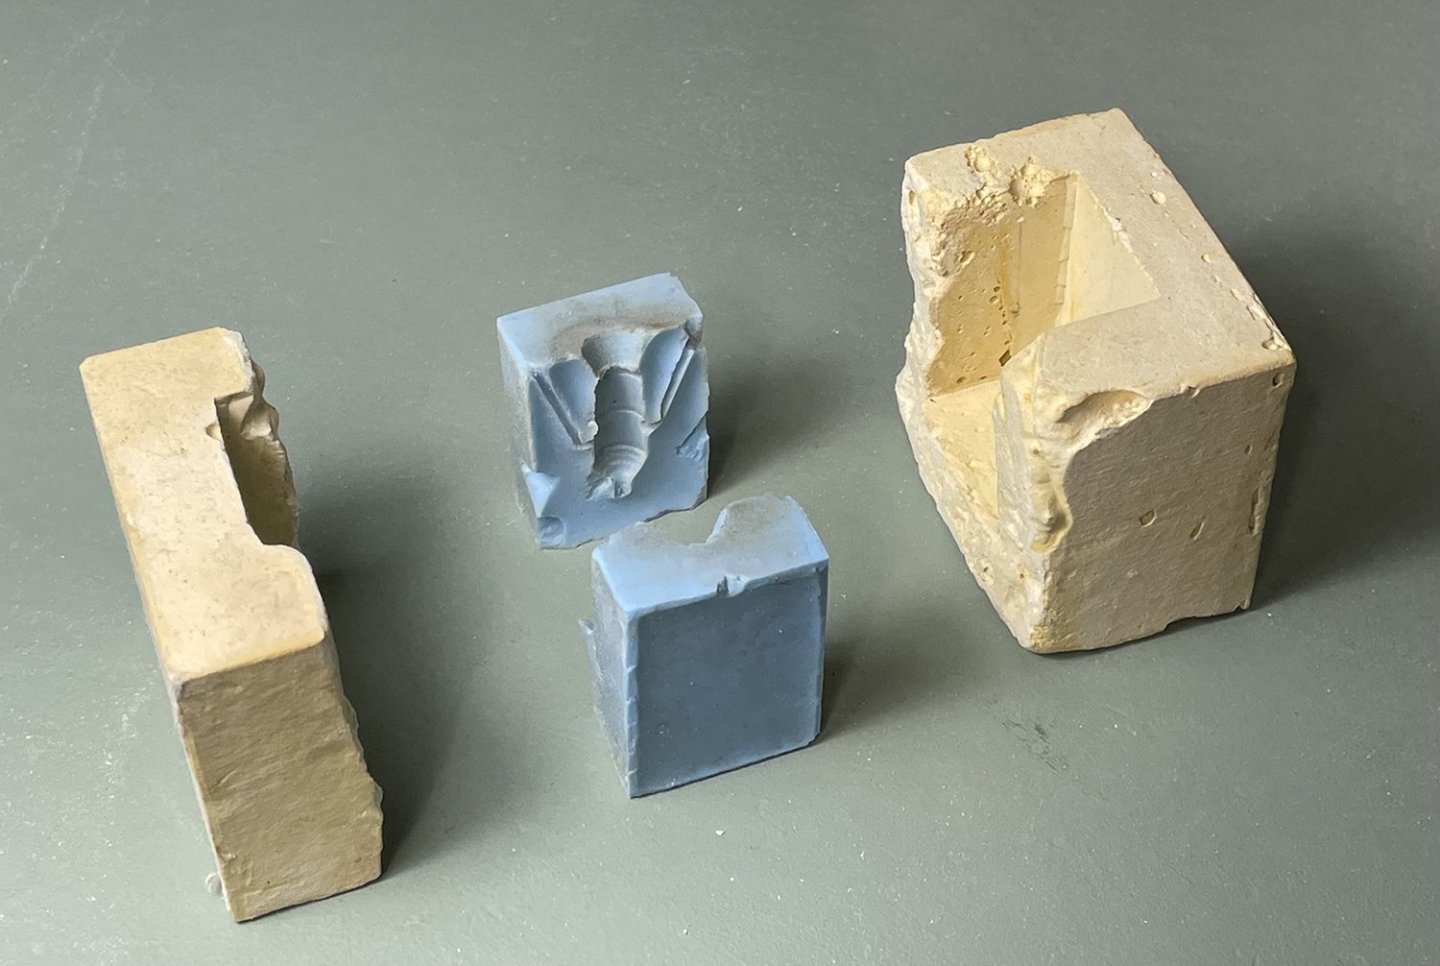
I use RTV rubber, but this should work with silicone. My variation is to suspend the figure in the wood or heavy card box and pour the lower half of the mold first - no plasticine. I then cut some keys into the lower half and coat the surface with mold release (most important!) before pouring the second half of the mold. The example below was for casting carronades in pewter. There is also an outer plaster jacket for support, as soft rubber can easily distort. (This is now an old and deteriorated mold!)
-
Tartana Genovese by maurino
druxey replied to maurino's topic in - Build logs for subjects built 1851 - 1900
I love seeing more unusual types of ship and boat models. Mediterranean craft are so colorful! One question: was there really so much space between the rudder and stern post on these ships? -
But then the beams do not sit vertically as seen from the sides.
-
Deck planking
druxey replied to Charlie pal's topic in Building, Framing, Planking and plating a ships hull and deck
One general rule of thumb: Straight regular width lines of planking only came in once powered sawmills were in use. -
Nice set-up. Question: how do you allow for the sheer and changing angles of the top and bottom of the beams fore and aft?
-
I learn so much from such conversations on this site!
-
A beautifully rendered end result! The surgery was a bold and successful move. Well done indeed. Flexible room temperature vulcanising (RTV) rubber molds will preserve the smallest detail beautifully. One correspondent asked whether you use mills. The look of a rotary carved surface is never the same as one that is carved using edge tools. The crisp edges are never there. The whole aesthetic is quite different. As for acanthus leaves, if one studies good examples of these, one can then imitate them as well as Aleksandr has.
-
If you are rigging, the masts will stay put without glue. Hint: they didn't glue the masts in at full size either!
-
The cross-chock joints with the bollard timbers are tricky, as the dovetails have to be at the same angle as the steeve of the bowsprit. Good luck with it! Once you try to bend black hornbeam, can you let us know how easy or difficult it is to bend, please? Thanks!
-
HMCSS Victoria 1855 by BANYAN - 1:72
druxey replied to BANYAN's topic in - Build logs for subjects built 1851 - 1900
Glad to see progress and that you are back at it, Pat. The model looks terrific.- 1,021 replies
-
- 5
-

-
- gun dispatch vessel
- victoria
- (and 2 more)
-
If one absolutely has to use nails - which I do not for one moment recommend! - then one needs to predrill a hole just under the diameter of the nail one is using.
-
Nice to see an update and progress, Gary. She is coming along beautifully!
-
Spreading topsides is not a unique problem. Years ago, I had the same issue with a 64-gun ship model. My solution was similar to yours. In this case I placed the rods between the beams and buried the filed down nuts under the outer planking. The rods were invisible in the finished model.
-
Every best wish for success in your new space, Chris!
-
Ship models worth making are not a race against time. The hours you've spent so far shows in the results.
-
Coming along beautifully. Perhaps the external door to the quarter gallery was more for ventilation purposes....
-
Very nicely done. Just catching up on your build, John. Ailing or failing parents are a huge stress, and I empathise with what you and you wife have been going through. It's tough on everyone.
-
"Just fooling around"? says the card wizard. First, working at that scale is impressive enough, but in card as well....
-
Looks as if part 1, rolled, is the lining for inside the hawse hole. Is the area below the black line a glue flap? Certainly it's an odd piece!
-
These are the kind of photos that make me smile! Looking lovely.
-
A great philosophy!
-
Nearly always, no-one else will notice things that you do, as the 'ideal' is only in your own mind and imagination!


