druxey
-
Posts
13,390 -
Joined
-
Last visited
Content Type
Profiles
Forums
Gallery
Events
Everything posted by druxey
-
Welcome here ! Nice job on the pram. The puzzle under it looks challenging as well!
-
 Well done, DocTom. The lessons learned that you stated are both important to becoming a first rate model maker.
 -
Great result, but very labor intensive!
-
Lovely work, as usual. Best wishes for a far better New Year.
-
Fascinating. The 17th century English fashion paice was set is a similar way and, by the end of the 1600's, the two radius stem was also used, although sometimes in a slightly different way. Usually the lower radius ran smoothly to the keel. In other examples there was an angle at the forefoot as your example.
- 49 replies
-
- 1
-

-
- Wildmanden
- Turesen
- (and 1 more)
-
Must have been a challenge to bevel plywood! Result look s very good.
-
Sail feedback request, Mondfeld method
druxey replied to travis's topic in Masting, rigging and sails
Curious. I've never known real Silkspan to tear like that. It is, in fact, very strong. Are you sure that this was, in fact, SilkSpan? -
Ah; chip happens!
-
Make sure the blades are sharp enough and take very light cuts to prevent thin bits splitting off. Of course, if there is a flaw in the wood itself.... Linden is lime wood, not boxwood, by the way.
-
Sail feedback request, Mondfeld method
druxey replied to travis's topic in Masting, rigging and sails
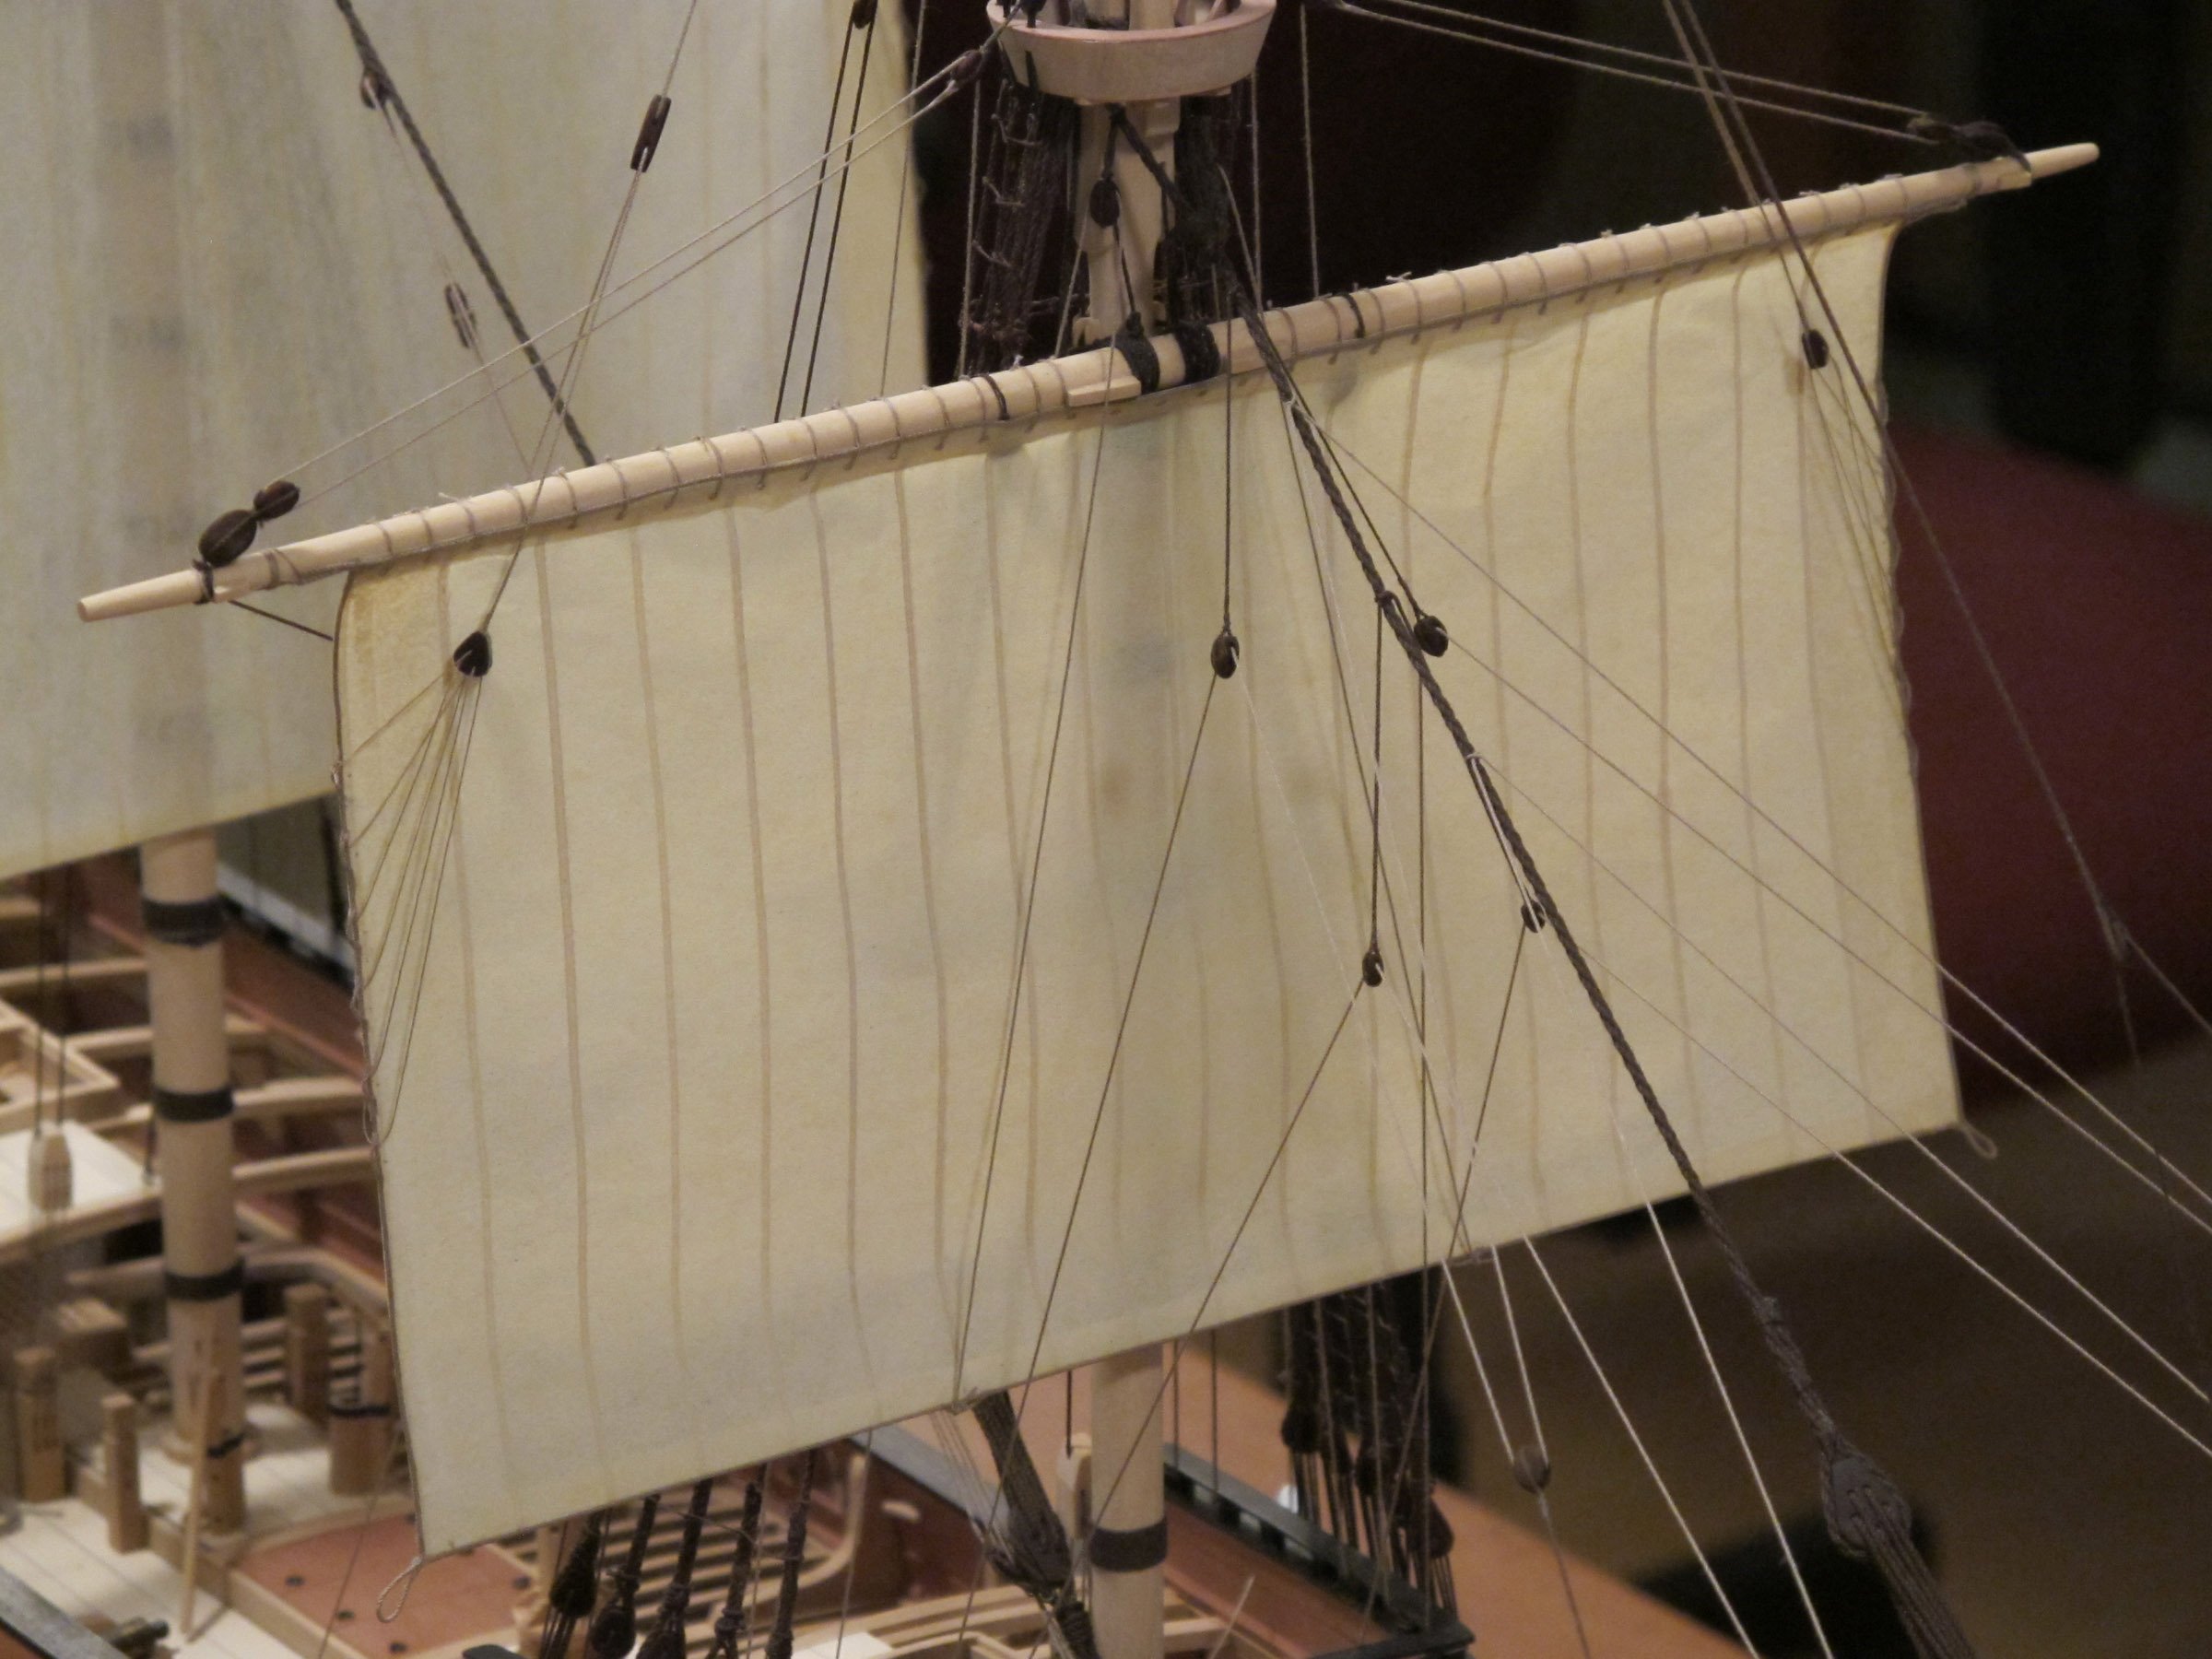
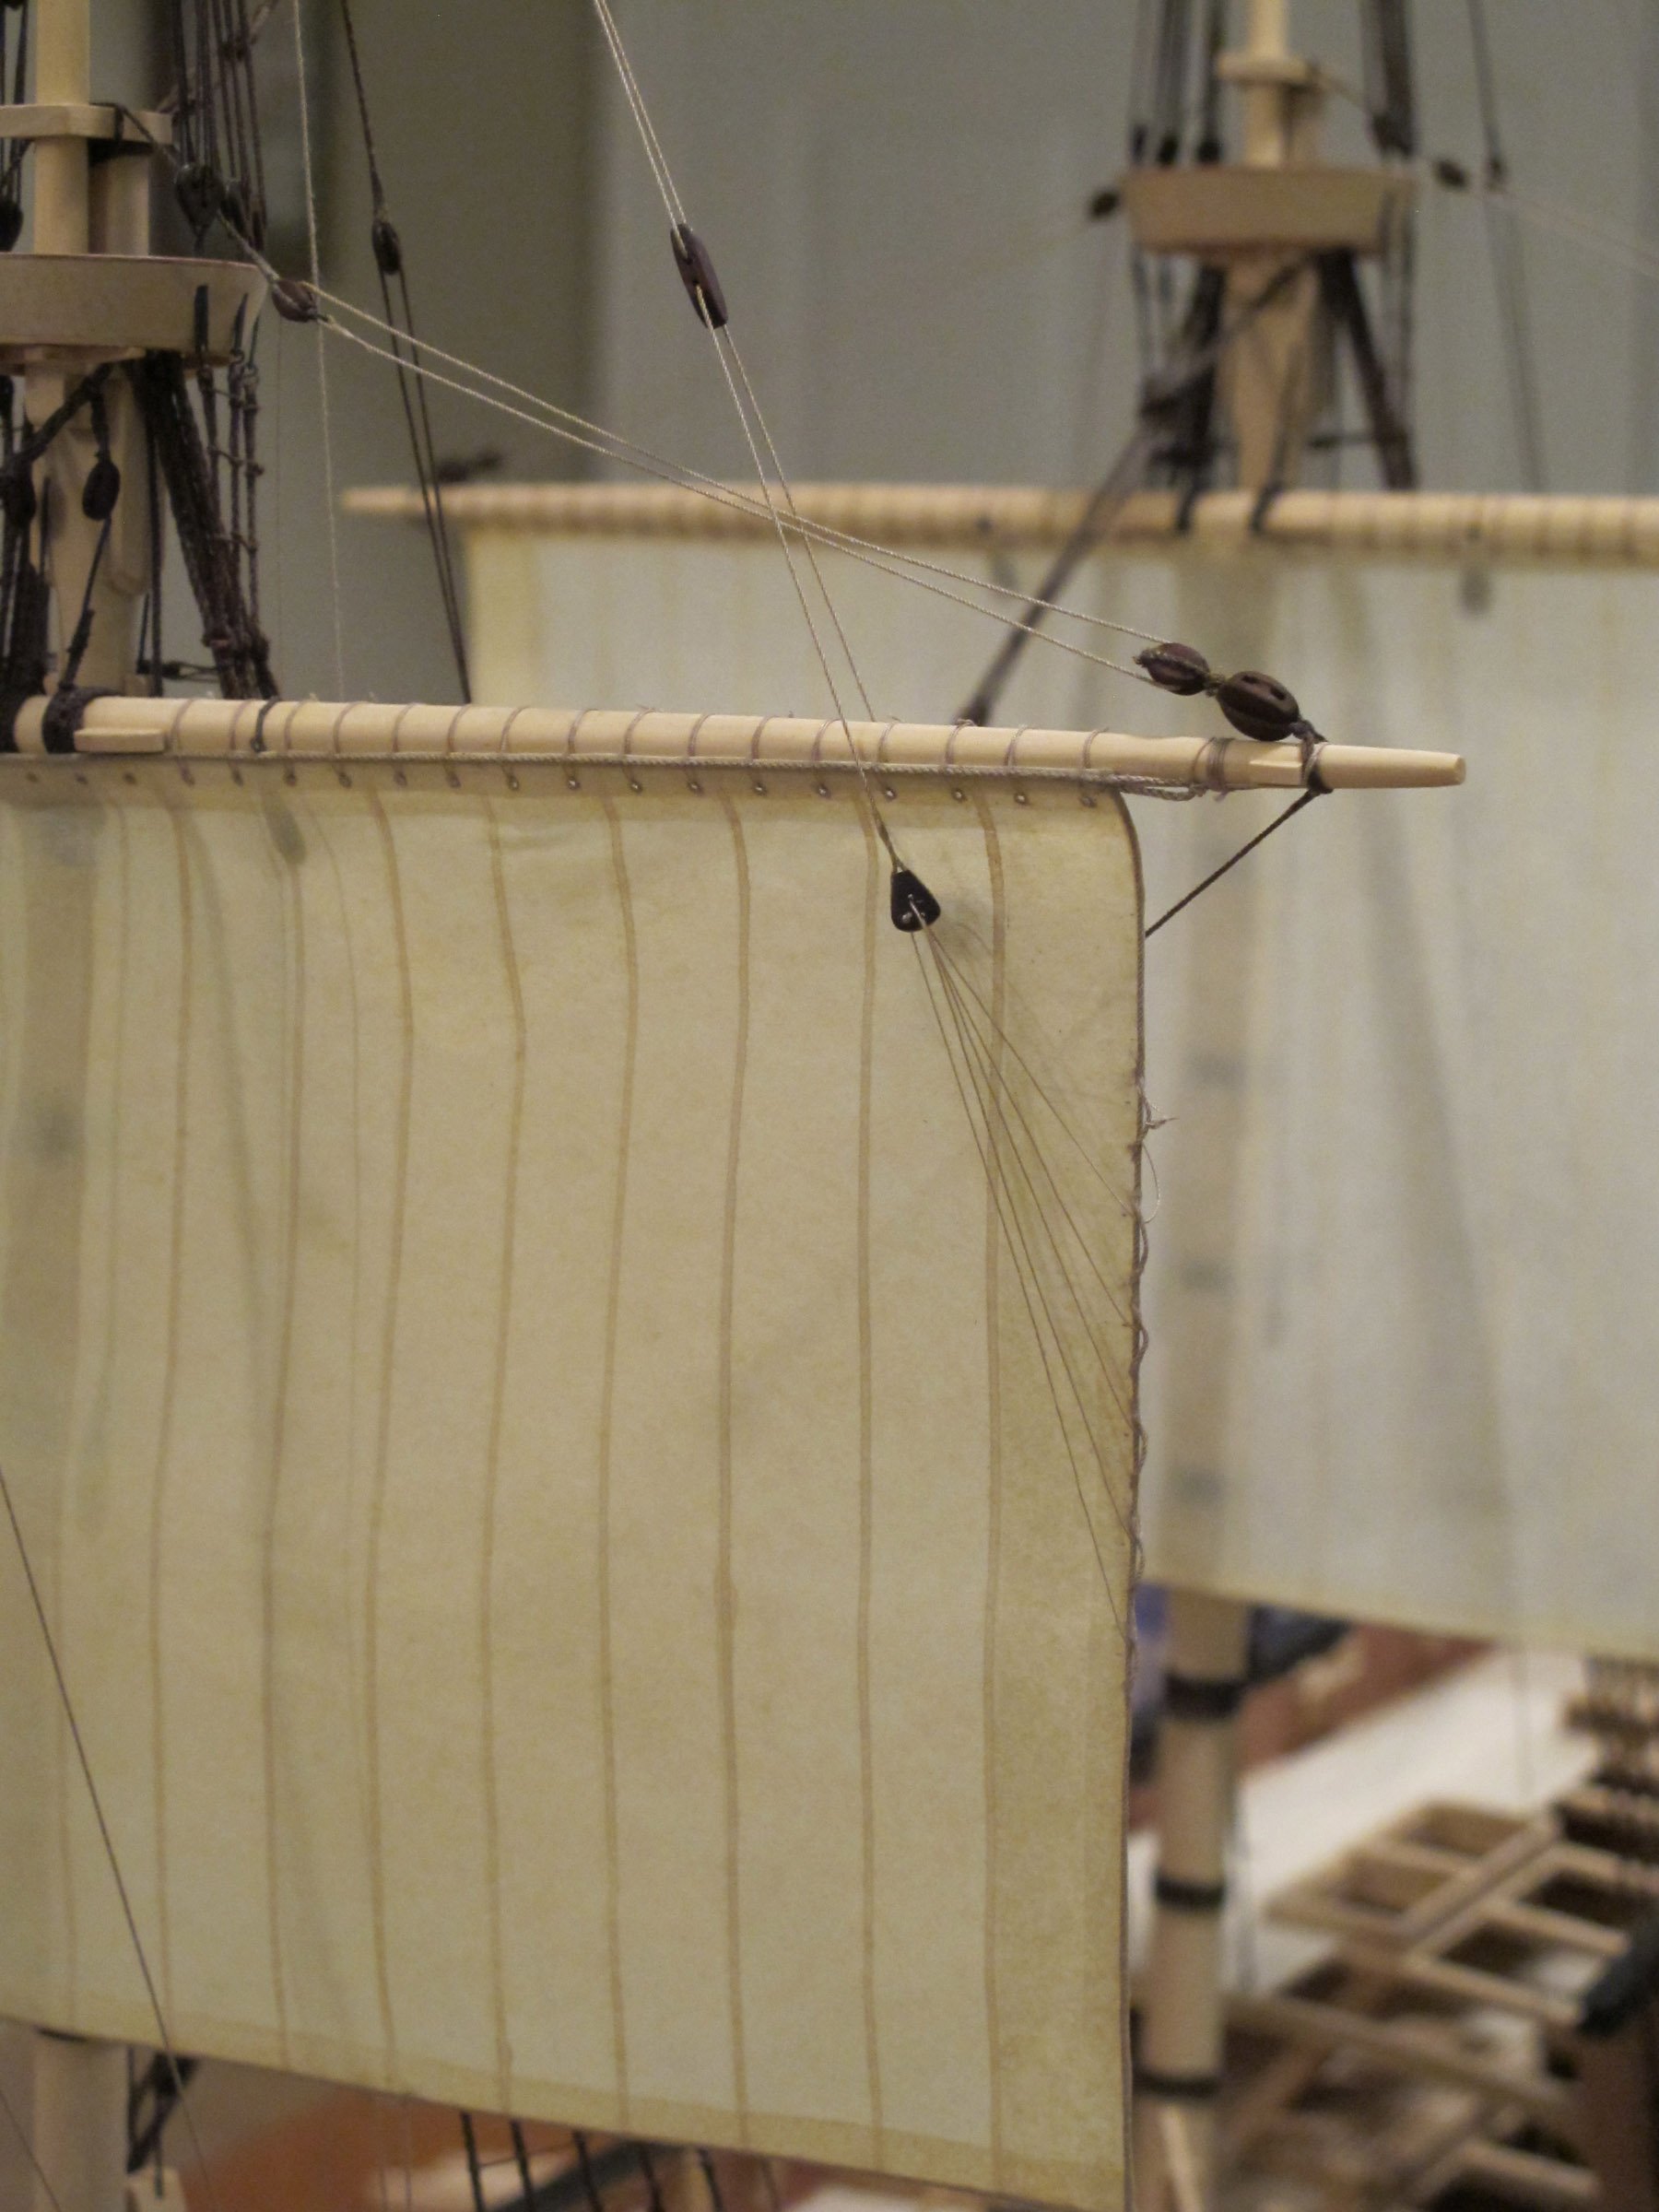
You've done a very neat job, but there is basic problem of scale. You mention 1:60, and one can never stitch that finely to be even close to scale, as well as the material is over scale thickness. What youa re doing is also very labor-intensive. Now, if that's the way you want to do it, read no further! A better way, IMHO, is to uses the material called SilkSpan. It is essentially a thin but strong paper product. The overlaps can be easily simulated with acrylic paint applied using a bow pen. The reinforcing edges are glued and rope also applied using white glue or matte acrylic varnish. An example is pictured below at 1:48 scale. Instructions of how to make sails using this technique are available through SeaWatchBooks: https://seawatchbooks.com/products/swan-iv-sail-making-supplement-from-the-revised-and-expanded-edition-by-david-antscherl

-
Sorry, but Miller in his day had a different meaning in his title 'model' - it could mean 'ideal' here or plan, as well as, less usually then, a model as we understand it now. (A 'platt' was also a plan.)
-
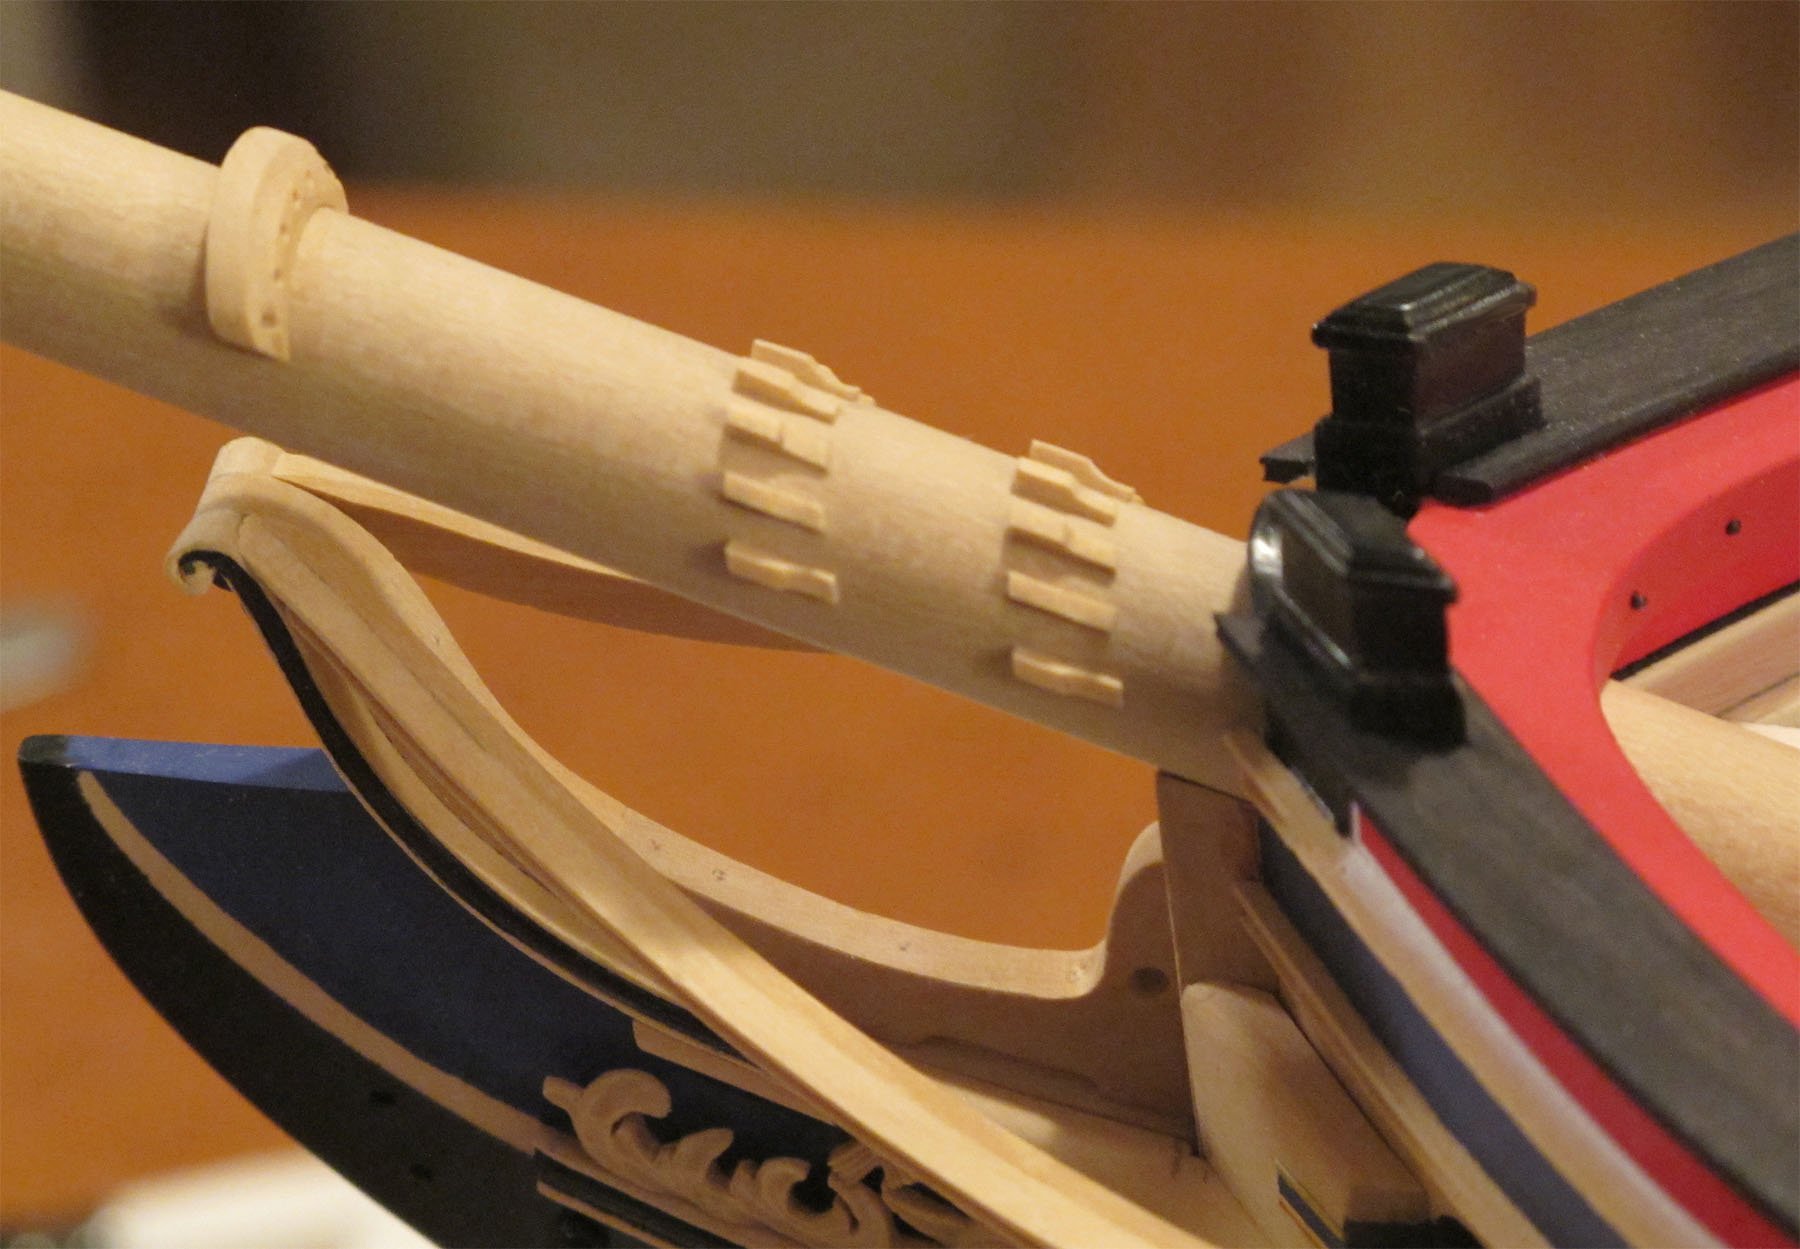
The positions of the cleats look fine, it's just that the fore faces as you move away from top center will dig into the rope and fray it in time. As an example, your rule only touches the upper corner of the nearest cleat in the photo. It should touch all the way across its face as seen in the partial plan. If you are still unsure of what I mean, take a turn of string around the bowsprit as a quasi line. The photo (although a different subject) shows rows of these cleats with varying fore angles to their faces. Hope this helps!

-
That is a crazy plank to fit each side, but they look pretty good in the photos. Well done. However, don't the forward faces of the cleats on the bowsprit progressively angle to follow the line of the rope?
-
Nate's PANDORA in 3D
druxey replied to 3DShipWright's topic in CAD and 3D Modelling/Drafting Plans with Software
My point was that, with the higher sill, as the door hinged inward, the lower corner would not hit the deck. Also, beware of modern models' reliability! Try to depend on contemporary sources which are readily accessible through the internet nowadays. -
Chapman makes very entertaining reading on his advice to the neophyte hand on his first days on board. Try pages 12 to 16.
-
Nate's PANDORA in 3D
druxey replied to 3DShipWright's topic in CAD and 3D Modelling/Drafting Plans with Software
One assumption in the frame-grabs is that the lower sill of the doorway to the quarter gallery was just above deck level. Looking at contemporary inboard profile plans, the sill was about 12" above the deck. Should the quarter gallery get carried away, it might prevent too much water entering. Form follows function. -
Prima! Lovely detail work.
-
Recommended First Machine
druxey replied to vvvjames's topic in Modeling tools and Workshop Equipment
No-one has yet asked exactly what kind of ship models you want to make! Depending on your answer, you may get better advice. -
More nice smithing!
-
Check the spelling. It is acually mansonia with an 's'.
-
Now that is an interesting challenge, Giampiero! Looks great so far.
-
Lovely work on a complex part of the build!
-
HMS ANSON 1781 by albert - 1/48 - 64 guns
druxey replied to albert's topic in - Build logs for subjects built 1751 - 1800
To say that you are industrious is an understatement, Albert! Both hulls are beautiful examples of framing.