-
Posts
252 -
Joined
-
Last visited
Content Type
Profiles
Forums
Gallery
Events
Everything posted by WBlakeny
-

ancre Chebece 1750 by Jeronimo - FINISHED
WBlakeny replied to Jeronimo's topic in - Build logs for subjects built 1501 - 1750
Indeed, i'm a fan of your work! Beautiful! -
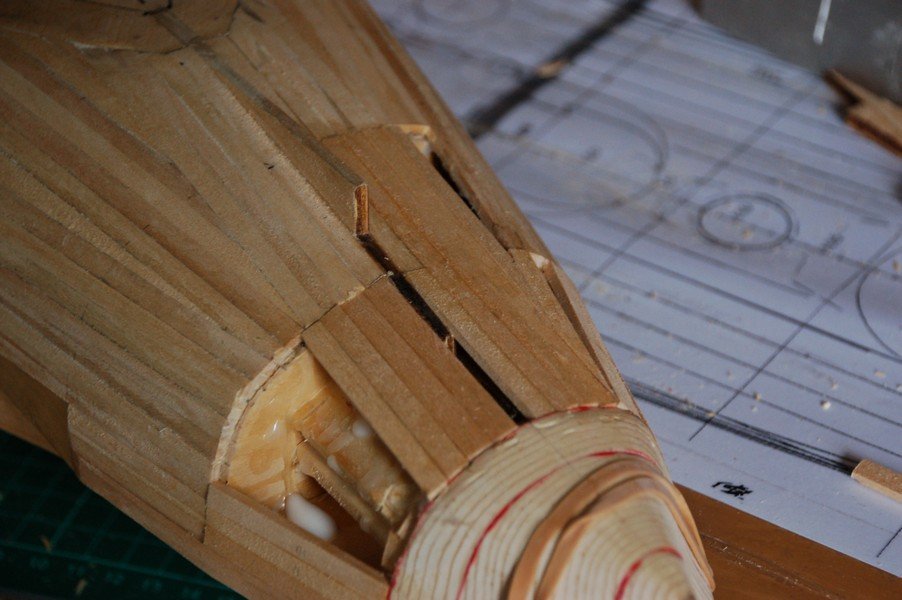
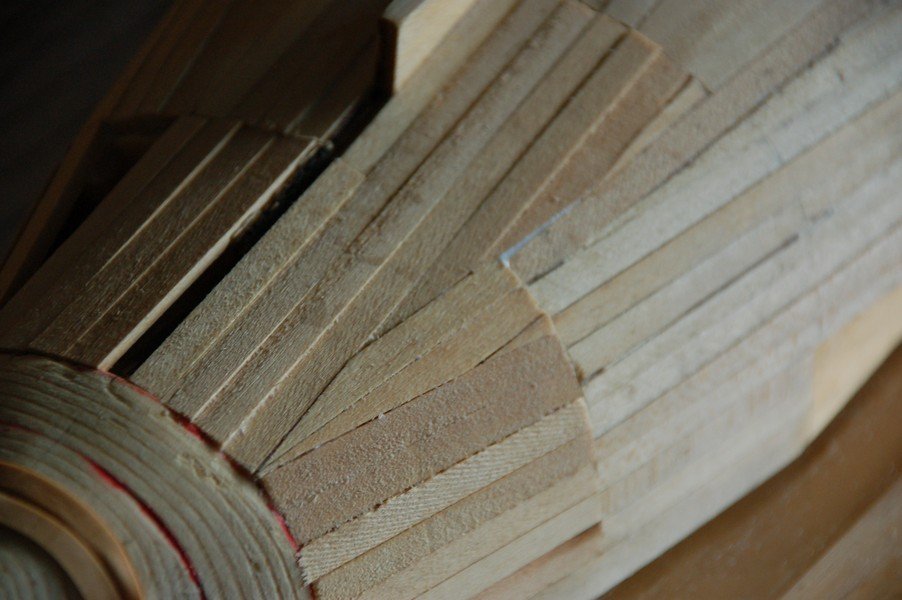
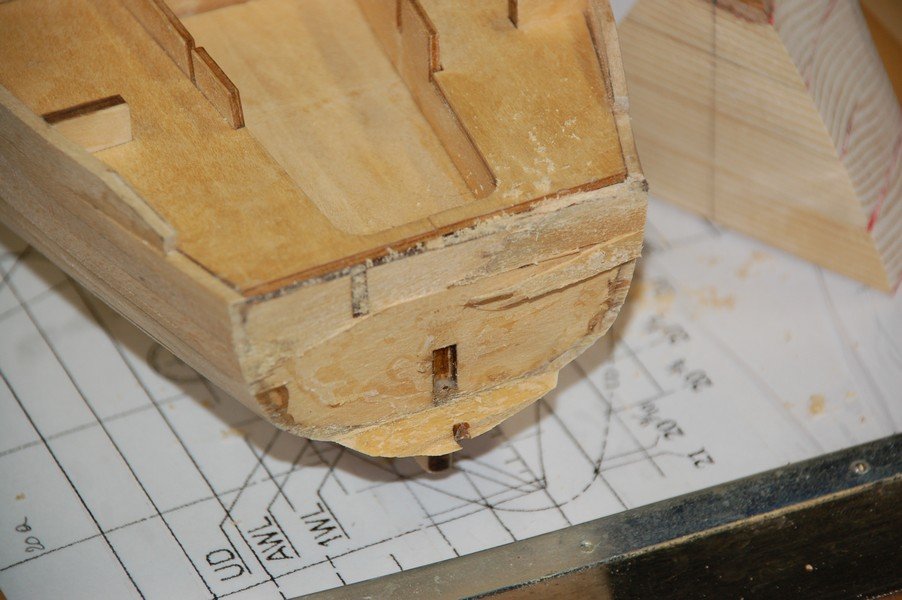
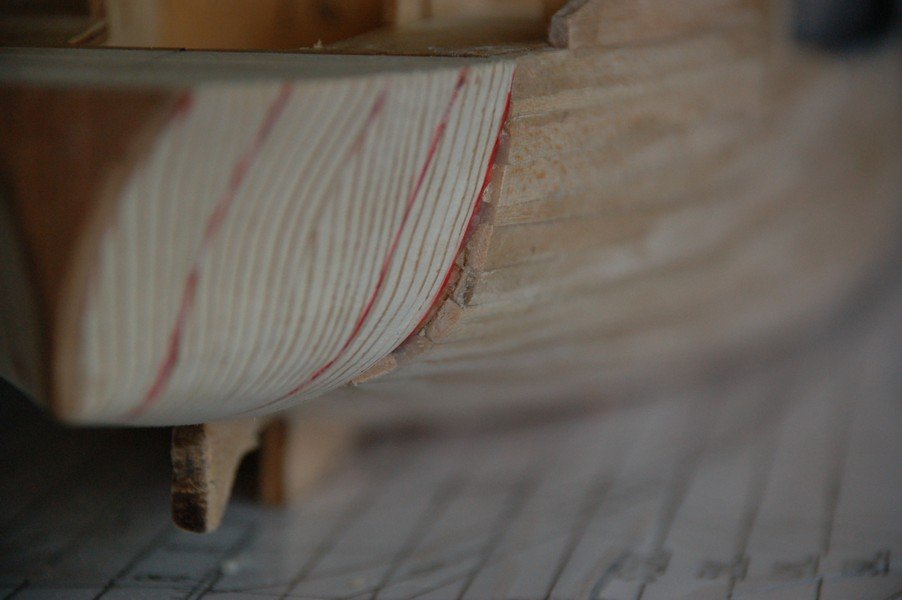
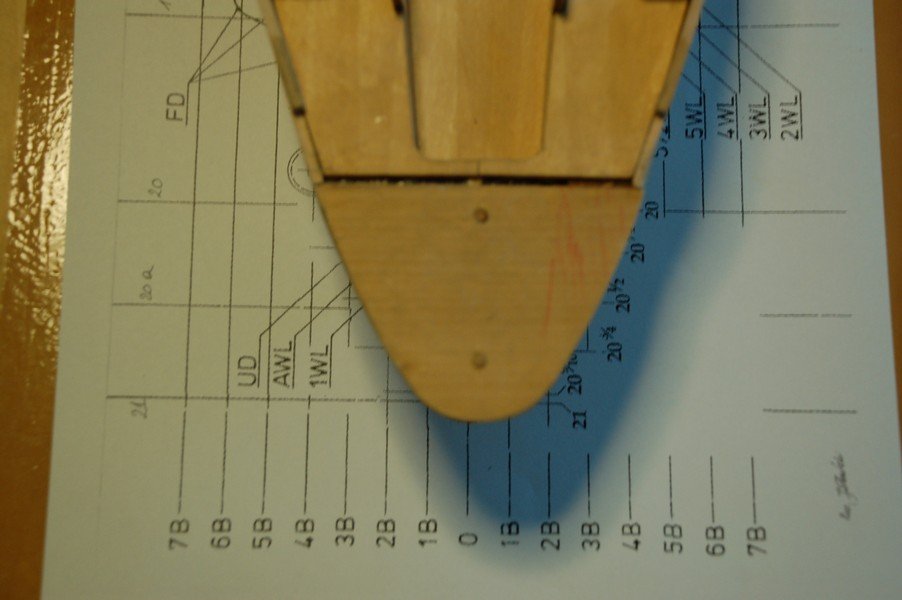
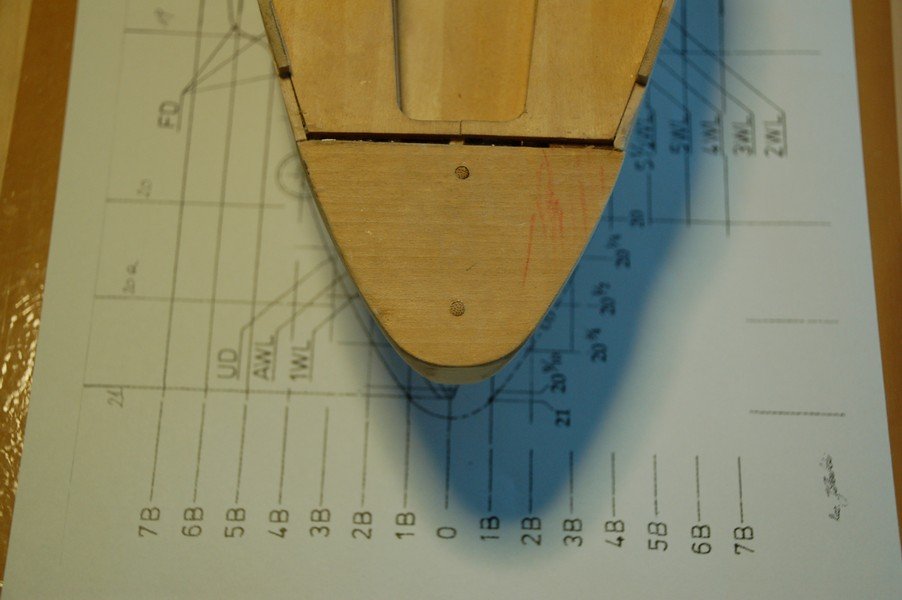
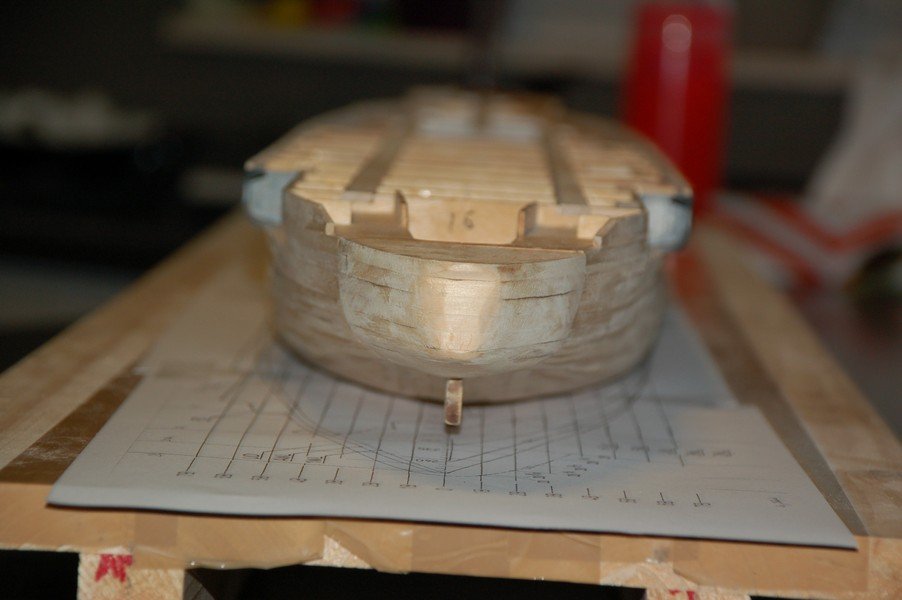
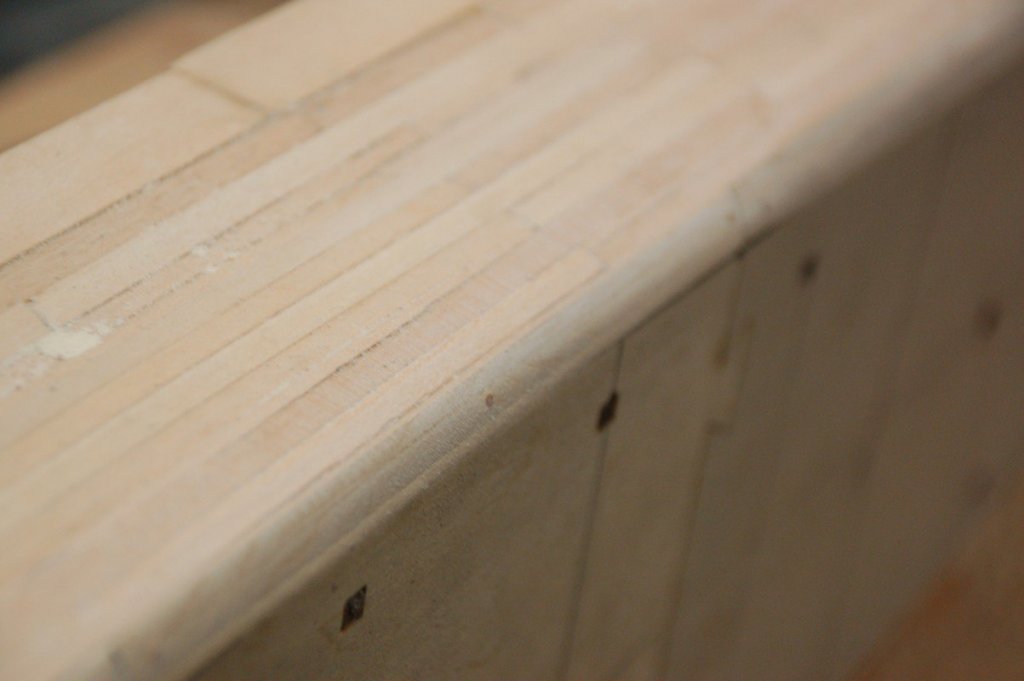
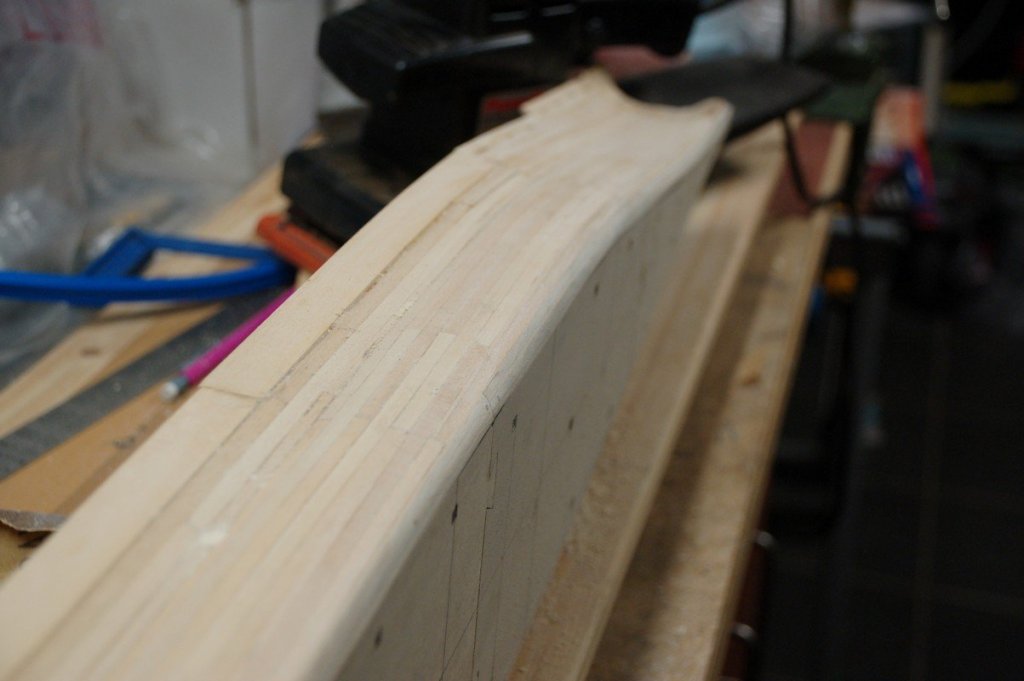
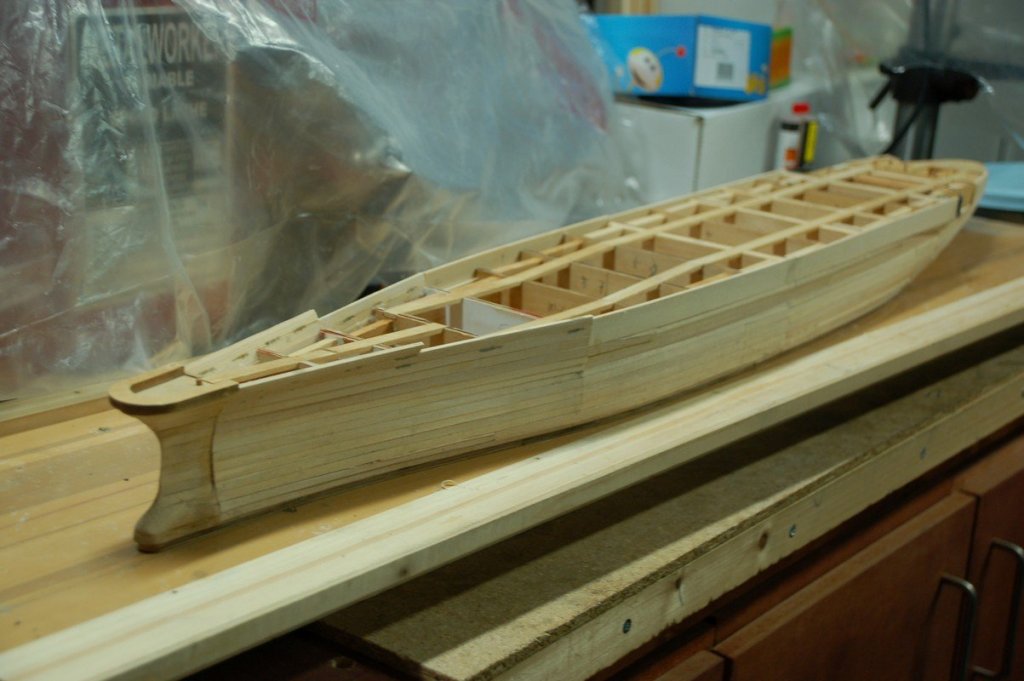
I had already removed the planking and filed off a bit of the bulkheads so that the planking runs smooth till the new stern. Then redid the planking till the new stern. Afterwards sanded it all smooth. And final result so far : I'm happy with the result. I'm glad i took the risk of changing the stern. Who'll say what is the right stern, but now i'm following the new AOTS book and i'll stick to that.
-

HMS SUSSEX 1693 by 8sillones
WBlakeny replied to 8sillones's topic in - Build logs for subjects built 1501 - 1750
I'm speechless, this is no longer a shipmodel but a work of art. -
Welcome Alain. Ah la france. How much we like to come and spend our holidays in your country every year. I'm leaving for France this weekend for two weeks. Yihaa!
-
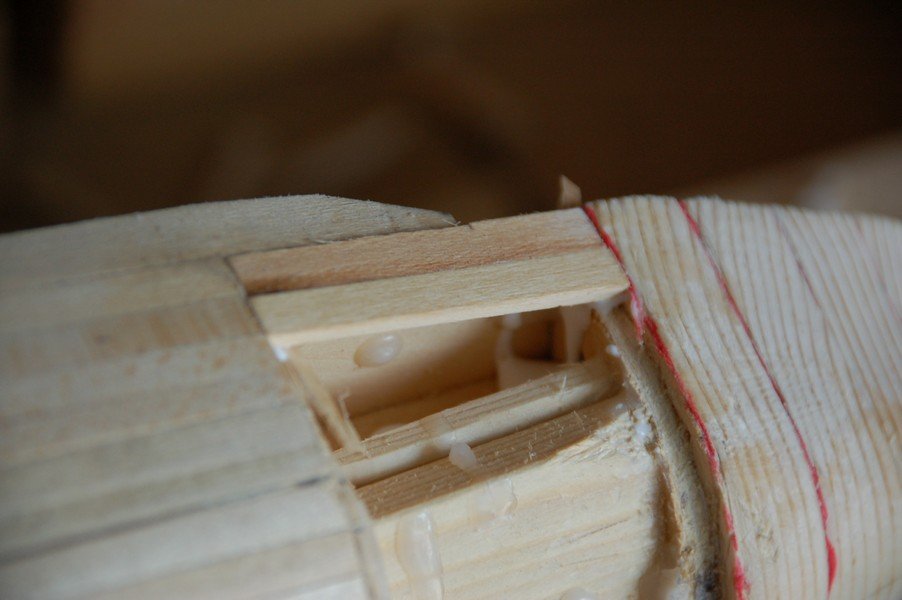
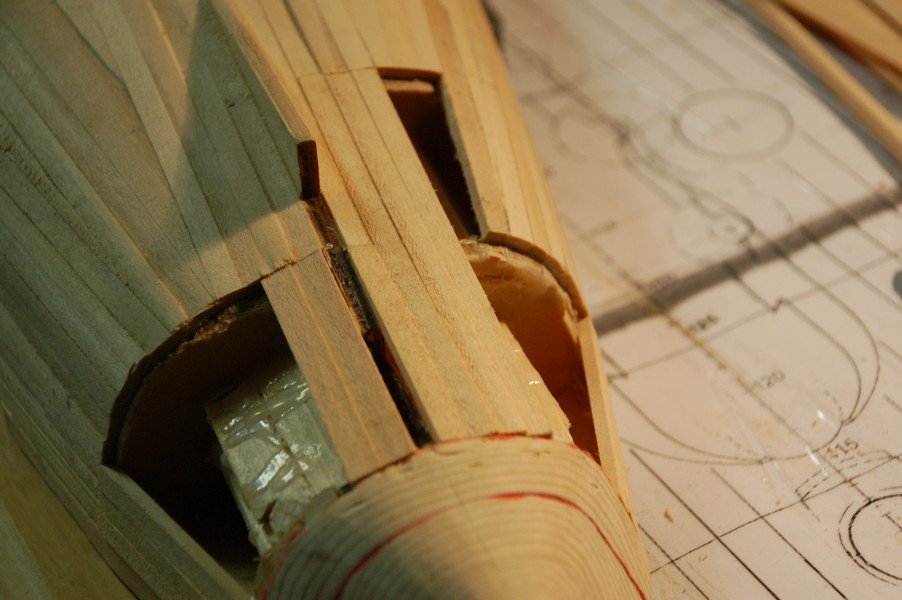
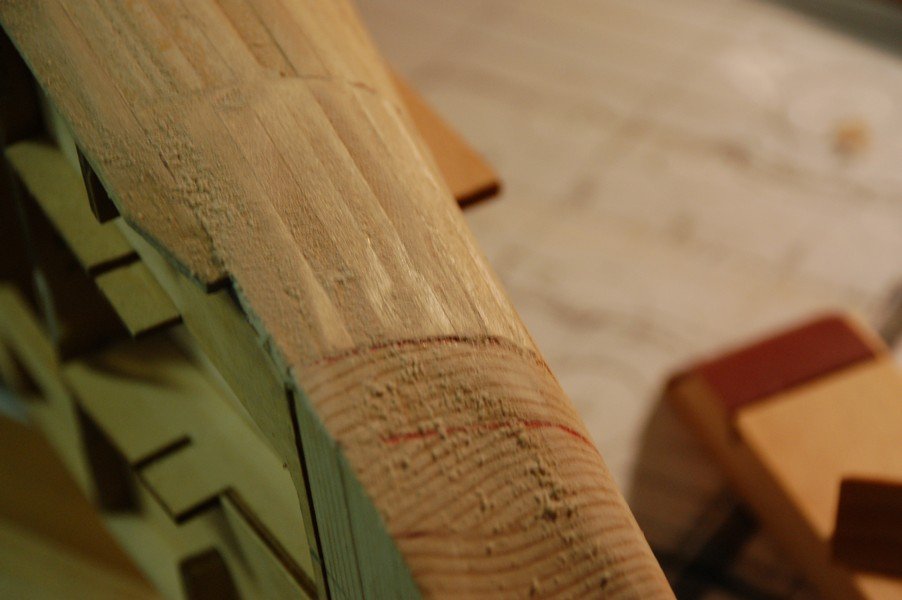
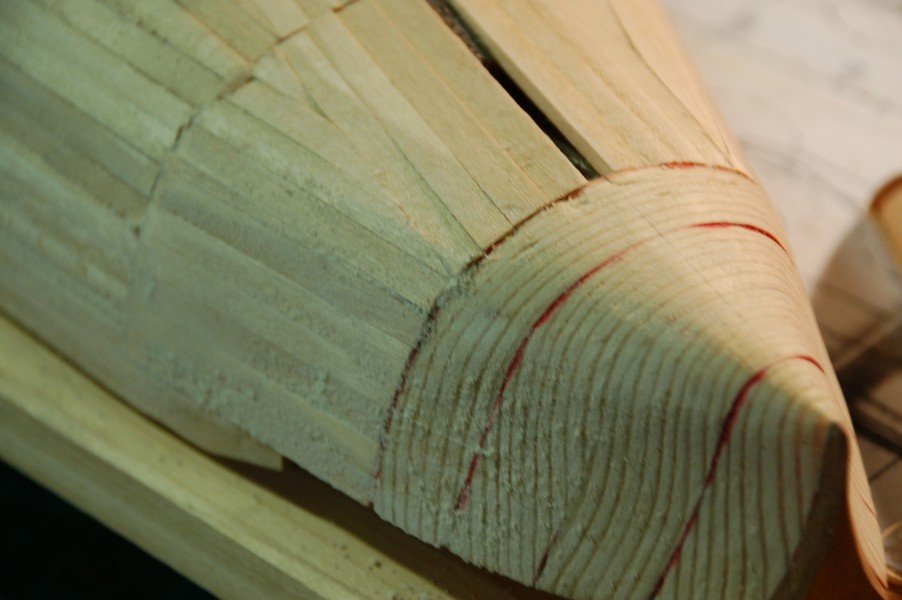
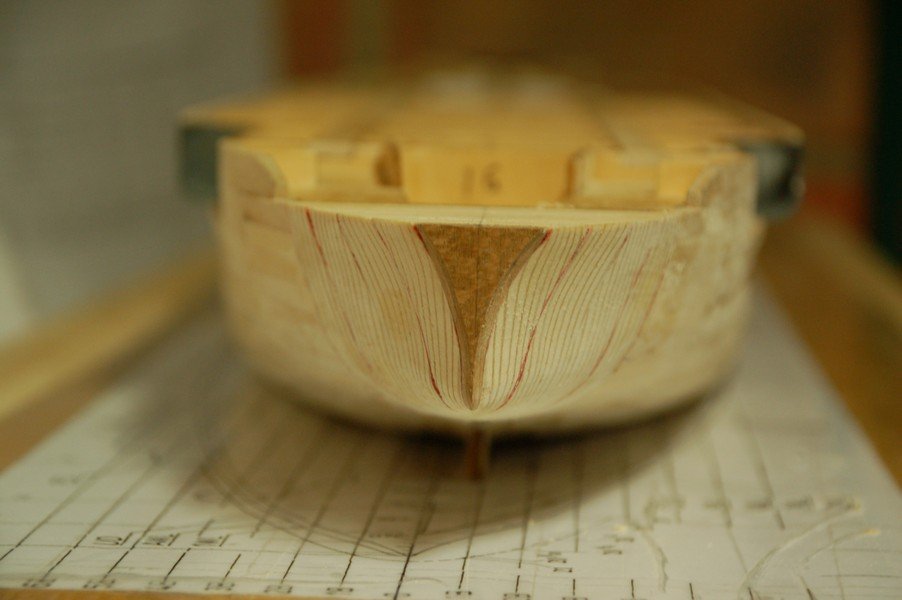
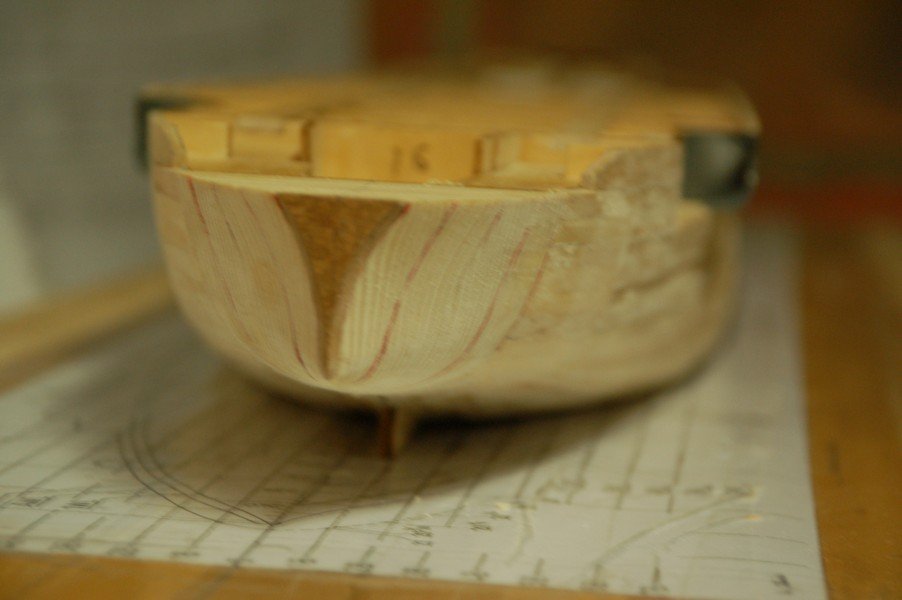
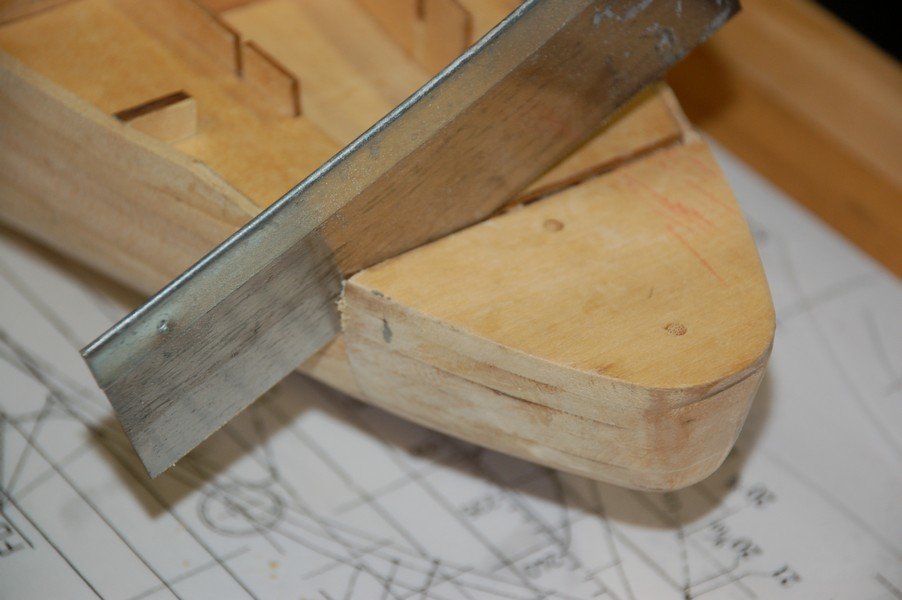
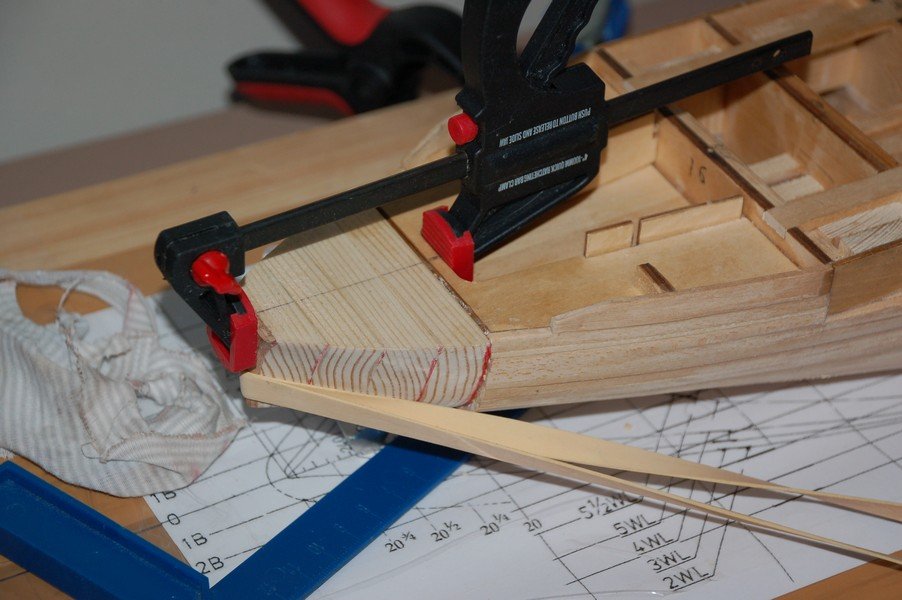
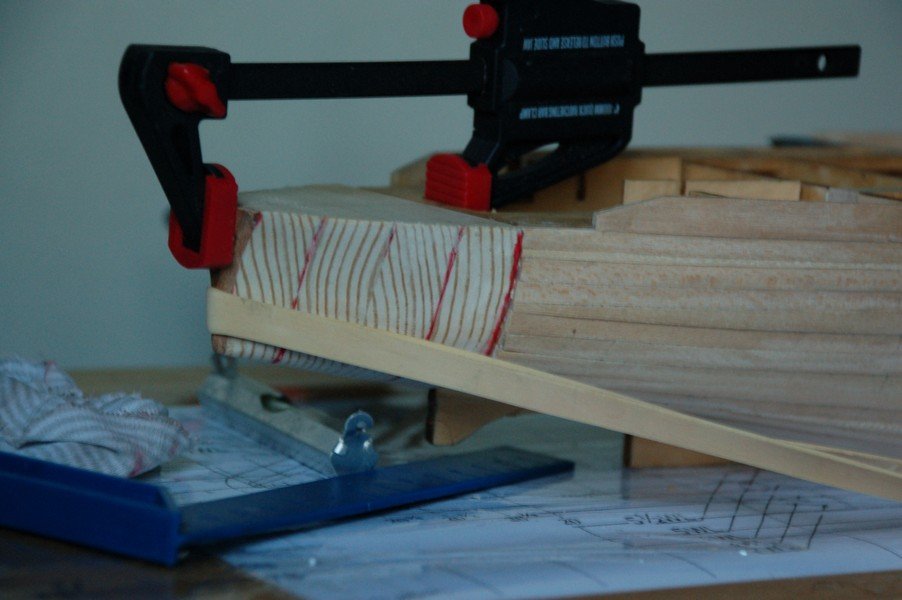
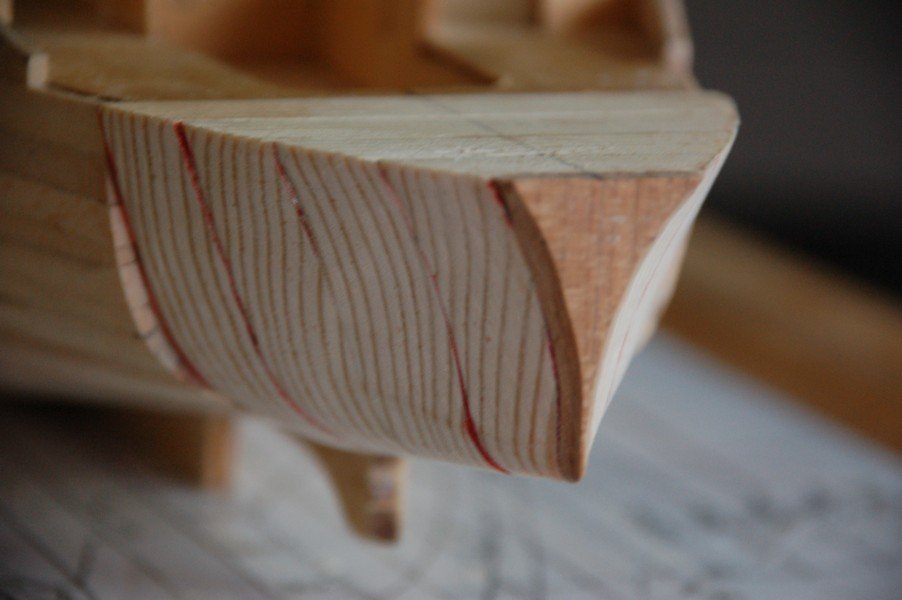
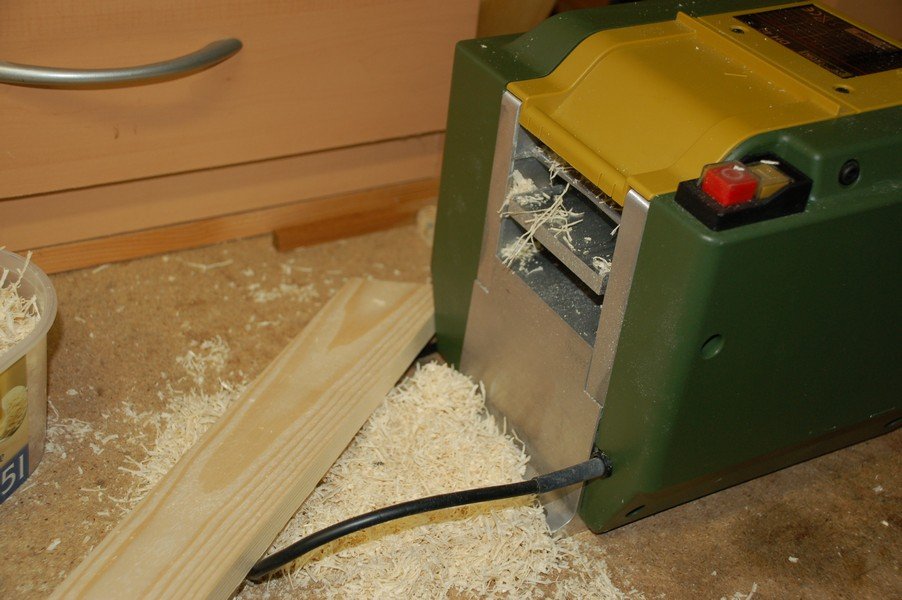
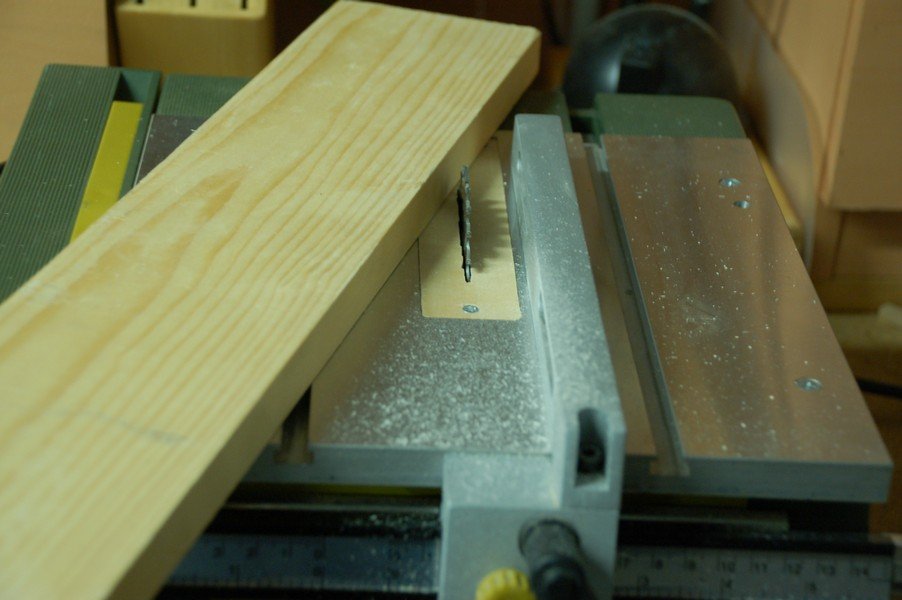
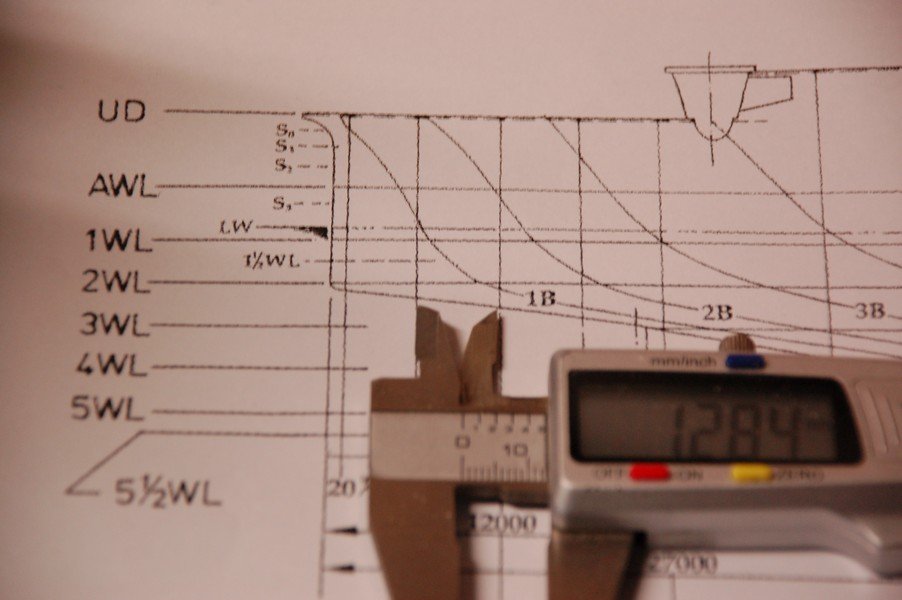
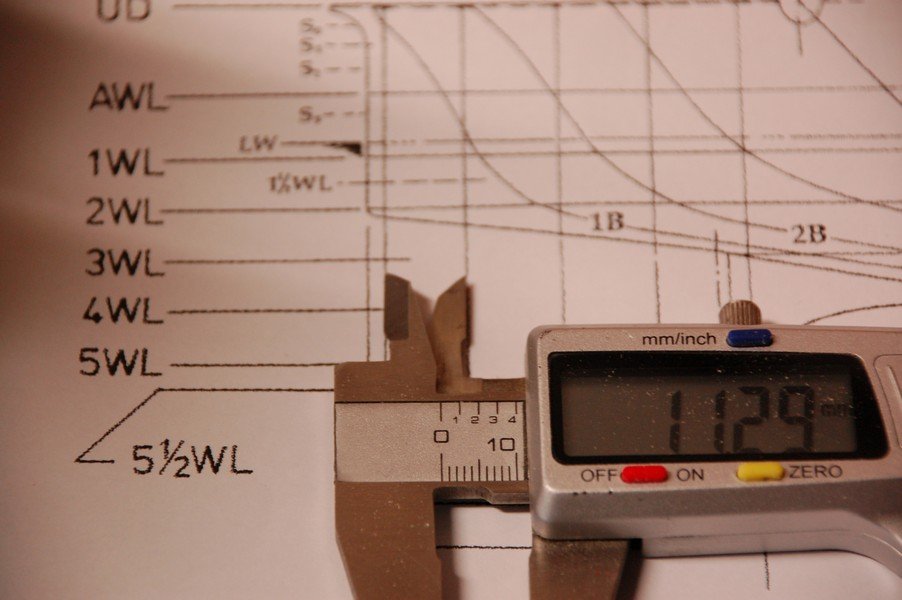
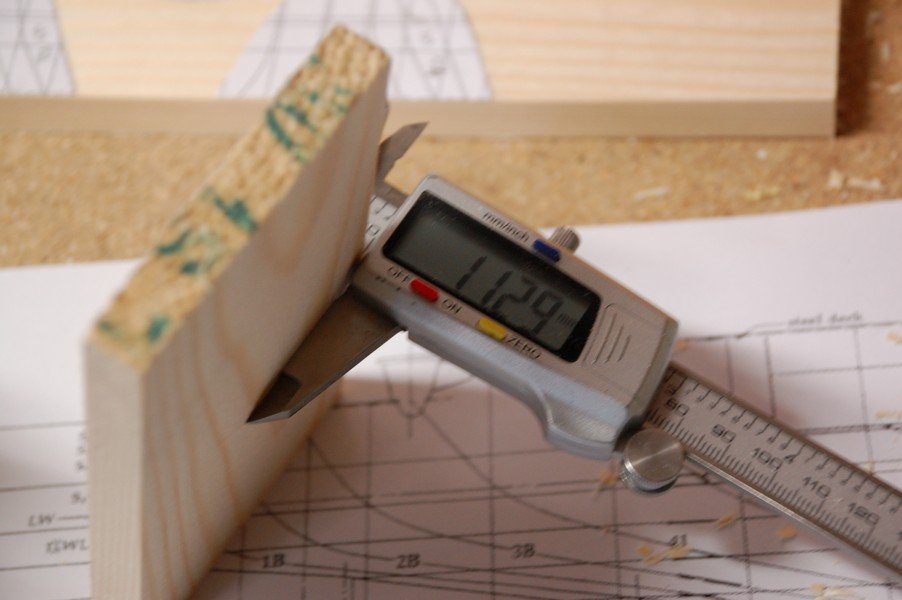
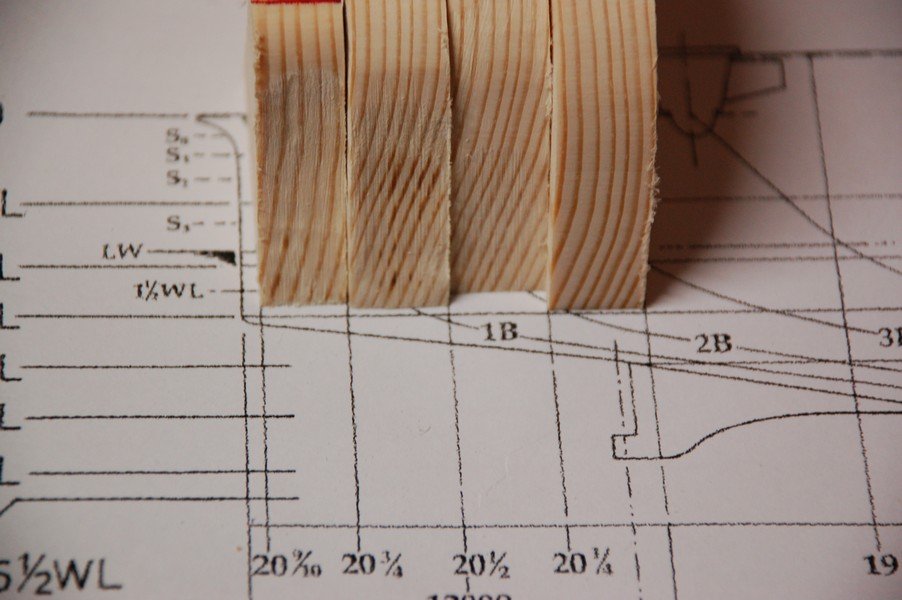
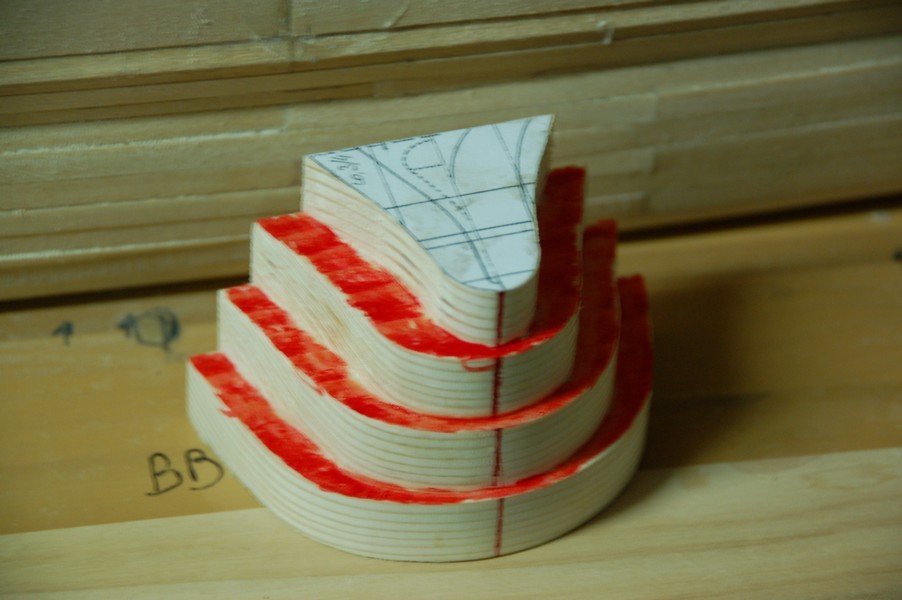
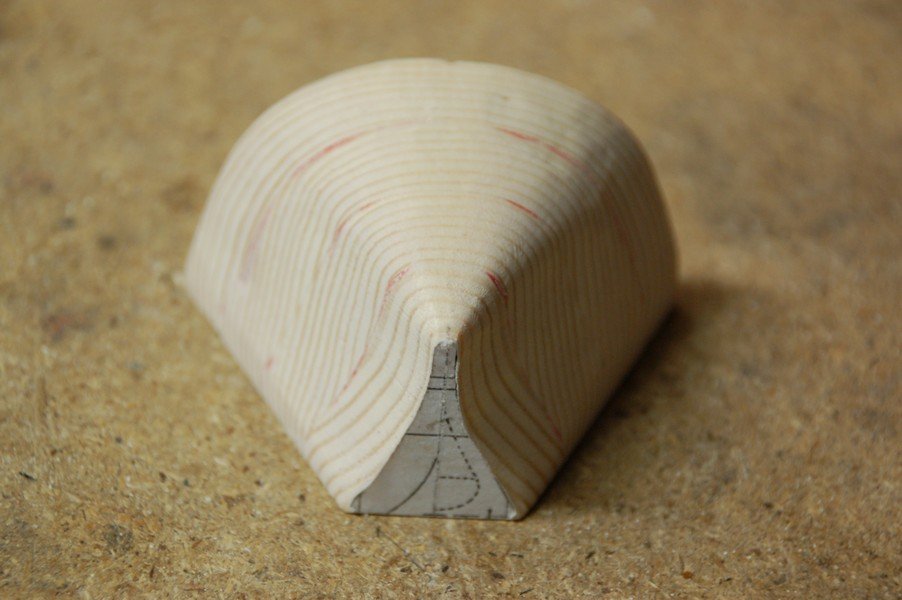
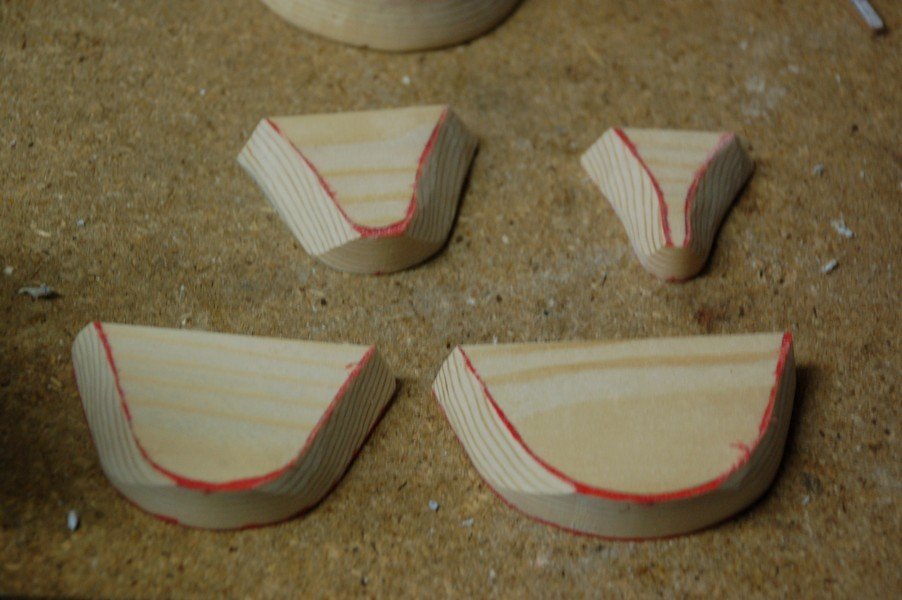
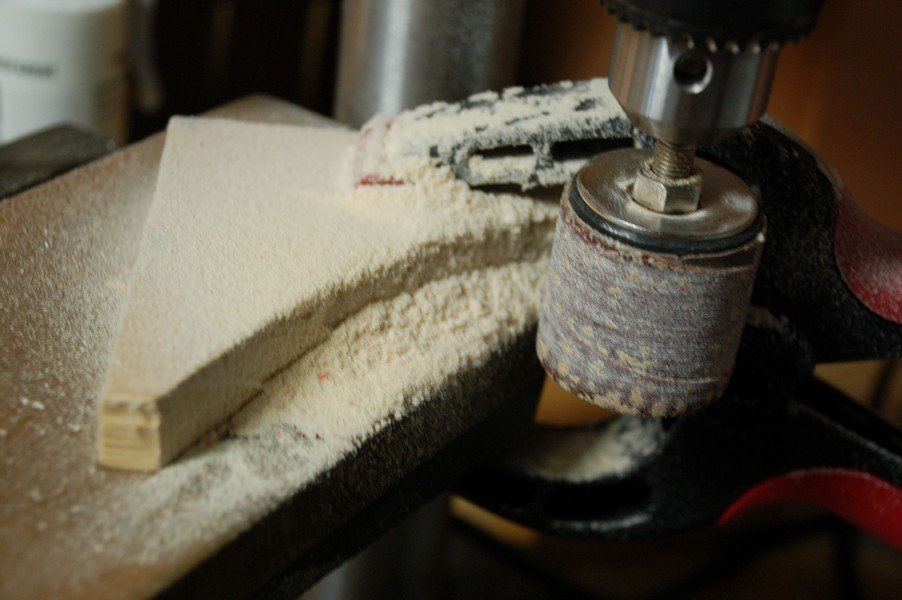
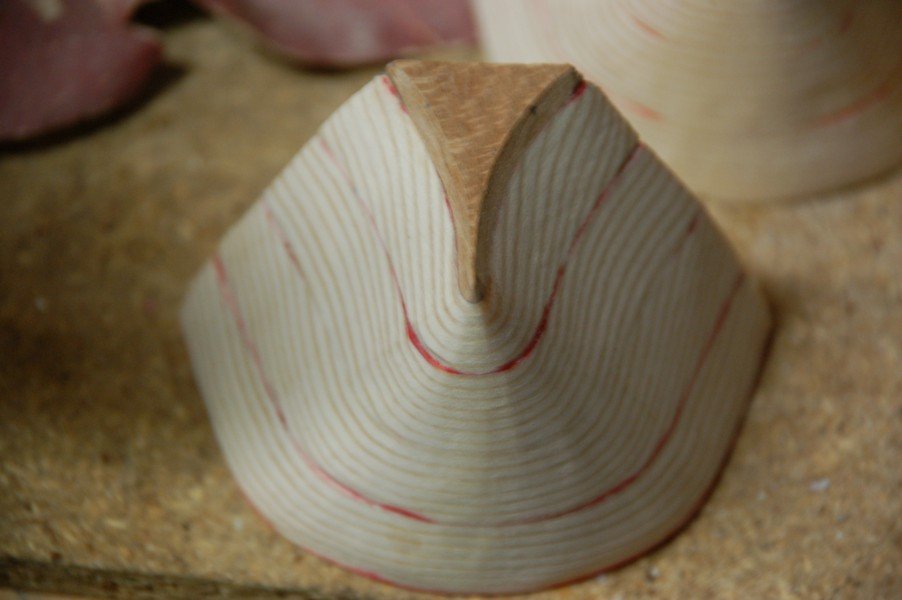
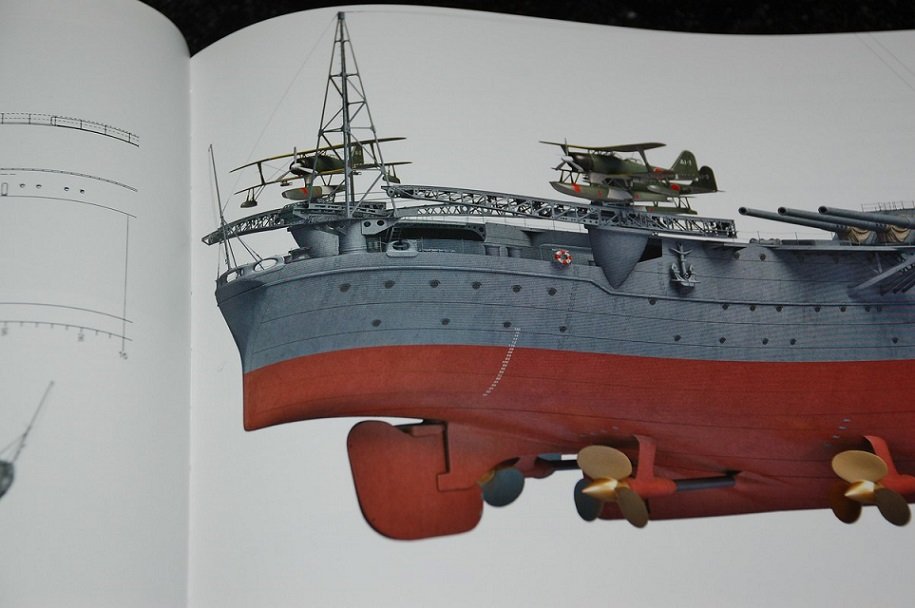
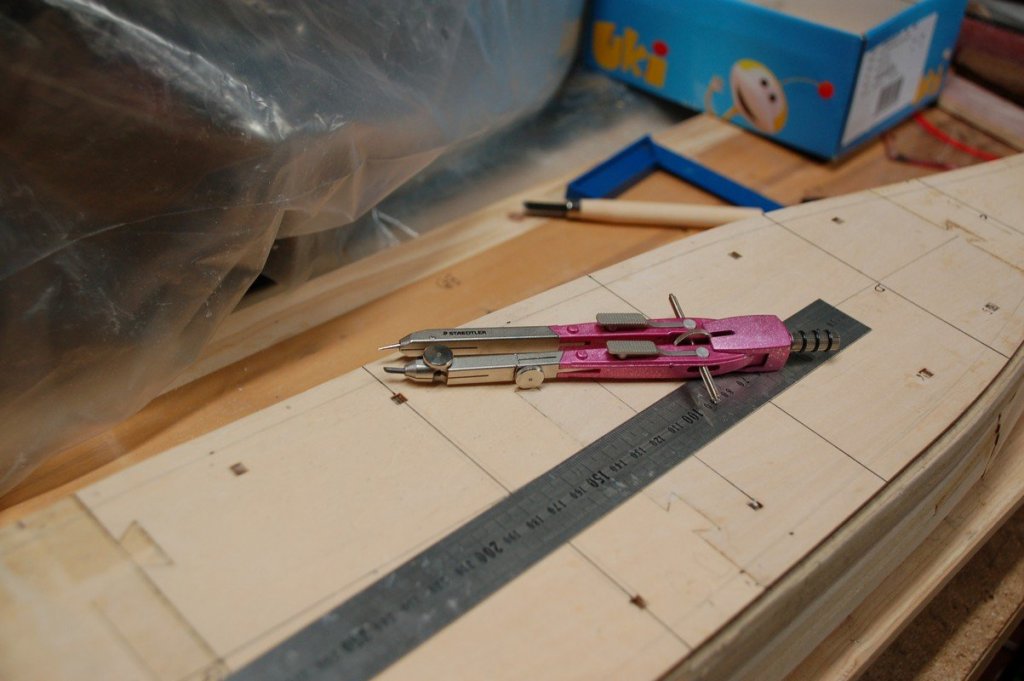
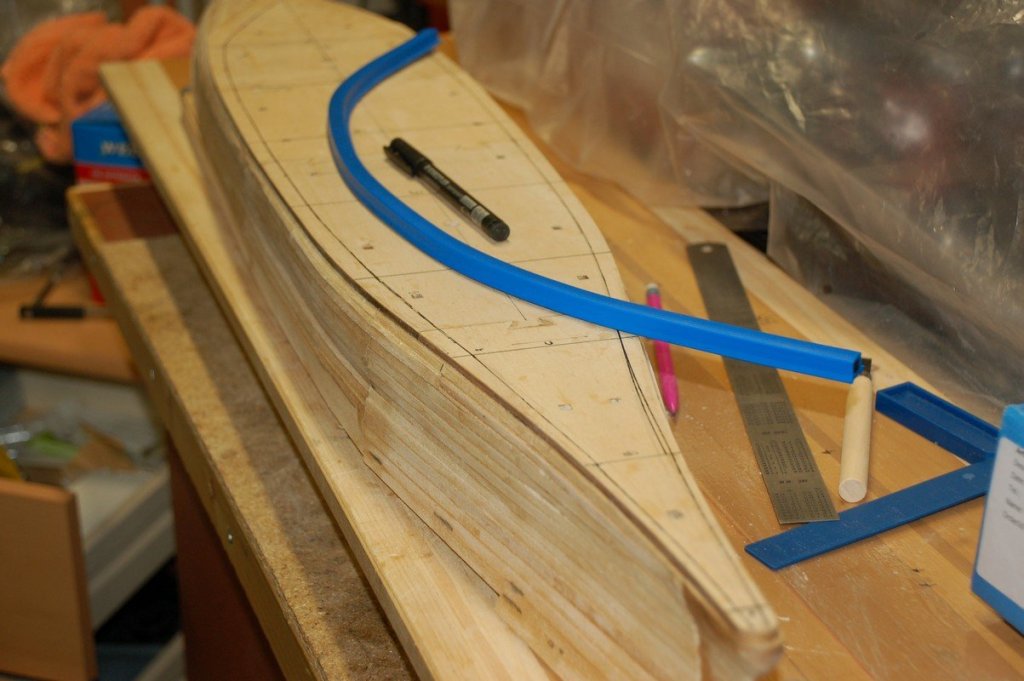
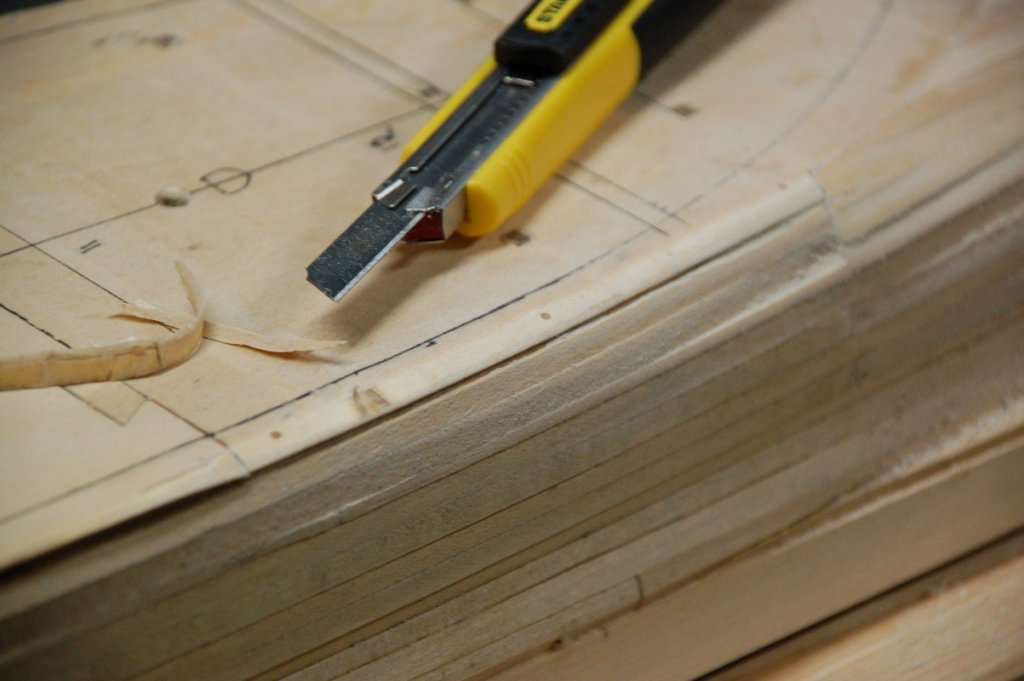
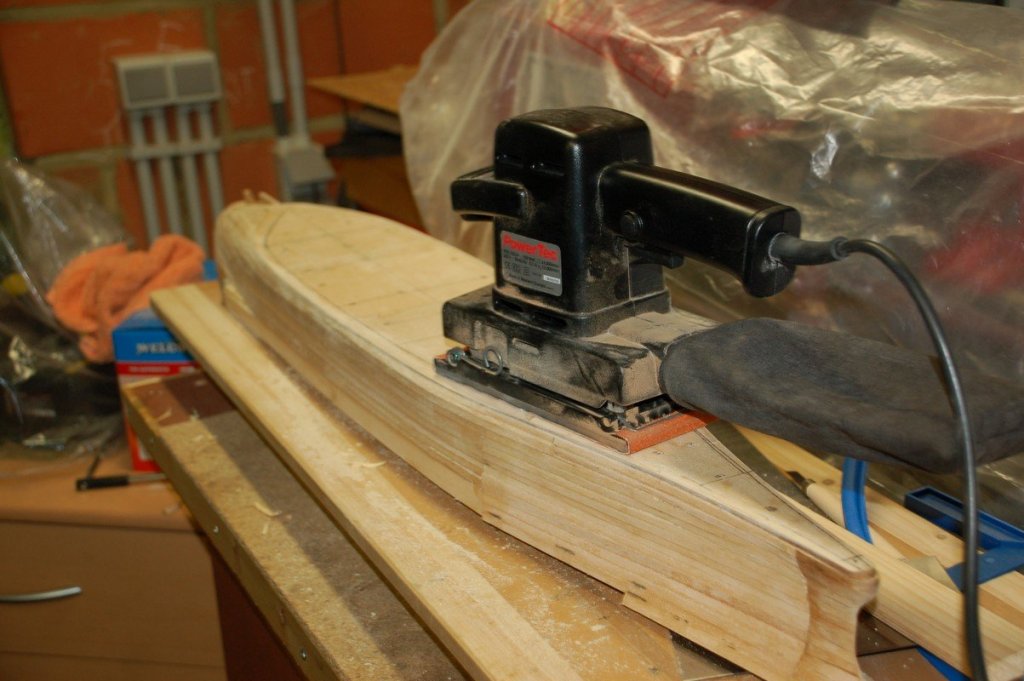
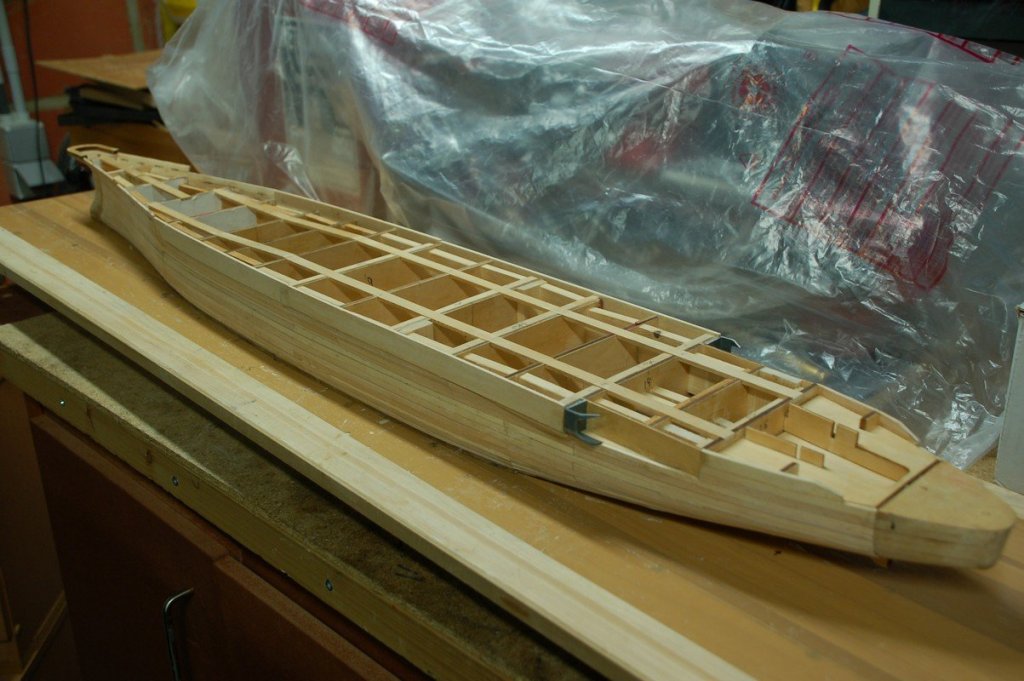
I gave it much thought but i'm gonna take the plunge and change the stern. A bit further in the book of Janusz Skulski there are drawings of the rudder. It's also changed since the older version of his book and says it's based on the original Japanese drawings. And since that shape of rudder was never going to be possible with the old stern on my ship, i decided to go for it. I hope it'll work out in the end, we'll see. I've taken the dimensions of the plans which i had enlarged. There are 2 different dimensions for the stern. First I've had to prepare a piece of pine to the correct dimensions. With the scroll saw i obtained the needed profiles to form the stern. Using a red marker i colored the wood which had to go, so i have an indication as where is still have to remove wood. A lot of wood dust was the result. Unfortunately my first attempt was a failure, i had lost the curve at deck level. I had to redo all the steps. My second attempt was spot on!
-
Congratulations on this master piece, beautiful build!
- 346 replies
-
- terror
- polar exploration
-
(and 2 more)
Tagged with:
-
Congratulations on a beautiful model! Your sails are truly a masterpiece. How where they made?
-
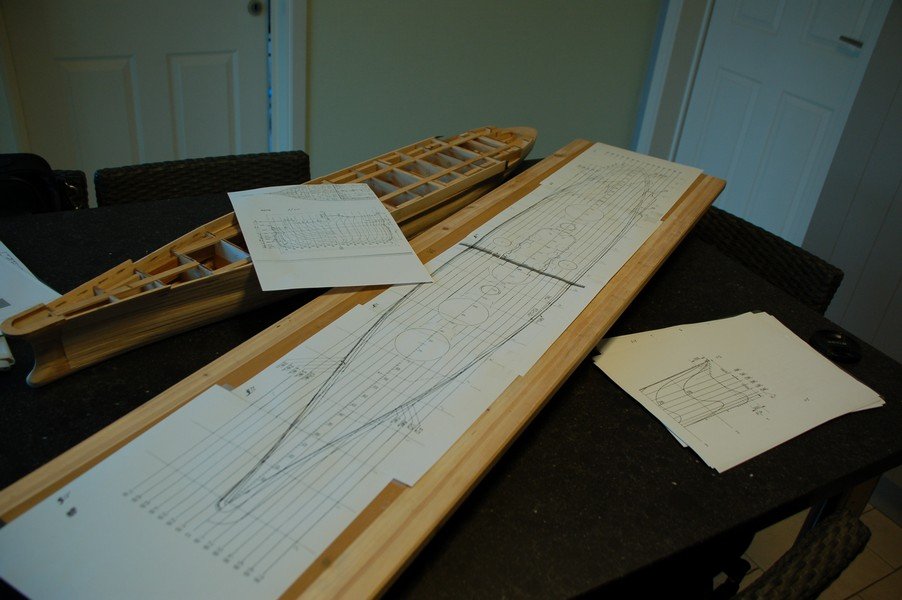
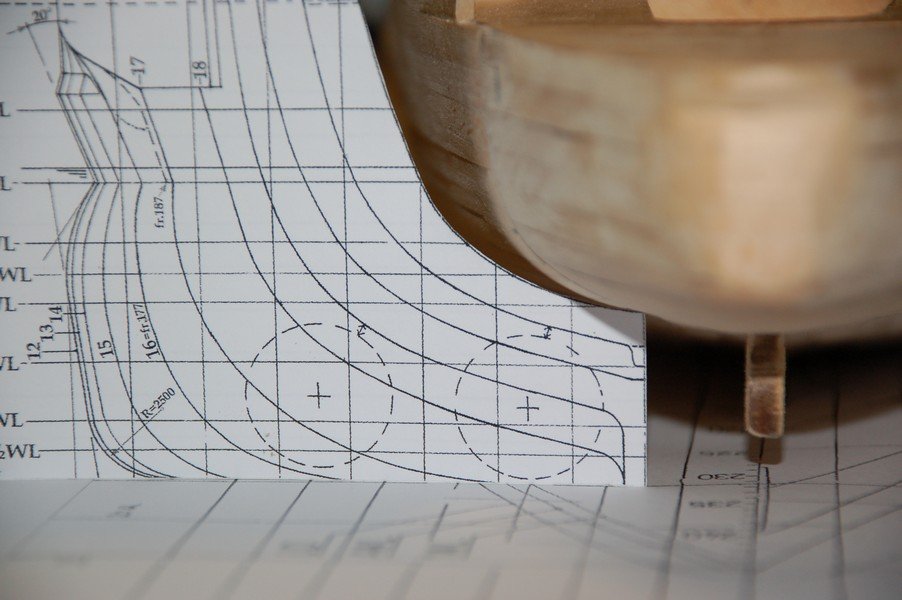
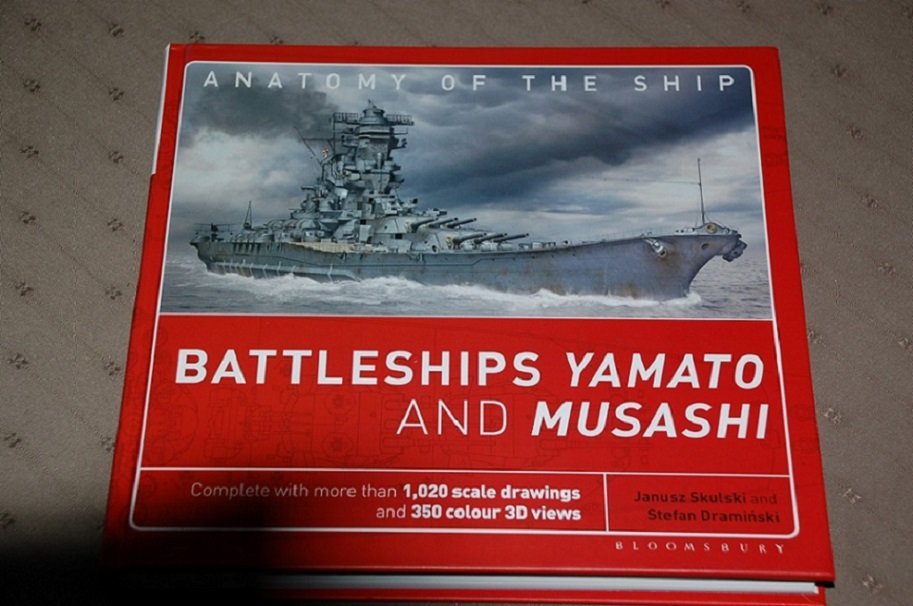
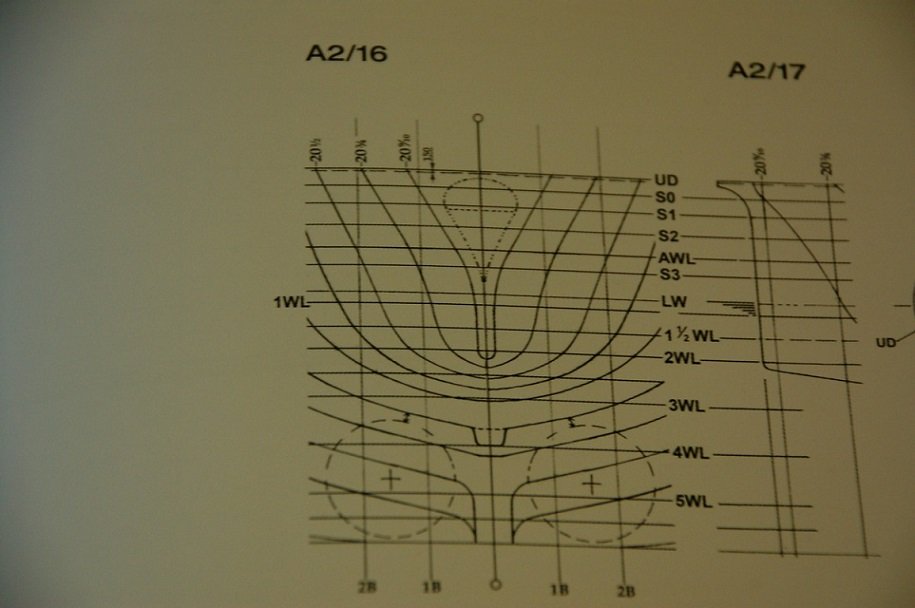
It's a this point in my build that I received my new copy of the new Yamato book by Janusz Skulski. I already was using the old version. Much too my surprise, i noticed that the stern was completely altered versus the old version. It's described in the book, that the stern was build in the fashion like the old Japanese battle ships. Unfortunately, the book does not tell on what it was based to alter the stern so dramatically. It's here that my build log is now to date. So now I've made some photocopies at work which i enlarged to the scale 1/250. I also copied the body plan. When i put my Yamato on the plan, it corresponds. Even at the stern, so that means that the deck at the stern is still correct. But it's the lines beneath that have completely changed. Now i don't know what to do, should i stick to the old plan, or do I alter the stern? Decisions, decisions, decisions....
-
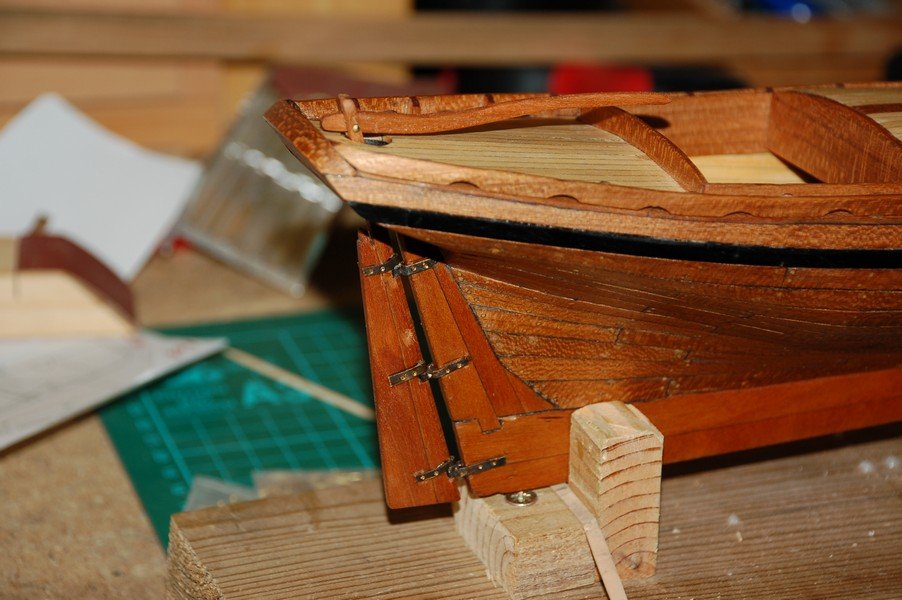
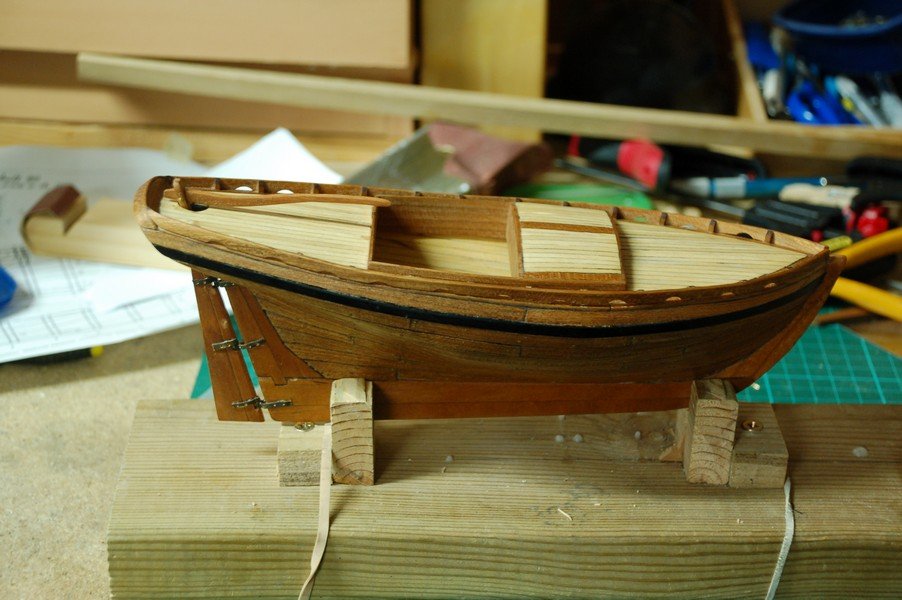
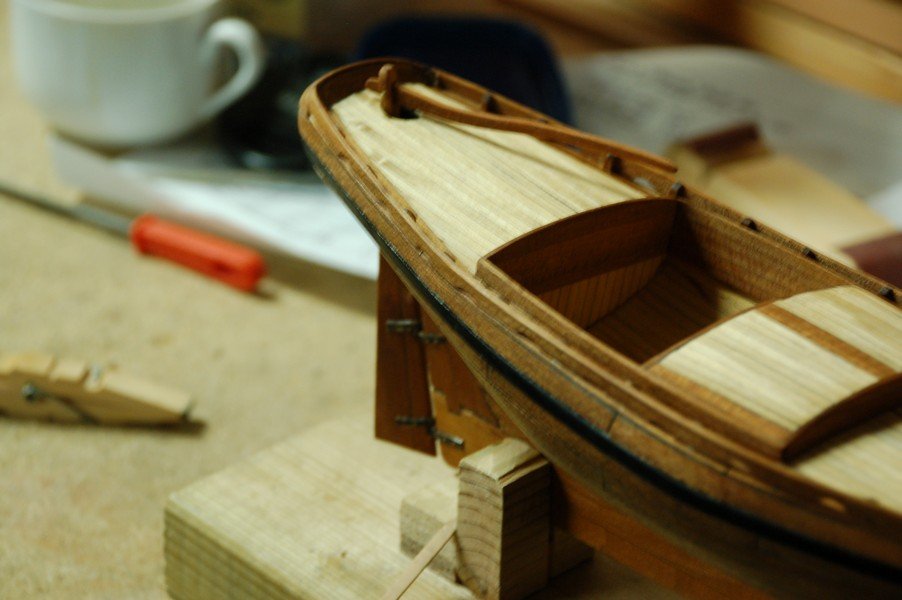
Continuation on the rudder. The rudder is now complete, with the pintles epoxied on their place. And finally putting it all together. I have now a working rudder on my little boat.
- 144 replies
-
- corsair
- bermuda boat
-
(and 1 more)
Tagged with:
-
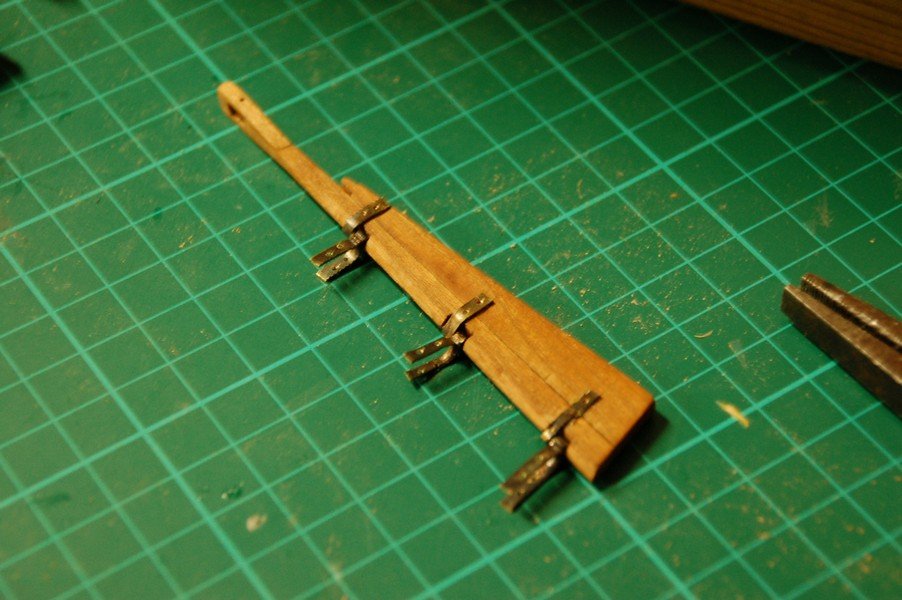
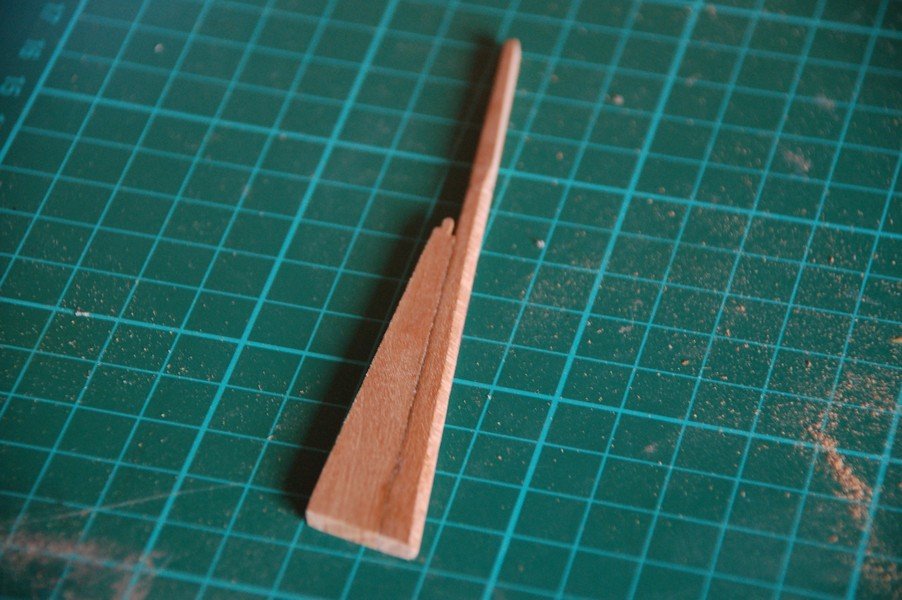
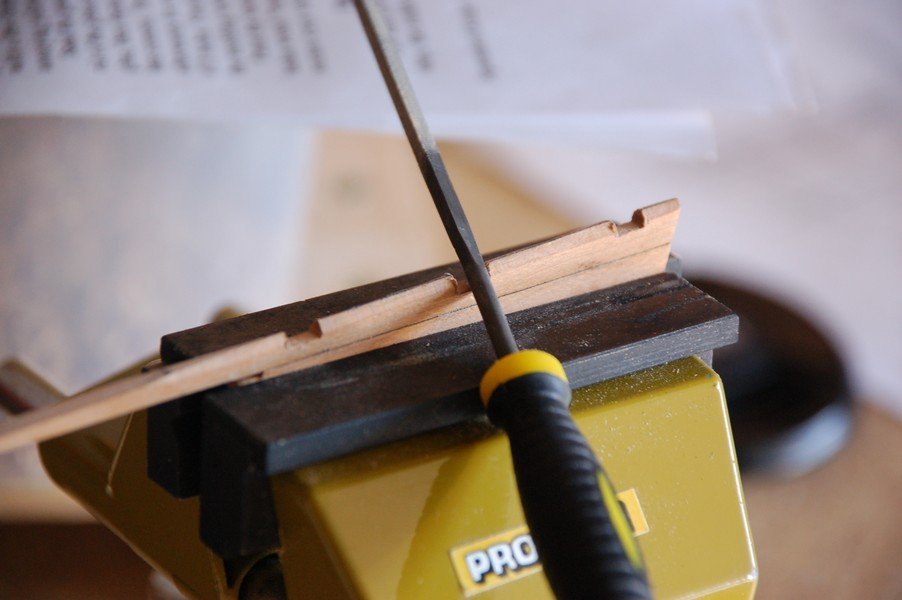
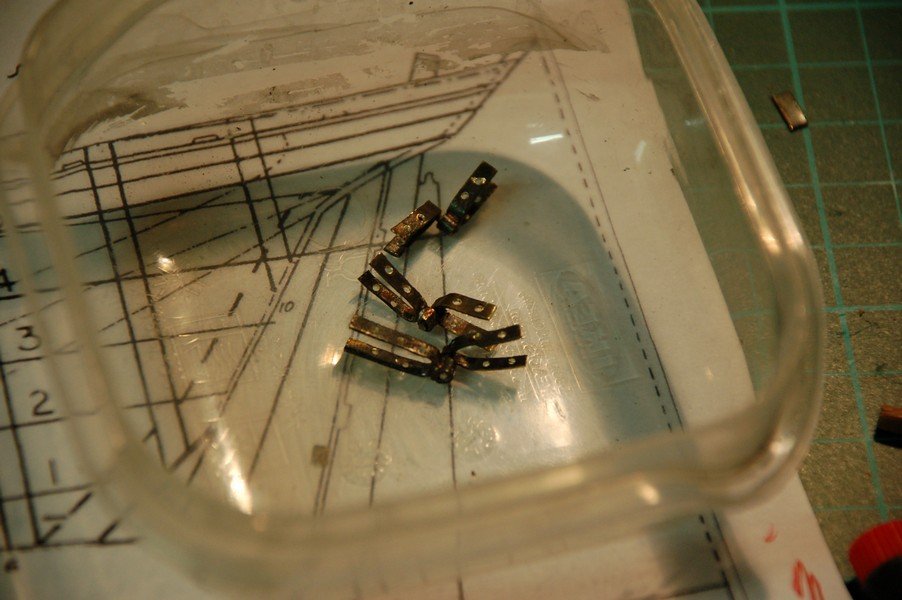
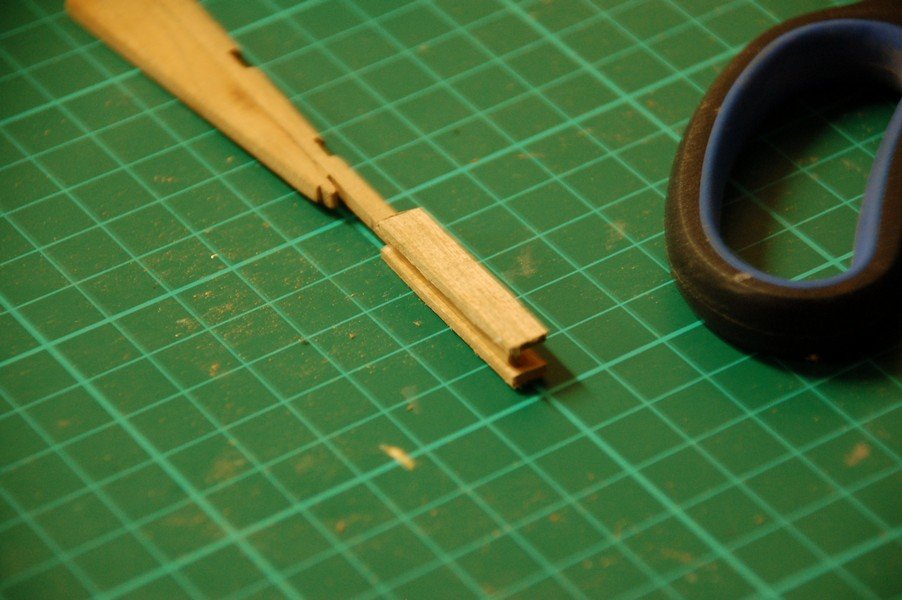
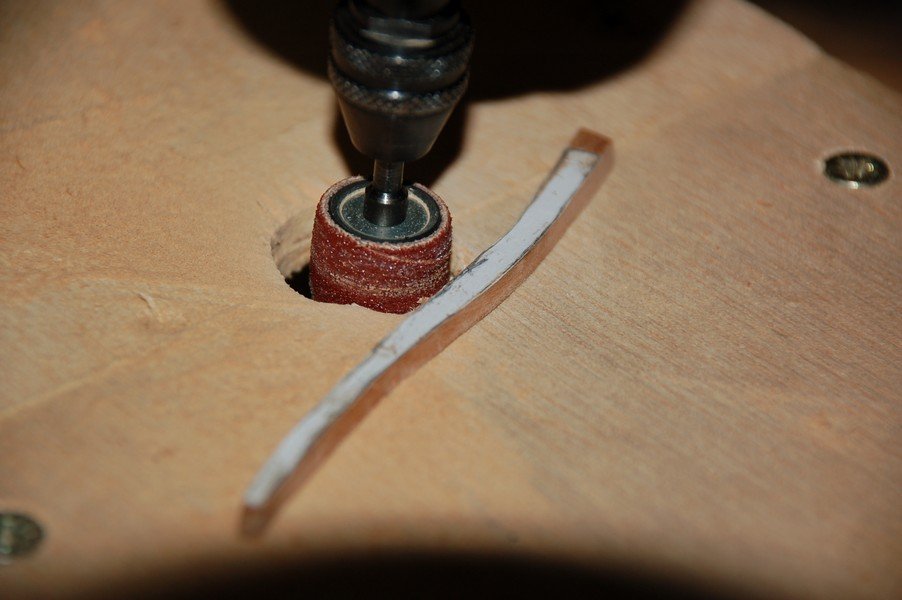
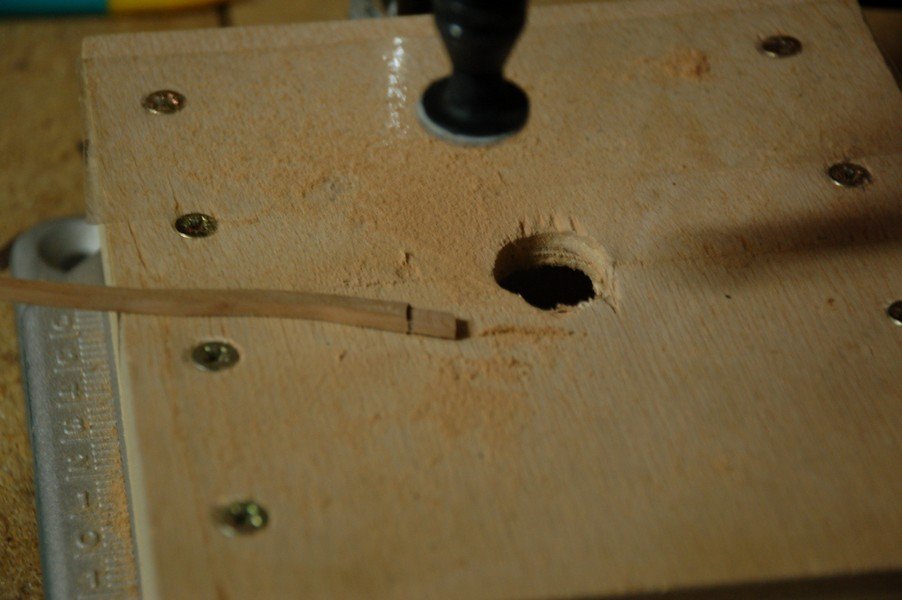
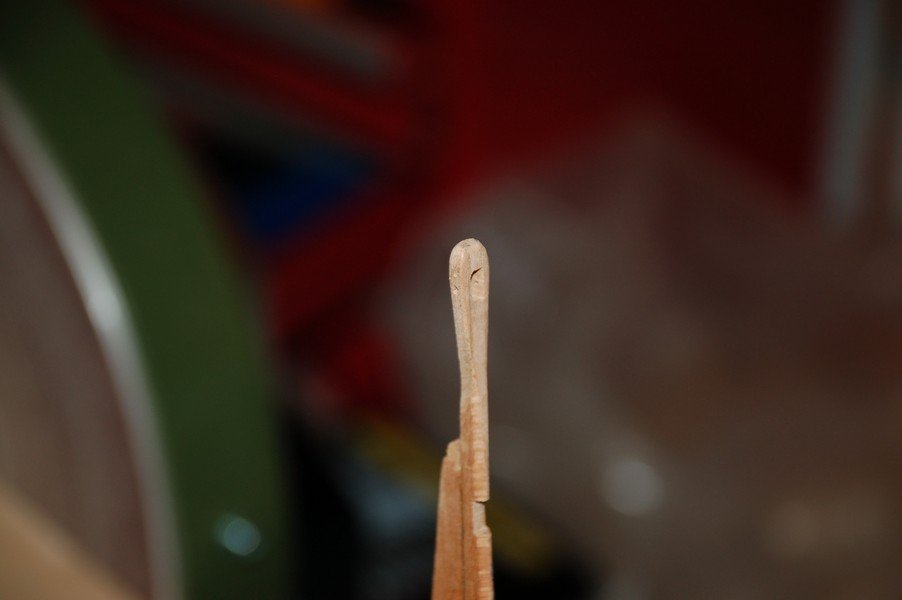
Continued working on the rudder. First i glued the parts. Then I made the recesses for the pintles. The rudder is too small on the top to receive the tiller. So i added a piece of cherry wood on each side. Afterwards when the glue dried, i sanded the whole thing and prepared it to receive the tiller. Then up to the tiller. And finally i've drilled the wholes in the pintles and gudgeons.
- 144 replies
-
- corsair
- bermuda boat
-
(and 1 more)
Tagged with:
About us
Modelshipworld - Advancing Ship Modeling through Research
SSL Secured
Your security is important for us so this Website is SSL-Secured
NRG Mailing Address
Nautical Research Guild
237 South Lincoln Street
Westmont IL, 60559-1917
Model Ship World ® and the MSW logo are Registered Trademarks, and belong to the Nautical Research Guild (United States Patent and Trademark Office: No. 6,929,264 & No. 6,929,274, registered Dec. 20, 2022)
Helpful Links
About the NRG
If you enjoy building ship models that are historically accurate as well as beautiful, then The Nautical Research Guild (NRG) is just right for you.
The Guild is a non-profit educational organization whose mission is to “Advance Ship Modeling Through Research”. We provide support to our members in their efforts to raise the quality of their model ships.
The Nautical Research Guild has published our world-renowned quarterly magazine, The Nautical Research Journal, since 1955. The pages of the Journal are full of articles by accomplished ship modelers who show you how they create those exquisite details on their models, and by maritime historians who show you the correct details to build. The Journal is available in both print and digital editions. Go to the NRG web site (www.thenrg.org) to download a complimentary digital copy of the Journal. The NRG also publishes plan sets, books and compilations of back issues of the Journal and the former Ships in Scale and Model Ship Builder magazines.


