HOLIDAY DONATION DRIVE - SUPPORT MSW - DO YOUR PART TO KEEP THIS GREAT FORUM GOING! (78 donations so far out of 49,000 members - C'mon guys!)
×


JesseLee
-
Posts
1,694 -
Joined
-
Last visited
Content Type
Profiles
Forums
Gallery
Events
Everything posted by JesseLee
-
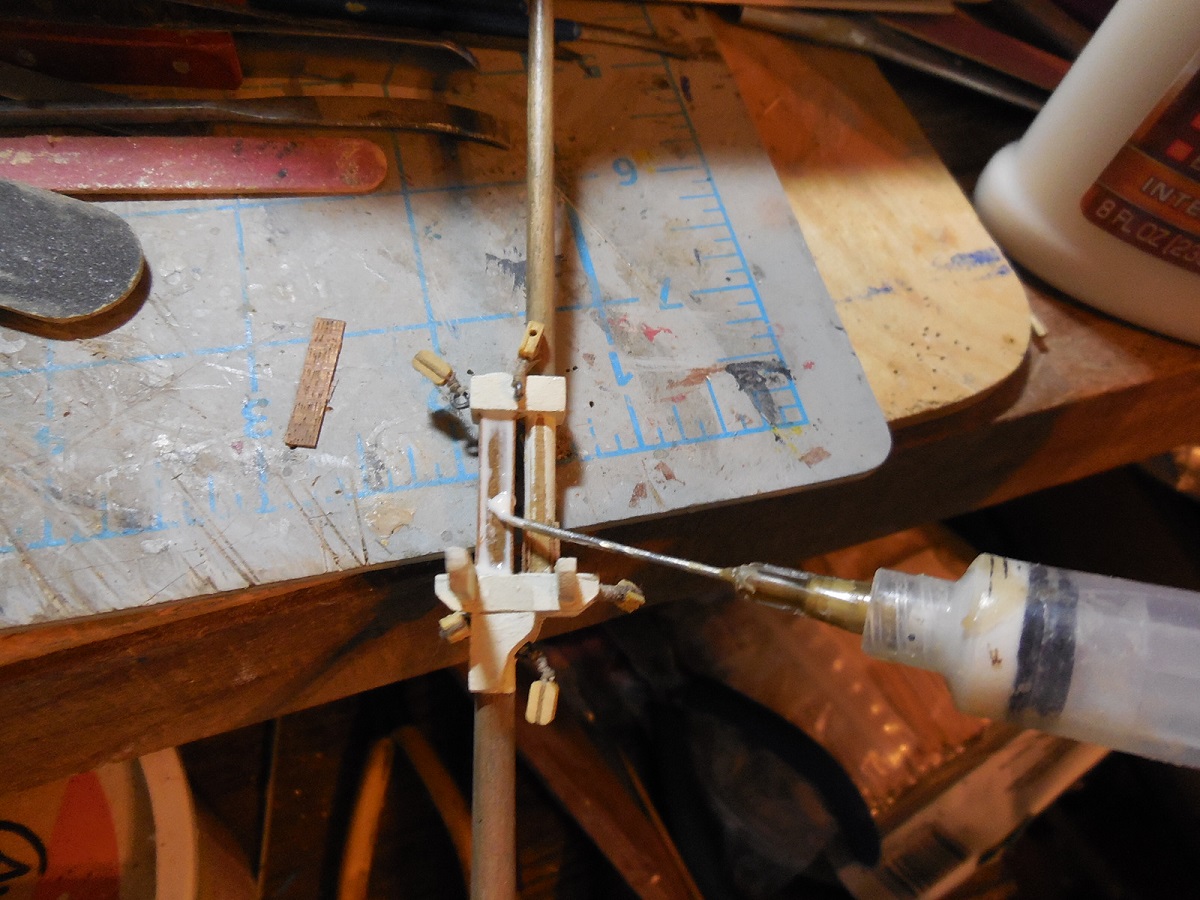
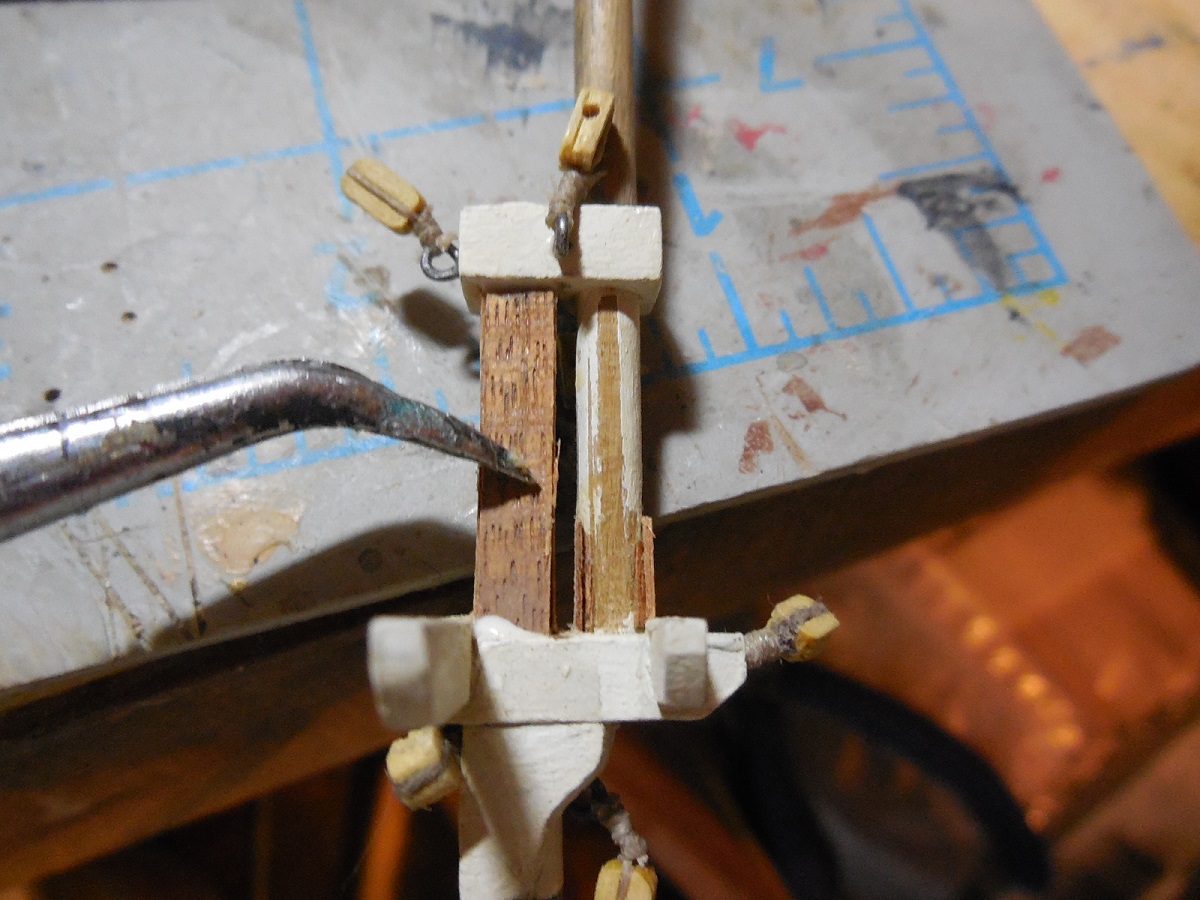
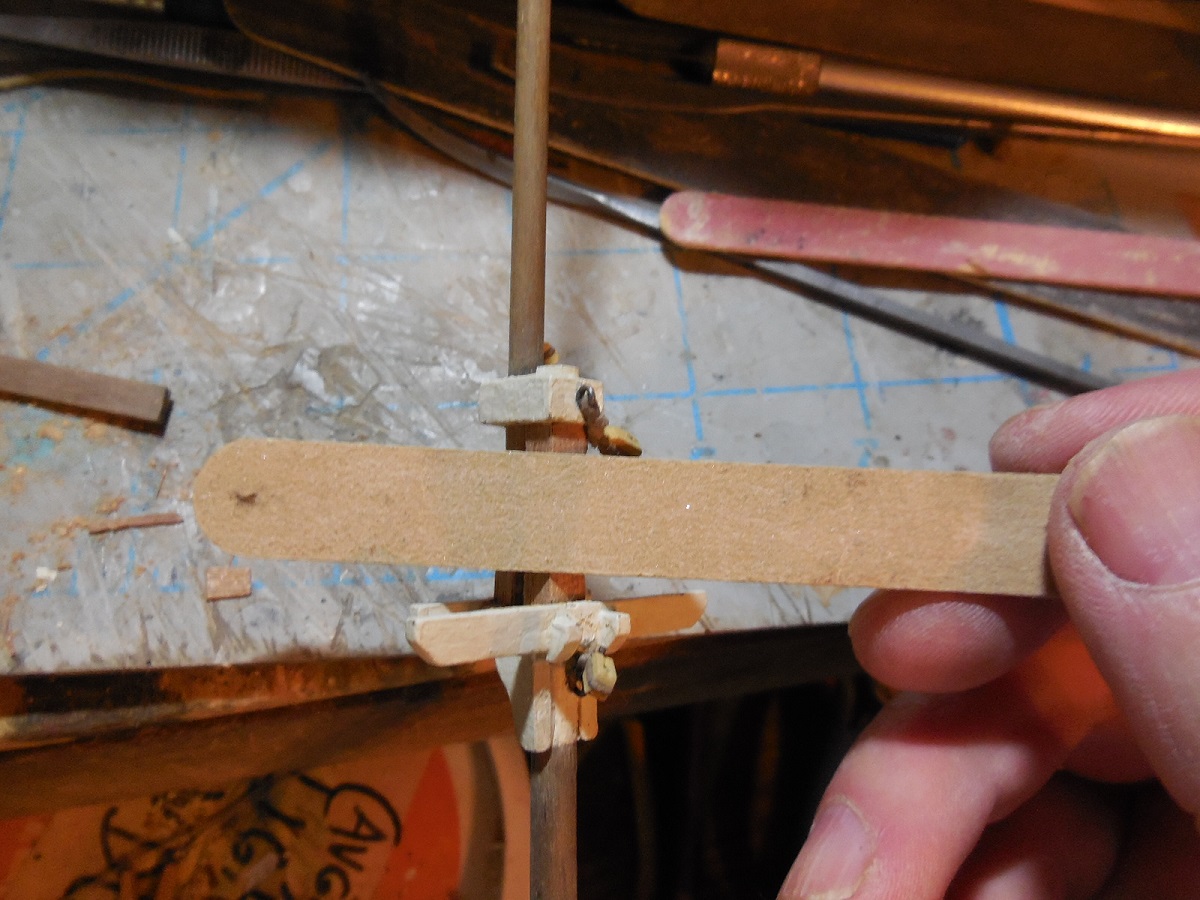
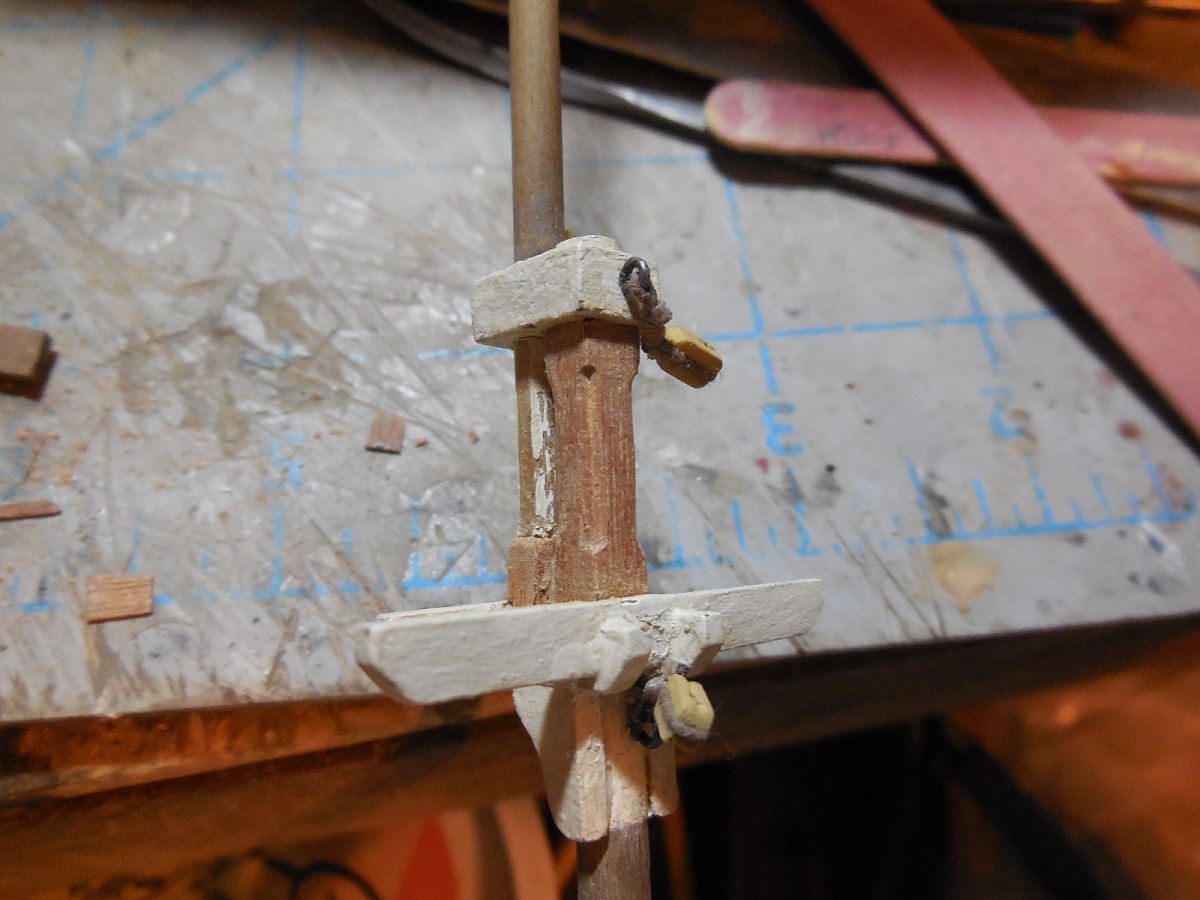
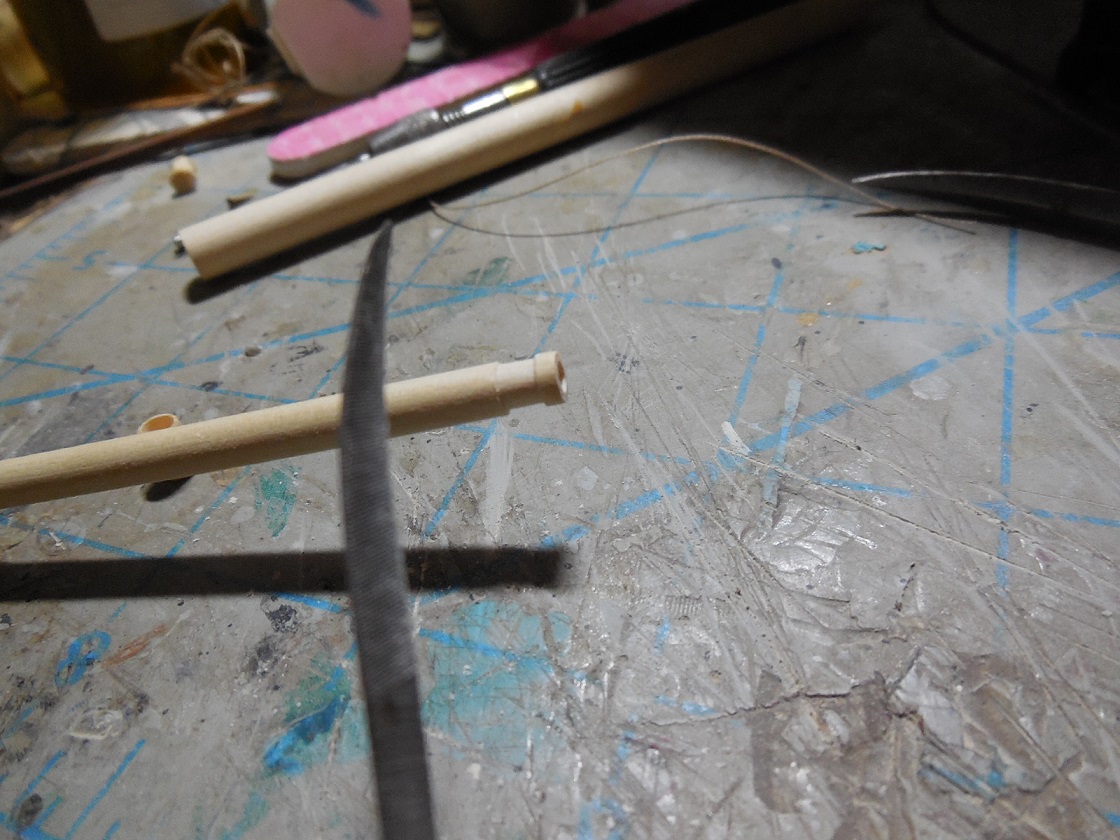
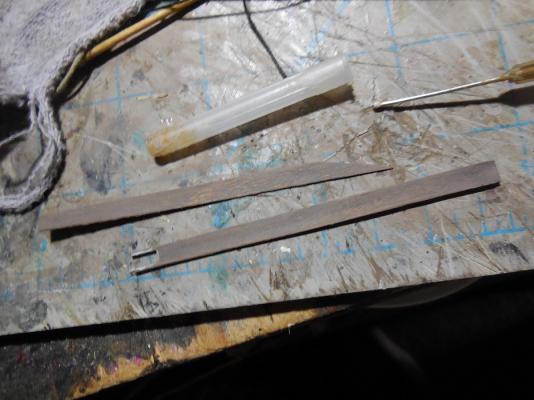
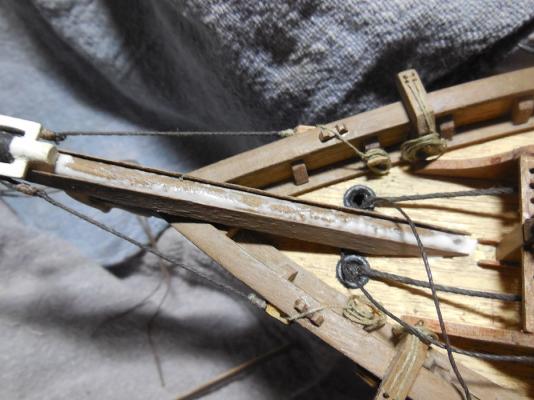
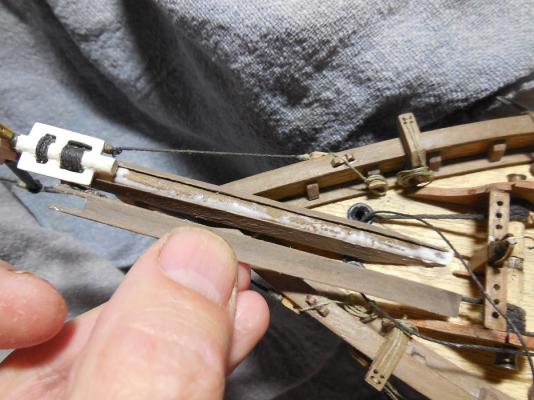
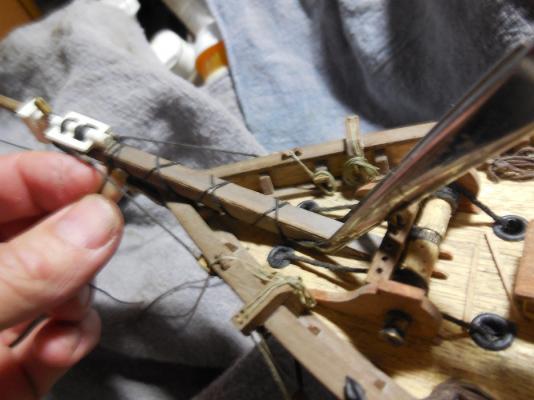
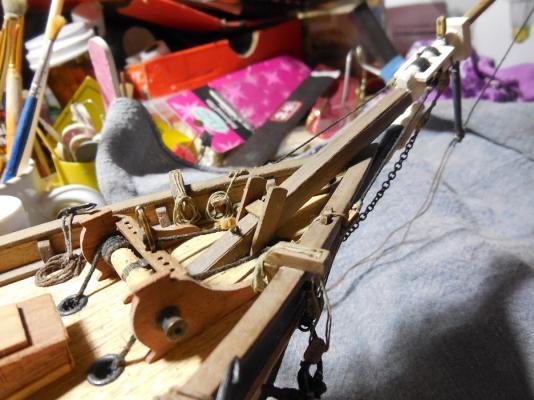
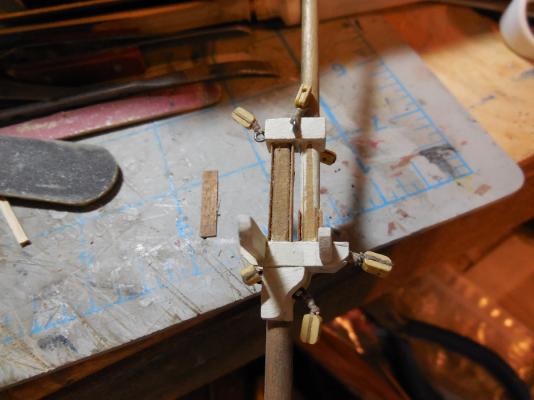
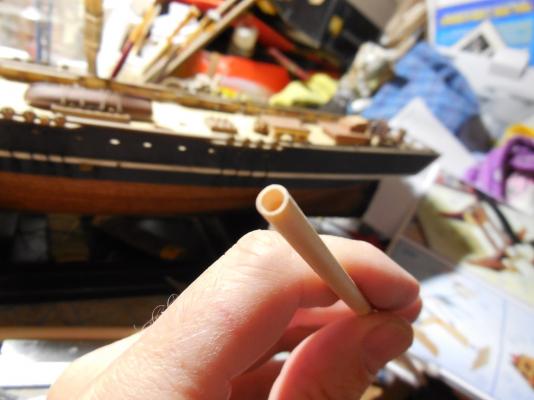
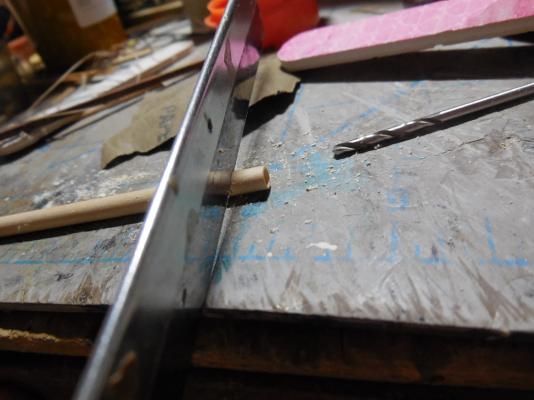
 I don't know if the Scottish Maids bowsprit started out square but I like the way it looks better & at least one other modeler has built theirs that way. So without tearing it out & rebuilding it I did the same thing as I did with the masts but with longer pieces. It took a couple of weeks to figure it out & get the parts right but I finally got it. Glued the flat sides on, temporarily tied them up for a tight fit, tapered between squared to round, retouched the paint & added the knight head & support back in place. Looks like I shaped it that way to begin with now.


- 607 replies
-
- 8
-

-
- scottish maid
- artesania latina
- (and 1 more)
-
I agree it adds character
-
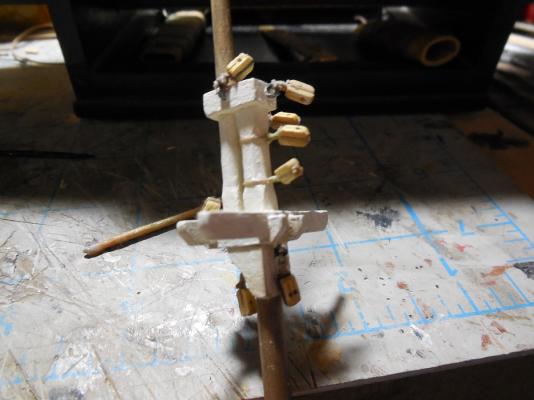
Thank you very much! I've been using this downtime to go back & look at what might have been one wrong. I put my masts together like the instructions showed. They were not squared between the mast cap & crosstrees. I didn't want to tear it up & start all over so I figured out a way to add small "planks" of wood strips to square it up more & add some shape to them to make them more like they should be......


- 607 replies
-
- 9
-
-
- scottish maid
- artesania latina
- (and 1 more)
-
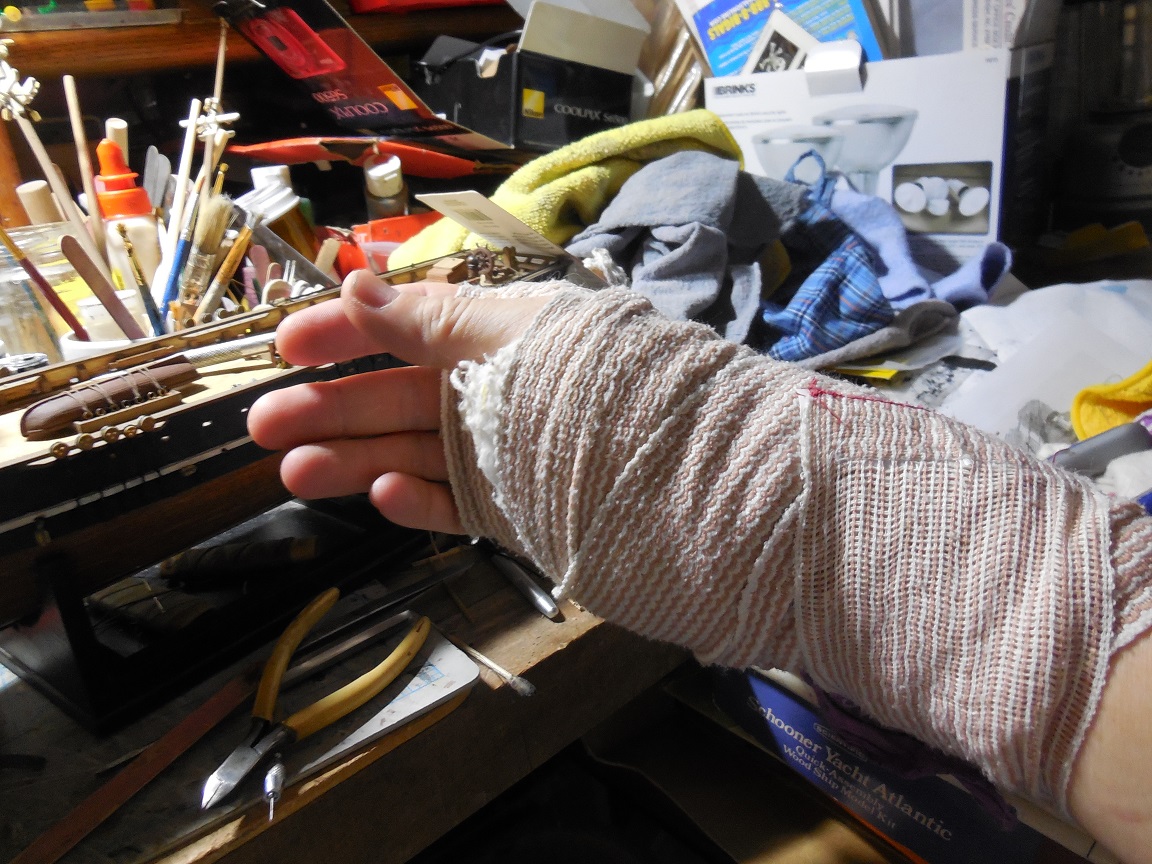
I used my hand too much & when they took the stiches out the incision wasn't as closed as it should have been. I can use my hand but taking it easy & keeping it taped shut as it continues to heal. Being held back from working on the ship more from my lyme disease. Having a bad flare up right now. I have work on it some. Will try to get a few pictures up soon.
-
Thanks!
-
So were all sails on all yards attached to jackstays?
-
I'm a little confused. I see most people tie their sails to the yard. I've seen some make jackstays for lower yards but not for top ones on the same model. Are sails always supposed to be tied to jackstays? Is this just a detail not always added to a model or were they sometimes not used? I will soon be coming to the yard rigging on my current build the Scottish Maid built in the late 1830.s. Would like to get this detail right but cant find much info on this.
-
Beautiful detail!
-
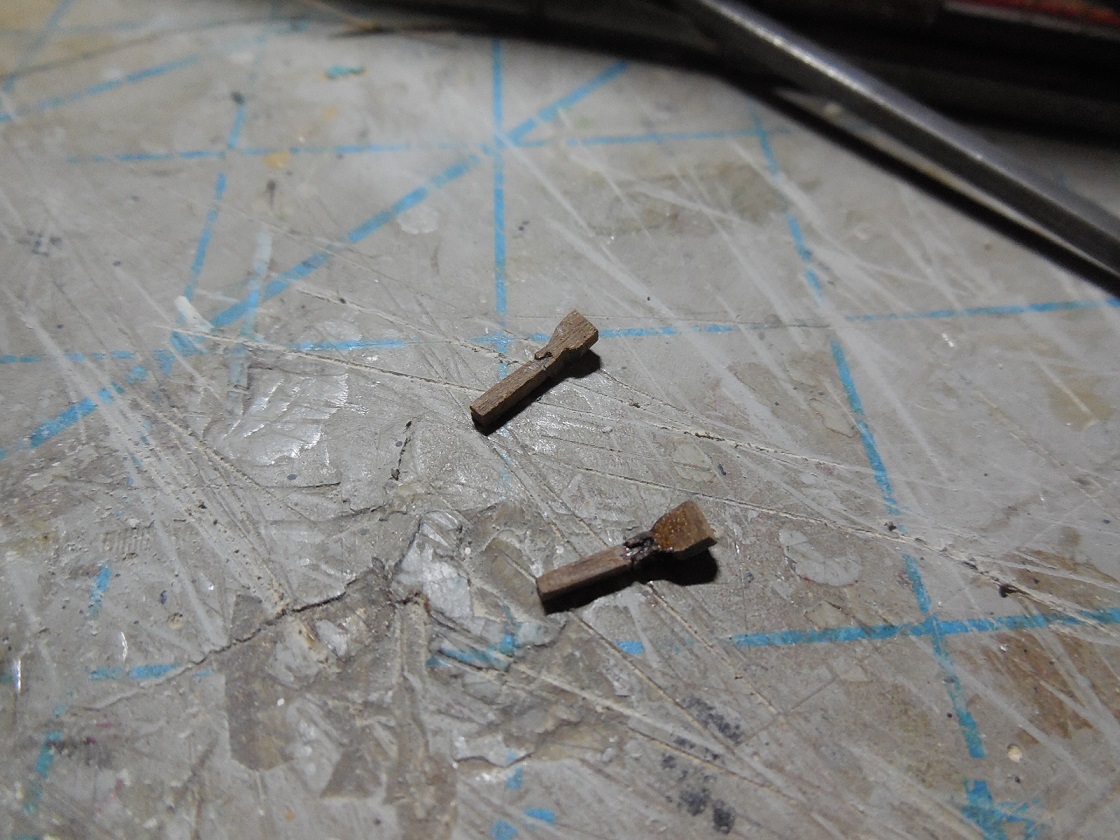
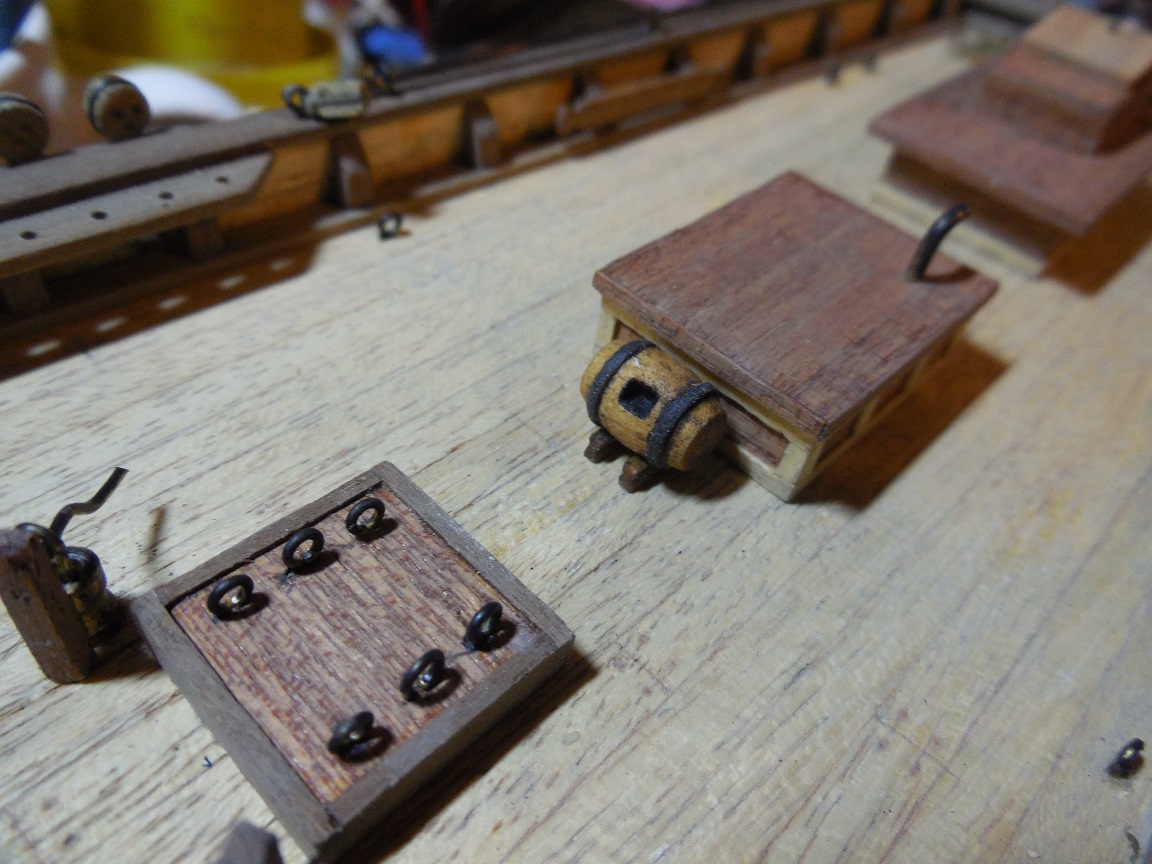
Here is my fabrication of 2 elm tree pumps. Used a dowel & small scrap pieces of wood laying around. The 1st attempts didn't turn out good or meet my satisfaction. The 3rd try was a charm. Doing these pumps has caused some serious pain in my recovering wrist. Got to slow it down & let things heal (at least a little bit ) Looks WAY better than what the kit instructions had me doing!


- 607 replies
-
- 10
-
-
- scottish maid
- artesania latina
- (and 1 more)
-
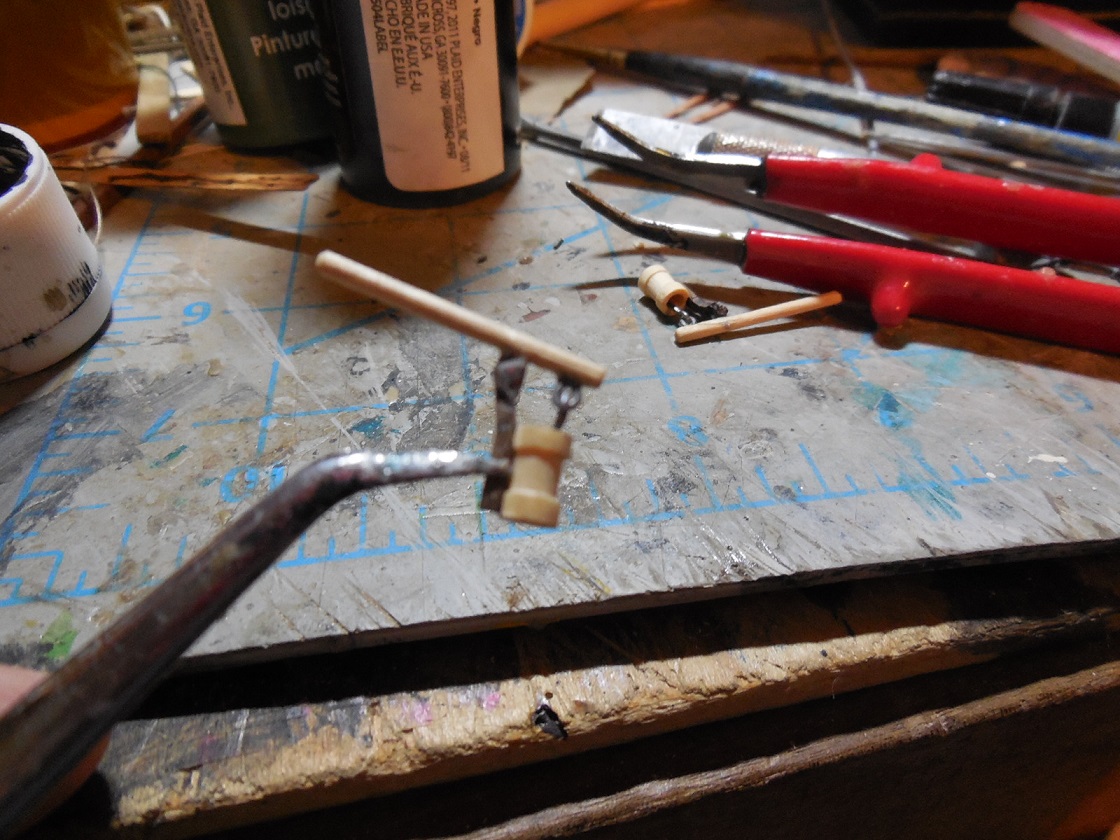
Next I will work on changing the bilge pumps. Here is what the instructions show & how they look on the ship. They look horrible. Will fabricate some that look more like the real thing........when & as I am able......
- 607 replies
-
- 5
-
-
- scottish maid
- artesania latina
- (and 1 more)
-
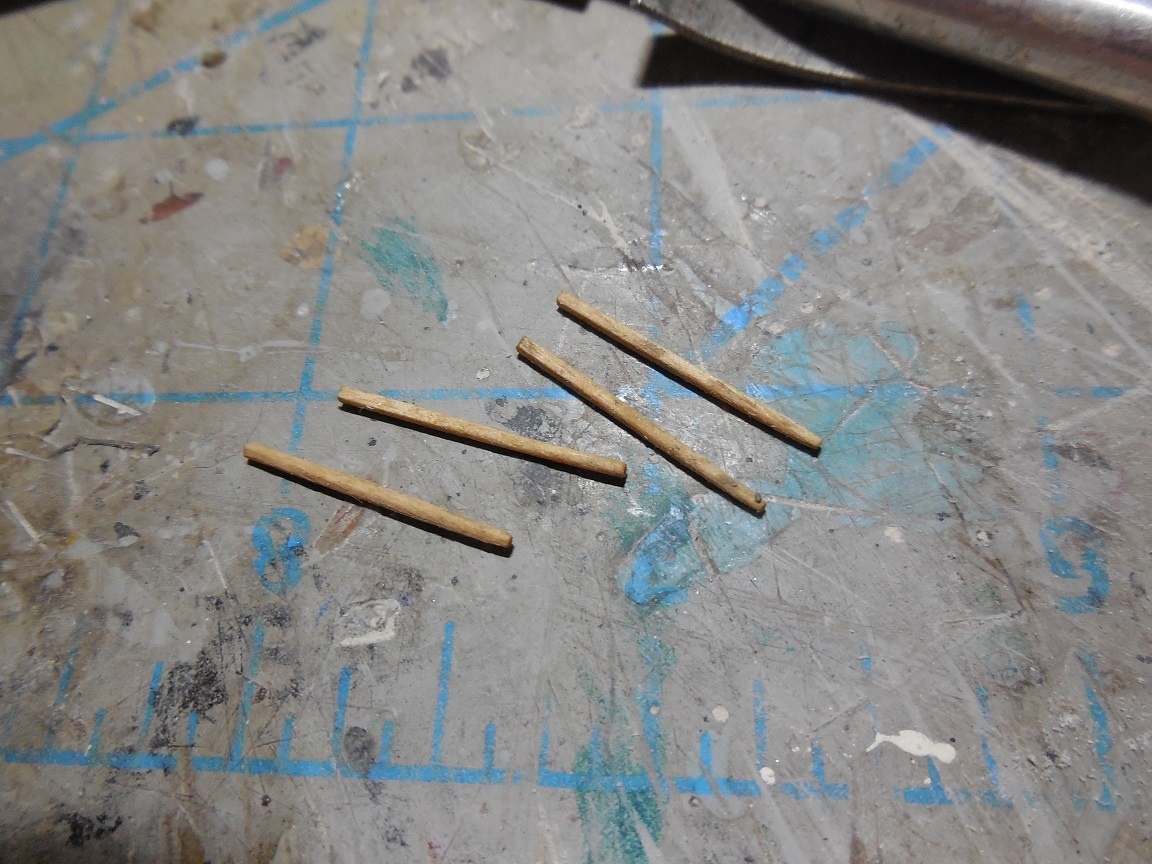
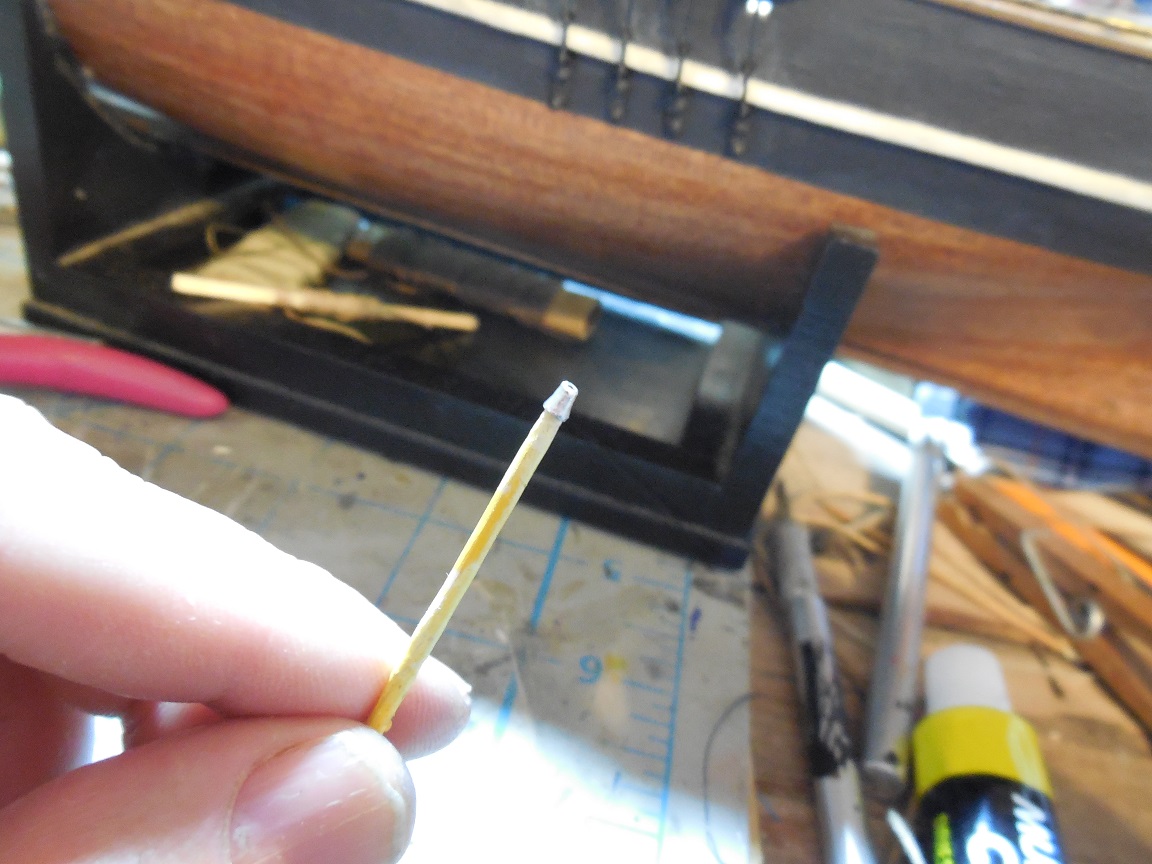
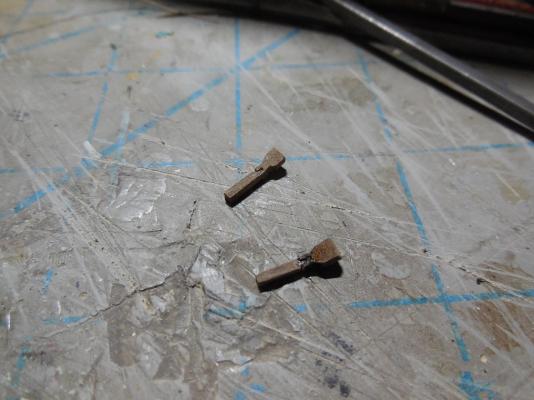
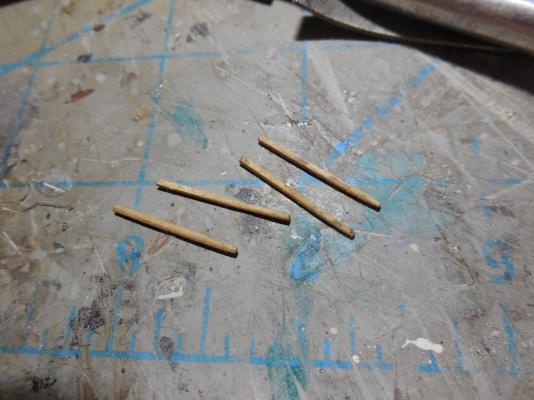
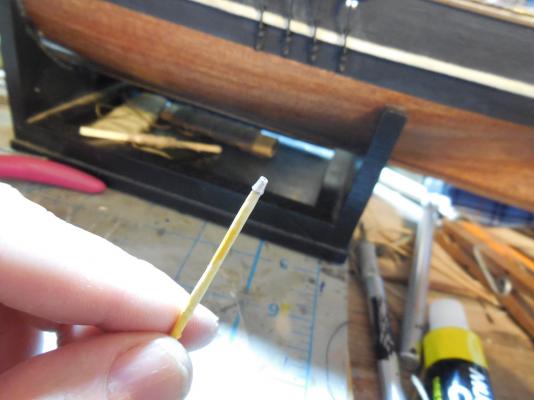
Thank you Steve, Alistair, Daniel, Robert, Capt. Steve, Vivian. The Admiral caught me trying to work with my hand. The floggings began, but I was enjoying it too much . Threatened to throw me in the brig, so after she returned to work today I got back to making the handspikes.
- 607 replies
-
- 10
-
-
- scottish maid
- artesania latina
- (and 1 more)
-
Looking good Mike. I am doing the same thing- don't like how some of the kit parts look or even how it tells me to build it. In the process of making my own. It does make you feel good when you can make something better!
-
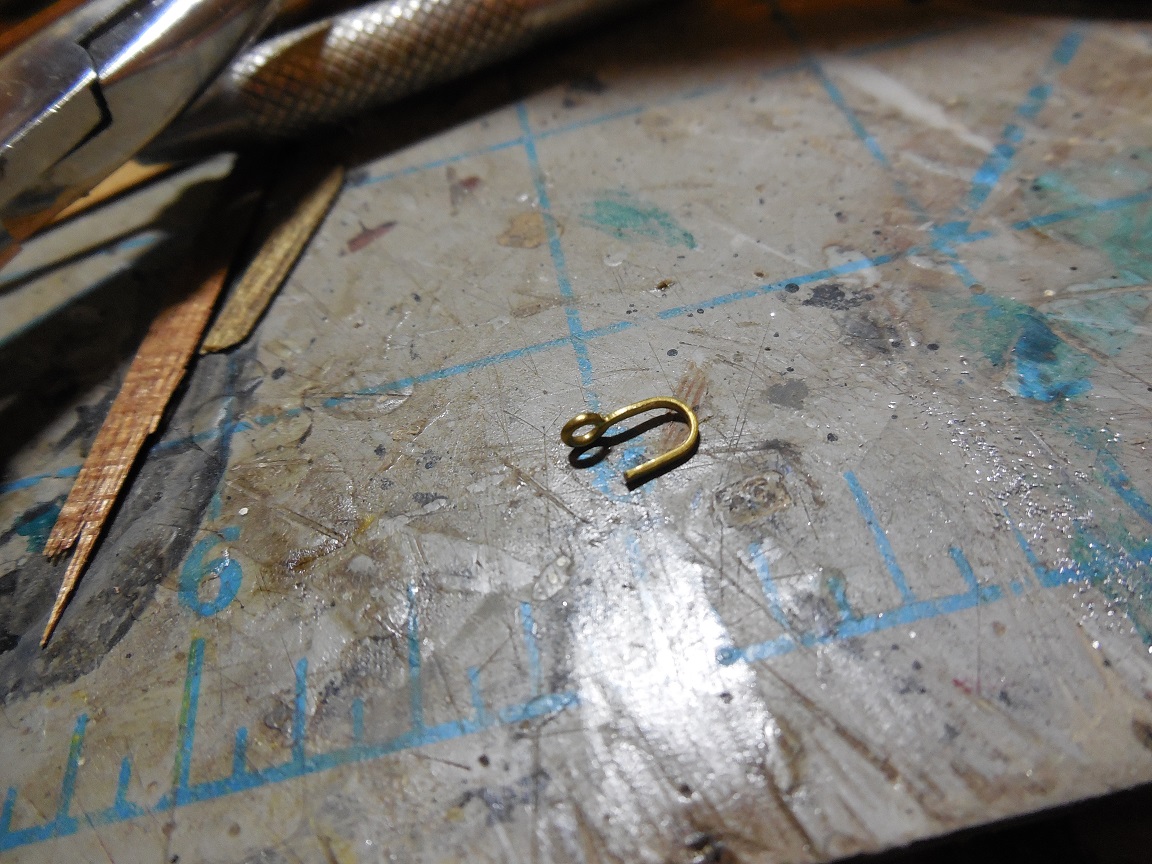
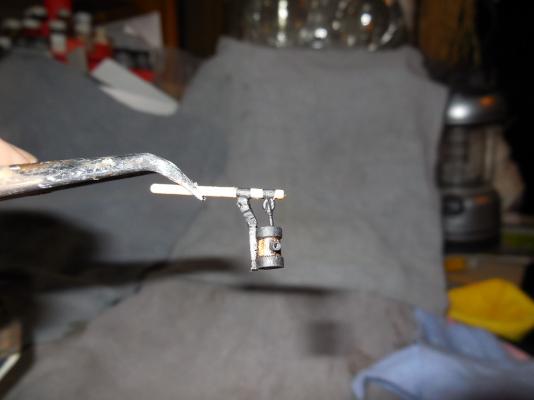
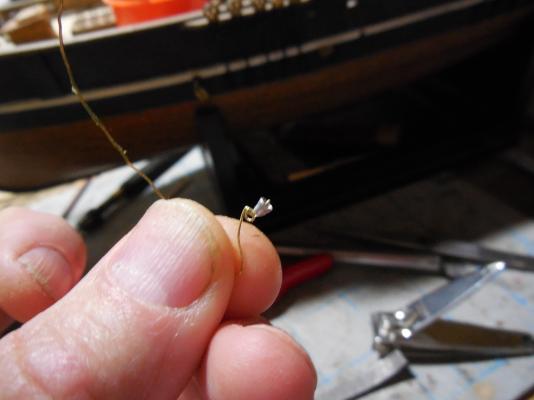
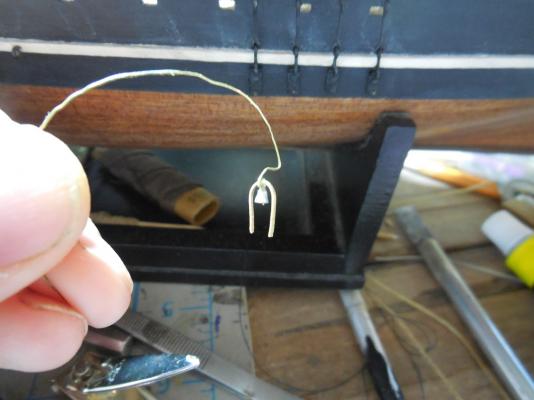
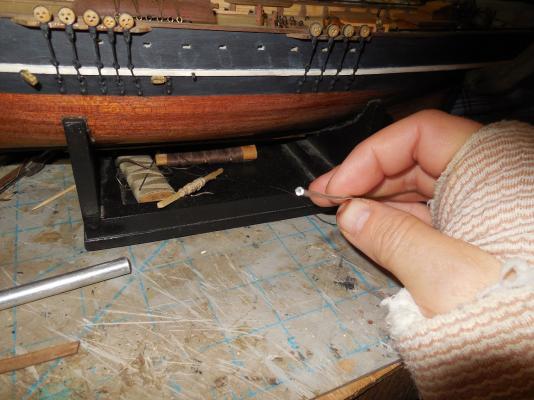
Now forming the strip of brass that will hold the bell & attach to the stanchion. Then used very thin wire to form in one piece a loop holing the bell on, the handle & the ...um....ringer? -for the life of me I can't remember what you call that thing! . I also added a short cord hanging off the handle for pulling. The picture doesn't show it well but it's there. I plan on making some handspikes to go with it later. Gotta watch it- already trying to use the hand too much too soon


- 607 replies
-
- 13
-
-
- scottish maid
- artesania latina
- (and 1 more)
-
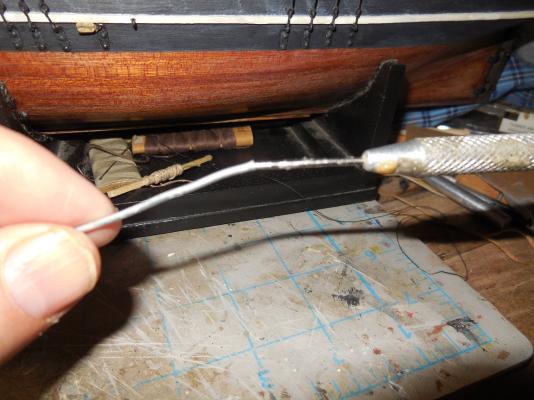
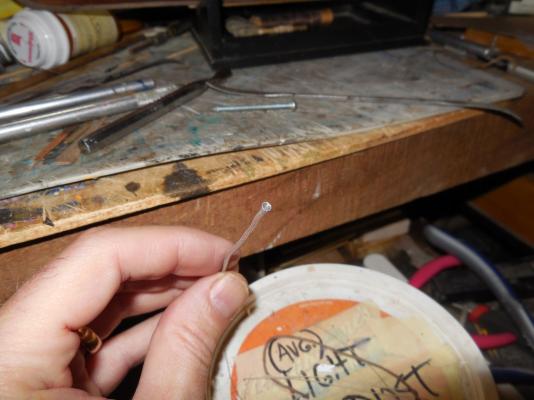
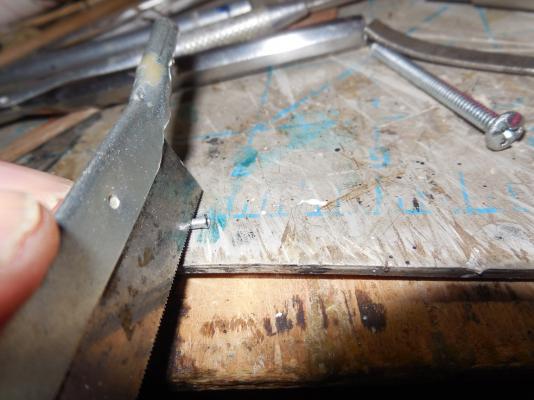
Forming the bell will not be easy at this small of a scale. I found this soft metal tubing in all my old modeling junk that gets saved up for years. Wedged a metal pick in one end & slowly wringed it around flaring it out. Cut it off & burnished the top down to form it correctly....
- 607 replies
-
- 7
-
-
- scottish maid
- artesania latina
- (and 1 more)
-
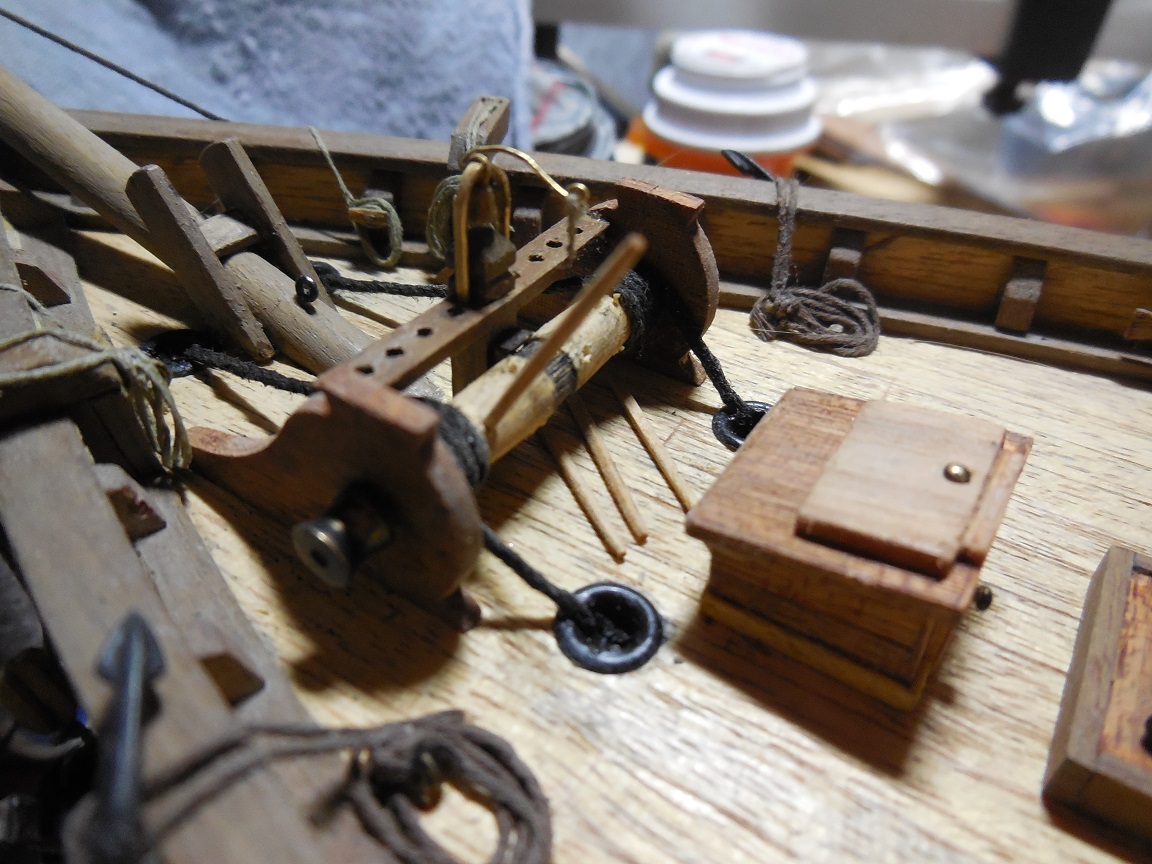
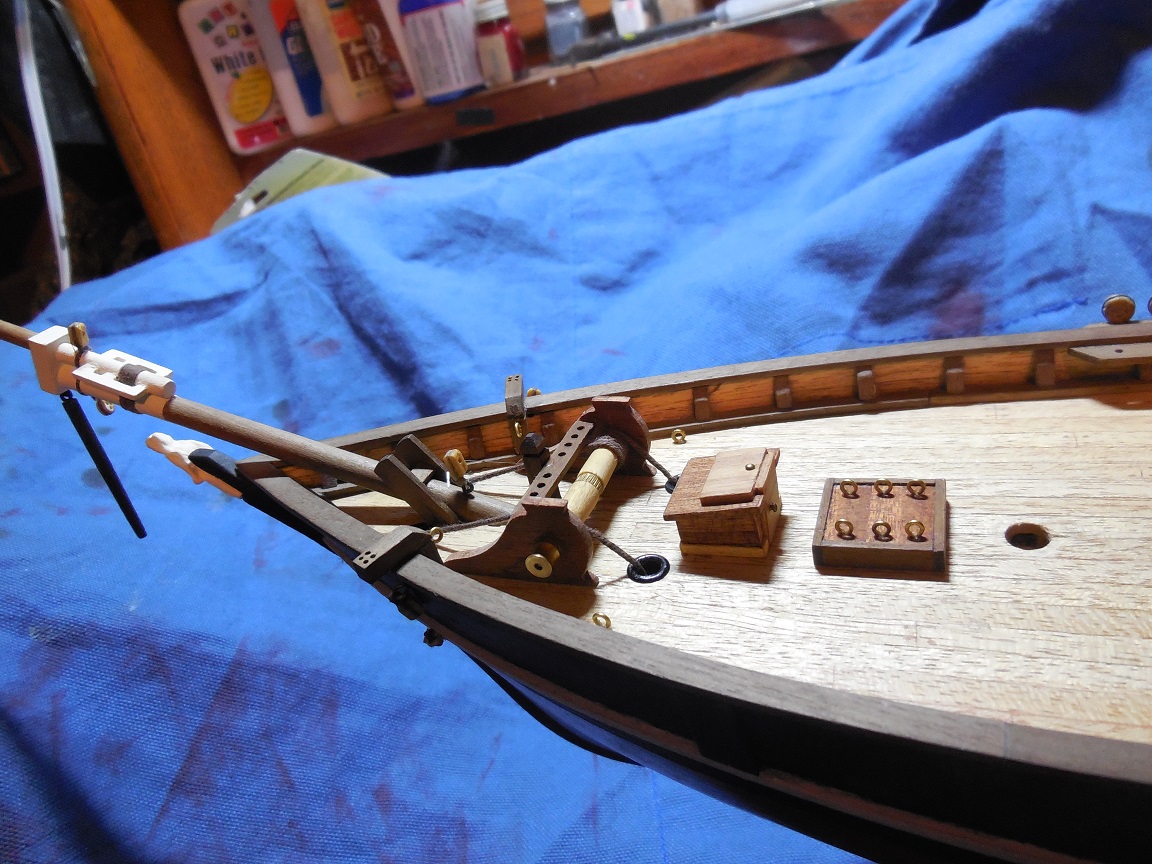
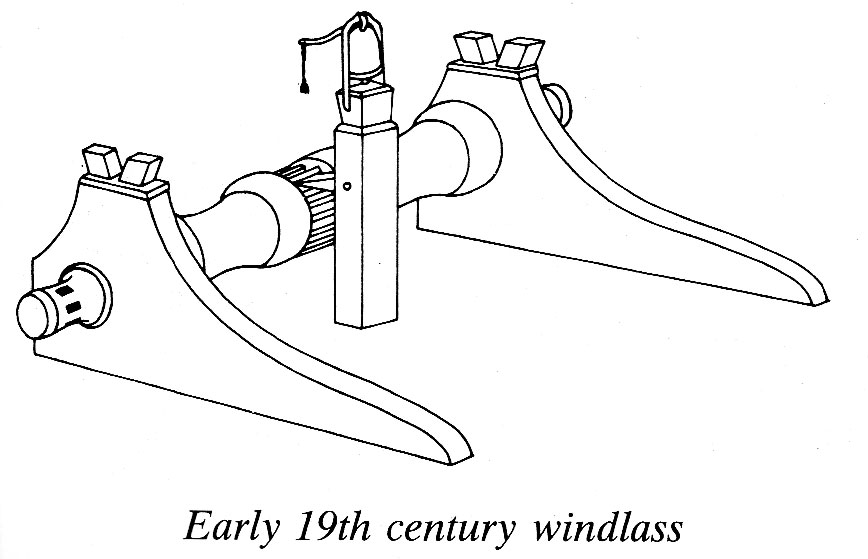
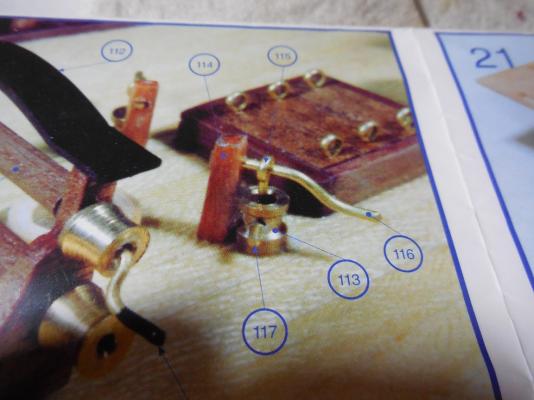
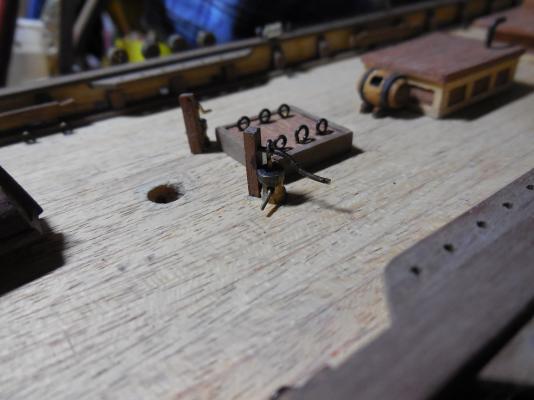
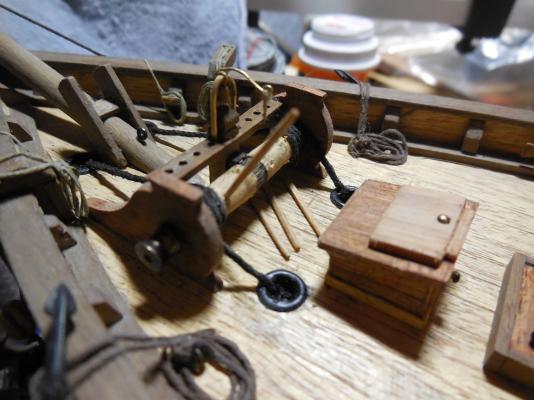
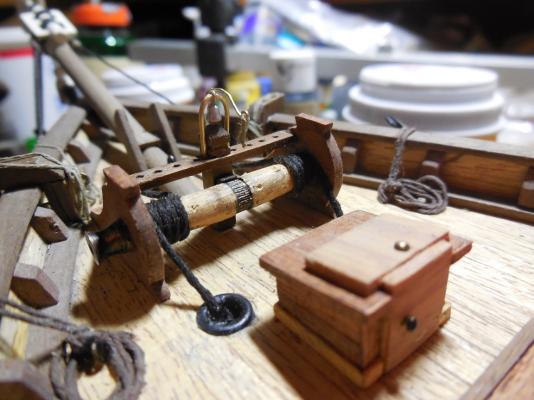
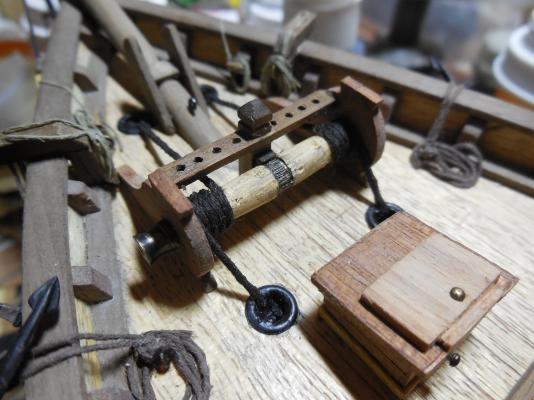
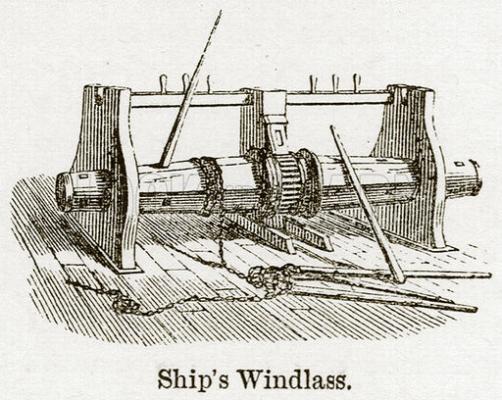
First I notched the pinrail & stanchion to move the stanchion in closer to the cogged wheel to add a pawl. Next will begin fabricating a bell like one of the illustrations above show.
- 607 replies
-
- 11
-
-
- scottish maid
- artesania latina
- (and 1 more)
-
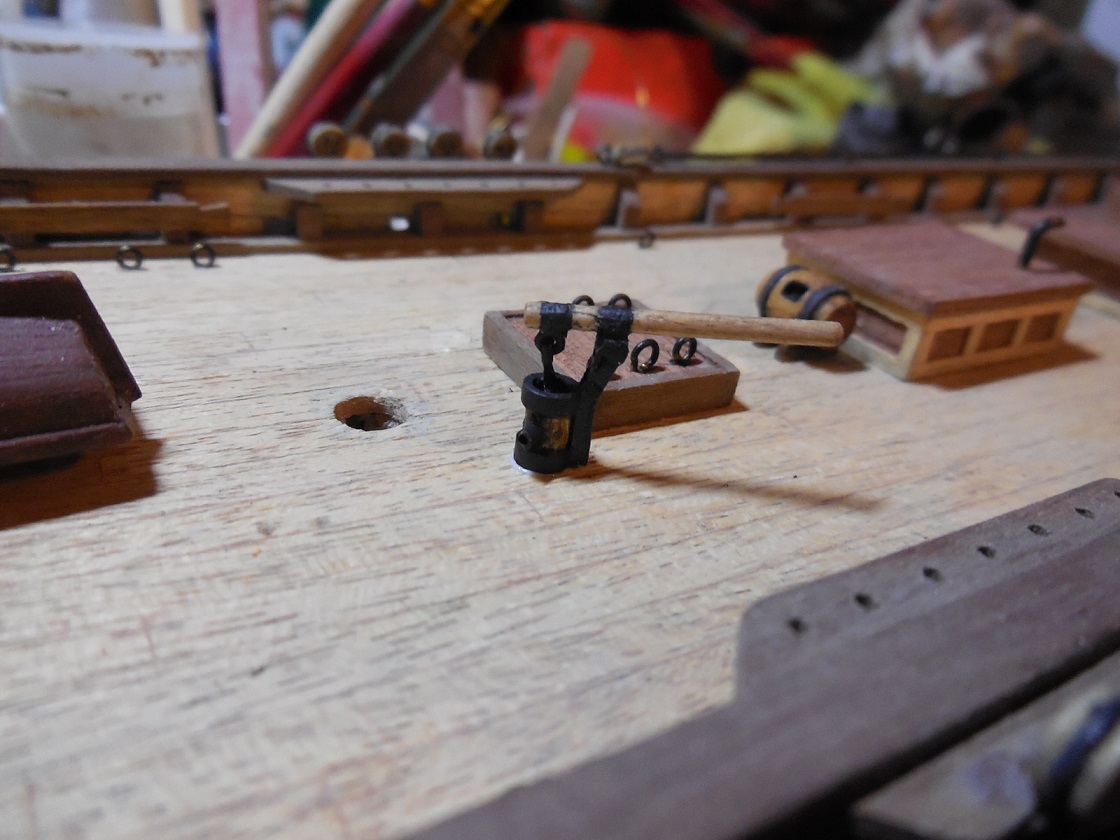
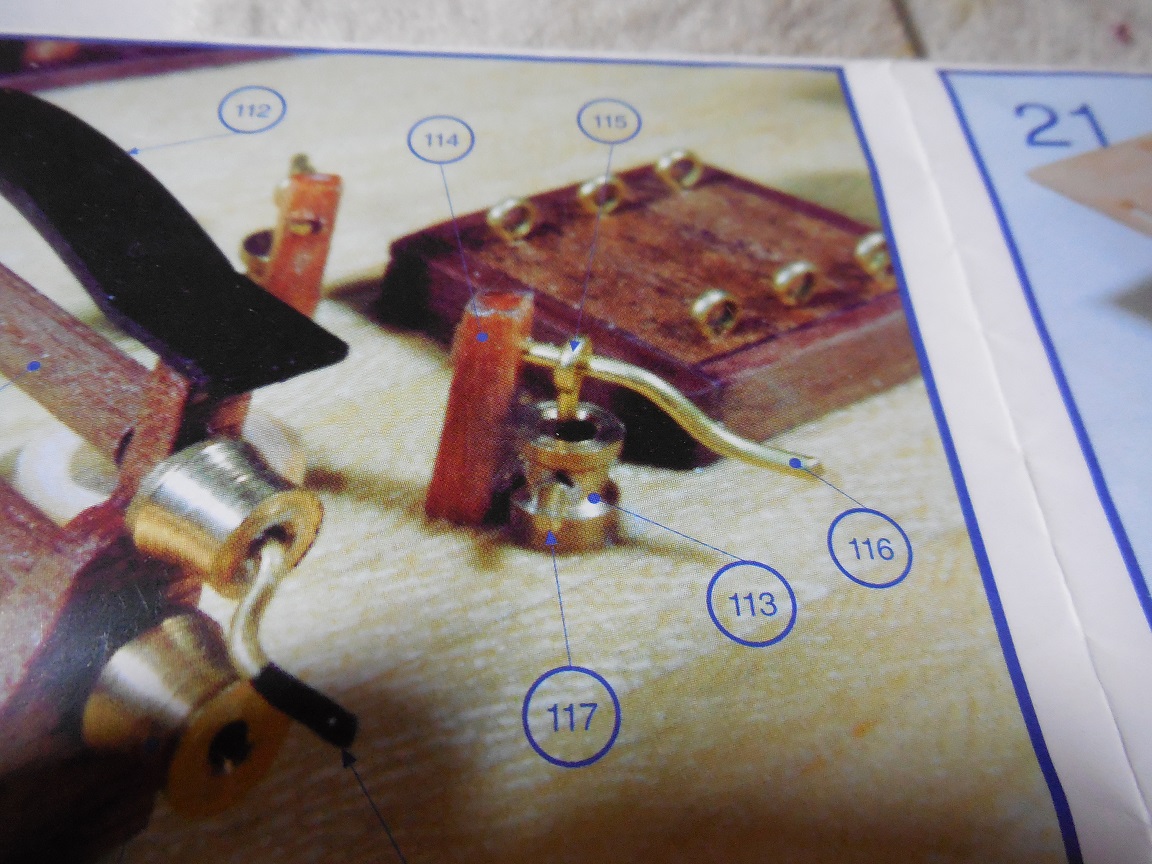
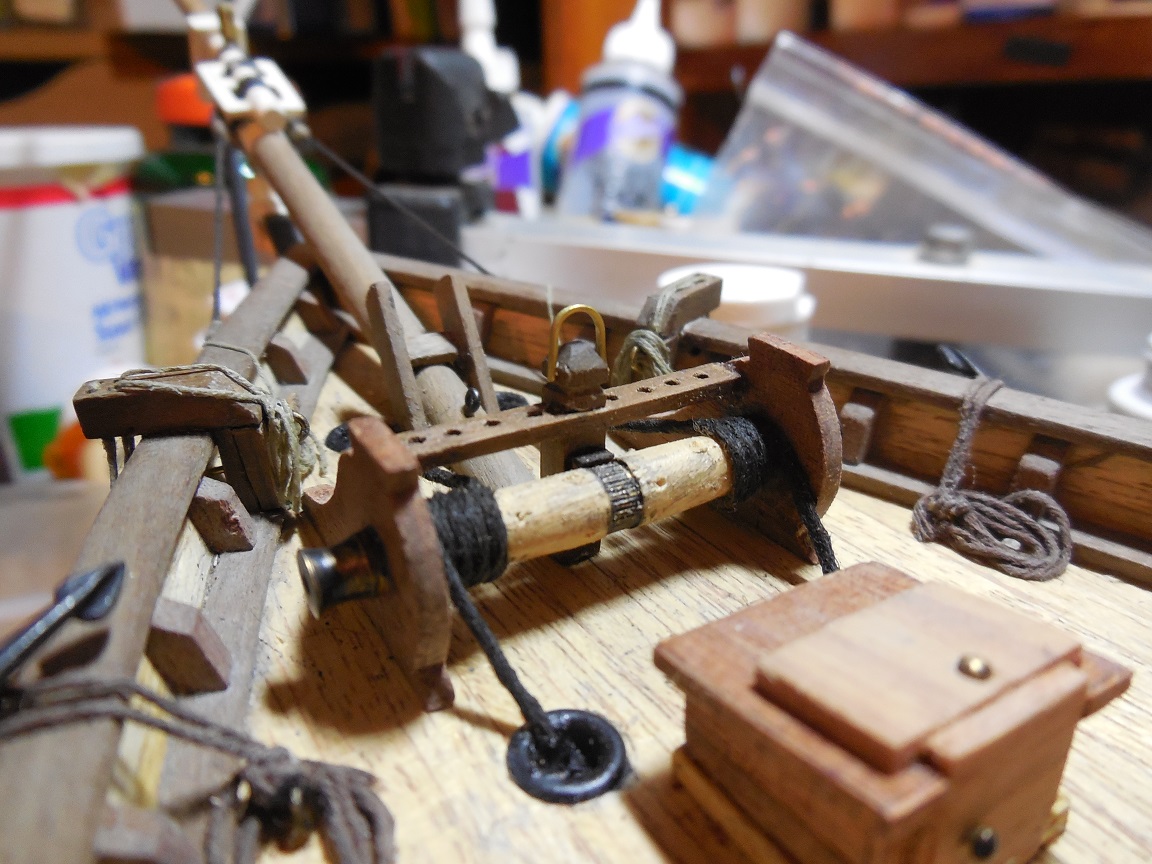
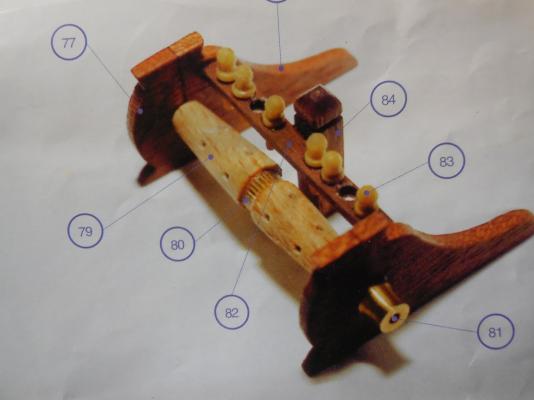
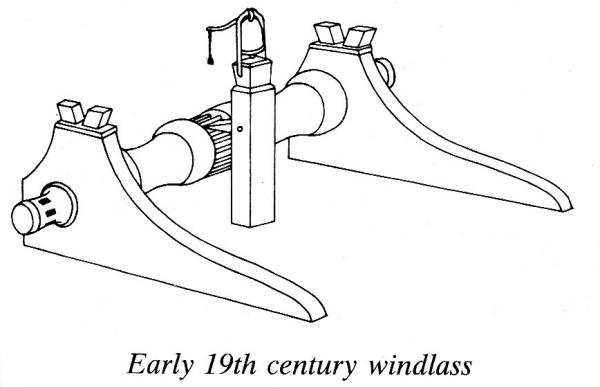
Next my focus has been on the windlass. The kit has the windlass constructed wrong. It doesn't have a pawl for the cogged wheel at all. Here is the kit instructions & how I built it. Then Some illustrations I found online on how they should be. I will take from both these illustrations to rebuild my windlass a little more correctly.

- 607 replies
-
- 8
-
-
- scottish maid
- artesania latina
- (and 1 more)
-
This forced time off has made me see that I was in too big of a hurry. Been studying up on a lot of things. I now see that the kit doesn't have things look or built correctly for how it really functioned. I have decided to change some things. Now my impatience kicks in again. My hand is still bandaged up & I don't have much mobility with it. I am not supposed to be doing this kind of stuff yet but I am already feeling some of the benefits of the surgery & have been sneaking in some work a little at a time. The first thing I've done is change a standing barrel to how a scuttlebutt might have been.


- 607 replies
-
- 5
-
-
- scottish maid
- artesania latina
- (and 1 more)
-
What a fascinating little build! I love that it actually floats too!
-
Question about the mast wrappings. You said paper soaked with CA glue. Do you wrap the paper on the mast & carefully apply the CA? As it soaks in does it spread to the mast where you don't want it?
-
Great work! I used to work on jewelry at a jewelry store before I became disabled. I had a very nice flex-shaft machine that was adjustable for different size shafts. The speed was adjustable with a foot petal. I always planned on buying one for myself. Kept putting it off- now I wish I had bought it. It was absolutely great for working on small stuff.
-
Wow, this is absolutely beautiful work! Excellent detail in the masts & spars. The rigging so far has captivated me- I keep coming back & looking at it again. Again-Wow!
-
A big thank you to: Dan, Robert, Glen, Sailor, Keith, Matti, Alistar, Frank, guillemot, Edwin, Steve, Captain Steve, John, Bindy, Vivian, Robert, Dee Dee, & especially (Mad) Kieth -(partners in crime/lyme) (& anybody else I left out) for all the interaction & support during this build log. And thanks for all the likes! What a wonderful community of people here on MSW! Going to have a lot of down time for the log but I will be lurking around everybody else's logs for a while & plotting & planning on how I will get started on the rigging. Been wanting to get to the rigging & now that I'm there I have to put it all on hold. I know the first week will drive me crazy that I cant work on the ship. Will probably work on replacing the rigging thread the kit supplied so when I can start back I will have better quality thread to work with. I've learned a lot in the short time I've been here & plan on learning more during this down time. Jesse
- 607 replies
-
- 5
-
-
- scottish maid
- artesania latina
- (and 1 more)
-
First surgery is Tuesday so about to have a lot of time off from the modeling. Will be thinking a lot about how to proceed once both surgeries are over. The kit supplied dark brown & natural colored thread. It is of inferior quality. Considering scrapping the kit supplied line & getting better. Wondering if it should be black instead of dark brown?
-
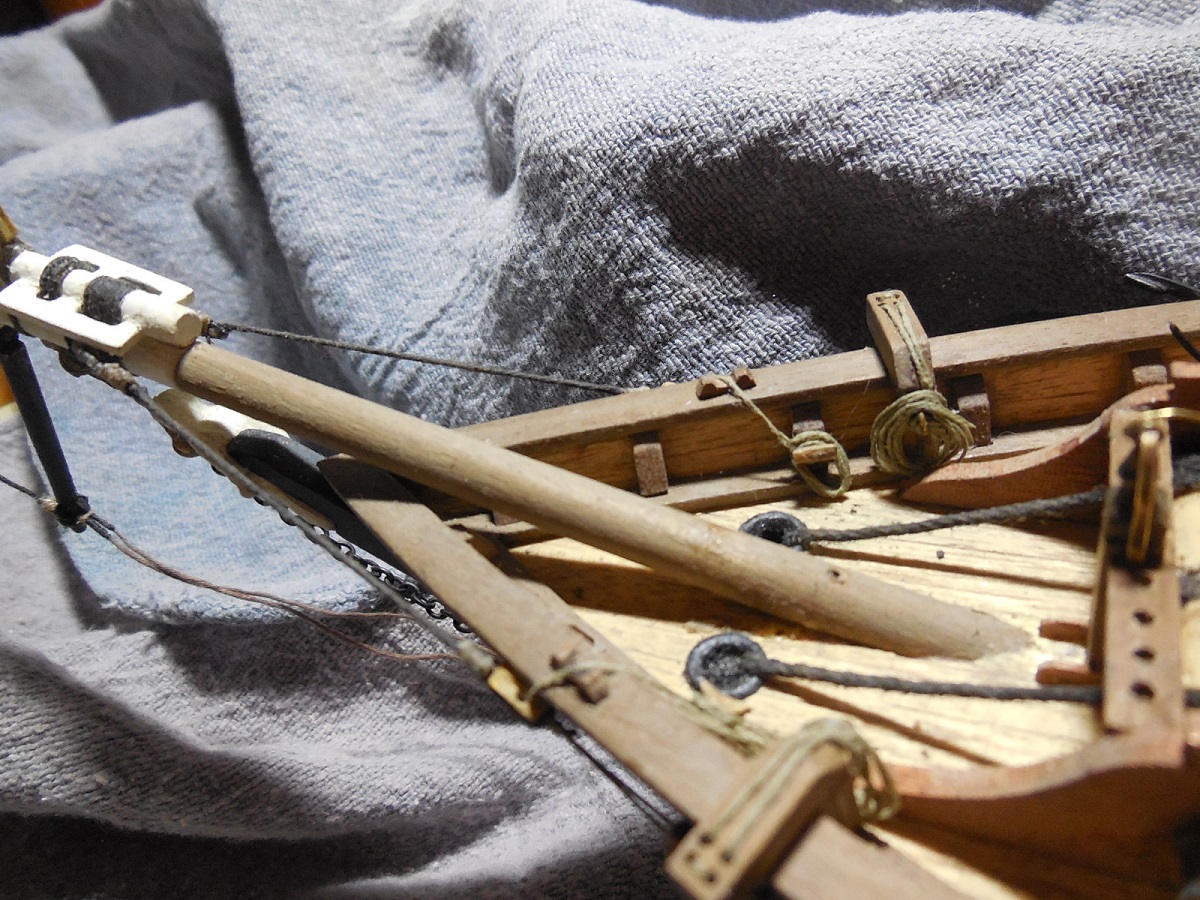
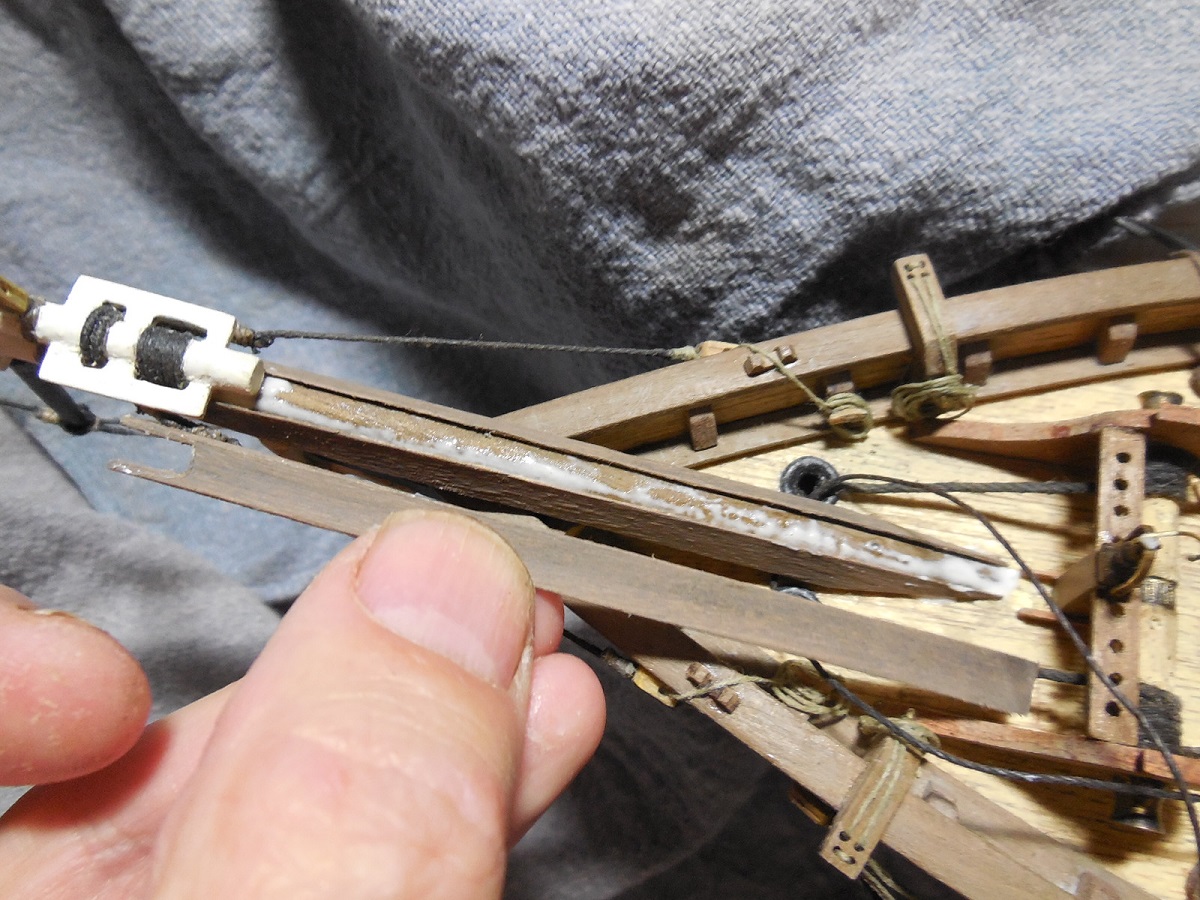
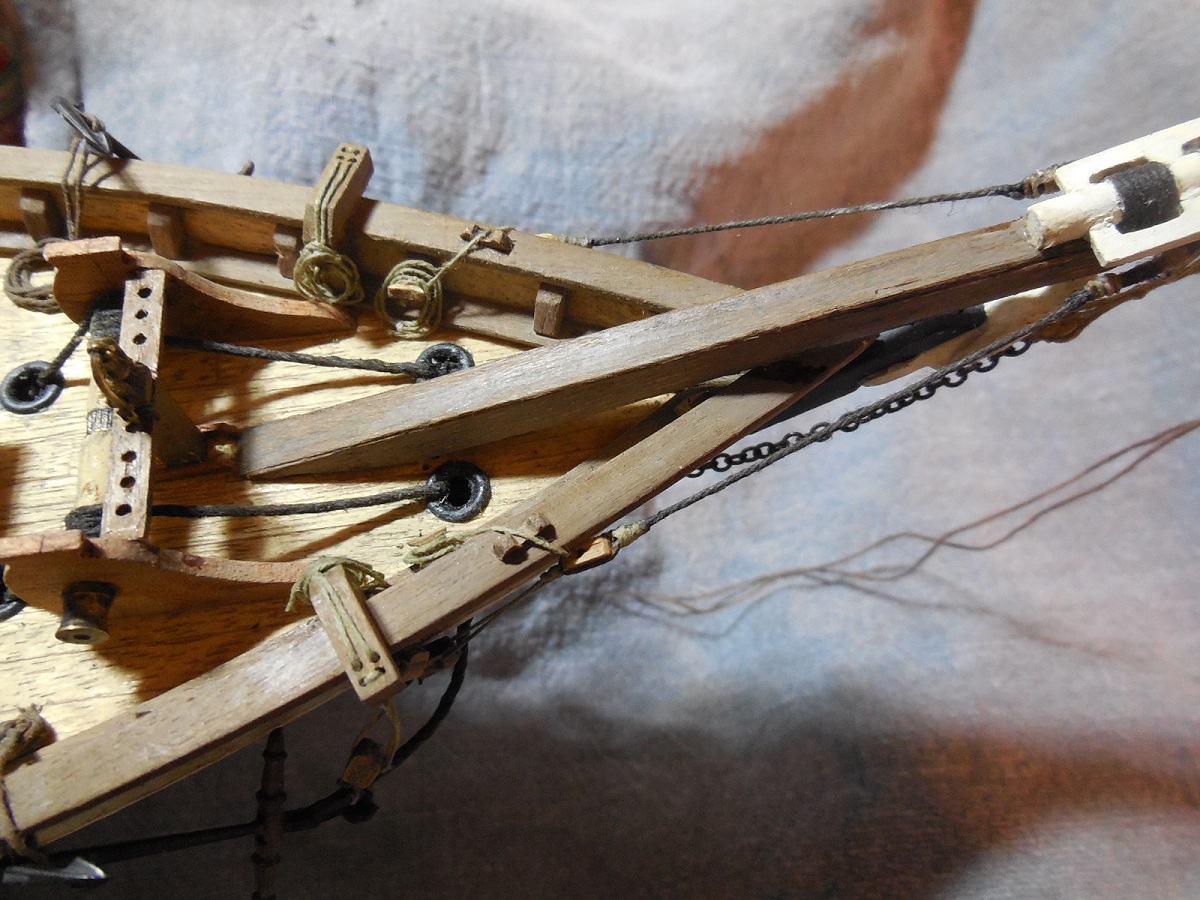
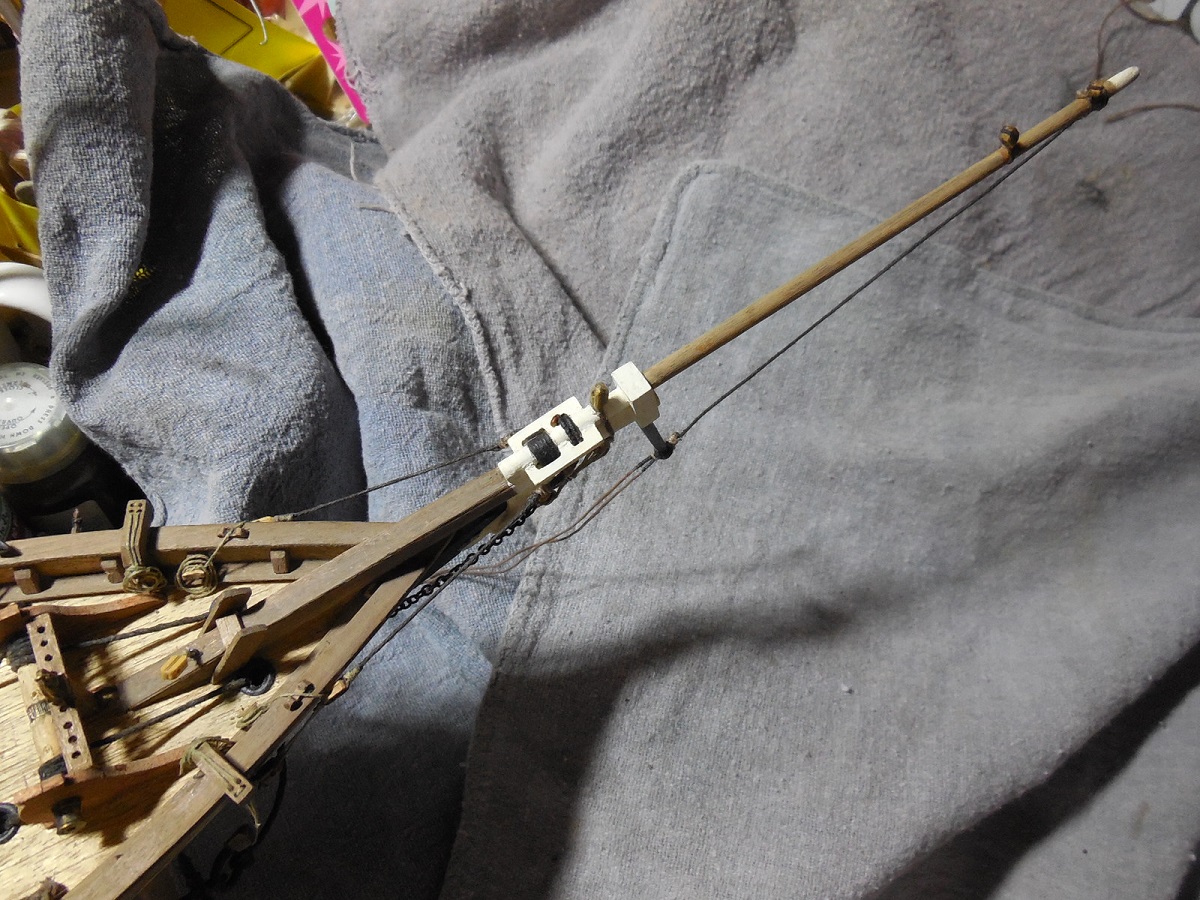
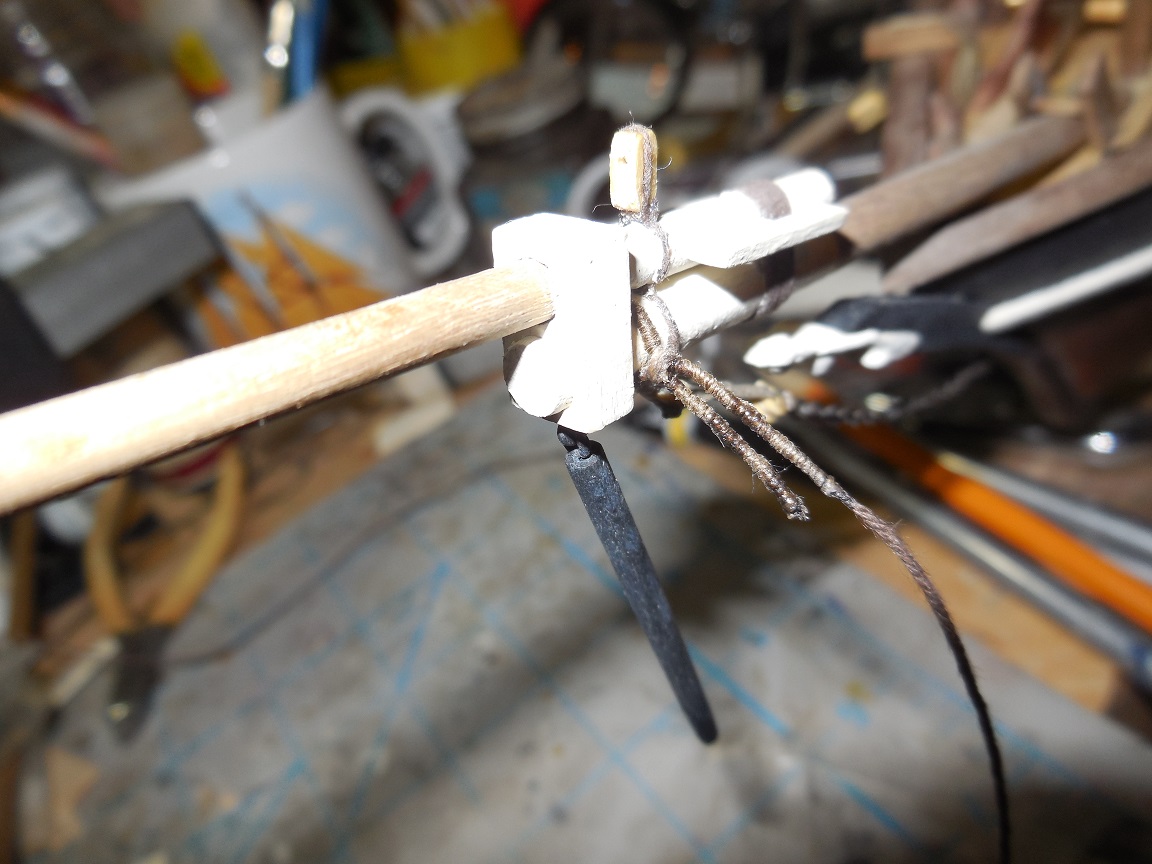
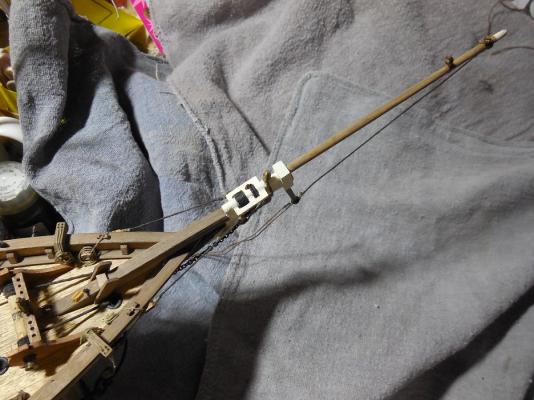
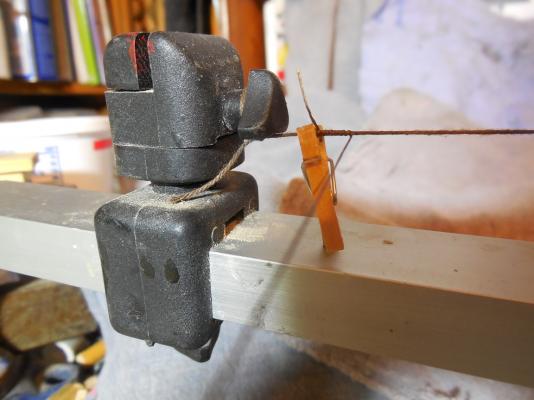
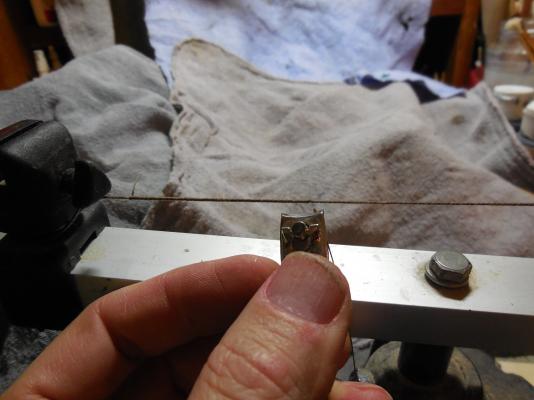
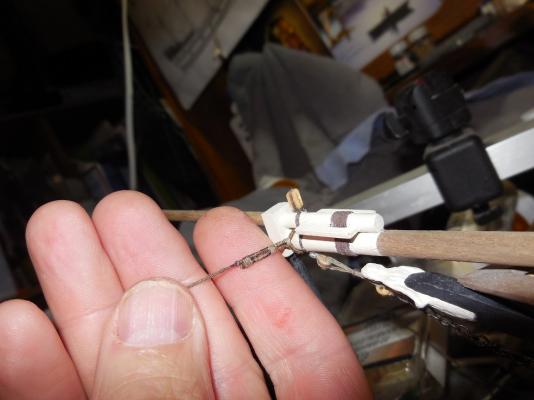
Thanks guillemot & Keith. Your right Keith, I'm trying to get as much done as I can before Monday night. After that it might be a long time before I have both hands healed & working again. Started on the jib boom bobstays. After learning from others here on MSW I want to do things more the way they should be. Decided that I would serve (?) (- please correct me if my terminology is wrong)- the lines. Wrapped around the jib boom & seized them.


- 607 replies
-
- 6
-
-
- scottish maid
- artesania latina
- (and 1 more)