

puckotred
-
Posts
430 -
Joined
-
Last visited
Reputation Activity
-

 puckotred got a reaction from Old Collingwood in Nuestra Senora del Pilar de Zaragoza by marktiedens - FINISHED - OcCre - scale 1:46
I'm quite satisfied with the kit. I bought some lighter colored strips for the deck, but the rest of my kit has ok quality wood. All the plywood straight.
My first model was from Caldercraft and the wood was so bad it almost ended the hobby for me... And the kits I built from Turkmodel/NCB are far worse. My DeAgostini Vasa is from Artesania Latina and is maybe equal of Nuestra. I'm also building "Terror", Occres latest kit and the that wood is better but the instructions are worse...
But we'll se how I feel when I get to the galleries....
-
 puckotred reacted to Jasseji in Ropewalk (and serving machine)
i'd buy the one from @Chuck but delivery to Europe adds +50% to it's price unfortunately, so rather i'd see something close by
-
 puckotred got a reaction from mtaylor in Ropewalk (and serving machine)
I was thinking the same... Or maybe make them "on demand"? I'd buy one... wink wink
-
puckotred reacted to Jasseji in Ropewalk (and serving machine)
Cool Stuff Graham, any plans to start mass-production of both the ropewalk and serving machine ?
-
puckotred reacted to donrobinson in Trabakul by donrobinson - FINISHED - MarisStella - 1:32 scale
The day has finally arrived, my Trabakul is complete!! Thanks to all for following along, for all the likes and the great comments it was all very much appreciated. I would also like to thank Zoran at MarisStella for all his support and help and of course for producing this fantastic kit. Although, not an easy build, I would recommend this kit not only for the challenges you will face but also for the high quality of material and contents. So anyway here she is:
That's it and I really hope everyone enjoyed and I hope to see you over at my Stefano build
Have A Good Weekend and do think of those we have lost at war as tomorrow is "Remembrance Day" in Canada
-
puckotred reacted to markjay in Woody Joe's Khufu Solar Boat
What's in the box...All instructions are in Japanese so a good translator app is necessary. However, with the multiple pictures, instruction in most cases will be self explanatory. Laser and strip materials are all packed in well marked sleeves as to, part number, name, dimensions and quantity of each. In my experience with the Hacchoro model, there is very little extra strip material, I would imagine the same is true here. Measure twice cut once, for sure. As far as I can tell it looks like the outer hull is done on a skeleton frame, it is removed, and then the inside framing is done. From what I have read the ancient Egyptians built in that fashion.
Sorry the files did not load in order. And there was a surprise gift enclosed as well, nice touch.
-
puckotred reacted to marktiedens in Nuestra Senora del Pilar de Zaragoza by marktiedens - FINISHED - OcCre - scale 1:46
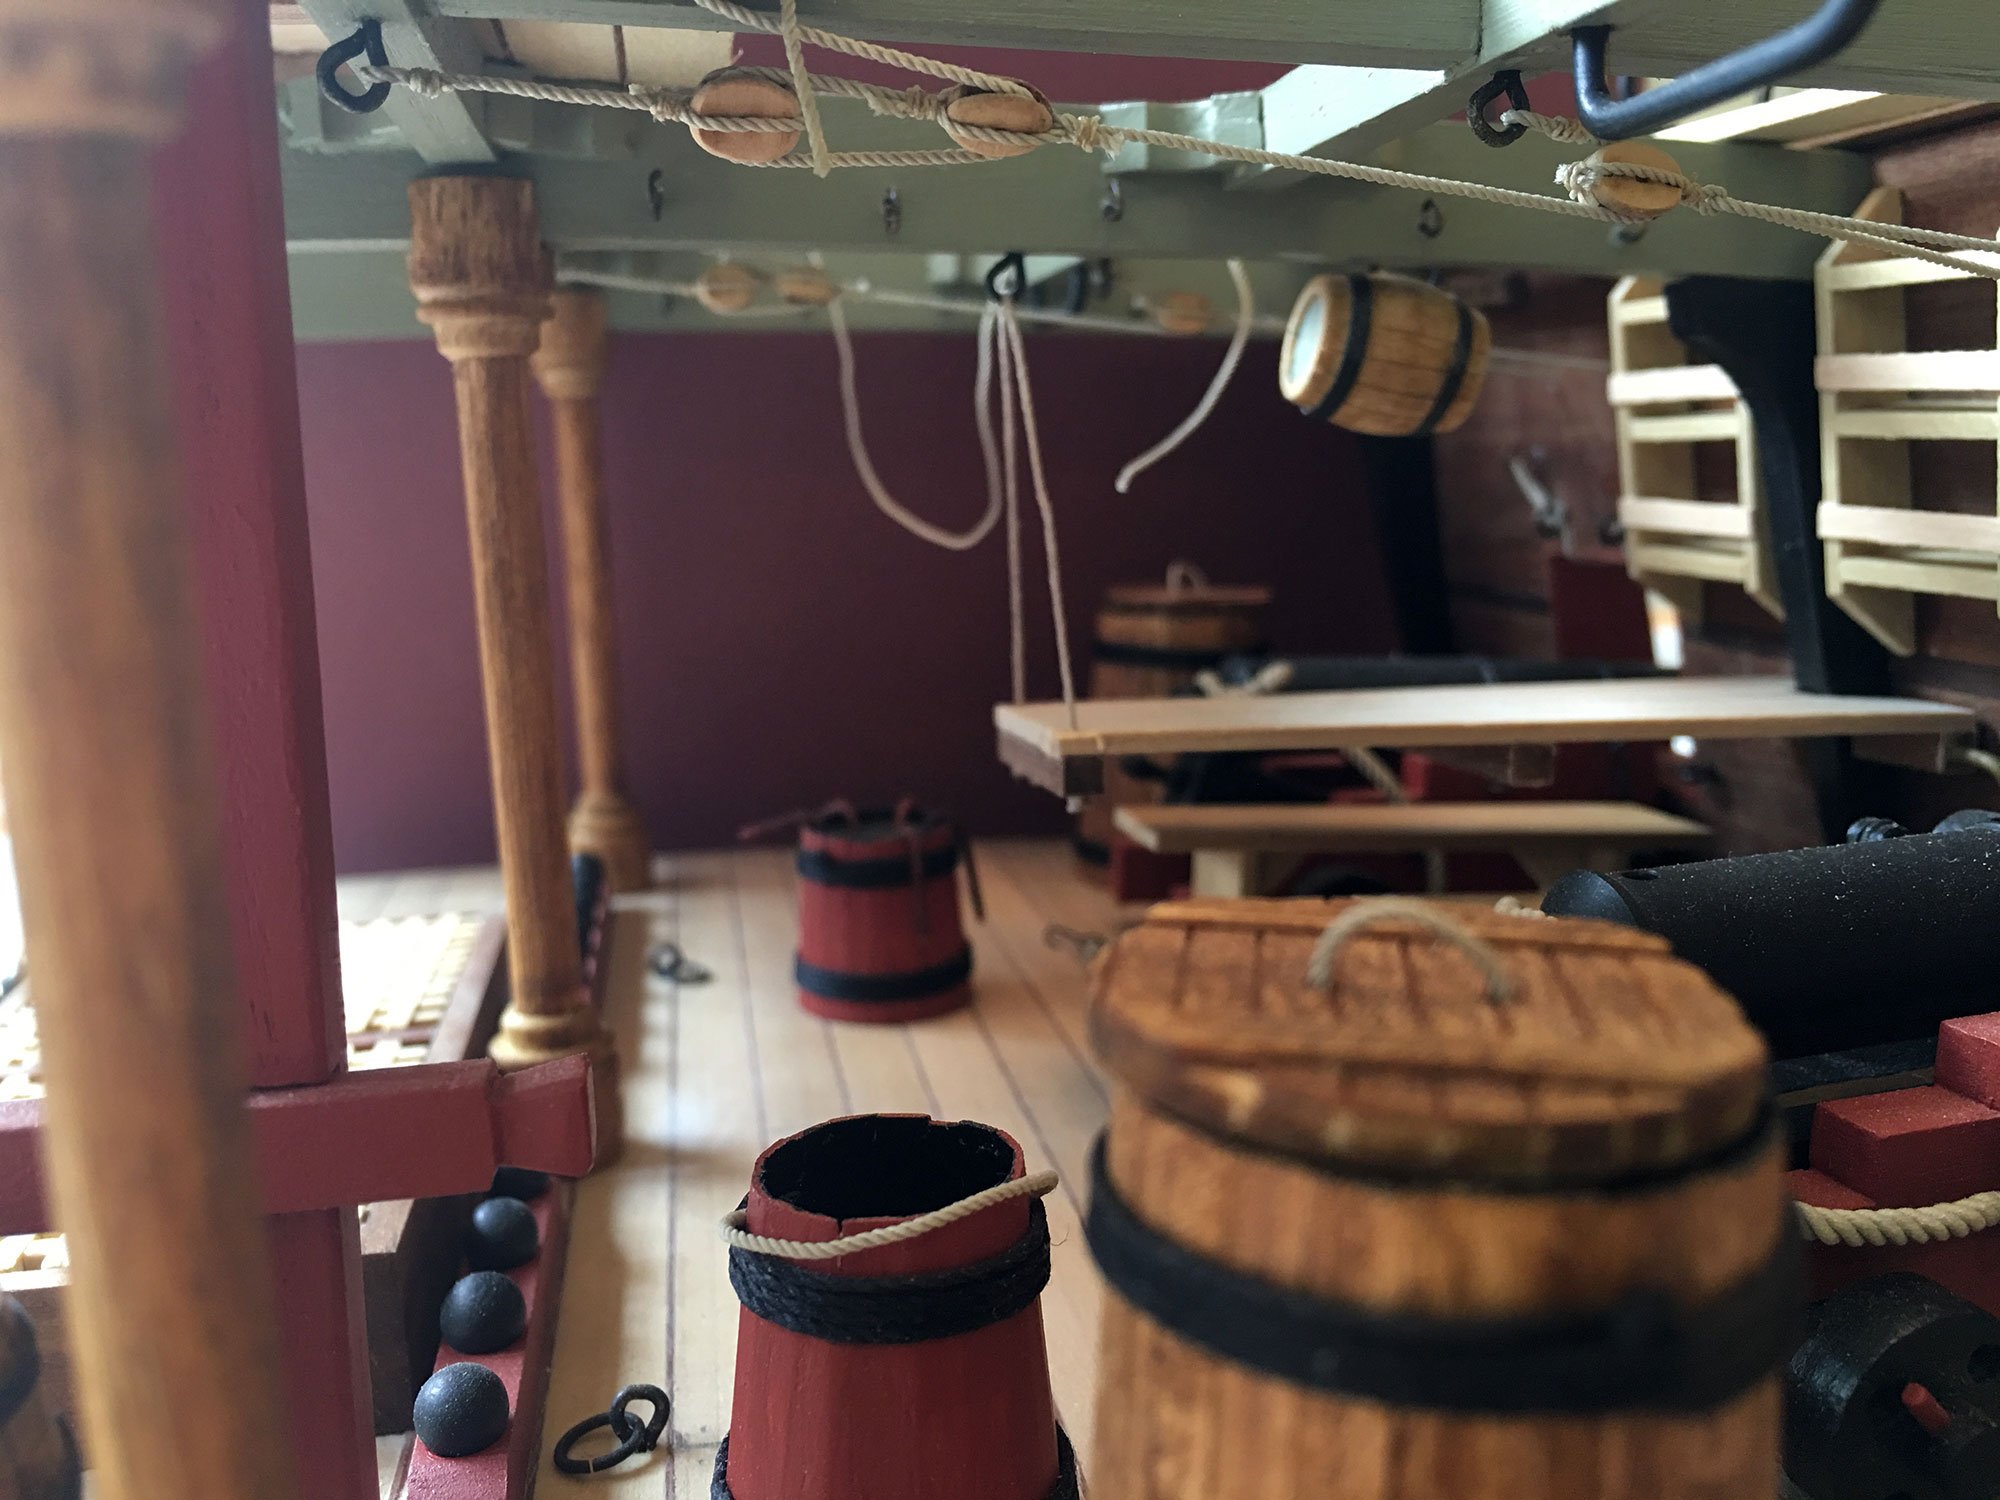
Continuing on........ The gratings & ladders were made up. Small dimples were made in the cannonball racks to keep the cannonballs in place. Back to the bow,the fenders on the upper headrail were installed. They were laser cut items,but the instructions said to cut a line around close to the edge & paint it yellow with blue elsewhere. Well,that wasn`t gonna happen,so I made up some trim pieces from 1/32x1/16 brass bar & glued them around the edge. 4 cleats were also added forward of the fenders on top of the upper headrail. Next,the fenders & ladders at the waist were made up & glued in place. I made the fenders by glueing short sections between the wales,then the long pieces on top of those. The steps were made by glueing 2x2mm strips to 2x6mm strips. After a little shaping,they were painted yellow to match the hull & glued in place.
Mark
-
puckotred reacted to Charter33 in Ropewalk (and serving machine)
Hi,
Last October a thread started by Derek (Worldway) in this section of the forum gave me the final nudge to get started on making my own ropewalk.
I have previously built a serving machine and decided to try and use similar construction techniques such as using acrylic for the main structure and modified Lego gears for the mechanism.
Here are some pictures of this earlier project:
The Ropewalk:
Clear acrylic components were built up to make wheels and pulleys. Small holes around the rims aid alignment using the brass pins recovered from the first planking on my HMS Victory - I knew there would be a reason to keep them!
The Lego gears had their centers machined out and replaced by acrylic hubs. These have a square hole in the center through which 5/32" square brass tube is pushed. This tube, after a little filing, slides firmly into 6mm O/D brass tube axles which in turn fit into the ball races press fitted into the various support plates.
The track is in sections each about a meter long, which slot together.
I decided to try and use one motor to drive the end that twists the individual strands and a second one to twist these strands together.
The control box provides separate on/off switches, variable speed control and finally a switch to reverse the direction of rotation.
The motors were initially powered by batteries but I have now replaced these with a 6 volt power supply.
The 'Top' which guides the strands is mounted on an acrylic truck. This is fitted with the three stand top in the photo but there is also a four stand top.
These four strand gear plates are easily fitted in place of the three strand gear drive.
In use the strand twisting end is fixed to the track but the other end that twists these together to produce the final rope is free to slide along the track as the twisting process reduces the length of the rope. I'm still getting to grips with the best way to operate this device and need to experiment more with types of yarn, motor speeds etc. Early attempts are encouraging however..........
Cheers,
Graham.
-
puckotred got a reaction from mtaylor in Rope-Stropped Blocks for Boom Vang
weflac, one of Lennart Petersson's books. "Rigging Period Fore and aft Craft" I suppose...
-
 puckotred got a reaction from EJ_L in Vasa by puckotred - DeAgostini - Scale 1:65
Sorry to disappoint you but I've parked the build until all of the parts has arrived. And even then I doubt I'll do more of the log, takes up too much time I can use on building...
But I'll maybe post a pic now and again...
-
 puckotred got a reaction from Nirvana in Vasa by puckotred - DeAgostini - Scale 1:65
Sorry to disappoint you but I've parked the build until all of the parts has arrived. And even then I doubt I'll do more of the log, takes up too much time I can use on building...
But I'll maybe post a pic now and again...
-
puckotred reacted to RMC in Granado by RMC - FINISHED - Caldercraft - 1:64
The gunports are now finished. They have turned out quite well.
I found one of the inner gun port patterns slightly out which affected two gunports. I used pieces of thin strip to fill the gaps. The first photo shows the strips before trimming ....
and after.
By firmly holding a short length of flexible timber strip to the inner bulwark pattern while inserting the gunport linings enabled the linings to be flush with the inner bulwark without the need to sand them back. It's much easier to do on the outside of the hull than the inside.
Here are some shots of the finished articles.
-
puckotred reacted to wefalck in Rope-Stropped Blocks for Boom Vang
Thanks, I thought so, but wanted to have it confirmed. Good thing that I don't have this book
-
 puckotred got a reaction from Julie Mo in Rope-Stropped Blocks for Boom Vang
weflac, one of Lennart Petersson's books. "Rigging Period Fore and aft Craft" I suppose...
-
puckotred got a reaction from mtaylor in Rope-Stropped Blocks for Boom Vang
The drawing is shown here as different ways to strop blocks, not as how to rig...
-
puckotred got a reaction from Julie Mo in Rope-Stropped Blocks for Boom Vang
The drawing is shown here as different ways to strop blocks, not as how to rig...
-
puckotred got a reaction from Julie Mo in Rope-Stropped Blocks for Boom Vang
here you see a couple of ways to do it: hook and thimble, thimble and strap and thimble and thimble.
-
 puckotred got a reaction from jud in Rope-Stropped Blocks for Boom Vang
The drawing is shown here as different ways to strop blocks, not as how to rig...
-
puckotred reacted to Vinnie in HMS Bounty by Vinnie - Mamoli - 1:65 scale
Next was the metal parts for the bow...it was quite challenging...nerve wrecking too. The parts were very brittle...
next was the stern...I’m happy with the paint job but not happy with the window bracing...u can’t even see the false glass in the background...I’m going to rip it out and try something else.. but for now I’m keen to keep going. I’ll have another crack later. did the side windows next...i was much happier with how these ones turned out.Next I did the supports for all 10 culverins as can be seen in my non chronological photos 😐...and then finally the mid hand rails...got one to go still. But once that one is done I’ll just have cannons and then be about ready to get stuck into the rigging! I can’t wait!
-
puckotred reacted to Vinnie in HMS Bounty by Vinnie - Mamoli - 1:65 scale
Update guys! We’ve just had a long weekend here in Australia and I managed to get a couple of things done this weekend and the preceding couple of weeks...so here’s what I’ve done guys 😁
firstly I did my best to dress up the metal launch boat supplied with the kit to look as wooden as possible...in other words paint every inch of it then added some timber seats and installed it. Although it was a simple step. It represented a milestone for me...after about 12 months of solid modeling, reading and folding these back up I could finally move on to next set of instructions 😃! next installed the mid belay pins , the windlass...and then the stairs down below to the false deckthen installed more gratings. The helm stand and a few seized blocks for the tiller riggingthen rigged it, helmed it...and added the last grating at the stern...slowly getting there. And here’s a body shot of the bounty, with my little helper not asleep for once!
-
puckotred reacted to Julie Mo in Rope-Stropped Blocks for Boom Vang
I'm making a full sized set of wood blocks with intentions of making a boom vang. One block will have three sheaves, the other two. This is what I have so far
On the double block, I want something like a becket on one end. The other will look something like the triple above on the other end. I made up two eyes for the double block but when I went to see how it would look, with an eye at either end, it looked unwieldy.
I saw this online and wondered if I made up an eye splice for one end of the boom vang line and secured it to the rope, like below, rather than having a second wood eye. Would this be something you would have seen on an old sailing vessel?
-
puckotred reacted to davyboy in Rope-Stropped Blocks for Boom Vang
Hi Julie Mo,that is an impressive block. Your lower block does require a Becket at both ends. A suitable length of rope had the ends spliced together forming a ring with an iron thimble lashed in at each end of the block. One for the hook the other for the falls. Hope your good at splicing . Also,these rings were served overall.
FWIW,the largest vang blocks fitted were a 9" double and a 9" single. This on 1st,2nd and 3rd rate English ships,can't speak for other lands.
Looking forward to seeing the final result,I know you will make an excellent job of it.
Dave
-
puckotred reacted to wefalck in Rope-Stropped Blocks for Boom Vang
I don't know the book, from which the drawing came, but looking at made me scratch my head Mechanically it doesn't make any sense ...
I was going to comment that whipped blocks, i.e. from which the running part cannot be detached, would be rather uncommen in real running parts of the rigging. In case the running part becomes damaged from use, one would have to unstrap the block and replace the whole splicing, serving etc., rather than simply replacing the running line. On backstays it would, however, make sense, as the movement of the running part is only limited, with not so much wear.
For blocks with eyes at both ends, I think there would be long splice alongside the block and the eyes tied off with yarn at both ends. I think either Lever or Steel have drawing that shows that, didn't check.
-
puckotred got a reaction from mtaylor in Rope-Stropped Blocks for Boom Vang
here you see a couple of ways to do it: hook and thimble, thimble and strap and thimble and thimble.
-
 puckotred got a reaction from John Allen in Rope-Stropped Blocks for Boom Vang
here you see a couple of ways to do it: hook and thimble, thimble and strap and thimble and thimble.