Bedford
-
Posts
1,190 -
Joined
-
Last visited
Content Type
Profiles
Forums
Gallery
Events
Everything posted by Bedford
-
 Mate, this just keeps getting better! That is a huge slab of canvas to haul up from below and you raised it from the correct side too
 -
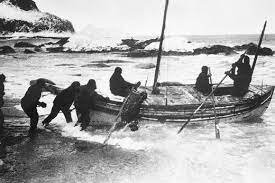
I wouldn't worry about it looking top heavy, it would have been a very heavy boat and may have even had some ballast in the bilge. Shackleton put about 1 ton of rocks into the James Caird in order to sail it from Elephant Island to South Georgia after Endurance was crushed by ice and sank.
-
According to Iain Oughtred the rowlock should be 150-180mm above the thwart (6-7") so you can work back from there to set the height of the thwarts. I'm 6'2" and my rowlocks are at 200mm (they were 180 but the oars didn't reliably clear the gunwale so I raised them 20mm) and they are perfect. You should also be able to work backwards from the thwart height to achieve a comfortable floor height. For anyone who isn't familiar with Iain Oughtred, he is one of the premier small boat designers. world famous for his beautiful designs. As for the interior finish, it's not uncommon to paint below the sole and oil above. I agree that the difficulty in sanding to a smooth finish inside due to all the obstructions may have a negative effect if painted.
-
Mate, you don't like making life easy for yourself do you? I'm looking forward to this.
-
Just found this build and I'm interested. If I may throw a curve ball re the walrus (I built a model of it as a kid) roundel. I learned recently that due to an American pilot attacking an Australian aircraft because he saw a solid red circle and assumed it to be Japanese the red inner circle was deleted. I'm not sure when this took place but you might like to look into it. Eventually the red circle was replaced by the now very well known red kangaroo but I've heard from a naval air commander that this happened straight away while others have said the roo wasn't introduced till after the war.
- 86 replies
-
- 4
-

-
- Australia II
- Radio control
- (and 2 more)
-
Absolutely stunning!
-
One I taught my son was a 2kg Milo tin (think tin food container) with a press fit tin lid. Make some very small holes in the lid to facilitate air flow. Make a 6mm hole down very low to take a pvc tube of safe length. Take it outside. Place a half cup of flour in said tin with a lit Tee light candle Secure the lid, step back and just a gentle puff through the tube to stir up the flour. watch to see how high the lid goes. Best done when its a bit dark so you can see the flare up. Not that I'm recommending such activities
-
Keith, I had assumed a snug leather covering on the strops and of course that's impossible to recreate at this scale, have you considered just painting them in a suitable colour? A few heavy coats would pass for leather to a blind man on a galloping horse.
-
The fore and aft lines may be foot ropes. How were the wire strops covered to protect the wood work, bit hard to make out from the pics
-
Given the unusual heat you've been experiencing I suppose it's not unexpected for the wood to behave that way. I wonder though what happens when it returns to normal. Will that filler become an issue or will you seal the timber before it has a chance to re-hydrate?
-
Keith, you've done so much beautifully detailed work on this build that I'd forgotten about that interior work. It was a nice re-surprise if you will.
-
Allan, I'm no expert but the "anatomy of" book clearly shows belaying pin rails. Also, and again I can't speak with huge authority here but, the replica Bark Endeavour, on which I have sailed, is said to be among the most accurate ship replicas in the world, the original was launched in 1764, and you guessed it, belaying pins everywhere! HMS Victory launched 1765 and this is the original, not a replica. AT 33 seconds into this vid you see belaying pins!
-
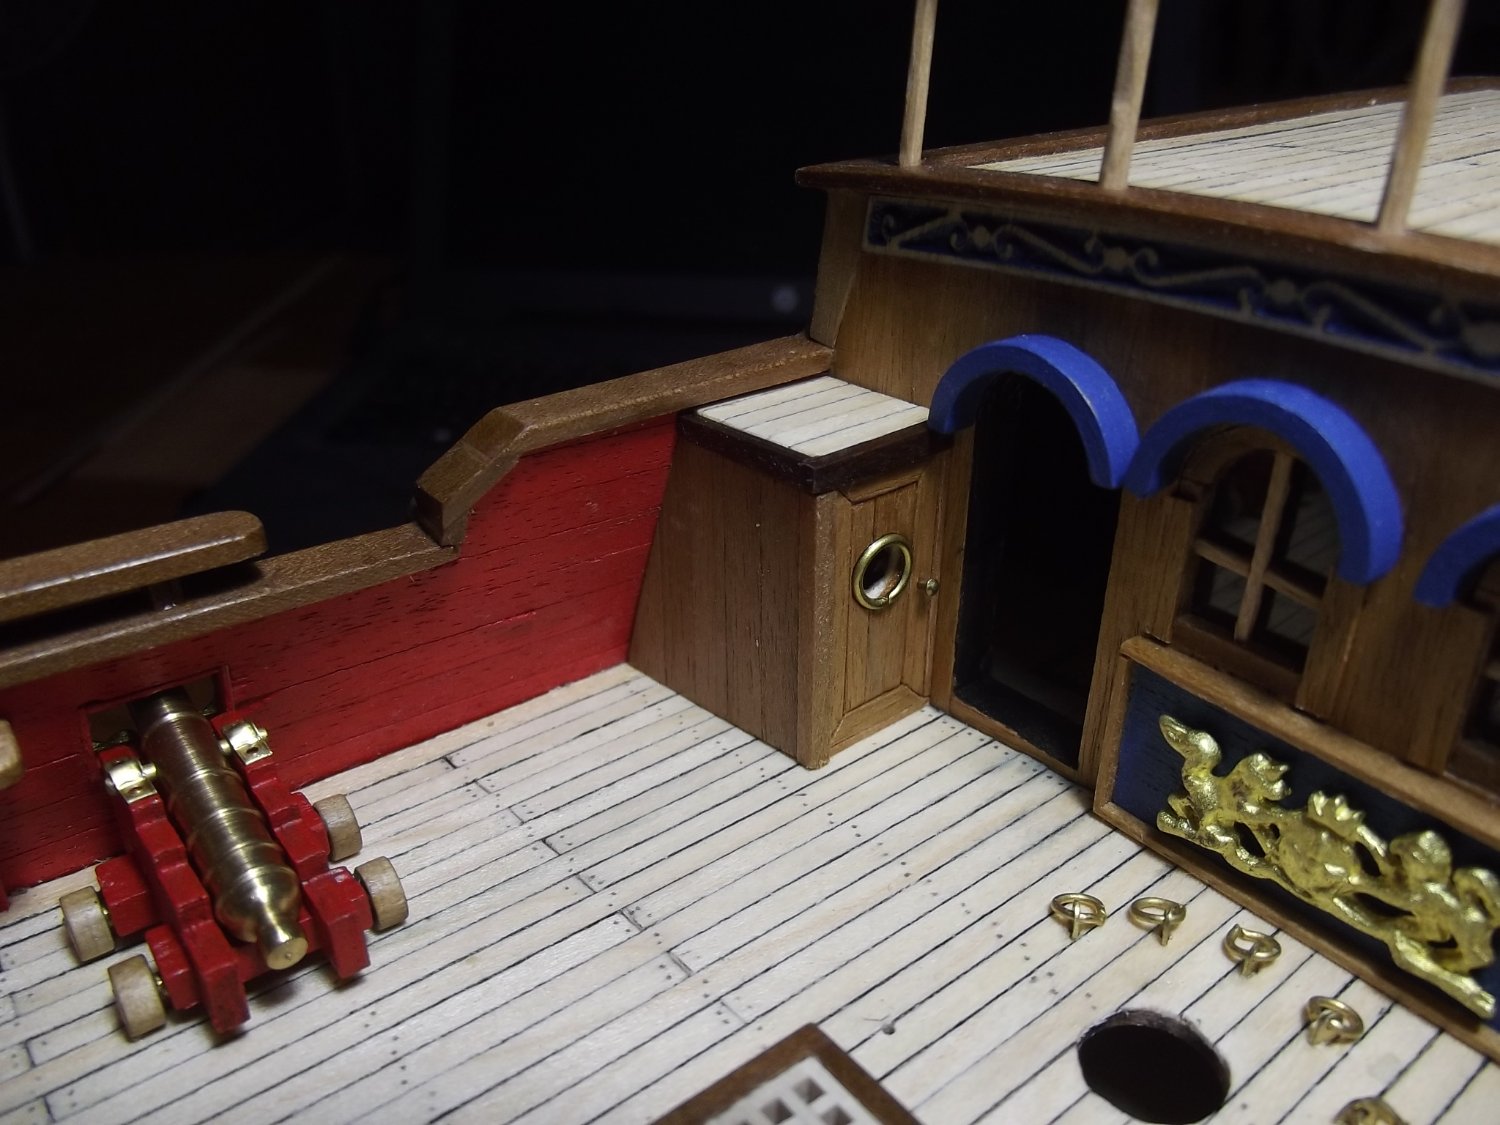
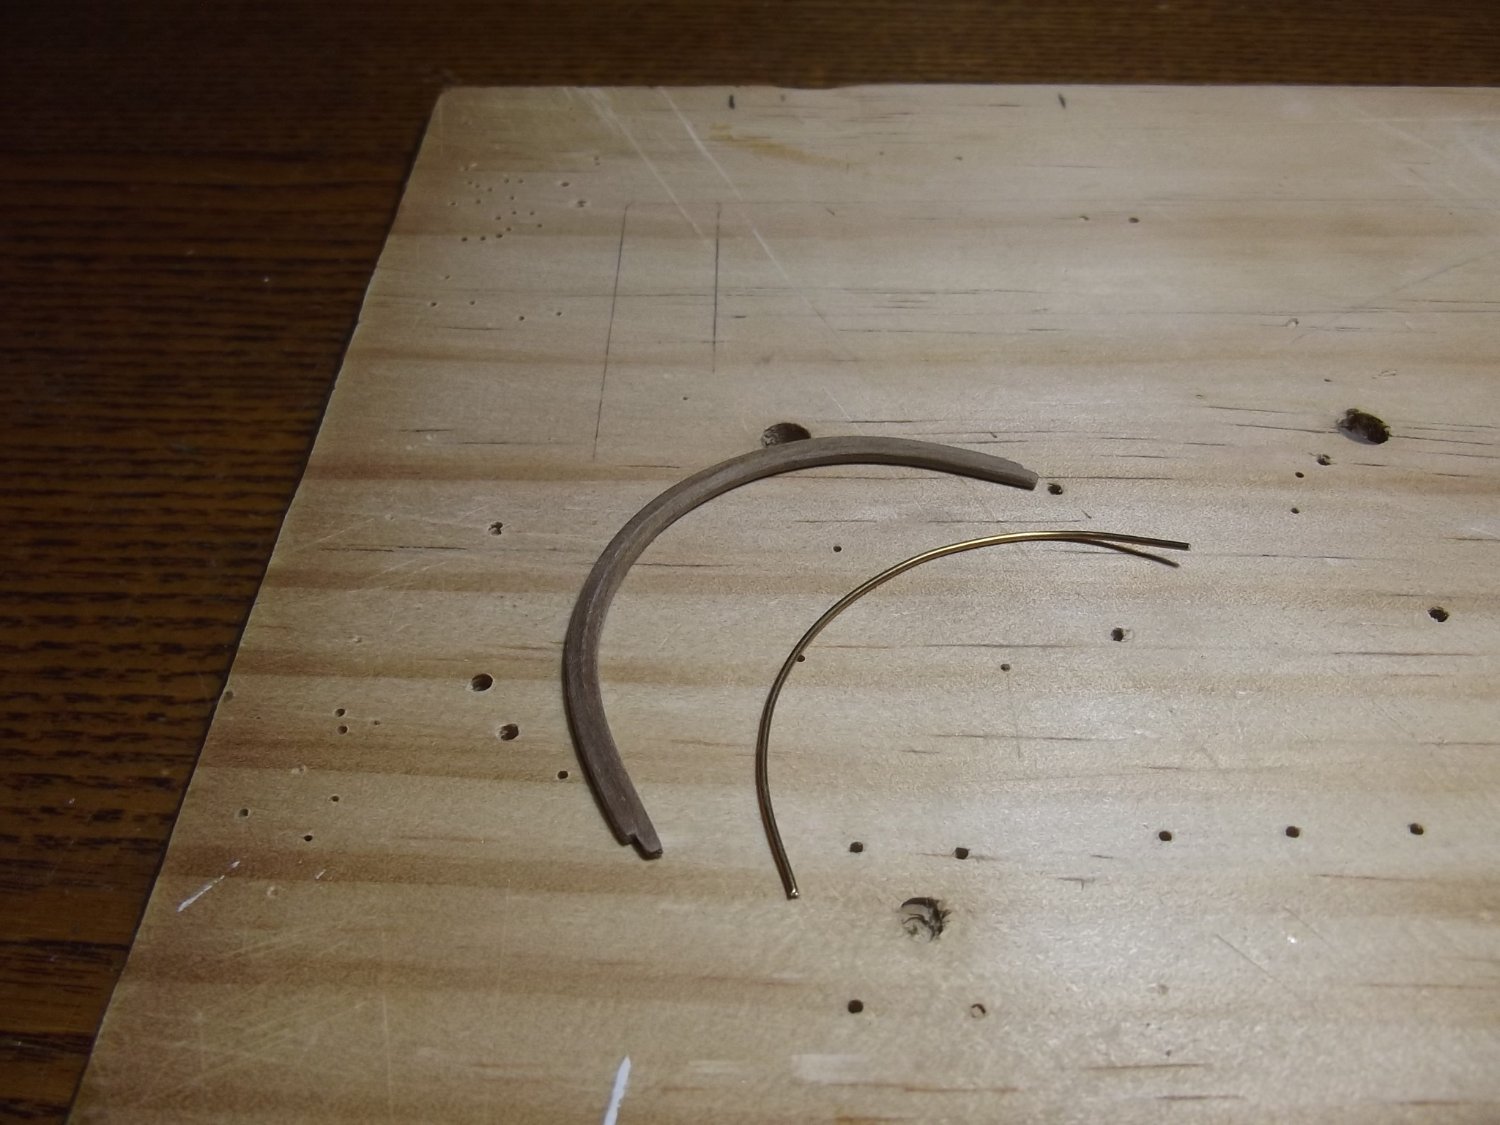
There's been a bit more progress. The plan calls for two spiral staircases, one either side leading from the top of the kings cabin to the main deck but they don't include the doors which provide access below for the crew. According to the plan the hand rail across the front of the kings cabin carries from all the way starboard to a point which allows access to the stairway to the deck below on the port side therefore while the plan calls for two staircases it makes one redundant. The "anatomy of" book about this ship clearly shows there is only one staircase, to port, but there is access to the below decks on both sides. The kit doesn't call for any kind of hand rail for the spiral staircase but I'm working on a wooden hand rail. I bent some brass wire around the staircase following it's descent then found a round object of the same radius and laminated two pieces of walnut around it after soaking in boiling water. So far so good but a bit of work to do yet.


-
From what we're being told in Aus, only about 5% of private residences in UK have AC, they just don't (normally) need it. We're used to those temps in Aus but we know our Brit mates aren't. They are talking about having to learn from us and the US because they just aren't equipped for these temps and fires. Their emergency services just can't cope.
-
Now you're getting somewhere, the K.I.S.S. method. Less components, no chance of differential drive in servos causing problems, less weight and less space taken up as well as lower power requirements.
- 502 replies
-
- 2
-
-
- Quadrireme
- radio
- (and 1 more)
-
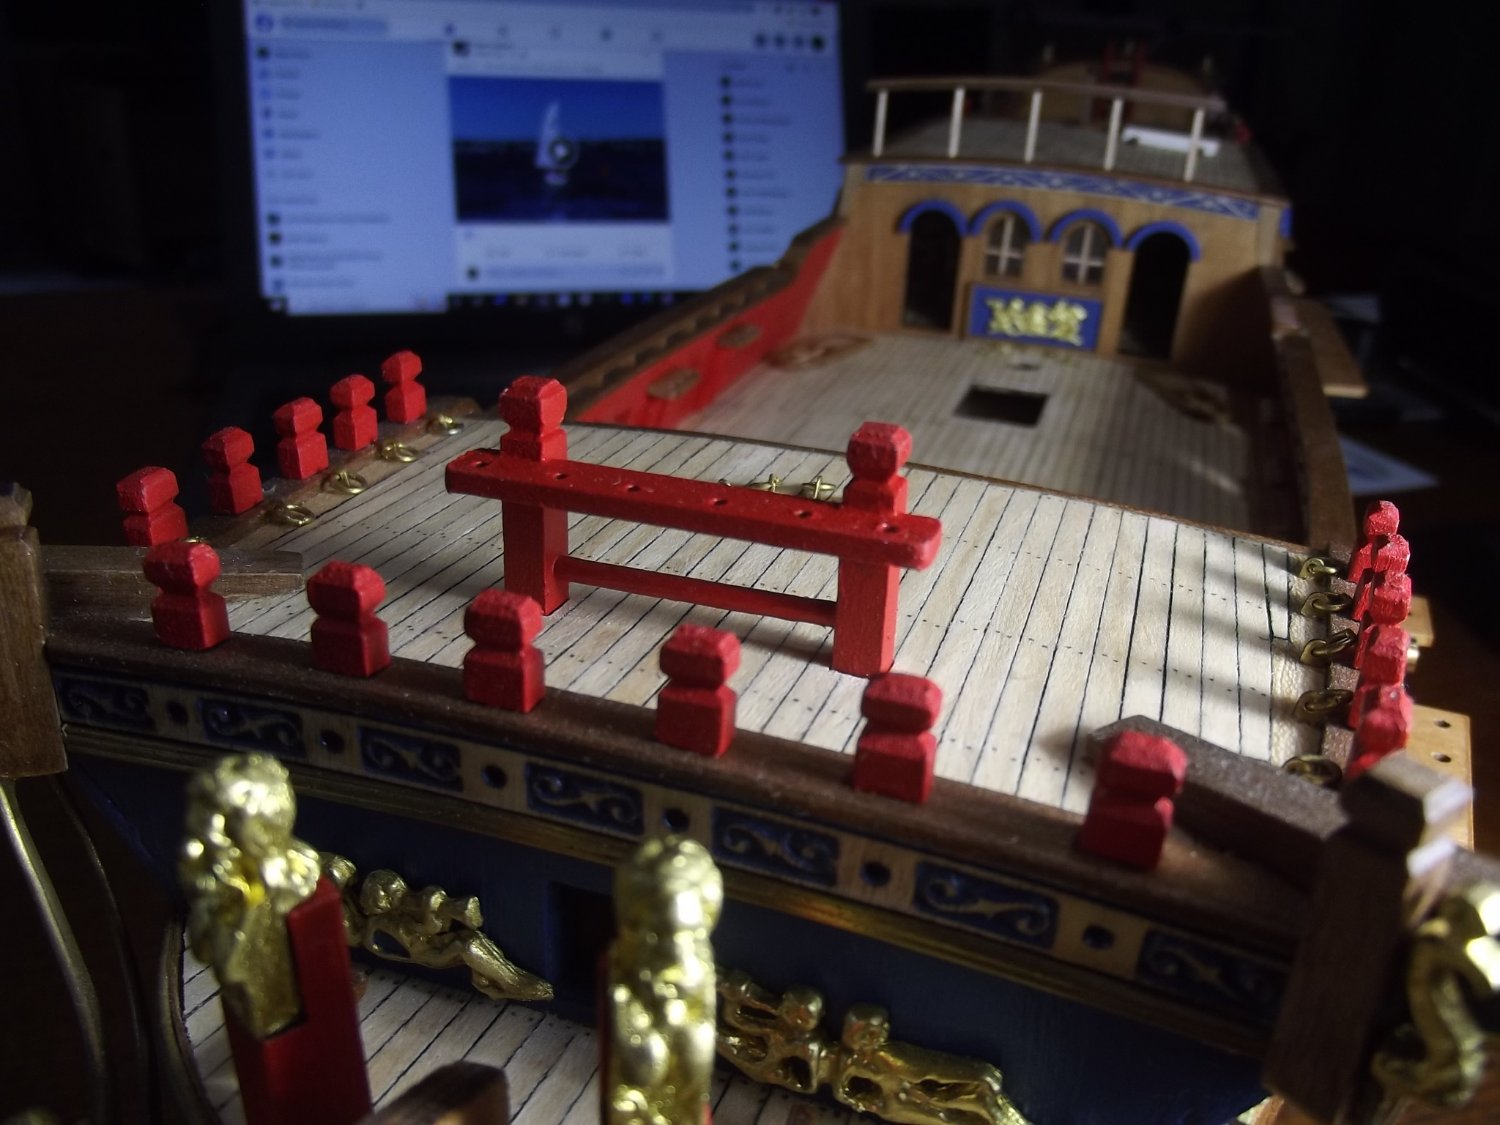
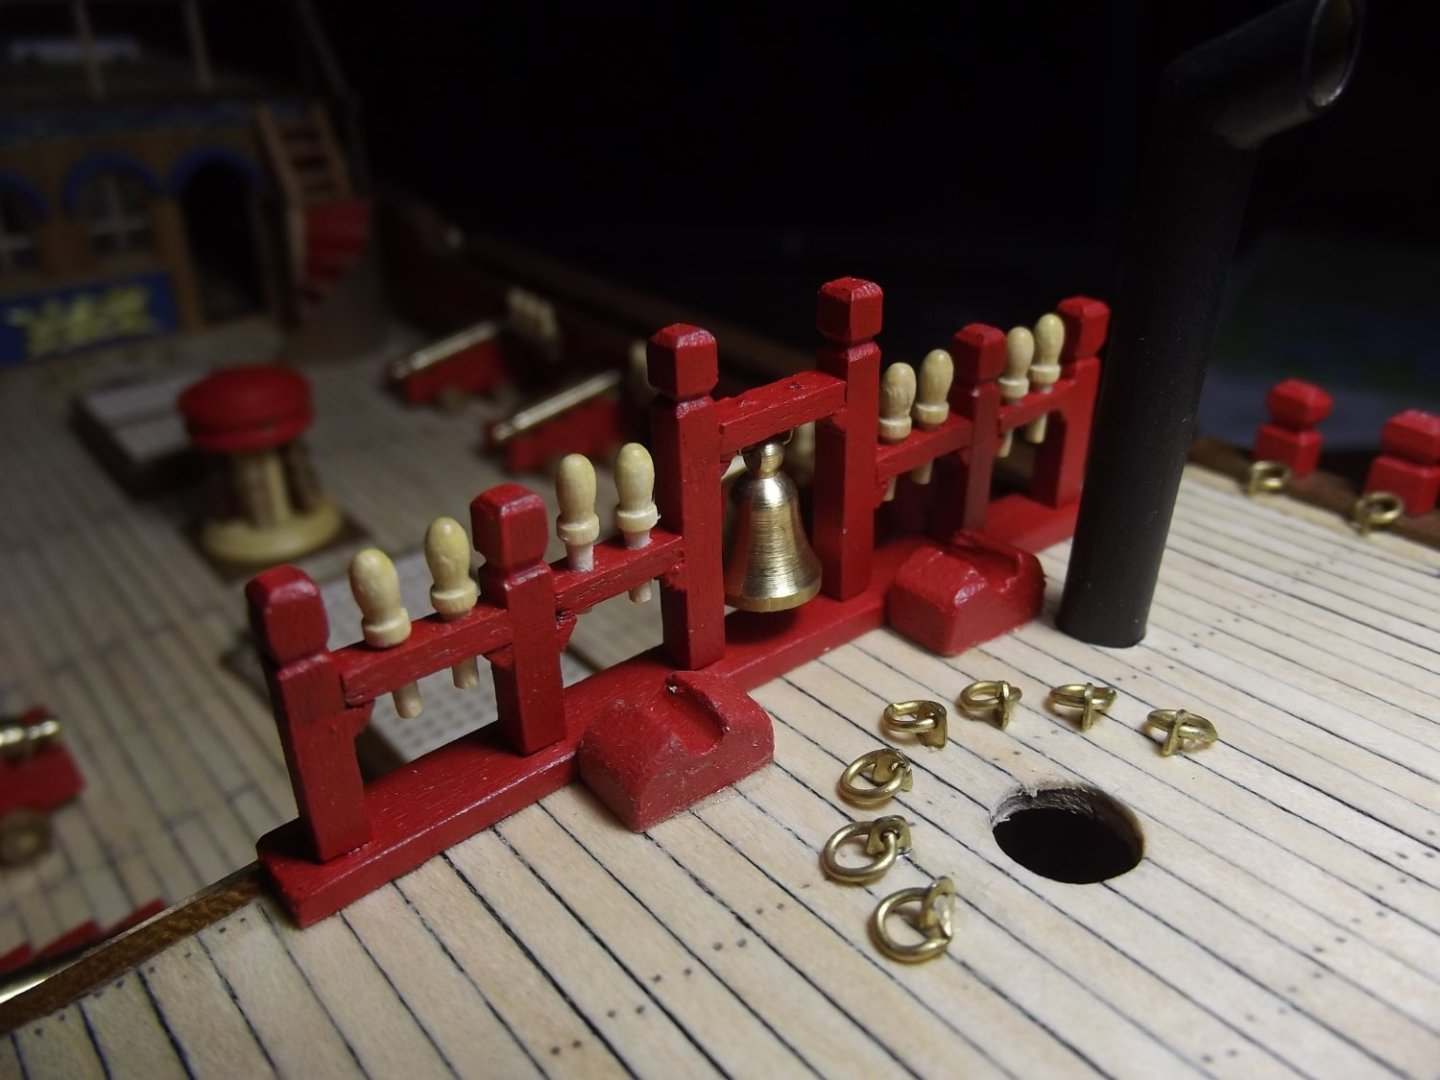
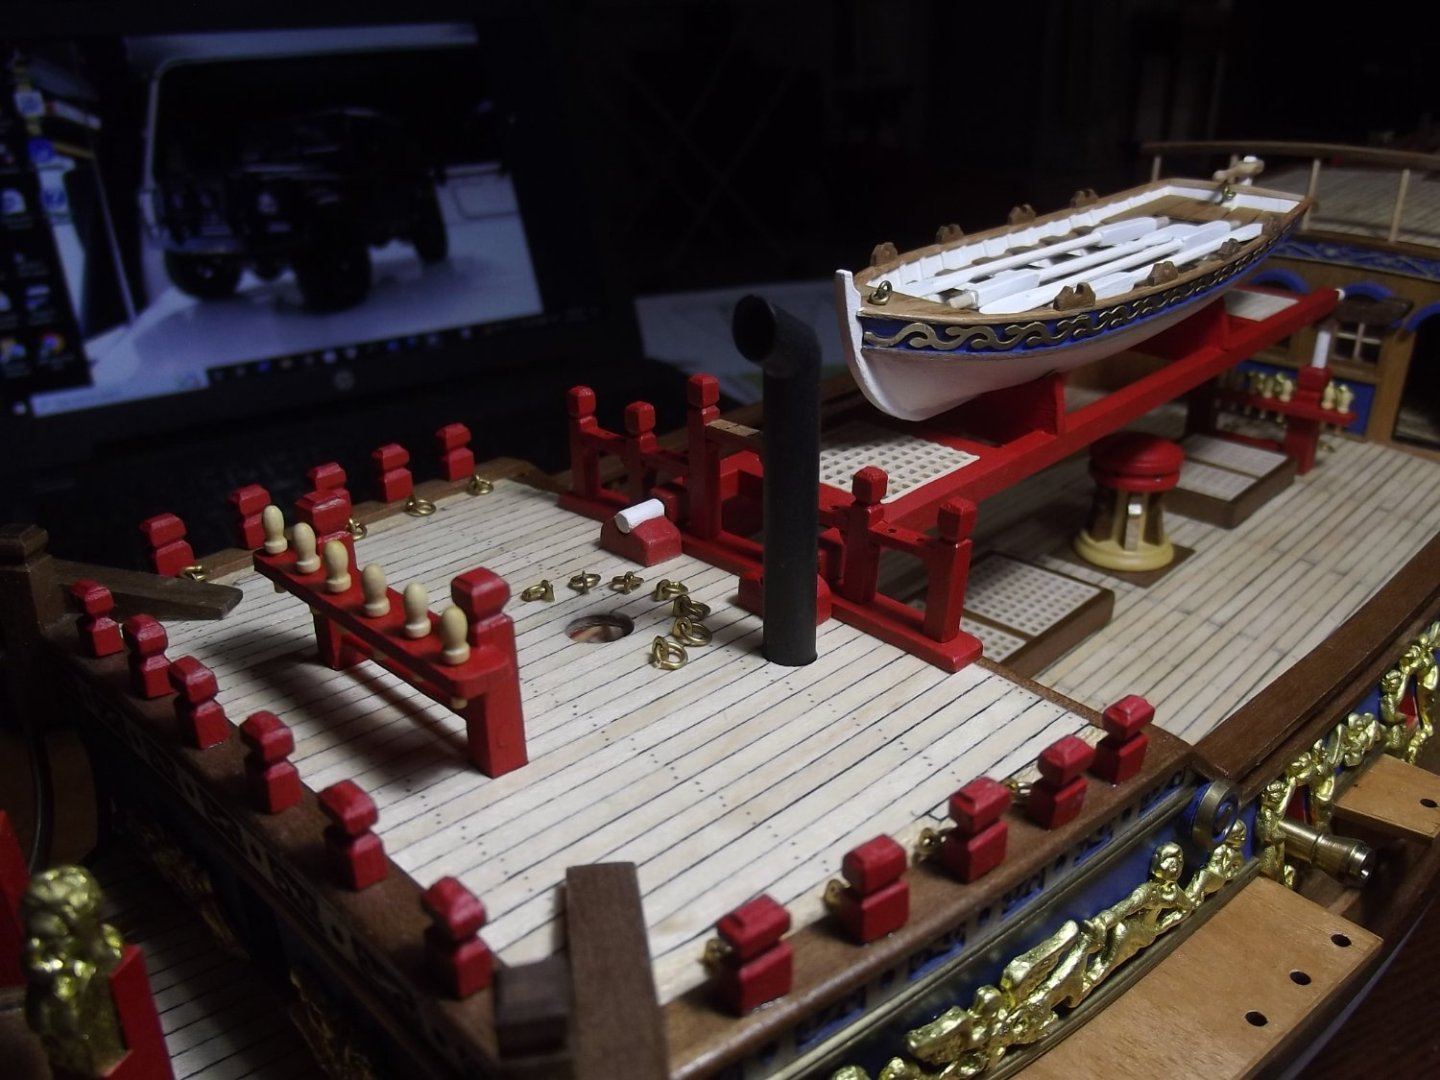
Foredeck fife rail and galley flue fitted. Apparently the plans were drawn by someone with little knowledge of square rigged sailing. In general a square rigger would never have the wind more than a few degrees afore the beam unless lying at anchor. With this in mind the top of the flue should be aimed forward for the wind to draw the smoke but the plan calls for it to face aft like the exhaust on a Mack truck!
-
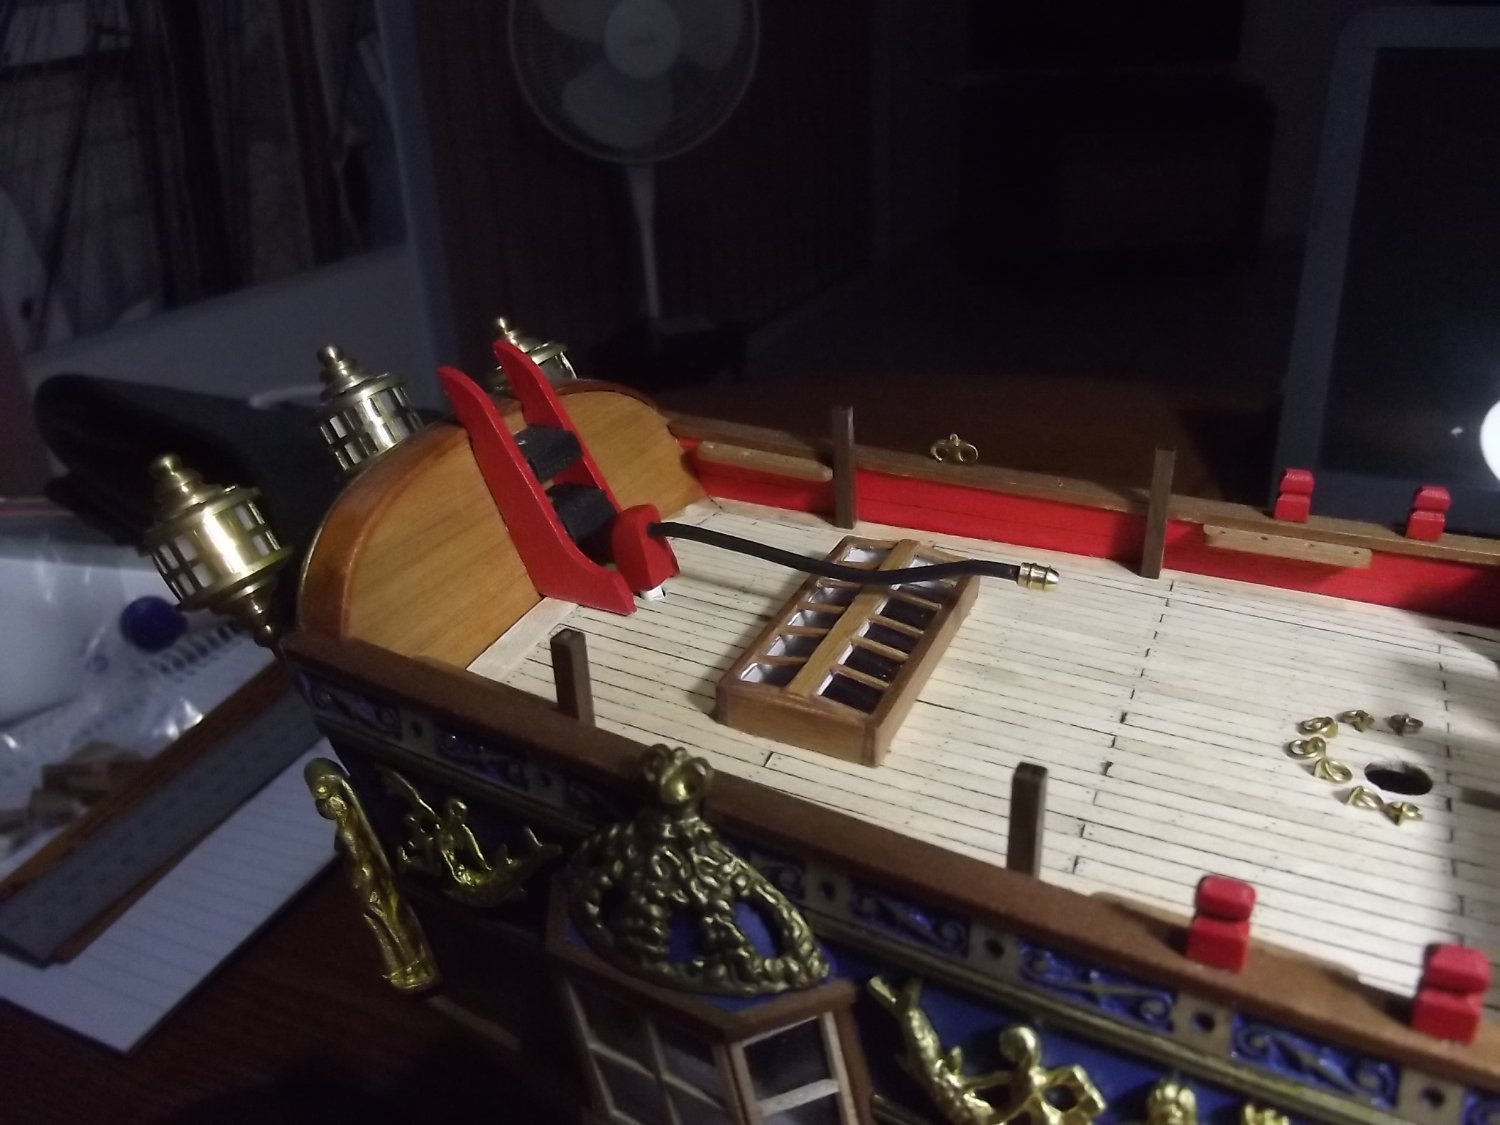
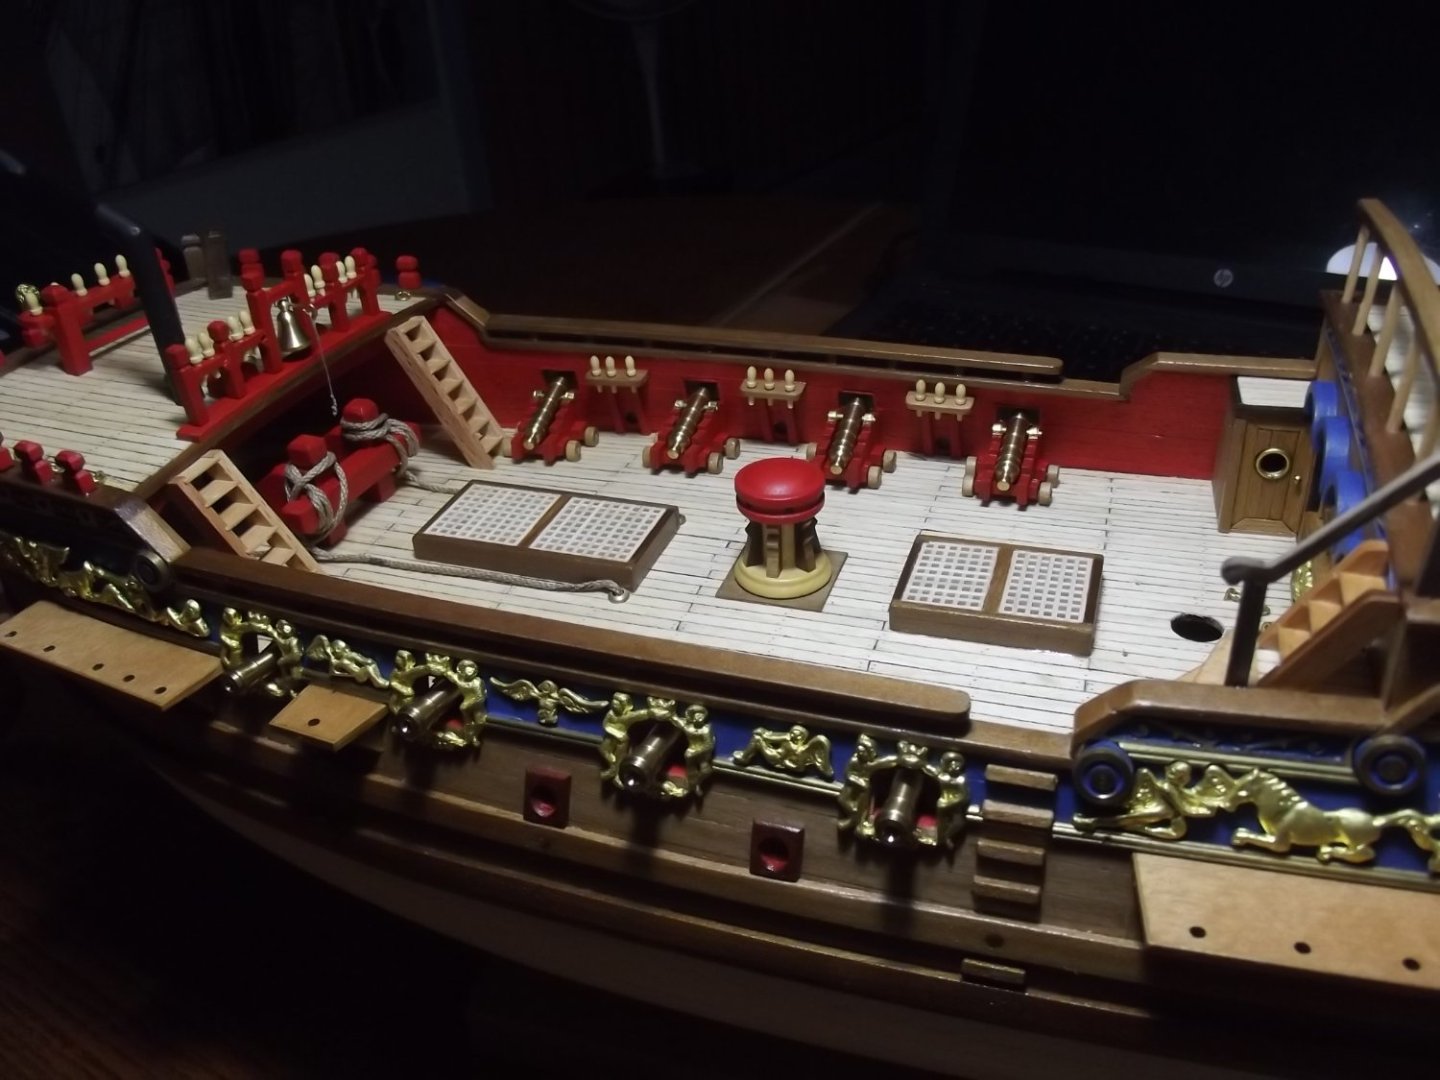
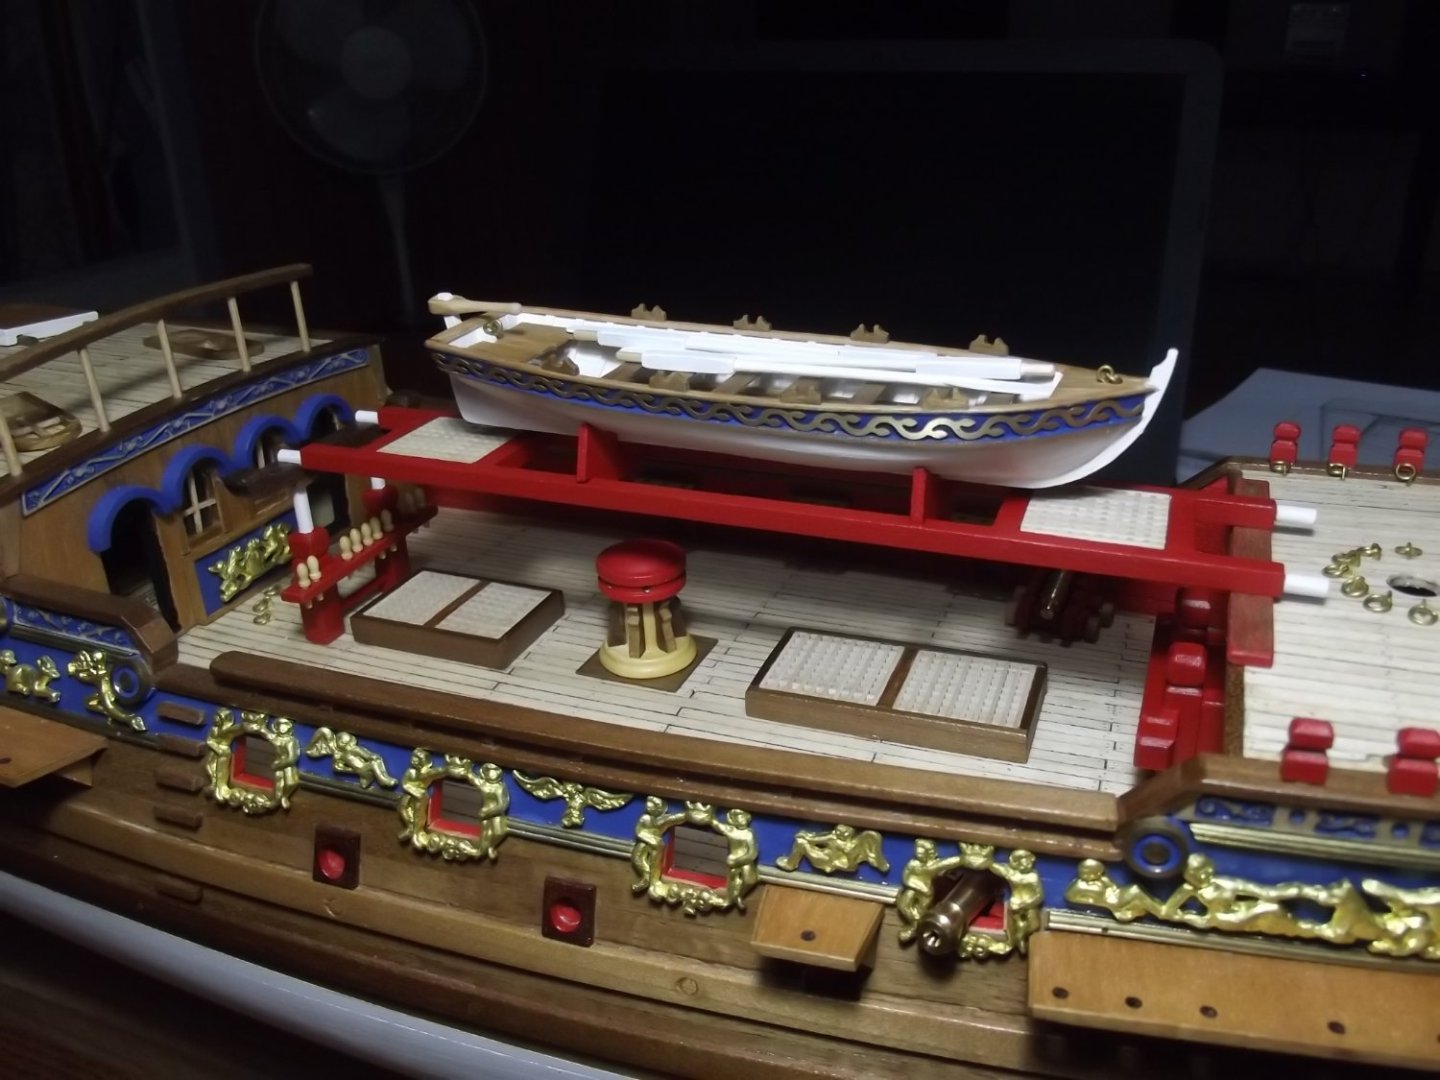
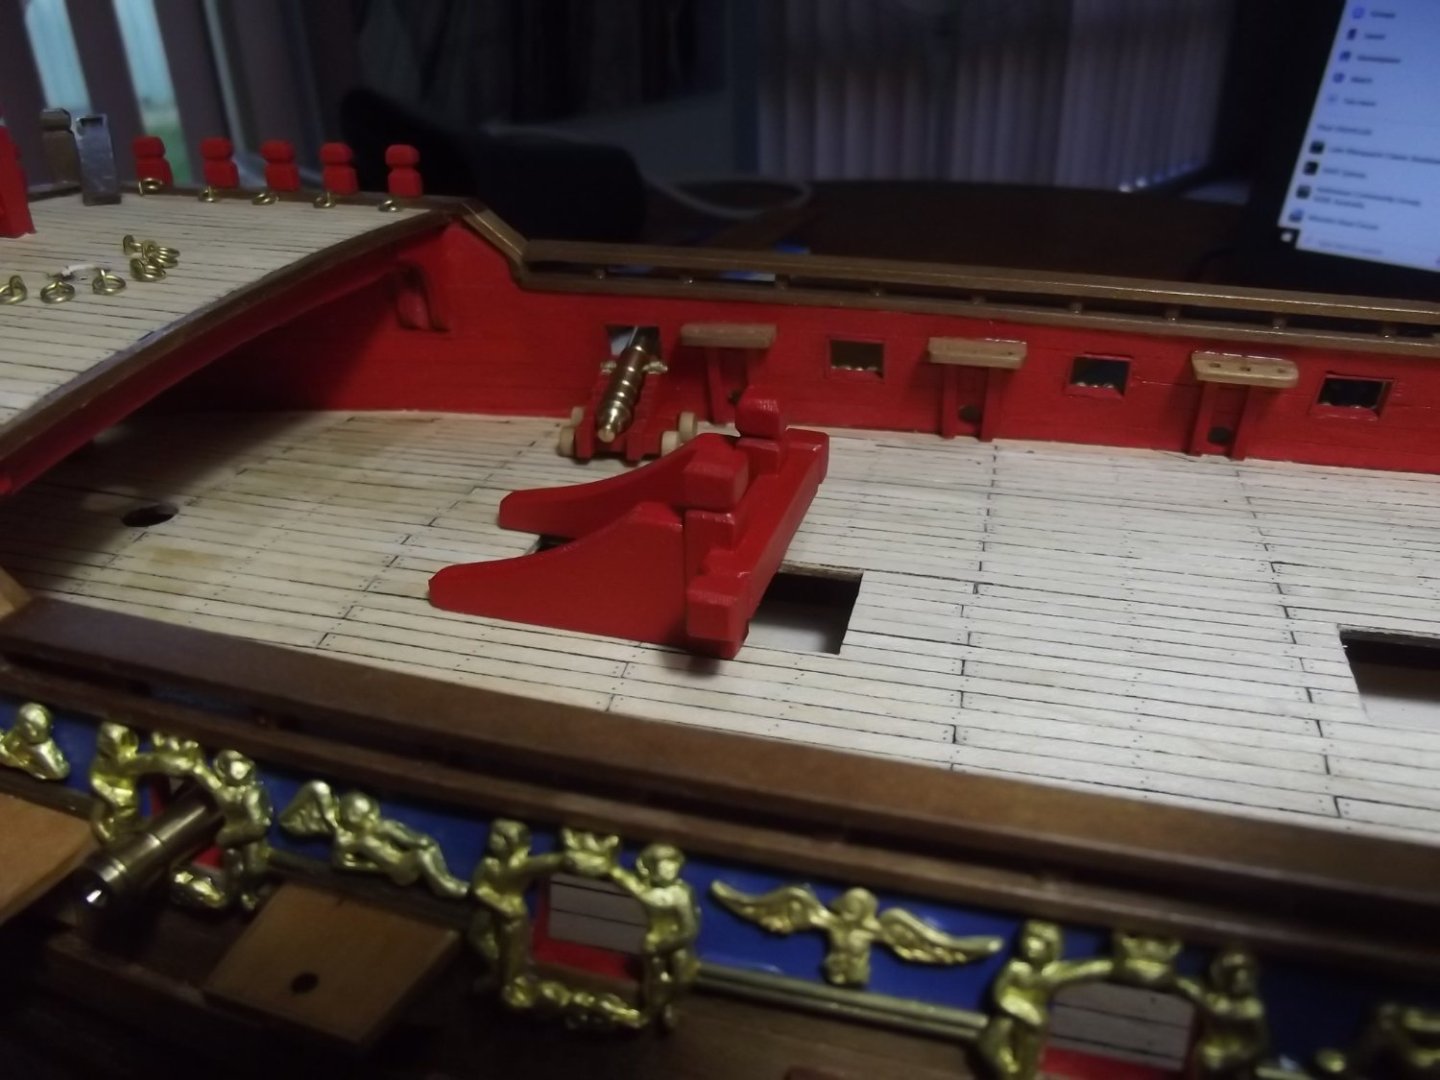
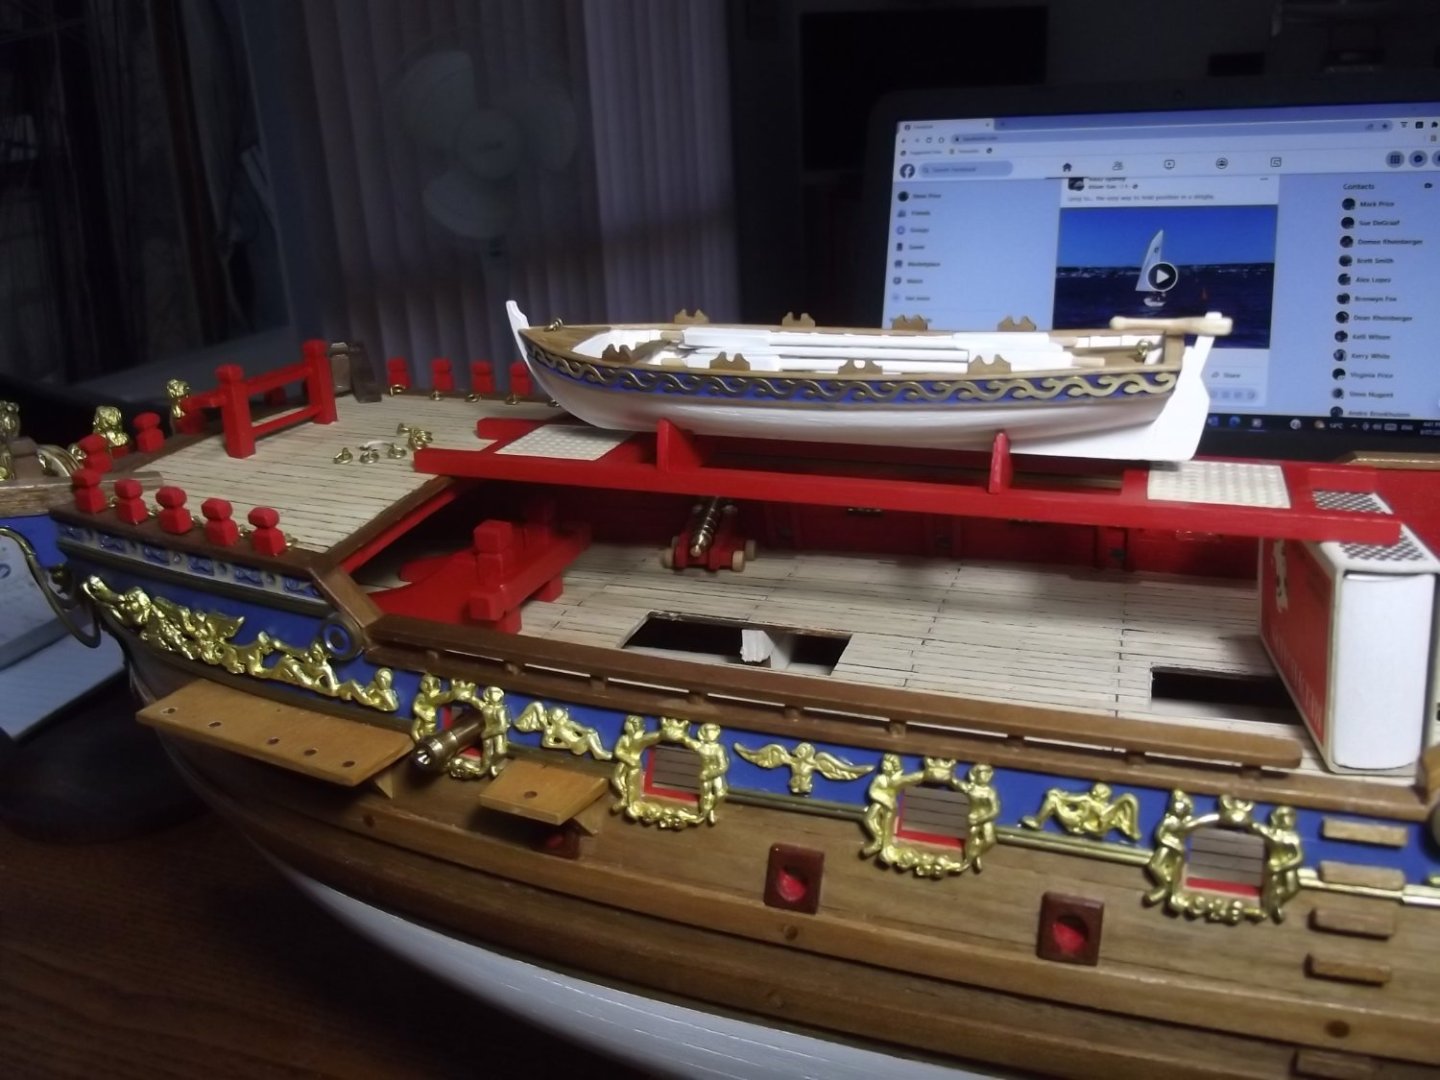
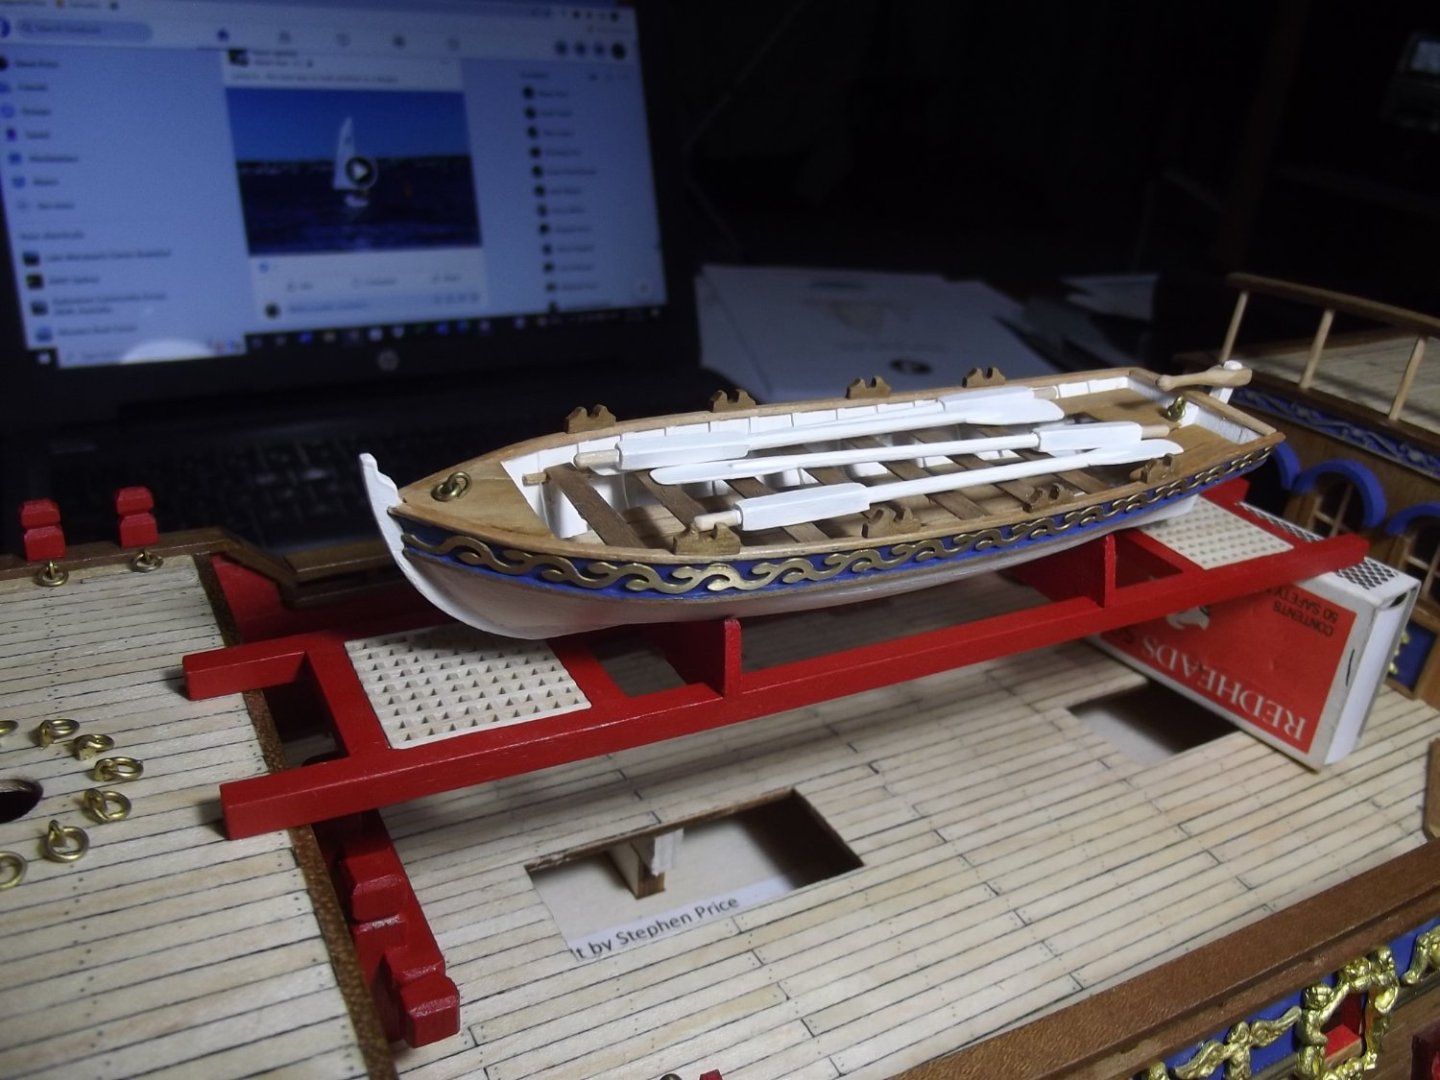
The rudder head and tiller are done. The main mast pin rack/aft boat cradle support is done. With the dowel ends on the boat cradle the instructions call for you to drill 3mm holes into the end of each 4x4mm beam, dreamin' I chose to spin up the dowels in the lathe and centre drill them with 1mm holes to accept brass wire as a dowel and drilled corresponding 1mm holes in the ends of the beams. Much more doable! I'm not sure the pillars on top of the pin rack should be white but it just adds a bit to it, don't want it all red.


-
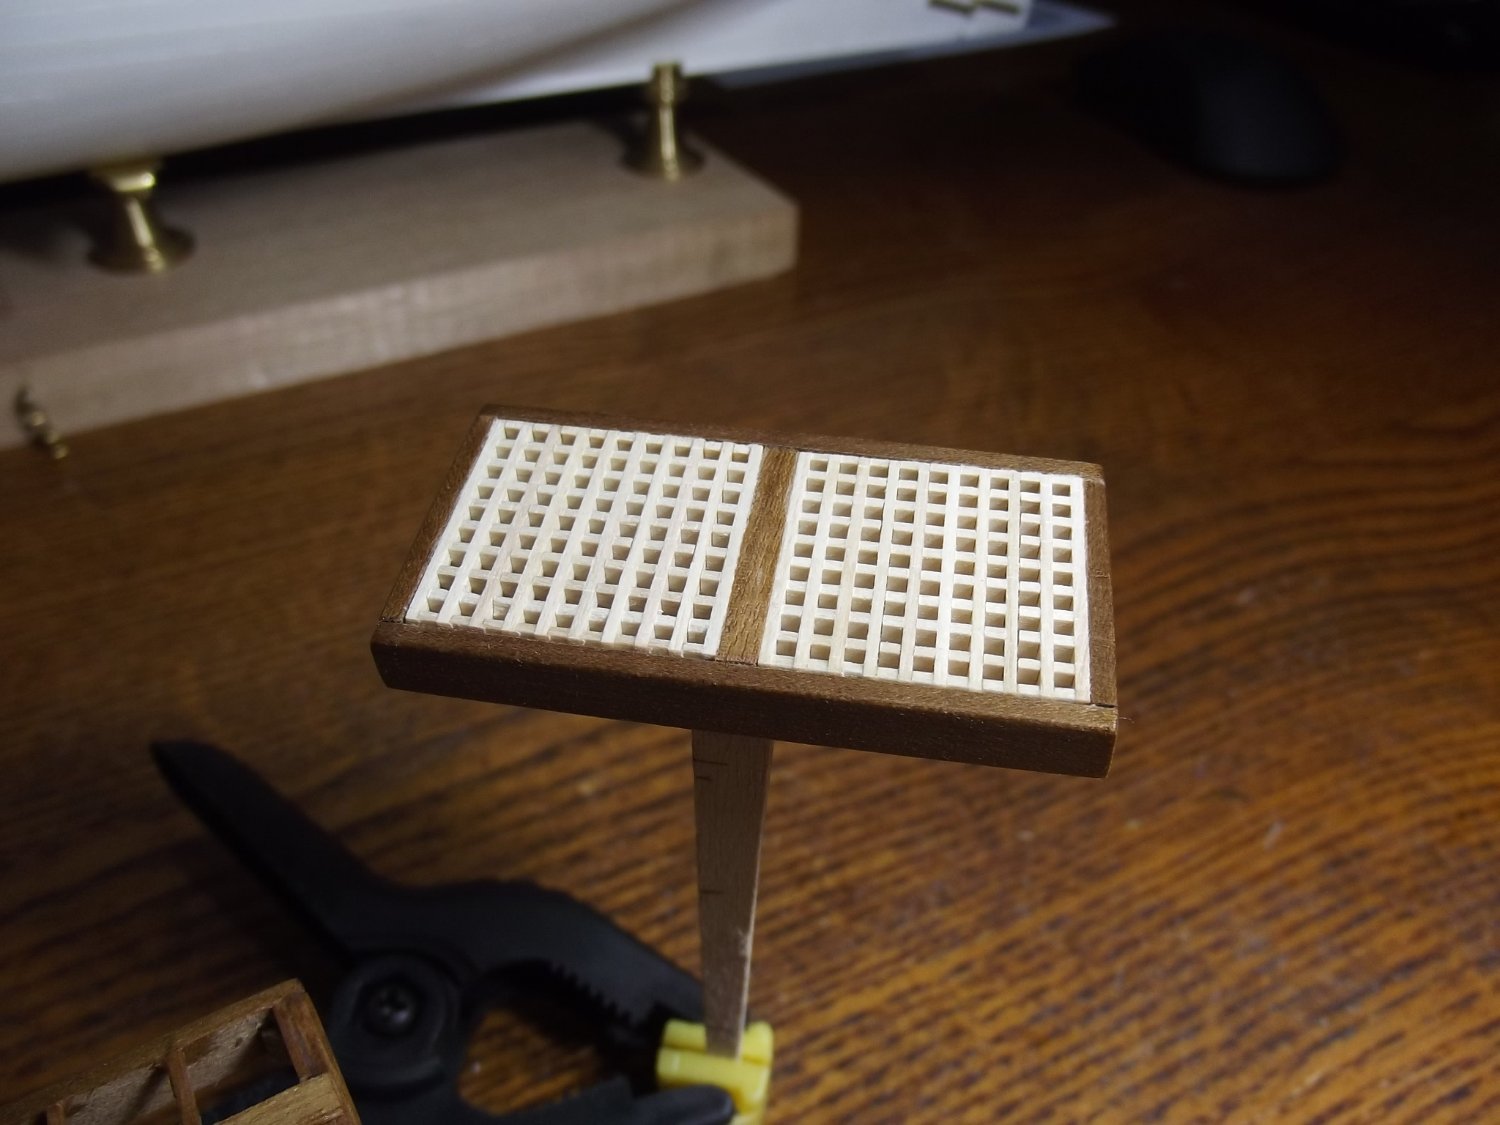
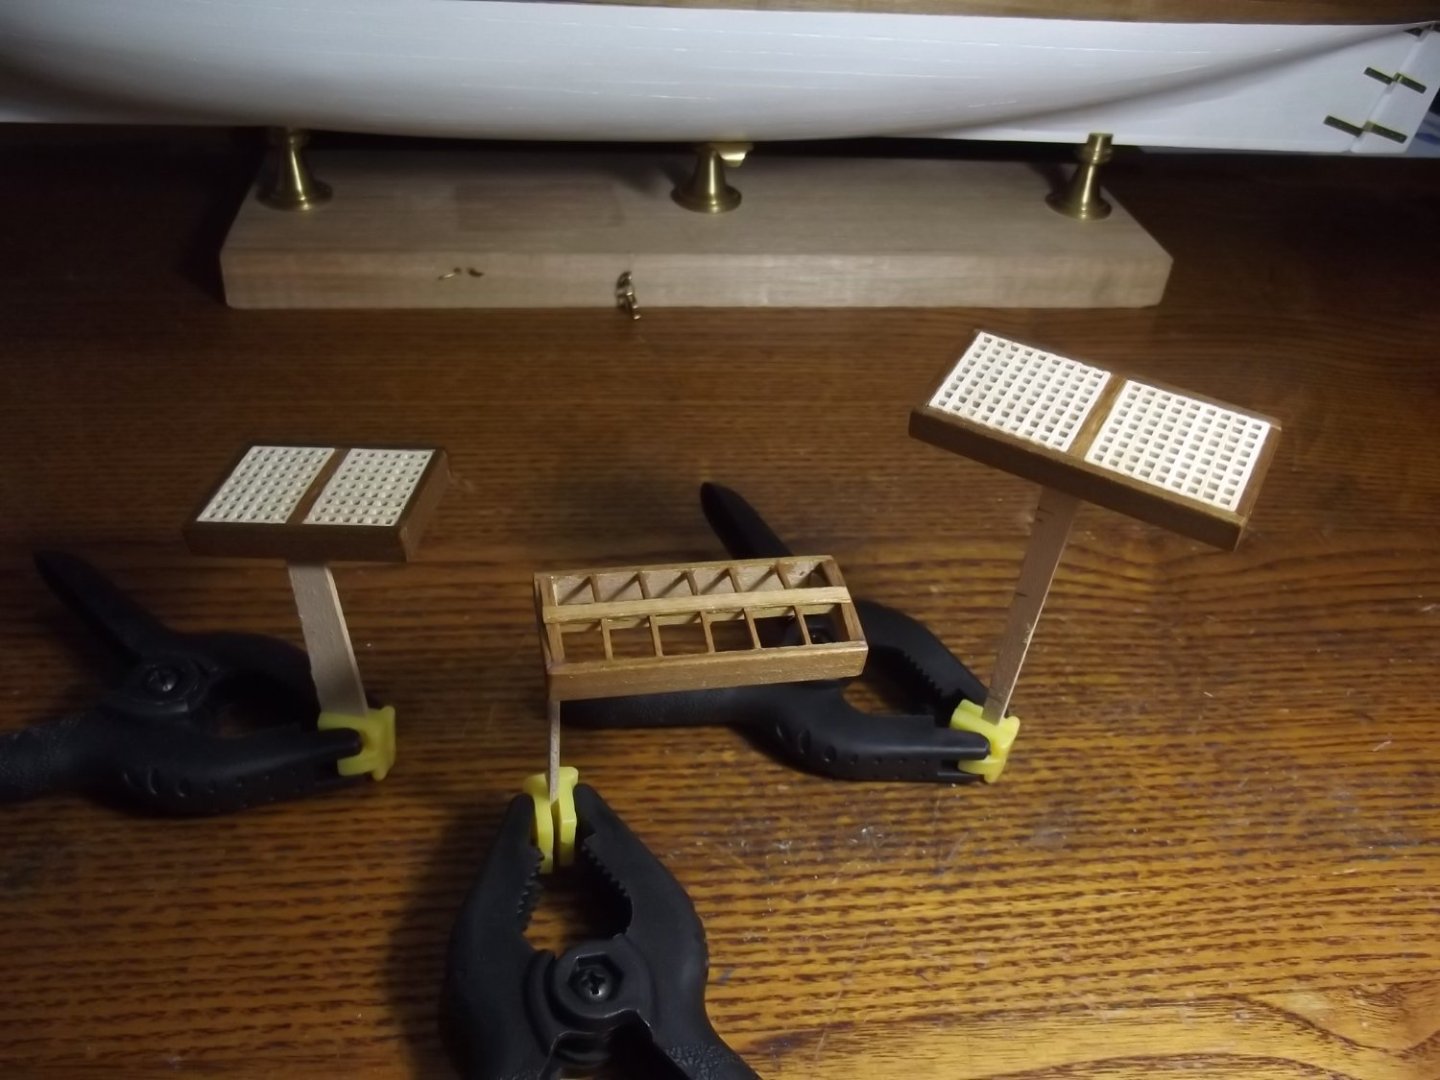
Waste deck grating, great cabin sky light, anchor bitts, foremast pin rack and boat cradle done. I have to say that these are far and away the best grating components I've ever used!


-
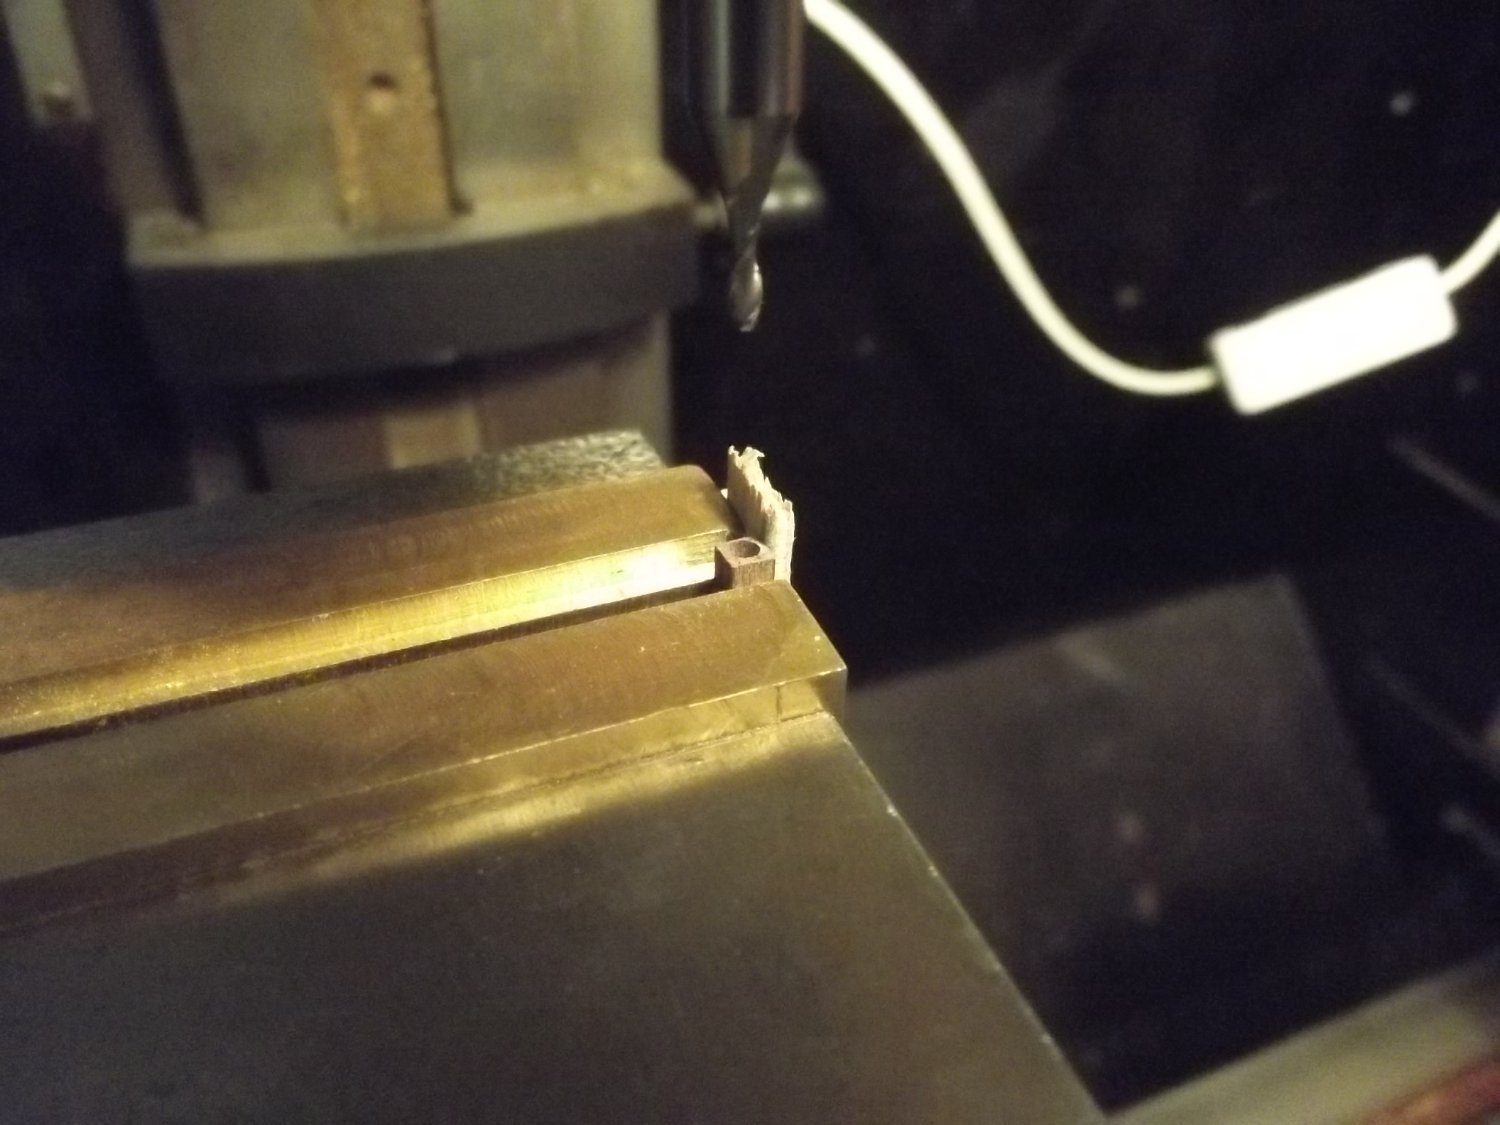
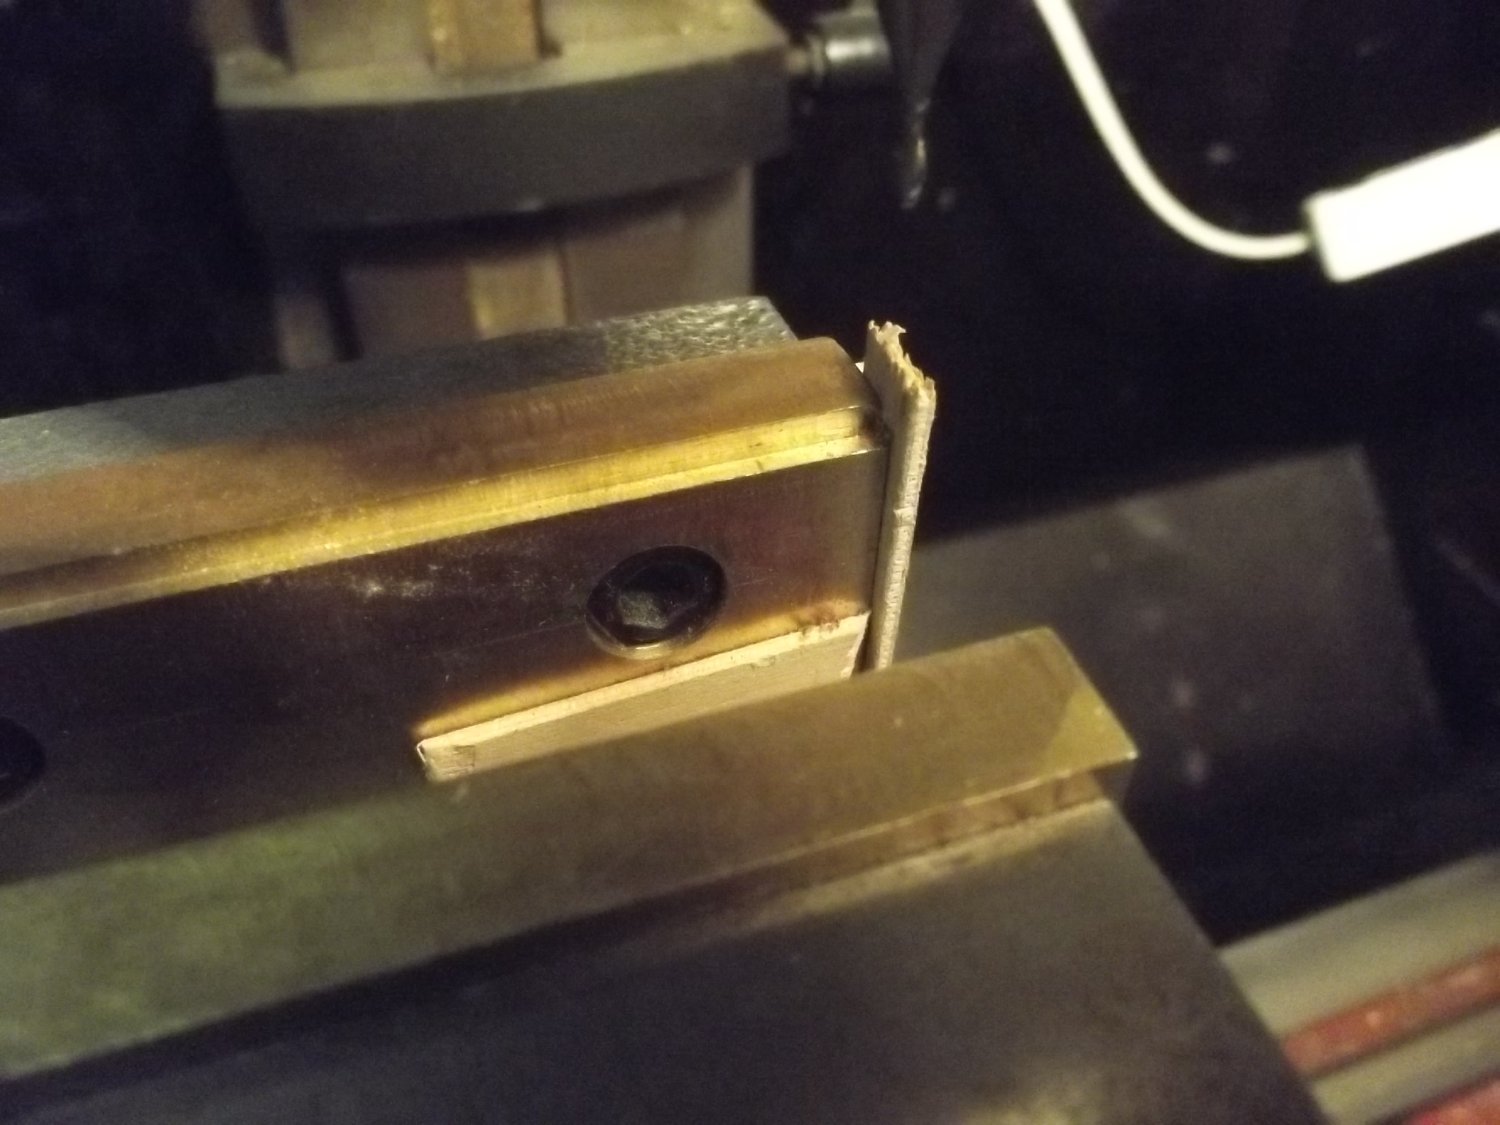
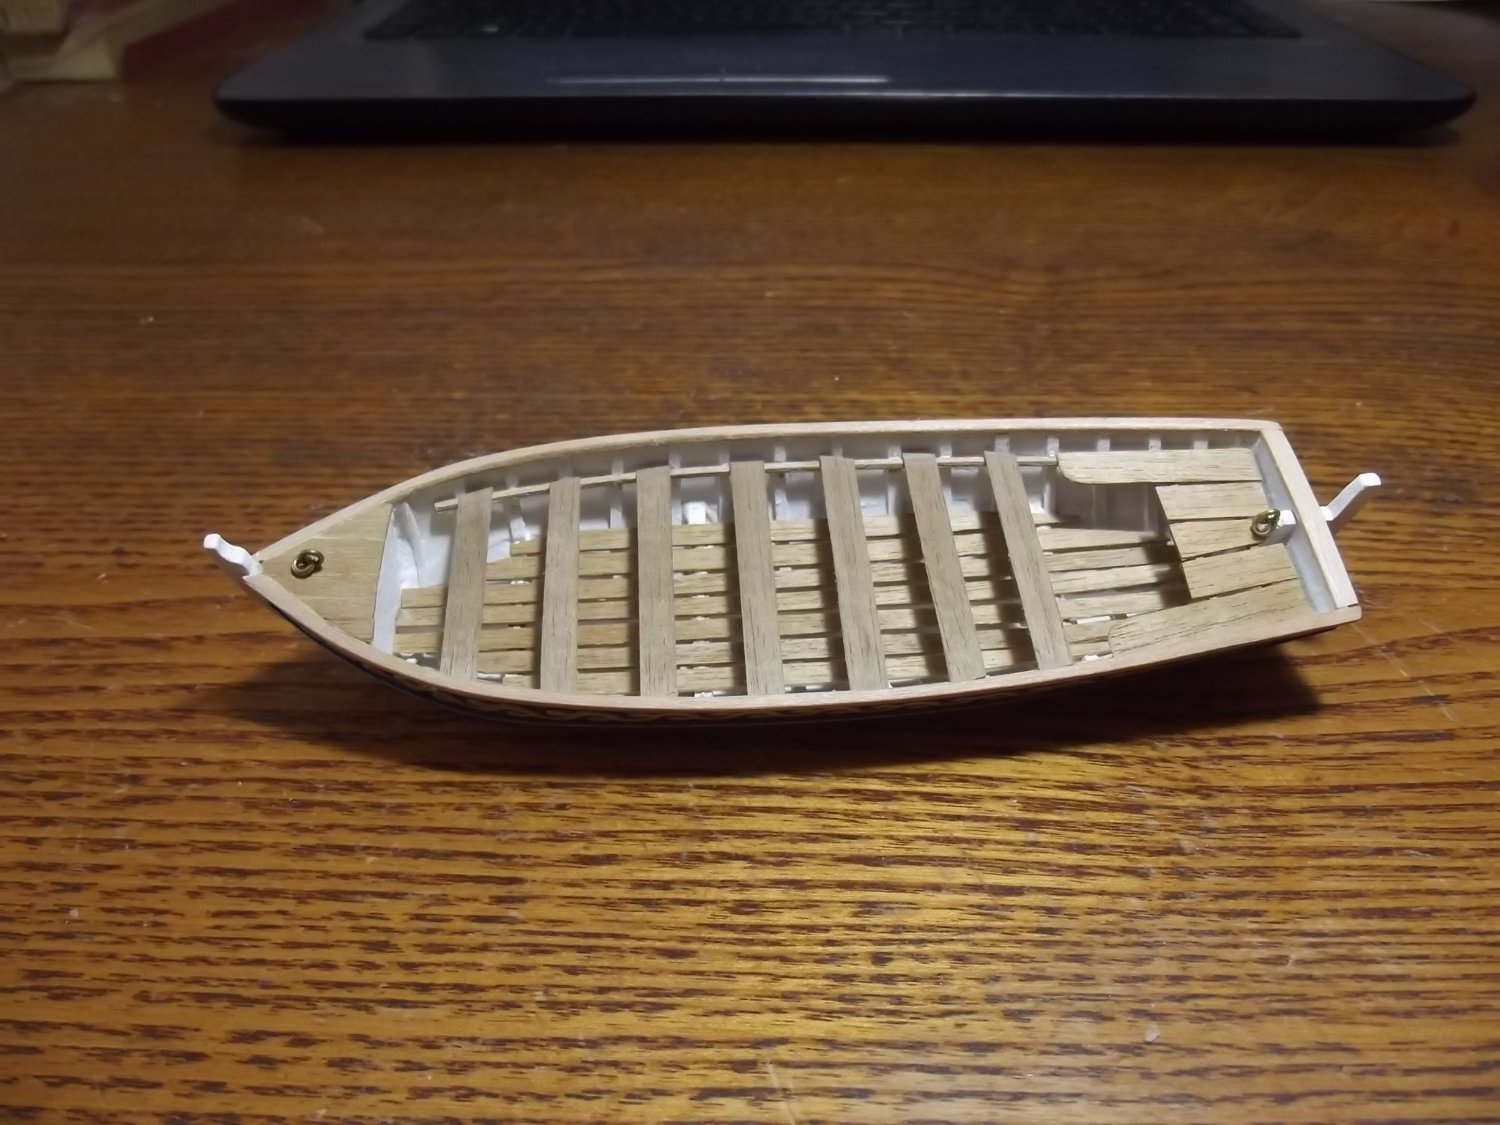
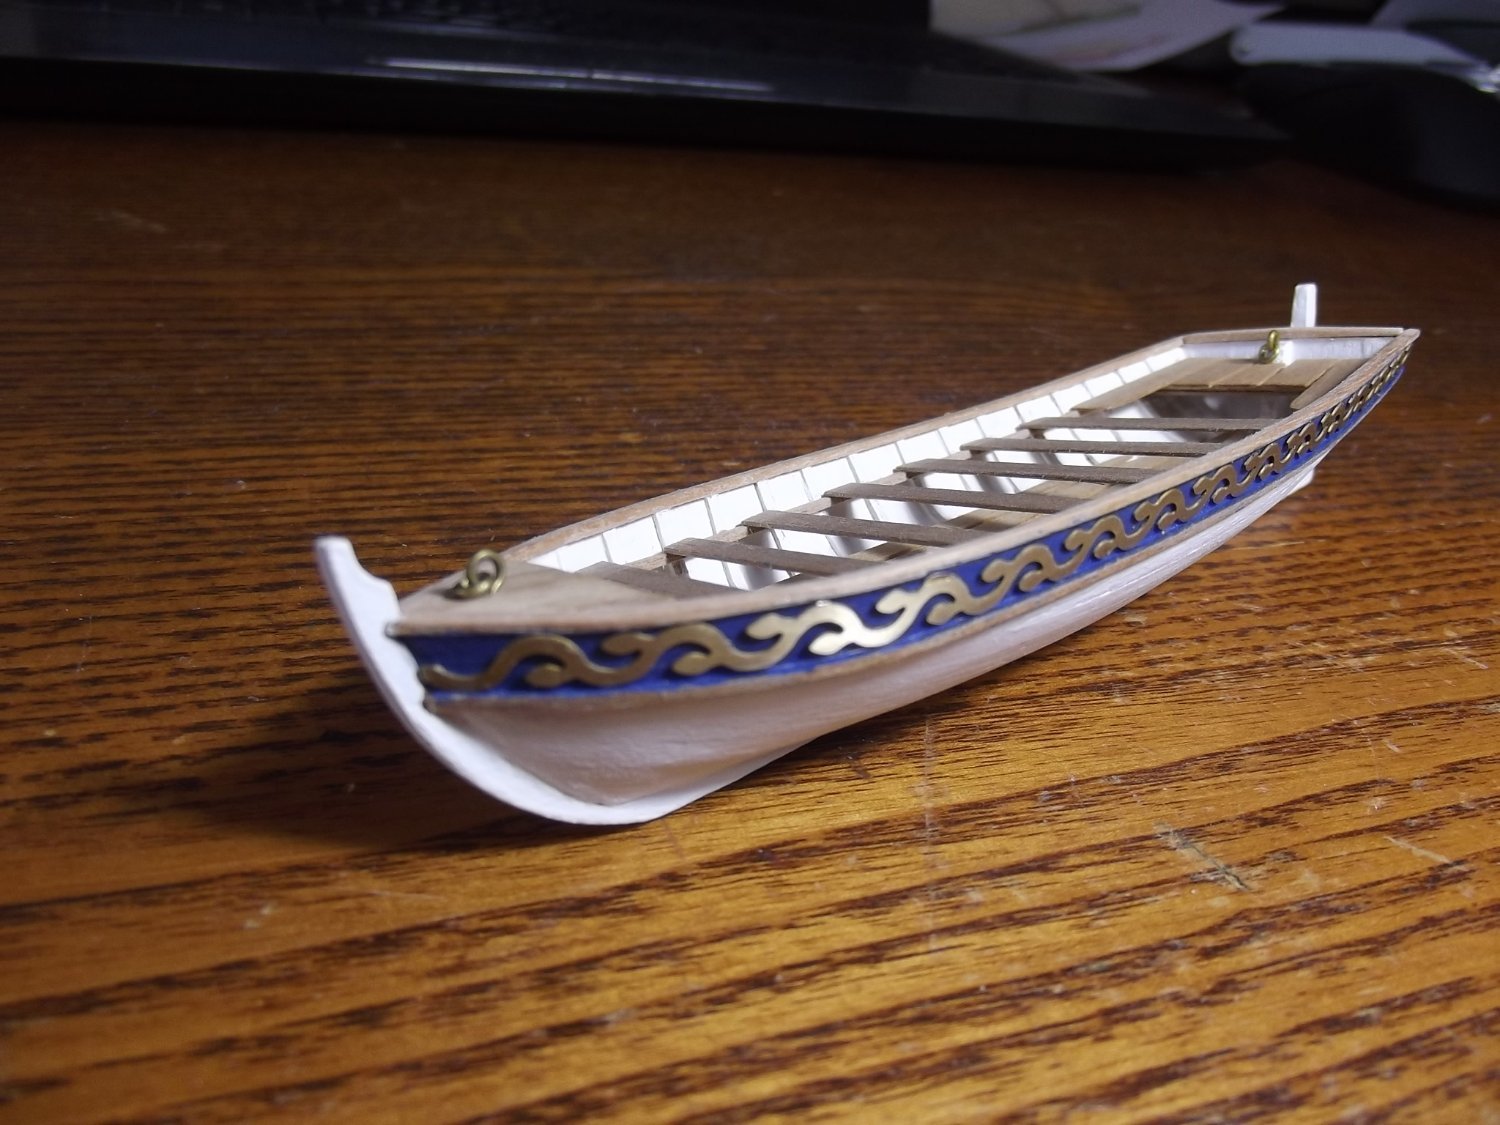
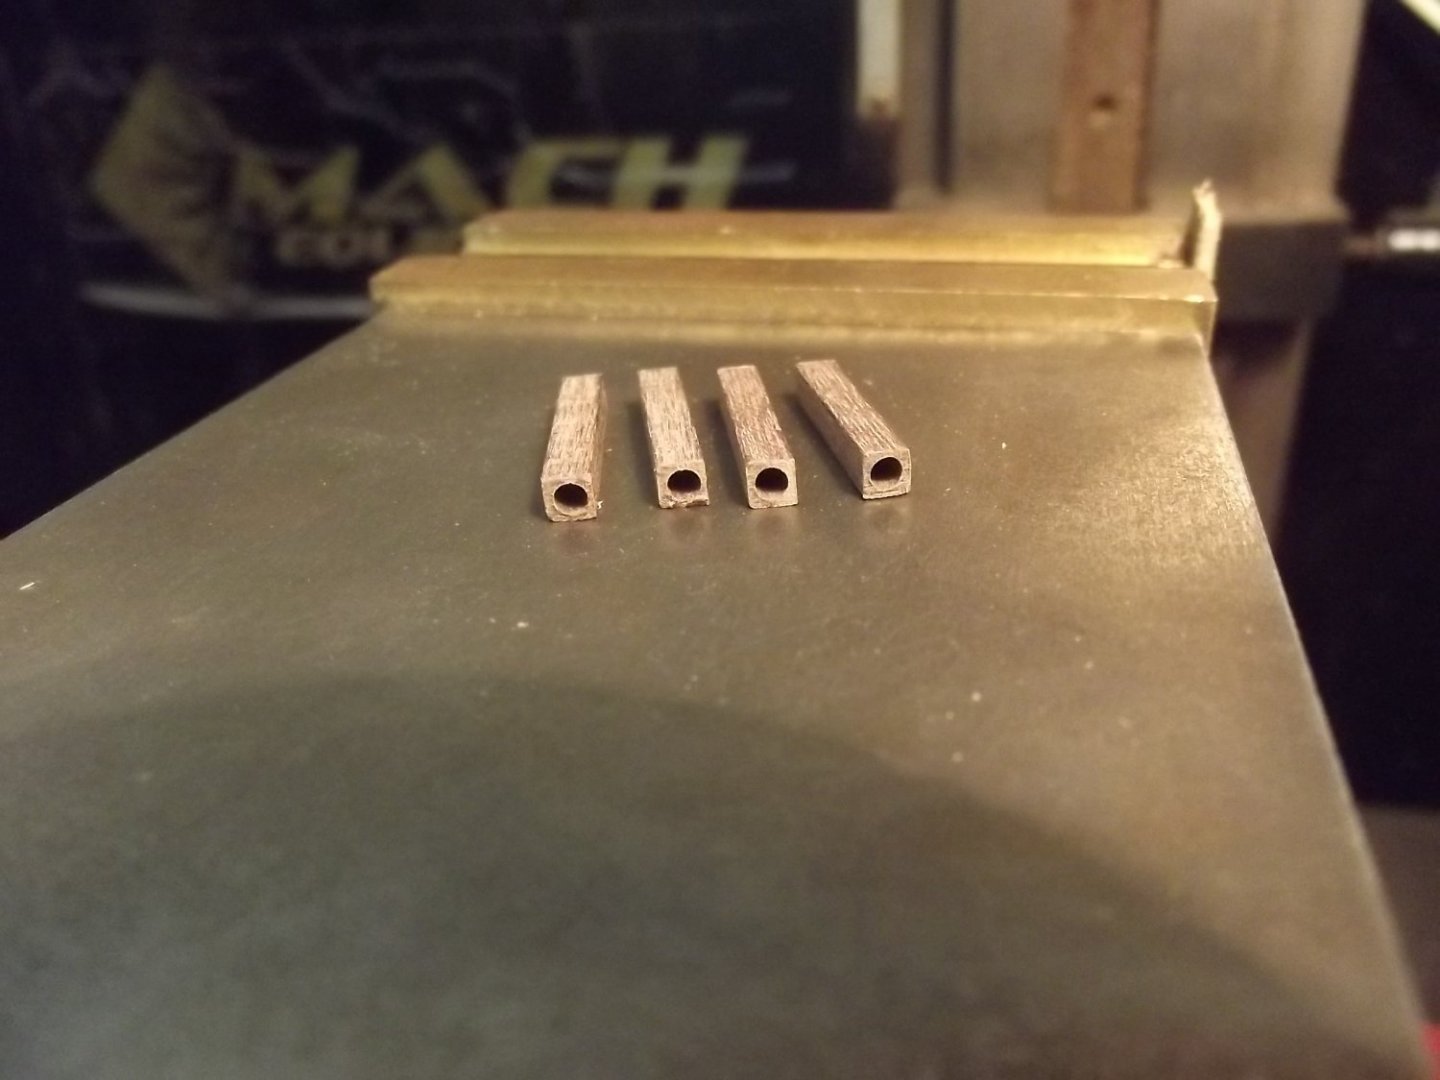
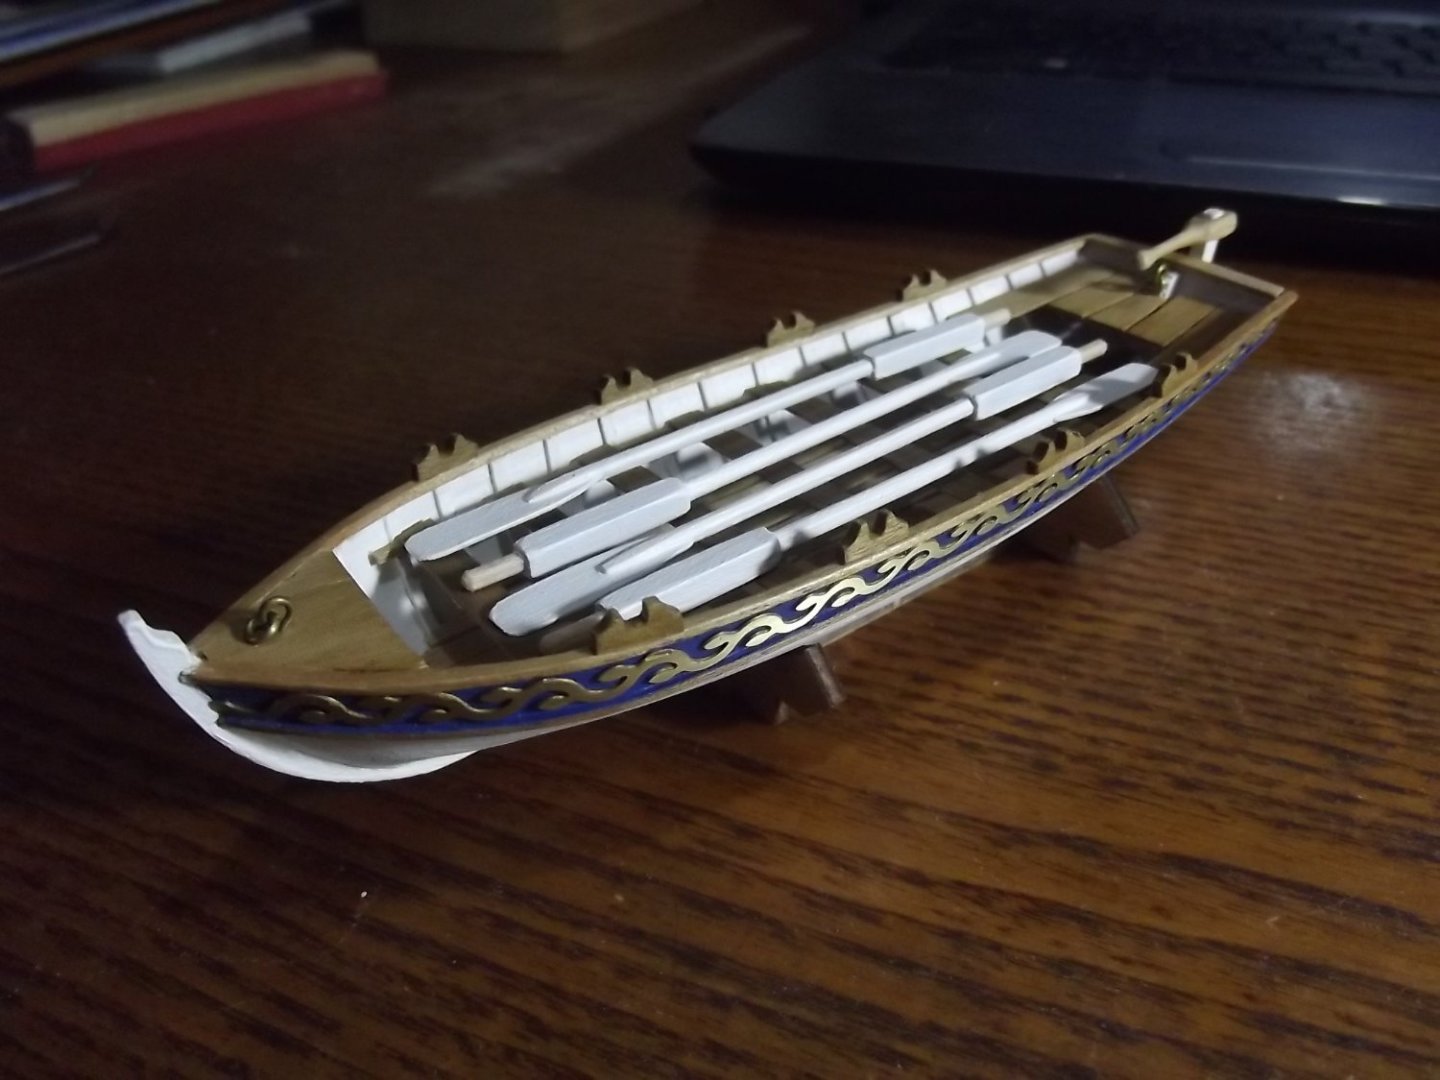
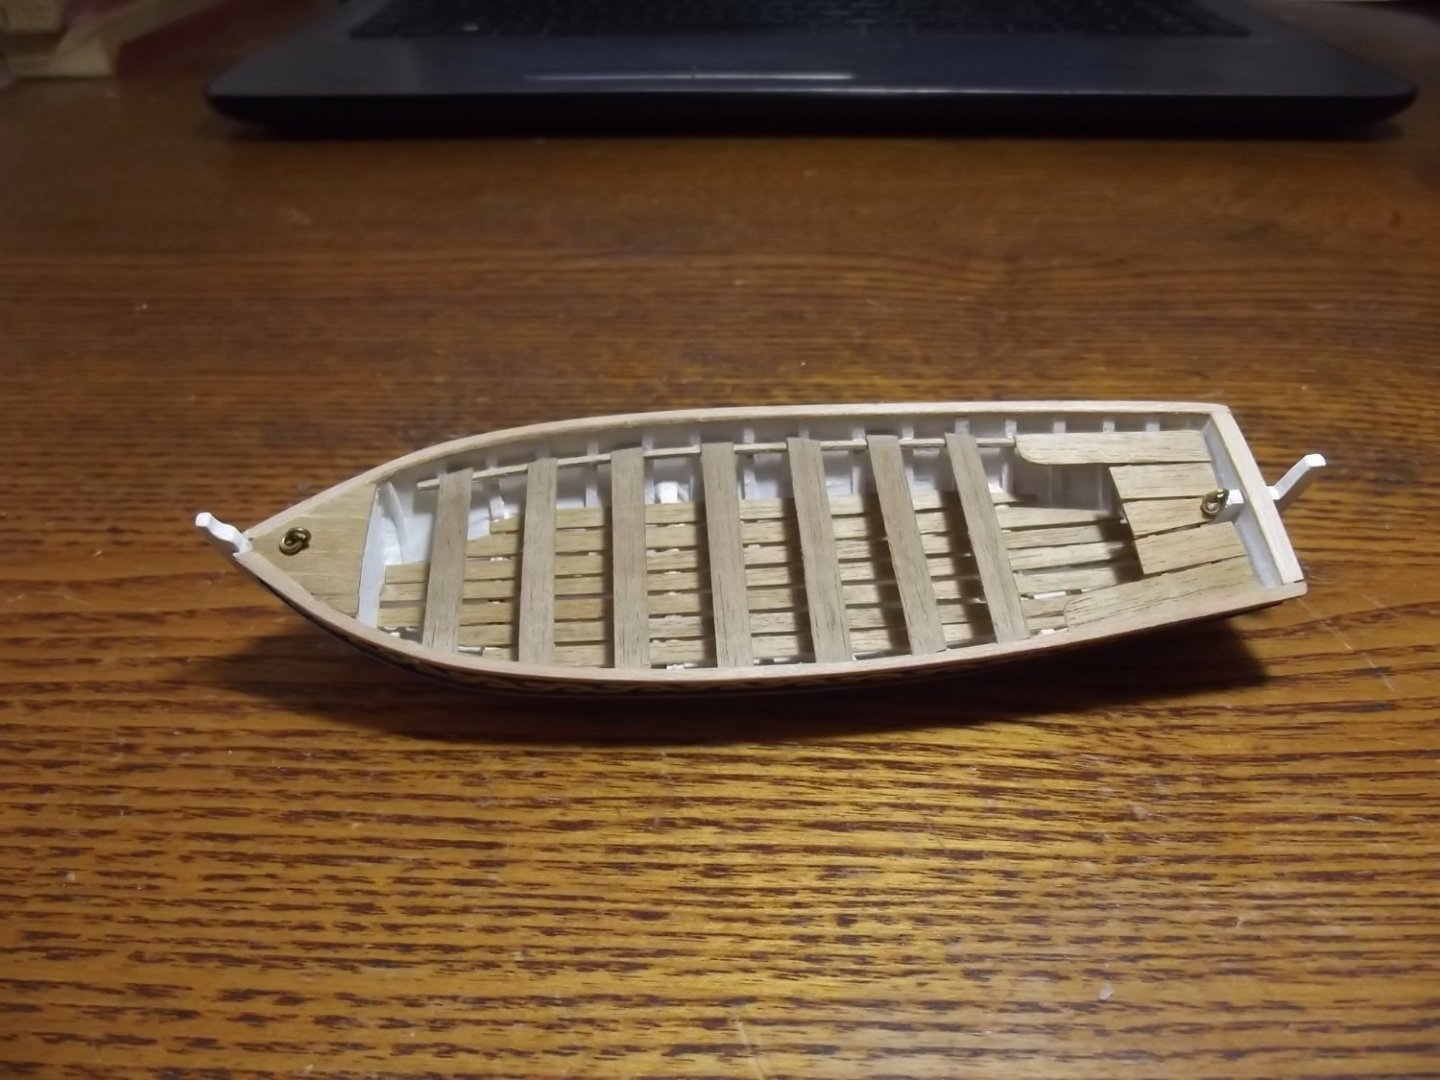
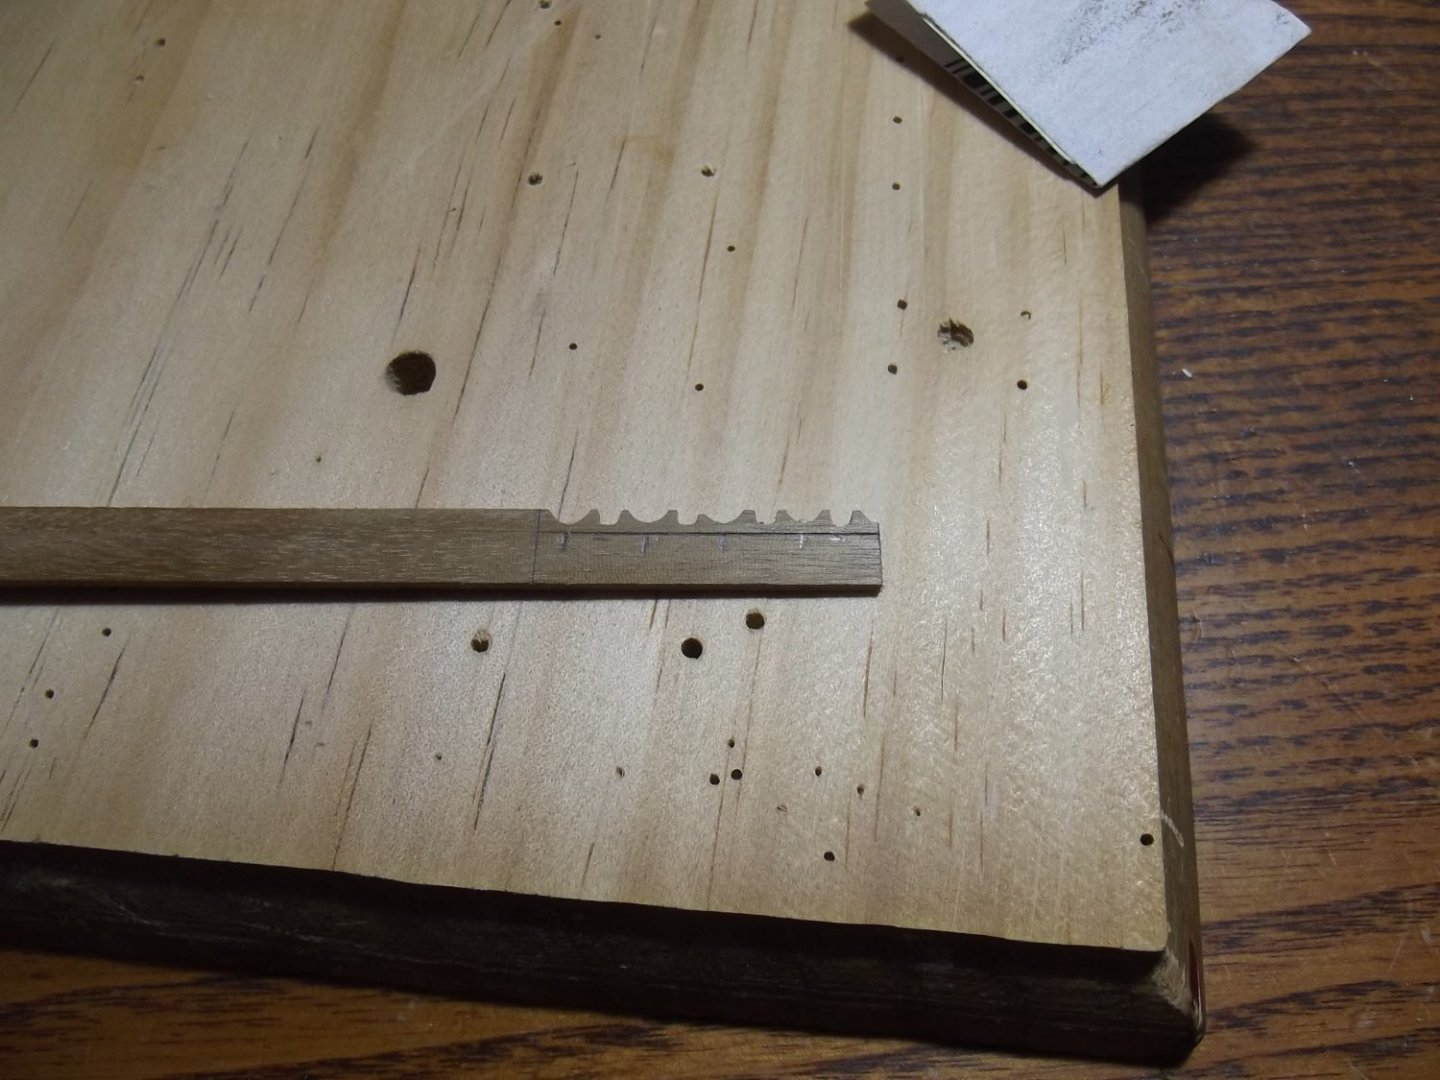
Next was the oars, I chose to only make 4. The instructions call for you to drill 2mm holes in each end of a block of 3x3mm stock to insert the oar shaft in one end and the handle in the other. I have learned from experience that using a conventional twist drill is likely to split the stock so I used a 2mm slot drill (used for milling, resembles a drill but with a flat end). By using an edge finder I set the machine vice to centre the hole with the help from some scrap stock glued to the vice with C.A. to ensure repeatability. The boat is done.


-
I've made the oarlocks and fitted out the boat. I decided to do the oarlocks in a run just by filing the profile then cutting them off, seems to have worked well. That being done I was able to finish painting, decorating and varnishing the boat.

-
Valeriy, that is nothing short of awesome!