HOLIDAY DONATION DRIVE - SUPPORT MSW - DO YOUR PART TO KEEP THIS GREAT FORUM GOING! (89 donations so far out of 49,000 members - C'mon guys!)
×


Bedford
-
Posts
1,297 -
Joined
-
Last visited
Content Type
Profiles
Forums
Gallery
Events
Everything posted by Bedford
-
 Keith, the fore and aft wheel is not uncommon in launches like that, I'd be inclined to keep to the original. If nothing else it's a bit of a talking point.
 -
I'm going to have to buy a thesaurus to keep commenting on this build, superlative, superlative, etc, etc and so-forth.
-
Another master class, very interesting technique for creating the nav lights. What did you use for the lenses?
-
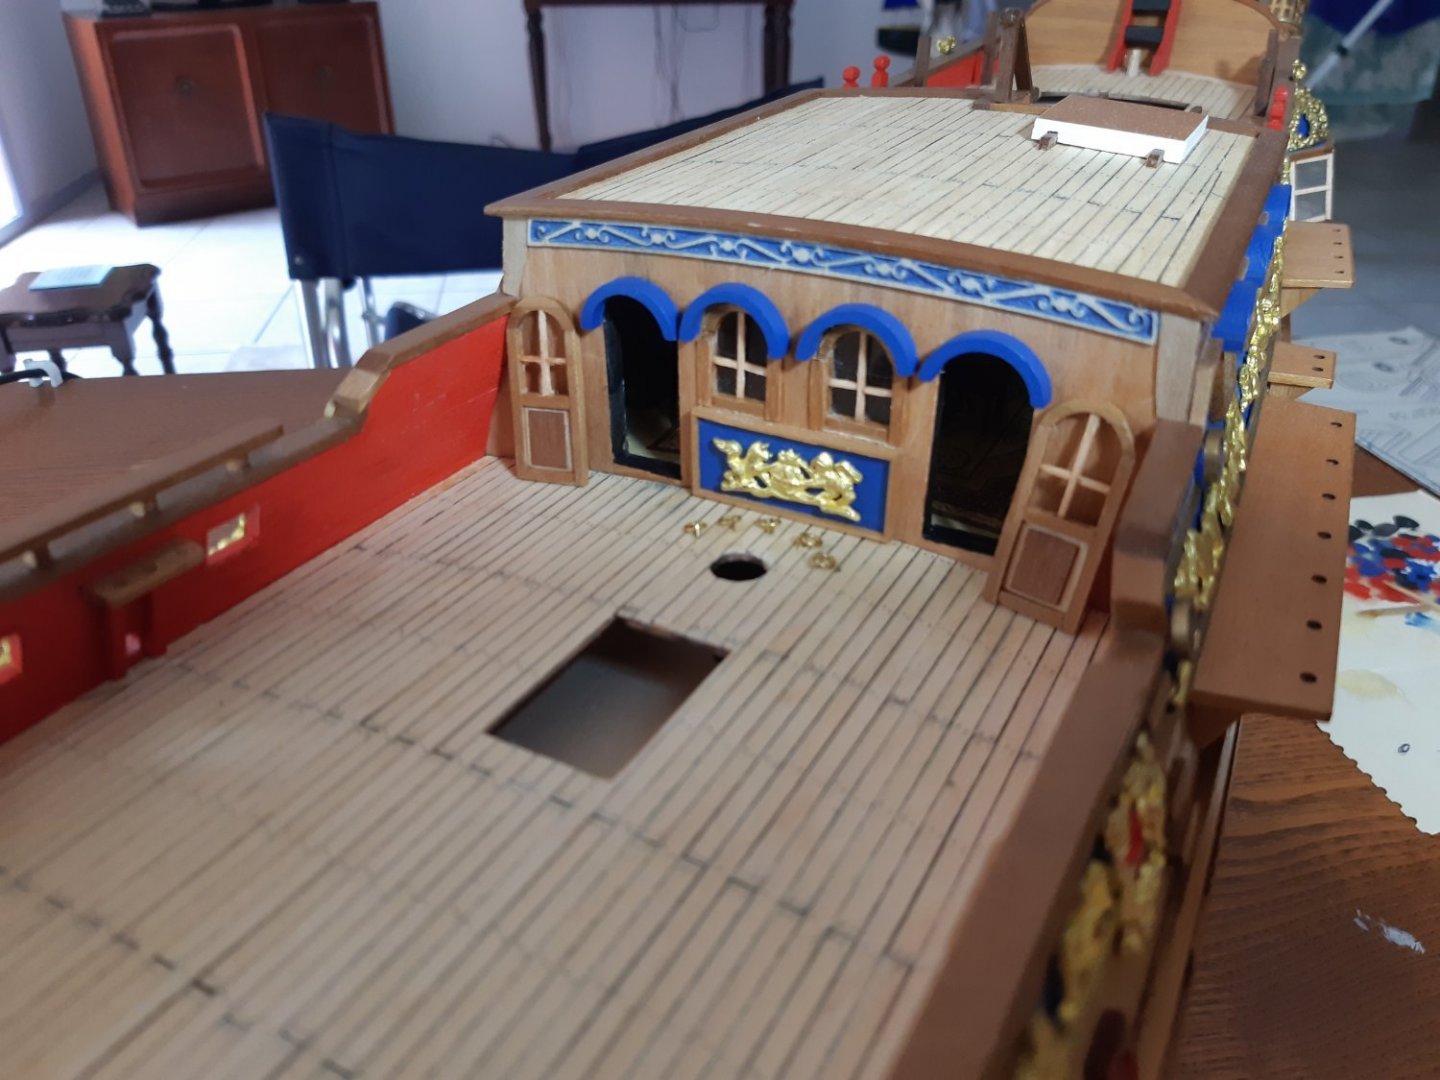
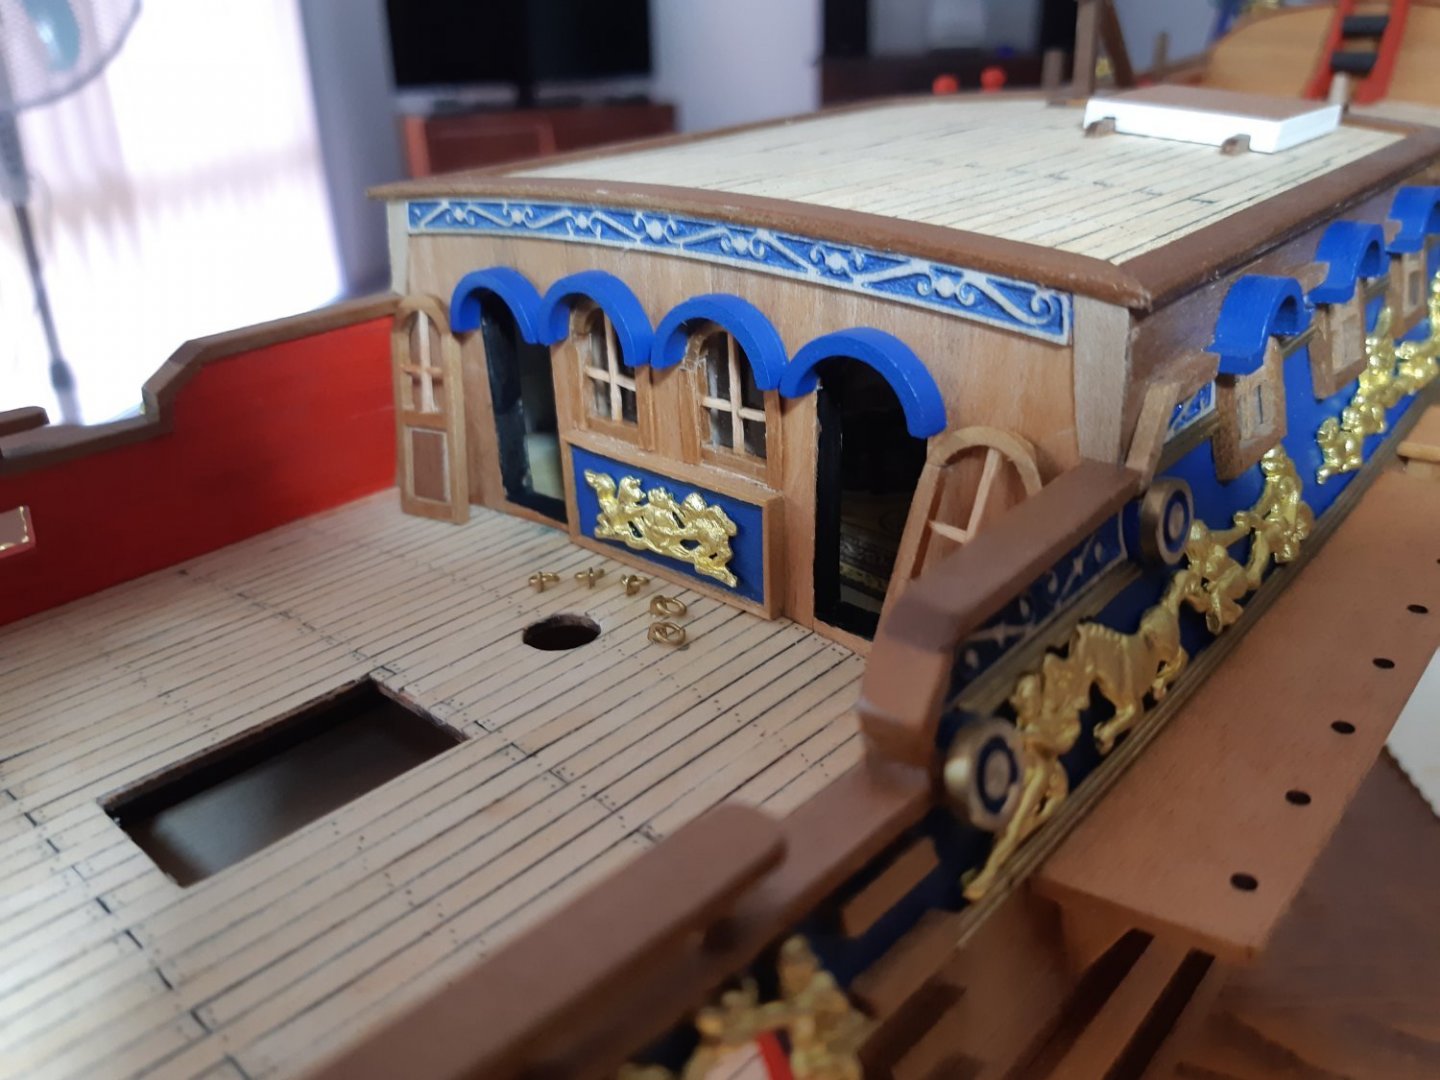
Progress! I've finally made some progress on the RC, the doors and windows to the kings cabin and since I want the doors open so you can see inside I had to redesign them. One thing I will say to anyone wanting to build this model, for the sake of your sanity finish the exterior of this bulkhead BEFORE doing anything else on this model, don't lay the keel, don't fit the frames until this bulkhead has the facing planks, doors, windows and crest finished.
-
Eberhard, the coal bunker on S.T. Waratah has the same method of clamping down the canvas cover. I think you'd find there were wooden planks with bar handles set into rebates for ease of handling. Canvas over the top and wedges driven in between the clamping battens and their brackets. You've recreated it very nicely.
-
15' Dinghy by Bedford - FINISHED - 1:1 scale
Bedford replied to Bedford's topic in Non-ship/categorised builds
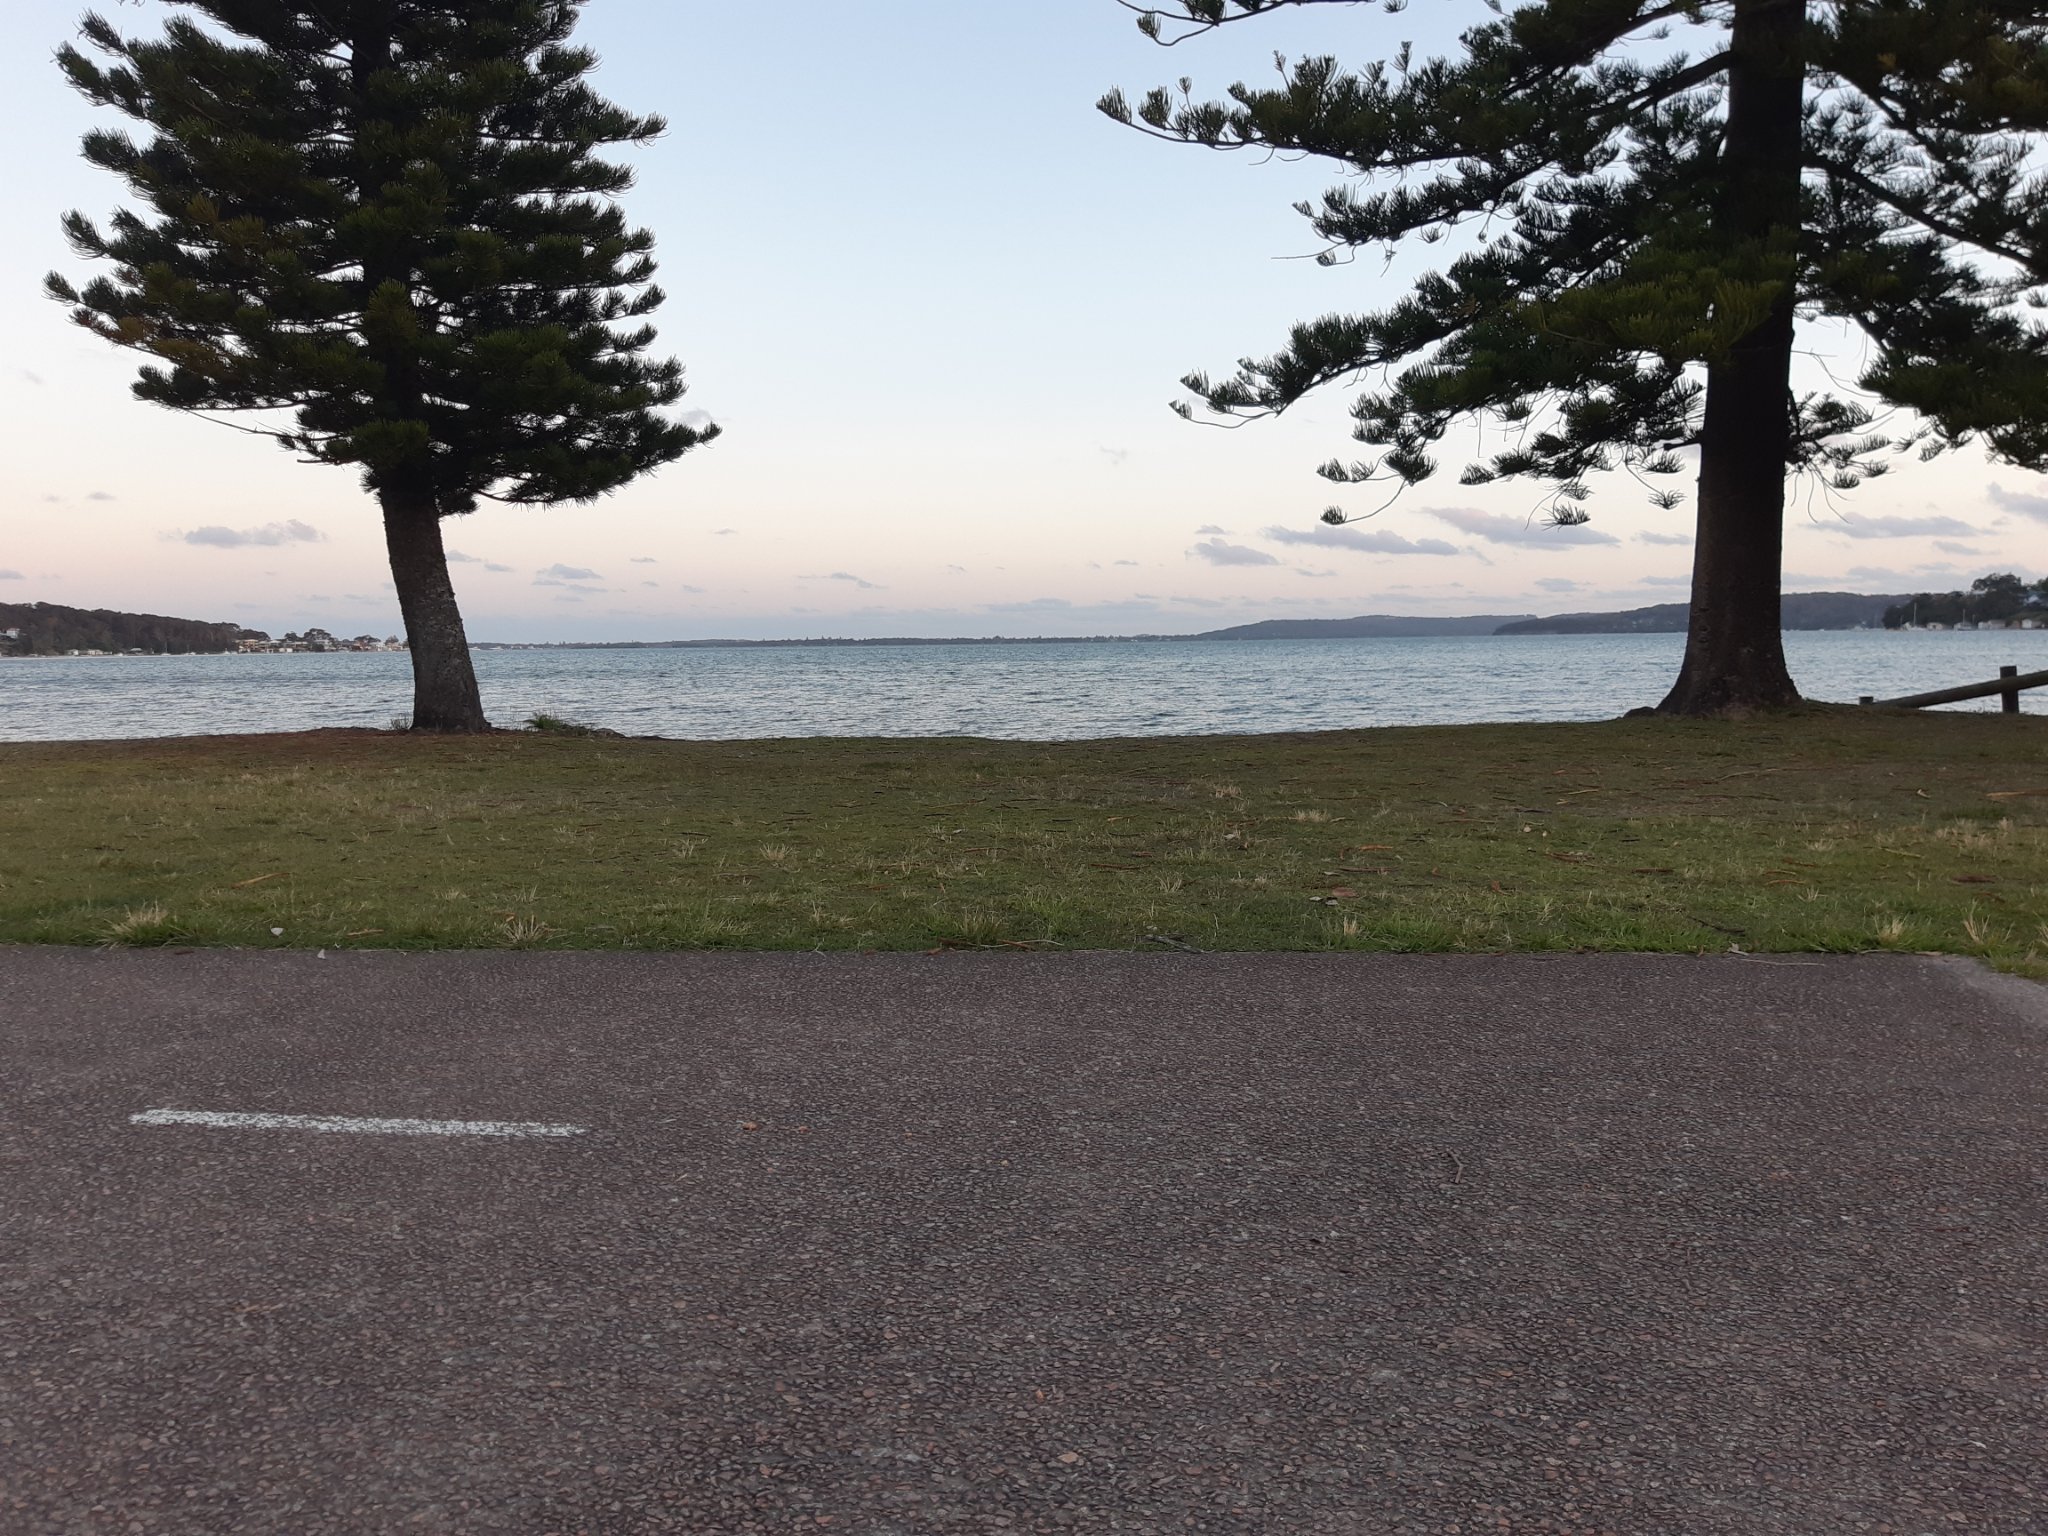
A little update on my current situation, as a lot of you know I have finally found a new place to live and it is about 800 metres from the largest salt water lake in Aus. My modelling progress has been slow but the "Miss Caroline" model suffered a little damage in transit with the turnbuckles for the stay and stb shroud letting go. This has now been repaired and she is as good as new. No pics because you've seen it. The full size "Miss Caroline also suffered a little damage during transit in the form of a rope fender which is secured between the mast and stern sheets in transit somehow bailed on its duty allowing the mast and wire rope ends to damage the stern sheet planks. I have since sanded that out and re-oiled the affected timber, again no pics because it's not unlike what you've already seen. Now onto the new stuff, I joined the Lake Macquarie Classic Boat Association and along with a weekly rowing session in an Oughtred designed "St Ayles Skiff" I am taking part in the restoration of an old wooden speed boat, lapstrake hull, copper nailed and roved and an old Ford V8 to go into her. I've been working on the laid deck consisting of Australian Cedar with Yellow Cedar inlay strips and it's something I've wanted to do for years so I'm really enjoying this little group. I'll make some progress on Royal Caroline in due course.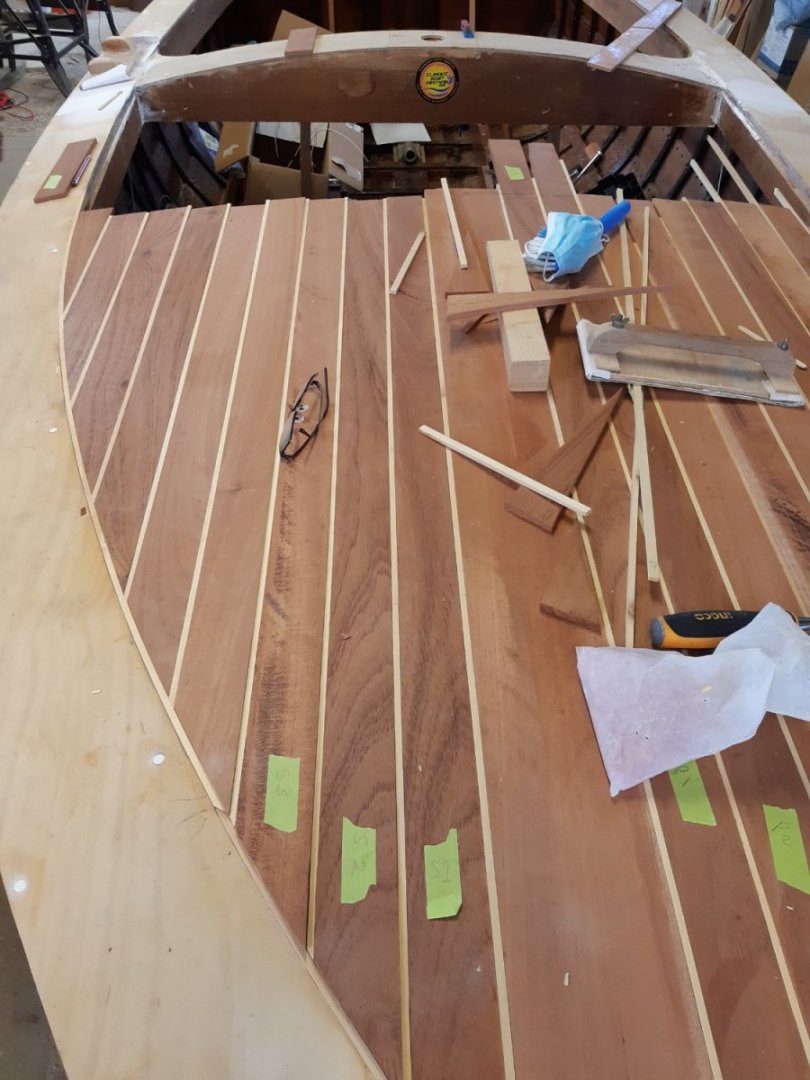
- 109 replies
-
- 12
-

-
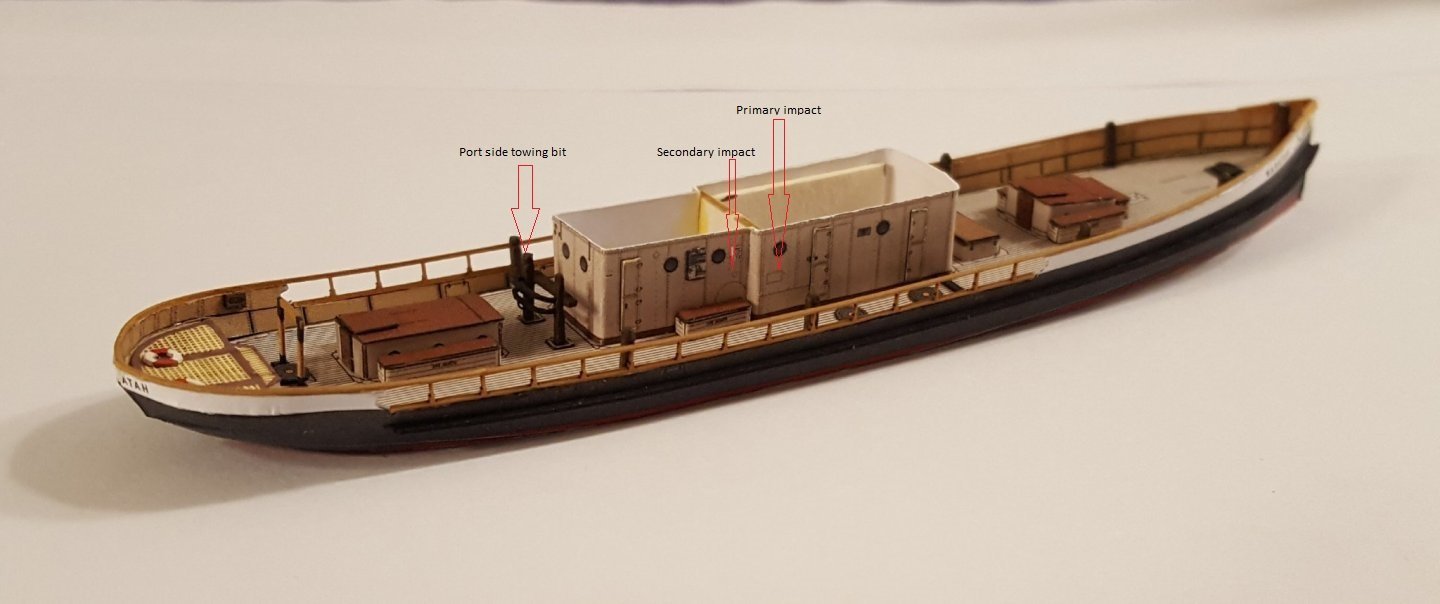
Chris, you should have got in touch with any questions, I didn't know you were building her and I crew her! I've said before that I'm impressed with the accuracy and detail and you've done a great job. A few points of interest:- The towing bit (that's what we call it) has much greater rope wear on the port post than the stb. This is because the hooks were outlawed not long after she was built and they made tow lines off to the port post to counter prop walk. The "locker" aft of the forward accommodation is actually the coal bunker as are the circular covers either side of the superstructure. You seem to have the life jacket boxes in the correct places except their isn't one across the front of the forward accommodation. Rather there is a low frame to hold the fire buckets. The box there seems to be forcing the mast too close to vertical. The life jacket boxes go either side of the forward and aft accommodations and either side of the engine room. I'm impressed that the model even includes the wartime patches to the stb side of the superstructure, in both wars she was charged with clearing incoming ships (making sure they were friendly) and she had to fly the flag of the day when returning to harbour. One day ( in WW2 I believe ) they forgot said flag and on return to Newcastle harbour a shore battery opened fire. The shell penetrated the wall of the galley (big patch) then through to the upper engine room. No major damage as it didn't explode and I believe only minor injuries to one crew member. Pardon the typo below, there's no such thing as a lox frame but there are low frames.

-
Did you know that it's dead easy to de-varnish the wire? Just burn it off with a cigarette lighter then run it through some emery cloth or similar. I'm an old motor winder!
-
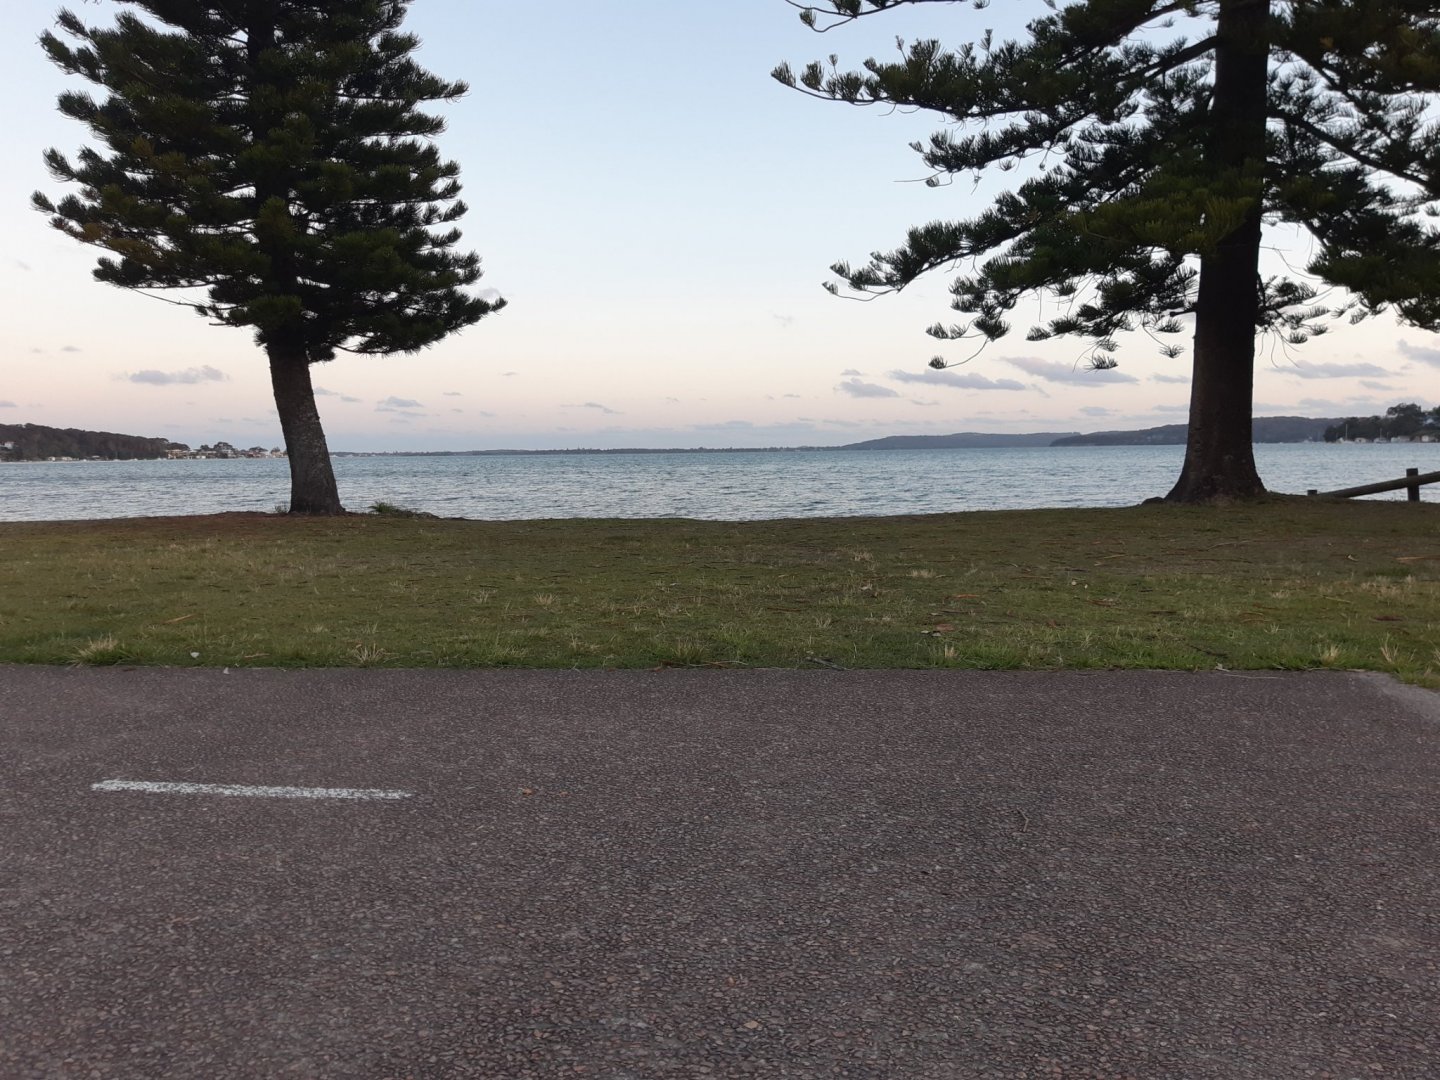
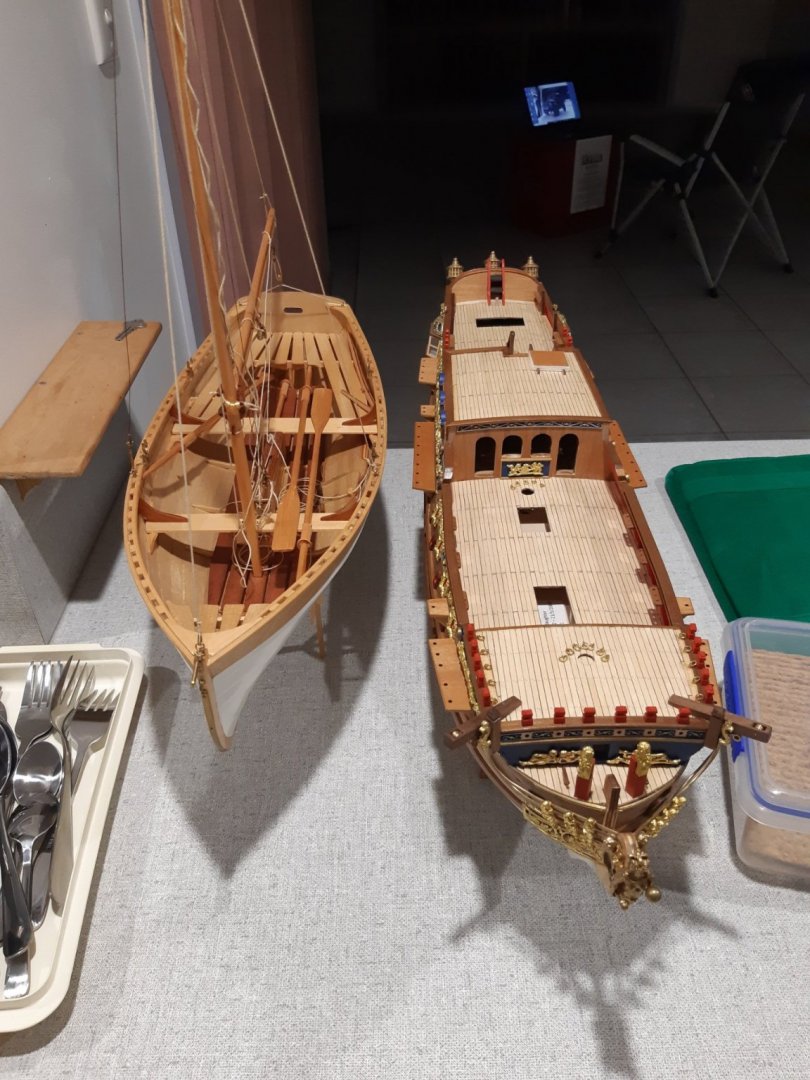
Well folks, the day has arrived, I'm in my new home! No furniture etc yet, that comes tomorrow but here's a pic of the RC sitting in readiness and the MC keeping her company. As well as a pic taken just 900mtrs from my front door. 2 mins drive to the boat ramp as opposed to almost an hour.
-
That's looking really good now. As you said, the power stroke may be naturally slowed by the work load but those servos are very low geared so probably not a whole lot slower. I'm really enjoying this experimental build.
- 536 replies
-
- 2
-
-
- Quadrireme
- radio
- (and 1 more)
-
That's coming along nicely, I know you're aiming for the most realistic motion you can get so as a rower I think the strokes are way too fast at this stage. It takes a lot of effort to move oars that big and that long. I'd suggest that the slow speed you showed should be full speed and is it possible to have the power stroke slower than the return stroke to simulate the extra effort? I would also suggest that the pause is too long, it probably only needs to be long enough to be discernible.
- 536 replies
-
- 1
-
-
- Quadrireme
- radio
- (and 1 more)
-
The SHF has opened up to volunteers again, albeit with very restricted numbers so I'd imagine ANMM will follow suit soon as the two organisations work closely. There is always an extra concern for the older members though.
-
Well after approx 17 weeks looking for a new place I have finally found one but I can't move in for about a month. It is within walking distance of the largest saltwater lake in Australia (I think) Lake MacQuarie just a little north of Sydney. So I will take a while to get set up and undoubtedly spend a lot of time rowing and or sailing Miss Caroline on said lake and in between all that I'll get back into the build, the royal yacht awaits.
-
Pleased to have you back Keith, I am still modelling vicariously through the likes of you and Hopefully Michael will be back in the shipyard soon. No idea when I'll find a place to set up again.
-
My news mate!
-
What Michael said!
-
I've had to vacate my home and am having big problems finding another so all my gear is in storage and I'm staying with a friend in Orange, No model building in the near future for me.
-
Good to hear Michael, all the best with it. At this rate you'll be back in the workshop before me.
-
Thanks Mark, I'm still looking at the coastal lakes, Jervis Bay/Lake Macquarie areas but am keeping an eye on the local market because I may have to concede defeat at some point. I lived here for 30 odd years, My kids grew up here, my daughter died here. It feels like home but I do like to be able to wet the boat often and easily so I want to be near one of those lakes, both of which have community groups I could enjoy being involved in.
-
Well as expected I have put everything in storage and am in said friends spare room in Orange. I've been invited to look at one house in all this time and it wasn't suitable but it looks like there is another one on the horizon. Wish me luck!