HOLIDAY DONATION DRIVE - SUPPORT MSW - DO YOUR PART TO KEEP THIS GREAT FORUM GOING! (Only 13 donations so far - C'mon guys!)
×


Bedford
-
Posts
1,291 -
Joined
-
Last visited
Content Type
Profiles
Forums
Gallery
Events
Everything posted by Bedford
-
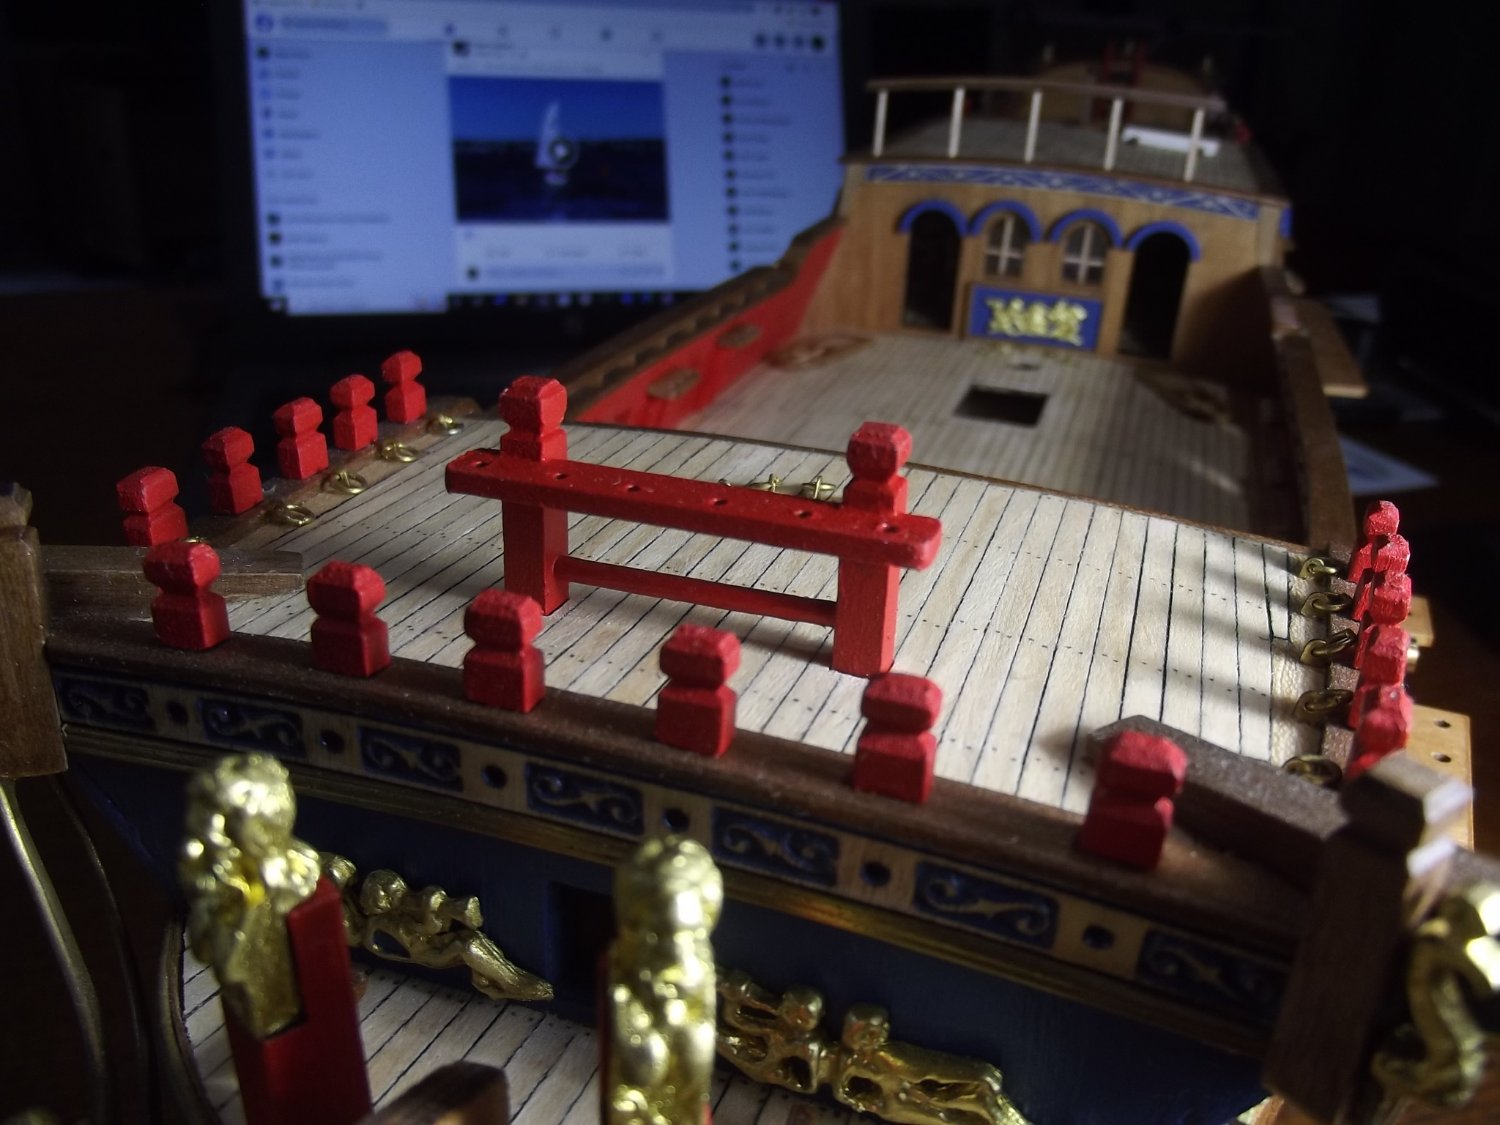
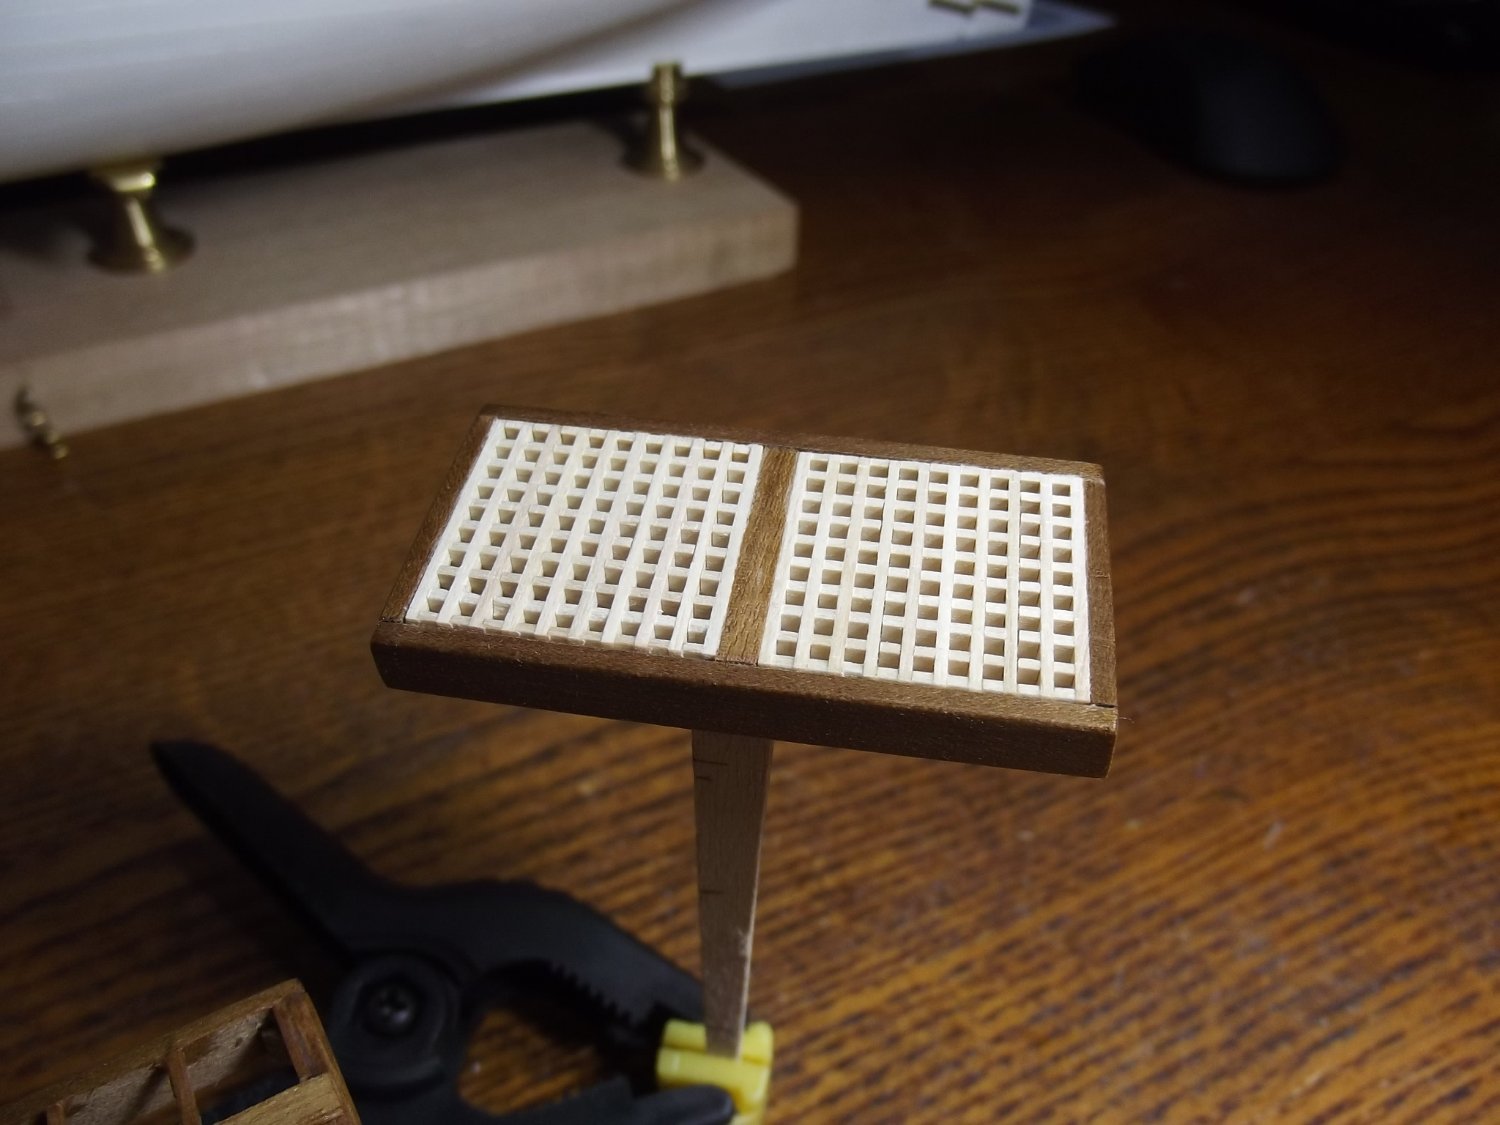
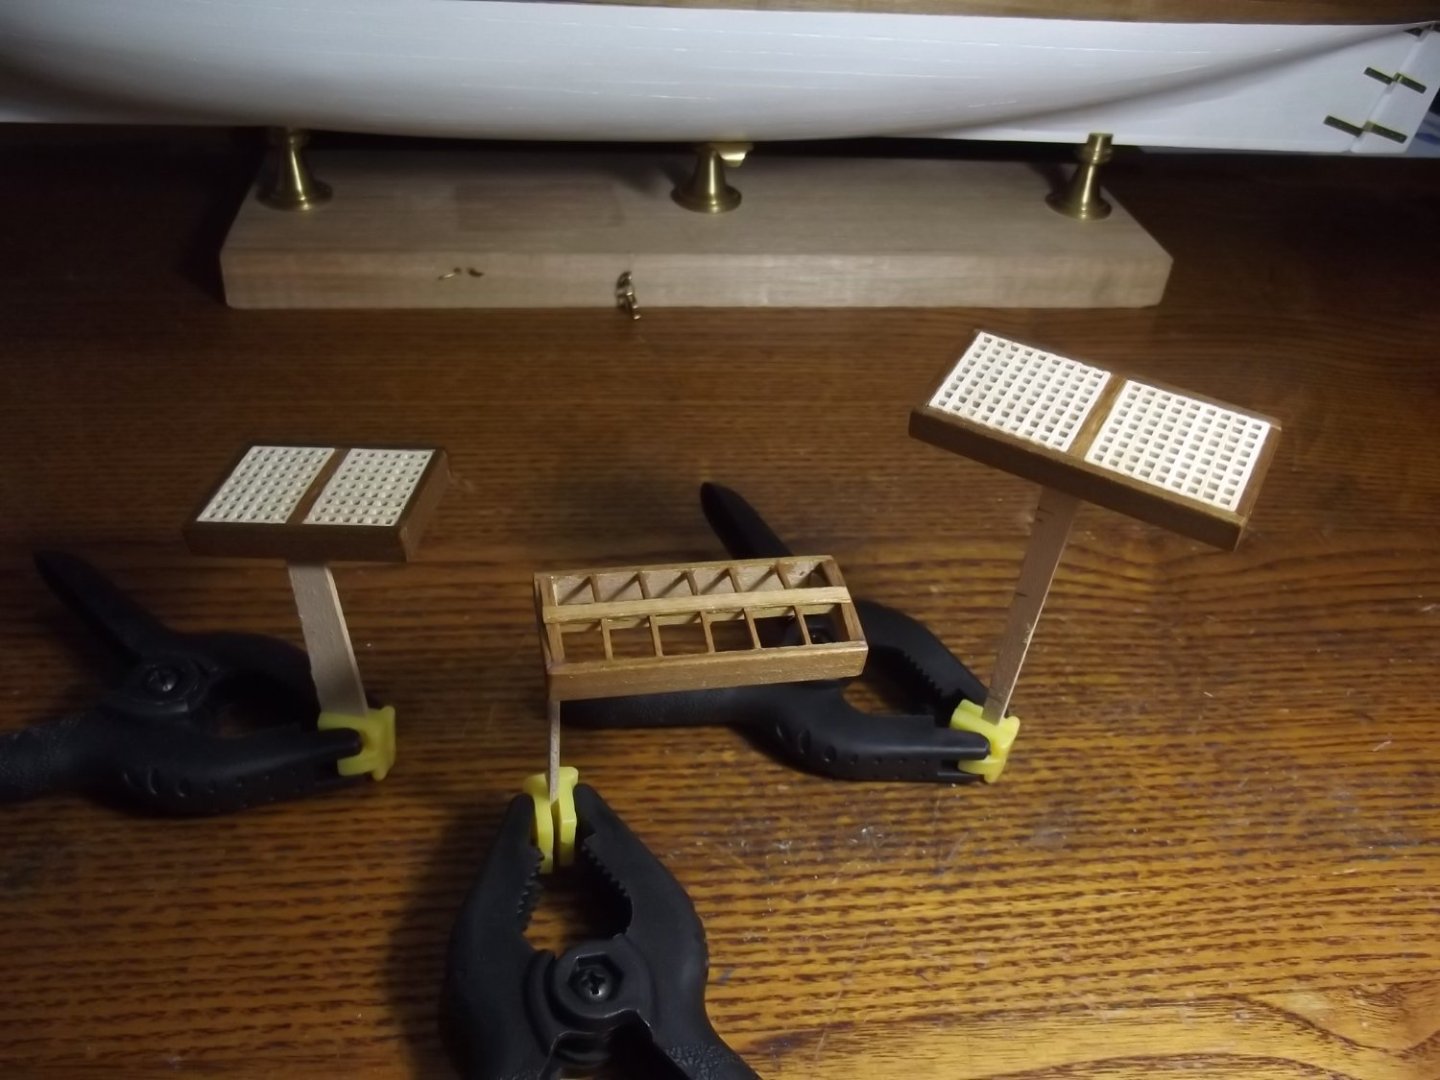
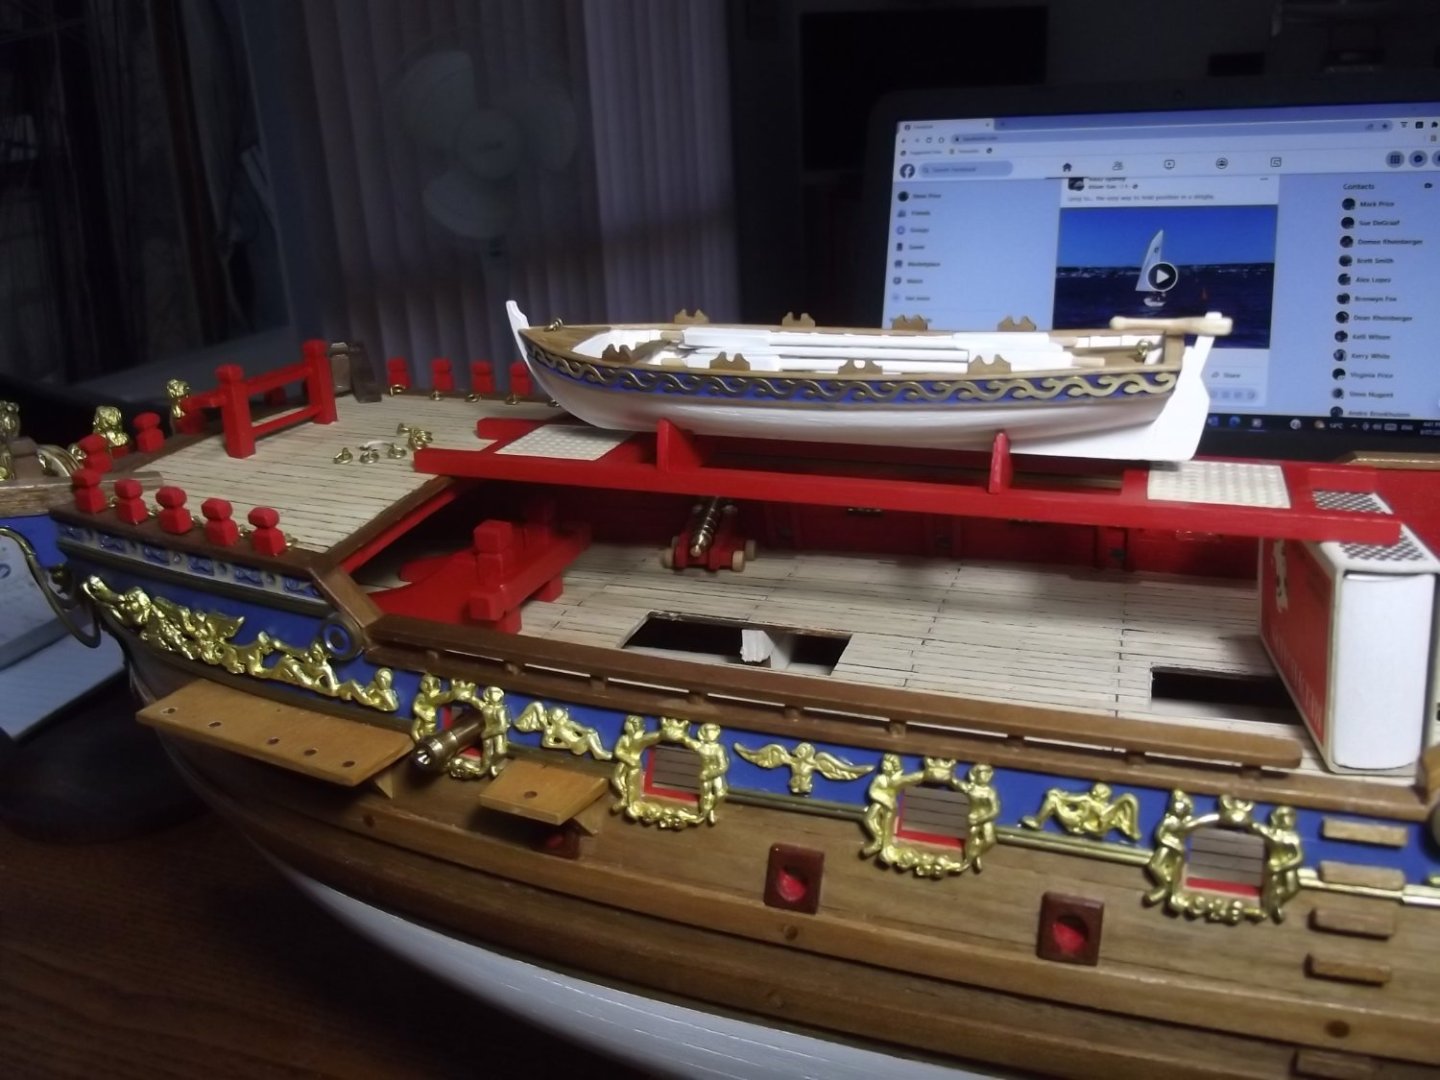
 Waste deck grating, great cabin sky light, anchor bitts, foremast pin rack and boat cradle done. I have to say that these are far and away the best grating components I've ever used!
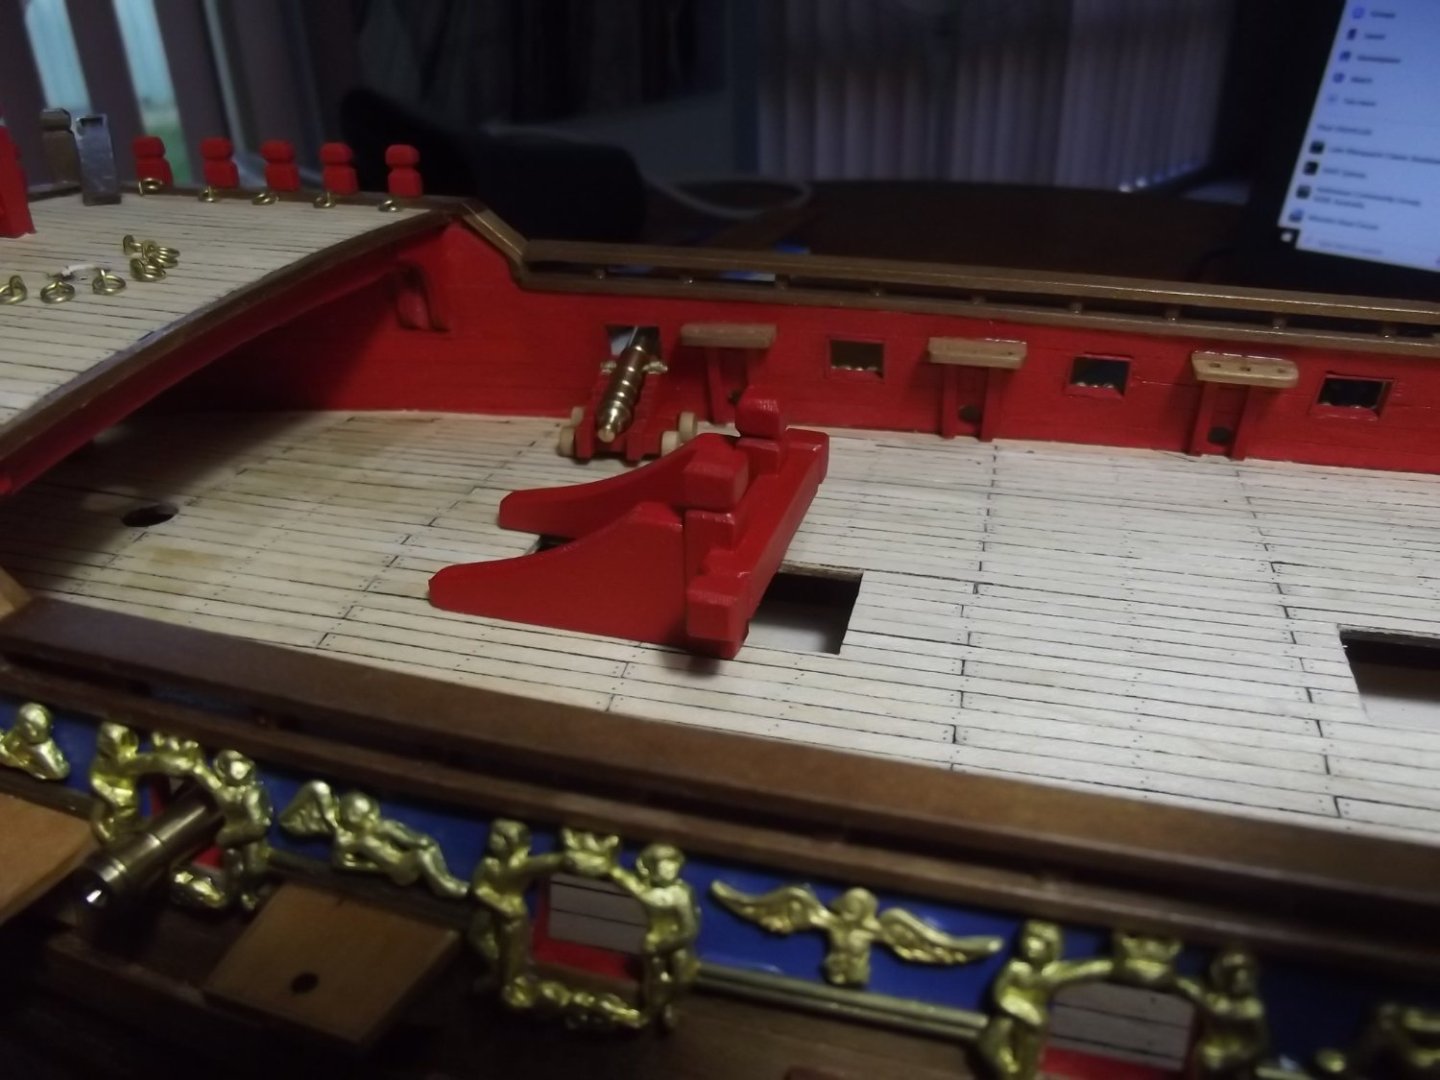


-
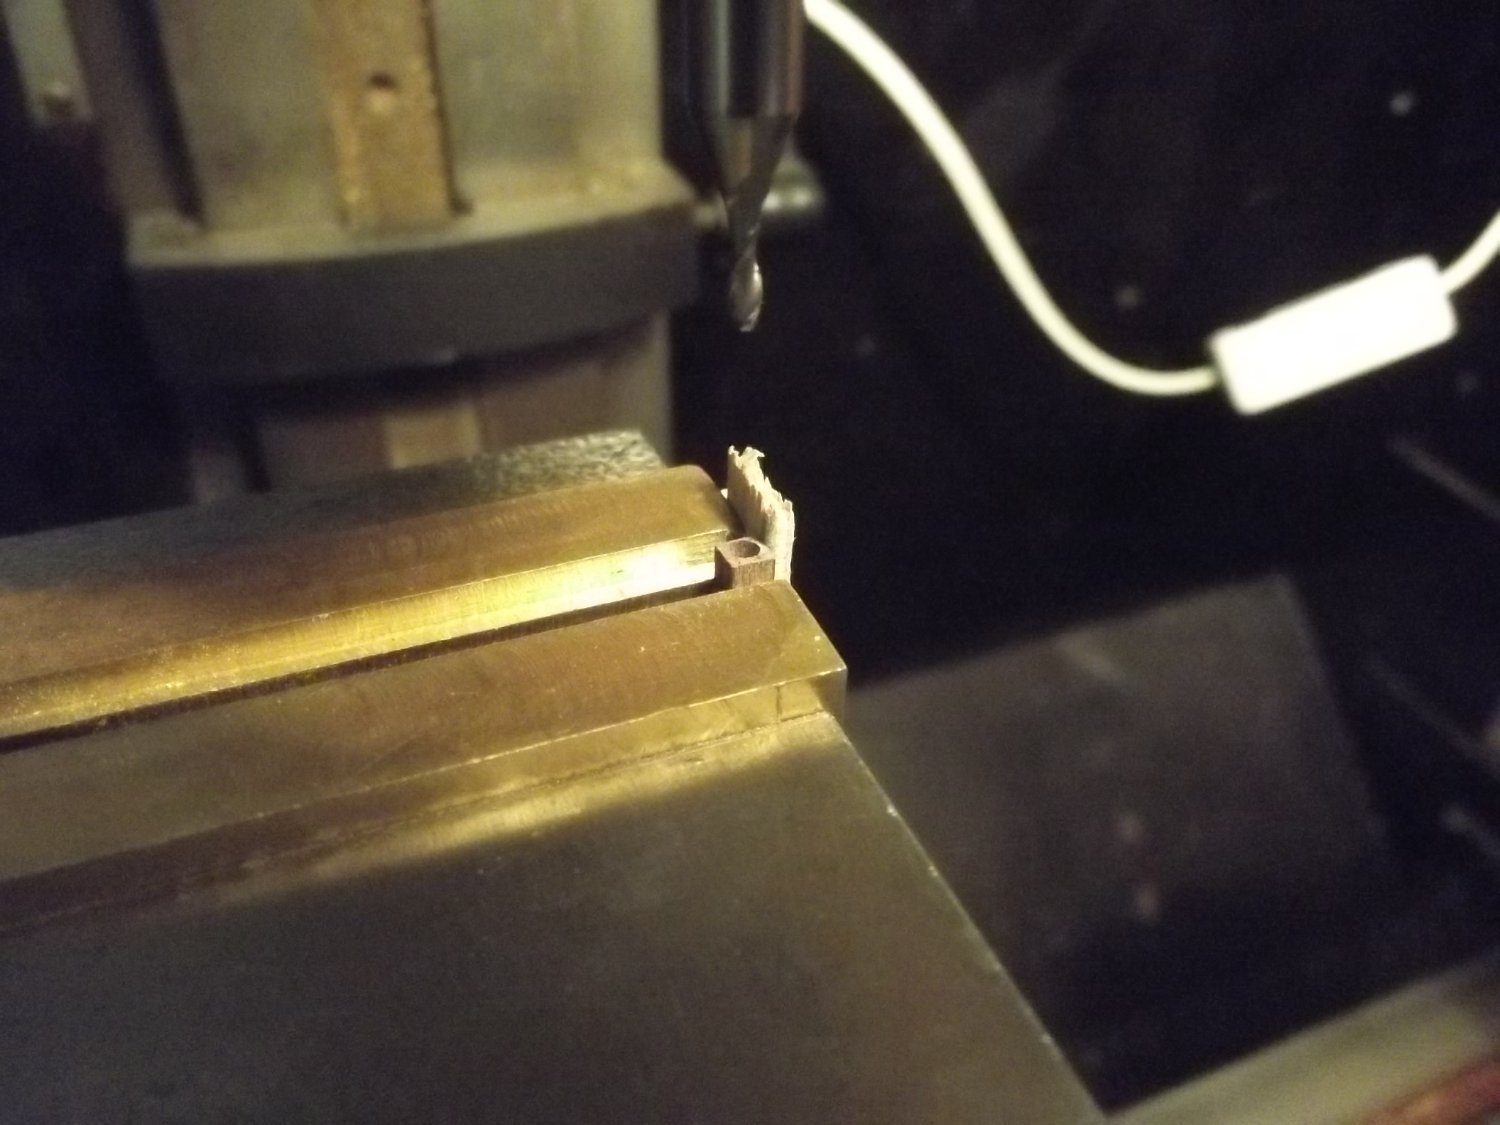
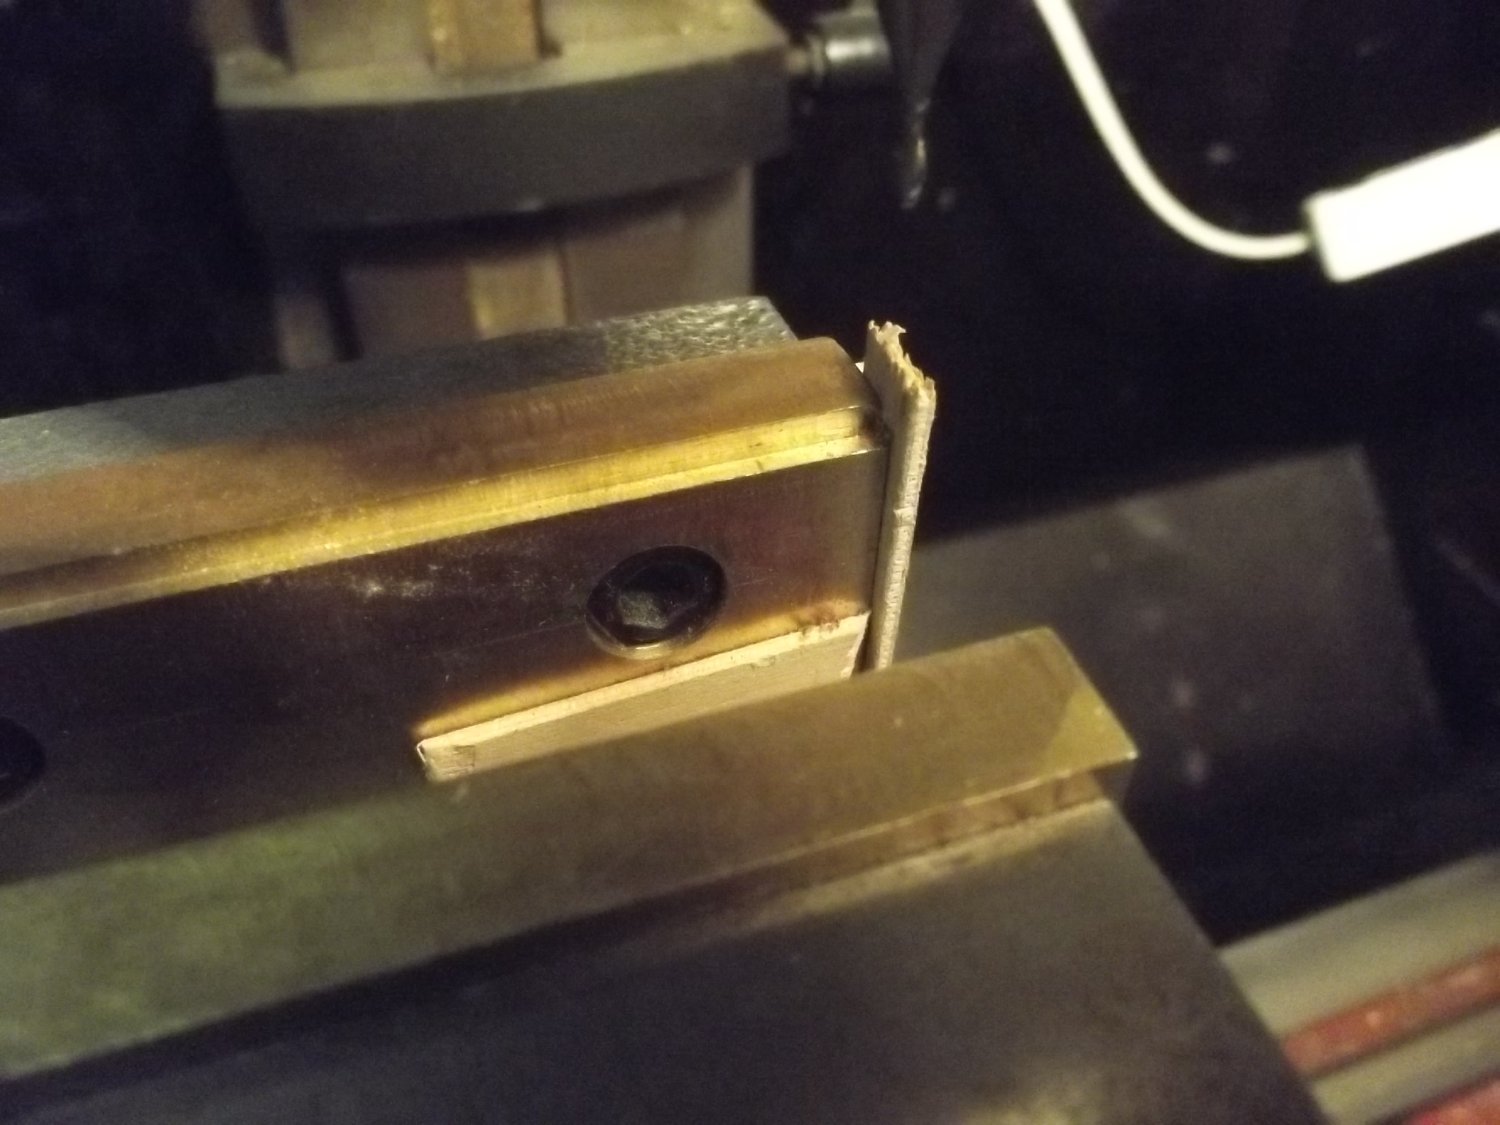
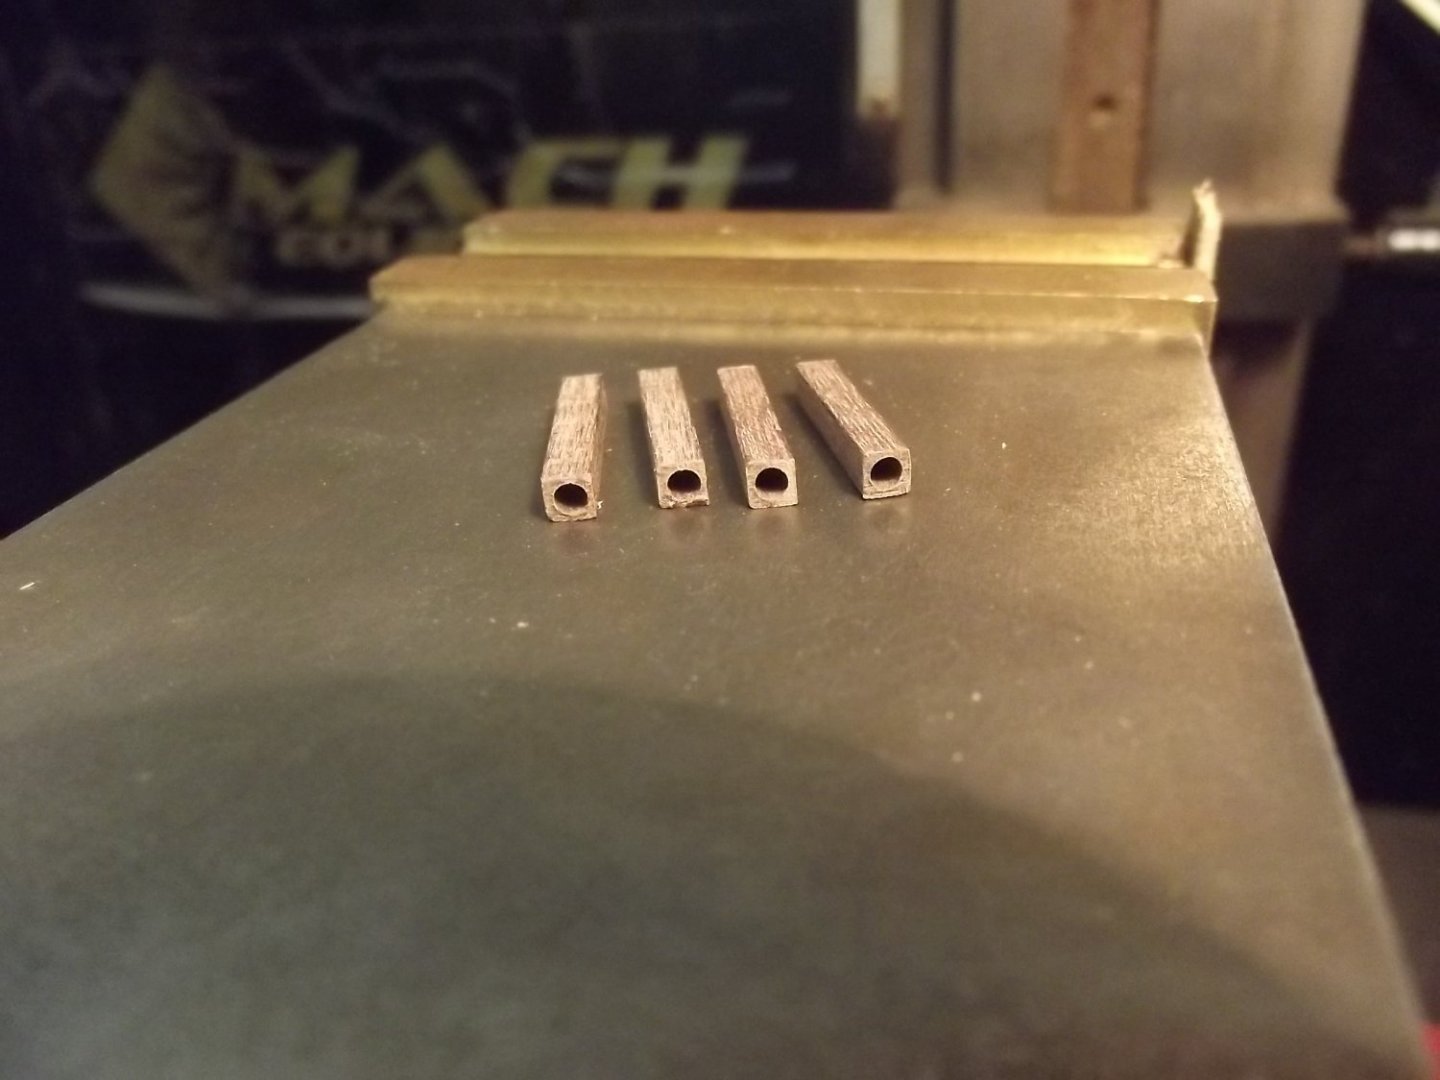
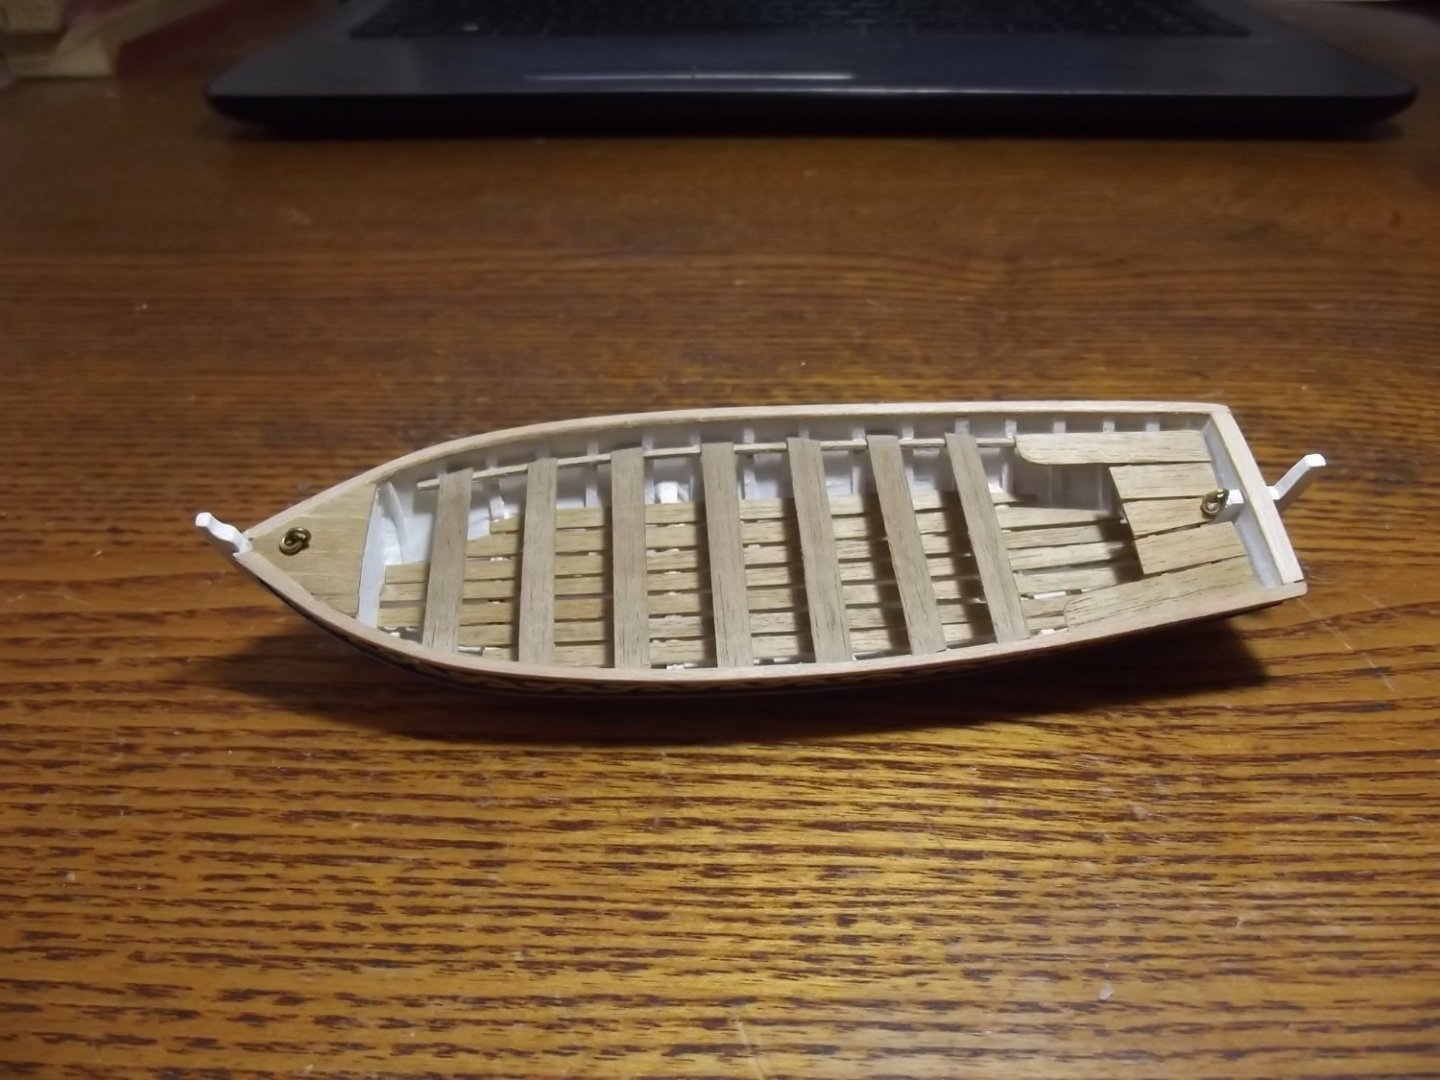
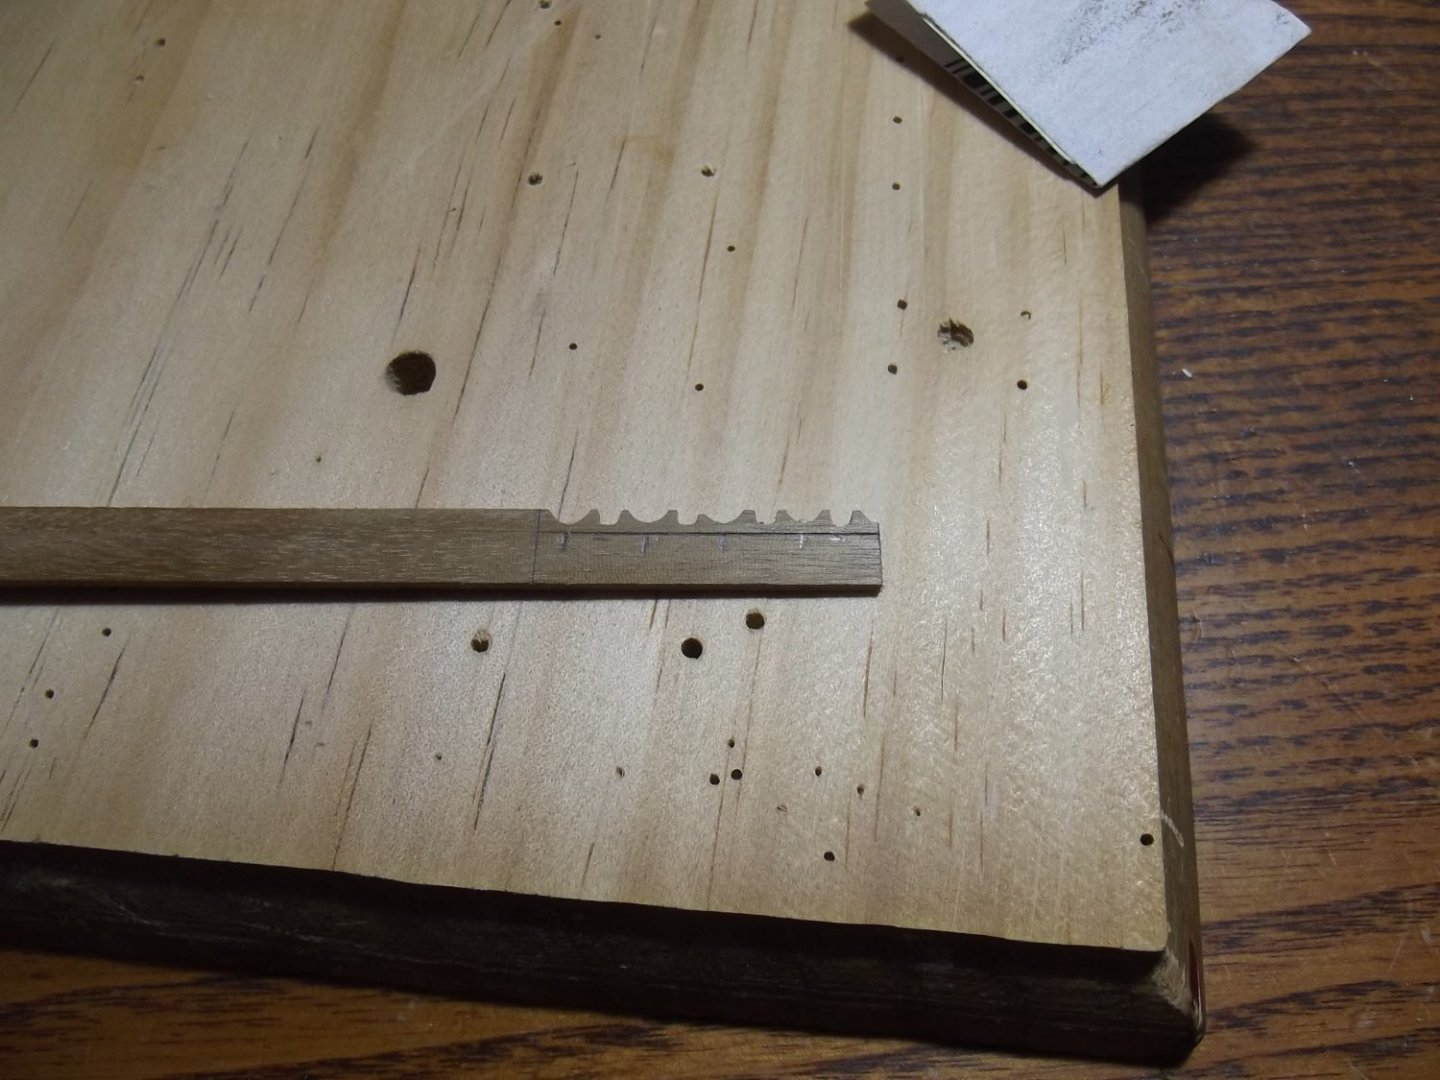
Next was the oars, I chose to only make 4. The instructions call for you to drill 2mm holes in each end of a block of 3x3mm stock to insert the oar shaft in one end and the handle in the other. I have learned from experience that using a conventional twist drill is likely to split the stock so I used a 2mm slot drill (used for milling, resembles a drill but with a flat end). By using an edge finder I set the machine vice to centre the hole with the help from some scrap stock glued to the vice with C.A. to ensure repeatability. The boat is done.


-
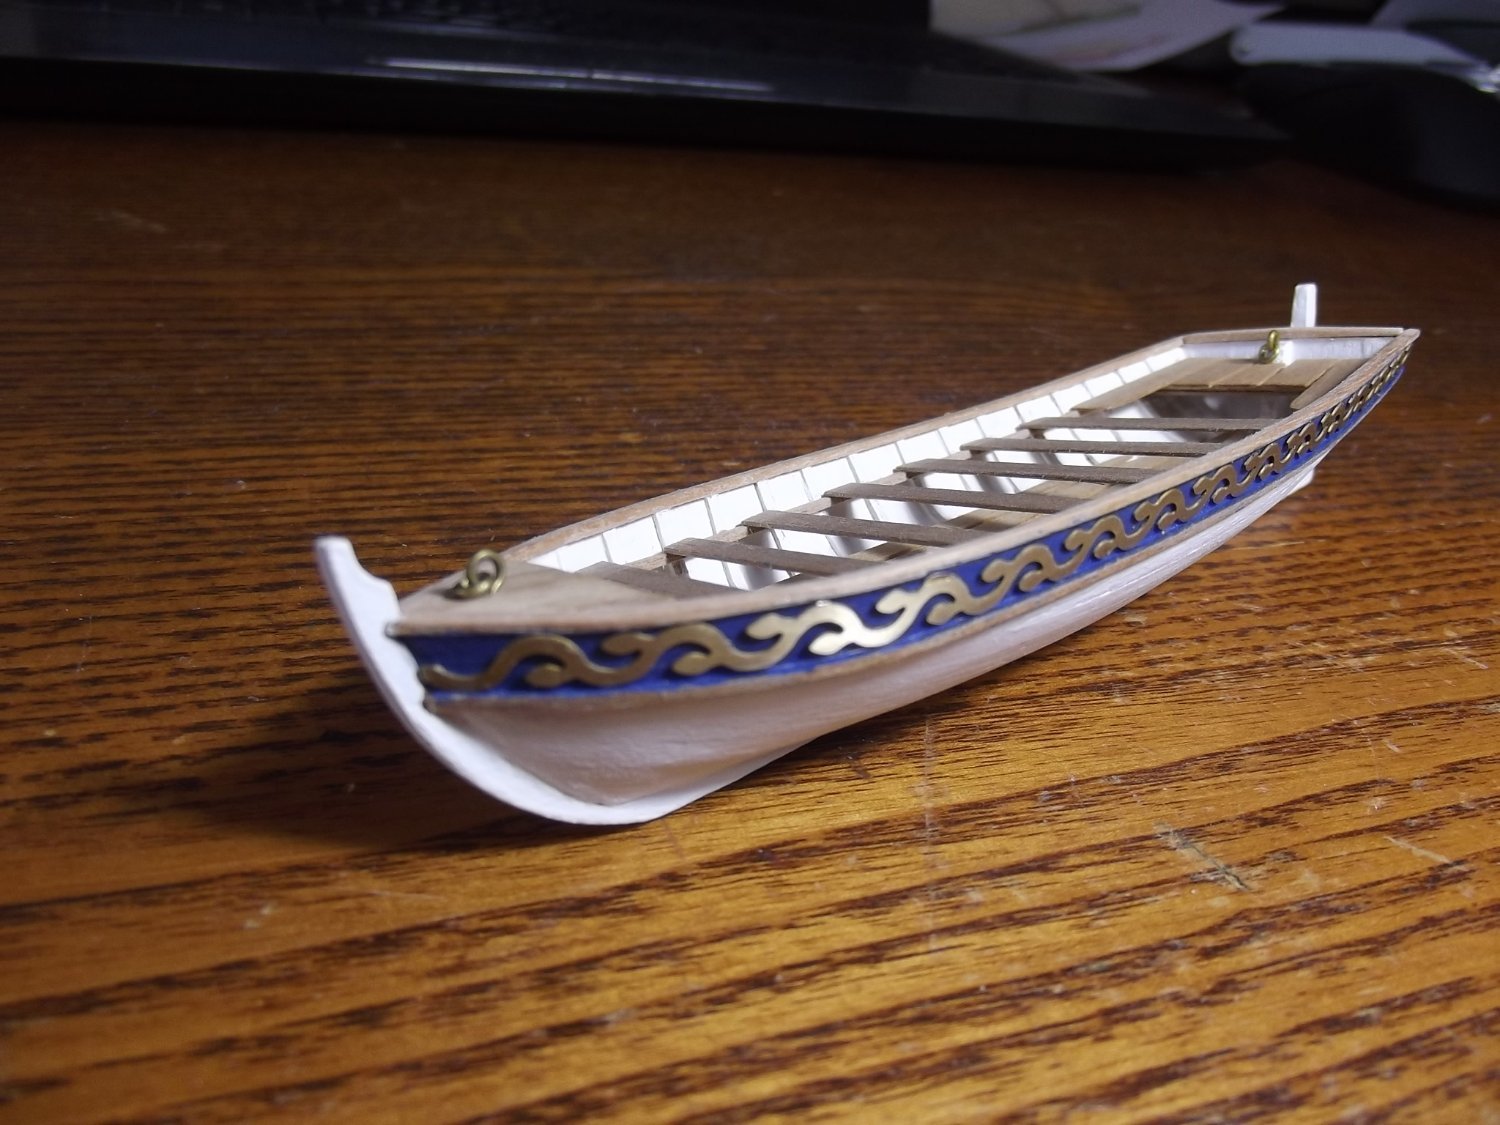
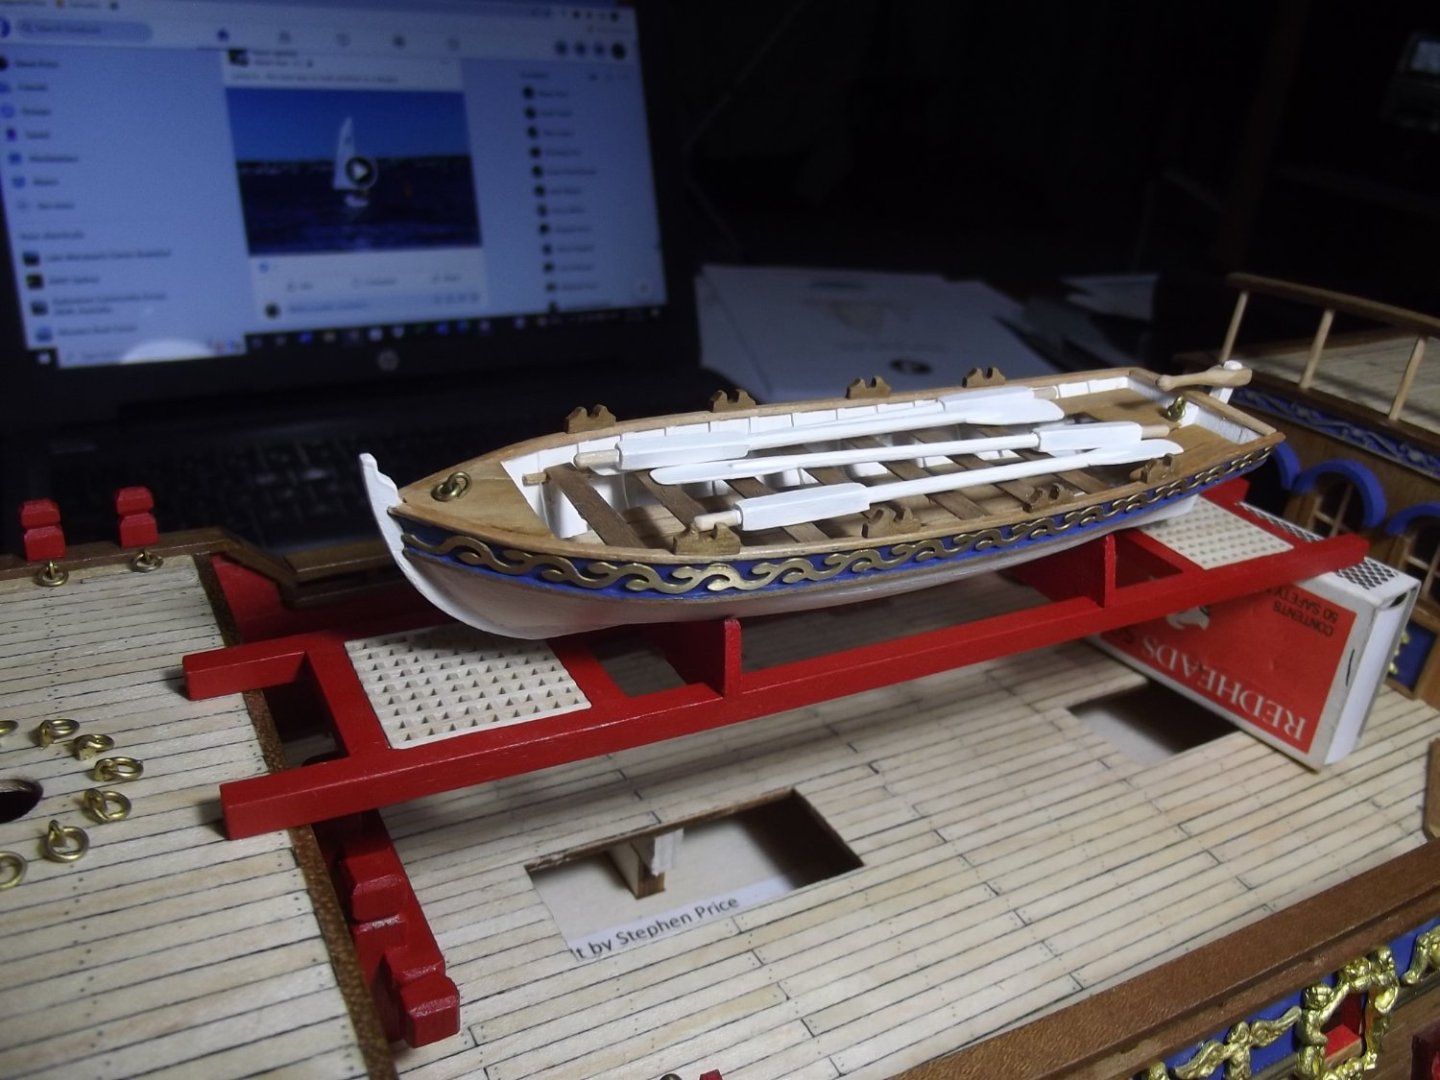
I've made the oarlocks and fitted out the boat. I decided to do the oarlocks in a run just by filing the profile then cutting them off, seems to have worked well. That being done I was able to finish painting, decorating and varnishing the boat.

-
On the subject of space, would you consider making the hull a bit fuller below the water line. Maybe start out a bit flatter before rounding up for the top sides. She will have a fair bit of weight above the water line so a little extra buoyancy and equivalent ballast might be worthwhile.
- 536 replies
-
- 1
-

-
- Quadrireme
- radio
- (and 1 more)
-
If I understand what you're saying then I can see station placement in that drawing. Although the cross section seems very stubby. The station lines are numbered 1 to 23 and immediately below that sketch is a horizontal line intersecting the vertical grid and numbered 1 to 23 right to left. The only things missing are stations 8, 9 &10 but I assume they are the same as 11. All you have to do is sort out if the side view is drawn 1 to 1 or has been shortened to fit the page and by what proportion.
- 536 replies
-
- 1
-
-
- Quadrireme
- radio
- (and 1 more)
-
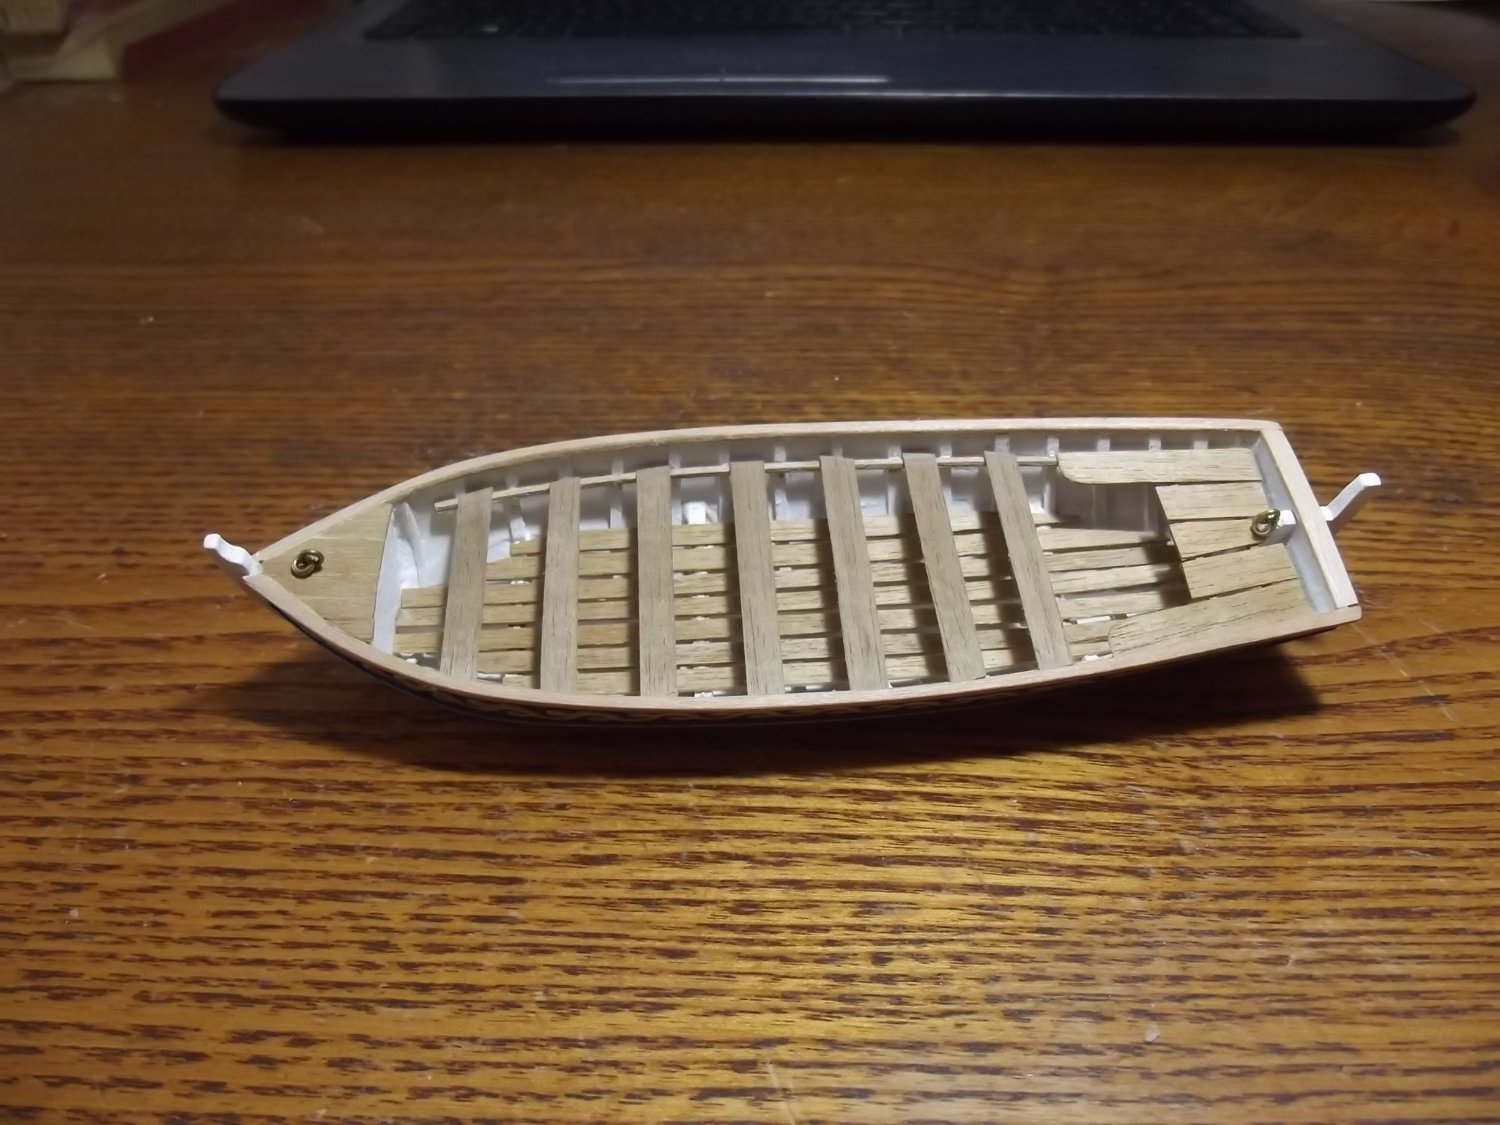
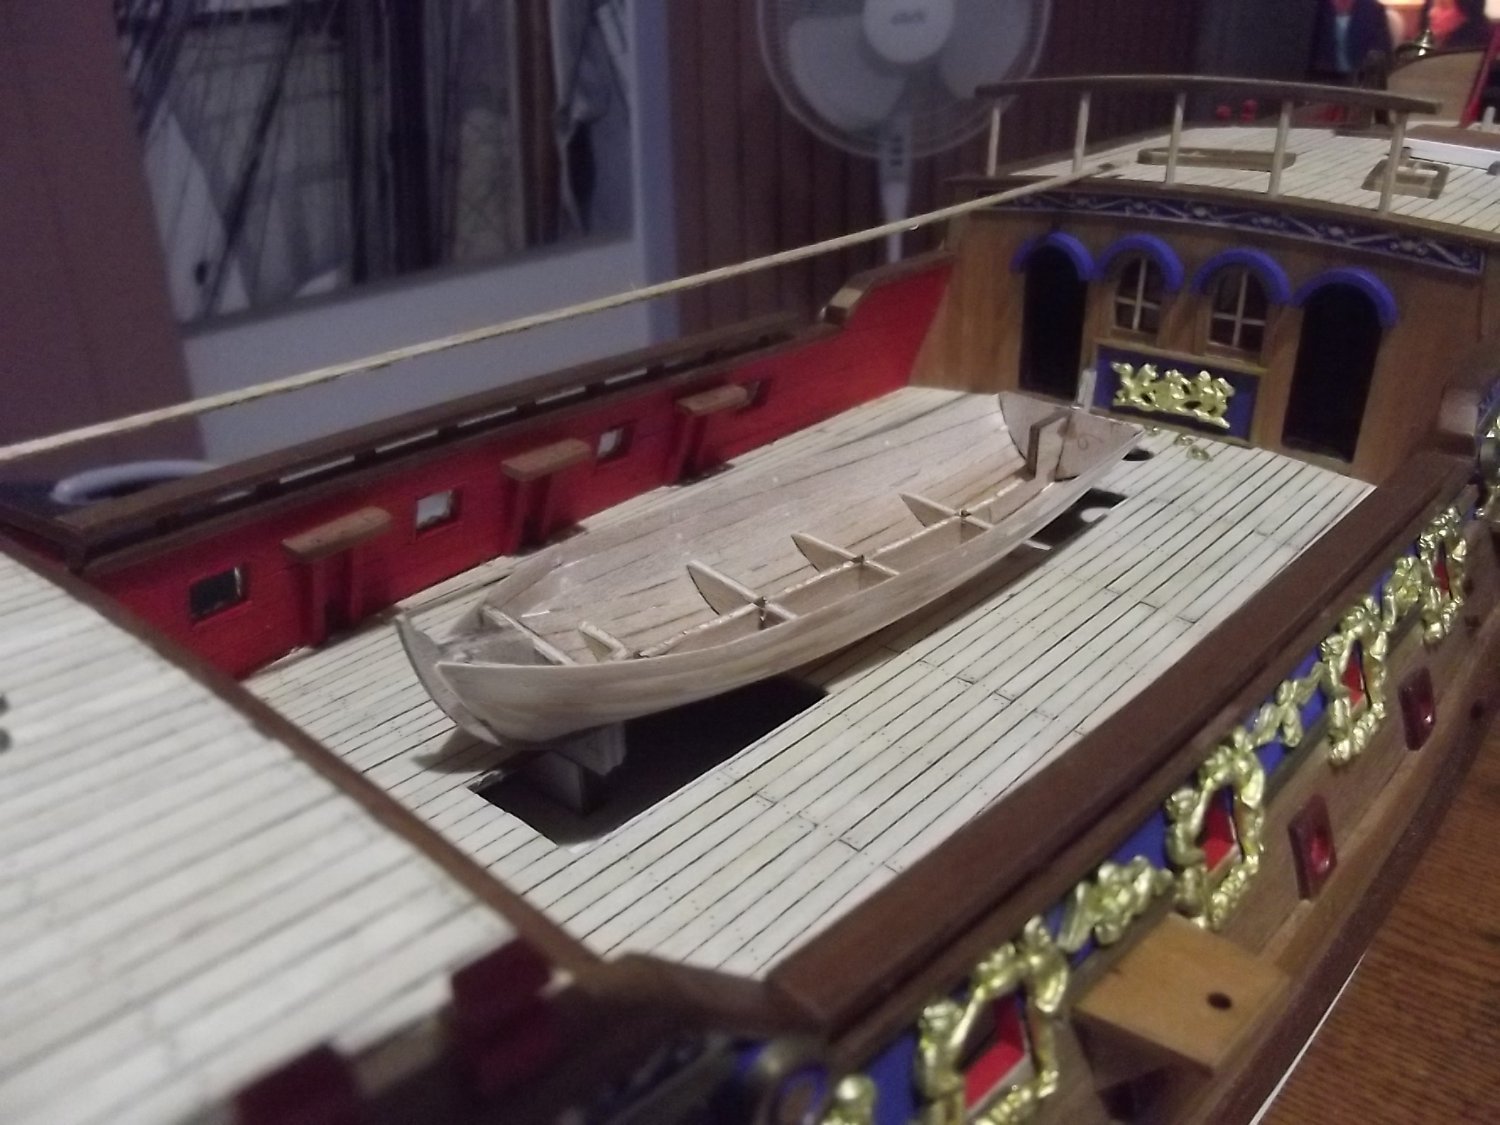
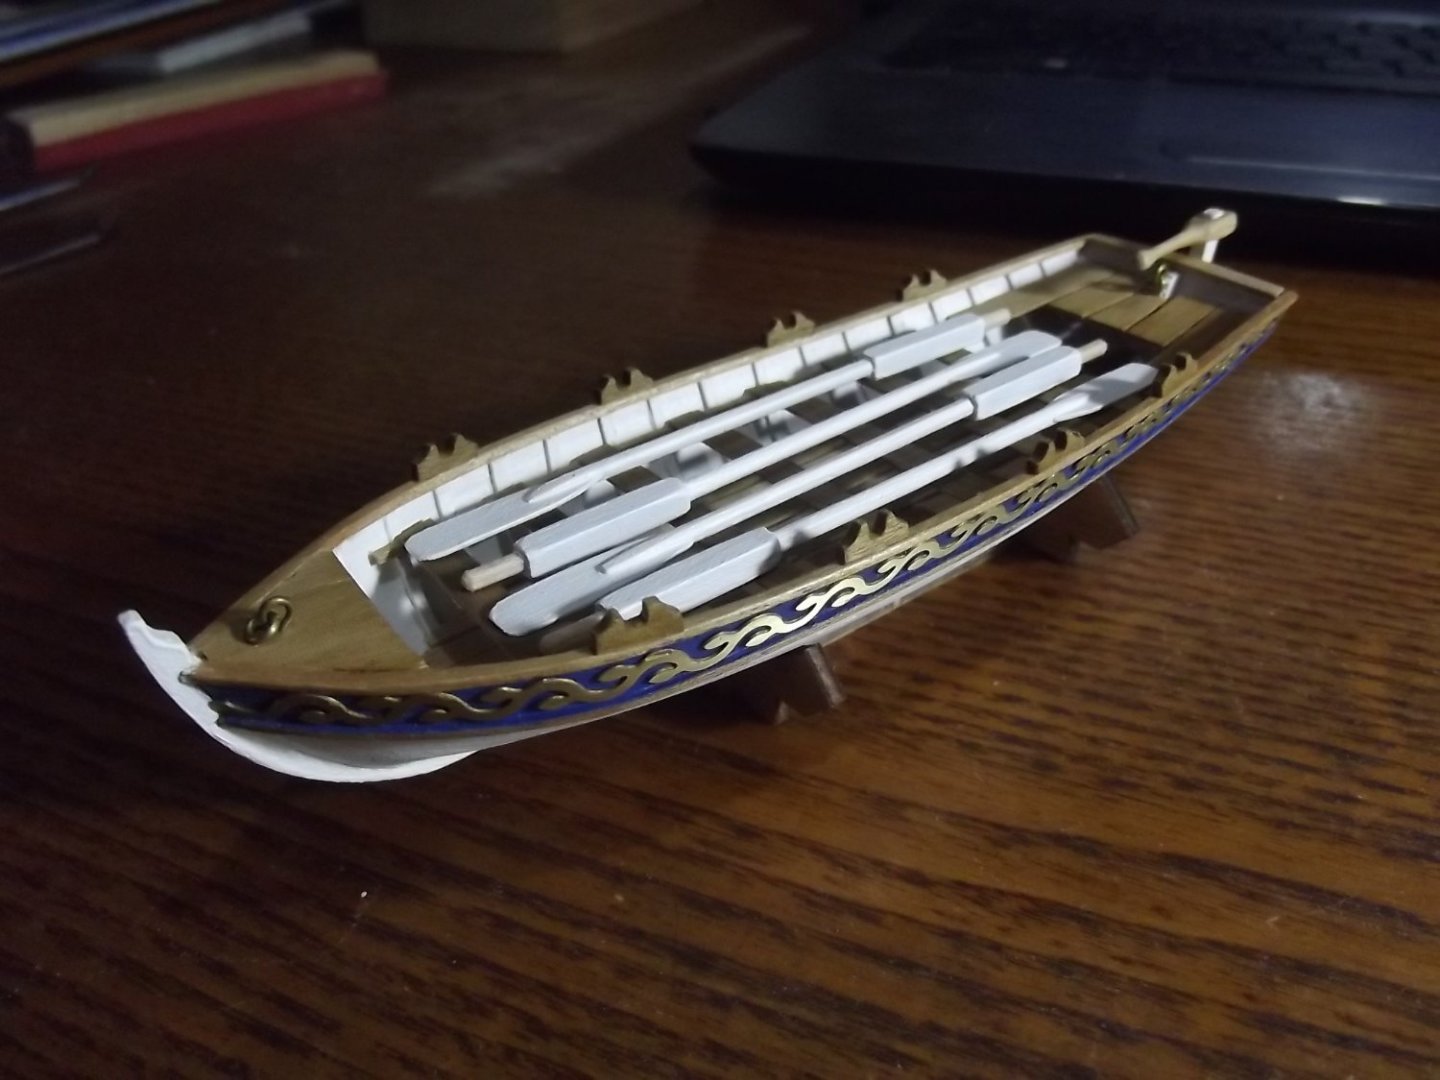
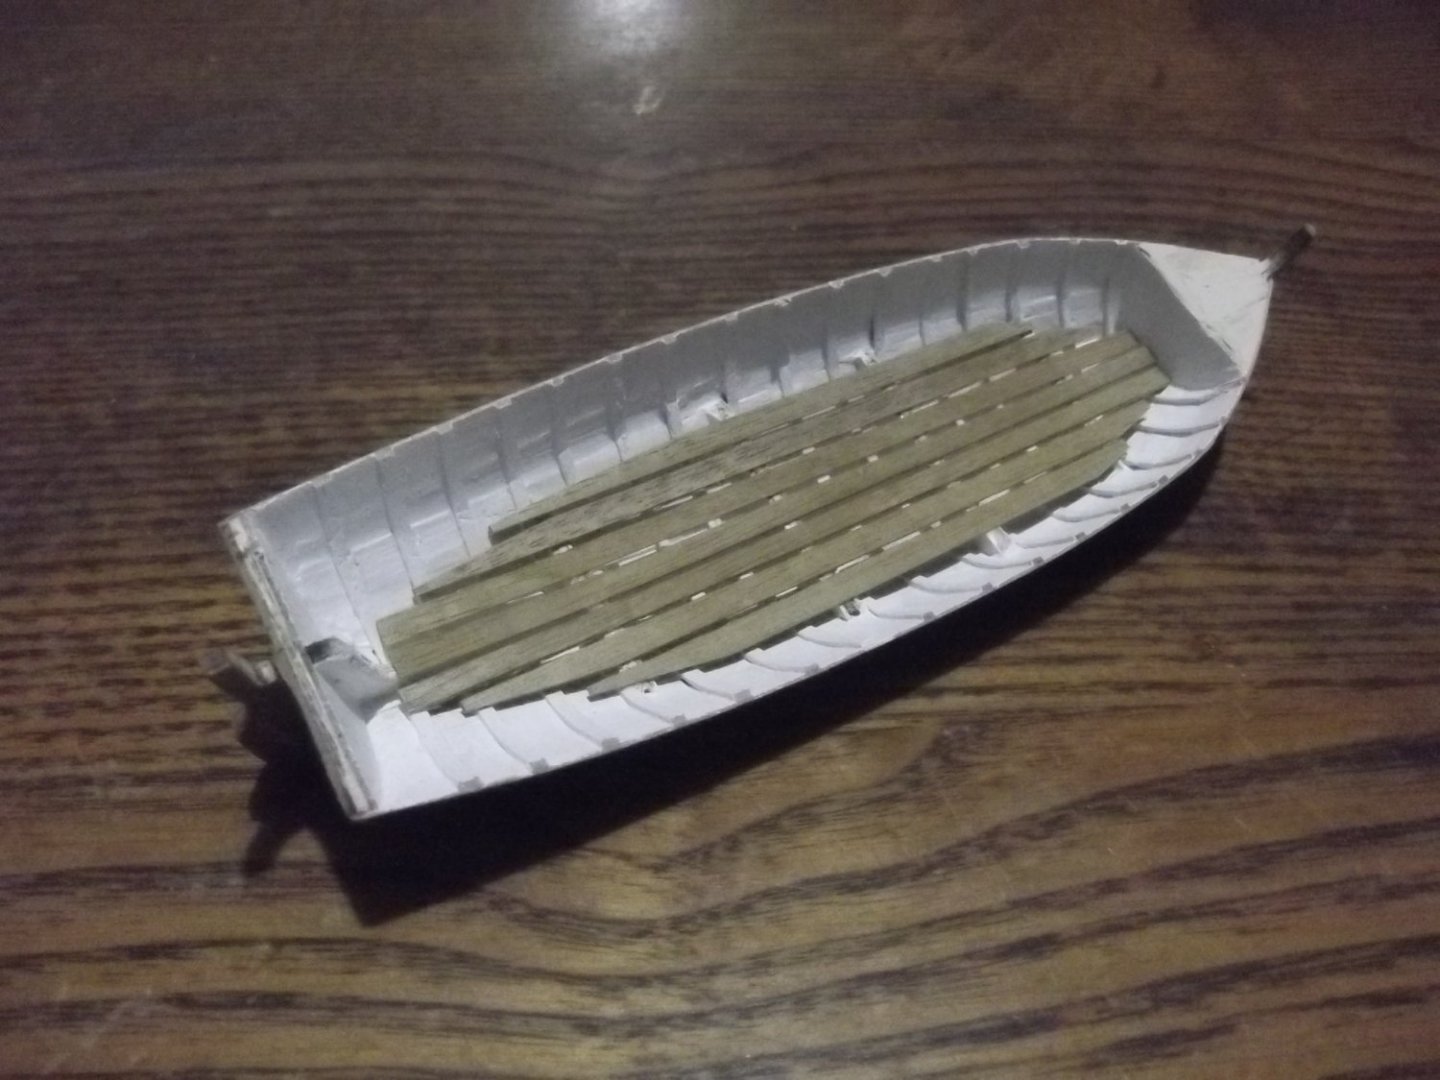
Interior is painted and floor boards are in, yet to decide if I'll varnish them but I'll probably leave them bare.
-
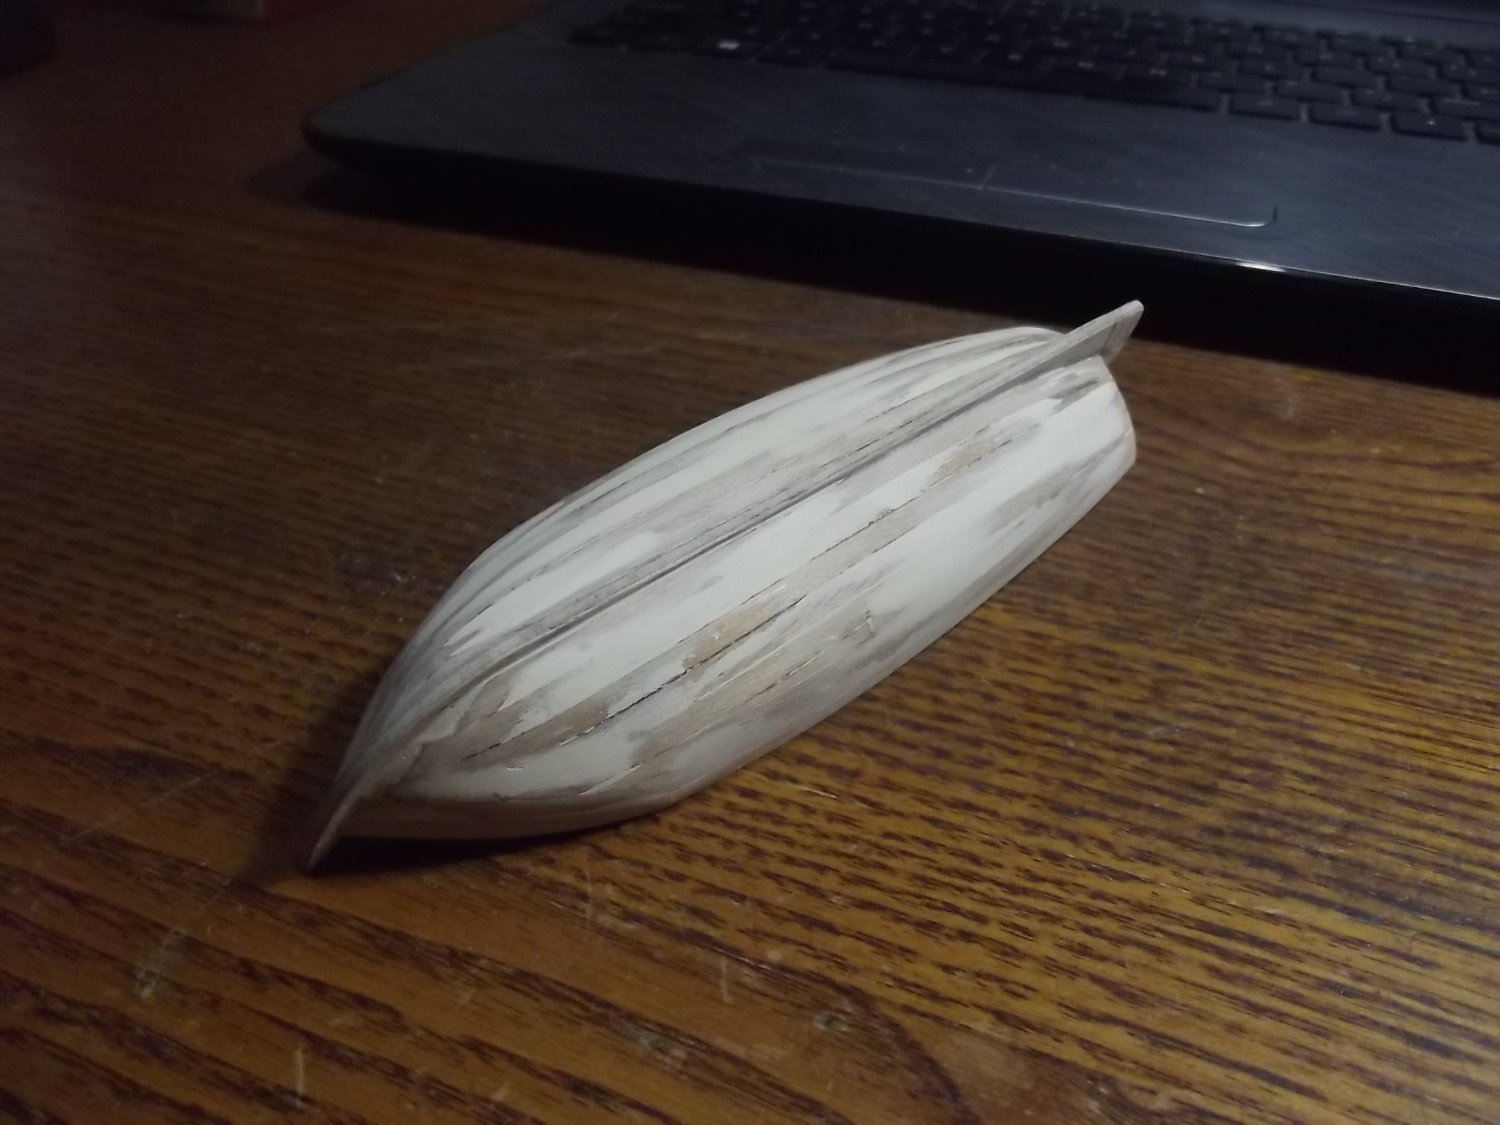
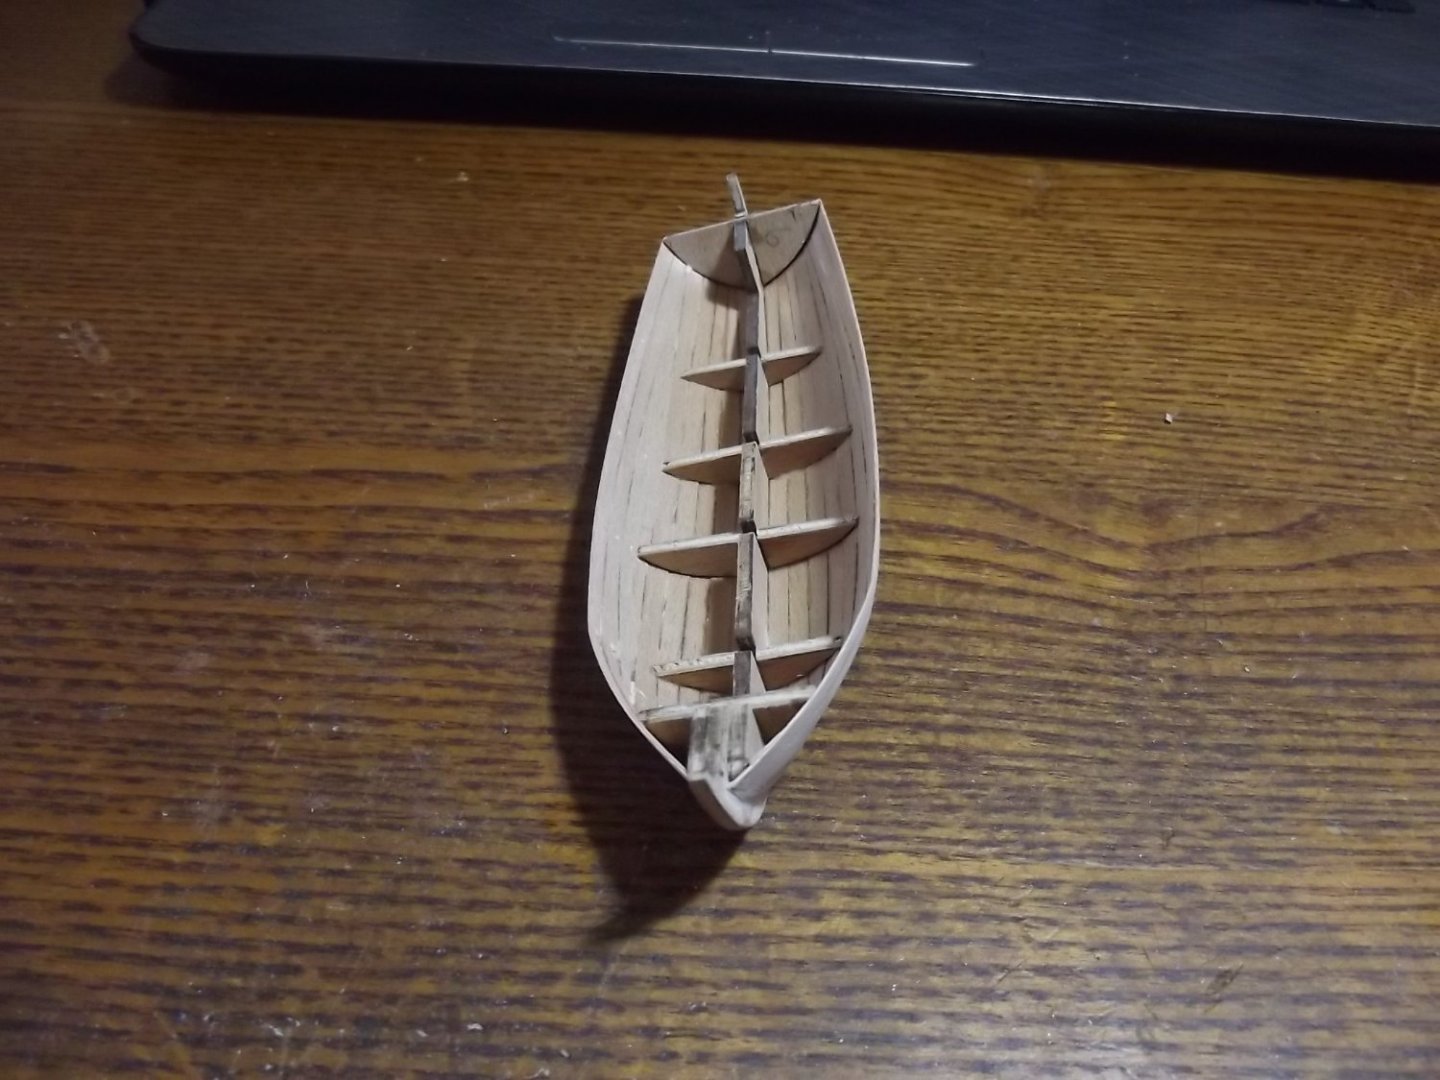
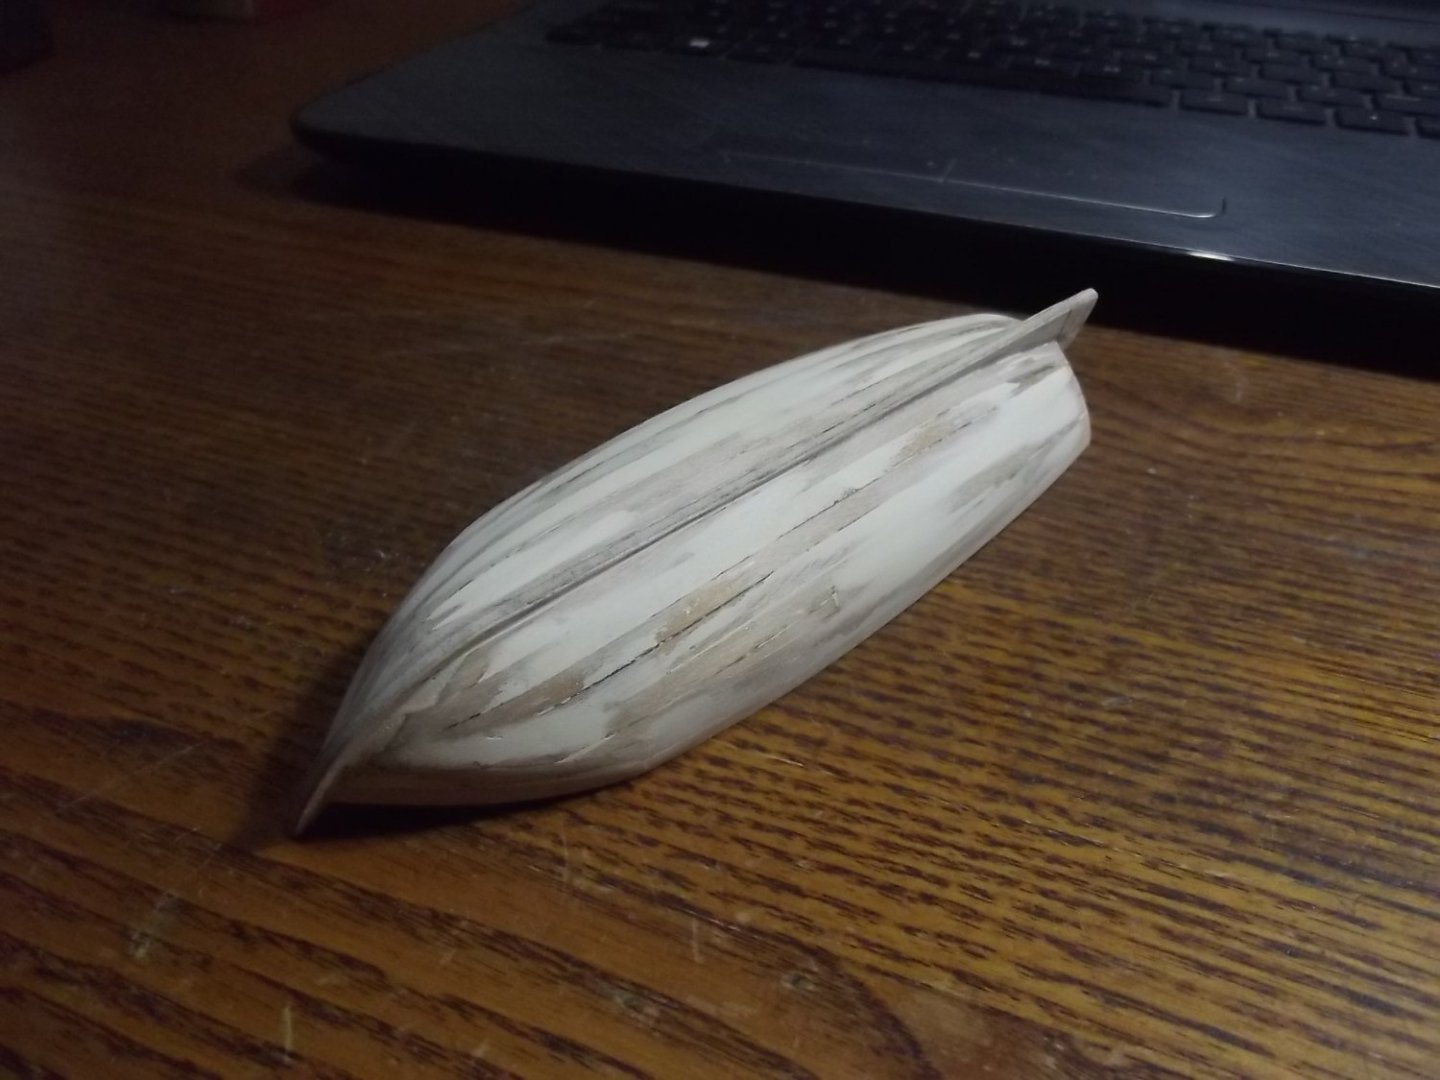
I've clearly been busy enjoying my new surrounds and haven't done a lot on the model, and to be honest the last few months have seen me not in the right mind set for this build but I thought it was time to have a bit of a go. I've decided to build the ships boat and again, the kit needed improving because the floor boards would have been way too high so I changed the way it goes together and will be sanding the floors down further to reduce the floor board height. Also it is supposed to be double planked in 0.5mm planks, not easy to get a good fair flow over only 6 molds so I opted for a single layer with filling to fair it inside and out. Exterior is done, interior next. Oh and the top rail is to be made of 3x2mm stock, this would equate to a rail 141x94mm which is way too big for a 6.6mtr boat so I'll come up with an alternative.

-
The model looks magnificent, well done on the rib fit out. And now making 1700 trenails to replace the 1700 screws that replaced 1700 screws. there's nothing quite like the tedium of model making is there? It's like tying the ratlines on a tall ship. I find it good for calming the head.
-
The lines of that boat are sheer beauty! You're a braver, more determined man than I. I know you'll succeed with this but I'll wish you luck anyway.
-
Keith, you're like me. You built the engine which will be hidden because you can and you know it's there. So do we and it's brilliant.
-
I found those diagrams interesting but as a rower I have some different ideas about it. When rowing with others, ie a boat with 4 oarsmen, you come to learn how the physics have to work. If the oars are already on the power stroke before entering the water you're wasting stroke power and putting undue stress on your body when they take up in the water. Ideally you need to learn to engage the water just as the power stroke starts so it's a much more pronounced plunge into the water than a gradual arc. This way the effort ramps up quickly as the stroke starts, more oar in water = more effort, but doesn't come on after you start the stroke if that makes sense. The return stroke should be pretty flat, why waste effort raising the oar through an arc? The power stroke should also be fairly flat once the blade is fully immersed, diving deeper wastes power. So I would suggest that the diagram of the movement of the oar handle is actually closer to the desired movement of the oar blade. Keep the directional arrows as they are but swap catch and finish, flatten the top of the stroke a bit and you've got a practical rowing stroke at the blade of the oar.
.jpg.85358ca601e190eca83276589eeaca2f.jpg)
- 536 replies
-
- 3
-
-
- Quadrireme
- radio
- (and 1 more)
-
I probably can but for aesthetics I'd rather a single piece. It's the inner trim on a red cedar dash board, it surrounds the instrument panel.
-
Looking really good Michael. I've been using some yellow cedar lately, as the inlay strips on the deck of a ski boat that was started in 1964 and never finished. I've got two bends to do in pieces 6mm x 12mm and the radius is about 30mm or less. That's been interesting. I'll try with more heat gun and see how it goes.
-
Great to see you back at it Michael, I always love having one of yours to follow!
-
In reality I'd say it's to keep the cockpit and deck area as clear as possible for load carrying
-
Keith, the fore and aft wheel is not uncommon in launches like that, I'd be inclined to keep to the original. If nothing else it's a bit of a talking point.
-
I'm going to have to buy a thesaurus to keep commenting on this build, superlative, superlative, etc, etc and so-forth.
-
Another master class, very interesting technique for creating the nav lights. What did you use for the lenses?
-
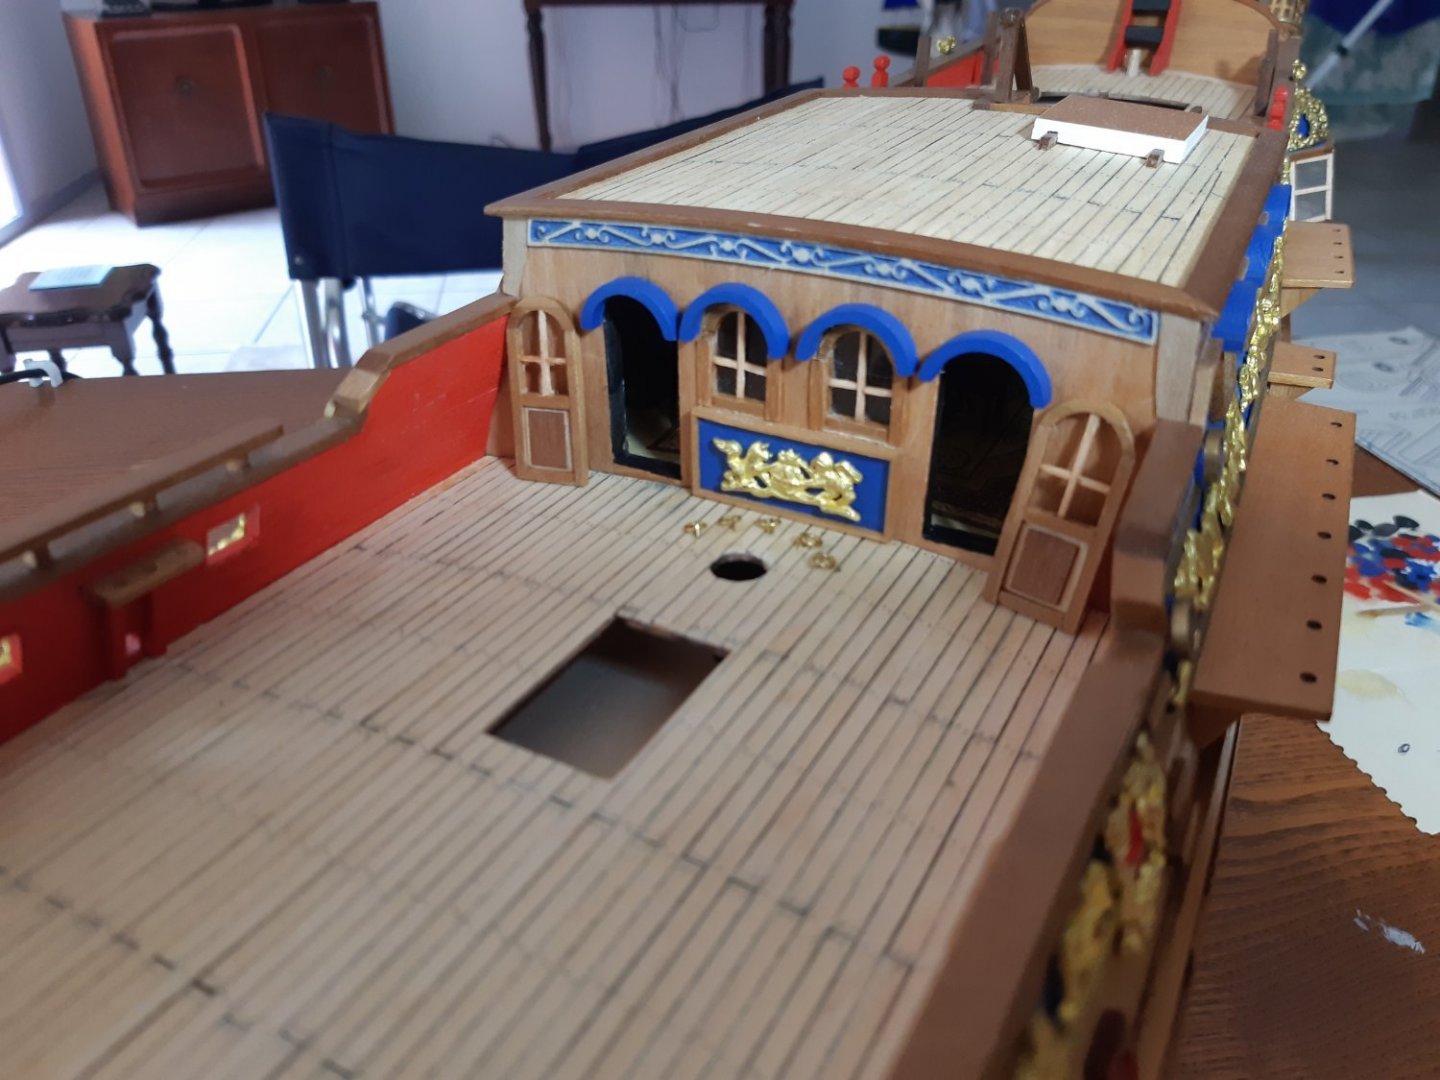
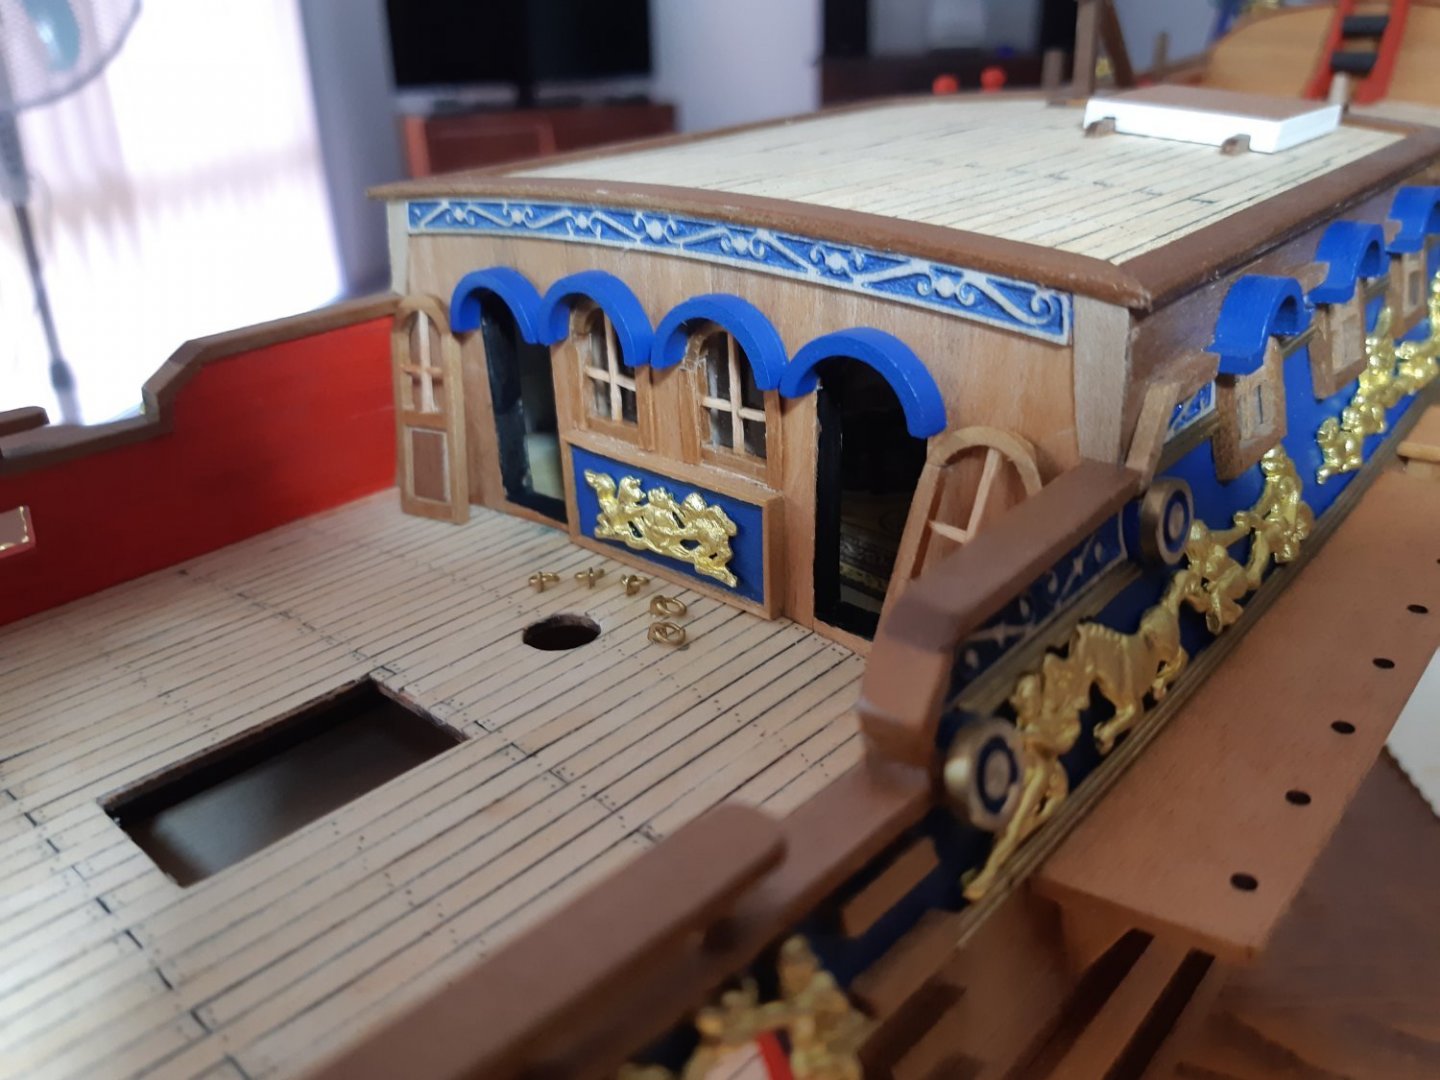
Progress! I've finally made some progress on the RC, the doors and windows to the kings cabin and since I want the doors open so you can see inside I had to redesign them. One thing I will say to anyone wanting to build this model, for the sake of your sanity finish the exterior of this bulkhead BEFORE doing anything else on this model, don't lay the keel, don't fit the frames until this bulkhead has the facing planks, doors, windows and crest finished.