md1400cs
-
Posts
2,870 -
Joined
-
Last visited
Content Type
Profiles
Forums
Gallery
Events
Everything posted by md1400cs
-

Sovereign of the Seas 1637 by Tuvok - 1:78
md1400cs replied to Tuvok's topic in - Build logs for subjects built 1501 - 1750
Stunning work !!! -
Patrick. As always so excellent - my desire is to understand, learn and be able to actually detail in scale as you have - In my next life 🙂. PS: Have not posted at MSW in over a year -for my log - but need to - not much but 🤔 on my list. I (we) have so appreciated you logs over the years - I've learned so much from your skill set....thanks! MJD
-
Excellent - your log will be a "must go to" when the 1/35th is ordered and received. Very nice work!! Regards,
- 52 replies
-
- 3
-

-
- Oseberg
- Pavel Nikitin
- (and 1 more)
-
Kevin, Great work !!! - I saw your image on "at a glance" -- Did you add the oar hole covers, or did those also come with the kit? Nice detail..... I'm waiting for the 1/35th to be available in the US - shipping directly from the Ukraine is very "OUCH". Again great work - looks awesome indeed. Need to get back into this hobby - been MIA for too long...... Cheers,
- 52 replies
-
- 2
-
-
- Oseberg
- Pavel Nikitin
- (and 1 more)
-
Mike, Yikes --- just catching up - 🙂 your work is so good! Cheers,
- 969 replies
-
- 2
-
-
- hahn
- oliver cromwell
- (and 1 more)
-
Patrick, As always brilliant work. A pleasure following your work. That said, Northern Lights awesome indeed. I had the luck of seeing them as well when I was working. But no fresh fish were offered for our meals during those drives. 🤪
-
Evan, I am very much enjoying following your build You’re also doing some great extra detail work as well. As a kid, and as a teenager I grew up, of course, with plastic cars and airplanes. Looking at your work in this medium is inspiring, and adding great personal memories. Excellent work and log. Your Titanic will be awesome indeed. PS in my opinion this ship does need to be built from plastic — PS 2 are you going to install real wood decks that are available for this kit? Cheers
-
I've had both of these for years - always perfect - I also, more recently, bought the large Proxxon Fet saw - probably "overkill" for my needs. Still mostly use the KS 115. But the larger saw is fabulous for angle cutting as the table swivels as well! Your work is so excellent you might also want to consider the Proxxon MF 70?? a very excellent addition. Regards,
-
I - so many of us - have been waiting for “half as long” as it took Nat. Geo. discover where the Vasa had sunk to actually be able to buy this stunning kit, which looked (past time) to be too amazing indeed. High on so many “buy” lists indeed 😔 Expensive, PROBABLY, but too hard to ignore, and not buy- IMHO. PS: Forget about this one
-
Ronald - thanks - yes indeed the amount of decorations make this a very unique kit - MBerg - such a nice post thanks so much!!
-
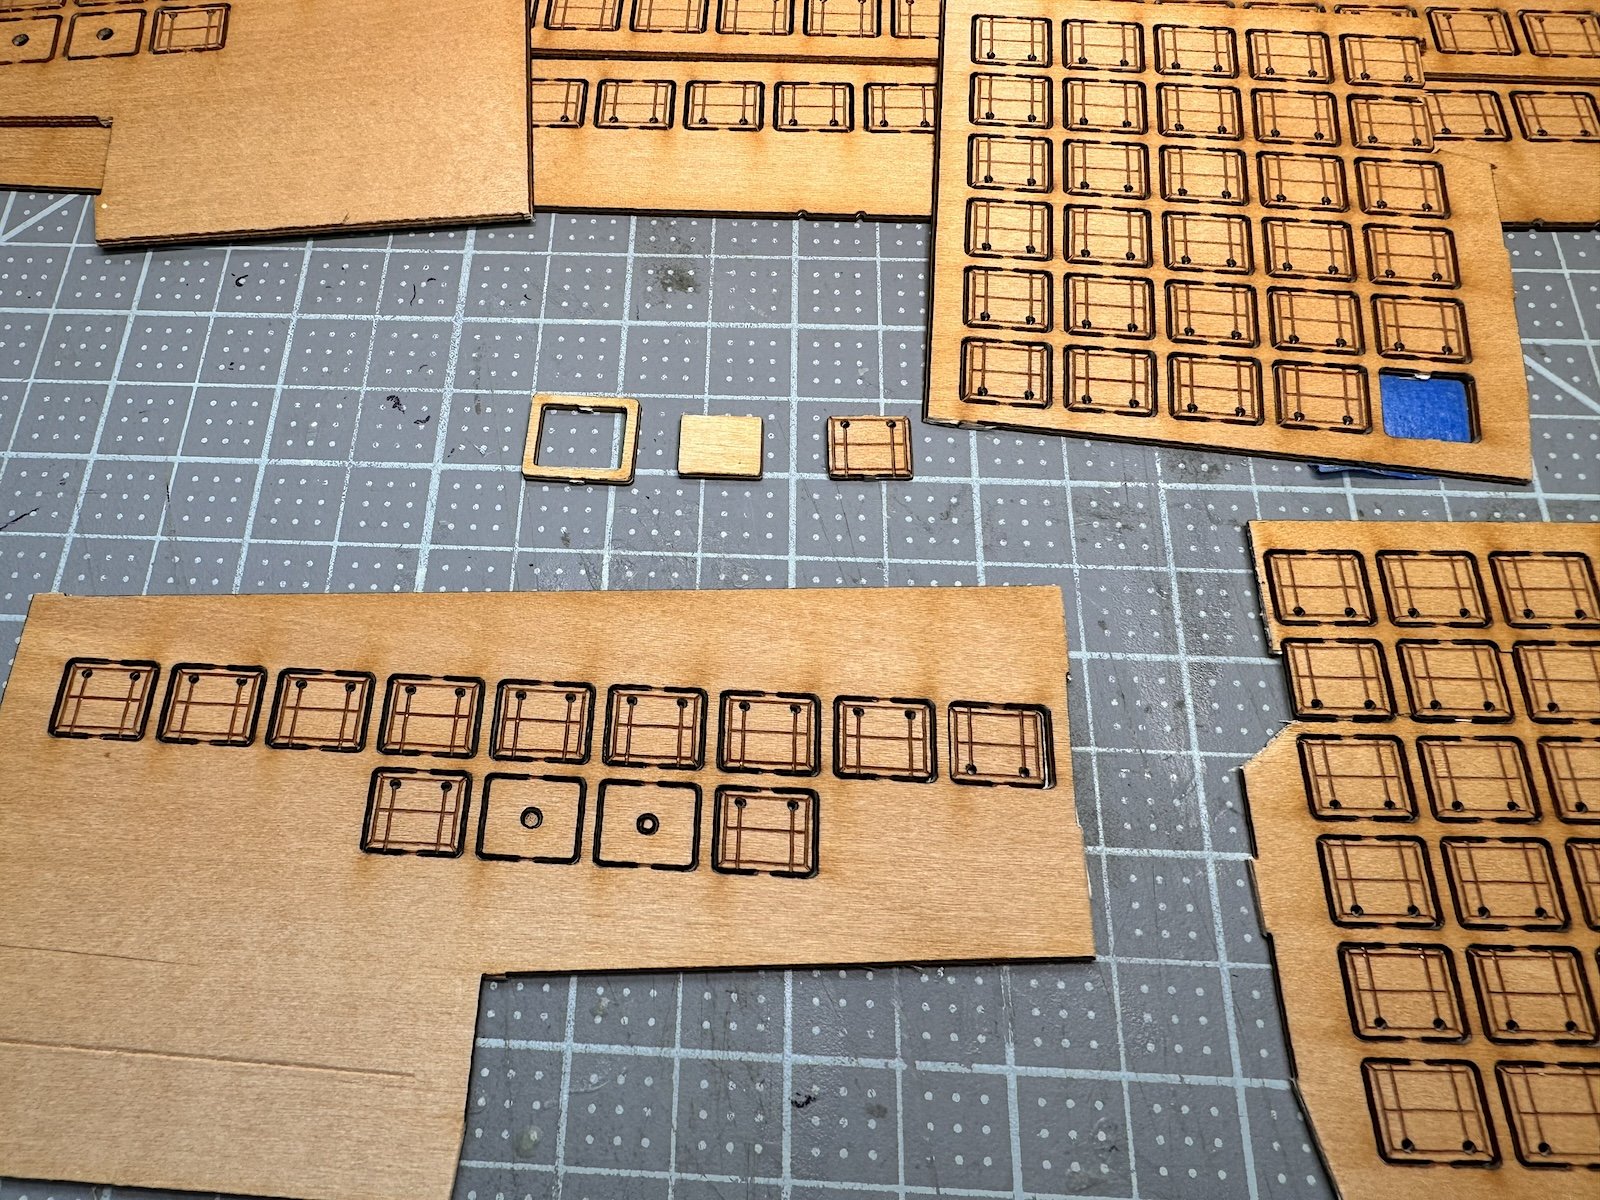
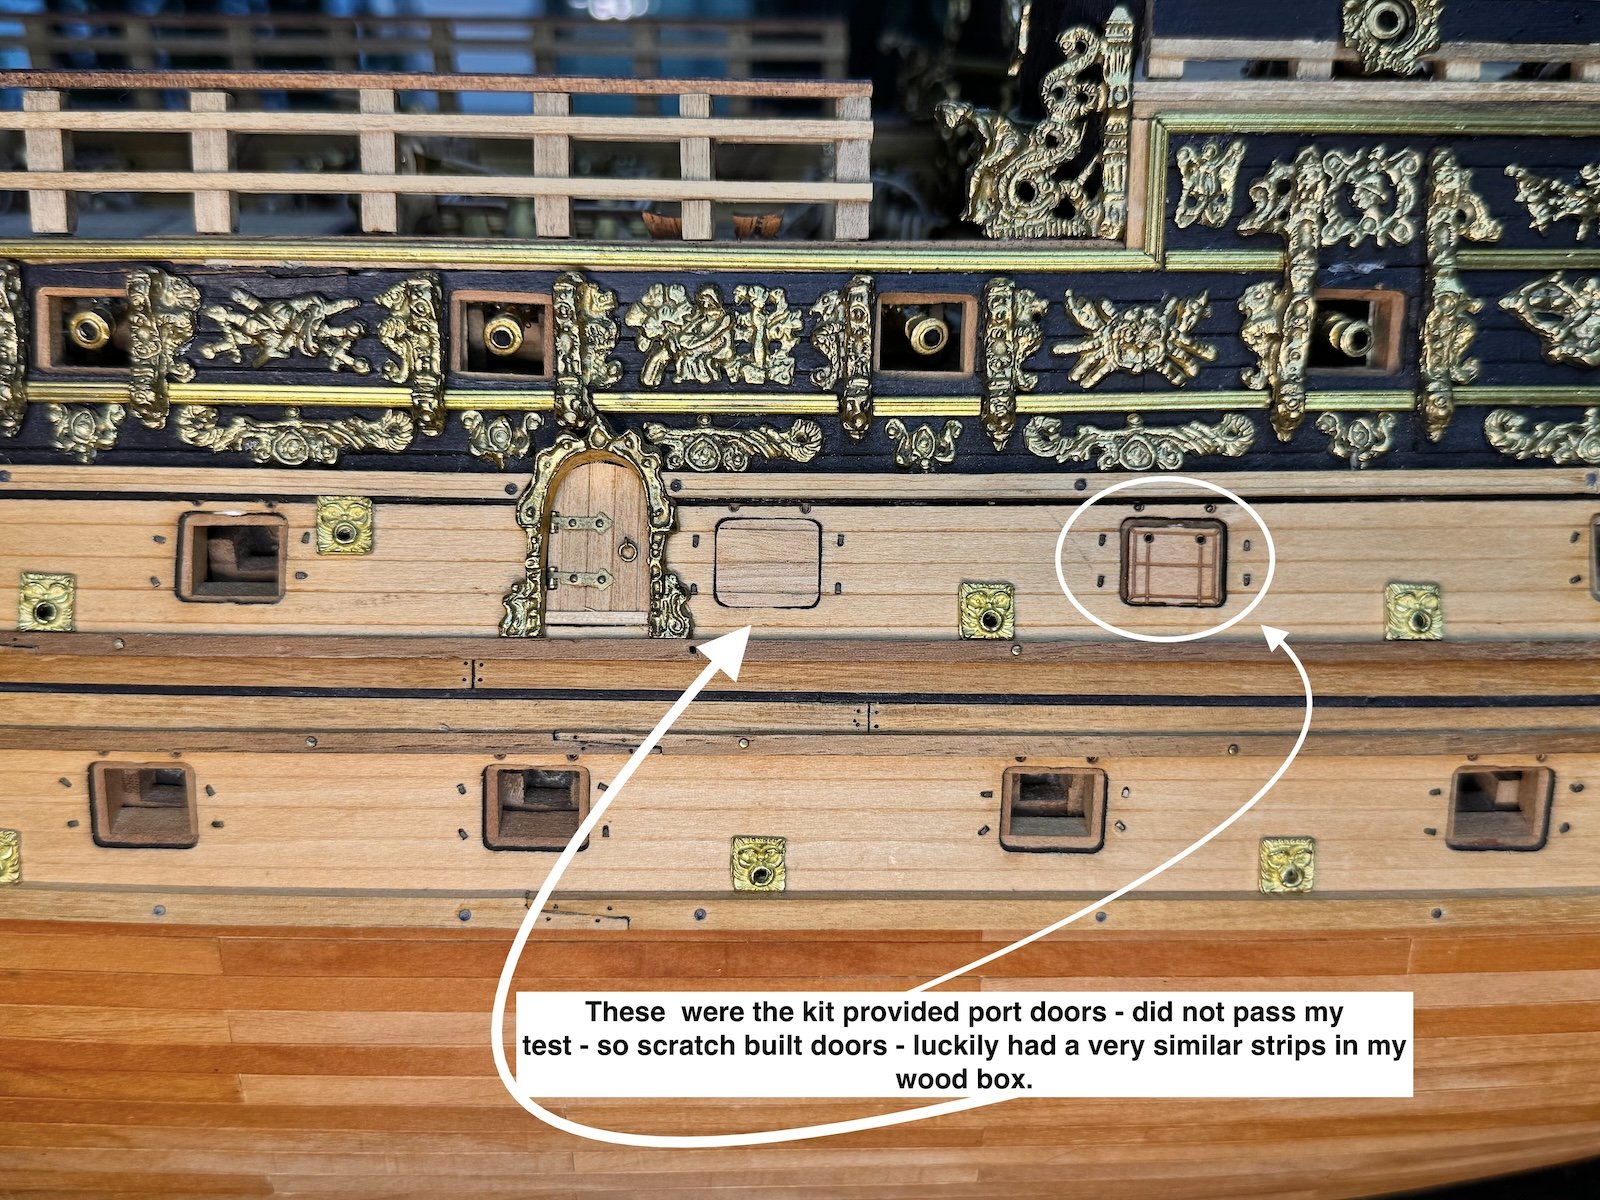
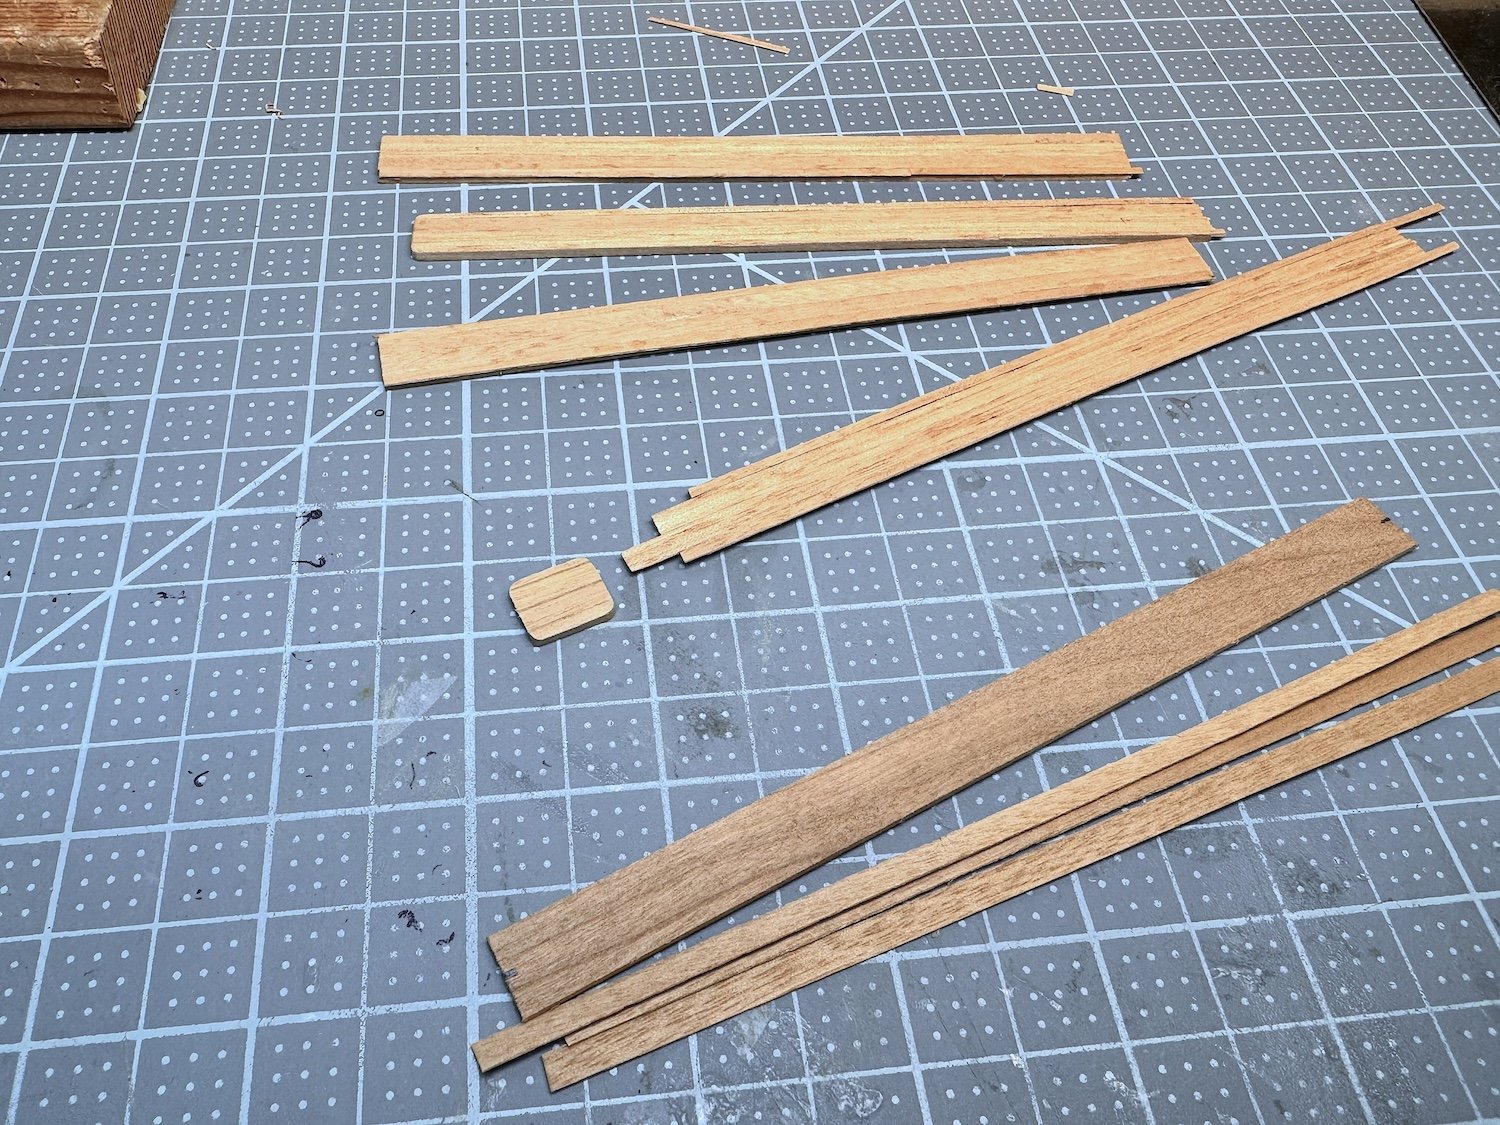
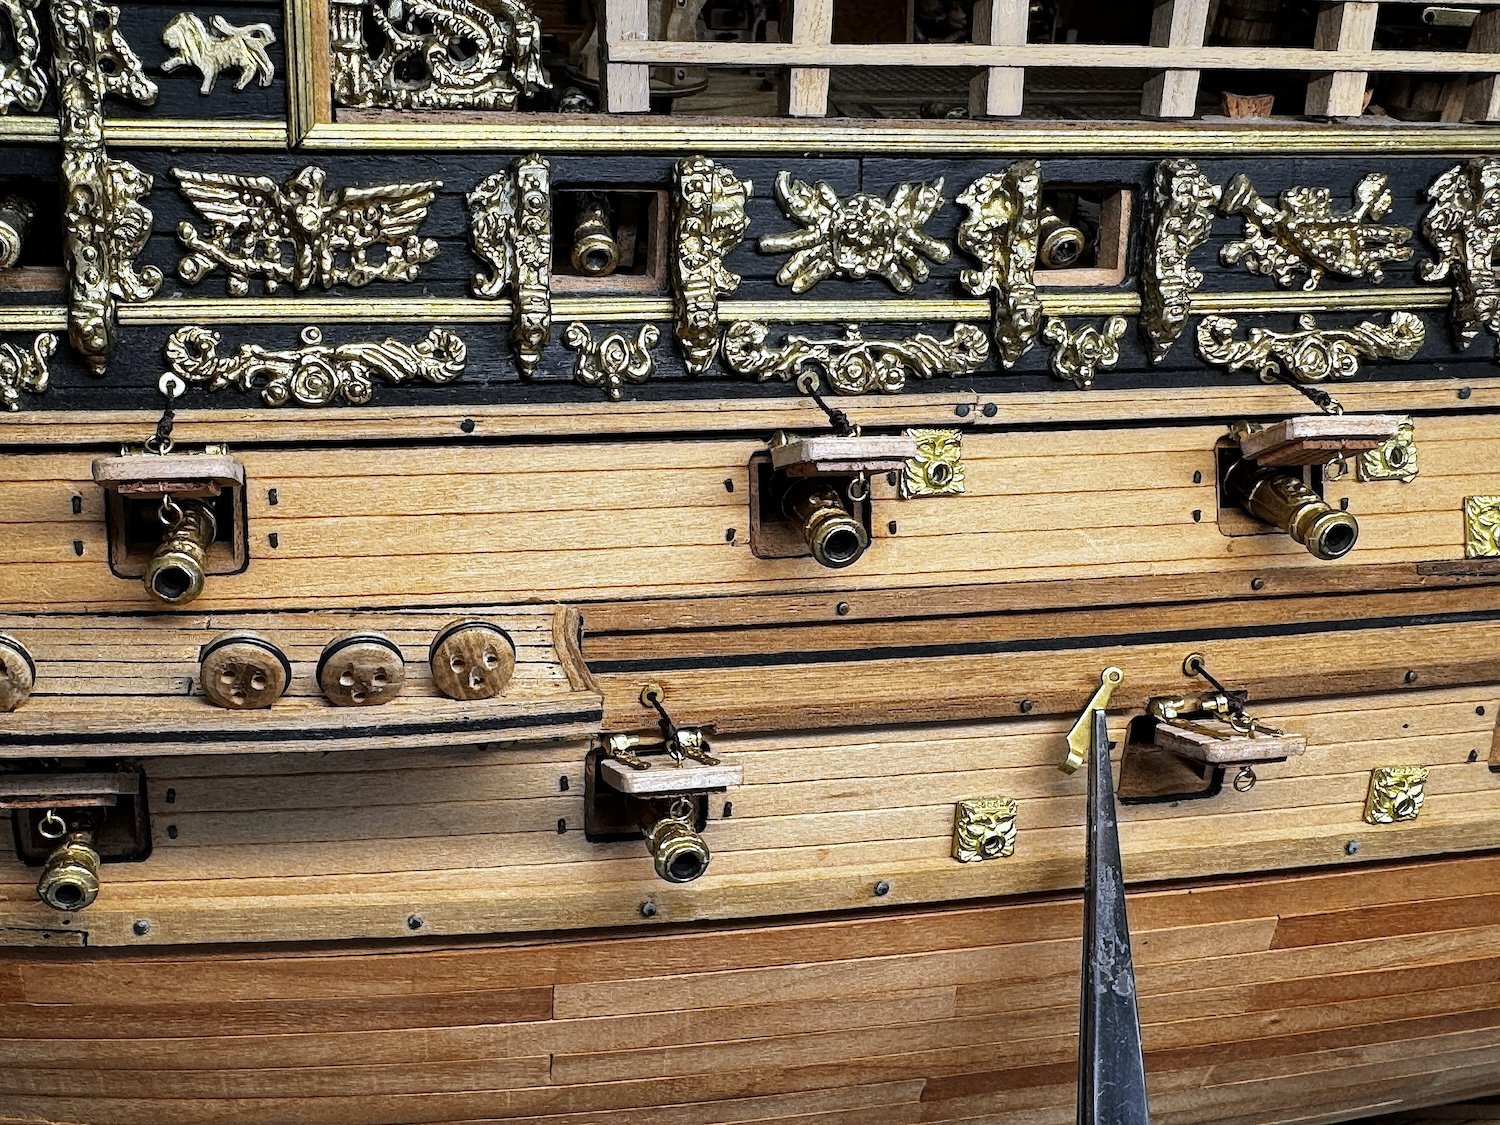
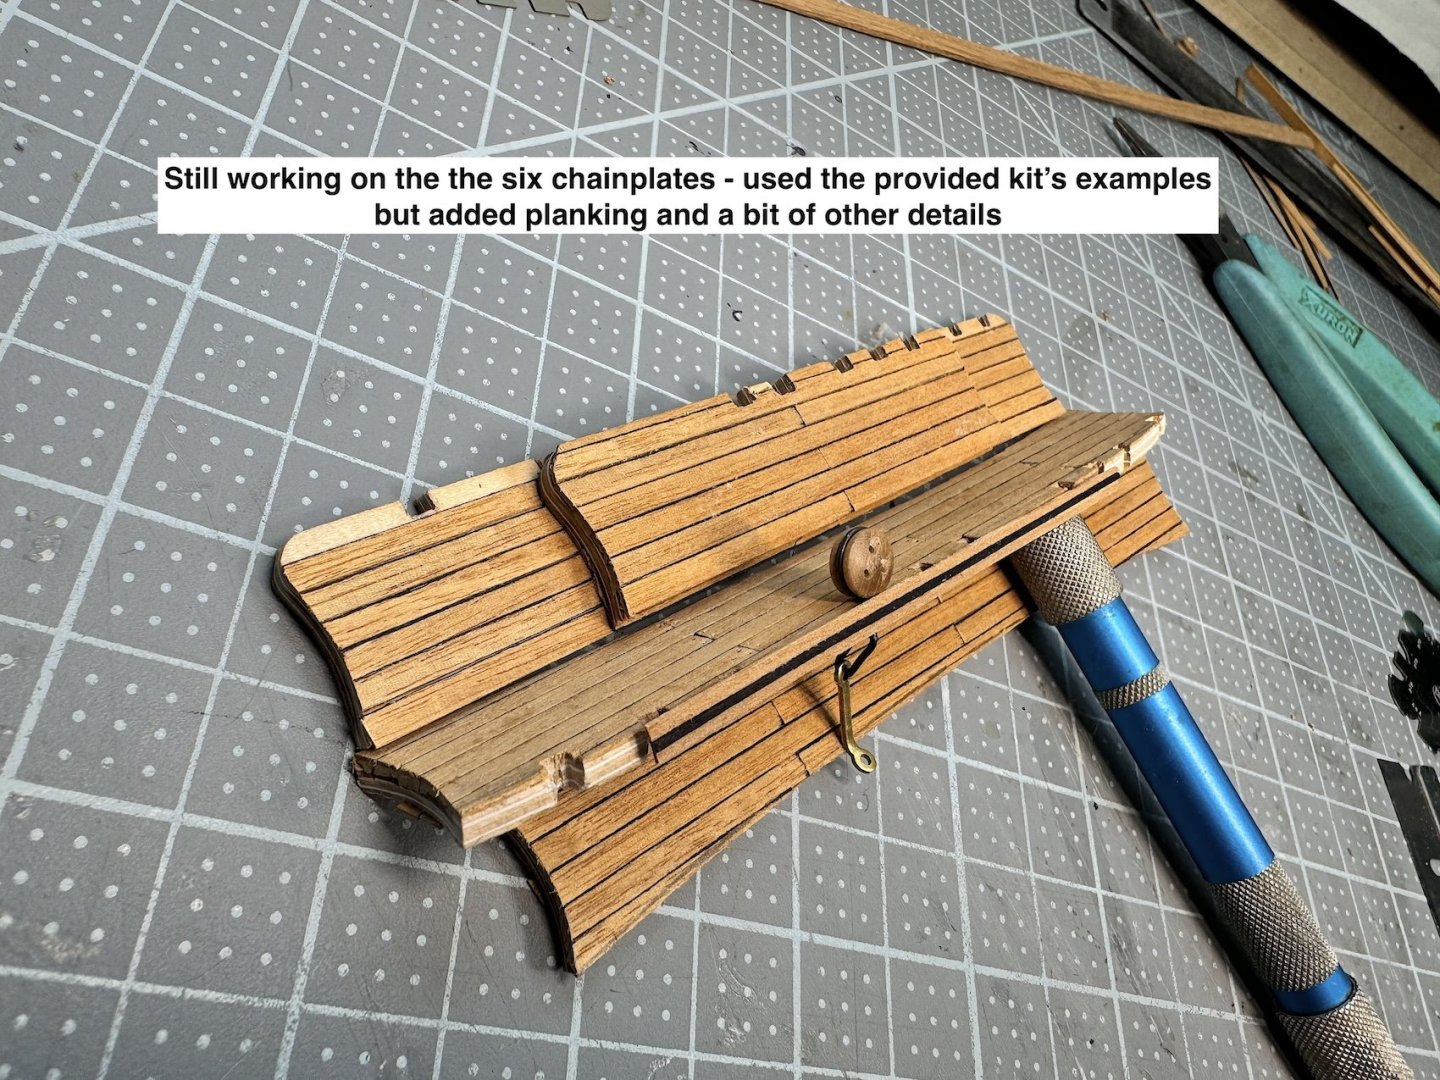
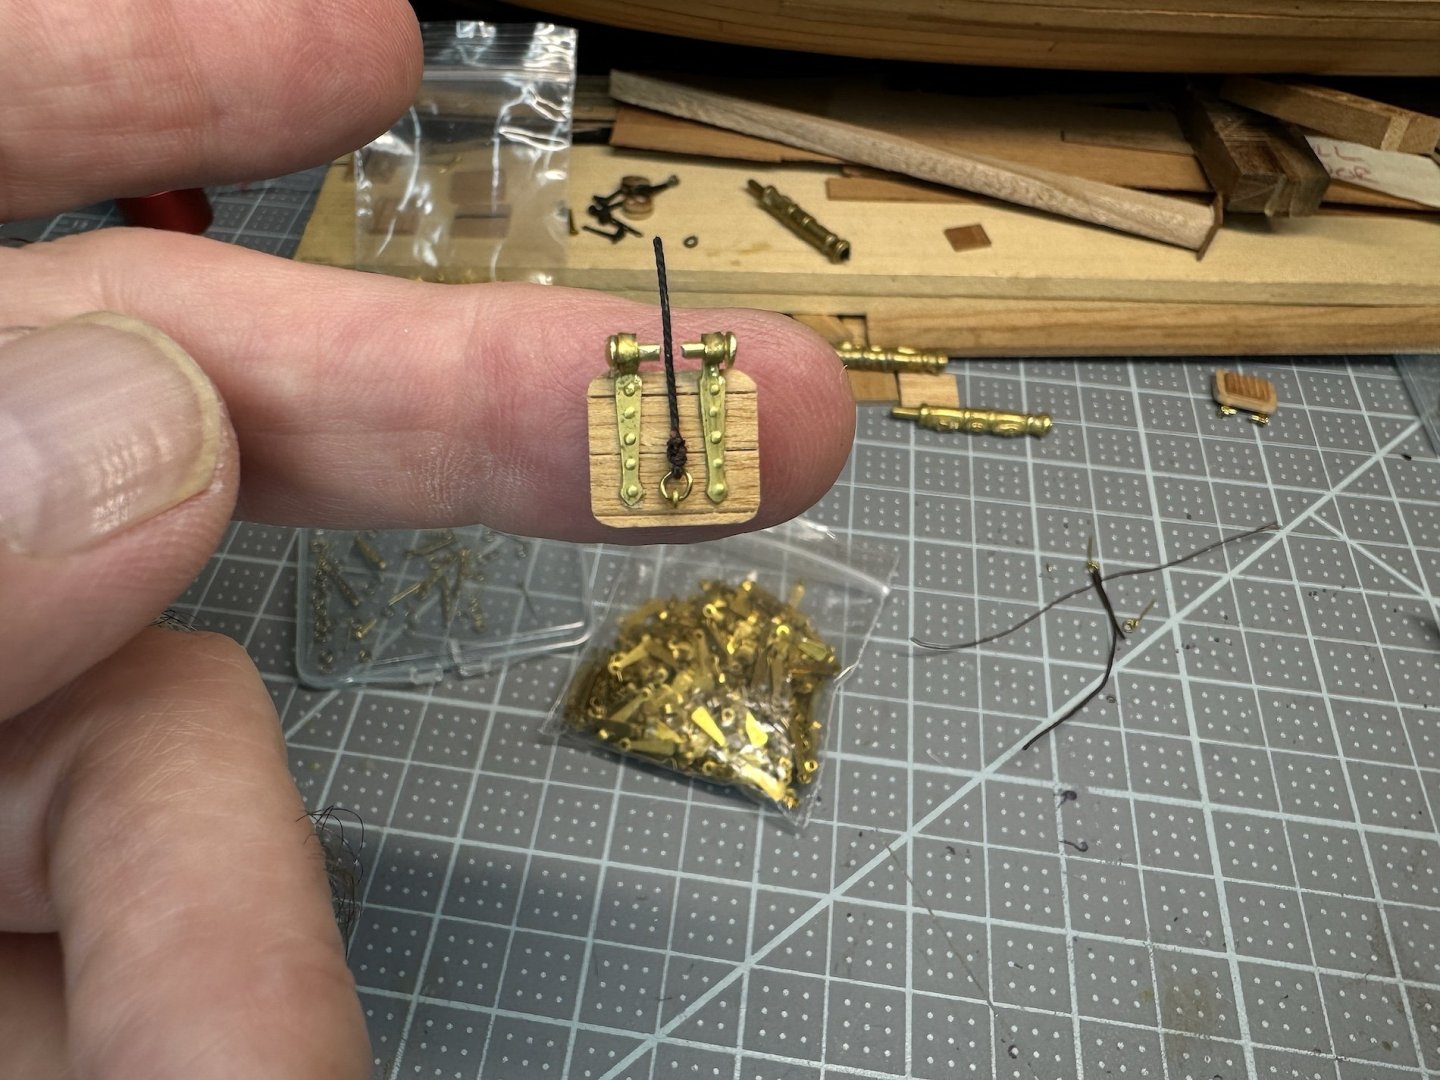
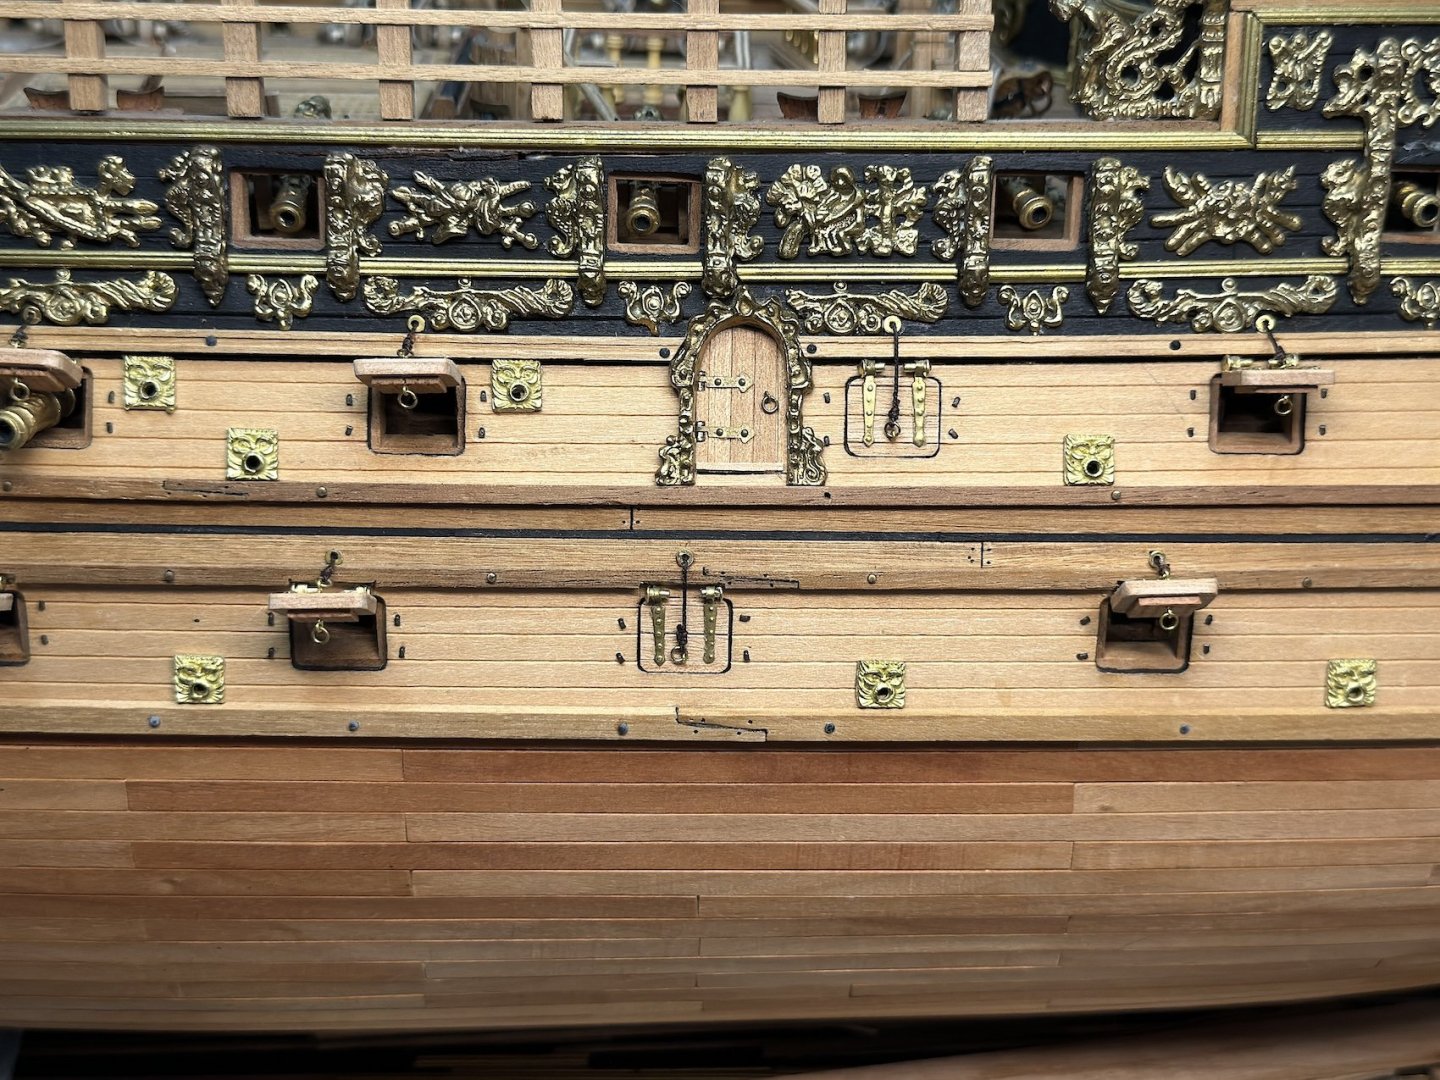
Hi, It’s been a while since I’ve checked-in as well as posting any updates. Been busy with other bits of my life. But, very lately, having found some disposable time I have done further work on this so far “lifelong” build. Some thoughts - 🙂 1) I know hinges should be black along with other bits as well. I chose leaving the hinges brass purely for their looks – given this ship’s hundreds of other bronze parts, and that this project bears very little relationship to any historical accuracy. as I’ve mentioned before……. 2) But, I am regretful that the gun ports (doors) appear a bit too thick. I had overlaid thin strips above some other matching wood strips that I had available, and cut to size. No other (to me available) wood matched the very light outer hull planks that run the lengths of the lower, and upper-gun decks. And I don’t have a wood strip sanding drum. So be it…. Thanks for your continued interest. Regards,


-
Marc, Been away from fro a while - just catching up -- As Gary said just above --- INDEED.... Regards,
- 2,699 replies
-
- 3
-

-
-
- heller
- soleil royal
- (and 9 more)
-
Ronald - just discovered your log as many have posted incredibly good work - your hull planking is so perfect 👍. will go back and look through this build as well. PS so like the horseshoe detail as well Cheers,
-
Such beautiful work - builders such as you rise to the occasion of such a complicated build given that 1000s of images of this ship that are available (helpful indeed - but those details are beyond my skill set) that said, errors then could become issues 😬 Not for you - perfect - my skill set will never rise to your great build — Big cheers to you 😊 We all have our comfort levels. Your work in this log has been SO appreciated - enjoyed following 👍 PS: when I was working I had a few days layover KLHR that - of course - put me on a train to Portsmouth - and Mary Rose before the museum was rebuilt to its current great rebuild.. Cheers MJD
-
Patrick, Just catching up - wow! really impressive, as always, work. You're so well capturing this ship as she must have looked centuries ago. Your research is also always spot on. Cheers,
-
Hi Frank, THANKS - glad you dropped by - All is well on this side of the coast - hope that you are all enjoying the upcoming summer. Cheers,
-
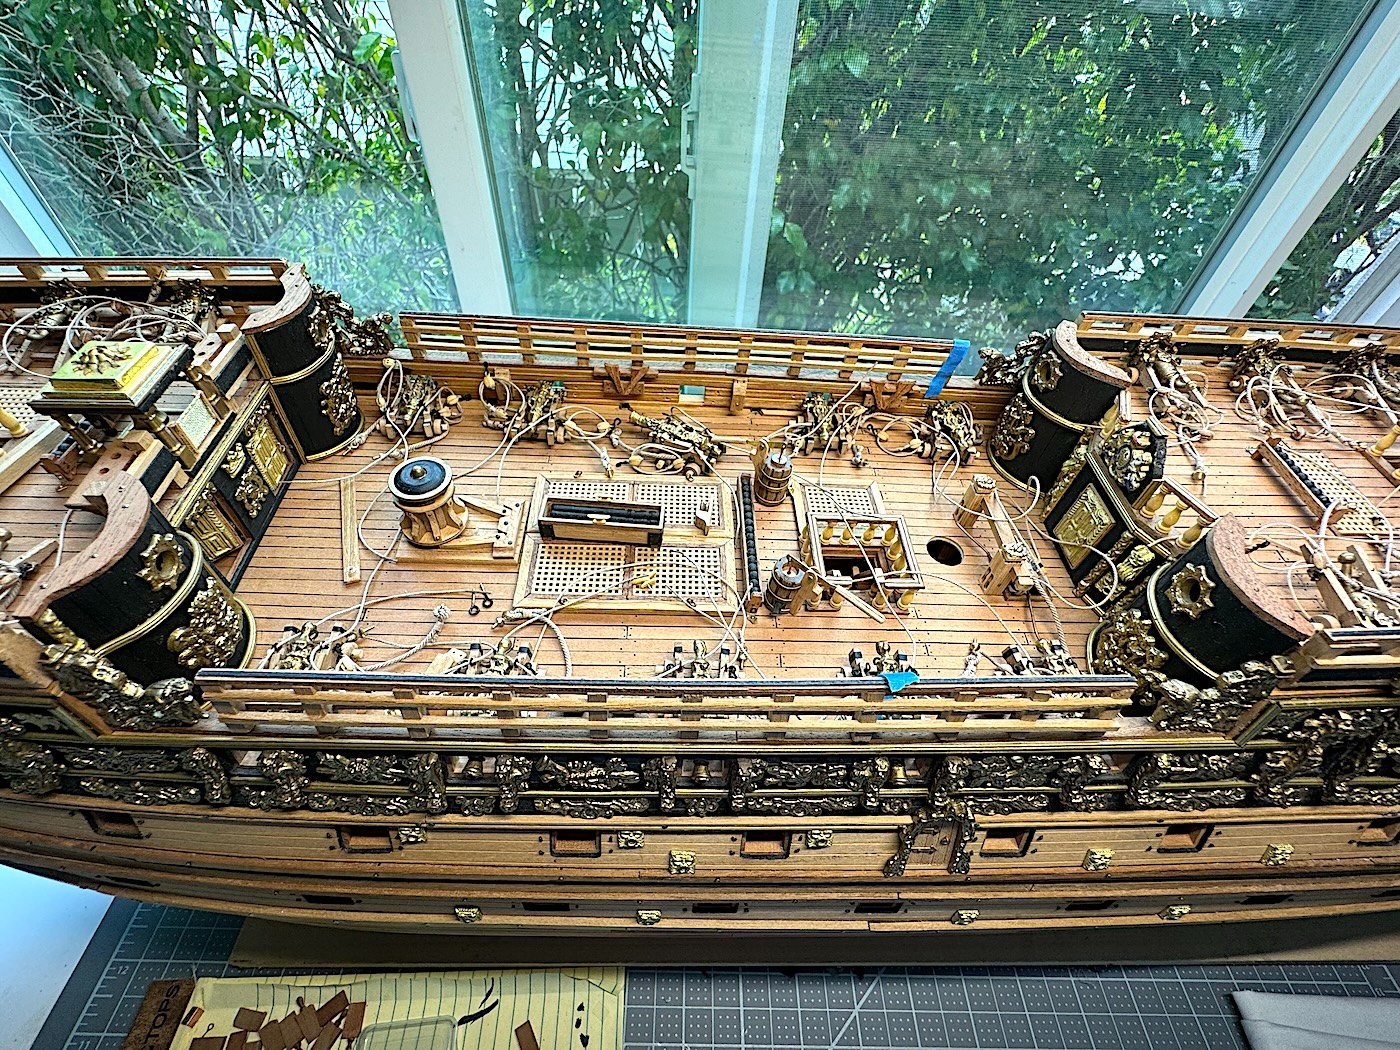
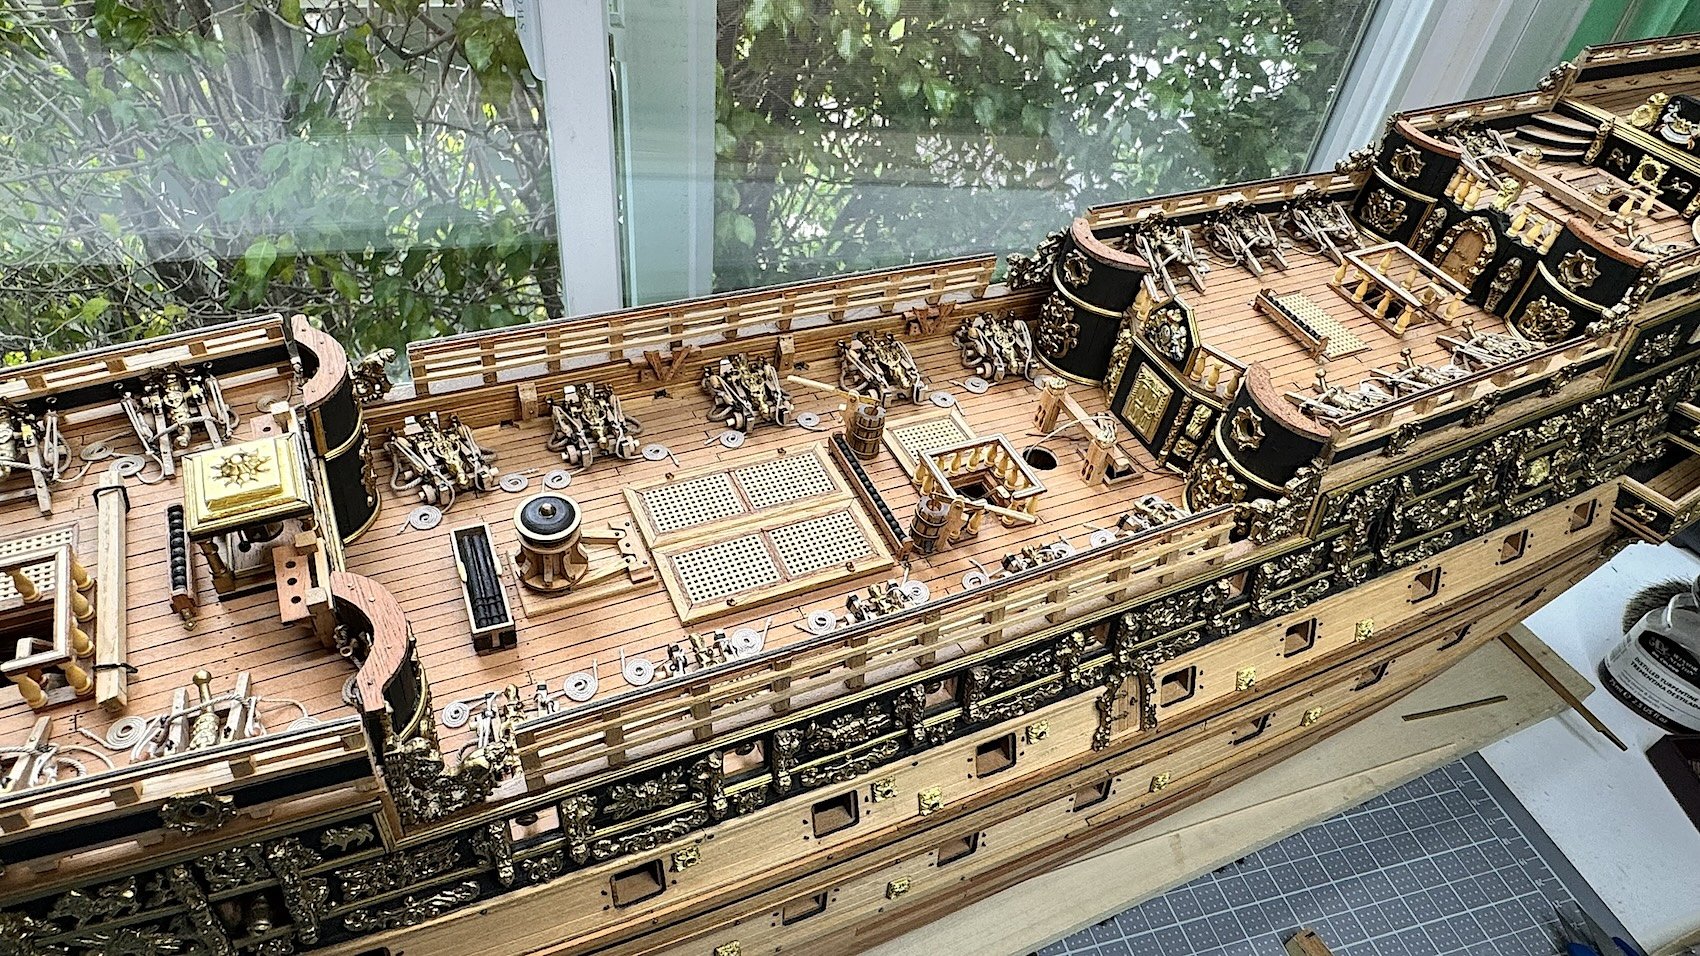
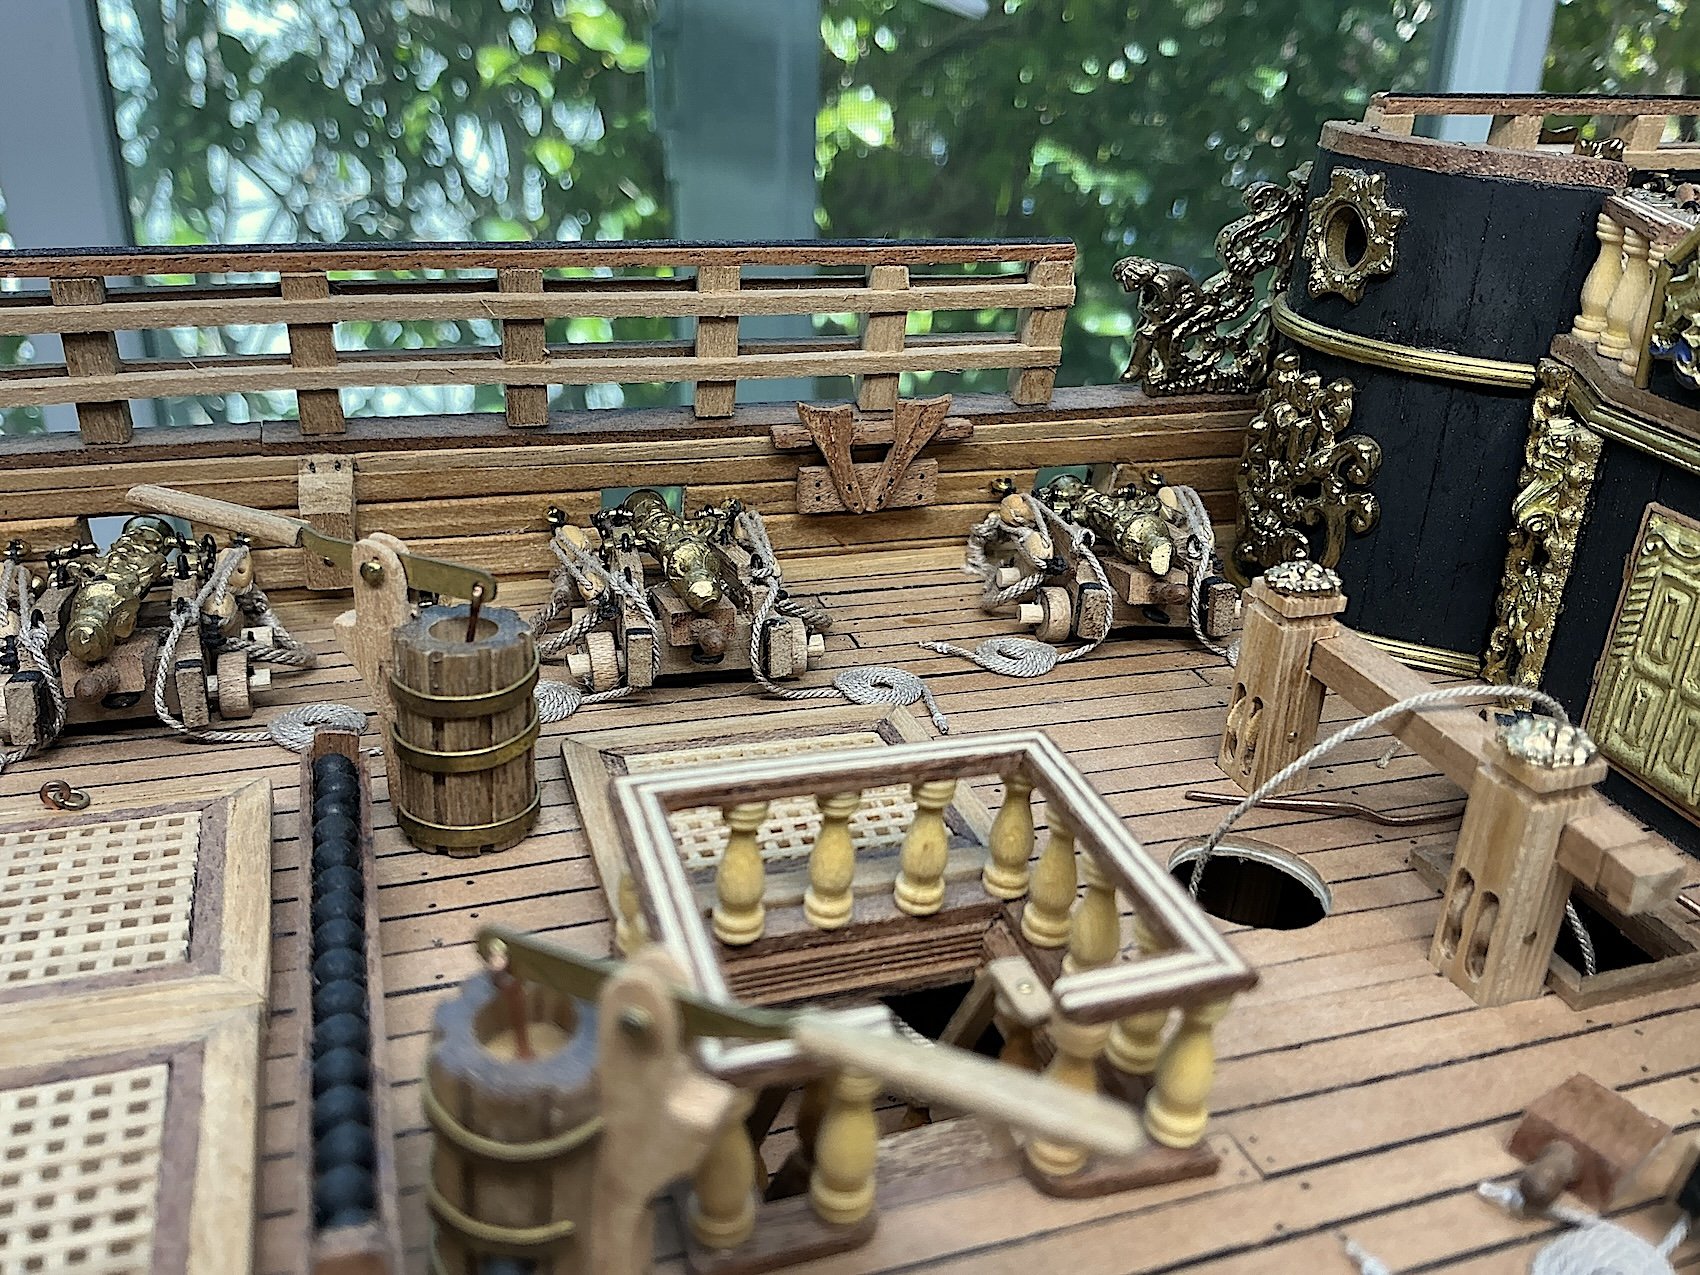
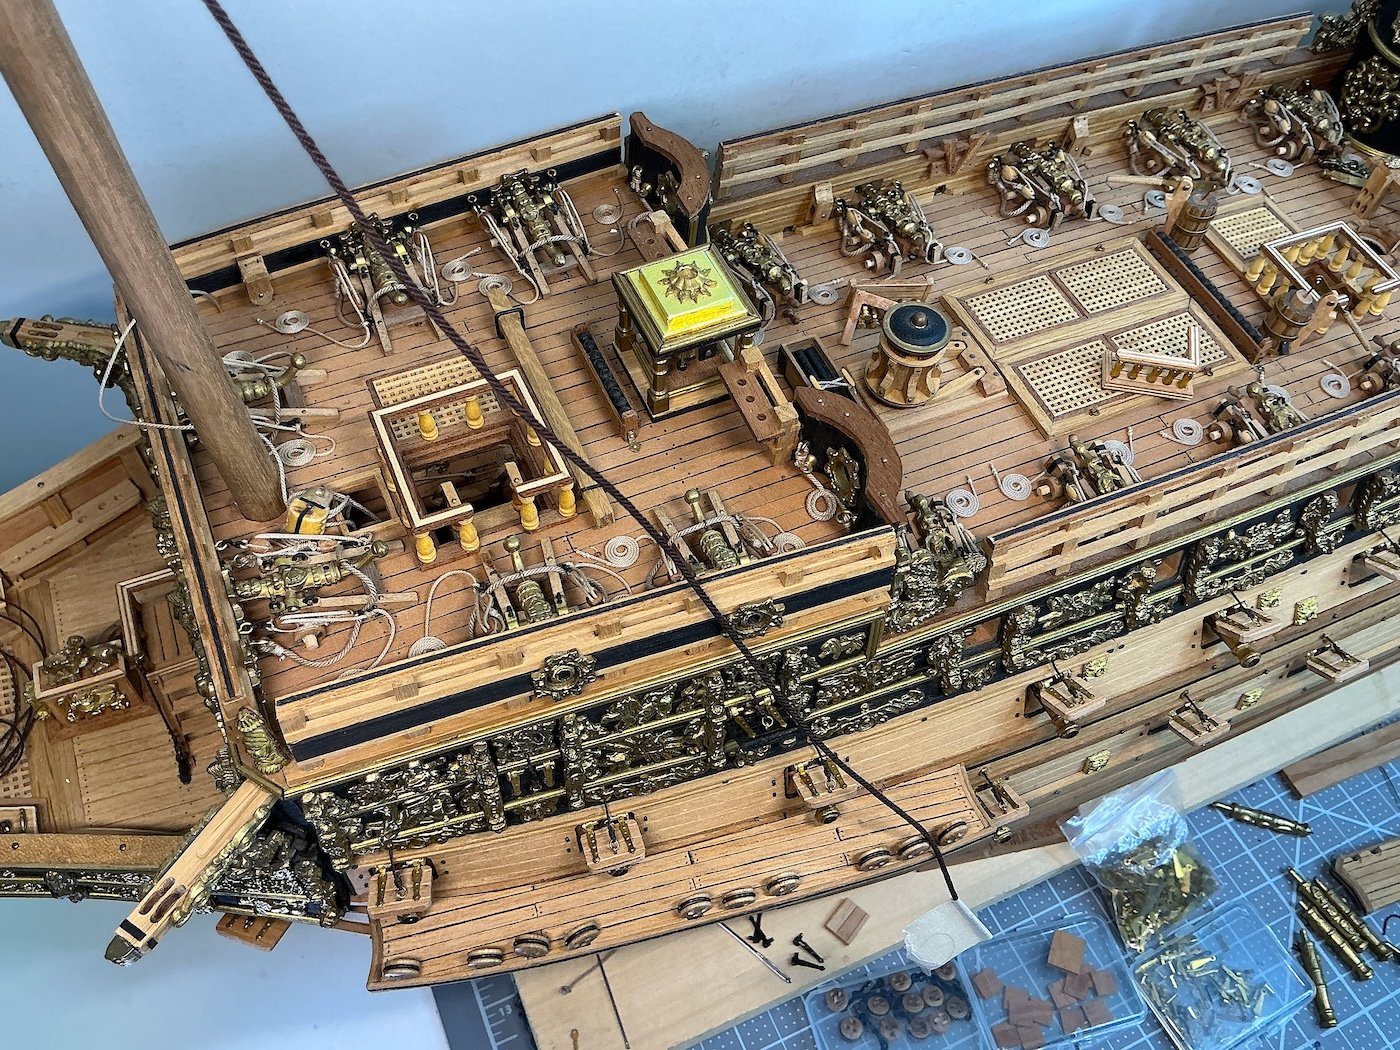
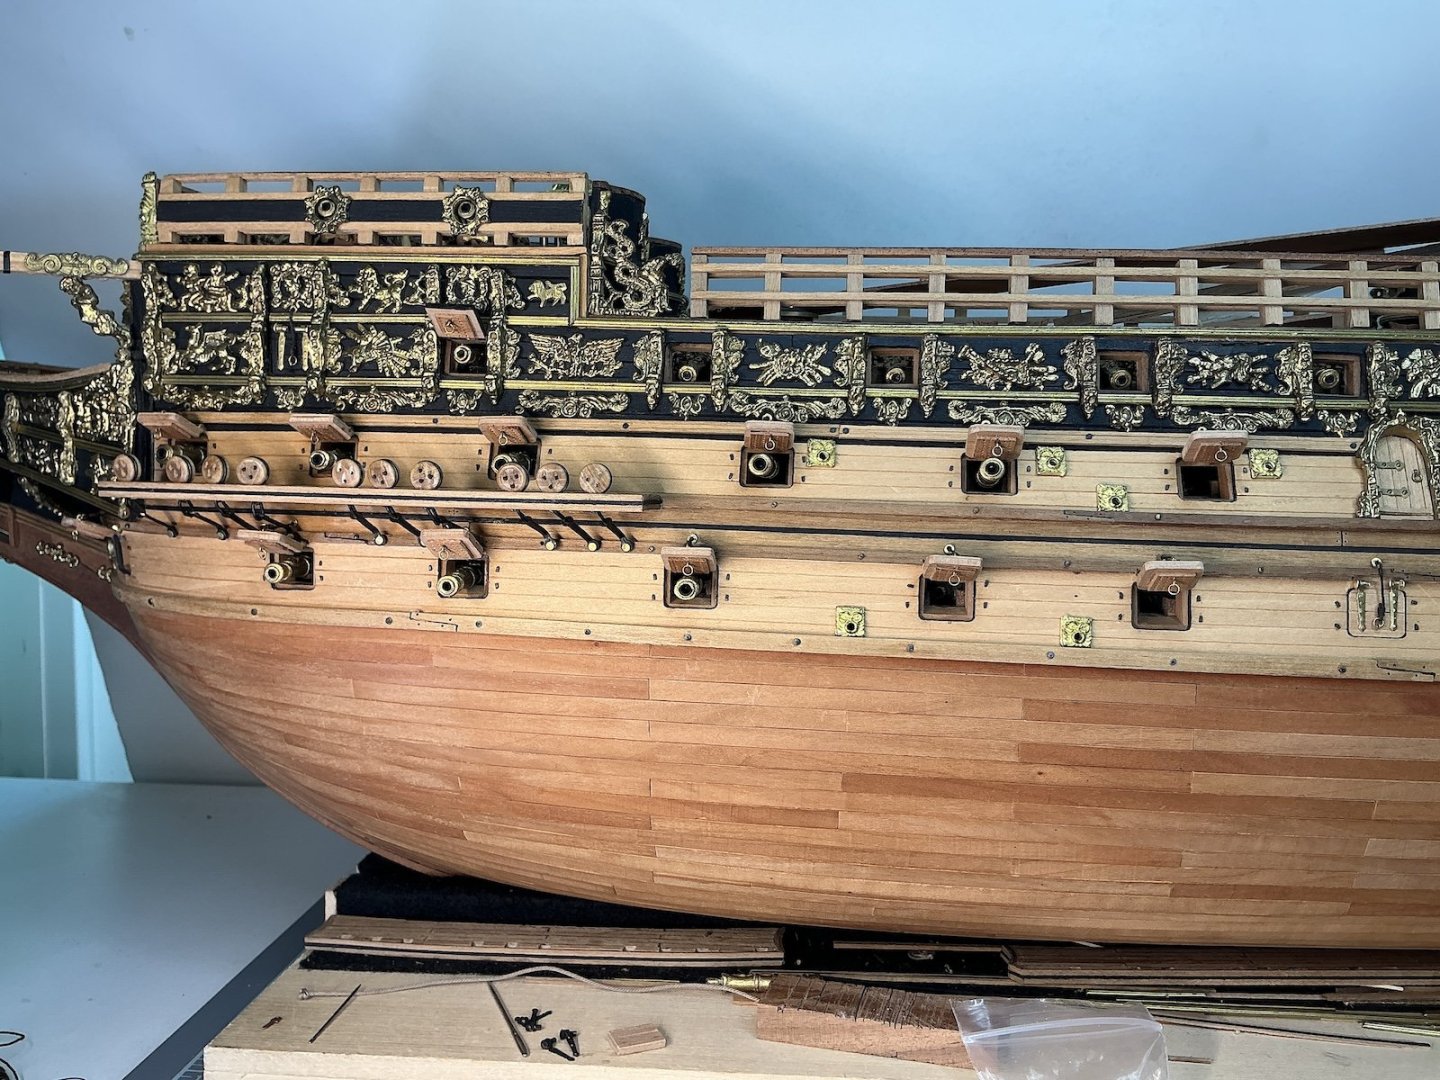
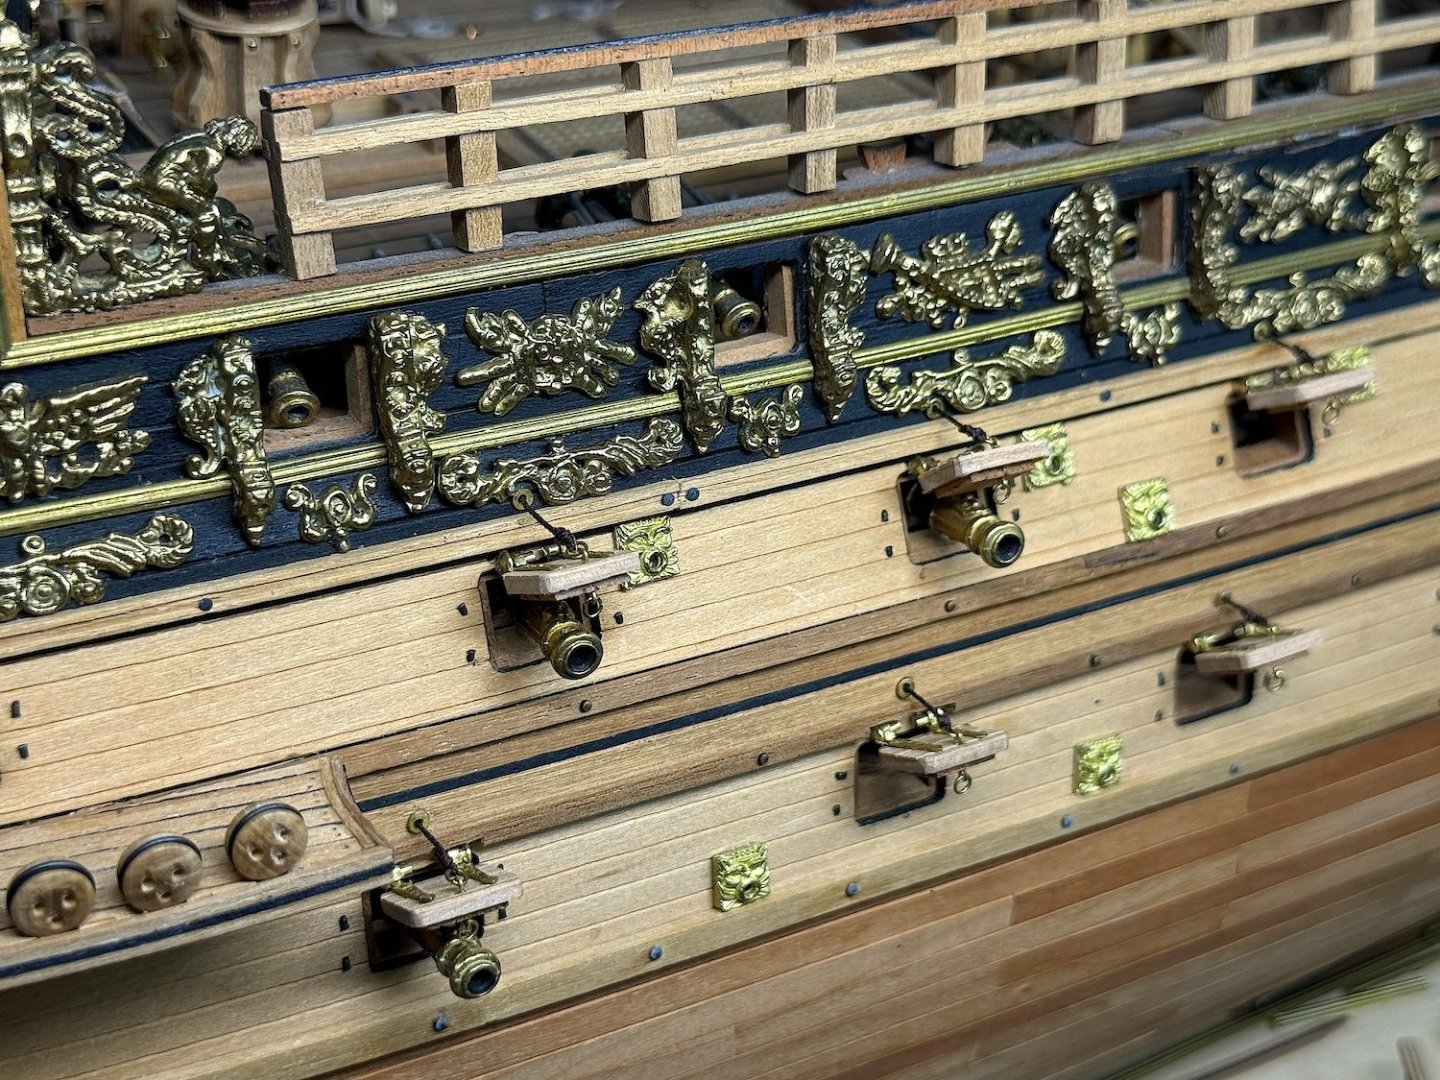
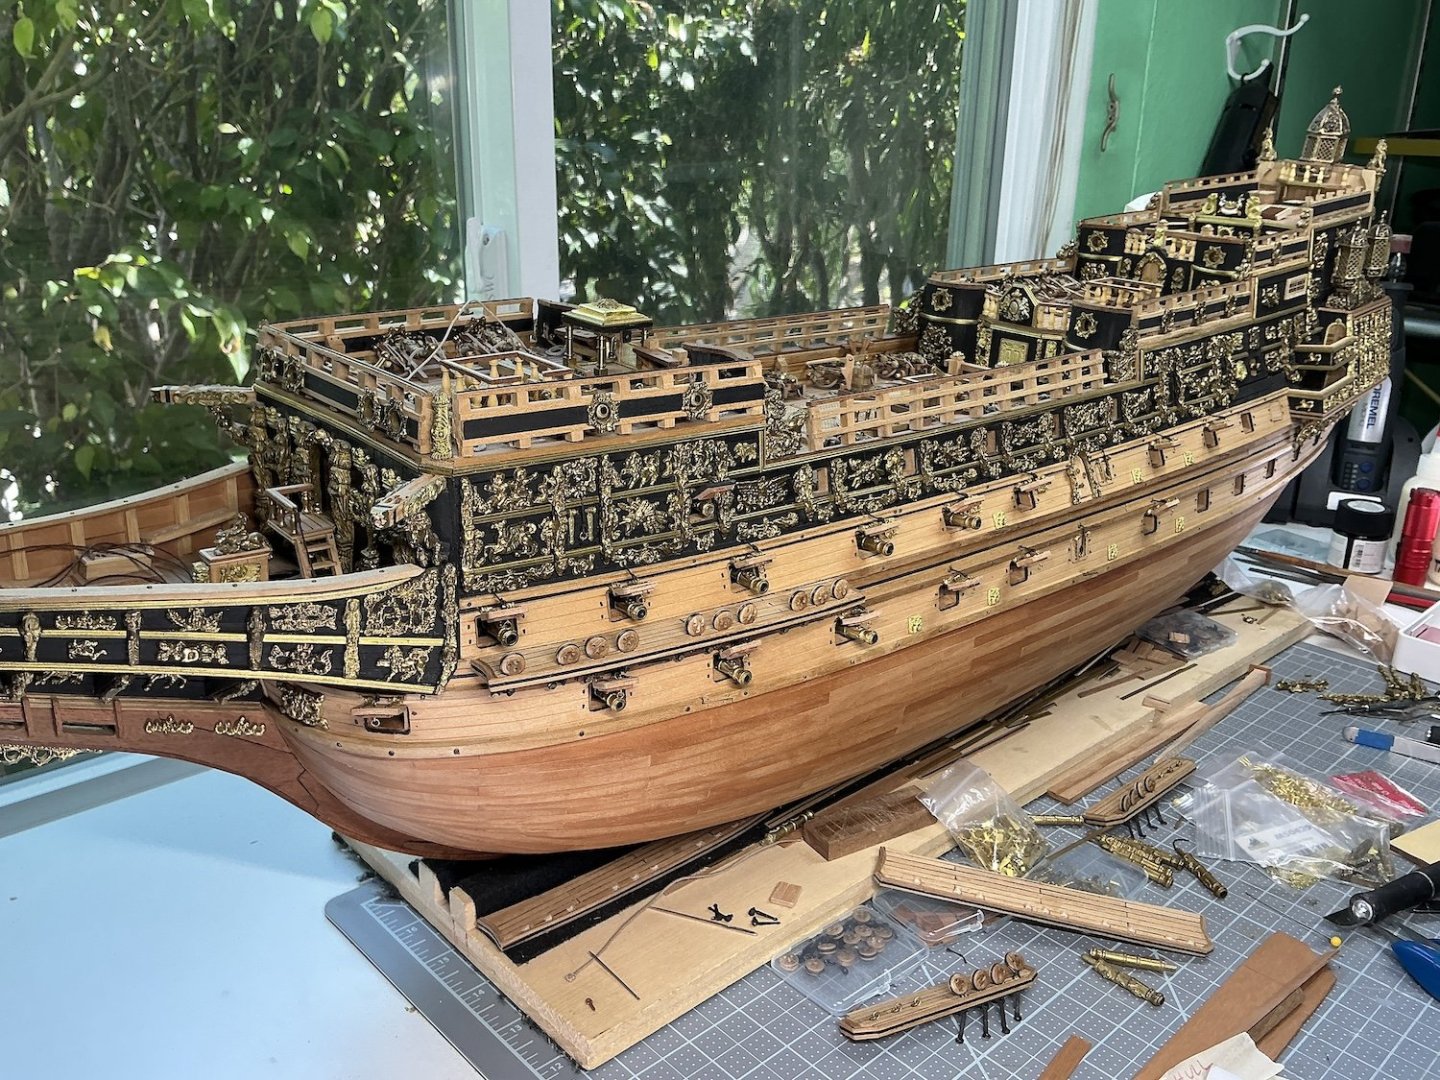
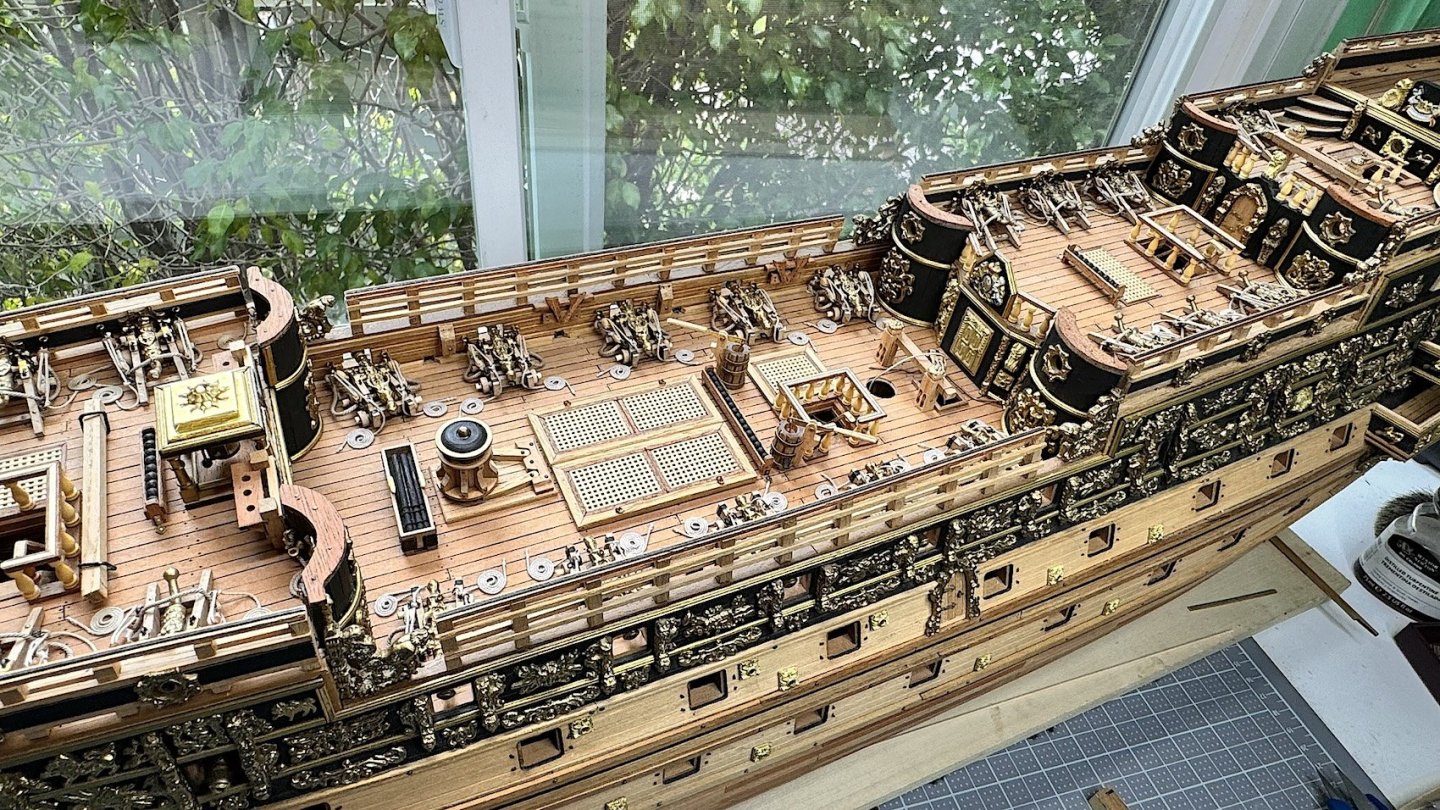
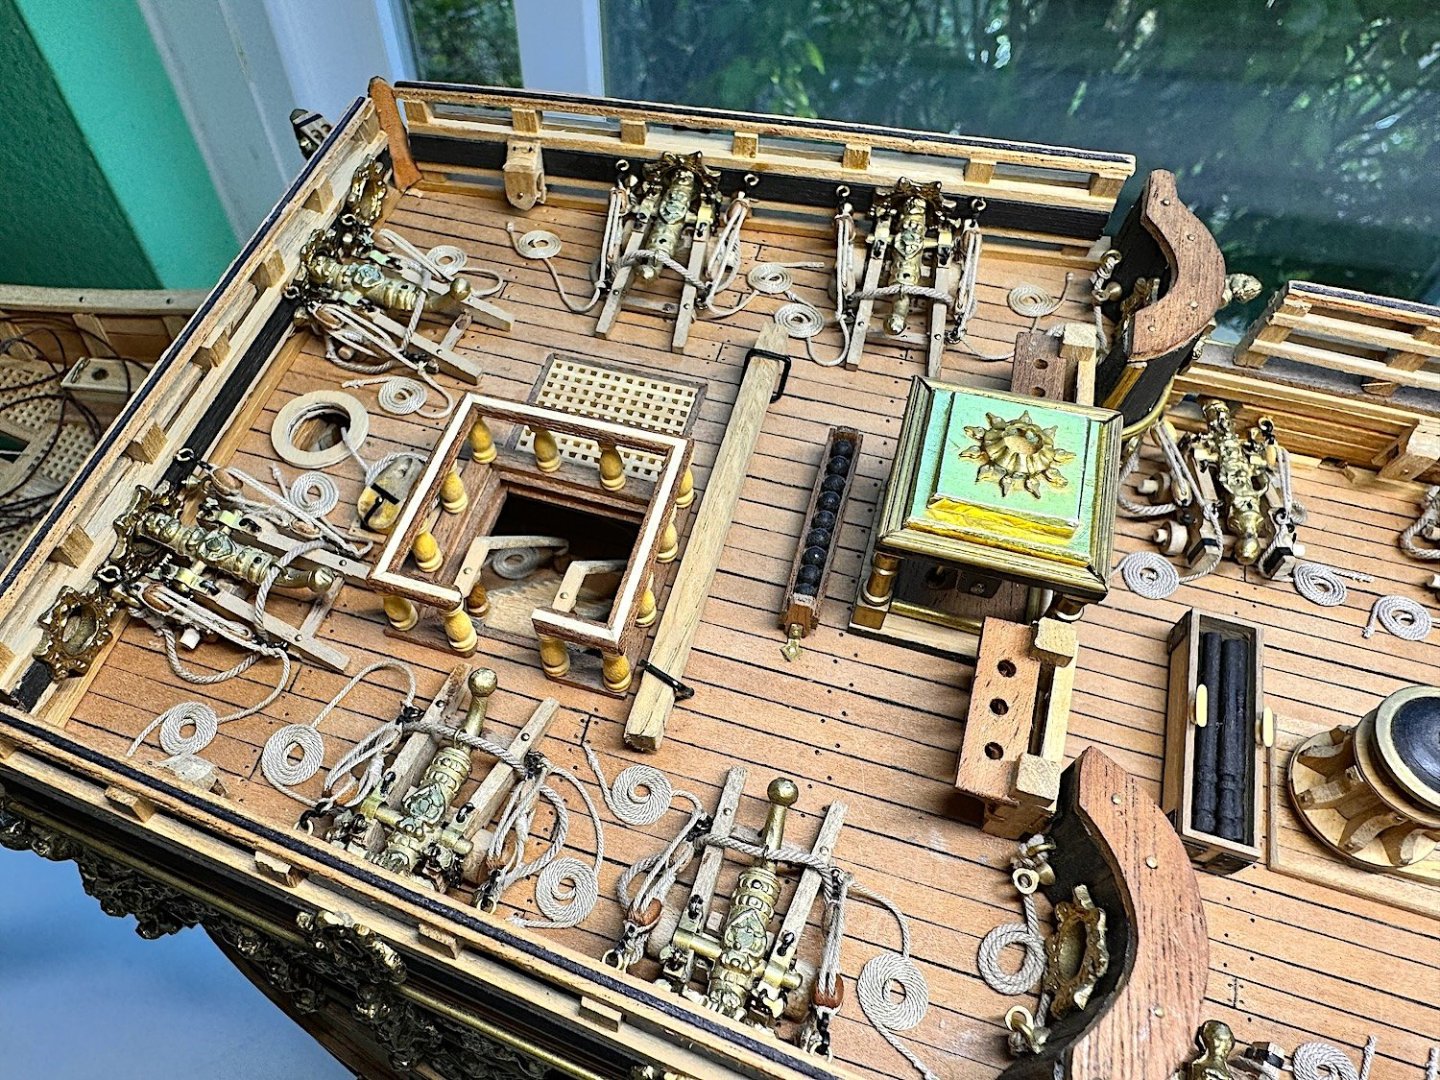
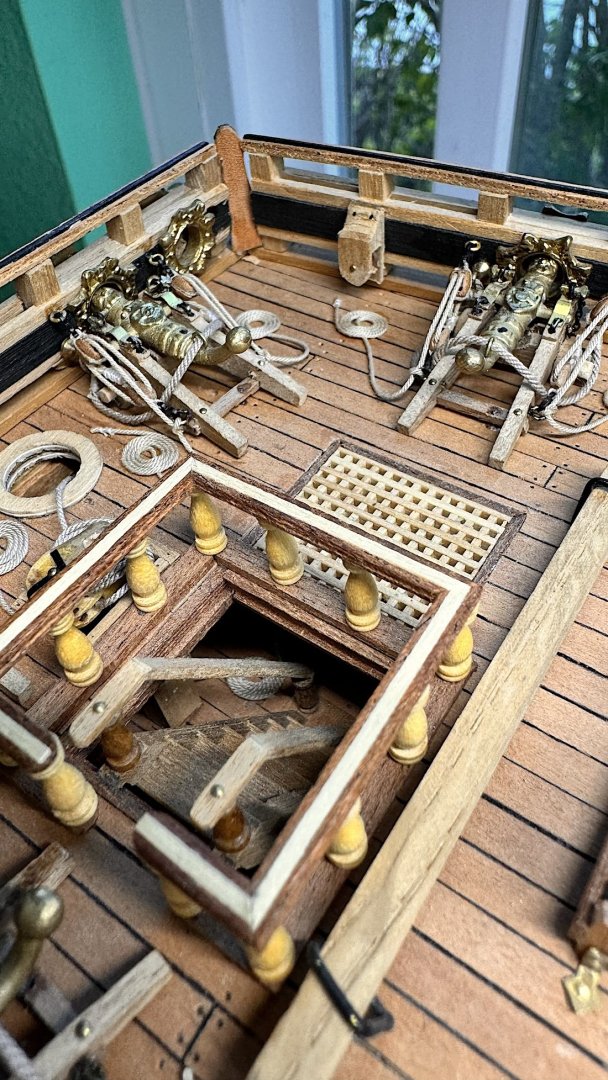
Hi all, It's been a while since I've had an update to post. Finally completed the installation of the guns to their four upper weather decks. added quoins as well Here are a few images. Thanks, as always, for dropping buy for a look - always so appreciated. Cheers,


-
FYI: One of my all time favorite series!! - You've prob. watched it?? Now all seasons are on Netflix as well. https://www.forbes.com/sites/erikkain/2024/04/02/one-of-the-best-shows-ever-made-lands-on-netflix-today-for-the-very-first-time/?sh=45351df257ce
-
Hi, Will follow as well - Good start. This one is under my table, so will follow with added interest. Cheers,
-
Just catching up - my index finger almost got numb from clicking so many likes... Cheers, PS: clicked a wrong key -- nothing below is hidden.... Cheers
-
Peter, Went back and stared in wonder at all the incredibly well done image details. Close-ups occasionally enhance mistakes (well in my case 🤔) - In your build they absolutely capture the obsessive (a Huge compliment) attention to scaling absolutely every bit of this projects to perfection - Big Cheers, And as Julian just posted - yes museum quality - possibly beyond actually...... Regards,
- 208 replies
-
- 1
-
-
- kitbashing
- Woodcarving
- (and 4 more)
-
Hi Robert, I have been following your log since the first frame. Brilliant outcome on arguably the most difficult kit to get PERFECT (the ship is so complicated). You also added so many extra details --- 🏆 🏆 Regards,
- 527 replies
-
- 1
-
-
- caldercraft
- victory
- (and 1 more)
-
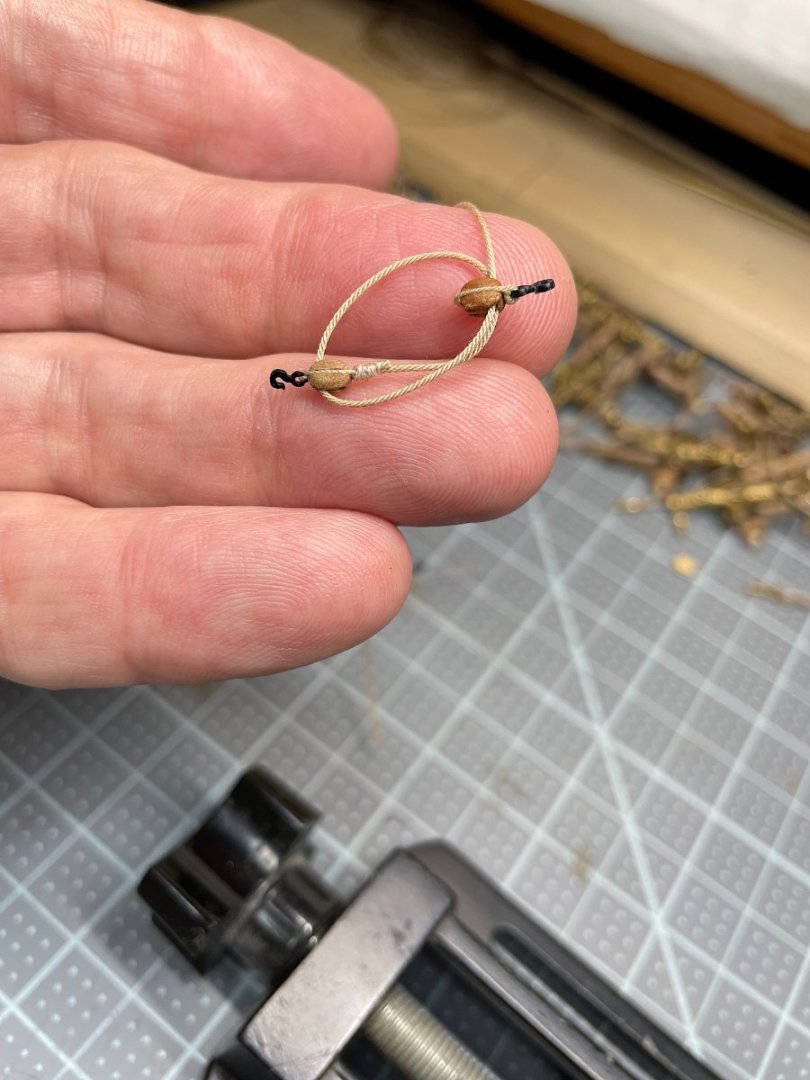
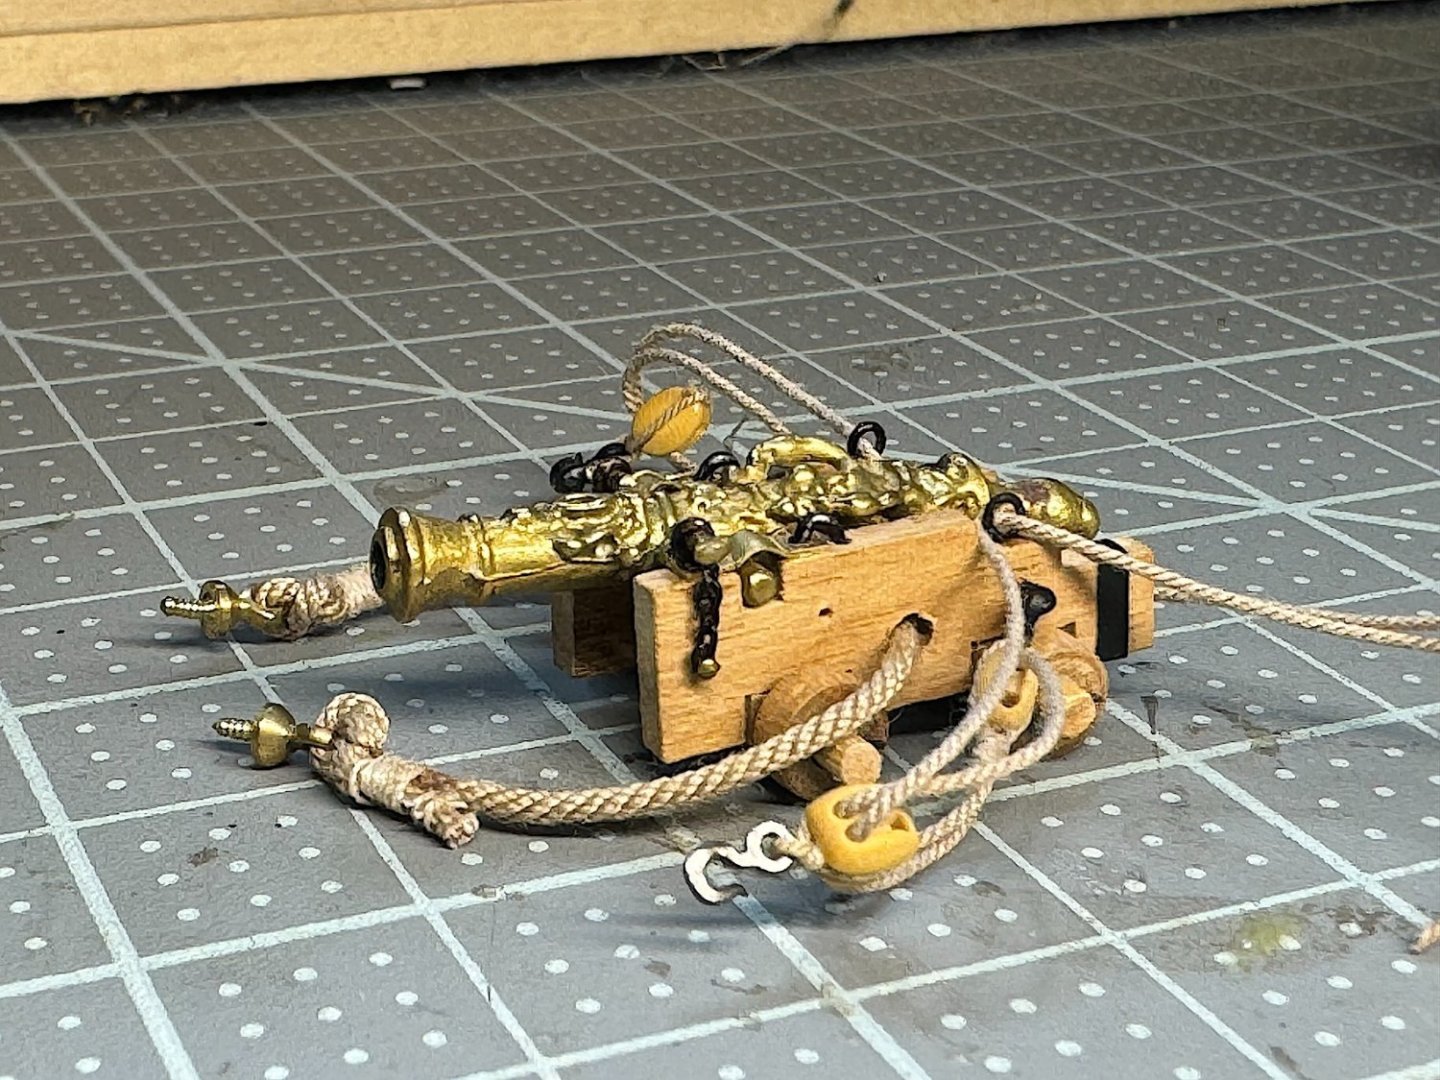
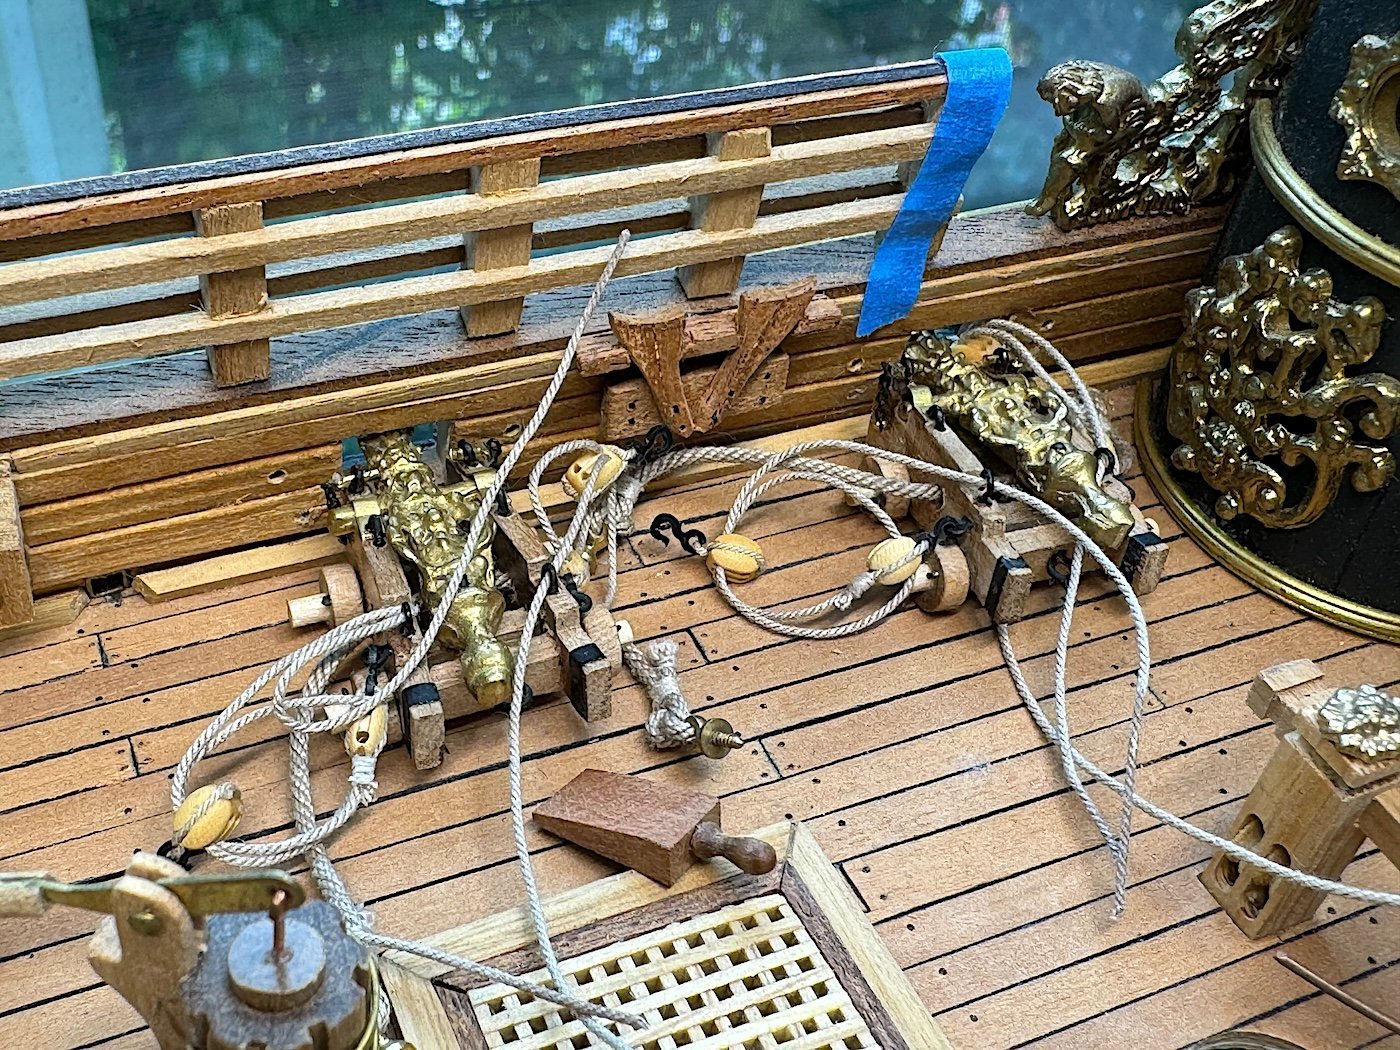
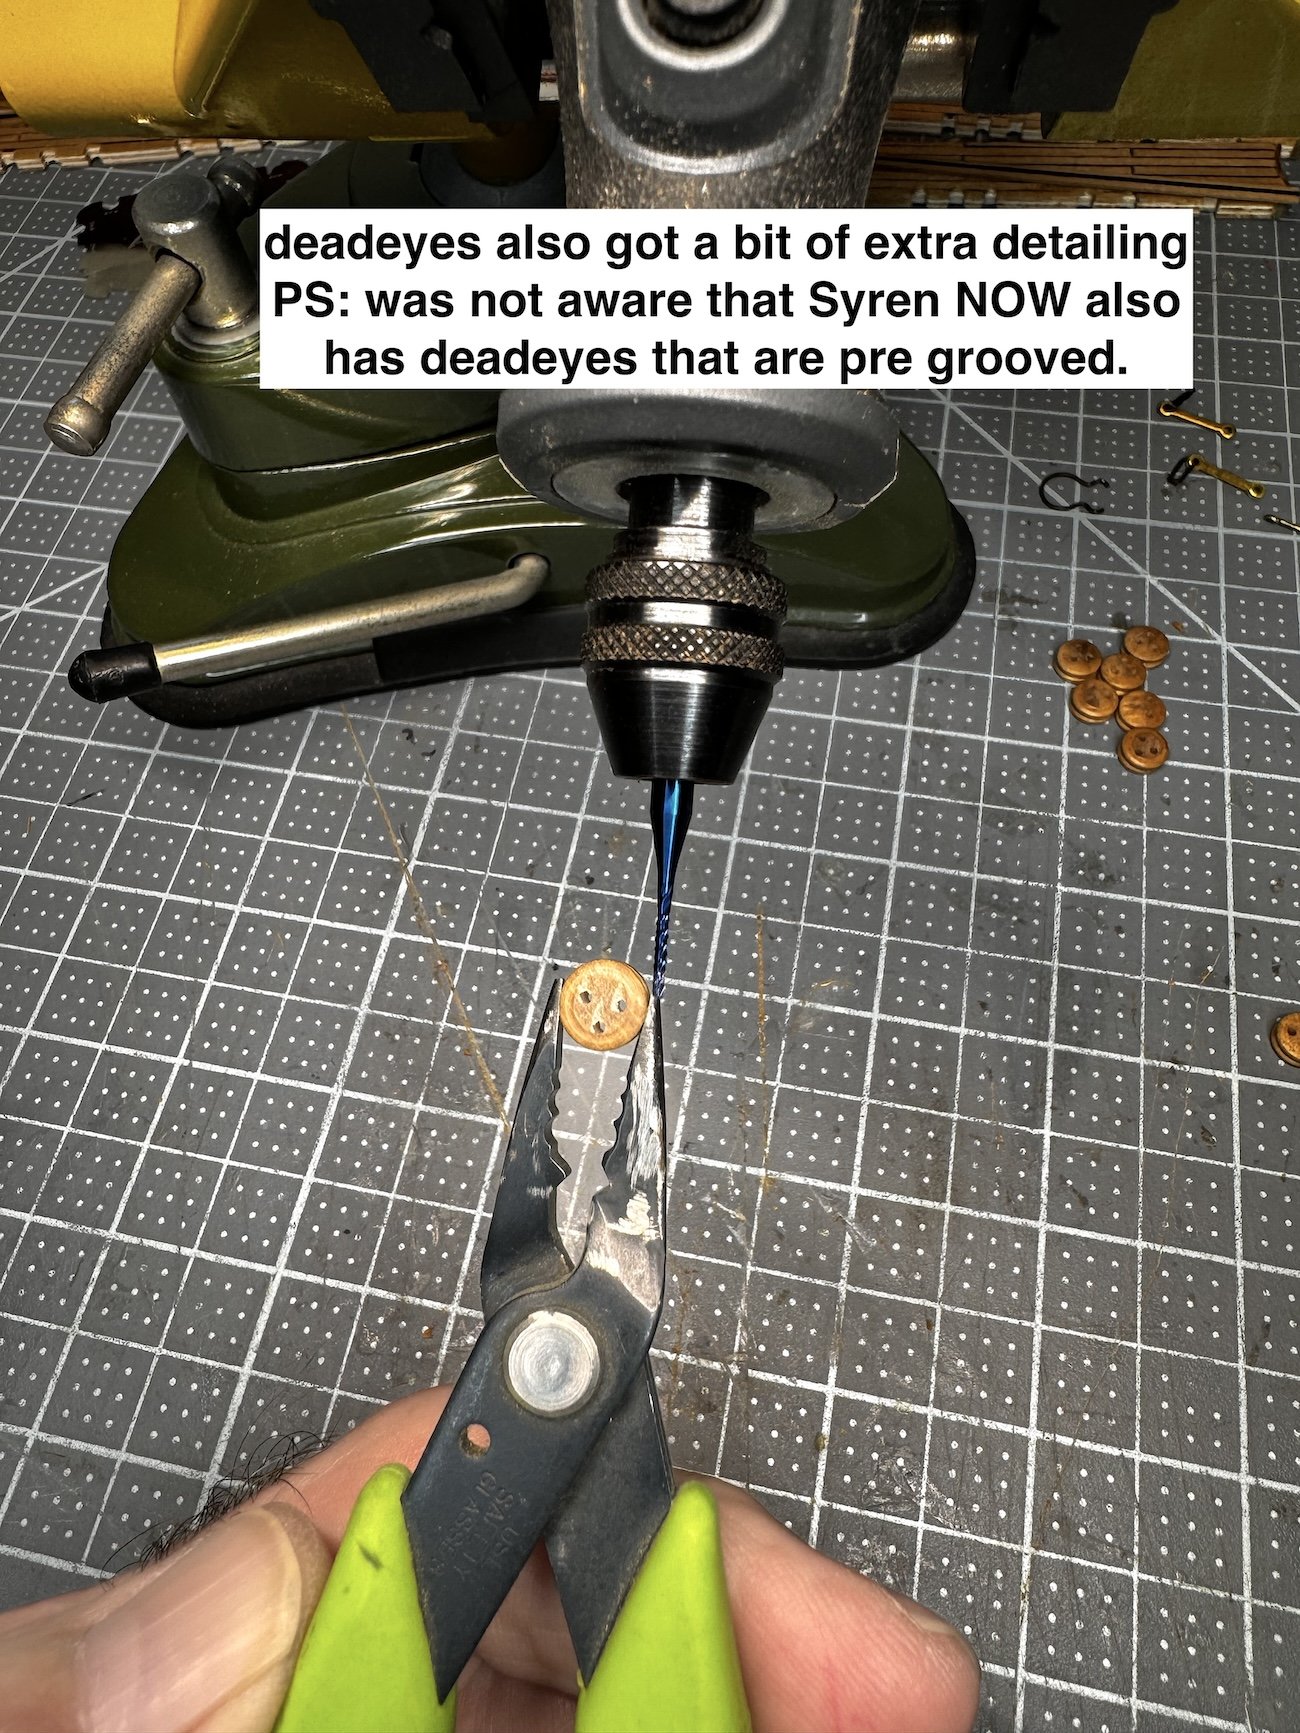
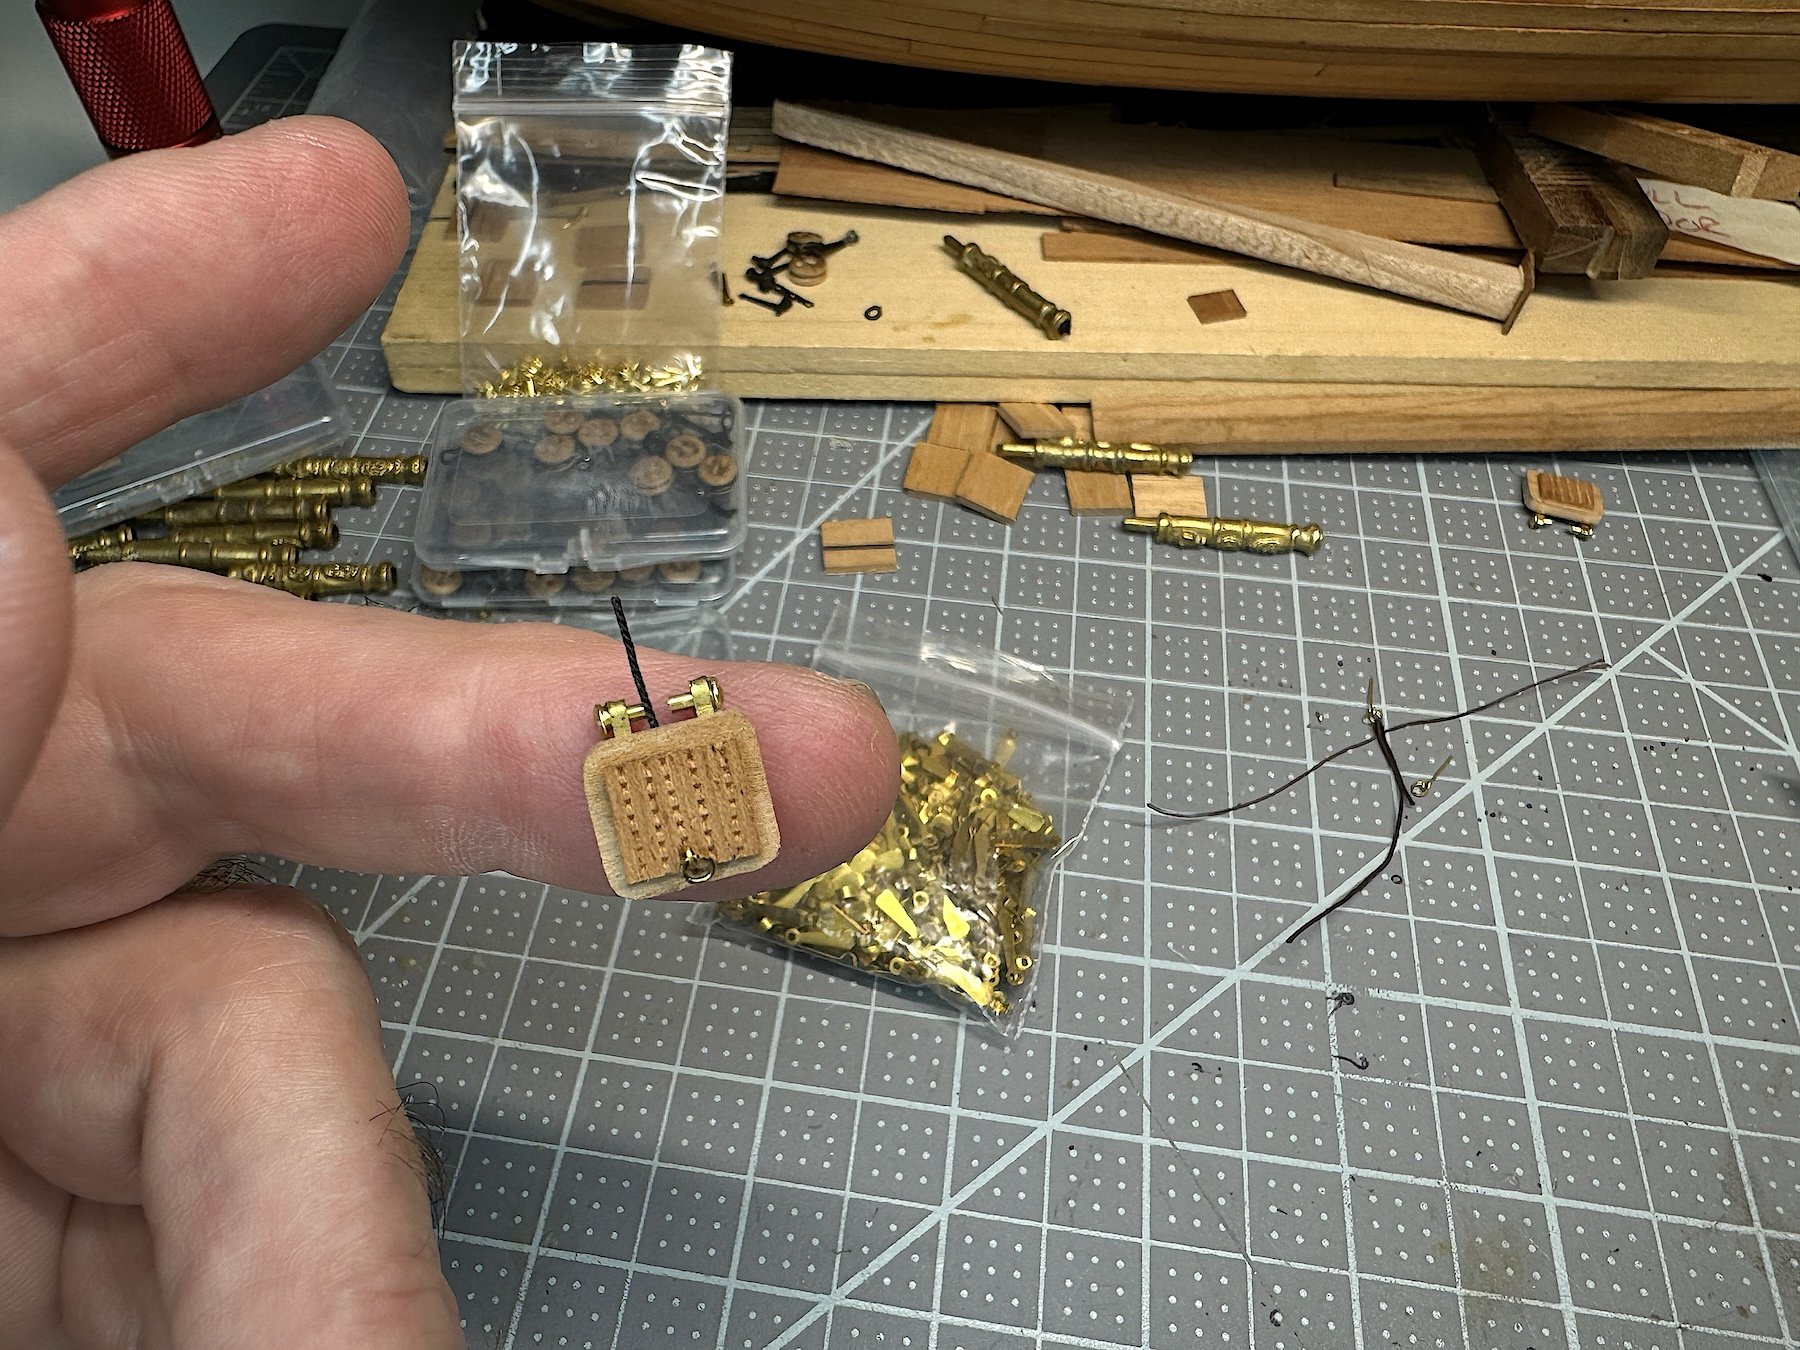
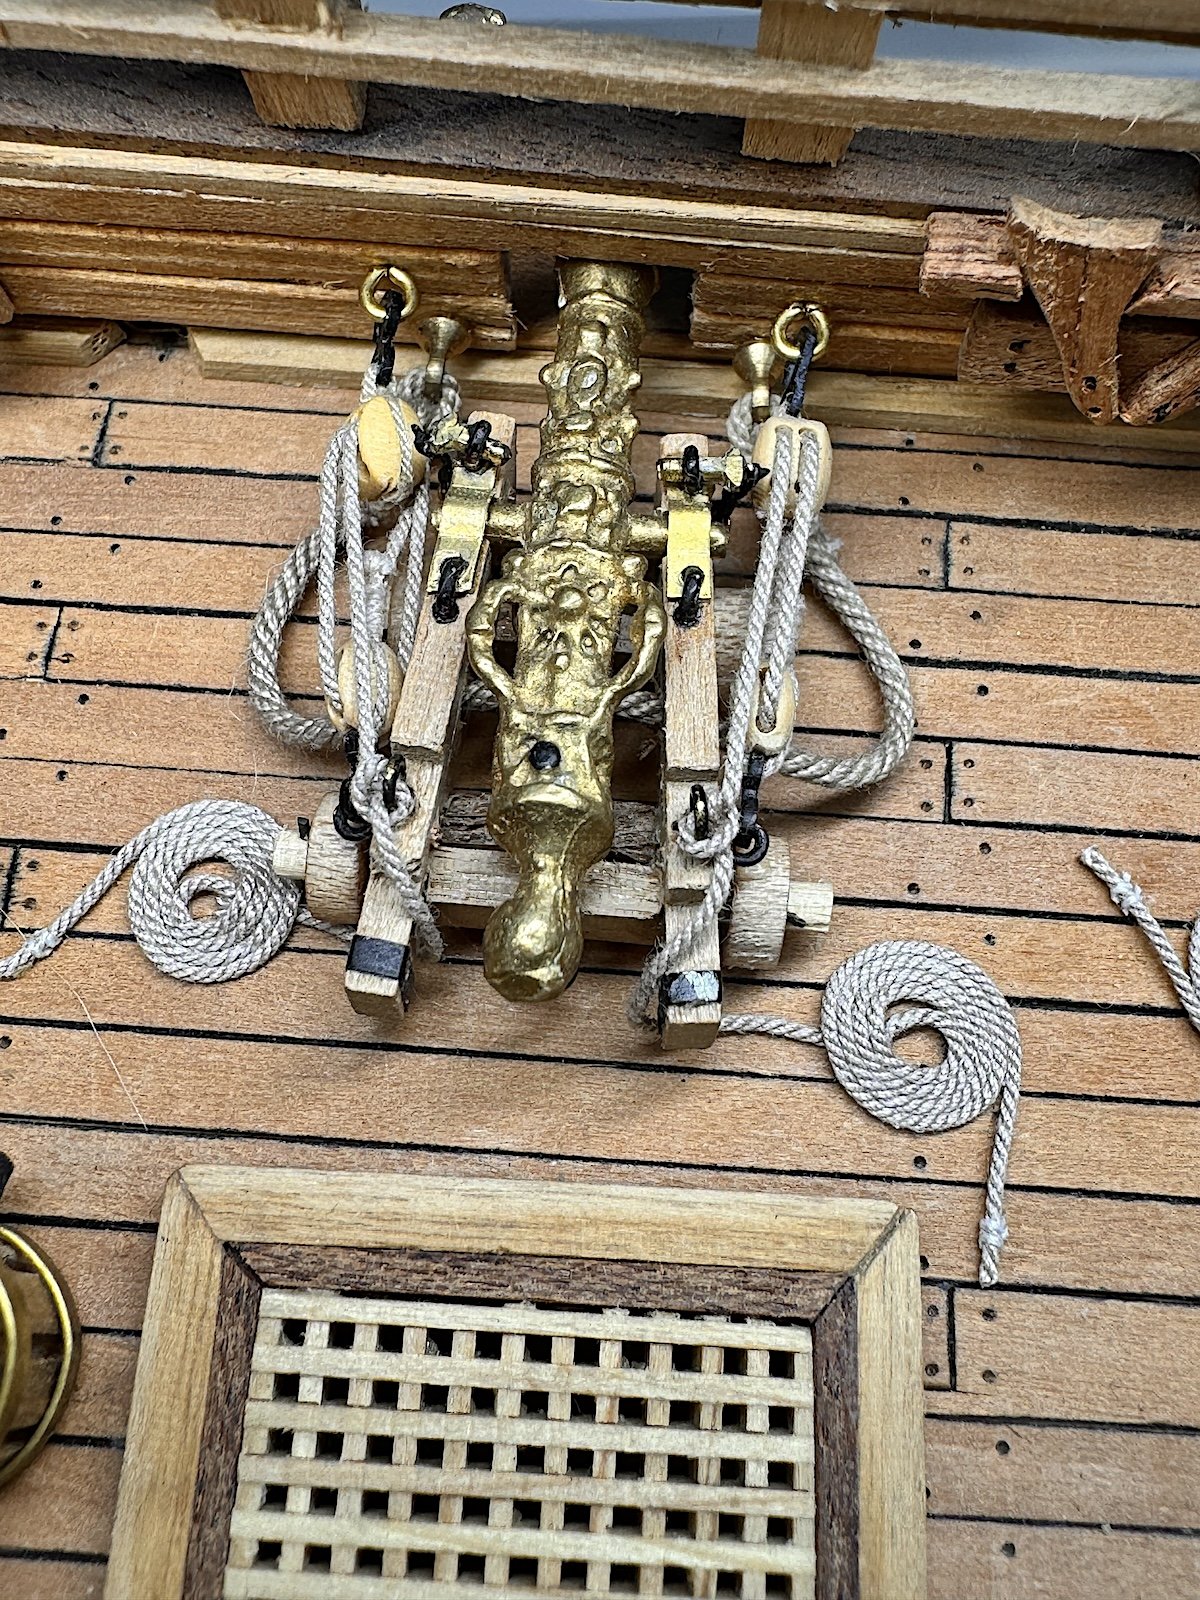
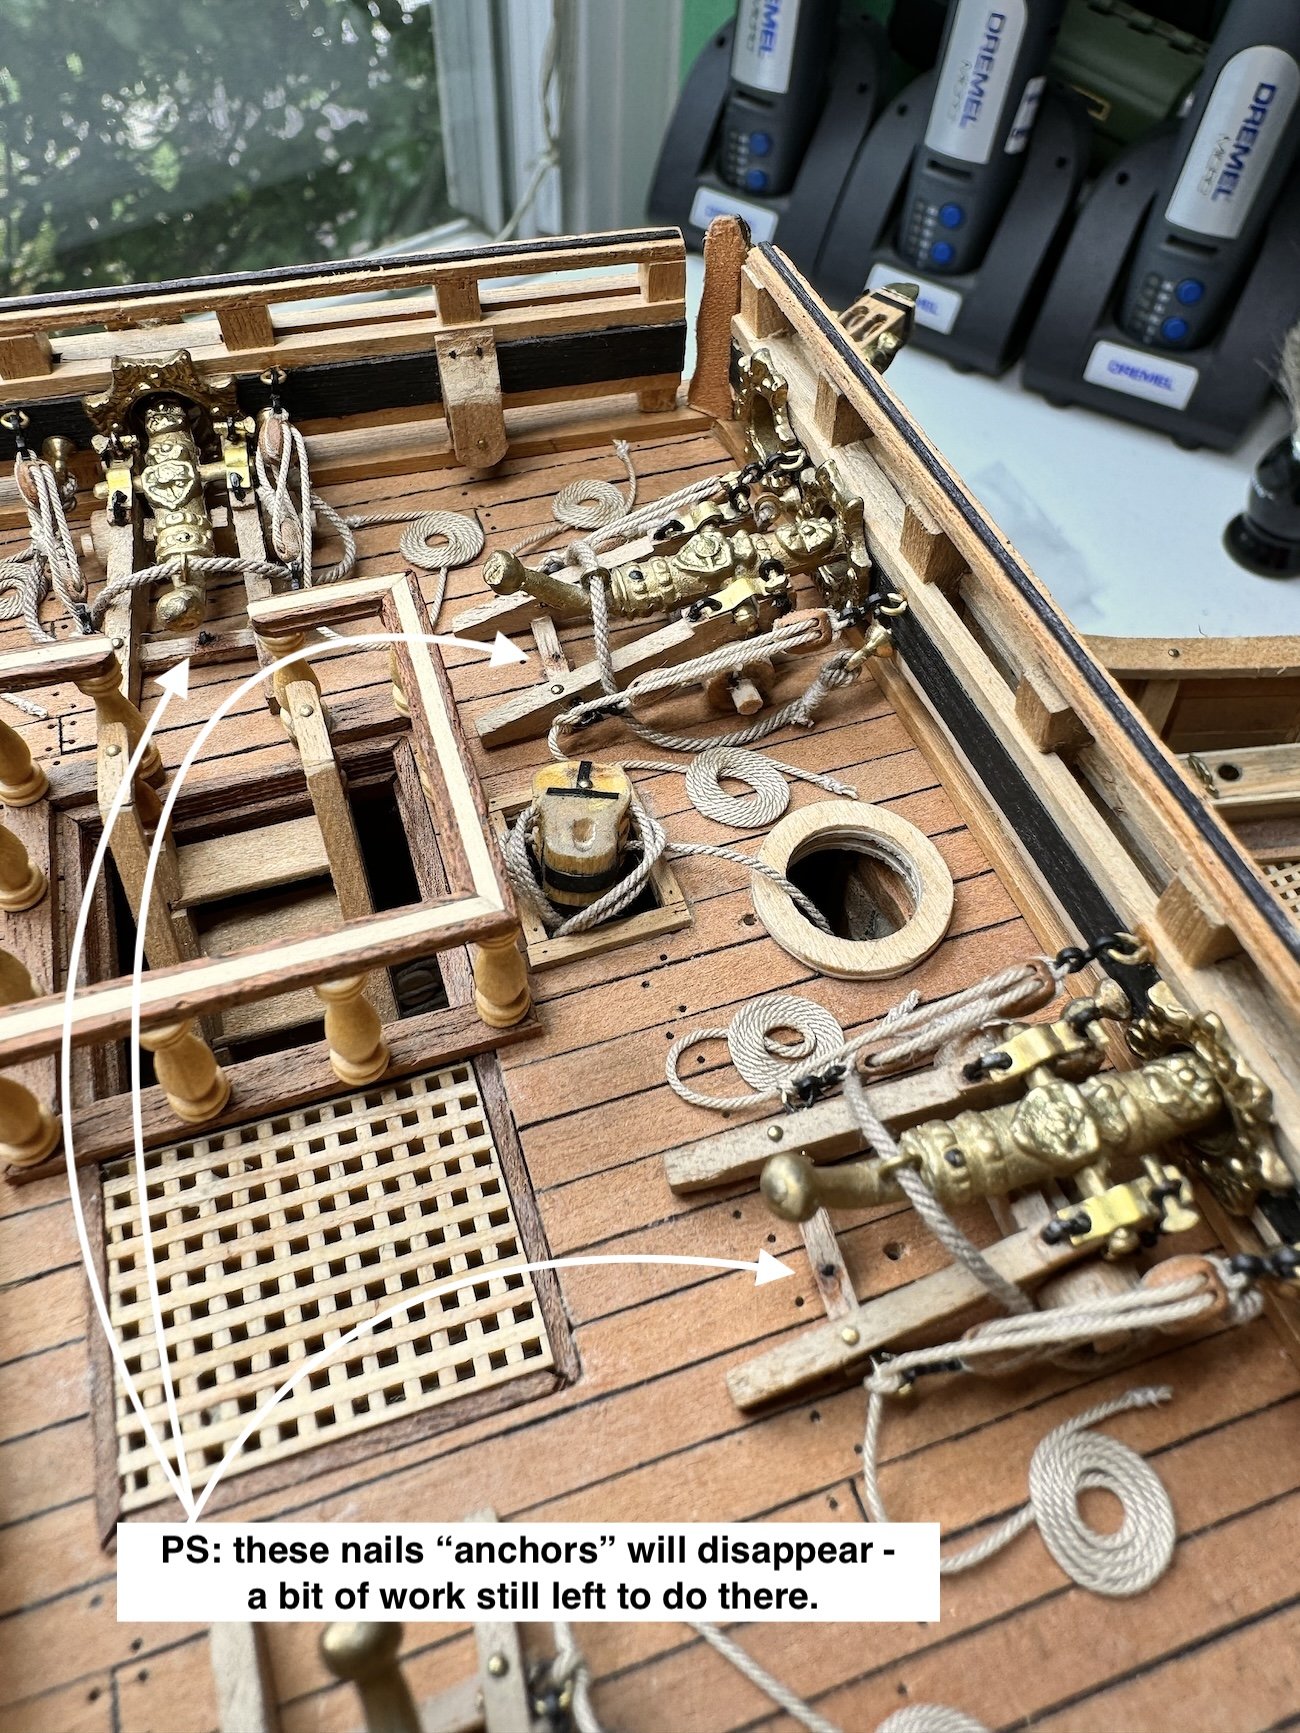
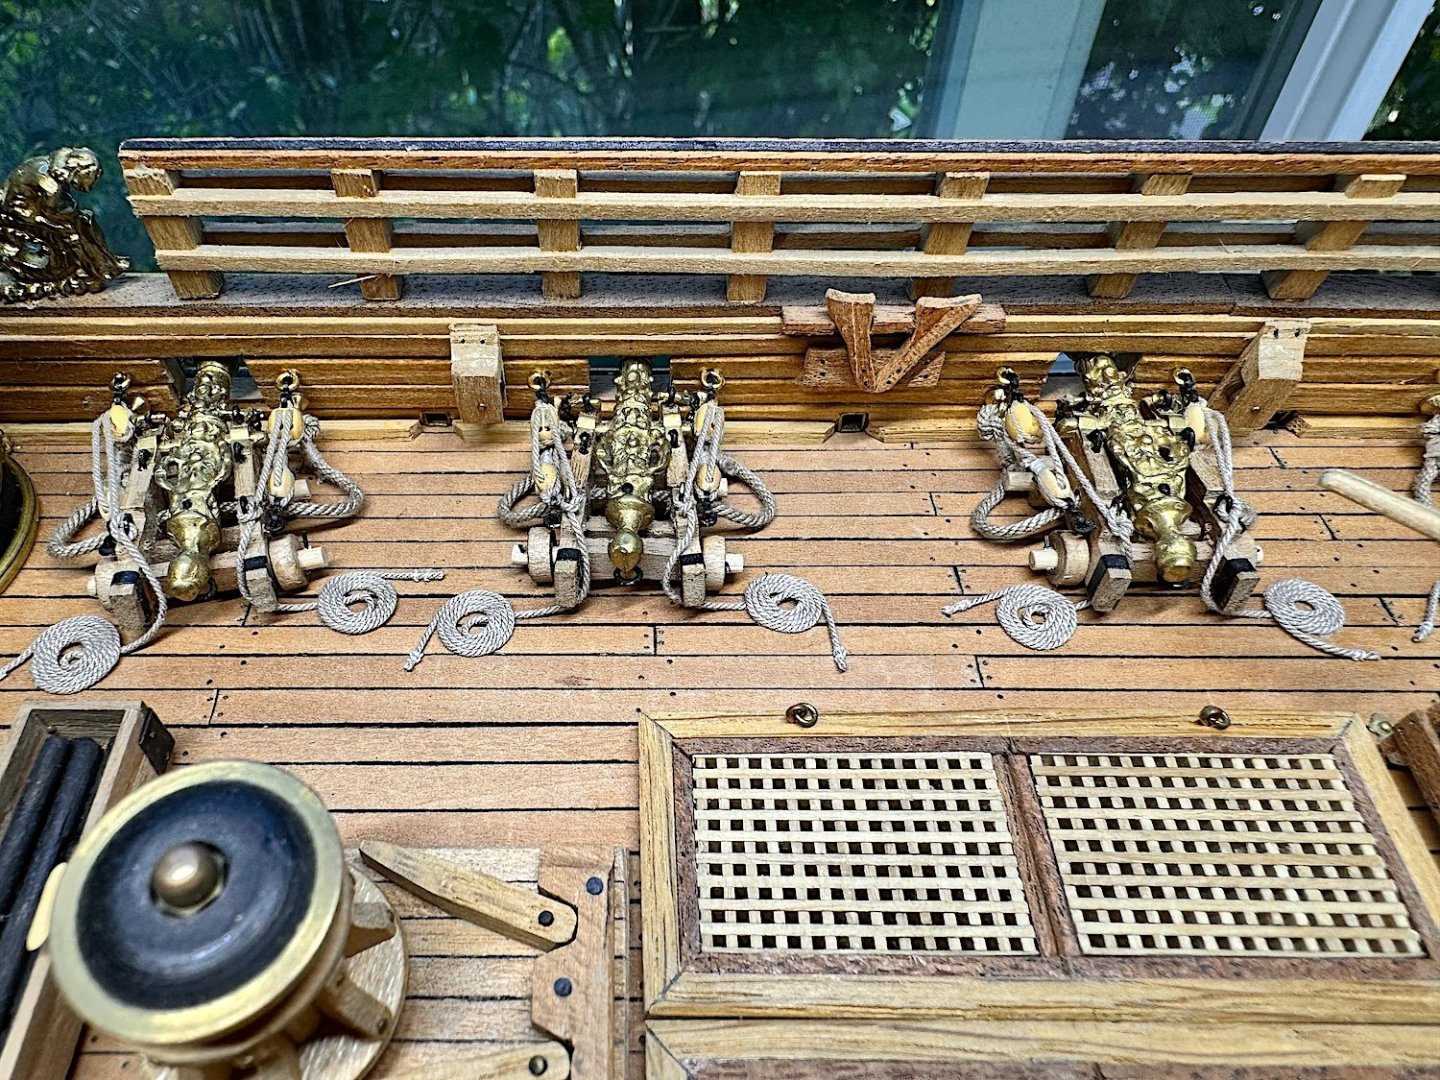
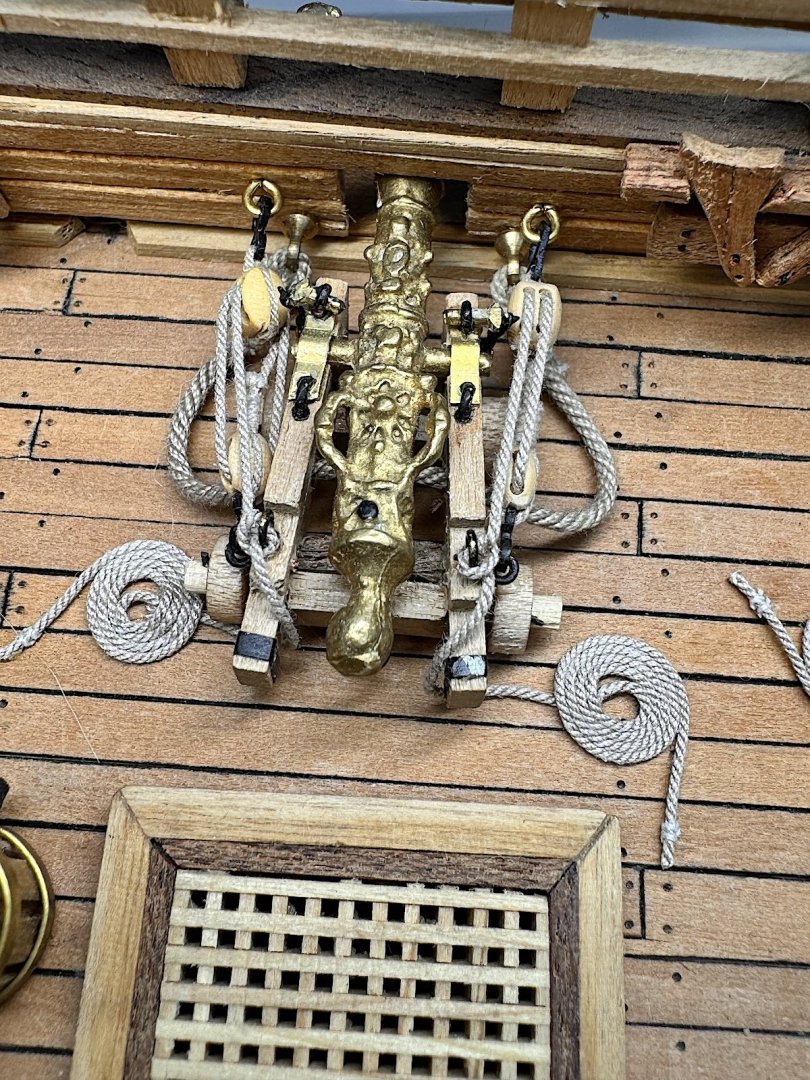
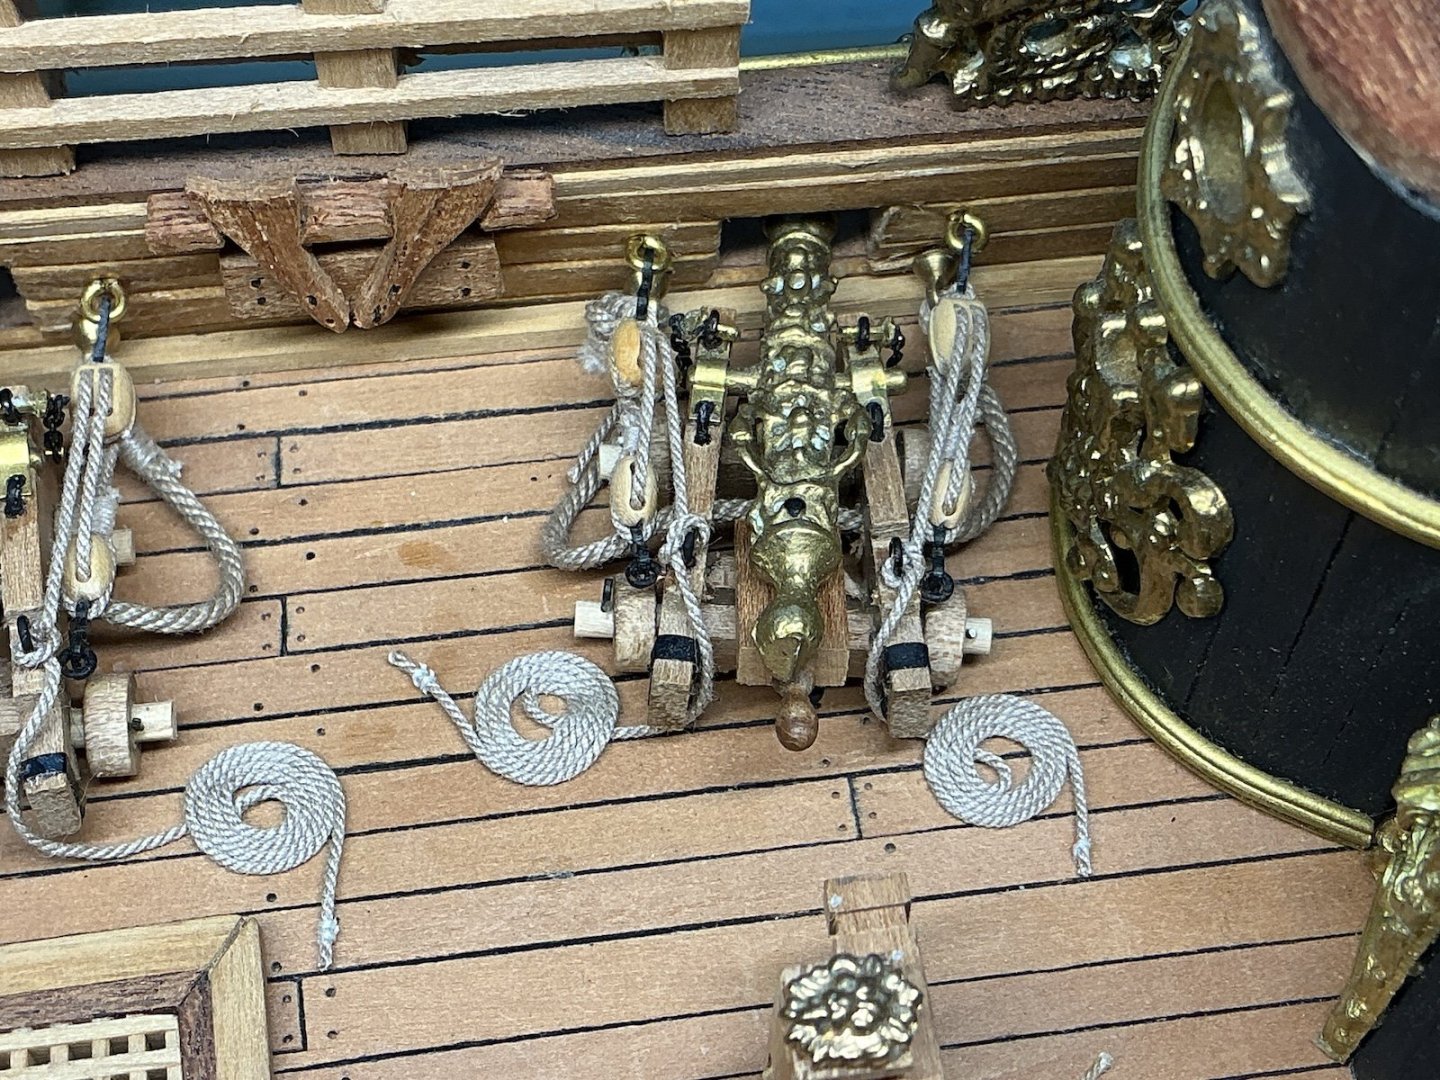
OC. thanks as always - happy that you dropped by as well. -- Been much away from the shipyard as well as from home base for a while; I did finally, however, finish stropping the many lines for the gun carriages. My recent focus was for the ten main deck larger carriages. Here are a few images - Next up is securely positioning the carriages then attaching all lines. Then onto the hull gun doors - I think?? Again thanks for your visit - this log is a real slow one indeed. Cheers,