HOLIDAY DONATION DRIVE - SUPPORT MSW - DO YOUR PART TO KEEP THIS GREAT FORUM GOING! (Only 20 donations so far - C'mon guys!)
×


MrBlueJacket
-
Posts
1,309 -
Joined
-
Last visited
Content Type
Profiles
Forums
Gallery
Events
Everything posted by MrBlueJacket
-
 Making progress on the backstays. Very unusual (I think) is that the upper backstays have longer lanyards on the deadeyes than the lower ones. But that's what the plans show.
- 356 replies
-
- 11
-

-
- red jacket
- finished
- (and 1 more)
-
Some people cut off the bulwarks and replace them with1/16" plywood. Personally I think it is easier than trying to thin the carved bulwarks. Nic
- 166 replies
-
- 2
-
-
- fannie a gorham
- finished
- (and 1 more)
-
Thanks for the sentiment. I keep track - currently there are 21 active BlueJacket kit builds. #22 will be the Fannie Gorham. In addition, there are 11 finished builds.
-
Yes we will Mark. Nic
-
Very nice, Tim! Your customer profile now has 10% off your next kit. Nic
- 20 replies
-
- 1
-
-
- red baron
- lobster boat
- (and 2 more)
-
Not quite correct. from the tip of the jibboom to the end of the spanker boom, she was 450 feet long. 450*12=5400 inches, divided by 96 = 56.25 inches LOA, not just the hull . The Maine Maritime Museum in Bath has a model of her in the lobby at that same scale. That model includes figures on her, which I suspect came from the Revell Constitution kit. All the same poses.
- 356 replies
-
- 2
-
-
- red jacket
- finished
- (and 1 more)
-
Yes, Wyoming will be 1:96. Plank on bulkhead, single layer. She's going to take a LOT of wood! And her deck is ringed with stanchions all around. Some straight up and down, but at the bow and stern they are canted inward and outward.
- 356 replies
-
- 2
-
-
- red jacket
- finished
- (and 1 more)
-
When finished, it will be for the shop. Then I need to do a Wherry, Liberty ship, and PT boat also for the shop. When Al gets done designing the 6-masted Wyoming, I know he will be handing it off to me to do the rigging. But that's probably 2 yrs out.
- 356 replies
-
- 5
-
-
- red jacket
- finished
- (and 1 more)
-
2019 NRG Conference Coverage
MrBlueJacket replied to TomShipModel's topic in NAUTICAL RESEARCH GUILD - News & Information
I must say that the food and speakers were both top notch. -
My goal is to have her finished by April 25th, which is the next Joint Clubs meeting of the Northeast, held each year in New London CT. It will be close......
- 356 replies
-
- 2
-
-
- red jacket
- finished
- (and 1 more)
-
Hi, Yes, she has backstay spreaders, but they are supposed to go on after the backstays are in place. That way they are aligned with the run of the backstay.
-
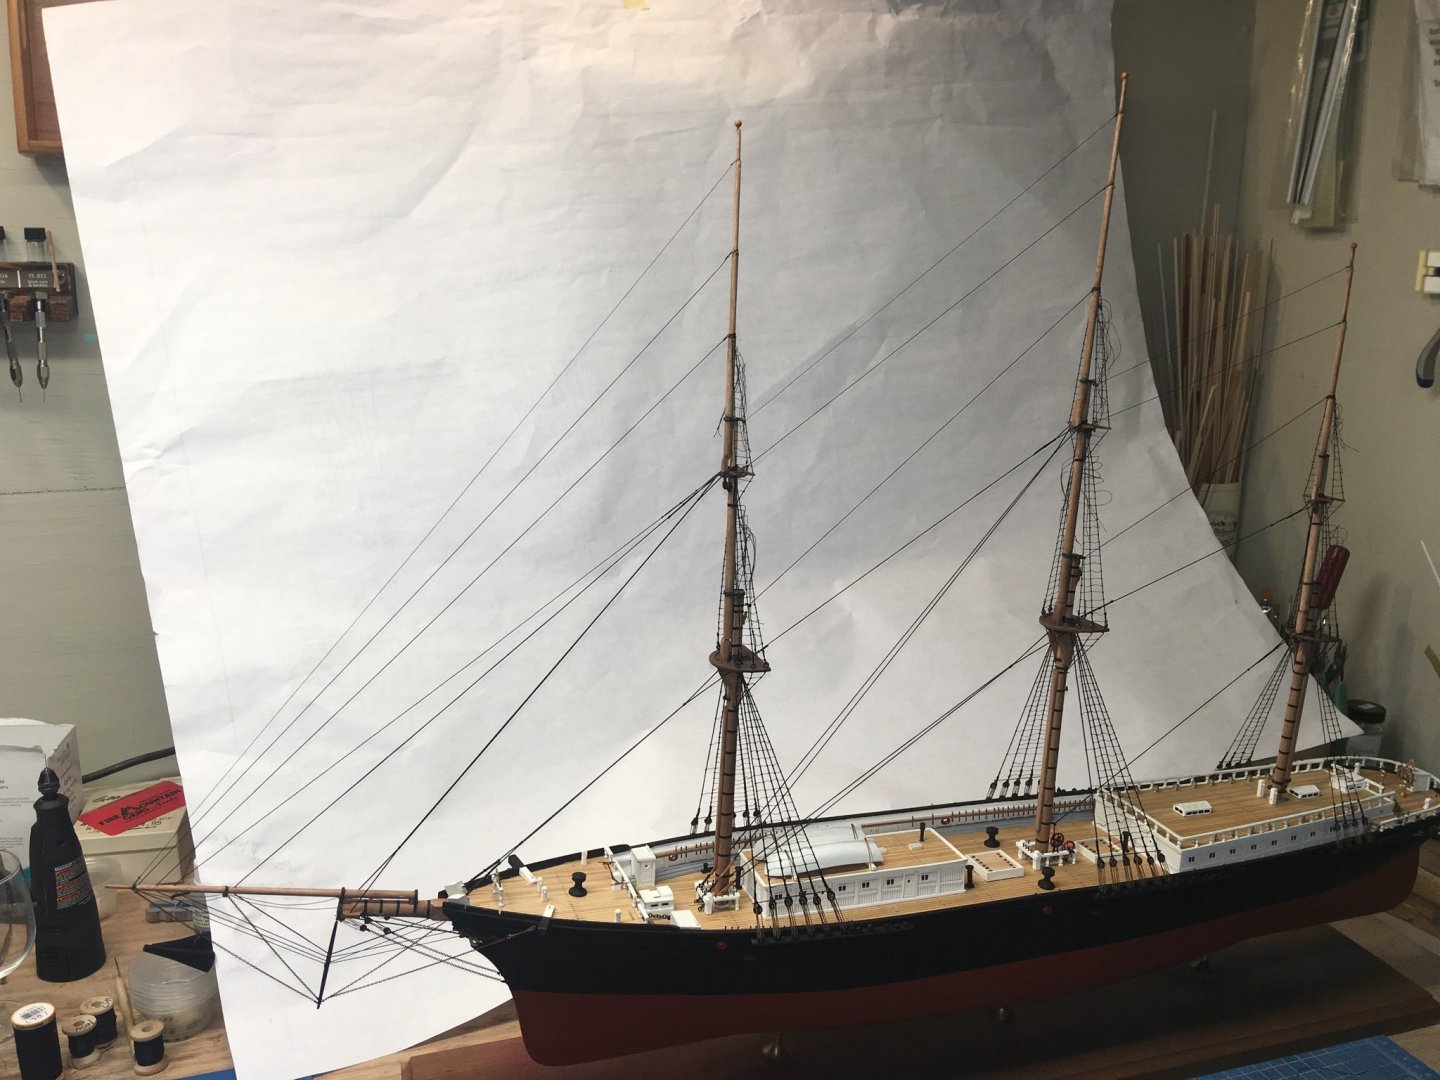
After the ratlines, the stays came next. Now that they're done, it's on to the backstays, then the 15 yardarms.
- 356 replies
-
- 10
-
-
- red jacket
- finished
- (and 1 more)
-
The solution to that is to drill the hole first, then cut out the shape you want around it. I learned that the hard way.
- 106 replies
-
- 1
-
-
- bowdoin
- BlueJacket Shipcrafters
- (and 1 more)
-
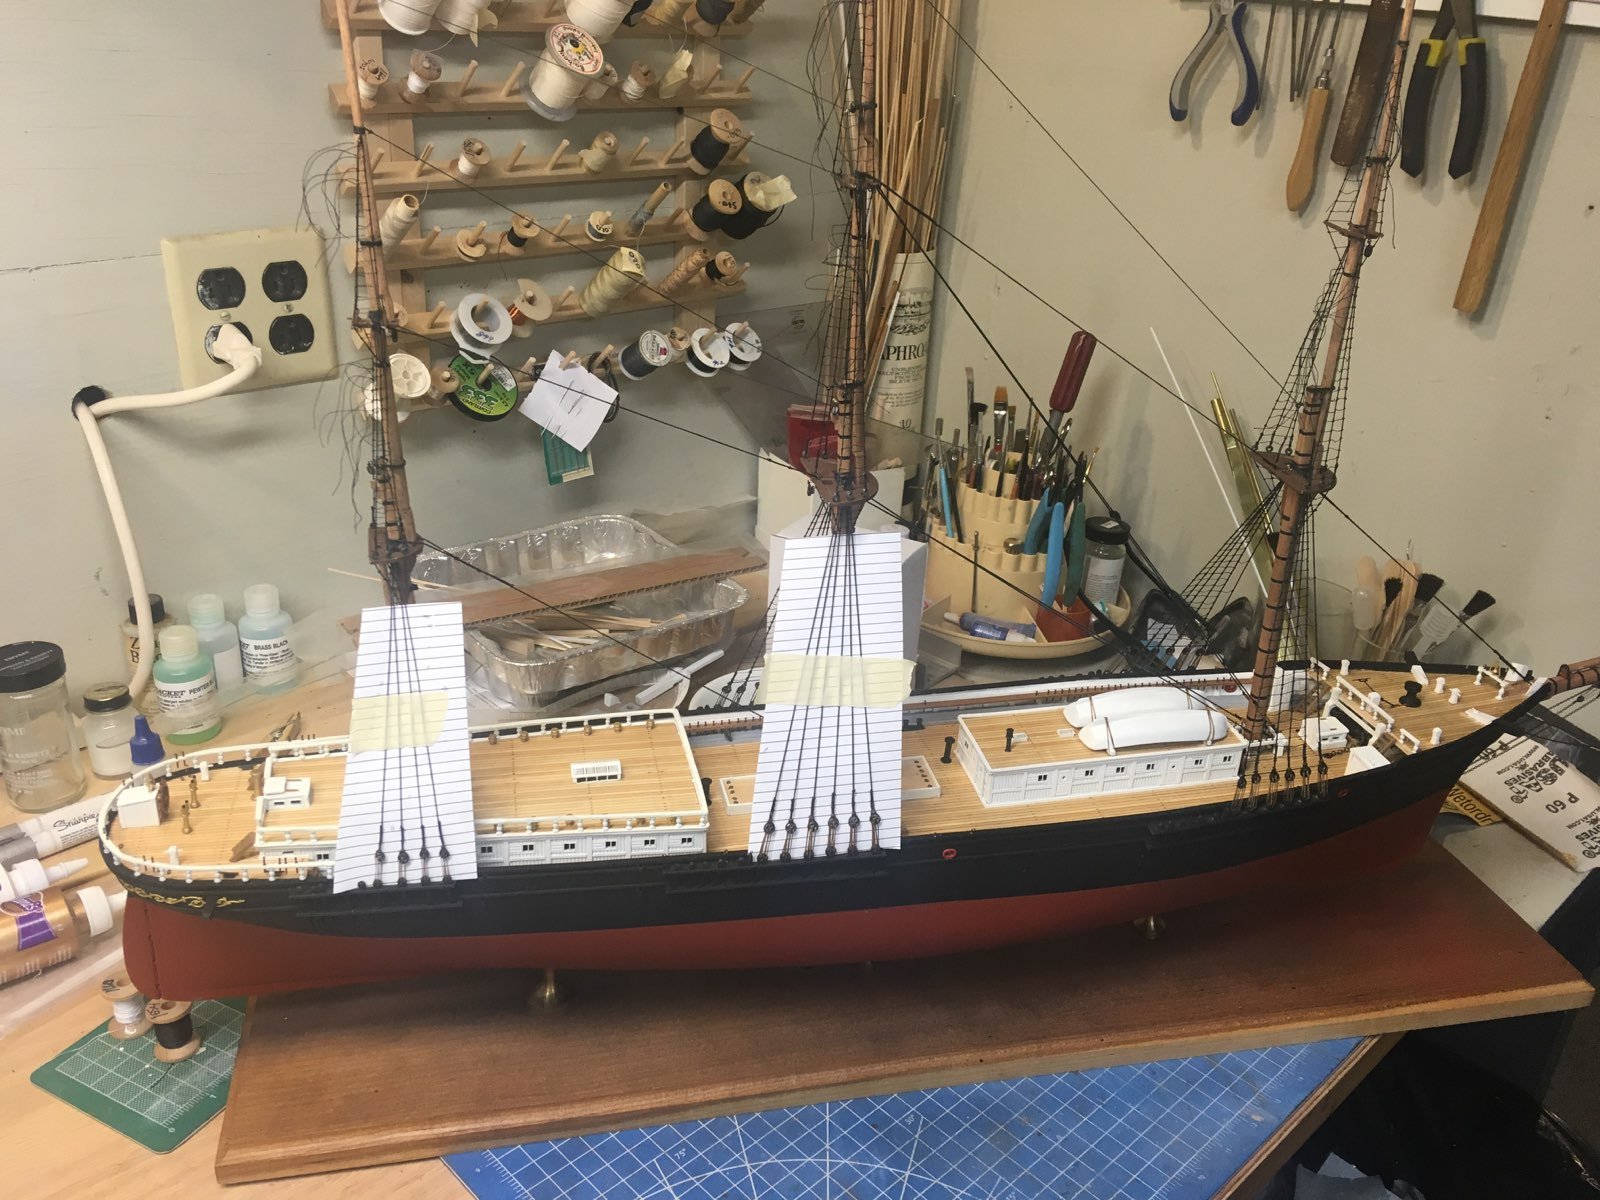
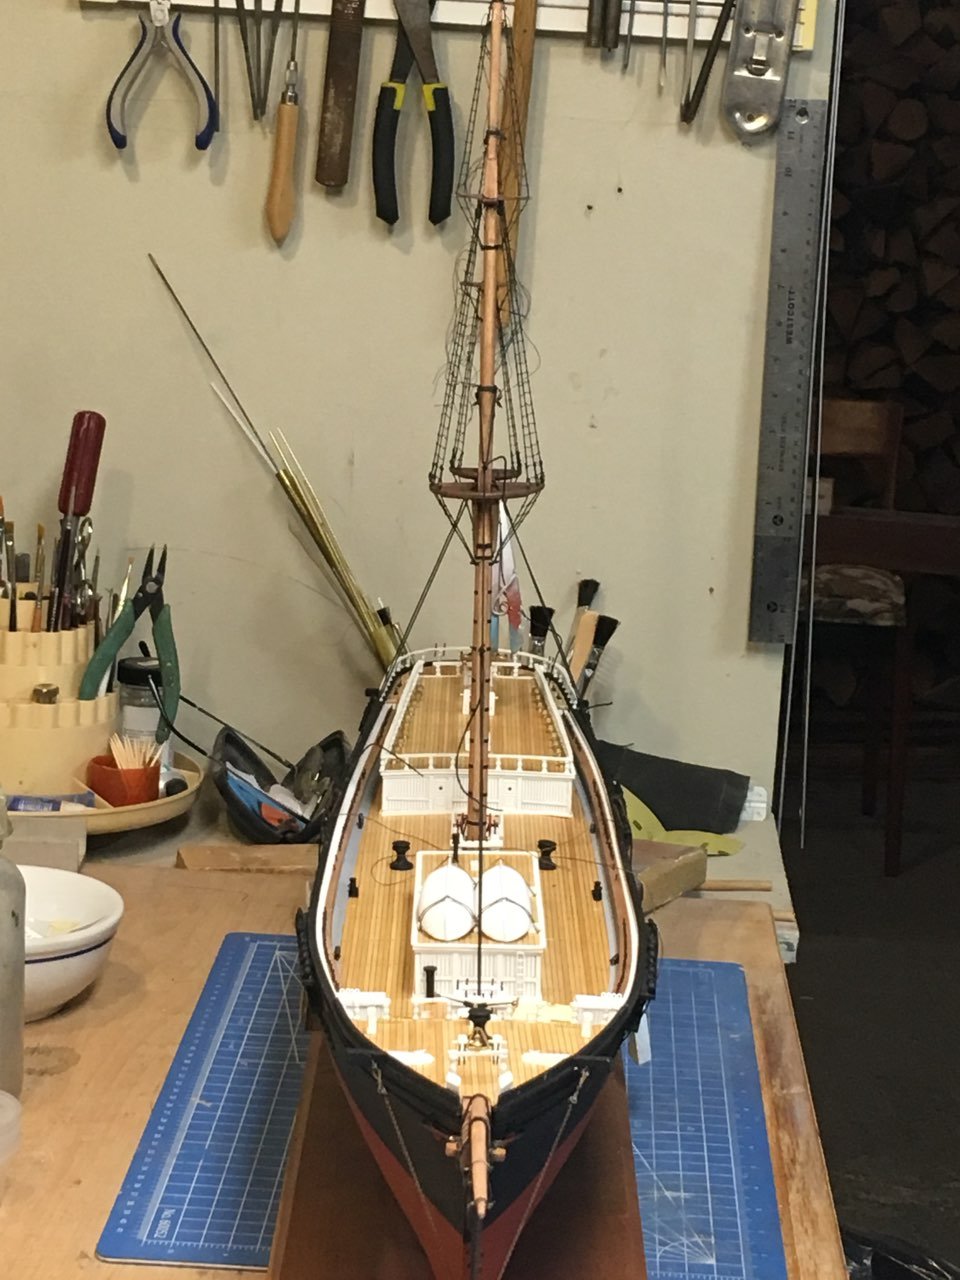
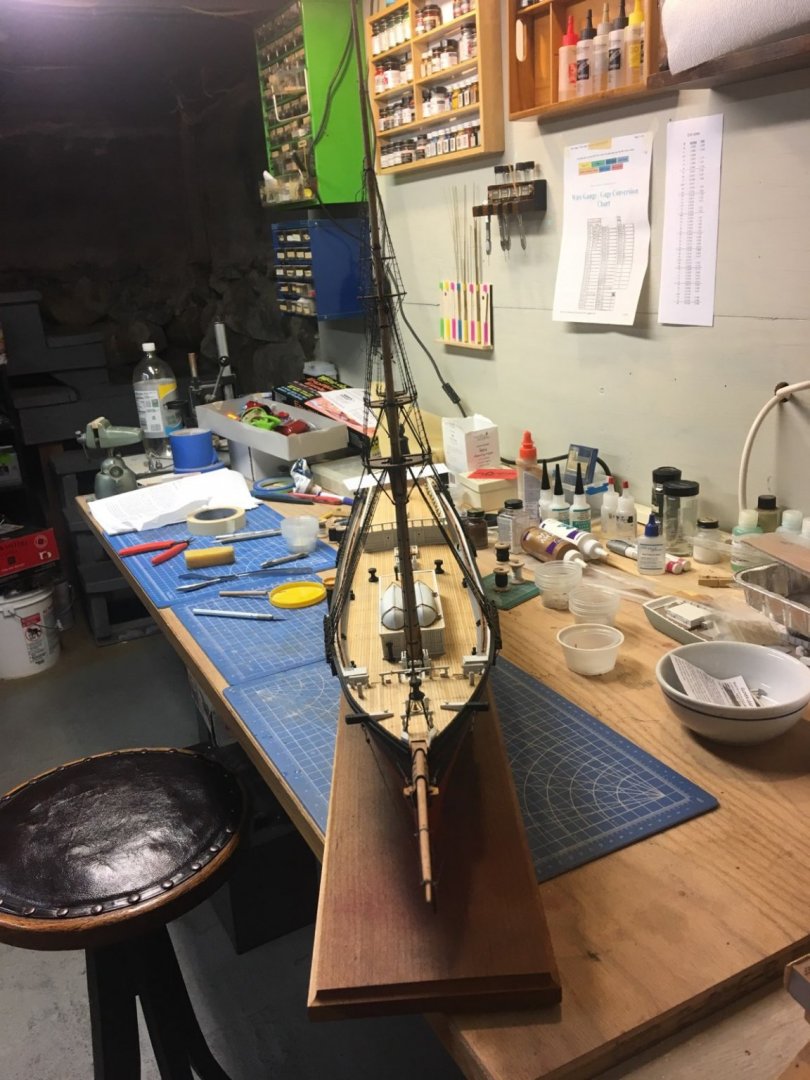
And yet another alignment check to make sure the masts are straight.
- 356 replies
-
- 9
-
-
- red jacket
- finished
- (and 1 more)
-
I have decided to extend this offer indefinitely. Several more people are added, you would get a note from me if I've seen it. If not, then PM me to add you. Nic
-
And with the masts stepped, it is time to do the ratlines. It's just another one of those jobs that creates hours of great fun........
- 356 replies
-
- 13
-
-
- red jacket
- finished
- (and 1 more)
-
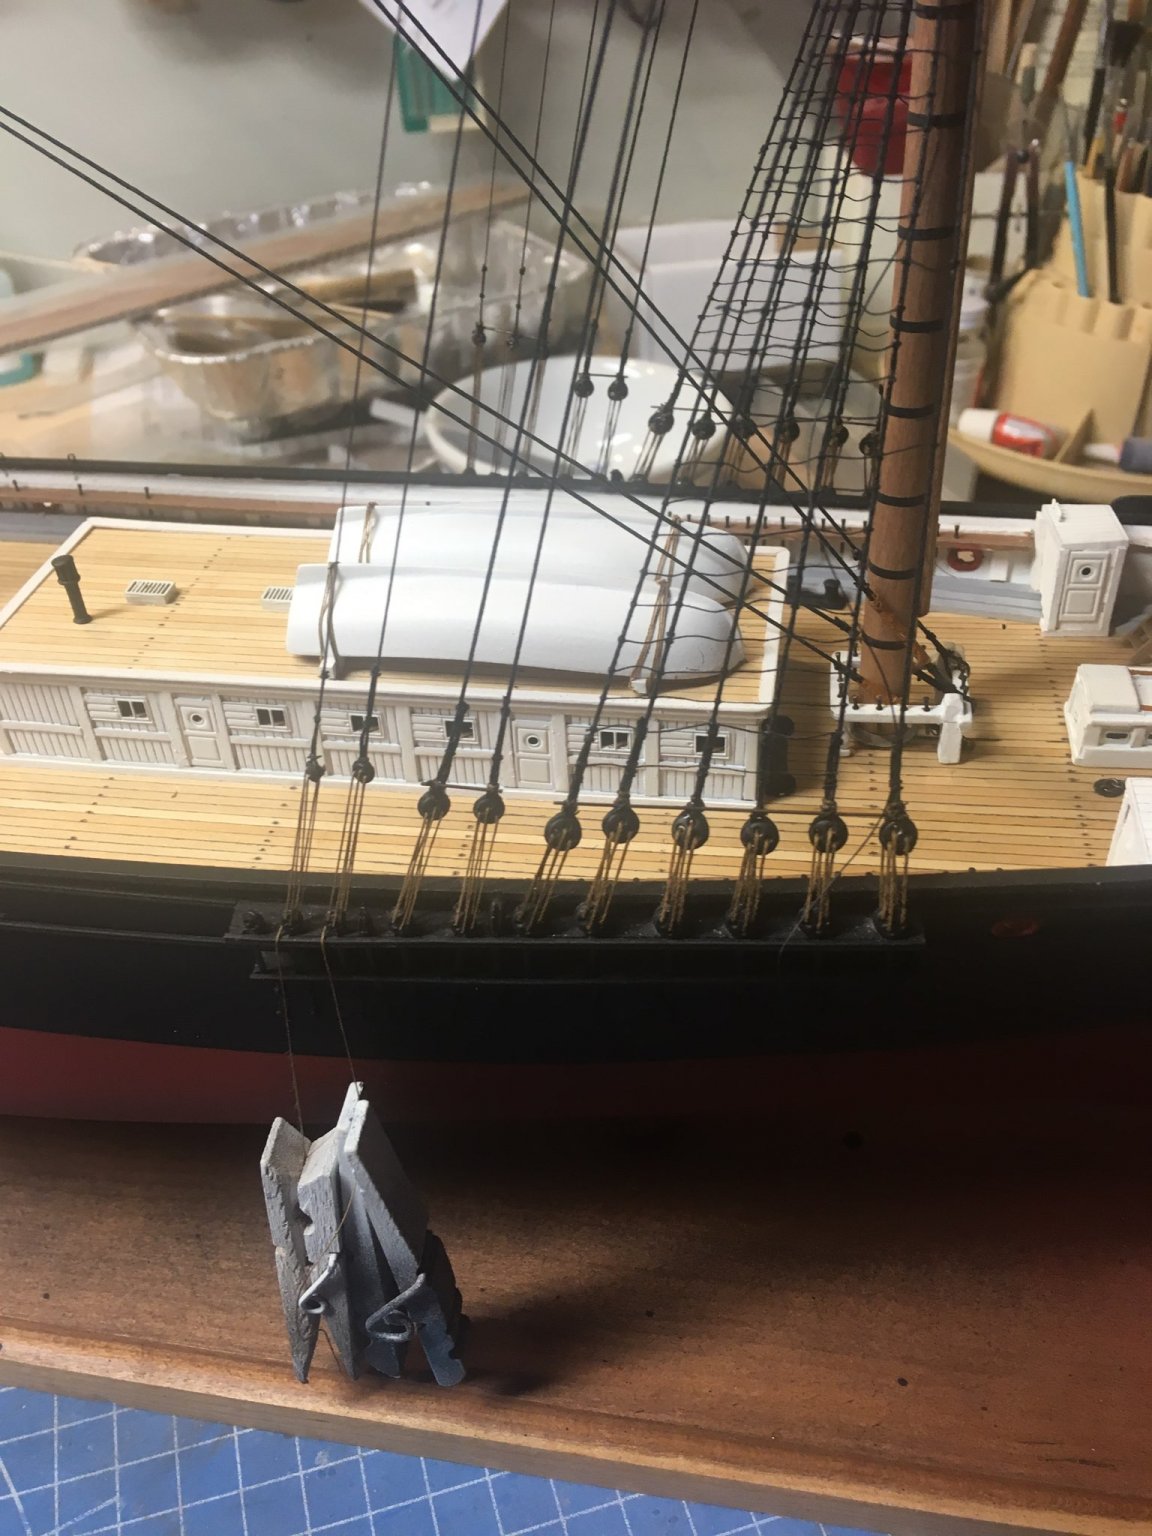
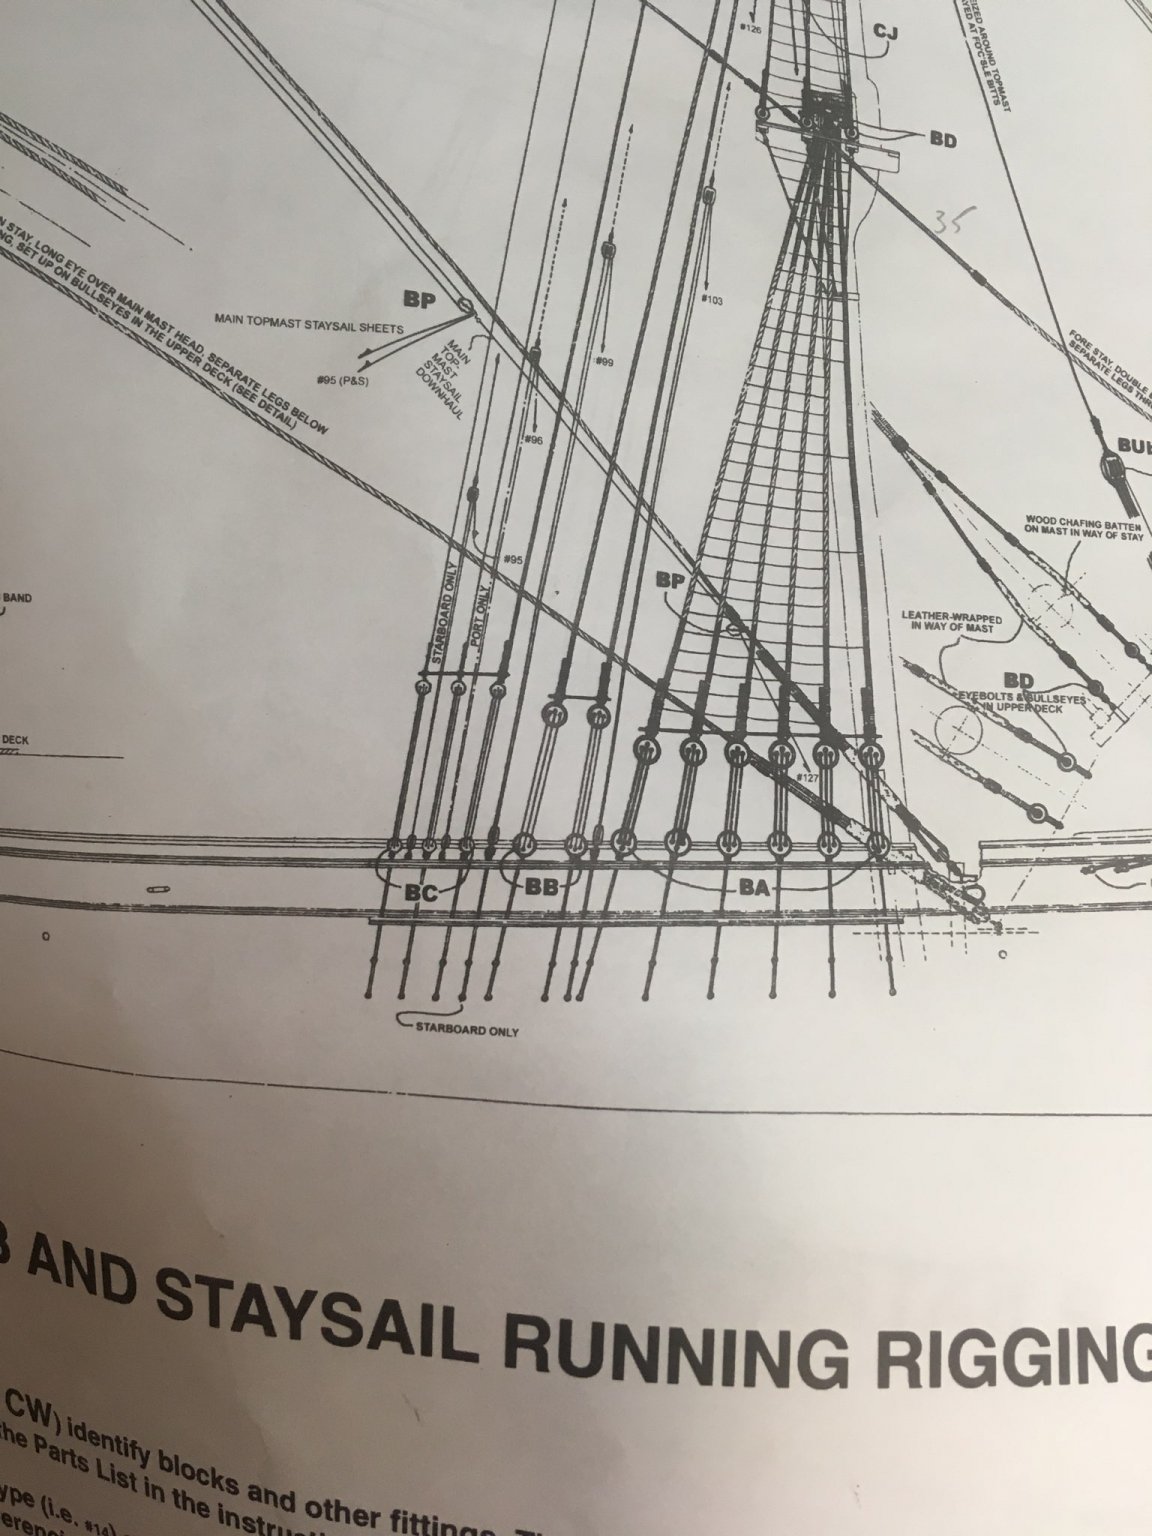
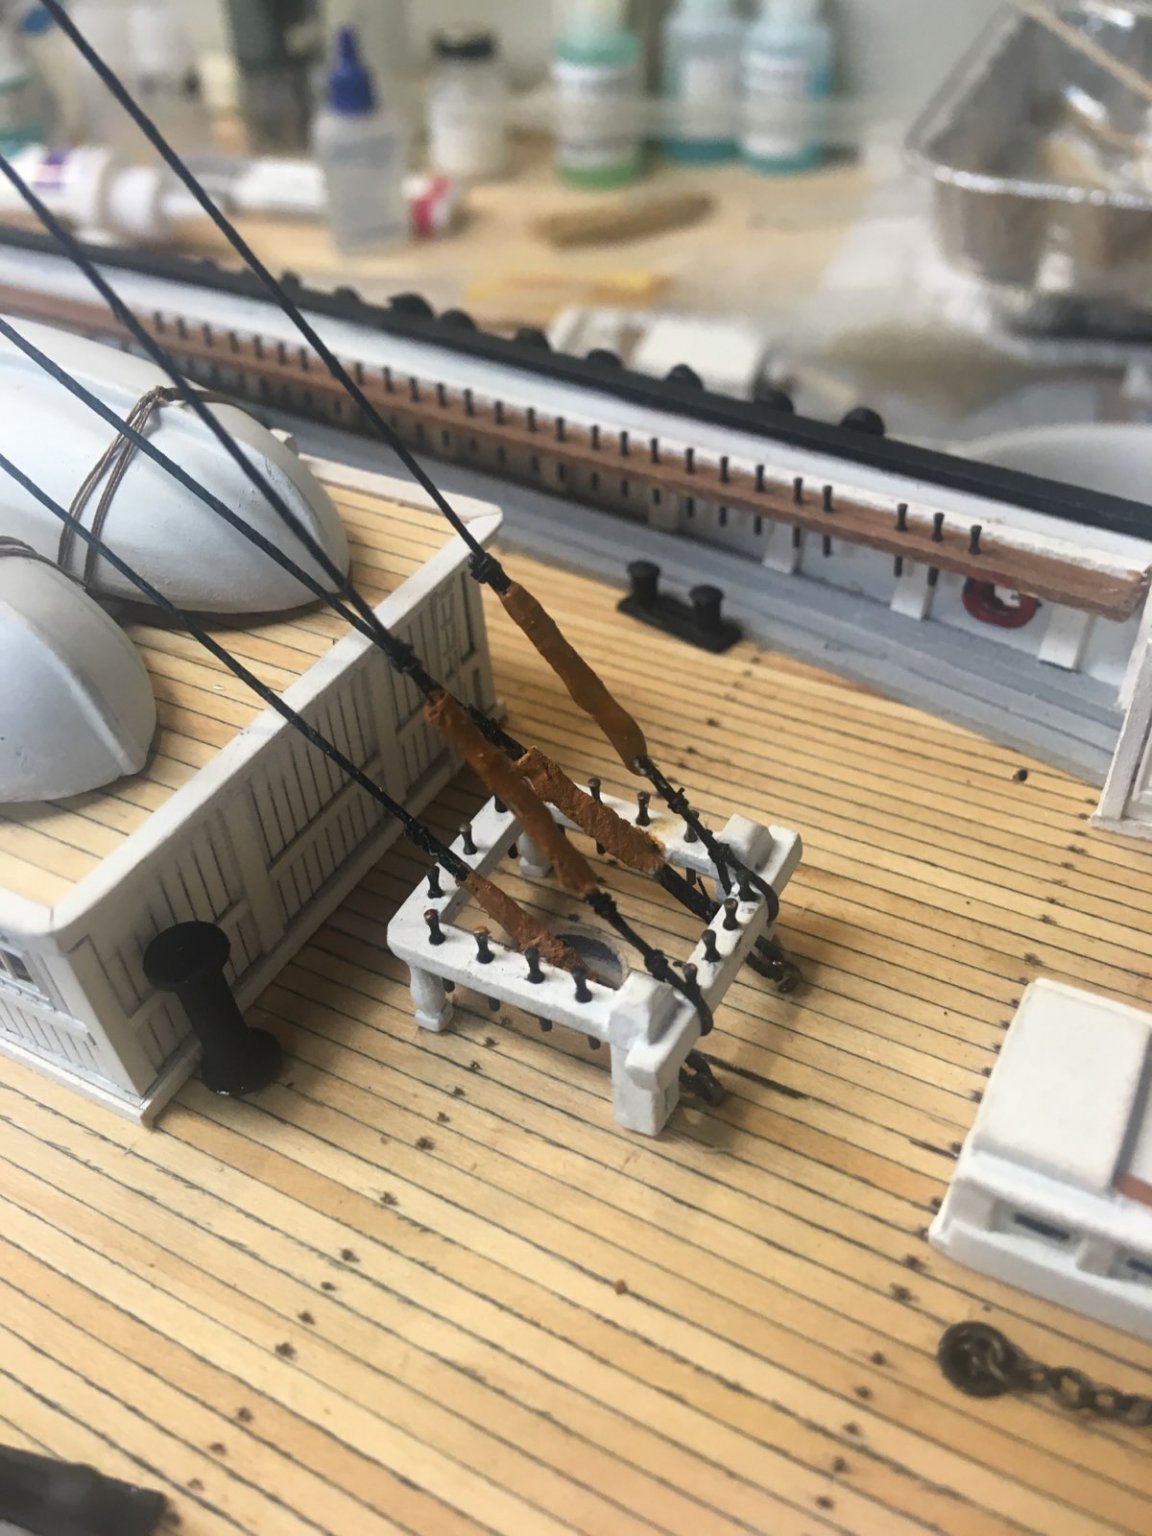
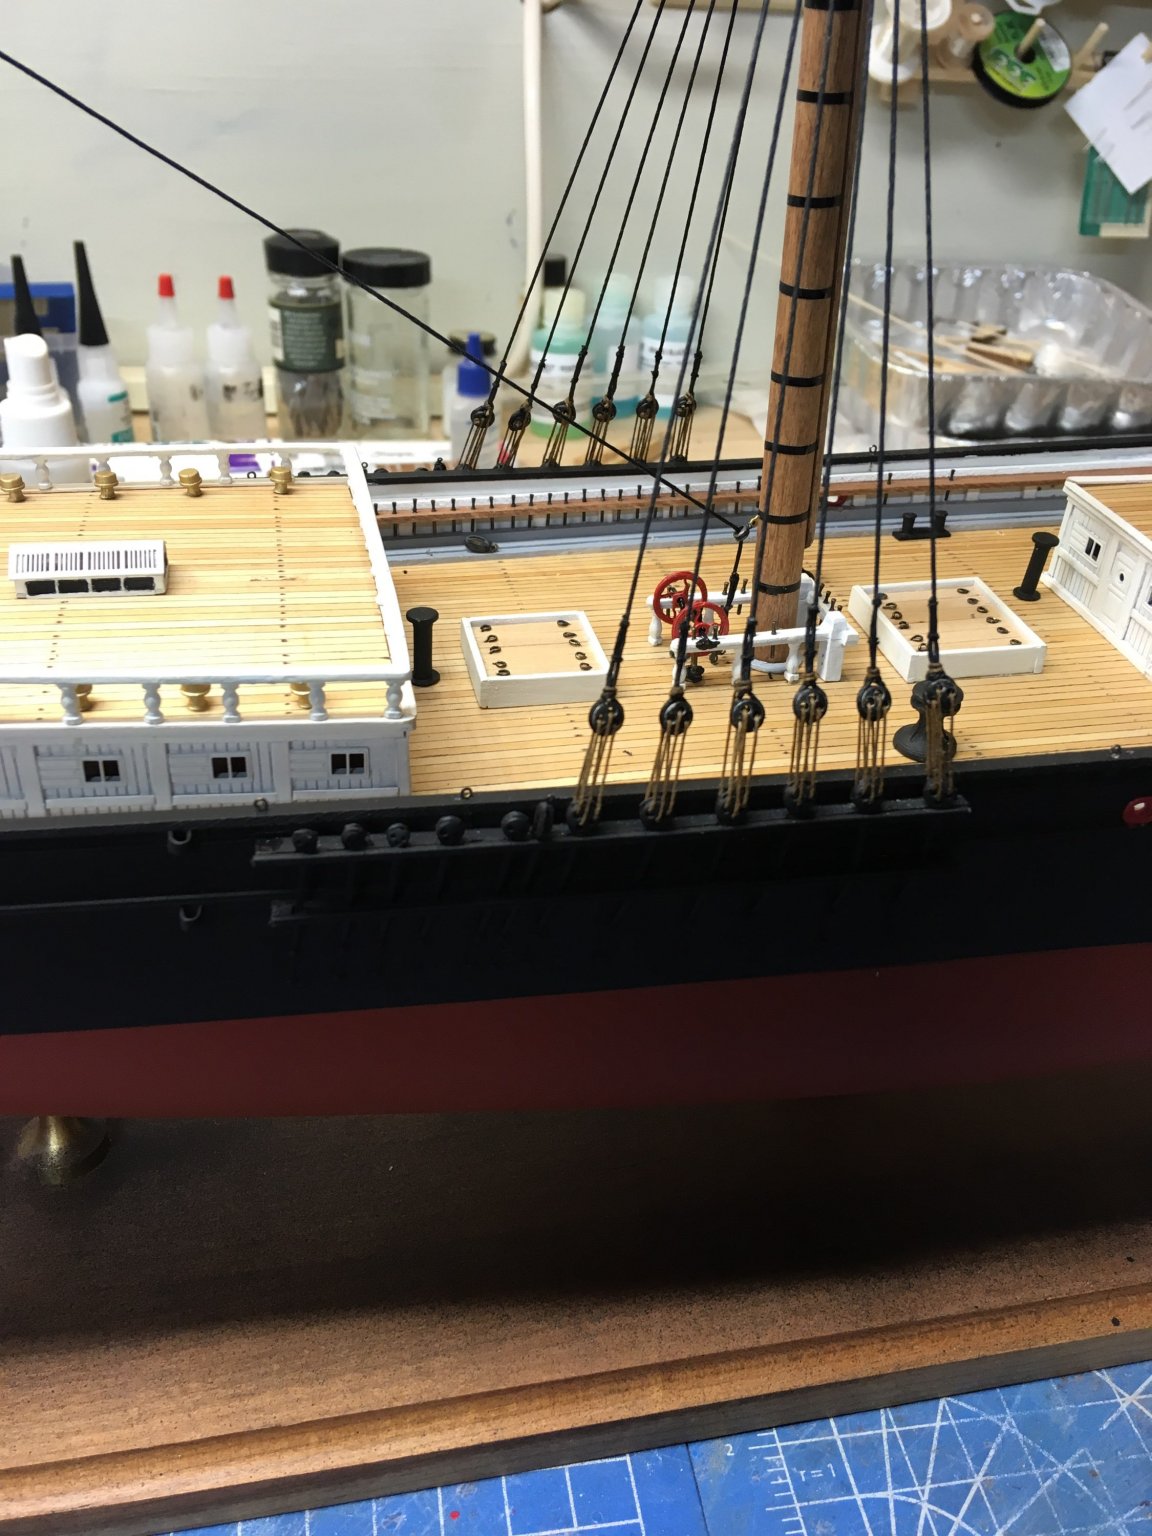
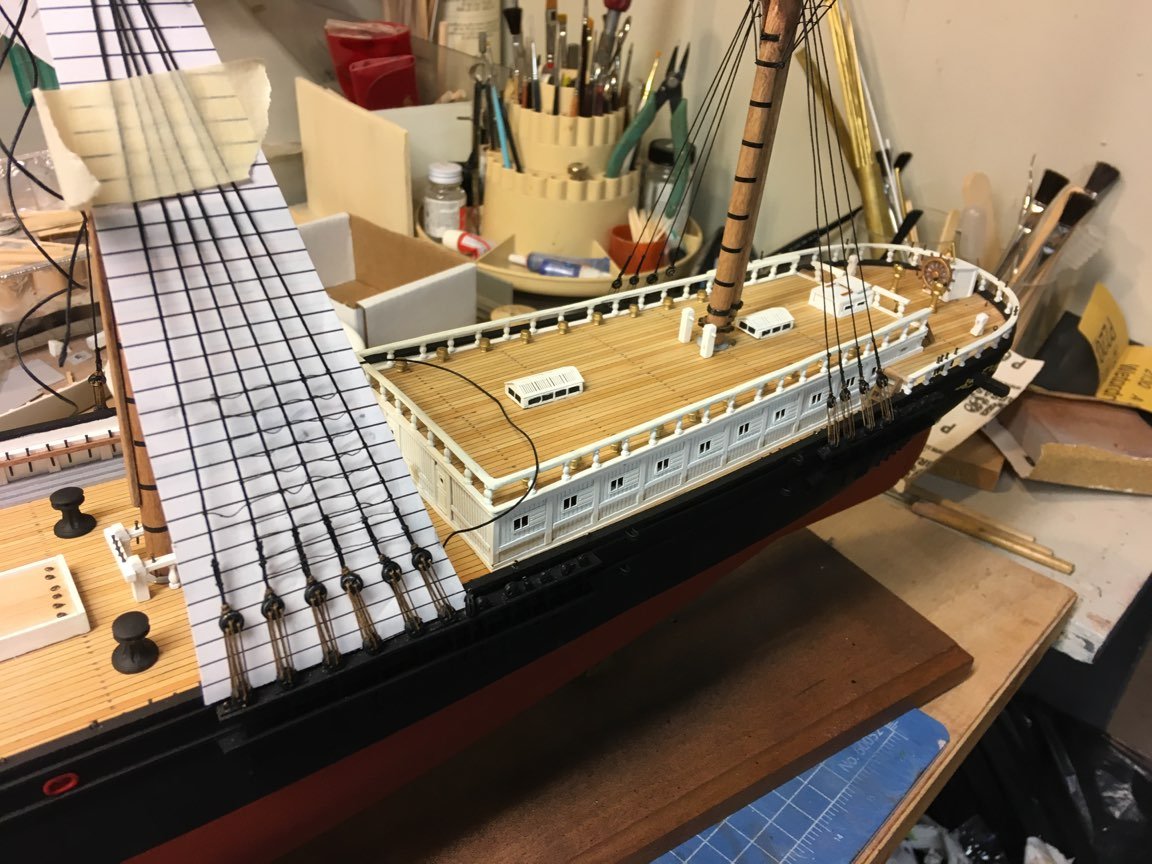
Got to do the main stay and main top stay. These are much easier to install before the foremast goes in, as you can see from the picture. Small strips of paper towel were glued on and painted to represent the leather chaffing guards.

- 356 replies
-
- 14
-
-
- red jacket
- finished
- (and 1 more)
-
A really fine looking model. Finished status noted.
- 104 replies
-
- 1
-
-
- revenue cutter
- BlueJacket Shipcrafters
- (and 1 more)
-
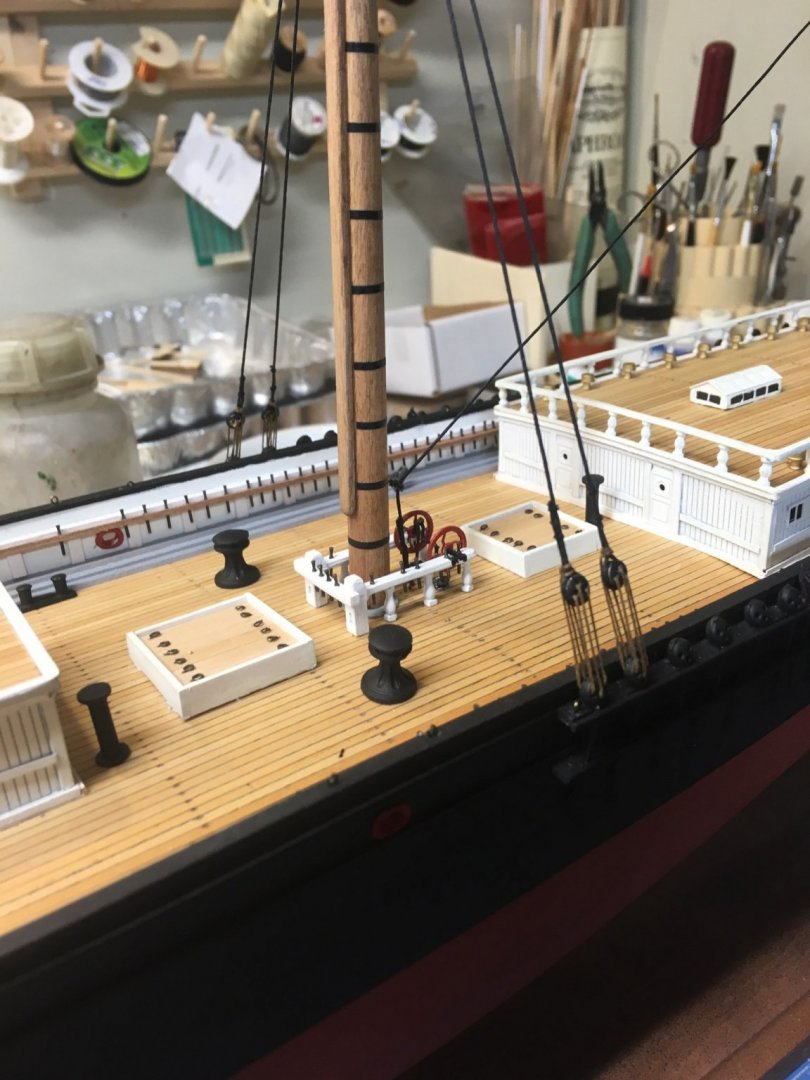
And the mainmast shrouds are done. I will be doing the ratlines before the backstays so I have more space to work around.

- 356 replies
-
- 11
-
-
- red jacket
- finished
- (and 1 more)
-
For the first shroud P&S I use the bent wire method (looks like a staple) - that way both sides have the same spacing. For the rest of the shrouds, I eyeball it to within about 1/32" and sieze it. Then I can tighten or loosen the lanyards, and also wind or unwind the shroud to get the final height to "eyeball" level.
- 356 replies
-
- 2
-
-
- red jacket
- finished
- (and 1 more)
-
So we go to the next pair of deadeyes. Now the task is to make sure all the upper deadeyes are at the same level, which should be parallel to the waterline, not the deck.
- 356 replies
-
- 11
-
-
- red jacket
- finished
- (and 1 more)
-
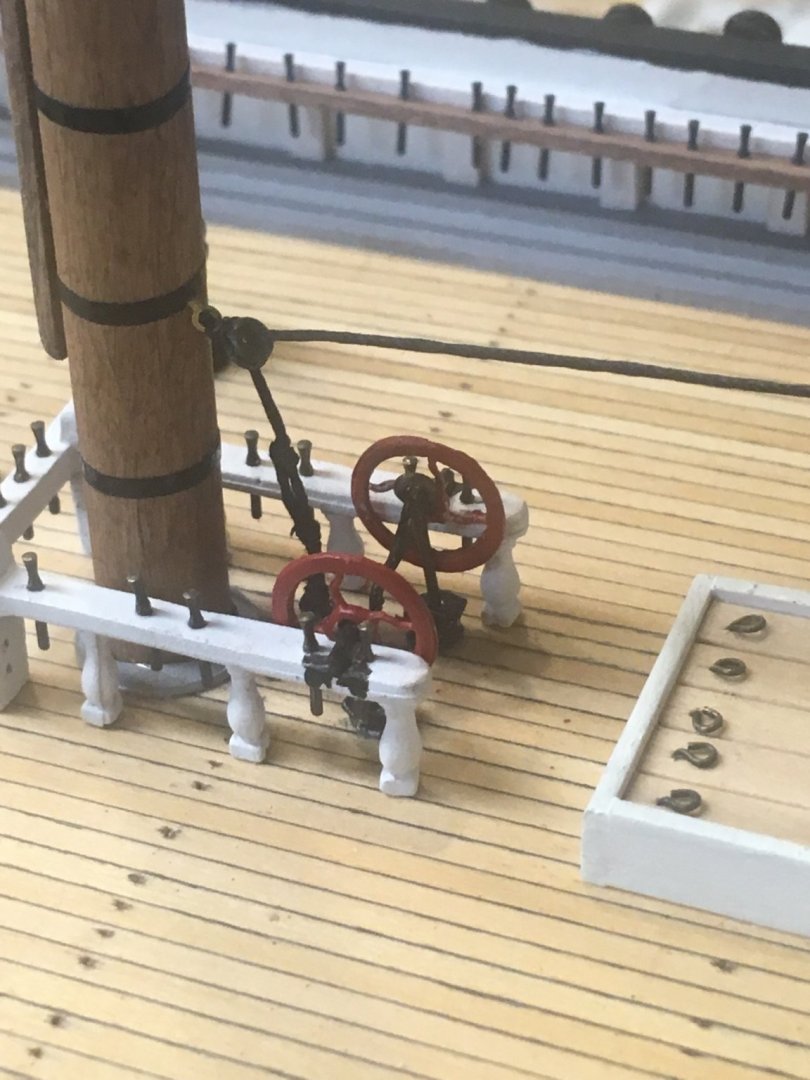
And so we begin the lower shrouds.The first shroud on each side, like the bowsprit, is critical to the alignment of the masts.Unless they are correct, the problems will mount later on. BTW, the masts are not glued in, they are held just by the rigging, like full-size practice. The lanyards on both sides are loose, then tightened up and adjusted to make the mast square before tying off.


- 356 replies
-
- 10
-
-
- red jacket
- finished
- (and 1 more)
-
Gift for 50th B Day
MrBlueJacket replied to ChrisLBren's topic in Modeling tools and Workshop Equipment
battery powered Dremel tool -
To avoid problems, we have to think ahead about what needs to go where before the other stuff gets in the way. For example, attaching the Mizzen stay would be nearly impossible after the main shrouds are installed.
- 356 replies
-
- 12
-
-
- red jacket
- finished
- (and 1 more)