MrBlueJacket
-
Posts
1,314 -
Joined
-
Last visited
Content Type
Profiles
Forums
Gallery
Events
Everything posted by MrBlueJacket
-
Start a build thread on your 1:96 America. When you finish, you will qualify for a 10% discount on the next kit you buy from us. Nic
-
 Check page 7 - my post of Oct 9th about 1/2 way down - shows the template included in the kit to set the mast rake. It's not much, but was different for each mast.
- 356 replies
-
- 3
-

-
- red jacket
- finished
- (and 1 more)
-
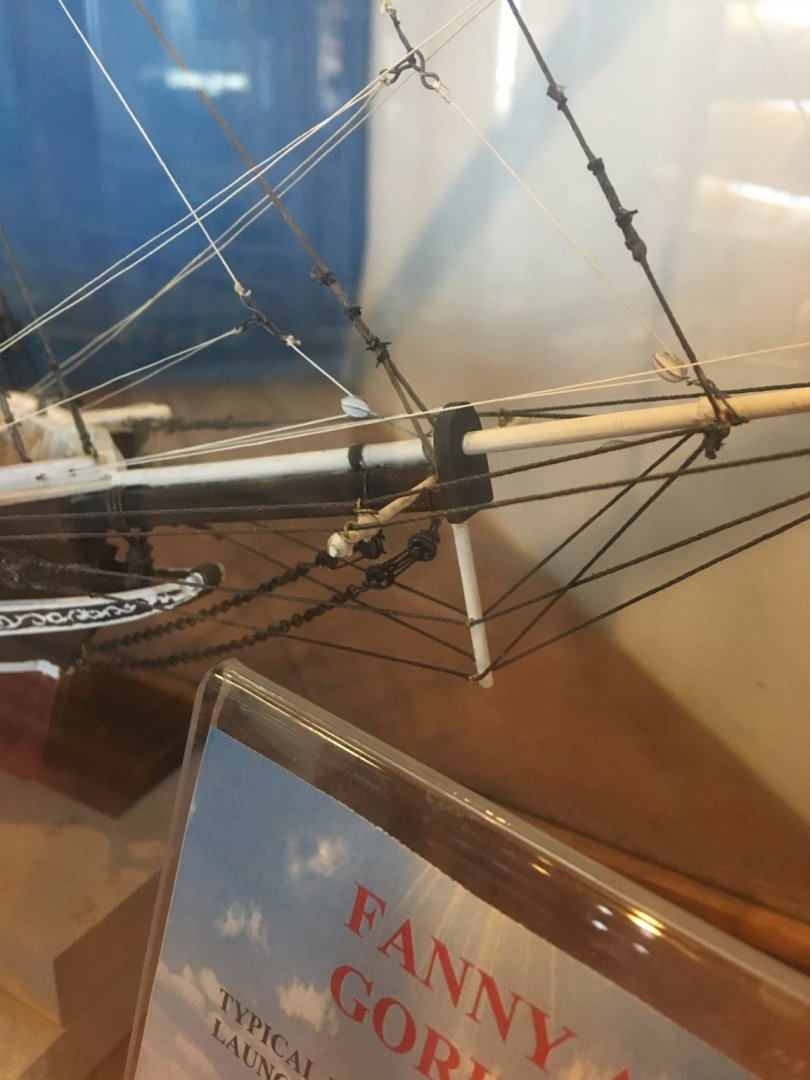
The plans show an actual cap - photo of our gallery model also shows a cap. Fabricate from 3/32 basswood, and Britannia strip for the band.
- 166 replies
-
- 2
-
-
- fannie a gorham
- finished
- (and 1 more)
-
It's OK - no-one is going to count your scuppers!
- 166 replies
-
- 1
-
-
- fannie a gorham
- finished
- (and 1 more)
-
Congratulations on your first post!
-
The main yard on Red Jacket was 90 feet long, and the yardarm 5 feet.
- 356 replies
-
- 2
-
-
- red jacket
- finished
- (and 1 more)
-
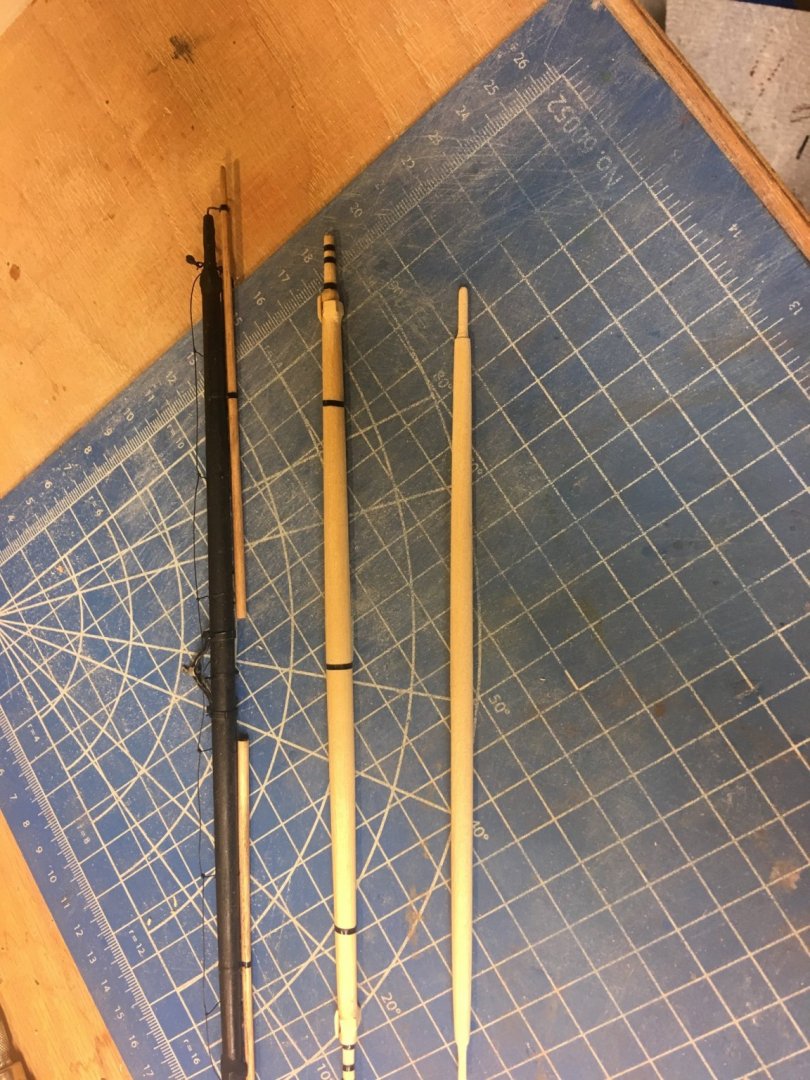
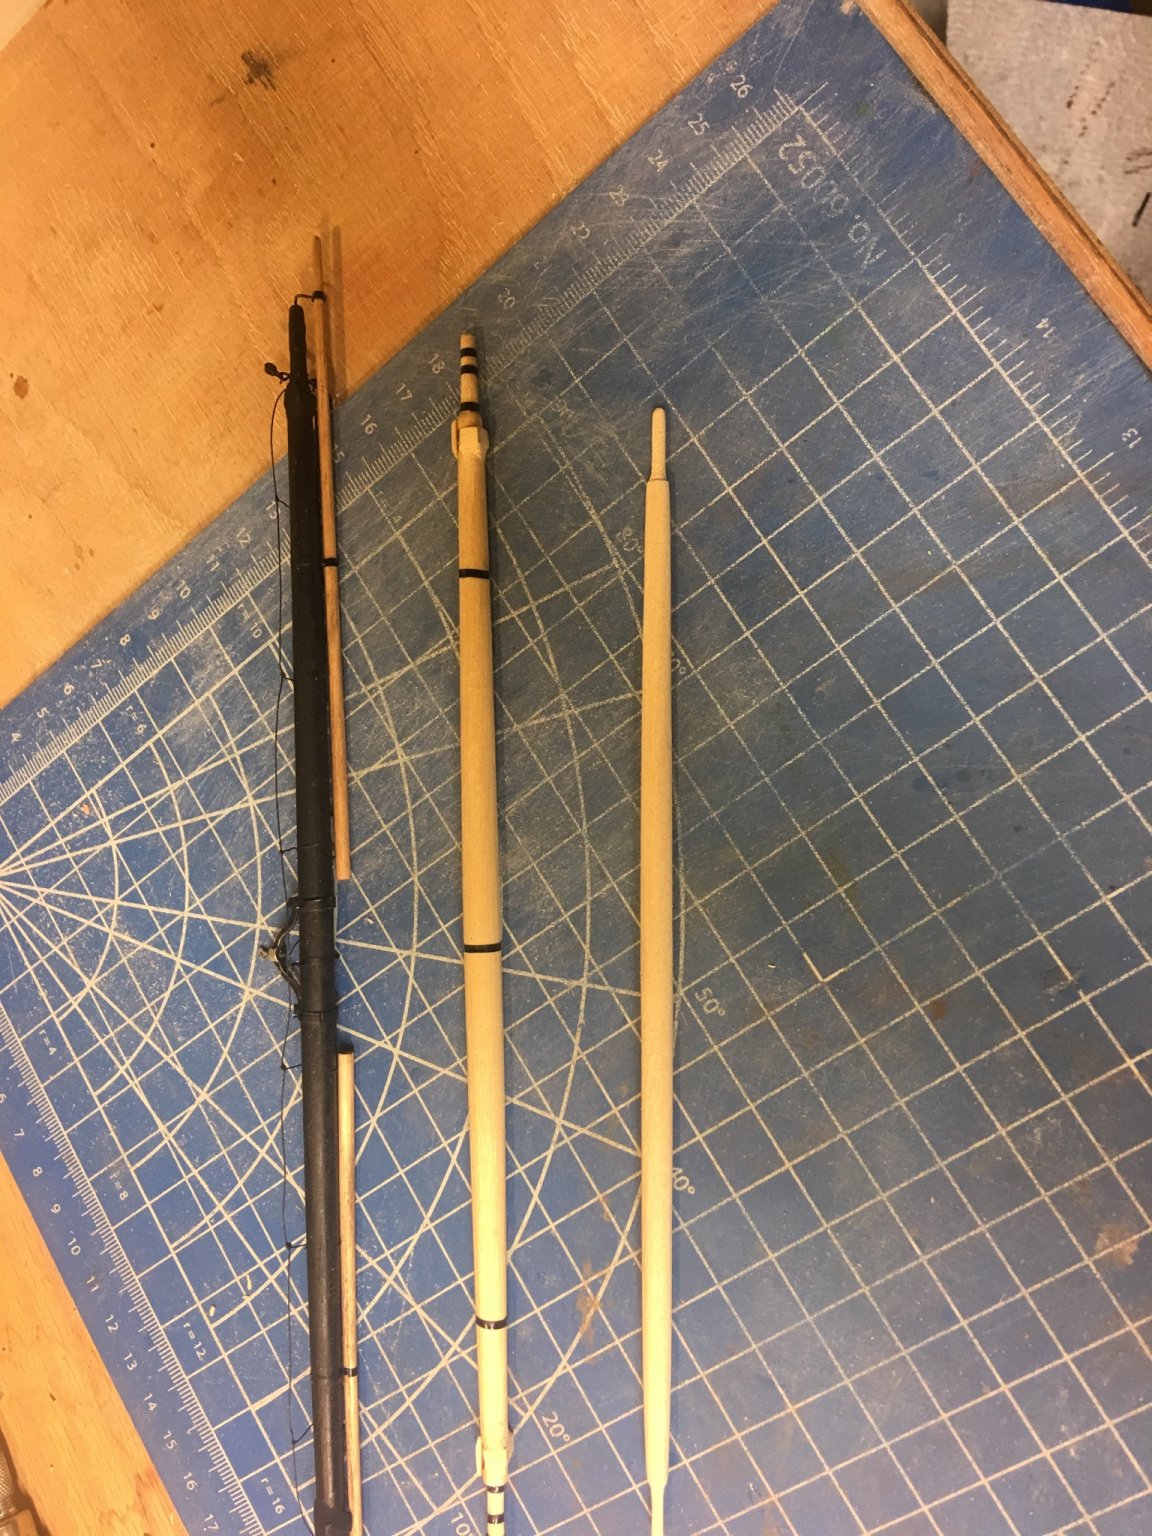
This photo (from left to right) Finished main yard, partly done fore yard, and roughed out mizzen.
- 356 replies
-
- 12
-
-
- red jacket
- finished
- (and 1 more)
-
May I suggest you cut open the round section so you can wrap it around the topmast? Once bent back in place, a touch of putty and when painted, no-one will know.
- 166 replies
-
- 1
-
-
- fannie a gorham
- finished
- (and 1 more)
-
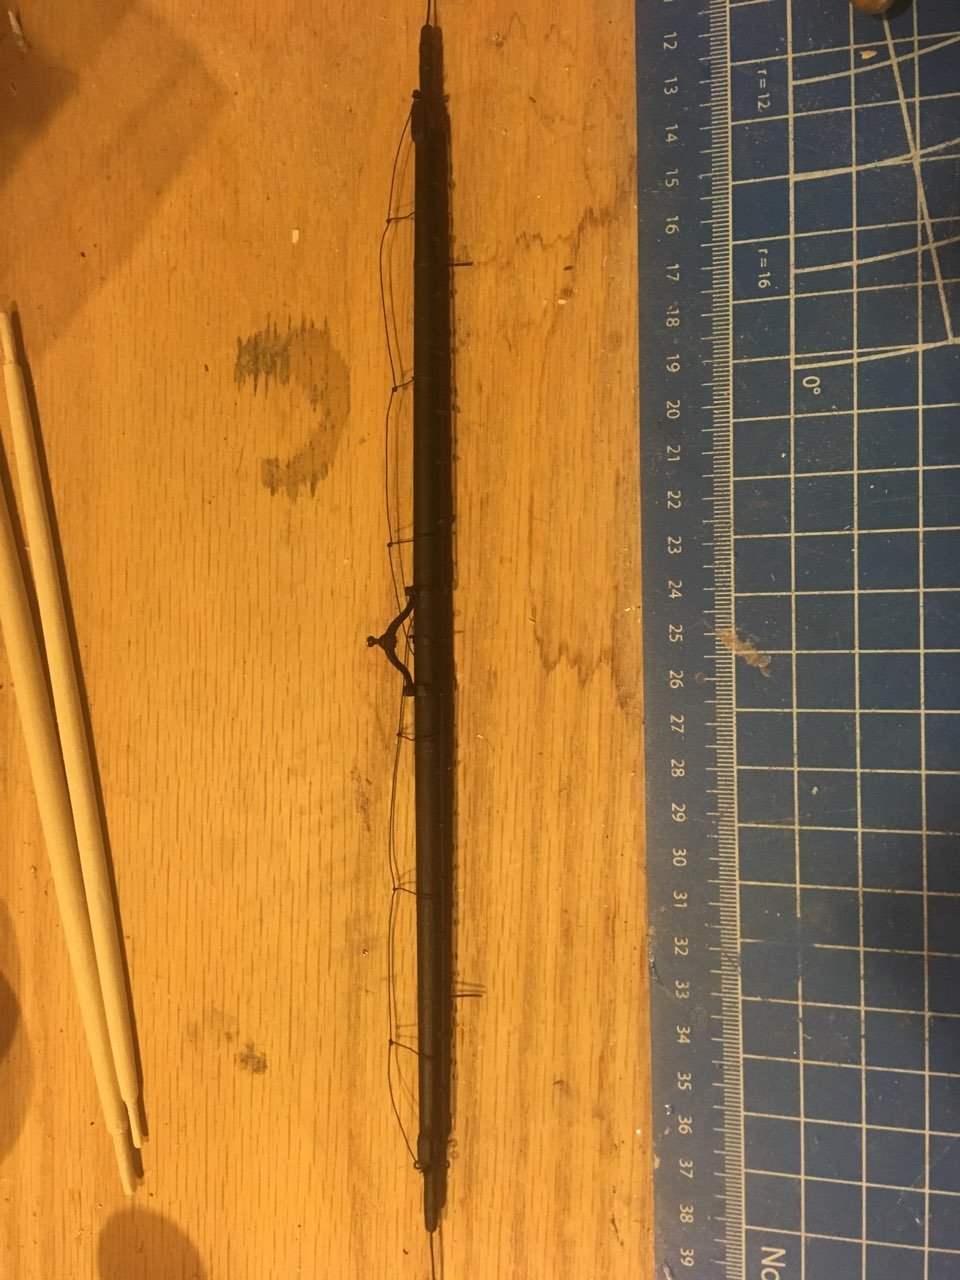
And here's the yard painted, ready for the attachment of several blocks.

- 356 replies
-
- 11
-
-
- red jacket
- finished
- (and 1 more)
-
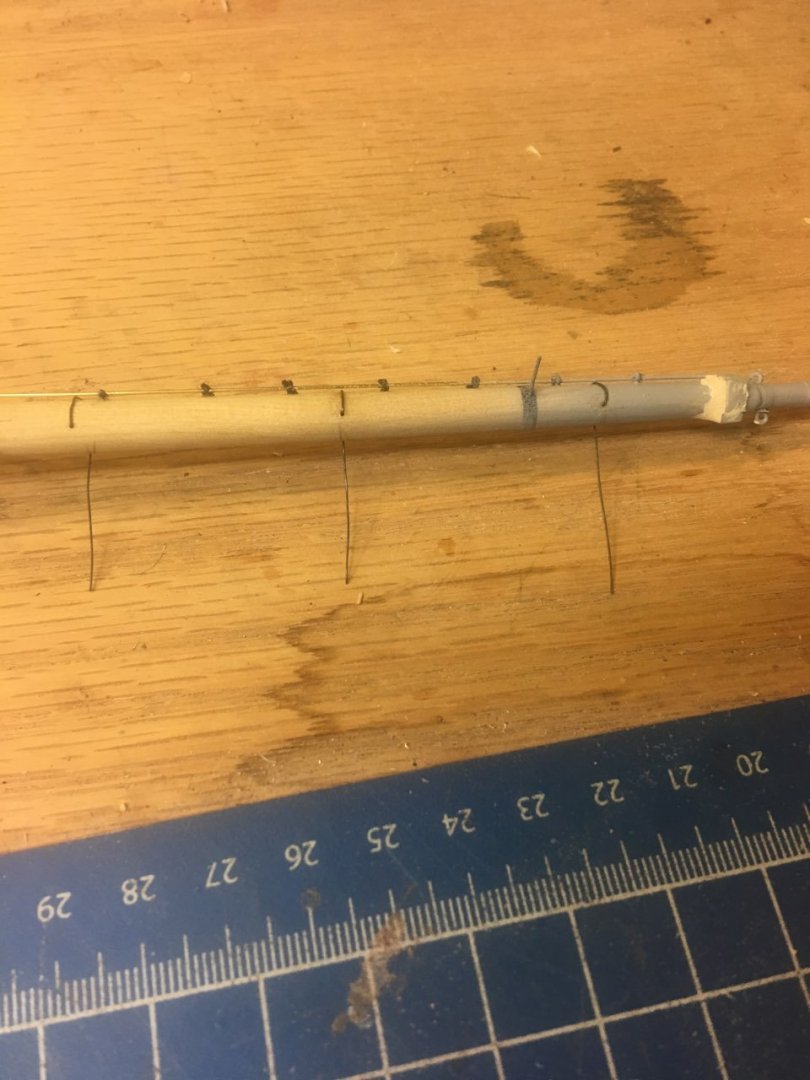
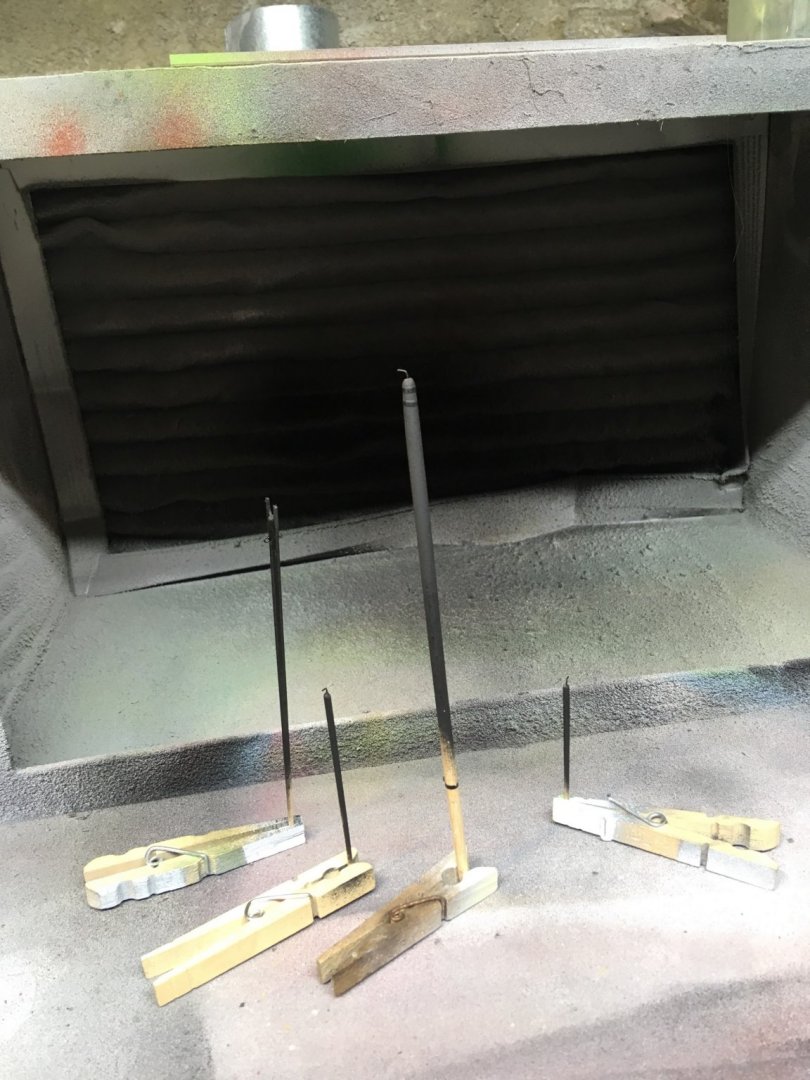
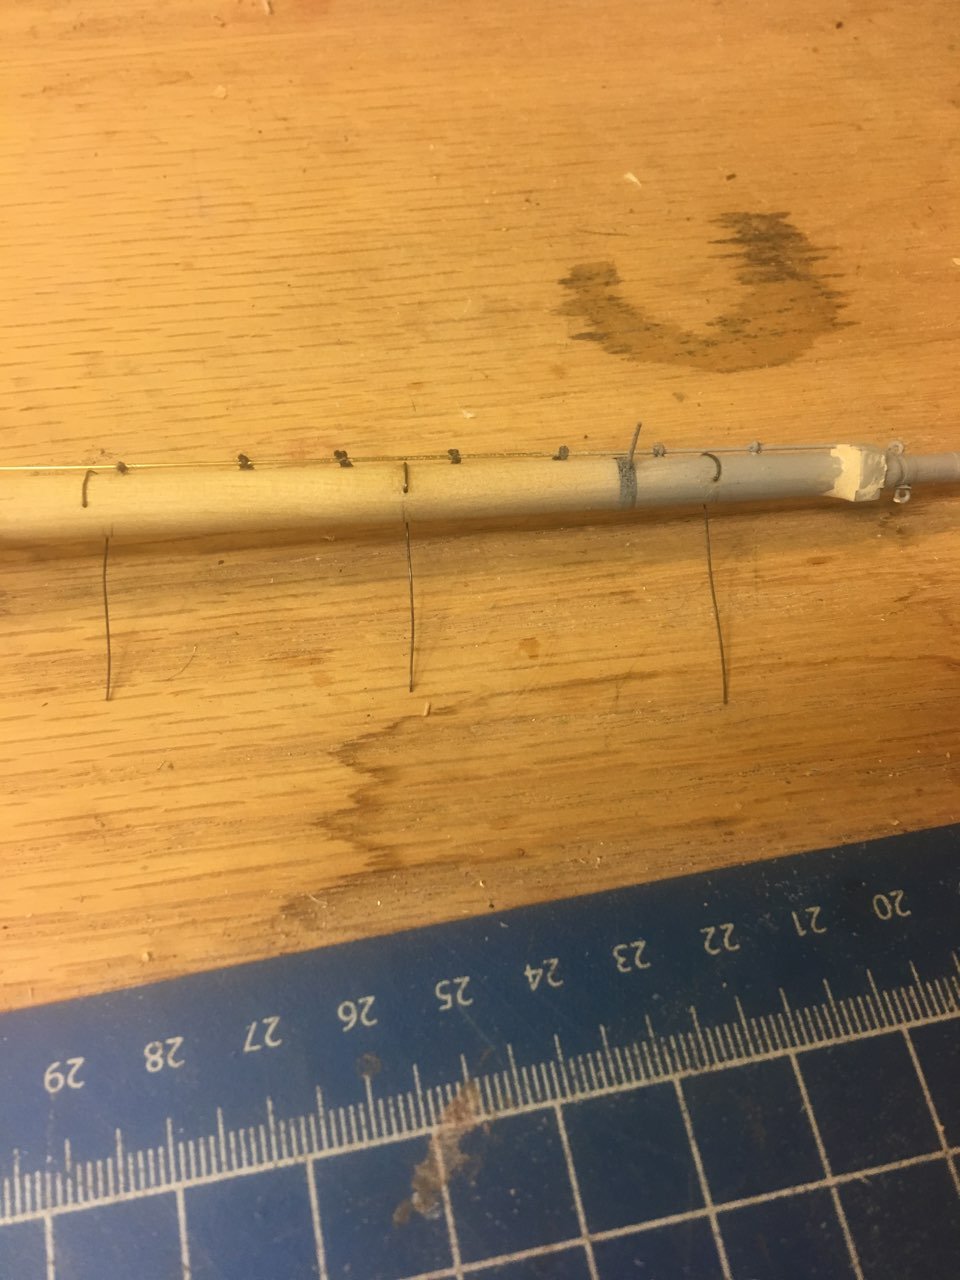
Next I cut them to length and add the footropes themselves, crimping the ends of the supports around them.
- 356 replies
-
- 6
-
-
- red jacket
- finished
- (and 1 more)
-
Moving on to the footropes. I use fine wire to make them. First I drill a hole in the front of the yard to secure the rope supports
- 356 replies
-
- 5
-
-
- red jacket
- finished
- (and 1 more)
-
The squared off ends of the yard were missing "something" - I realized that the yard flared into the square, rather than just abruptly change. So I added some filler, I think it looks a lot better now.
.thumb.jpg.fdf99d854e6db21a080f7ee532021726.jpg)
- 356 replies
-
- 11
-
-
- red jacket
- finished
- (and 1 more)
-
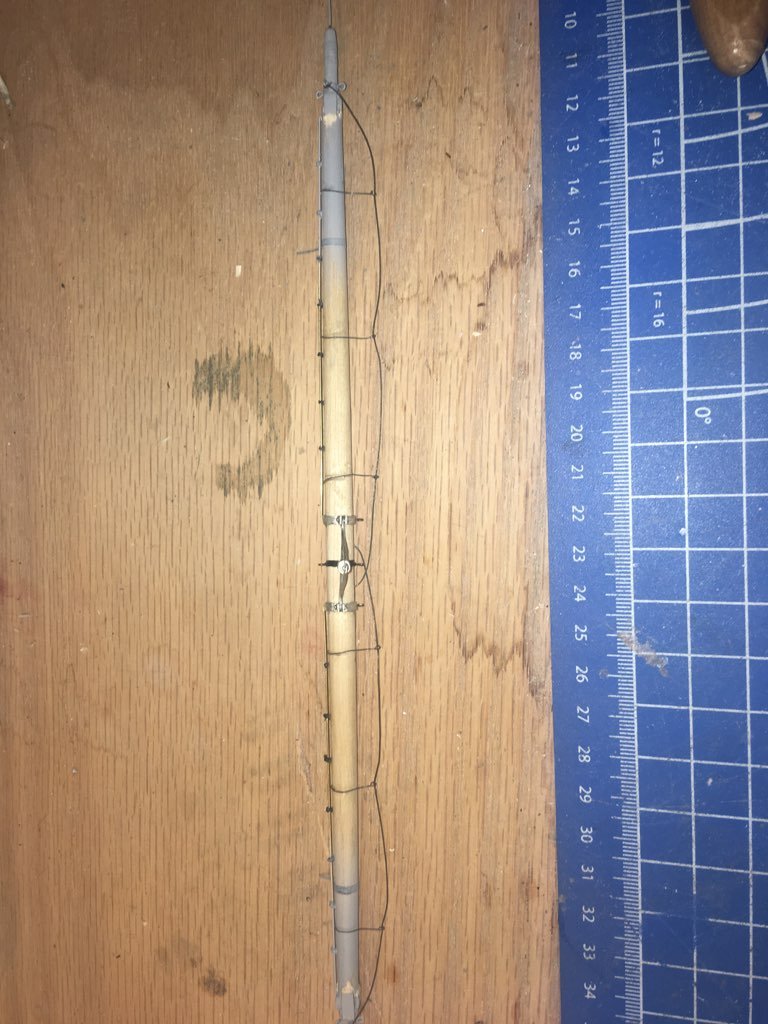
Over the weekend, I spent another 4 1/2 hours to get the yard to the stage you see below. I built out the squared ends and yes, there is a sheave inside. There's also 10 eyebolts, 4 wires for the stunsail irons, and of course the truss. Still need to add the footropes. The jackstay supports are .020" thread tied around them.
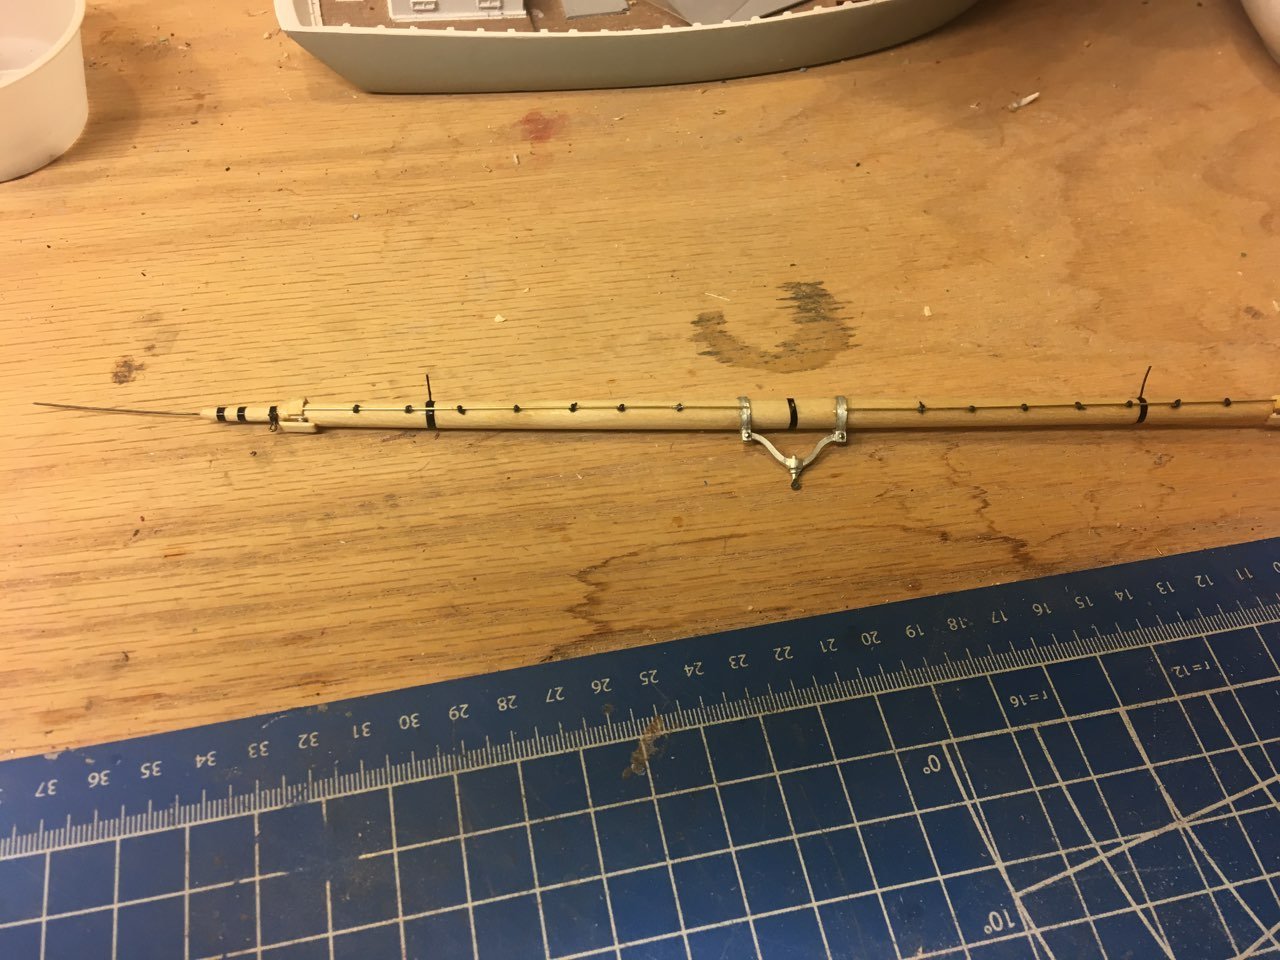
- 356 replies
-
- 10
-
-
- red jacket
- finished
- (and 1 more)
-
So started the main yard last night. Took about 20 minutes, it is a 5/16 dowel that is 11 1/4 inches long
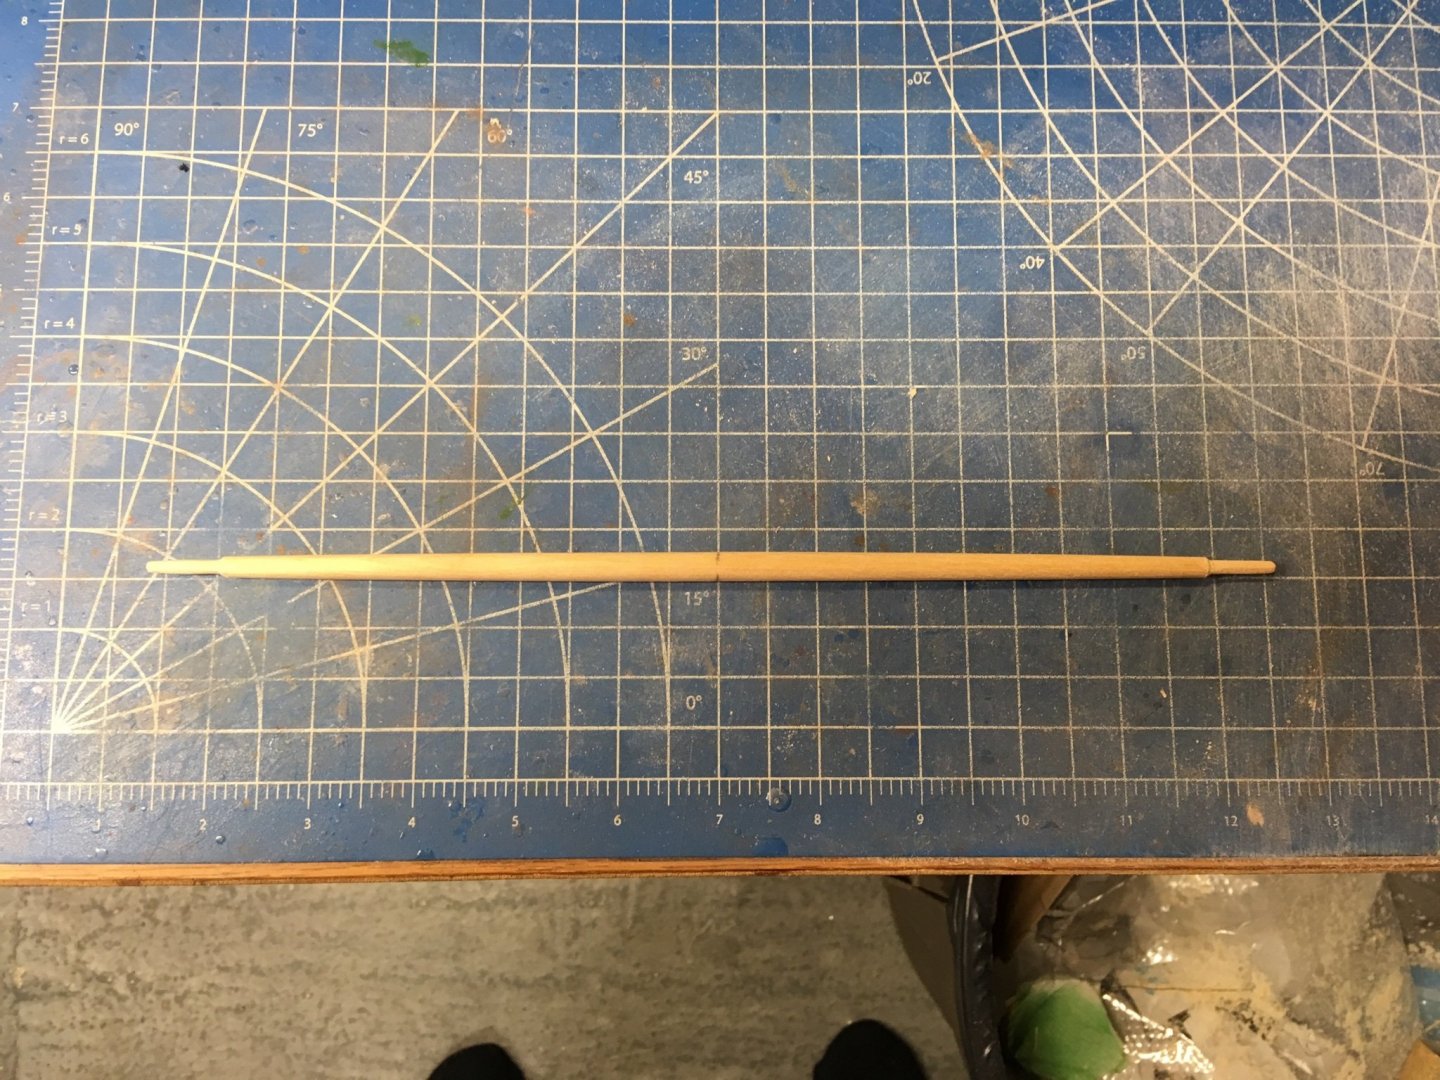
- 356 replies
-
- 6
-
-
- red jacket
- finished
- (and 1 more)
-
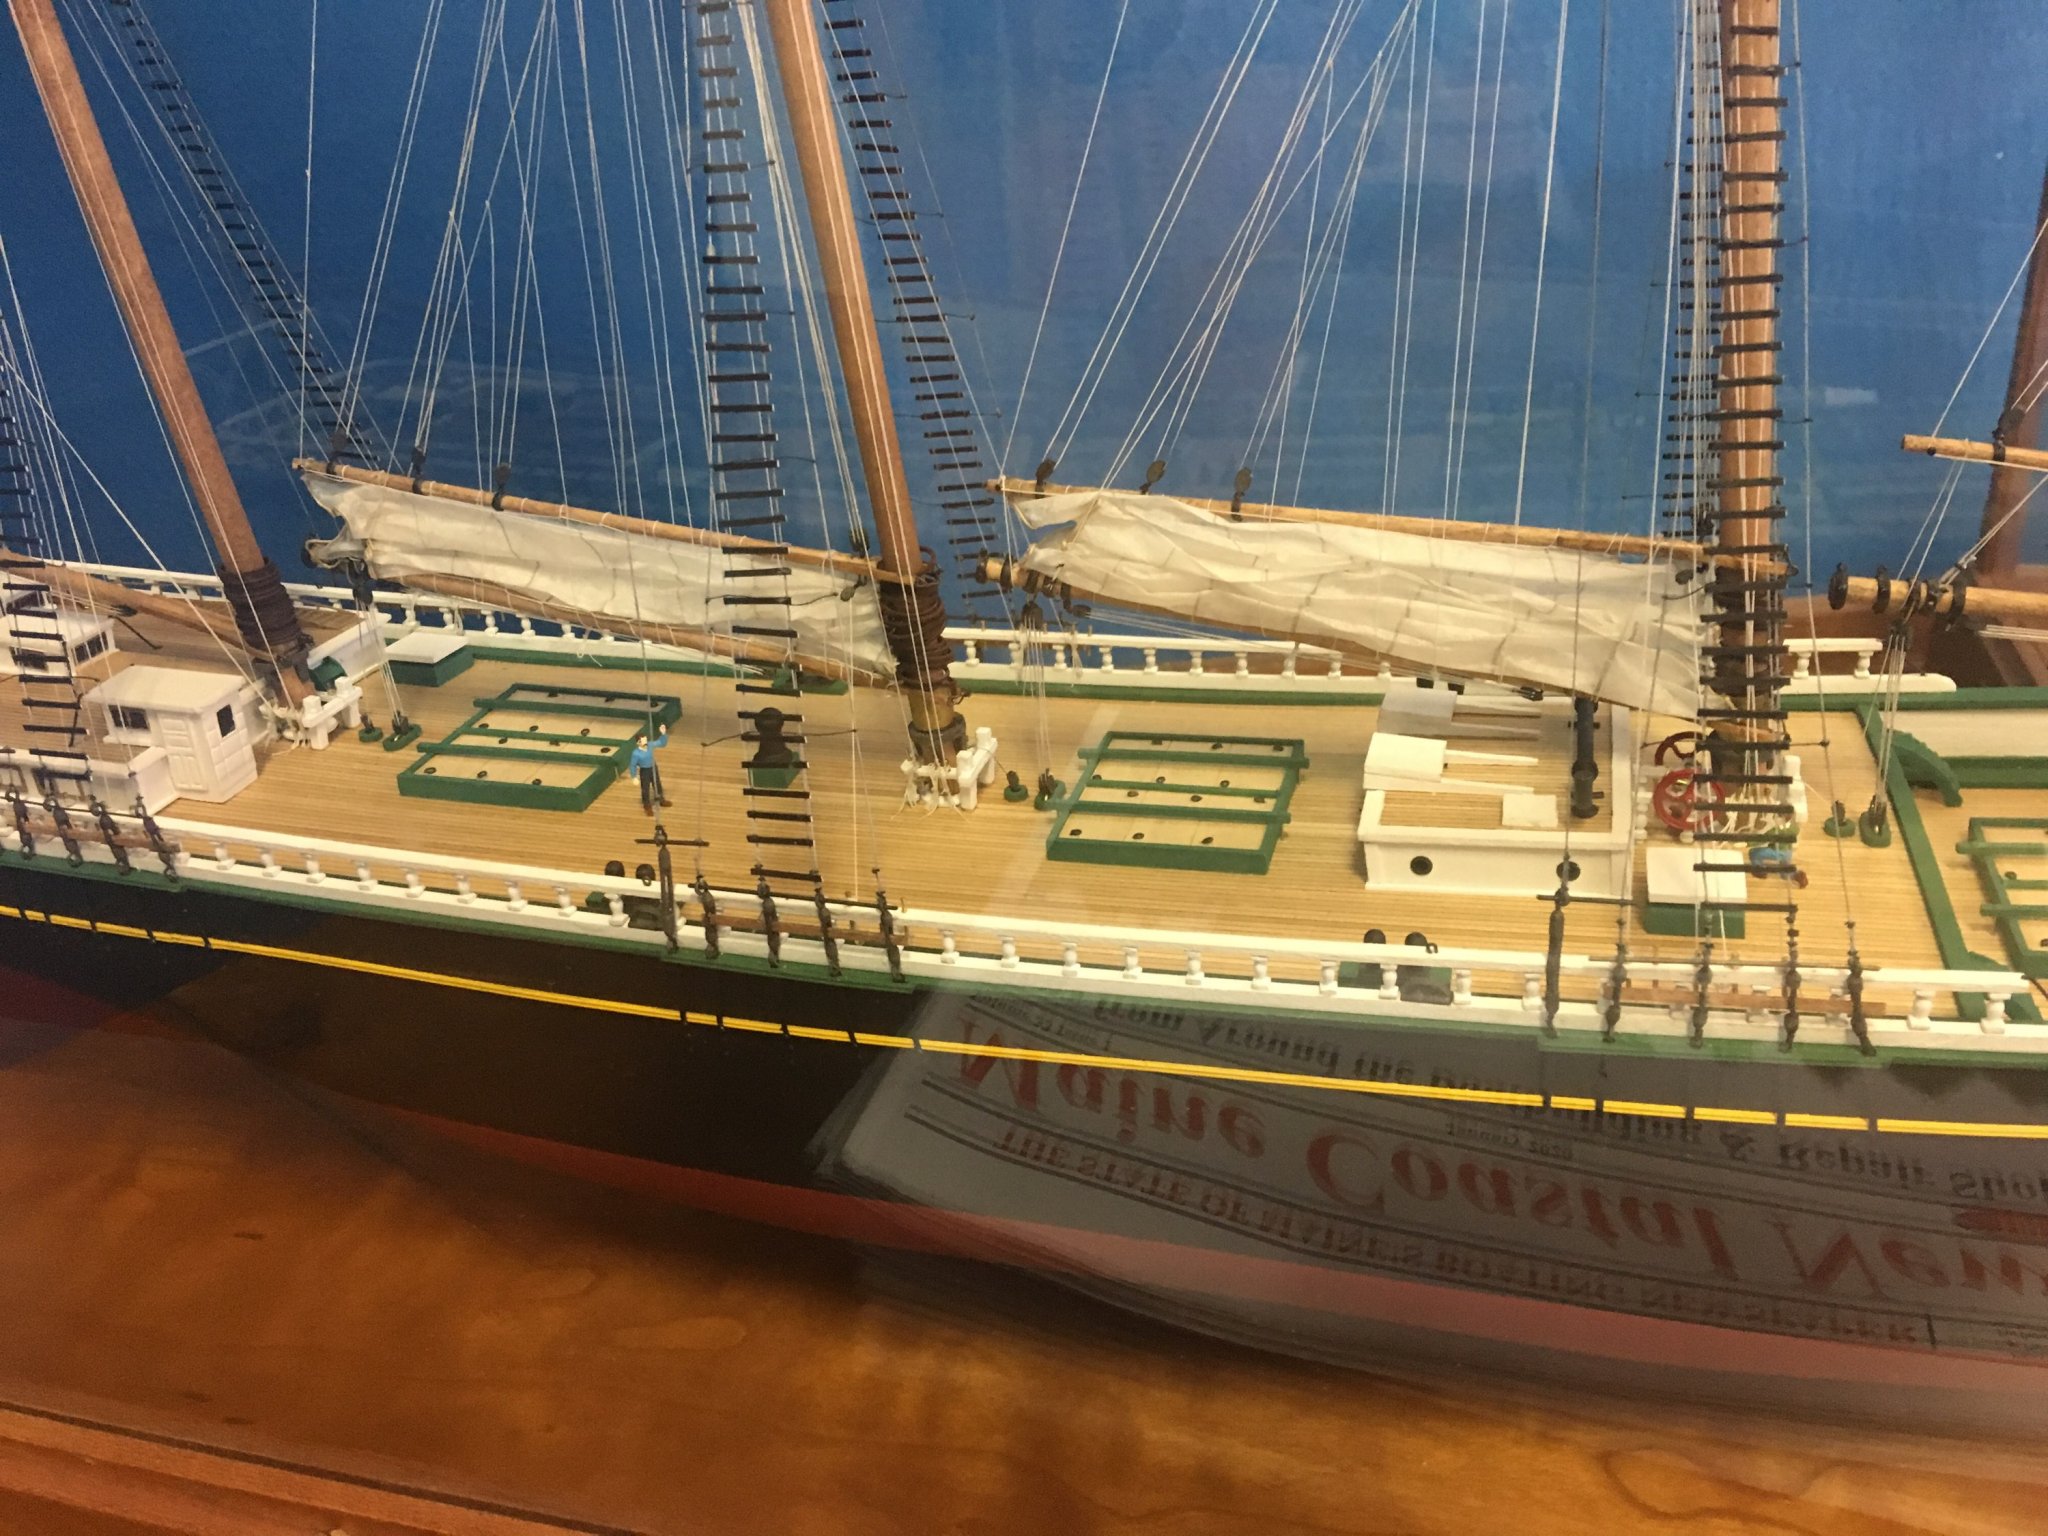
Thanks, Rob. I'm thinking about a couple of furled sails on the lower yards, and maybe a jib sail. Plenty of time to ponder that............ Here's what I did on the Charles Notman:
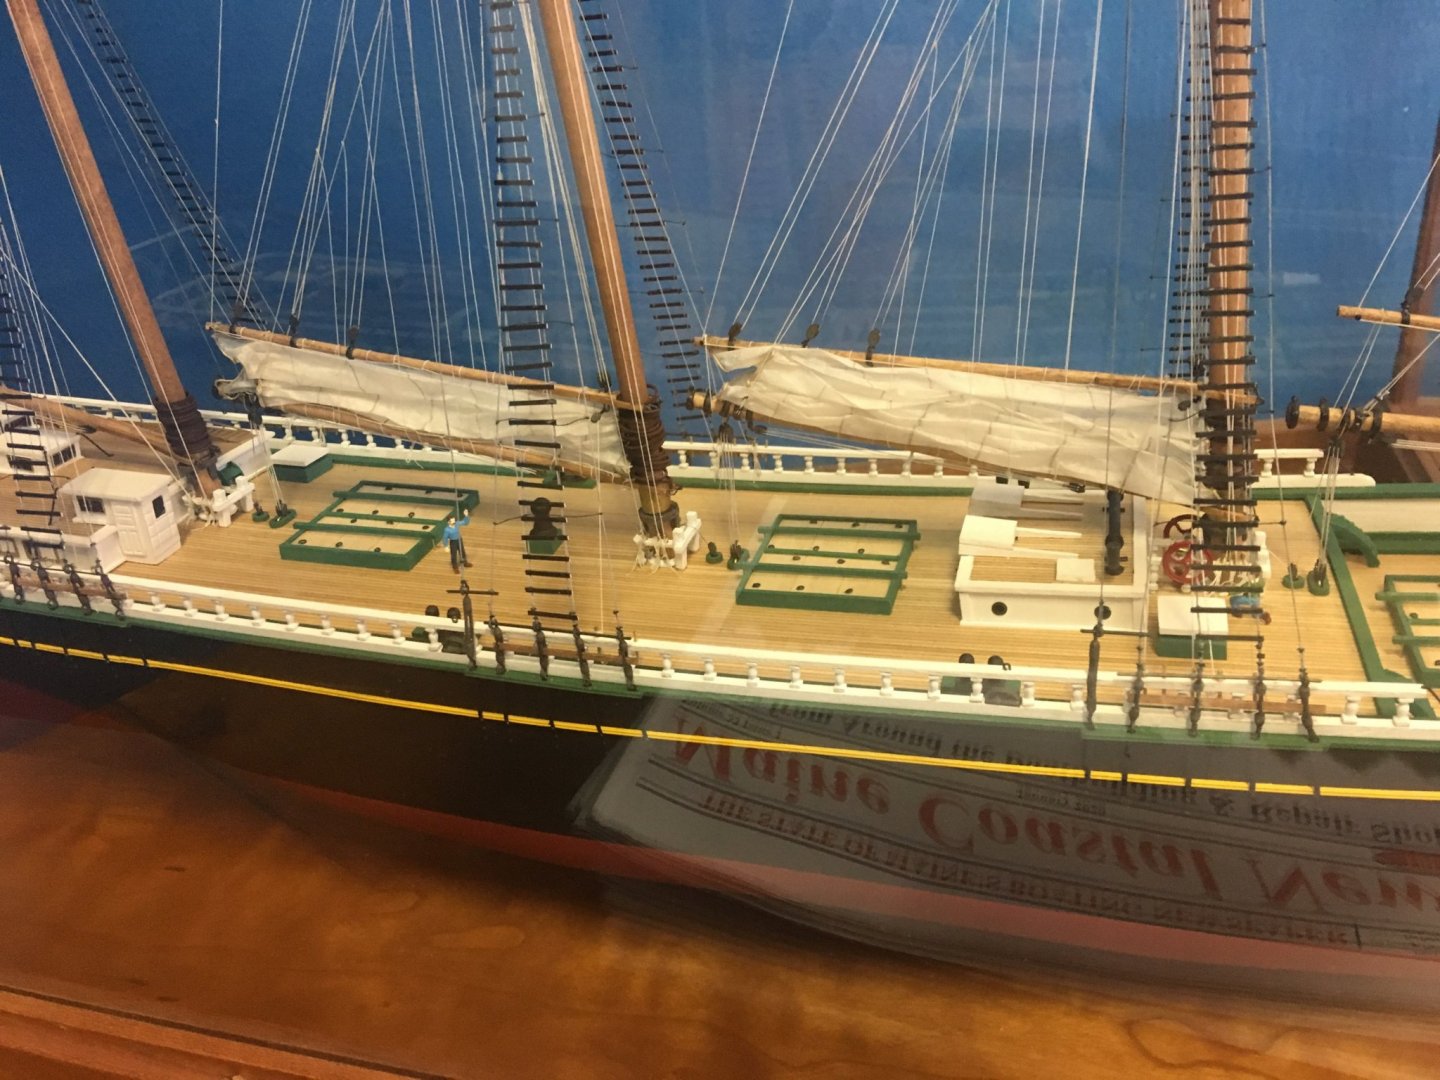
- 356 replies
-
- 8
-
-
- red jacket
- finished
- (and 1 more)
-
So now the 3 gaffs and the boom are installed. This is the fun stuff.

- 356 replies
-
- 9
-
-
- red jacket
- finished
- (and 1 more)
-
Welcome, Tobias. Did you buy it from Eskader? They're nice people. If you do a build thread, when finished, I will give you 10% off your next kit (if you buy it from us, of course) Nic
-
Boom installed. Hardest part was getting the 2 topping lift blocks to be even.
- 356 replies
-
- 8
-
-
- red jacket
- finished
- (and 1 more)
-
My pleasure. We all learn by helping each other. Remember: Experience is what you get right after you needed it!
-
At this point, I woulds go one of two ways: 1- Get some Bondo and fill out the bow curve. - See me doing that at the stern of the Red Jacket thread. 2- Glue on the keel pieces, then use filler to fill the gaps. I think #1 would yield a better hull, but #2 is easier. Nic
-
Here are the 3 gaffs and a boom, being painted. Residing on the centerline, it makes sense to install them before the various running gear.
- 356 replies
-
- 9
-
-
- red jacket
- finished
- (and 1 more)
-
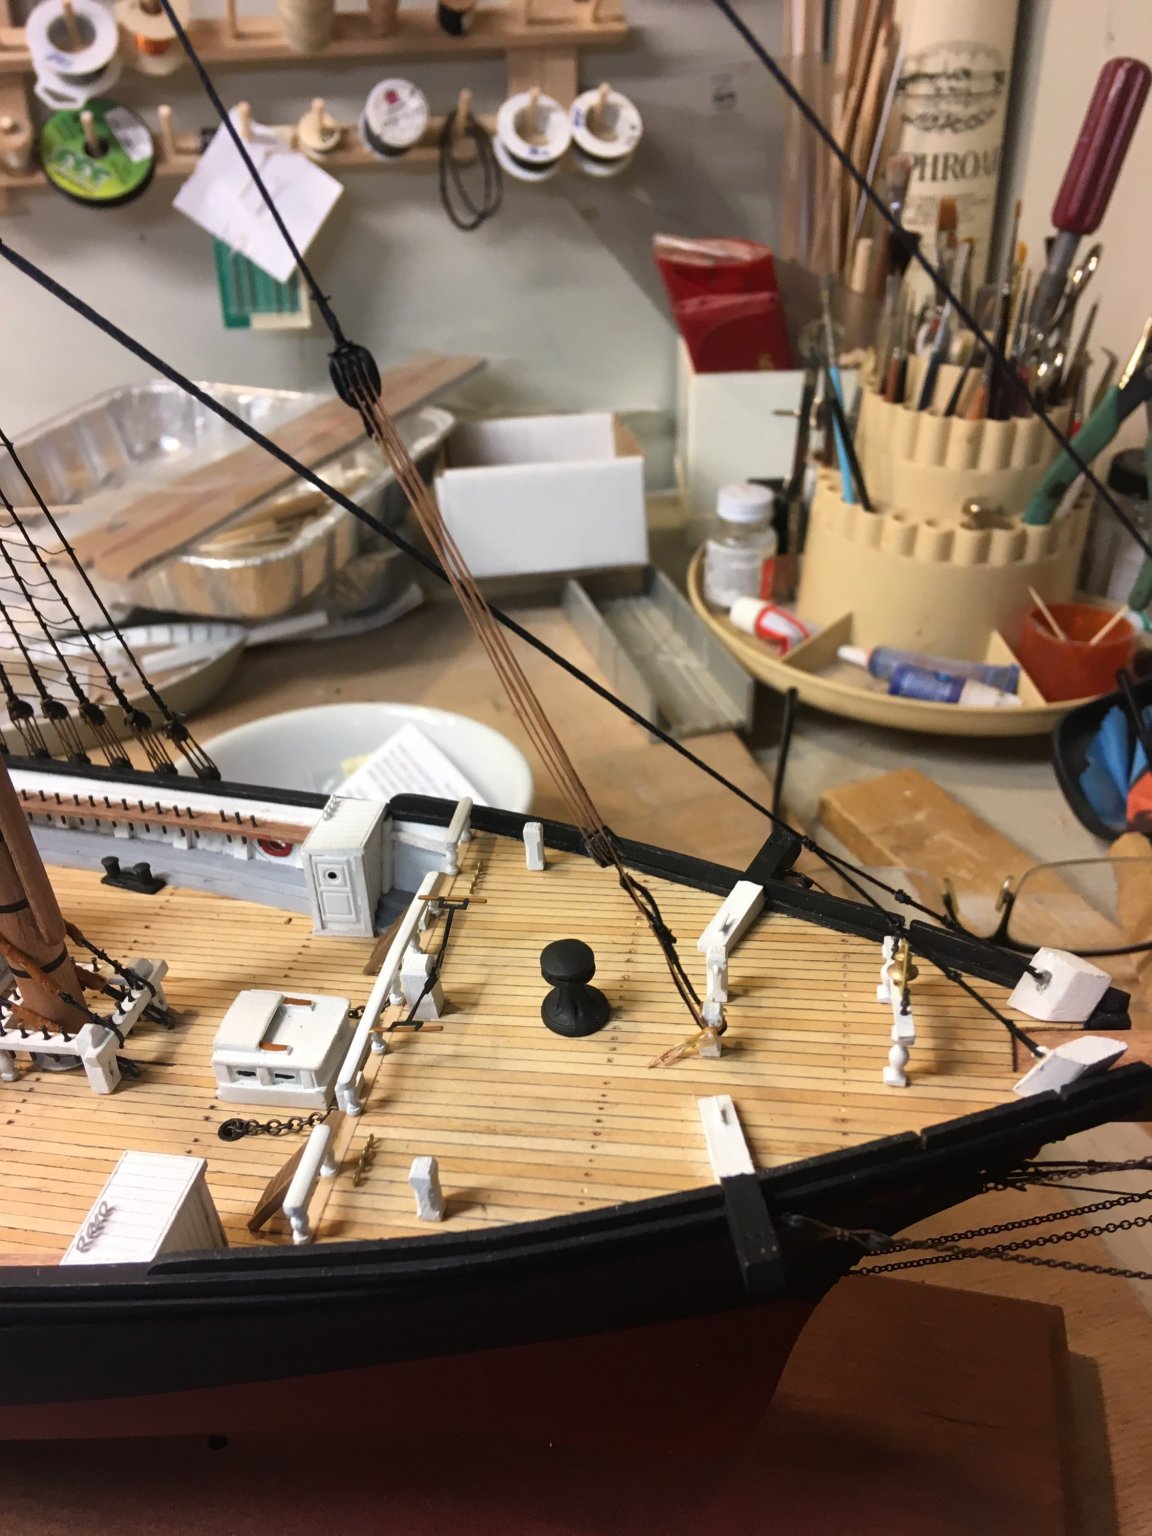
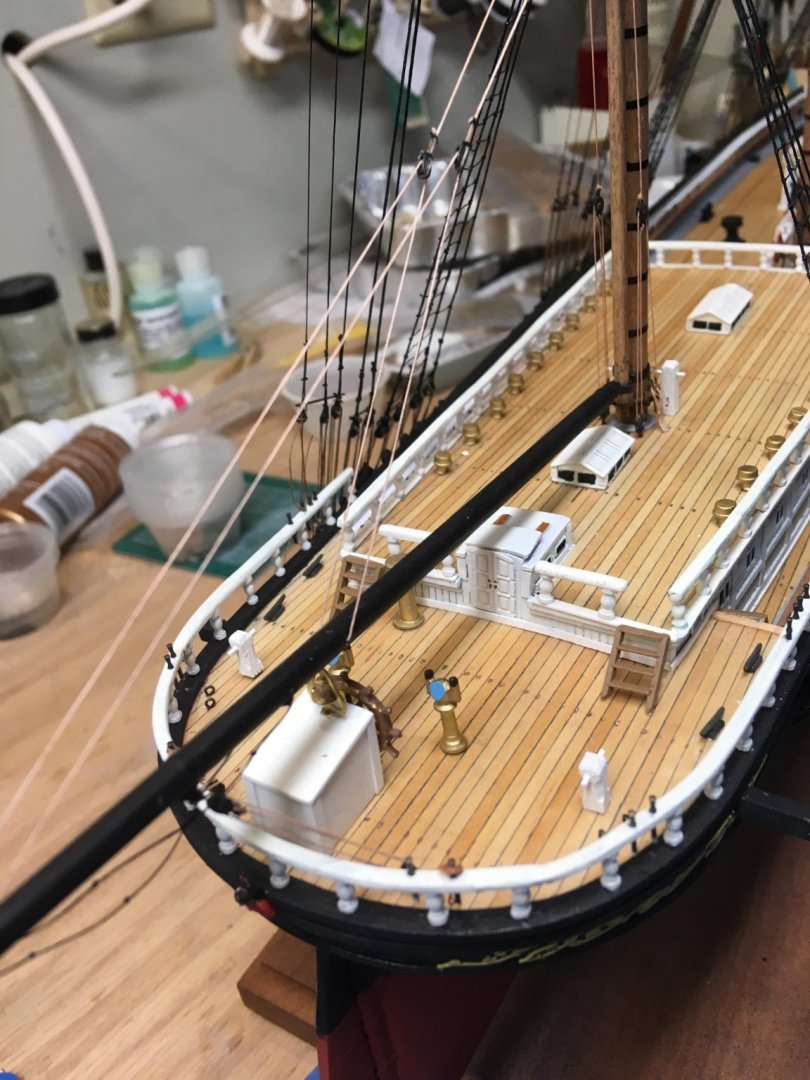
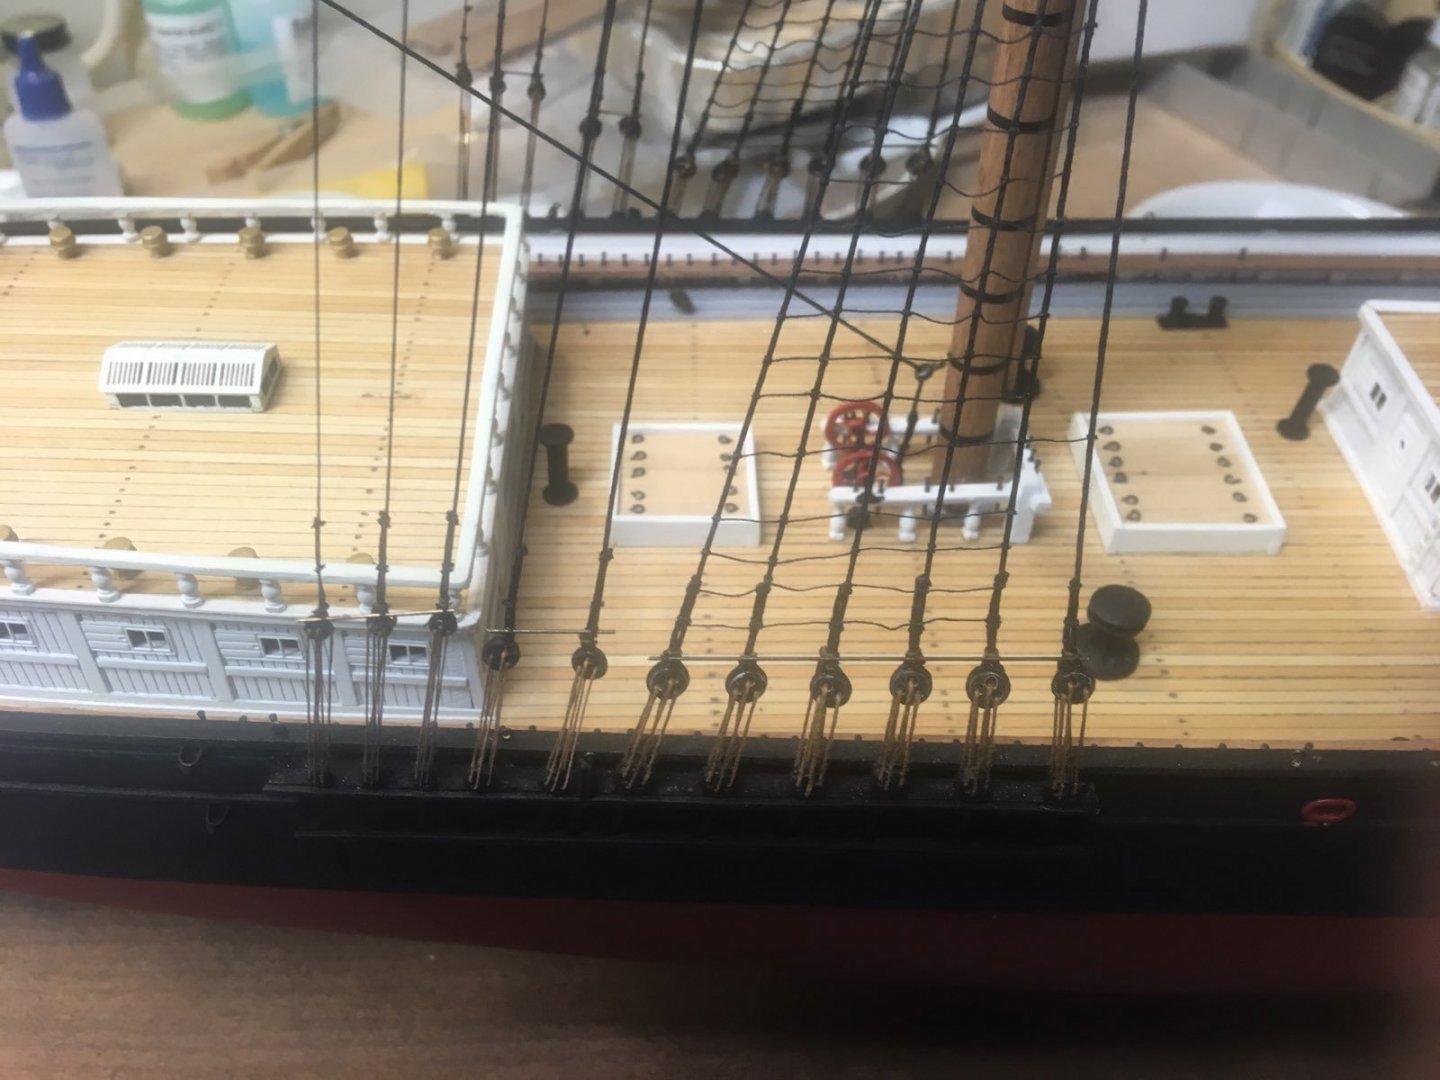
Here's the fish tackle set up. I believe it was used to help pull the anchor up to the catheads.

- 356 replies
-
- 9
-
-
- red jacket
- finished
- (and 1 more)
-
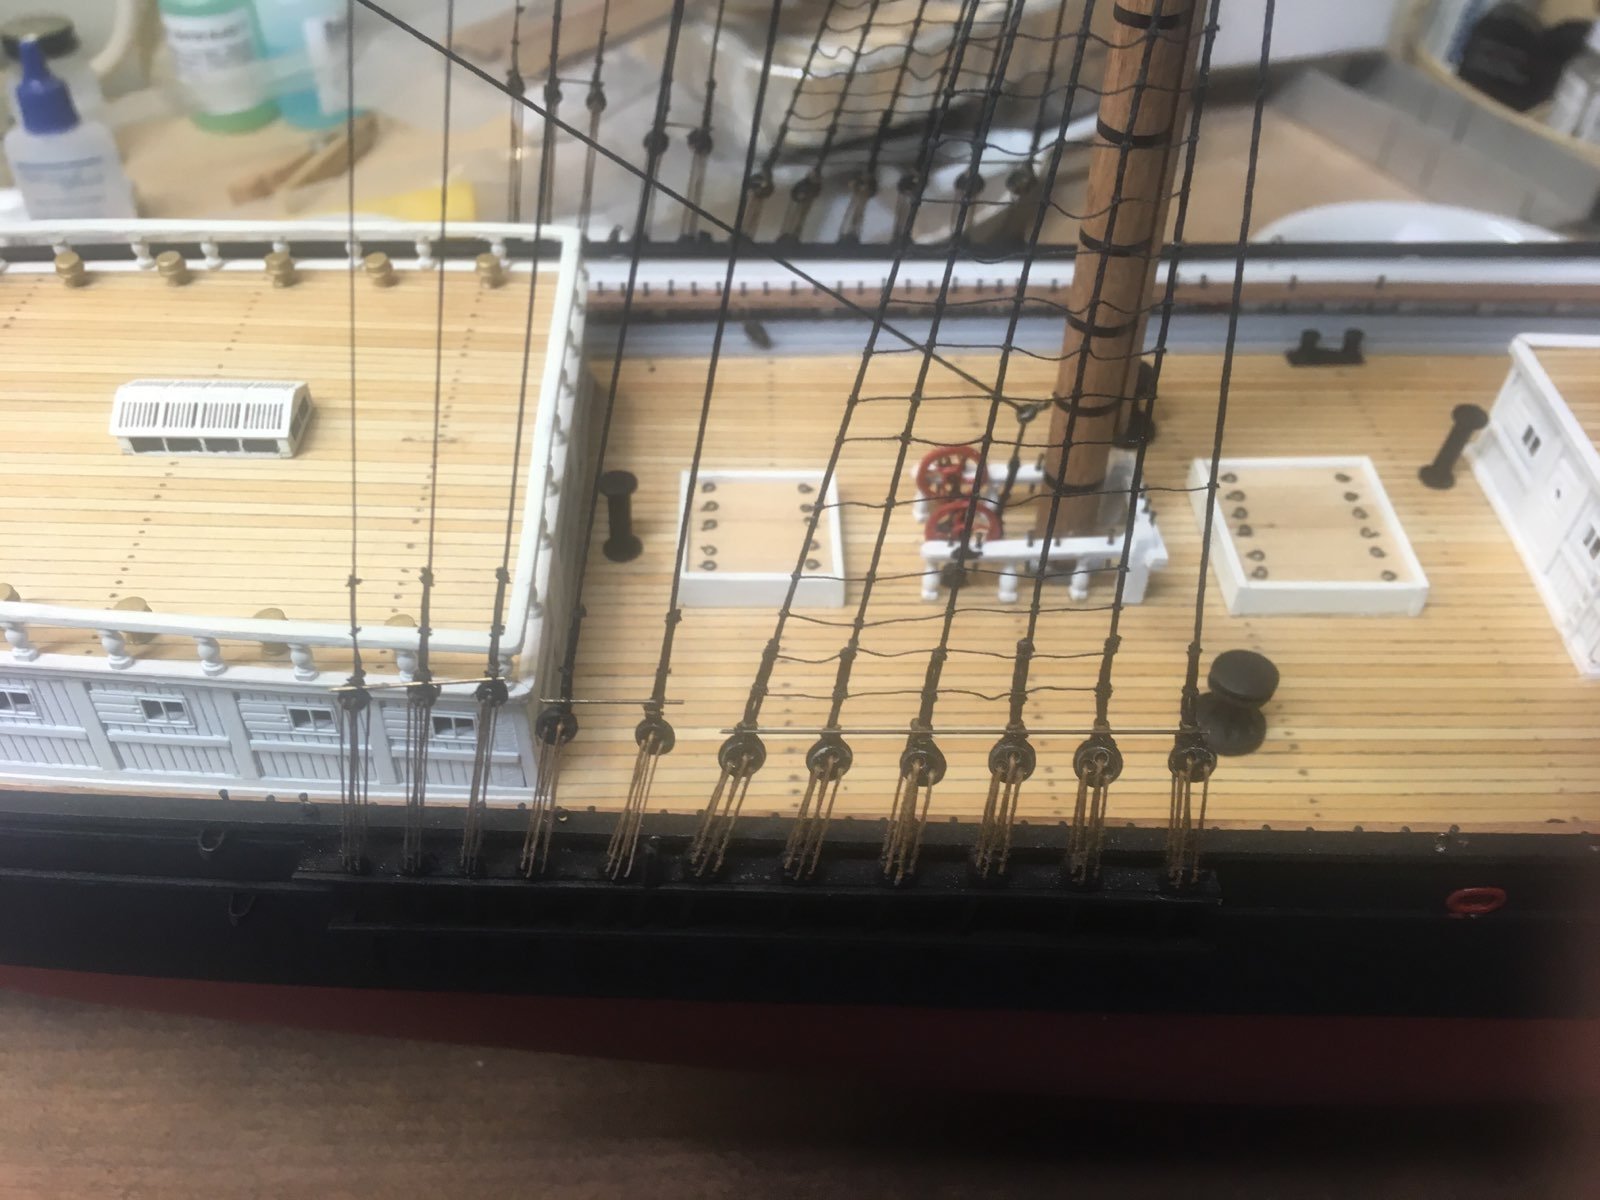
Here's a shot of the main backstays. From left to right, the sizes (diameter inches) are: .010 .015 .020 .025 The shrouds are .030
- 356 replies
-
- 12
-
-
- red jacket
- finished
- (and 1 more)
-
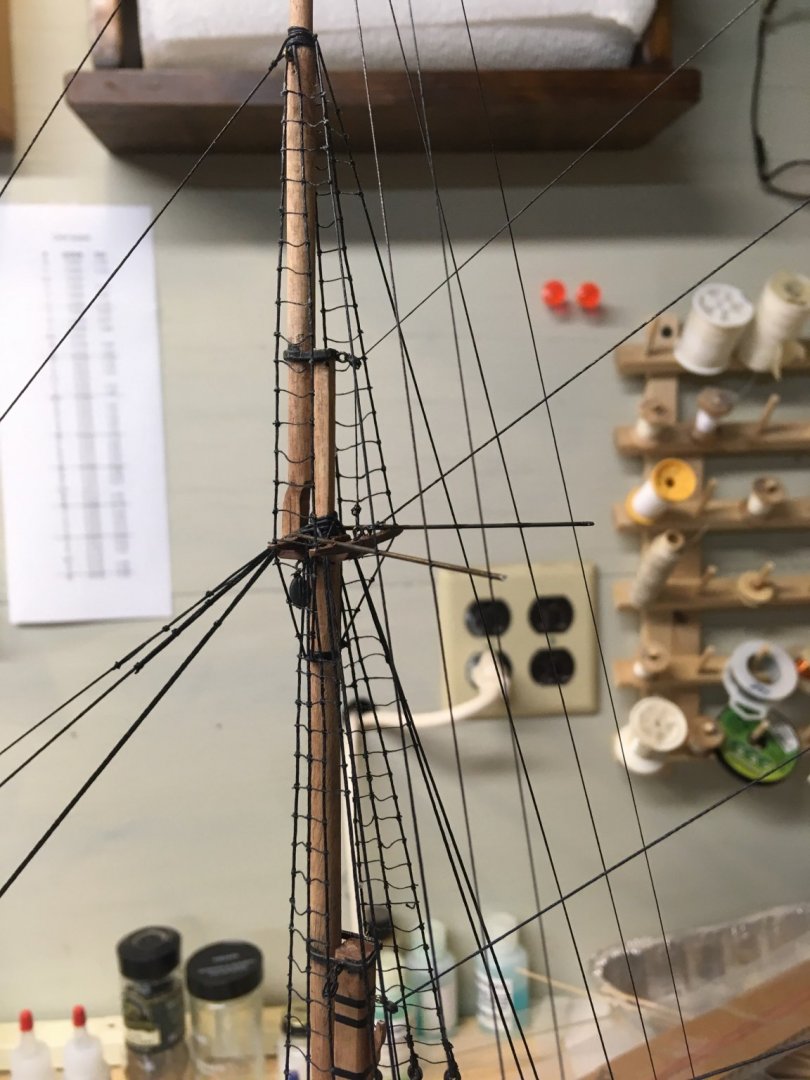
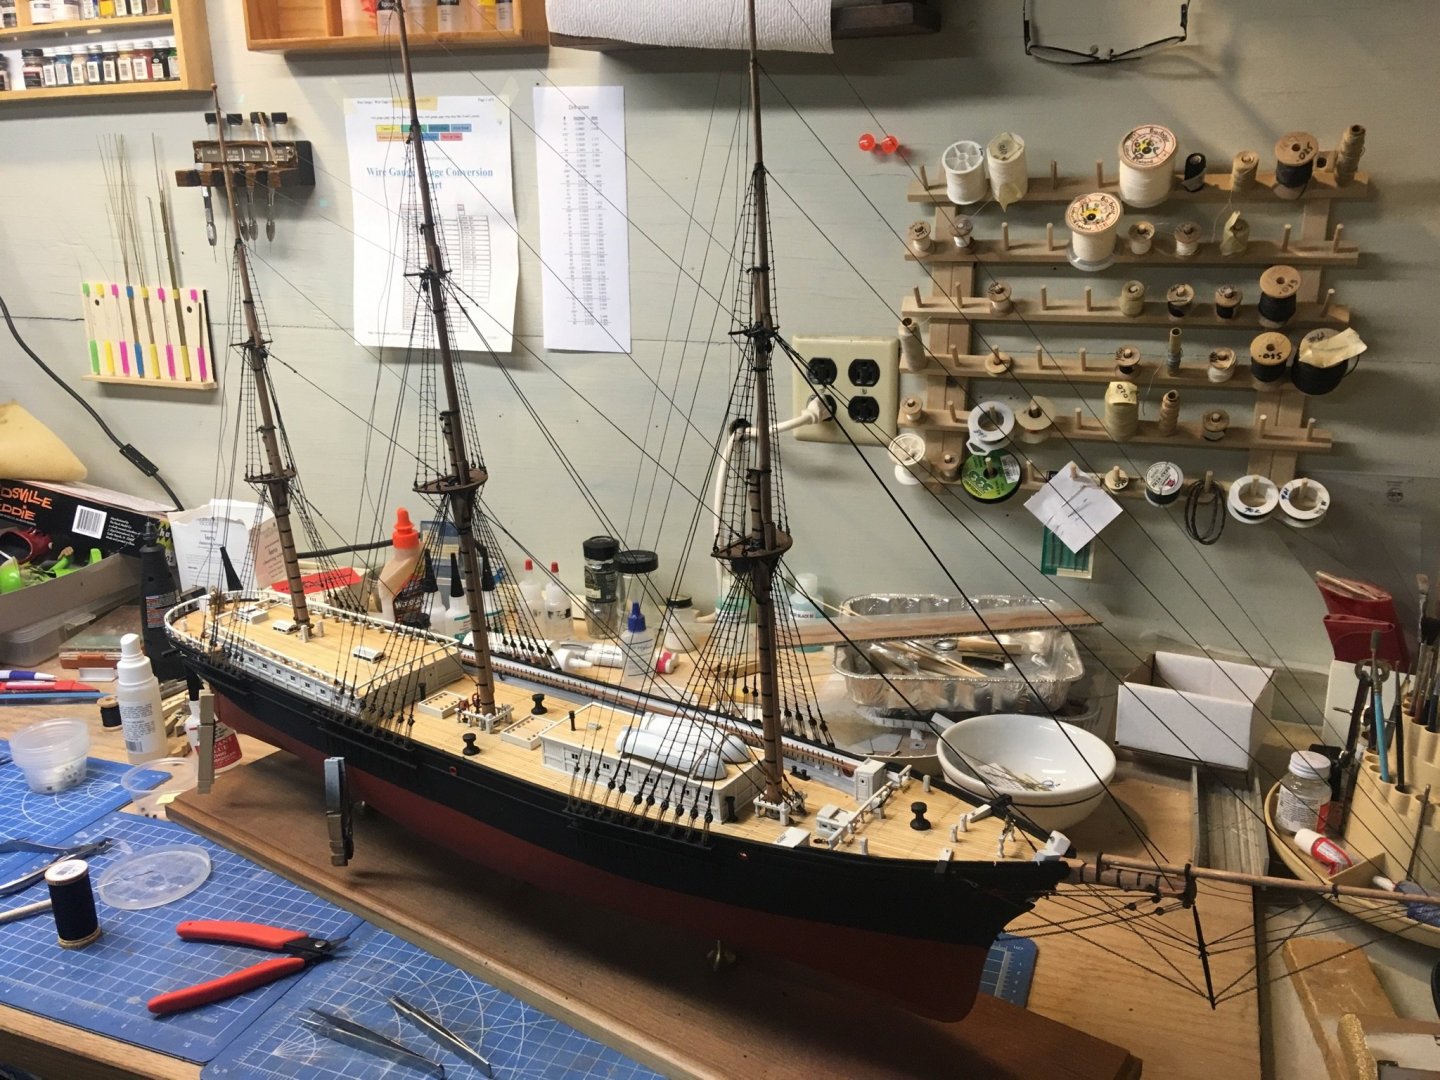
Last night I finished the Main backstays and installed the spreader bars on the fore and main.
- 356 replies
-
- 10
-
-
- red jacket
- finished
- (and 1 more)
-
Got a chance to do some more backstays. I'm spending about 1/2 hour on each one. Foremast is finished.
- 356 replies
-
- 11
-
-
- red jacket
- finished
- (and 1 more)

.jpg.8962a5b76e09f58bd912eb4d9ccc5db6.jpg)