MrBlueJacket
-
Posts
1,314 -
Joined
-
Last visited
Content Type
Profiles
Forums
Gallery
Events
Everything posted by MrBlueJacket
-
 Hi Mort, Our kit represents the Constitution as she was in 1812-1815. Nic
- 104 replies
-
- 3
-

-
- constitution
- BlueJacket Shipcrafters
- (and 1 more)
-
Tough to remember exactly, but I think I covered the wells all the way down.
-
And well you should be! Good job, Stan. Nic
- 104 replies
-
- 2
-
-
- revenue cutter
- BlueJacket Shipcrafters
- (and 1 more)
-
Again, thanks for all the well wishes. Should be home today or tomorrow.
- 356 replies
-
- 3
-
-
- red jacket
- finished
- (and 1 more)
-
Thanks for the thoughts, guys
-
Going to be awhile before I post again...Just had a double bypass. Doing well now.
- 356 replies
-
- 5
-
-
- red jacket
- finished
- (and 1 more)
-
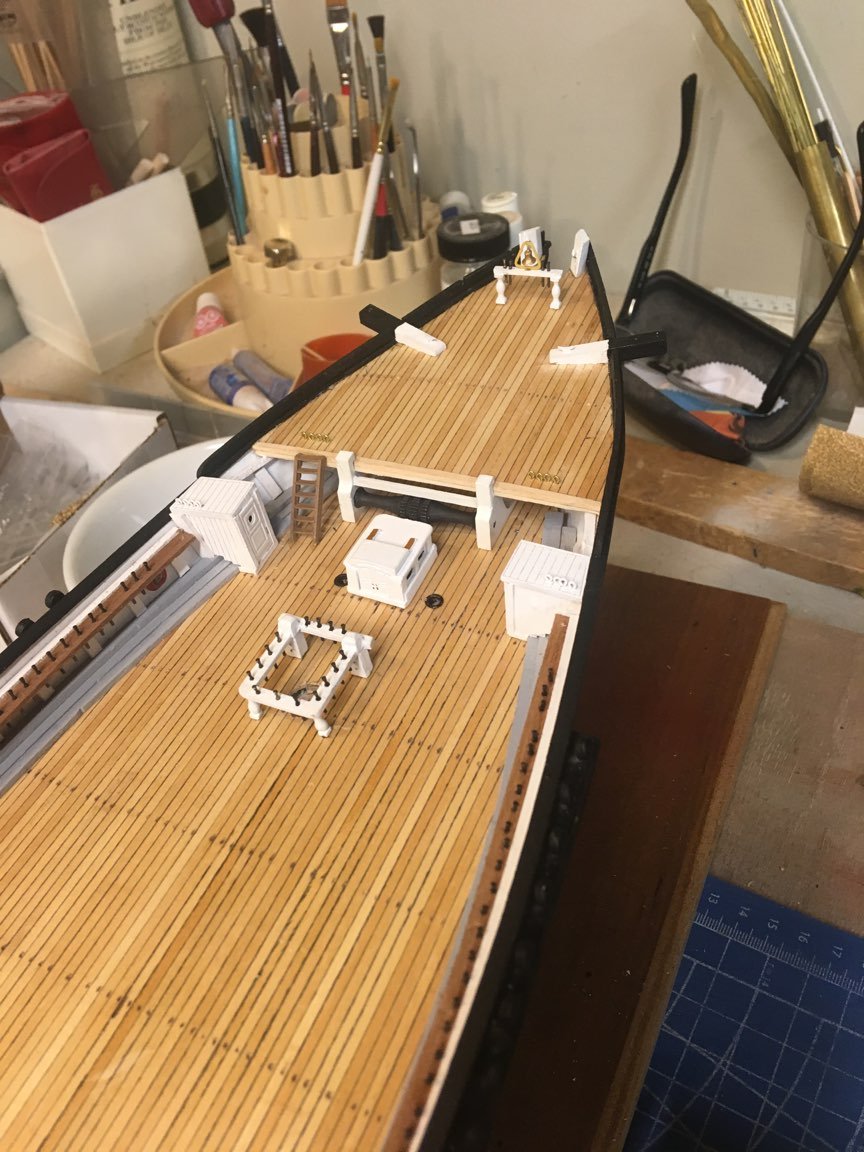
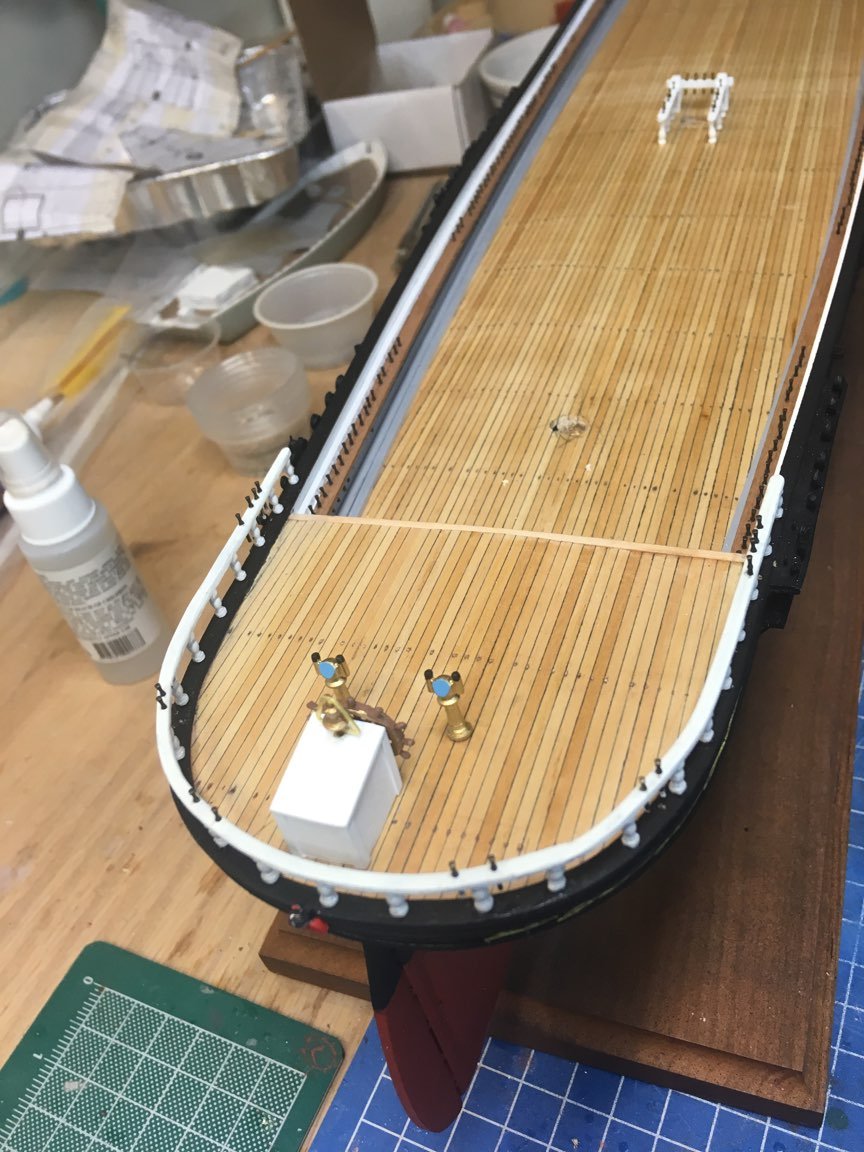
Here's a couple of shots of what's already installed on the model. Bow view: And the stern as well:


- 356 replies
-
- 12
-
-
- red jacket
- finished
- (and 1 more)
-
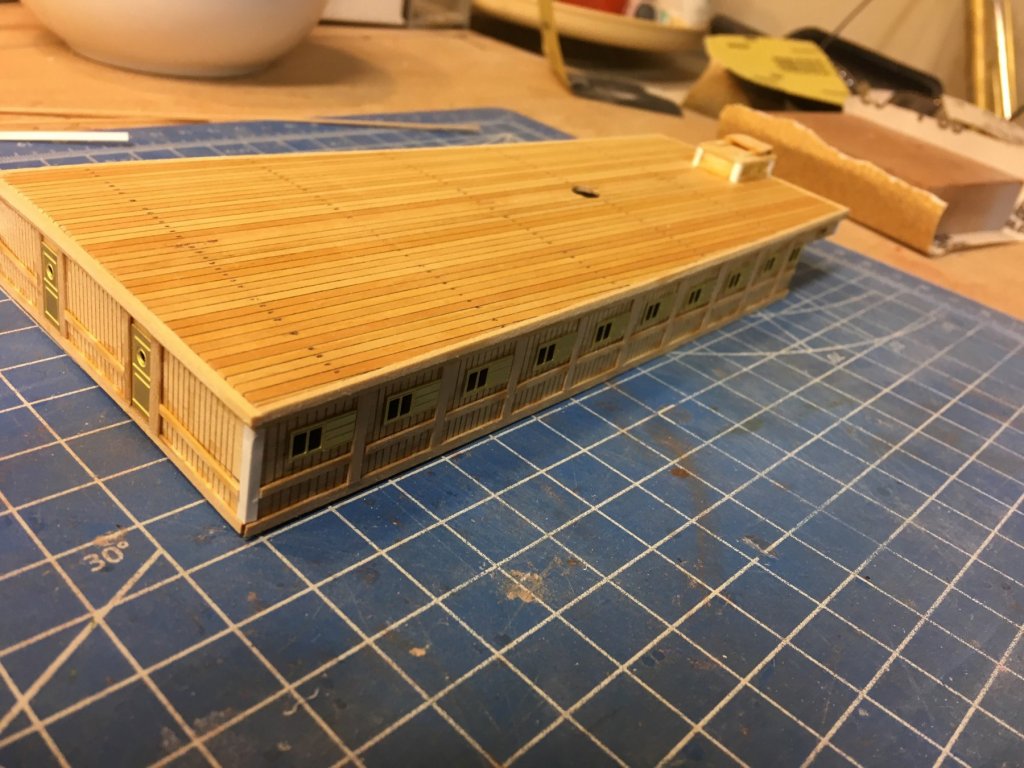
Here's both deck-houses. Just a little more work, and they can be glued on.
- 356 replies
-
- 12
-
-
- red jacket
- finished
- (and 1 more)
-
After a break of a week, more progress. Railings installed, and putty on the seams where the sections join.
- 356 replies
-
- 8
-
-
- red jacket
- finished
- (and 1 more)
-
It is available for sale. K1107, $599. Having trouble getting on the website, but you can call in an order.
-
John and I both belong to the CT Marine Model Society. His choice of the name James Wiser for the boathouse is a tribute to Jim, who was a club member and fantastic modeler. John named the boathouse is his honor after his passing. Also, the CMMS gives out an annual Jim Wiser award for excellence in modeling.
-
Assuming it really is our kit
-
From what I can see of the plans, they look like ours for sure. Jerry, I'm adding you to the list of "10% off your next BlueJacket kit" when you finish. Nic
-
Yes, yes they are.
-
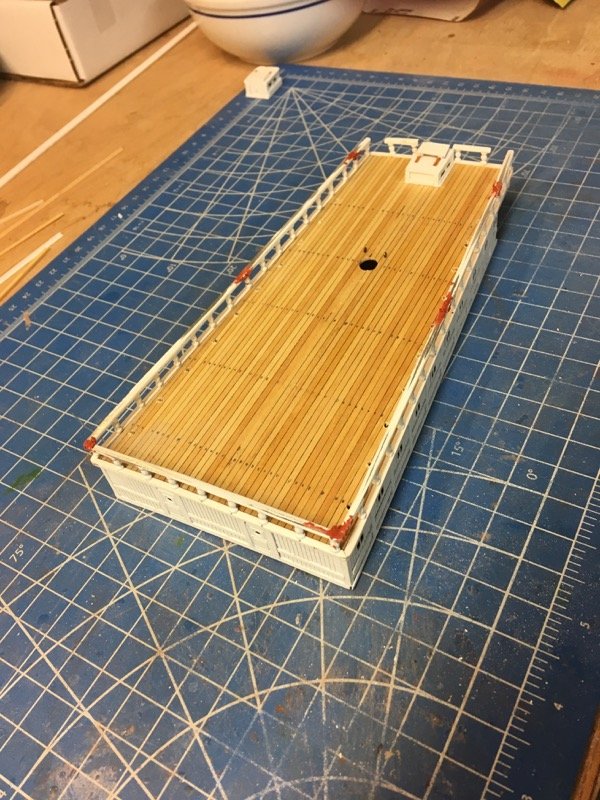
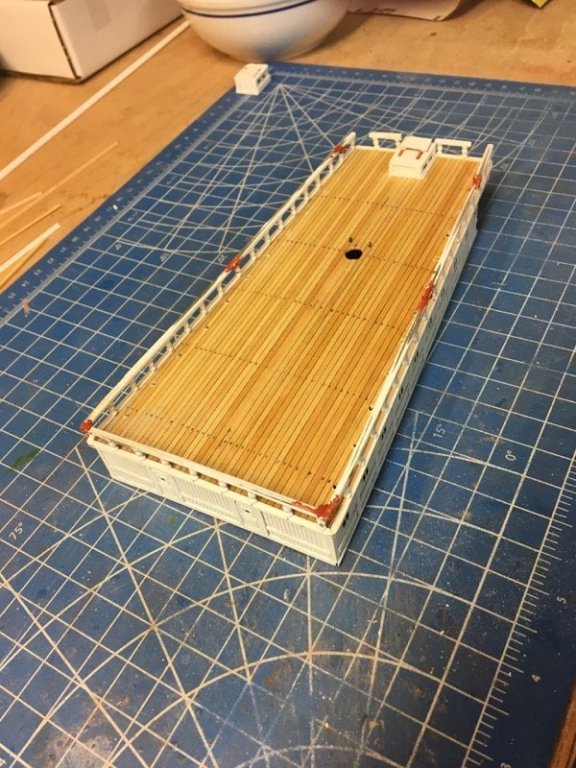
Rear deckhouse painted, edge trim applied, and ready to install rails and stanchions.
- 356 replies
-
- 10
-
-
- red jacket
- finished
- (and 1 more)
-
I didn't take any pics of the parts, but the 4 sides are laser-cut with mating notches on the edges. You can see that in my post of June 14th. The roof is a sheet of glued up decking as provided in the kit. Doors and windows are photo etched pieces, and the trimwork is cut from strip wood and applied with CA glue.
- 356 replies
-
- 1
-
-
- red jacket
- finished
- (and 1 more)
-
Sorry, Rob..... Kit specific parts are not on the website. You would have to call to order. Nic
-
The Red Jacket is 1:96 The doors and windows are on the photo etched sheet of brass that comes with the kit. You can buy the sheet, part number BJ71 rev.2 for $20 plus S&H.
- 356 replies
-
- 1
-
-
- red jacket
- finished
- (and 1 more)
-
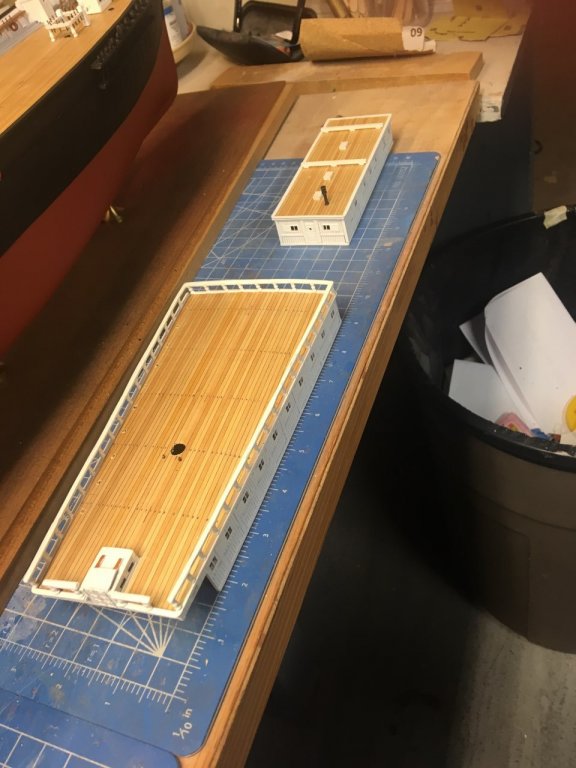
Last night I finished building the rear deckhouse, and it's ready for paint.
- 356 replies
-
- 8
-
-
- red jacket
- finished
- (and 1 more)
-
Nice McKay figure - did you use clay or carved from wood?
-
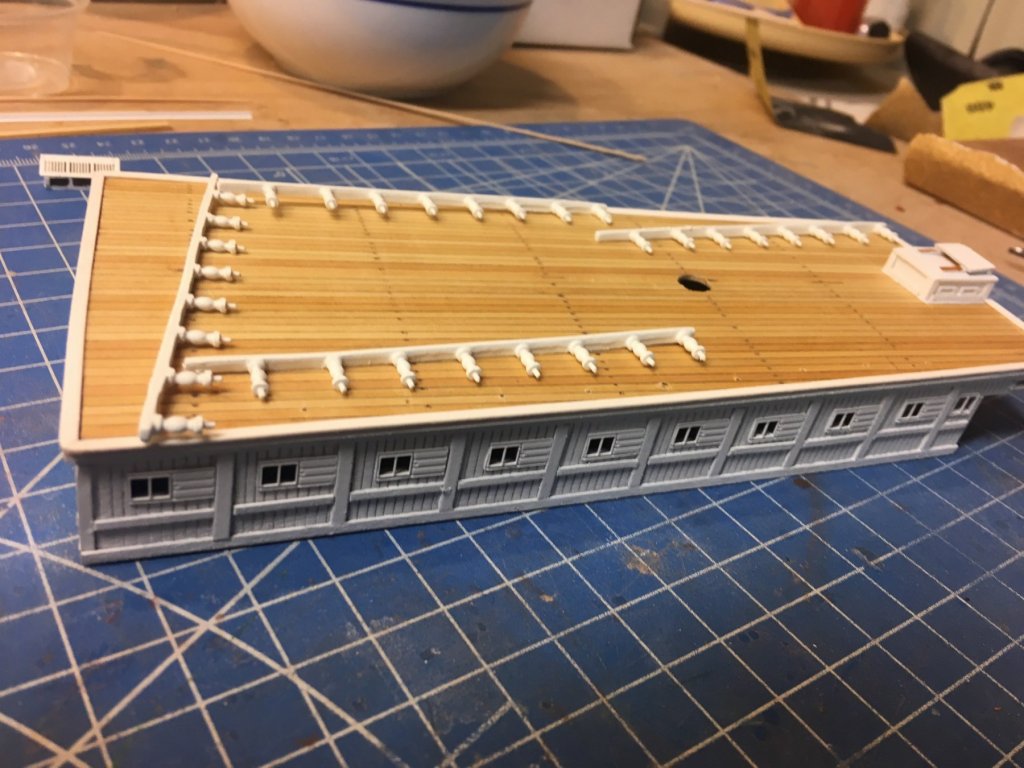
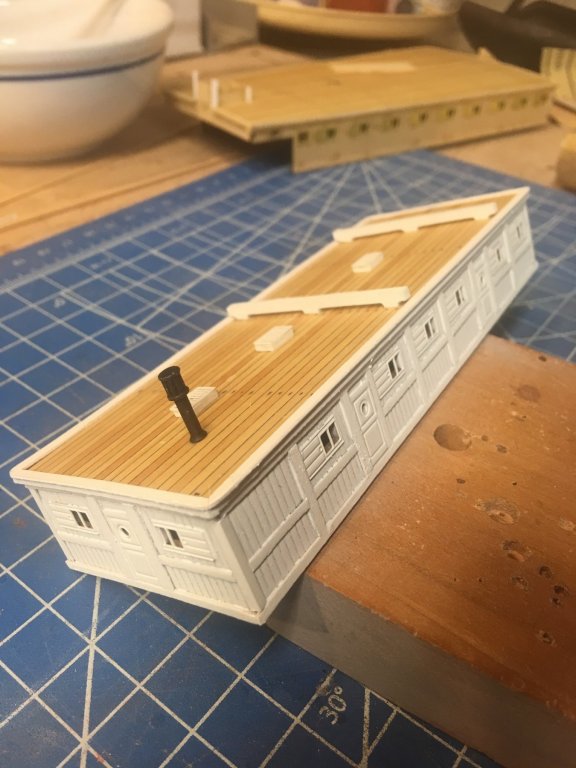
Now the forward deckhouse is painted and various parts glued to the roof.
- 356 replies
-
- 11
-
-
- red jacket
- finished
- (and 1 more)
-
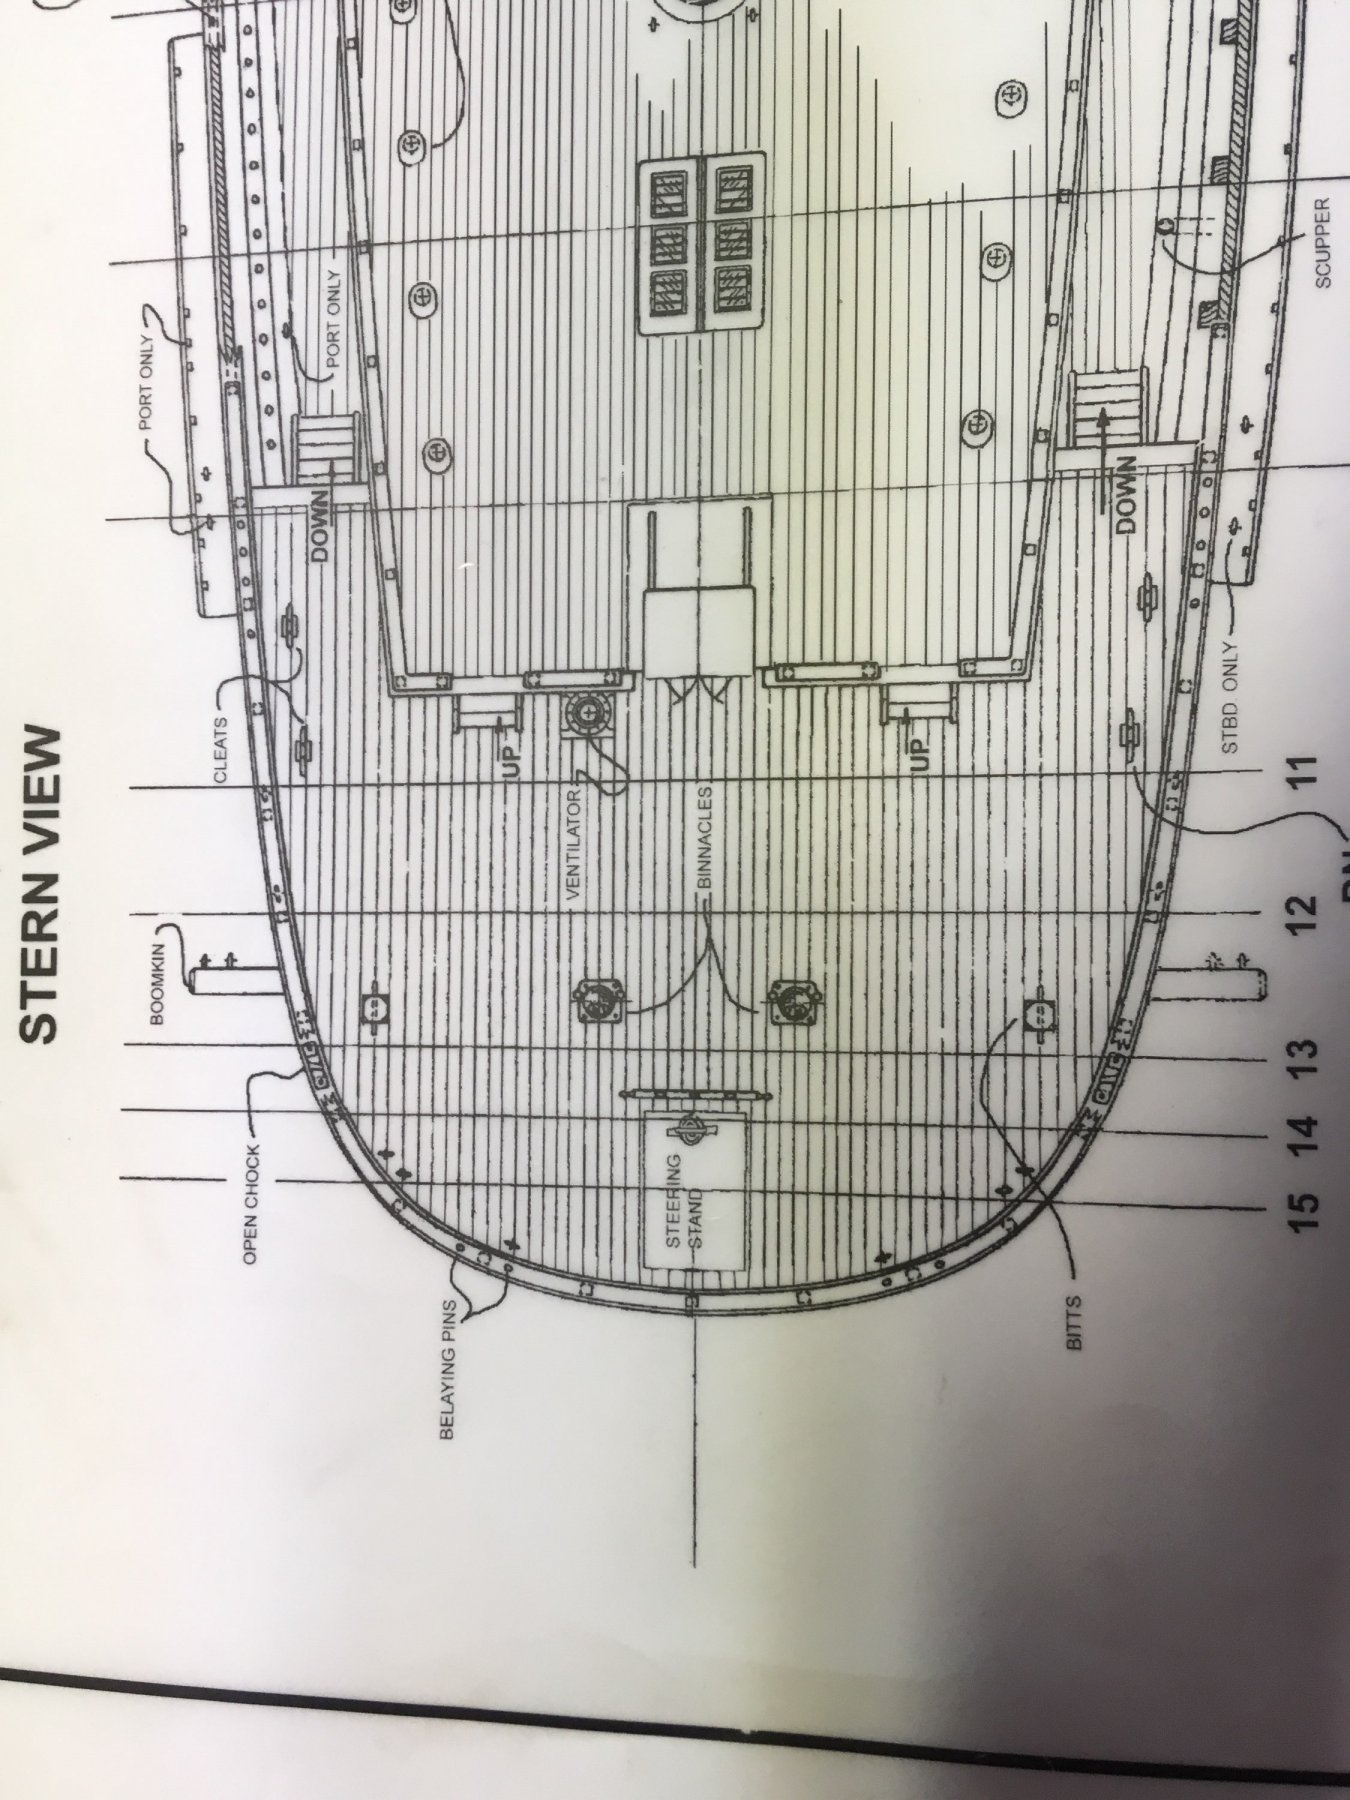
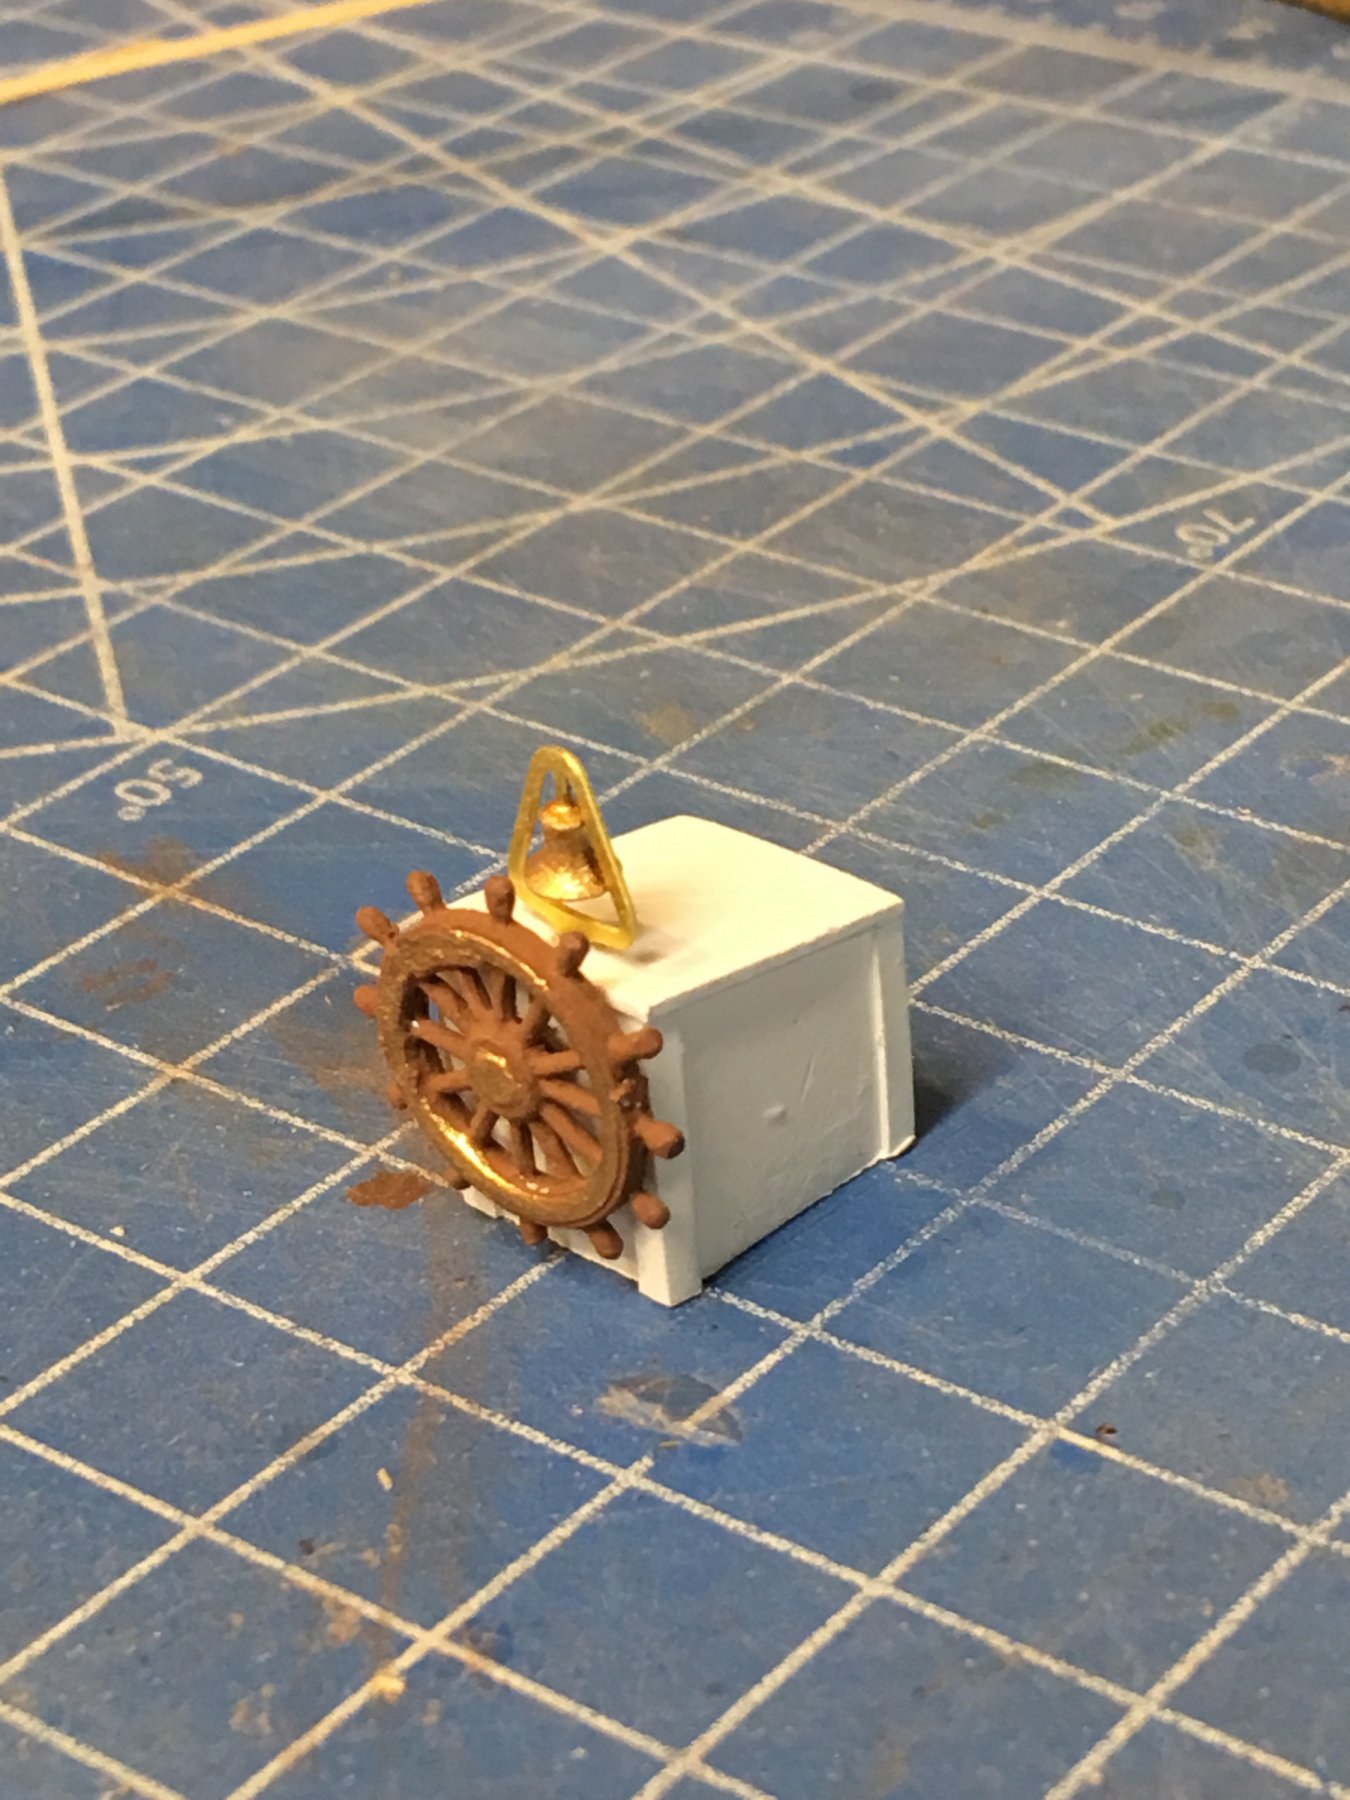
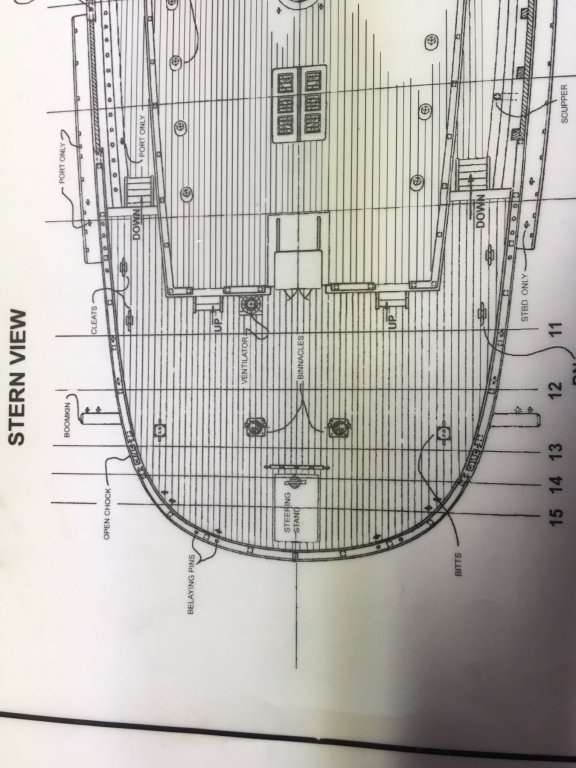
Hi, Yes, there are twin binnacles just in front of the steering wheel.
- 356 replies
-
- 3
-
-
- red jacket
- finished
- (and 1 more)
-
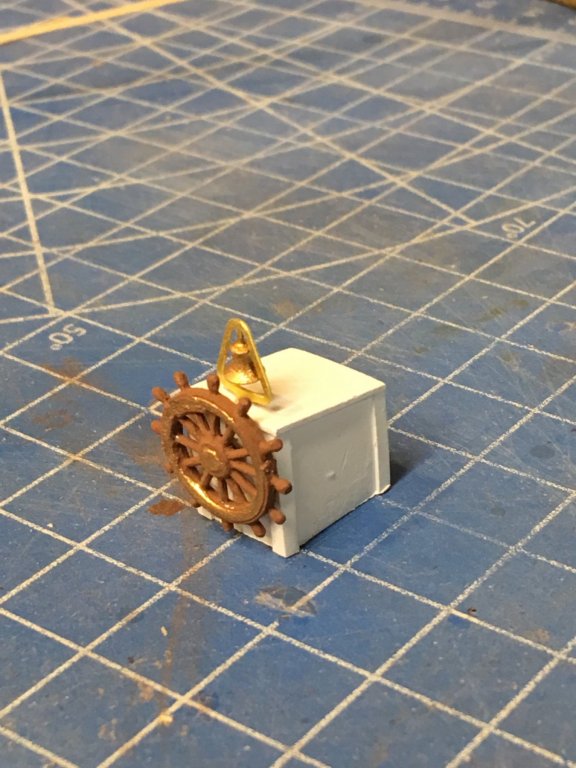
Here is the finished wheelhouse. The plans just have a slant roofed box, but I added styrene angle at the corners and made the roof even with them. Looks better, I think.
- 356 replies
-
- 7
-
-
- red jacket
- finished
- (and 1 more)
-
Do a build thread! When you finish, I will give you 10% off your next BlueJacket kit! NIc
- 356 replies
-
- 1
-

-
- red jacket
- finished
- (and 1 more)