Old Collingwood
-
Posts
12,104 -
Joined
-
Last visited
Content Type
Profiles
Forums
Gallery
Events
Everything posted by Old Collingwood
-
 Amazing build - you got there in the end. OC.
 -
Evening all, not much of an update and not worthy of photos - I am making up the wheels and painting them - boring job. OC.
-
If it was like me - I needed Ten stairs to try to do one with the treads turning - still never managed it hence why I got lots of insurance claims from sailors sliding down the stairs.........😬 OC.
-
Yes indeed mate - he rung me up Twice after I broke the news to him - he couldn't do enough to help, he said he felt guilty and wants to sort this out so I am Fully Happy, its this guy I spoke about before in the forum - https://acorndisplays.co.uk/ OC.
-
Indeed mate, he is going to re-make it this time using reinforced glass - will be better on all accounts - heavier though I would imagine. OC.
-
Its bad because the maker of the case told the courier firm that it was a heavy fragile glass unit, with fragile/glass warning tape all over it. OC.
-
Update - the maker has arranged for the broken case to be collected on Monday, he is going to re-make it for me but using strenthened glass (at his expense) then he will get it shipped out to me again. Great service and reaction from him. OC.
-
Thanks mate, it must have happened in transit - the courier who delivered it was as grumpy as anything complaining about carrying it, I hope the builder can claim off the courier company. OC.
-
So, I started to open the crate my display case is in - there is about 40 screws holding it all together, it was delivered and sat on its long side not back, so the first thing I had to do was carefuly turn the crate over, in doing this I heard a rattle sound coming from inside - the top lid was unsrewed first then the lid was moved, the glass case is fairly tight fitting with a run of bubble wrap all the way around it - after closer observation I could see a piece of glass broken away and sitting inside in pieces. I phoned the builder who made it he is going to arrange for it to go back - its just such a delicate / fragile item the slightest bump in the delivery van could have caused it. Talk about sods law.😢🤬 OC.
-
I am reading on the net an excellent thread on all things to do with modeling - https://www.themodellingnews.com/2020/02/miniarts-2020-catalogue-full-of-current.html OC.
-
Sounds good to me. OC.
-
"Got any popcorn brother" OC.
-
McLaren M8B by CDW - Accurate Miniatures - 1:24 Scale
Old Collingwood replied to CDW's topic in Non-ship/categorised builds
We want to be nosy and sneak a look at your stash Lou "go on you know you want to"😊 OC. -
Looking really impressive as she is Greg, tell you what mate over the years you have become the "go to master" at this scale with plastic/PE ships and its really great following what you do. OC.
-
As Lou said - I could imagine specialist companies doing resin or high quality platic kits where they have certain sections with pre attached PE, saving having to buy it seperatley, imagine wafer thin plastic strengthened with PE best of both worlds. OC.
-
That looks Splendid. hurry back your captive audiance will here. OC.
-
Evening all, my display case arrived this morning - "whats it look like - whats it look like" - I dont know its still in its wood transport crate, I am giving it a day or so before unscrewing the case due covid. OC.
-
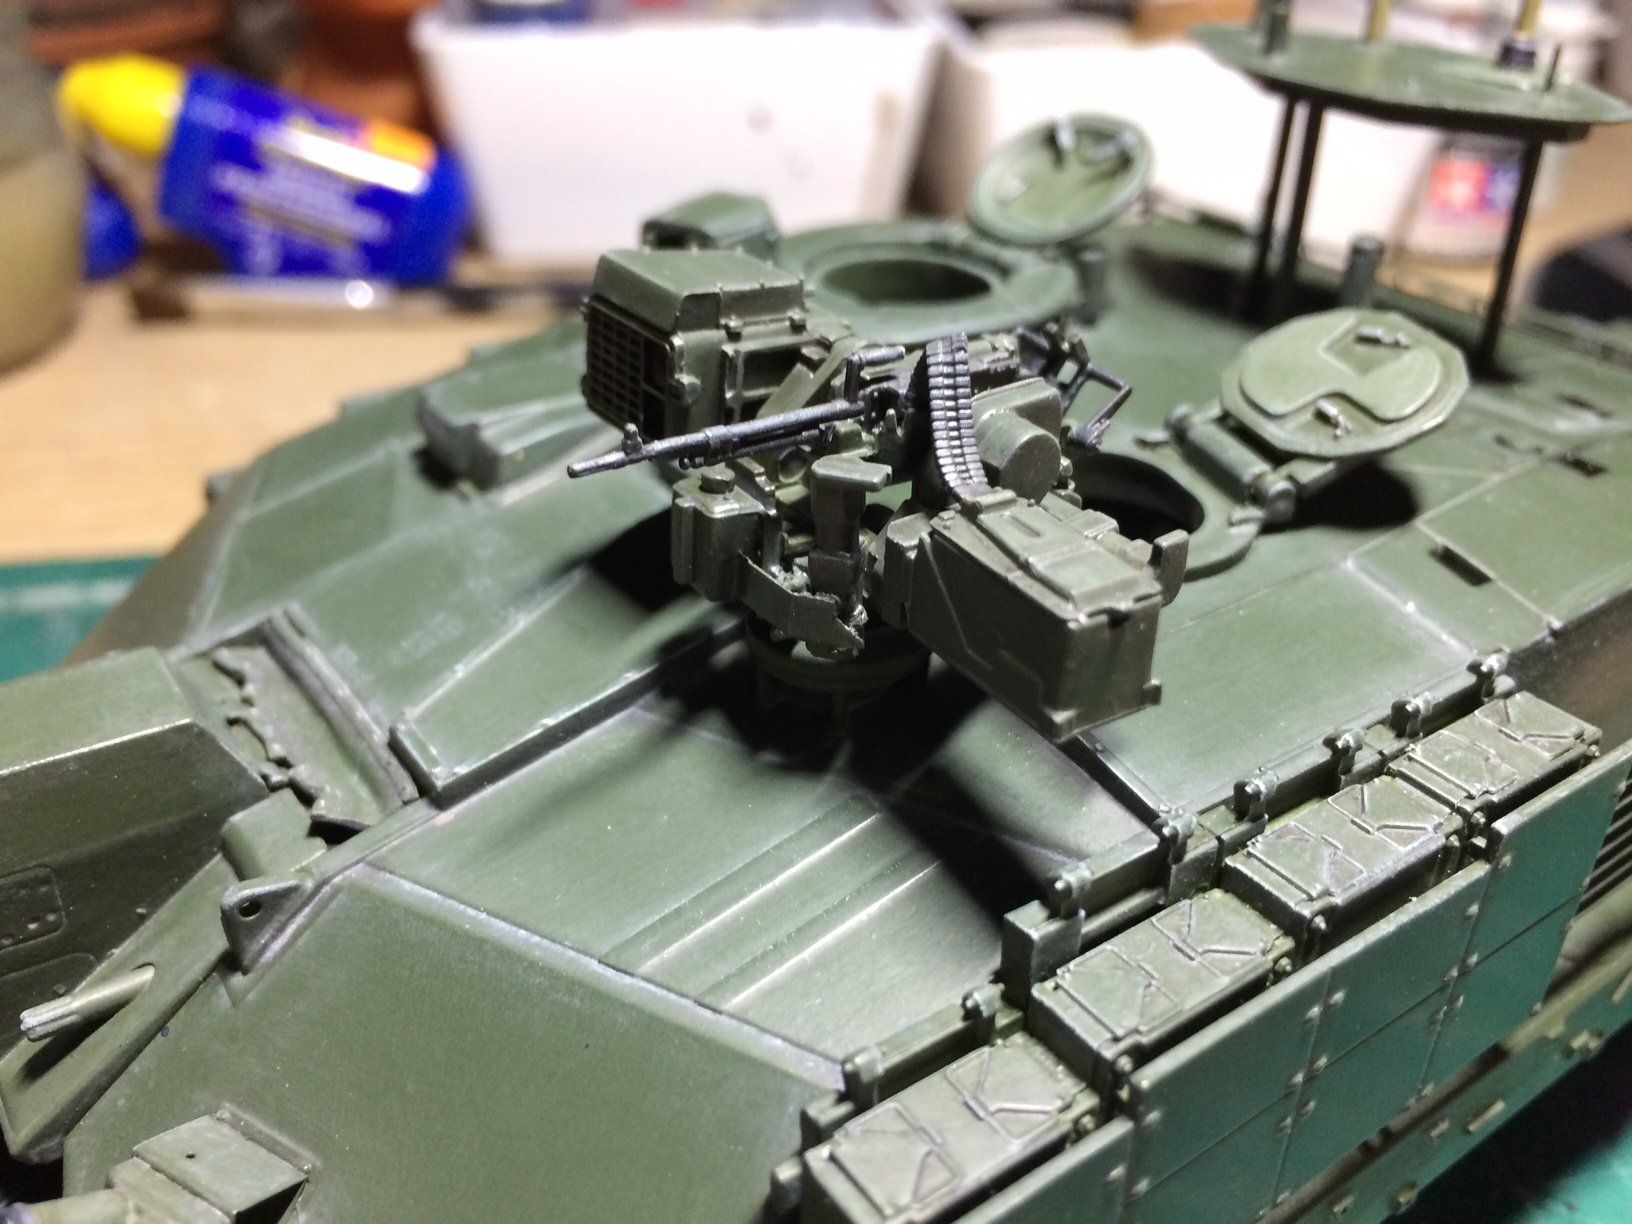
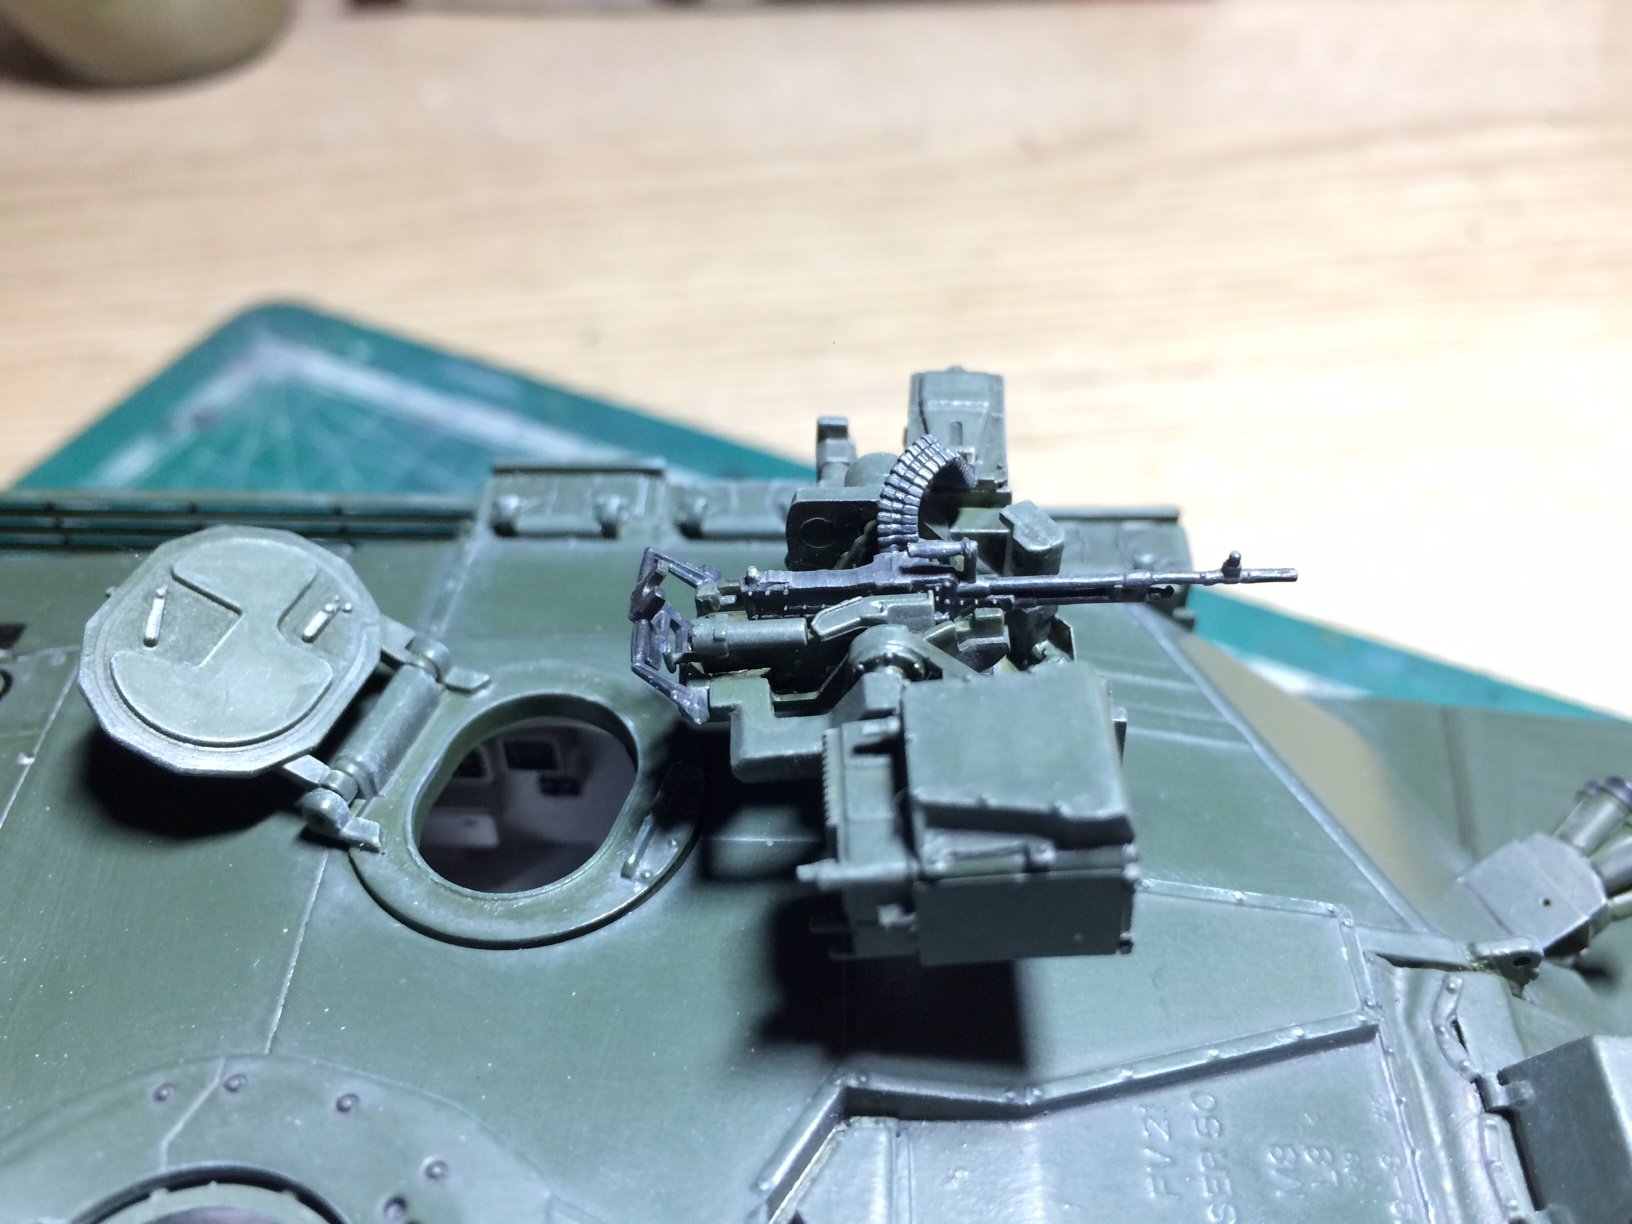
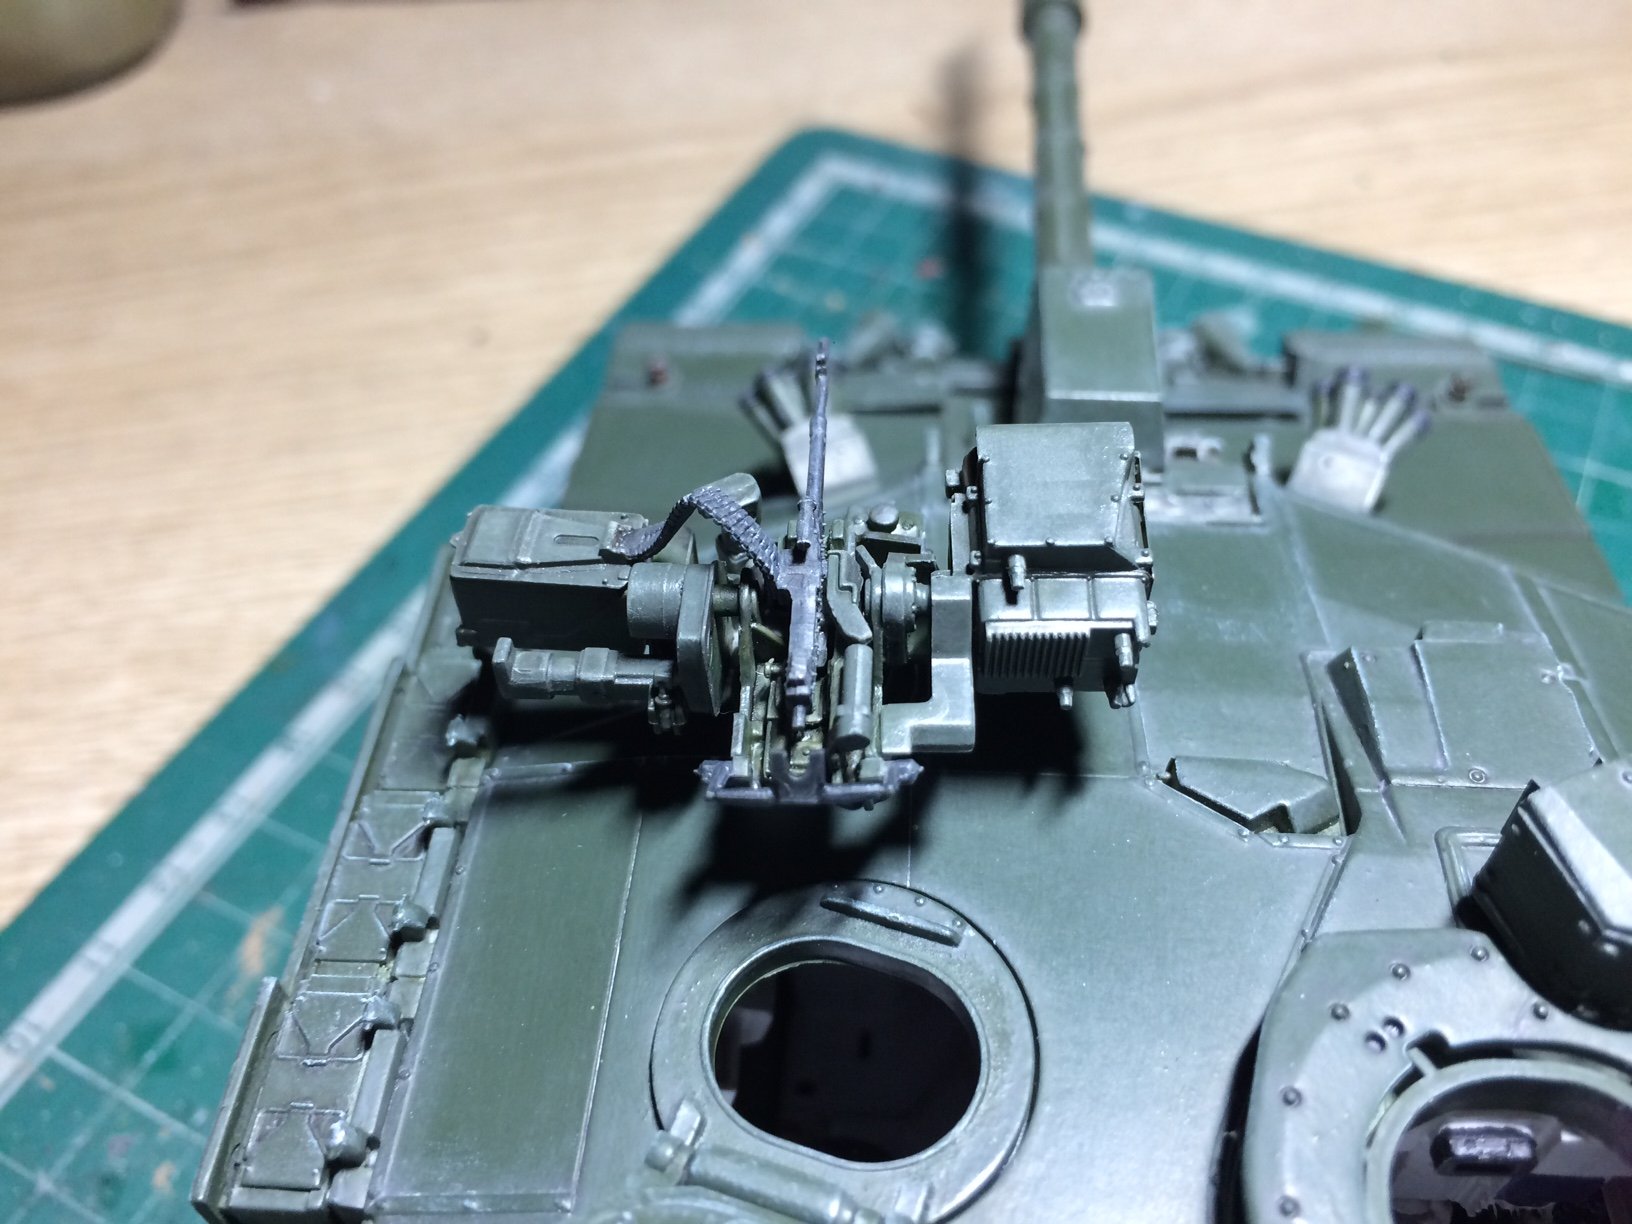
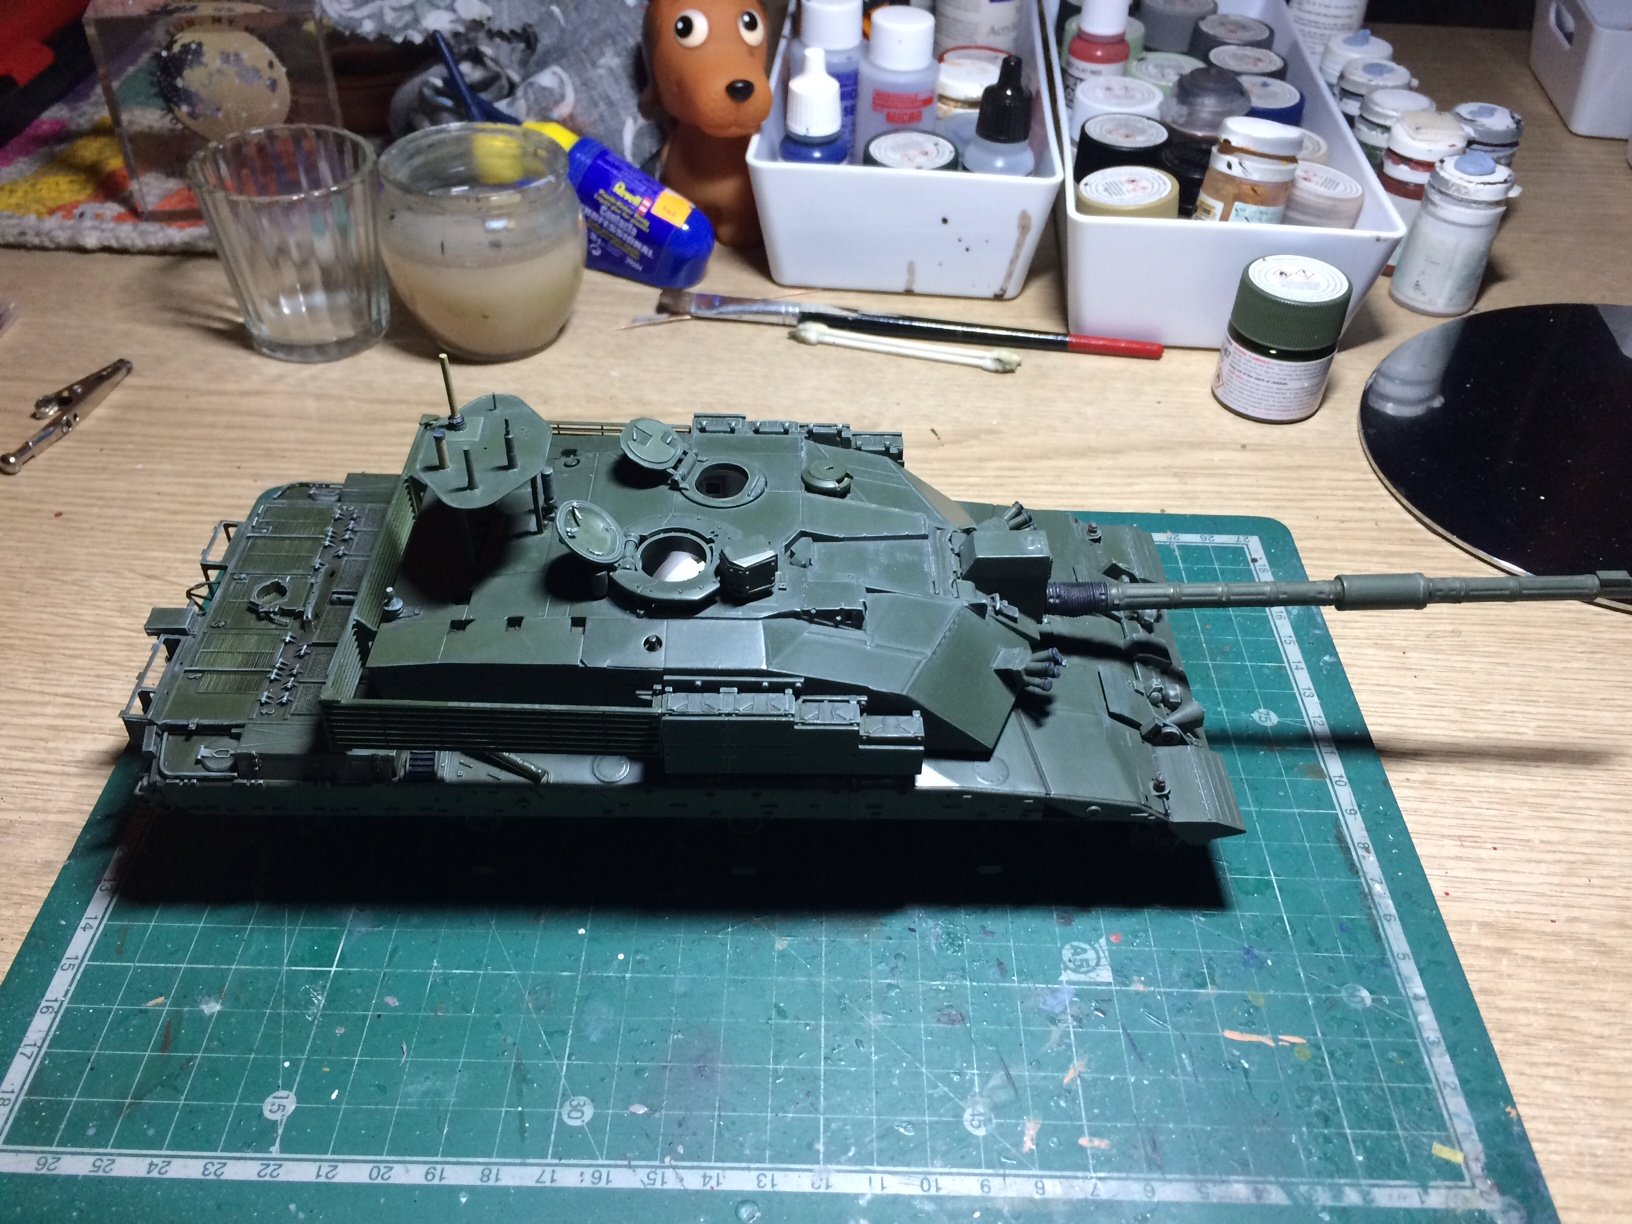
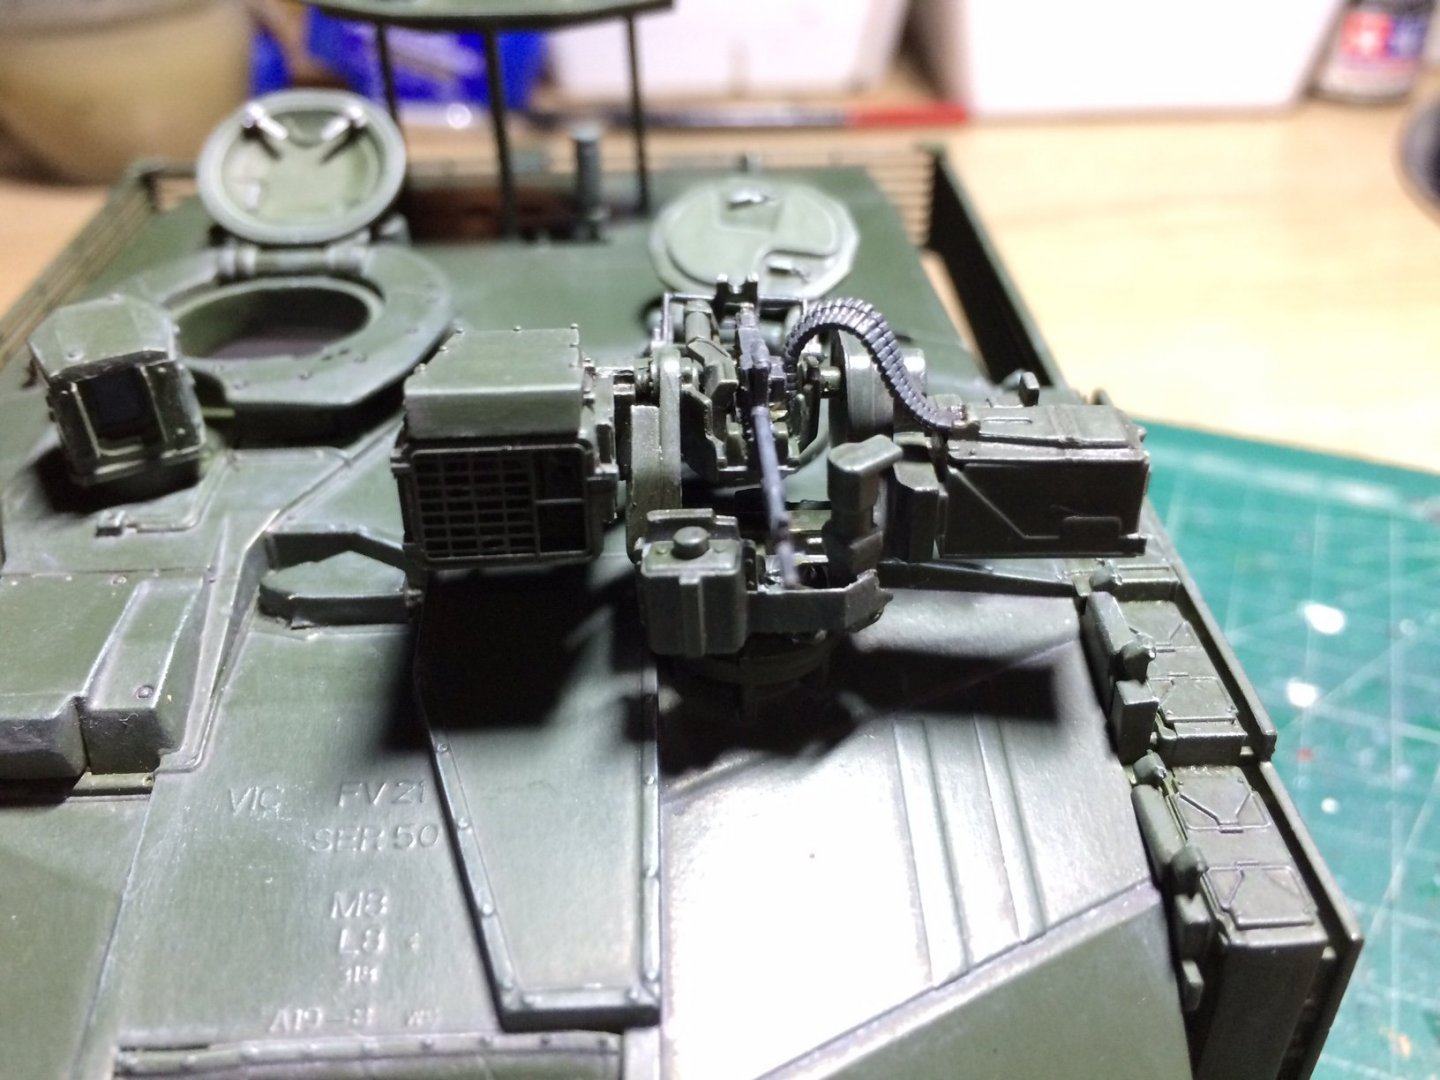
Evening all, good progress today - I painted the Goalkeeper then a couple of coats of shading wash then dust then highlighting, then it was glued in position - this finishes the turret. OC.


- 367 replies
-
- 11
-

-
Thank you Patrick. OC.
-
McLaren M8B by CDW - Accurate Miniatures - 1:24 Scale
Old Collingwood replied to CDW's topic in Non-ship/categorised builds
I think the only medium where doors open ok is in Diecast. OC. -
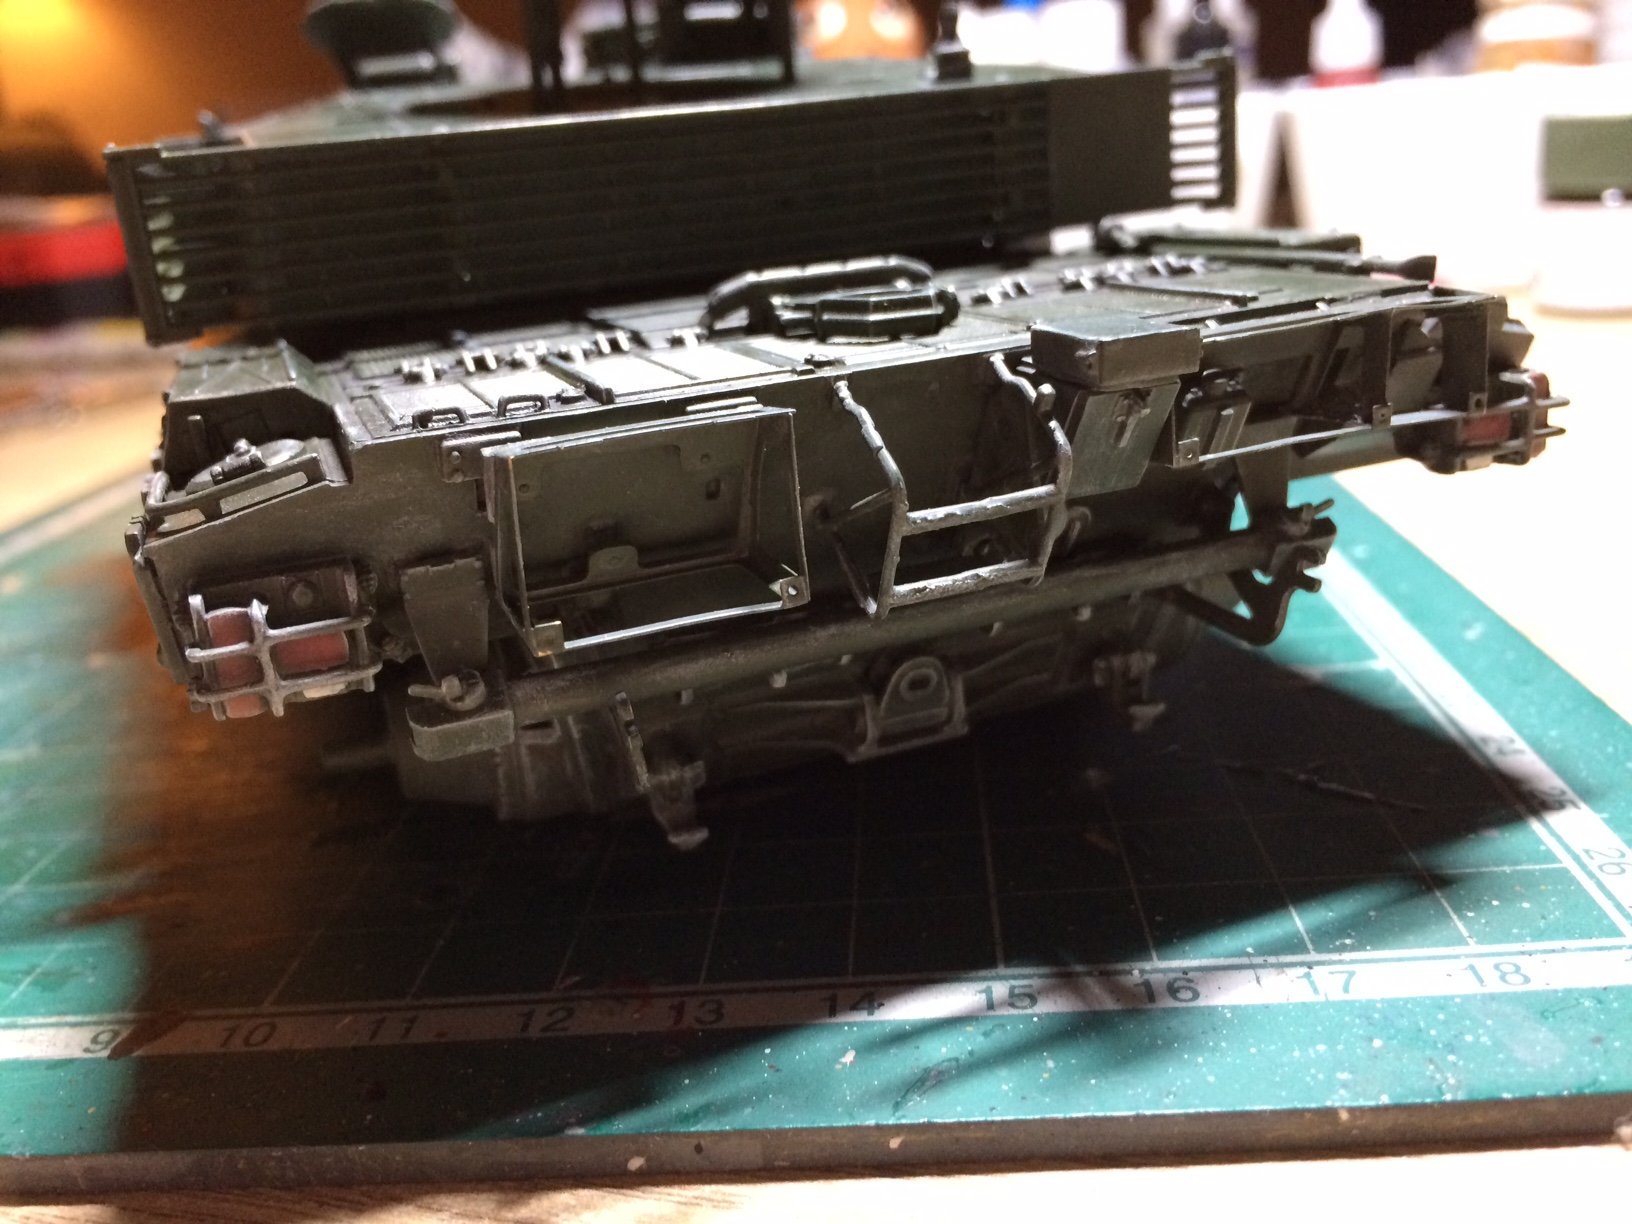
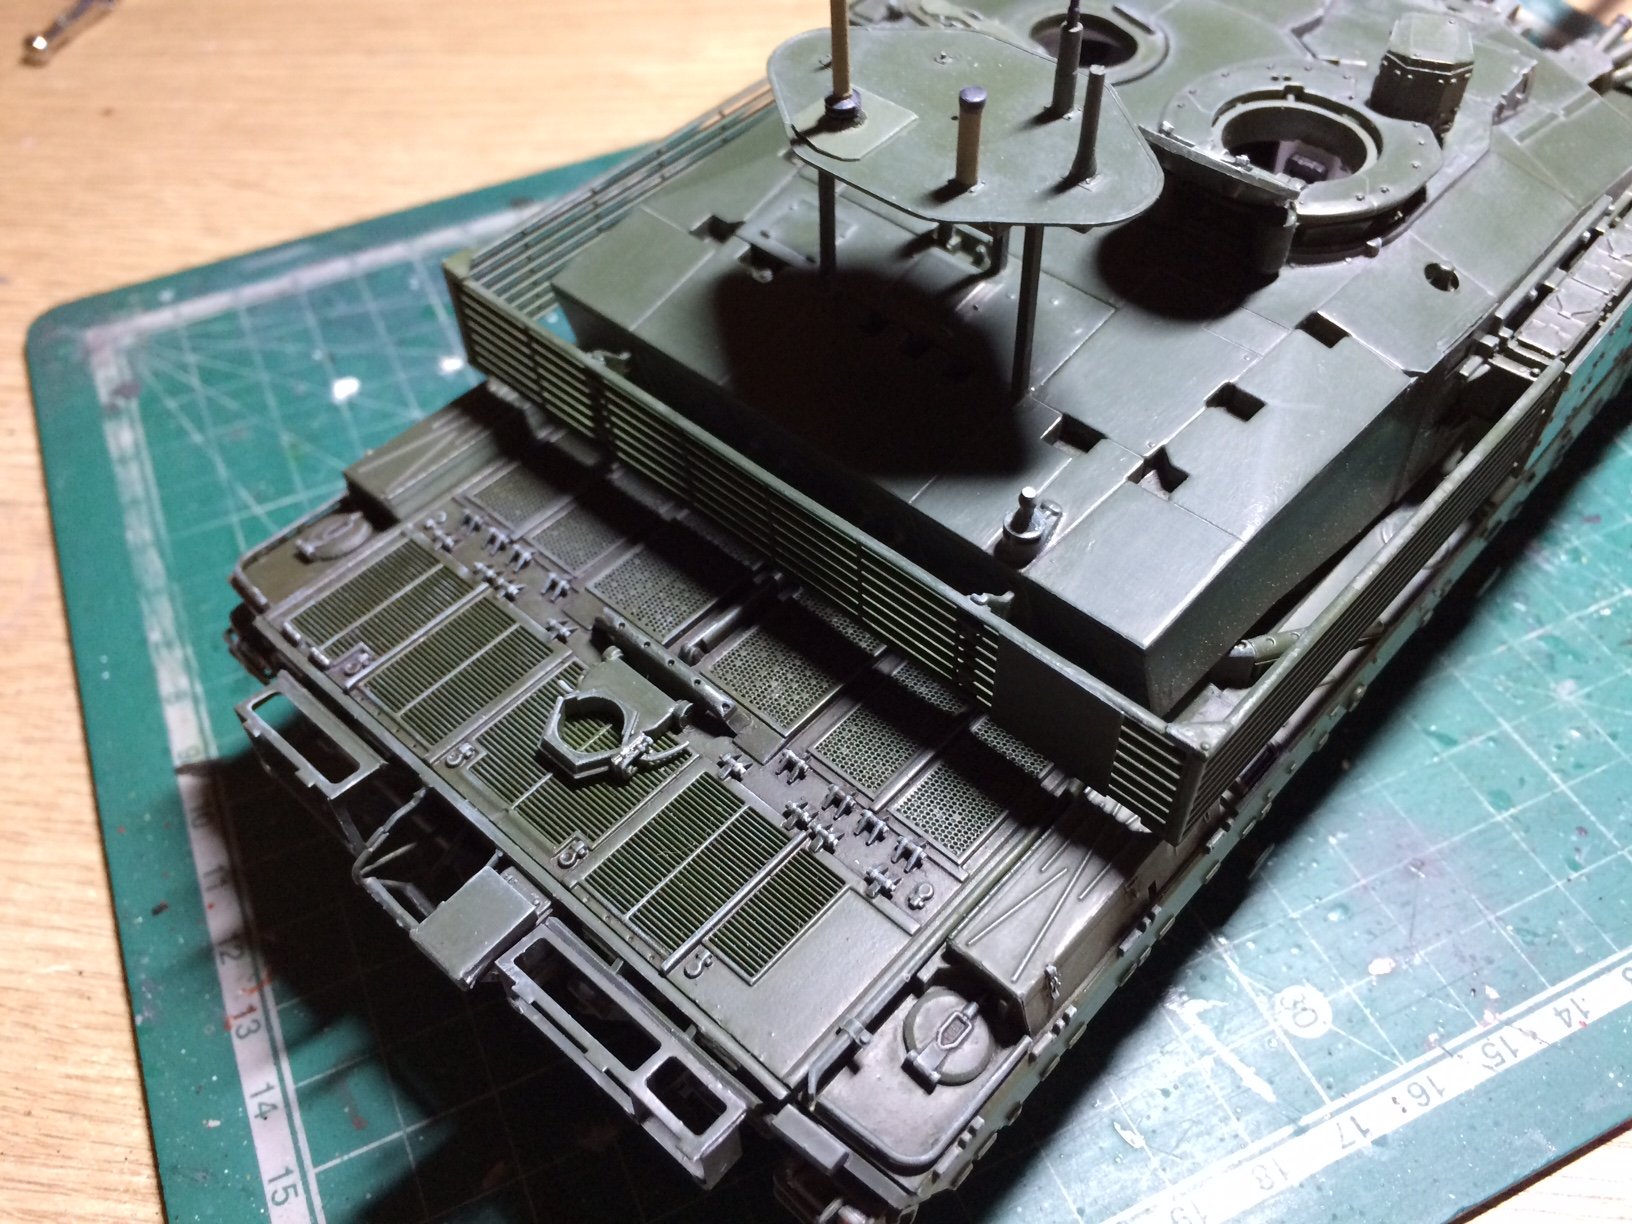
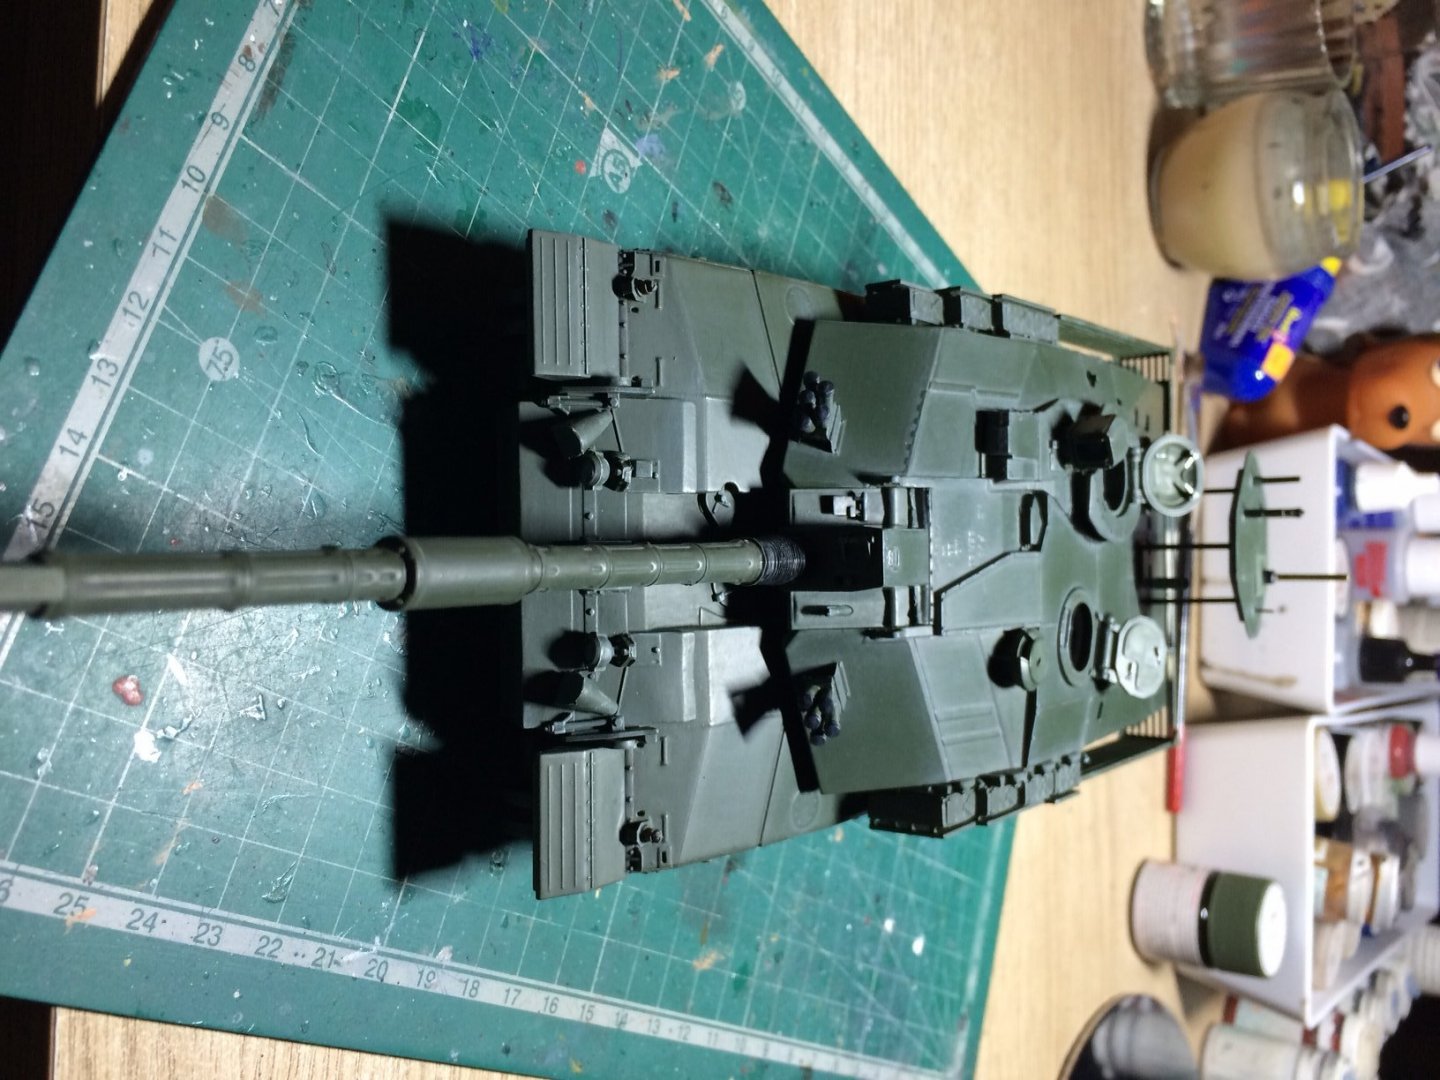
Evening all, more washes and dry brushing - slowly turning the factory fresh into a dusty beast out on the range. OC.


- 367 replies
-
- 12
-