HOLIDAY DONATION DRIVE - SUPPORT MSW - DO YOUR PART TO KEEP THIS GREAT FORUM GOING! (Only 13 donations so far - C'mon guys!)
×


Old Collingwood
-
Posts
12,098 -
Joined
-
Last visited
Content Type
Profiles
Forums
Gallery
Events
Everything posted by Old Collingwood
-
 You able to get the Milky Way over you clearly enough? I am yet to get a good pic of it - its just not dark enough here. OC.
 -
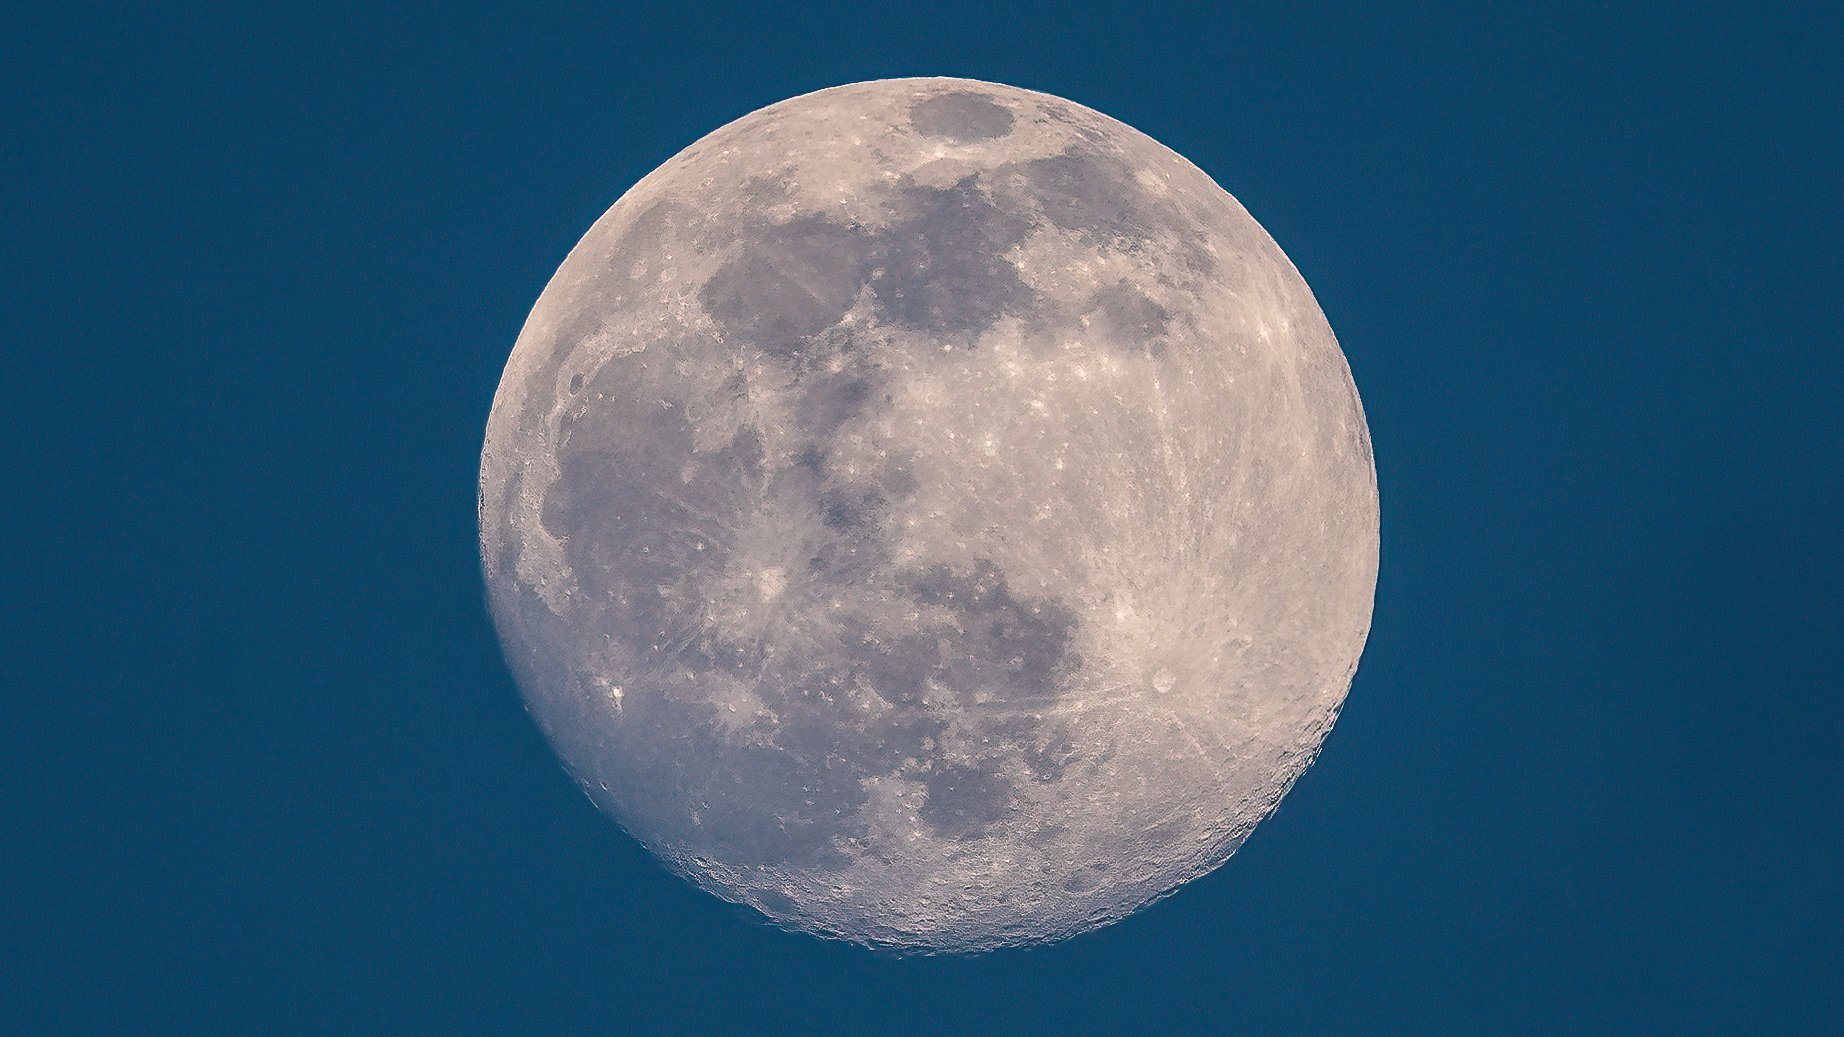
Ok mate here goes - First off Orion Nebula then "Seven Sisters" (Pleiades) then Jupiter and his moons - Europa,Ganymede,Lo and Callisto then a recent moon shot.


-
I had thought about getting a mount but the amount of use vs the cost - I decided not to bother, some of my DSO shots was done by stacking as many as I could get - mainly in the winter nights when the "seeing" conditions were better I got one of "Seven Sisters" think that was something like 100 stacks then converted in an app (can't remember the name of it) I tried Jupiter with his moons just a single shot with a 300mm lens on my old D7100 then heavily cropped, my most recent was a moon shot hand held at 420mm - that didn't come out too bad. I dont wnat to take up your thread so I thought it wrong to post my pics to you on here. OC.
-
Superb work - that weathering is looking really good, I too have done a bit of astro work mainly Moon, Seven sisters, Jupiter, Saturn and Orion. OC.
-
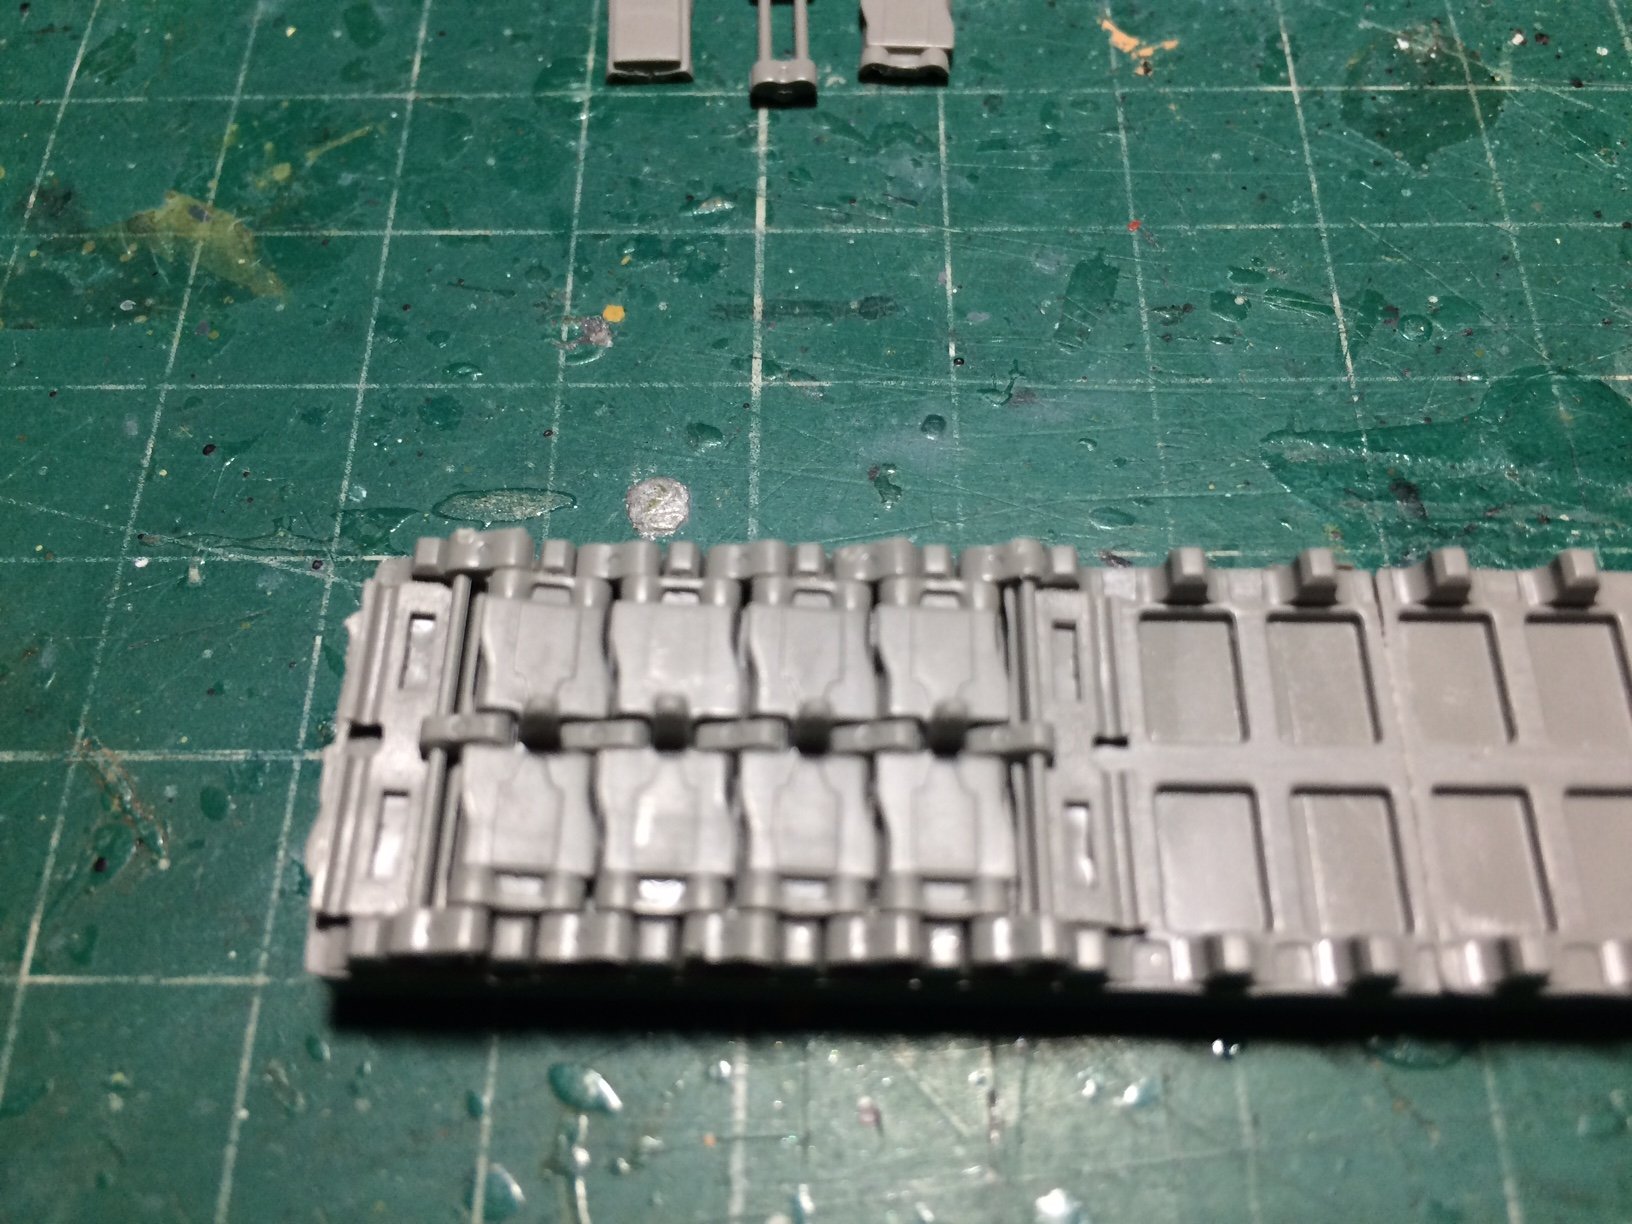
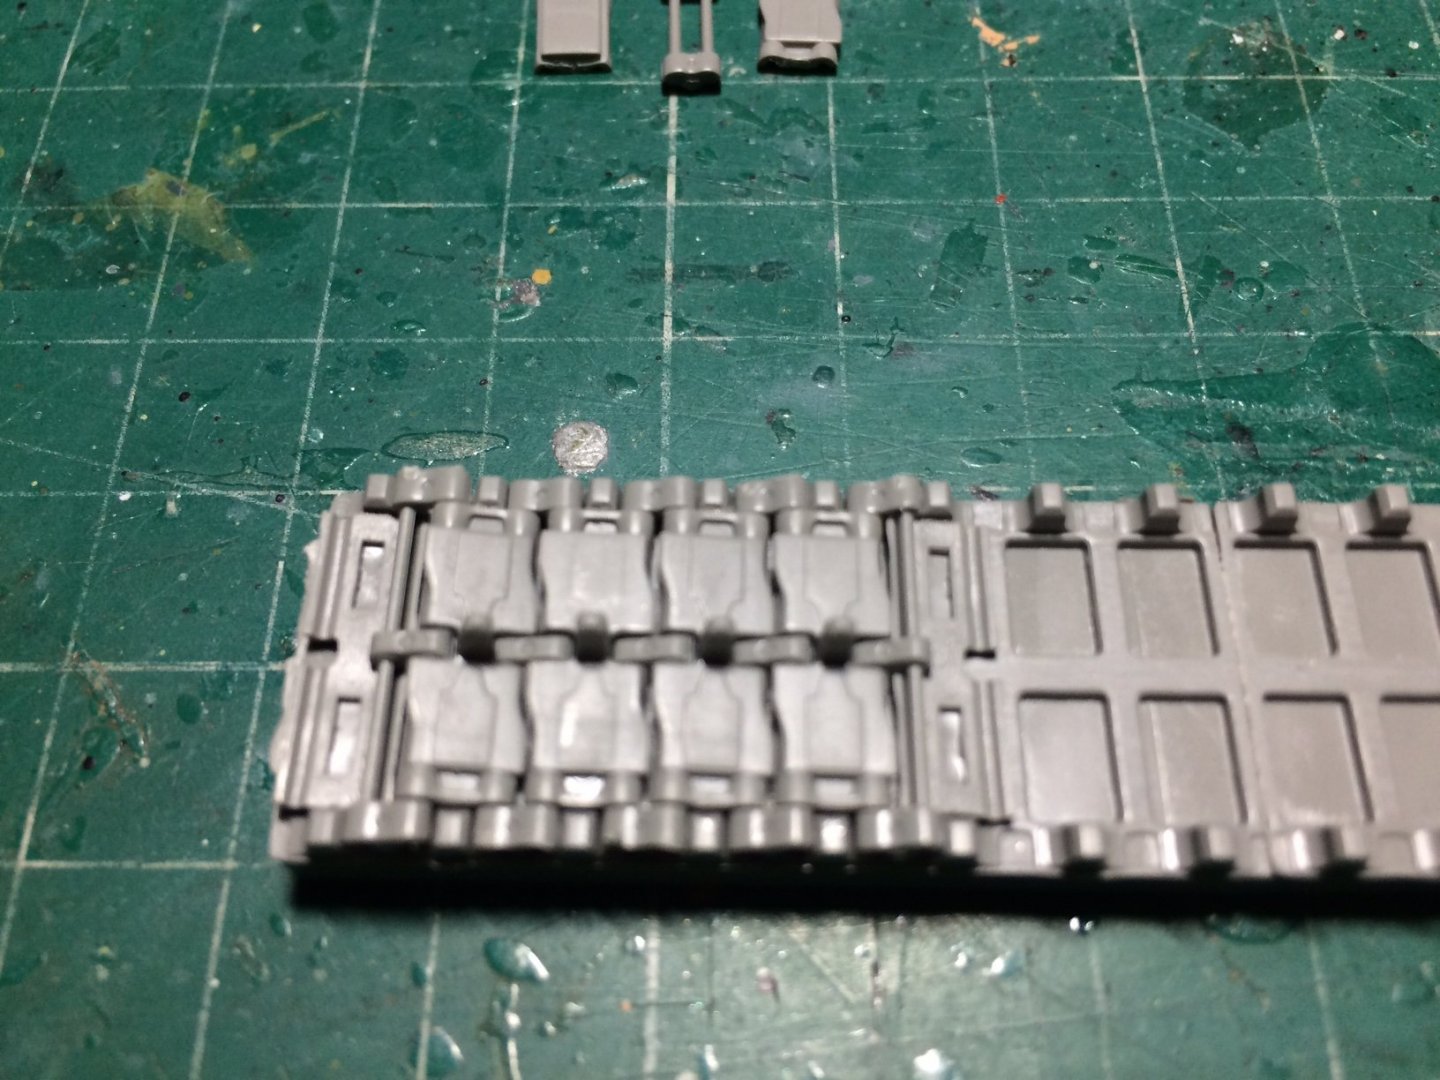
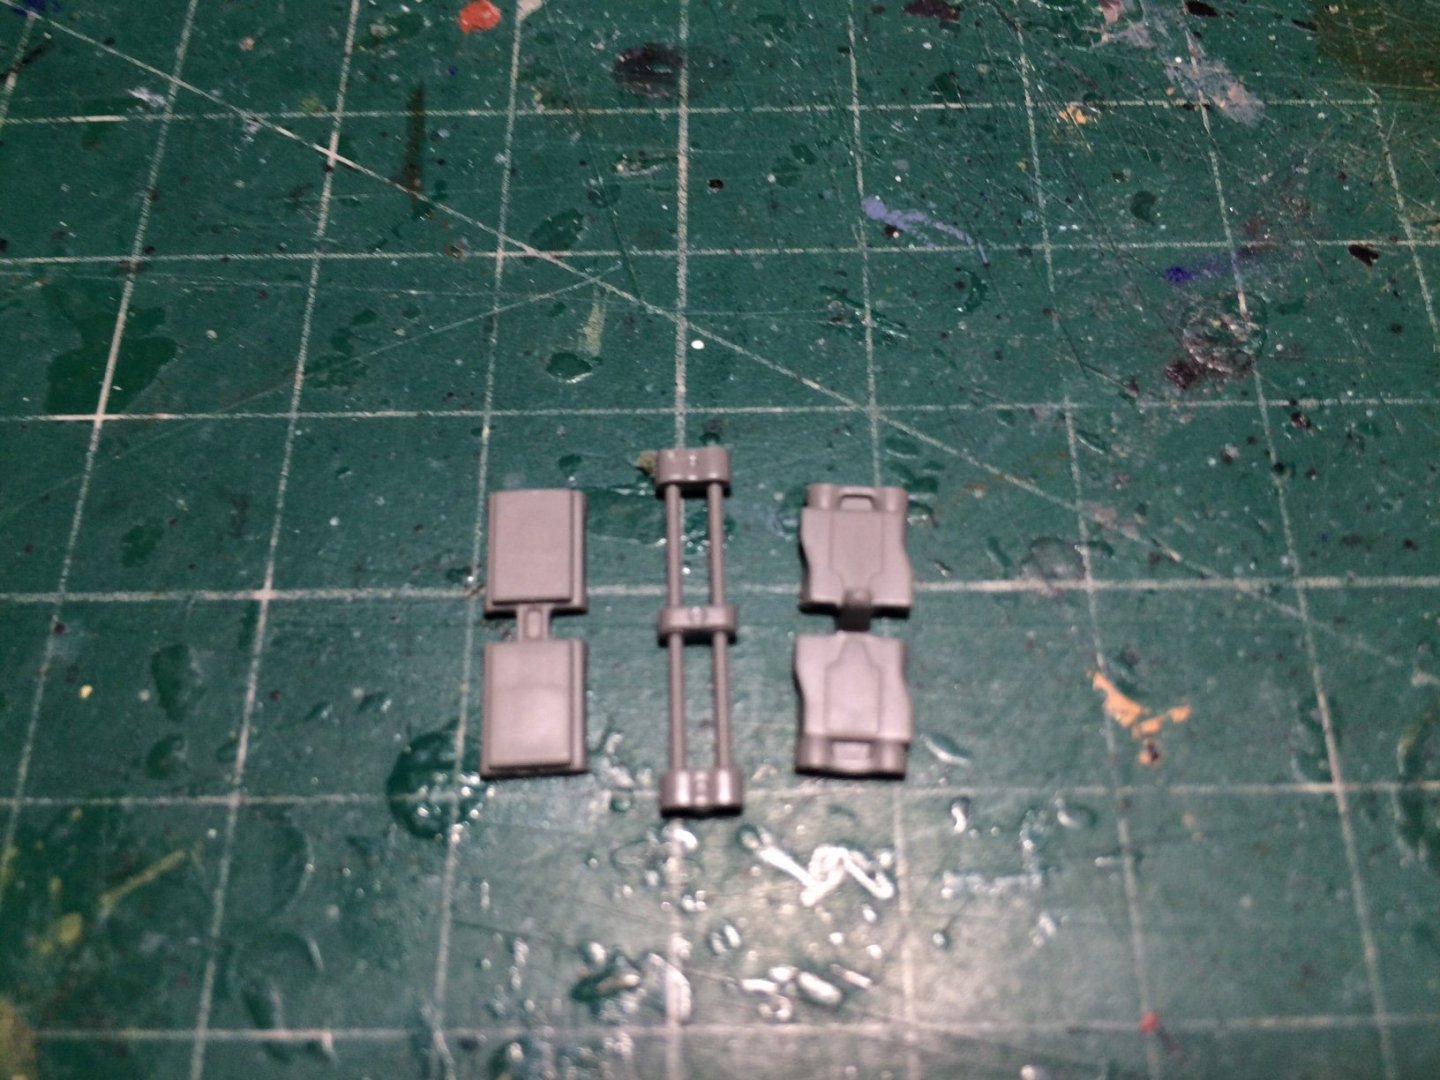
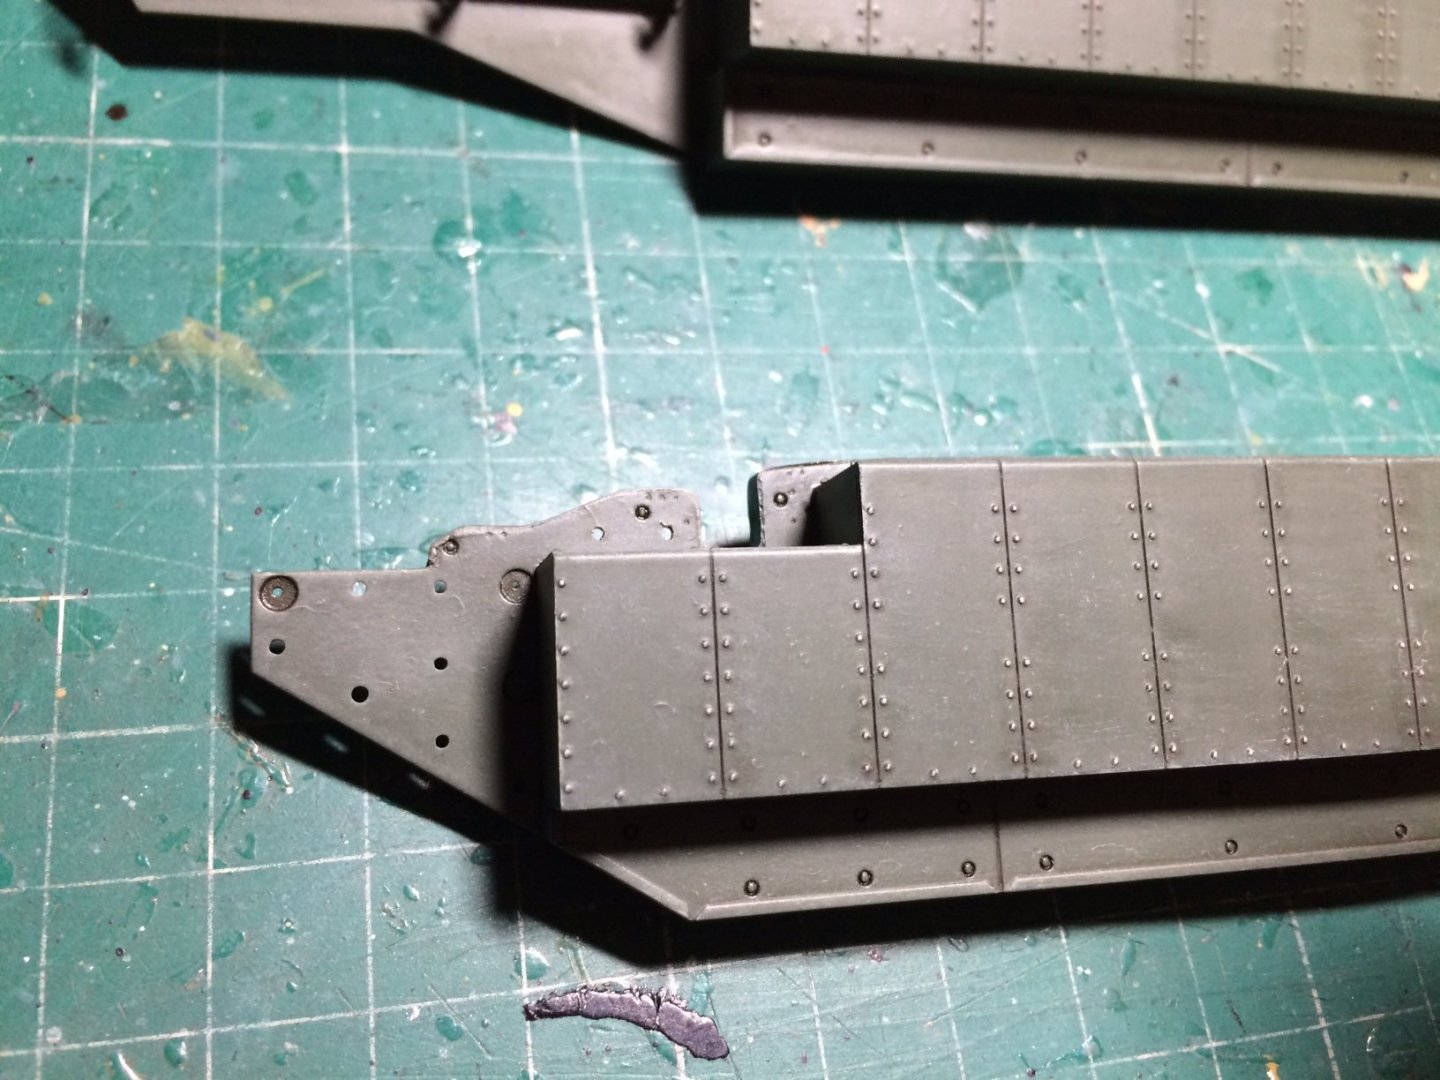
Evening all - Track time the whole track system is movable with swivelling links - there is a template base to construct the links on, the idea is start at one end doing a link at a time - there is only about 120 links each track...... OC.
- 367 replies
-
- 10
-

-
I'm loving the detail weathering you are doing - picking out the wear areas on the superstructer - looks top dog mate. OC.
-
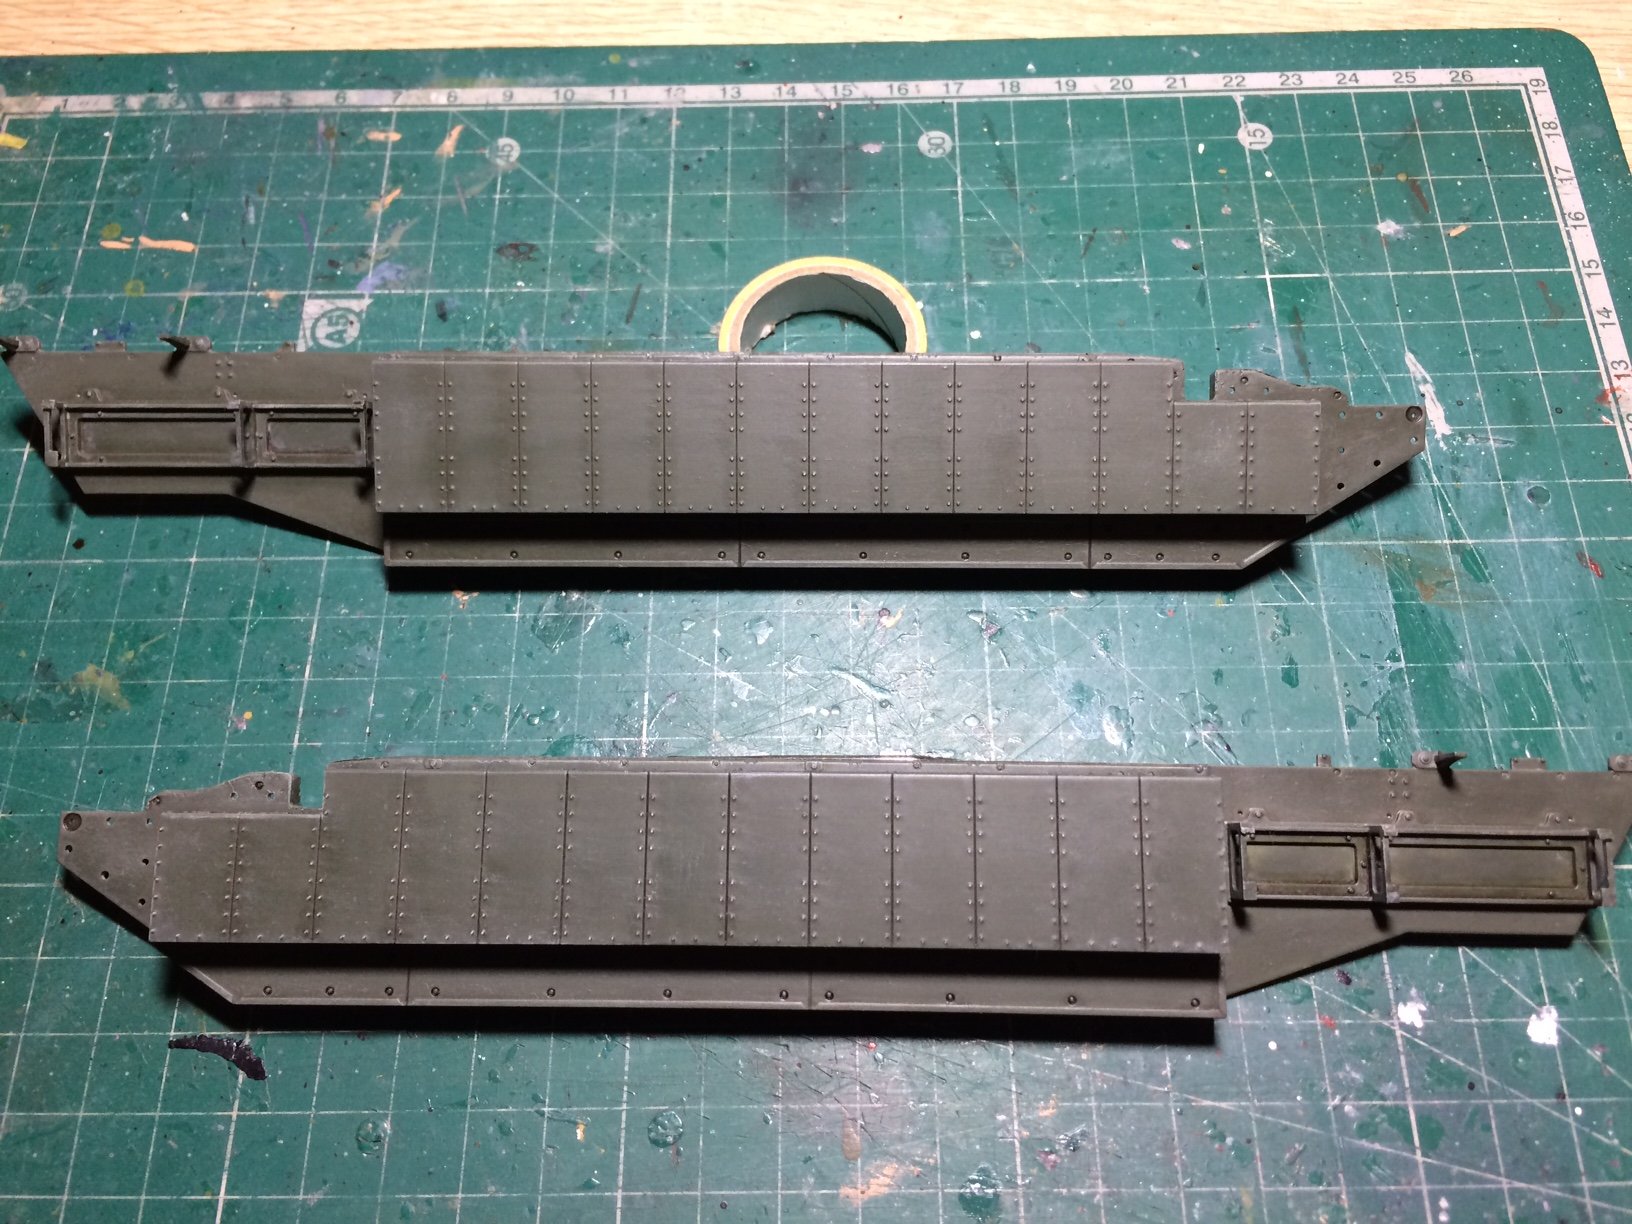
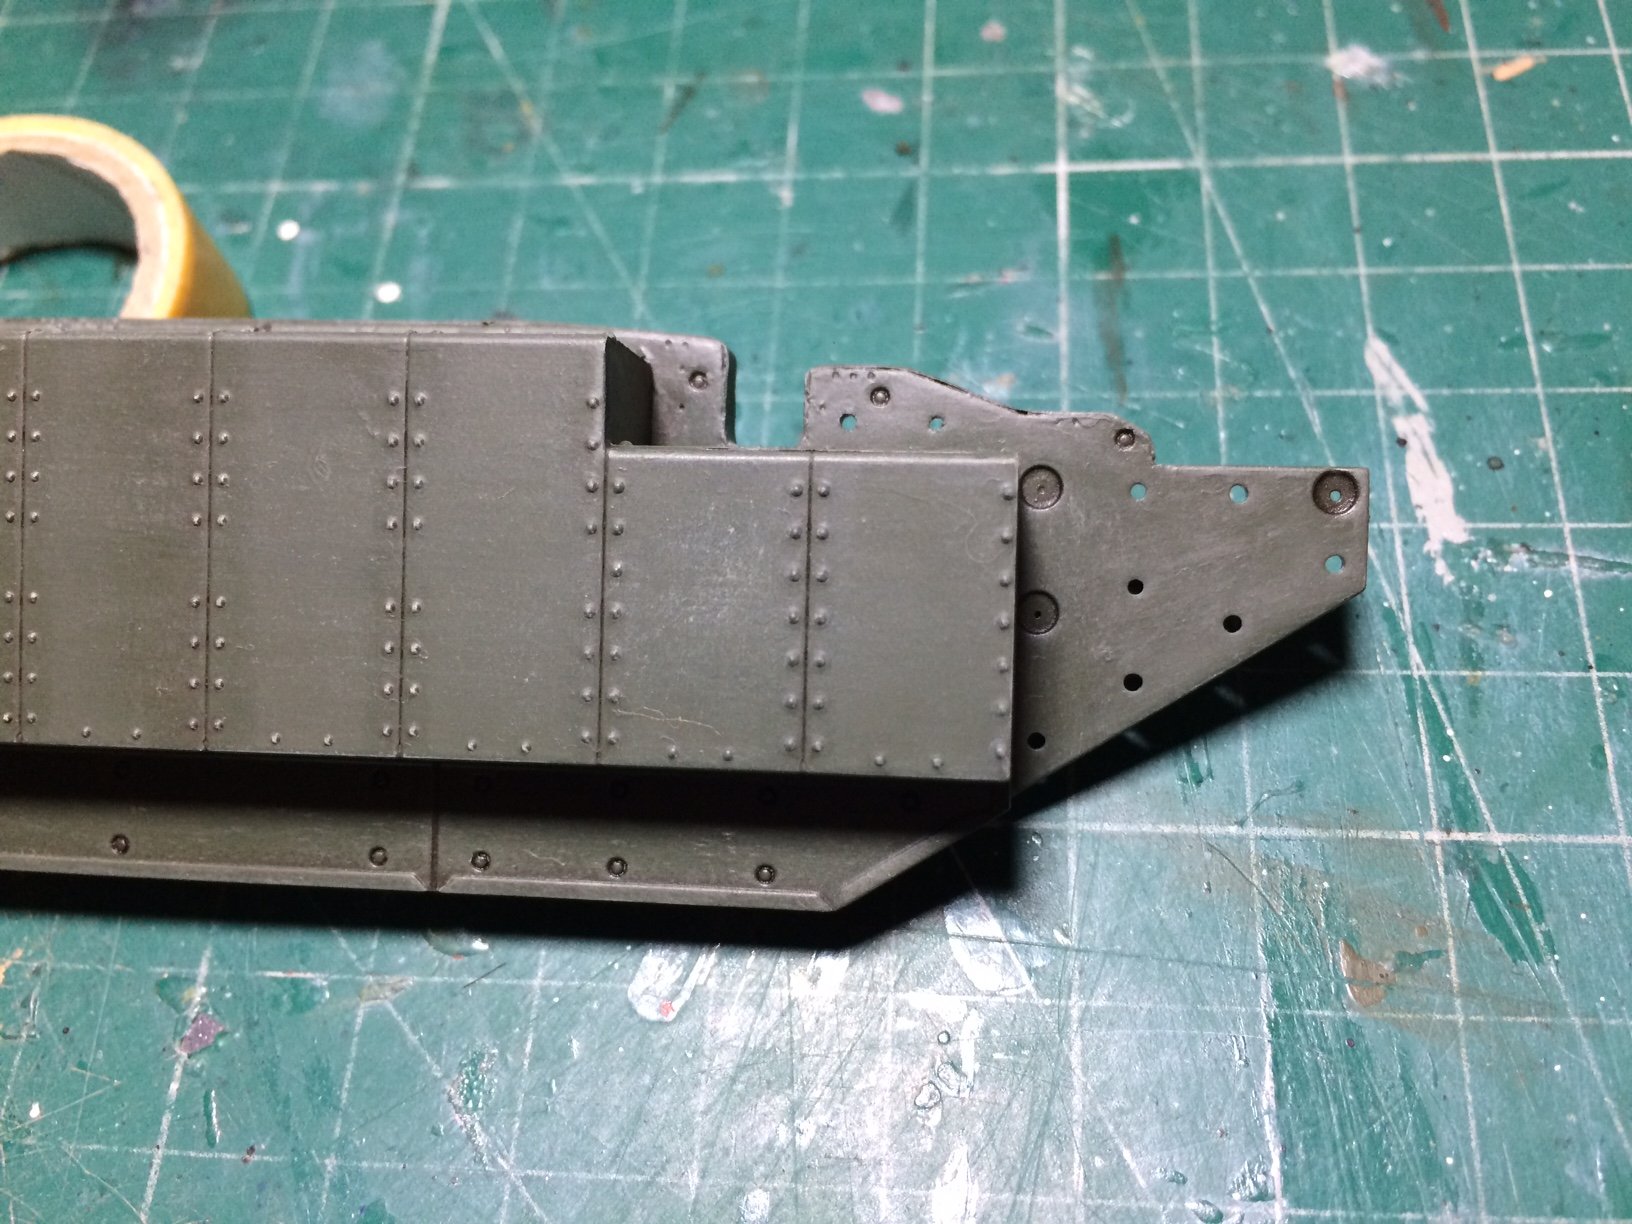
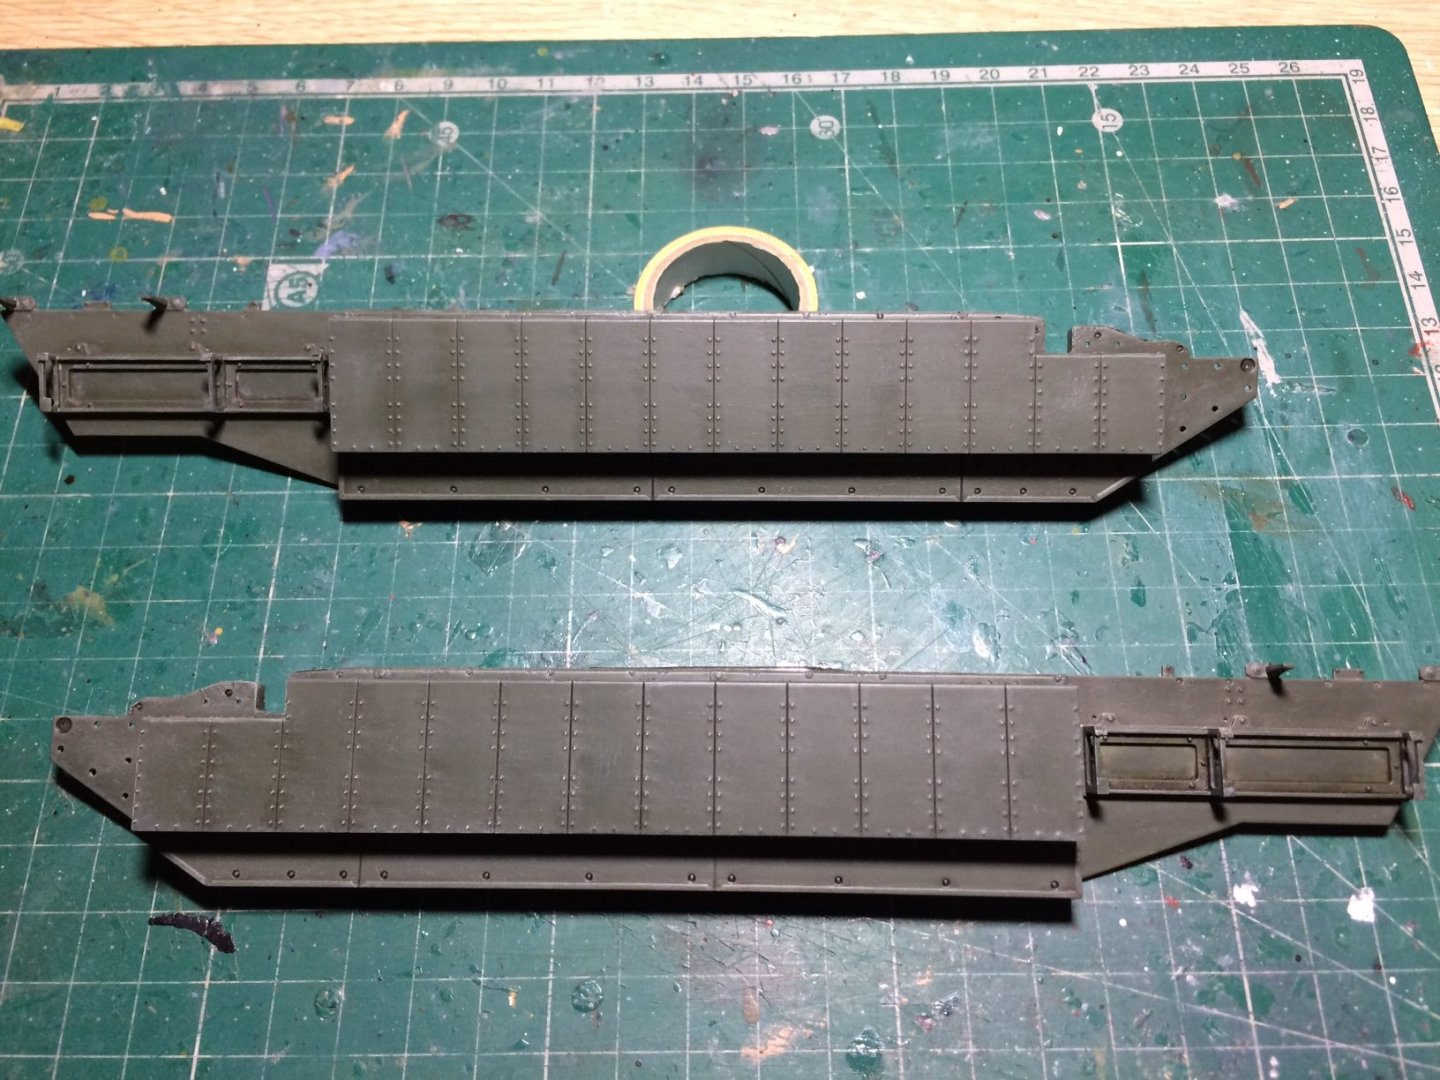
Evening all, some nice work today on the side reactive skirts, these were assembled the primed the other day, today I painted on some thin layers of Nato Green, then after drying I brushed on some layers of dirt wash, I then removed most of this using thinners, then I used the pin wash to show the panel lines - after this was dried I followed up with some dry brushing. OC.

-
Those AK washes mate - are they acrylic or enamel? how do you get on with the thinners smell if they are enemel? I have two of the Mig ones in enamel and the smell off them is like using industrial grade turpentine.........so strong. OC.
-
A bit of news on my case - the courier arrived yesterday morning said he couldn't take it at that moment and came back late afternoon, I said ot him when he came back that he had not been gentle enough with it and as it needed carrying flat not on its side - it needed Two people - he complained saying glass fragile items should not be sent by courier and also it was over the weight they are allowed to take it was 28Kilos I believe 40K is the max they can take. So its gone back - I contacted the maker and we both laughed at the excuses, he is going to sort it as soon as its back - get the strengthedn glass pieces made thaen bond it together before re-packaging it - this time he is trying a courier to send to me that I have used and have never had problems with. OC.
-
What's hard and green and double dangerous? A turtle with two 90mm's😁 OC.
-
"Upss" you replied to me when it should have gone to @Nirvana OC.
-
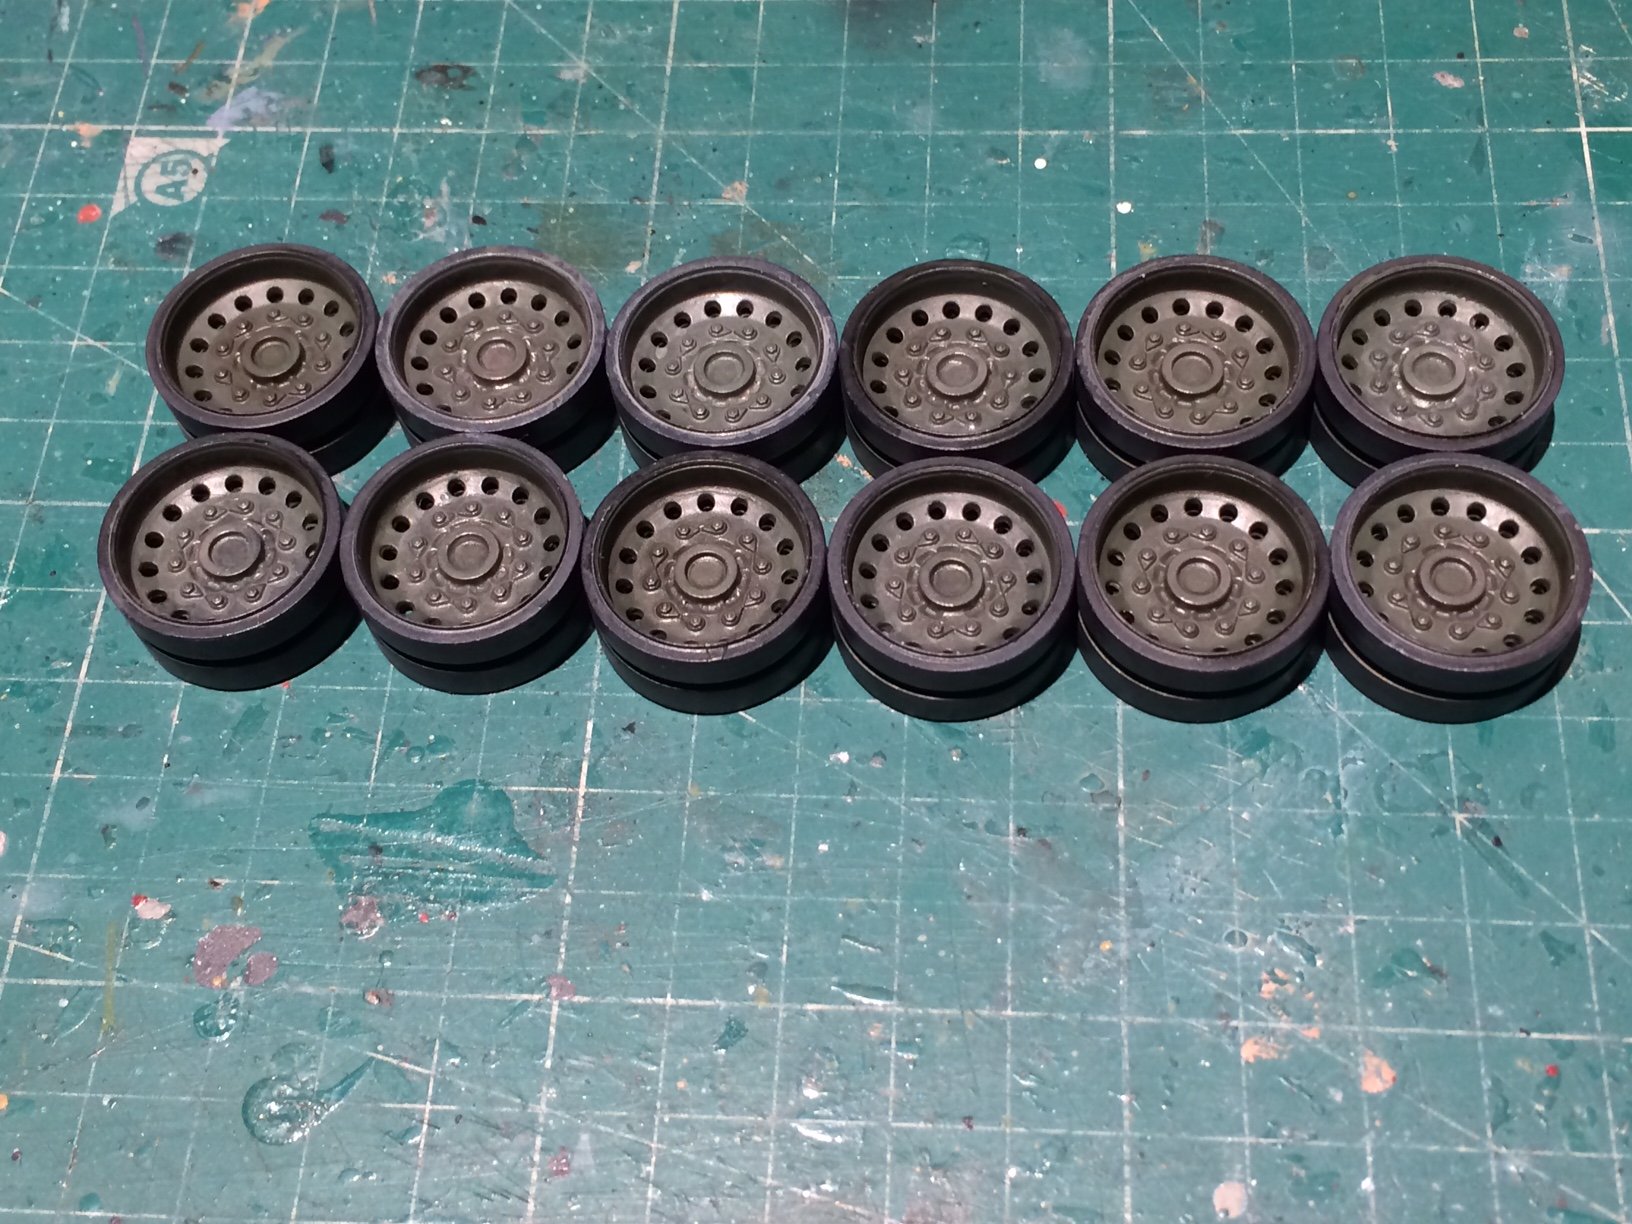
I have completed the wheels all Twelve of them - they have now been painted and washes of Dark Brown and Dust applied. OC.
-
Thats an Armoured Turtle - or a Darlek hiding under a Turtle.😁 OC.
-
Plenty of them round by us at the moment - gov came up with a clever idea that they should not sell alcohol only soft drinks to put people off going.😒 OC.
-
Good to see you back on this Bob - I have missed your beautiful work on her, hope your all in good health my friend. OC.
-
Amazing build - you got there in the end. OC.
-
Evening all, not much of an update and not worthy of photos - I am making up the wheels and painting them - boring job. OC.
-
If it was like me - I needed Ten stairs to try to do one with the treads turning - still never managed it hence why I got lots of insurance claims from sailors sliding down the stairs.........😬 OC.
-
Yes indeed mate - he rung me up Twice after I broke the news to him - he couldn't do enough to help, he said he felt guilty and wants to sort this out so I am Fully Happy, its this guy I spoke about before in the forum - https://acorndisplays.co.uk/ OC.
-
Indeed mate, he is going to re-make it this time using reinforced glass - will be better on all accounts - heavier though I would imagine. OC.