Old Collingwood
-
Posts
12,104 -
Joined
-
Last visited
Content Type
Profiles
Forums
Gallery
Events
Everything posted by Old Collingwood
-
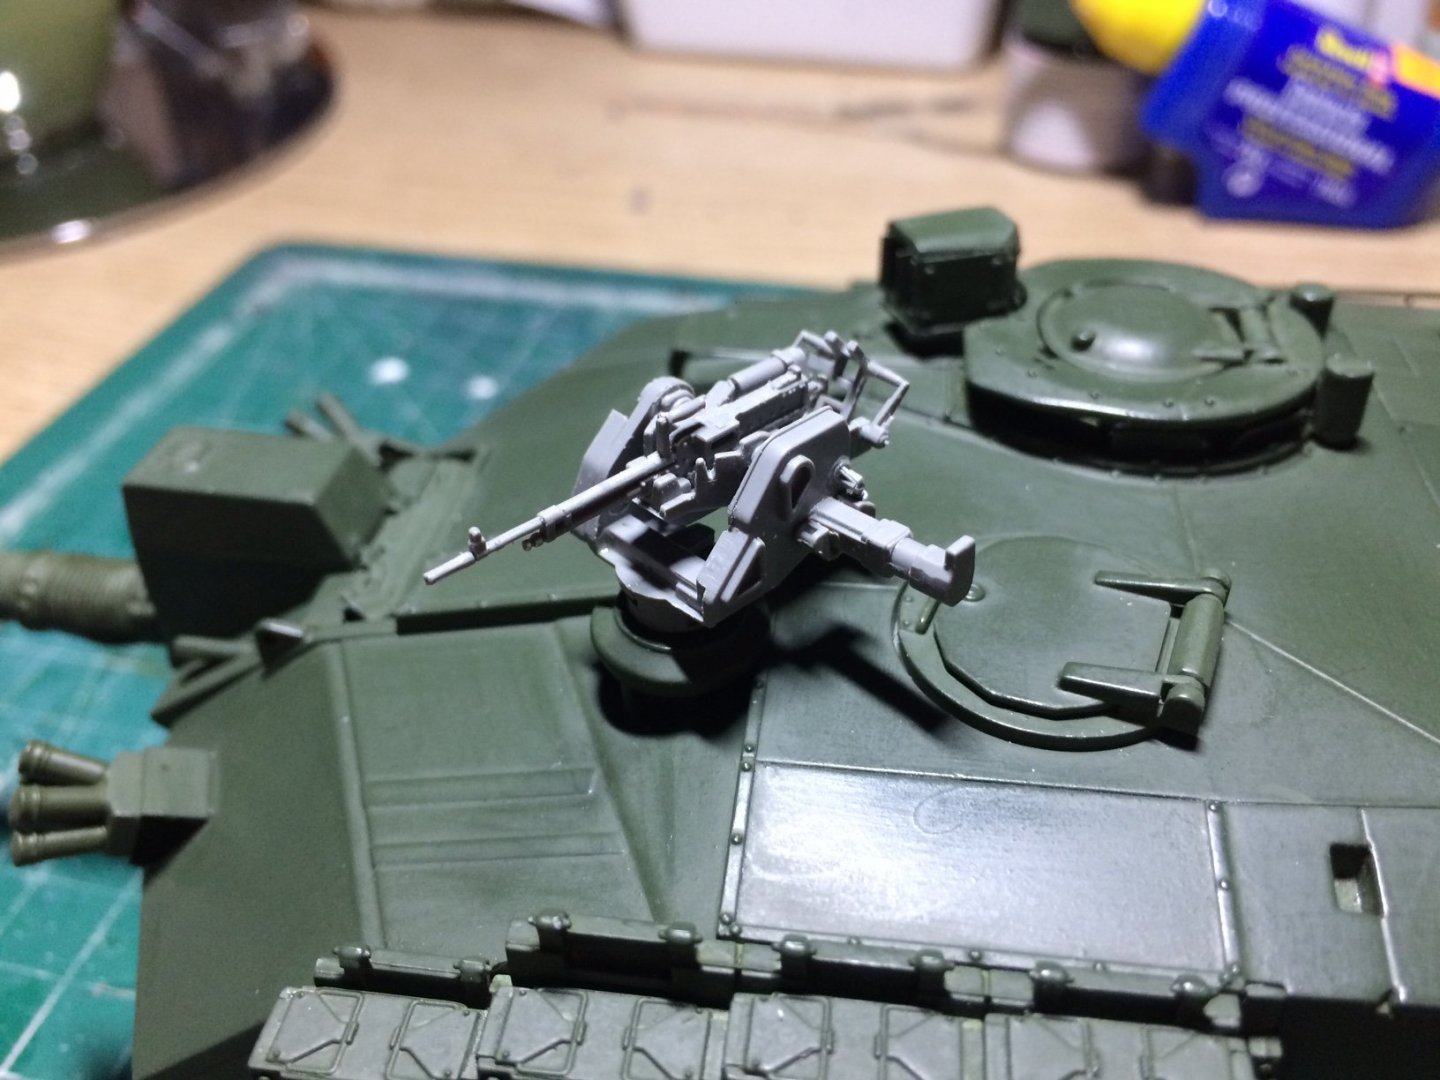
 Evening all, today I started on some of the fiddly bits on the turret - first I made the counter measures table and associated aerials, then after this was painted underneath and legs - its was glued inplace, it will have the rest of it painted when the glue fully hardens, next I have started making the 7.62 Goalkeeper RCMG - this is made up from many parts and includes some quite difficult stages, its about a third finished. OC.
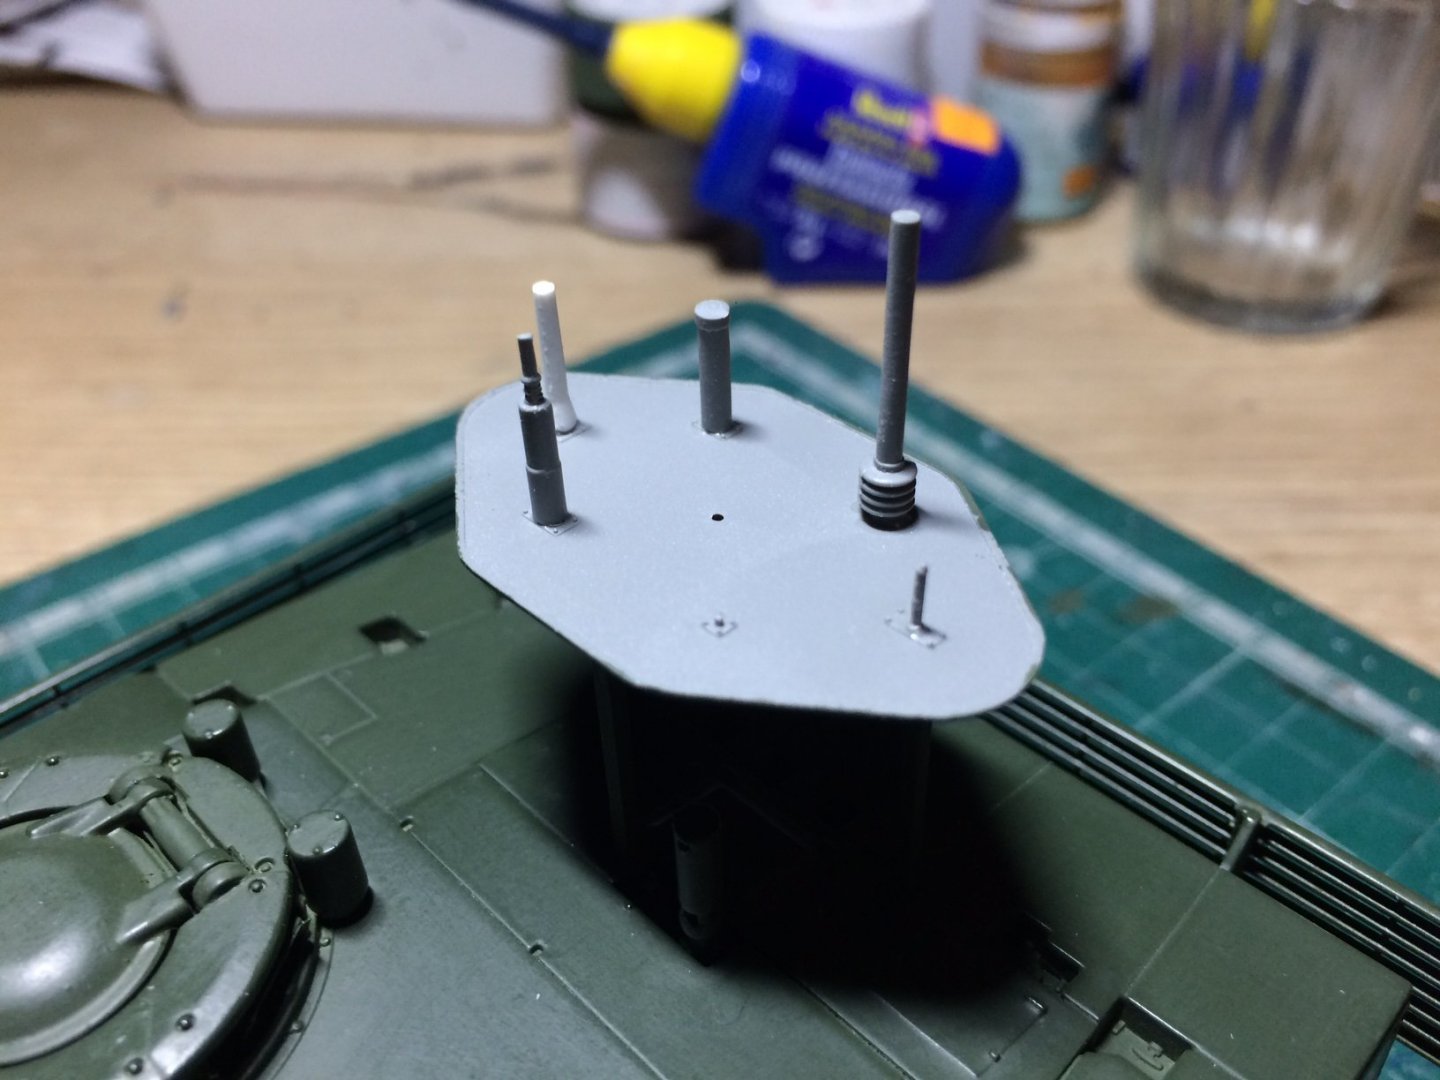
- 367 replies
-
- 12
-

-
Sorry Mike - we crossed - didn't see you answer to Mark. OC.
-
I think thats the window Mark, didn't they used to have a half way hinged window in those? OC.
-
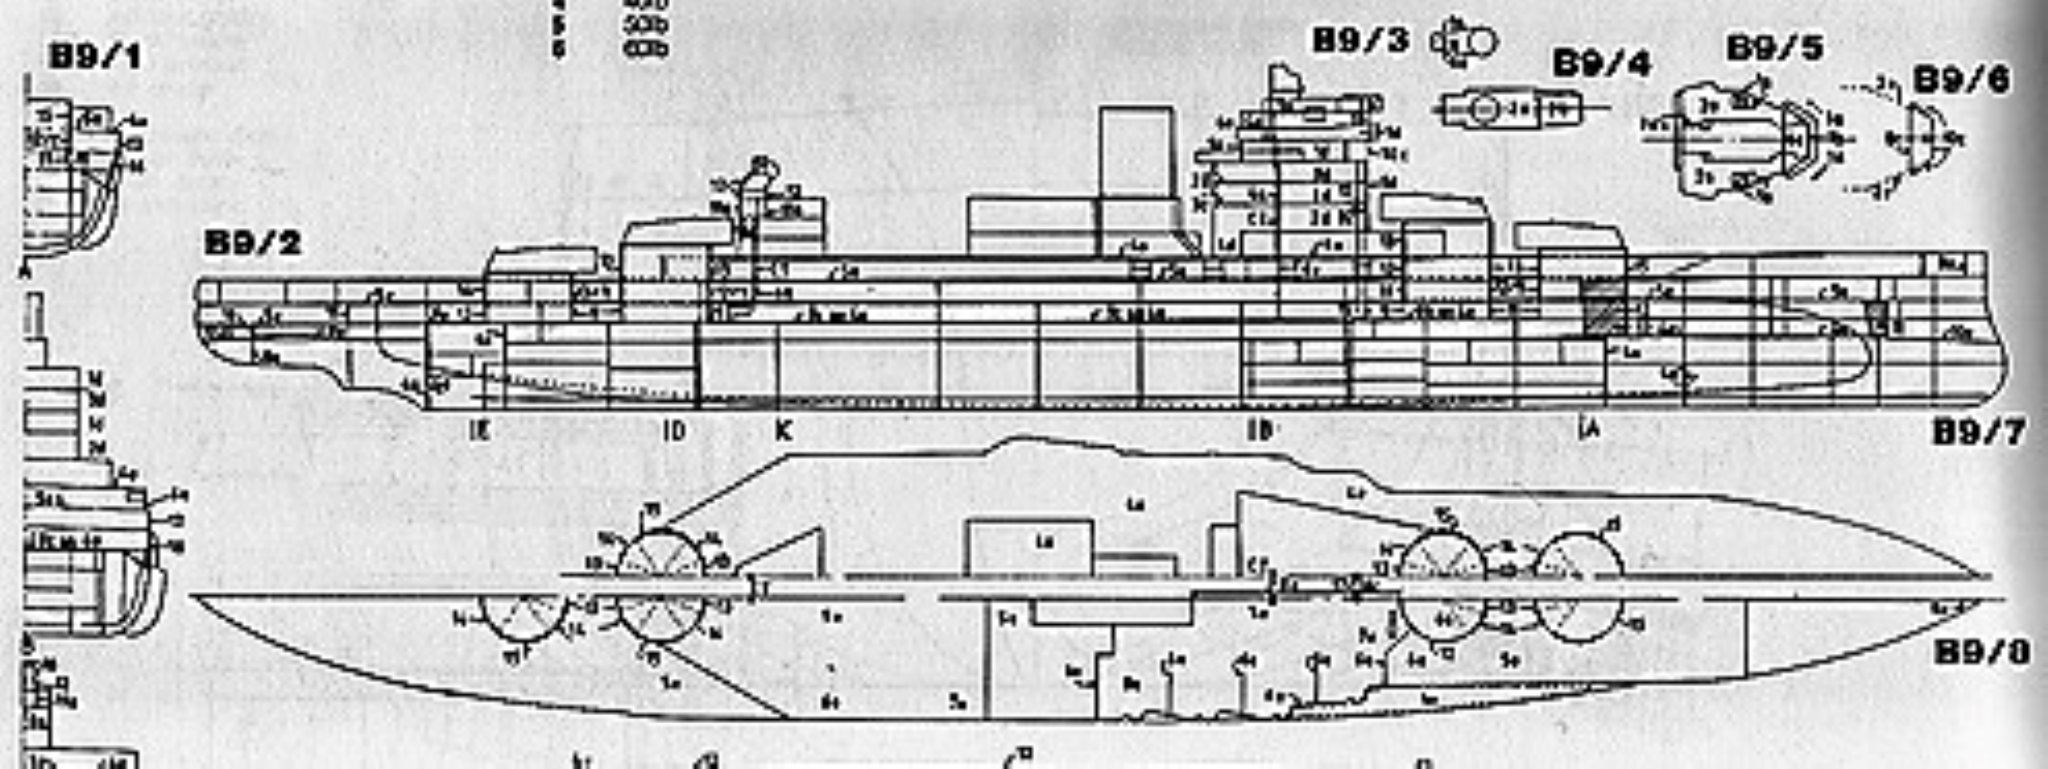
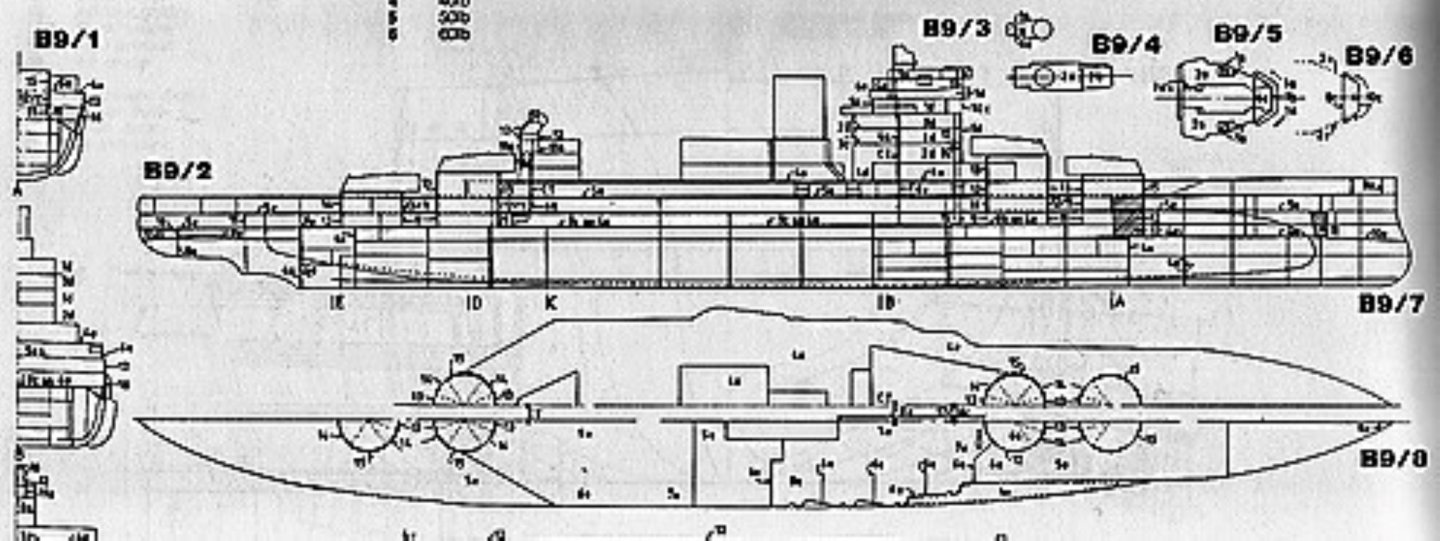
Dont know if this might help - it looks like it shows the different decks and frame point locations - perhaps like timber runs on a wood warship - perhaps they might go to alternative frames for strength. OC.
-
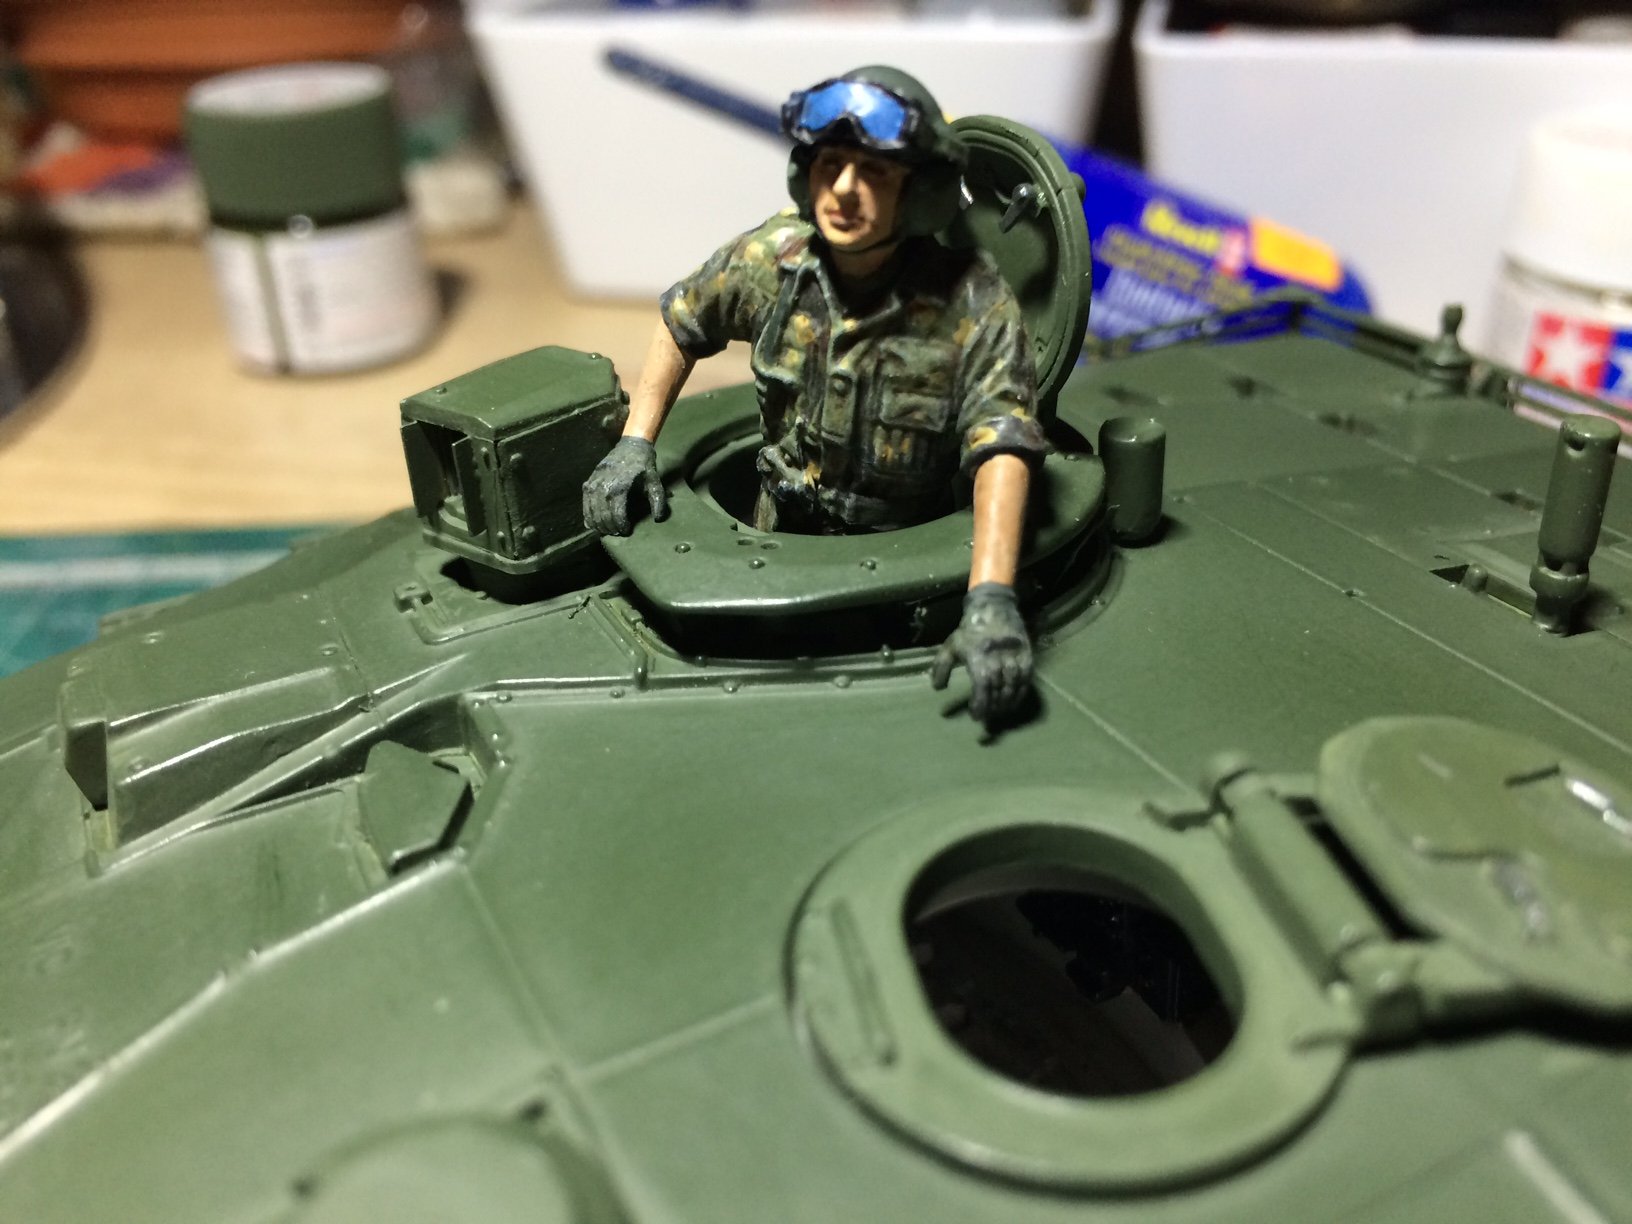
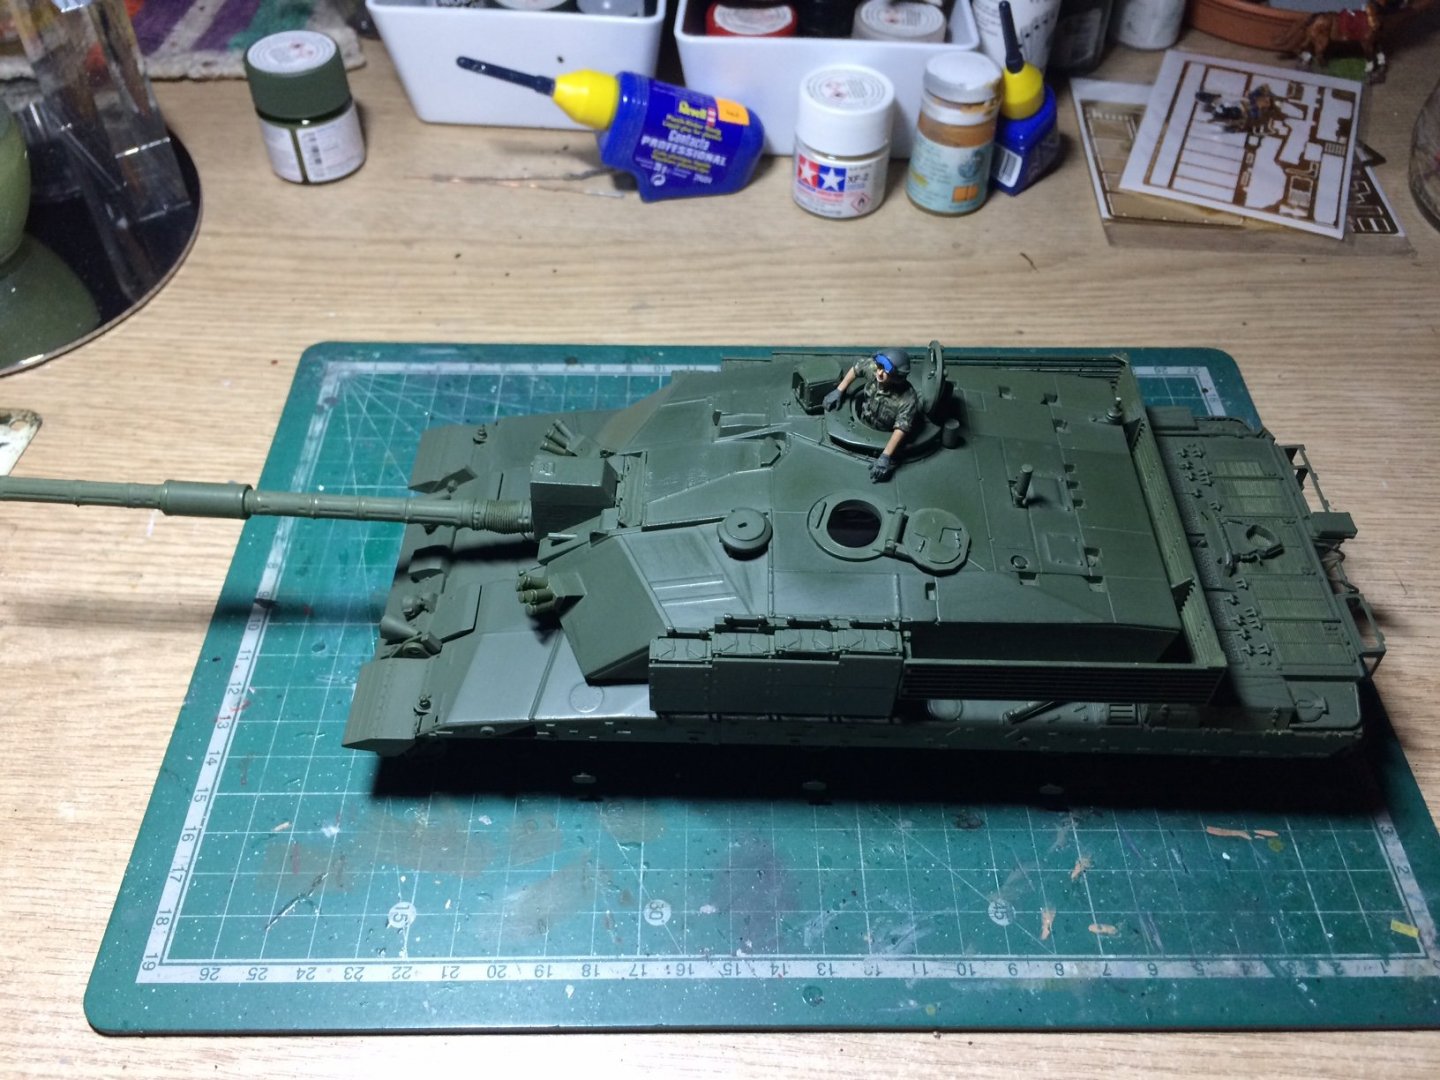
Evening all - Abit more progress with pics "Yeah" So - I had hand painted ontop of the rattle can finish and it took fine just had a few brush marks, so this afternoon I attacked some of the areas on both the turret and the hull with a cloth and basically buffed the surface, this smoothed out some of the brush marks - but yep created a slightly shiny surface (no issue there as the whole tank will be Flat Rattle can top coated last). I also fitted the main commanders site and painted it along with the inside of the hatch covers and did a few details. Next will be to work on the tracks (seperate links and guides) so they can be painted/weathered then fitted - then the side armour skirts can go on. Here are a couple of pics including letting commander "manny" mannering in on one of the pics - he likes the lime light. OC.


- 367 replies
-
- 10
-
-
"Hey - thats the ticket" looking Nice........those should look Really nice under the camo, dont forget the squared raised peice of armour reinforcement at the top of the bow underneath the Fairleads - should come down about 8-9feet from the deck and be about 5/6feet wide. OC.
-
Coming along really niceley - yep that little boat is cute and looks nice and detailed, I'm loving your weathering - really authentic looking. OC.
-
Is Fosters still a big player in Australia Greg? its very common up here. OC.
- 1,090 replies
-
- 5
-
-
- showcase models
- vendetta
- (and 2 more)
-
I do like Stella as well - but the British have gone and weakened it from 5.2 down to 4.6 abv - they say its ot sabe on tax. OC.
- 1,090 replies
-
- 4
-
-
- showcase models
- vendetta
- (and 2 more)
-
Evening all, so we started the day of by insisting that the "spoiled pooch" must come out on a dog walk, we decided to go a slightly longer route that takes us along an old canal then we normaly take a short cut under a train bridge and into our local park, but we were stopped in our tracks (excuse the pun) by a flooded underpass under the train line - we had no choice but to turn back. This added quite a distance to our dog walk we found a bench rersted up than went home - got in knackered. After dinner I decided I must do abit on the Chally - first off I decided to touch in using my acrylic Nato Green tin and brush - "upsss - very flat out of the tin" it stands out against the slight satin from the tamiya rattle can, so I made the drastic step of hand painting the whole thing (hull and turret) using the flat acrylic with a brush slightly watered down. It went on not too bad but I was having to mess witgh it a lot between the coats drying as I was getting brush marks on the larger flat areas, I decided in the end that these will probably polish out when the paint is hard using a soft cloth. No pics again as I am not happy to show it yet. OC.
-
Nicely done Mike. OC.
-
Yep used to do that job with my dad - Twice we hand painted a car using tekaloid paints and big brushes out doors in the sun. OC.
-
We take our own poop bags so should be ok - its that flipping long Catheter tube thats the pain though - all the way from the house.😁 OC.
-
Nah mate our dog is way to spoilt for that - she sits in the armchair filing her nails, and tells us to make notes of whats going on - what dogs are out walking thier keepers - we have to give her a full rundown when we get back - then even do her some dinner - its a good life for some.😁 OC.
-
Munching on Marks Popcorn last time I saw them😁 OC.
- 1,090 replies
-
- 7
-
-
- showcase models
- vendetta
- (and 2 more)
-
Evening all, right - paintwork rectified, I made a bridge support that was stuck spanning under the turret ring from a lolly stick, I then attached Two of my large plastic clemps and this afternoon went out onto our patio and did the first of Two layers, they both went on without incident and no dust this time as I wore a new glove, I then put them aside to dry outside while we went for our dog walk, when we got back I gave them a check over and still fine and was dry enough/de gased to bring them inside. I will be doing some detail painting and building/painting the small sections tomorrow (I hope)? OC.
-
Looking really good mate - thats a neat looking pic on your monitor 😉😊 Absolute pleasure to be able to help. OC.