Old Collingwood
-
Posts
12,104 -
Joined
-
Last visited
Content Type
Profiles
Forums
Gallery
Events
Everything posted by Old Collingwood
-

McLaren M8B by CDW - Accurate Miniatures - 1:24 Scale
Old Collingwood replied to CDW's topic in Non-ship/categorised builds
Simple answer mate - buy two of everything - first one the dry run and second one the keeper. OC. -
How about these denis - https://www.shapeways.com/product/P8U5F56EQ/1-30-us-navy-sailor-pt-boat-set https://www.shapeways.com/product/5NSWQPZJN/1-30-us-navy-pt-boat-crew-set6-1 OC.
-
That is Seriously Sad news, I was just a kid when I saw that Fantastic model there, on one of my first trips to London - it was the reason I got Into model ship building from a very yound age - something like 7-8 and I built my first Airfix kit of HMS Devonshire. OC.
-
McLaren M8B by CDW - Accurate Miniatures - 1:24 Scale
Old Collingwood replied to CDW's topic in Non-ship/categorised builds
Looking really nice - lots of nice detail in there mate. OC. -
1/200 Vanguard (Britains Last BB Ship) would be awsome, the scale one in the museum in London is amazing. Superb work you are doing by the way. OC.
-
I have an idea - Craig is building/re-working his swimming pool - you could test your boat there - sure he wont mind. OC.
- 299 replies
-
- 11
-

-

-
That is looking so nice - love the panel line work. OC.
-
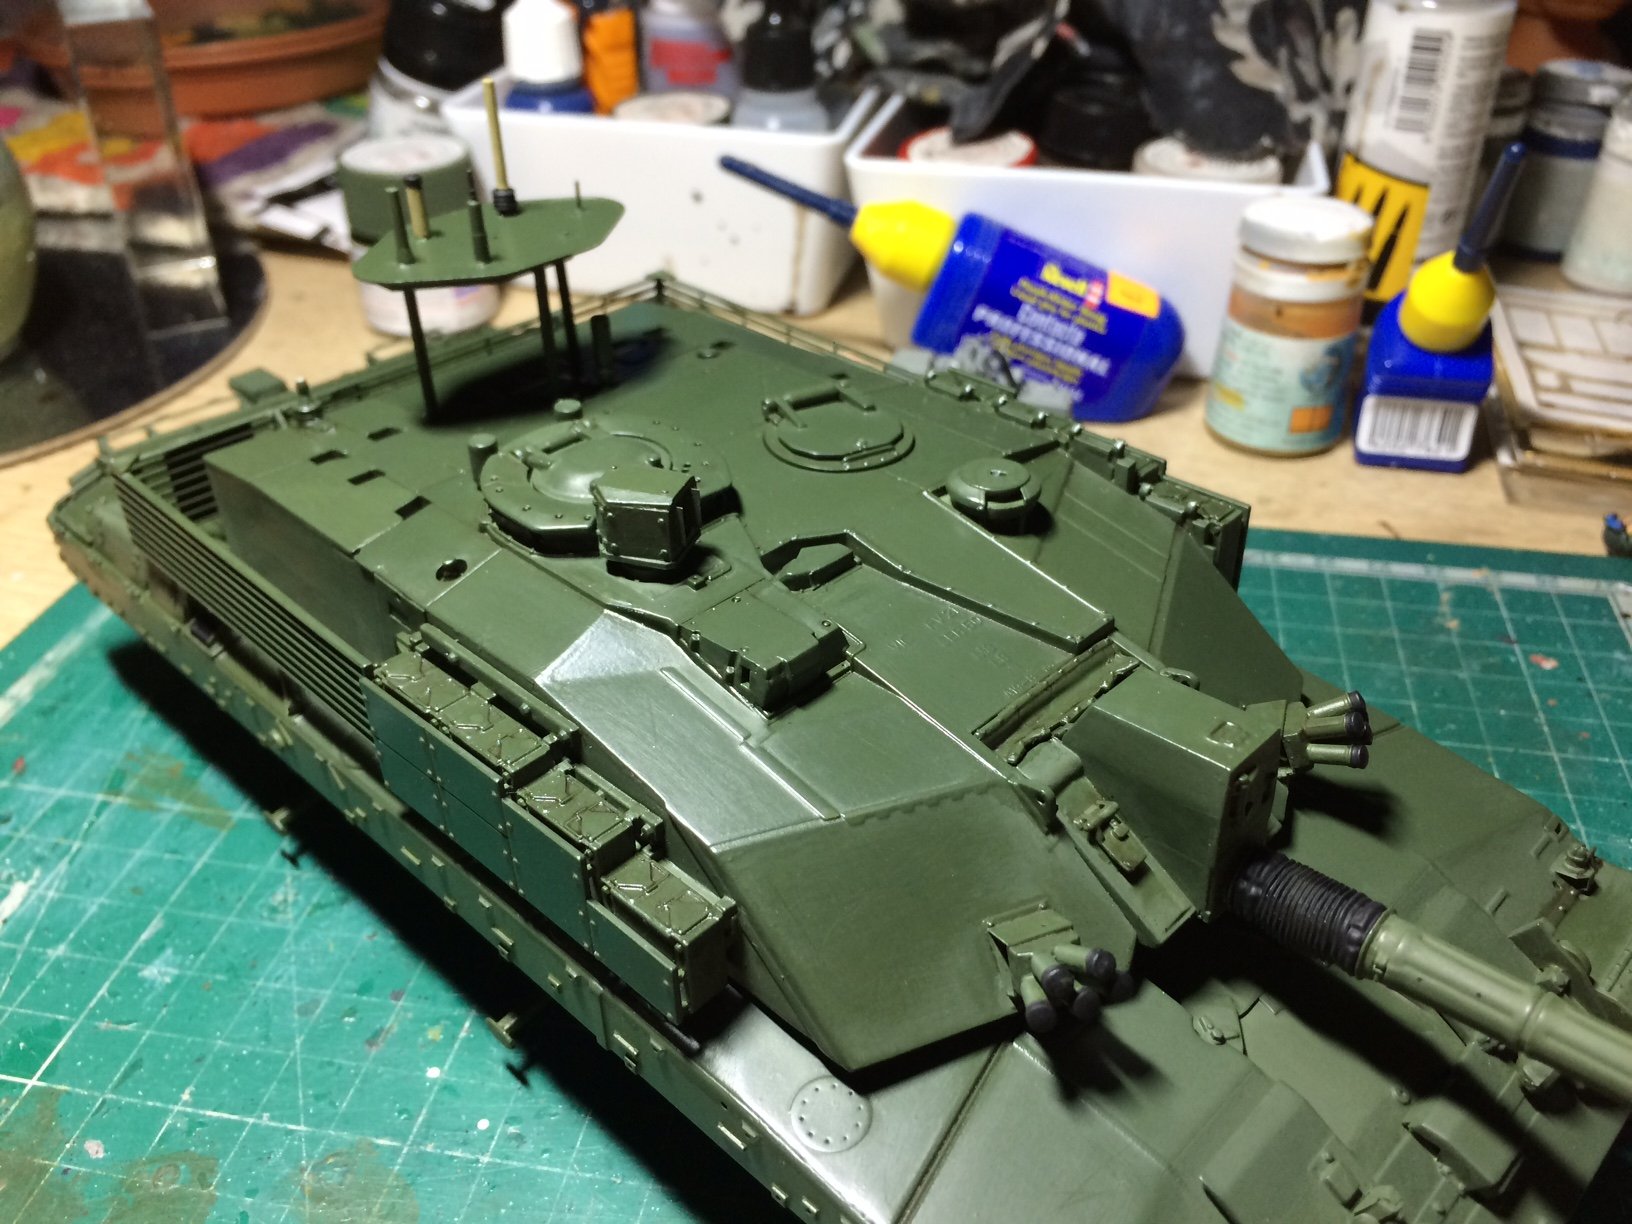
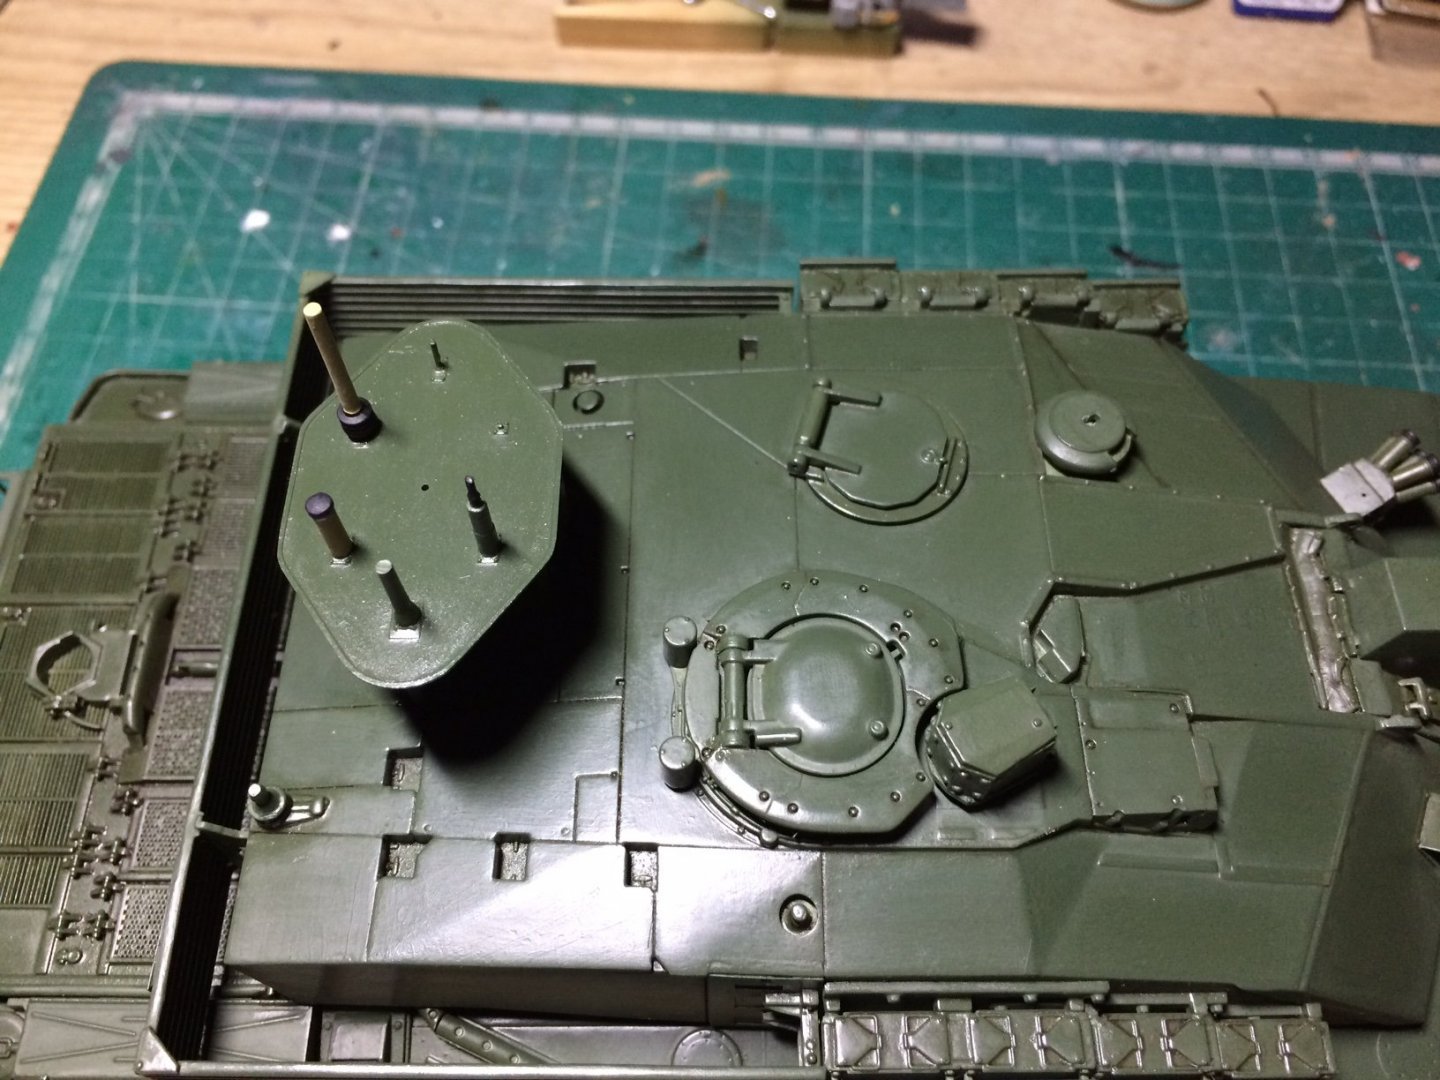
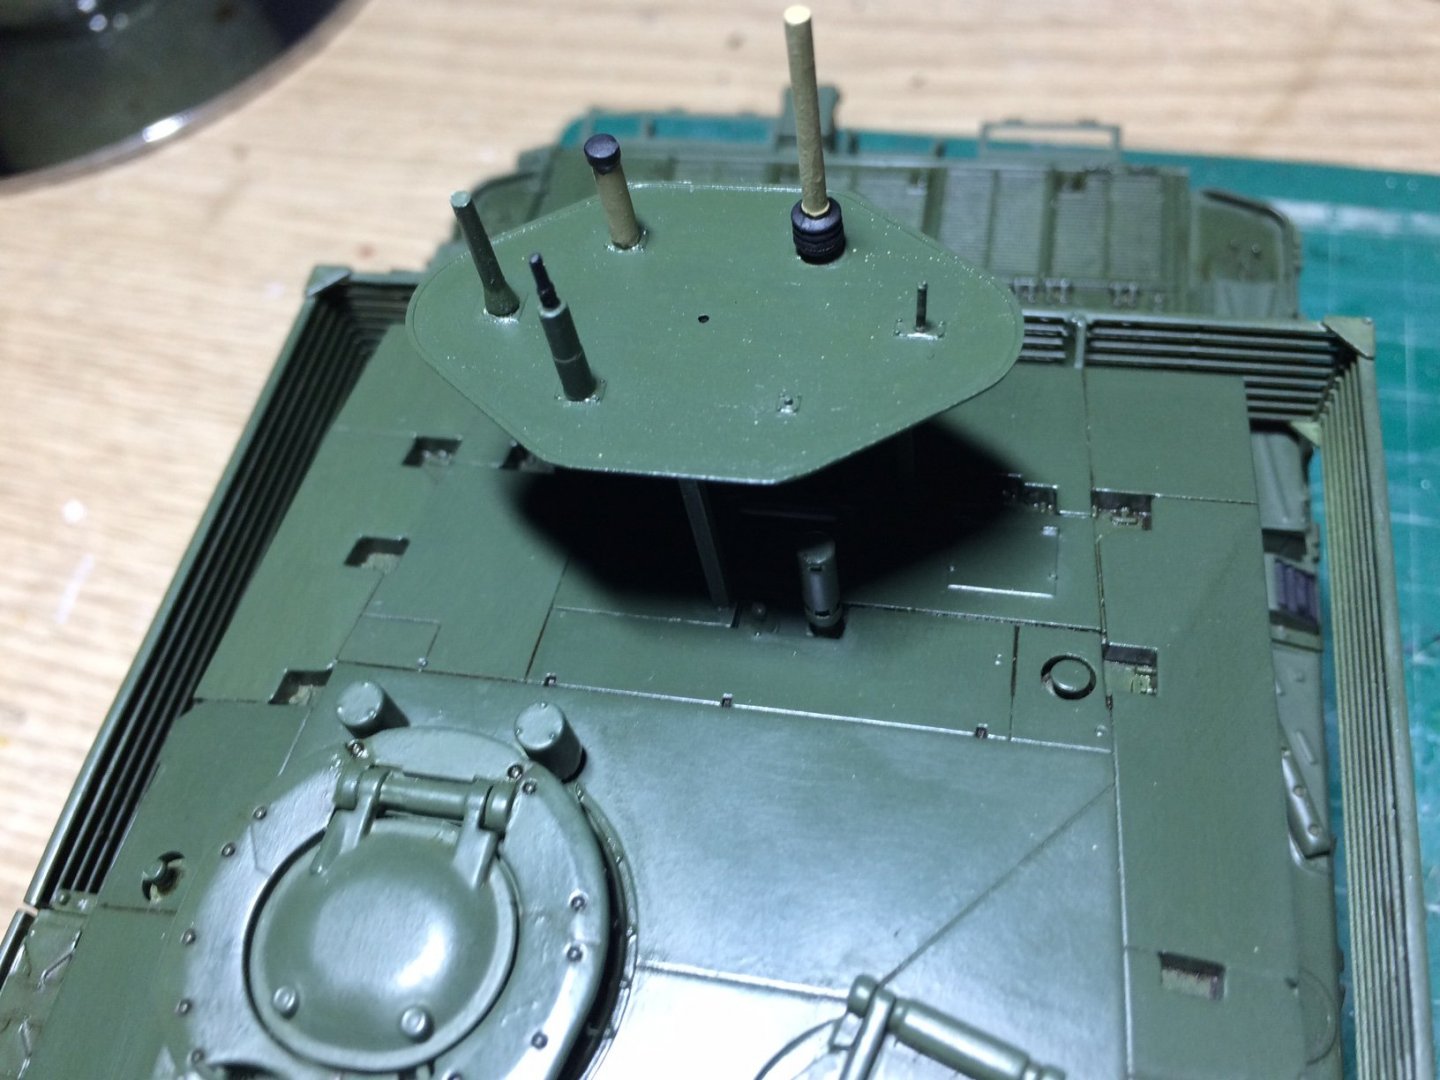
Evening all, this eve - I got round to trying abit of shading, only issue I had with it is the brown wash is enamel (and smelly) I have a bottle of thinners that fankfully is odourless (why the wash couldn't be the same), anyway I used a fine brush and just gently worked it in leaving very little claen up, I also painted the top of the countermeasures table and arials and the rubber shiled around the barrel seal was painted Black, I did the same to the Hull concentrating alot around the engine covers. When it is dry tomorrow I will have a go at some dry brushing with some dust wash. OC.

- 367 replies
-
- 12
-
-
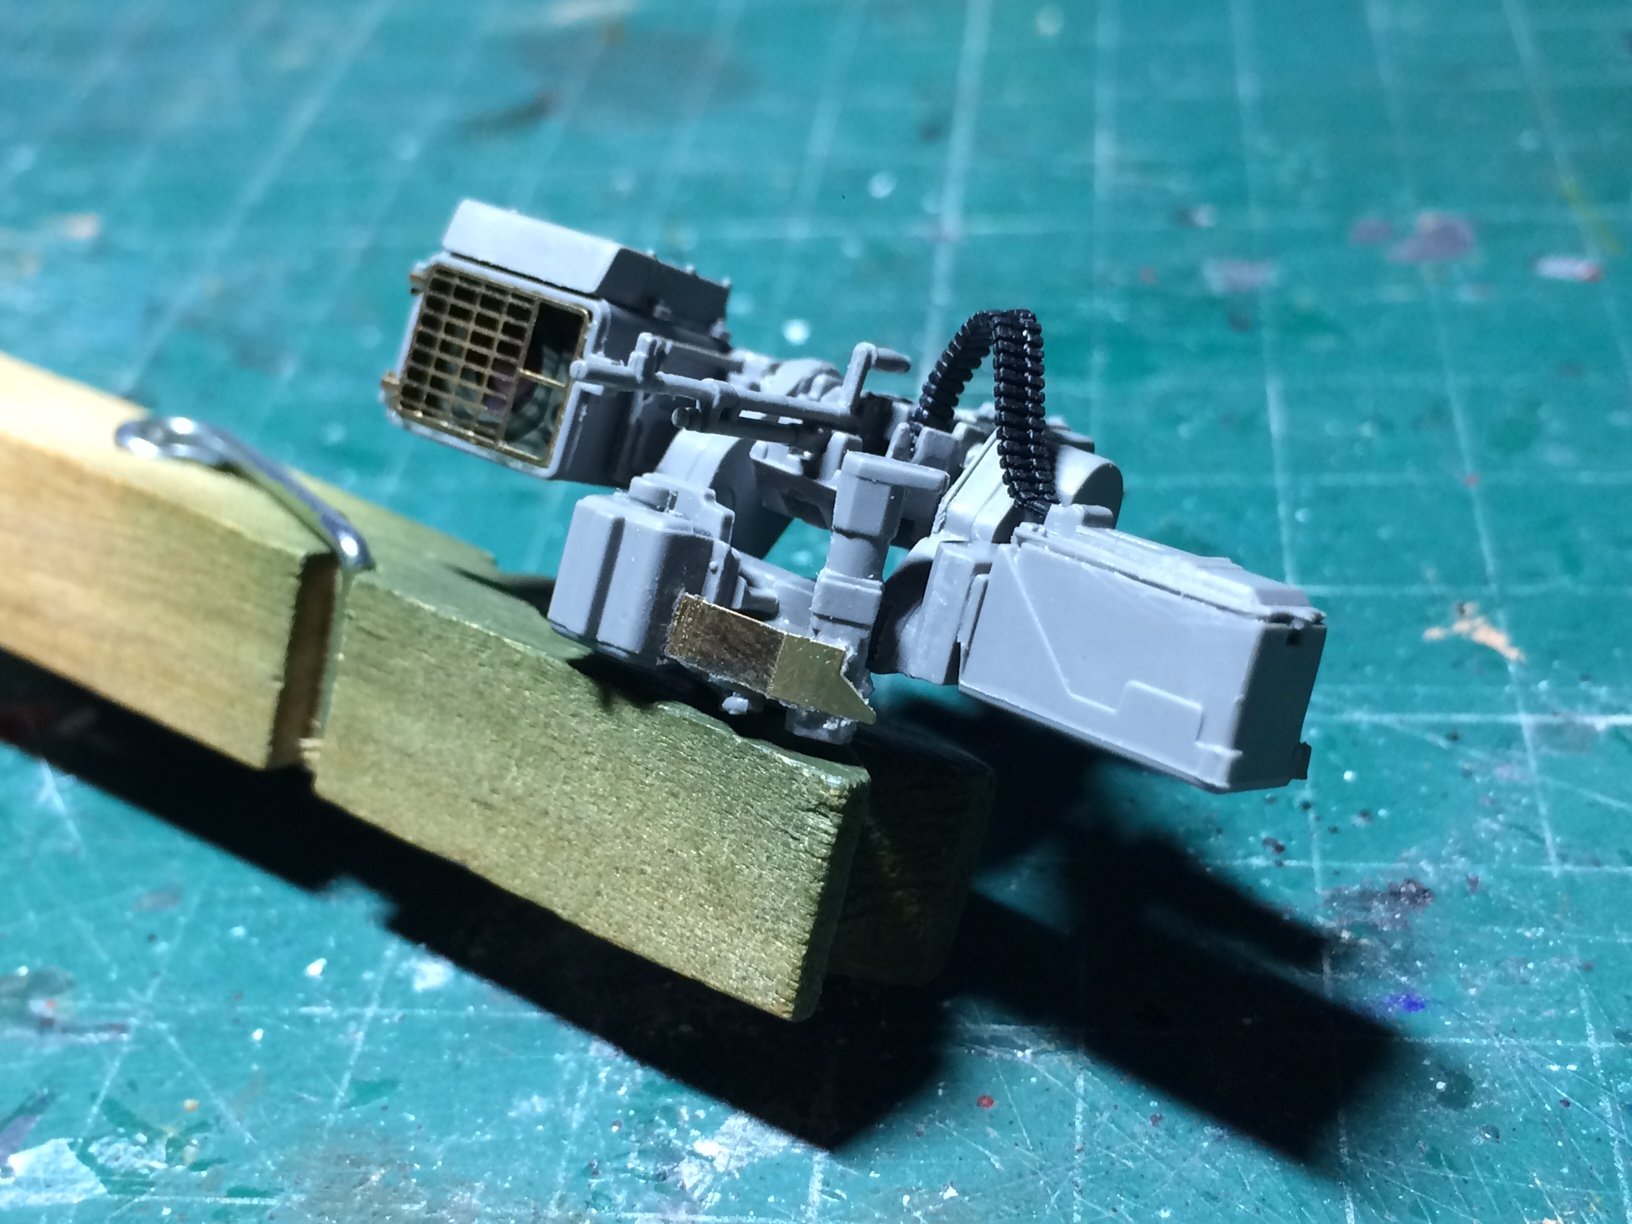
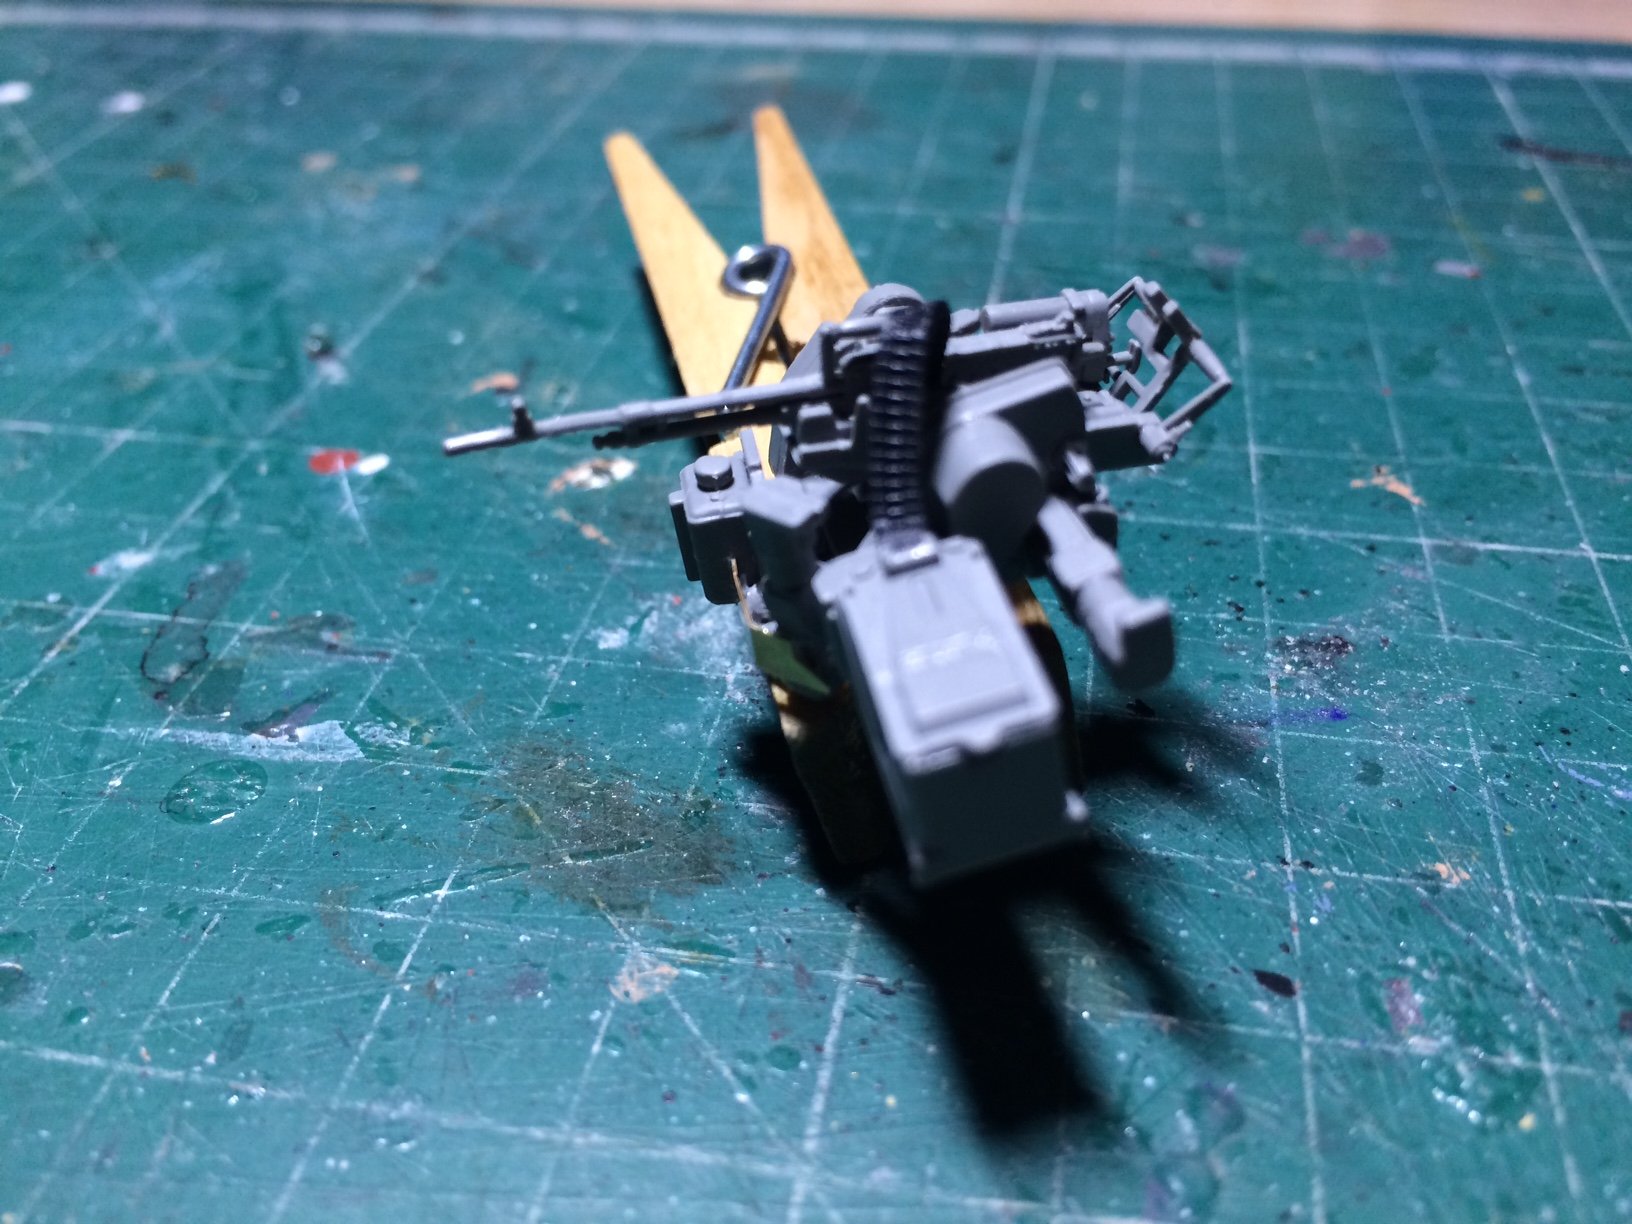
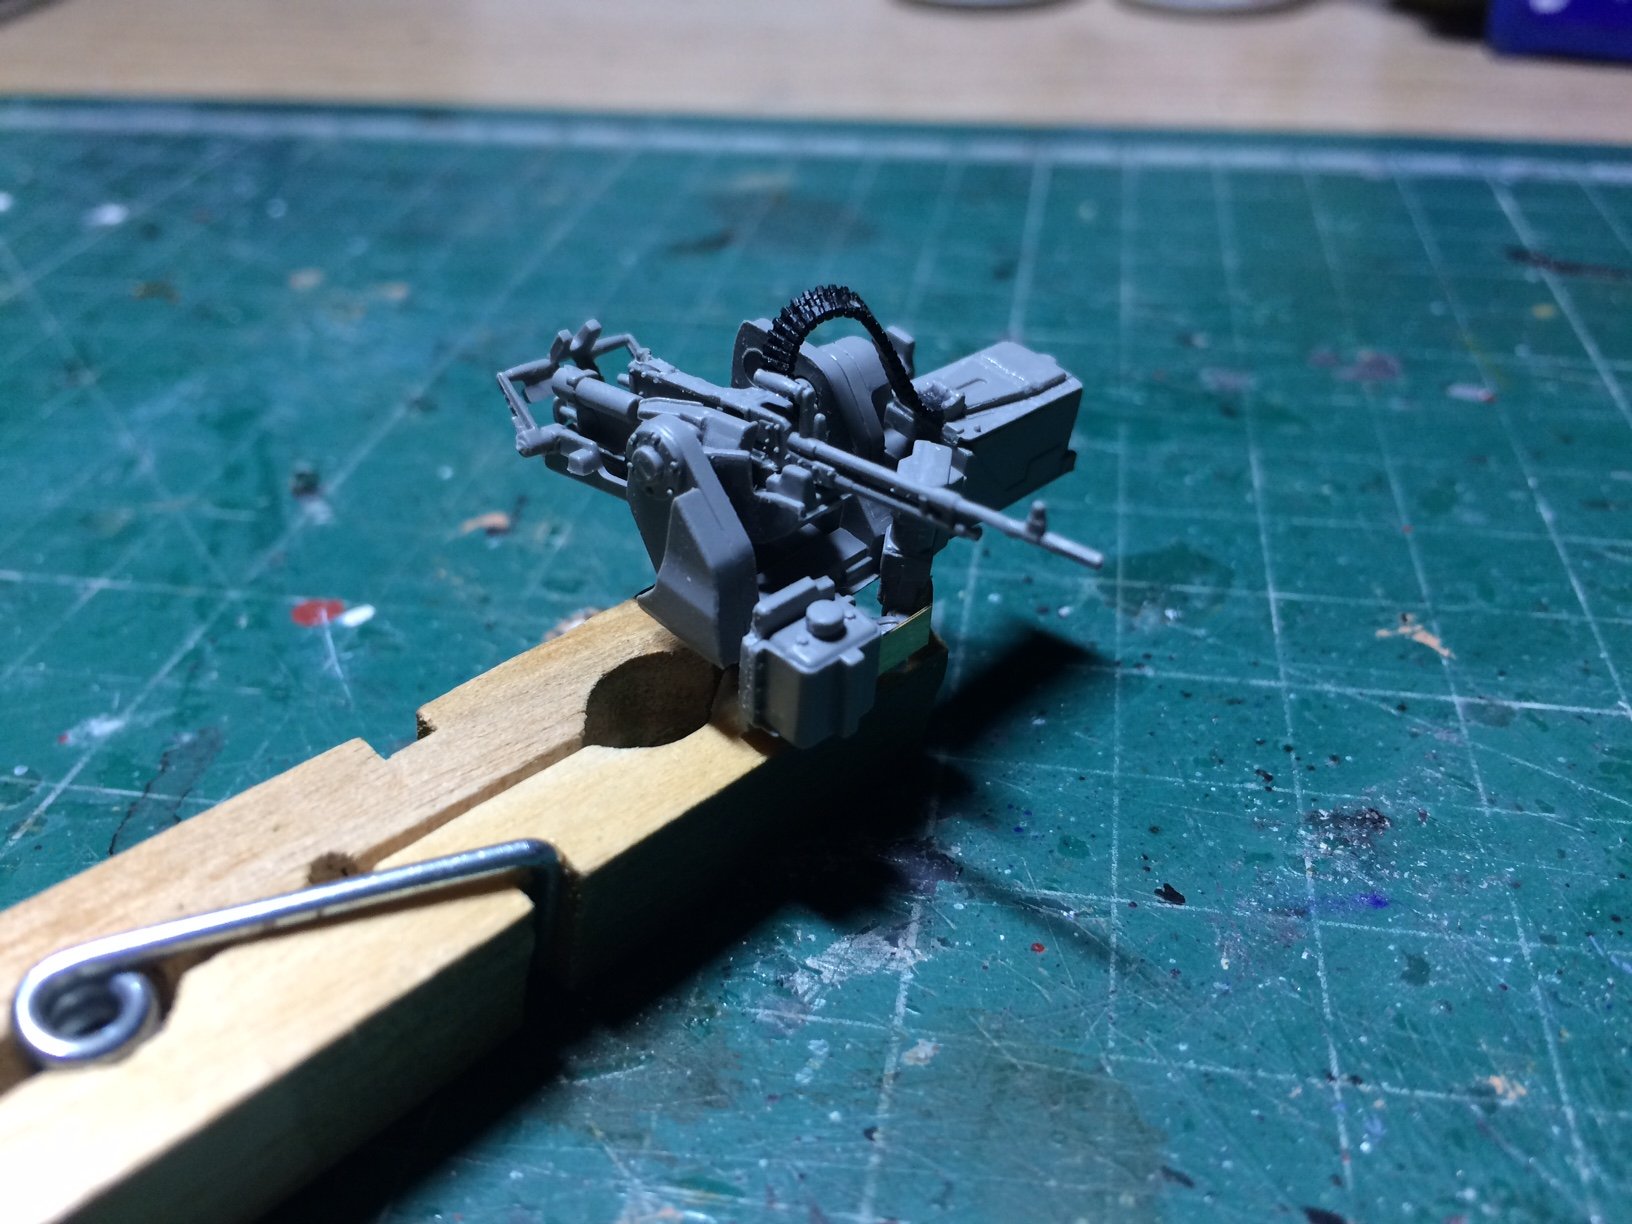
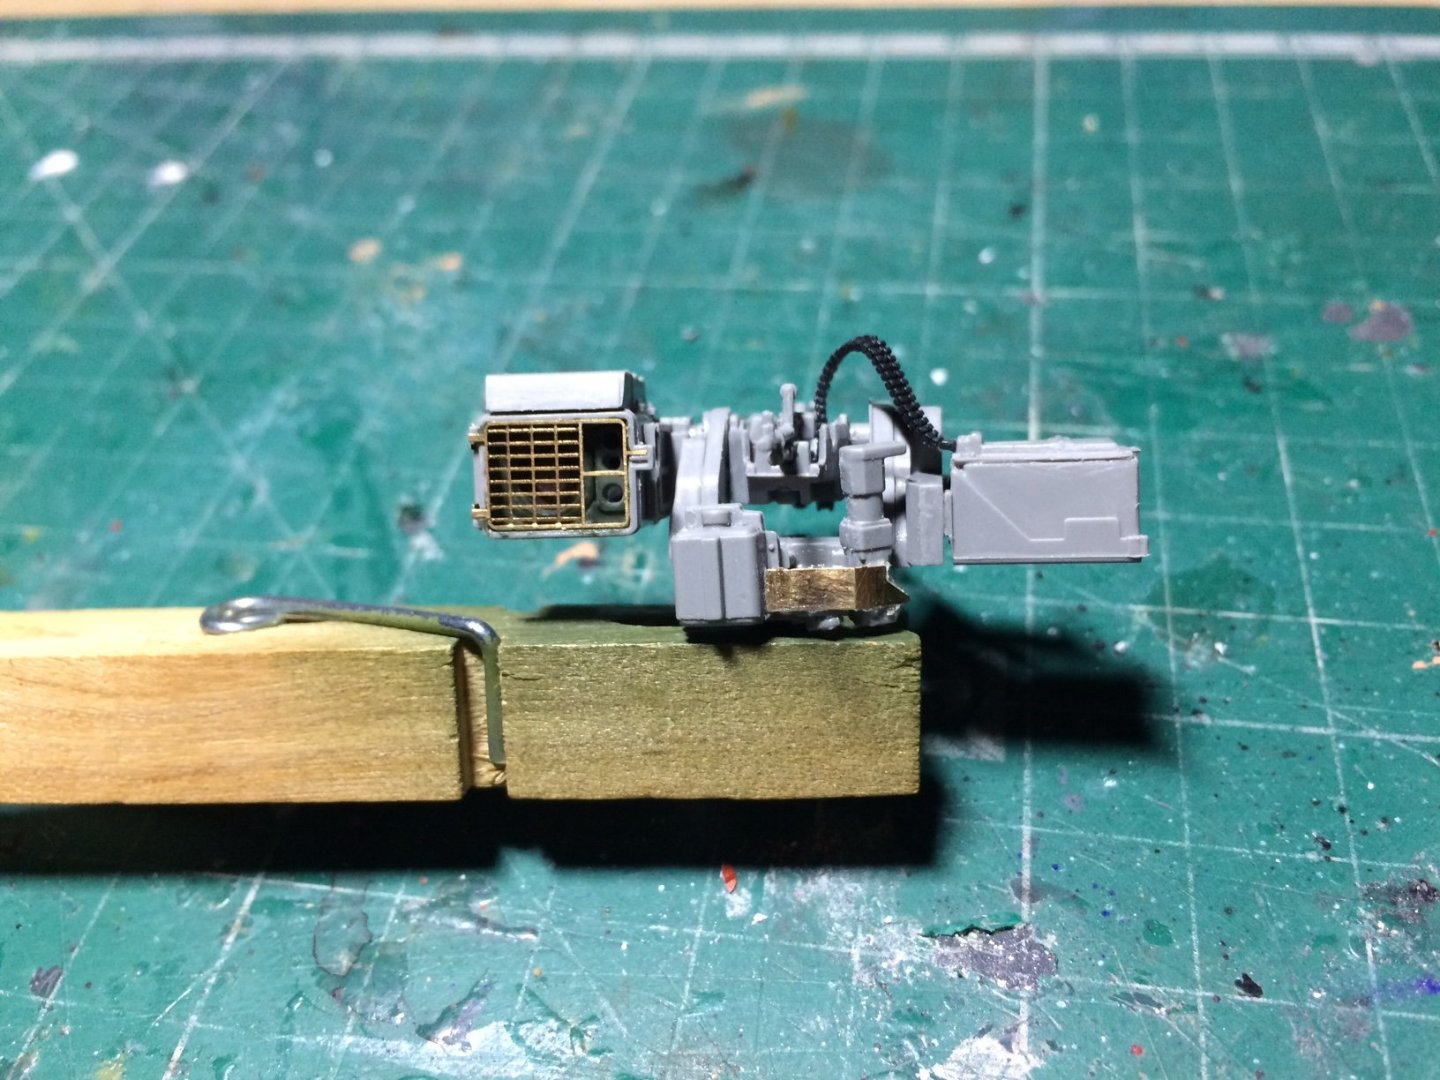
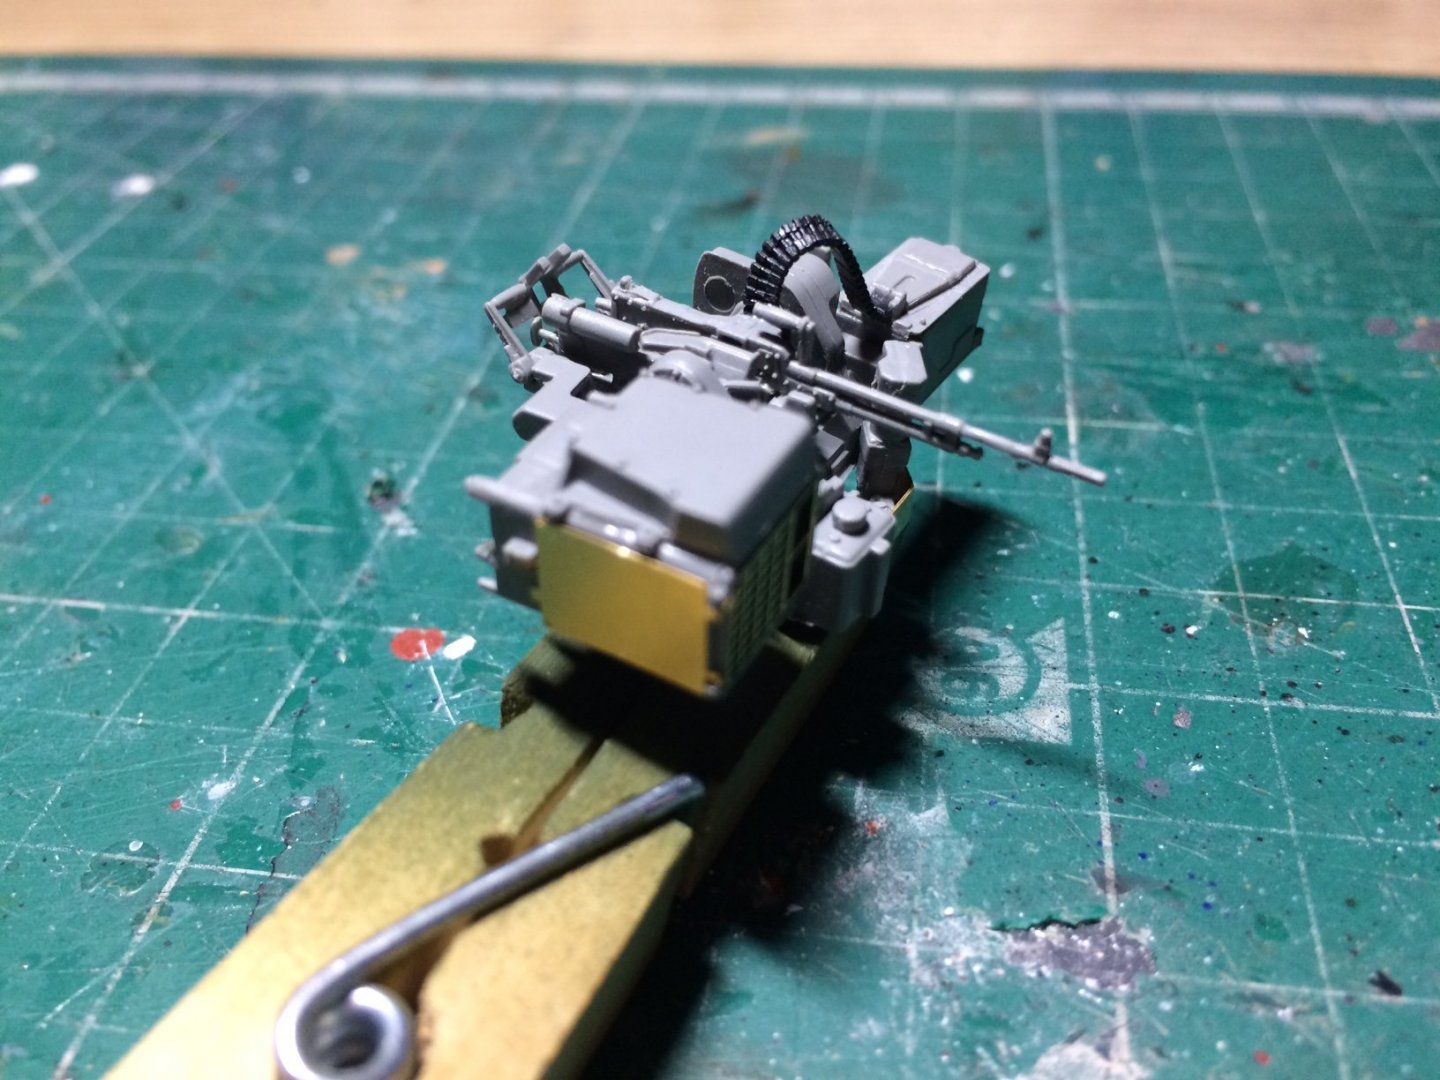
Evening all, I have finished the Goalkeeper by building and fitting the site unit - this has a clear site section that was glued inside the the back of the glazing was painted a silvery purple color then the PE pieces were added, just needs painting next. OC.

-
That is looking Superb you have both those colours bang on right - AP 507B Admiralty Medium Grey (RN 02) & AP 507C Admiralty Light Grey (RN 03) and the armour looks perfect through the paintwork - you really are doing a fine job of the Ole Lady. OC.
-
Alas No, if I need to spray it has to be with Tamiya rattle cans and that means one thing - outdoors dictated by the weather. OC.
-
Fast and low in an F4 that would be a sight. OC.
-
Or from behind a building. OC.
-
Looks good to me - lets hope we see some of them started in the other builds section where us - Tank. Plane, Car, Dio, Figure builders hang out aswel. OC.
- 25 replies
-
- 1
-
-
- Cutty Sark
- Artesania Latina
- (and 1 more)
-
Some lovely kits in your stash also - that span most of my interests, good luck with the build - its been many years since I went over the real ship. OC.
- 25 replies
-
- 1
-
-
- Cutty Sark
- Artesania Latina
- (and 1 more)
-
I am liking that Alot mate - the shading is going to look fab - so wish I had been able to spray mine. OC.
-
Indeed Lou, this one is designed to be used from inside the buttoned up turret using the sights inside, using both optical and thermal sights, but also used in a more manual use also. OC.
-
Thanks Ken, still got the sight and thermal sight to go on it yet before it can be painted/weathered. OC.
-
Evening all, abit more progress today - seems like hours and not much done, still on the Goalkeeper. OC.


- 367 replies
-
- 10
-
-
I'm bald - so thats no good, Superb finish everything really pops out at you on the screen. OC.
- 179 replies
-
- 6
-
-
- hatsuzakura
- pit road
- (and 2 more)