Old Collingwood
-
Posts
12,104 -
Joined
-
Last visited
Content Type
Profiles
Forums
Gallery
Events
Everything posted by Old Collingwood
-
 Sorry guys - im lost with this subject.😳 OC.
 -
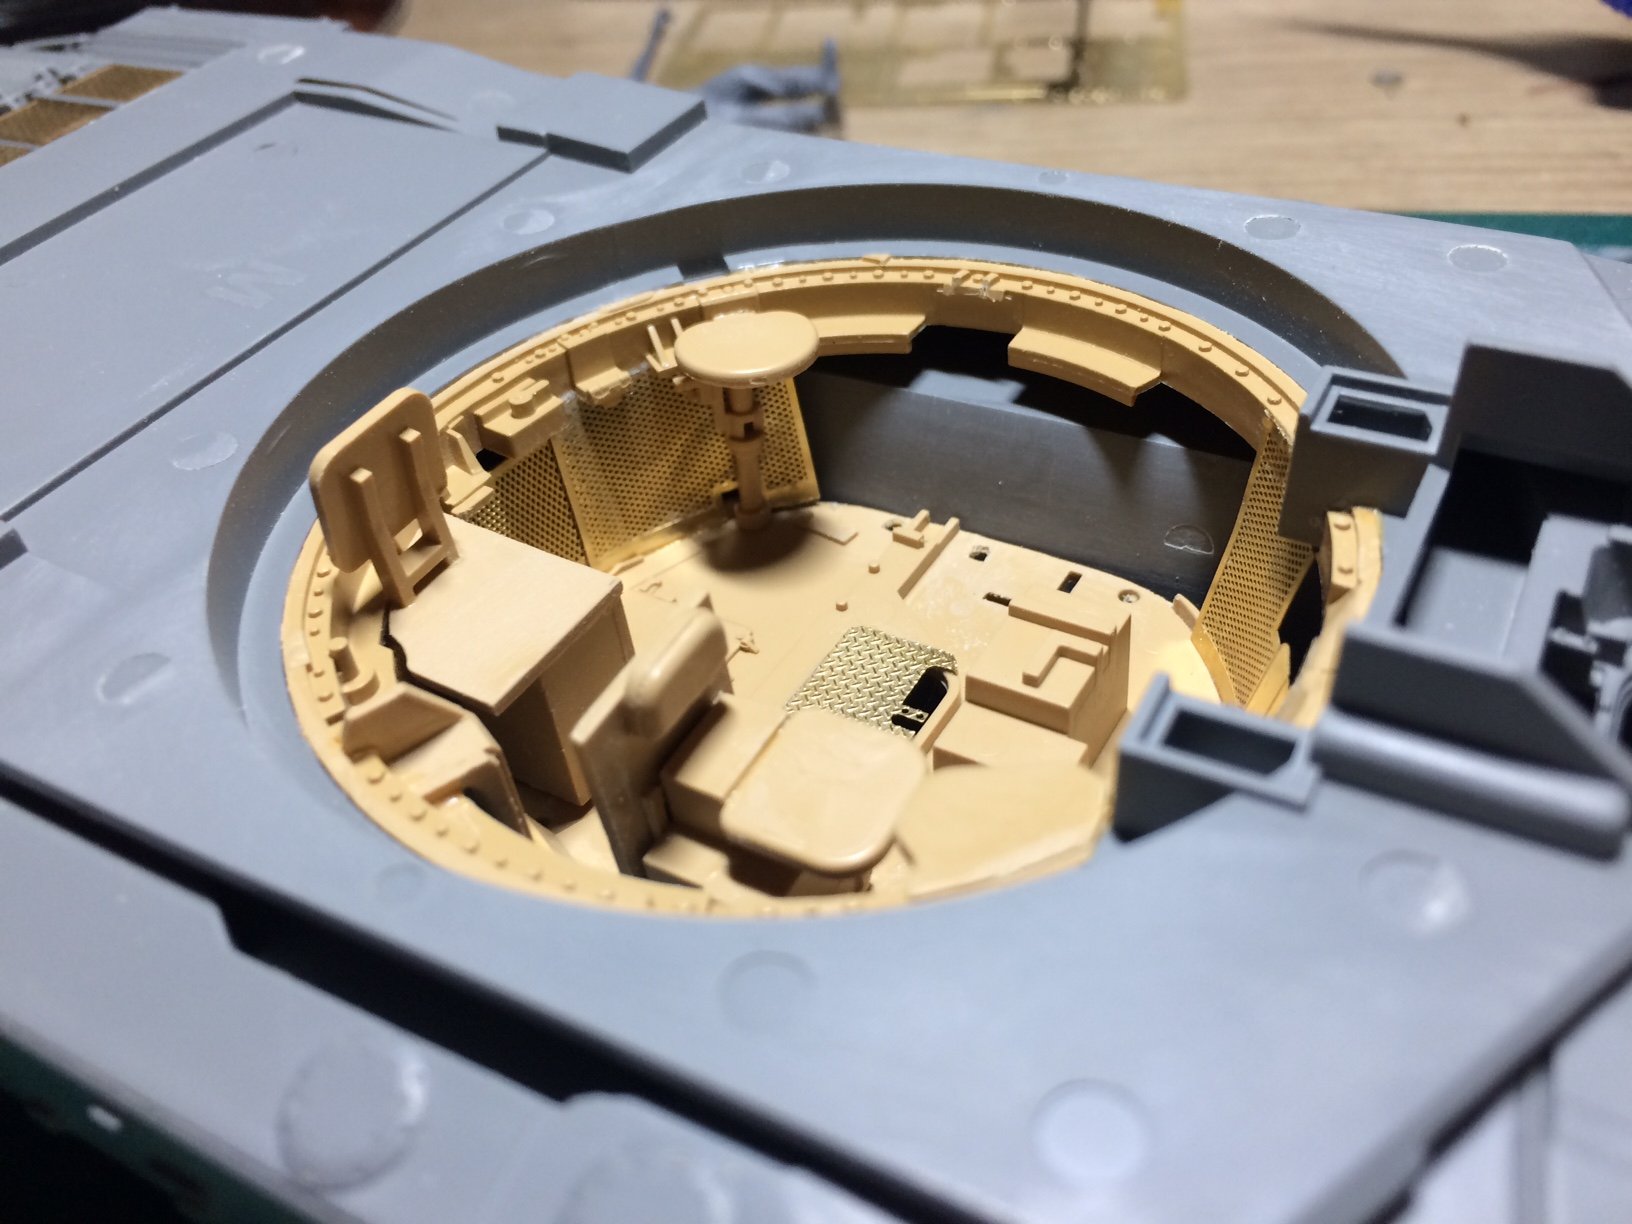
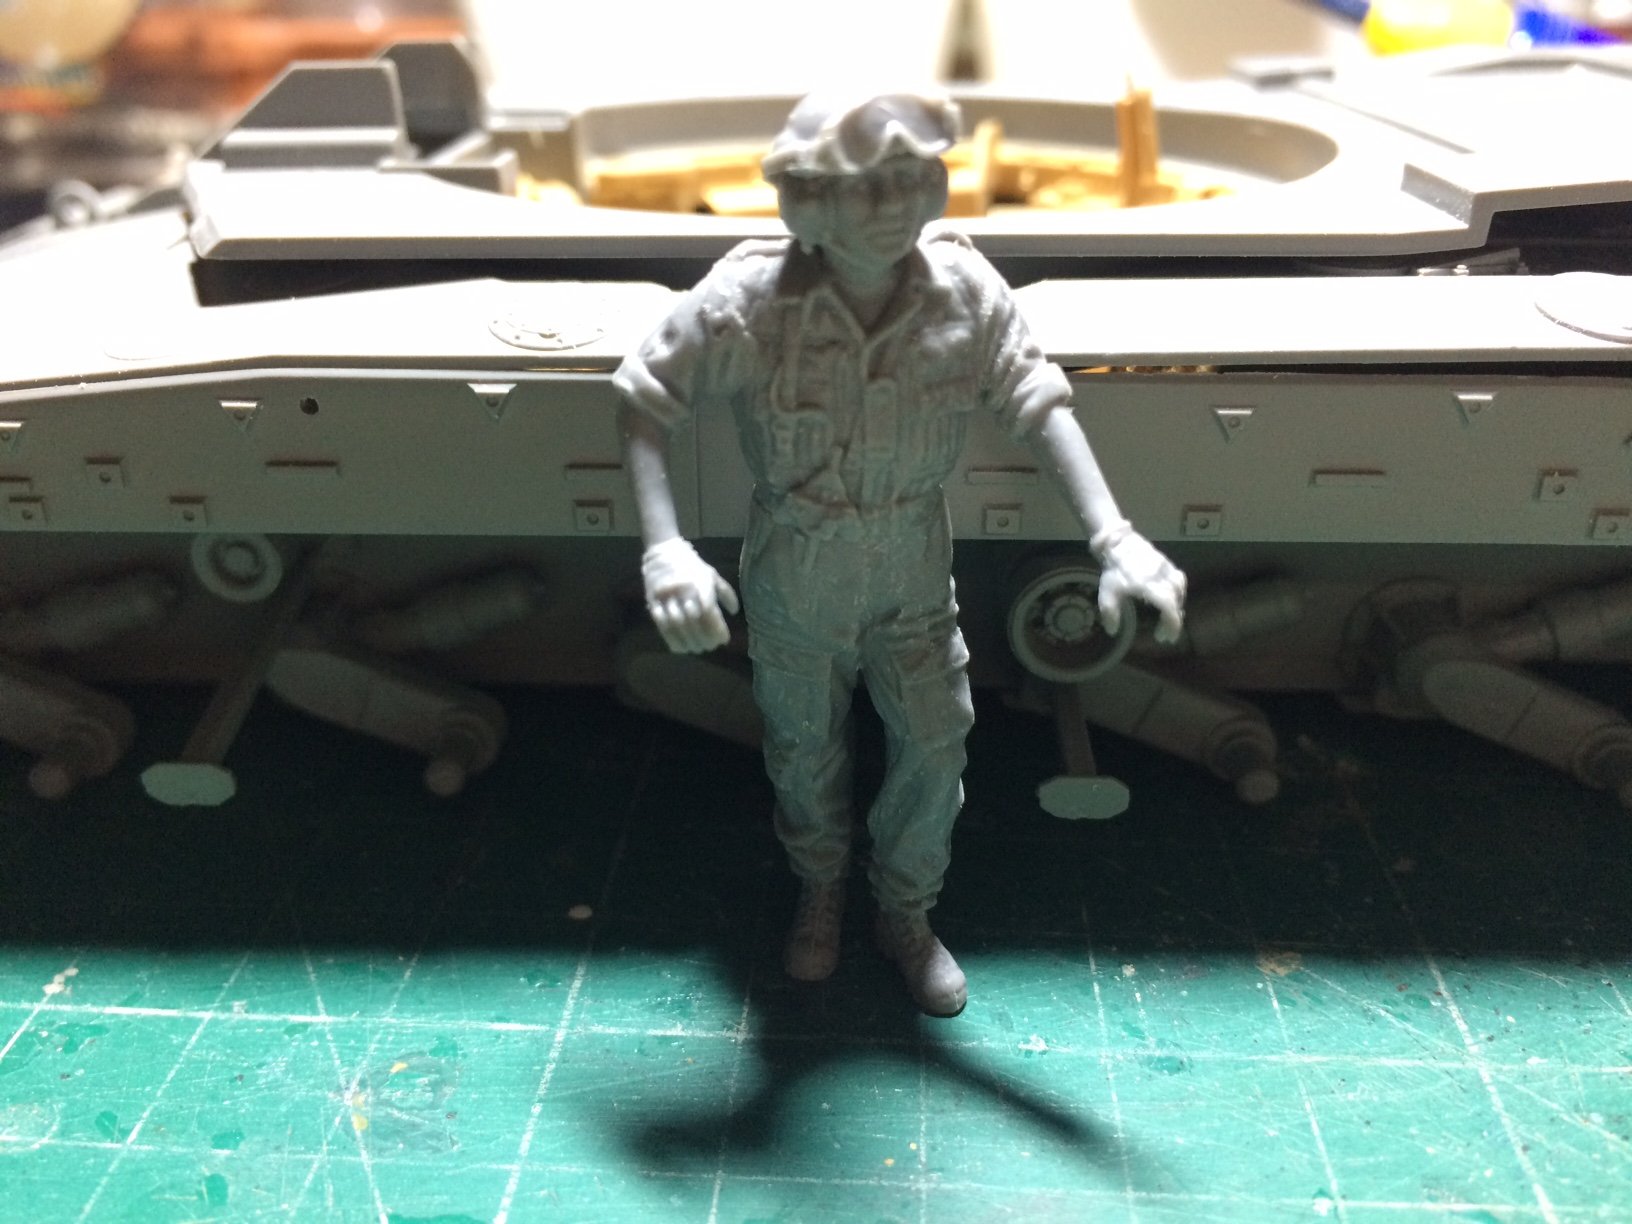
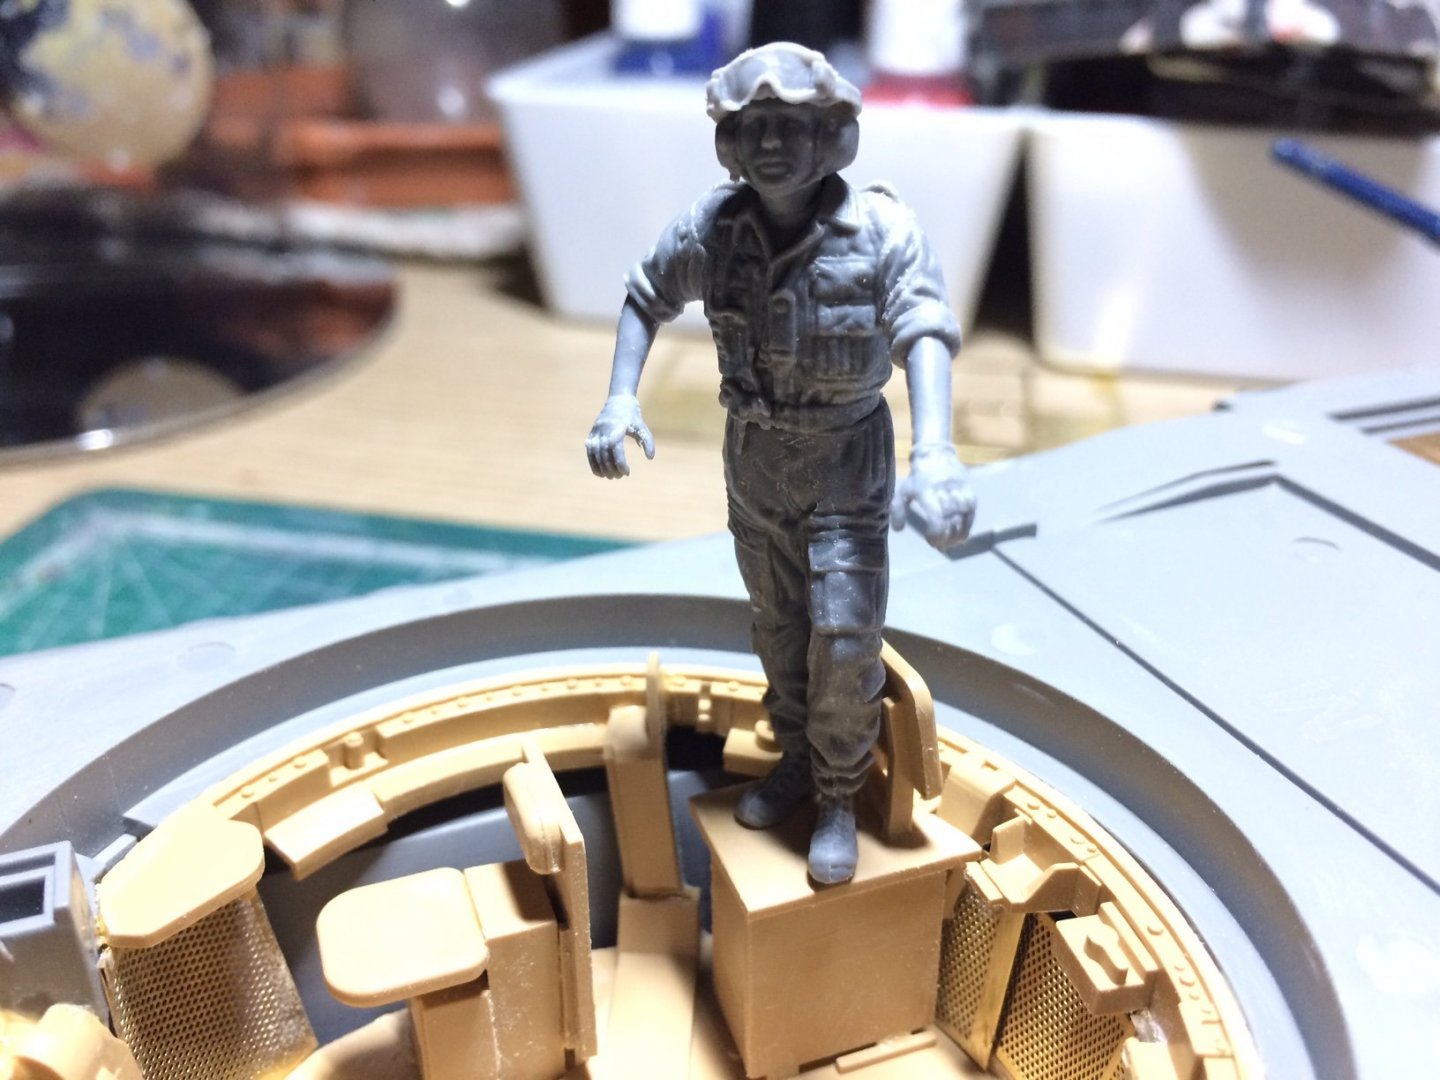
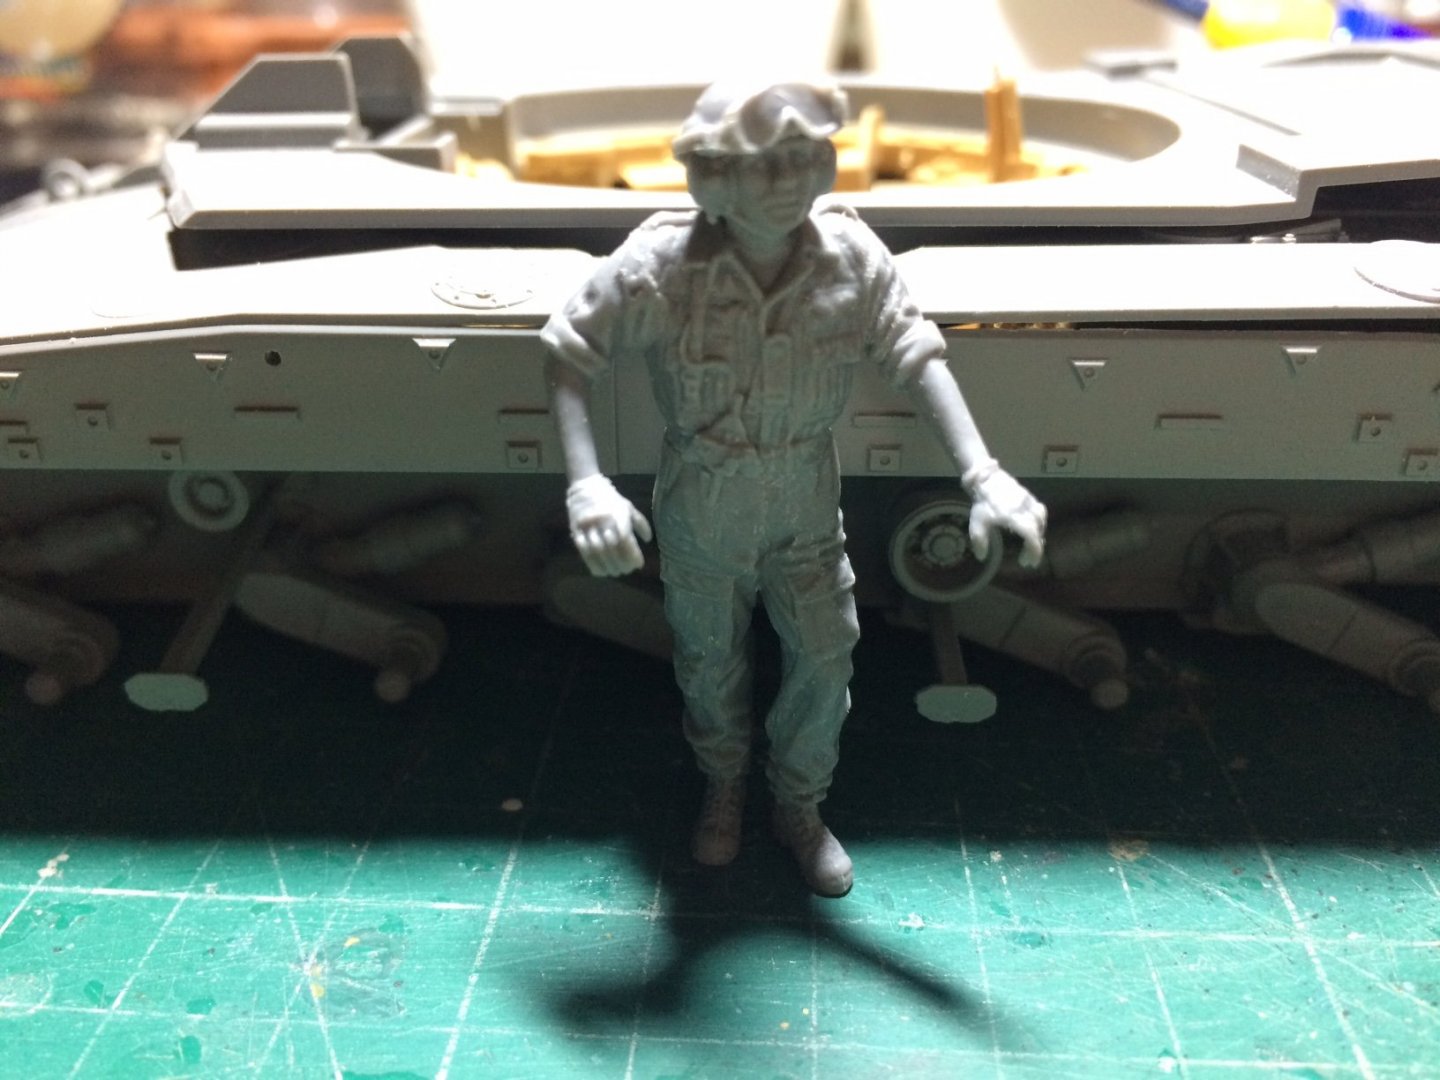
Evening all, a good days work on the turret, I made a base and added the commanders adjustable seat, next was to create similar for the gunners seat/position, last was the loaders seat. To gauge the correct hight I made up one of the tanker figures I have brought, I tested it by dry fitting the turret roof and placing the figure through the commanders hatch. OC.


-
Thank you kindly Brother. OC.
-
Currently in the middle of researching what the turret floor was like in the Chally2 - what the seat hights where and what was around the floor under the turret traversing ring, and if the charge was kept seperate from the projectiles (that were kept in the turret rear) OC.
-
"Hey..............Im only Ten"😁 OC.
-
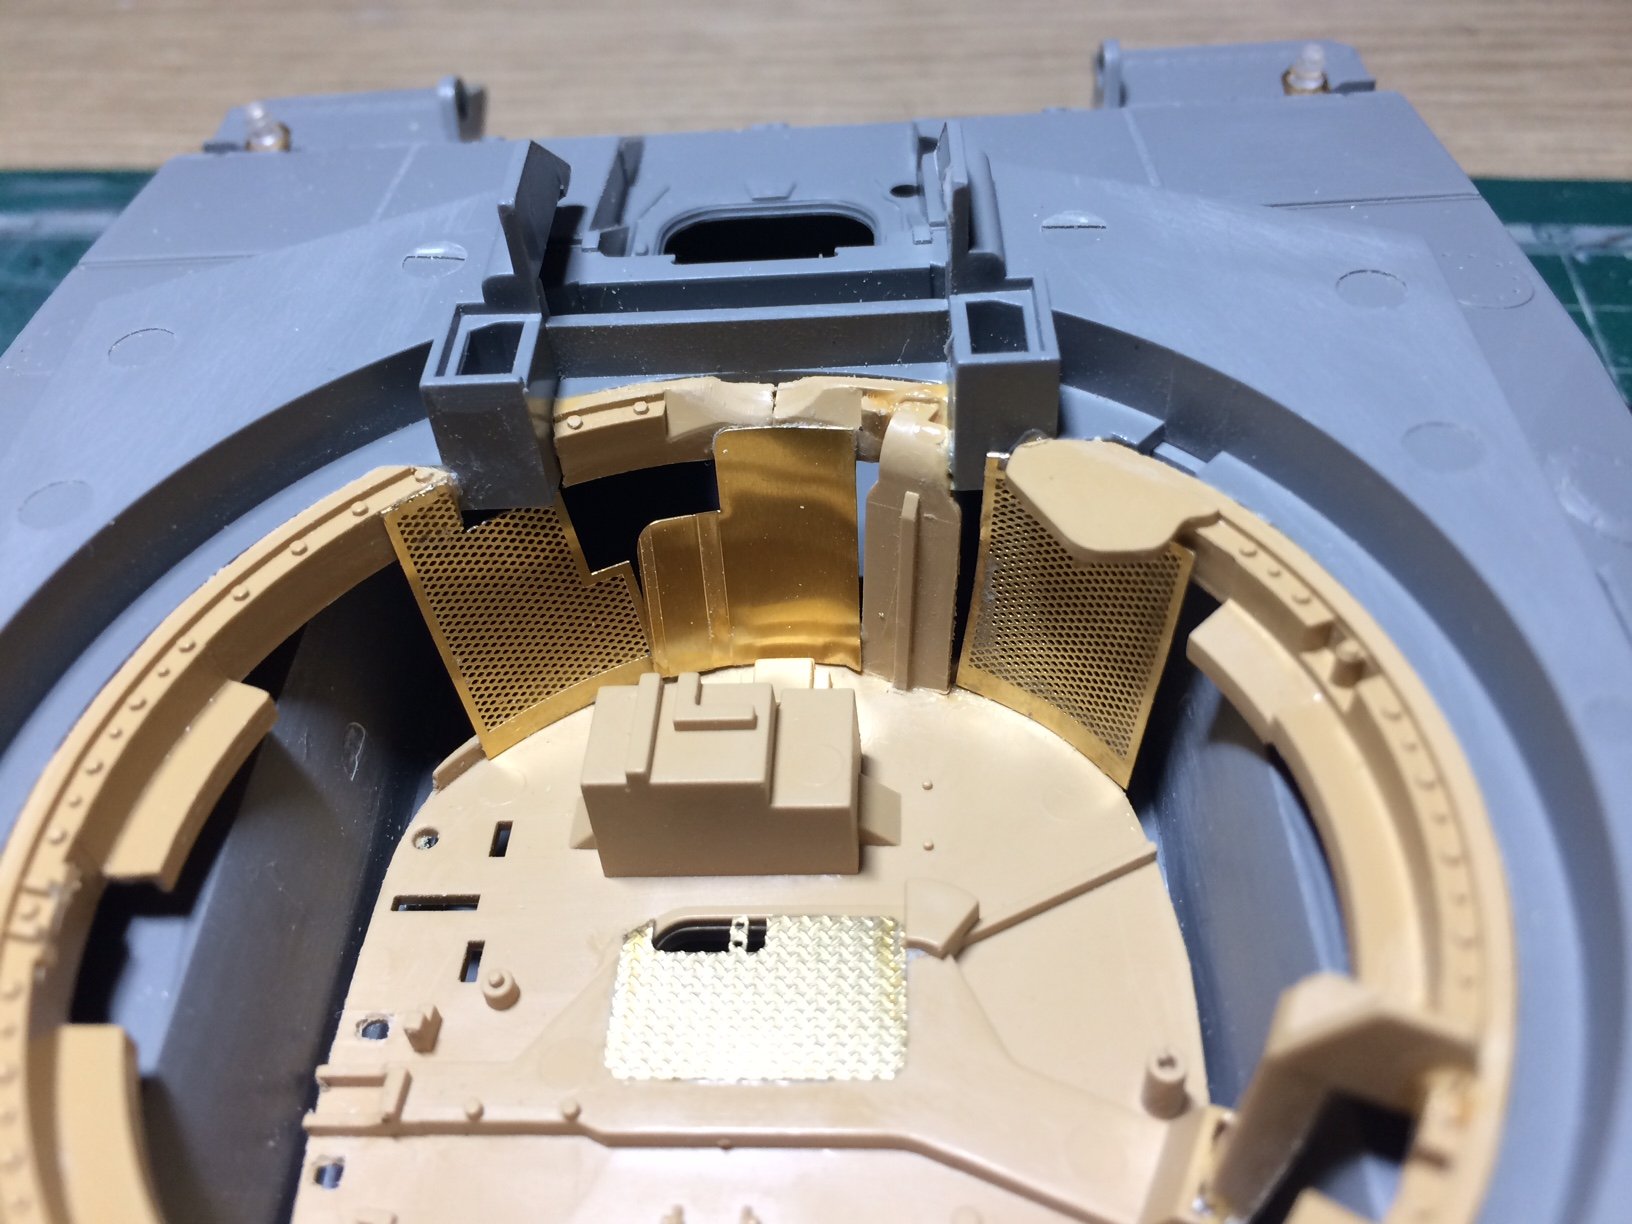
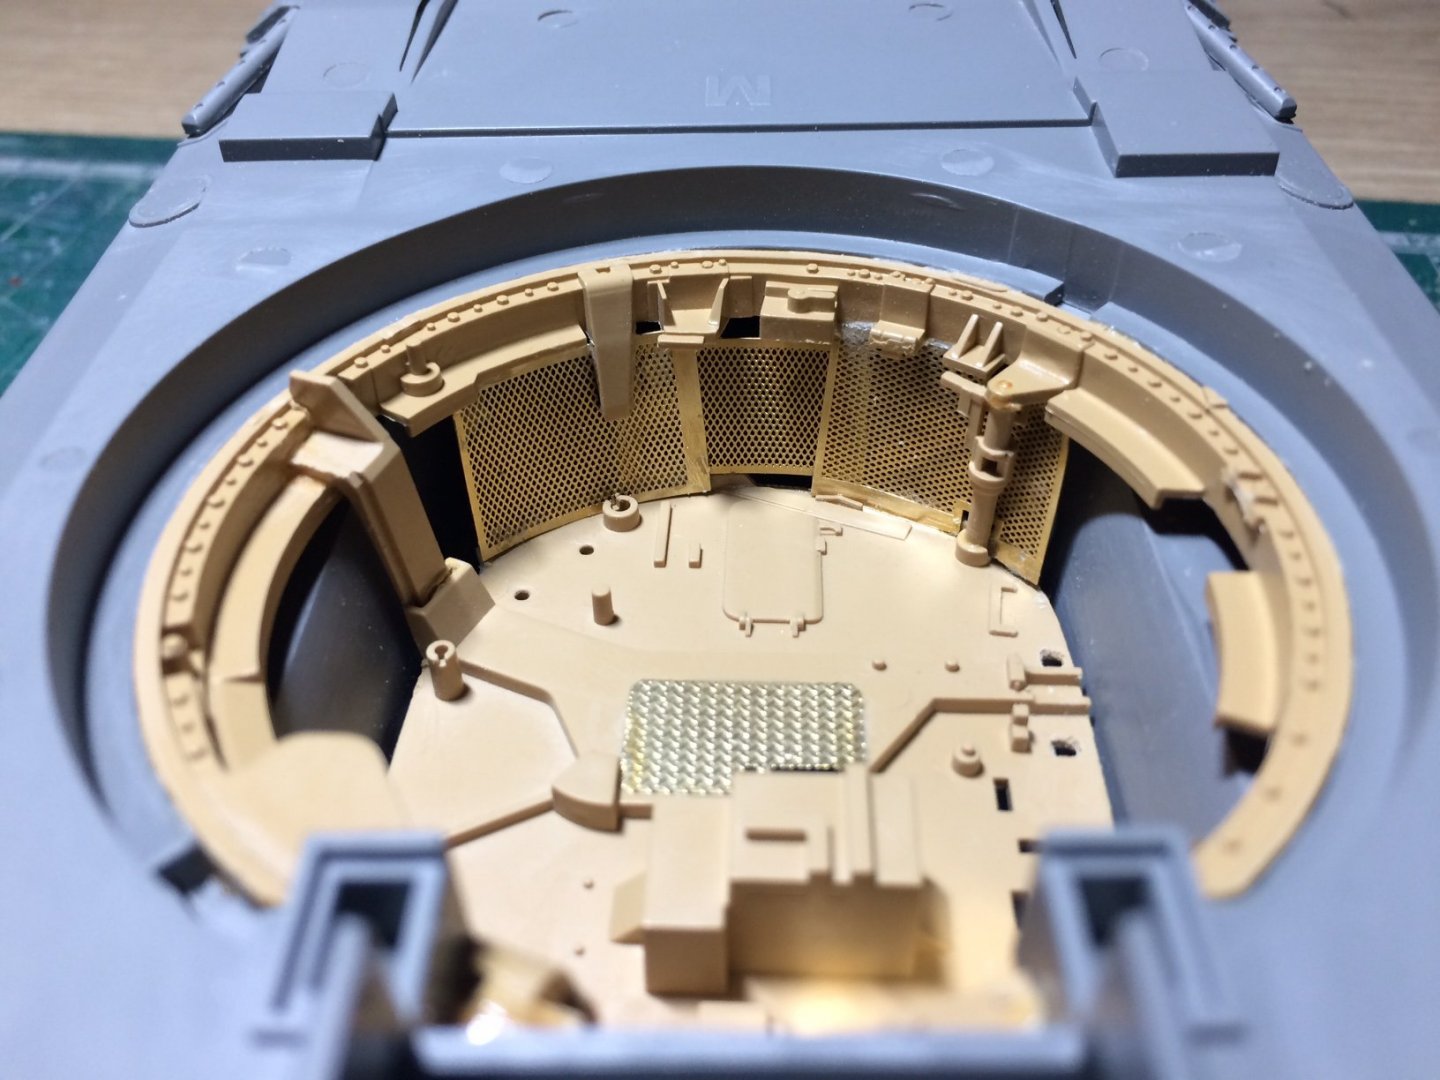
Evening all - back on the turret trials, I spent most of the afternoon working on shaping/cutting and bending some PE plates, these are just to enclose the turret from the Hull at the fornt and rear - took a bit of doing but aleast that stage is done, lots more to do yet though. OC.

-
Very Nice work mate............bring on the decs......we will be waiting no fear about that no pressure.😊 OC.
-
Great work Denis, looks very complicated - to me it looks like it takes another level of skill to combine a static display into a functioning one by means of the light units and wiring. OC.
-
Indeed same as Denis said - lovely finish. OC.
-
The inside actualy looks square not much evidence of the turret mounting/traverse ring - Again not my pics I found the video on the net - I just did screen shots from the different angles. Lots of pics .............. OC.
.png.9d7edc6b399688b60bd9f49d98527f28.png)
.png.9f6e3dfb9702037a06ea149dcbf032b5.png)
.png.fe6b0290cfe5b249caea2c63005a3c67.png)
.png.6512717c5a3e78e6d39348fb912b25cf.png)
.png.b33b7785f75364a4d2fa61b1879050b7.png)
.png.94ae094aeae5029832a26ab42cdb4a1c.png)
.png.b80cfa84e19c84b396e333eac7ccc39e.png)
.png.ffd670062e24be961d545096196ac294.png)
.png.eca3573589931bdda0a39ba8c9f6a4d0.png)
.png.61f3c9d8c0a6a72f521b3654e68fdc59.png)
.png.df268a1d8140b163308b55a5d37426b7.png)
- 367 replies
-
- 10
-

-
Just found a load of internal pics - well video realy i did screenshots of, I have a lot of work to do.😲 OC.
-
Your engines really are superb mate - just like the real things. OC.
-
Your doing a fine job Jack, I found with my wood builds (ok only the Two) that wood can be so tempremental, and has a life of its own. OC.
-
Looking really nice Bob, each step forward you take with the build the more beautiful she is looking. OC.
-
Best thing I found - soak the flag in watery PVA then crunch it to get it to fold in the position you want, then let it dry/set before attaching the cord/rope/fine thread. OC.
- 211 replies
-
- 4
-
-
- prince of wales
- tamiya
- (and 2 more)
-
Well done my friend you have done a truly splendid job - everything about her looks spot on perfect - a real credit to your hardwork and commitment - just needs a home now. OC.
- 436 replies
-
- 1
-
-
- vanguard models
- alert
- (and 1 more)
-
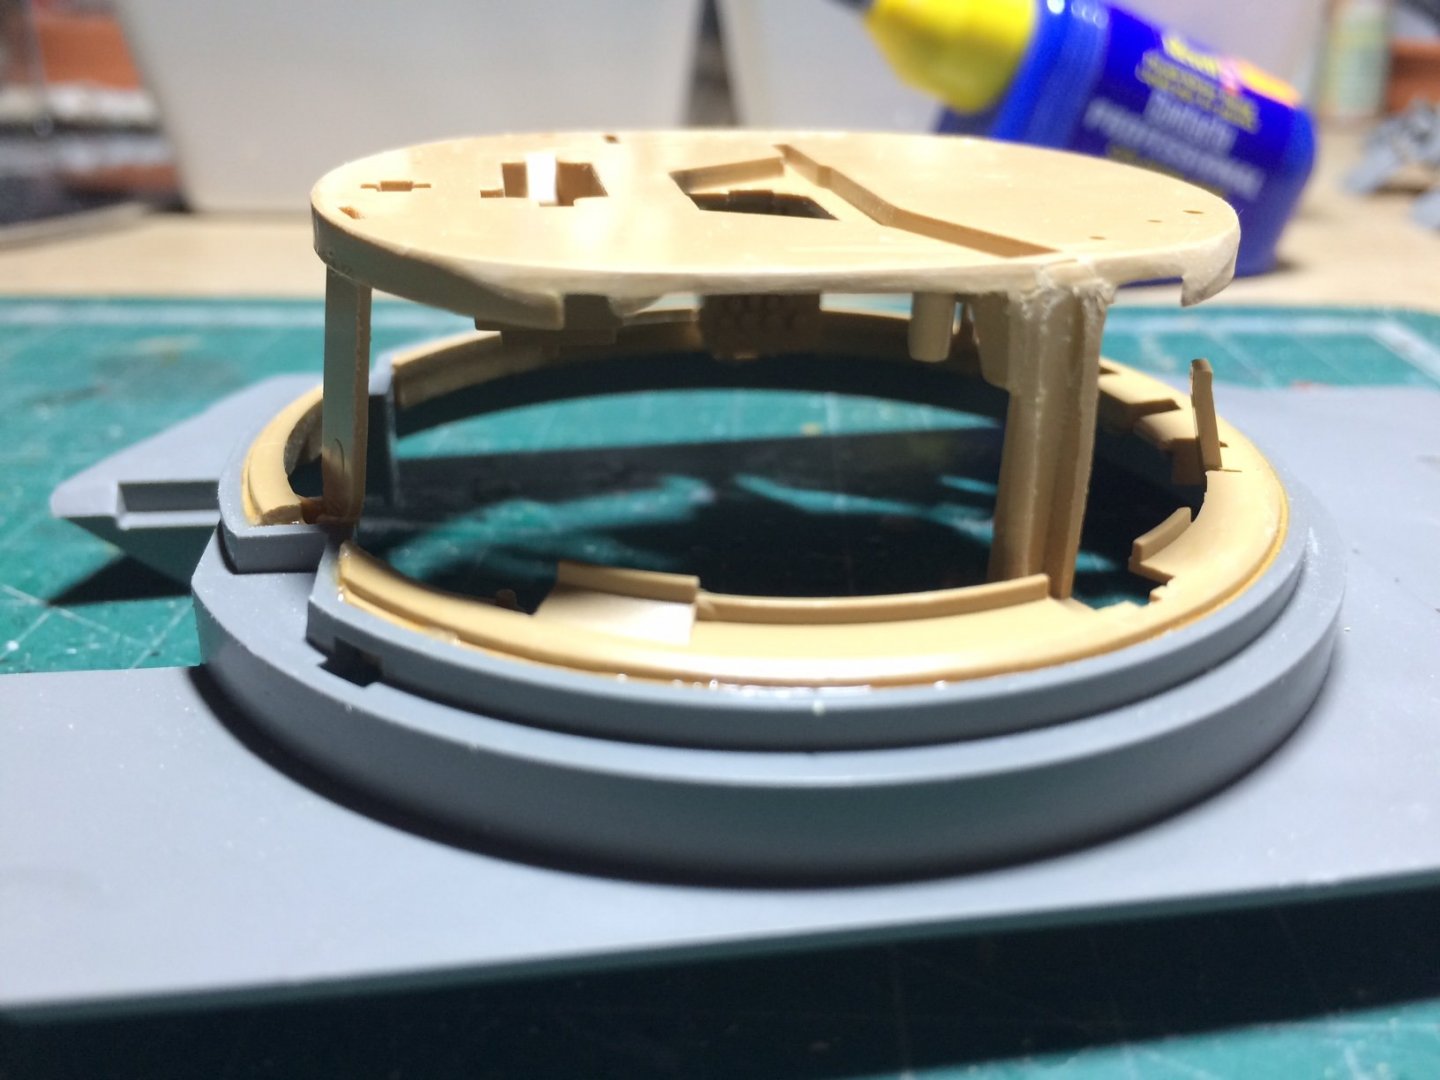
Evening all, more progress with me little tank, more work progressing with the turret internals, basically some supports and a bit of height adjustment to make sure it fits in the hull, lost more to add. OC.

-
Thank you Denis. OC.
-
Thanks Ken, its supprising how much wider the lower inside hull is in the M1 compared to the Chally. OC.
-
Im fully happy with that Ekis, if the mods could move those sections over to my Waterlood build I would be pleased and grateful. Gratitude to you for yor help and advice with my quiry. OC.
-
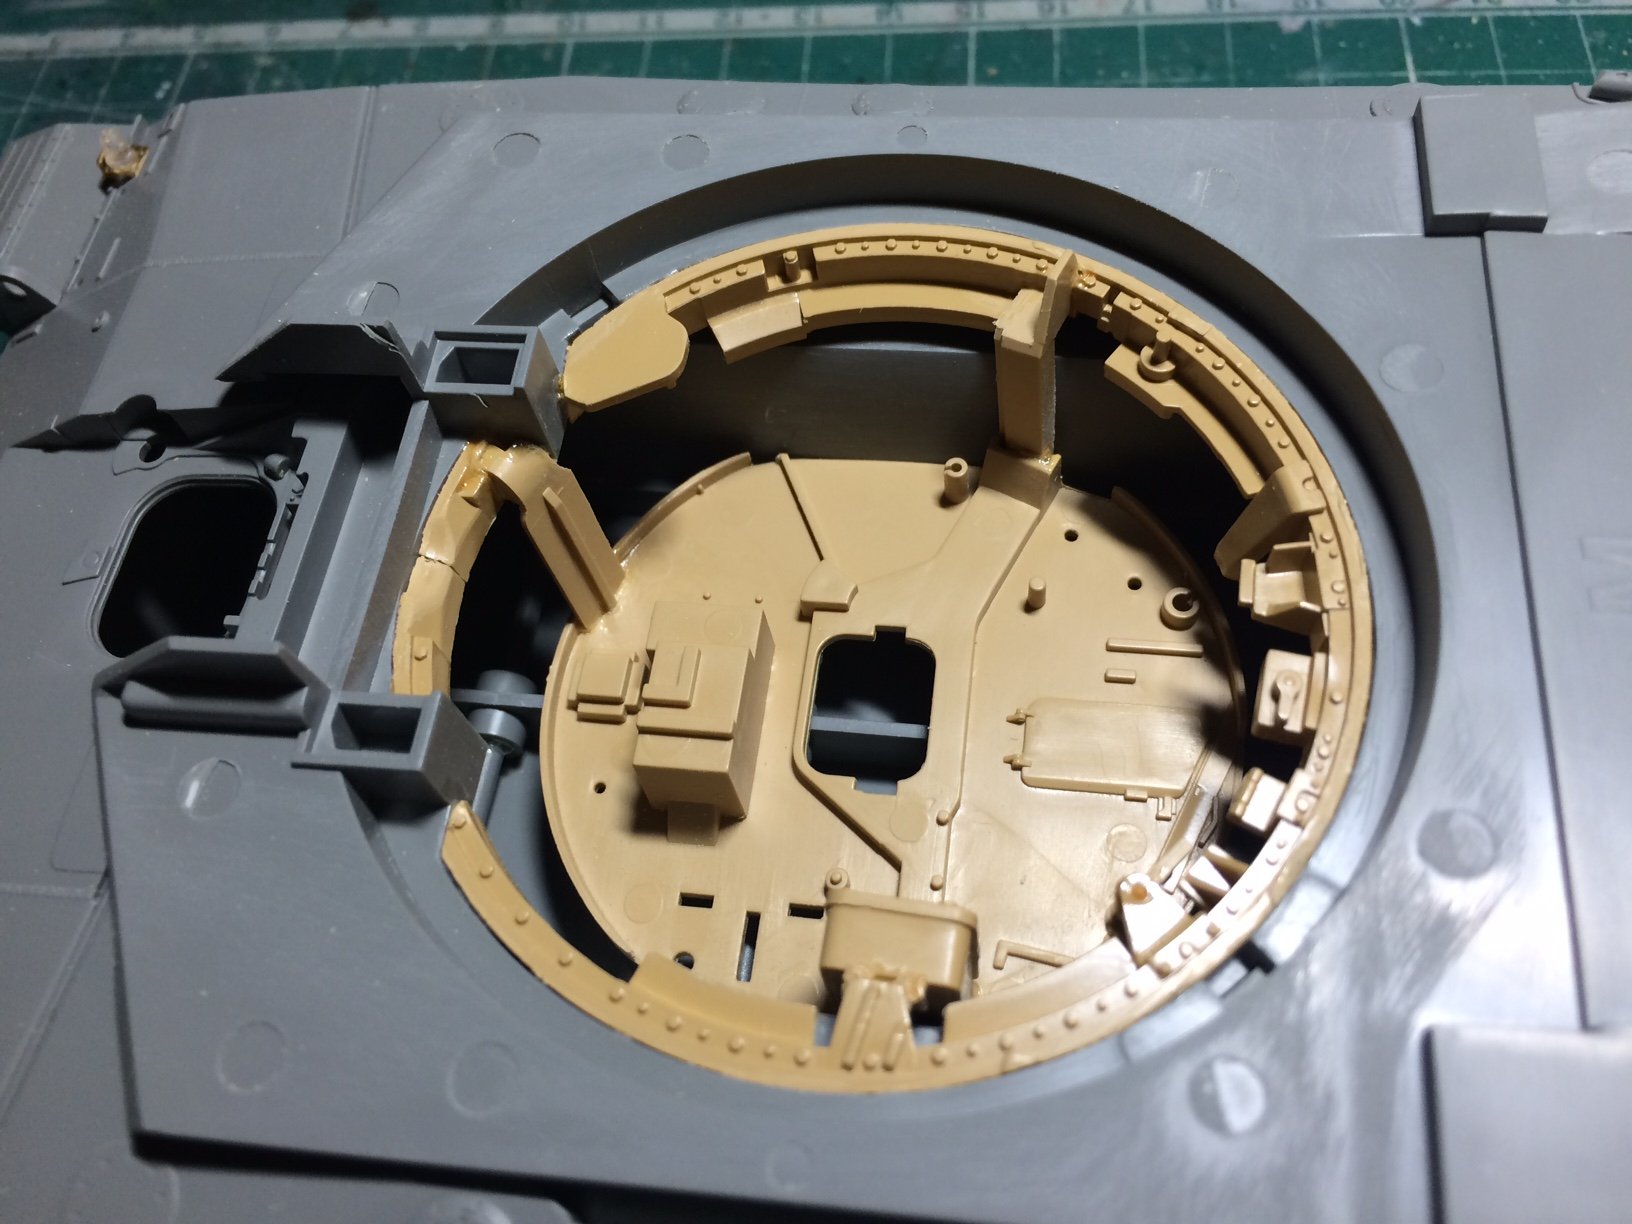
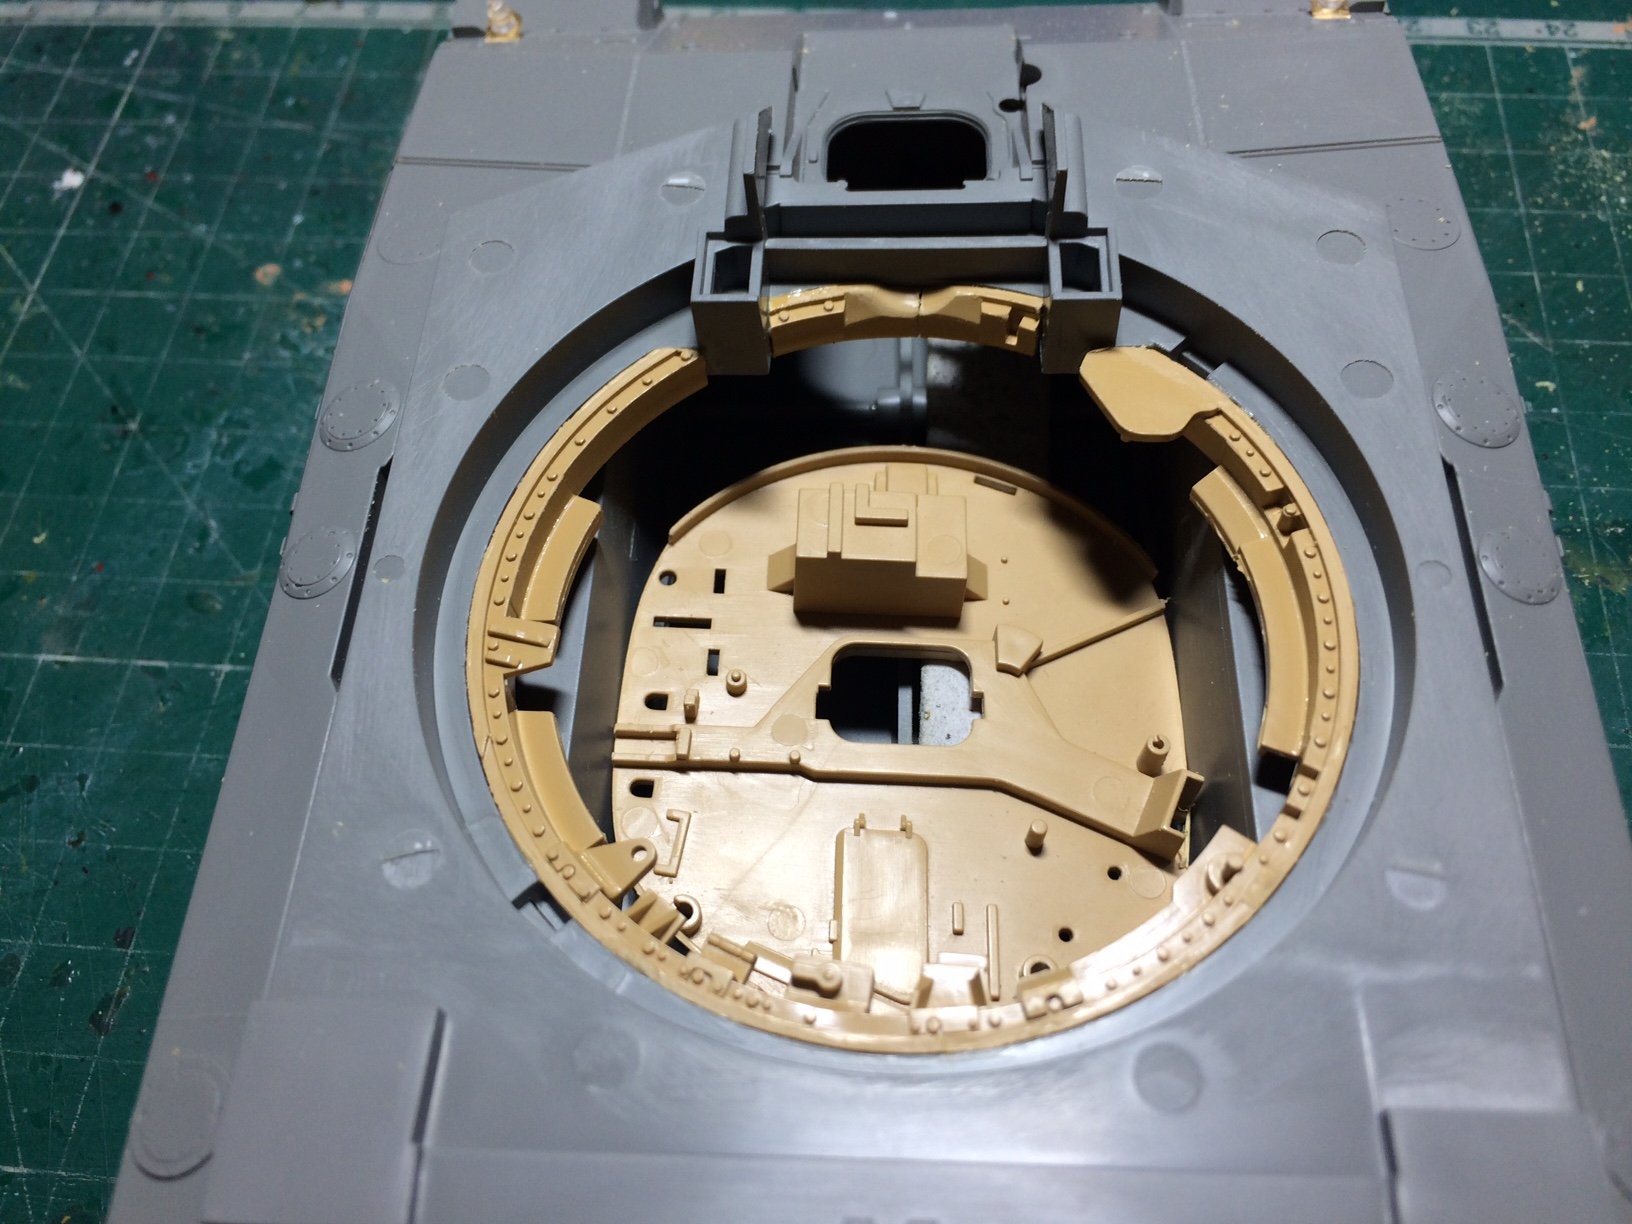
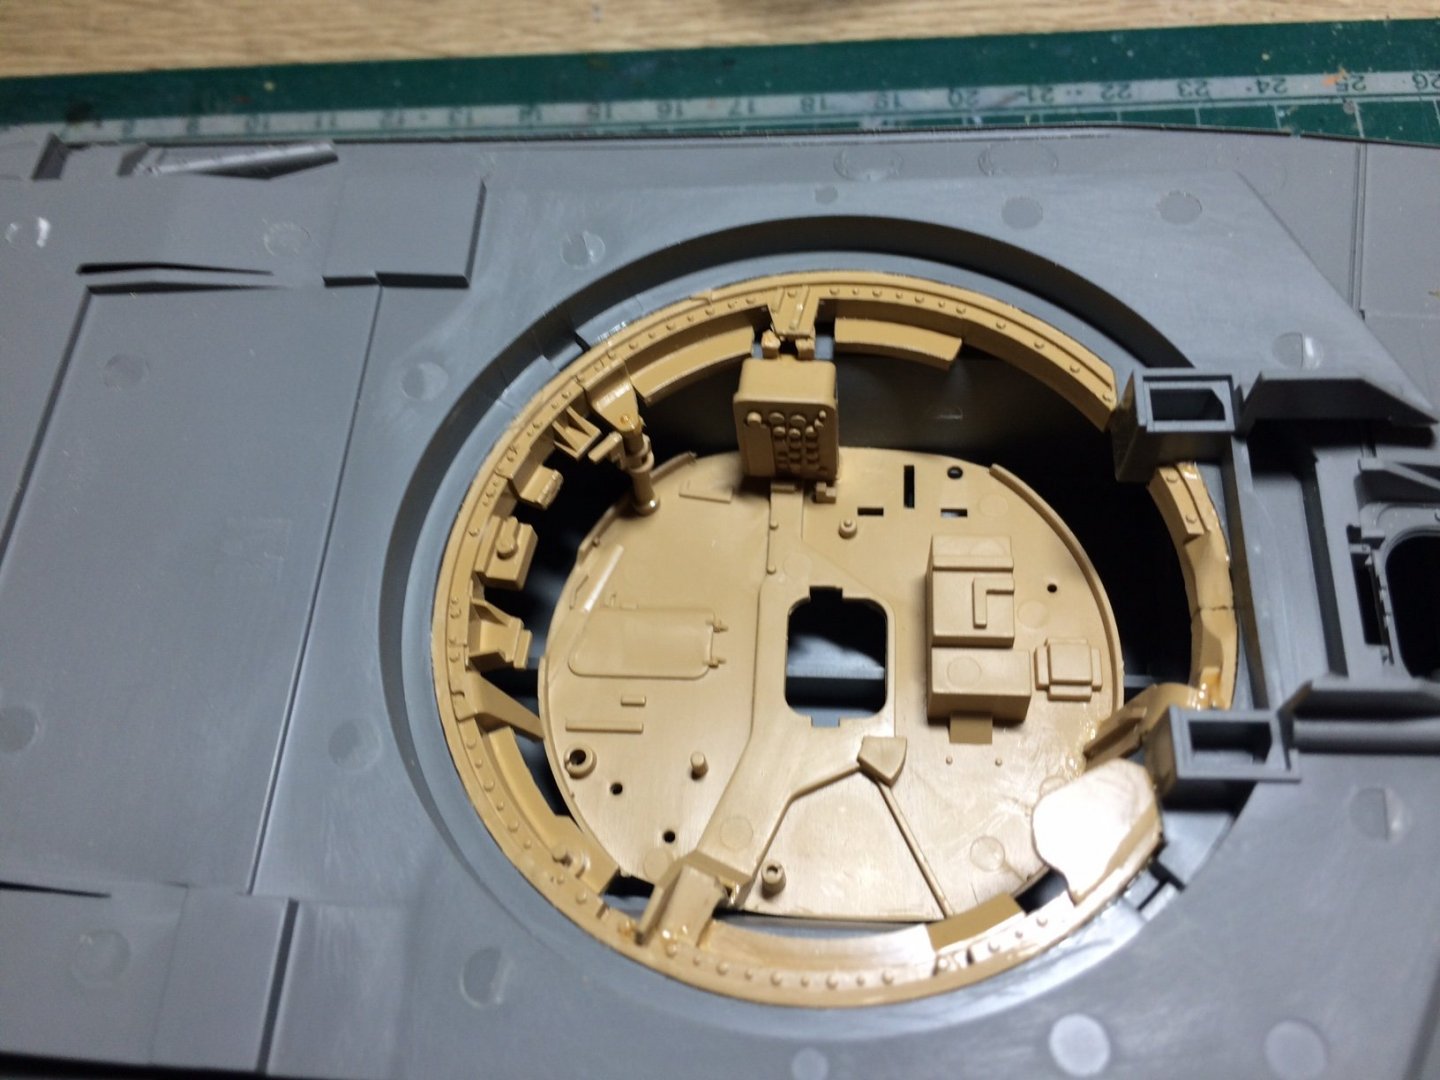
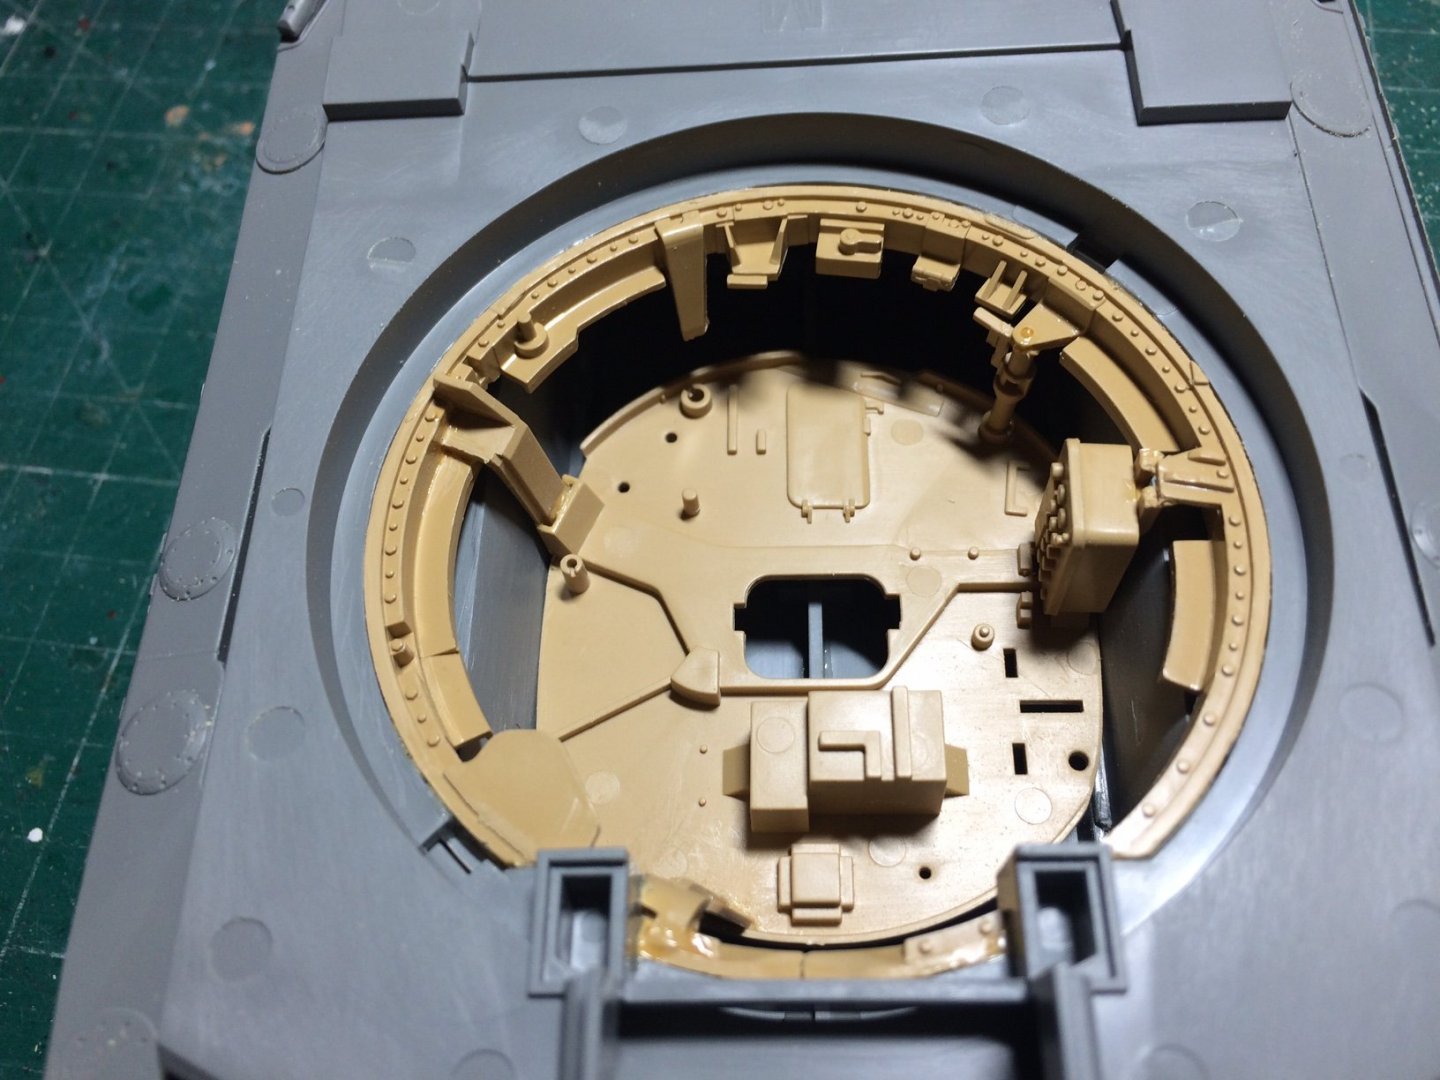
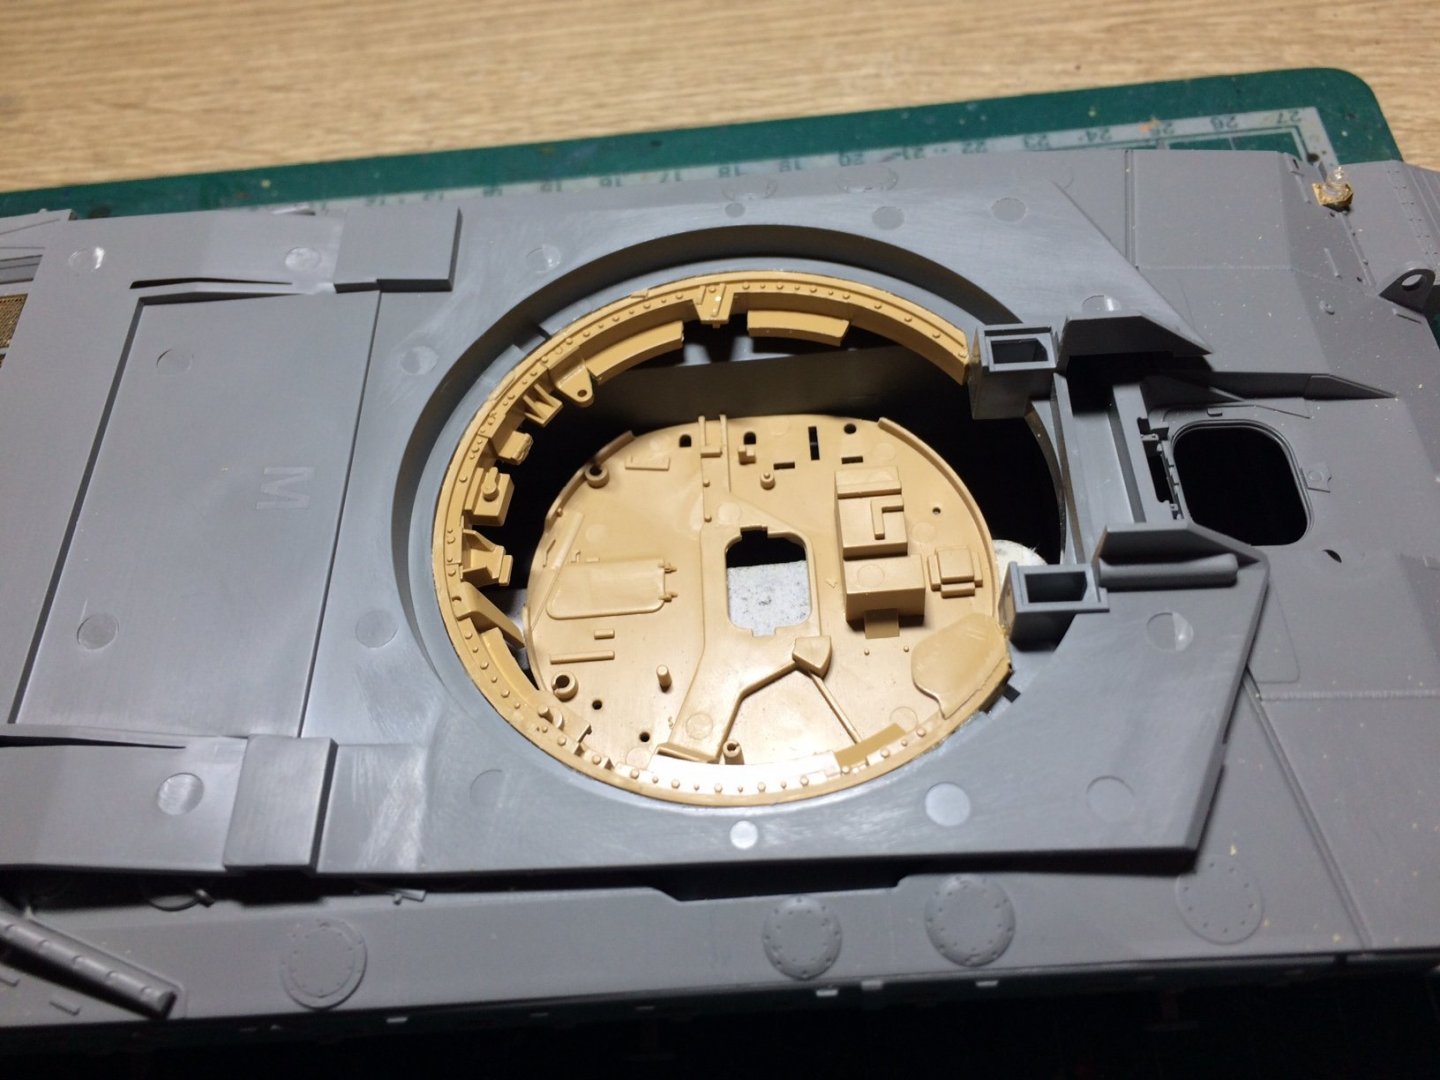
Evening all, more progress, next stage in the internal detail (battle) I mean build, is to compare the Chally turret ring with the M1 - yep quite a difference (the M1 quite a bit wider) the M1 ring also has all the detail on it - so I wanted to try to transfer the ring (part of it) over onto my Chally, this was not going to be easy as the only thing I could do was to follow a ridge on the bottom that is the right width I need, and to score through it with my scalpel blade till it went all the way through the plastic. Messy and nearly a dangerous job as the blade did slip a few times, but after about an hour of blade work it eventualy broke through, just a bit of clean up and a test fit - it needed to be slit then shaped a bit at the front thenglued in place while pushing against the rim, after I added a Two part edge under there the Breech will be. Think it will work.......... OC.

- 367 replies
-
- 11
-
-
Thank you Denis. OC.
-
Superb. OC.
-
That is looking Really nice. OC.