Old Collingwood
-
Posts
12,104 -
Joined
-
Last visited
Content Type
Profiles
Forums
Gallery
Events
Everything posted by Old Collingwood
-
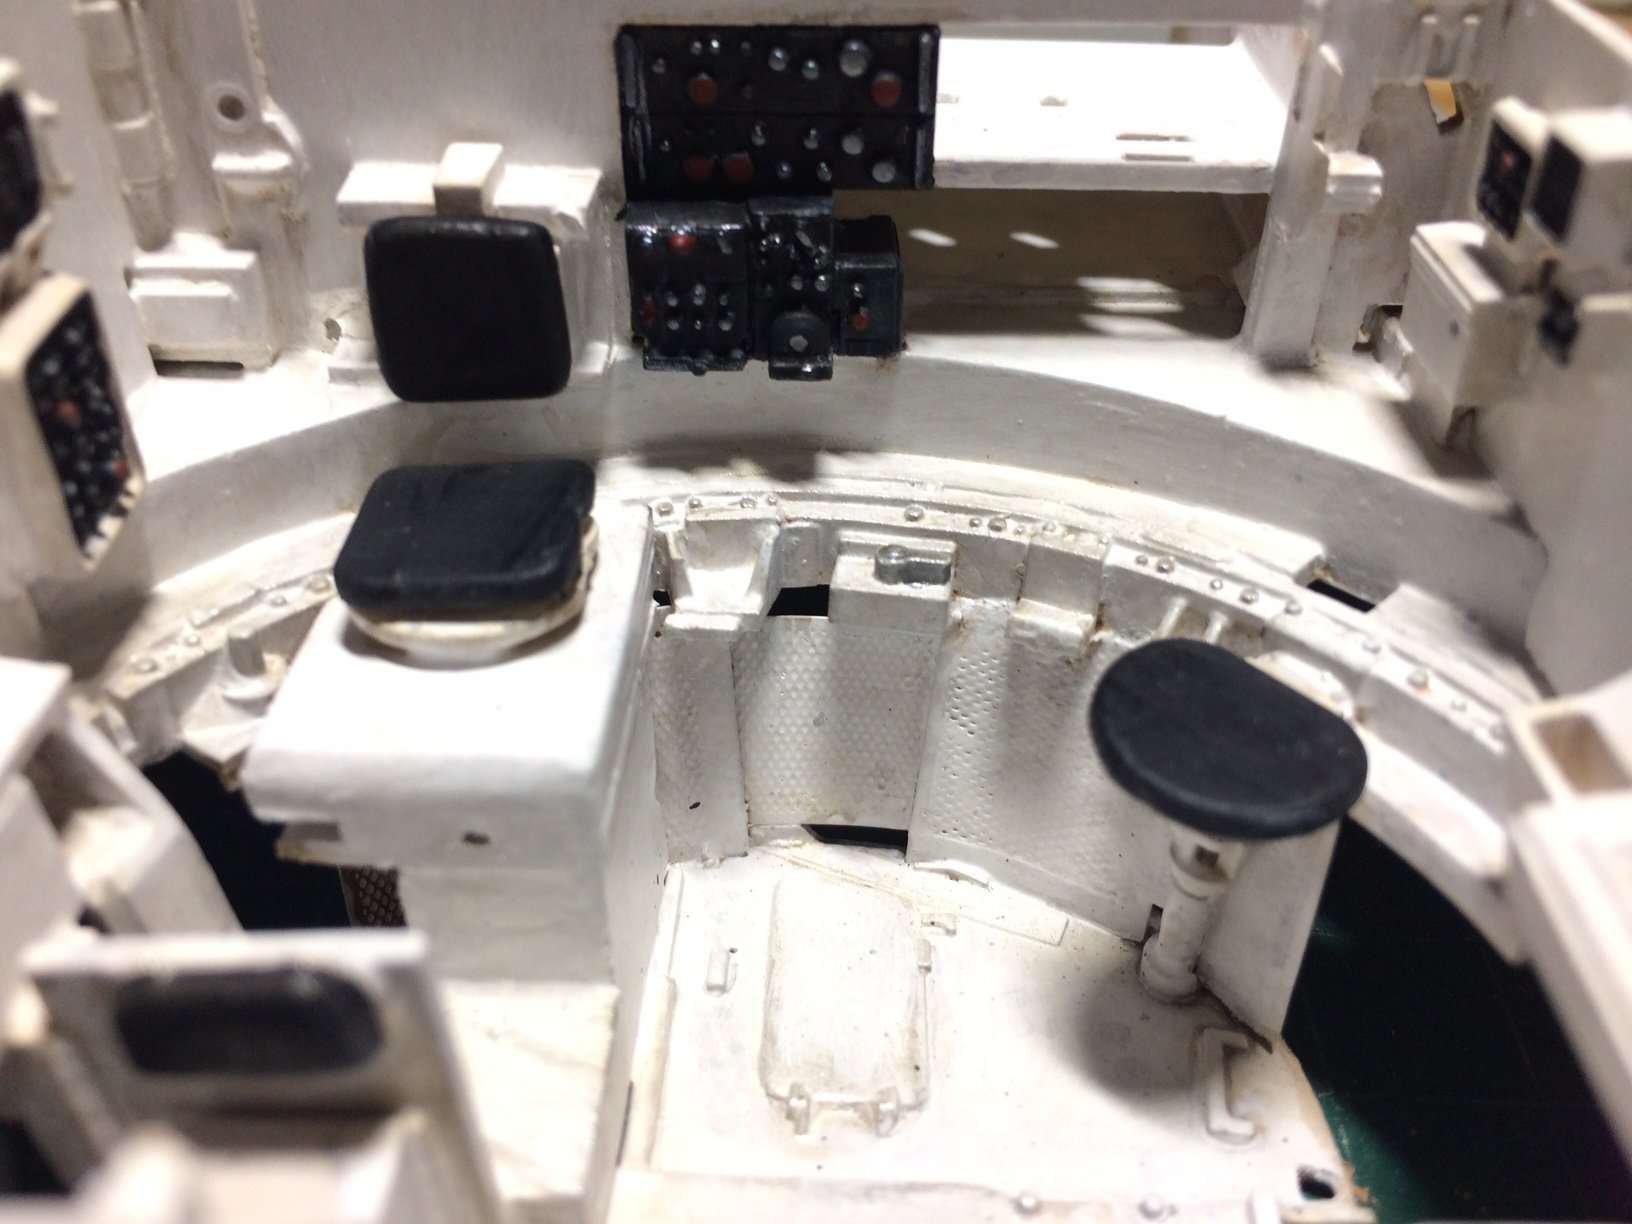
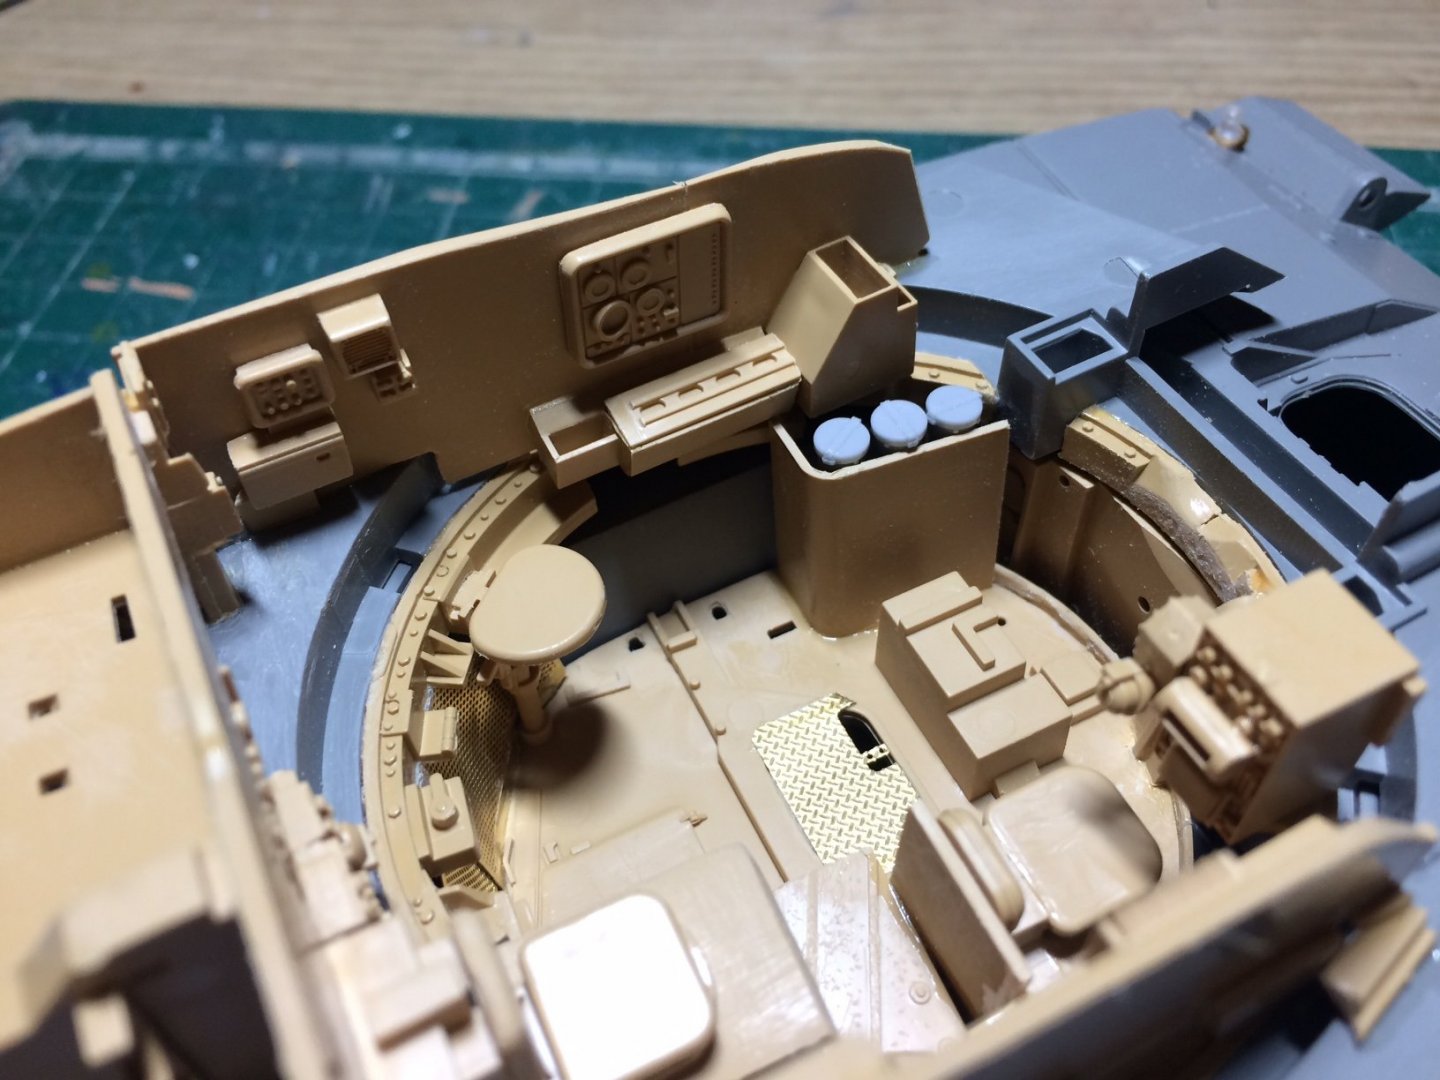
 Evening all, painting day - started with about Four thin layers of dull White, then it was the turn of the Black details, after this was dry I did a couple of thin watered down washes - this was then brushed off to leave just a few stained area, then I did some detail painting this was followed up with a bit of highlighting - I think it will do considering it wont be seen. OC.
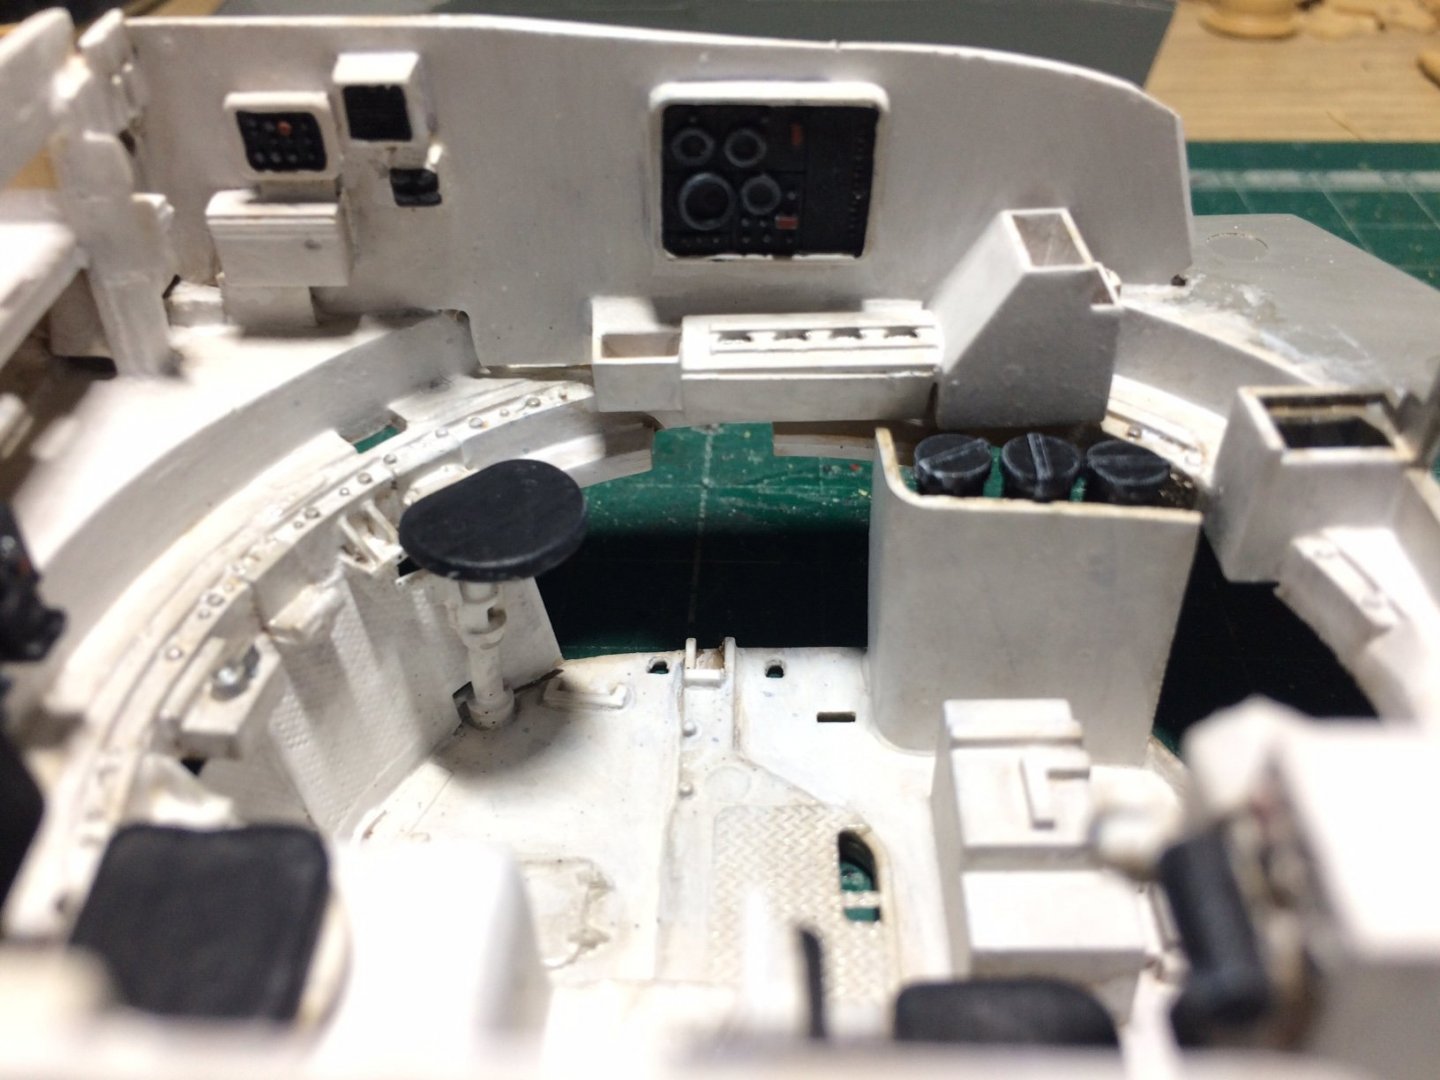

- 367 replies
-
- 11
-

-
Very very nice mate, a few type 23 builds out there - but this is up there with the best. OC.
-
You are doing more than fine with your (quite honestly - museum standard work) I can only hope that in a small way I can step in your shadow with my diorama when I get to that building stage. Just Amazing my friend. OC.
- 789 replies
-
- 10
-
-

-
I had a break from modeling last night as I was watching some rubbish tv (makes a change me sitting in the chair focused on the TV) however I have brought some washes for my Chally and M1 build, these are the AK Dust and Ammo by Mig Dark Brown Wash, trouble is I diddn't realize that they are enamel based, so whe I get round to painting/weathering the different paint types will be - Tamiya rattle can surface primer - its an alcohol based acrylic I believ, then the main paint layer again Tamiya rattle can same as the primer, then the Enamel washes and highlighting followed by the Tamiya Flat top coat again rattle can alcohol based laquaer (same one I applied over my planes). Hope it all plays ball. OC.
-
What an Amazing looking car, the word Car doesn't quite seem fit. OC.
-
Route master double decker bus by kpnuts 1/24 revell
Old Collingwood replied to kpnuts's topic in Non-ship/categorised builds
Excellent job, yep I have actually been on one. OC. -
Thats looking really nice brother - that paint went down nice a smooth - brushing can be a headache - ask me how I know.........as he leads you to his Warspite Build.😉 OC.
-
Looking forward to you returning to this Phil, all the best mate. OC.
-
Excellent finish mate. OC.
-
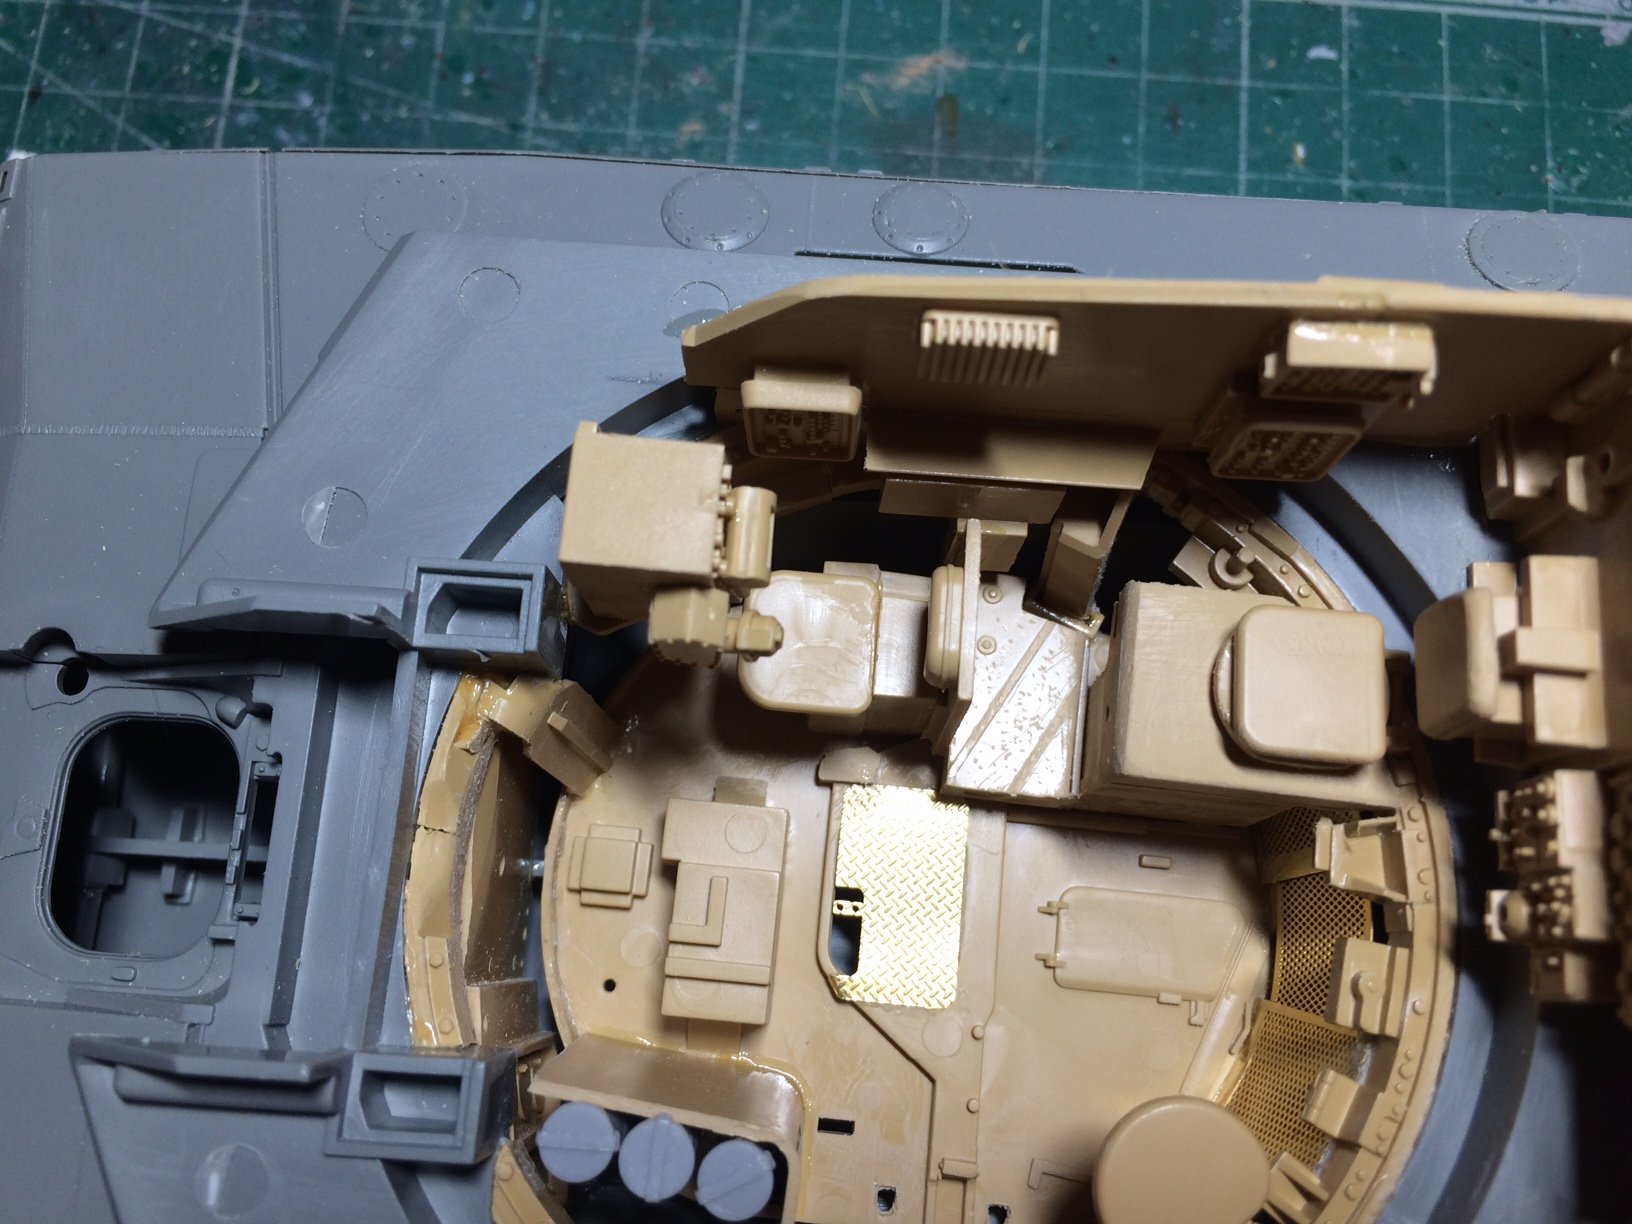
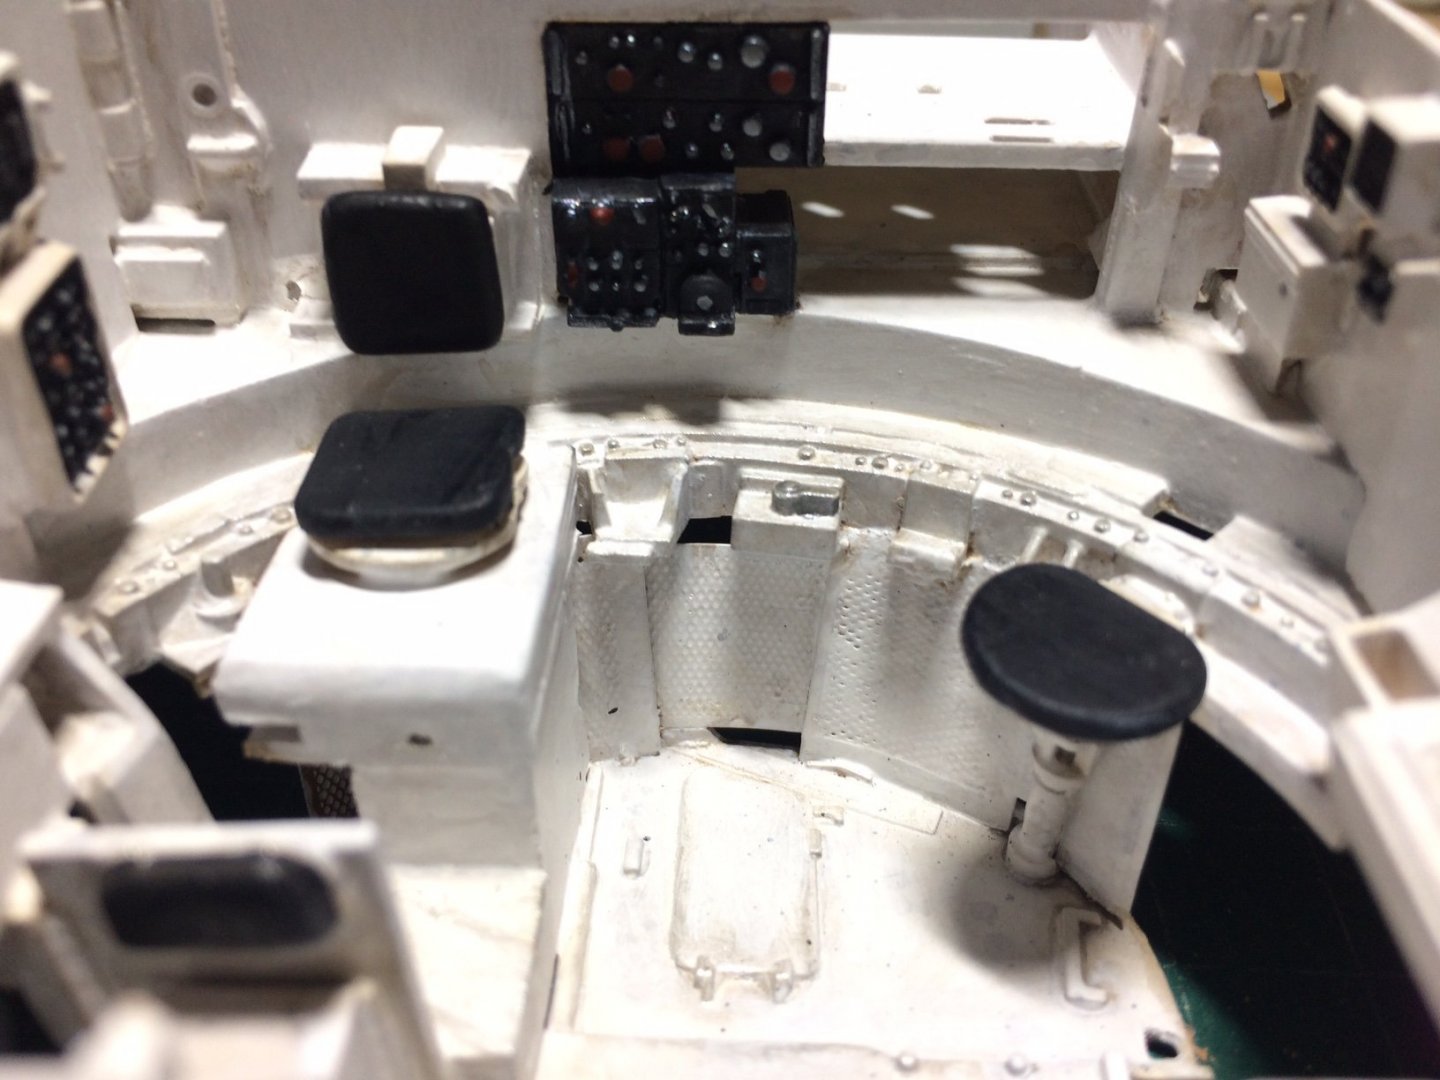
Evening all, a bit more done this eve - I made the Two radio sets and fitted them on the rear bulkhead next to where ther APFDS rounds are kept, then I made the forward hull bulkhead, this needed a bit of trimming to get it to fit, I then made the forward turret second stage ammo bags frame, and glued in place a few of the resin bags. OC.
-
Thank you kindly Phil. OC.
-
Fantastic work Ekis - just jaw dropping quality. OC.
-
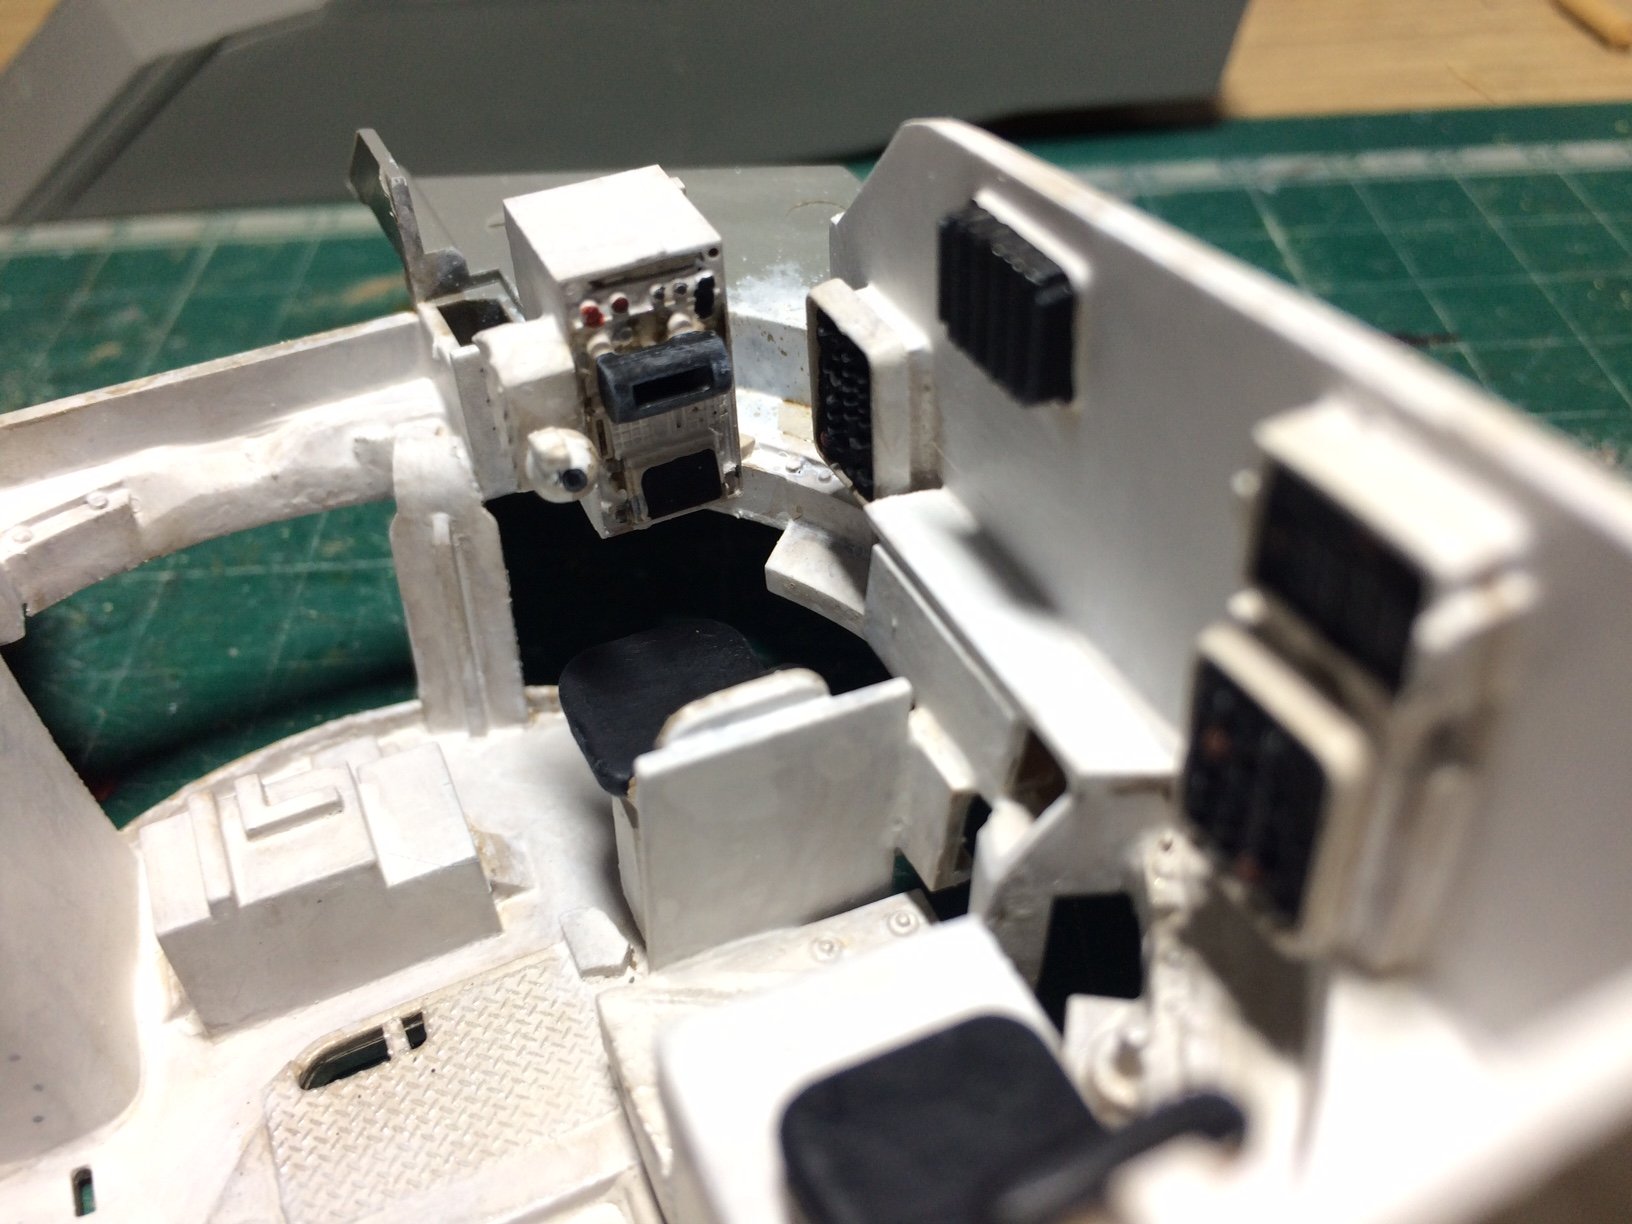
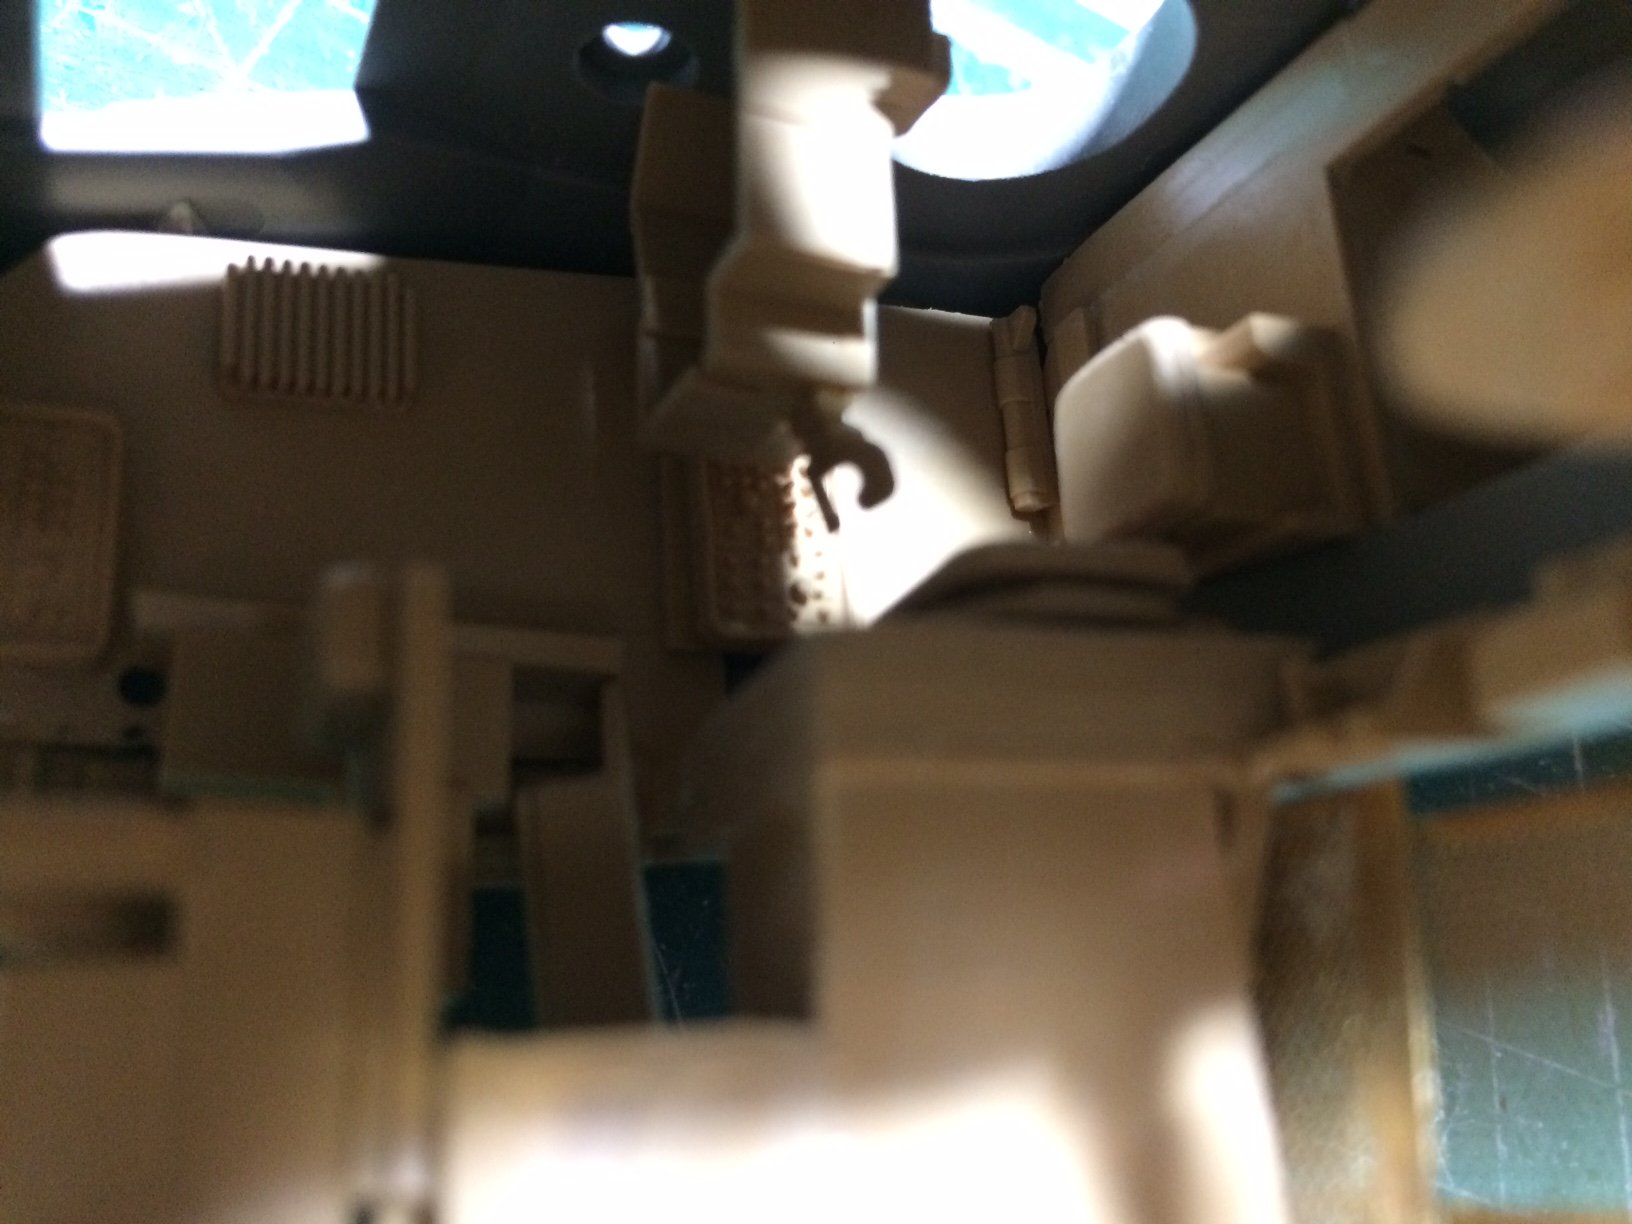
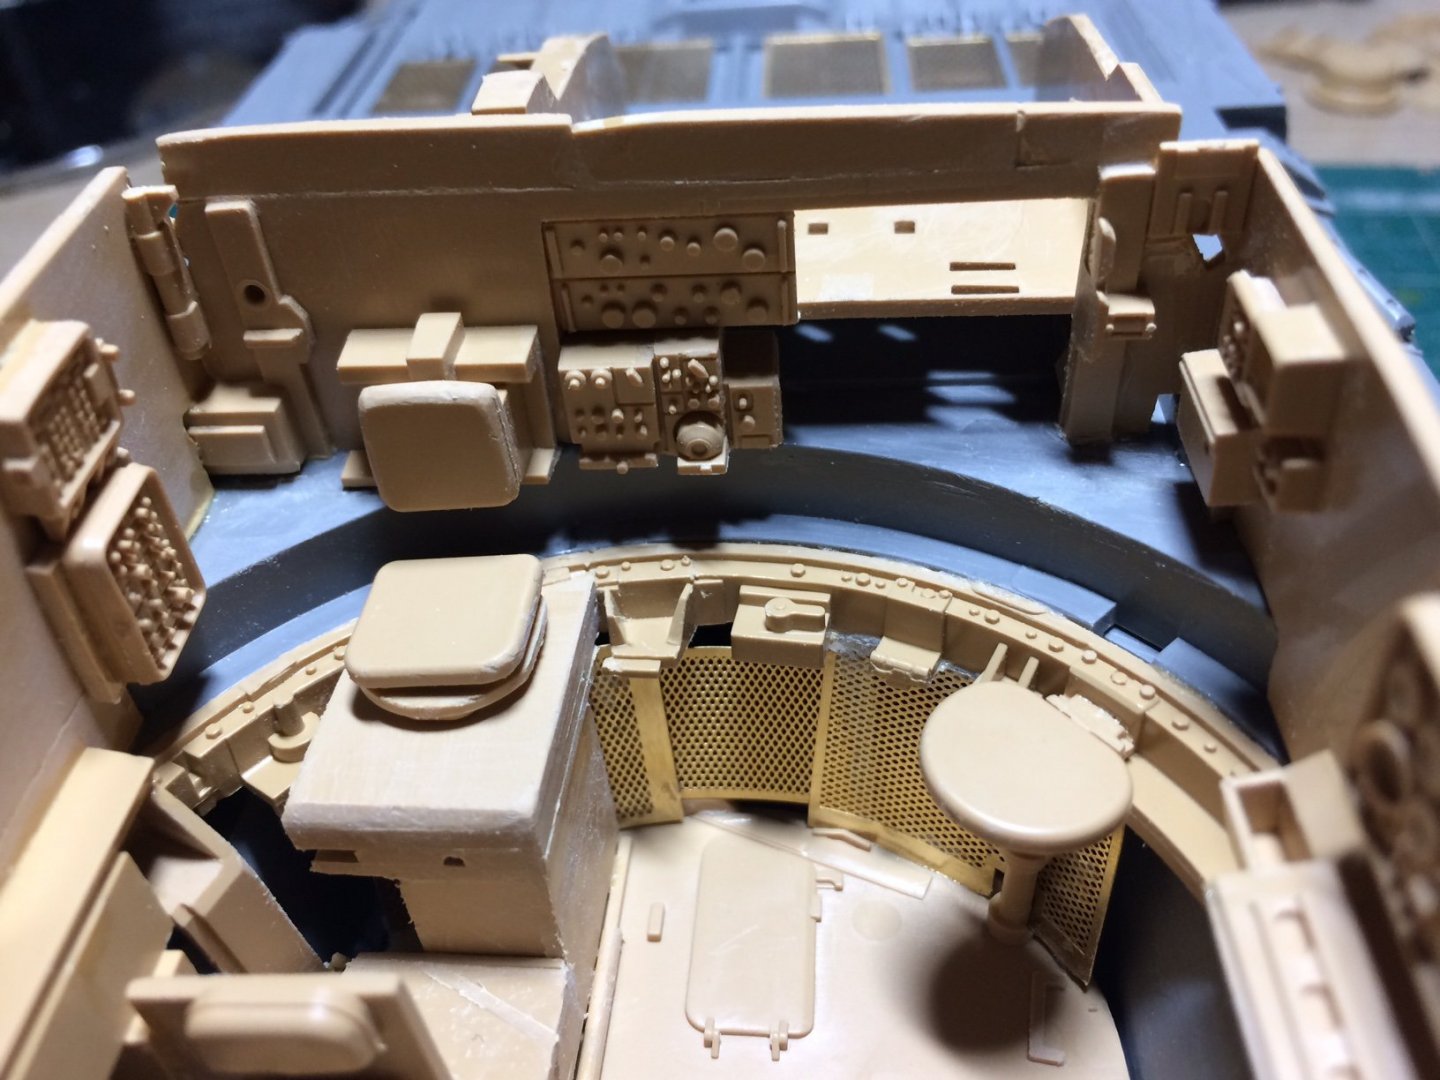
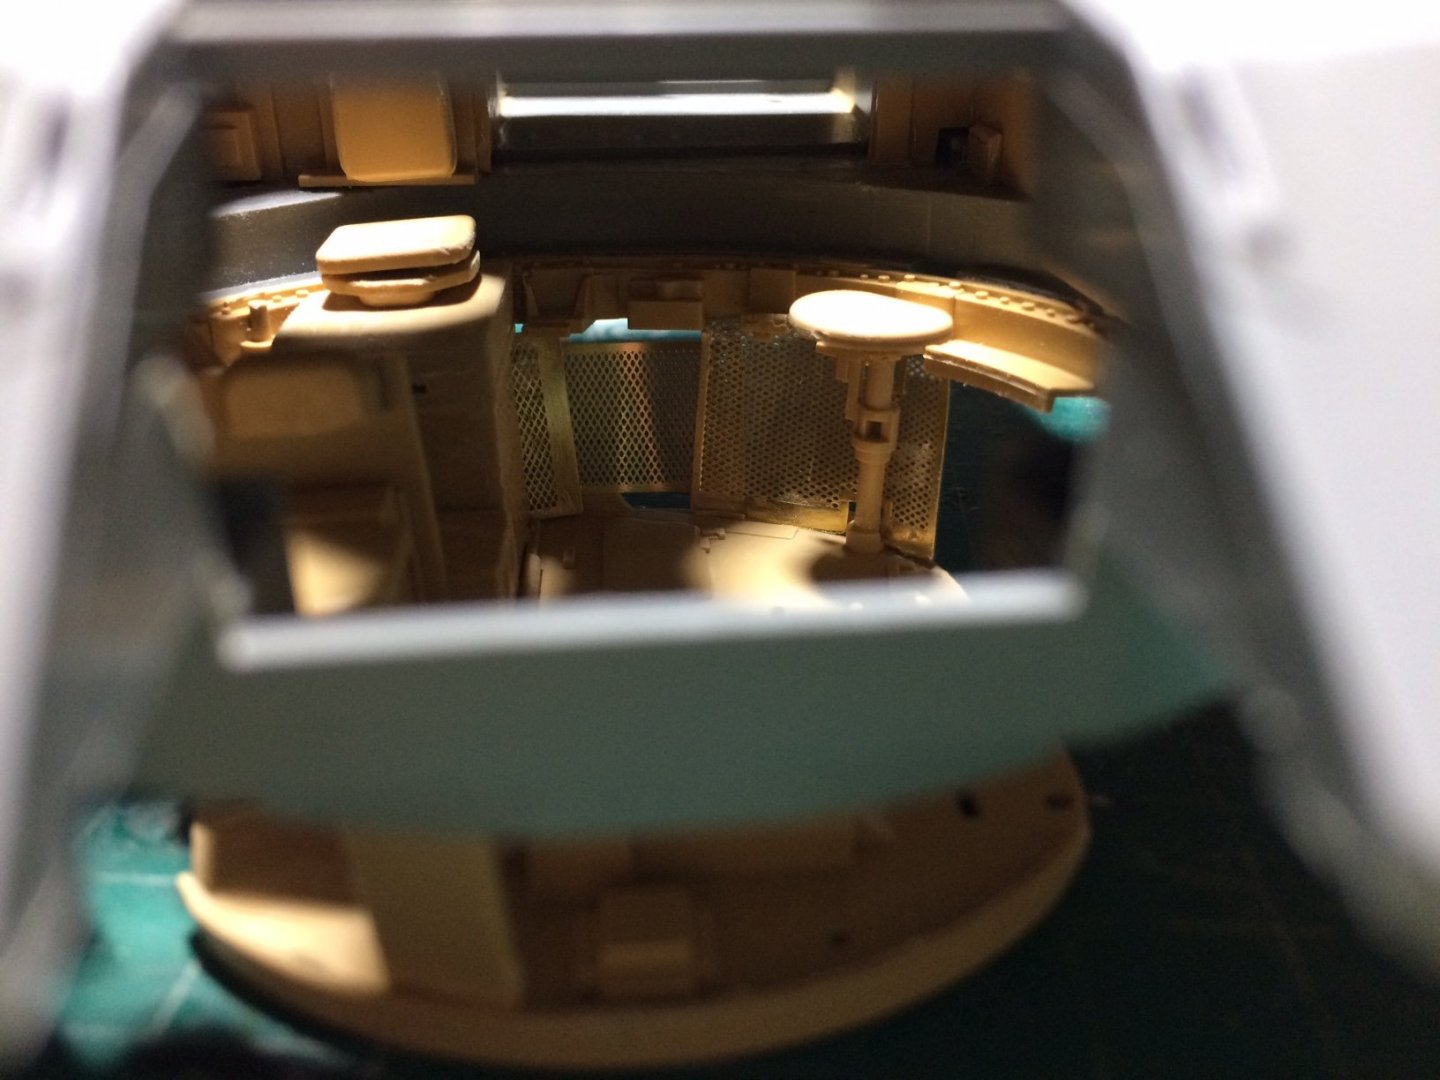
Evening all - more turret building starting with adding some control panels to the turret walls and some other bits and pieces, then I worked on the sighting equipement - these were made up from the M1 parts but modified to simulate as much as possible to the Chally versions, they were then placed where they go. Some more cheely views through the turret holes. OC.


-
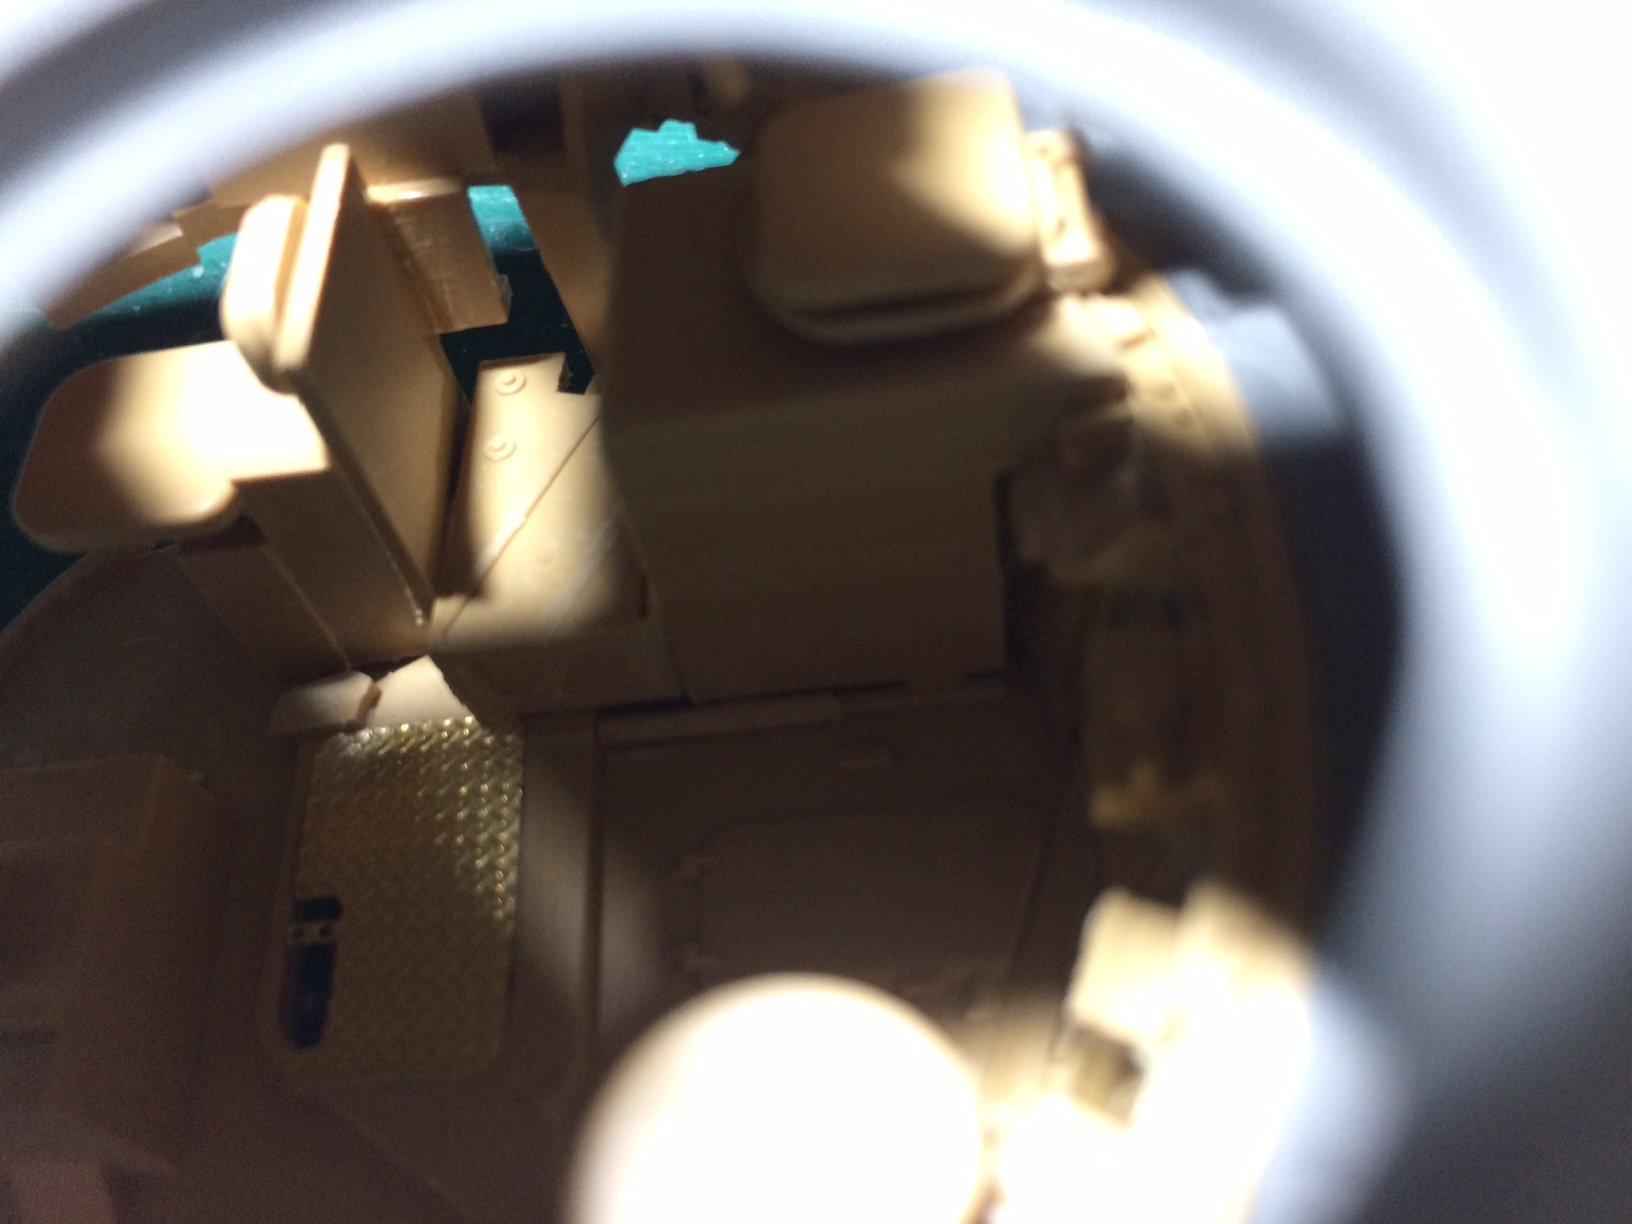
Thanks Ken, I just stuck the part of the phone lens close to the opening and fired away. OC.
-
I quite enjoy browsing site for models on the net from Accurate Armour - Ebay. OC.
-
Thank you kindly Mark, its a lot of imagination work - trying to work out how it all fits together in the real turret, would have been so much easier if they had made it a Full detail kits like it is with the M1, but guess not as much fun as bashing it this way. OC.
-
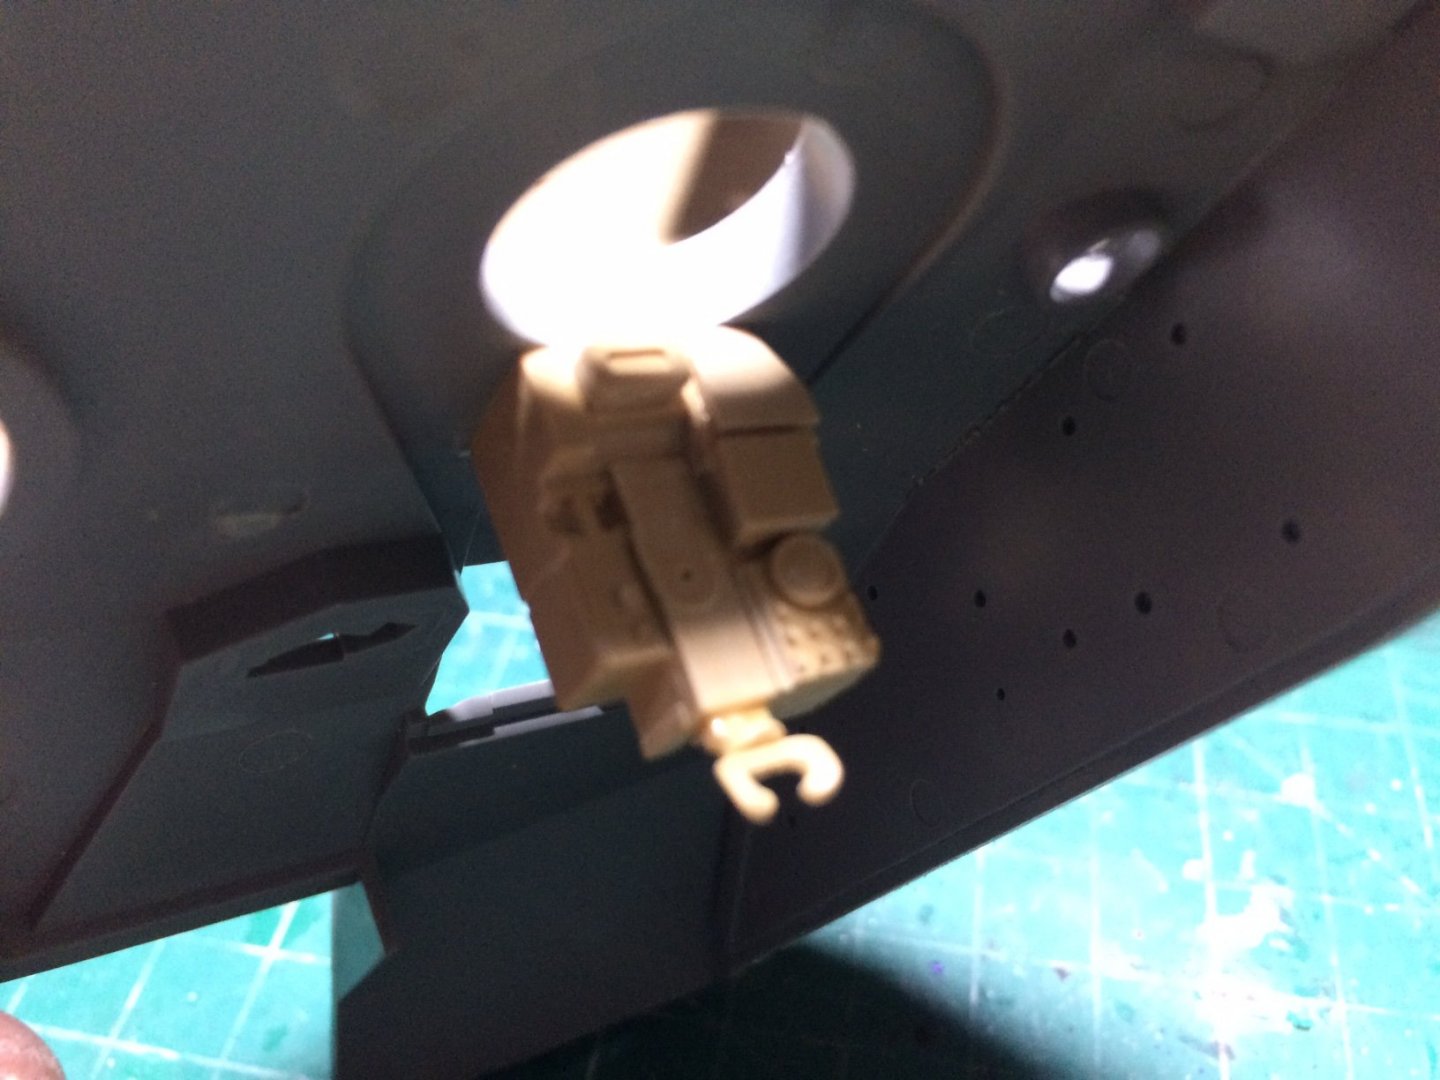
Evening all - more progress - starting to construct the turrets inside walls as they re quite thick in the Challenger, I had to construct them using some odds and ends - joined together and shaped. Thought I would take a sneaky pic through the barrel mantlet...... OC.

- 367 replies
-
- 11
-
-
Thanks Mike, its tricky work as the Two tank interiors are quite different - so it takes a lot of kit bashing/fettling. OC.
-
Looking good my friend, how you got those body decals to play ball is amazing. OC.
-
Looking excellent. OC.
-
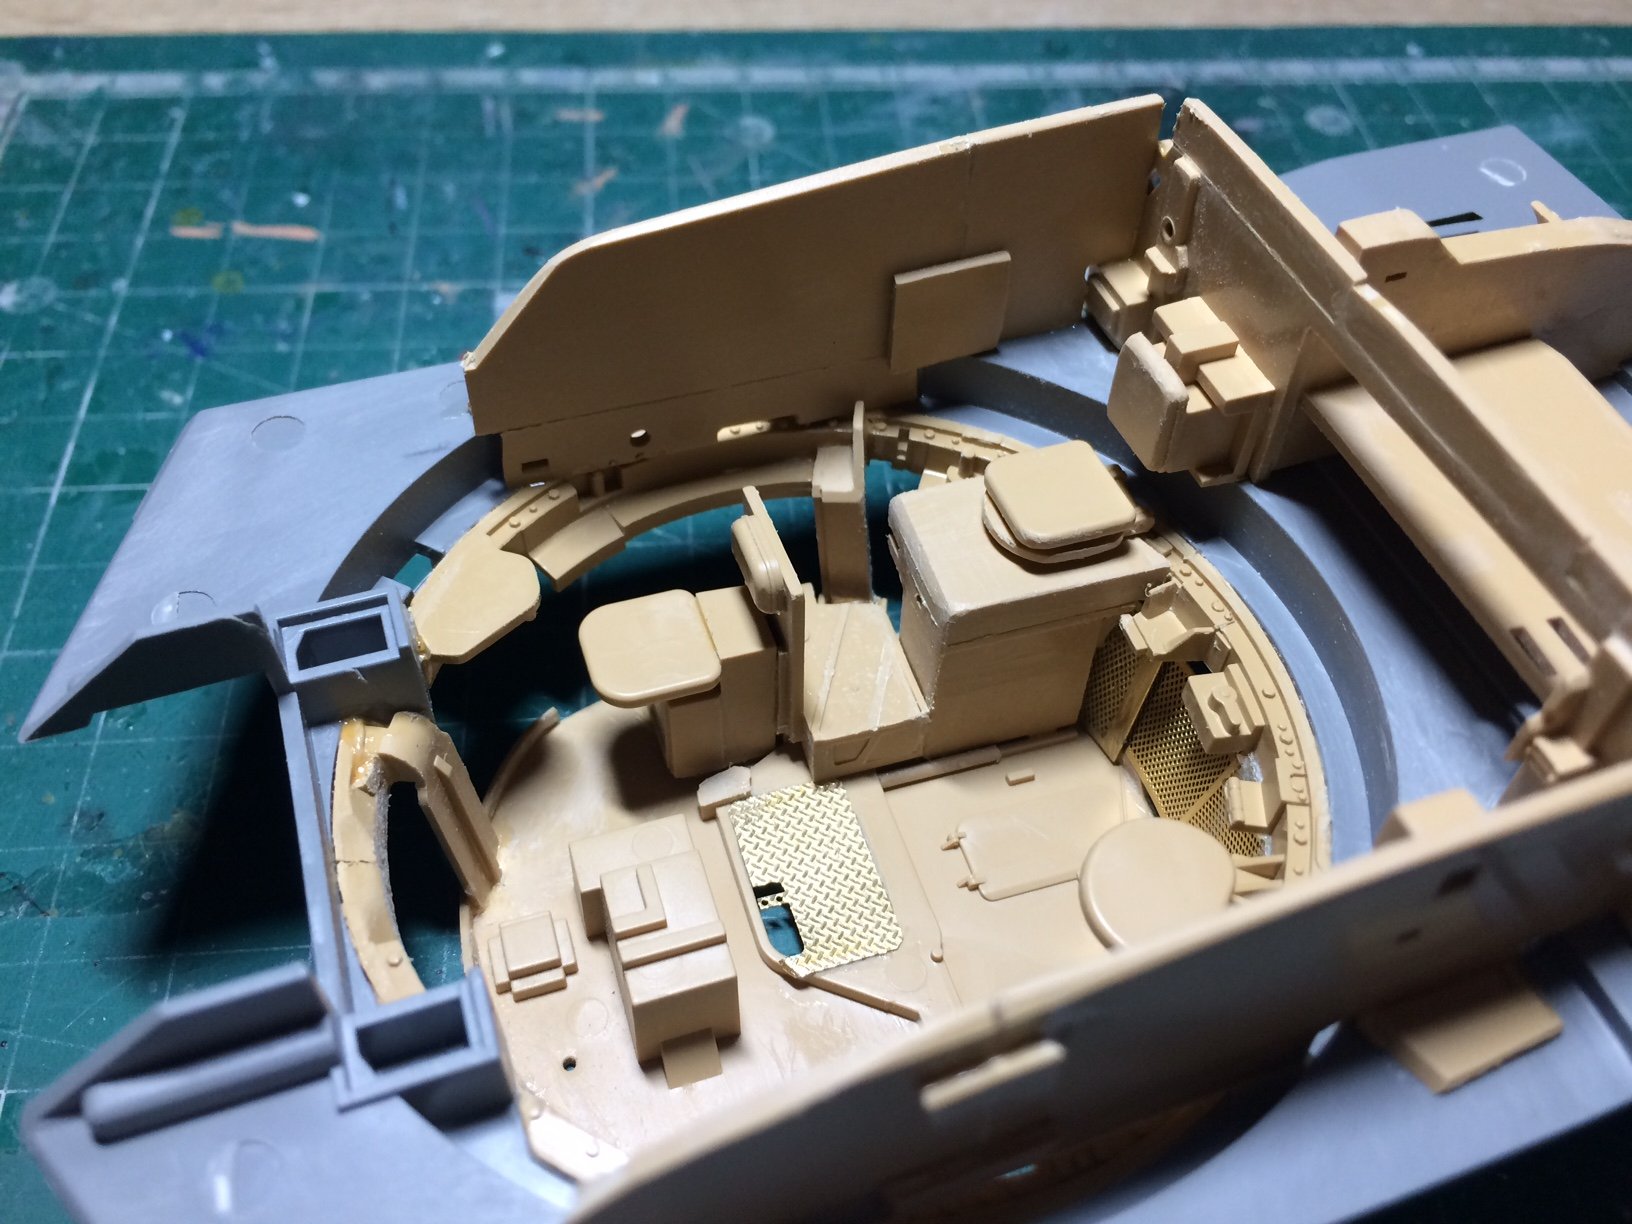
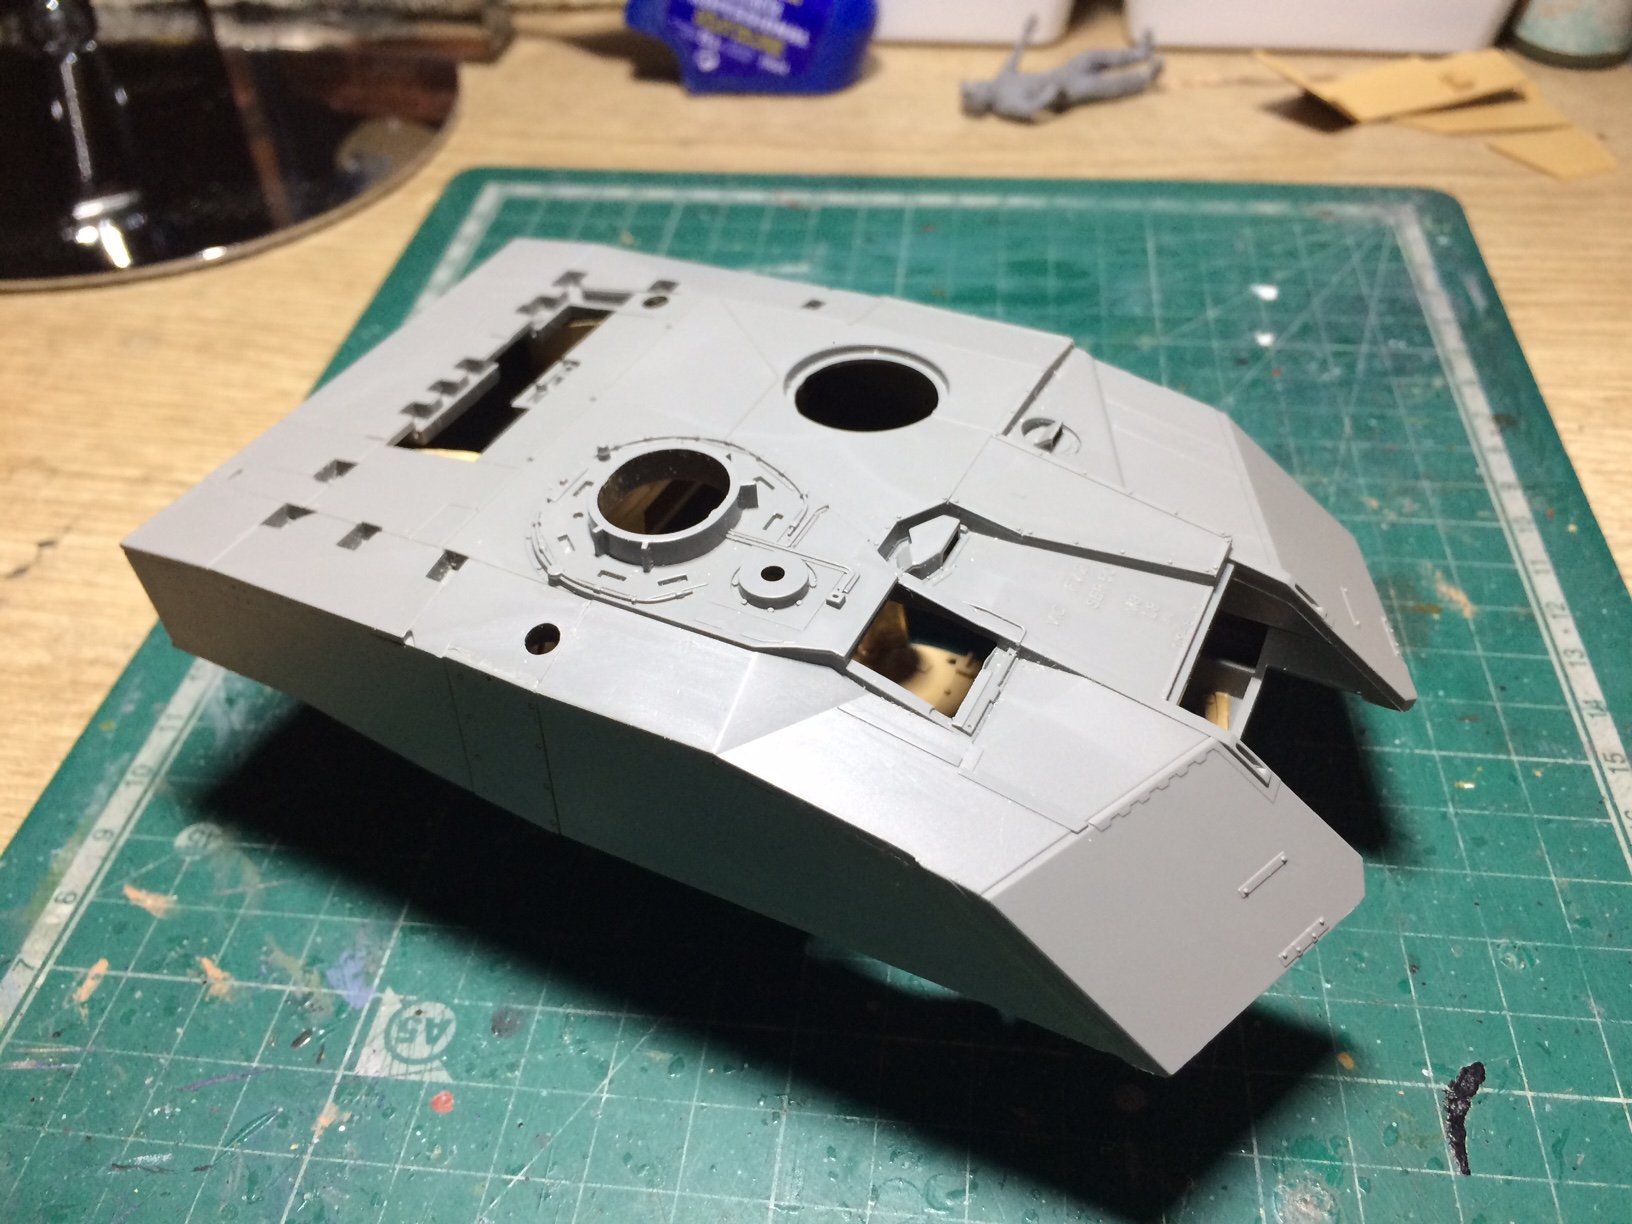
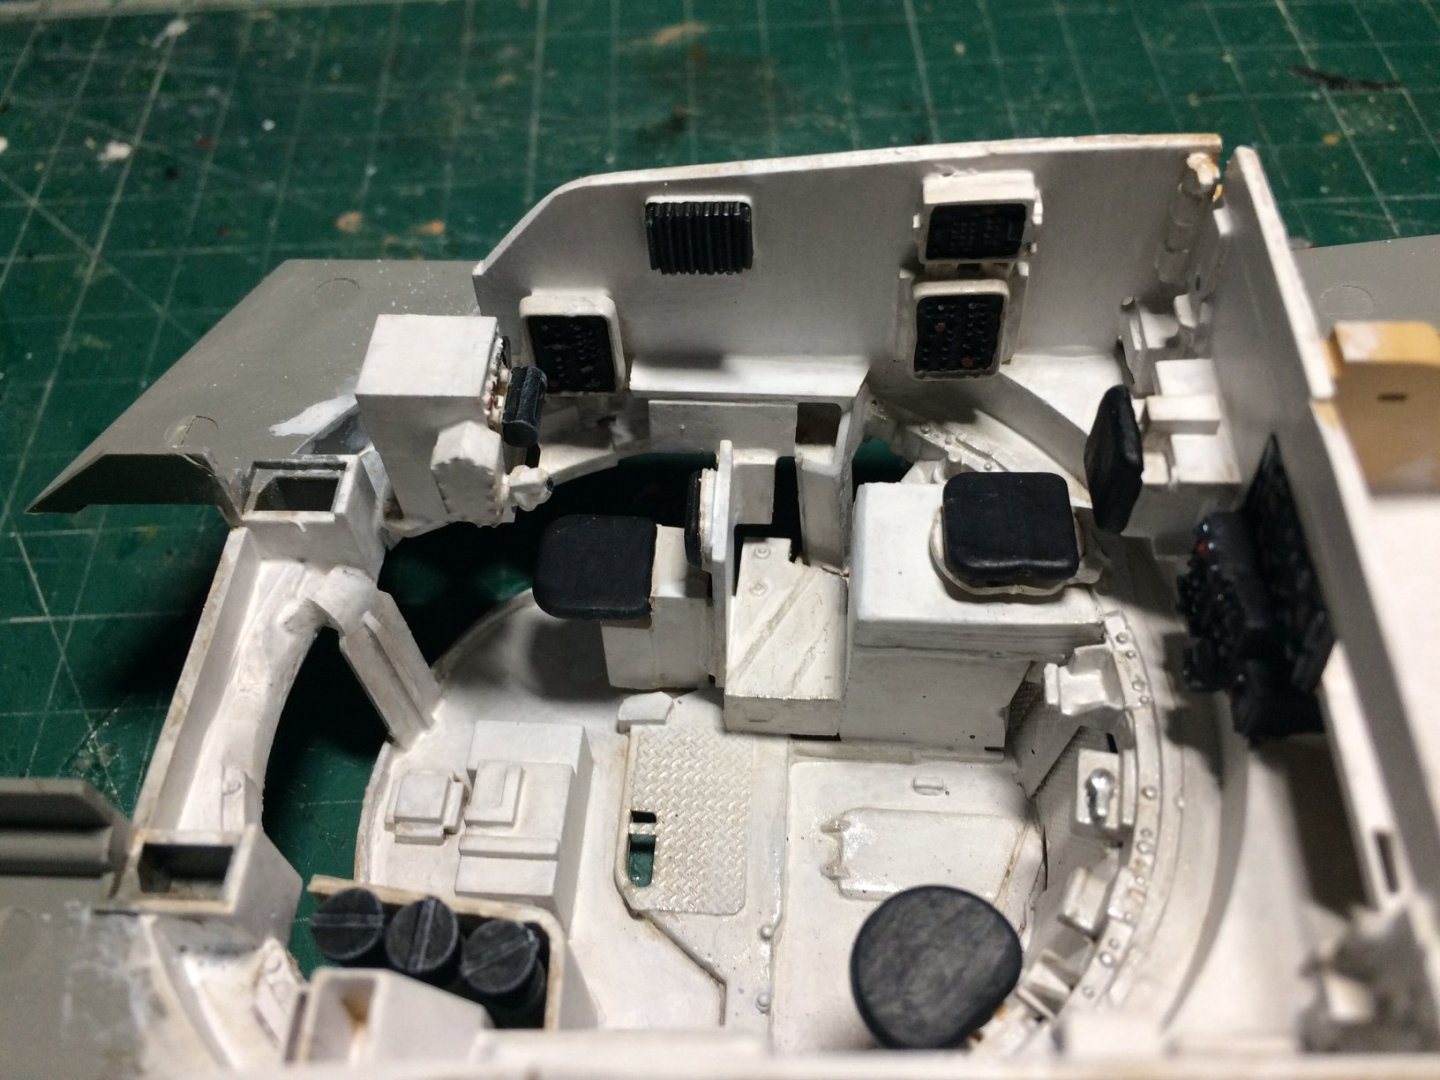
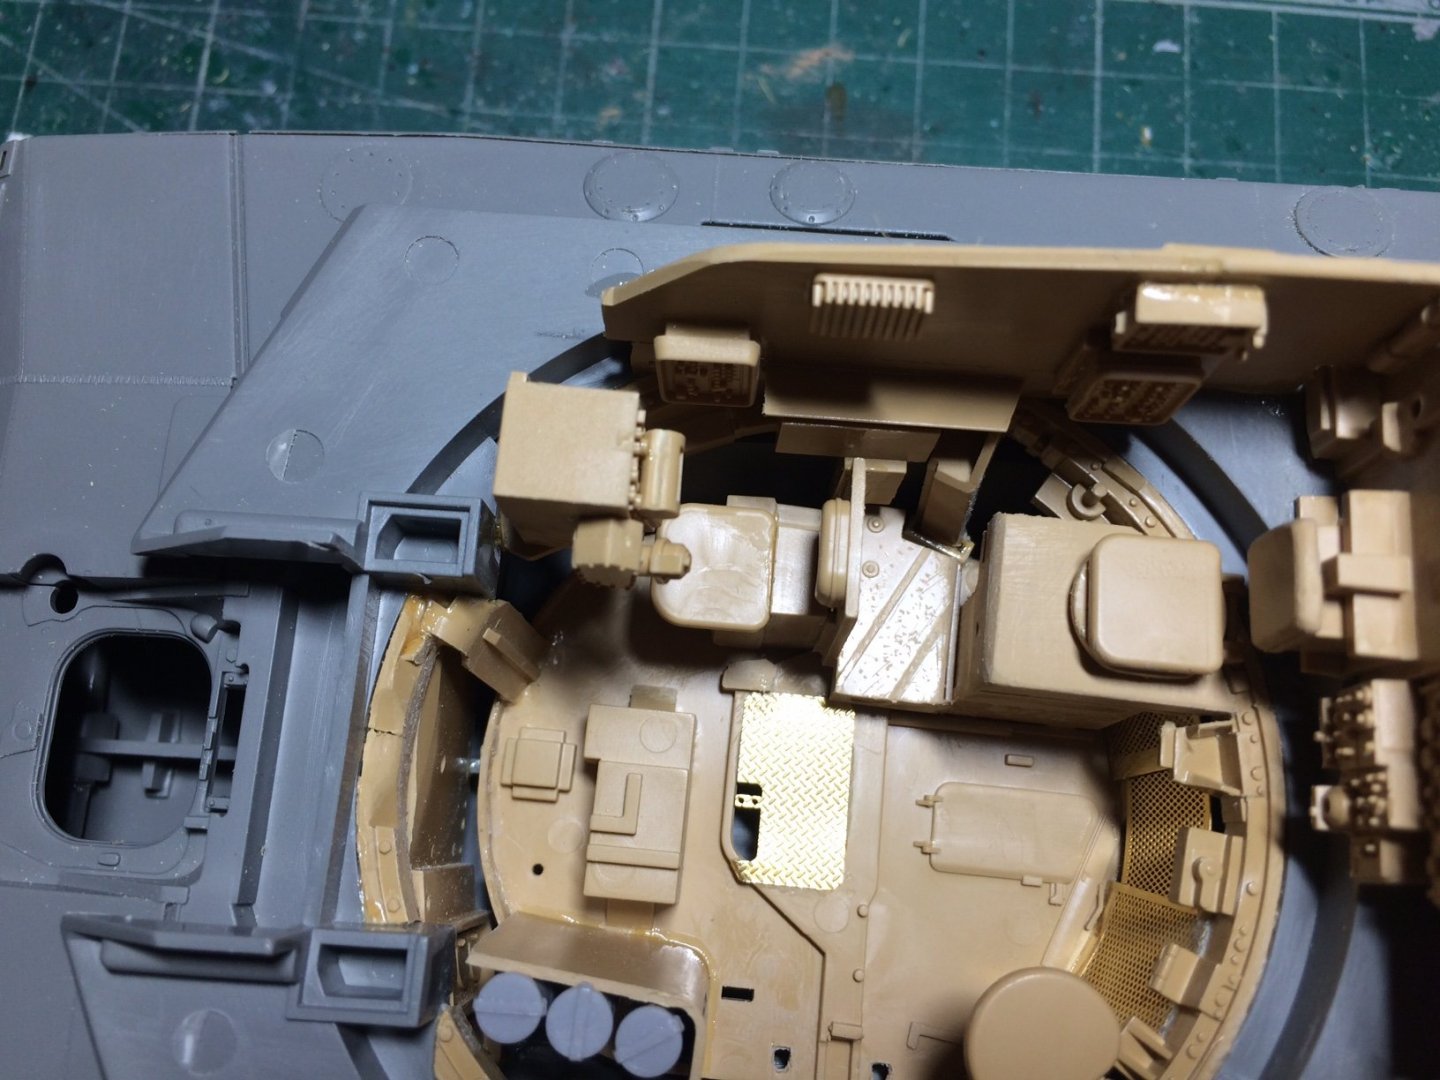
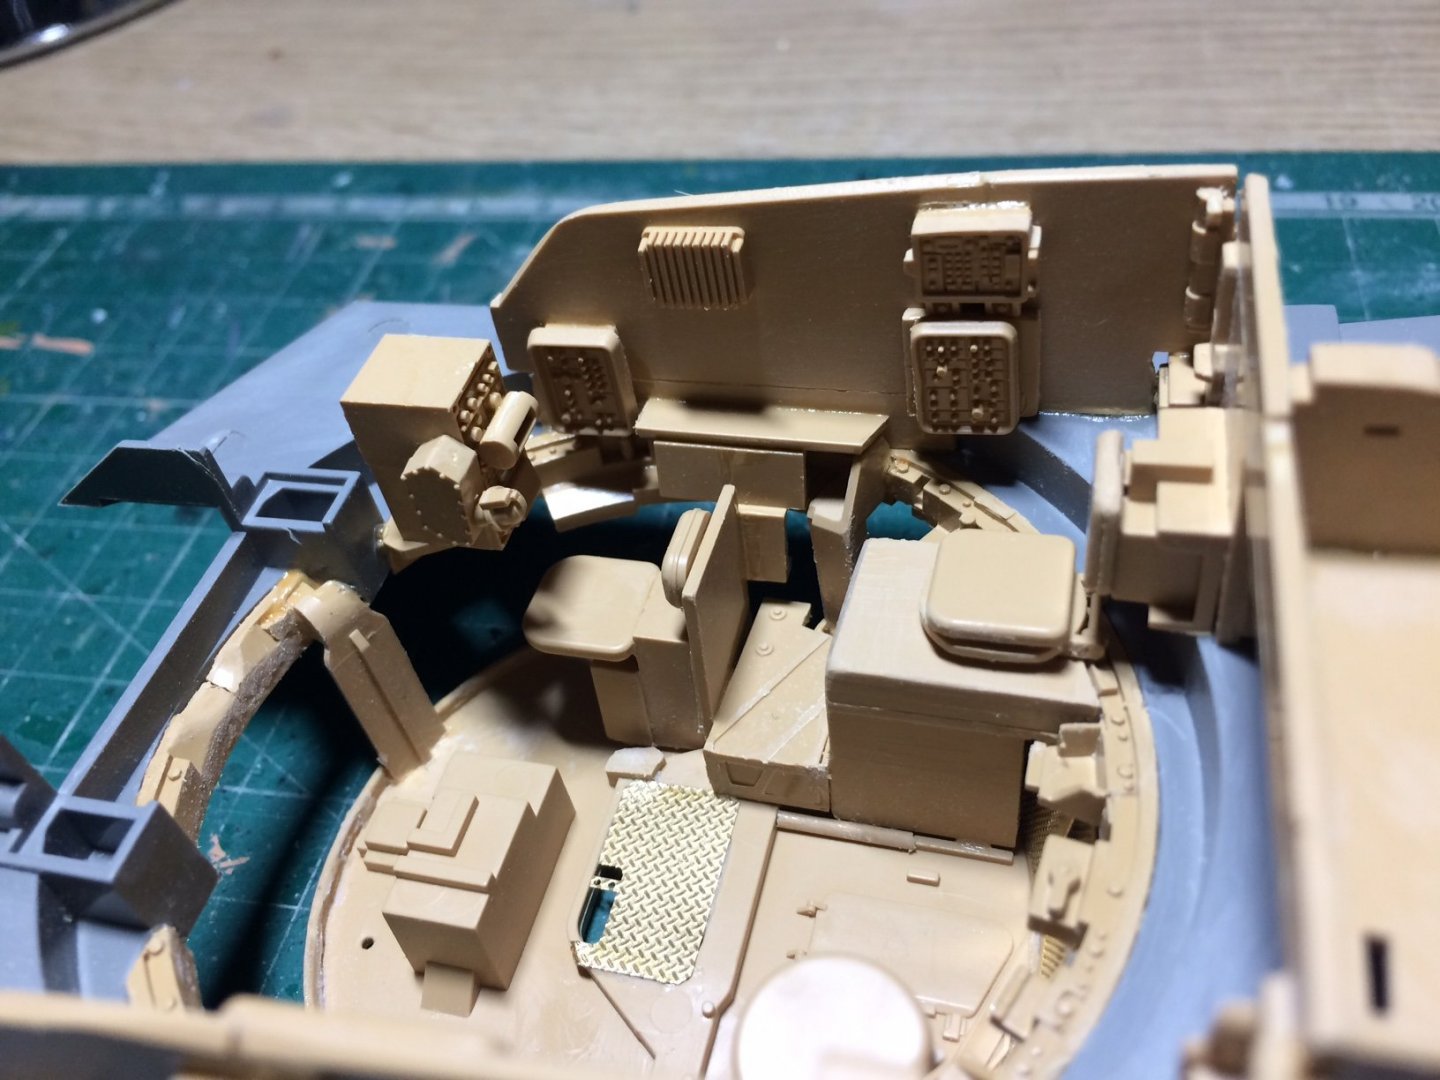
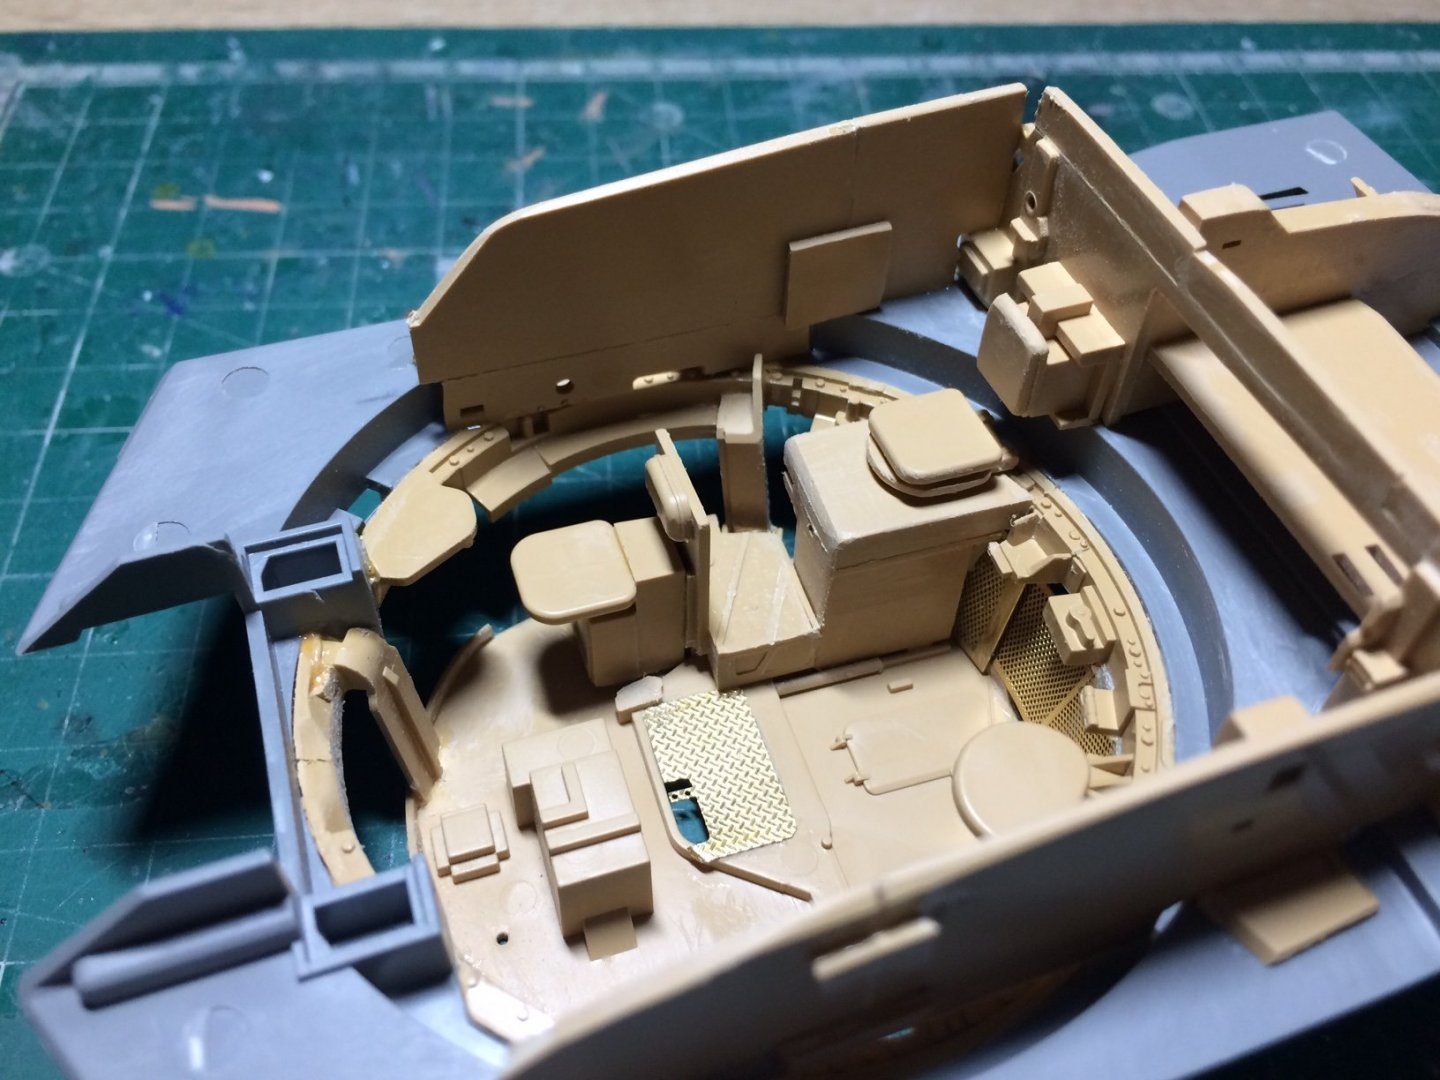
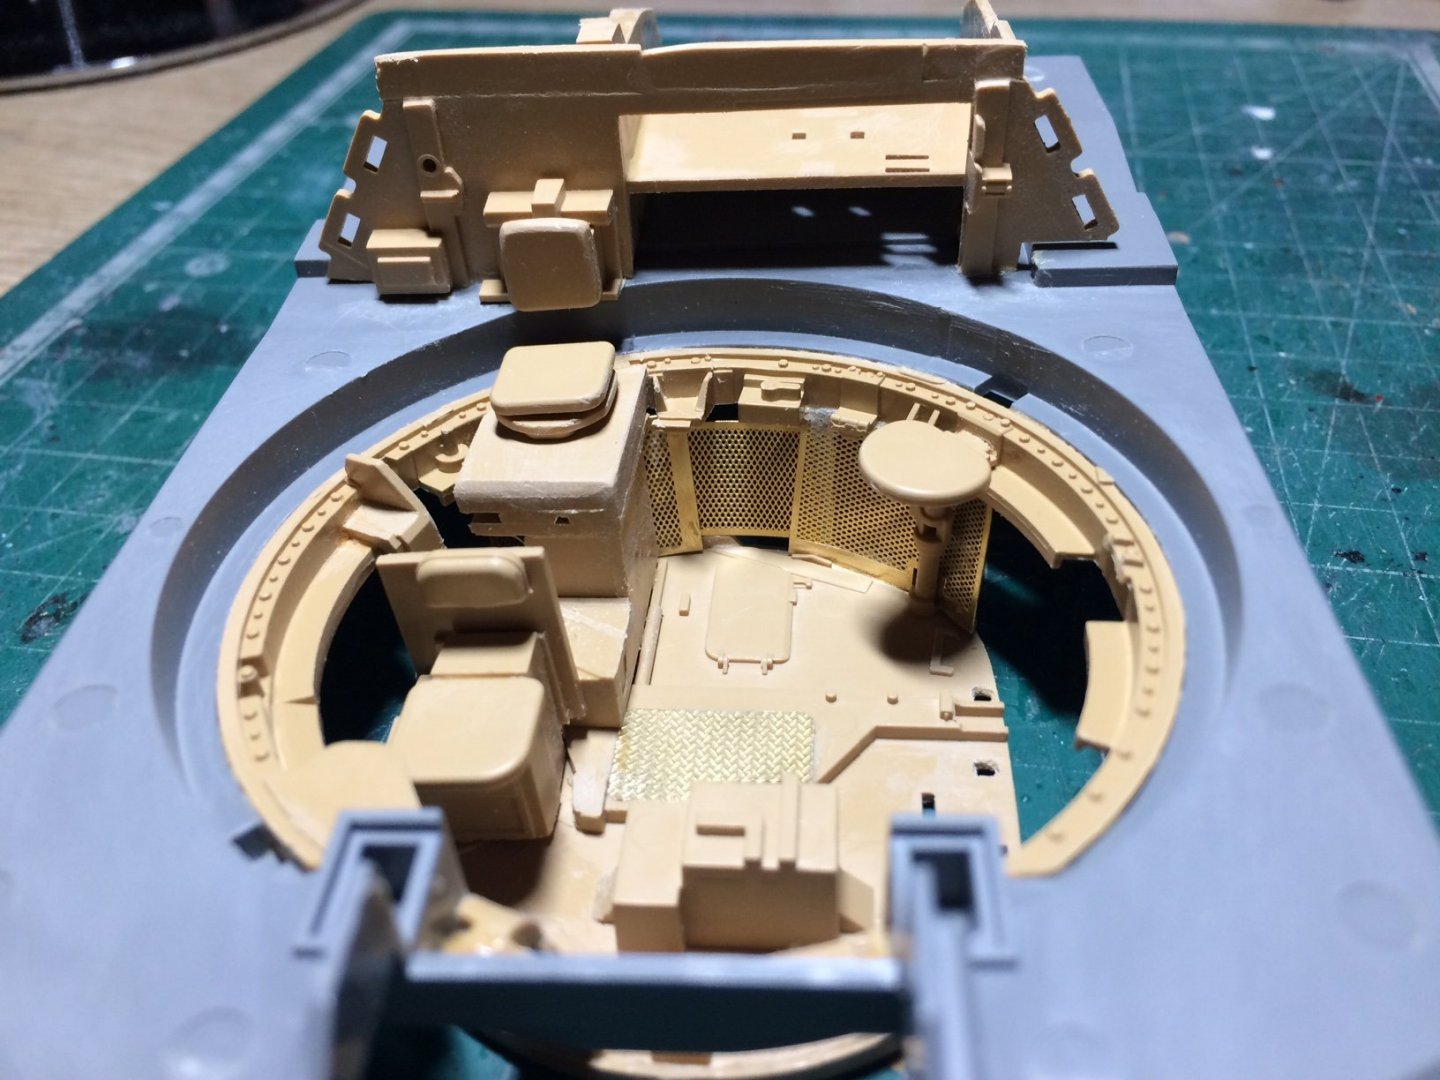
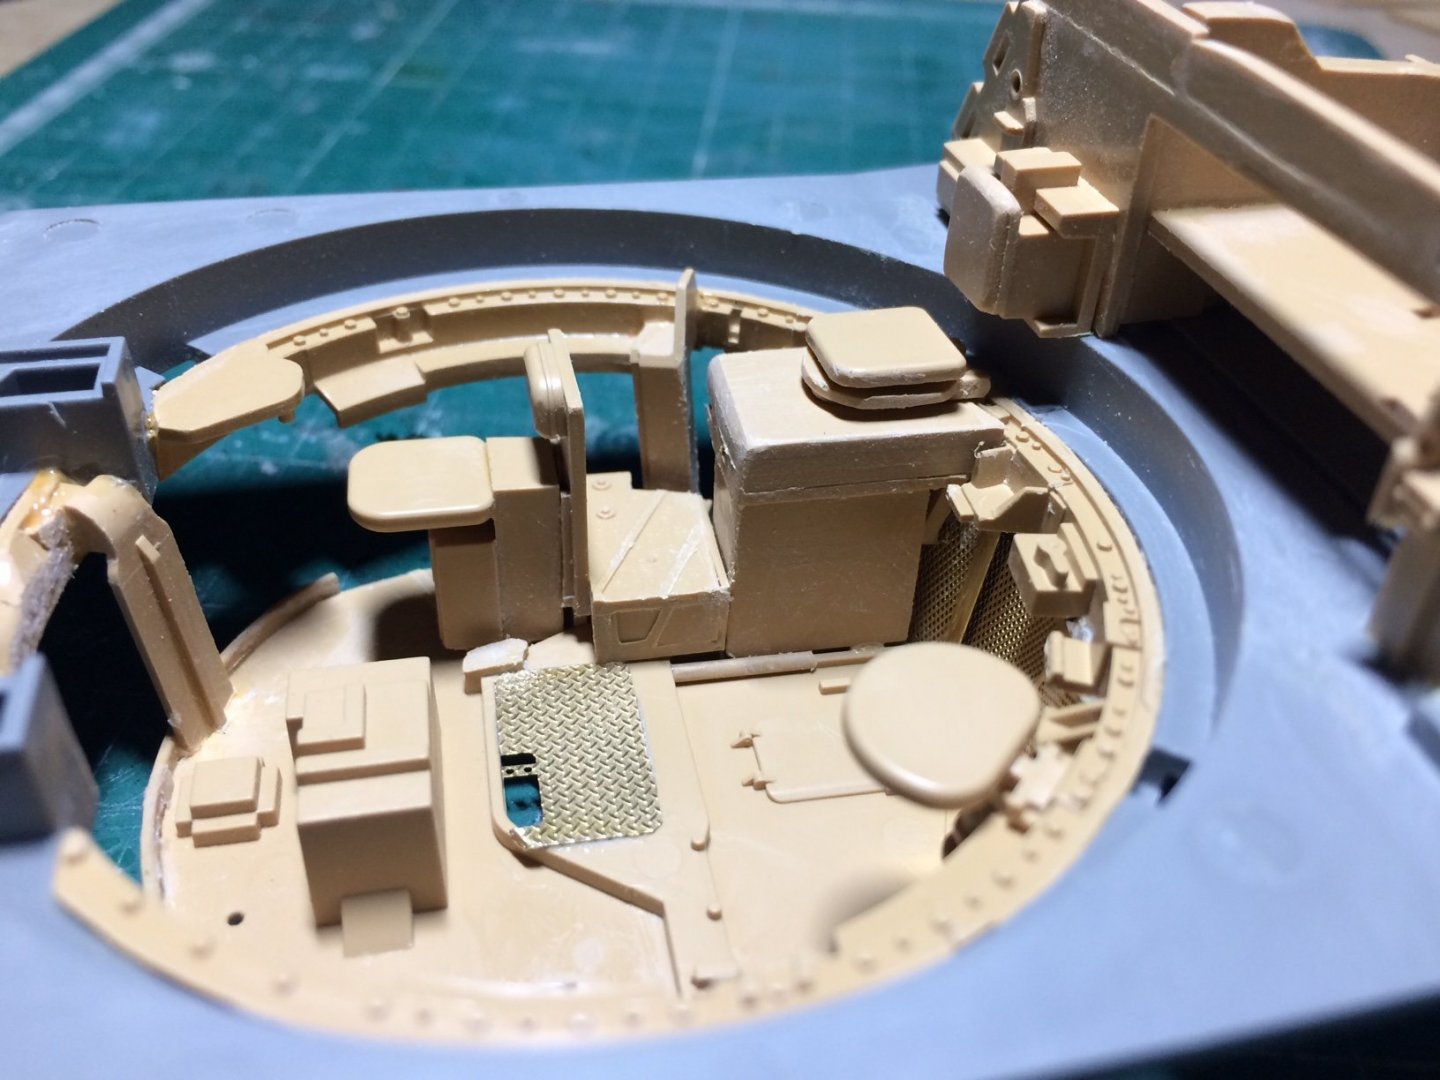
Evening all, some good progress over tha last Two days, I started constructing the ammo storage area, this was a bit of scratch building exercise using the M1 kit parts - didn't turn out too bad but more needs doing to it, I also worked on the commanders seat including making a frame and backseat cushion, slowly getting more busy. I also built the top main turret part and cleaned up the edges, and again am using it by dry fitting. OC


- 367 replies
-
- 12
-
-
Hi Patrick, yep I have re model-ed that part as it just wasn't right, I was trying to show the cushion part pull up in a stowed position, but I dont thinj it does, there is a cover that covers the seat cushion while the comander is standing on it. Deffinatly an on-going project. OC.
-
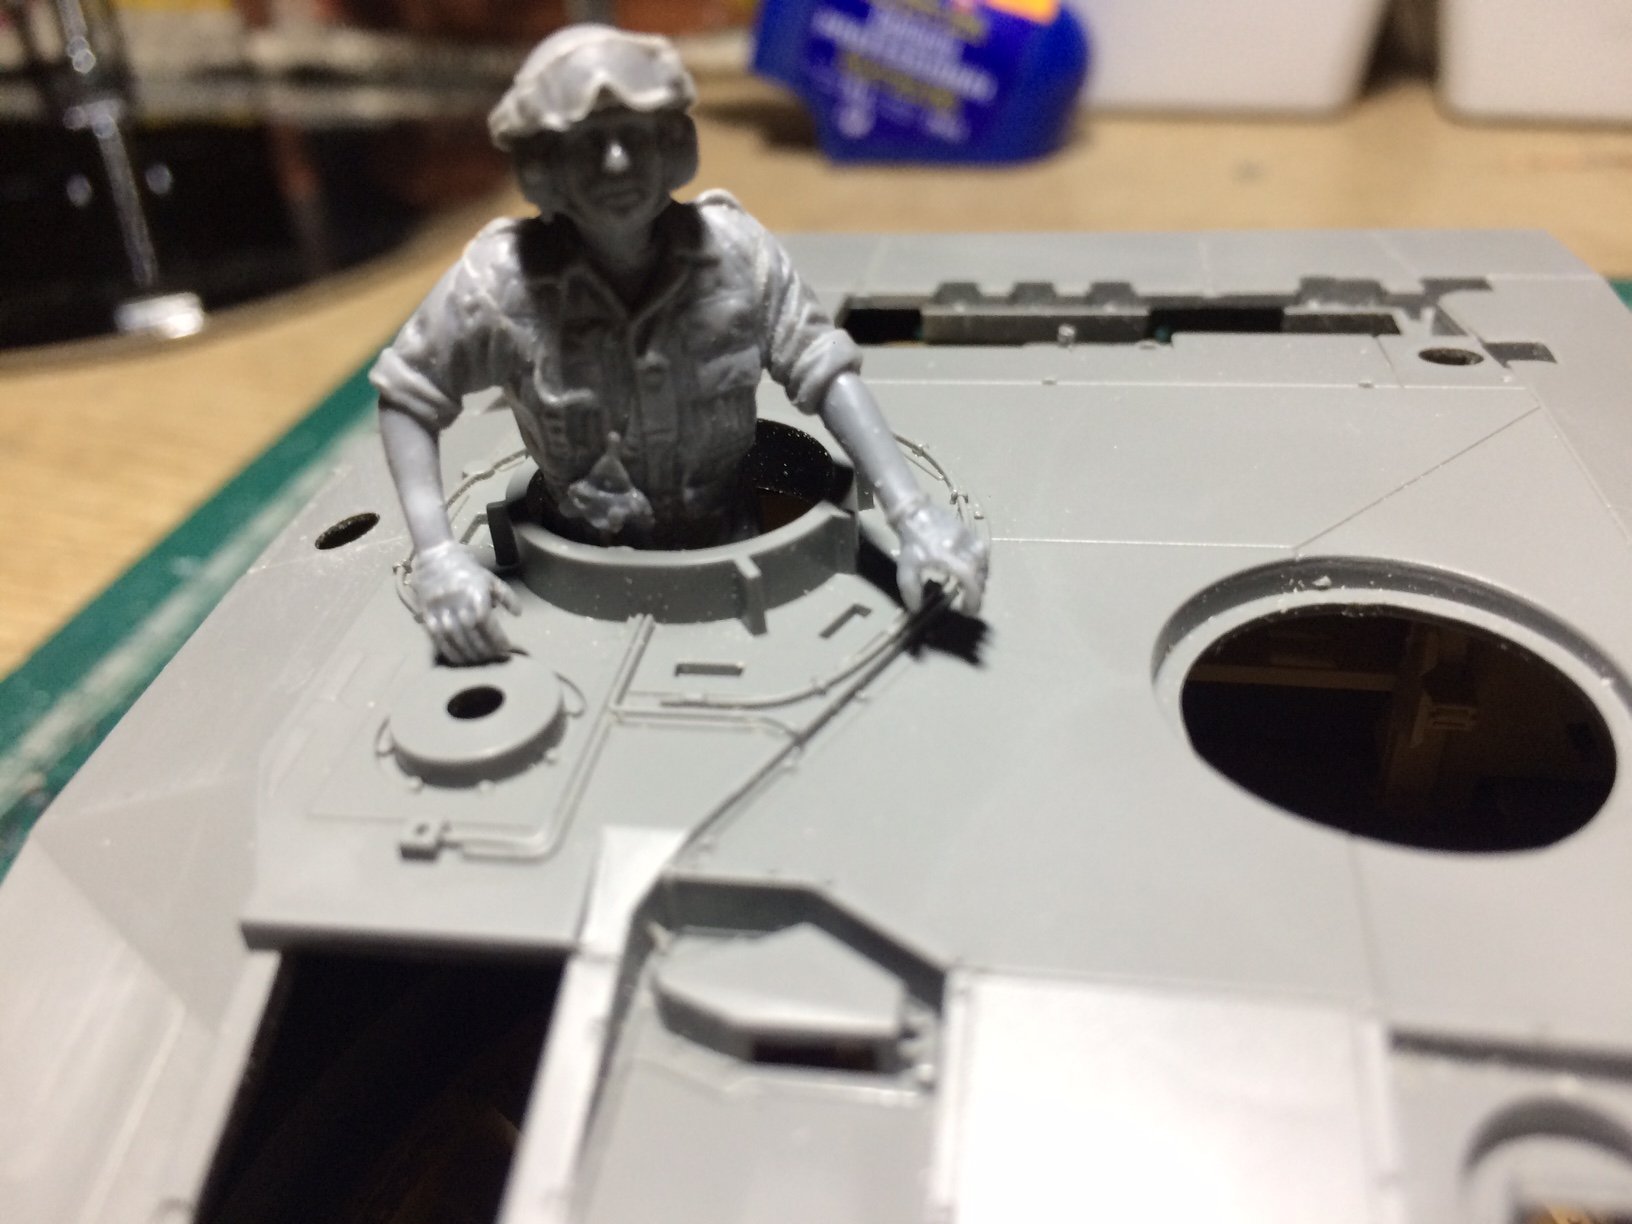
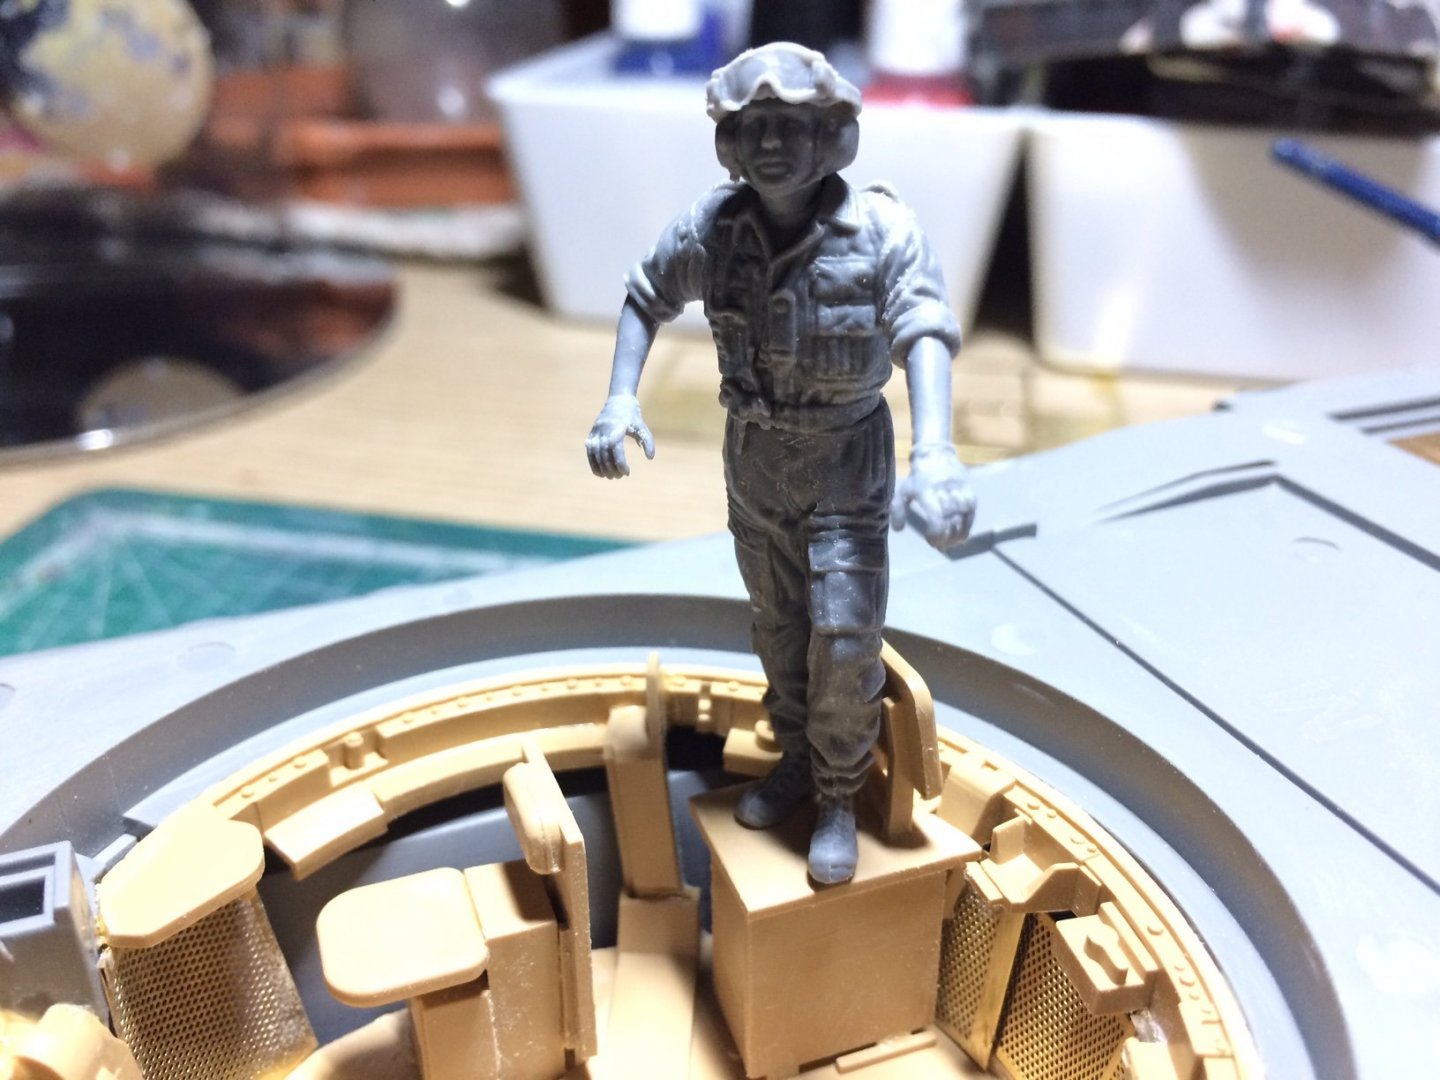
Evening all, a day of "fettling and fiddlings - measuring and adjusting" as the commanders seat was too low, also from the pics I have I discovered the raised area for the commander had the seat pad left in place with a cover that pulls over it, I had to make up about 4mm in hight so I basically just glued some plastic together and shaped and glued it in place, I then checked the commander figure - better this time. Next I made a step that goes in between the commander and gunnner - just a box affair shaped and glued. I foregot to take any pics so hope my wording explains it ok. OC.
-
Same with the Early Lotus Esprit models - the door entrance handles came of a very basic British sallon car - the Austin Montego. OC.