Old Collingwood
-
Posts
12,104 -
Joined
-
Last visited
Content Type
Profiles
Forums
Gallery
Events
Everything posted by Old Collingwood
-
 "Perfect Storm" that was some film Jack - amazing work they do and so brave. OC.
 -
Indeed Ken, and most of them are so un aware of just how special they are. OC.
-
She is looking Superb - so mutch work my friend. OC.
- 436 replies
-
- 2
-

-
- vanguard models
- alert
- (and 1 more)
-
You Two should hook up @Egilman OC.
-
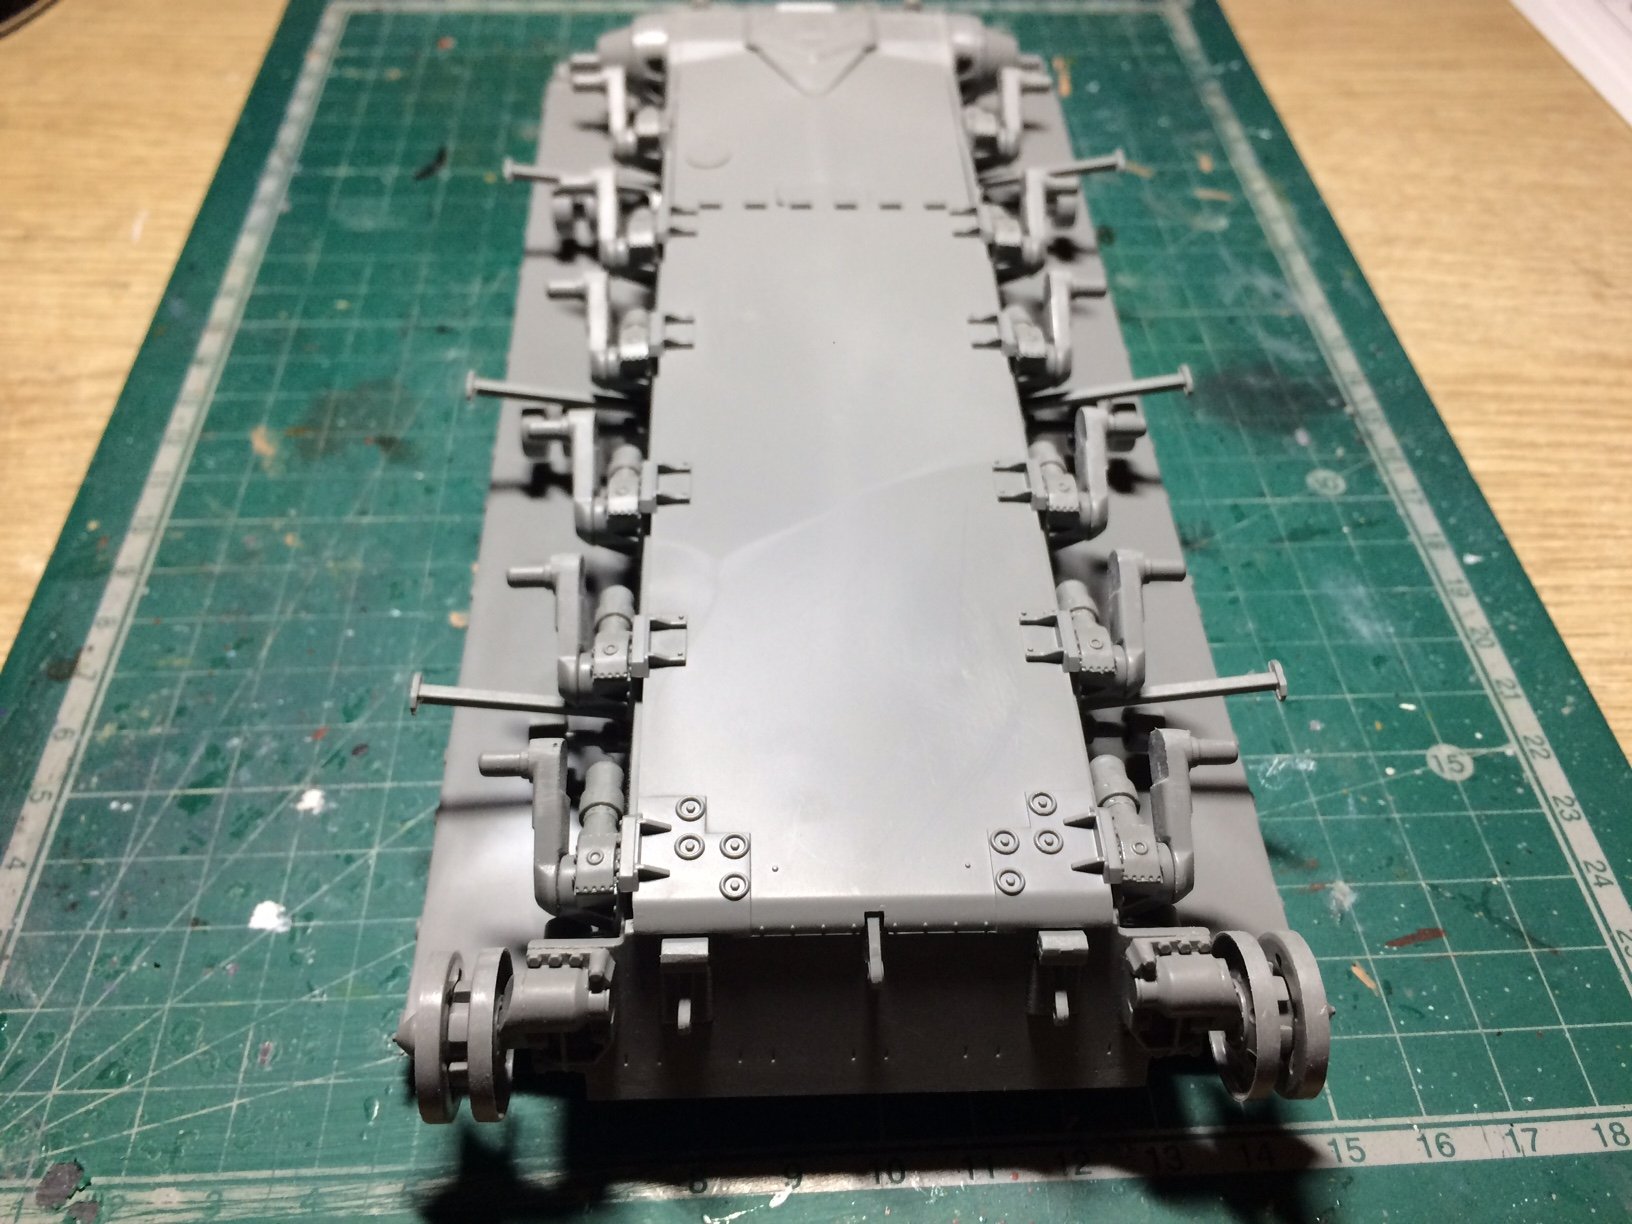
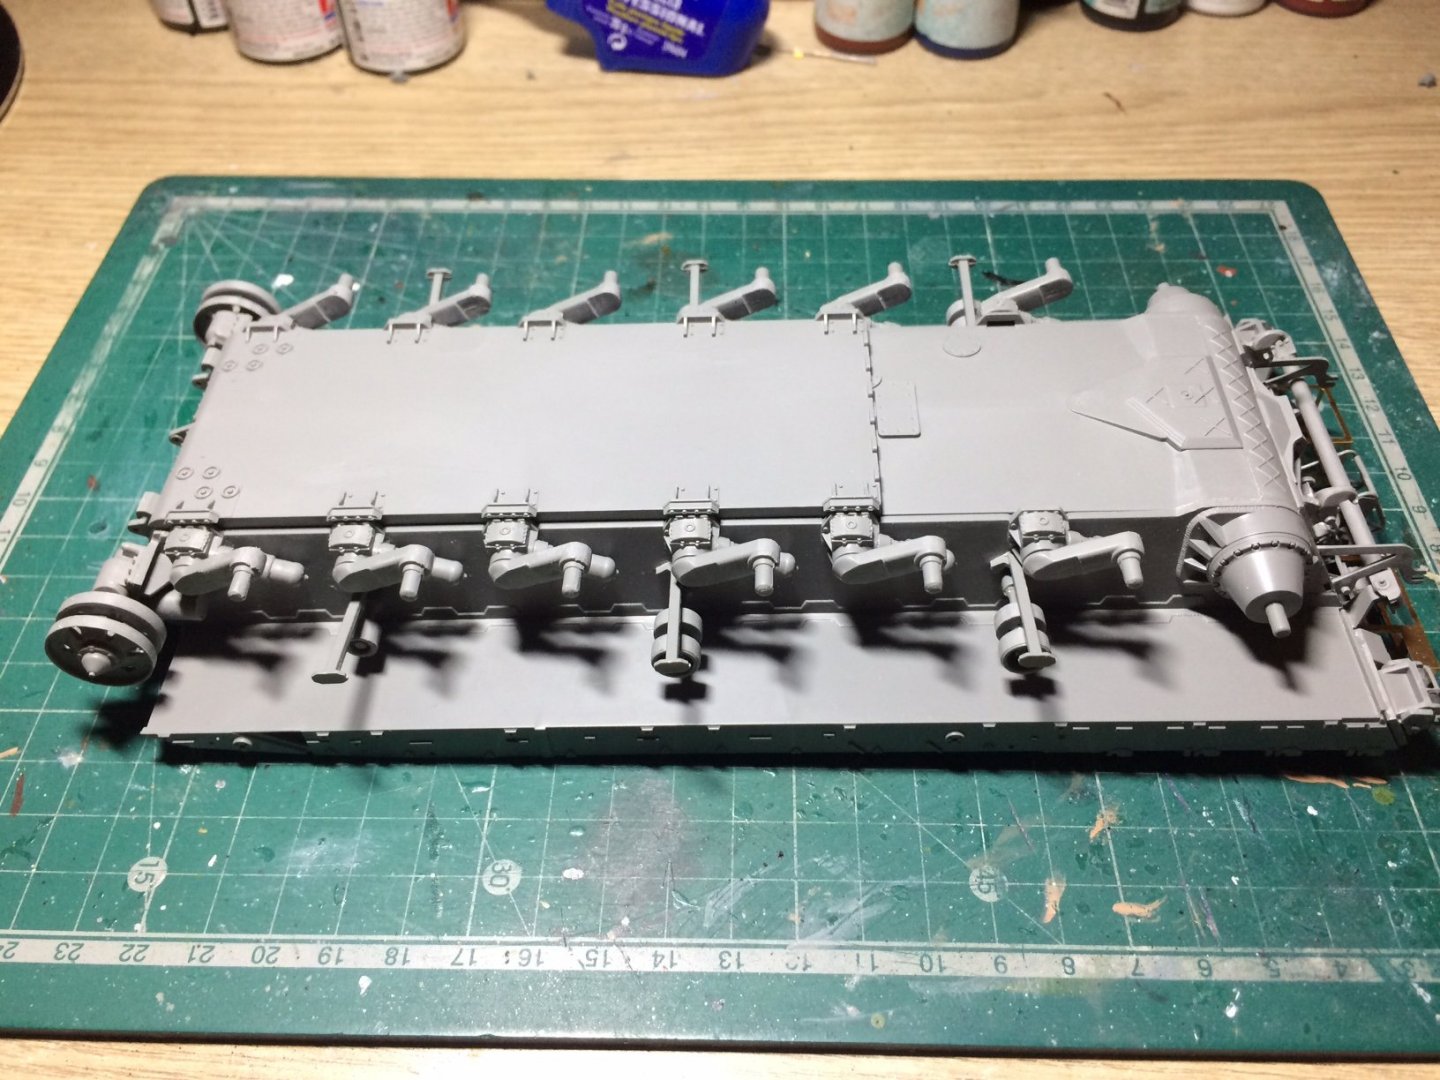
Evening all, the bottom tub is complete afting fitting the Twelve wheel suspension struts, and the front units, I will have to test the weather tomorrow before working out if I can prime it. OC.
-
Thats what I thought mate - especially taking into account how many days he was working on them - first class work. OC.
-
Indeed mate and so cheap under a Tenner including delivery. OC.
-
You have got some Wonderul kits there Denis - tell you what mate I will deffo take a seat for all of those - Fabulouse stuff. OC.
-
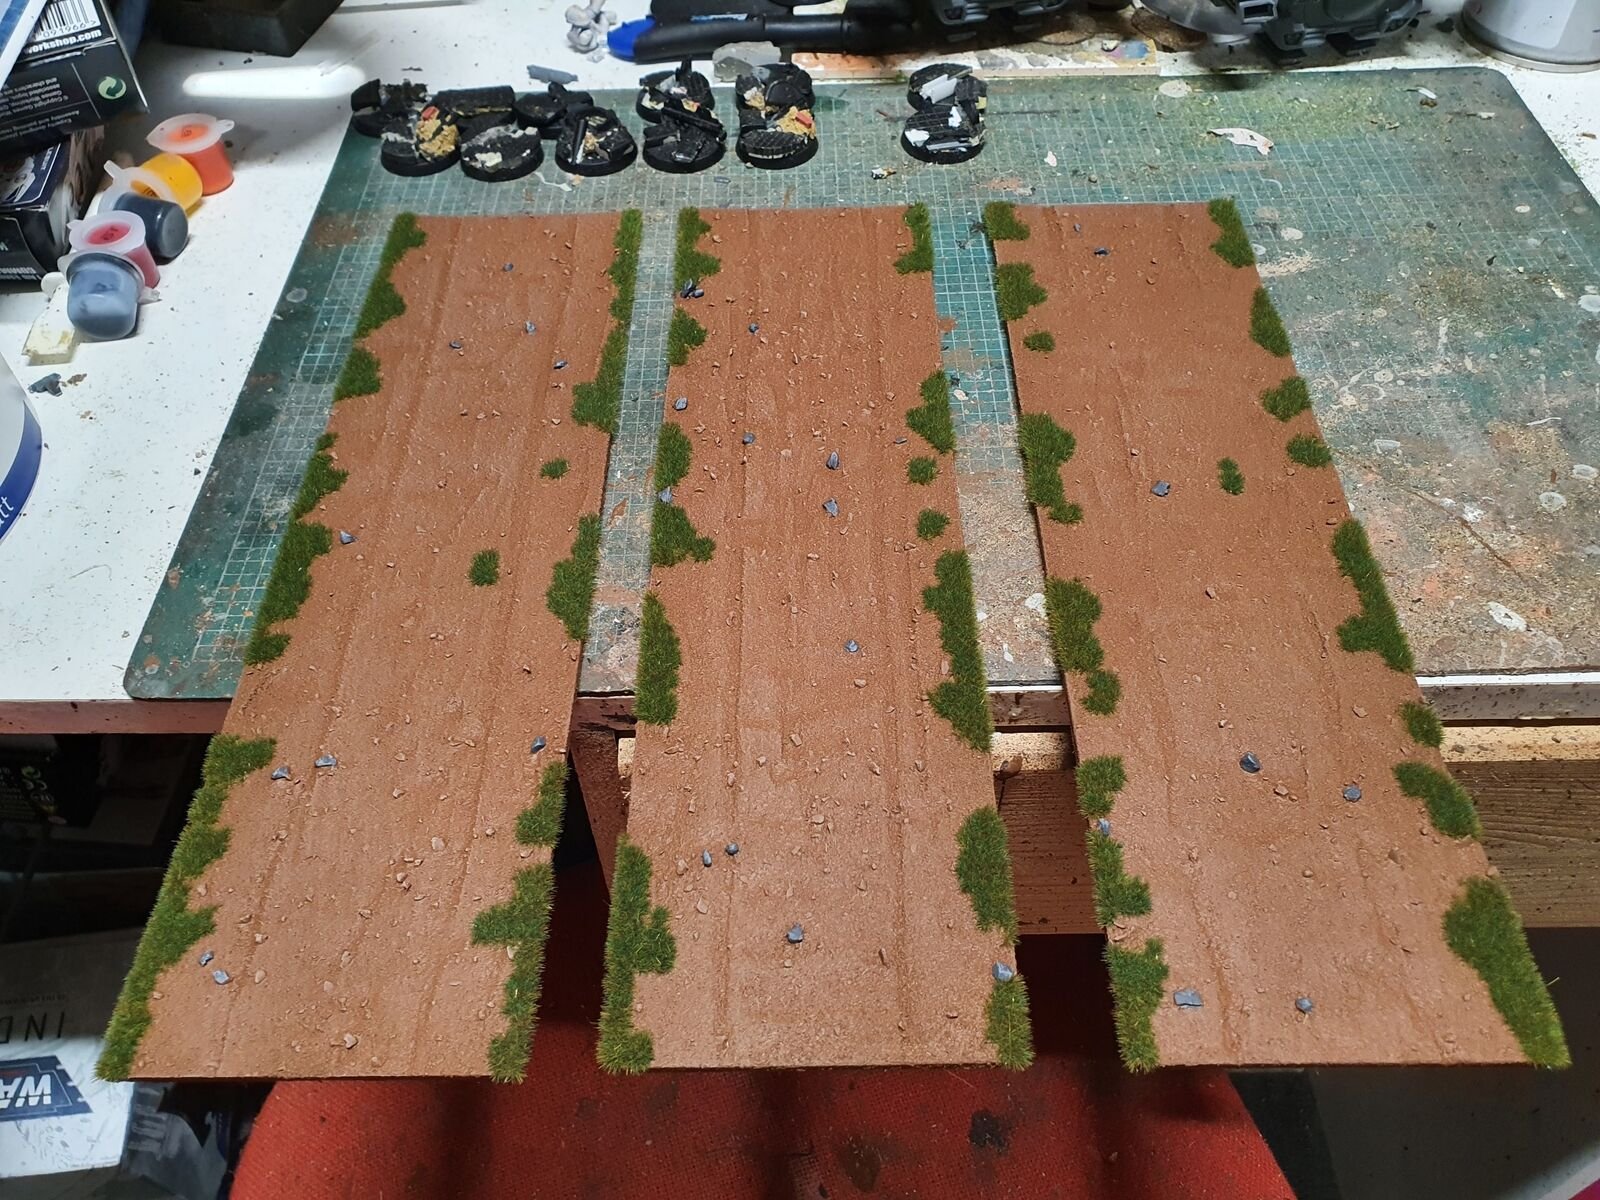
Roadway now completed - what a Superb job he has done. OC.

-
Beautiful work. OC.
-
Gorgeous looking machine. OC.
-
That is looking nice mate. OC.
-
More progress on the road being made for me - its looking Superb - OC.
-
And I thought the Dukes were pricey. OC.
-
Thank you kindly Denis, the added bonus after building this one I will be having a go at the RFM M1A2 SEP V2/TUSK MBT with the Full engine bay/engine. That way I will have both heavyweights side by side. OC.
-
Thank you kindly for finding that - yep seen those infact I am using a couple of the pics for my research, would be good if I could find some - side by side comparison pics of the Two tanks internals from the same camera angles. OC.
-
Here's the plan (hope your sitting comfortably) - When I have finished the bottom hull (tub) and weather permitting - I will be able to venture into the garden (how you can call a 8ft x 12ft a garden) anyway I will be able to hold tub from the inside and using my Tamiya Surface primer rattle can, I will be able to give it a coat, it will then be put in my storage box and locked away to de-gass. I will then start on the details on the main top plate - this should give me some time working on this stage before in a few days I can take the tub out (examine it) then if all is ok - and if the weather gods play ball - back outside for a coat or Two of Nato Green (again Tamiya rattle can). This will be my process for most of the build - building then painting in stages. Right - here's my thinking for the inside , bare with me on this - take a deep breath - Both the Challenger 2 and M1A2 Abrams would surely share some similar (kind of) electronics and instruments inside each interior, also both share a 120mm breech, and the rear ammo locker can be made to look very similar - difference in the Chally its open with no blast doors, I think with some careful adjutments by going over my interior Chally pics, I should (might) be able to come up with something quite close (well it will be locked away and when Two figures are standing through the hatches you wont be able to see a thing (I will know its in there though. OC.
-
Hey Mike, I have found a solution to your miniscule modeling - I have zoomed in with my browser, wont help you out though.😁 at least this way I can see your glorious (but mad) workmanship keep it up mate. OC.
- 179 replies
-
- 9
-
-

-
- hatsuzakura
- pit road
- (and 2 more)
-
Dont worry - where all still here, may need to stock up on the rations though some hungry folks here............. OC.
-
Keep going mate - your work and commitment is so lovely to watch. OC.
-
Glad your enjoying it mate - thats all that matteres , its giving us lots of enjoyement also.👍 OC.
-
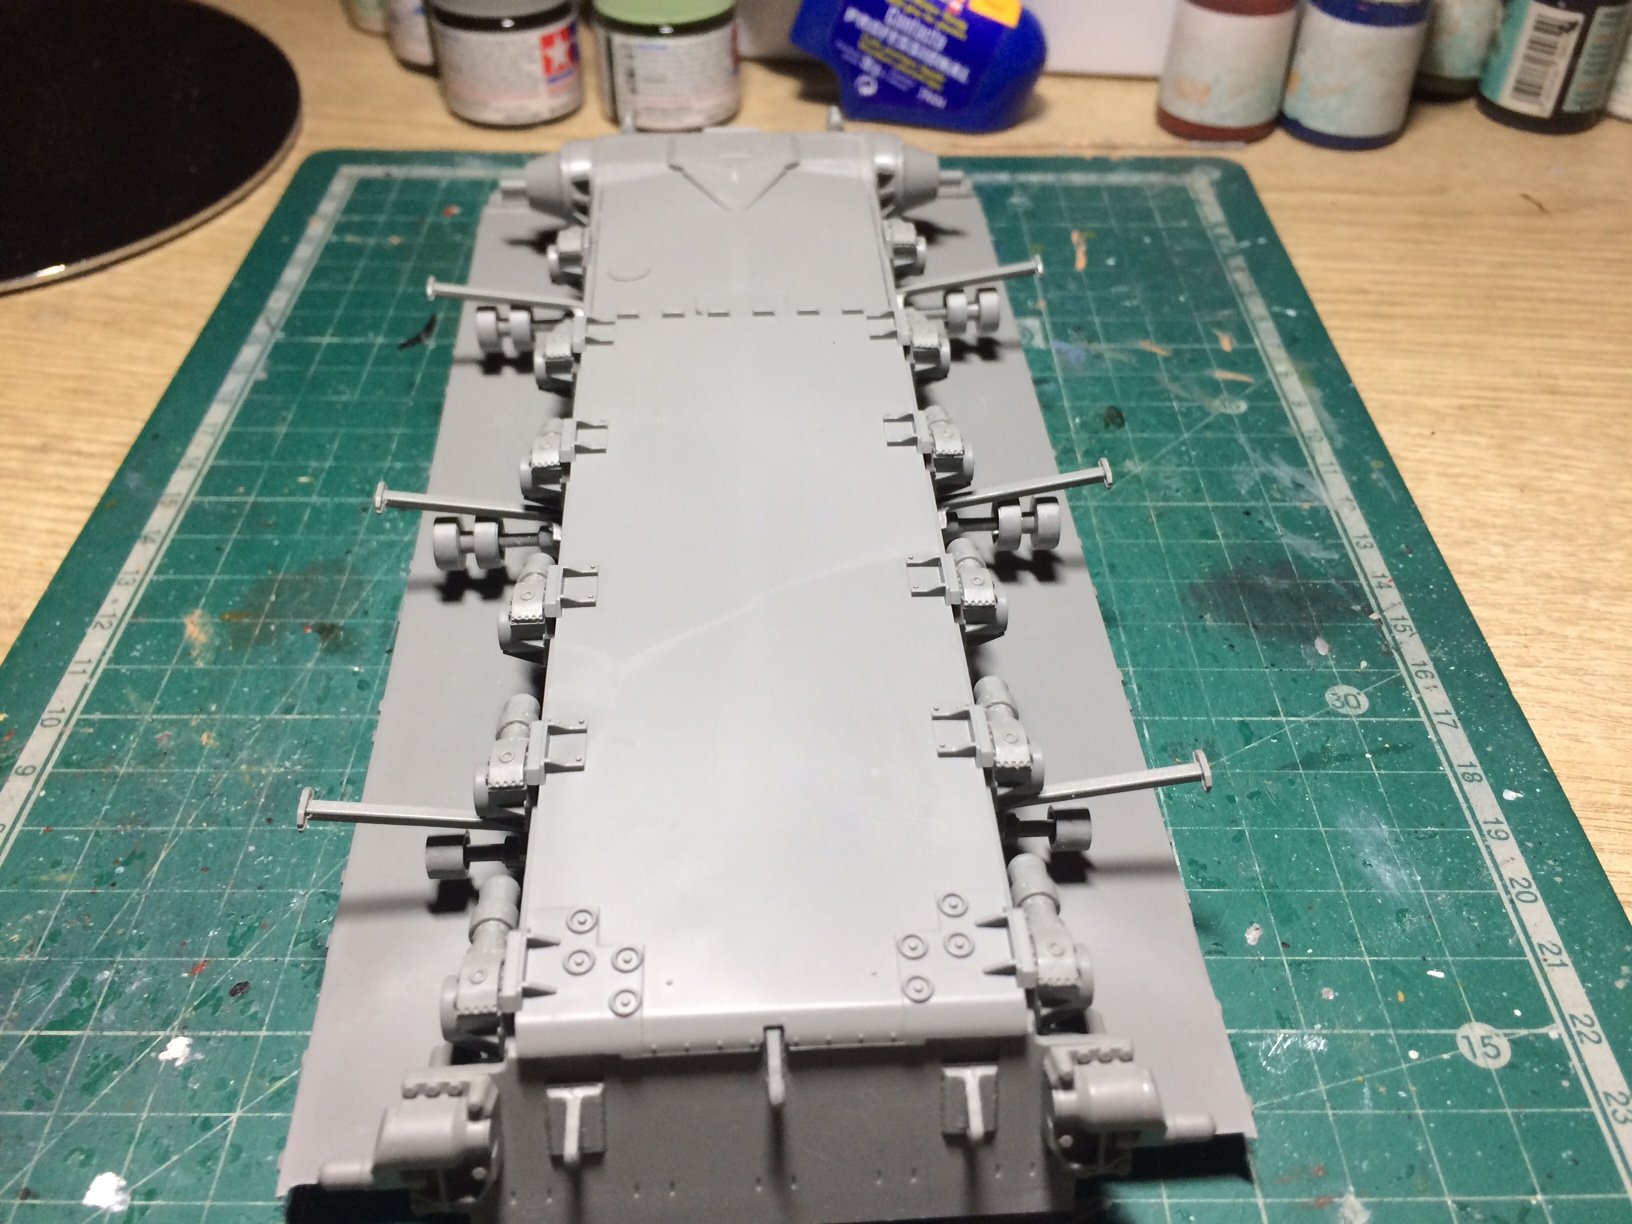
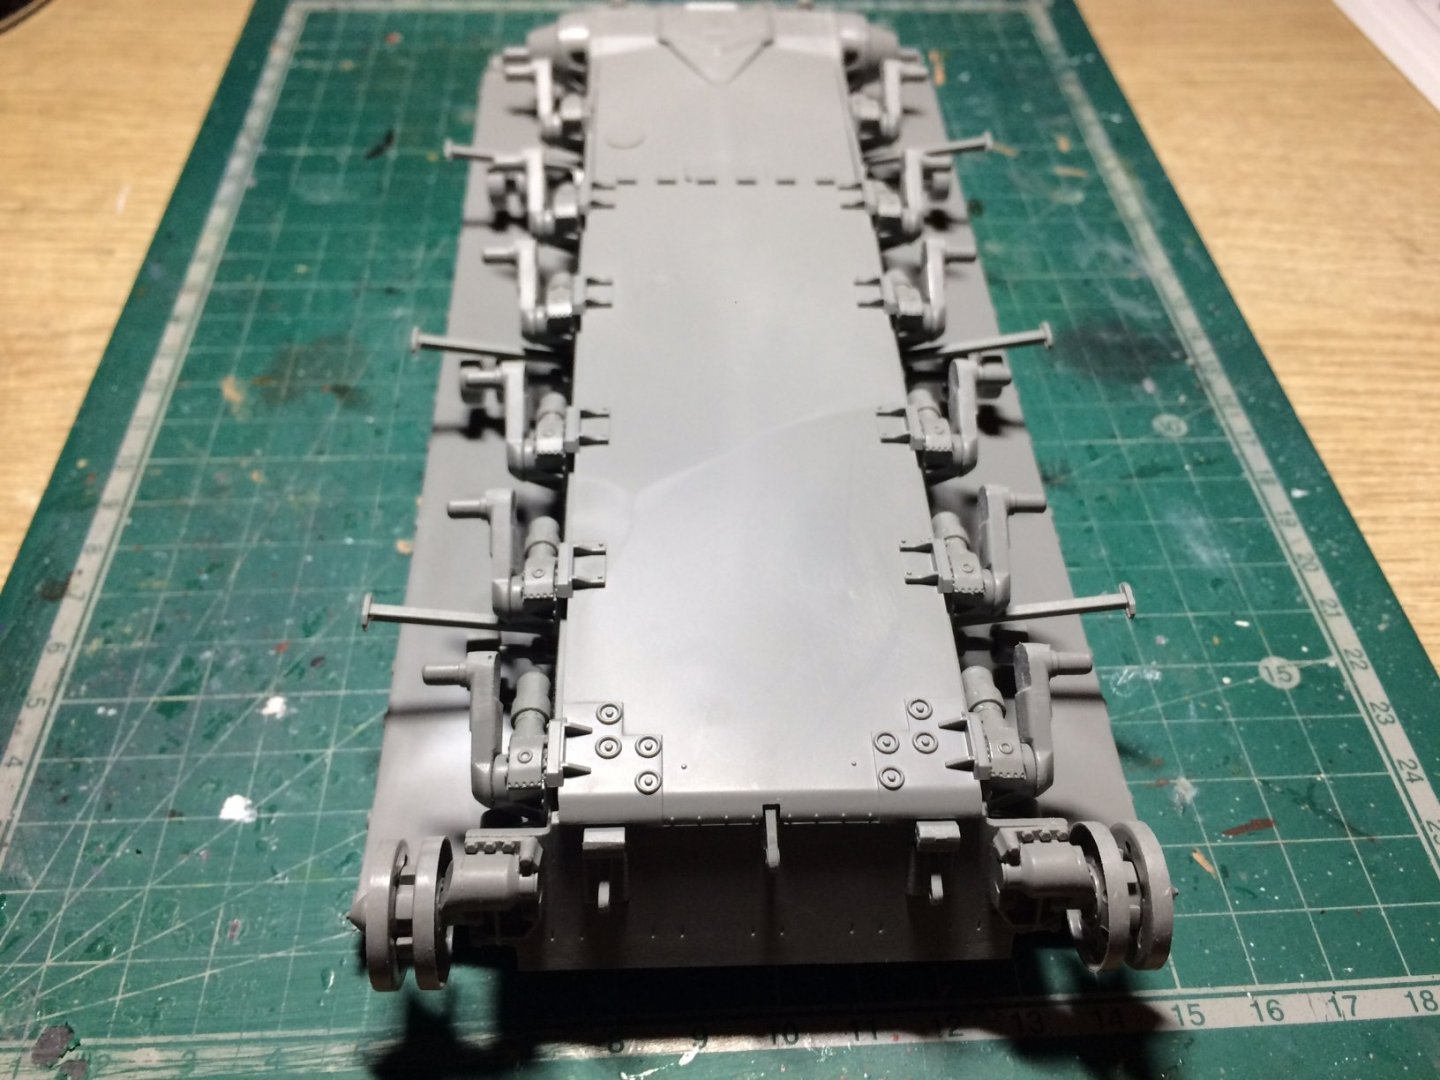
Hi All, some more progress on the tub - firstly I fitted the rest of the iddlers/got them level and let them set, next was the skirt armour plate supports - same principle with these glued and ligned up. I put it aside for an hour or so then I turned my attention to the Gas strut units - Six on each side these needed dressing before gluing in place, after Two units were glued inplace towards the front. OC.


-
Thank you kindly Denis. OC.
-
Yep Challenger 2's can fire out of thier riffled barrels - APFSDS, HESH and White Phosphorus Rounds. OC.