Old Collingwood
-
Posts
11,998 -
Joined
-
Last visited
Content Type
Profiles
Forums
Gallery
Events
Everything posted by Old Collingwood
-

Fokker Dr.I triplane by cog - multiple - 1:72 - PLASTIC
Old Collingwood replied to cog's topic in Non-ship/categorised builds
No no more fun if you dont......... OC. -
Thats why I love this forum so much of different talents that come together "Priceless" OC.
-
Thank You ALL for taking the time to expalain this - its important info that will help avoid disastors like what happened to me - but also anyone else in a similar situation. This I why I Love this site and all who post here. OC.
-
Thank you for looking into that for me EG, I was thinking - I have hand painted the bottom wings on my Mossie and hasn't turned out too bad, so I should be able to hand paint the Bottom of the Seafire to the same standard - cheaper as well just a few quid (UK pounds). I have the Dark Grey rattke can I need I brought that months ago as I wasn't sure about the color on my mossie. So I will order a tin of XF21 off flea bay. OC.
-
B-25 Mitchell "Meet Miss Runyon" by Javlin-HK-1/32
Old Collingwood replied to Javlin's topic in Non-ship/categorised builds
"Where gonna need a Bigger Website" OC. -
Thanks Craig, much appreciated. OC.
-
I still record stuff but not by bass that went a long time ago, my main musical interest is Digital recording Synths VST, I have a bout 4 on my laptop, I record amd mix sections in a laptop device called Wavepad its quite good you can save as Mp3 or WAV files, I have some of my stuff that I have done on my own and some with a few musician friends stored in Bandcamp. I have to be in the mood though as a lot of the time im to dry to get my head round making music and other times it just flows. One of my VST's - OC.

-
Thank you kindly, I will admit it nearly took off out the back door, but I counted to Ten instead stomped my feet cursed a bit - and felt a lot better, I did get a few words from the admiral though along the lines off "Why make them if they make you so upset" OC.
-
Very tidy work - same method as I used tried and tested on here. OC.
- 436 replies
-
- 2
-

-
- vanguard models
- alert
- (and 1 more)
-
Been looking online and Ebay but cant find anything close, Tamiya do it in Tin for XF21 but no Rattle can eqv. OC.
-
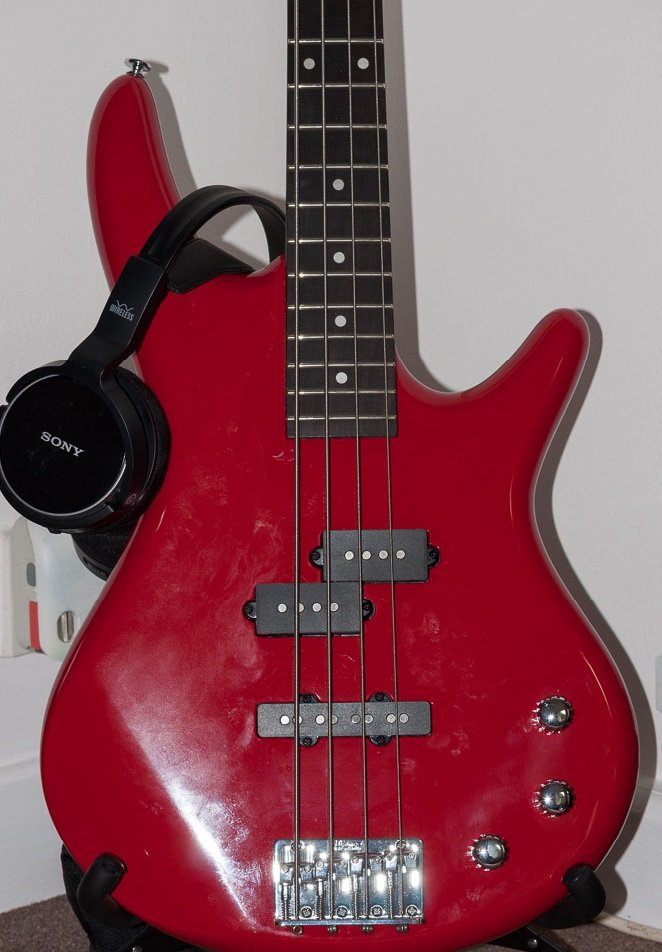
Yep was an Ibby SR300. OC.
-
Hi all, Does anybody do a Rattle can eqv of the colour RAF Sky? I have checked and can only find it available in small tins not rattle cans. OC.
-
Thank you Denis. OC.
-
Fokker Dr.I triplane by cog - multiple - 1:72 - PLASTIC
Old Collingwood replied to cog's topic in Non-ship/categorised builds
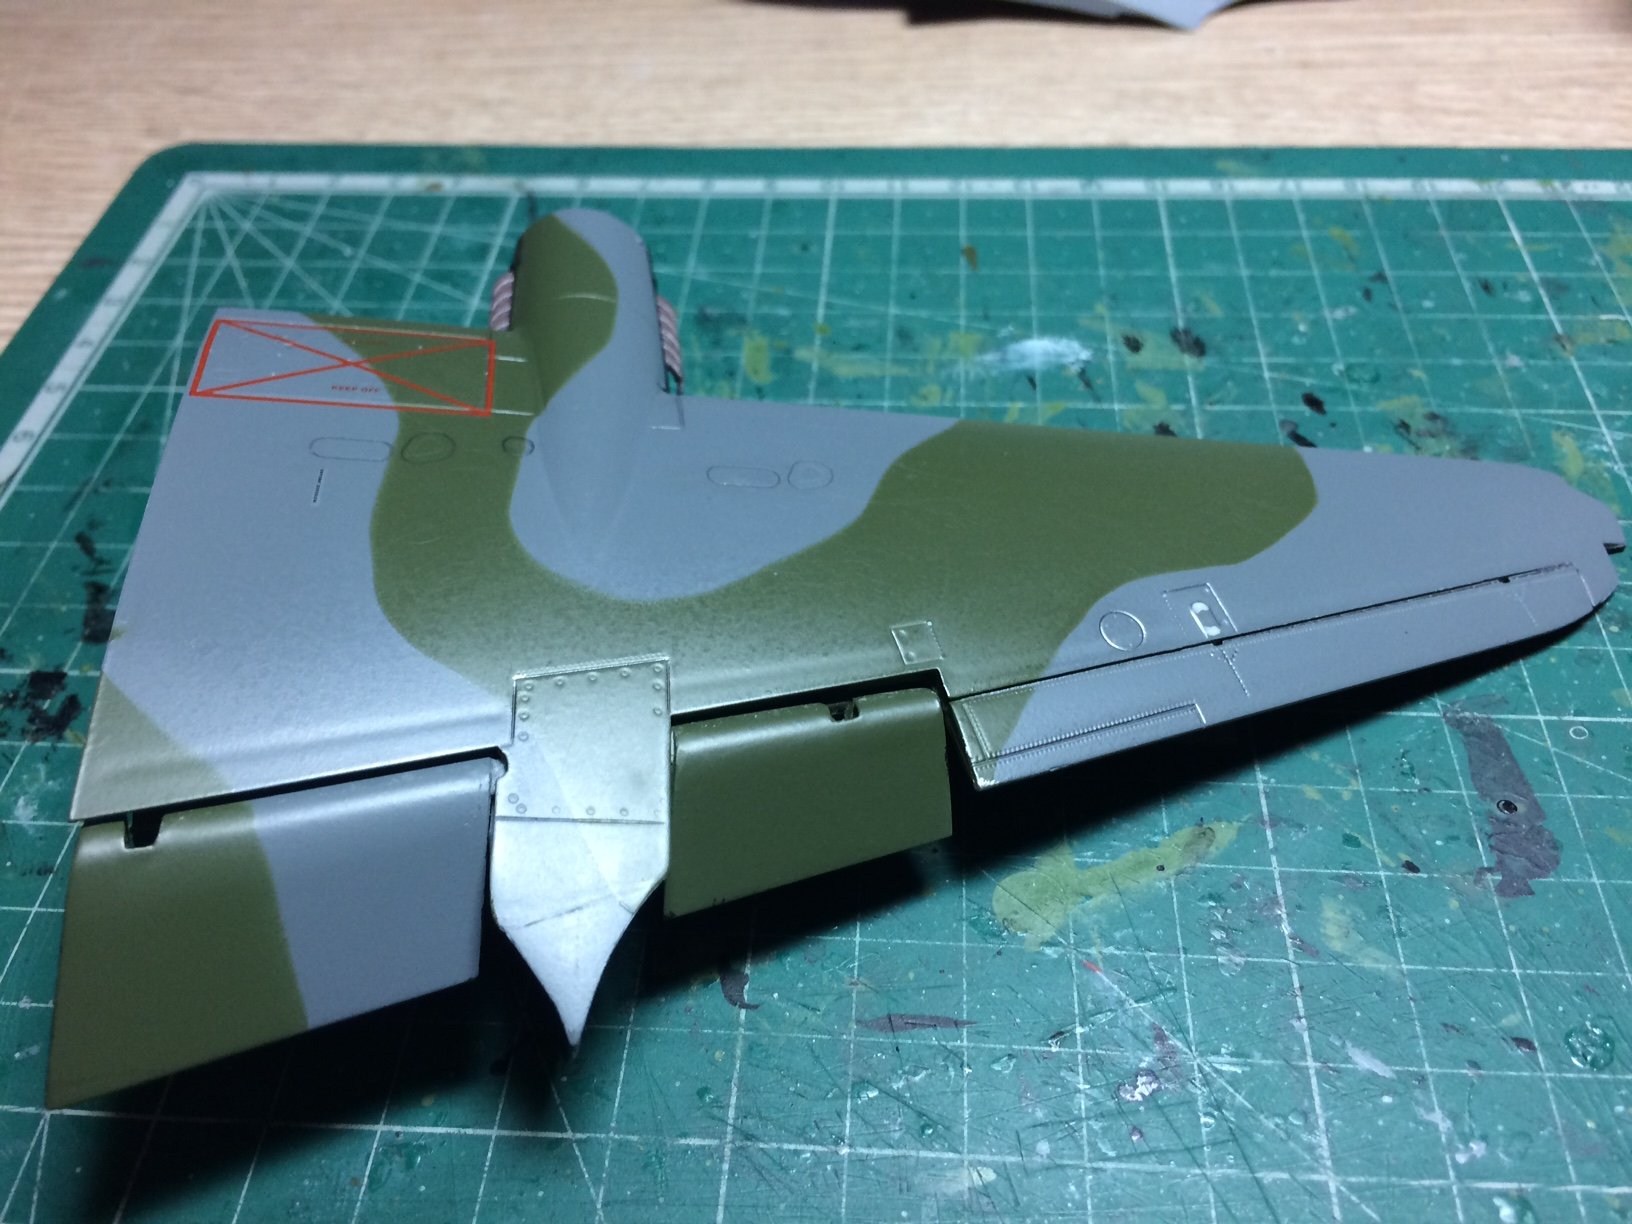
Lovely work on those camo jobs really sharp mate. OC. -
Lots of nice progress there Denis carpet monsters do exsist - they move around our site at free will so we never see them, they have a cumming disguise and blend in well to carpets/rugs even hard flooring, just dont tread on one "have heard you could loose a leg" Did I hear you say "Bass Guitar" I used to own this bad boy a good few years back. OC.
-
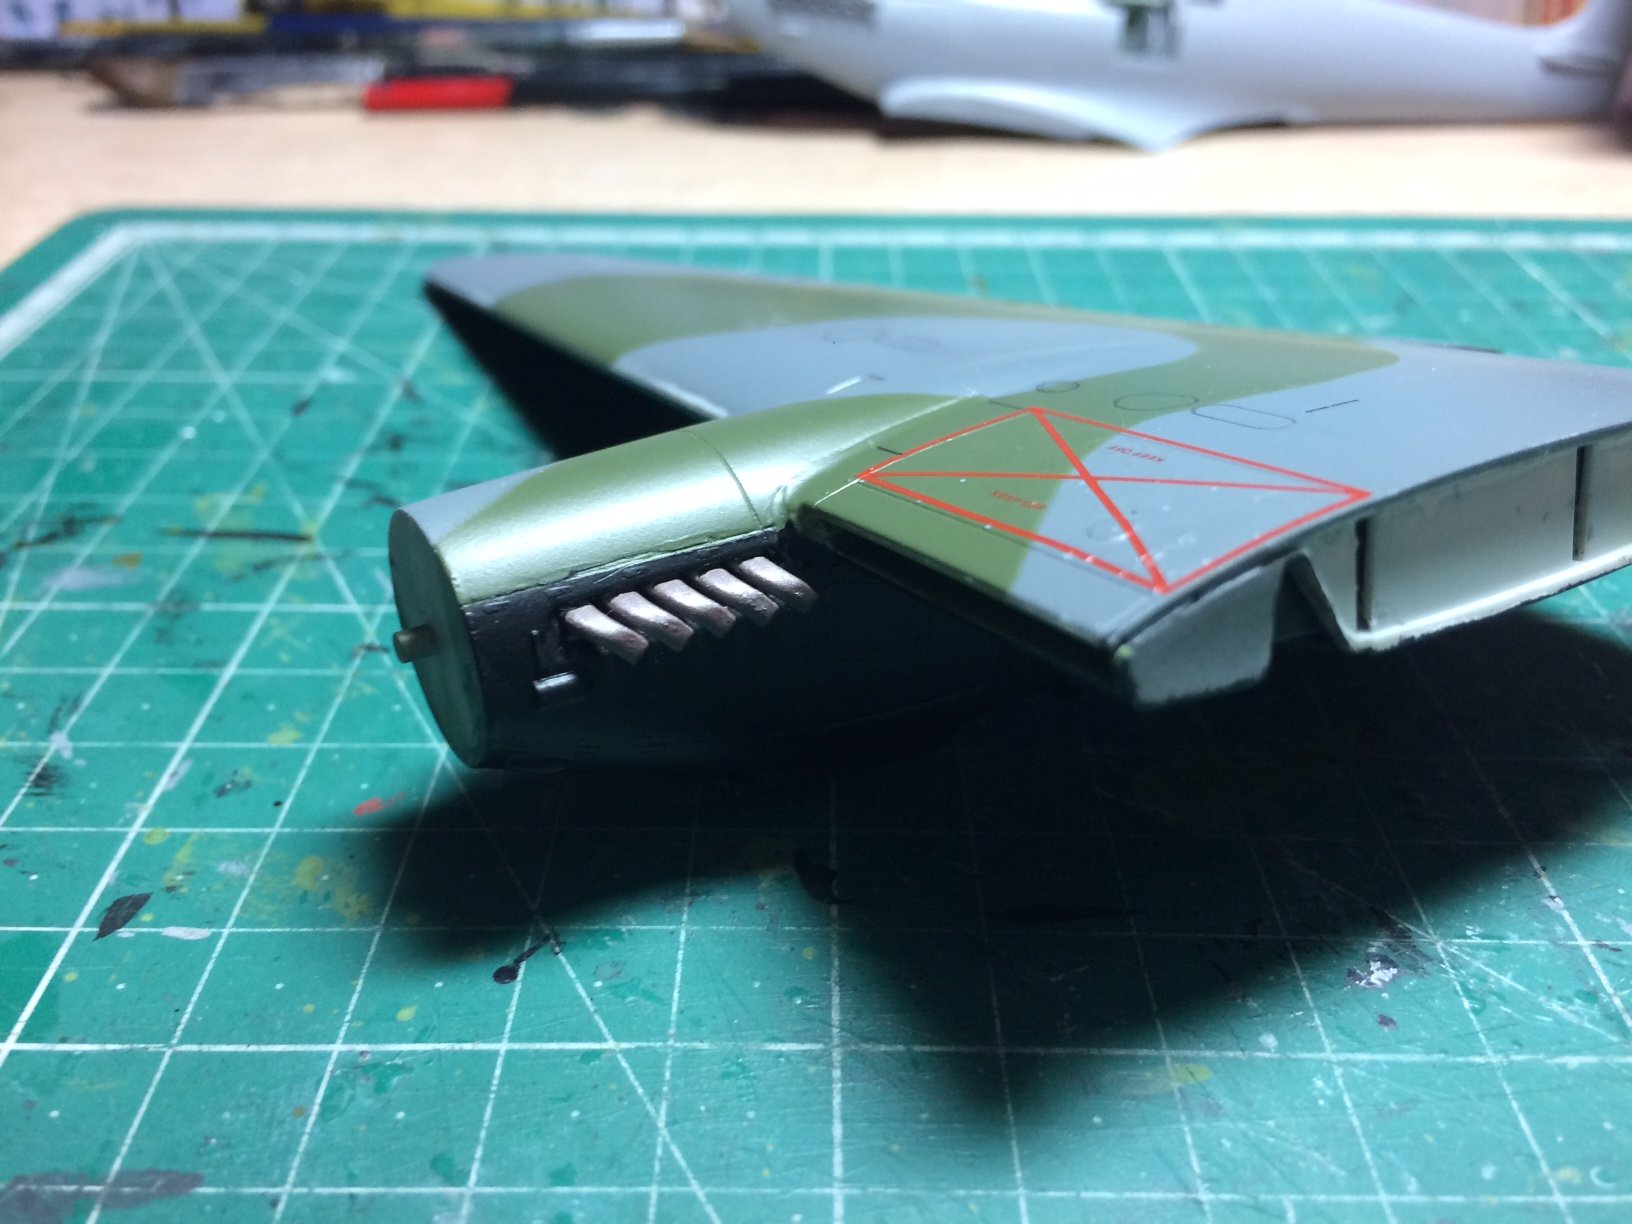
Oh foregot to mention - the exhaust manifold colour is a made up mix of part red ocre, part flat alum and part black then just mixed till I got that colour. OC.
-
Looking geat Craig. OC.
-
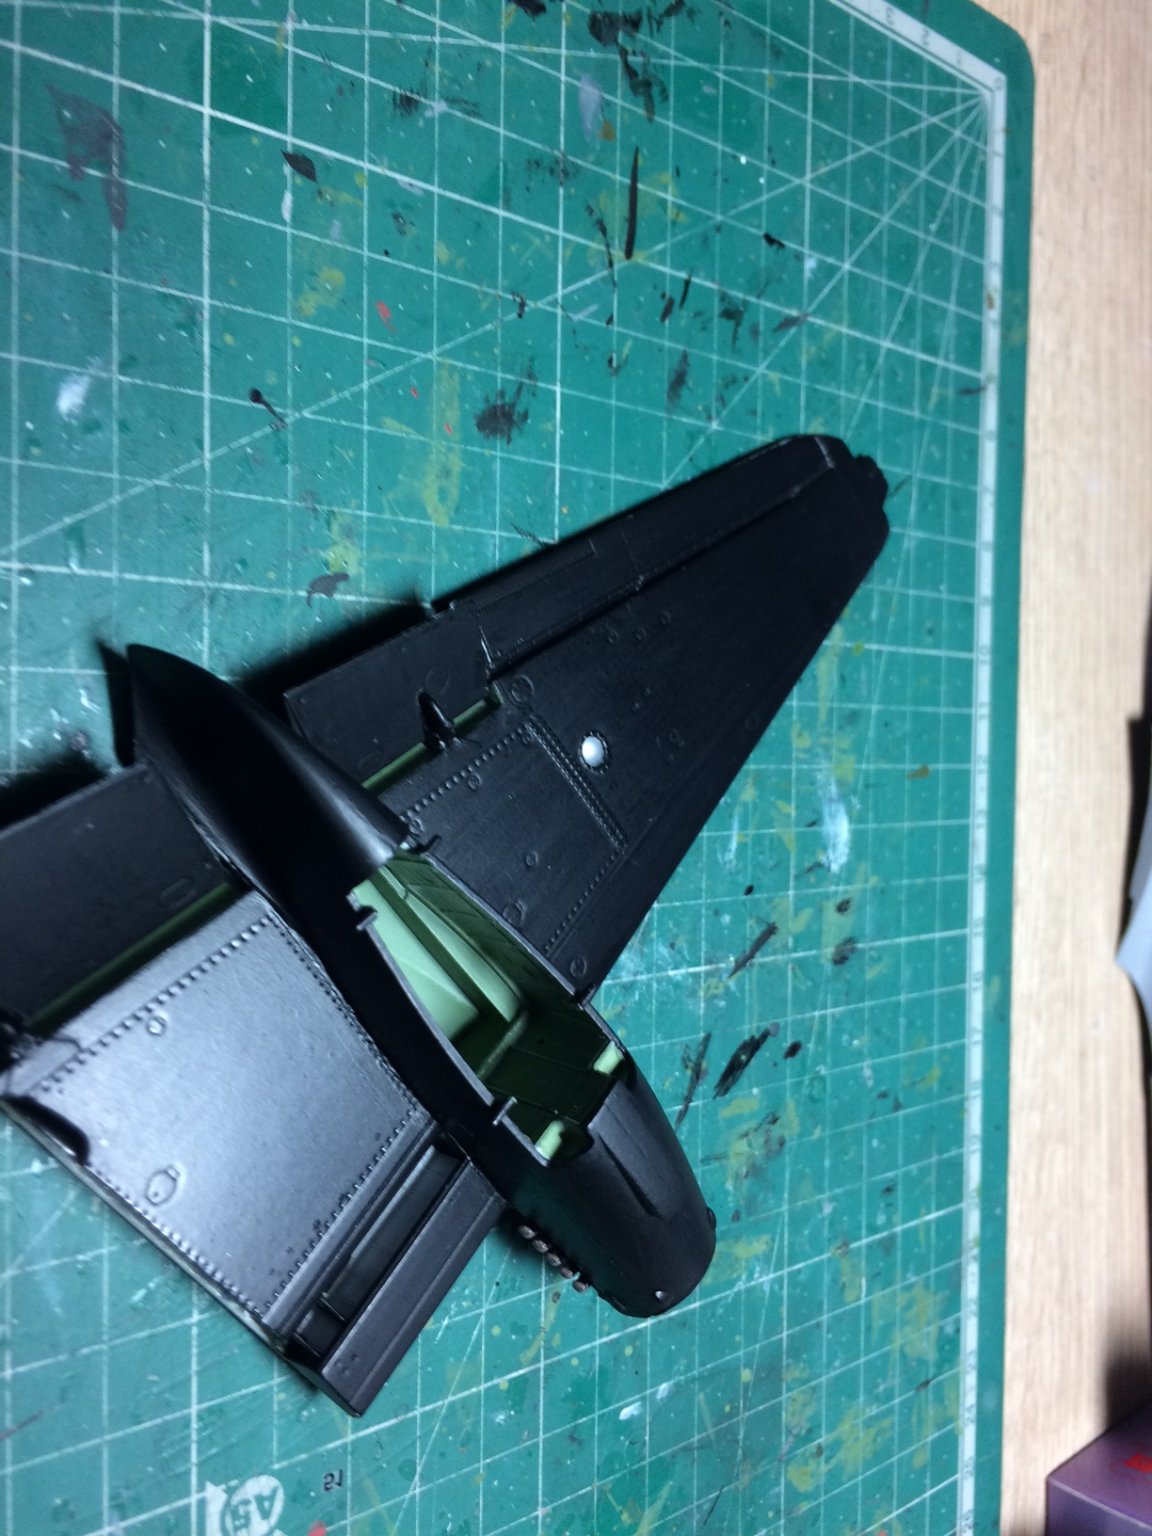
The wings were not affected (thankfully) that wing above was the last to be painted and hasn't had that Acrylic top coat problem (And Wont) but pleased how it has come out. OC.
-
Despite the issues you have had with the poor fit - you are doing a great job, I love the paint finish. OC.
-
A bit more progress - firstly I sprayed the first Ocean Grey coat then put the fuselage away in the box to dry, then I continued with the wing - applying a few coats of Black by hand, this went on withought event and had about 4 layers. I then touched up a few small areas in Black and Cockpit Green, I finished off by painting flat Alum in the Two wing camera housings. OC.


-
Recycled paper is the trick - Poo that. OC.
-
B-25 Mitchell "Meet Miss Runyon" by Javlin-HK-1/32
Old Collingwood replied to Javlin's topic in Non-ship/categorised builds
Yes please mate, I will be well up to following that. saw a bunch of them when they deployed over here in the 80.s. OC. -
Thanks Joe. OC.
-
B-25 Mitchell "Meet Miss Runyon" by Javlin-HK-1/32
Old Collingwood replied to Javlin's topic in Non-ship/categorised builds
Ken will like that top pic bottom left😉 OC. -
B-25 Mitchell "Meet Miss Runyon" by Javlin-HK-1/32
Old Collingwood replied to Javlin's topic in Non-ship/categorised builds
Think how much popcorn that will be for Mark to bring............😜 OC.