


Old Collingwood
-
Posts
12,106 -
Joined
-
Last visited
Content Type
Profiles
Forums
Gallery
Events
Everything posted by Old Collingwood
-
 Its got to have its normal wing tips on it yet Ken, it comes like that giving you the option as they are in the box - three types of wing tips I think. OC.
 -
When I do the Seafire conversion out of the other kit? OC.
-
Or "Mind the Rotors they dont turn - but the body does"😁 OC.
-
Thank you Edward, I'm very happy how its coming a long - it even feels solid (in a plastic kind of solid way) OC.
-
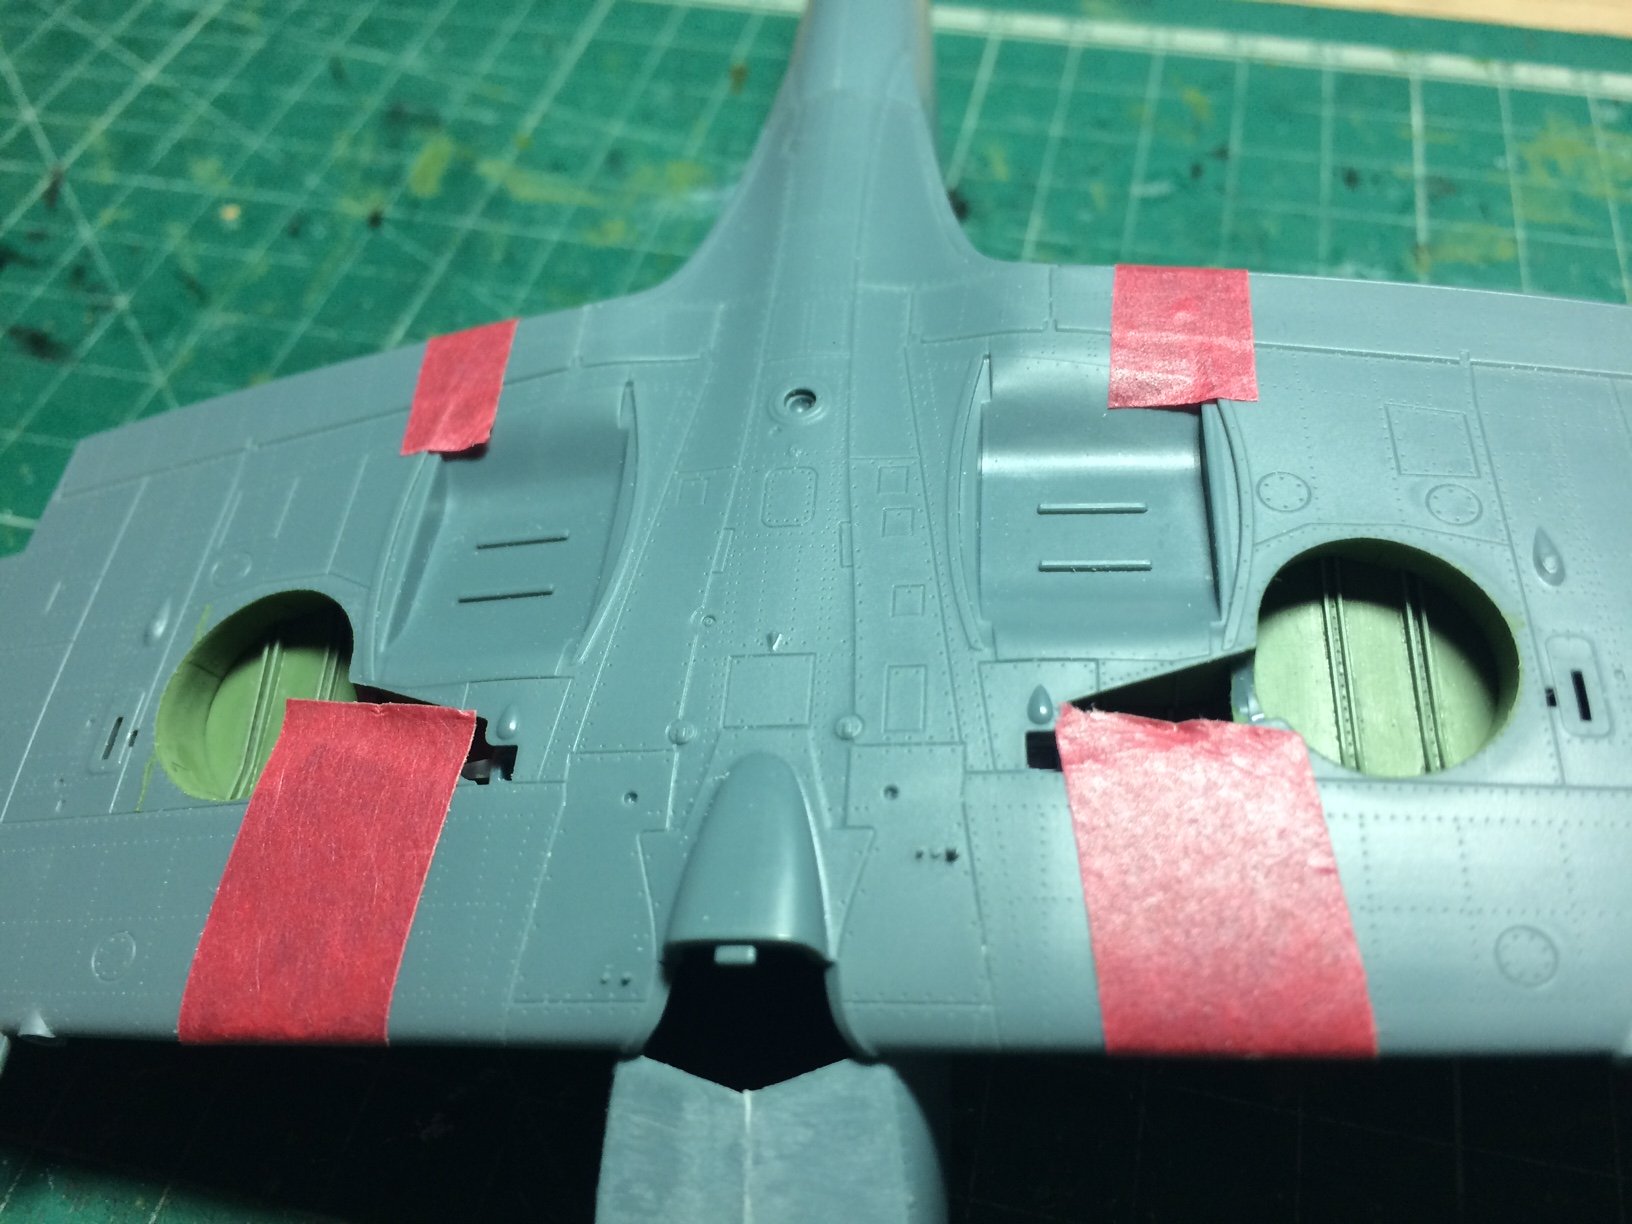
More progress this evening - I glued the two wing sections to the main lower wing, then I glued the whole wing assembly to the fuselage, when set it needed just the smallest amount of filling with plastic putty and a bit of clean up. OC.

- 298 replies
-
- 10
-

-
Keep at it mate you will do it. OC.
-
She is looking so nice EJ full credit to you for pushing on with making and fitting the sails. OC.
-
First rate work on that decking very very nice and good thinking painting the knee's white. OC.
-
This looks like an interesting build. OC.
-
Your doing a fine job Edward glad we are in the same club for broken canopies we should win a medal. OC.
-
Sorry for butting in (again) Captain you should do a build log in the site. OC.
-
I remember some kits - old school Airfix I think, thier heli's used to have a plastic T piece bolt like thing it was supposed to be held inplace then the rotor head was supposed to glue to it allowing the rotor head to rotate. OC.
-
Yep good thanks, trying to stay sain during this madness we are all encased in, my last ship build was The Balck Pearl (Pirates of the Carribean) it was a plastic build but fun. OC.
-
I am loving what you are doing here Kevin - its looks really lifelike. OC.
-
Hi there (sorry to but in) long time no speak since our Greyhound days hope you keeping well. OC
-
Yep the join lines are really tight with regards to the tollerances, I thought the join where the wings meet the fuselage might needs some work - but straight on even with a dry fit - they fit fine no filling I dont think. OC.
-
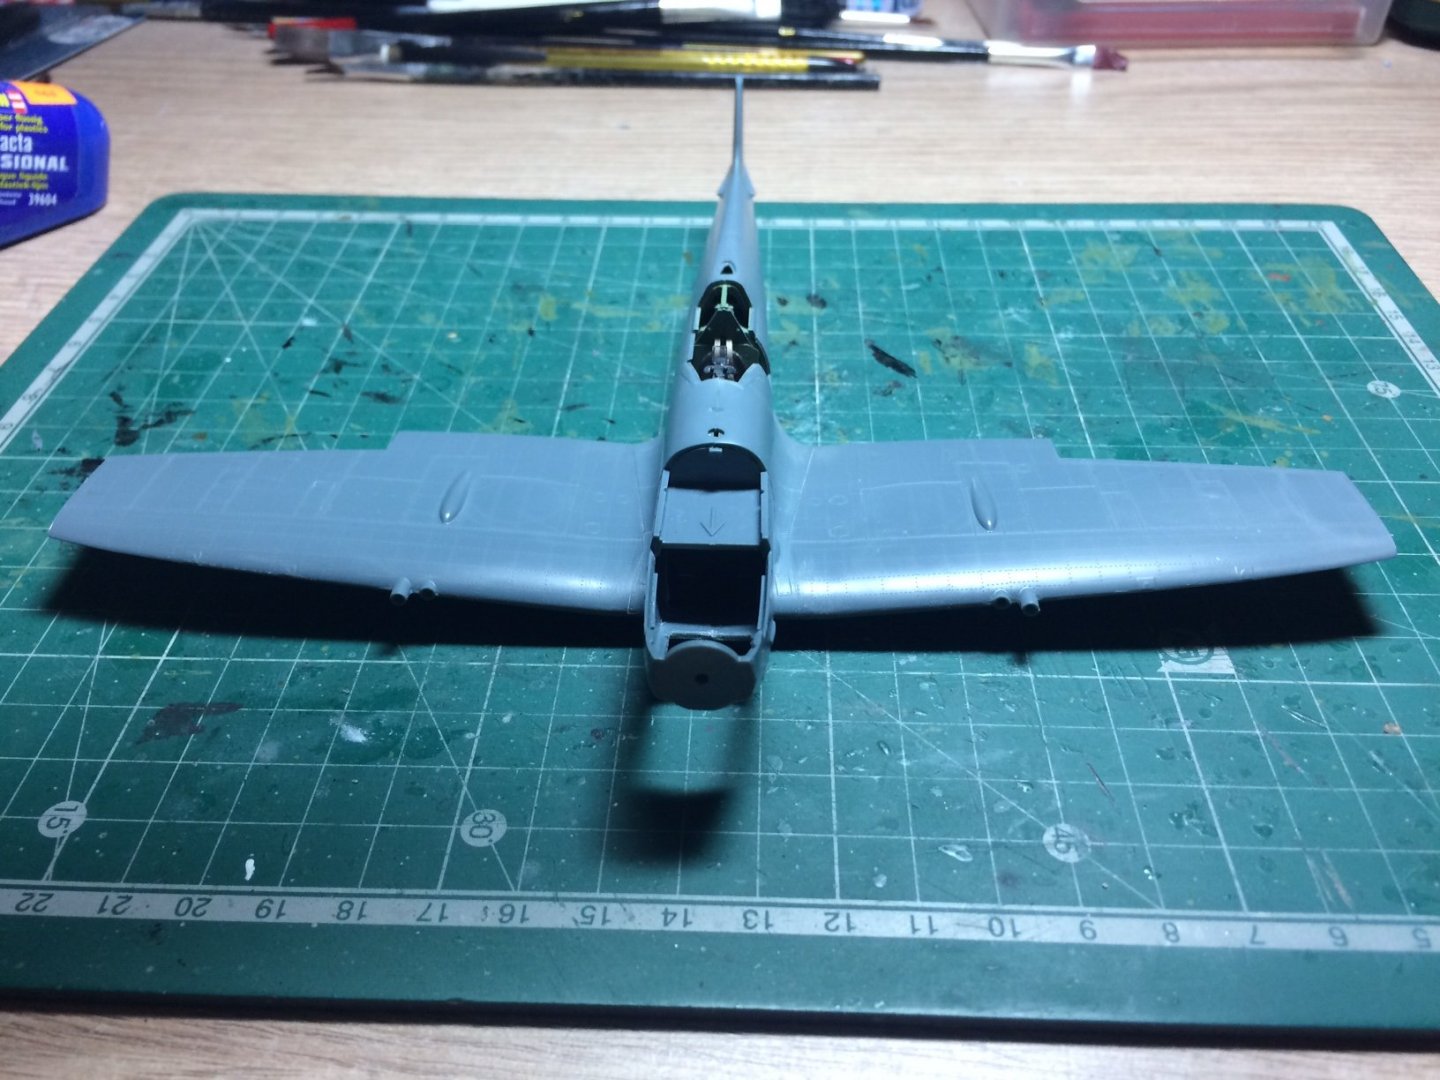
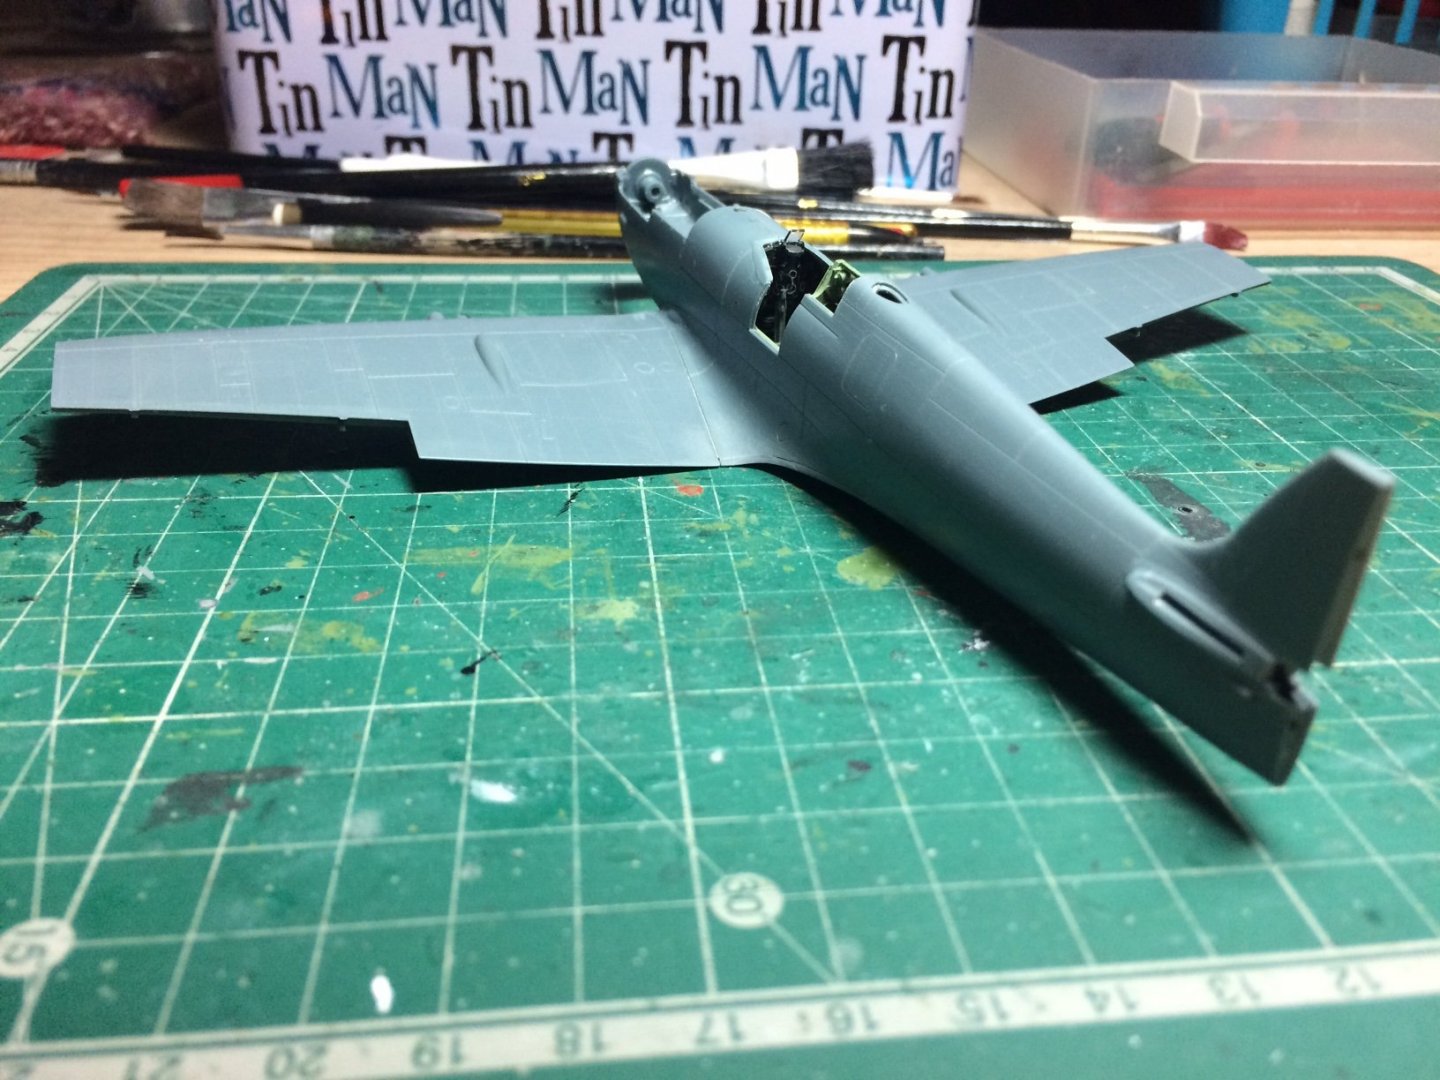
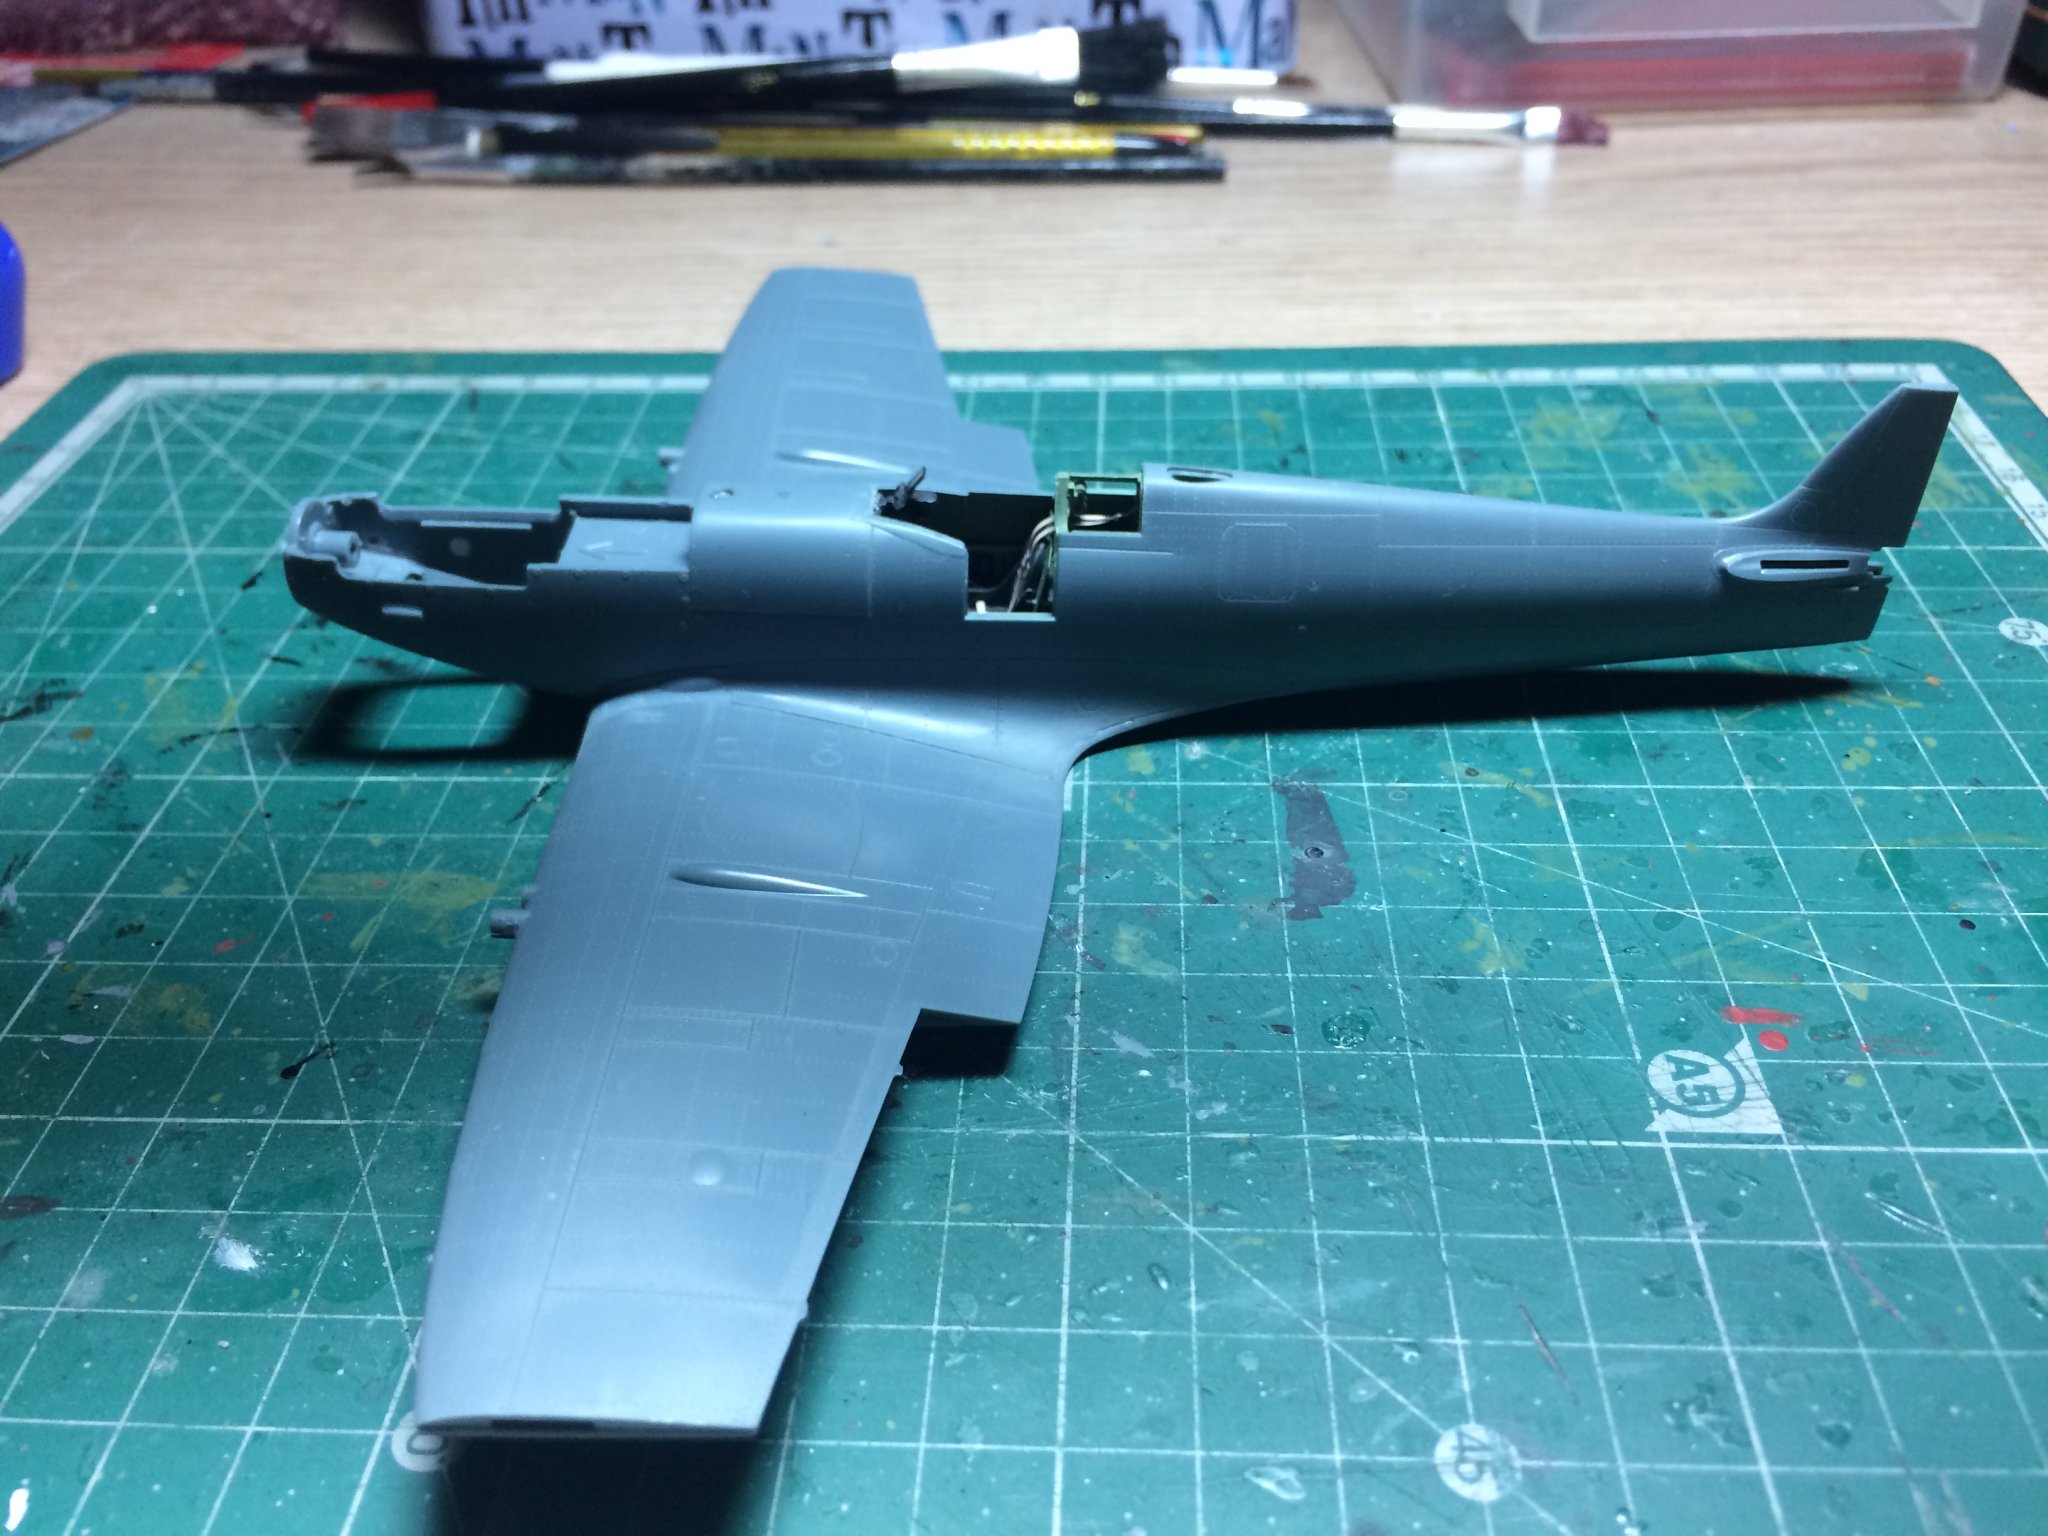
Evening all, A bit more work on the Spit this eve, I painted the insides of the wheel wells then weathered them, then I dry fitted the wings to the fuselage to check the fit - Impressive. The wings are not joined together yet (top and bottoms) OC.

.thumb.JPG.82613a57861b9d0cd6971e5df2d5b67f.JPG)
- 298 replies
-
- 11
-
-
Looking really nice. OC.
-
That looks sweat mate. OC.
-
Have you got any small nuts and bolts? you could try attaching them with blue tak. OC.
-
Dont tell Greg about it - he would have you doing all sorts to it.🙃 OC.
-
Evening all, Right as I said earlier - I dragged the other Spit kit out (That I had stashed in the cupboard as I messed it up) I had a look over it and think with the confidence from building this, I should be able to salvage it into a Seafire Mk3. OC.
-
Sounds interesting, is it the Brassin one? I have heard good things about that. OC.


.JPG.f6433b326dff6557a534751f170f4f14.JPG)