Old Collingwood
-
Posts
12,069 -
Joined
-
Last visited
Content Type
Profiles
Forums
Gallery
Events
Everything posted by Old Collingwood
-
 Greg can I recommend these to you - I use them they are color matched to be as close to admiralty colors. OC.
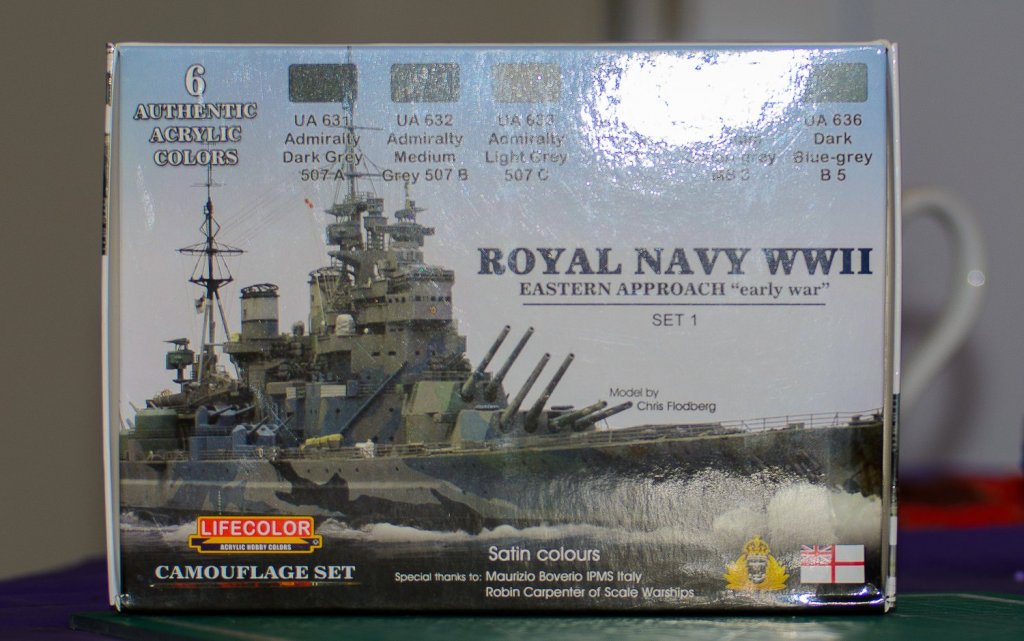
- 405 replies
-
- 5
-

-
- tamiya
- king george v
- (and 2 more)
-
"What - you measure your popcorn with a ruler"....... OC.
- 1,090 replies
-
- 6
-
-
- showcase models
- vendetta
- (and 2 more)
-
Looking smart. OC.
-
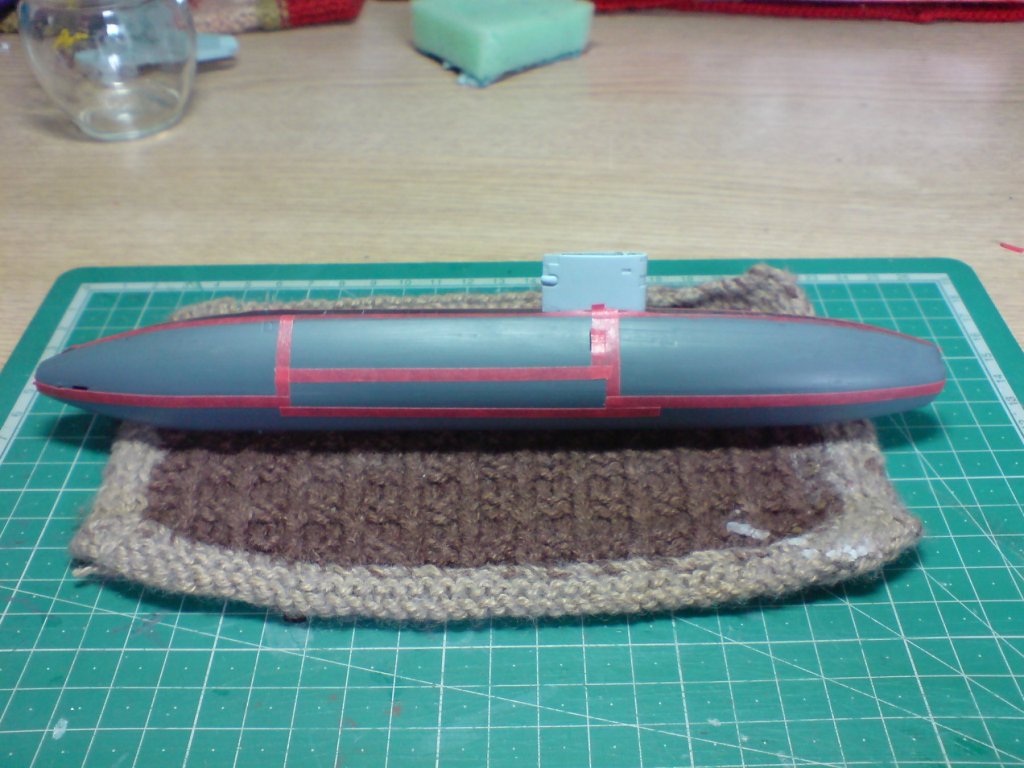
I decided to mask the hull into sections to aid hand painting, I did this in equal sections so as to look natural when the tape is removed, just the one pic. OC.
- 229 replies
-
- 9
-
-
- trafalger class
- airfix
- (and 2 more)
-
Facinating build greg - not so disimilar to my Warspite, I will be watching along pinching lou popcorn. OC.
- 405 replies
-
- 7
-
-
- tamiya
- king george v
- (and 2 more)
-
Tiger would be Brilliant Helicopter moded version? OC.
-
I have seen that mentioned before, the only experience I have with molten sprue is with aircraft kits to make arials and comms wires, where you would heat up one of the lengths of sprue then pull it till it became a very fine string. OC.
- 229 replies
-
- 6
-
-
- trafalger class
- airfix
- (and 2 more)
-
Was that Keel or Eel...... OC.
-
Thanks Jack, I think I have seen it on flee bay. OC.
- 229 replies
-
- 4
-
-
- trafalger class
- airfix
- (and 2 more)
-
"Type of brush" yep the hairy kind with a handle, seriously its a fairly decent size brush that I use for hand painting my Warspite build, paint wise in using the excellent Lifecolor set of acrylic satins, they are really good. Its one of those painting jobs - the more thinned out coats its get - the better the finish. OC.
- 229 replies
-
- 3
-
-
- trafalger class
- airfix
- (and 2 more)
-
Do you know what I would do lou to hush the rushers up - take some pics of demon cat and post them, atleast they will be pics. OC.
-
If I pull this one off I think I will have earned the NRG achiever medal of stupid painting endurance. OC.
- 229 replies
-
- 4
-
-
- trafalger class
- airfix
- (and 2 more)
-
Yeah it just took a bit of sanding with fine wet and dry, its had a few more coats back over the whole hull, but to be honest its like trying to paint a glass from top to bottom with a small brush. OC.
- 229 replies
-
- 4
-
-
- trafalger class
- airfix
- (and 2 more)
-
Something like this kevin, https://www.cornwalllive.com/news/cornwall-news/dave-forteys-scale-model-hms-916409 OC.
-
How about HMS Ark Royal R09 in 1/72 scale if one is out there. OC.
-
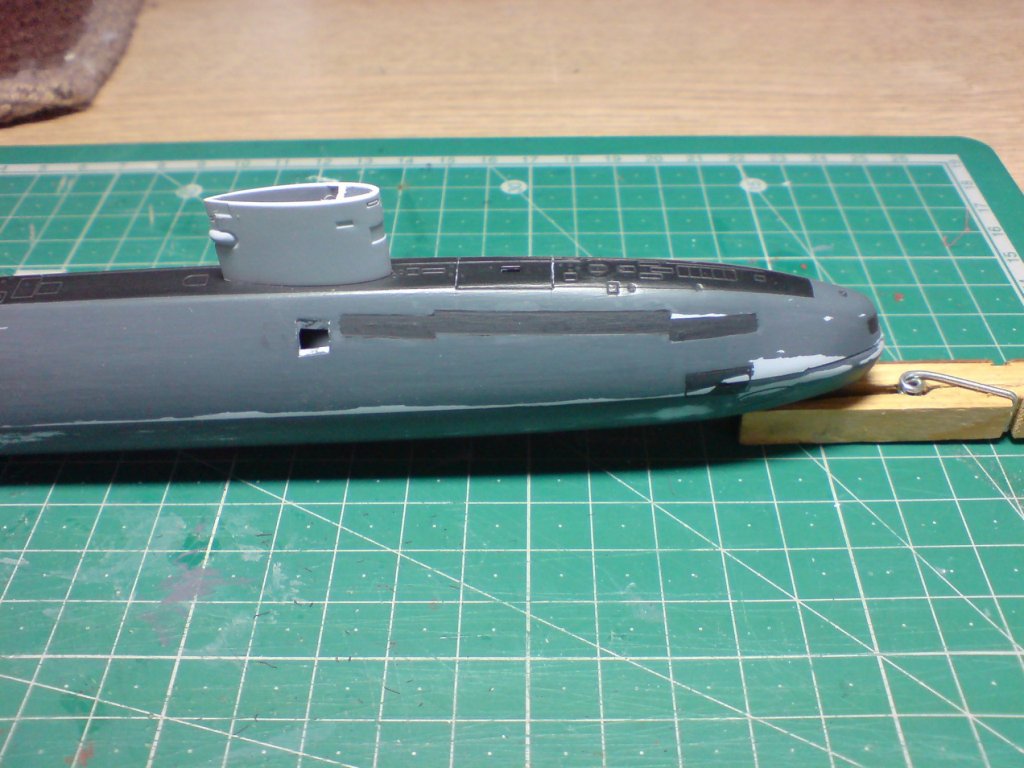
Sort of an update - I have been having trouble with the join line not joining flush despite sanding to two halves, and even with many coats of paint it looked Horrid, so I tried to apply some styrene cement, thi wasn't doing a very good job (dont the smallest and least complicated builds tend to give us grief) So plan number two was to use some C/A and smear it inside and over the bow nose area. This was done to some extent and when dry I was able to give the bow (super glued area) and the rest of the hull a thorough sanding with very fine wet n dry and water. The result was the affect you get when you sand a car down ready to re spray. Then it was back on using my little hairy friend and muliple thin coats of dark grey. No pictures as I didn't have the heart and thought it looked a mess, still having to use my phone camera also. Not the best day TBH. OC.
- 229 replies
-
- 5
-
-
- trafalger class
- airfix
- (and 2 more)
-
Excellent work kevin its so graphic and nice that scale. OC.
-
Admiral said she neds to be convinced its a submarine ........ Blushing Old Collingwood moment OC.
- 229 replies
-
- 5
-
-
- trafalger class
- airfix
- (and 2 more)
-
Wife just took note of my sub build and asked "where does the batteries go" OC.
- 229 replies
-
- 8
-
-
- trafalger class
- airfix
- (and 2 more)
-
Hi Jeff long time no see hope you are well. OC.
-
Wowser your motoring along with her now - lovely work my friend. OC.
- 171 replies
-
- 8
-
-
- krabbenkutter
- authentic models
- (and 1 more)
-
Thanks mate, yep its not always easy to make a round smooth object detailed and interesting, but I will give it a go. OC.
- 229 replies
-
- 5
-
-
- trafalger class
- airfix
- (and 2 more)
-
Hiya mate, I will continue to buile up the base color first and attack the bow area where there is a gap, then I will look at simulating some tiles with tape masks. "note to self - look on flee bay for that flast coay rattle can carl mentioned" OC.
- 229 replies
-
- 6
-
-
- trafalger class
- airfix
- (and 2 more)
-
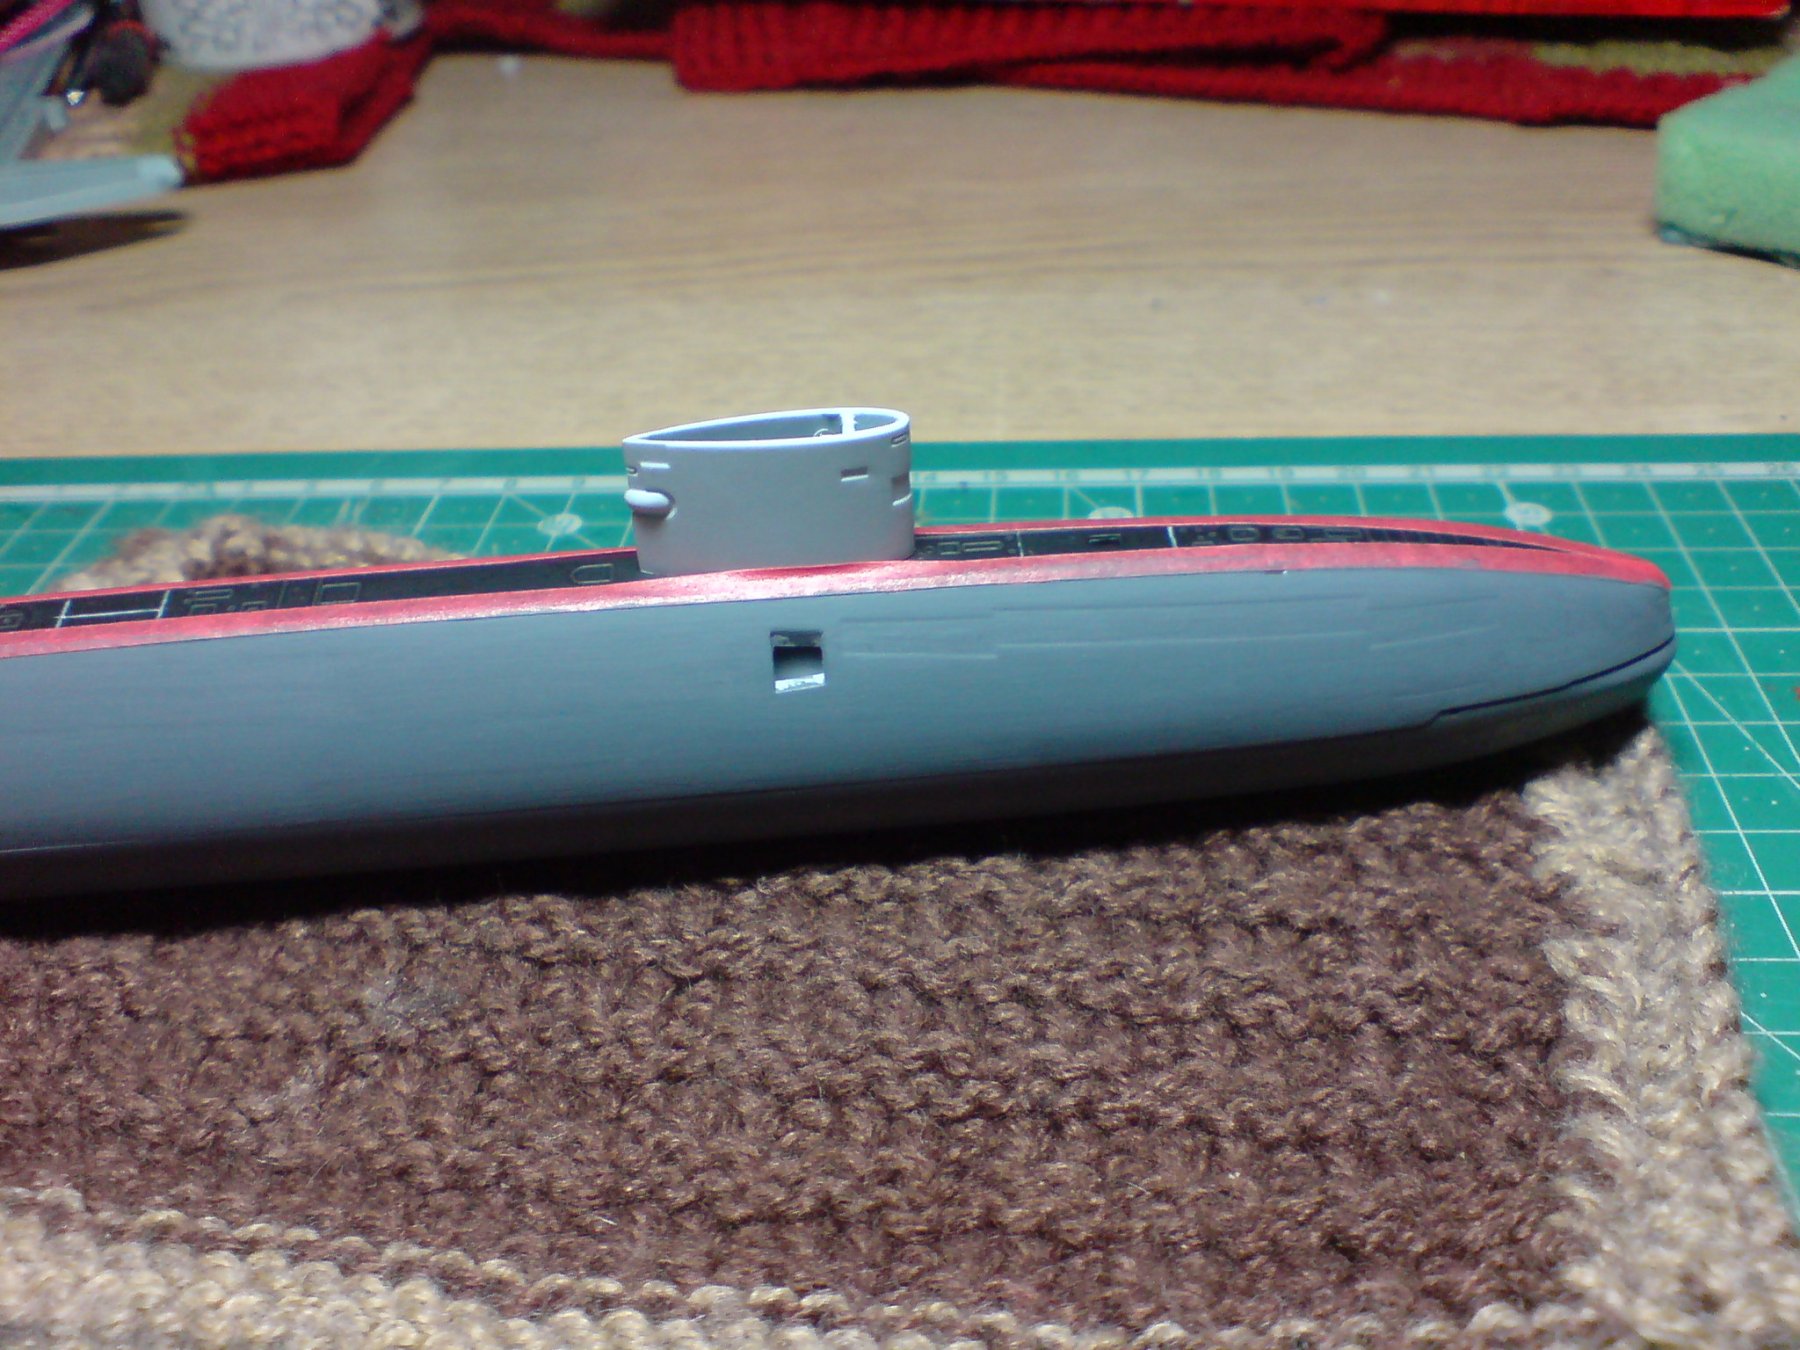
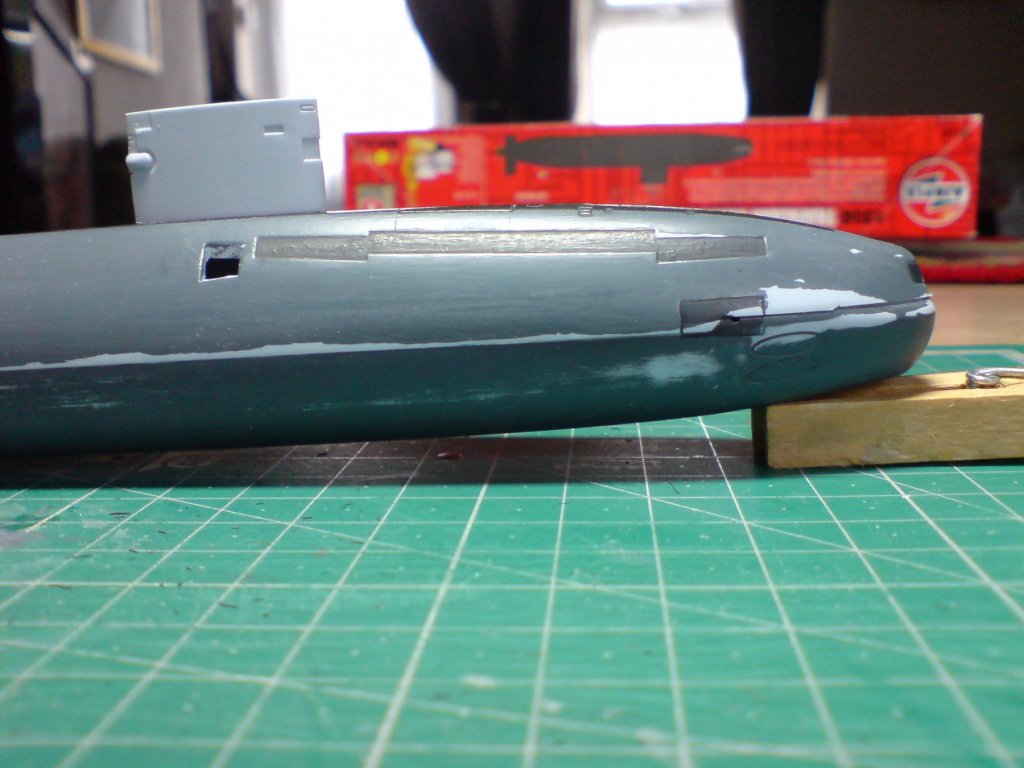
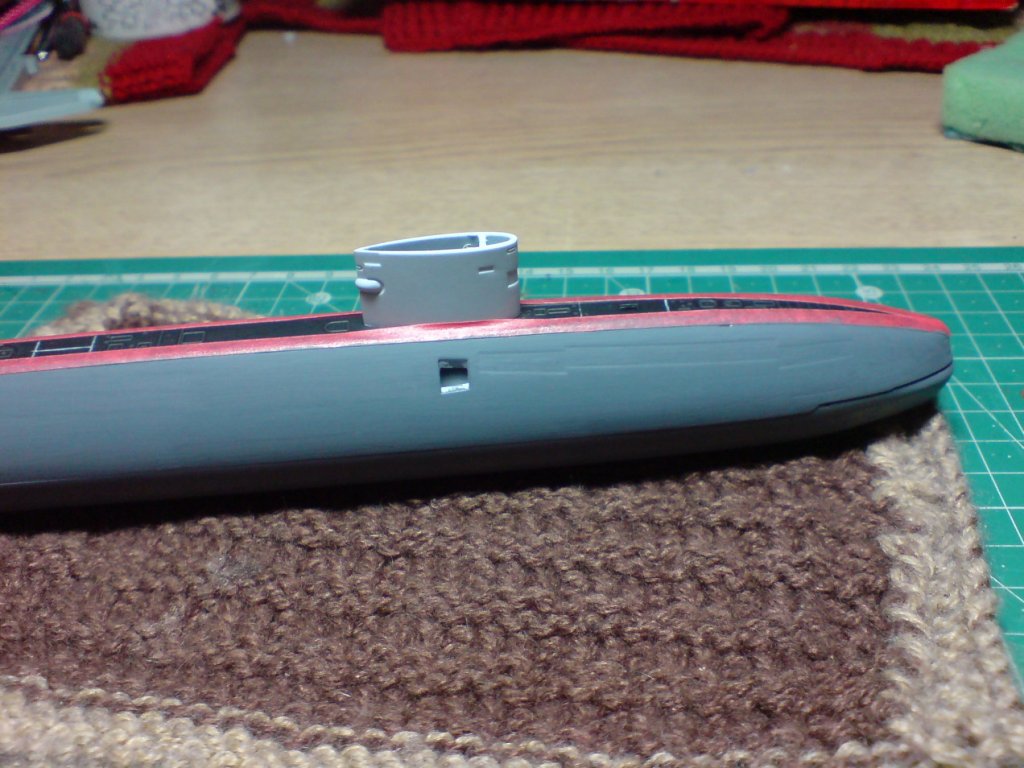
Right I decided to attack the sub (no pun intended) by closing up the hull, this was quite a tidy job but needs a bit of filling near the bow, any way I also put the two halves of the sail together, then glued this to the hull, when set I lightly sanded the hull to create a key, but also masked off the top section, then I started to apply the first few brush coats of dark navy grey. It will need quite a few coats (all thin coats) to build up a smooth finish. Here are a few pics. OC.
- 229 replies
-
- 11
-
-
- trafalger class
- airfix
- (and 2 more)