Old Collingwood
-
Posts
12,104 -
Joined
-
Last visited
Content Type
Profiles
Forums
Gallery
Events
Everything posted by Old Collingwood
-
 Wonder if this painting by turner might help in relation to her Trafalger condition. OC.
-
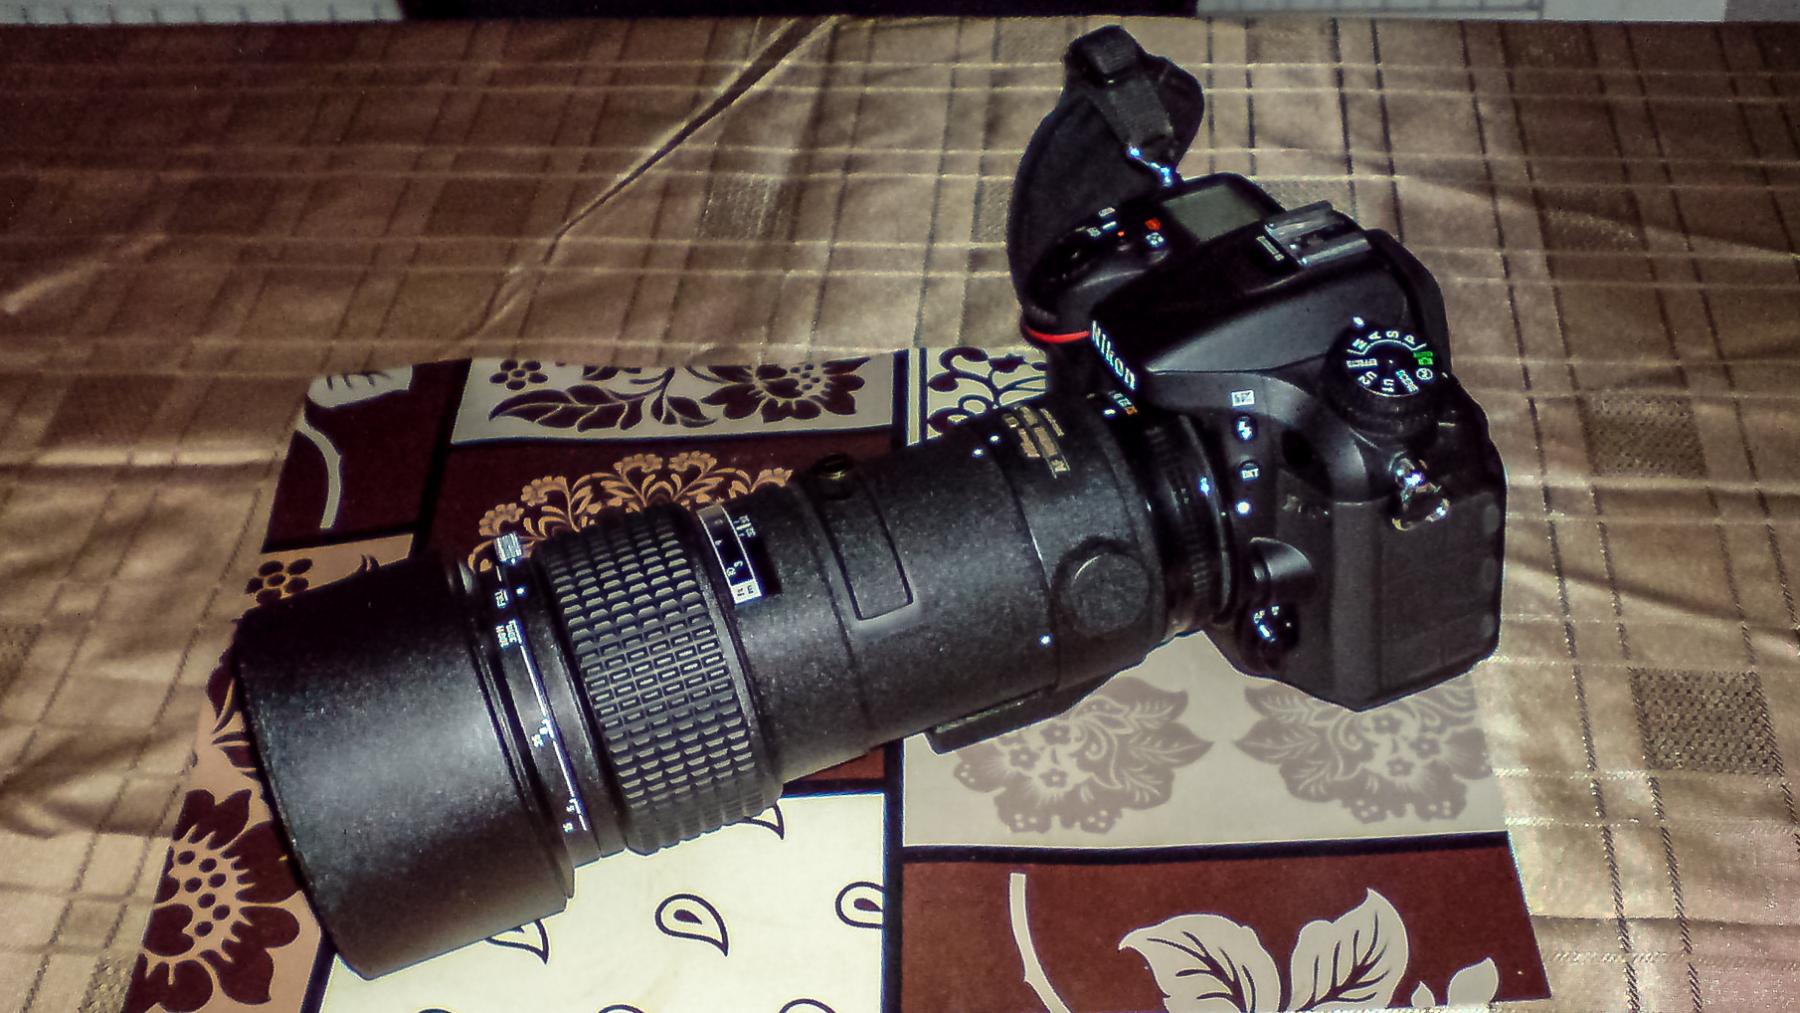
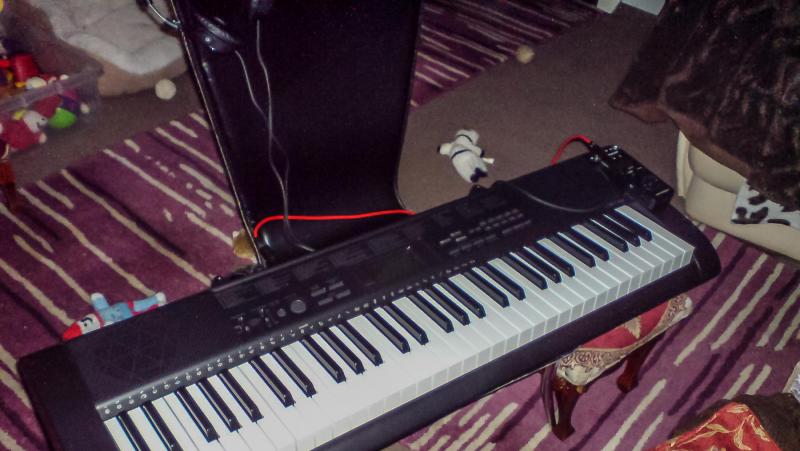
I will be doing more work soon folks (promis) its just that I have had a few distractions from my joke and gag writting, getting a new camera set up and needing to test it out, then later getting an asignment to do some keyboard recording for a record to be produced later this year. Its like having so many irons in one fire - enjoyable but busy. OC.
-
So much detail at 200 scale I was so thinking of getting Hood in that scale for my 100th - when I finish my ole lady :D OC.
-
"Its looking realy good exciting like a book - amazing what all that work took" there you go I sang it while playing along on my keyboard OC.
-
What i intend to do is - make my ole girl with one hand while taking pics outside with the other - while recording onto my tascam from my keyboard with the other two hands OC.
-
Hi folks just saying hi Im still around just showing another reason for my distractions of late - I write music and here is another of my new toys to play with OC.
-
Dont know about the Amazing work you have done - but I can read how old you are by your rings OC.
-
Keep going you can do it - we will all join you for a slipway lauching party :) OC.
- 473 replies
-
- 3
-

-
- greek bireme
- dusek
- (and 1 more)
-
Helps if the paint (acrylic) is watered down to thin milk consistancy I understand. OC.
-
We have a nice little family building here, Im still here just been a bit disstracted by my little camera and intermitent spells of blue sky and aerolplanes flying over at 30.000 feet and setting the challenge to myself of catching a photo of the pilot waving at me OC.
-
Hello David sincere warm greetings to you hope you have a loverly christmas, Its all your fault - after seeing the Fabulous Warspite from up north, you got me hooked and obsessed with the ole girl All my inspiration is from that Amazing pice of artistry going on with her, just hope I can in any small way pay tribute to her Kind regards OC
-
Could be your card or reader - is your card connected directly in a slot in the comp or via an external card reader, take either/both out and check condition of the contacts(brass shiiny sections where you plug in) make sure they are clean - if not give them a clean with a cloth, then either try re loading or re try with new shots in the camera after cleaning the memory card. Might work give it a go. OC.
-
I only have the one telescope i meen lens for it, so im affraid we will have to do with my cam phone pics. OC.
-
I cant see a problem there from the photo to be honest it looks realy nice and as it should look, but guess you are same as me an don close inspection we want better and worry its not good enough. OC.
-
Its a Fixed length prime lens 300mm f4 none Vibration Reduction but fine if used with a shutter count over 1/500sec hand held. OC.
-
Can i Take a Bench with a Fridge at the side of me - I promiss not to get confused with my other medium, any way "Whats this one called again" - Wool, Woop, Woof I mean Wood, yes that not so heard of material that a few ships where built from for a time :P OC.
- 453 replies
-
- 7
-
-
- thermopylae
- sergal
- (and 1 more)