
HOLIDAY DONATION DRIVE - SUPPORT MSW - DO YOUR PART TO KEEP THIS GREAT FORUM GOING! (Only 13 donations so far - C'mon guys!)
×


Old Collingwood
-
Posts
12,098 -
Joined
-
Last visited
Content Type
Profiles
Forums
Gallery
Events
Everything posted by Old Collingwood
-
 There is always a certain amount of hands on - reaching across - holding a model to do work on them, and sometimes parts get broken or knocked off, but your work with extra fine details always looks as if you have mini robots doing the work for you, or you must have a surgeons hands. Amazing. OC.
 -
Superb work you made her look amazing. OC.
-
Looking really nice robin - the oars really make her stand out. OC.
- 473 replies
-
- 3
-

-
- greek bireme
- dusek
- (and 1 more)
-
I used to build most ot the 1/600 Airfix ships when I was a lad, they were quite crude by todays standards, but none the less an enjoyable experience, I remember on one occasion I went with my late parents down to Portsmouth (UK) Navy Days and was brought a Airfix model ship from their HMS Devonshire I think it was, that made building the model that much more significant. OC.
- 133 replies
-
- 4
-
-
- jeanne d arc
- heller
- (and 2 more)
-
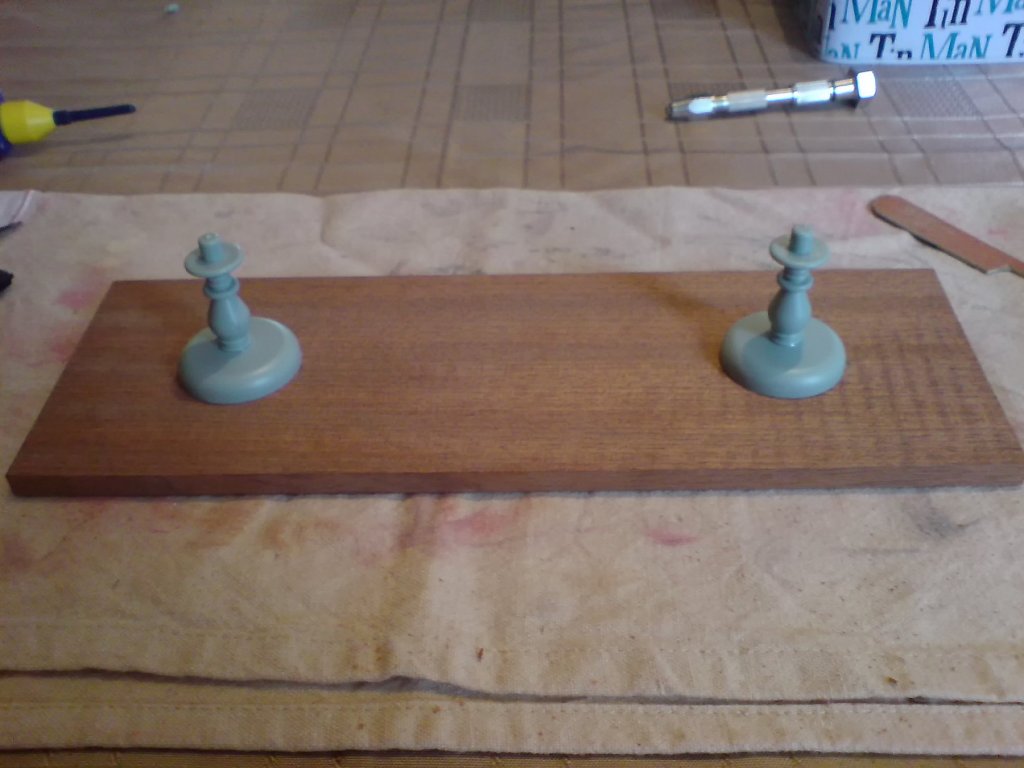
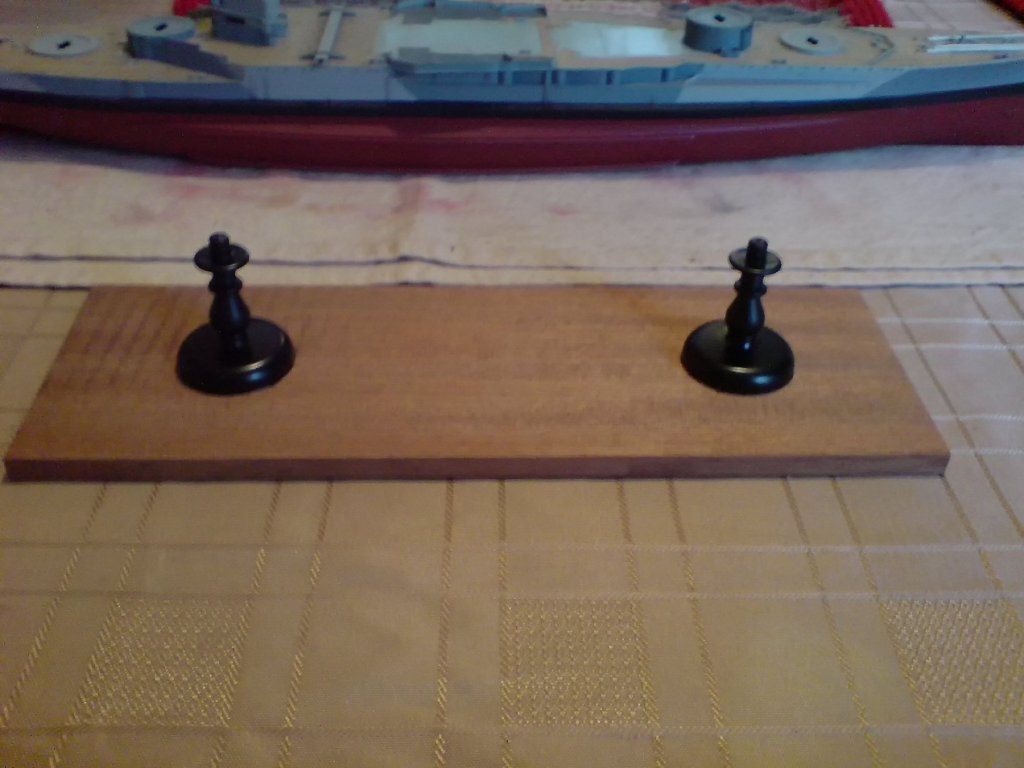
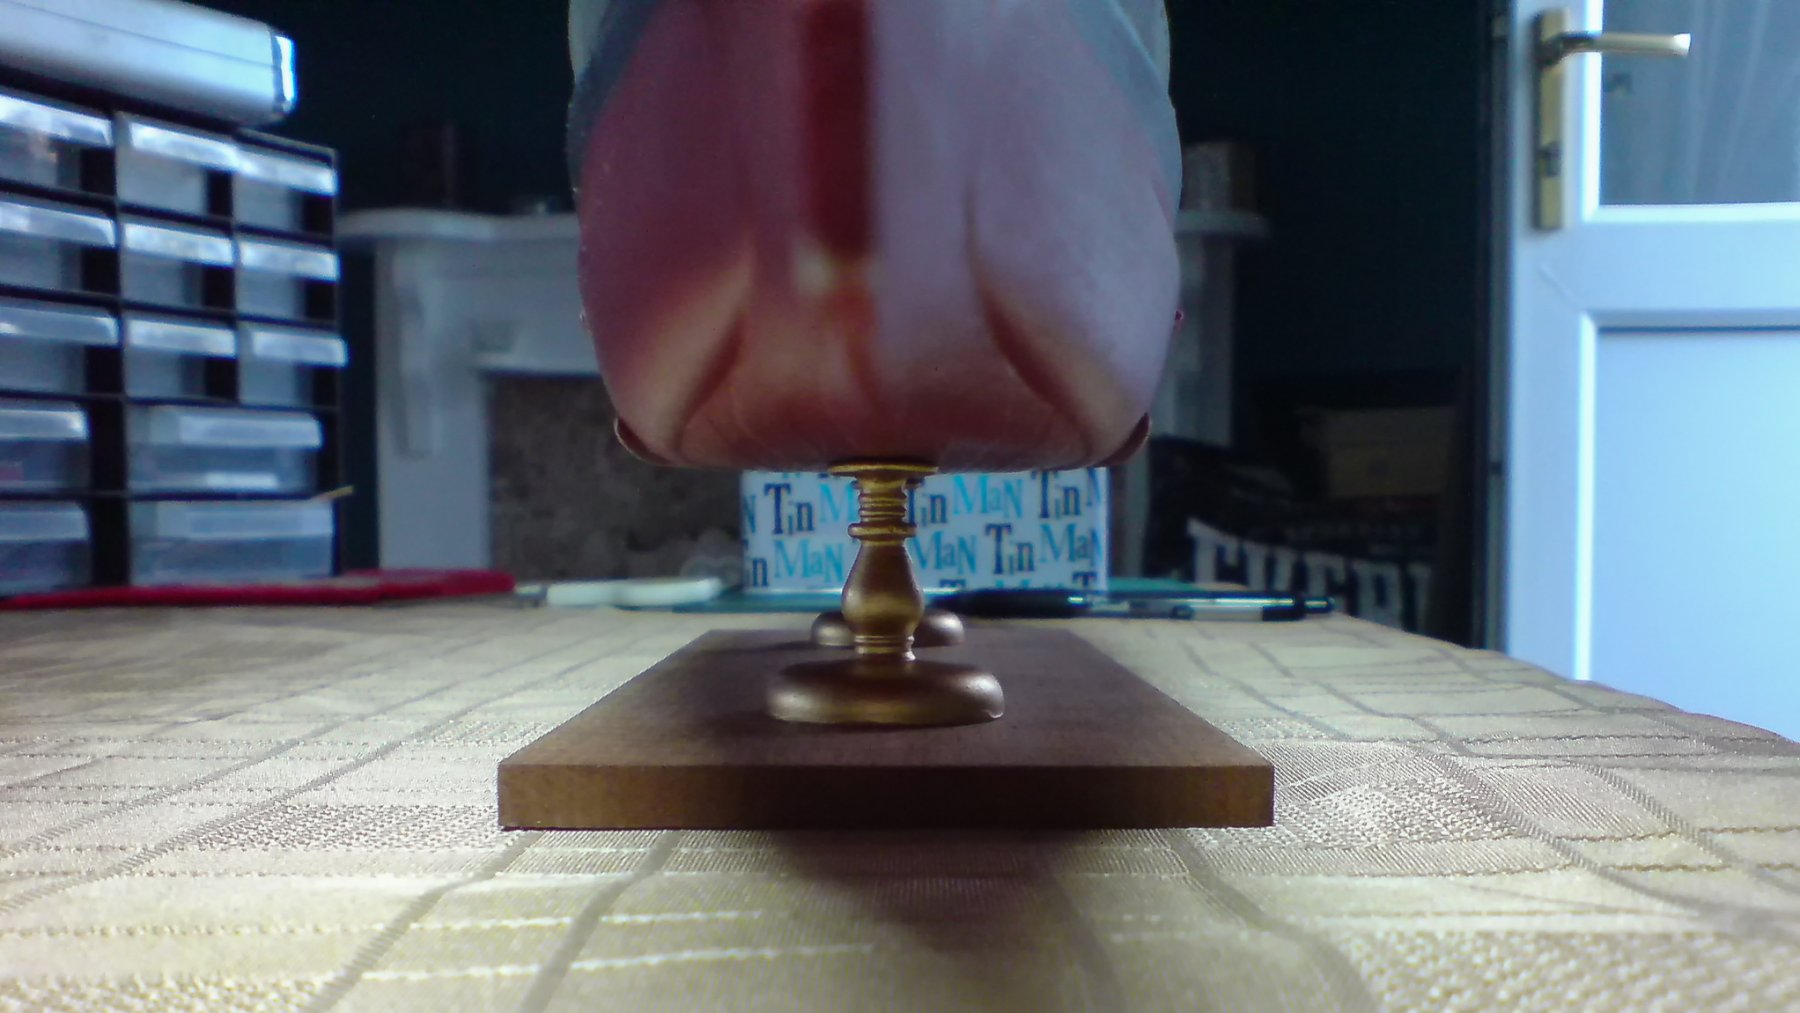
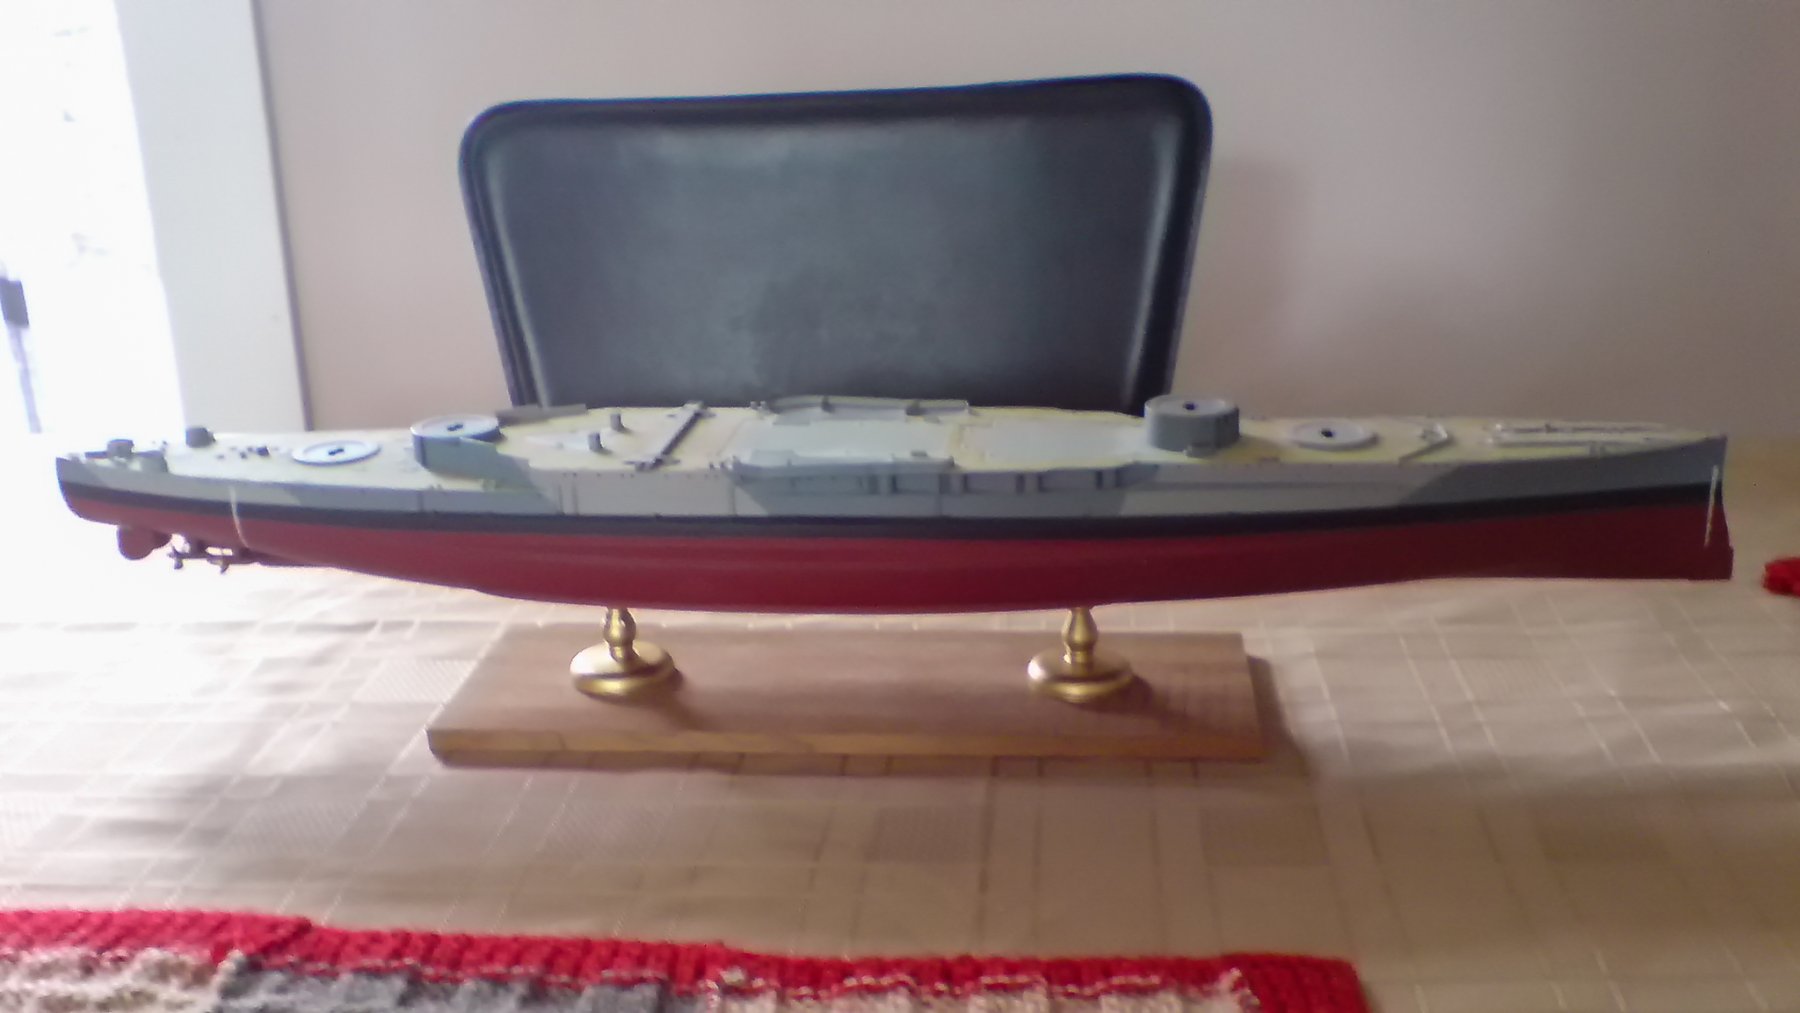
Good day folks more work on the ole girl today I started off by over painting the pedestals in brass color as I thought they would look better than black, while they were drying I started boring out two holes under the hull ready to take the lugs on the pedestals. When they were both ready I offered them up and stuck using CA glue. Here are the photos - OC.
-Edit.thumb.jpg.45f208746f31bacd9236ea2993adaf5a.jpg)
-Edit.thumb.jpg.8e37ba8ef9d2fe7c44a312eb47837216.jpg)
-Edit.thumb.jpg.91ab74a7f77fe75f0f9936faadd36260.jpg)


-
Looking really good and not to un similar to the Airfix HMS Fearless kit probably from around the same time. OC.
- 133 replies
-
- 4
-
-
- jeanne d arc
- heller
- (and 2 more)
-
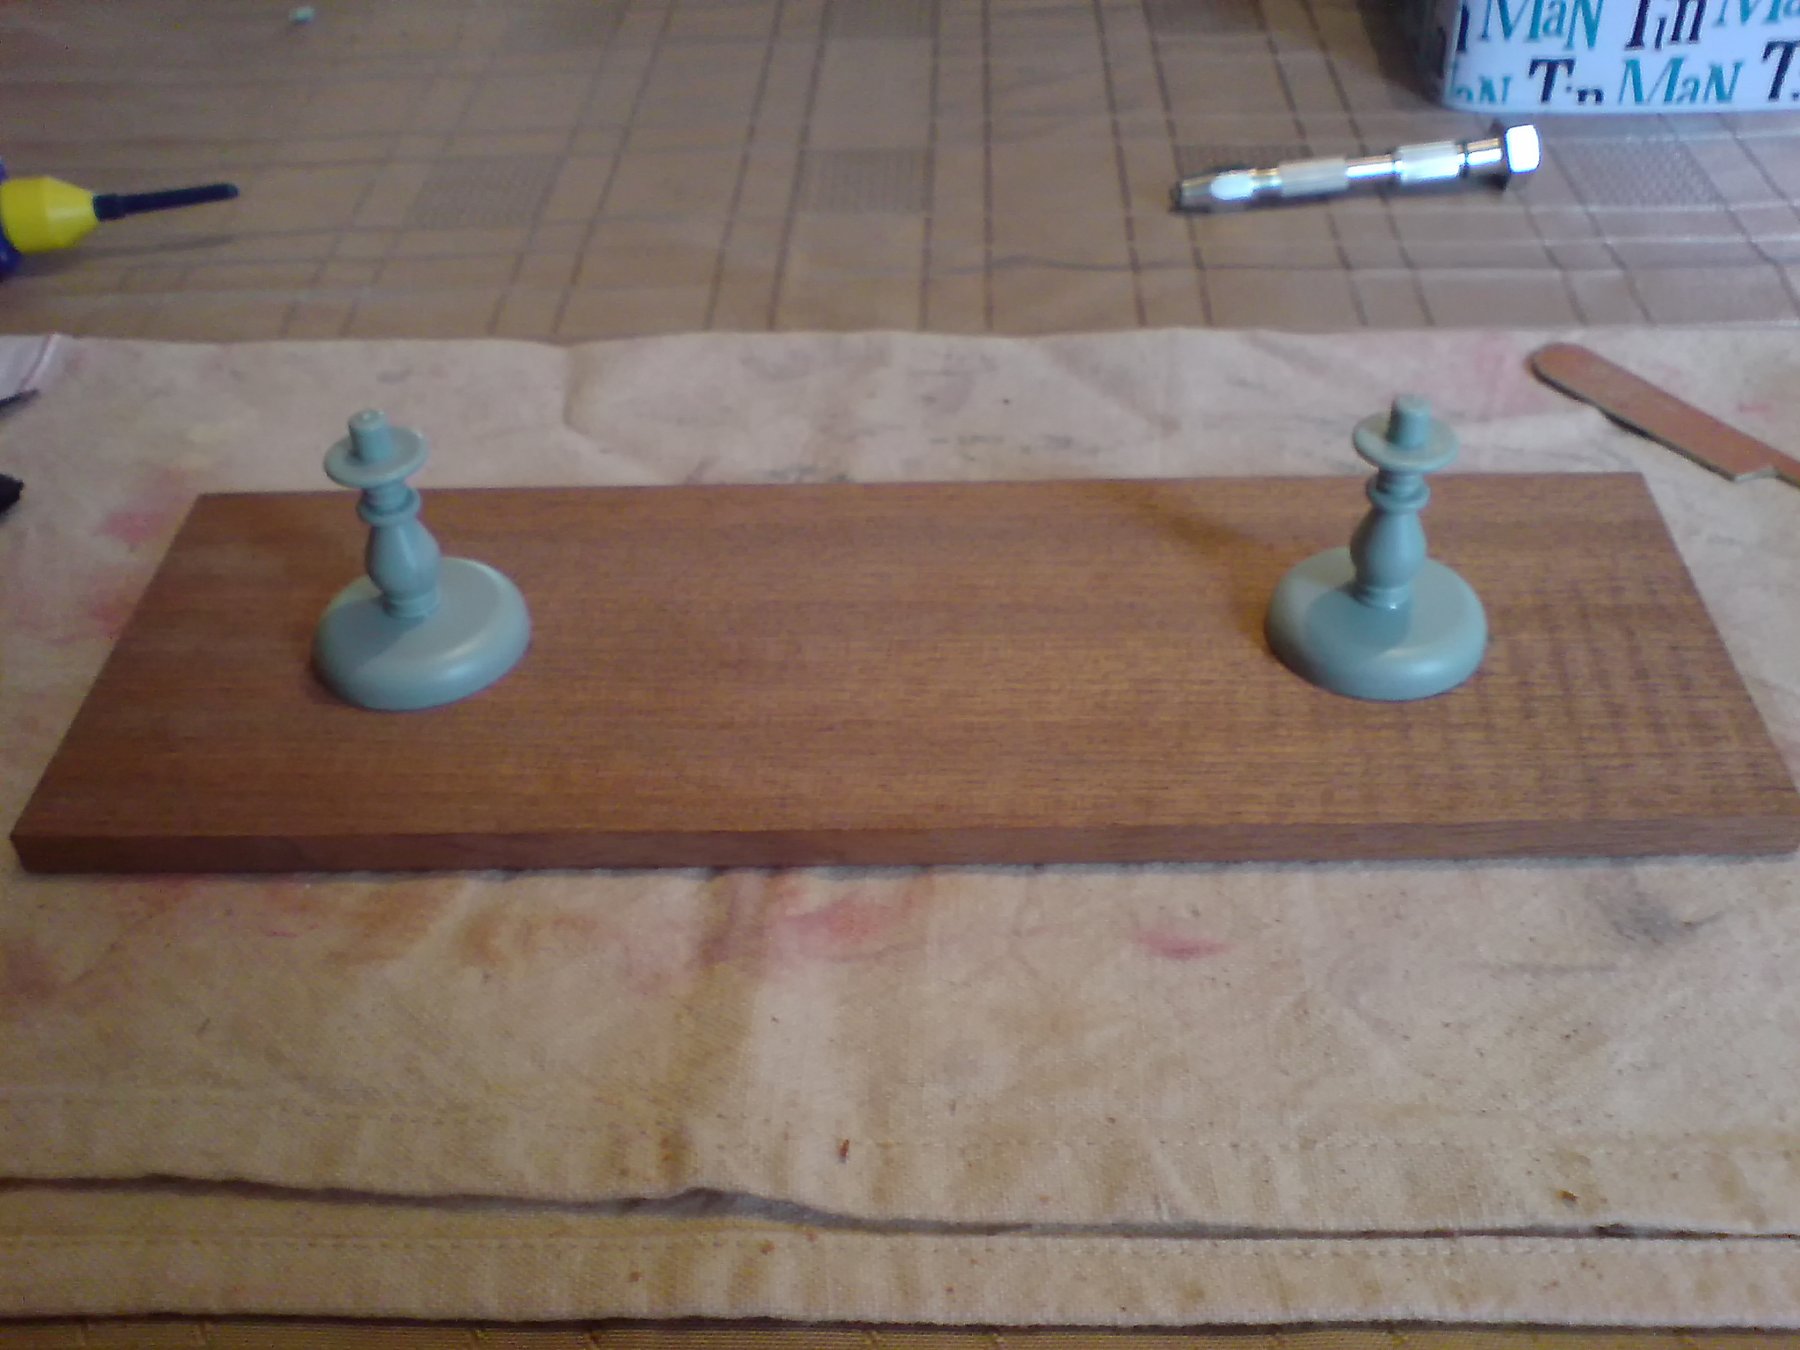
Right then folks I got my mojo back and had a bash on the ole girl, I got may bag with all my bits and pieces and set up on the table, I decided the job of the day was to start on the base and pedestals, first I had to take them off the plastic frets and join them together, then I ligned them up on the base and drilled through the base to take the pedestal lugs, after doing this and getting a good fit - I put a bag around the base and pushed the pedestals into the holes with a plastic bag covering the base. Then it was outside with my black rattle can and a few coats were applied, after drying I moved the bag and dry pedestals and dry fitted to the base. Here are a few photos shot today showing the rear section and block, and the base/pedestals before and after paining. It was just an hours work but so so enjoyable, tomorrow I will glue the pedestals to the base then align them with the centerlign of the hull, and bore a couple of holes in the hull to take the top pedestal lugs, then secure both together. OC.

-
Right then my fellow followers and onlookers - I have cleaned the dinning room table (well mrs OC has) and I moved the ole girl from the shelf (with all her dust) then at the table I gave her a few careful blastw with a hairdryer to move the dust, "job done" I examined her and all is well just as I left her (what about 10 years ago) So - I have made a possitive step, she is on a cleared table now ready for my attention Tomorrow folks - tomorrow. OC.
-
Now thats added an extra dimension to the build, if you can paint them fairly well they will bring the build alive like dafi HMS Victory build with all his little sailors. OC.
-
Thank you my friend, I use different pain relief creams including ibrofafine (not spelt that right I know) and cold freeze creams, the problem is the condition will only get worse with age, so I will just make the most of things before it gets too bad. OC.
-
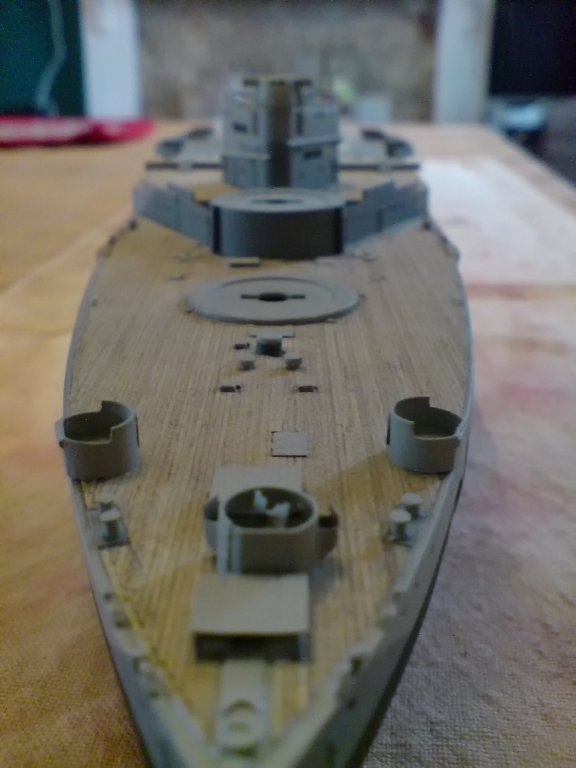
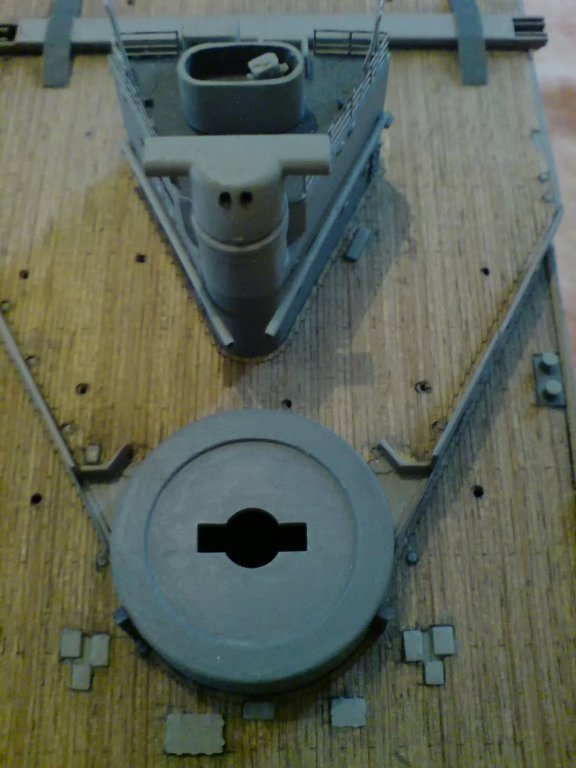
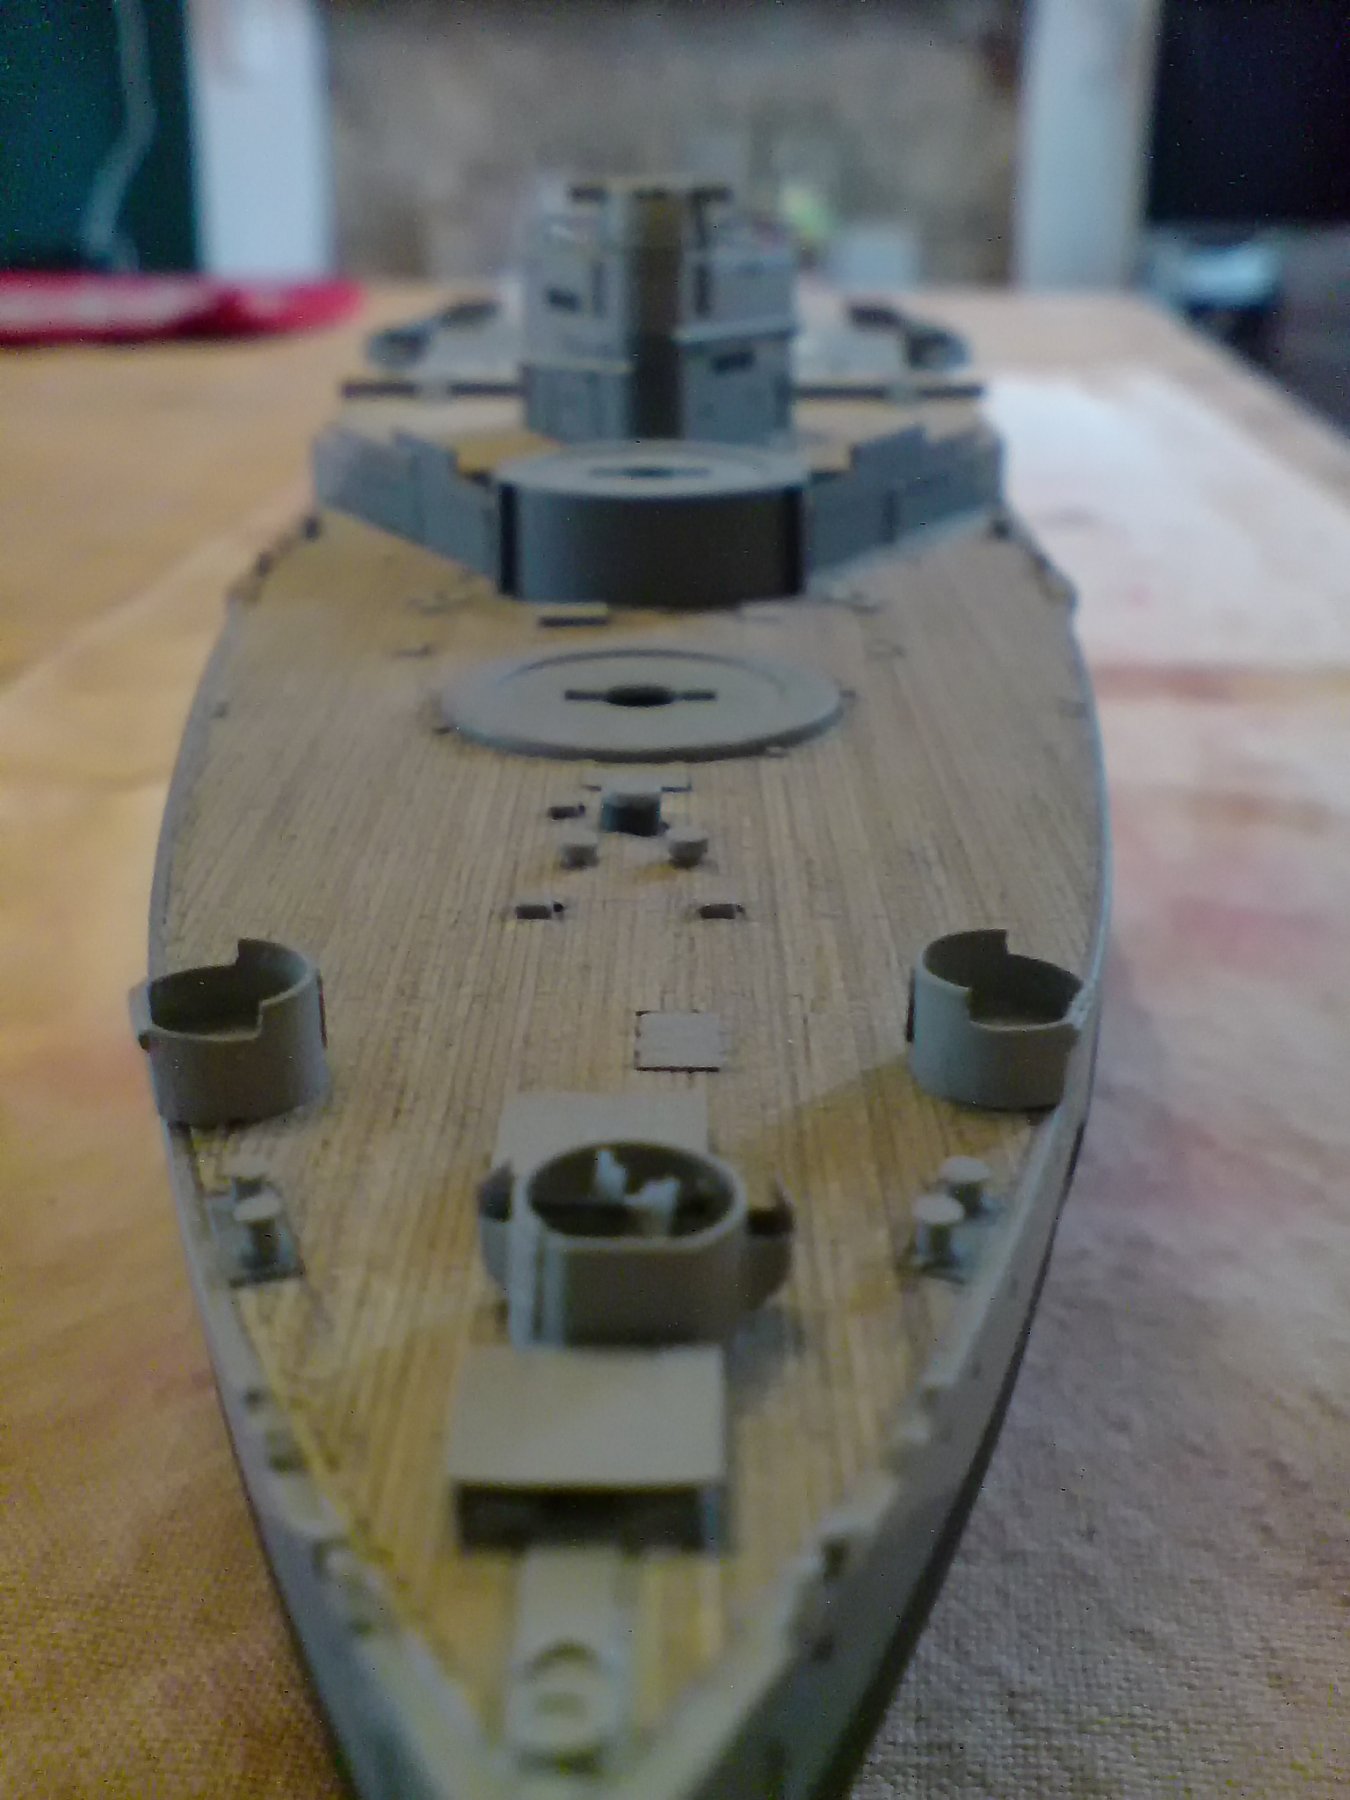
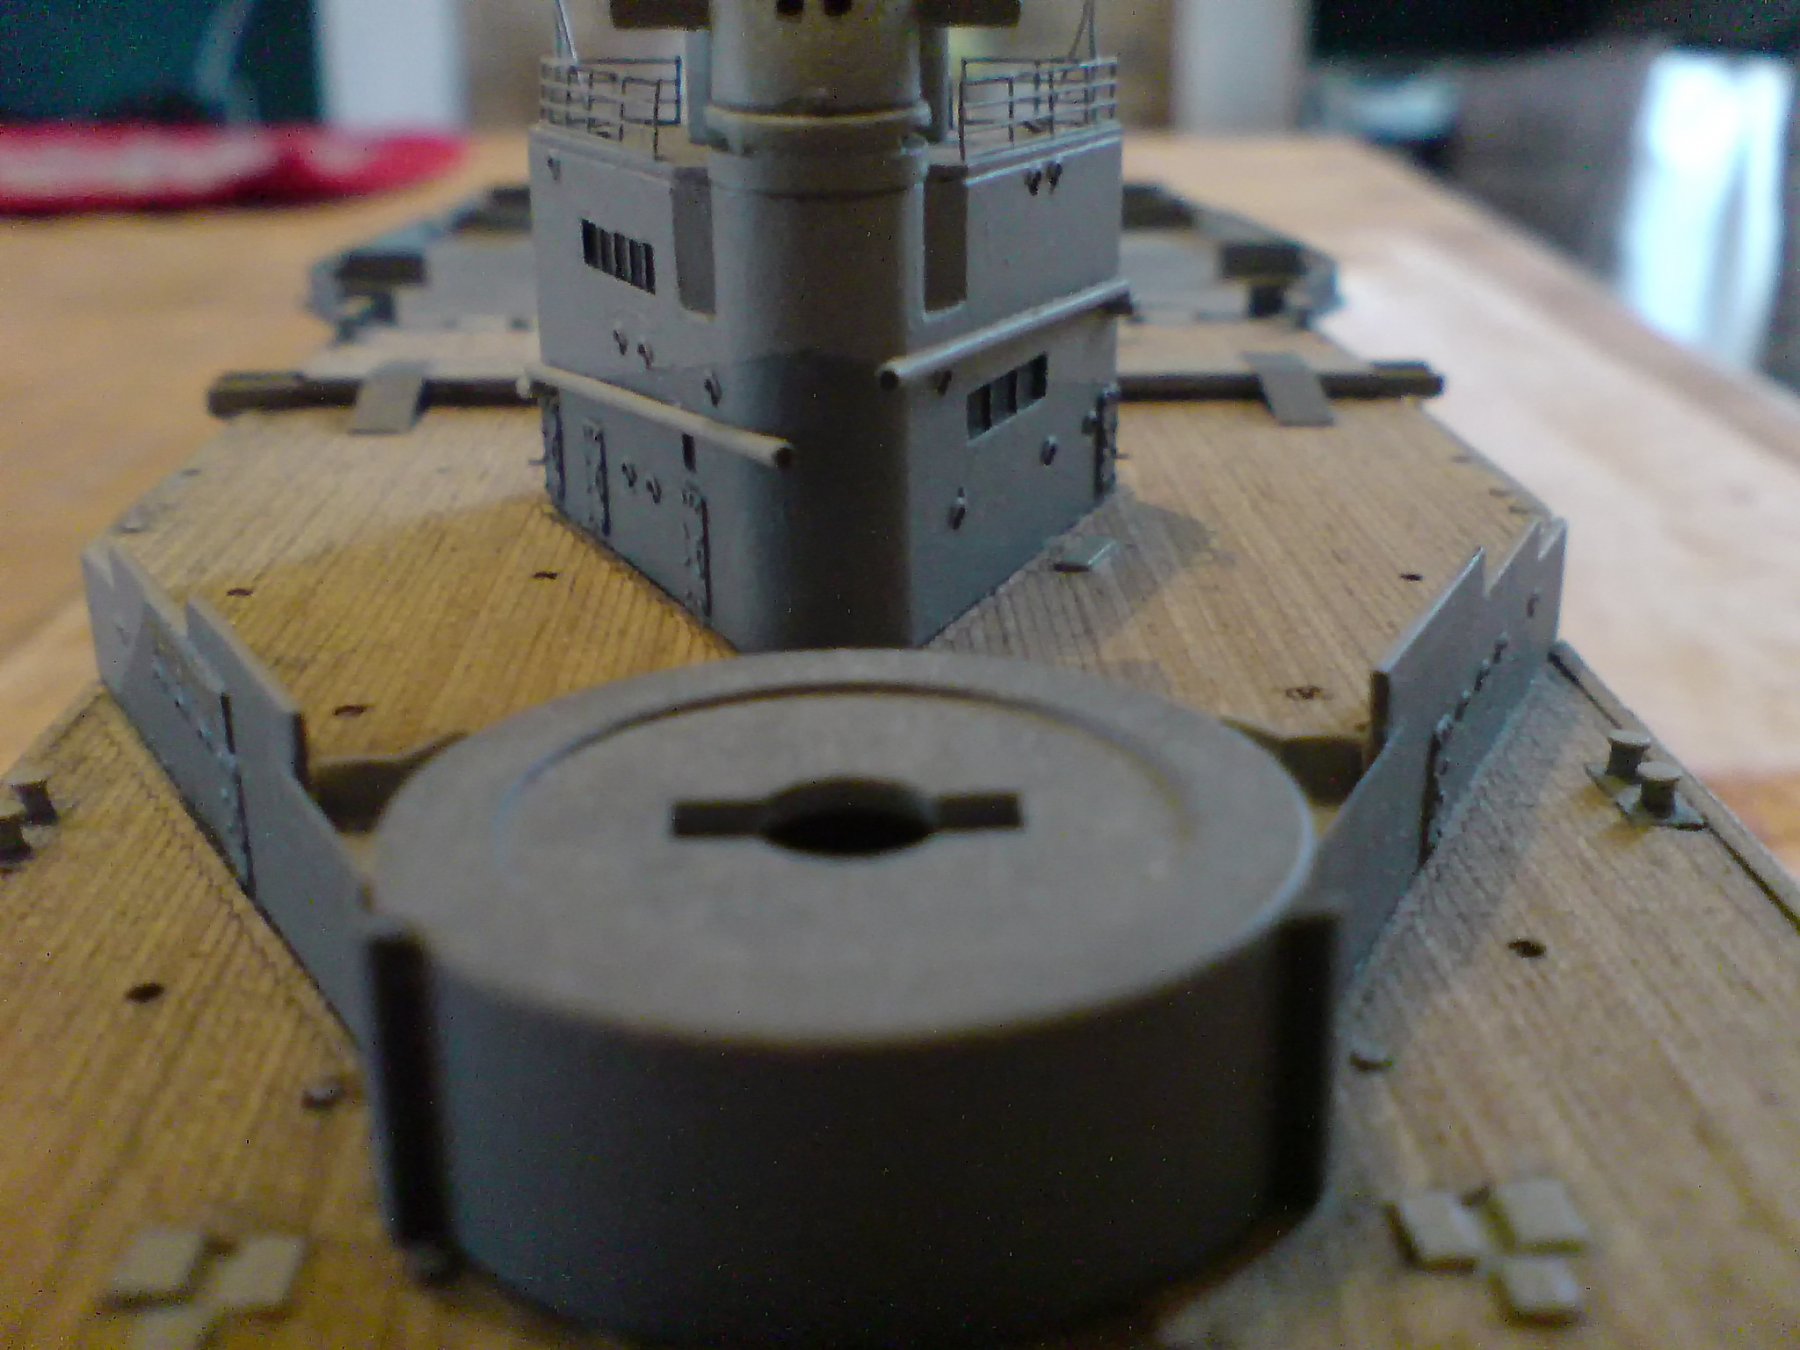
Good evening/morning or even afternoon, I have been getting build hungry and missing getting "hands on" so I have decided to have a bash in the next few days on the ole girl. I have been reviewing were I am on my build by going through my picturs, (I have her sat on our shelves covered in about ten feet of dust - well it looks that much - honest) I will have to use the wifes hairdryer to blow off the dust first. I will continue with the rear deck up towards the rear bulkheads, and I will be attaching the two gun tubs both port and starboard, and also a length of bunk rolls that I have seen attached to here bulwarks possibly for some splinter protection. I have edited one of my previous pictures to show what I mean. Cant wait my friends its been Waaaaaaaaaaaaay to long. OC.
1.thumb.jpg.f37df114e62935780dd54ae30c0214bc.jpg)
-
She is looking Absolutley Superb Amazing work please keep up the fine work, utterly enjoyable. OC.
-Edit.jpg.94ad7779f631ffa25b218f3aa03f1da9.jpg)
-Edit.jpg.54ab201b558e63ad02a92c467fa7aaf0.jpg)
-Edit.jpg.b166f186cae6b91f54fb99f45f99fcf4.jpg)


1.jpg.55c5e6a211fb69f484656f3a1e2c4d4b.jpg)