HOLIDAY DONATION DRIVE - SUPPORT MSW - DO YOUR PART TO KEEP THIS GREAT FORUM GOING! (Only 53 donations so far out of 49,000 members - C'mon guys!)
×


Old Collingwood
-
Posts
12,099 -
Joined
-
Last visited
Content Type
Profiles
Forums
Gallery
Events
Everything posted by Old Collingwood
-
 I know how you feel Chris at 1/700 scale viewed under max strength oprovisors a dust speck looks the size of a football. OC.
 -
The history of the Starfighter is Amazing - I love that it was chosen to be the SR71 Blackbird chase plane. OC.
-
Loving your work Patrick - so hope there is a part number (T72) in the kit 😉 OC.
-
Me thinks you are gonna get Alot of attention with this build brother - bring it to us "we are stocked up @mtaylor has a brand new shinny Pop Corn machine - and the rest are sharing around the liquid stuffs"☺️ OC.
-
And when the Admiral actually encourages you to buy another kit - that is the Best News - love the look of that new kit. OC.
-
Good to see you back Denis, that is some mighty fine work you have done there - really nice work on all of them. OC.
-
"Dont it just prove to be true" little slip ups try to trip us up like an invisible tripping up thing, good progress Chris. OC.
- 331 replies
-
- 10
-

-

-
Hi Alan, I used a Earth Shade Acrylic wash over it - just brushed over - I use it on my figures etc. OC.
-
Thank you kindly Kevin, I had a few issues with the decking but got there in the end (I hope). OC.
-
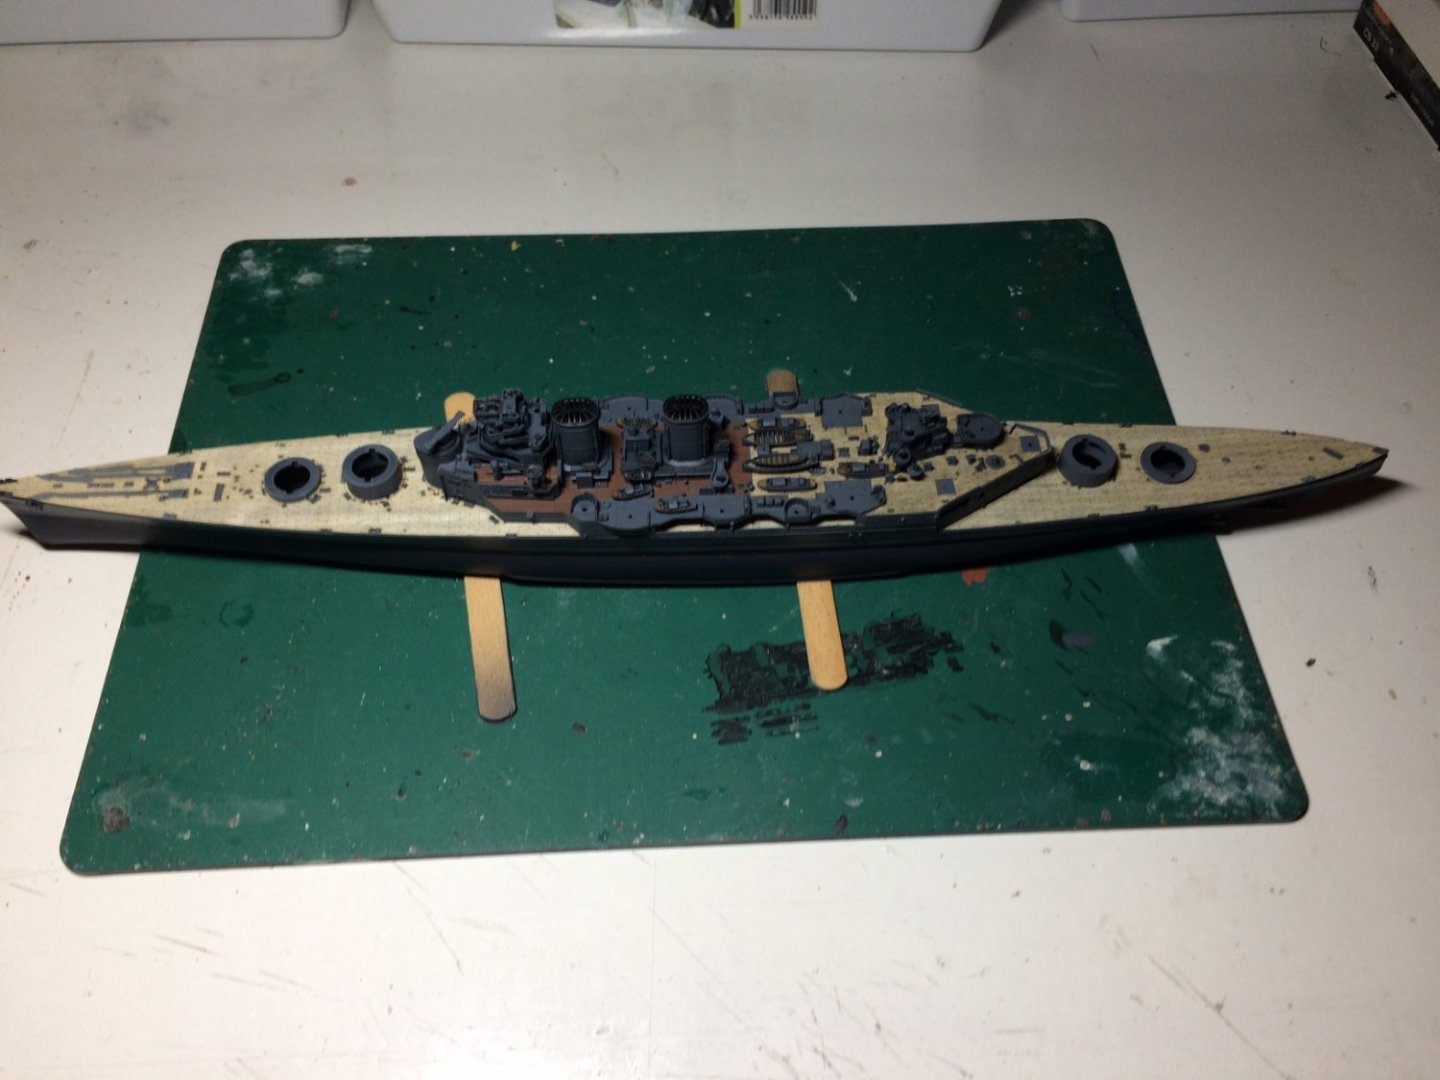
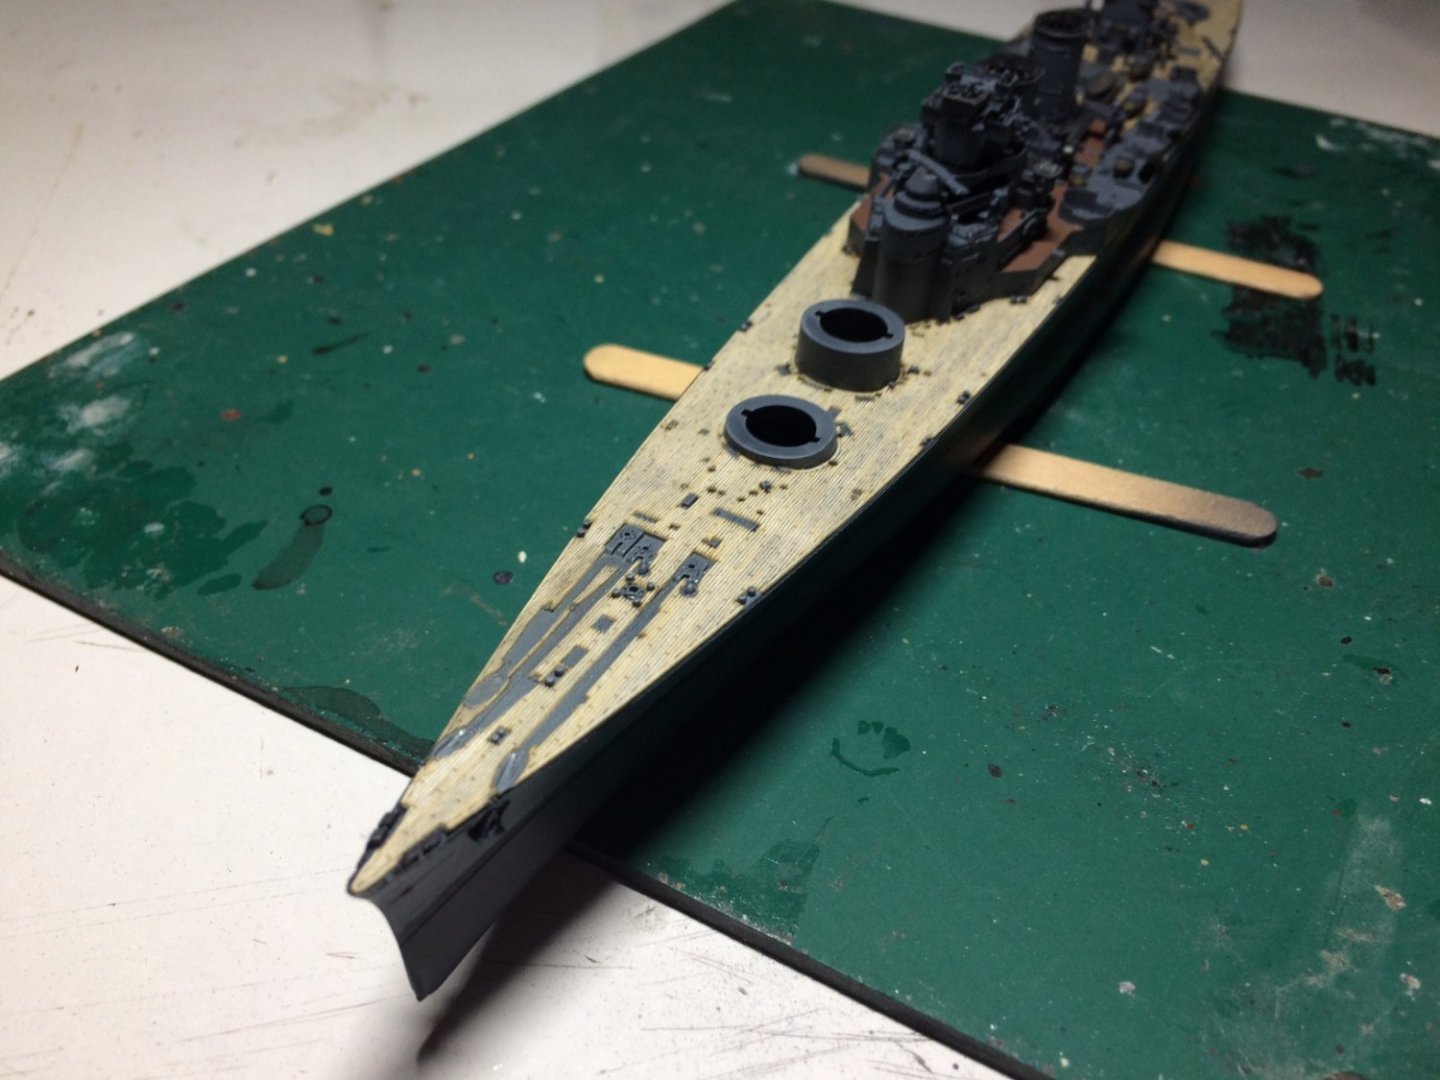
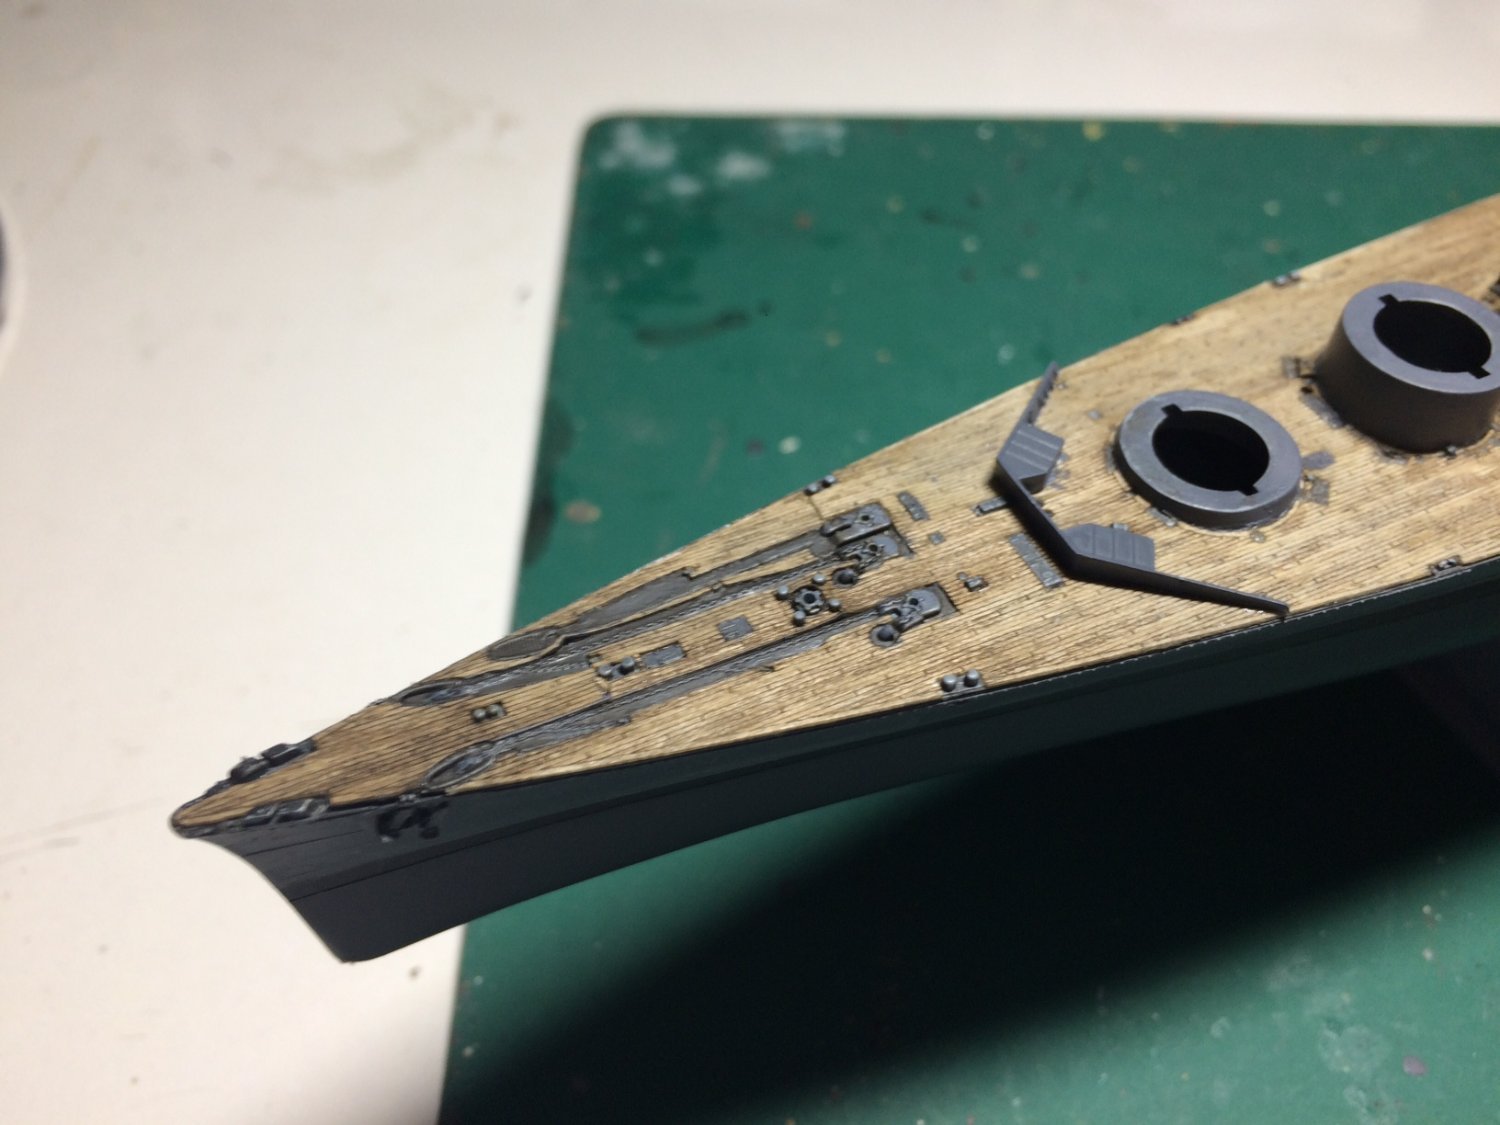
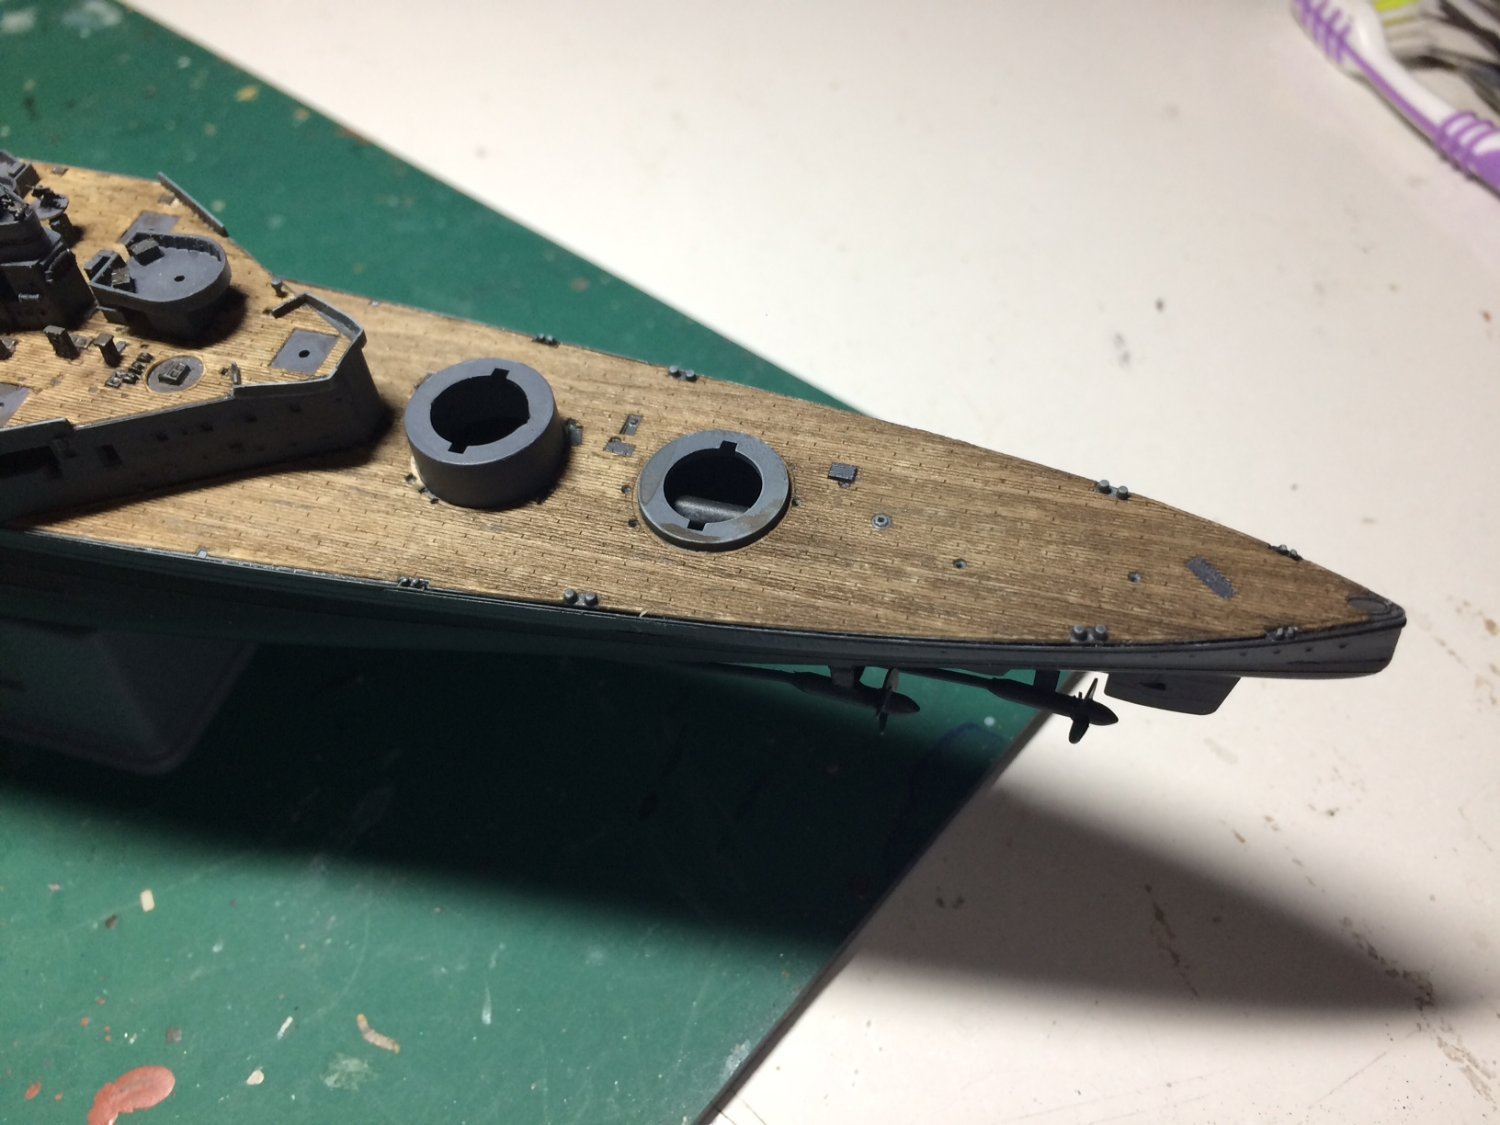
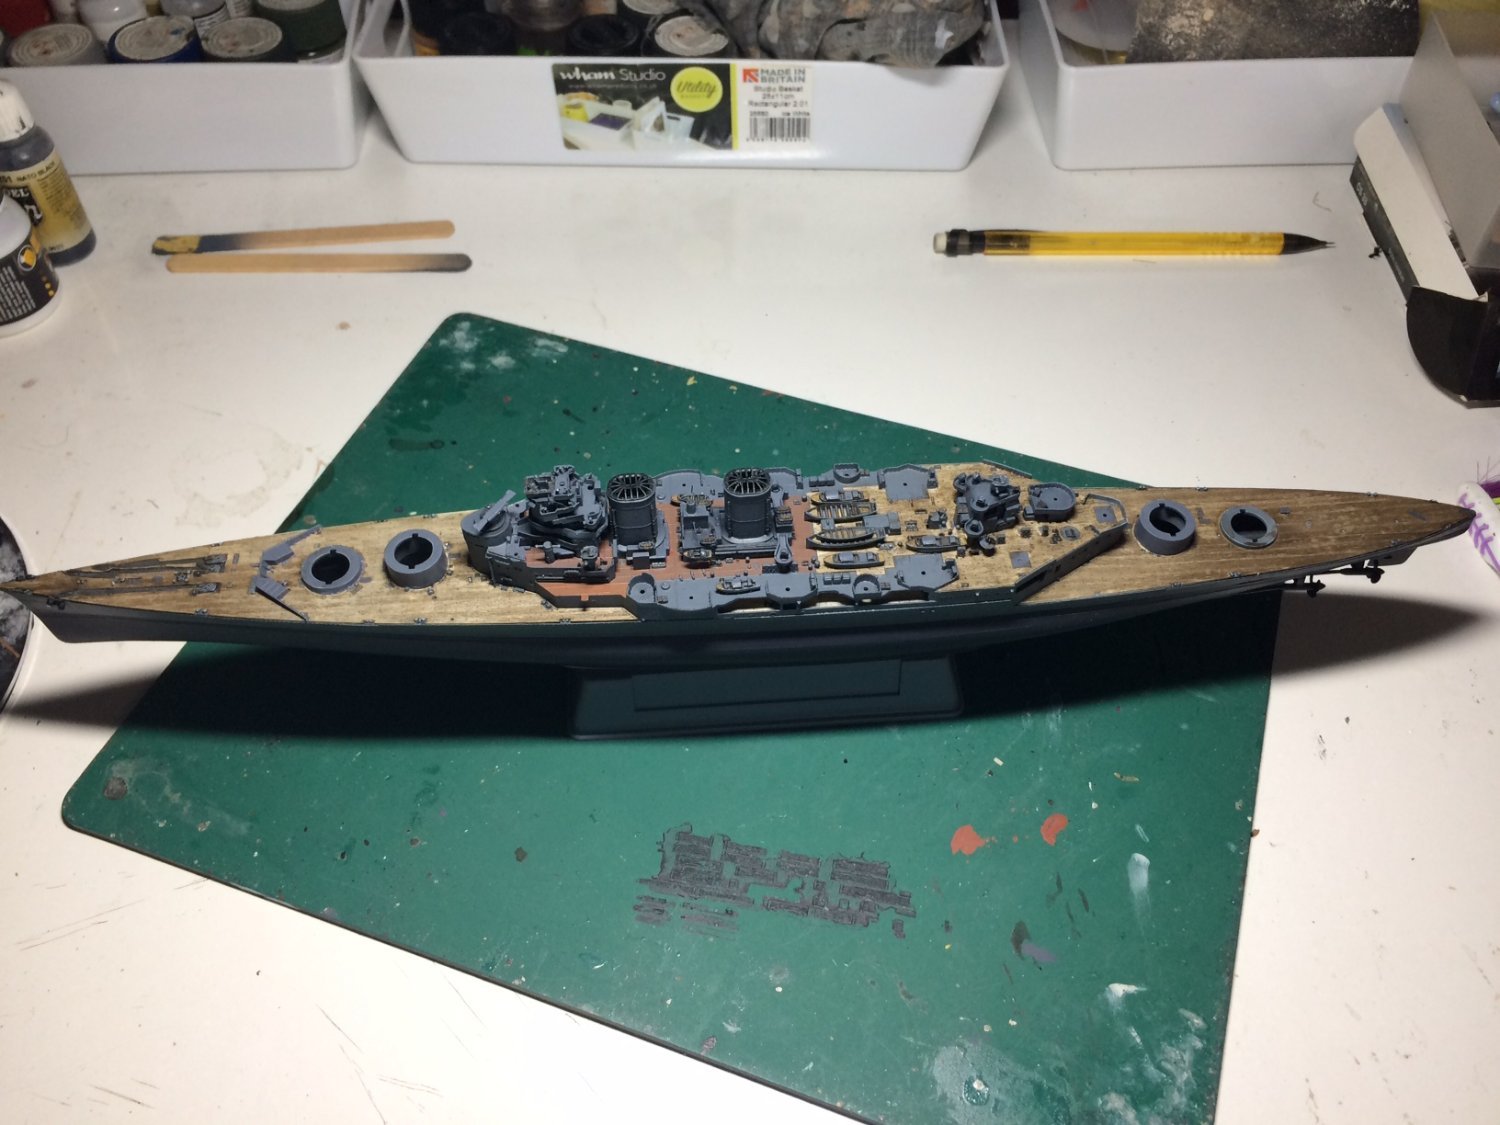
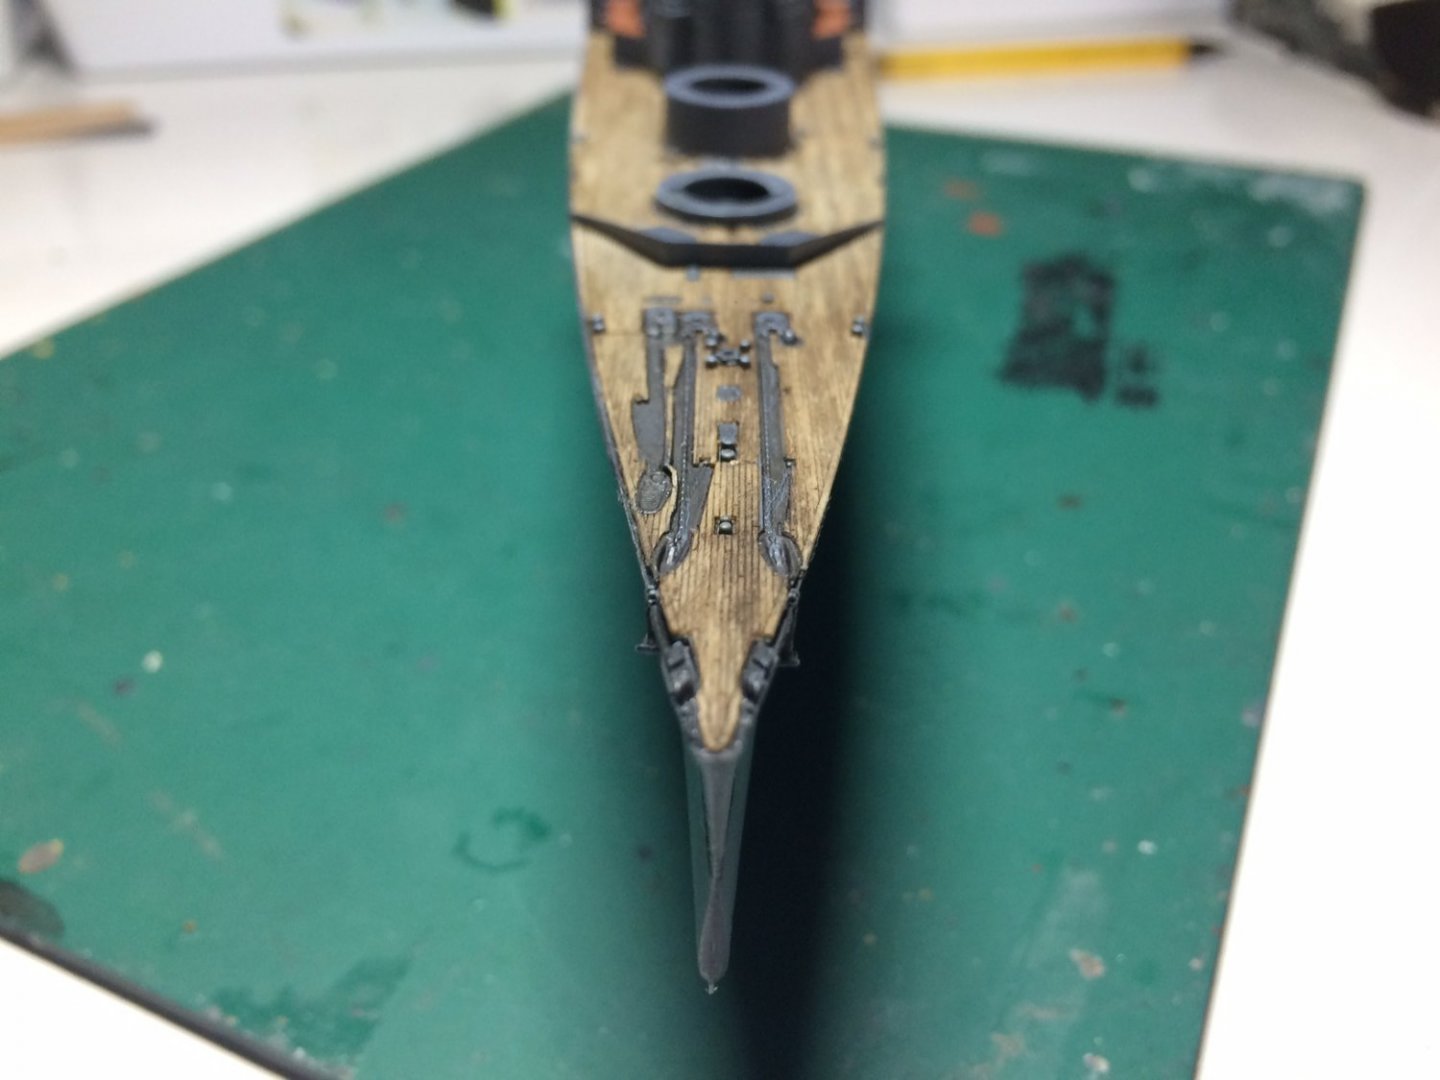
Afternoon all, so with the couple of areas where the deck vaneer had lifted, I got the front water break and while holding in place I marked the front edge, then moved it out the way - then I cut carefuly along the one pencil line, I was then able to put some more glue under both edges and pressed both down, I was also able to lift the rear section close to the rear bulkhead and put some more glue under and push it back in place. I also touched up the barbetts - so this is the current situation, the rear deck has been weathered more than the other decks as it used to get very wet very often. OC.


-
Very nicely done. OC.
-
Had a thought about what might help the lifting wood decking - checking my details for the kit, the front water break sits right where its lifting - so it got me thinking I could offer up the water break on the deck mark a line then cut a line, I should then be able to lift this section (forward of the water break) and add some more glue under neath and fix it back down. It was odd that the front piece was in a whole section and not seperate pieces in front and behind the water break (it would have been easier then). OC.
-
Evening all, I spent a good few hours on this today - but one thing or another I just can't get it to look decent - its a combination of factors - needing to handle it so much to get work done on it means some parts like the PE are getting damaged, even some of the paintwork is getting marked in areas where its not possible to mask and re spray. The biggest issue though is the wood paper decking its incredible thin - thats why I decided to leave the backing on it, in combination with my glue - it gives it a bit of wiggle room to get it ligned up, as I feared the glue on the back of the wood sheet would grab and not allow any movement and the sheet would just rip in many places, so yes it went down but its been bubbling and raising in areas, so I have been trying to partially lift it with a knife and get more glue underneath and using the dryer make it glue back, but this is just not doing the trick. I even tried giving the deck a wash and drying it - yes that shrunk it back down but still left a few bubbled areas, also in the process of fiddling with the decking I have warn paint off the Barbette's. So I decided to glue the deck assemblies to the hull to try to move this forward - to be honest my enjoyment of it is lost as its not going to be a decent model when finished - far two many arrors. I honestly thing these fine delicate ship models at this scale are beyond my skills - my figures are a different animal and even tanks in 35scale are easier just not delicat 700scale ships. OC.
-
Mike "Shhhhh" I have to confess - because the wood sheets are so thin and super delicate - I left the backing on and glued them down using my Mig Ammo Acrylic glue designed for clear and PE parts its super strong and can be diluted, it was the less dangerous option with the sheets being tissue paper thin. OC.

-
Evening all, A bit more done today - I set the airbrush up and sprayed the Two deck sections, then after putting the airbrush away I used the hair dryer to dry them. After I got the Two wood deck sections out and cut away all the fittings from the the strips and test fitted - then with the aid of the Acrylic glue I brought - I placed them down using the hair dryer to get a good even adhesion. The decks are just dry fitted. OC.