.jpg.f4fa790b1fa2f0e00e3d149ed7bdd37c.jpg)
shipaholic
-
Posts
540 -
Joined
-
Last visited
Content Type
Profiles
Forums
Gallery
Events
Everything posted by shipaholic
-
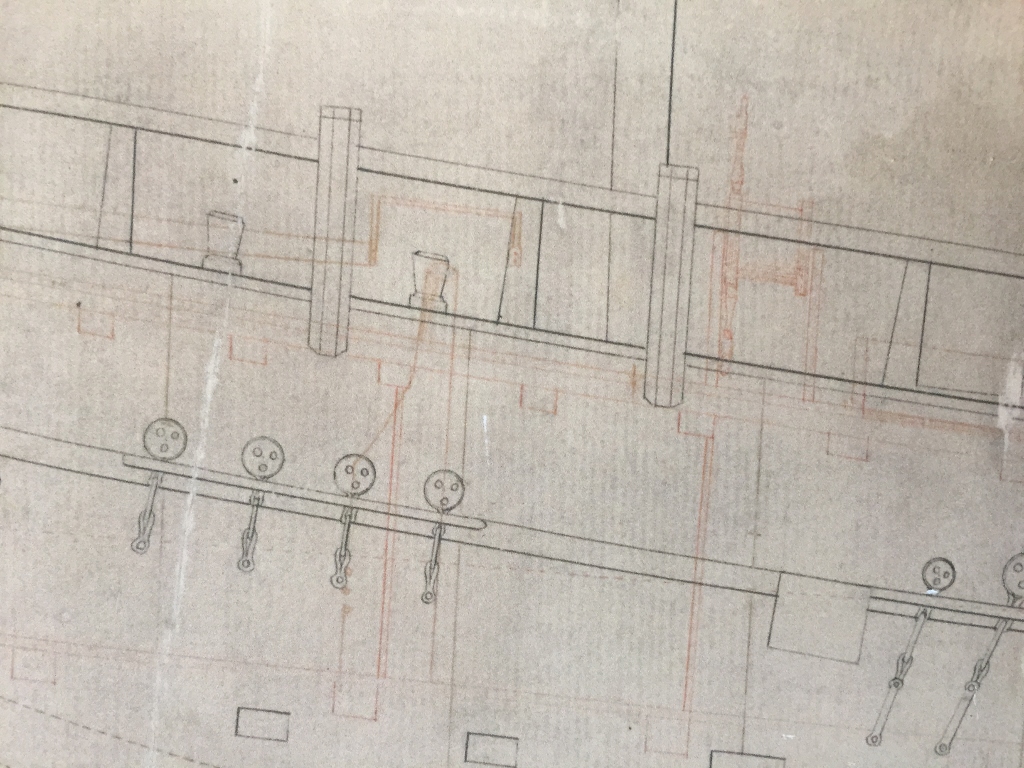
 Its also interesting that on plan 3819 (the 1771 one) the drum is on the aft side of the wheel, whereas all other profile plans show the drum forward of the wheel. Another thing, 3819 doesnt show a fireplace its labelled as a pantry instead
 -
Dashicat In answer to your query about the great cabin stove, it is clearly visible in red in this draught (3814a) - you can see the shape of the stove and the chimney protruding above deck Steve

-
Maybe it's not a coincidence Dafi that the Pollard system was introduced in 1771 the year of the Endeavour refit, they might have used the Endeavour as a test case to trial the new system. I agree that this has been a very interesting discussion, I wish there was more like this especially on the other disputed details about the Endeavour Cheers Steve
-
Hi Cabbie Yes the Endeavours rigging would have a lot of the same details but not all. Do you have Marquardt's AOTS?
-
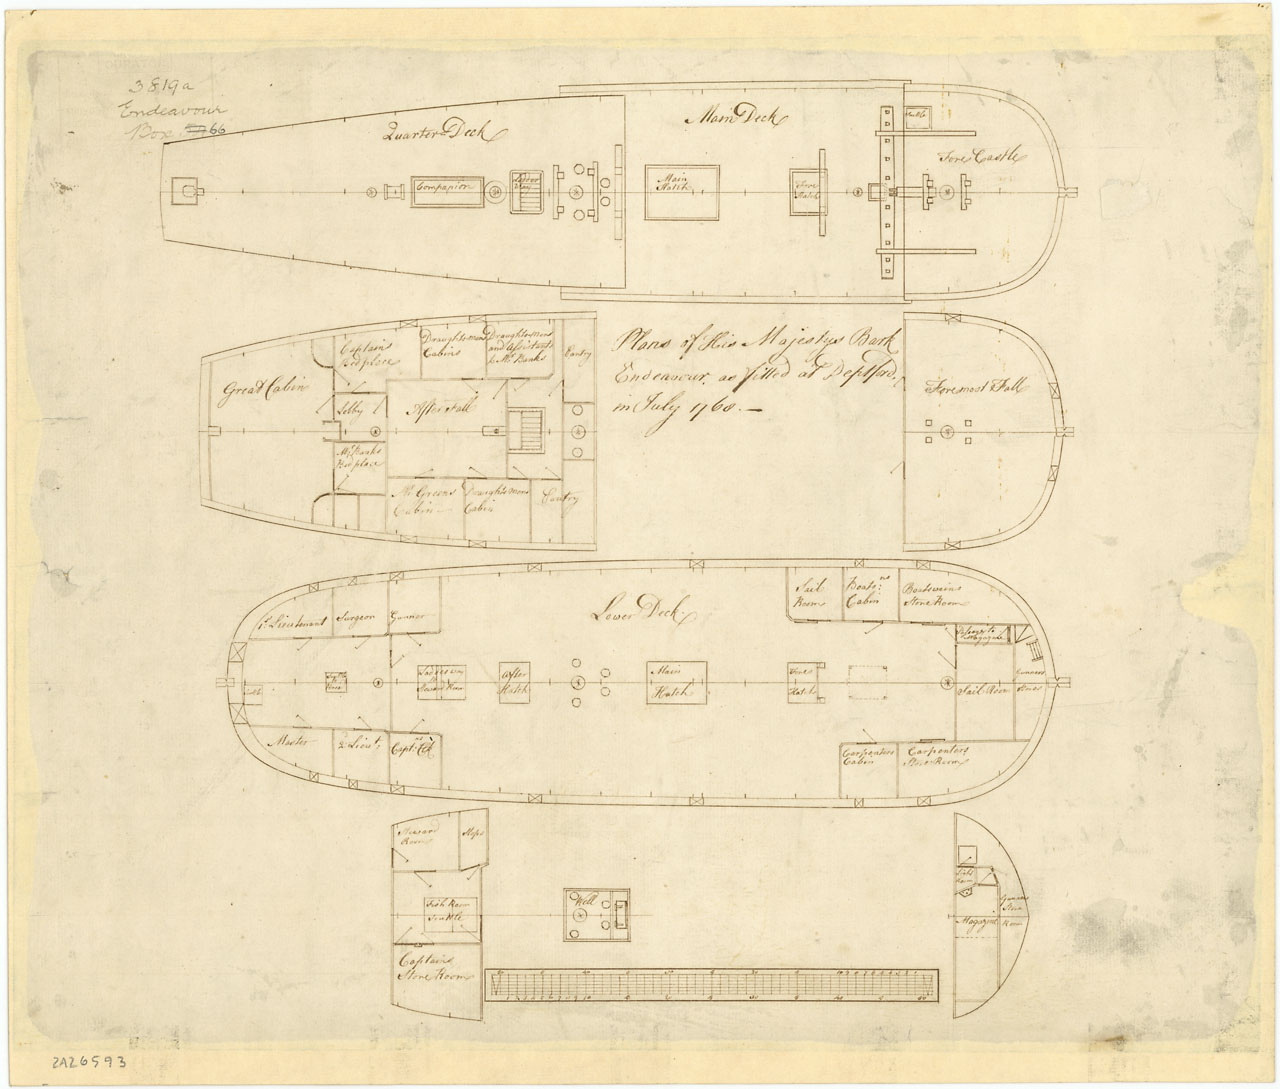
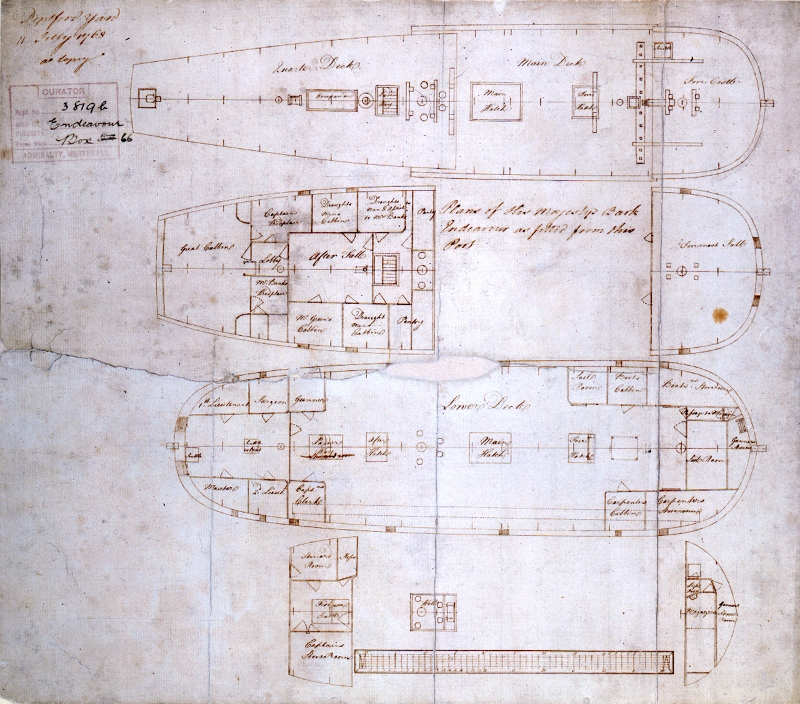
Robin They are both dated July 1768, the writing is slightly different, one is annotated a copy. They must have made more than one at the same time. Didn't have printers and photocopiers back then and I suppose they would have needed more than one plan, perhaps one to use and one to keep as a record.There may have been several copies made
-
The book is called "The Anatomy of Nelson's Ships" by C. Nepean Longridge
-
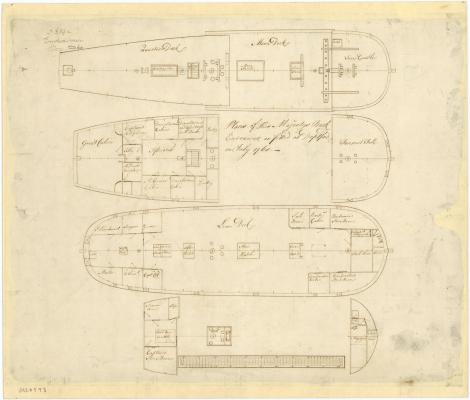
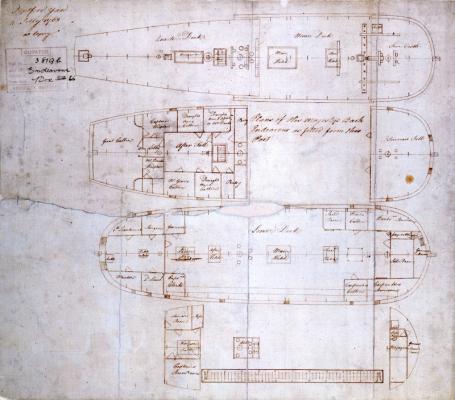
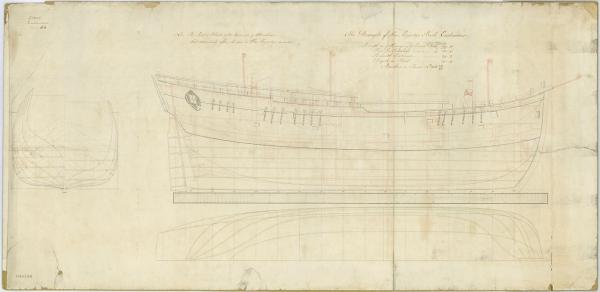
Yes Robin is right; the arc only appears on the 1771 plan made after Cook's voyage, here are the 1768 plans with no sign of the arc. Cheers Steve
-
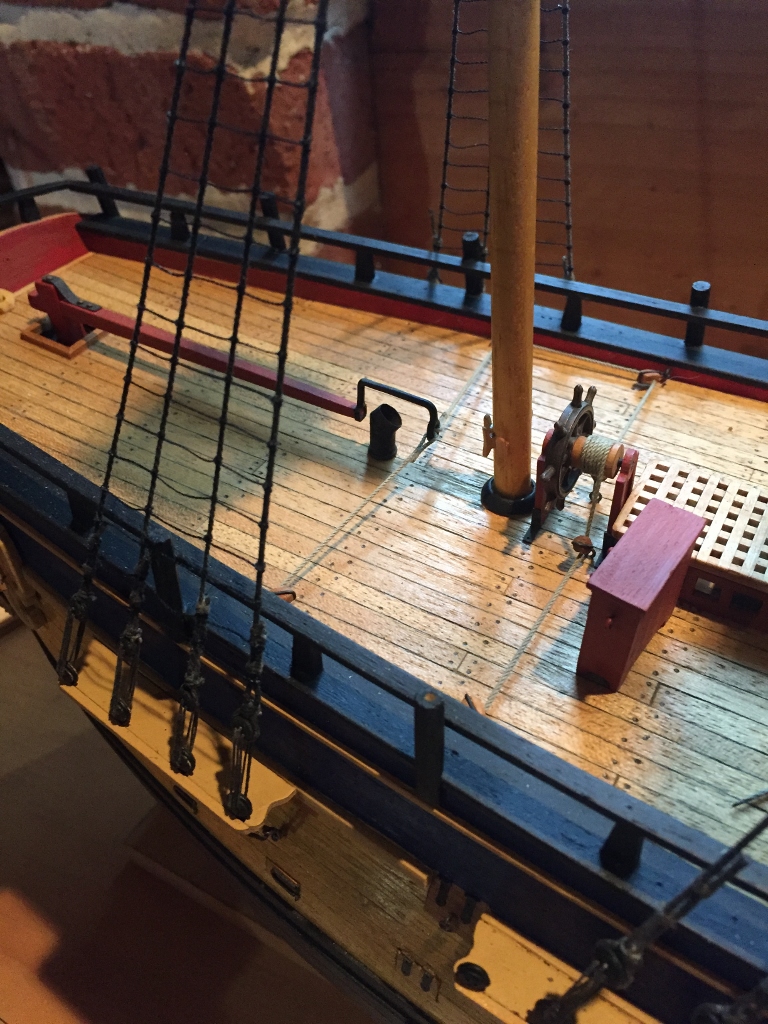
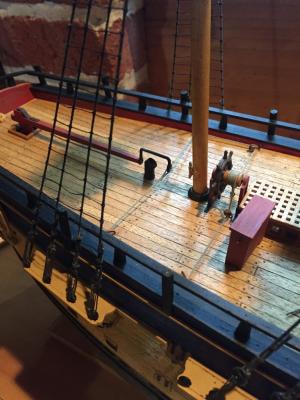
Hi again In answer to one of Cabbie's comments, if you have a close look at the pic I posted previously there is a hinge at the top of the rudder post level with the deck. Here is pic of how I set up the tiller on my Endeavour if it helps. I would ignore that arc on the plan, doesn't make sense. Cheers Steve
-
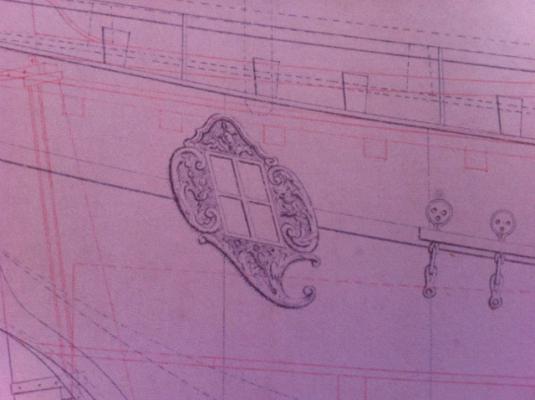
Dashicat I'm intrigued by that last sheer plan you put up showing the Endeavour as she was before refit and the proposed changes. I have a copy of plan 3814b and it is different, on mine the badge window shows the carving details and a few other details are different. Anyway this pic of the draught shows the bracket where the tiller joins the rudder, a slight upward curve of the tiller. but nothing to suggest what that arc is on the original plan you put up. That plan with the arc is the a planmade after Cook's voyage with different cabin arrangements proposed, it also has an extra scuttle on the forecastle. It also has the drum aft of the helm. Cheers Steve

-
Hi Ron Try thoroughly wetting each of the reef ropes with water let it soak in for w while then tease them into position with a paint brush. I'm assuming that the ropes are natural fibre, they should stay in place once dry. If not use diluted PVA glue applied with a paint brush. Cheers Steve

-
Hi Dave You should blacken the chains rather than paint them, as you say they scratch easily when painted. Blackening also looks more realistic, and the solder should blacken okay. Cheers Steve
-
Hi Dave At least we have the luxury now of being able to purchase great looking blocks from the likes of Chuck at Syren. When I built my AL Endeavour I used those ugly square ones that came with the kit and I individually sanded each one to the correct shape and varnished them - a lot of work. Cheers Steve
-
Nice work Ron. Did you do the X stitching on the spritsail? I can't remember seeing it on the sails I got with mine, I must go look. I remember when I made my first endeavour i used some old I white sheets to make the sails then after a few years of us smoking in the house (back in those days!) they were dingy brown from nicotine stain. Cheers Steve
-
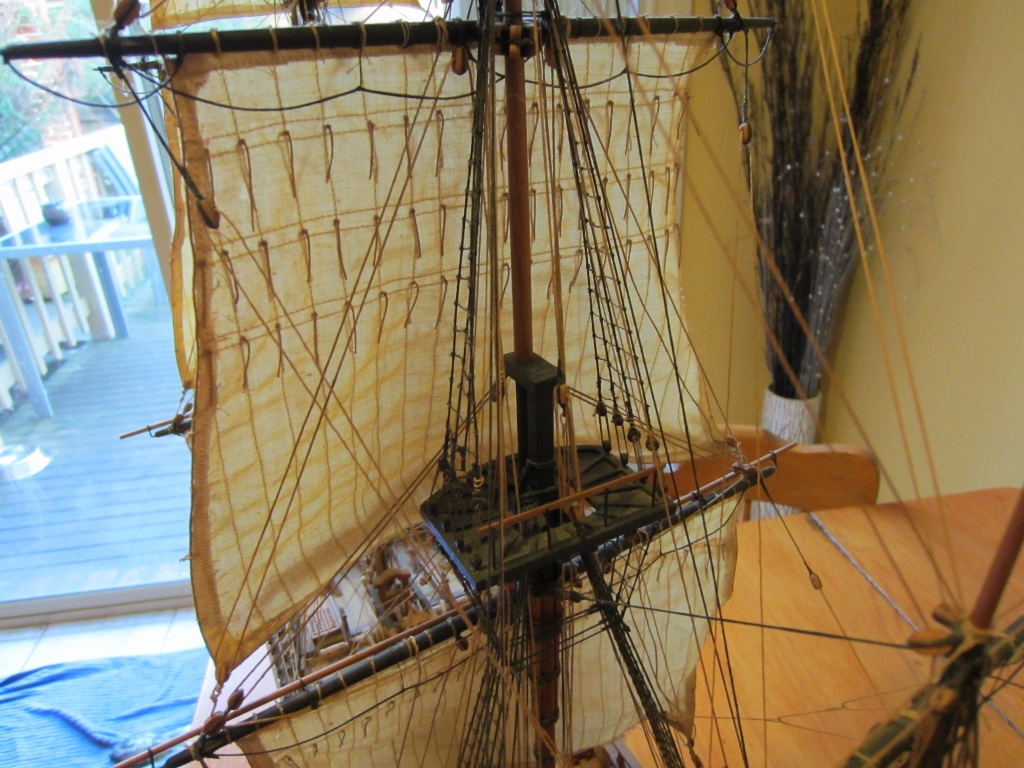
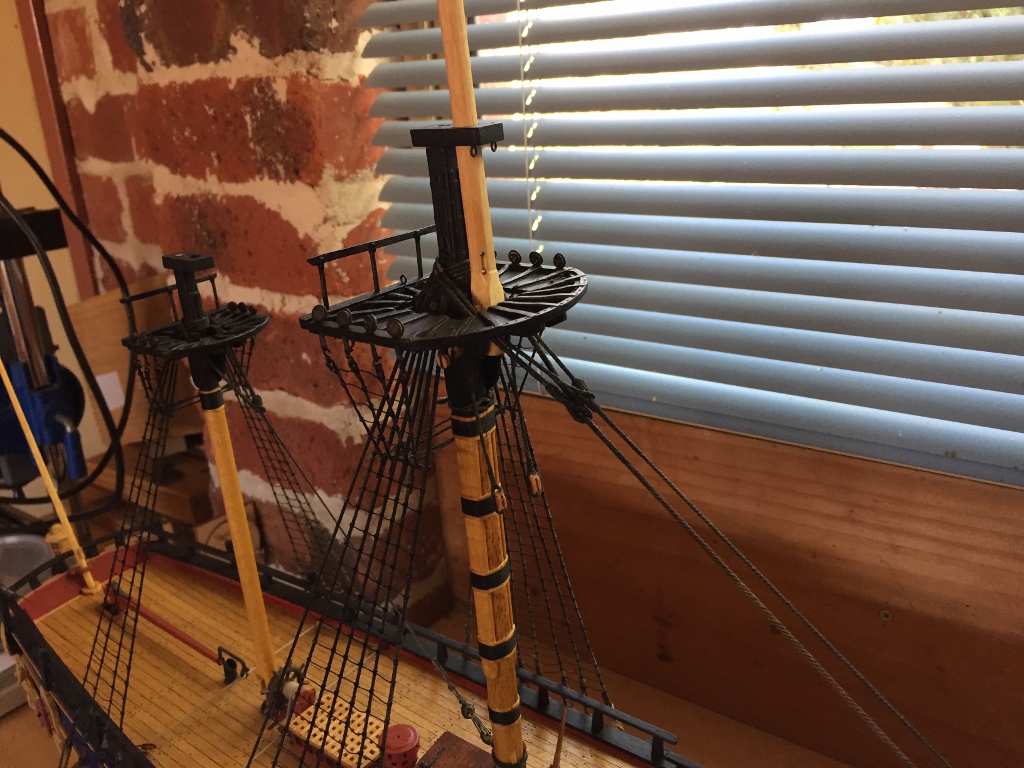
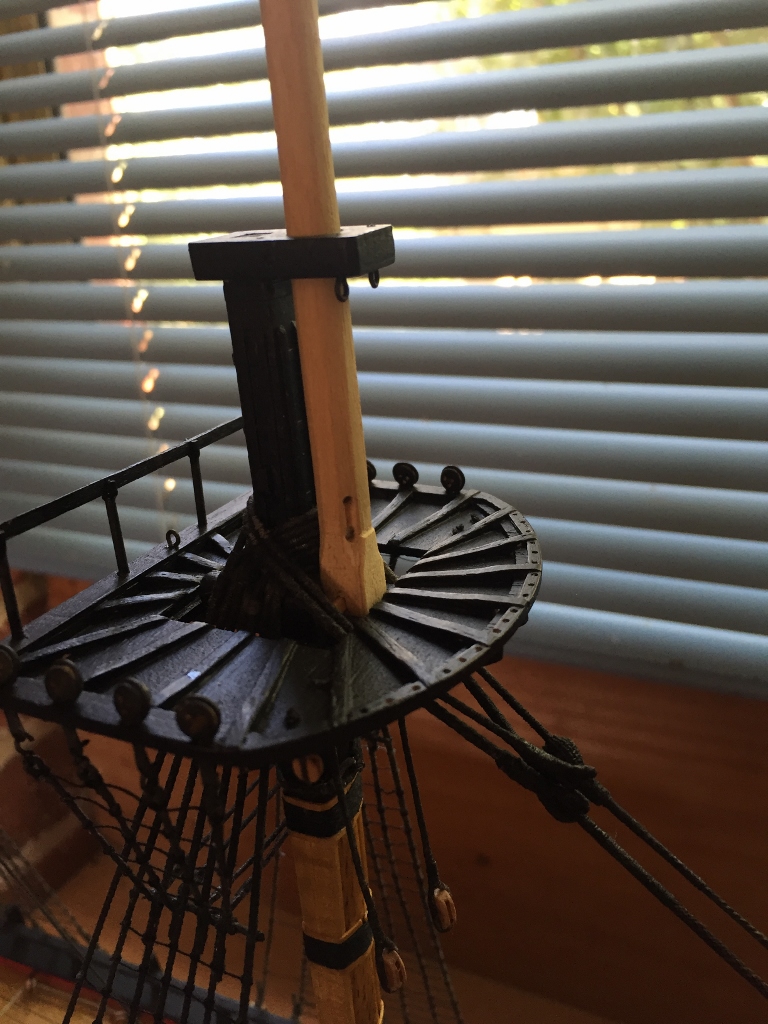
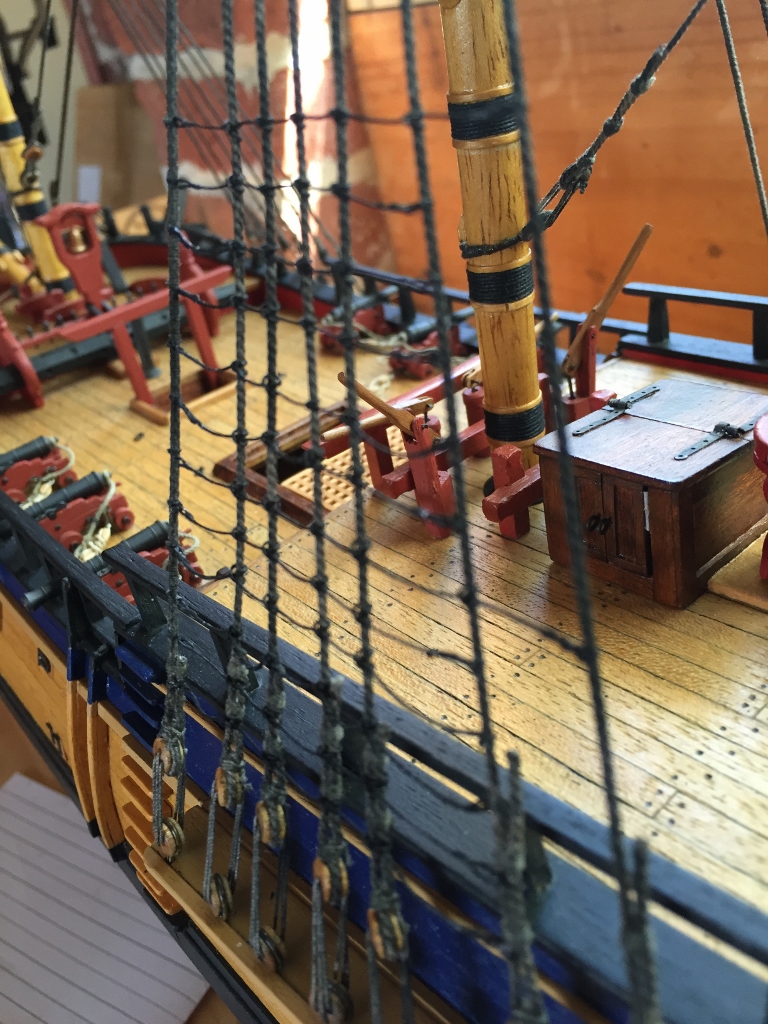
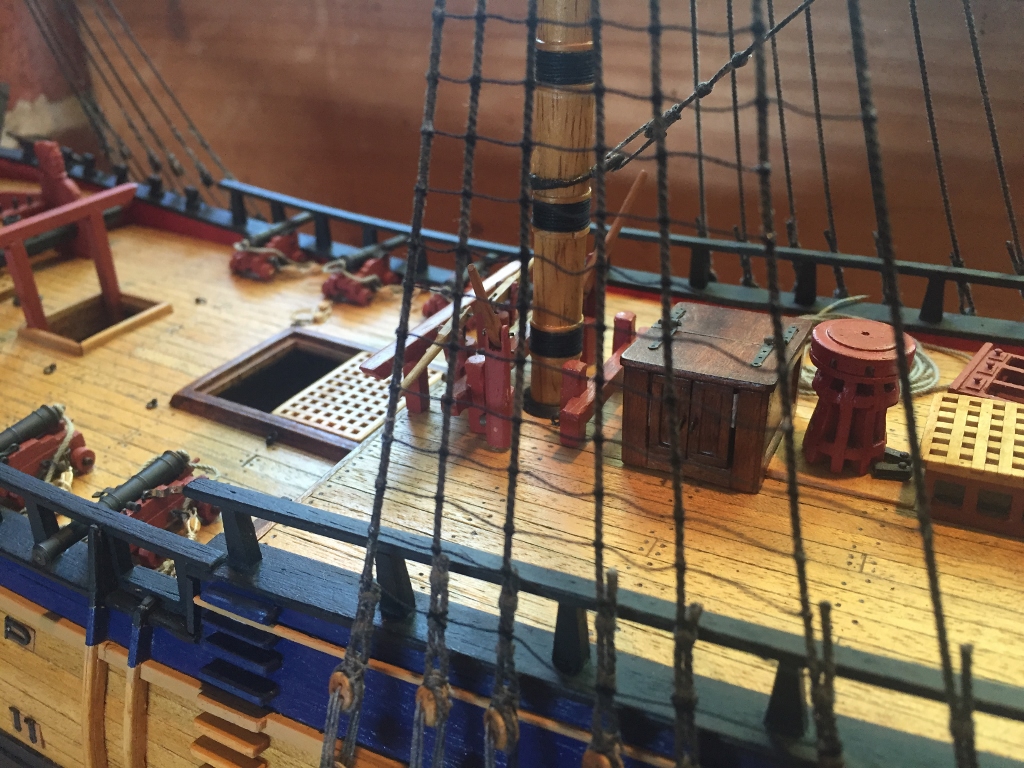
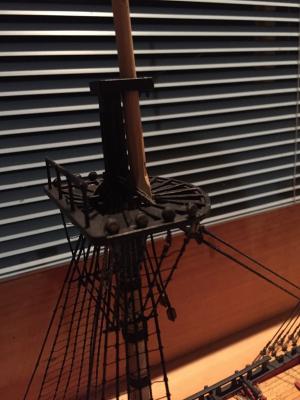
Another pic. I decided to make the lower section of the topmast eight sided. I am not sure what is correct, the AOTS has them round, the replica vessel has them like this, Lees states that they were eight sided after about 1773 based on ship models.
-
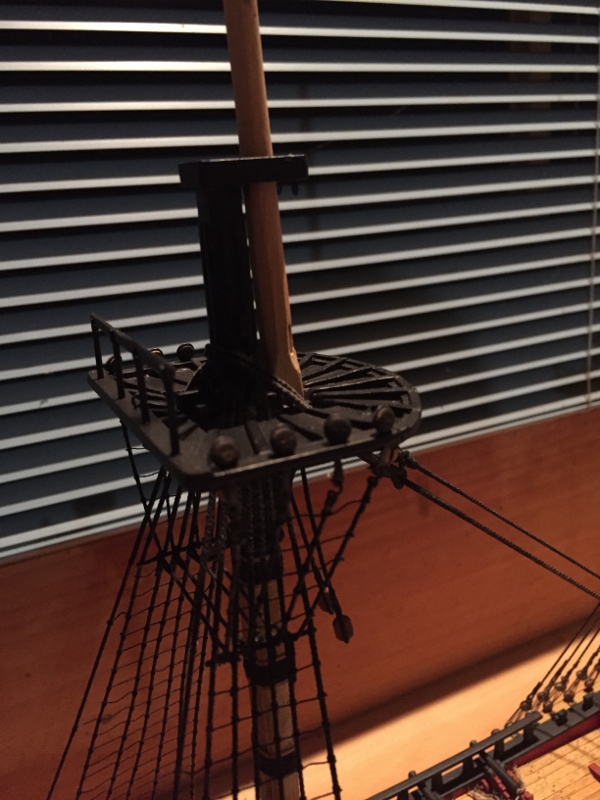
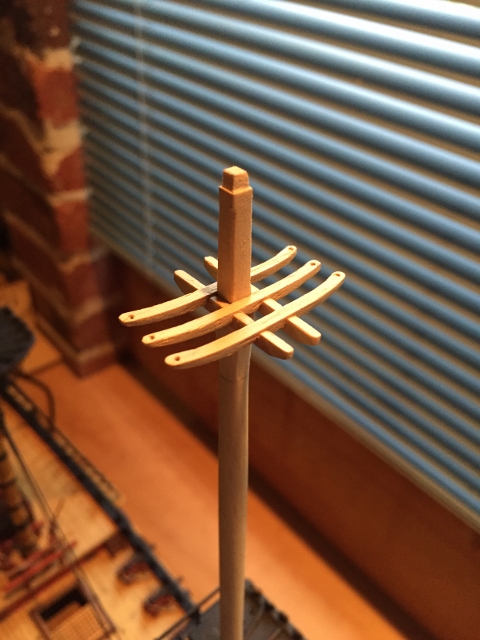
I've been making the fore topmast trestle tree, this is just put together and not glued yet. Still need some adjustment to the slots so the top surfaces are flush. This wood supplied with the kit is fairly soft and easy to sand, but very open and grainy.

.jpg.edadeef3f94787d93f216563ab3f08cb.jpg)
.jpg.f6100b4bd6f6fd39925836ade956aa32.jpg)
-
Thanks Pat, I don't have a mill. I just used my Dremel, I have a stand for it so it can be used like a drill press. They aren't real sheaves either, just simulated.
-
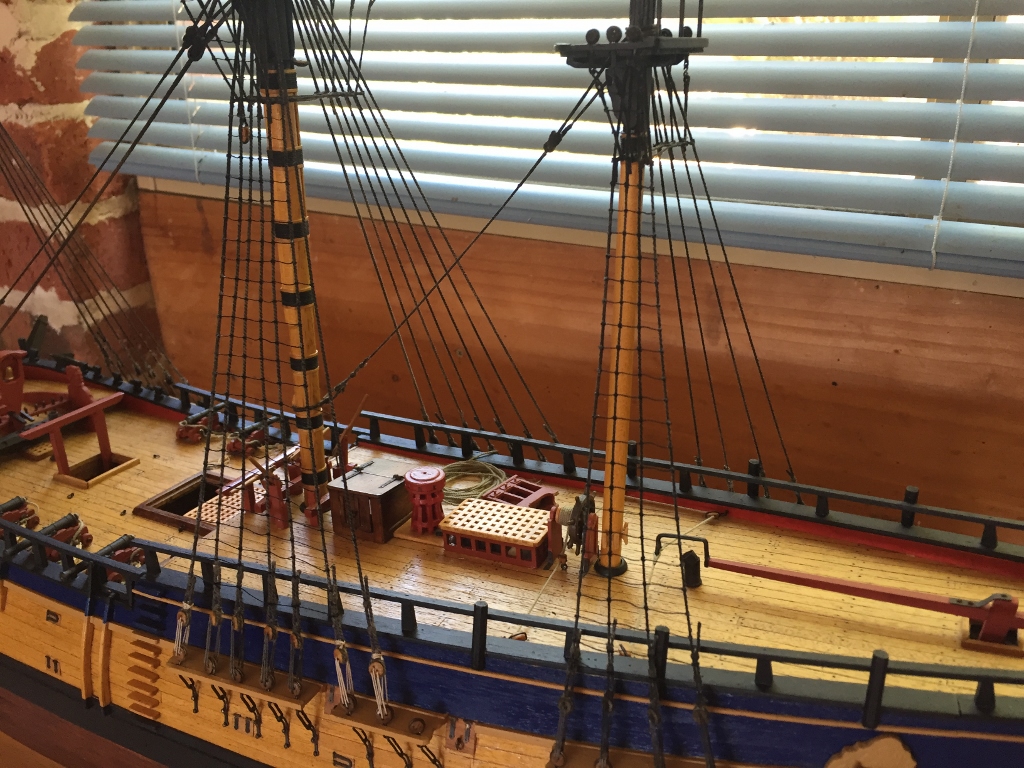
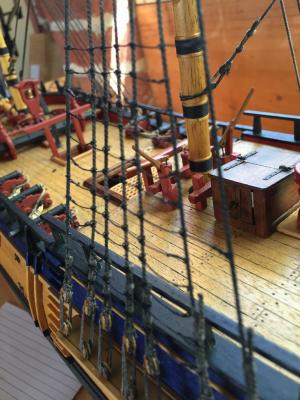
Yes Pat I think they look better. I tried to trim the ends at the fore and aft shrouds as close as possible. The "stand-off" look is much better, sometimes us modellers get obsessed with detail and forget that if it looks good from a couple of feet away its fine. Cheers Steve
-
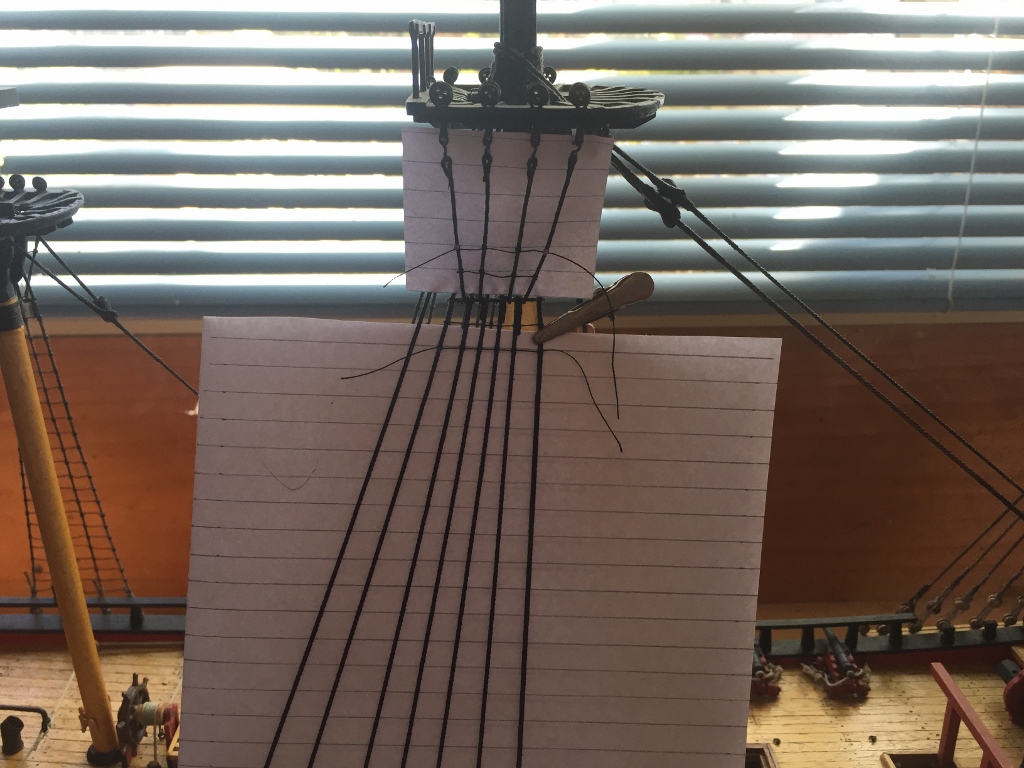
After my yeah/nah debate with myself a few weeks ago I have now decided nah. I did quite a few ratlines with simulated splices and tying them to the fore and aft shrouds. The main problem was the linen thread I was using refused to stay tightly clove hitched around the shrouds, hence the whole thing looked untidy. I switched to slightly thinner cotton thread and decided to just clove hitch on the fore and aft shrouds.

-
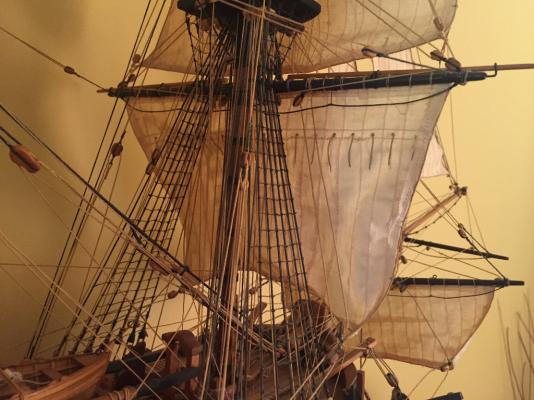
Hi Max Here are a couple of pics of my AL Endeavour with sails that may clear things up for you. You can see that the clew lines run aft of the sail, whereas the bunt lines run down the front of the sails Cheers Steve

-
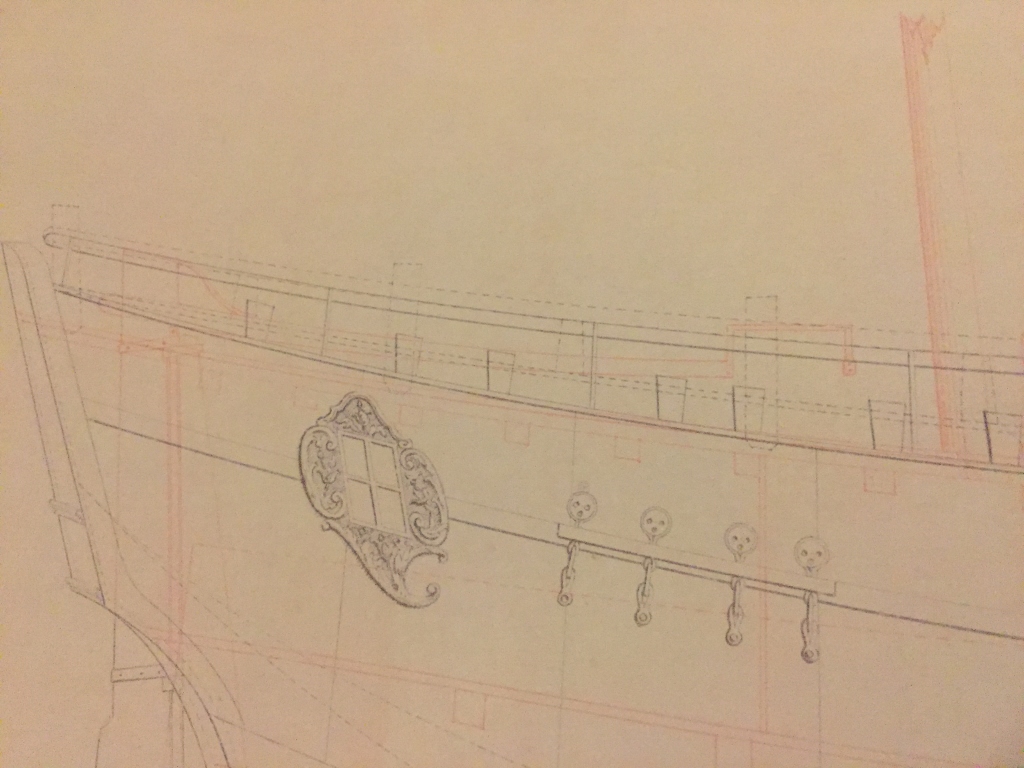
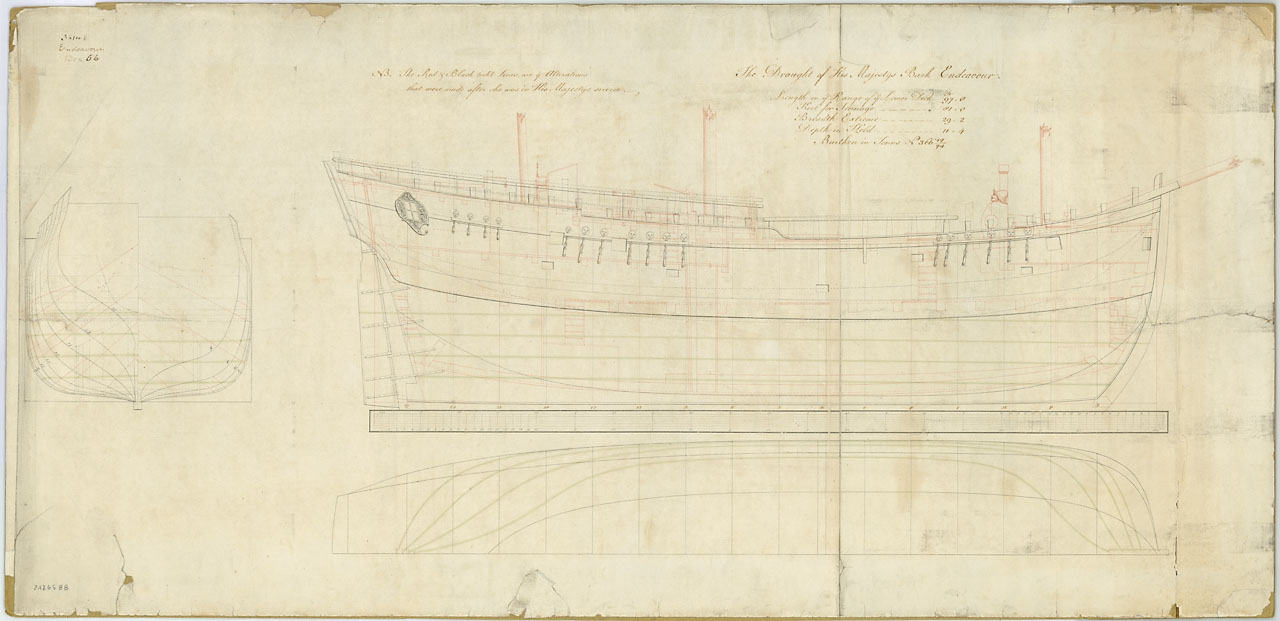
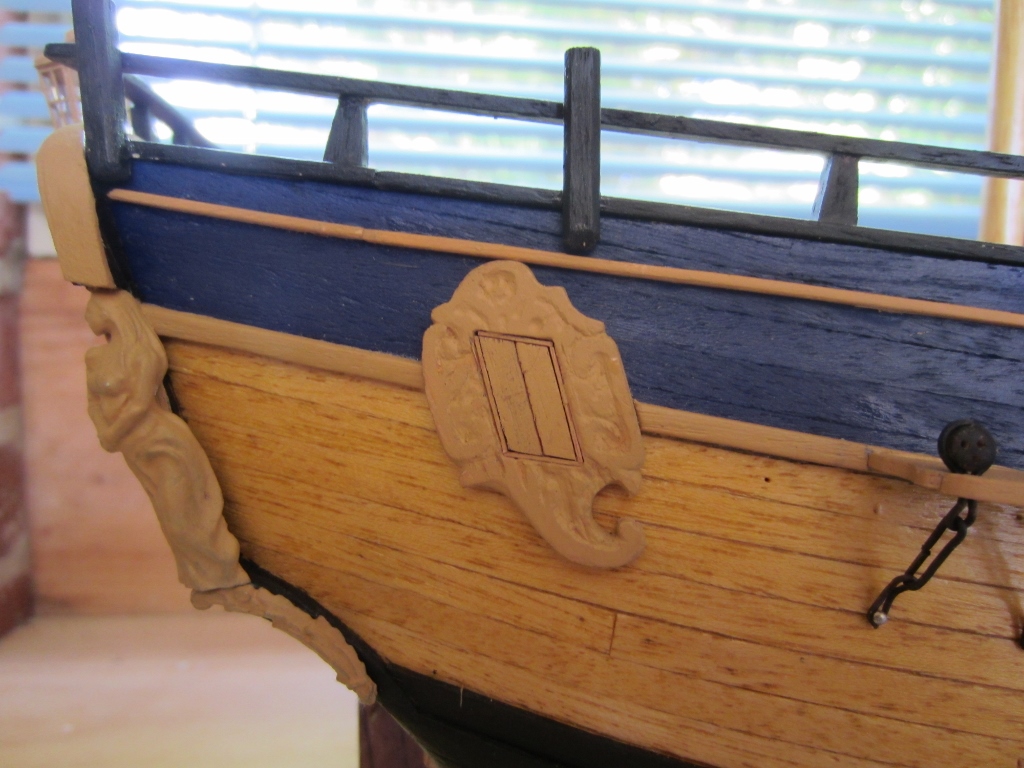
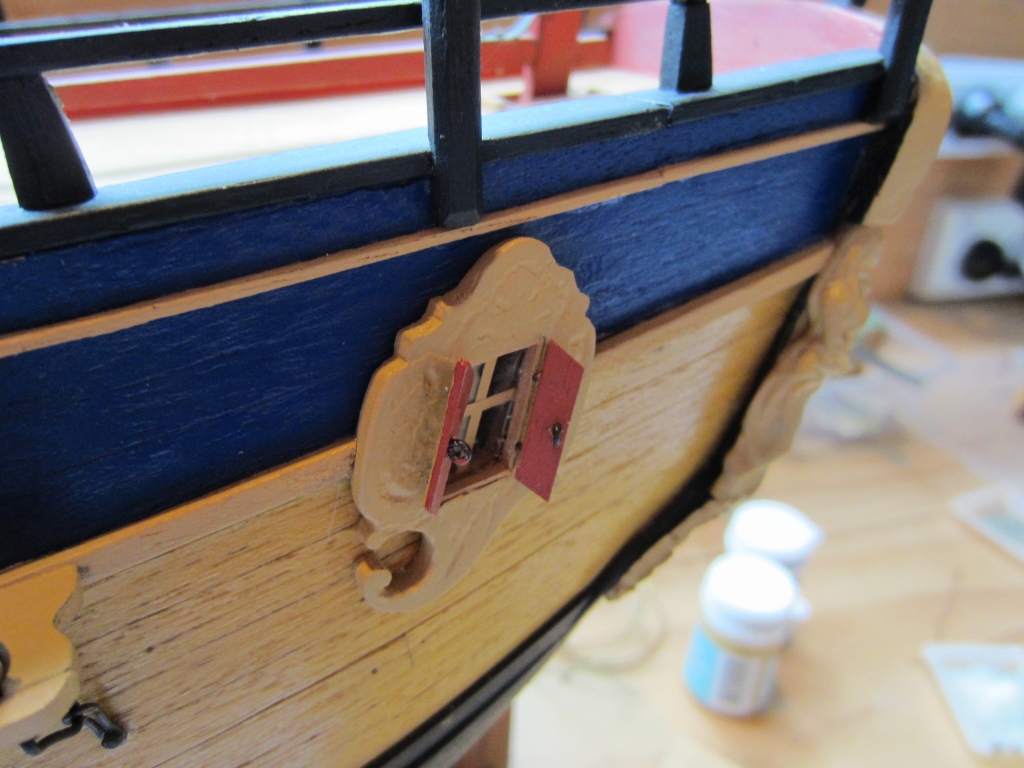
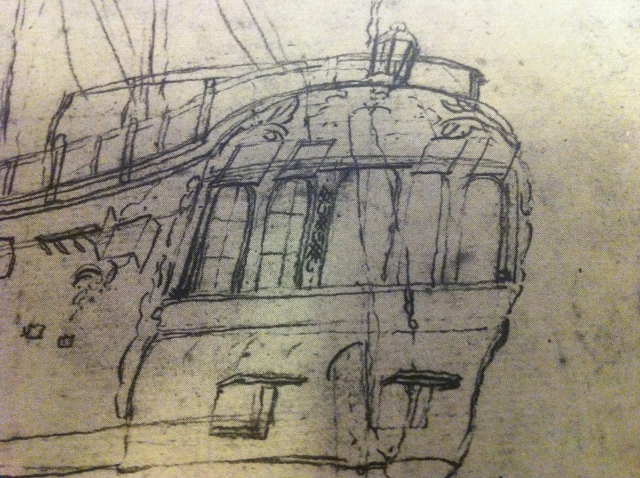
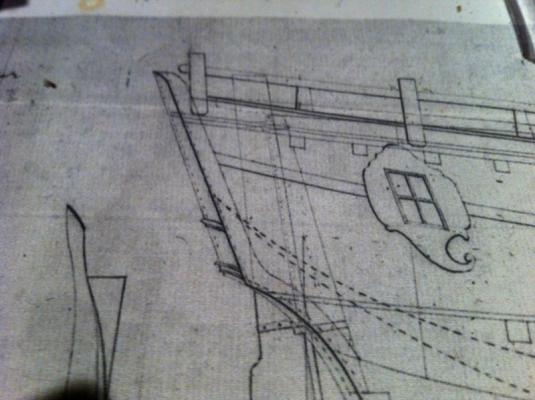
Hi Pat Here are pics of the badge window on the draughts of Earl of Pembroke before conversion to the Endeavour, and later draught showing same shape but less detail. They clearly show that the window was angled upwards, meaning that the shutters would swing open just like Parkinson sketched them. Those badges in the AL kit are wrong, sorry. I turfed mine when I built the AL and made wood ones the correct shape. Cheers Steve


- 517 replies
-
- 6
-

-
- Endeavour
- Artesania Latina
- (and 1 more)