

Spiff
-
Posts
61 -
Joined
-
Last visited
Content Type
Profiles
Forums
Gallery
Events
Posts posted by Spiff
-
-
-
After spending 9 years! building my Golden Star I have switched gears and taken on the Model Airways 1/16 Sopwith Camel and I really hope I can spend more time building so it doesnt take me nearly as long to build as the Golden Star 😉
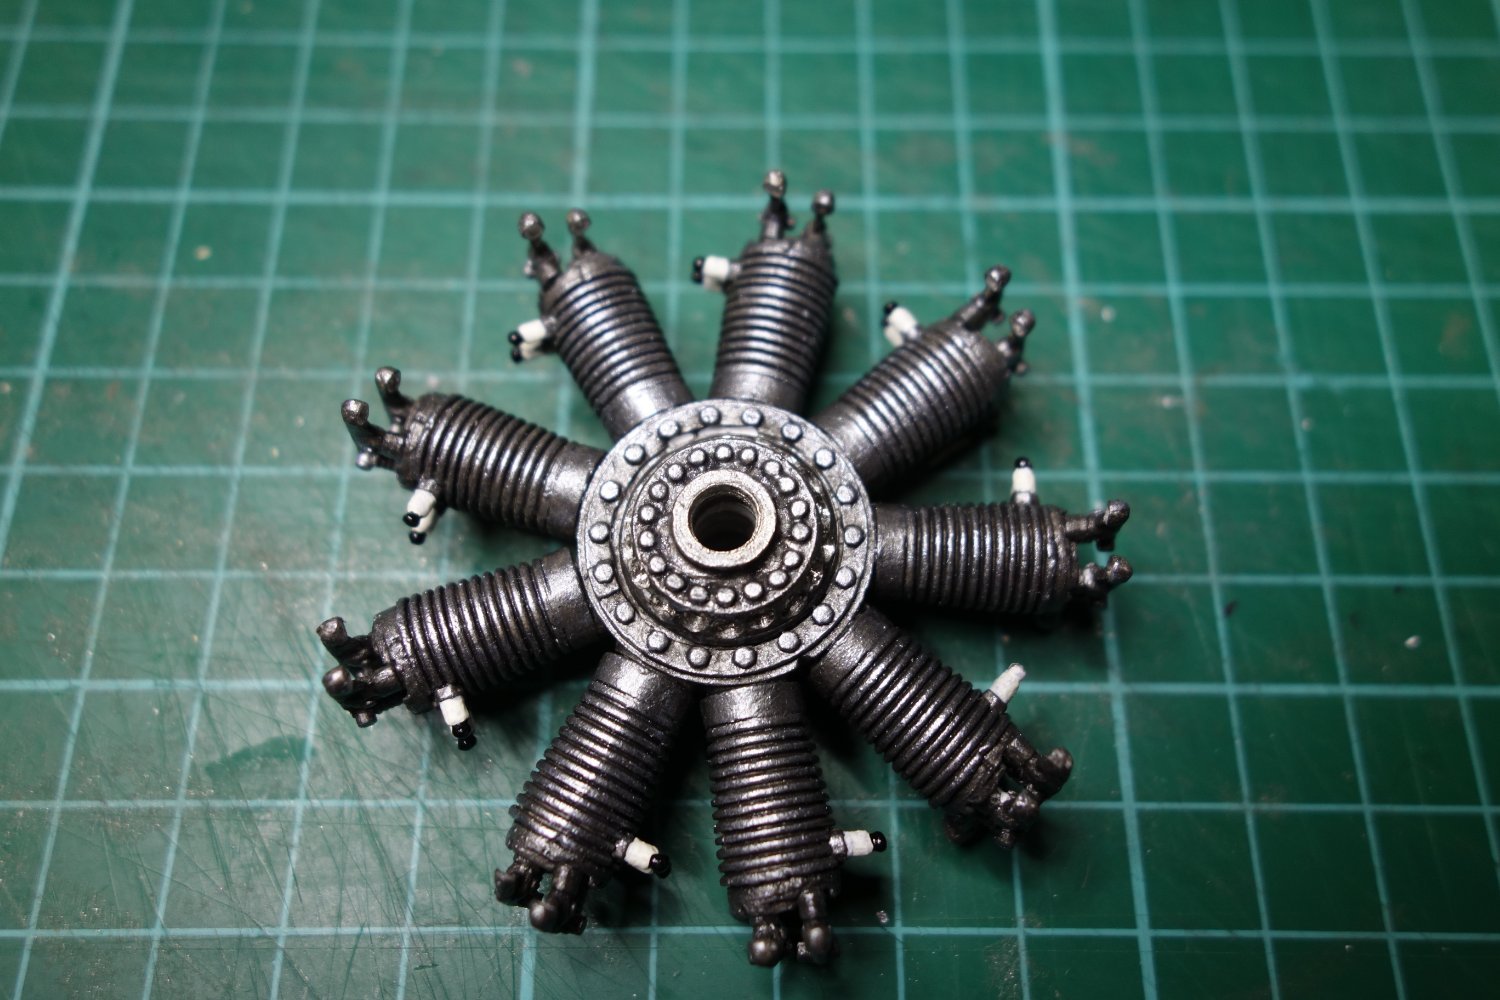
I have finished the engine which is a neat little model in itself. I decided to paint it to give it a bit more 'life'

Here it is primed:
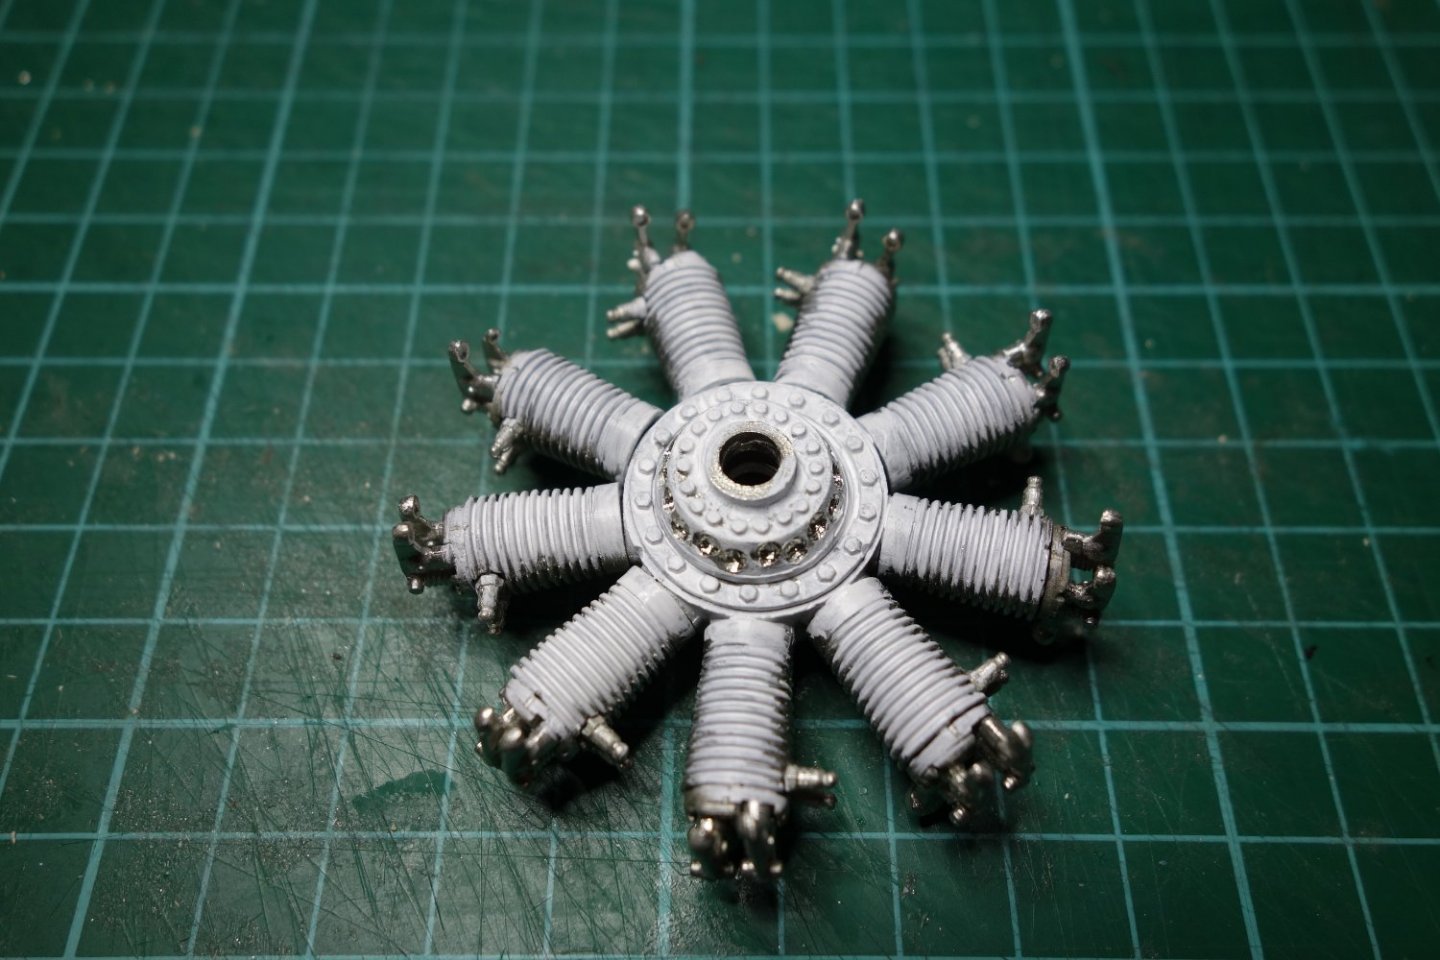
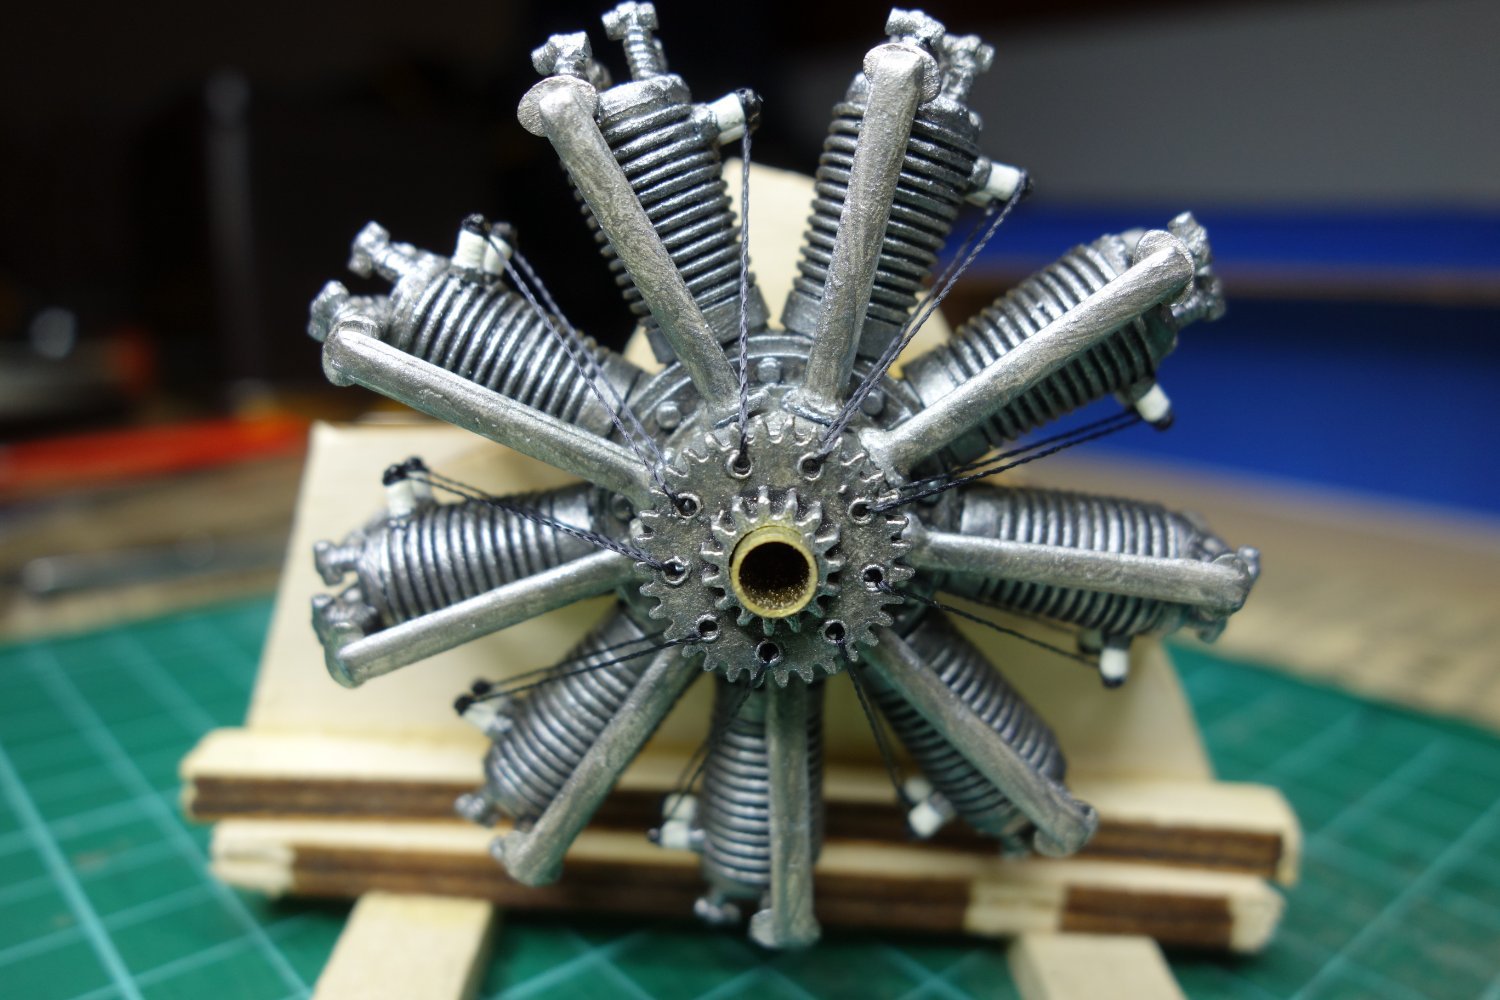
In order to be able to paint and weather it, I had to build/paint in stages.

Here with ignition ring and wires:
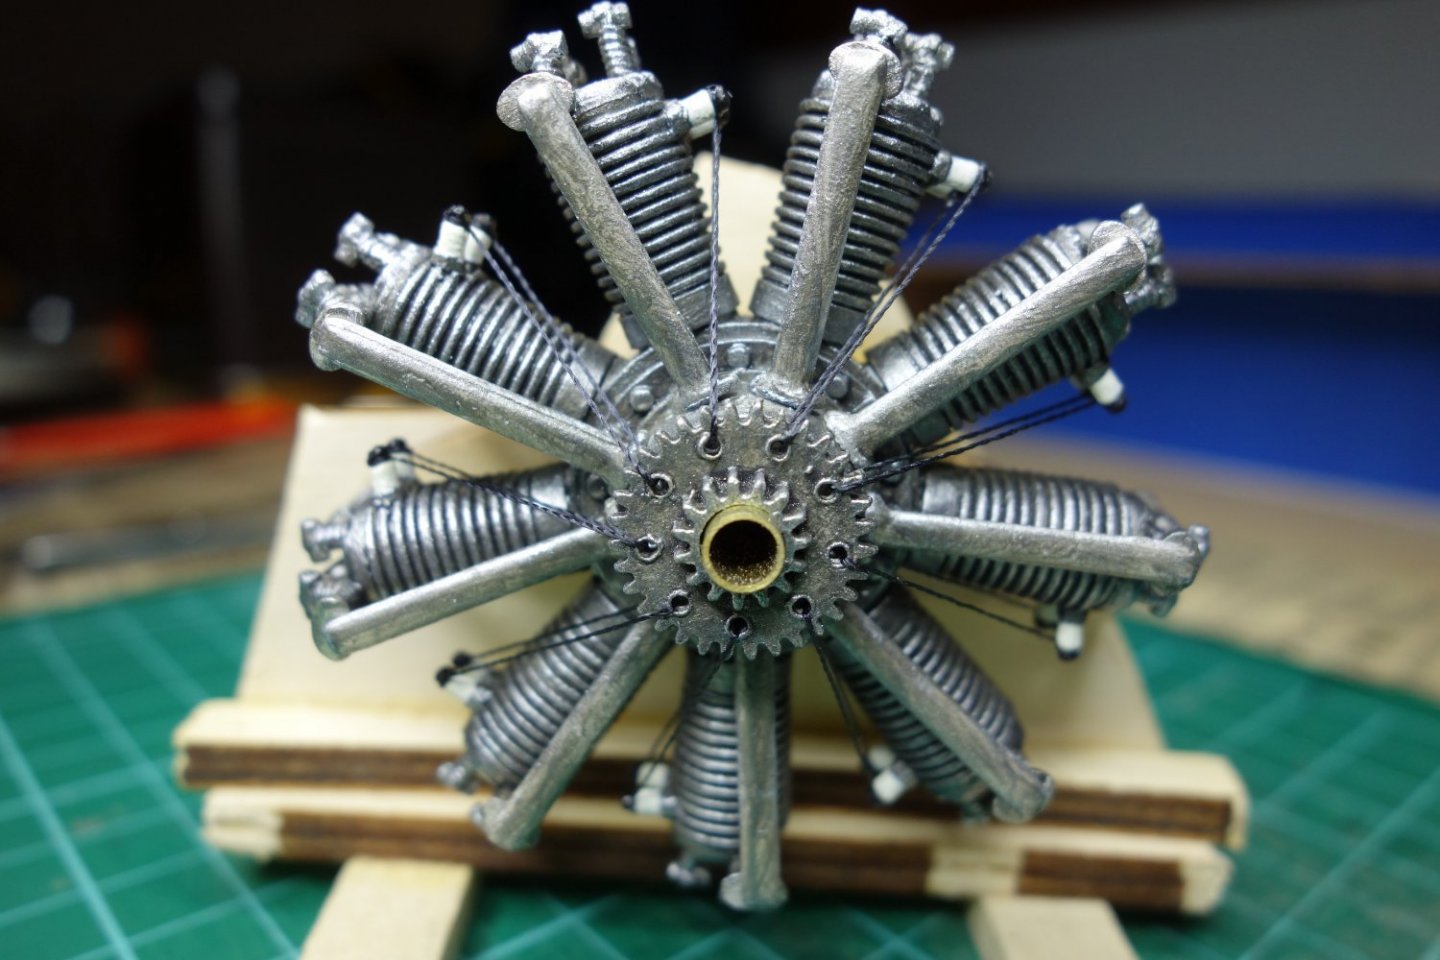
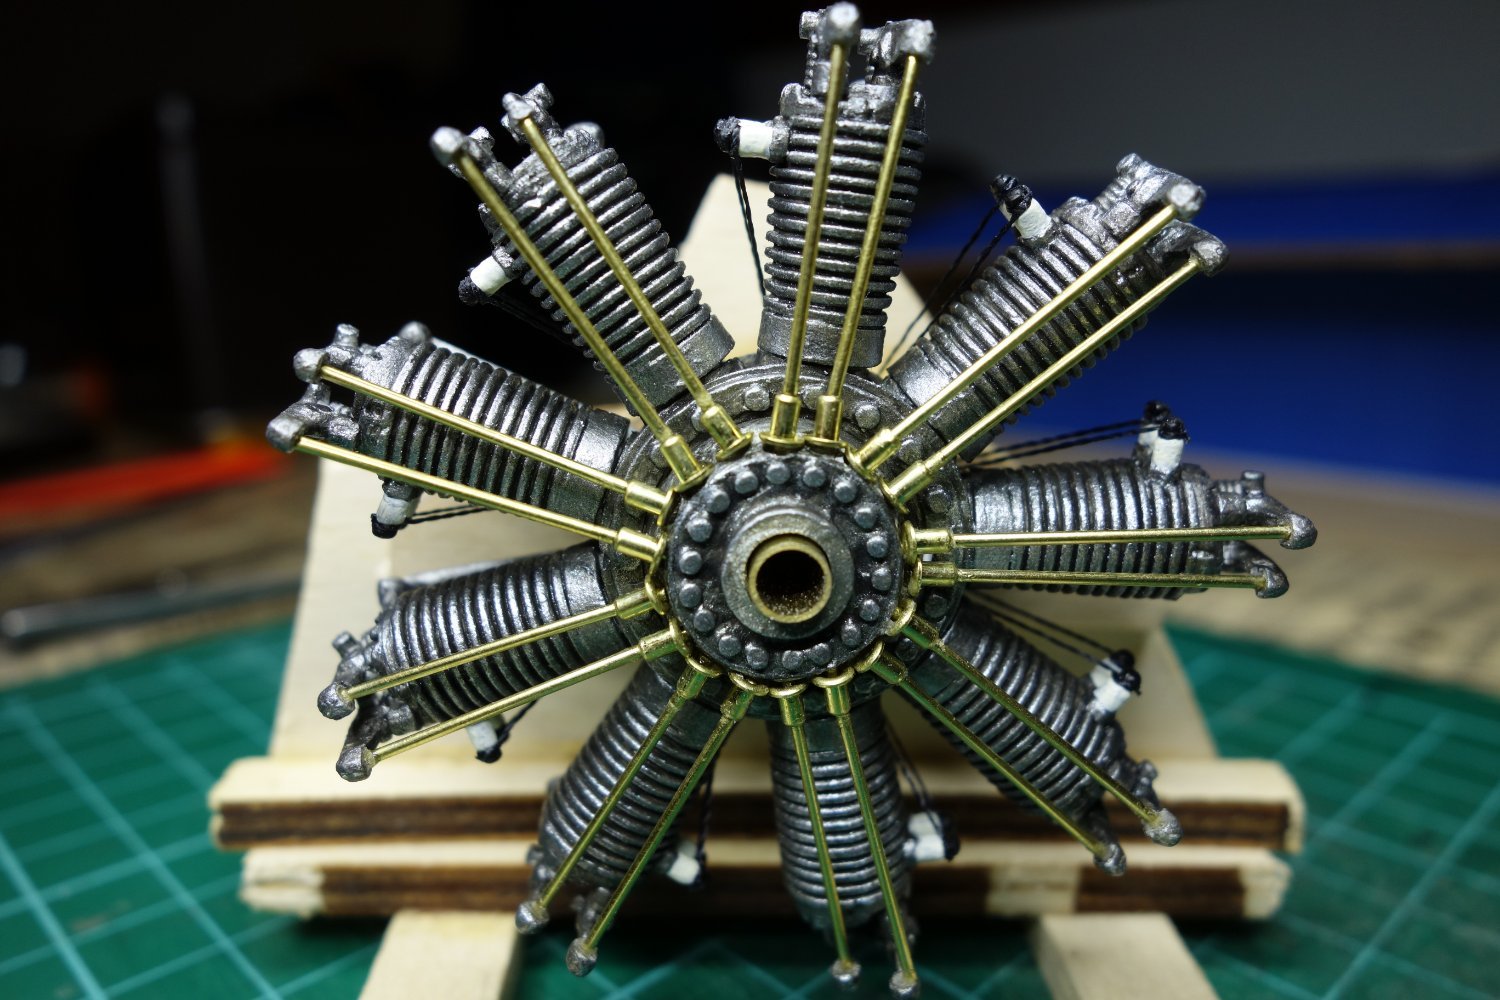
And here completed with pushrods. I didnt paint the bras. Not sure if its the historically acurate colour, but I just think it looks so good!

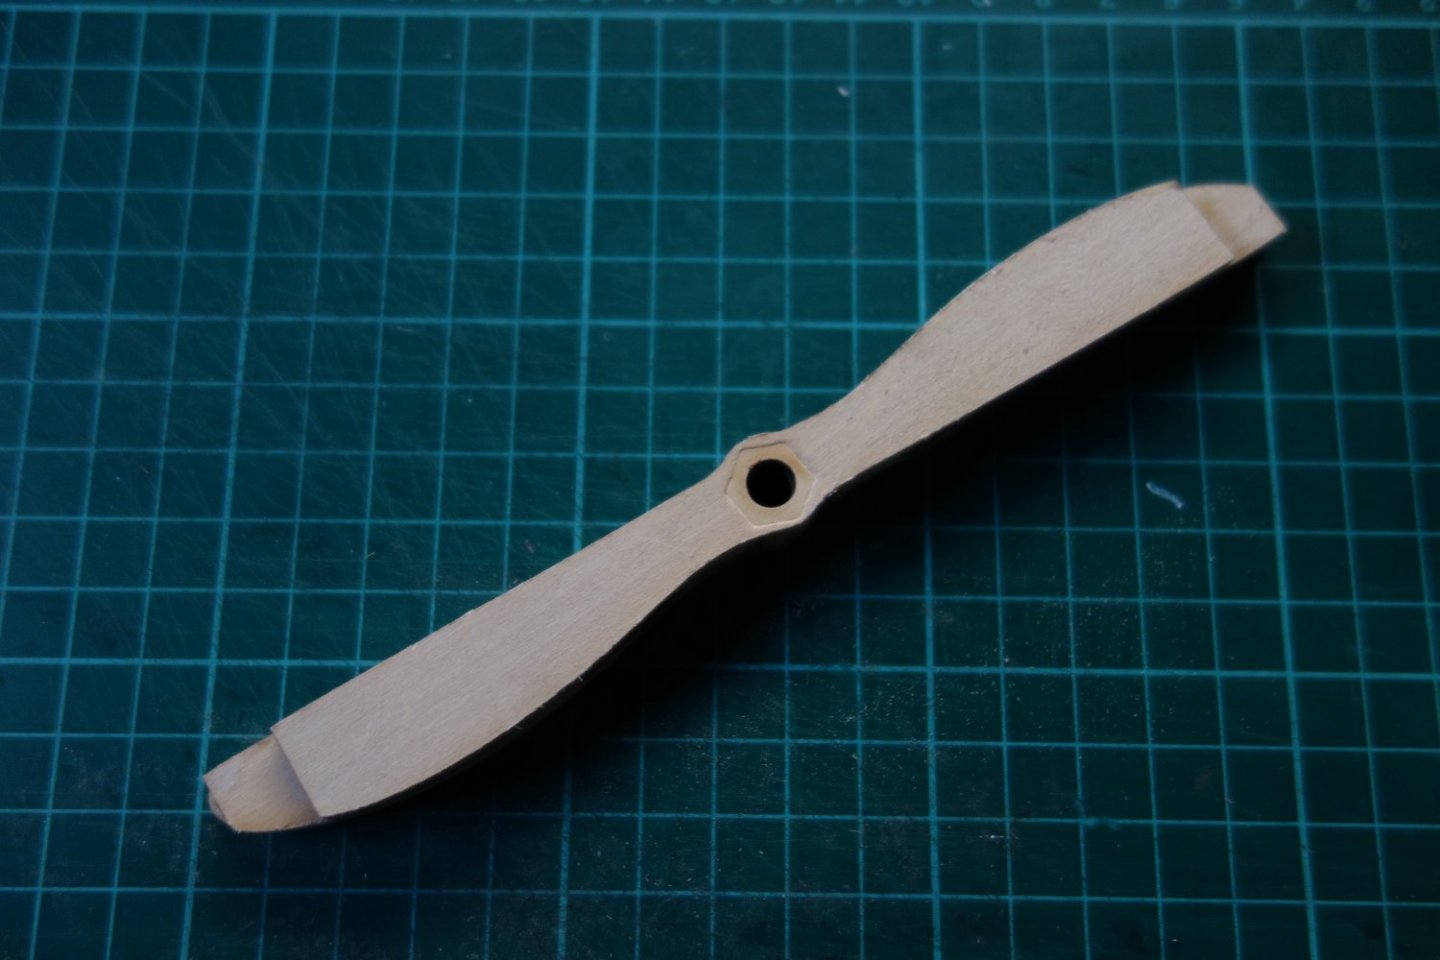
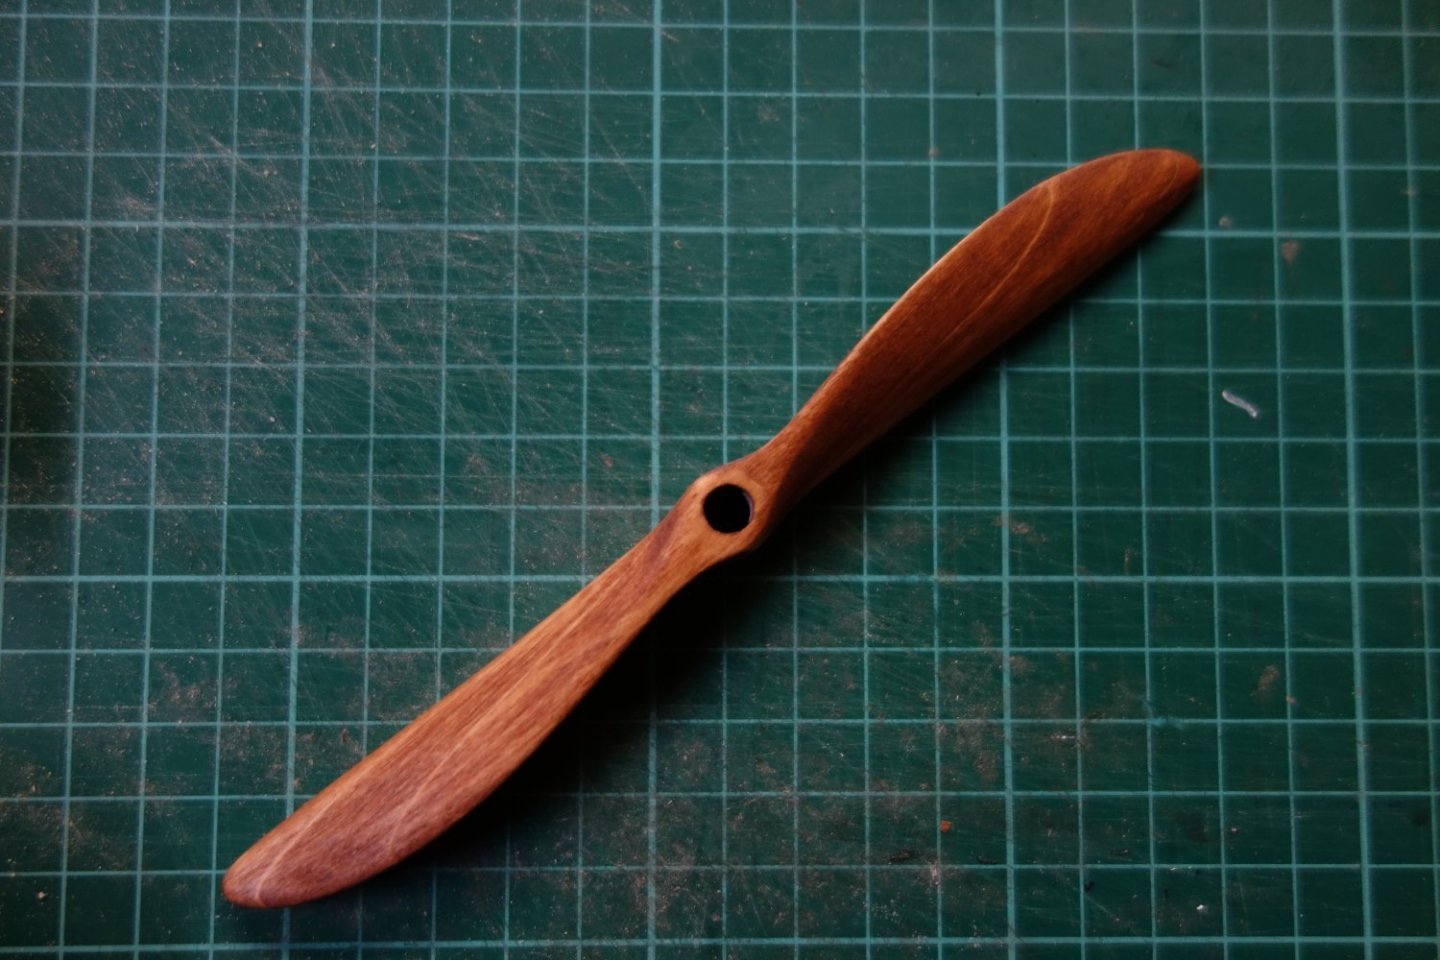
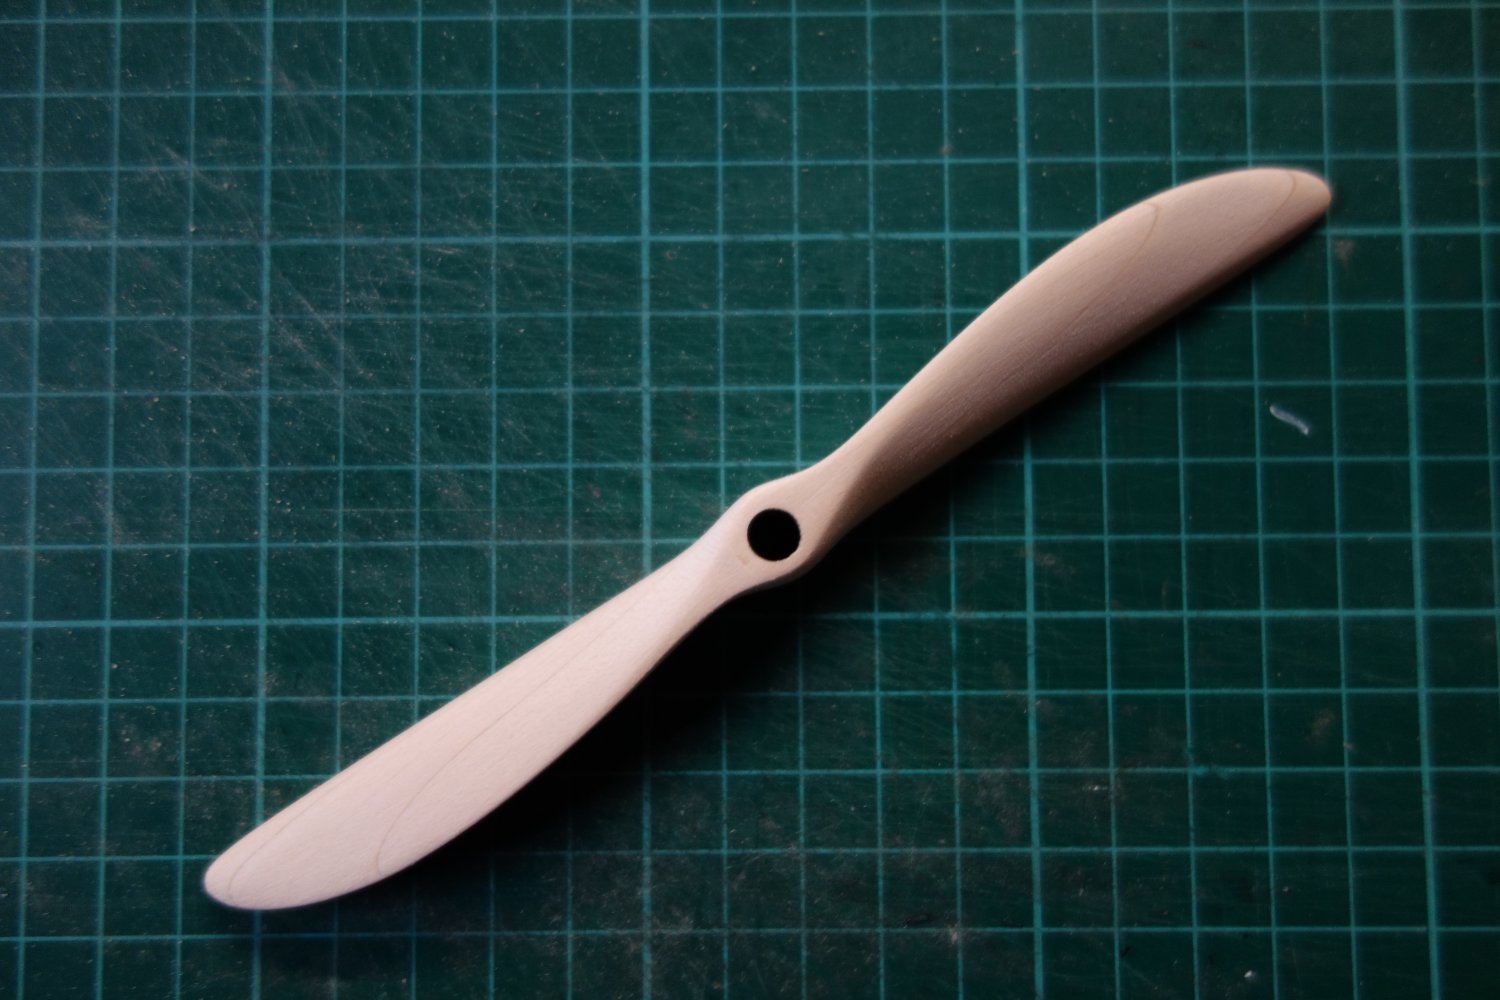
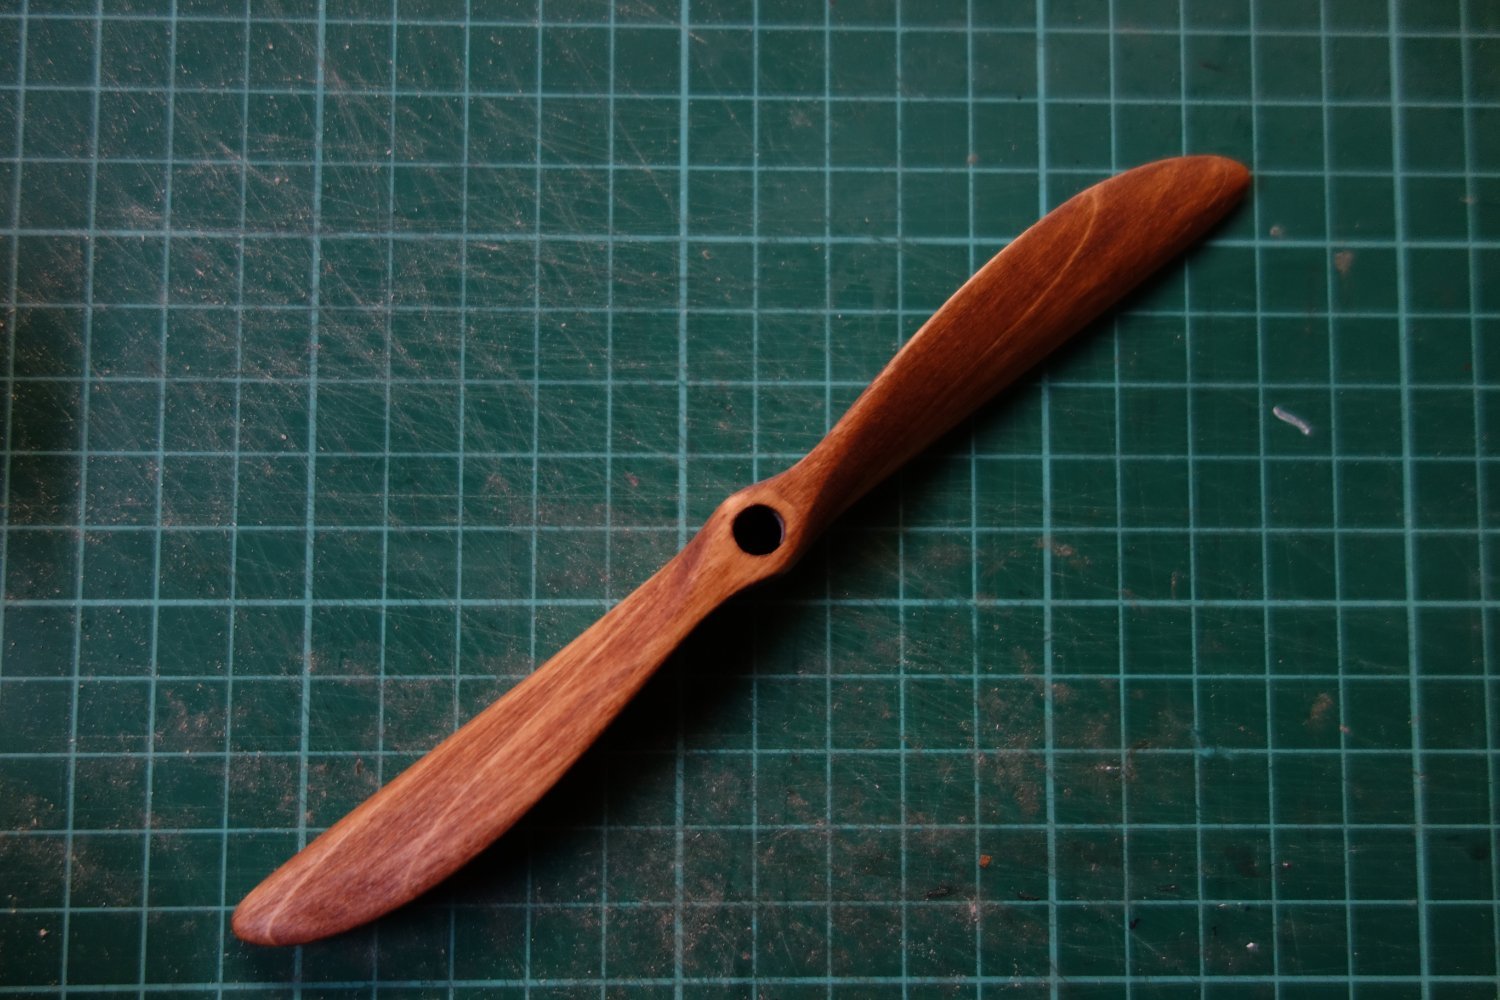
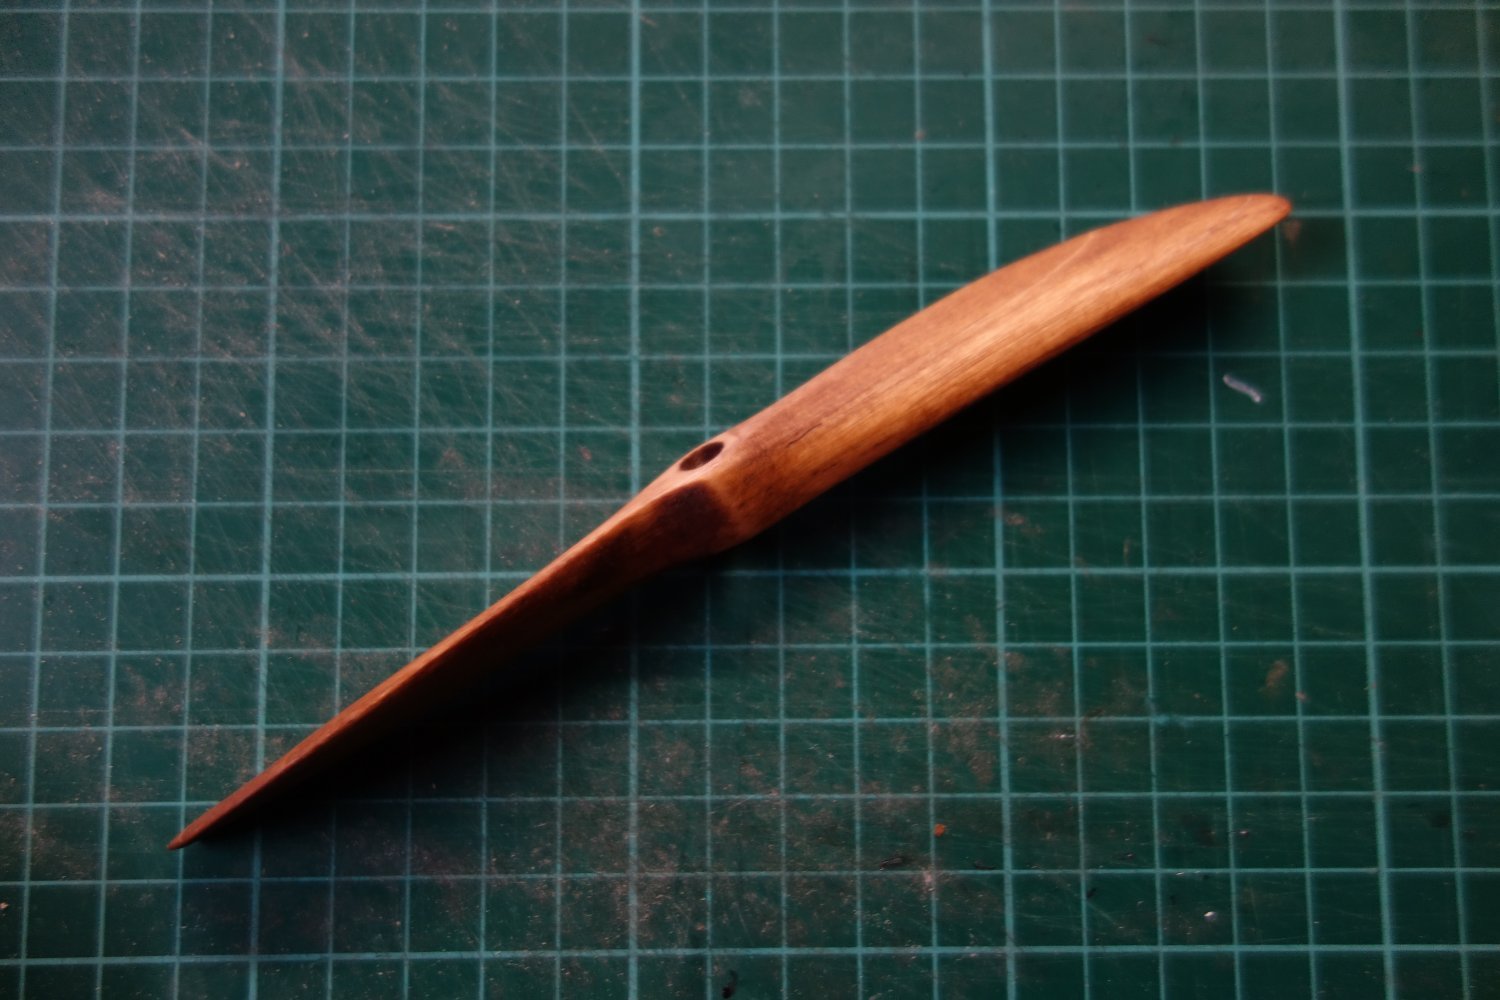
Then came time for the propeller, which I thought would be harder than it was. Pretty happy with the result and still giving it more coats of varnish to try and give it a deep sheen.


Will try and keep this somewhat up to date but I dont get too build all that often. Thoughts, critique and comments are very welcome!
Cheers
-
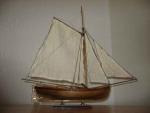
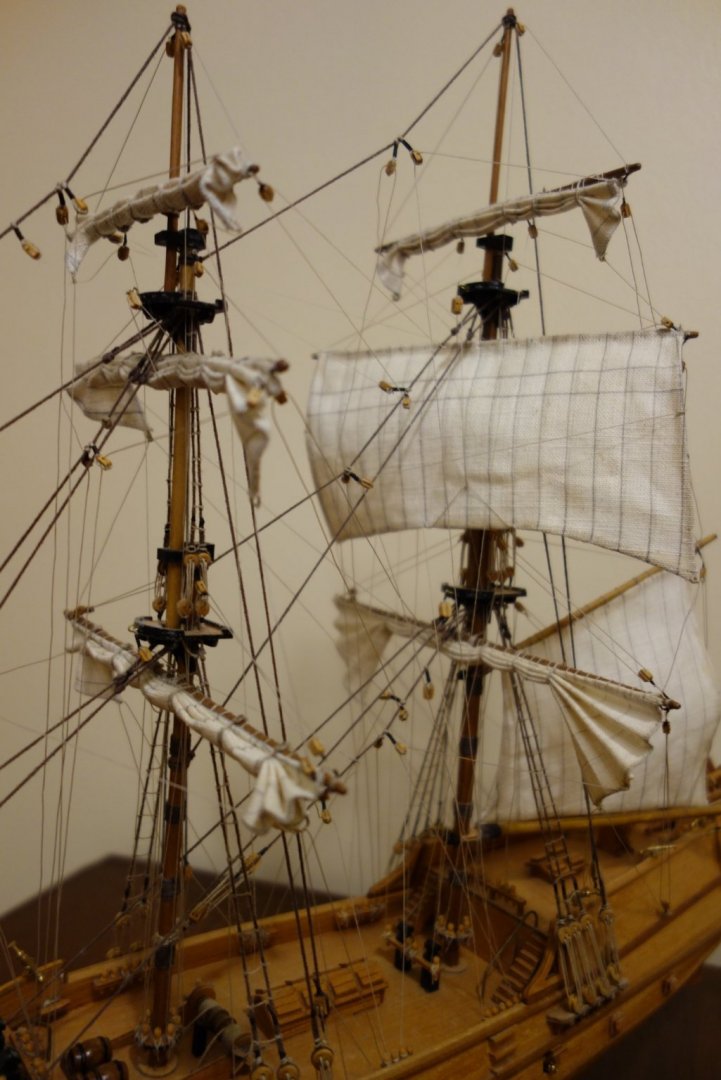
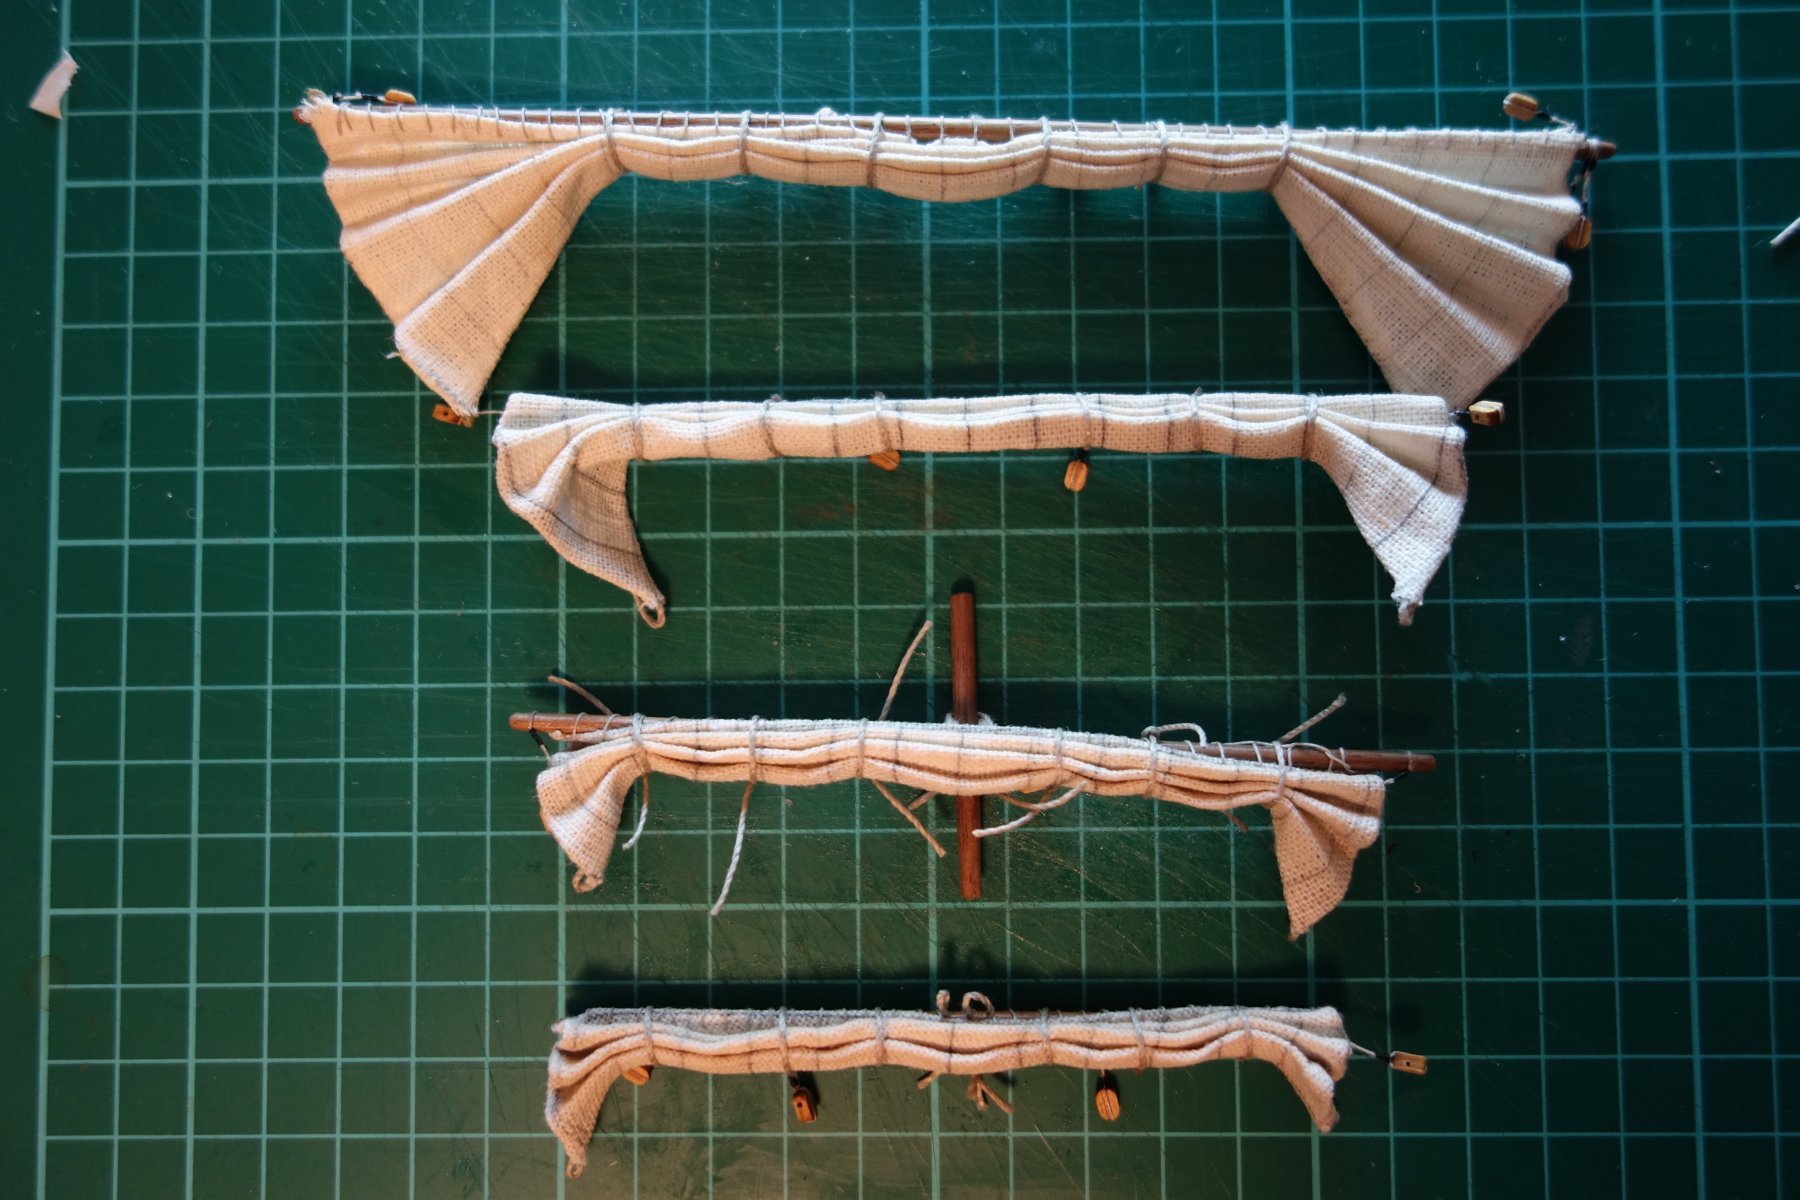
 I used very diluted white wood-glue which I painted on the sails and then shaped and tied them. Fairly happy with the outcome even though the cloth I used is much too thick really.
Made a couple of the sails 'billowing' using things to weigh them down while the glue dried.
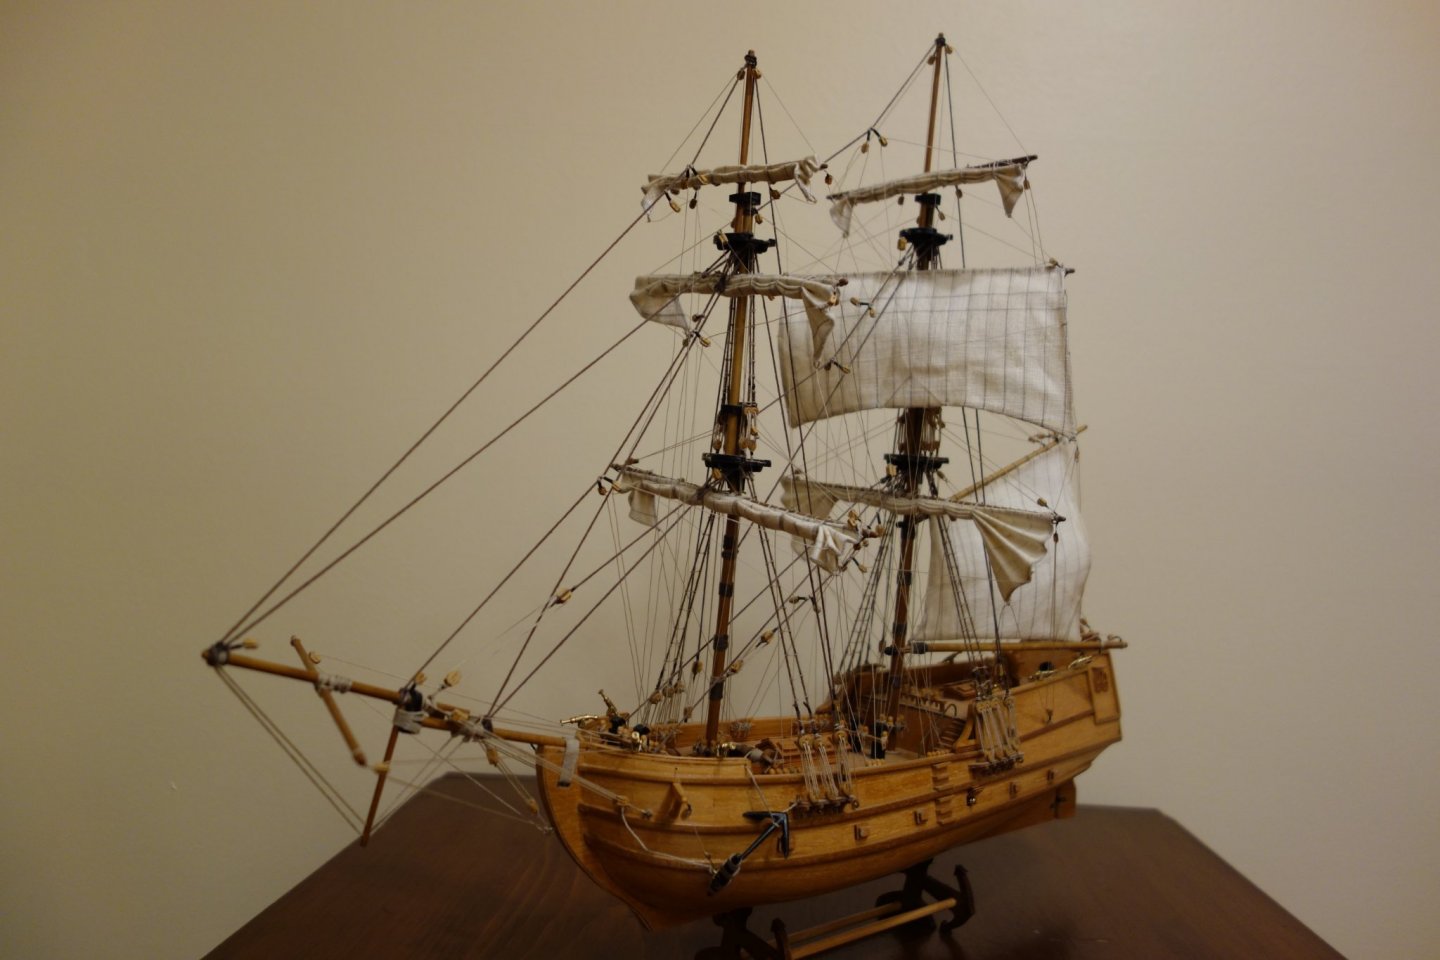
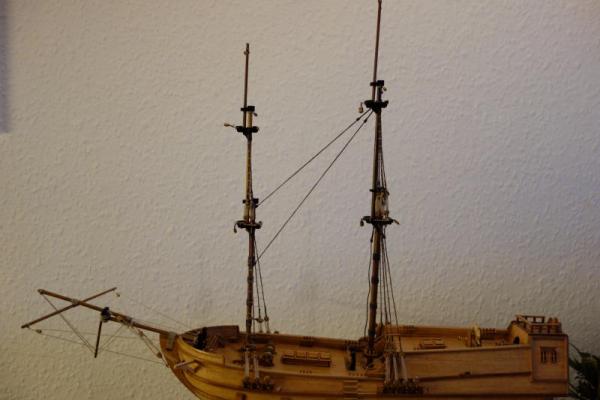
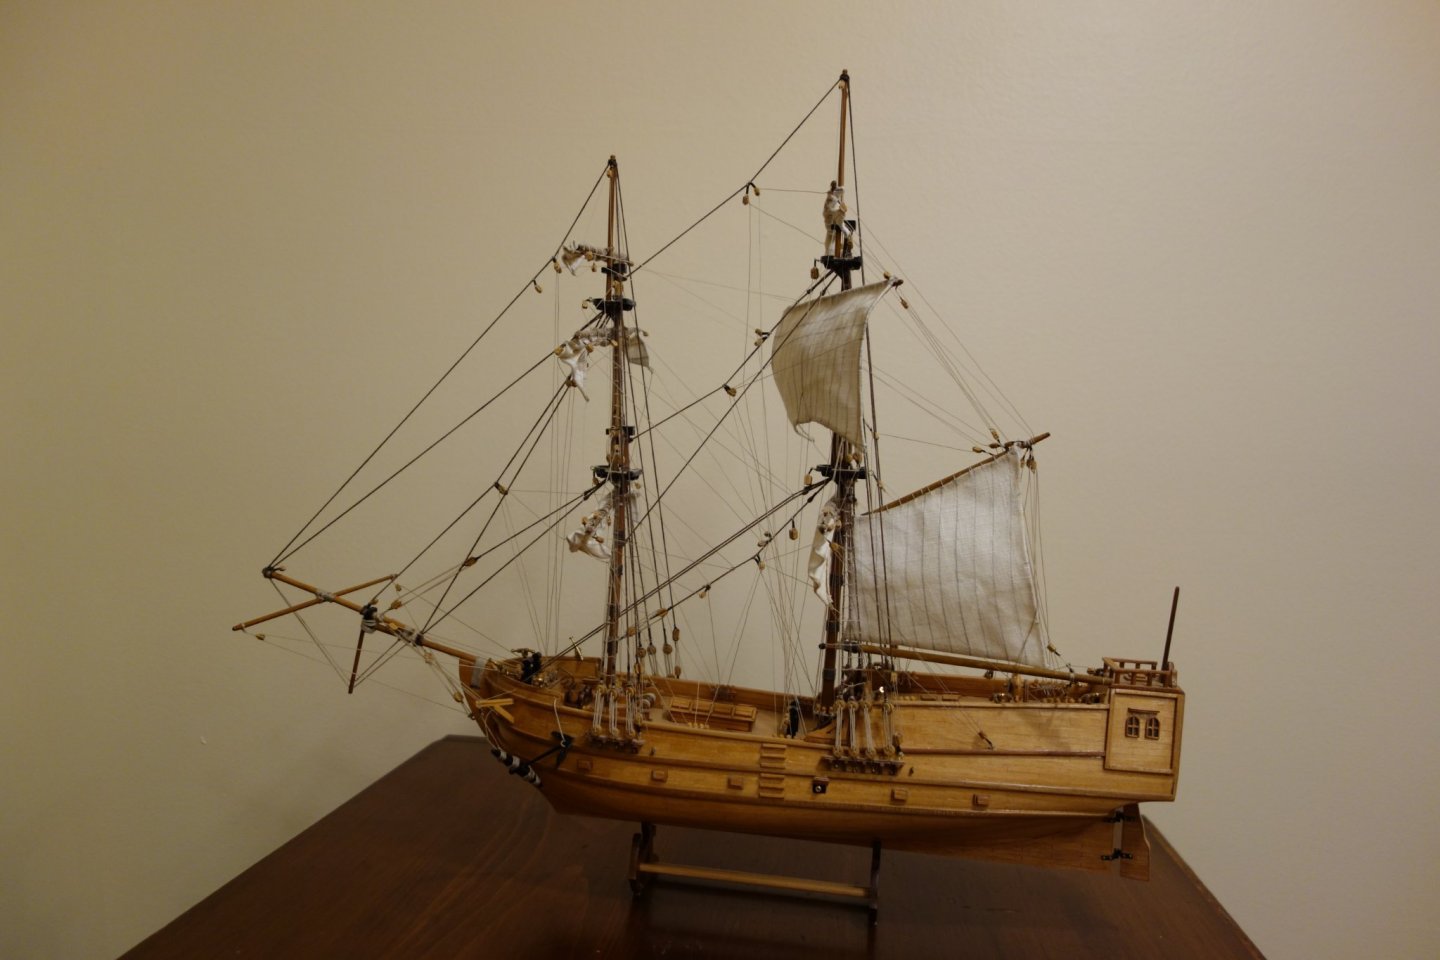 Finished! after more than 9 years on-off building. Farily happy with the result even though I was getting frustrated with the plans/instructions as there were errors that I had not noticed earlier and were too late to try and fix. Wanted furled sails at the bow (Im not into all the names - sorry) but with the thick cloth Im using for sails I could not make them fit very well and thought it would be better without them. Also decided against the plasticy flag that came with the kit and the huge lanterns that were supposed to be at the stern - I felt like they were way out of scale and would just look silly.
- ccoyle, Ian_Grant and GrandpaPhil
-
 3
3
-
Thanks GrandpaPhil. Still working on the sails so havent started mounting them yet.
-
-
I have a question for those who have done this thing before though. As I am soon to start adding the spars+sails and all the other running rigging - what is the best order to do it in? Start with the lower or upper sails and which mast first? I plan on having the main sail and mizzen sail set and the rest furled.
-
Not exactly a consistent builder or updater - but then again it seems Im keeping a two year gap between updates. Sincerely hope to be more frequent.
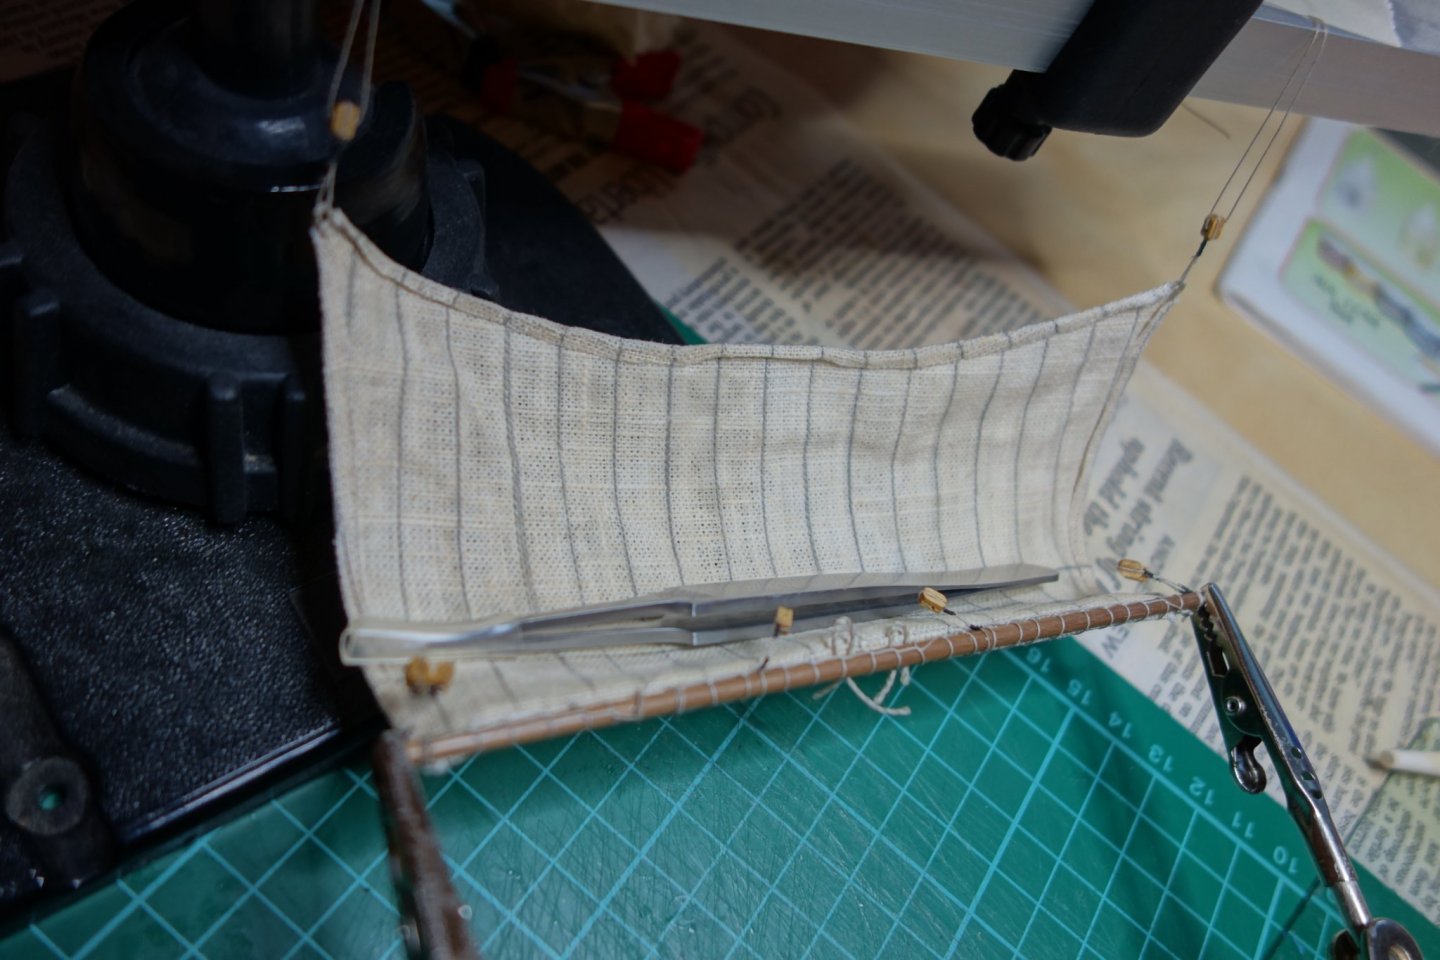
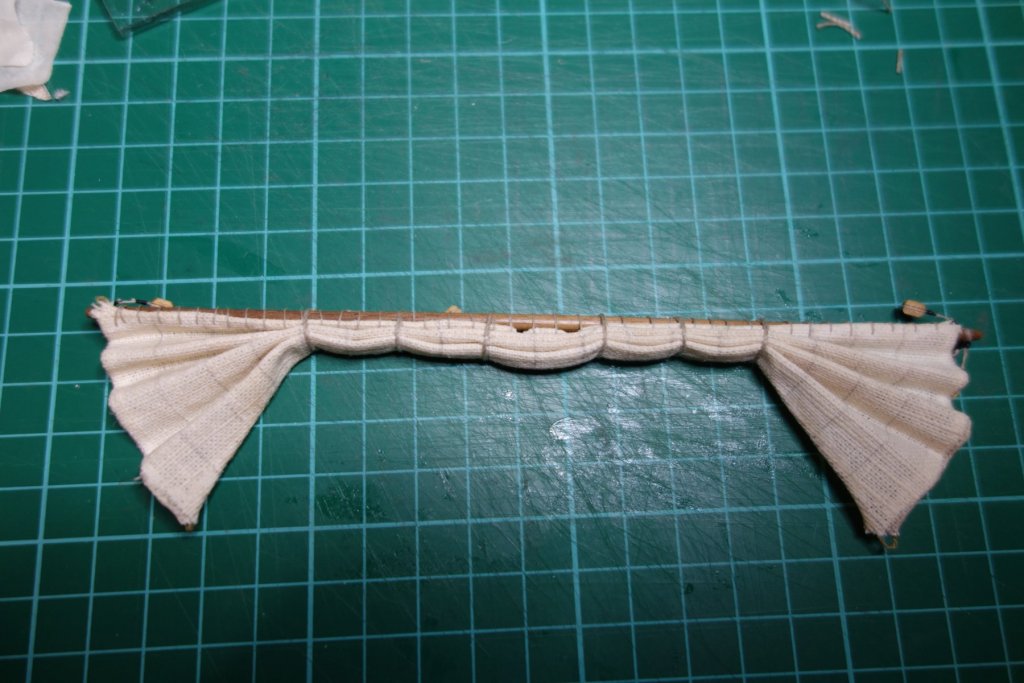
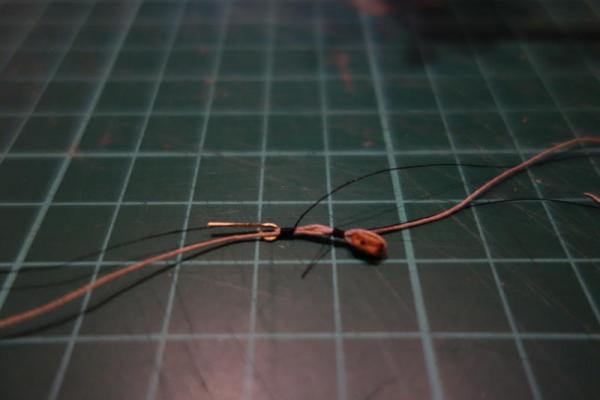
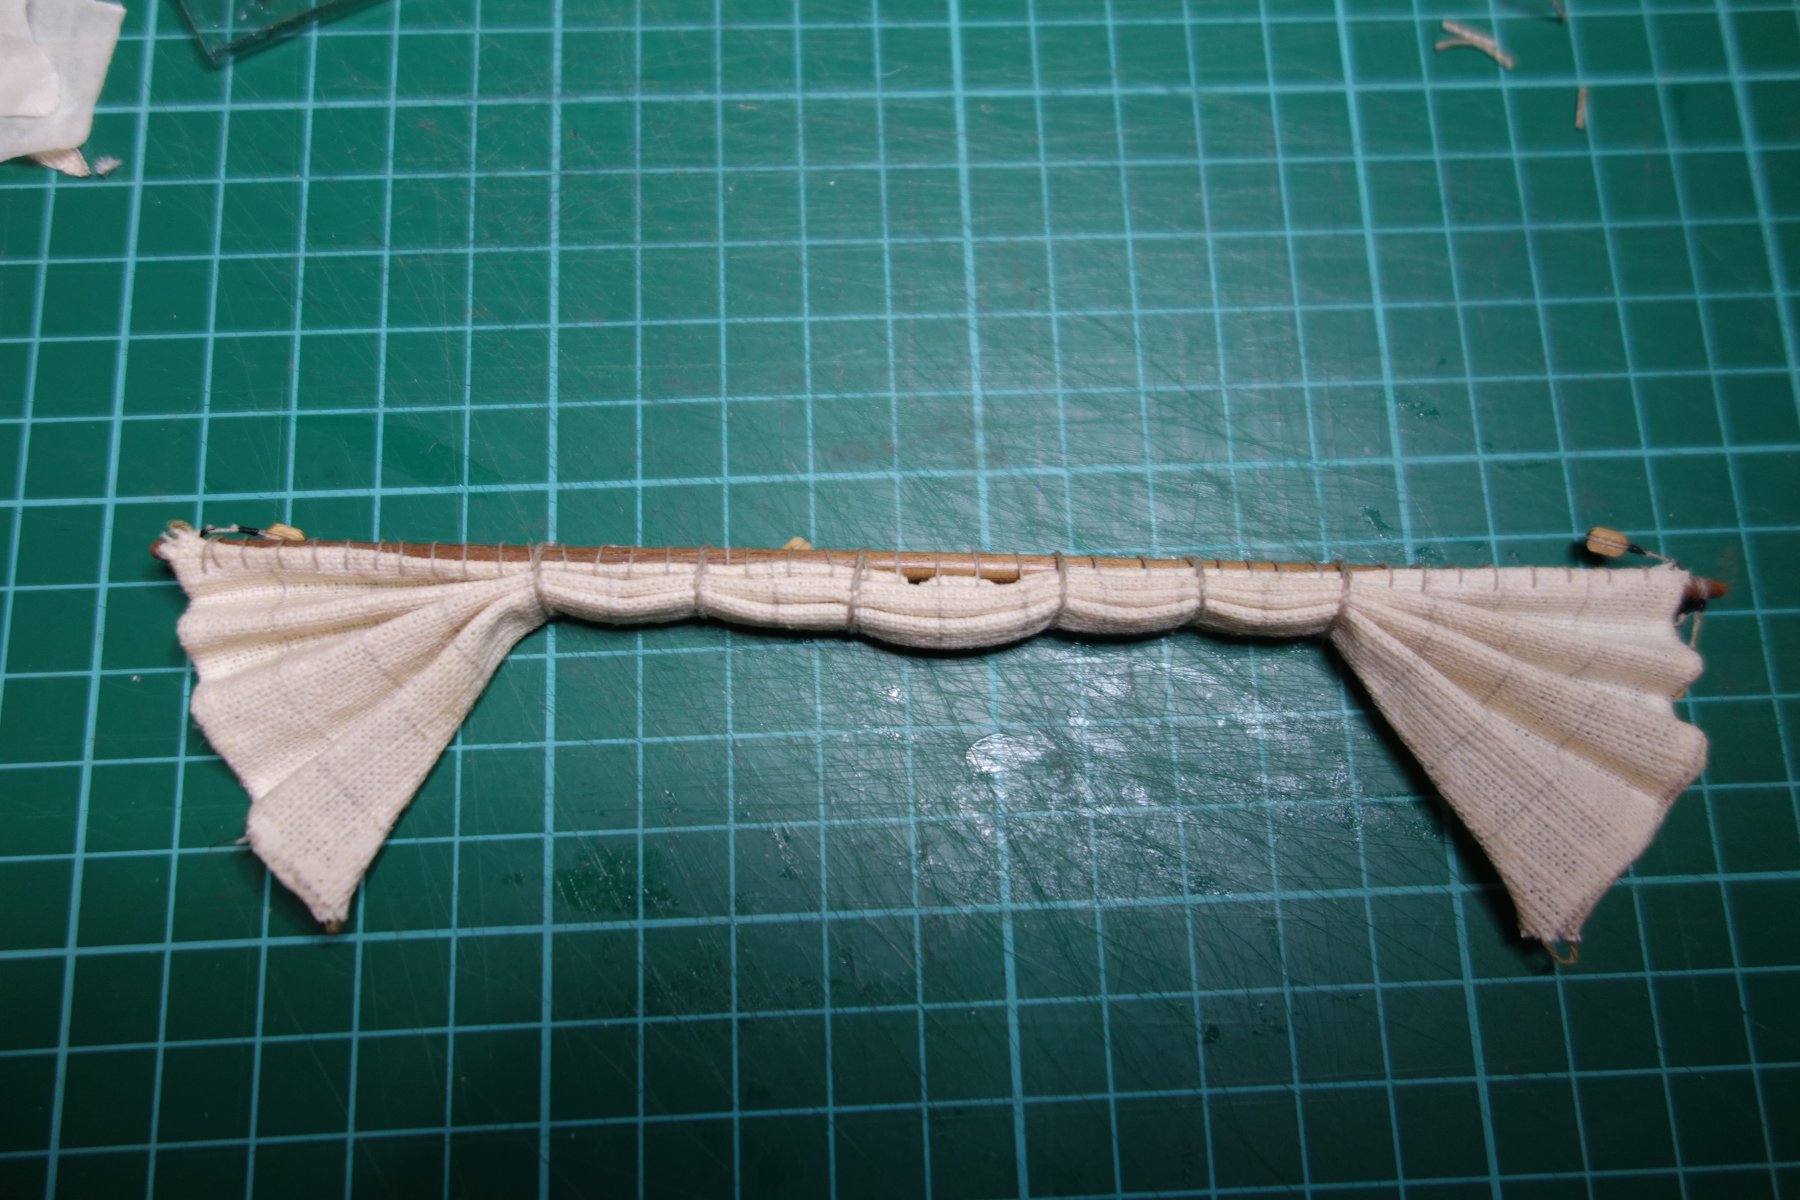
I have done all the standing rigging (can see I need a photo of that) and have started on sails. I have been a bit intimidated of making sails - furled or set and all that but giving it a go. As I reported in last update I was doing a bit of a test run but was so happy with the first attempt that I am going to use that, and have made several more.
This was the first attempt:
These are the finished ones so far:

I can see that the cloth is too thick and out of scale but think it will look pretty good. Might try (silk)paper for next model though.

-
This looks great. I have just ordered this same model. Will be a while before I start working on it because I want to finish my current build which has taken me years and years to finish.
-
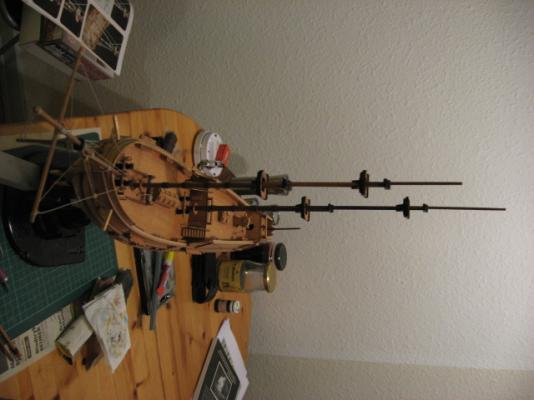
Wow - its been two years since my last post!
Well - have been busy moving across the pond and setting up a new workspace.
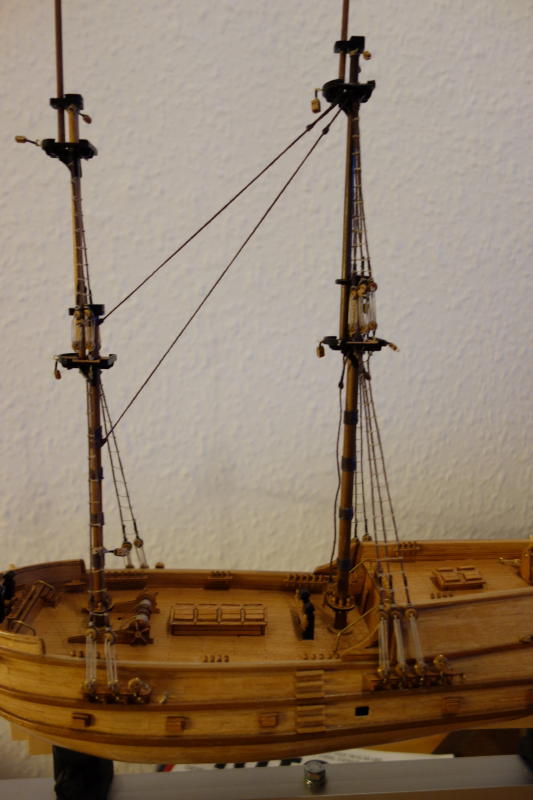
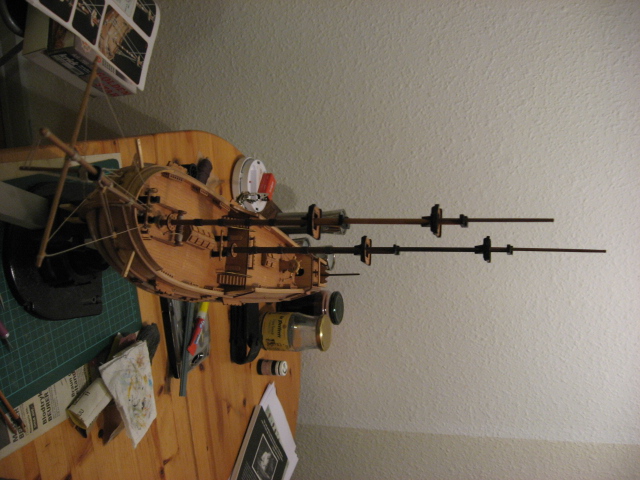
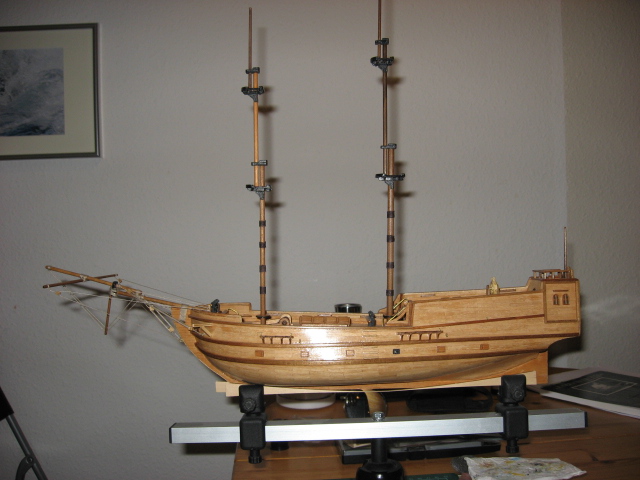
But here are some pictures of progress - shes moving along slowly but nicely.
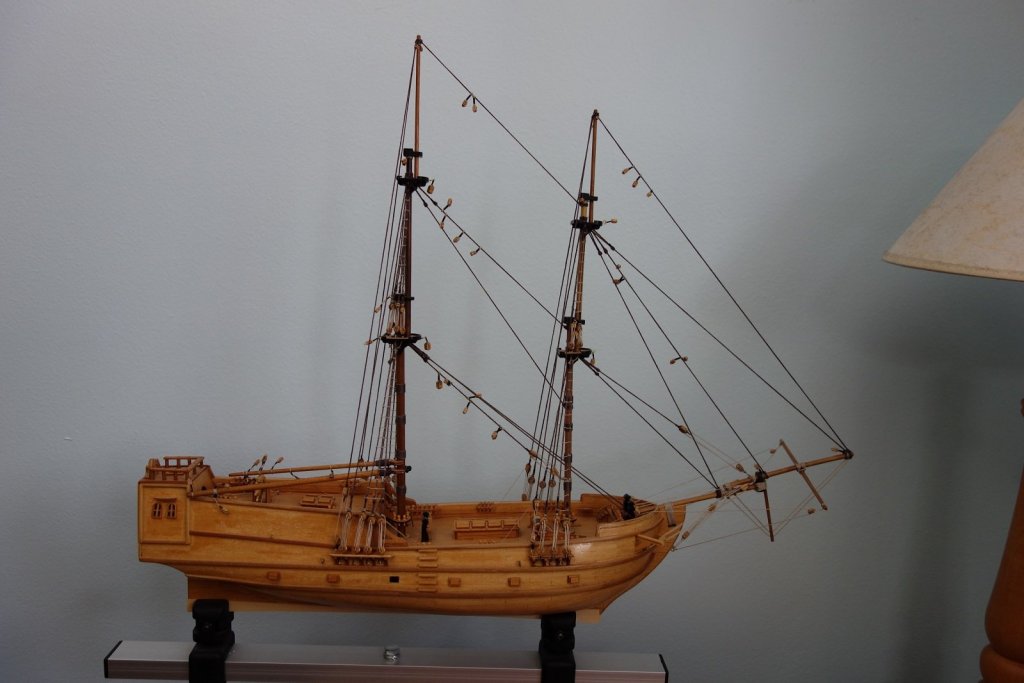
This is status right now.

Booms are still not attached.

The yards with blocks.
Starting on making sails now. Here im drawing in the sail and seams with pencil. Transfered the seam spacing using tape.
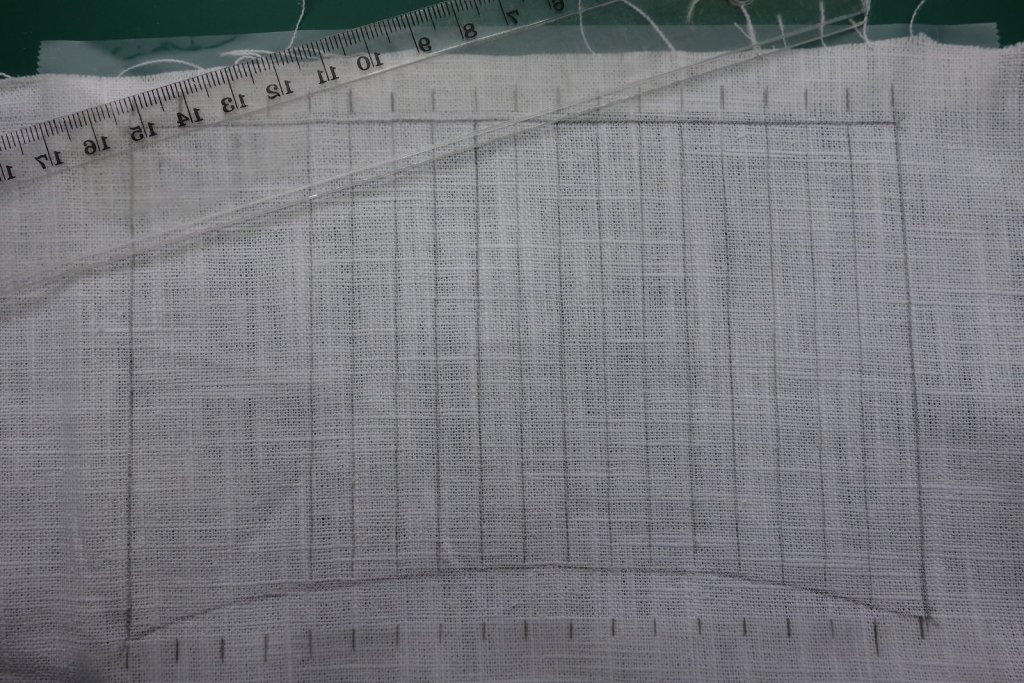
And then put it in tea for 10 minutes. Right now its drying off. My plan is to have main sail set and probably the rest furled. Im using the thinnest cloth I could find, but now realizing paper might be better - but will give it a try with cloth.

-
Hi Boyd
Looking good! I will follow your build, as I hope to build the Bounty at some point...
-
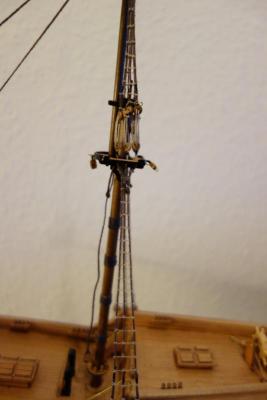
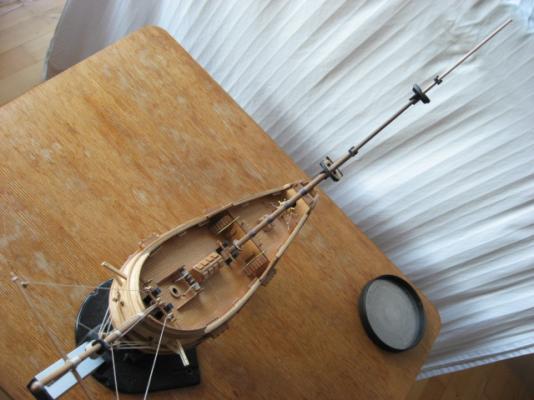
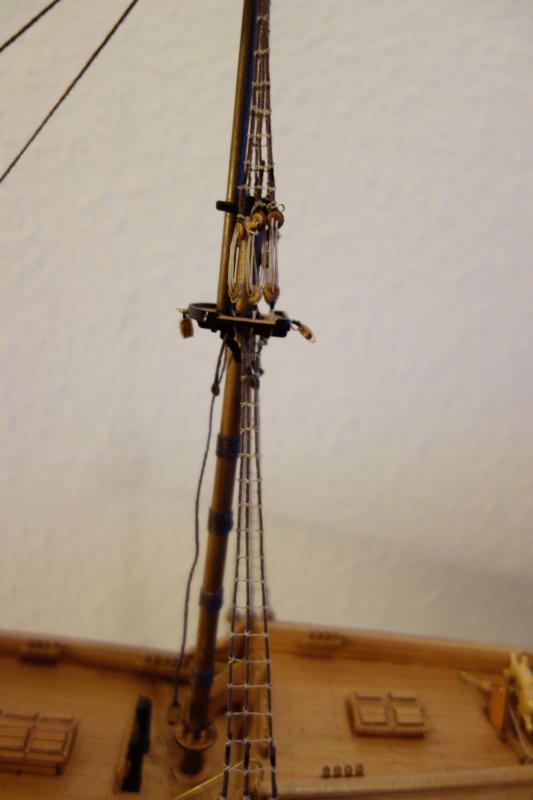
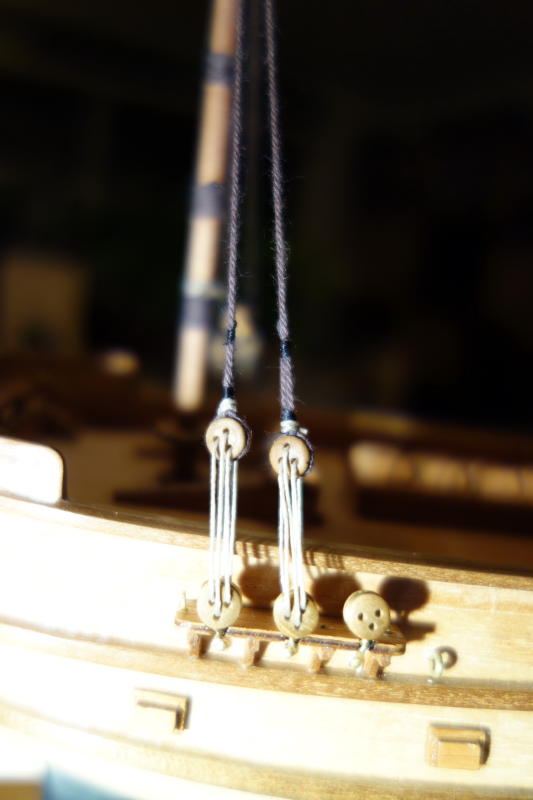
A couple of pictures of current status - finished the shrouds and ratlines and started on Stays. Couldnt get the ratlines completely straight and the lanyards and shrouds would sometimes twist - not sure how to avoid that. But all in all Im pretty happy with the result even if its not perfect - but hey - its my first ship this size...

- thomaslambo and GuntherMT
-
2
-
-
-
As always Dan, your work sets the bar way too high for the rest of us (or, at least me) to reach.
On a much much smaller scale, Im also at the rigging proces right now, and am having trouble getting the length of the Shrouds to be equal. You wrote that you used a wire spacer - could you possibly post a picture of it? I have also made a spacer, but much to my surprise and annoyance, they still didnt come out the same length.

Any help or tips would be greatly appreciated.
Regards Shaun
- avsjerome2003, GLakie and SkerryAmp
-
3
-
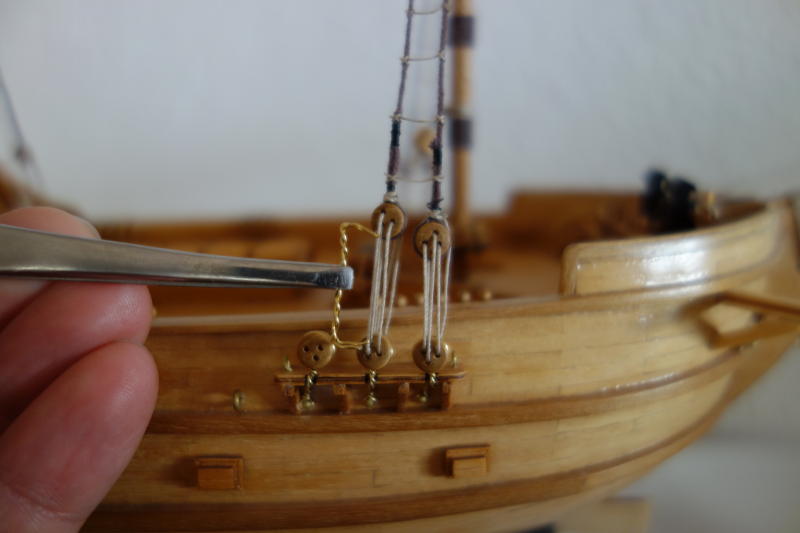
Used Bender's tips on how to seize blocks to deadeyes and yards (http://modelshipworld.com/index.php/topic/1056-tying-blocks-to-yards-or-masts/), and am quite happy with the results.

I have then started on shrouds and ratlines. but even though I used a wire spacer they still didnt come out the same distance
 . Since the shrouds were already tied and glued I wont change it. But for the main mast I will just use the spacer for the first shroud and then do the rest by eye...
Any tips on how to do this?

The other side looks a bit better.

-
Thanks again for the tip - Im quite happy with even my first attempts:

-
Hi Mike and Ken. Thanks for answers. As this is myfirst large(ish) ship, I might leave the staysails stoved out of sight :-)
- robnbill and Landlubber Mike
-
2
-
Hi Mike thanks for this great description of sail making. Im just starting on the rigging of my Golden Star and will soon have to decide on sails. My question to you is how do furled staysails look like. You made one, but that went to th bowspit - im wondering about the top staysails between two masts - they just sort of hang in midairfrom only one line (which even seems to be a standing-rigging line). As you can probably tell, im a novice who doesnt know much about ships.
Hope you can help.
- robnbill and Landlubber Mike
-
2
-
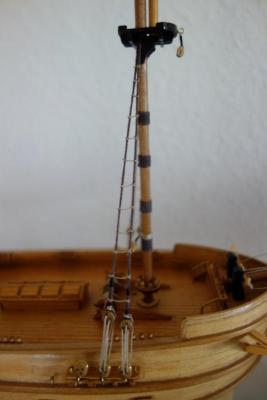
I have now installed the masts, but as soon as I had done that I realized that there are some deadeyes that need to be attached to them. In the instructions that is done later, but it would have been a LOT easier to do before installing the masts. Just shows my inexperience and that I cant as yet determine the best sequence of doing things. I even have a book on how to do things, but that states to complete the masts with lots of the rigging before installing the masts - I dont know, that just seems very difficult to me for some reason.
But I'll manage - just hope I dont snap a mast trying to drill holes in it.

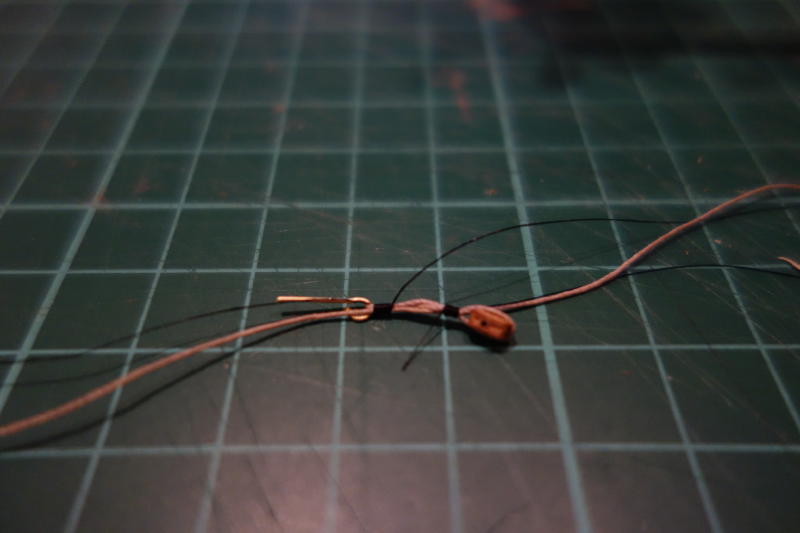
Also added the chains and deadeyes to the channels. It was rather tricky to twist the wire in both ends and end up with the right length, but got the hang of it after a few attempts. Found it easier to start with the small nail-end instead of the end with the deadye (which was how the instructions said to do it). Its not completely straight and perfect, but Im pretty happy with the result.
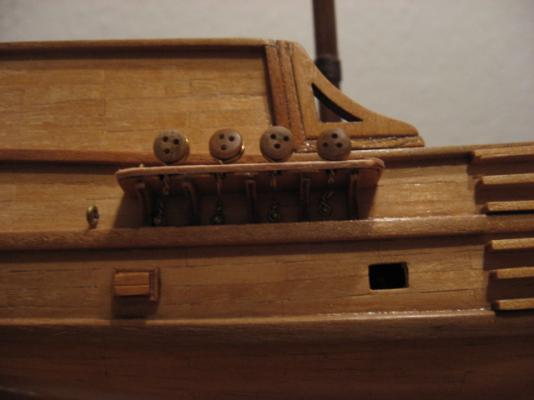

I haven't yet added the thin strip of wood to cover the channel in the last picture.
- thomaslambo and WackoWolf
-
2
-
Wow - its been over a year since my last post! can hardly belive that. Life happens!
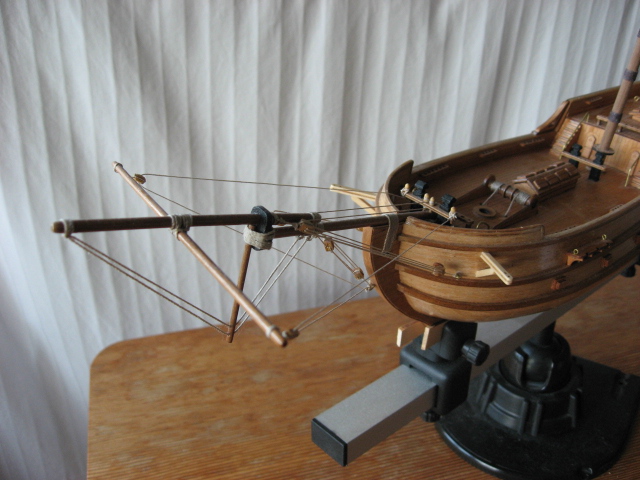
But I havent been COMPLETELY idle - have finished bowspit and just finished the main mast (but not fitted yet).


-
Hi. Im very glad I found this topic, as I hope very soon to have to take use of it.
-
-
Hi all
Im at the point in my Golden Star build where the hull is varnished and Im starting on the deckfittings and masts. I have done the bowspit where I varnished the parts before glueing together. I usually use PVA glue but for attaching things to varnished wood I dont think PVA works, so I used CA glue. Now, the thing is that it has clouded/frosted the varnish around the joint. What are your experiences with this and how can it be avoided (different varnish or glue?).
Cheers Shaun
-
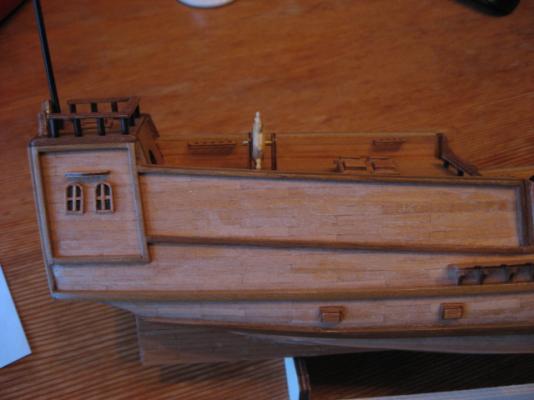
Im guite happy with the results but from the right (or rather - wrong) angles there are stains, which I think must be from the wood-glue used to glue on the various strips on to the planking. Can be seen in this pic.
Does anybody know how to avoid this? I have sanded a bit after glueing and scraped as much glue away as posible when glueing.


Sopwith Camel by Spiff - Model Airways - 1/16
in Non-ship/categorised builds
Posted
It has been a while, but I have not been completely idle. I have now finished the spars and they sure are a LOT of work! Getting the caps centered on the spar is not as easy as it sounds, even with a jig. Some of mine are, unfortunately, way off but hope it wont be too noticeable.
Have converted a ceiling tile to a workspace where I can pin down everything for assembling the wings and was all excited to start that today. However - the spars provided in the kit are not long enough for the entire length of the wings. This is rather annoying/disappointing and the Instruction manual makes no mention that I can see about how to proceed. In fact the manual talks about having to saw the lower wing in half and then reassemble it to get the correct angle on the lower wing. But as it is that is not a problem because it seems you have to build separate wings anyway. But I am concerned that the top wing will not be very strong if it is actually two wings glued together just at the tips of the spars... Might have to see if I can buy some longer pieces of wood for the spars.
But here are all my ribs: